
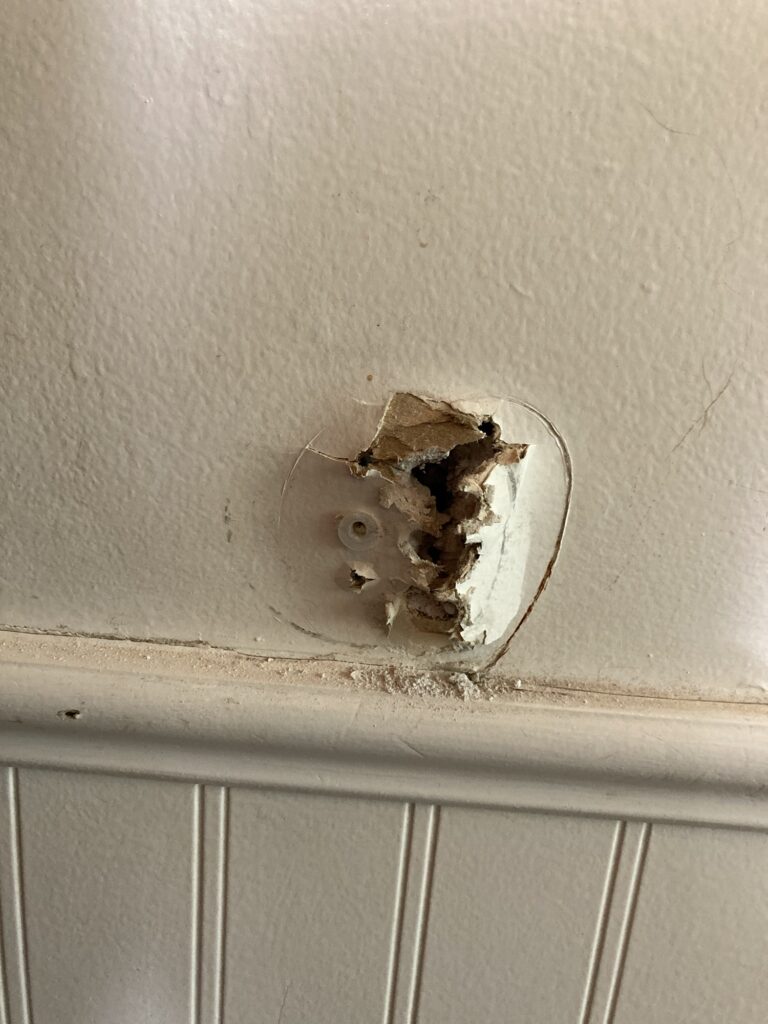
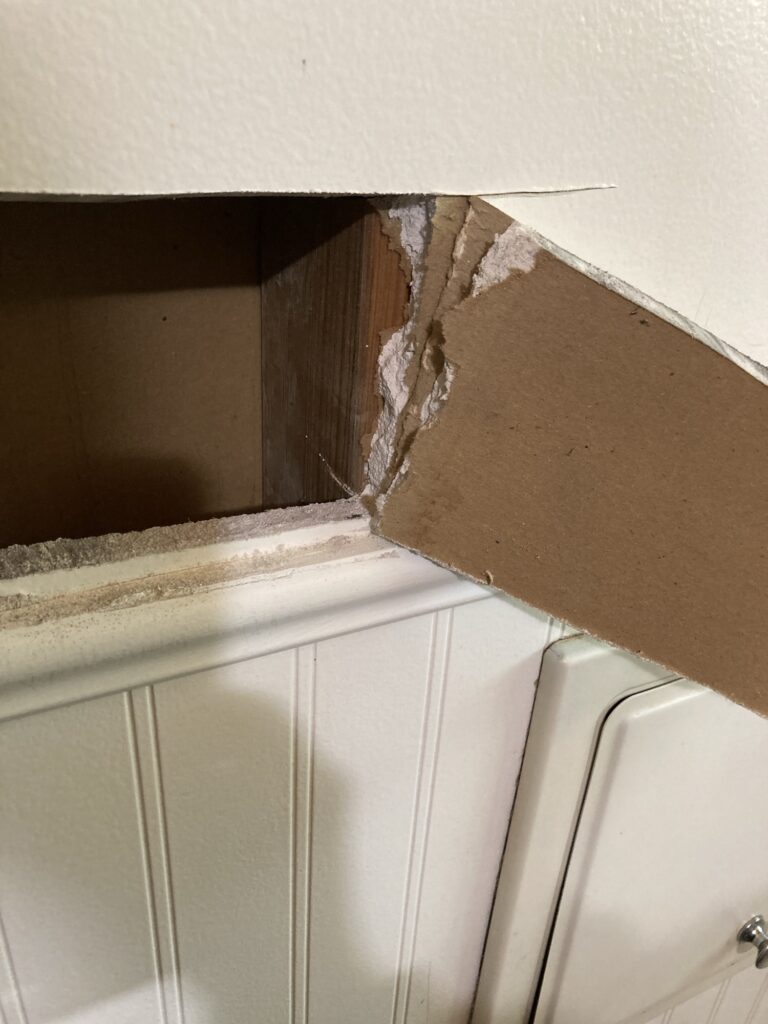
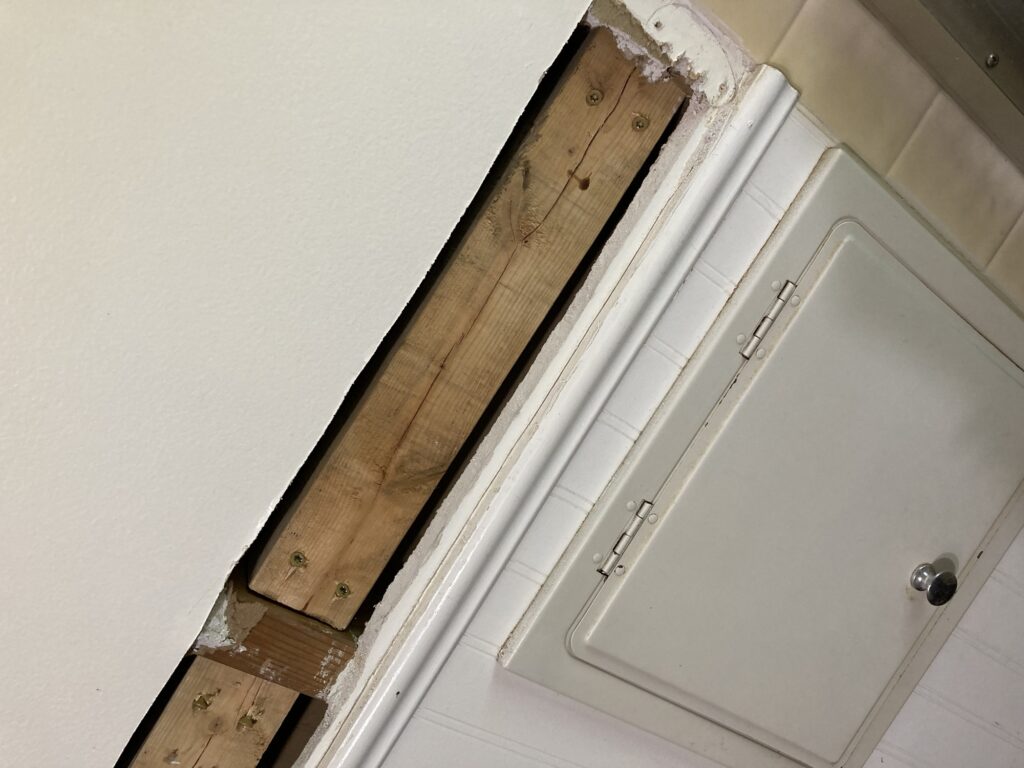
So this is an unexpected post. I had a guest use my shower recently and they apparently yanked the towel off of our towel bar, pulling one end of the bar, drywall anchor and all, out of the wall. Suffice it to say, I am not pleased. While I don’t have a photo of the towel bar in situ, this is what I am working with.
After some youtube reviewing, I have decided to cut a hole in the drywall to expose the studs on either side of the towel bar and insert a 2×4 to use as a new stud to anchor the towel bar to. Then I will have to patch the drywall and put the towel bar back on, screwing it into the new stud so this doesn’t happen again.
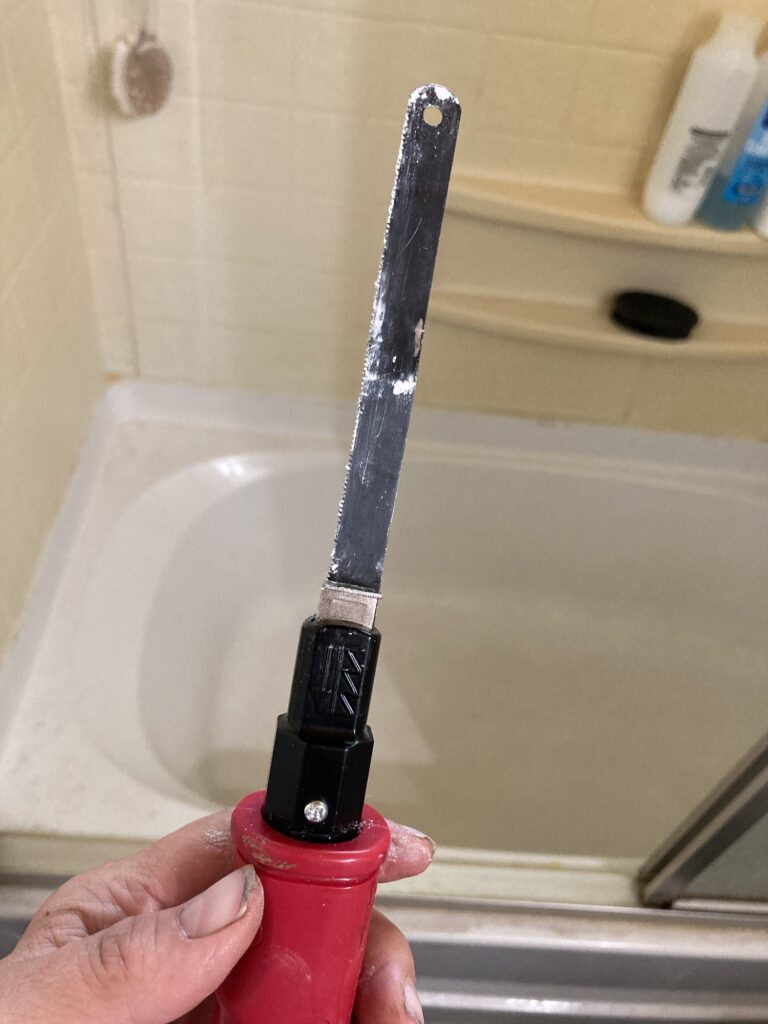
To start out, I tapped around on my wall to discern where the existing vertical studs are. This isn’t a very scientific approach, but I don’t have a stud finder. Then I inserted my little saw into the big hole left over from the towel bar and slowly cut a hole between the two vertical studs in the area I need the towel bar to be. I am trying to cut the drywall at an angle so I might be able to pop it back into place when I am finished, like a big patch, although this little saw is difficult to control without bending the blade.
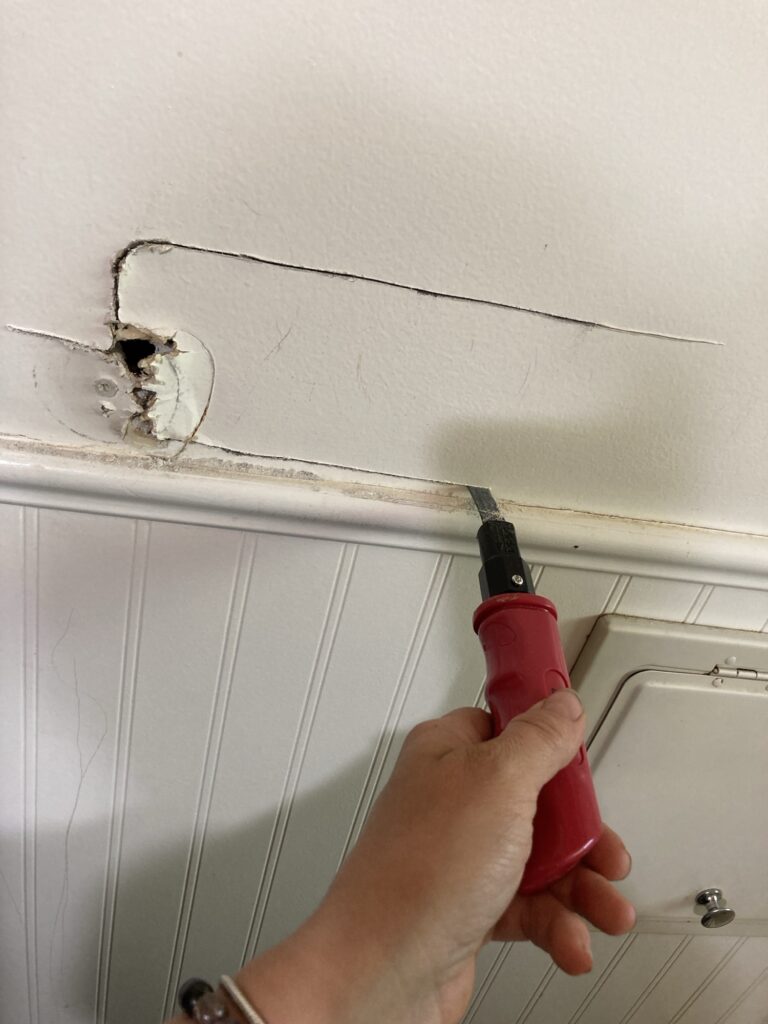
Once I had sawn to the edge of the vertical stud, I gently pulled on the drywall until it popped up.
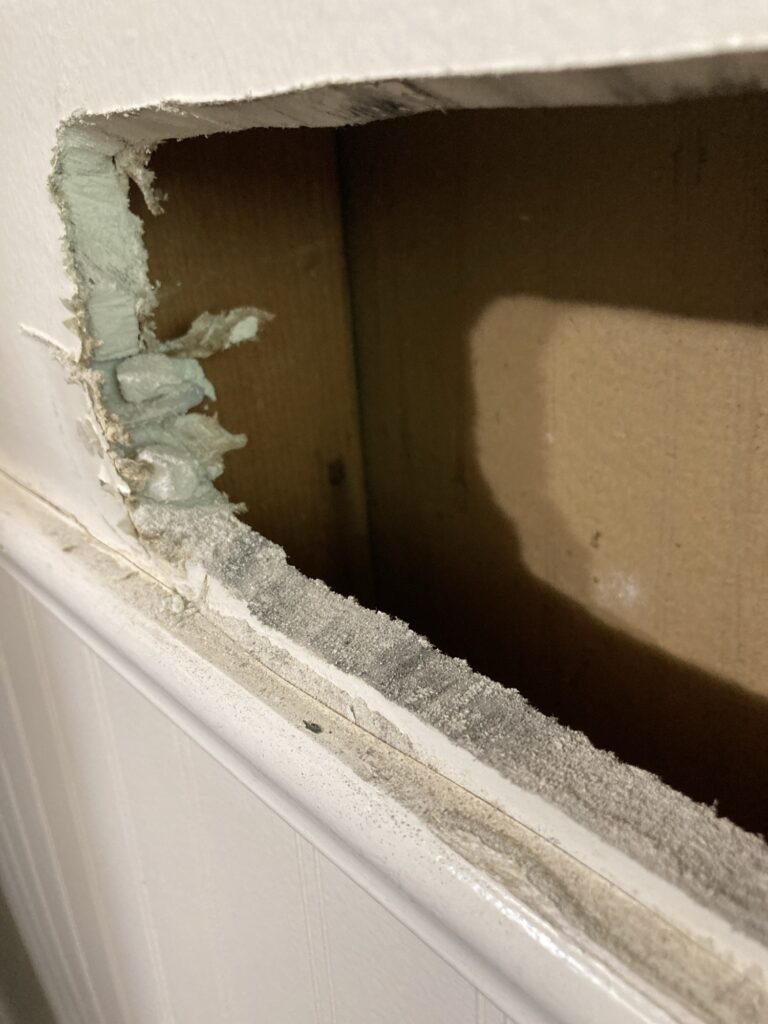
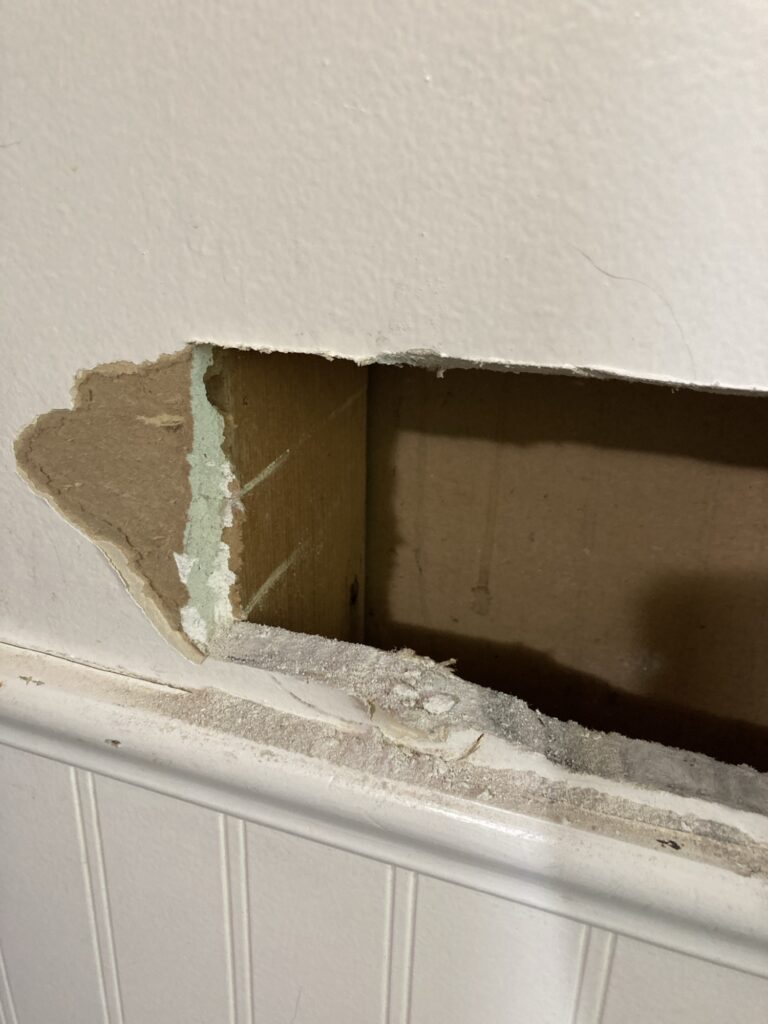
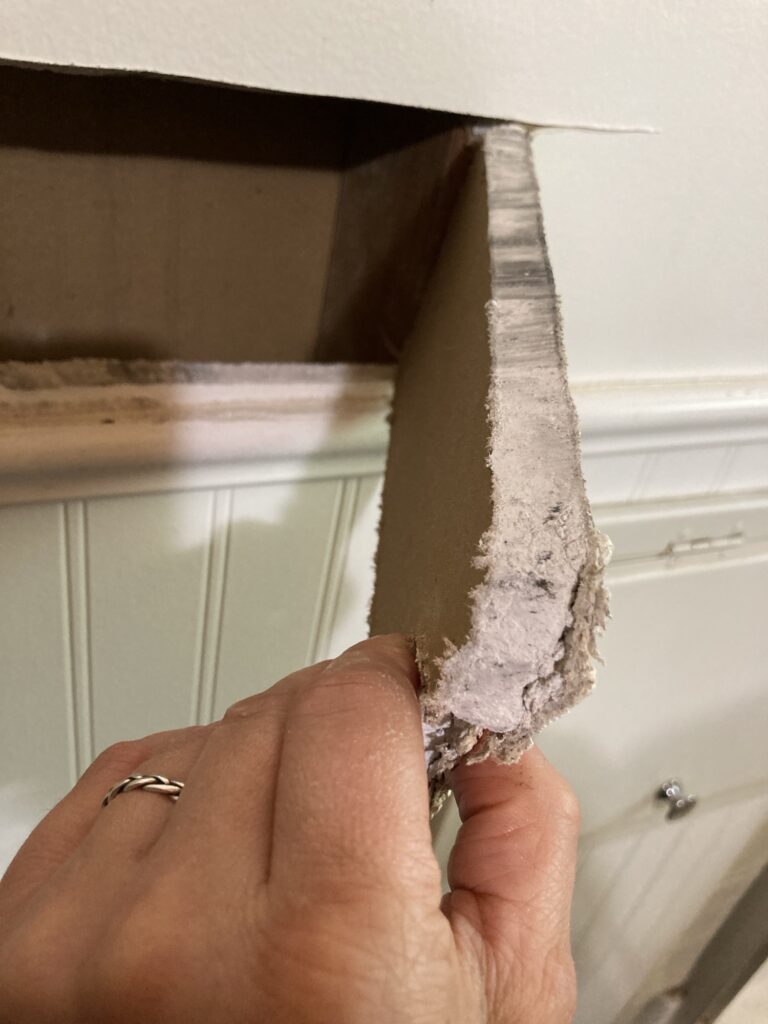
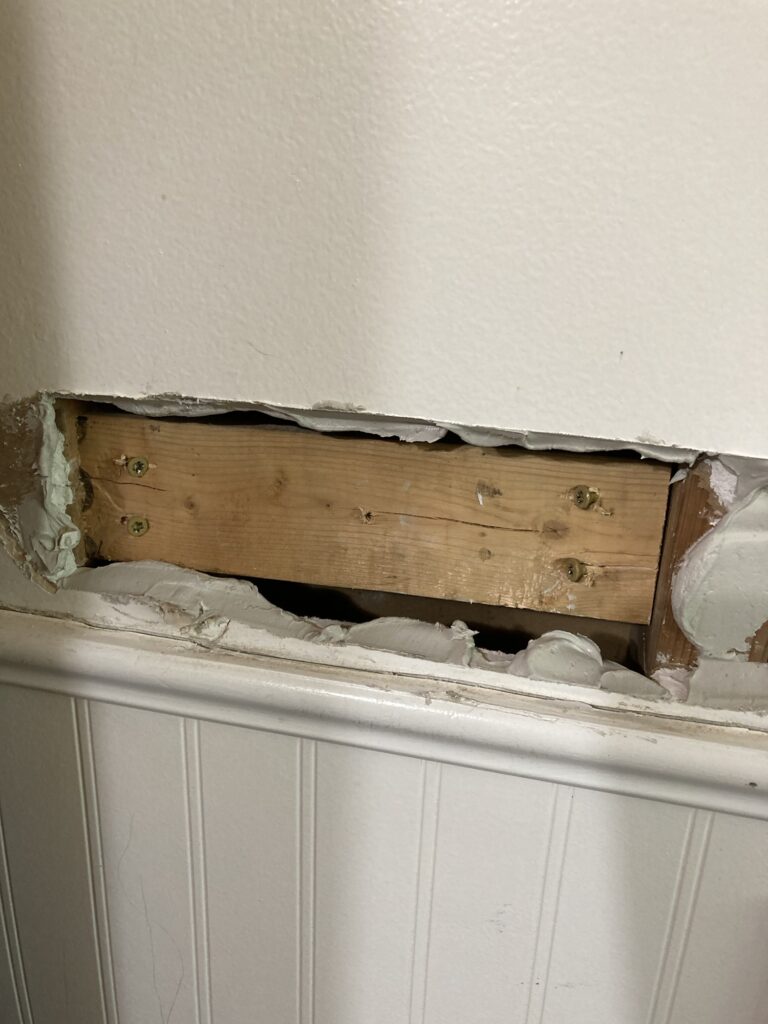
Next, after both vertical studs are exposed, I have to measure the space between them so I can cut a piece of wood to fit across.
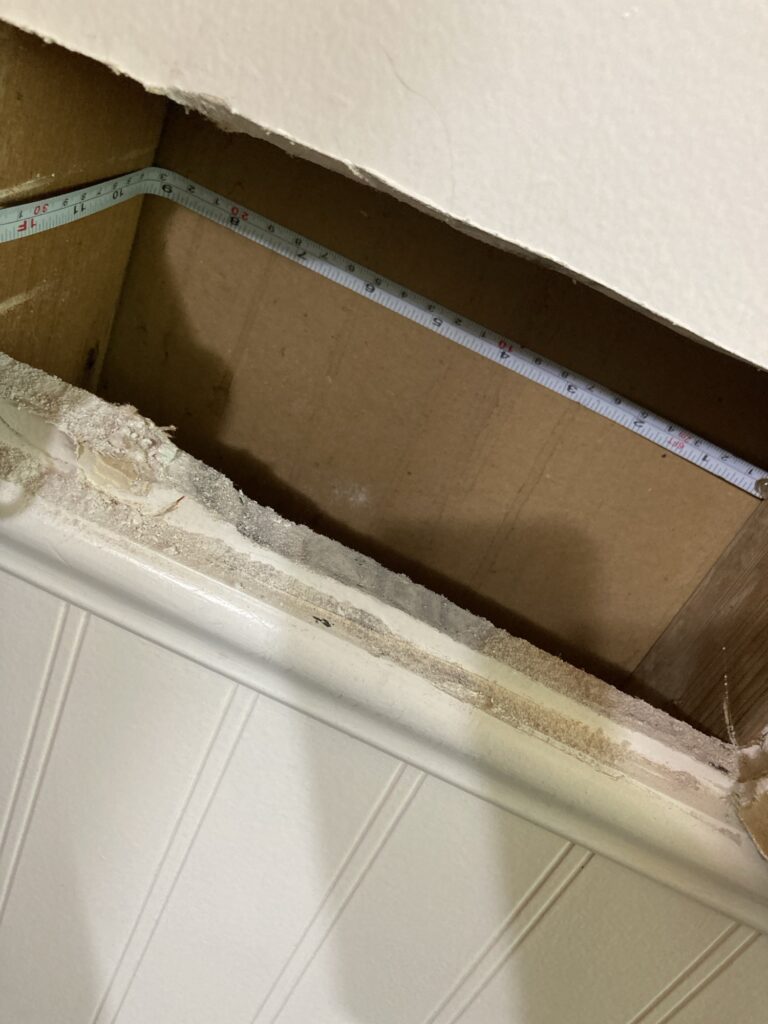
Next I cut a piece of wood to fit the space. It’s not quite a 2×4 but should work.
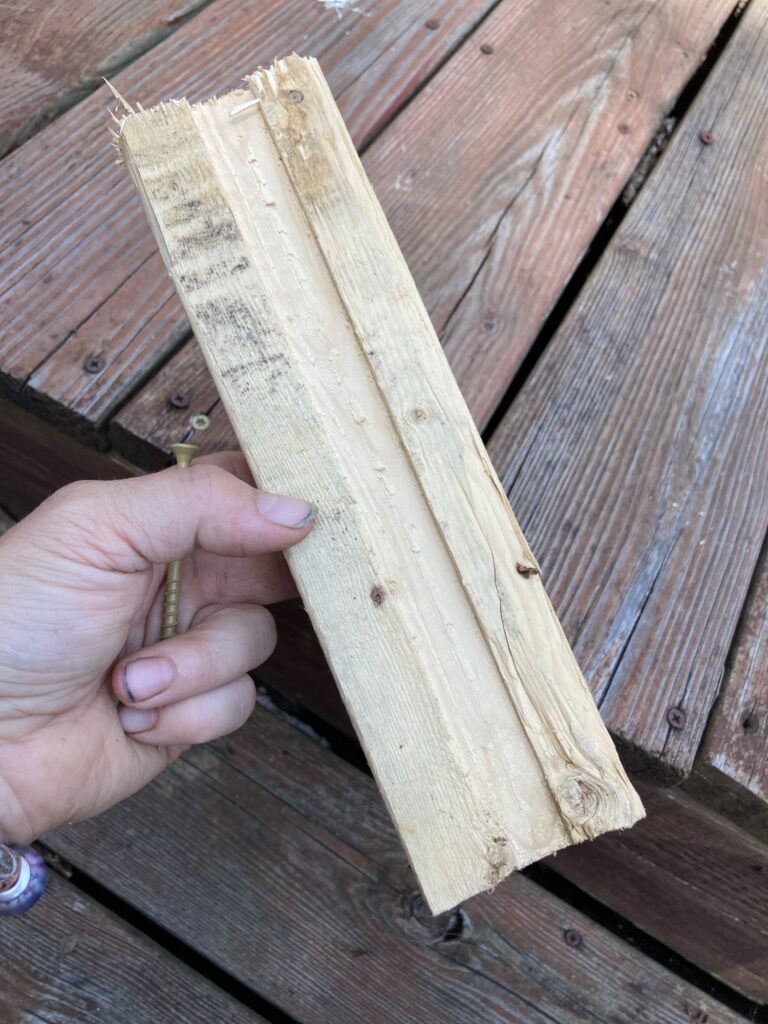
Then I found some long screws that I had available and pre-screwed them into the ends of the board, unscrewing it just enough that they don’t protrude on the ends.
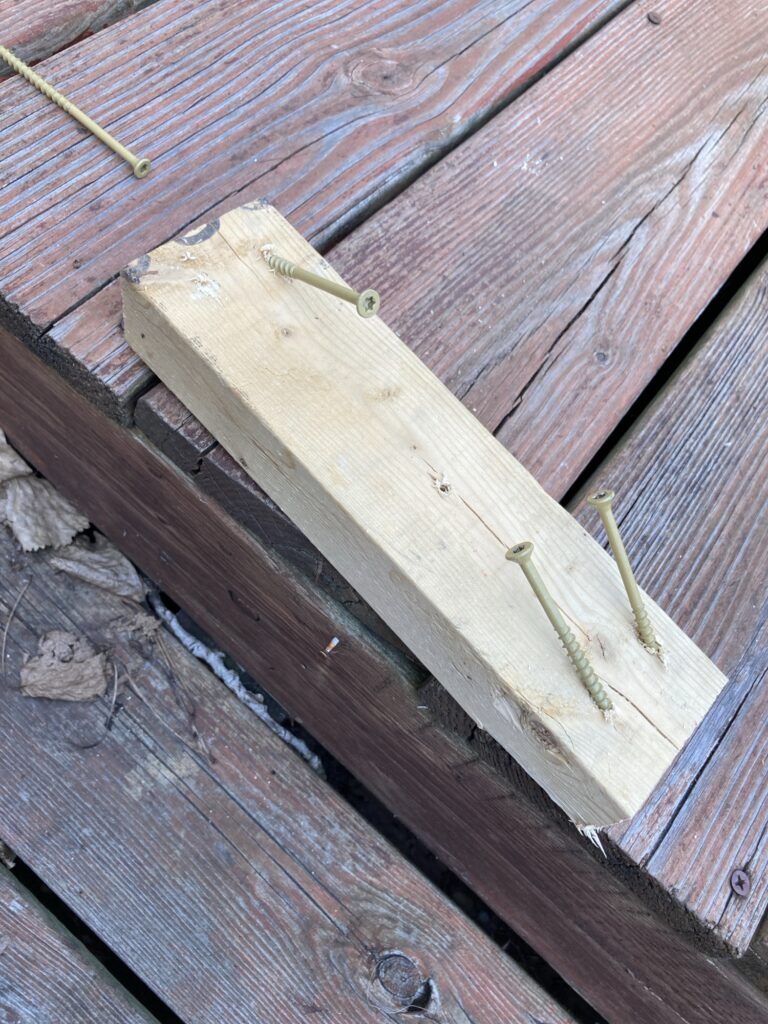
Then, very carefully so as not to drop our hard earned wood into the wall, I shoved it into the wall space and screwed it in. I was careful to leave enough space between the edge of my new stud and the inside edge of the drywall to allow for the edges of my screws, which will stick out slightly from the board’s surface.
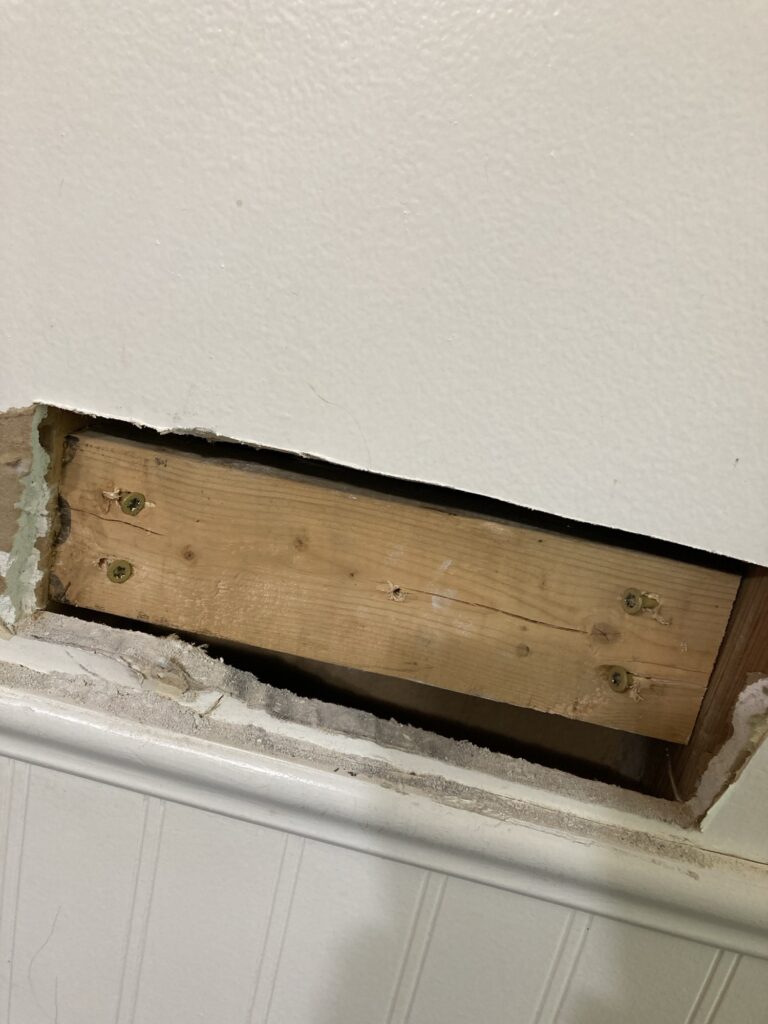
Now that both studs are installed, it is time to clean up and prepare for patching the drywall.
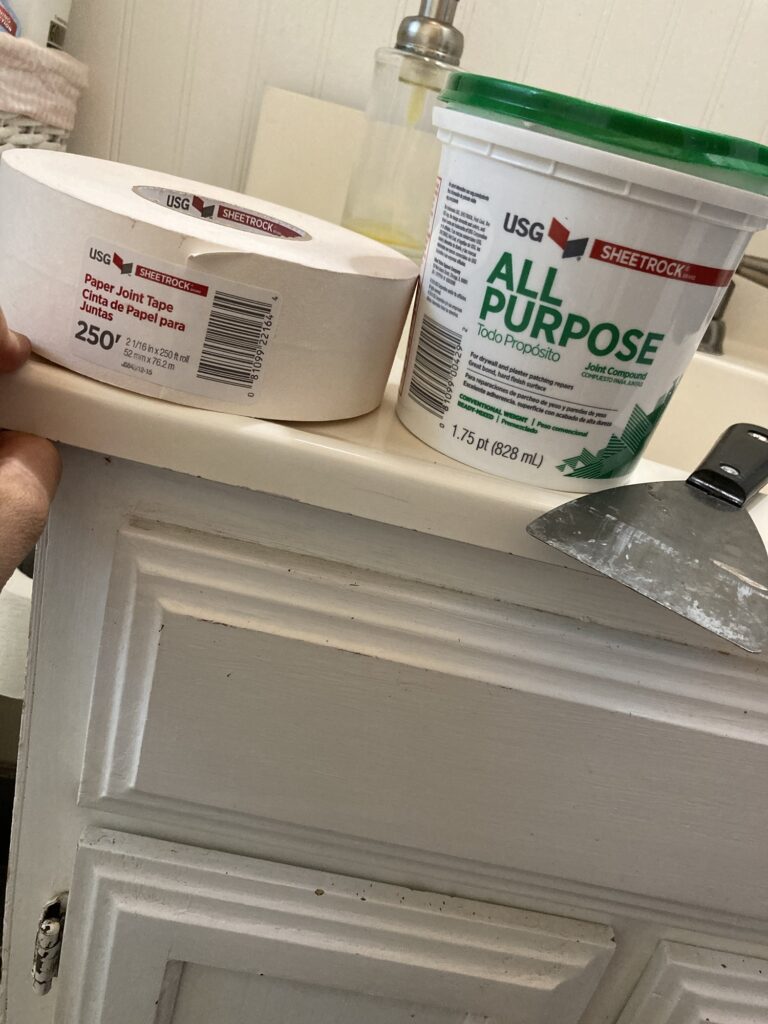
First, I used the all purpose compound to mud the edges of the hole. I figure this will act as a glue.
Then i shoved the pieces of drywall back in place, carefully piecing them into the same locations, making sure not to push them too far into the hole.
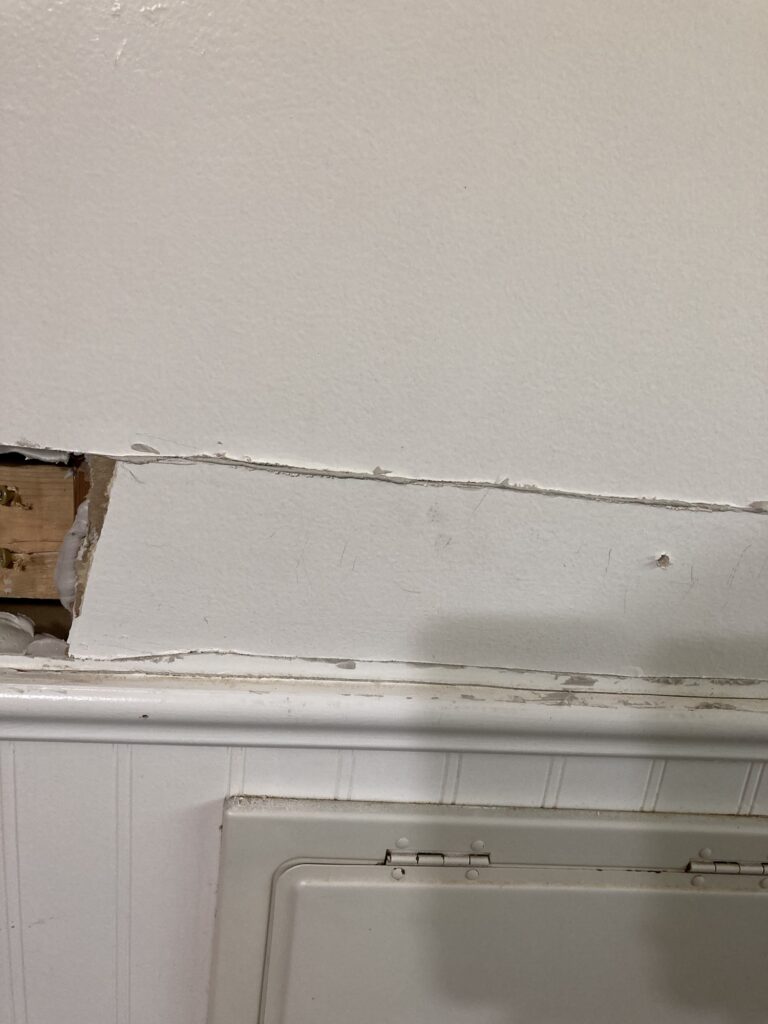
Next i used the mudding spatula to put a thin layer of mud around the edges of the cuts.
Then i cut off pieces of the mudding tape to push into the mud so they are glued in place. I taped them over the cracks so the cracks won’t be as noticeable.
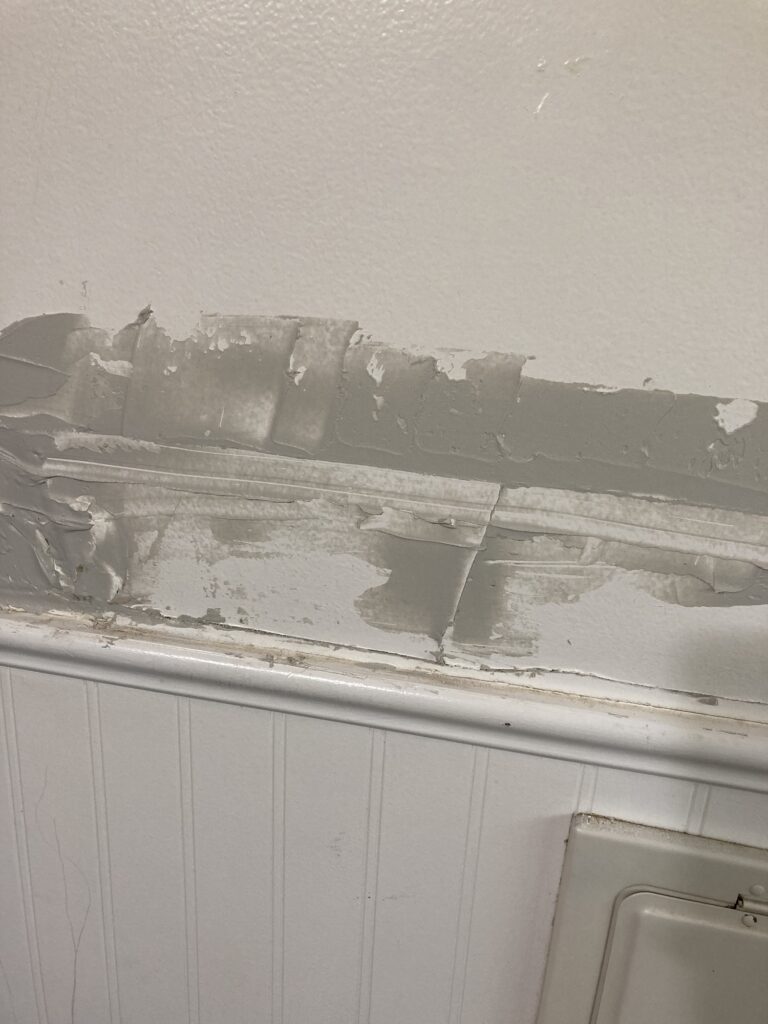
Once the tape is where i want it, I put another thin layer of mud over the tape to hide it. Then I used the spatula to make the compound mixture as flat and smooth as I can. I will sand it once it is dried, but it will be helpful not to have mounds of uneven compound to sand off.
Now I let it dry for at least 24 hours, per the compound instructions.
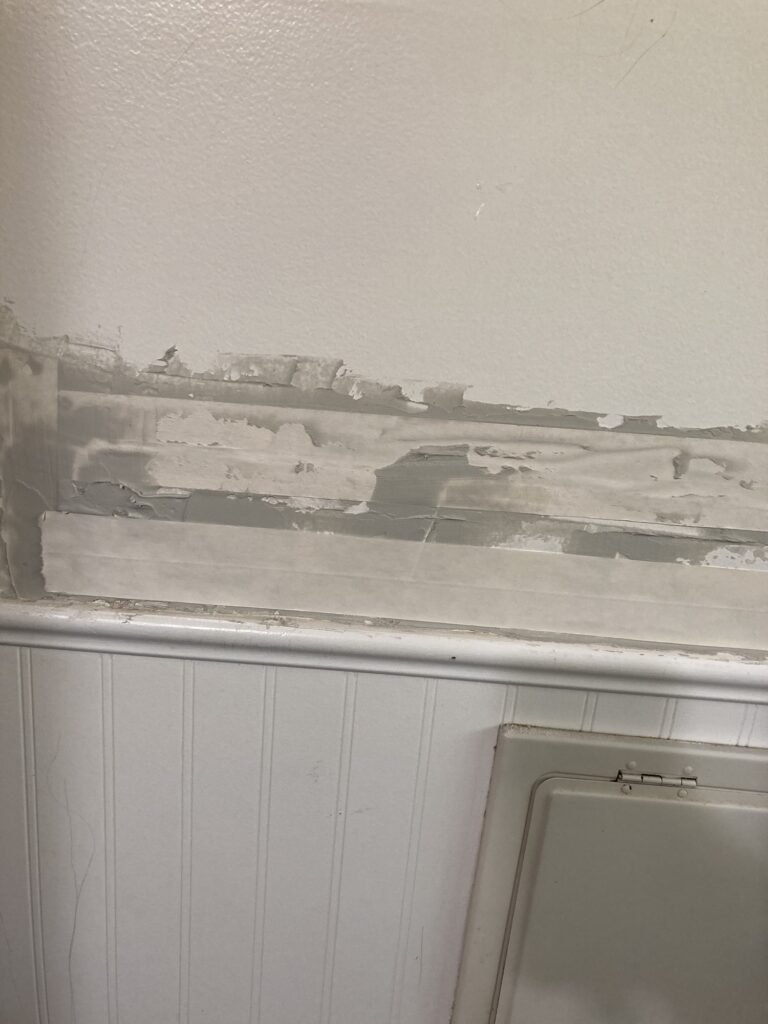
After the patch dried completely, I found a few shallow areas where it shrank into a hole. I skimmed another thin coat of plaster patch over those areas.
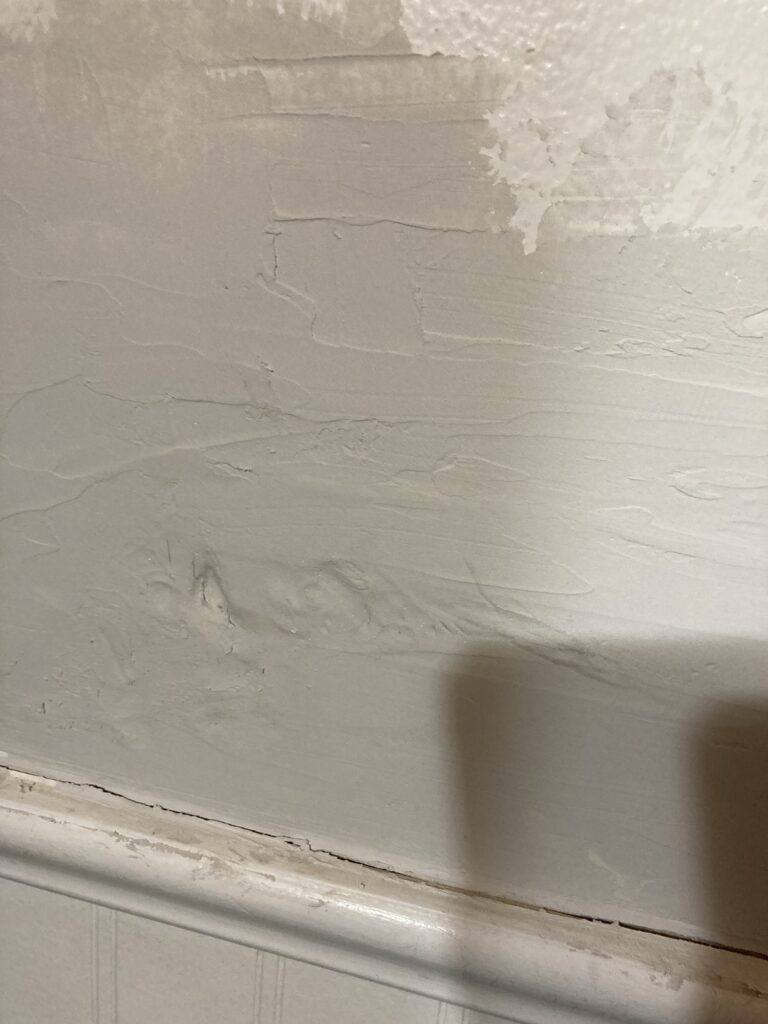

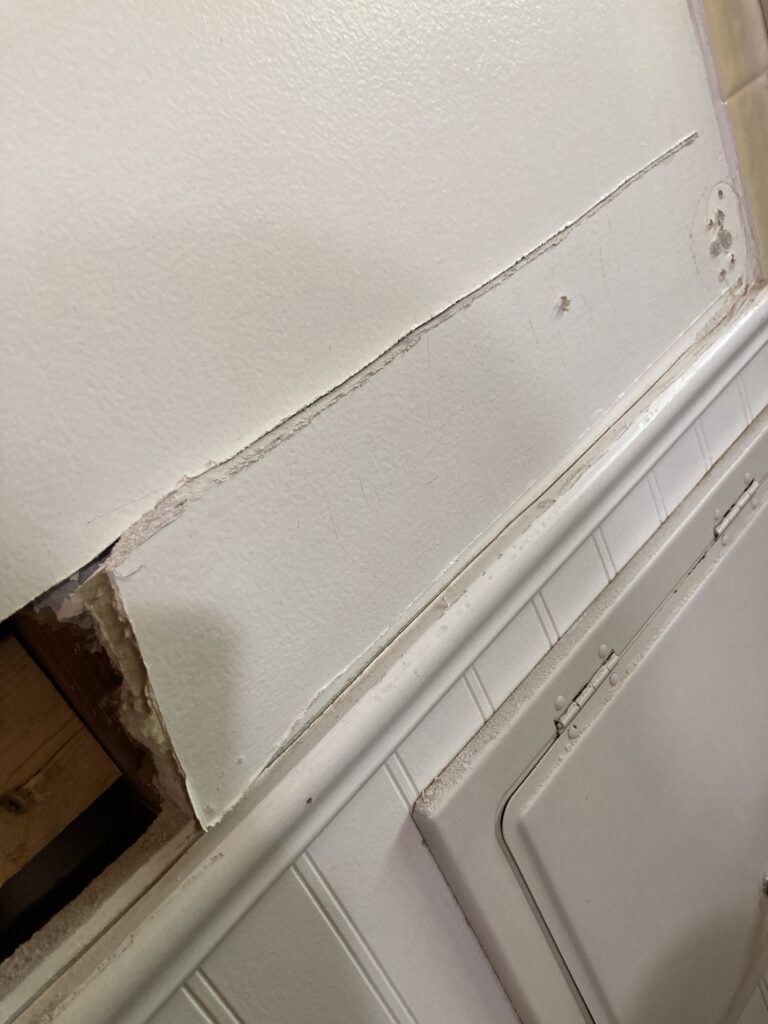
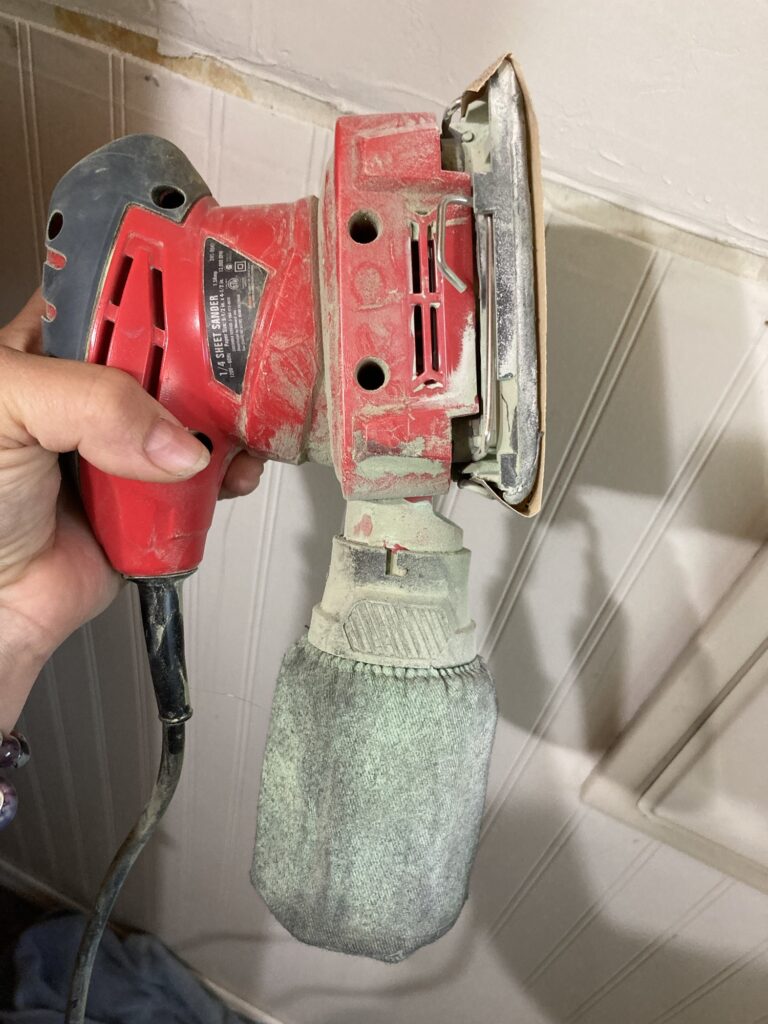
After the plaster is smoothed to your liking and has completely dried out, it is time to sand. I used an electric sander because I have one handy, but it was messy and also sanded some areas more than I would have liked.
Ideally I should have used a hand sanding block or a sanding sponge. Anyway, this is the result.
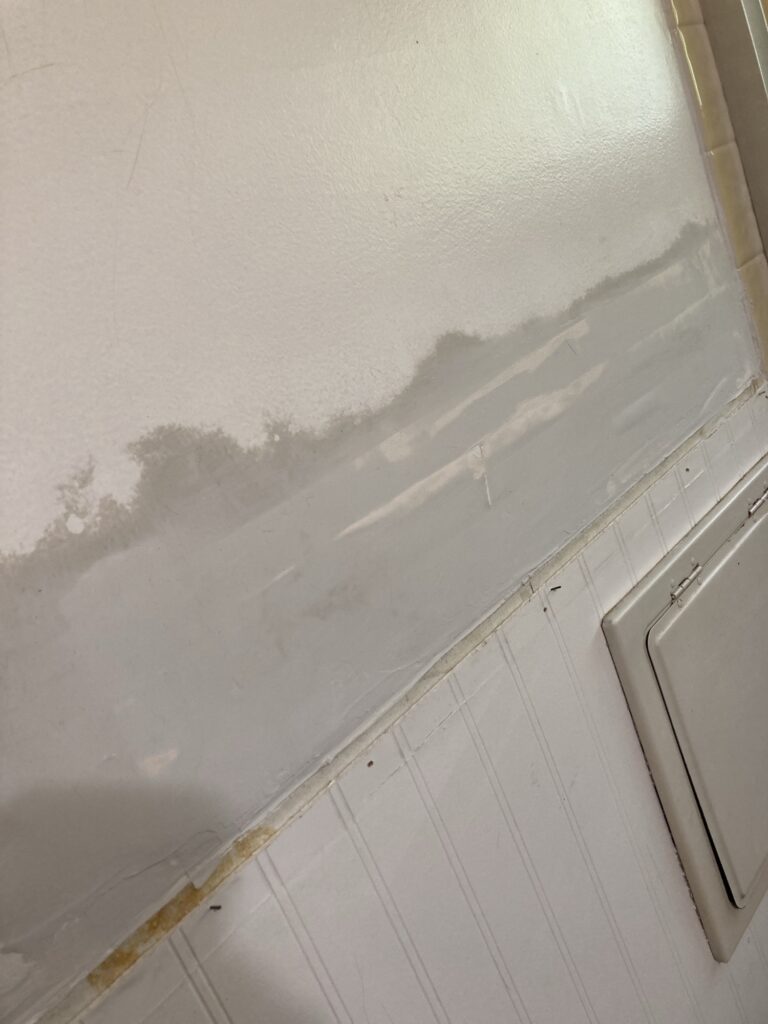
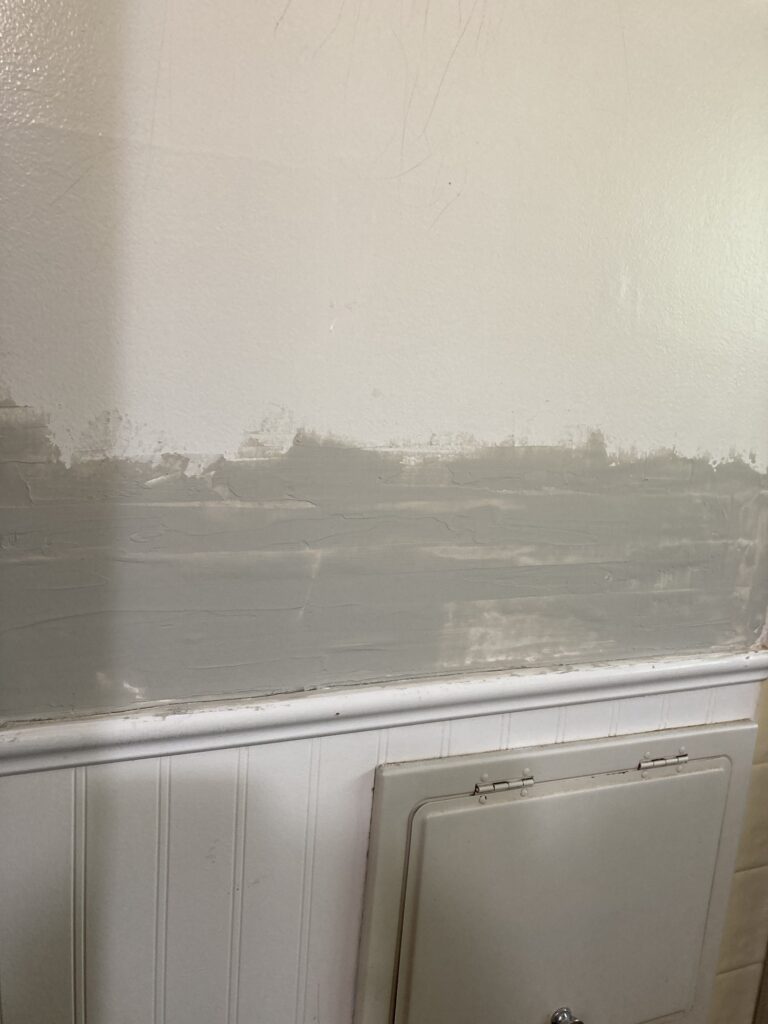
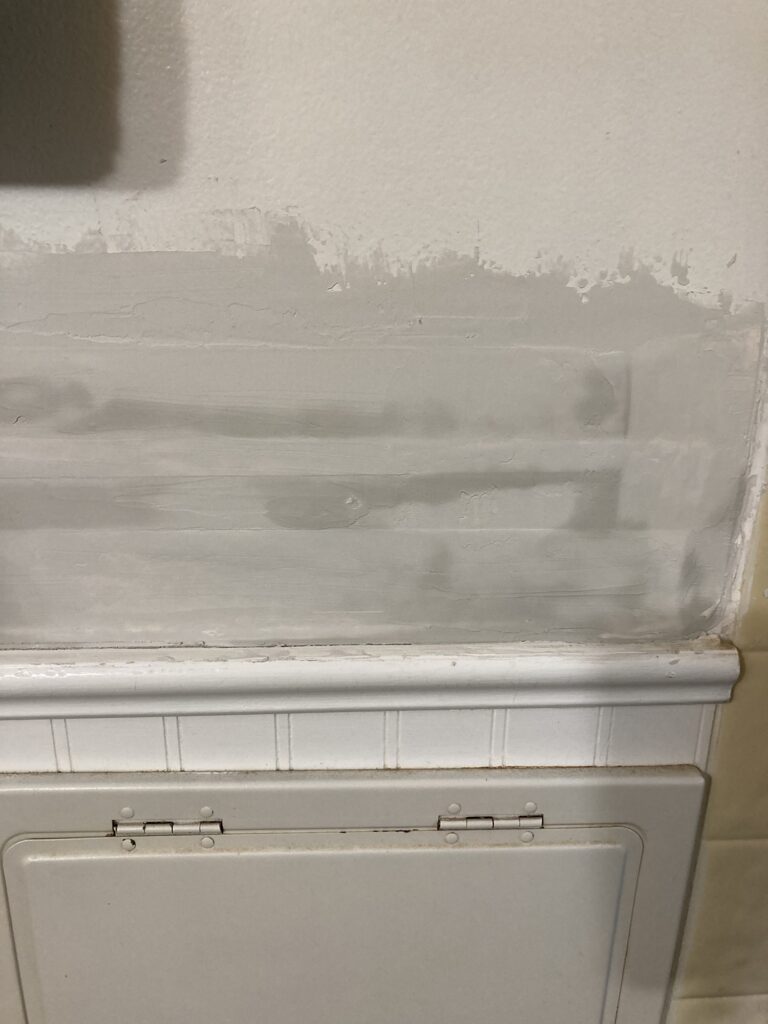
After sanding, I vacuumed off the dust, and then wiped it down with a damp cloth. As far as the exposed tape is concerned, I am hoping that my paint will cover most of it.
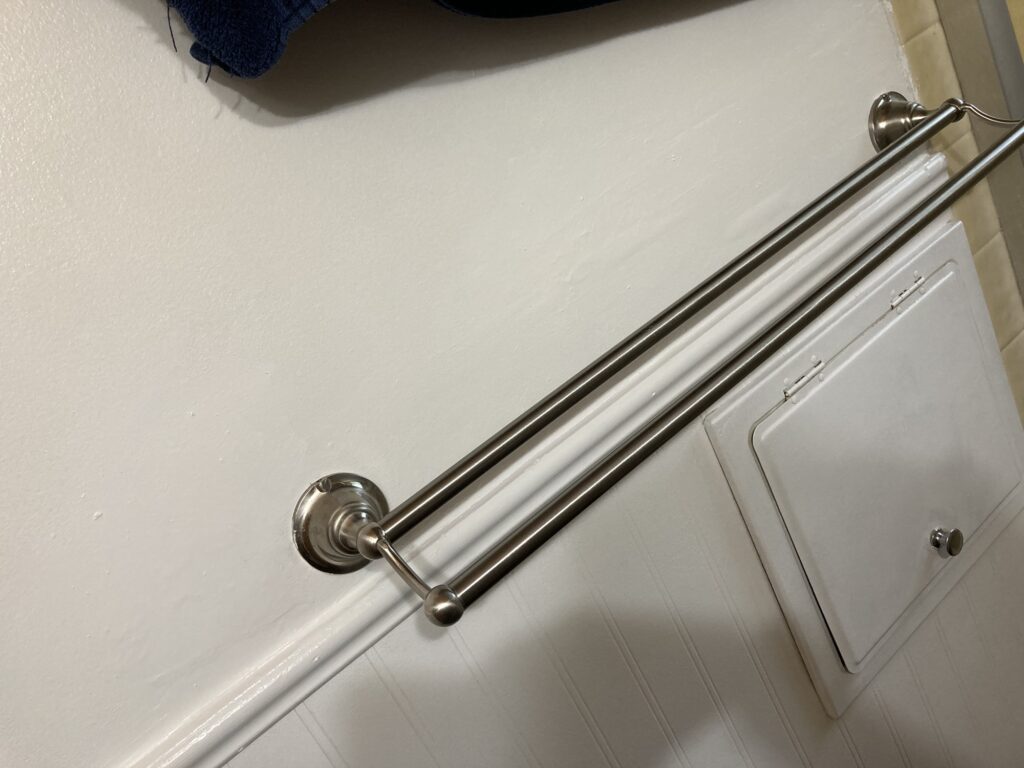
It may take a couple of coats of paint to cover the dried plaster, but once it is done you can proceed to rehanging your towel bar.
In retrospect I should have put another skim of the plaster patch on after sanding to properly cover the tape, as there is now a small bubble under the paint where the tape is. I can live with it, however, as I have always been more about function as far as these things are concerned, as long as it doesn’t draw my eye (I am only noticing the bubble now in the photos as it isn’t that obvious otherwise).
Anyway, I hope this helps!