How to make an Old West Saloon Dollhouse out of a Duracraft Deluxe Victorian Mansion

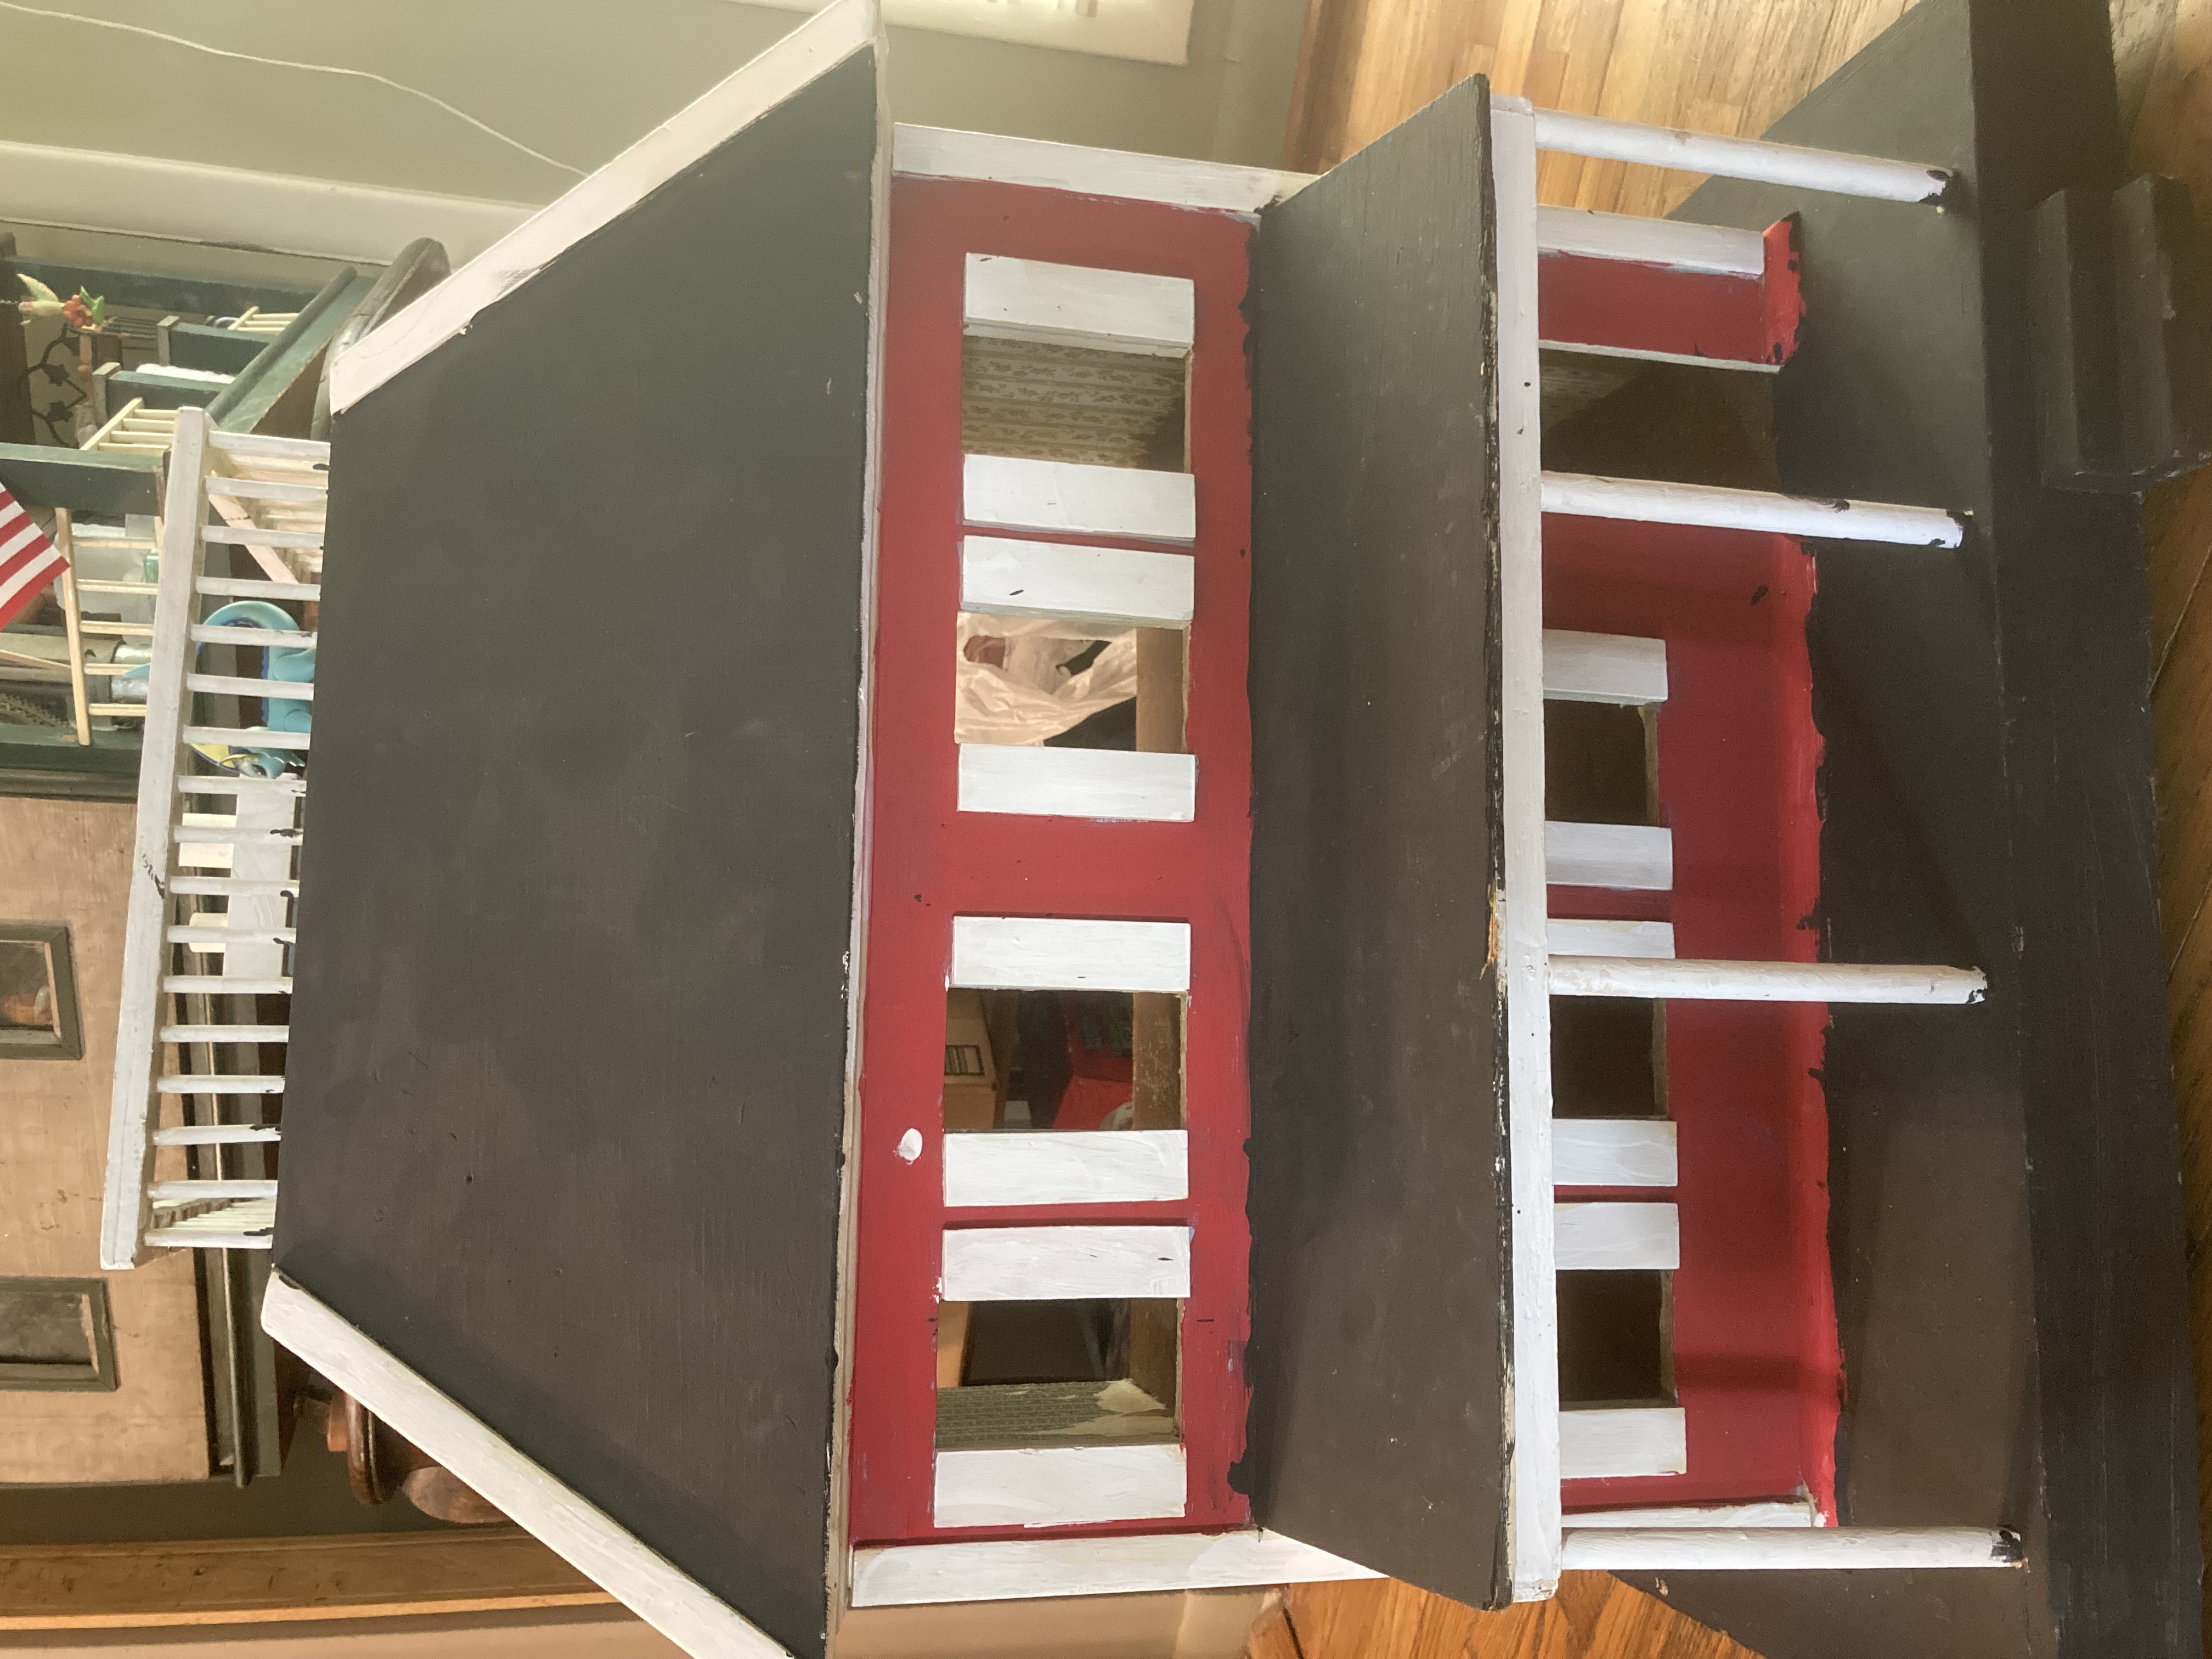
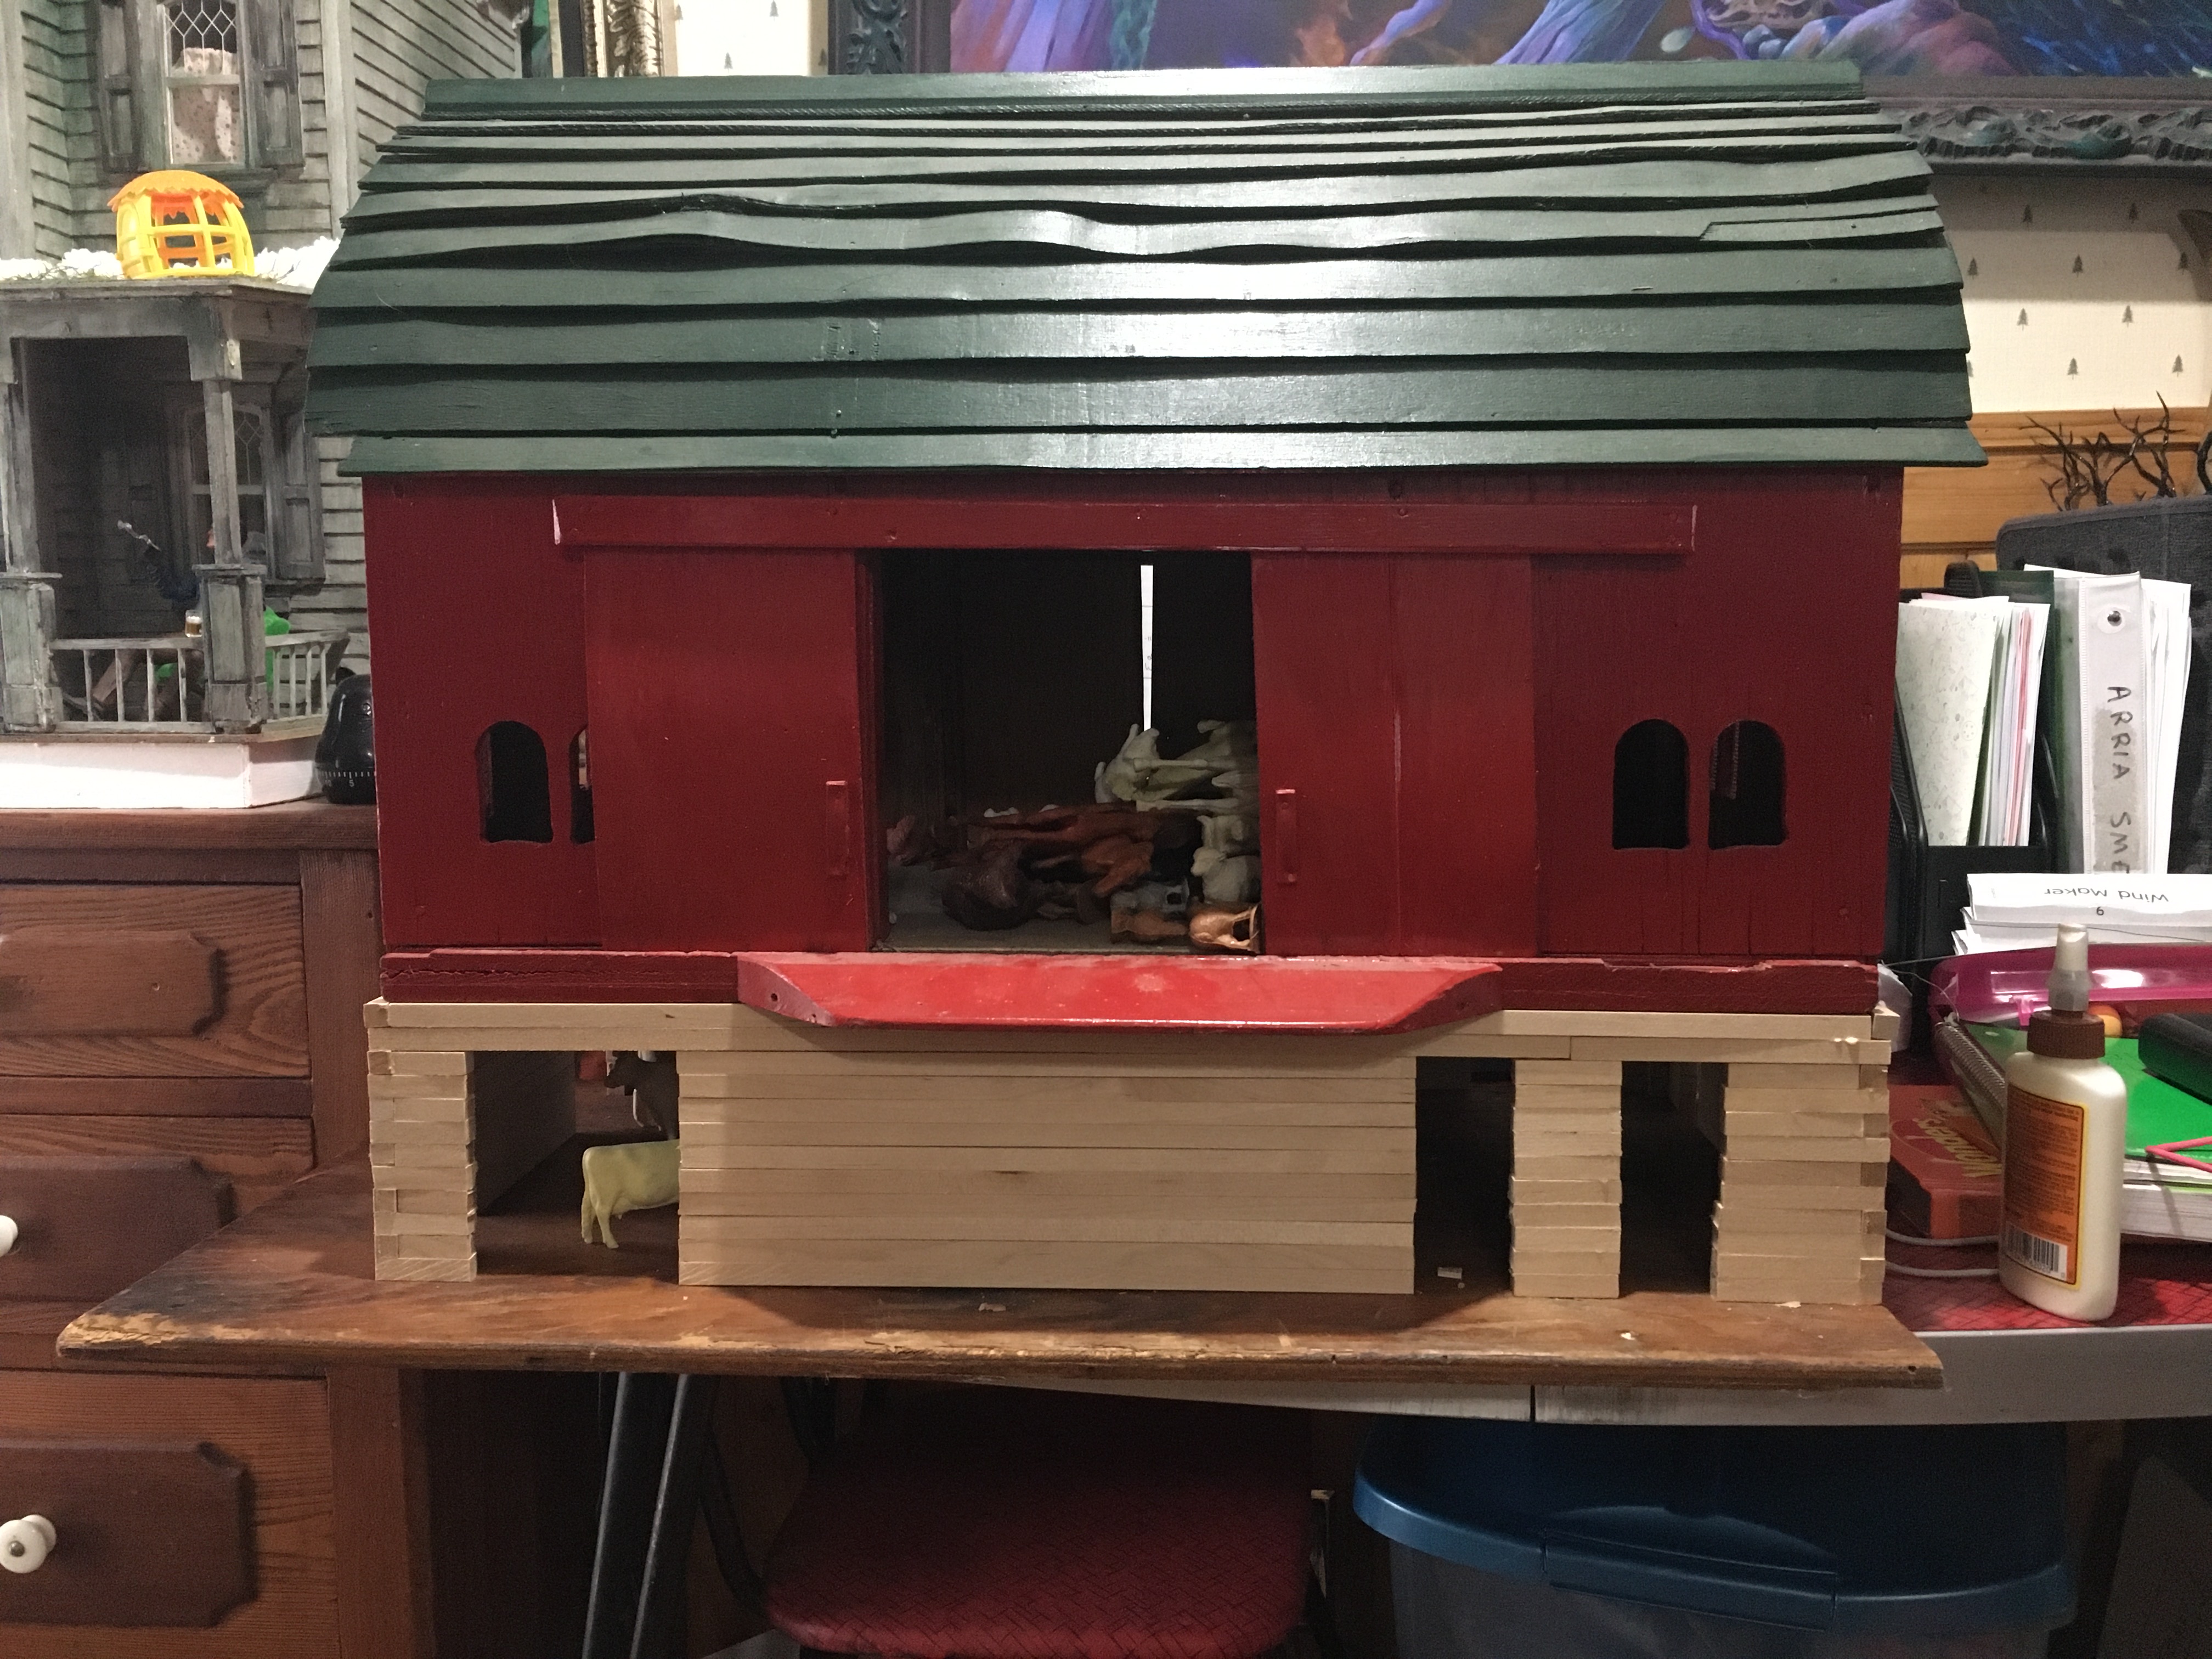
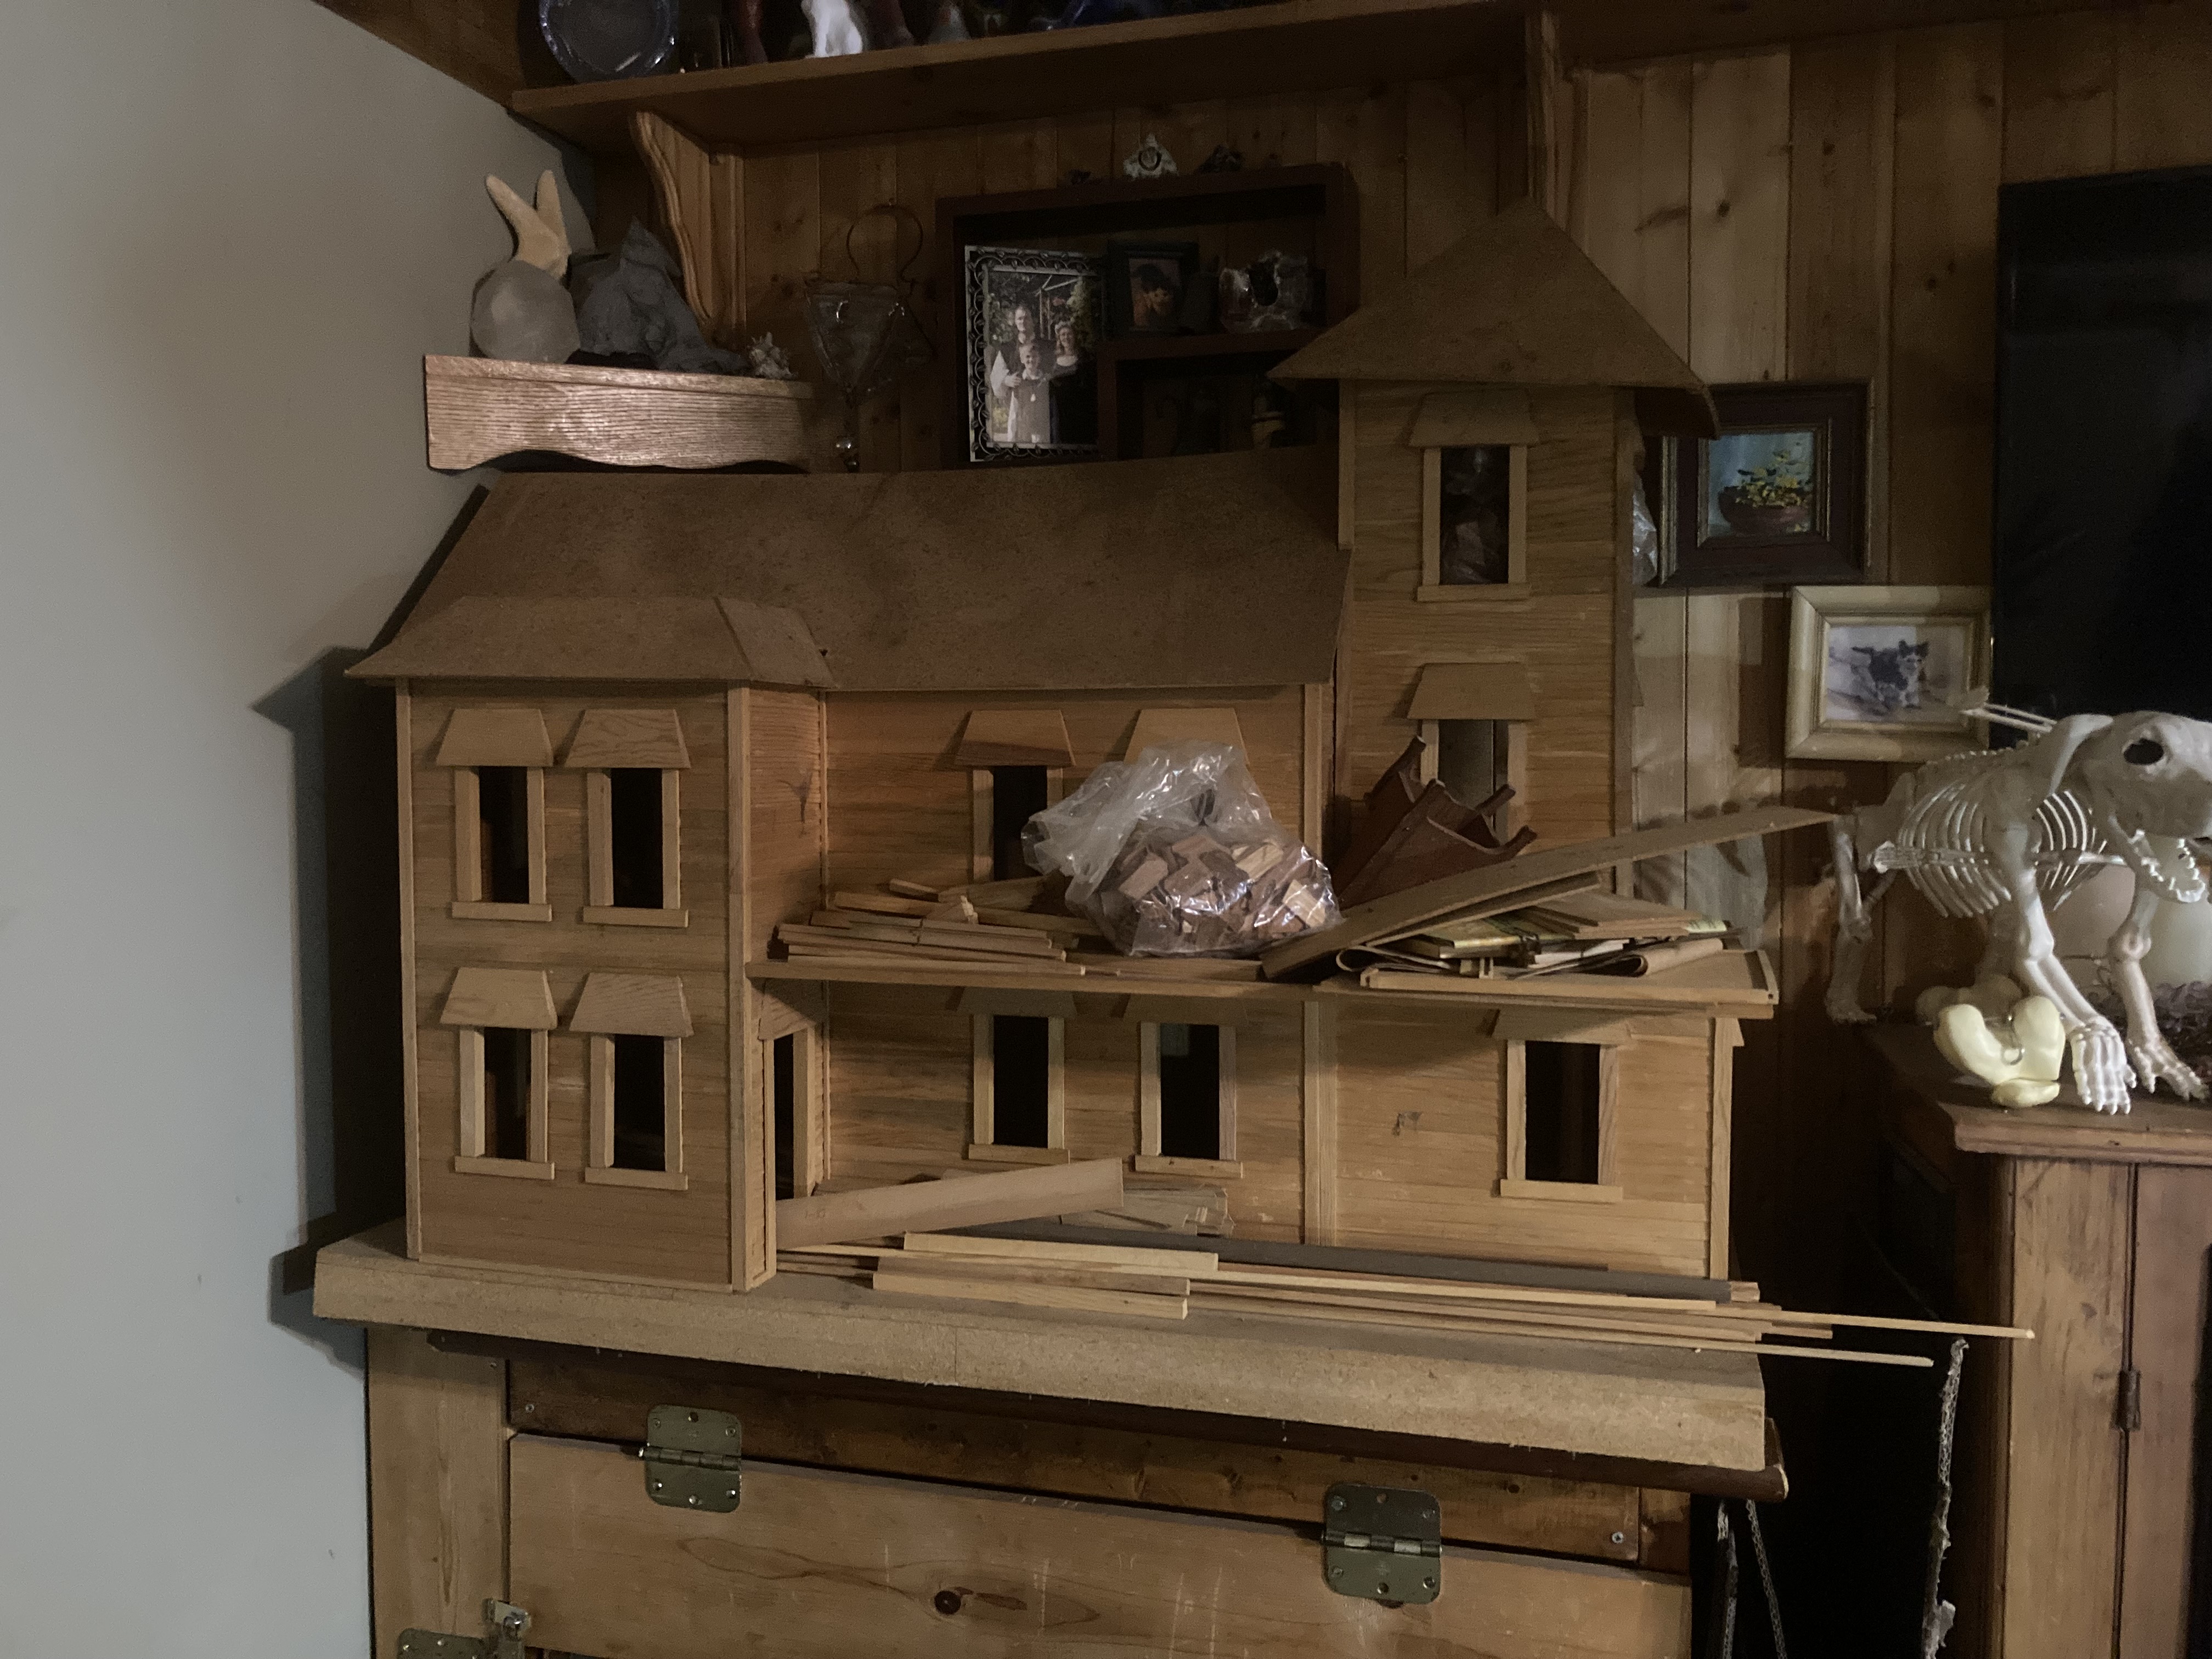
Immediately after I brought it home.

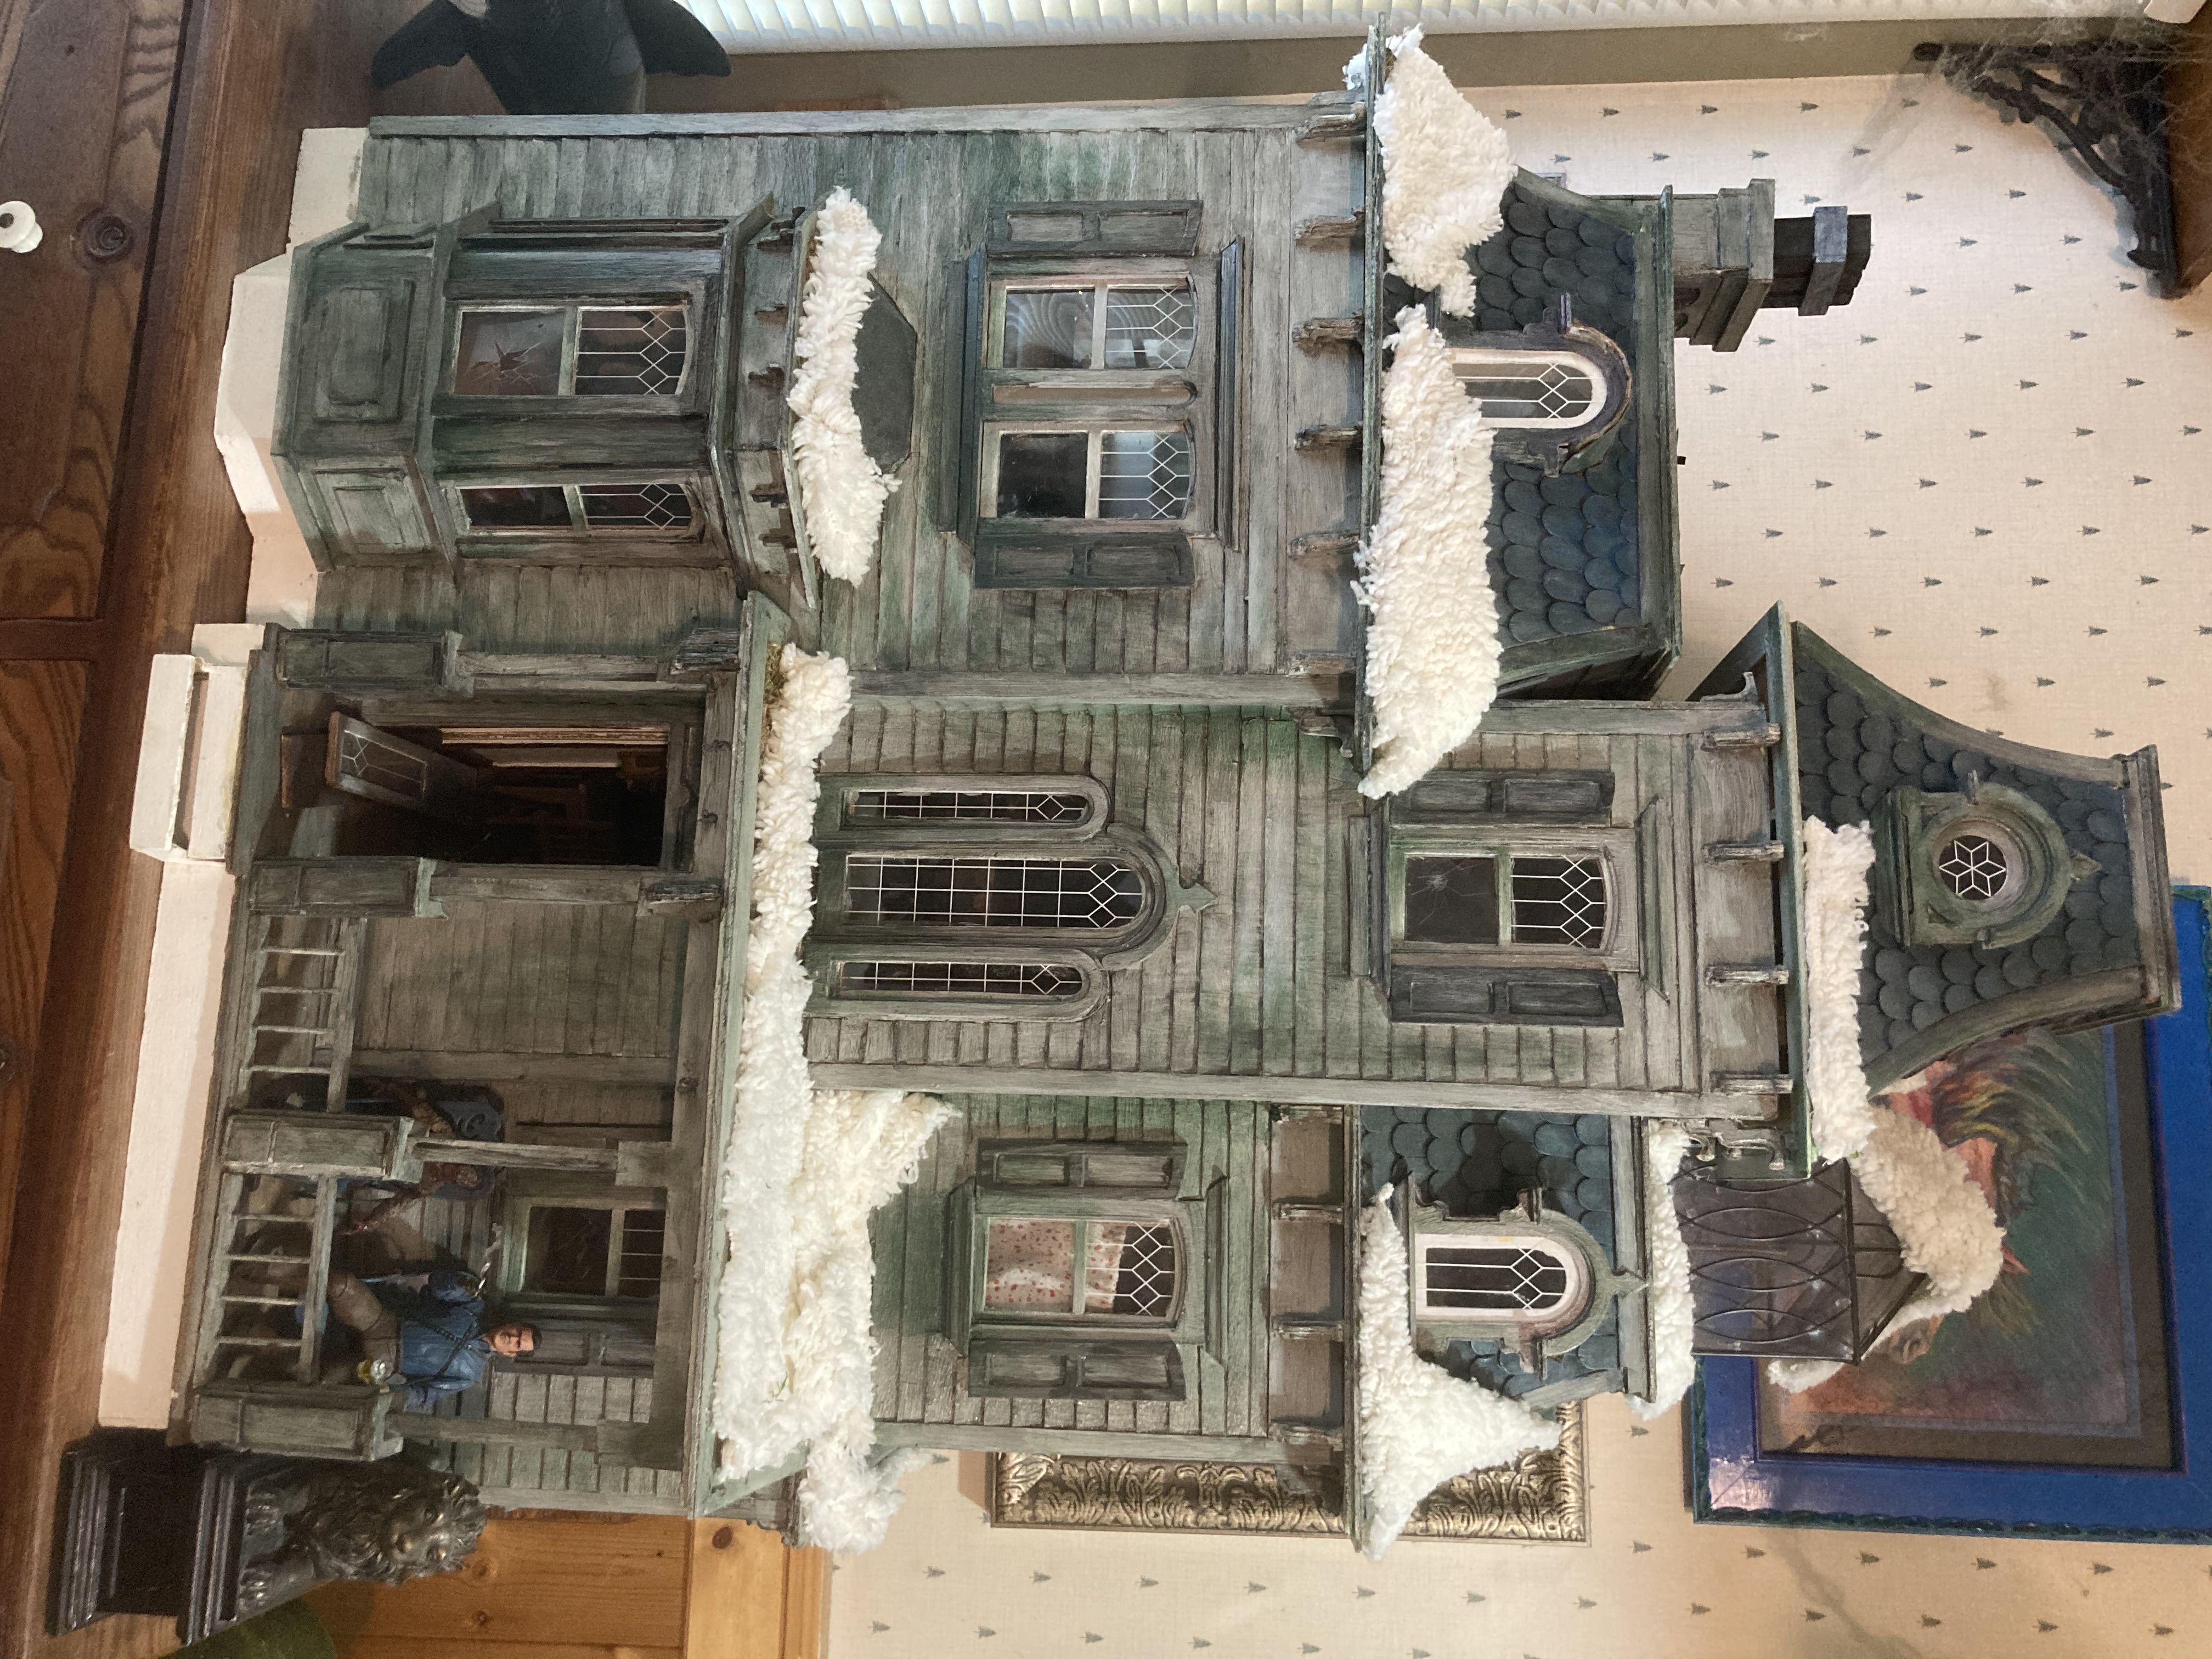
This house was an unfinished kit that I bought on Facebook Marketplace. It still had the instruction manual, plus an old sales catalog from Frank’s Nursery dated 1982, with this kit circled. I am guessing that was when it was purchased, and it had never been finished. It has a lot of dust on it.

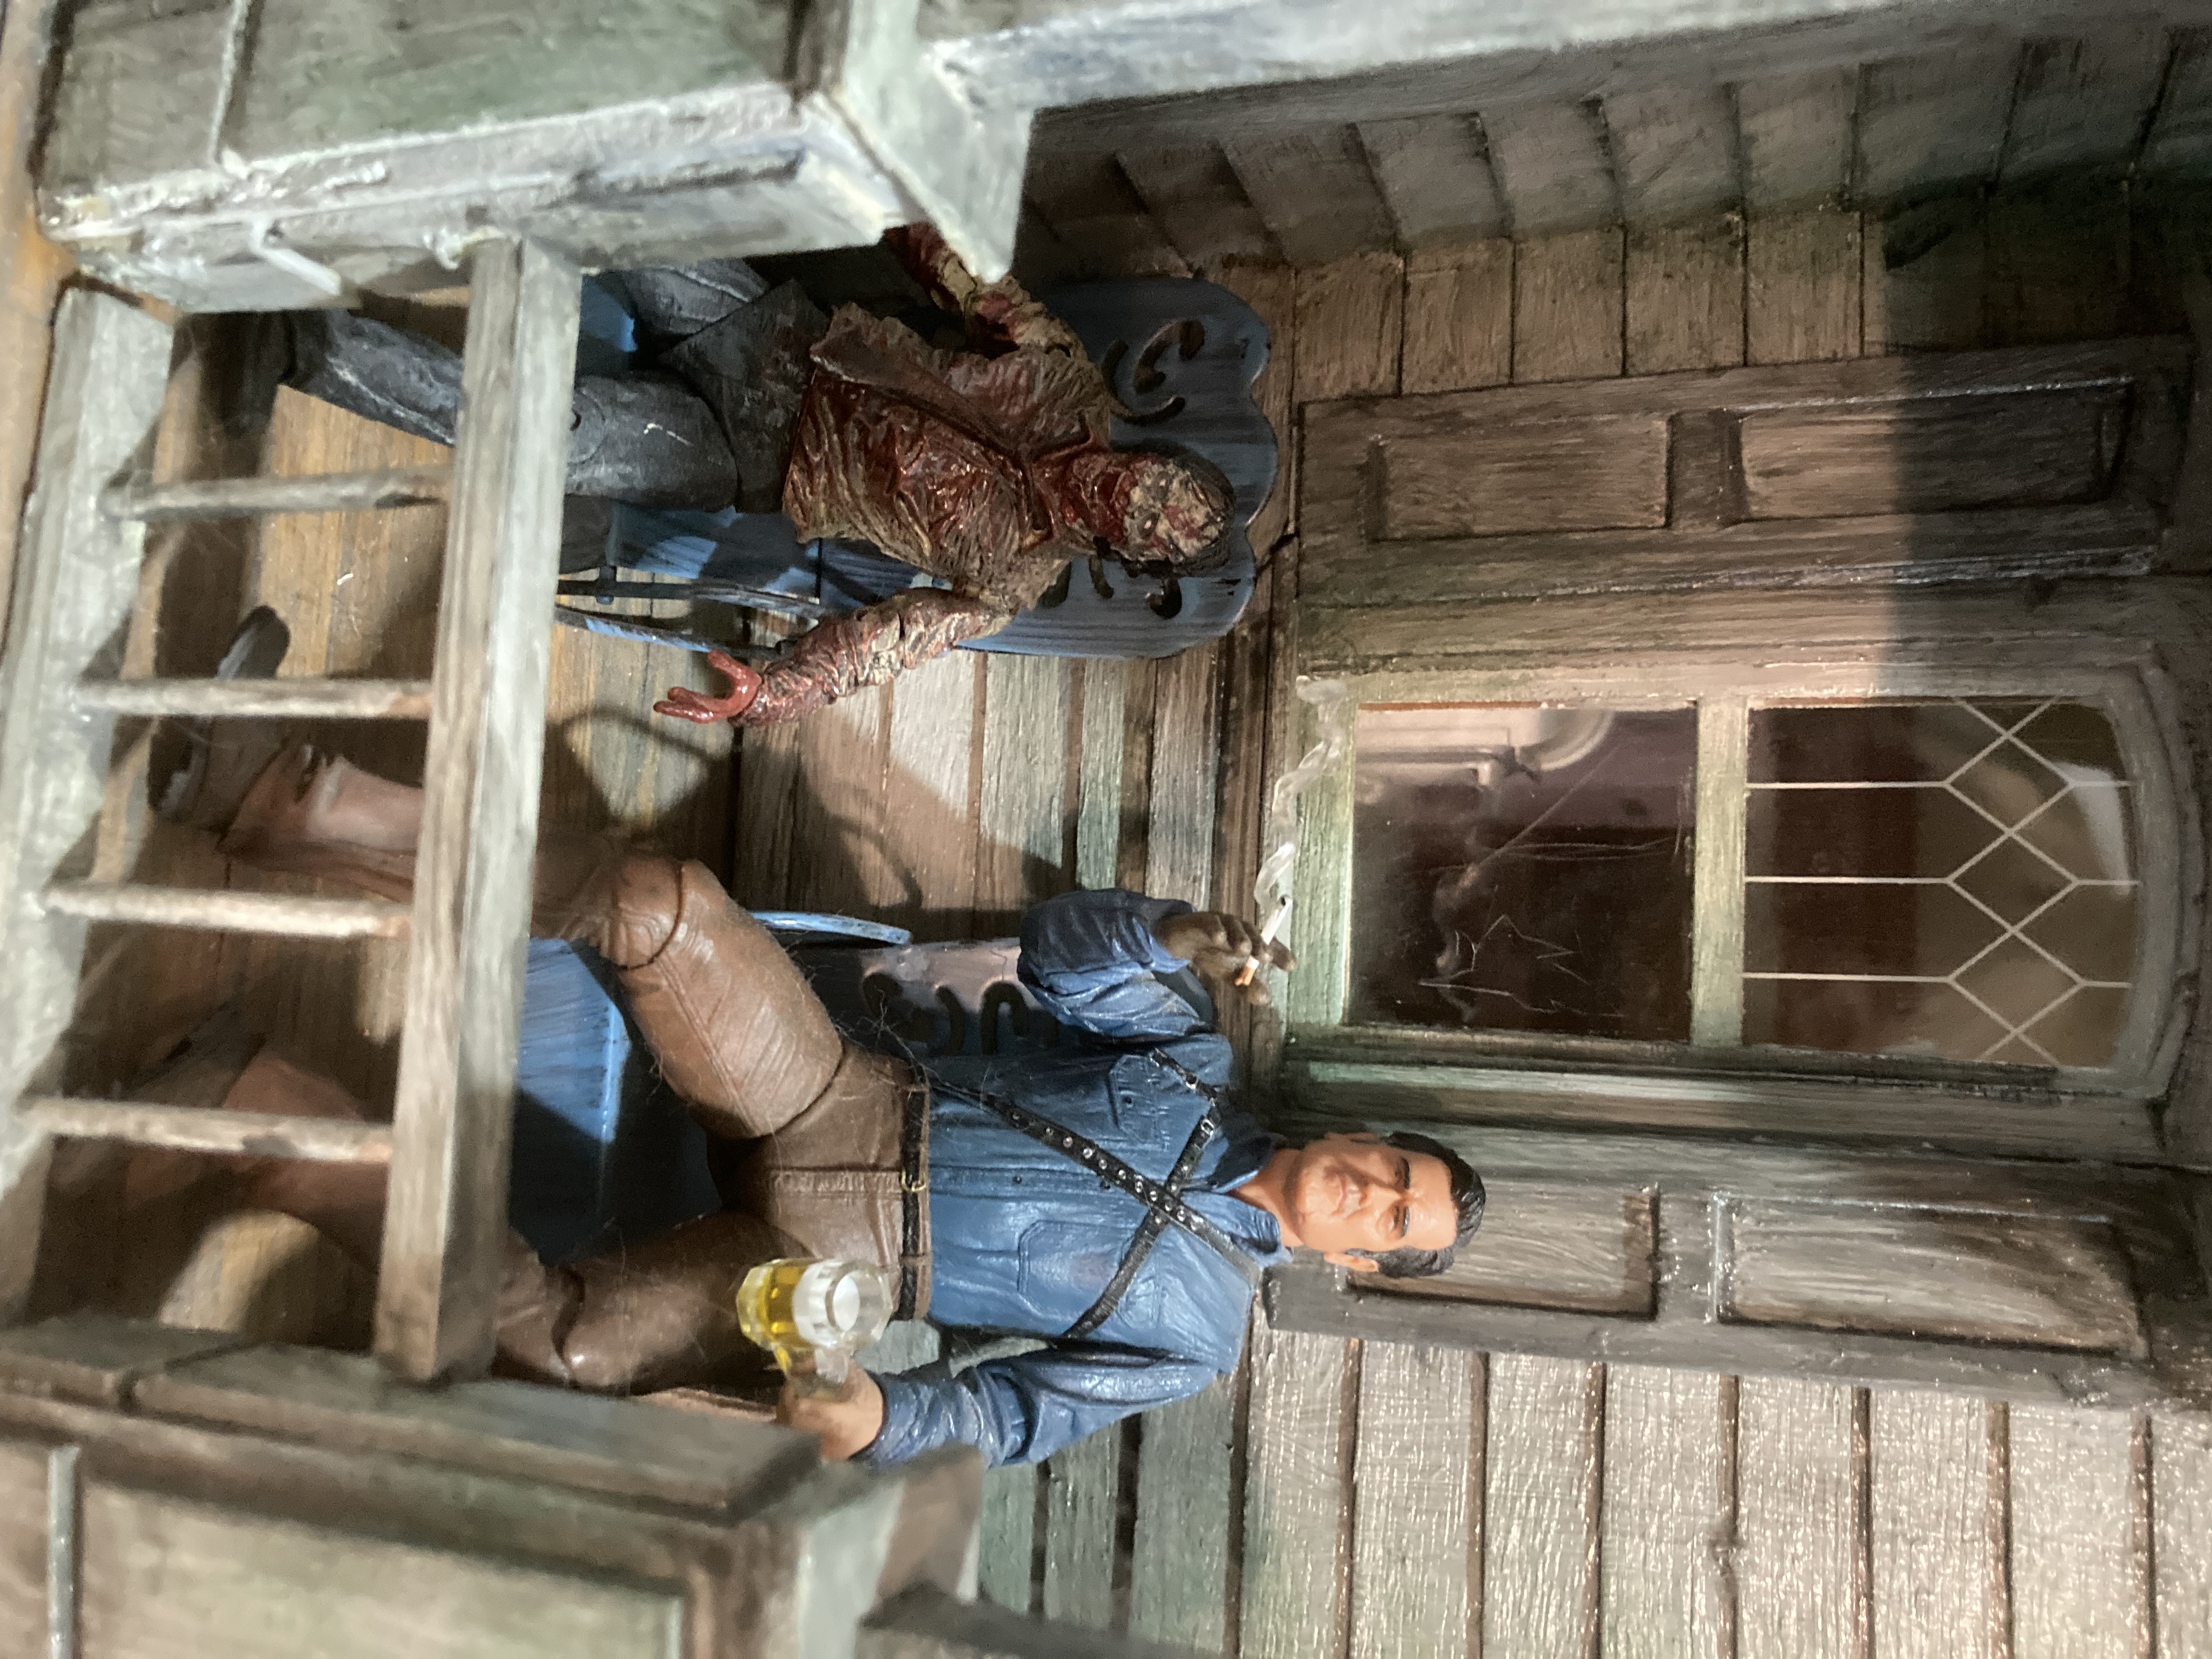
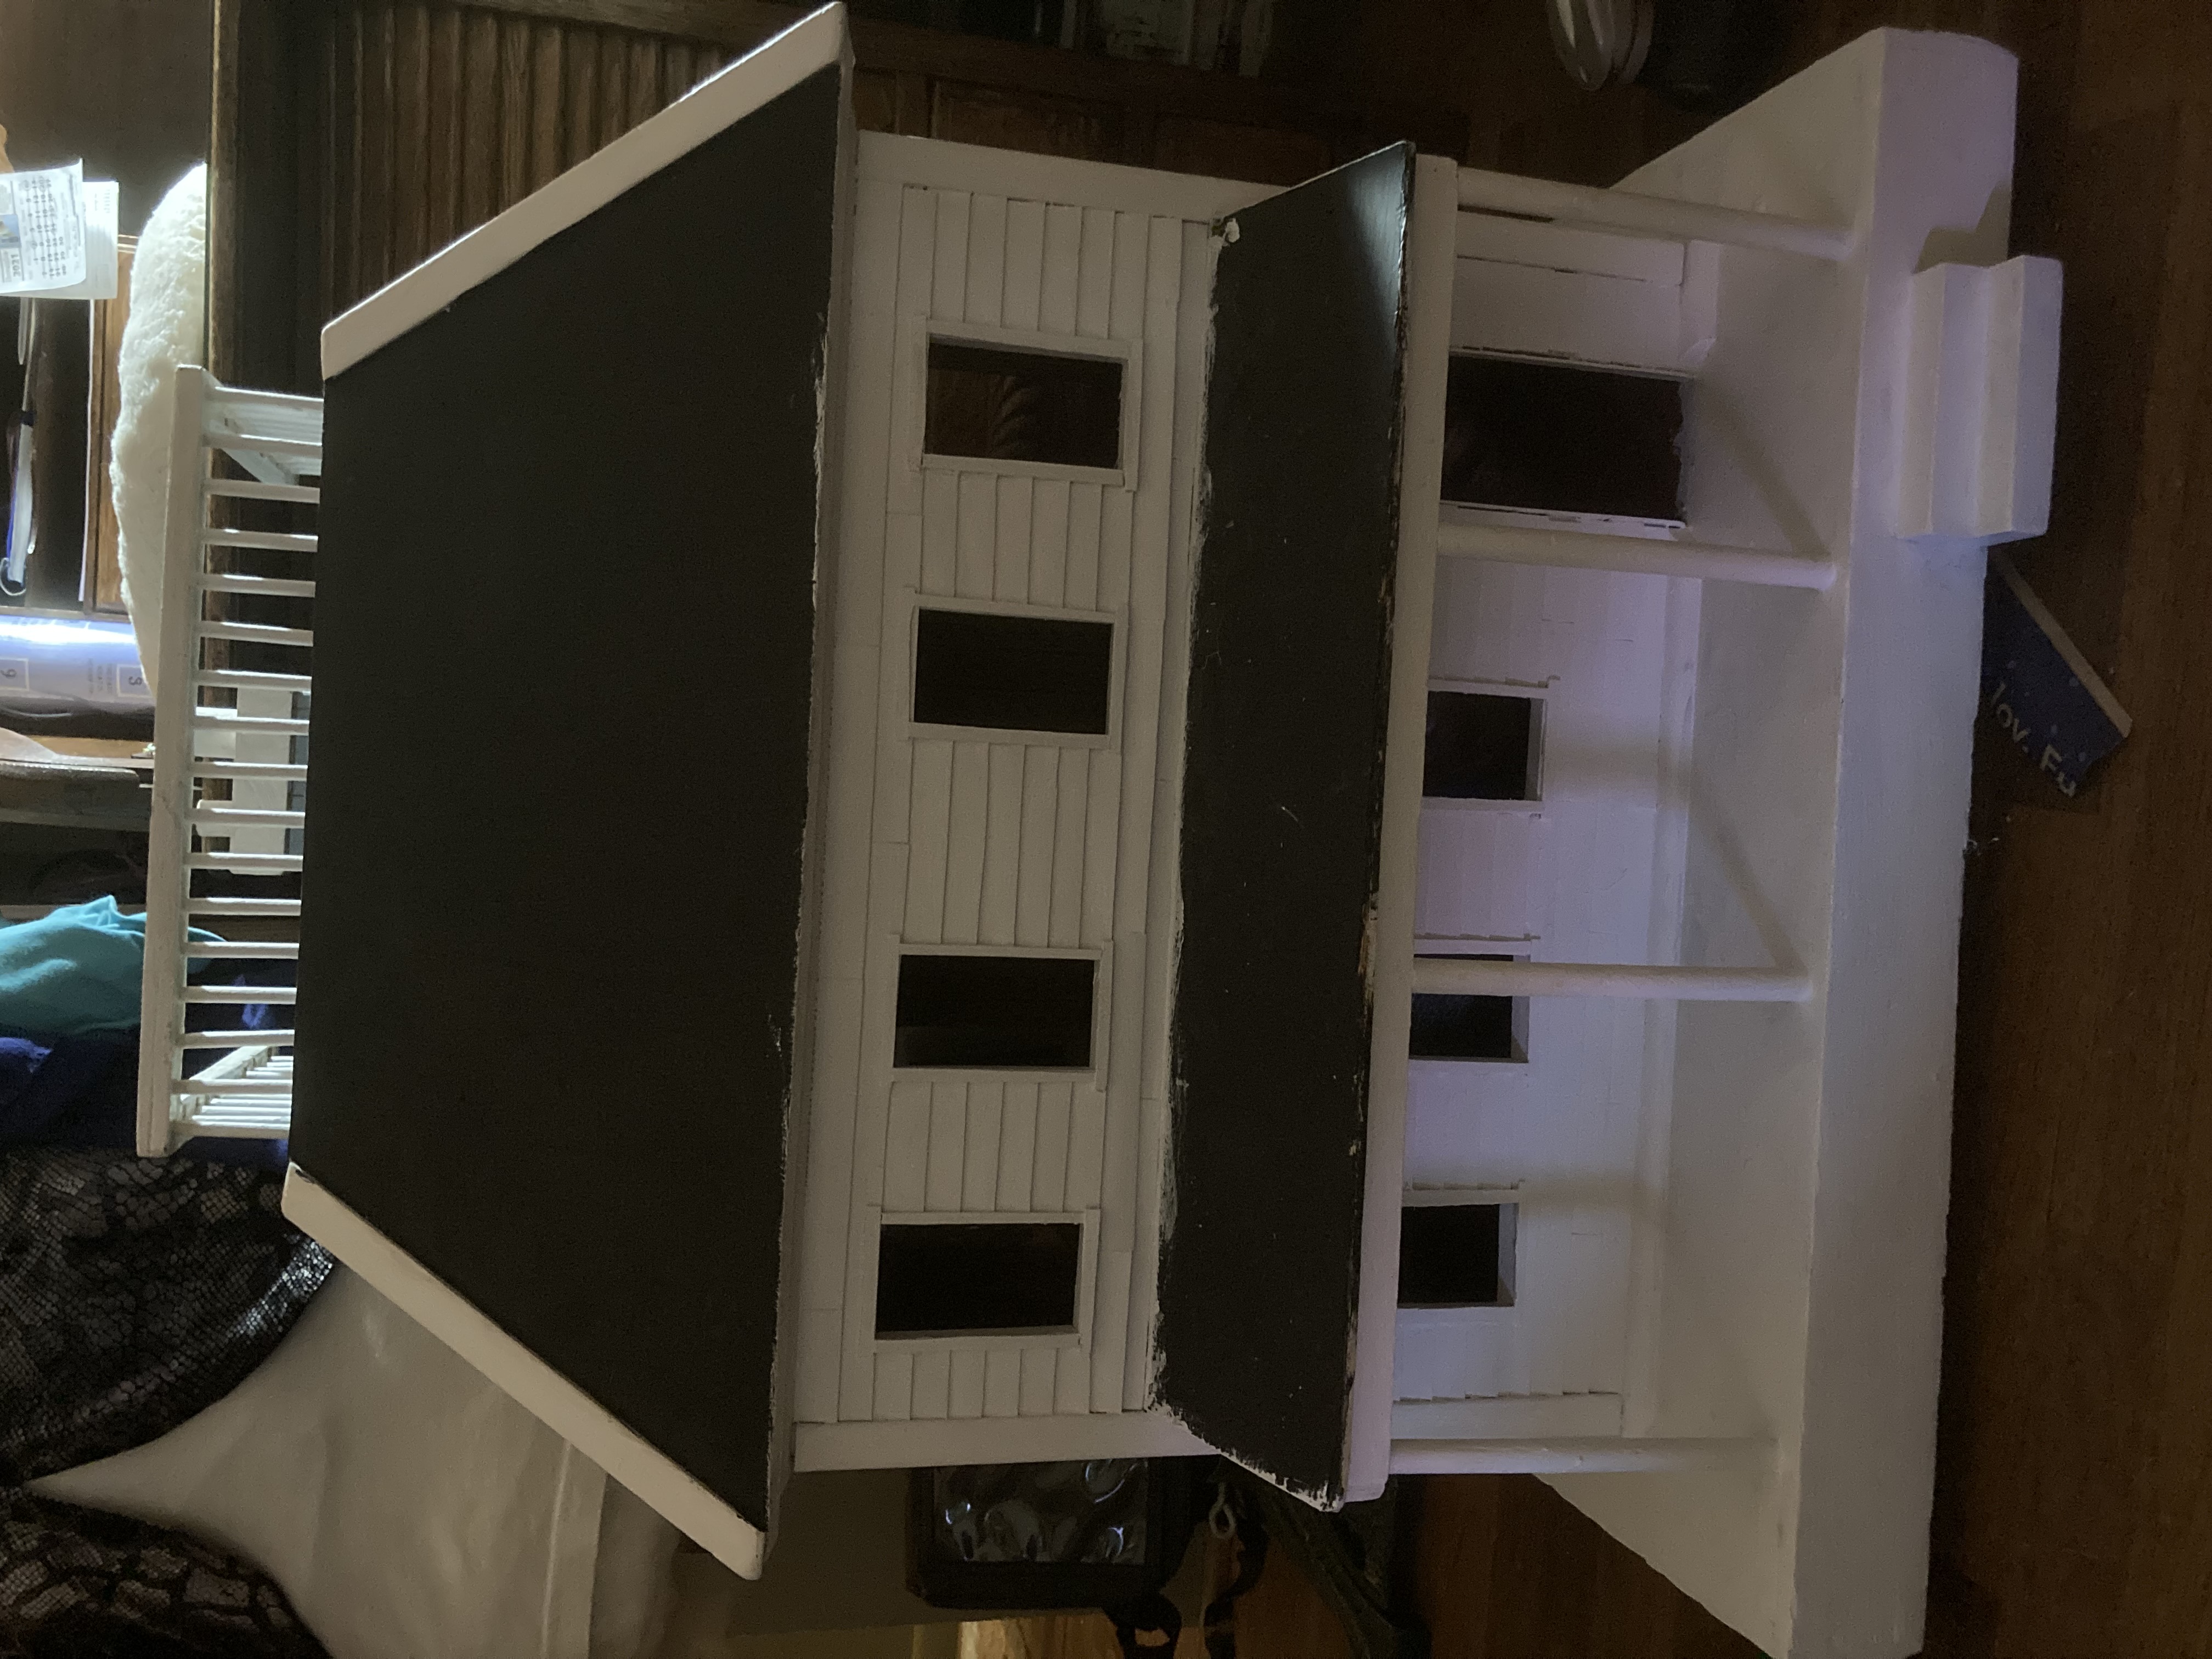
Something about this dollhouse makes me think of a large saloon and brothel in an old west town. We just finished watching the old ‘Deadwood’ series (HBO) and I can’t help envisioning Al sitting on the upper porch drinking his coffee. When I found this house available within easy driving distance, at an affordable price, especially in its unpainted state, I dove for it!

After the porch railings were finished. It looks more like a saloon to me now!

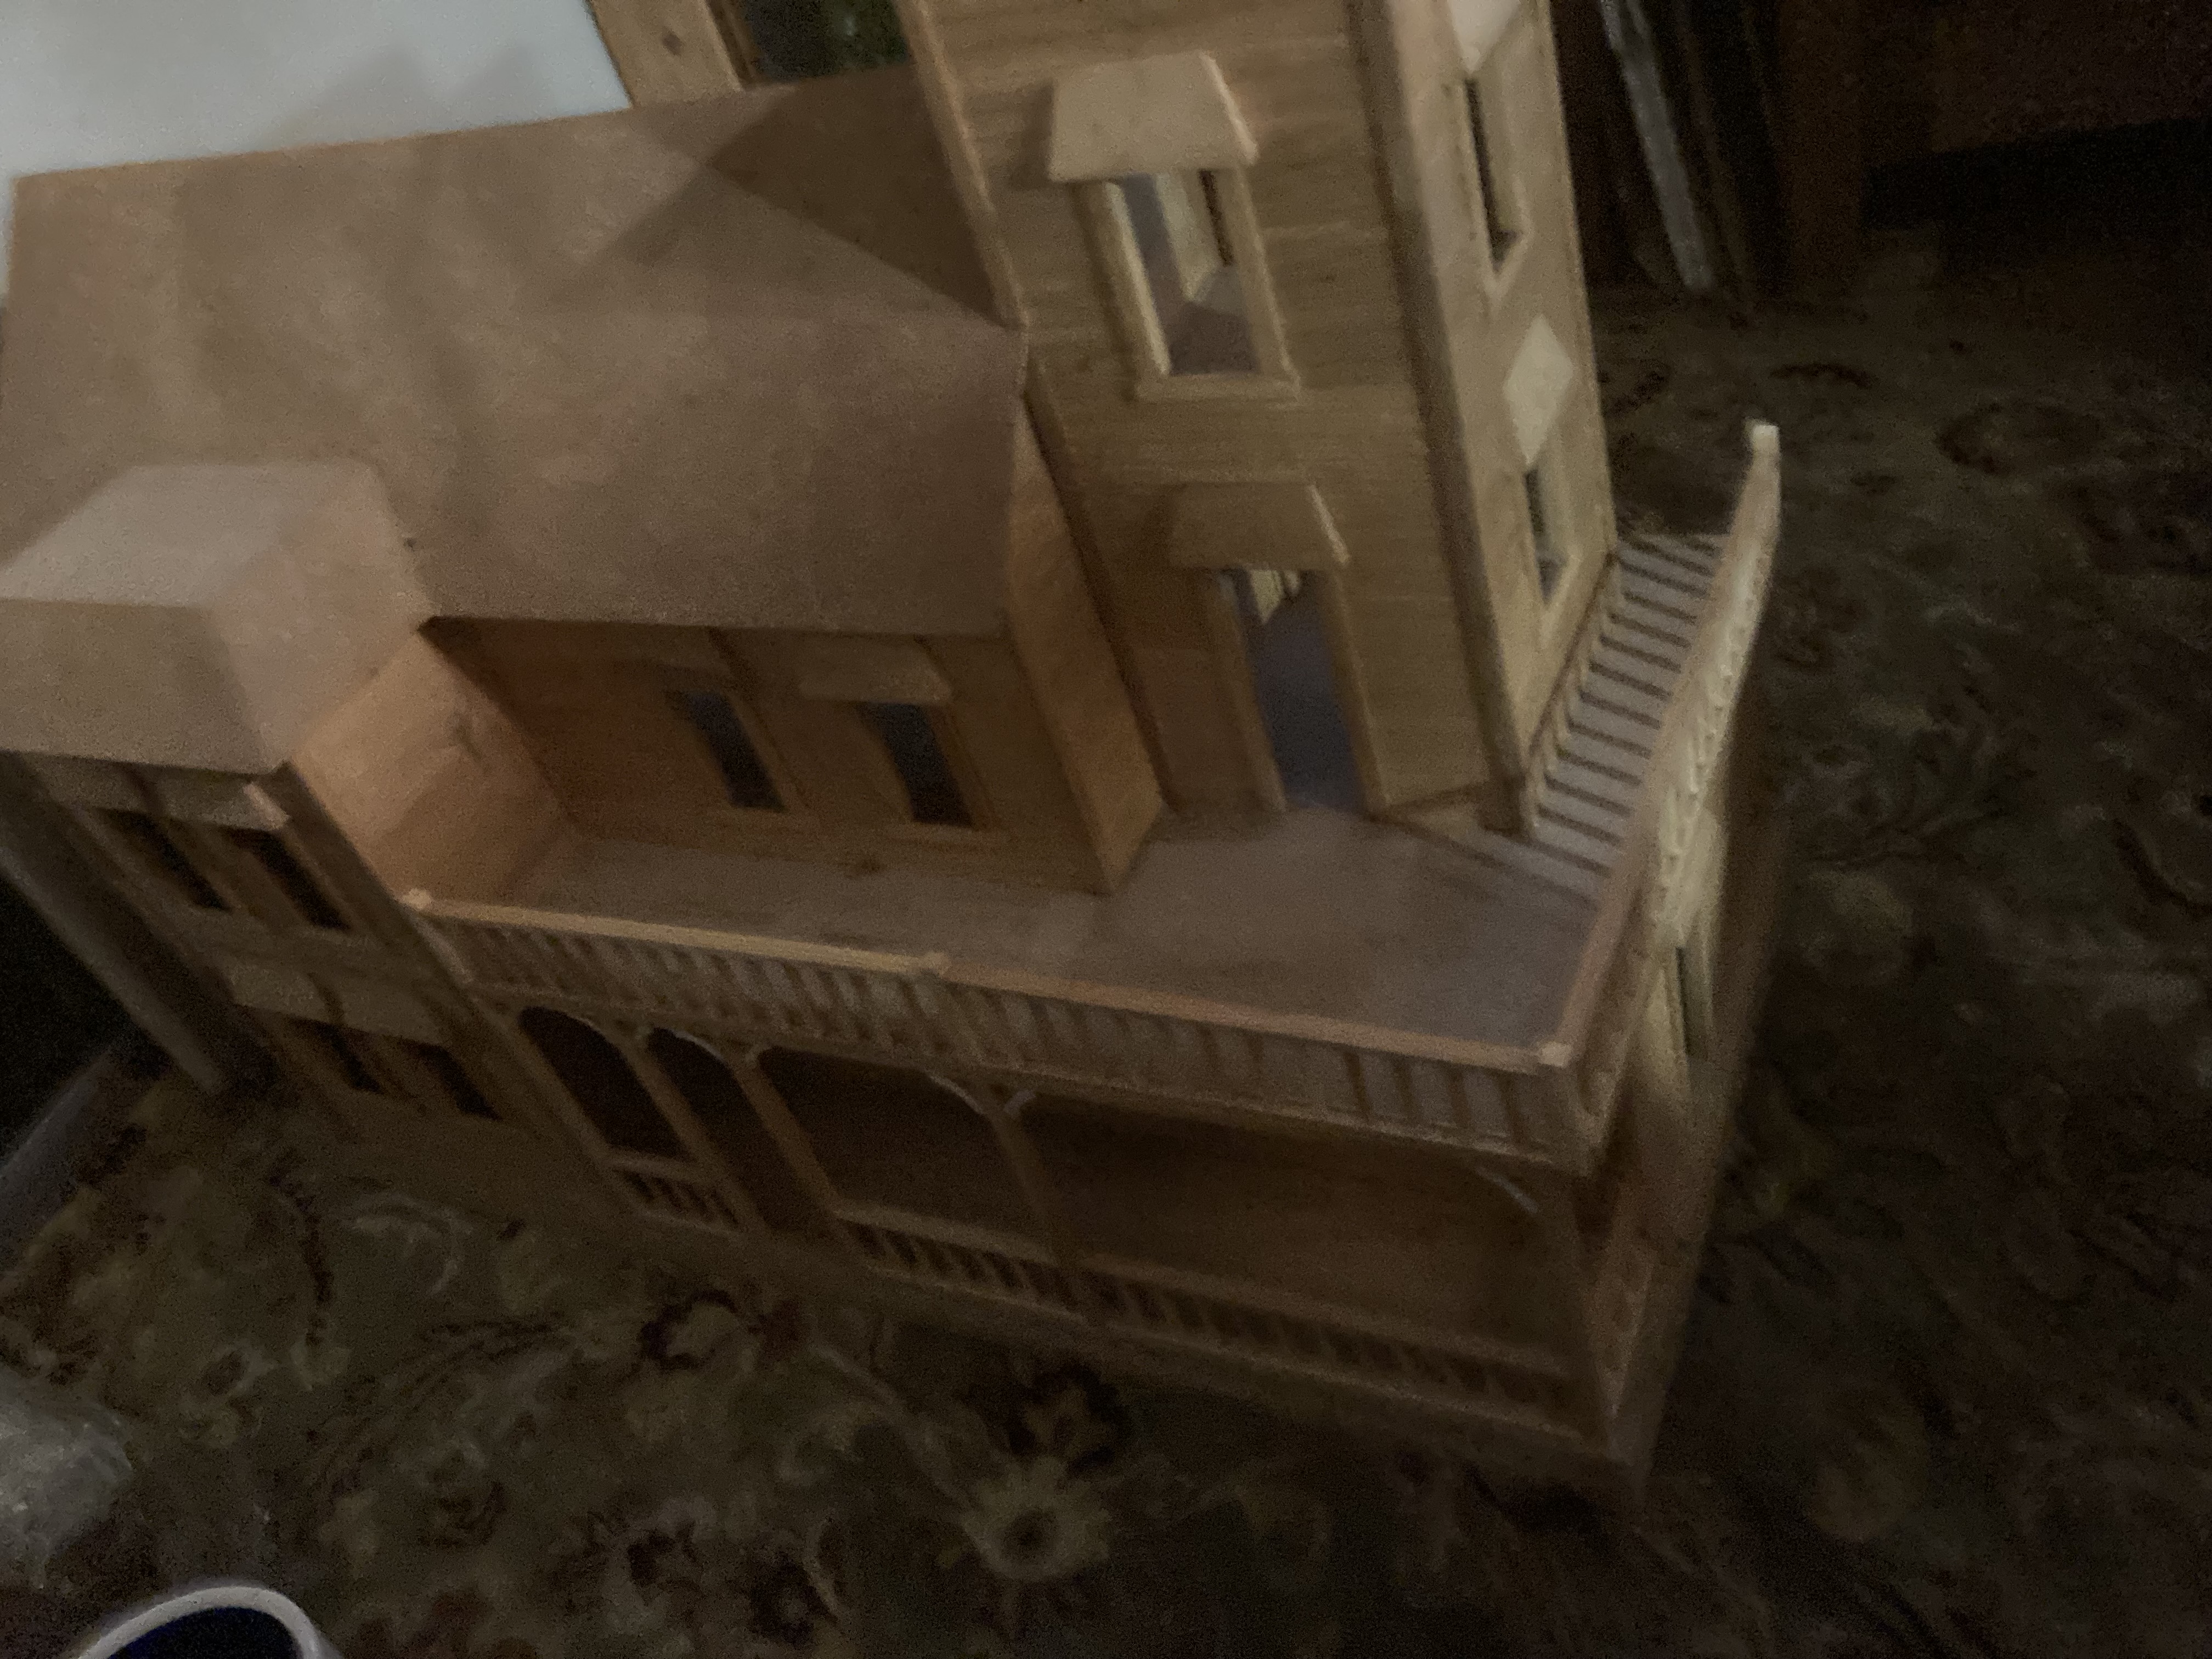
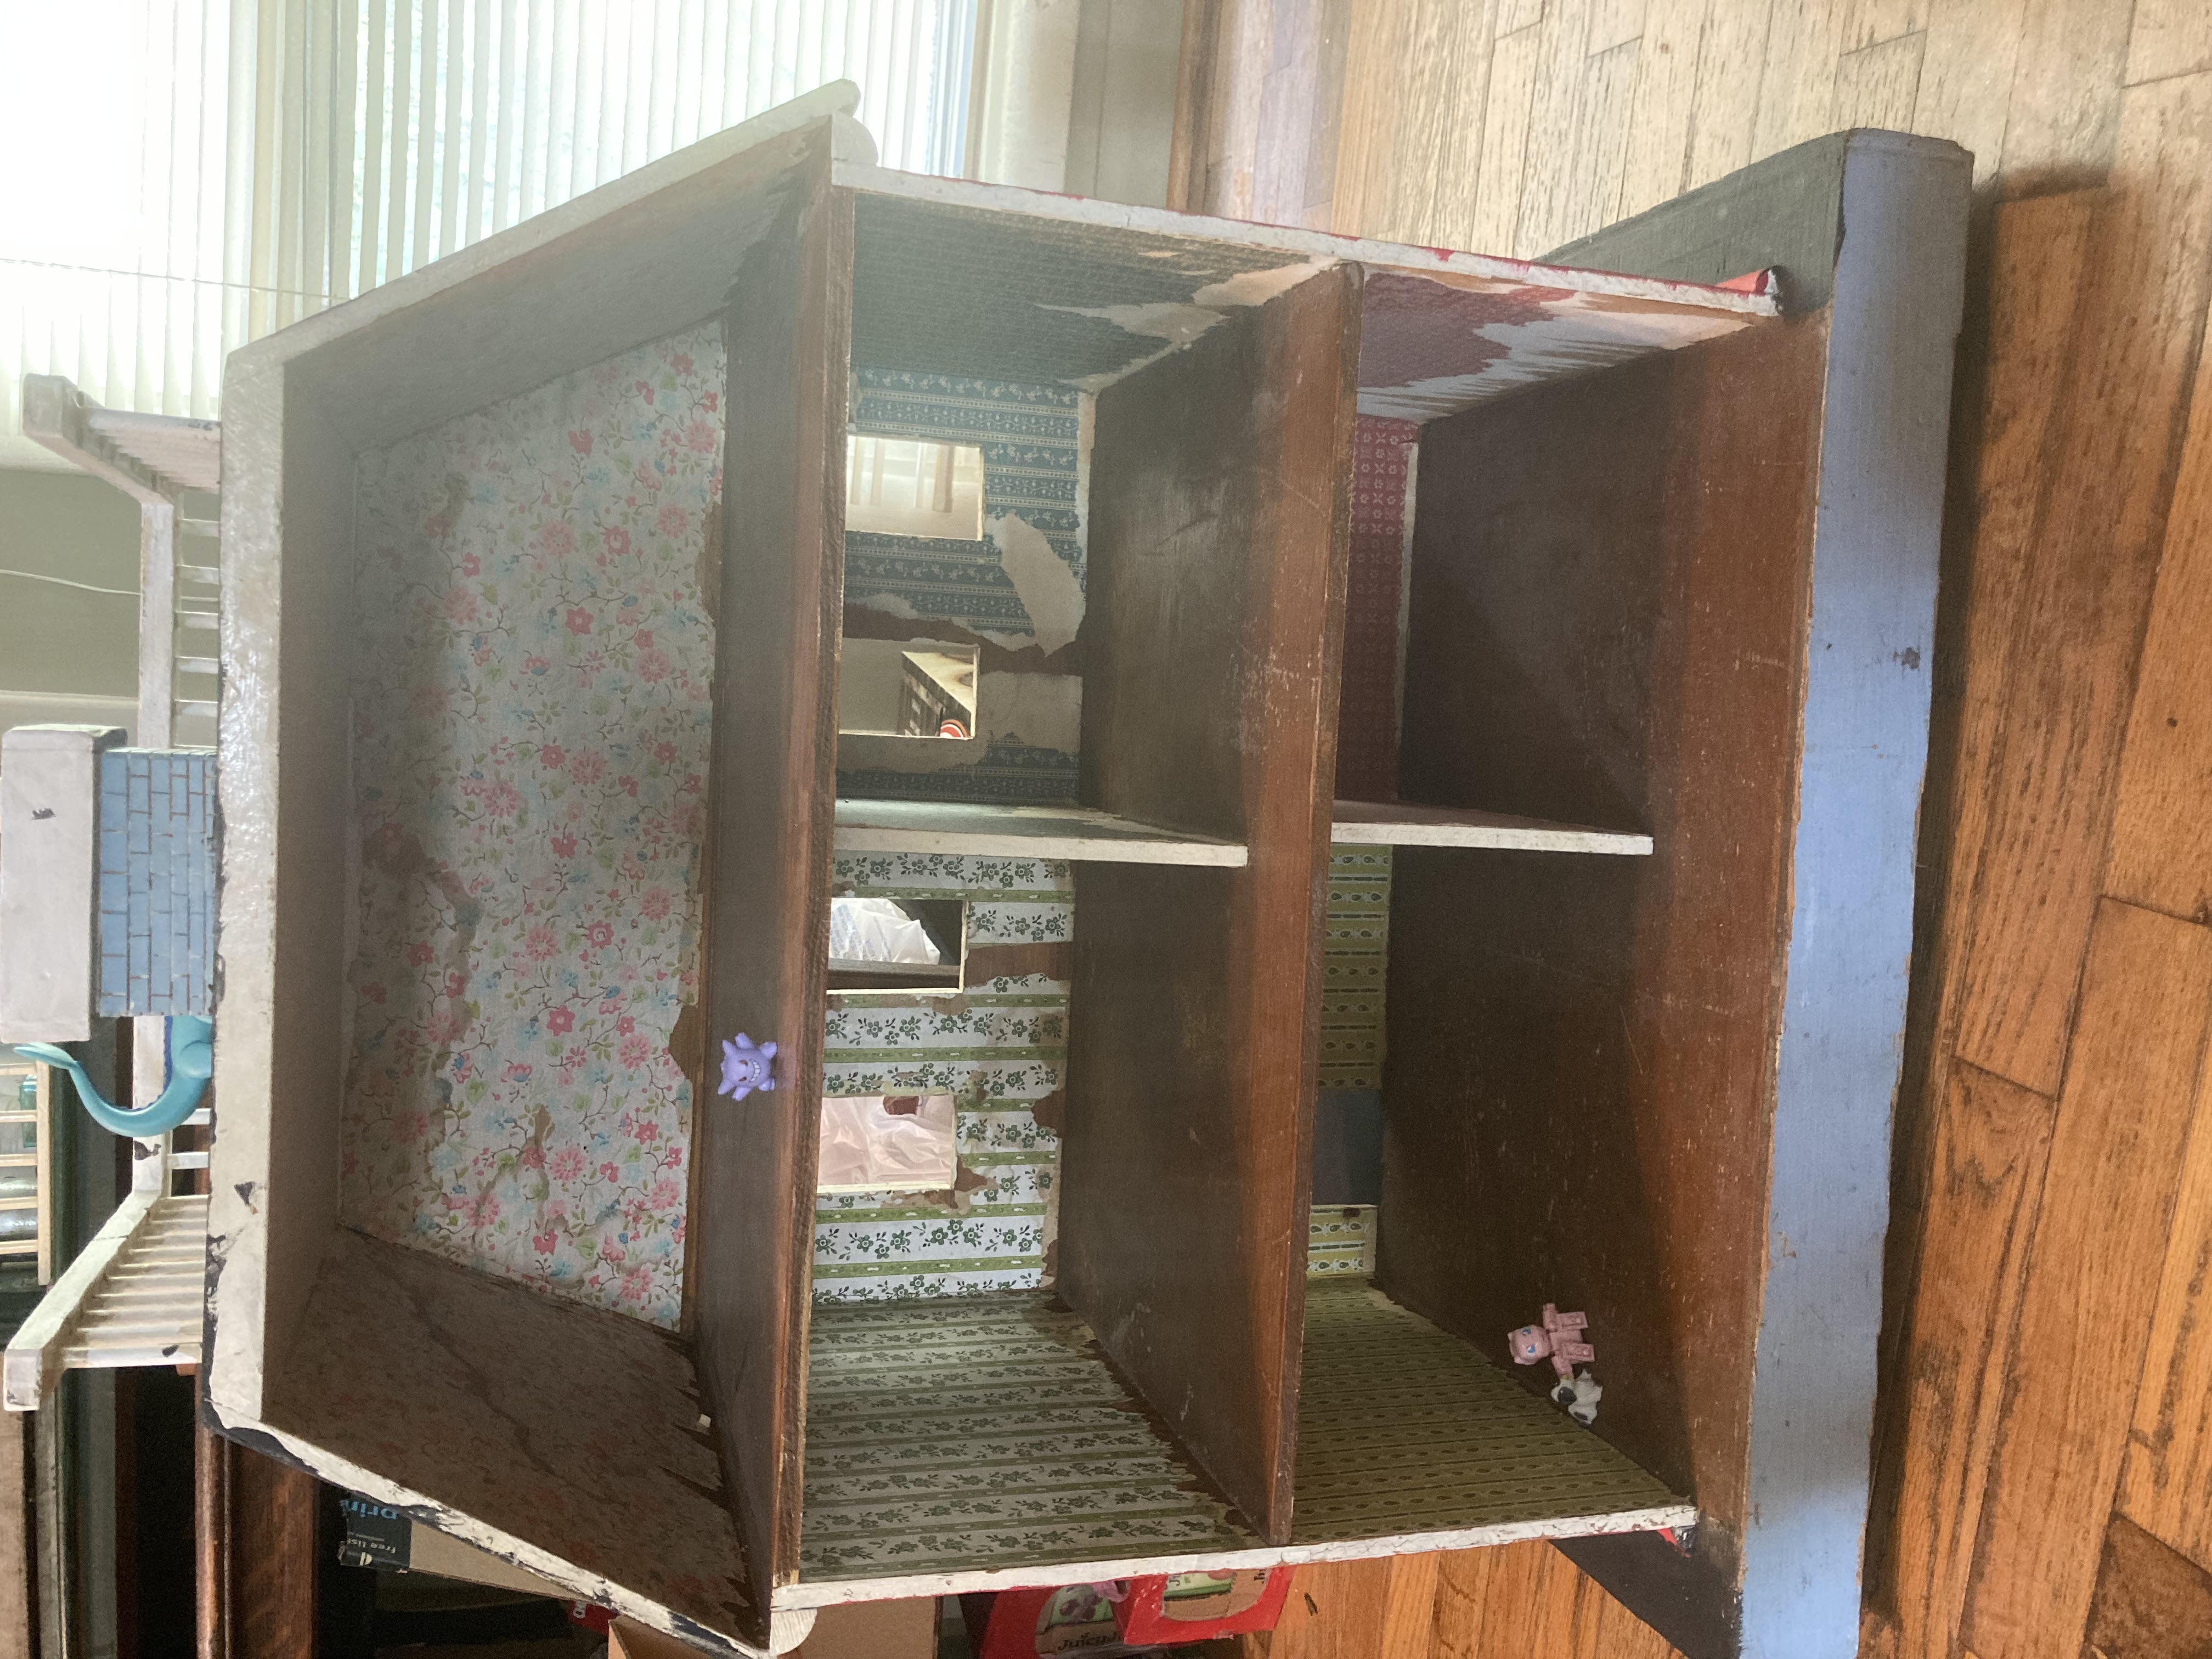
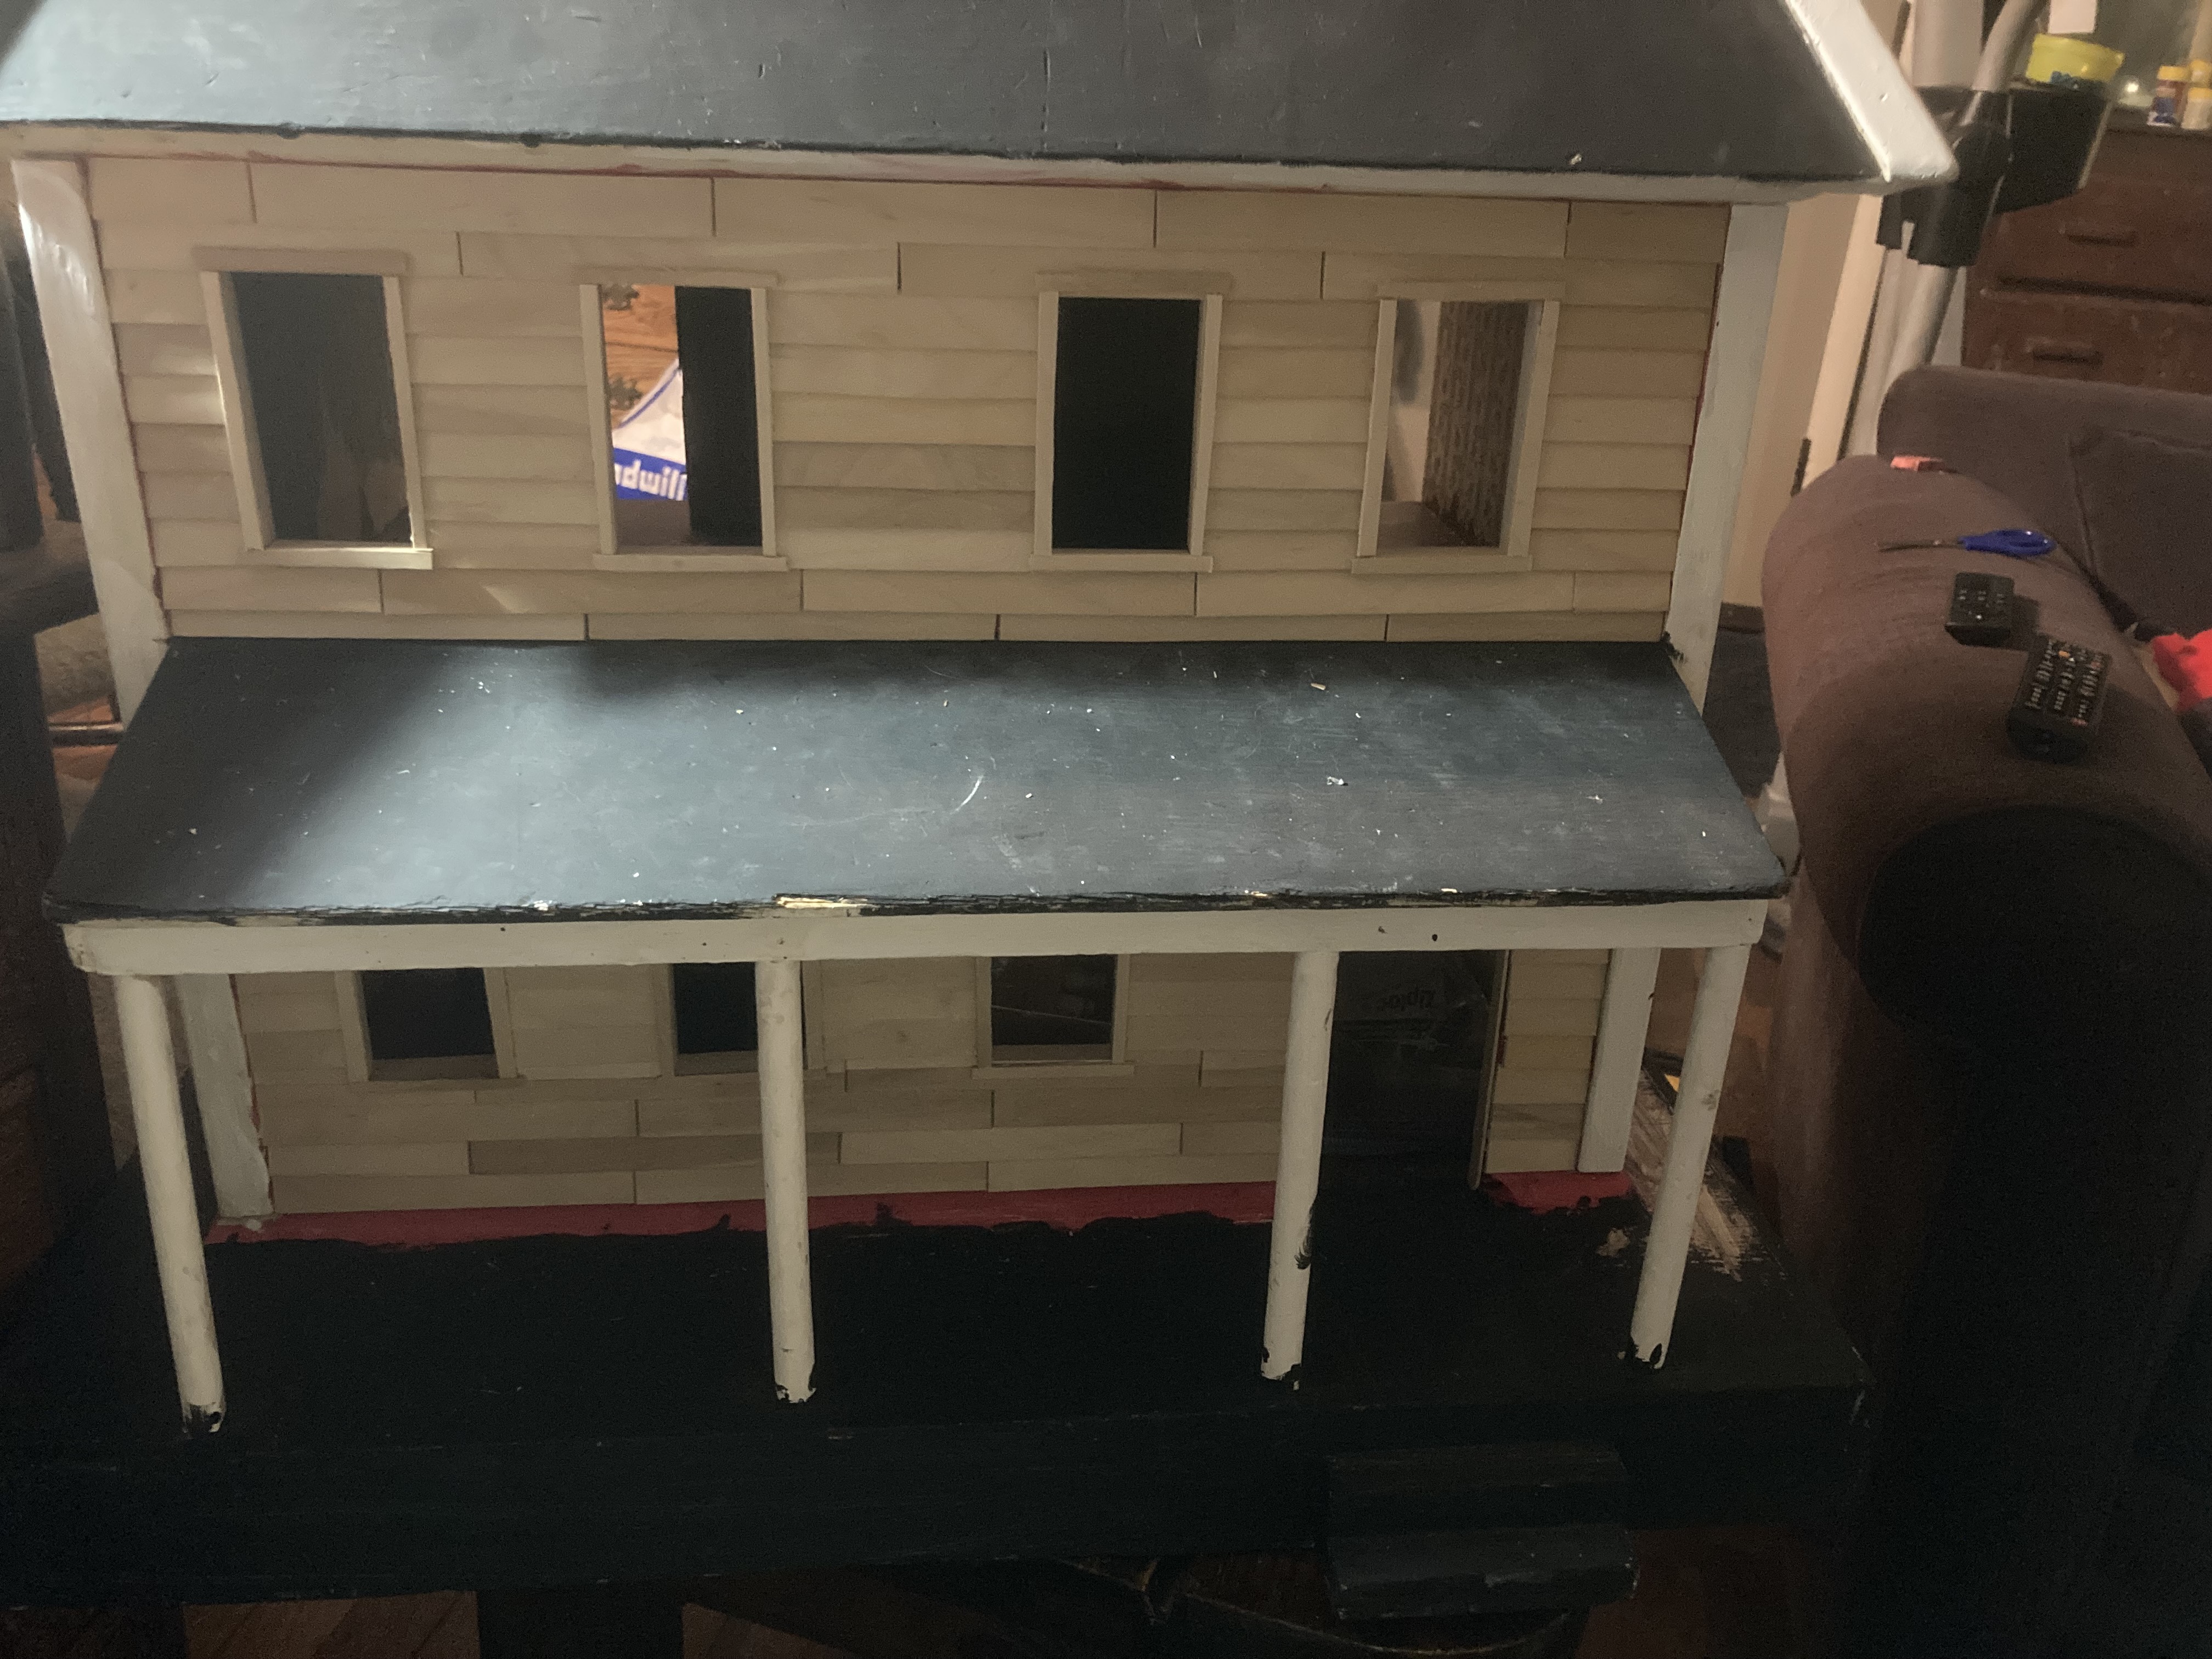
The first thing I did was finish the porch railings. The kit hadn’t been completed, and fortunately they included the instructions and the unfinished parts. It was easy to follow the instructions and install the porch rails.

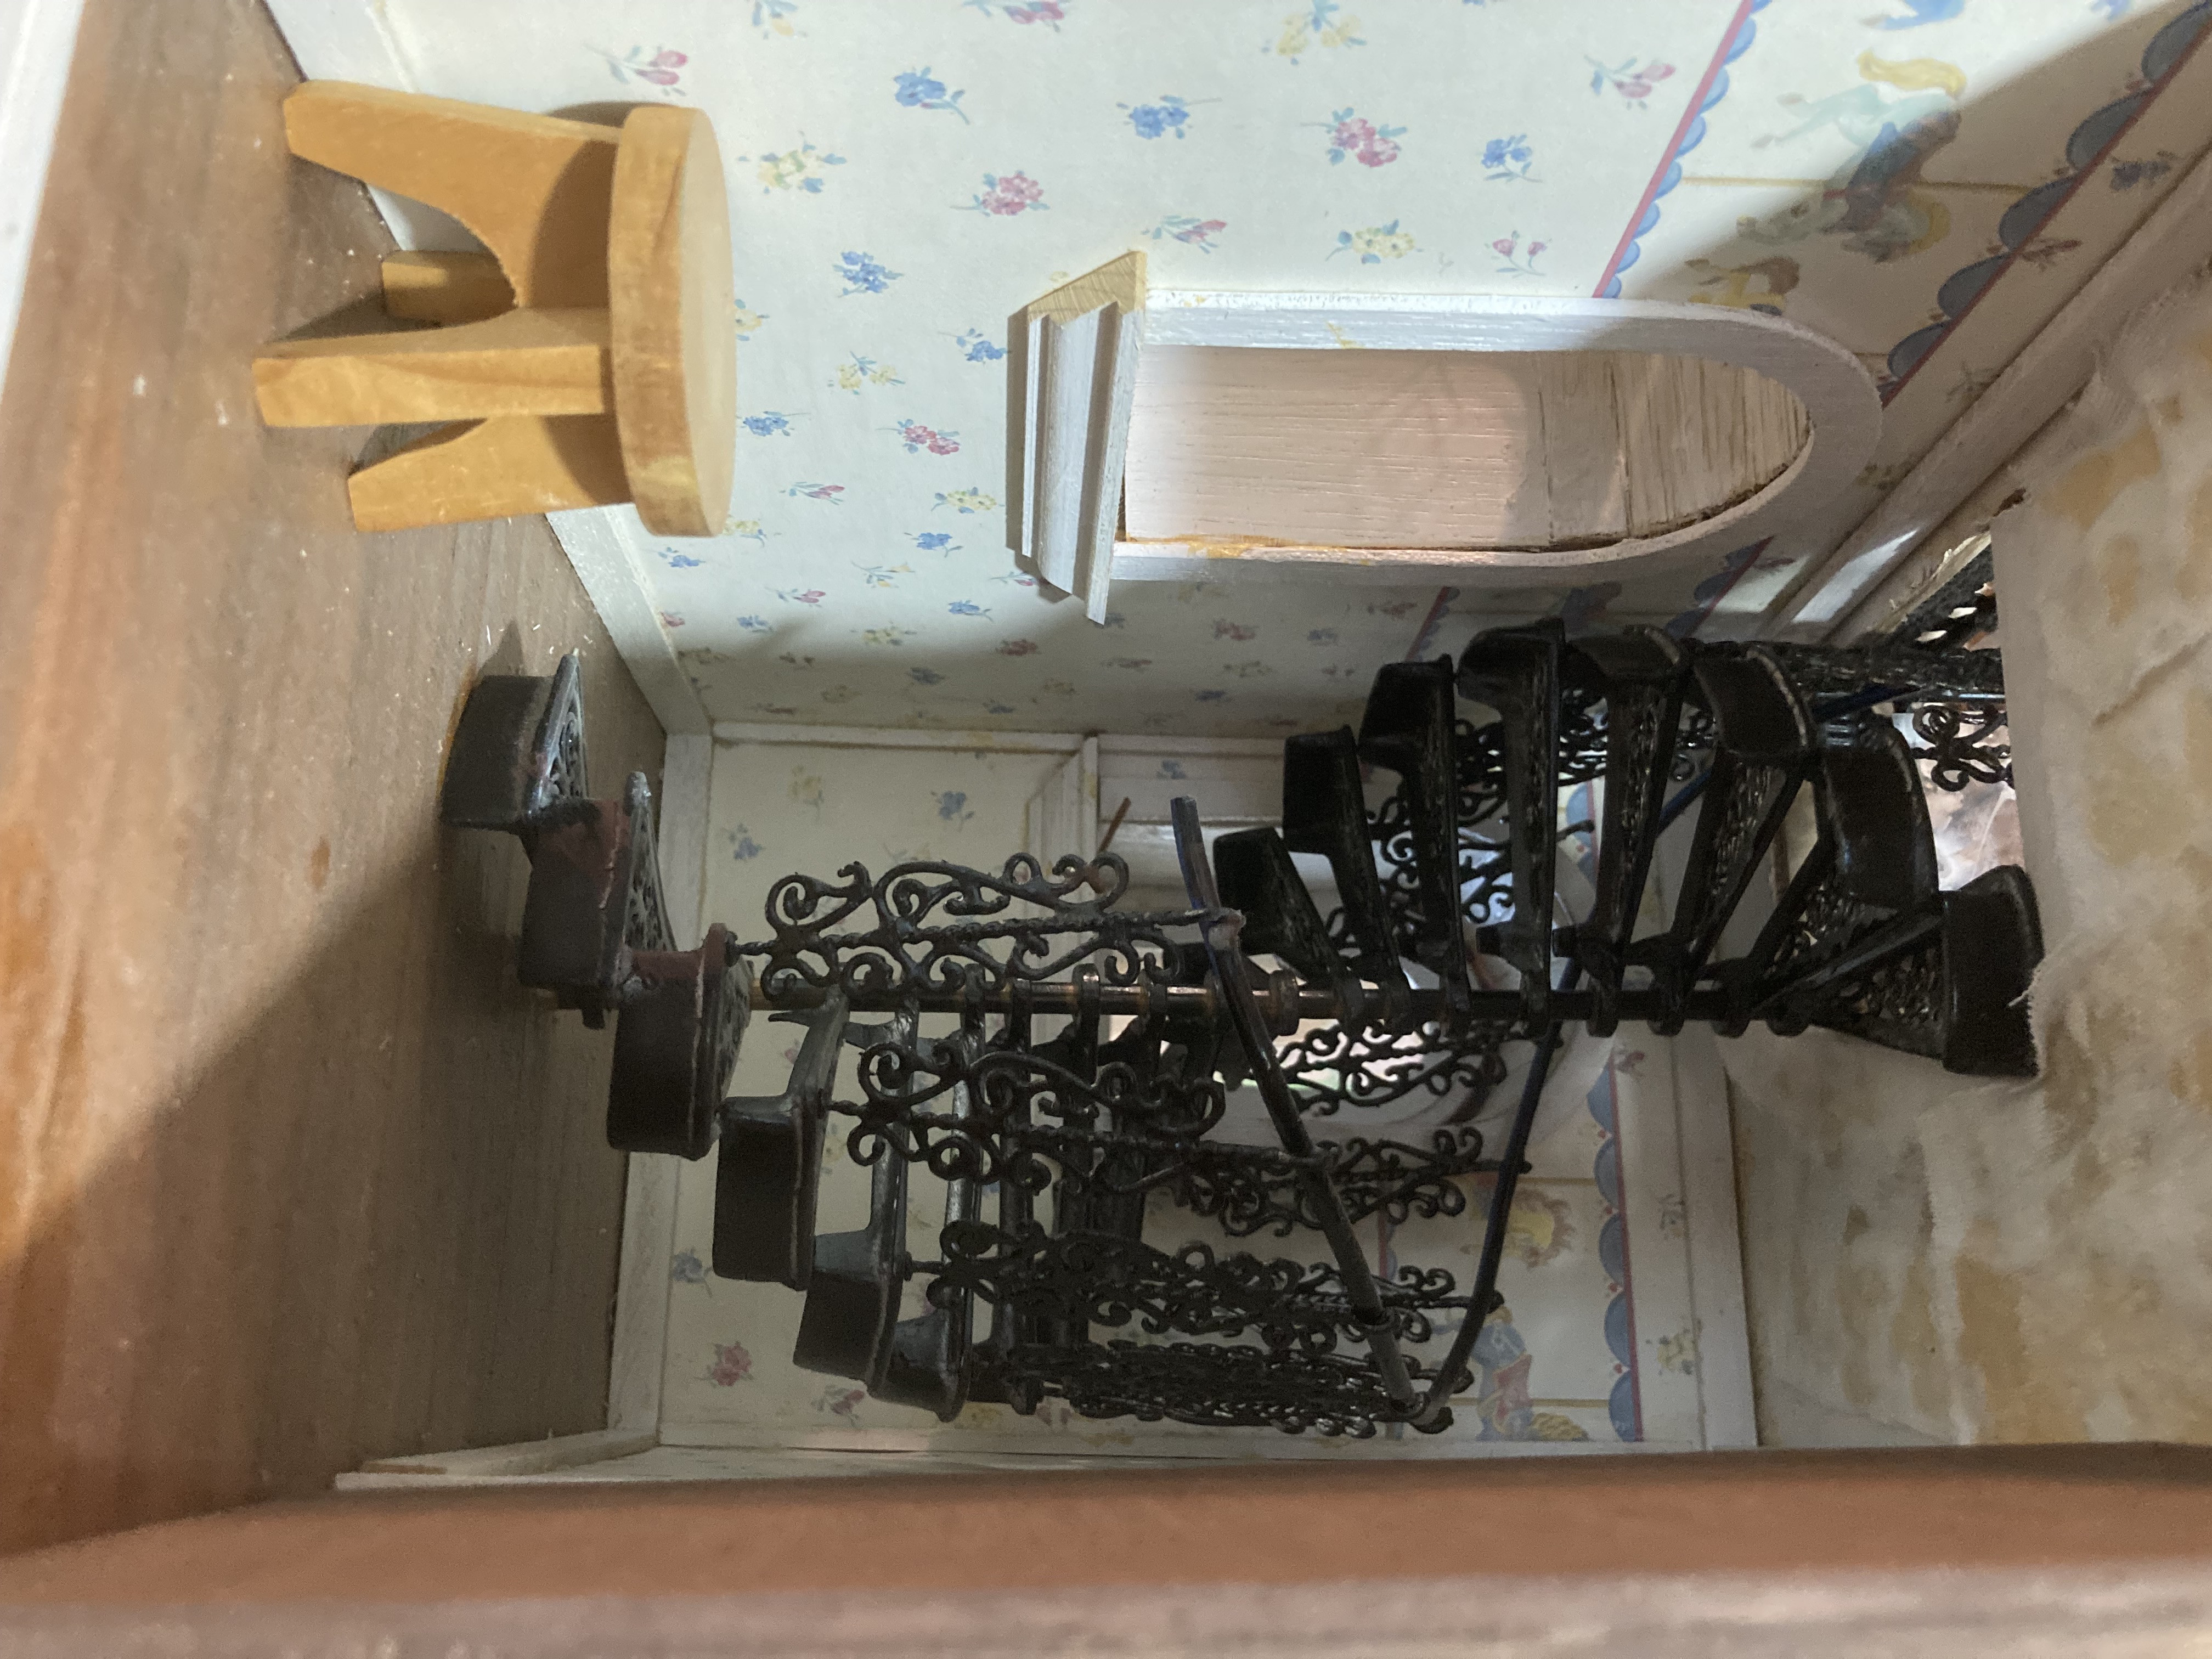
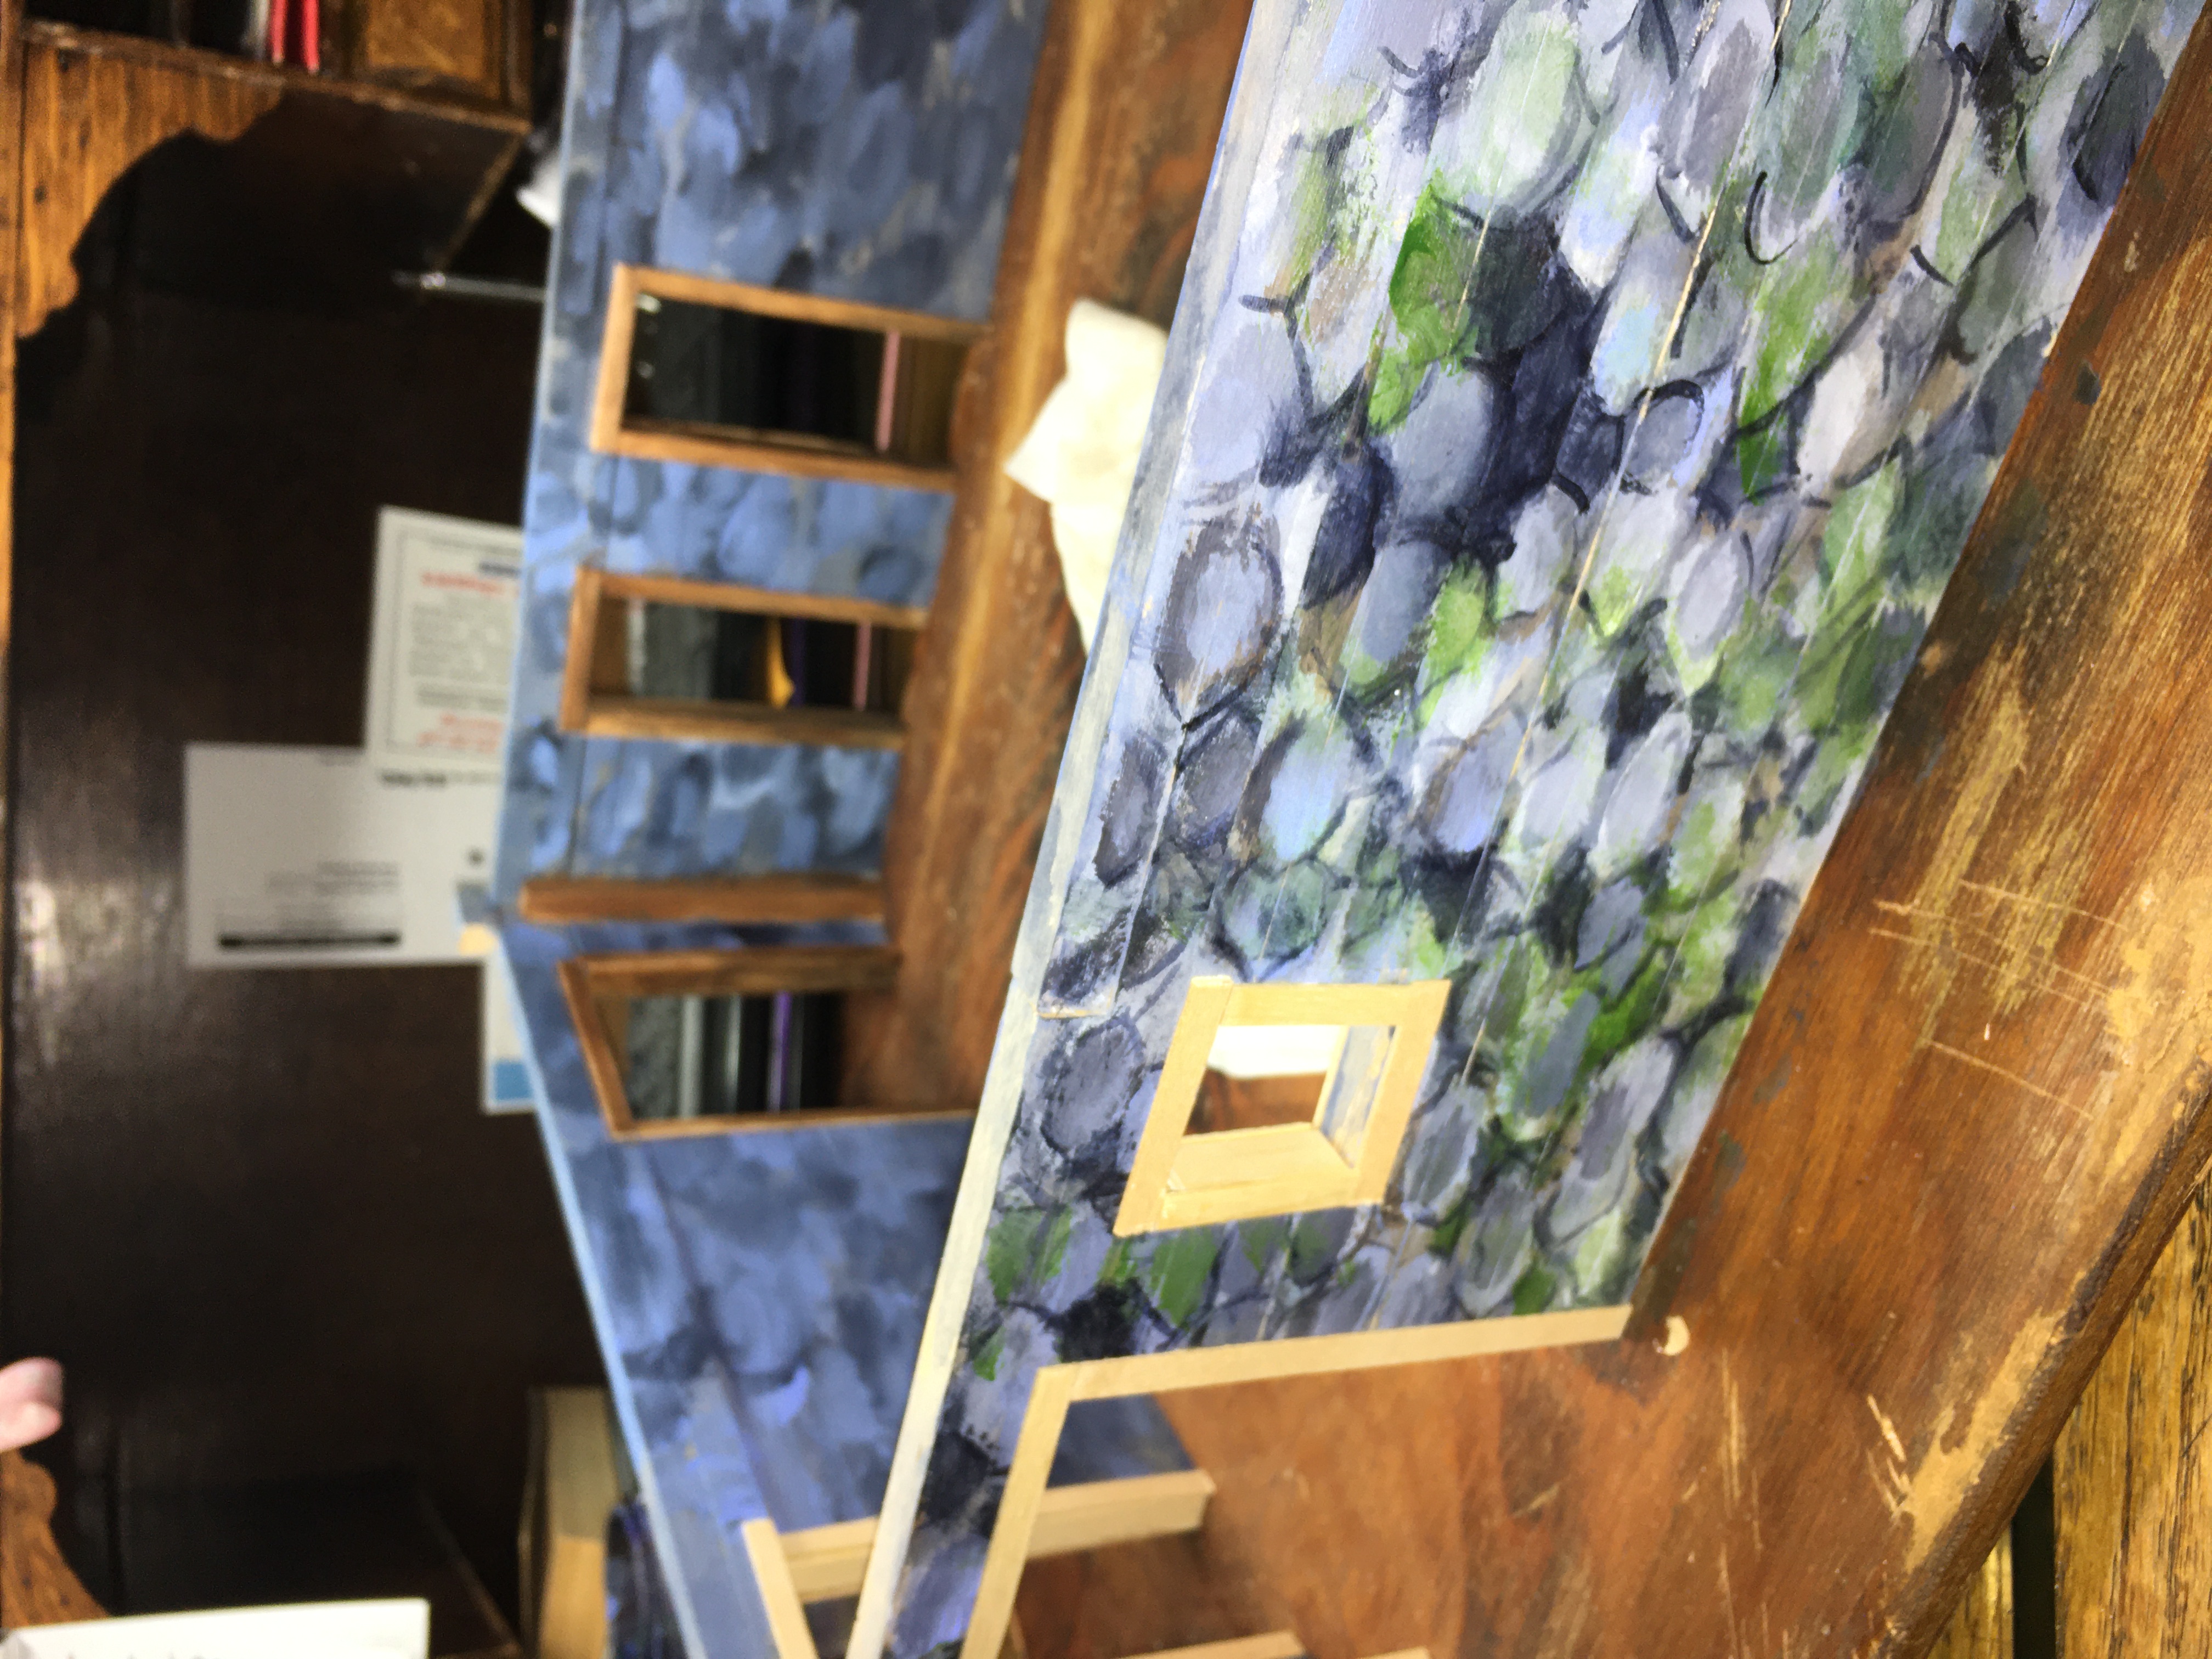
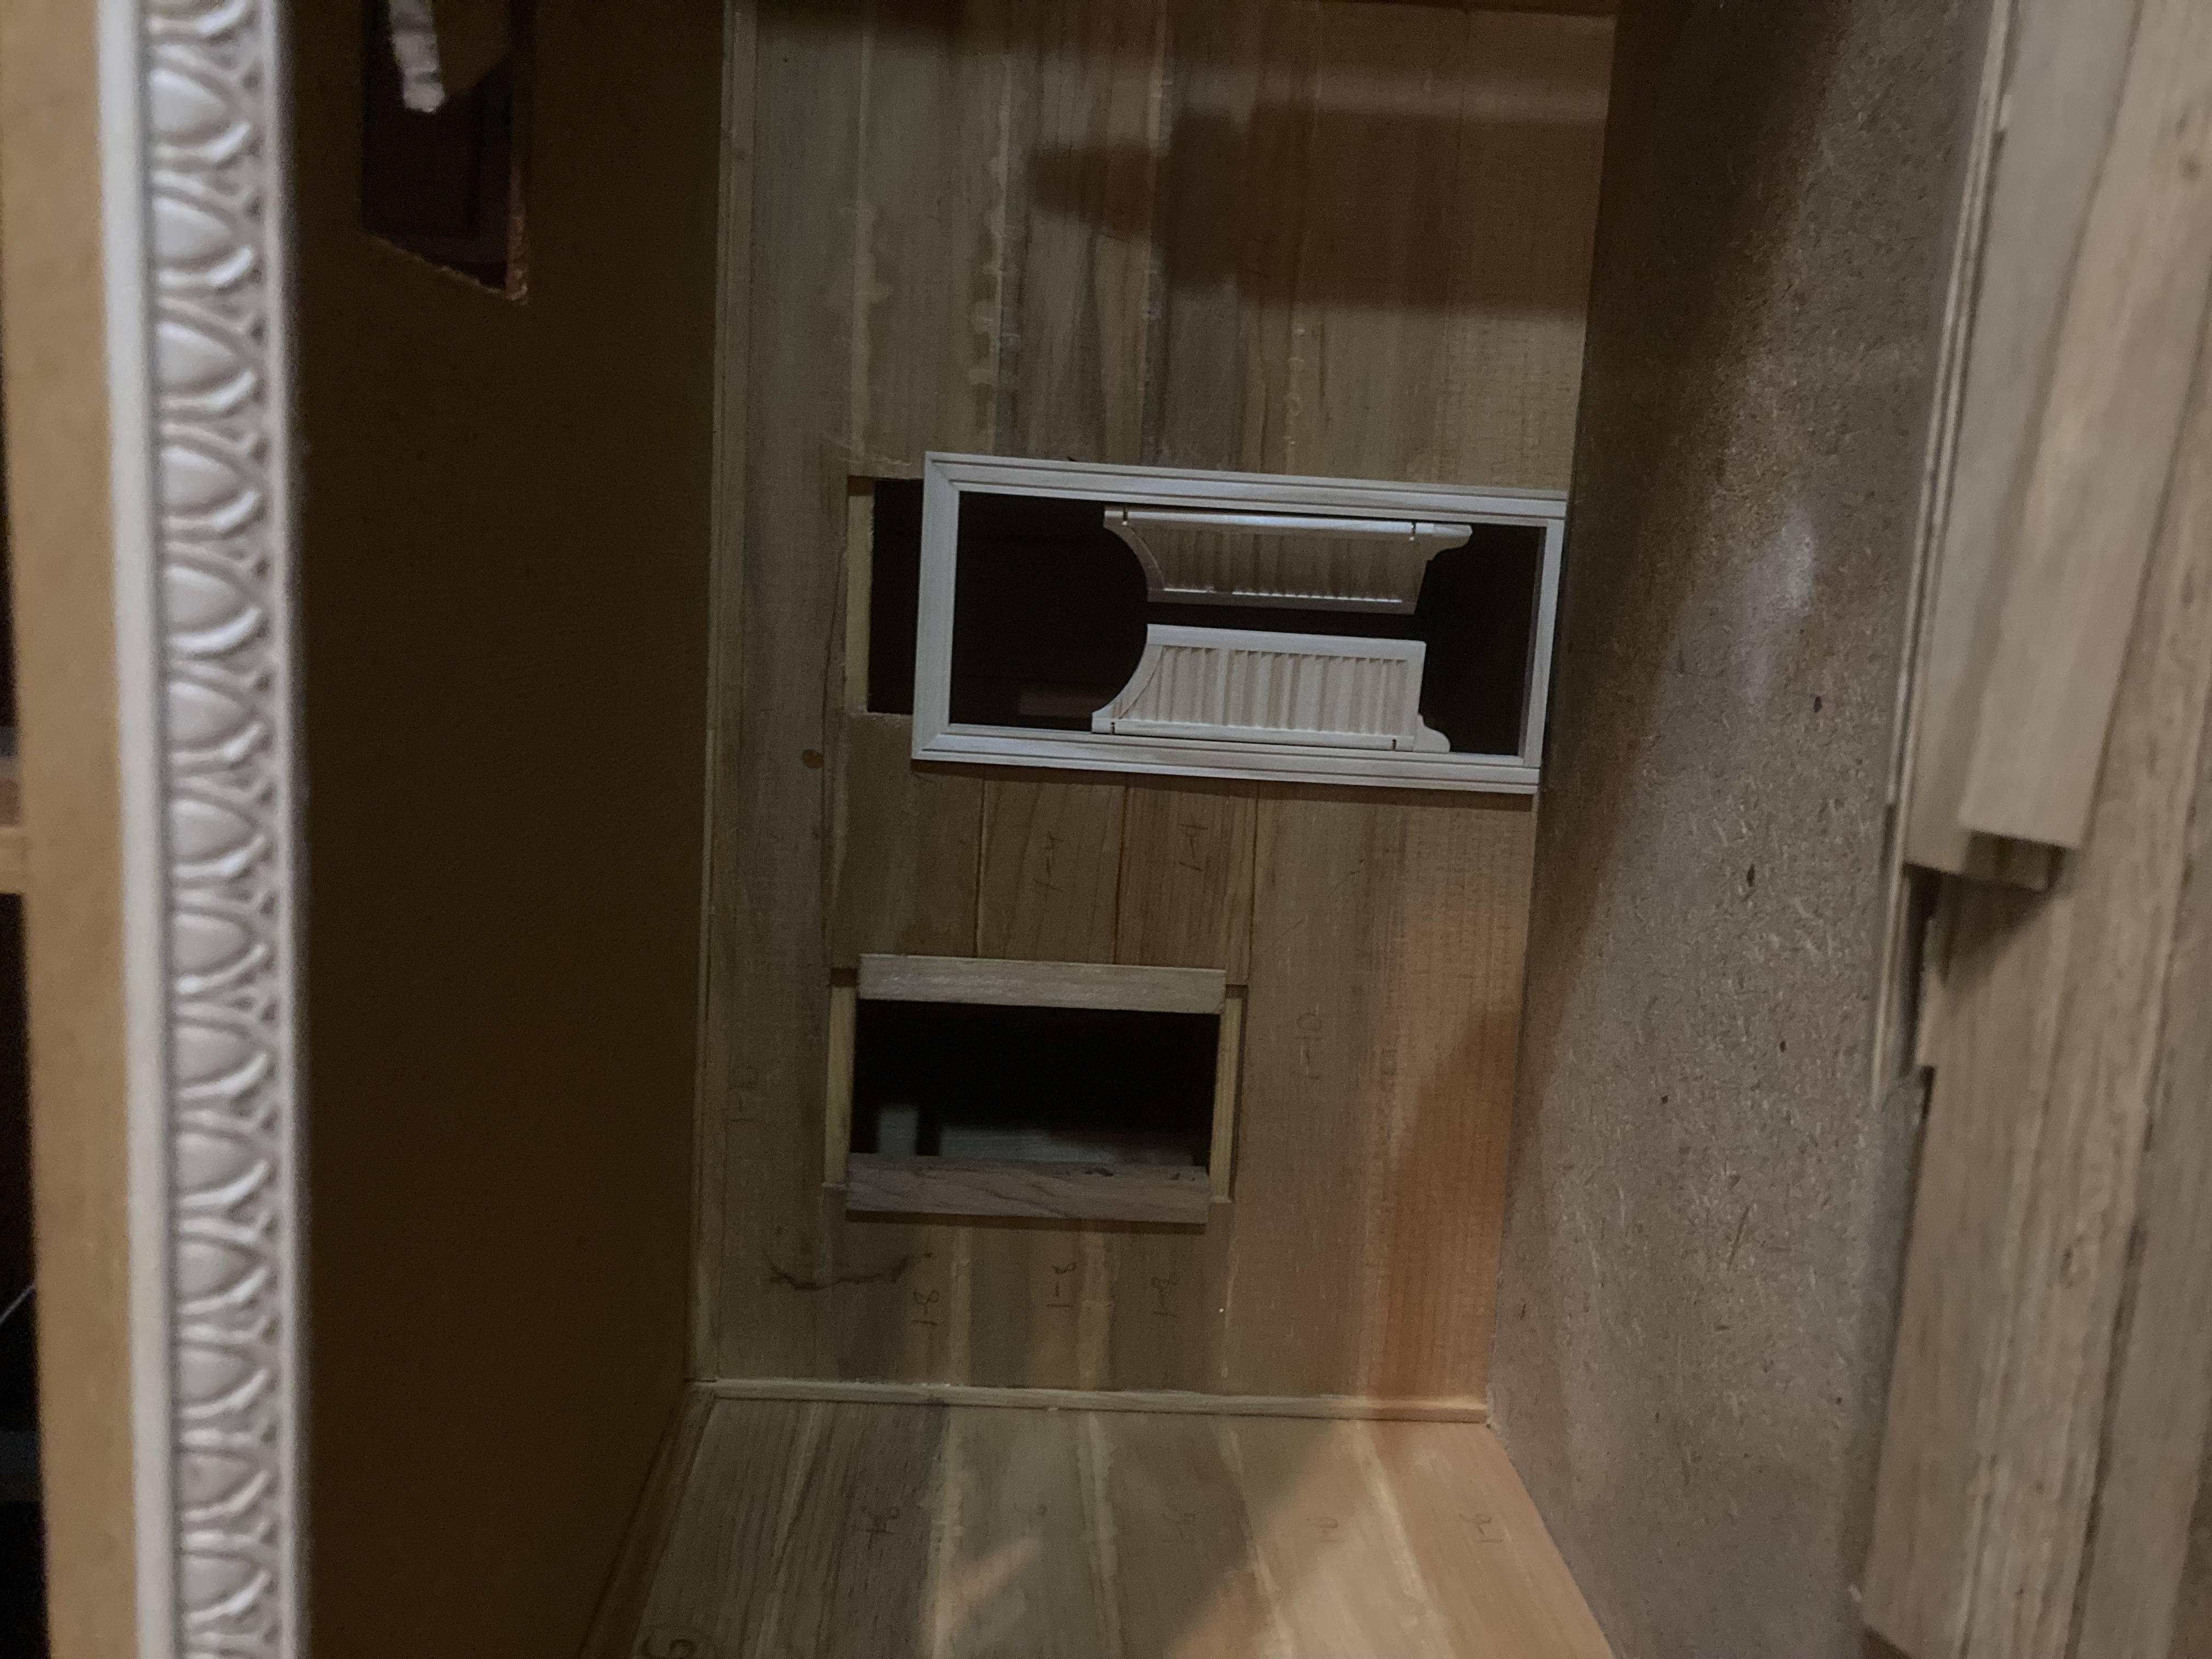
Once the railing was installed, I turned the house around to focus on the inside. None of the inside walls had been installed, so the inside was a blank slate, which is great for me and my saloon intentions. However, without the support of the inside walls, the floors had sagged with time. I think someone probably used it like a shelf, which would have added to the problem. I decided that it needed some support, but I didn’t want any extra walls to break up that glorious open space on the bottom floor, so what to do?

Bracing the inside floors.

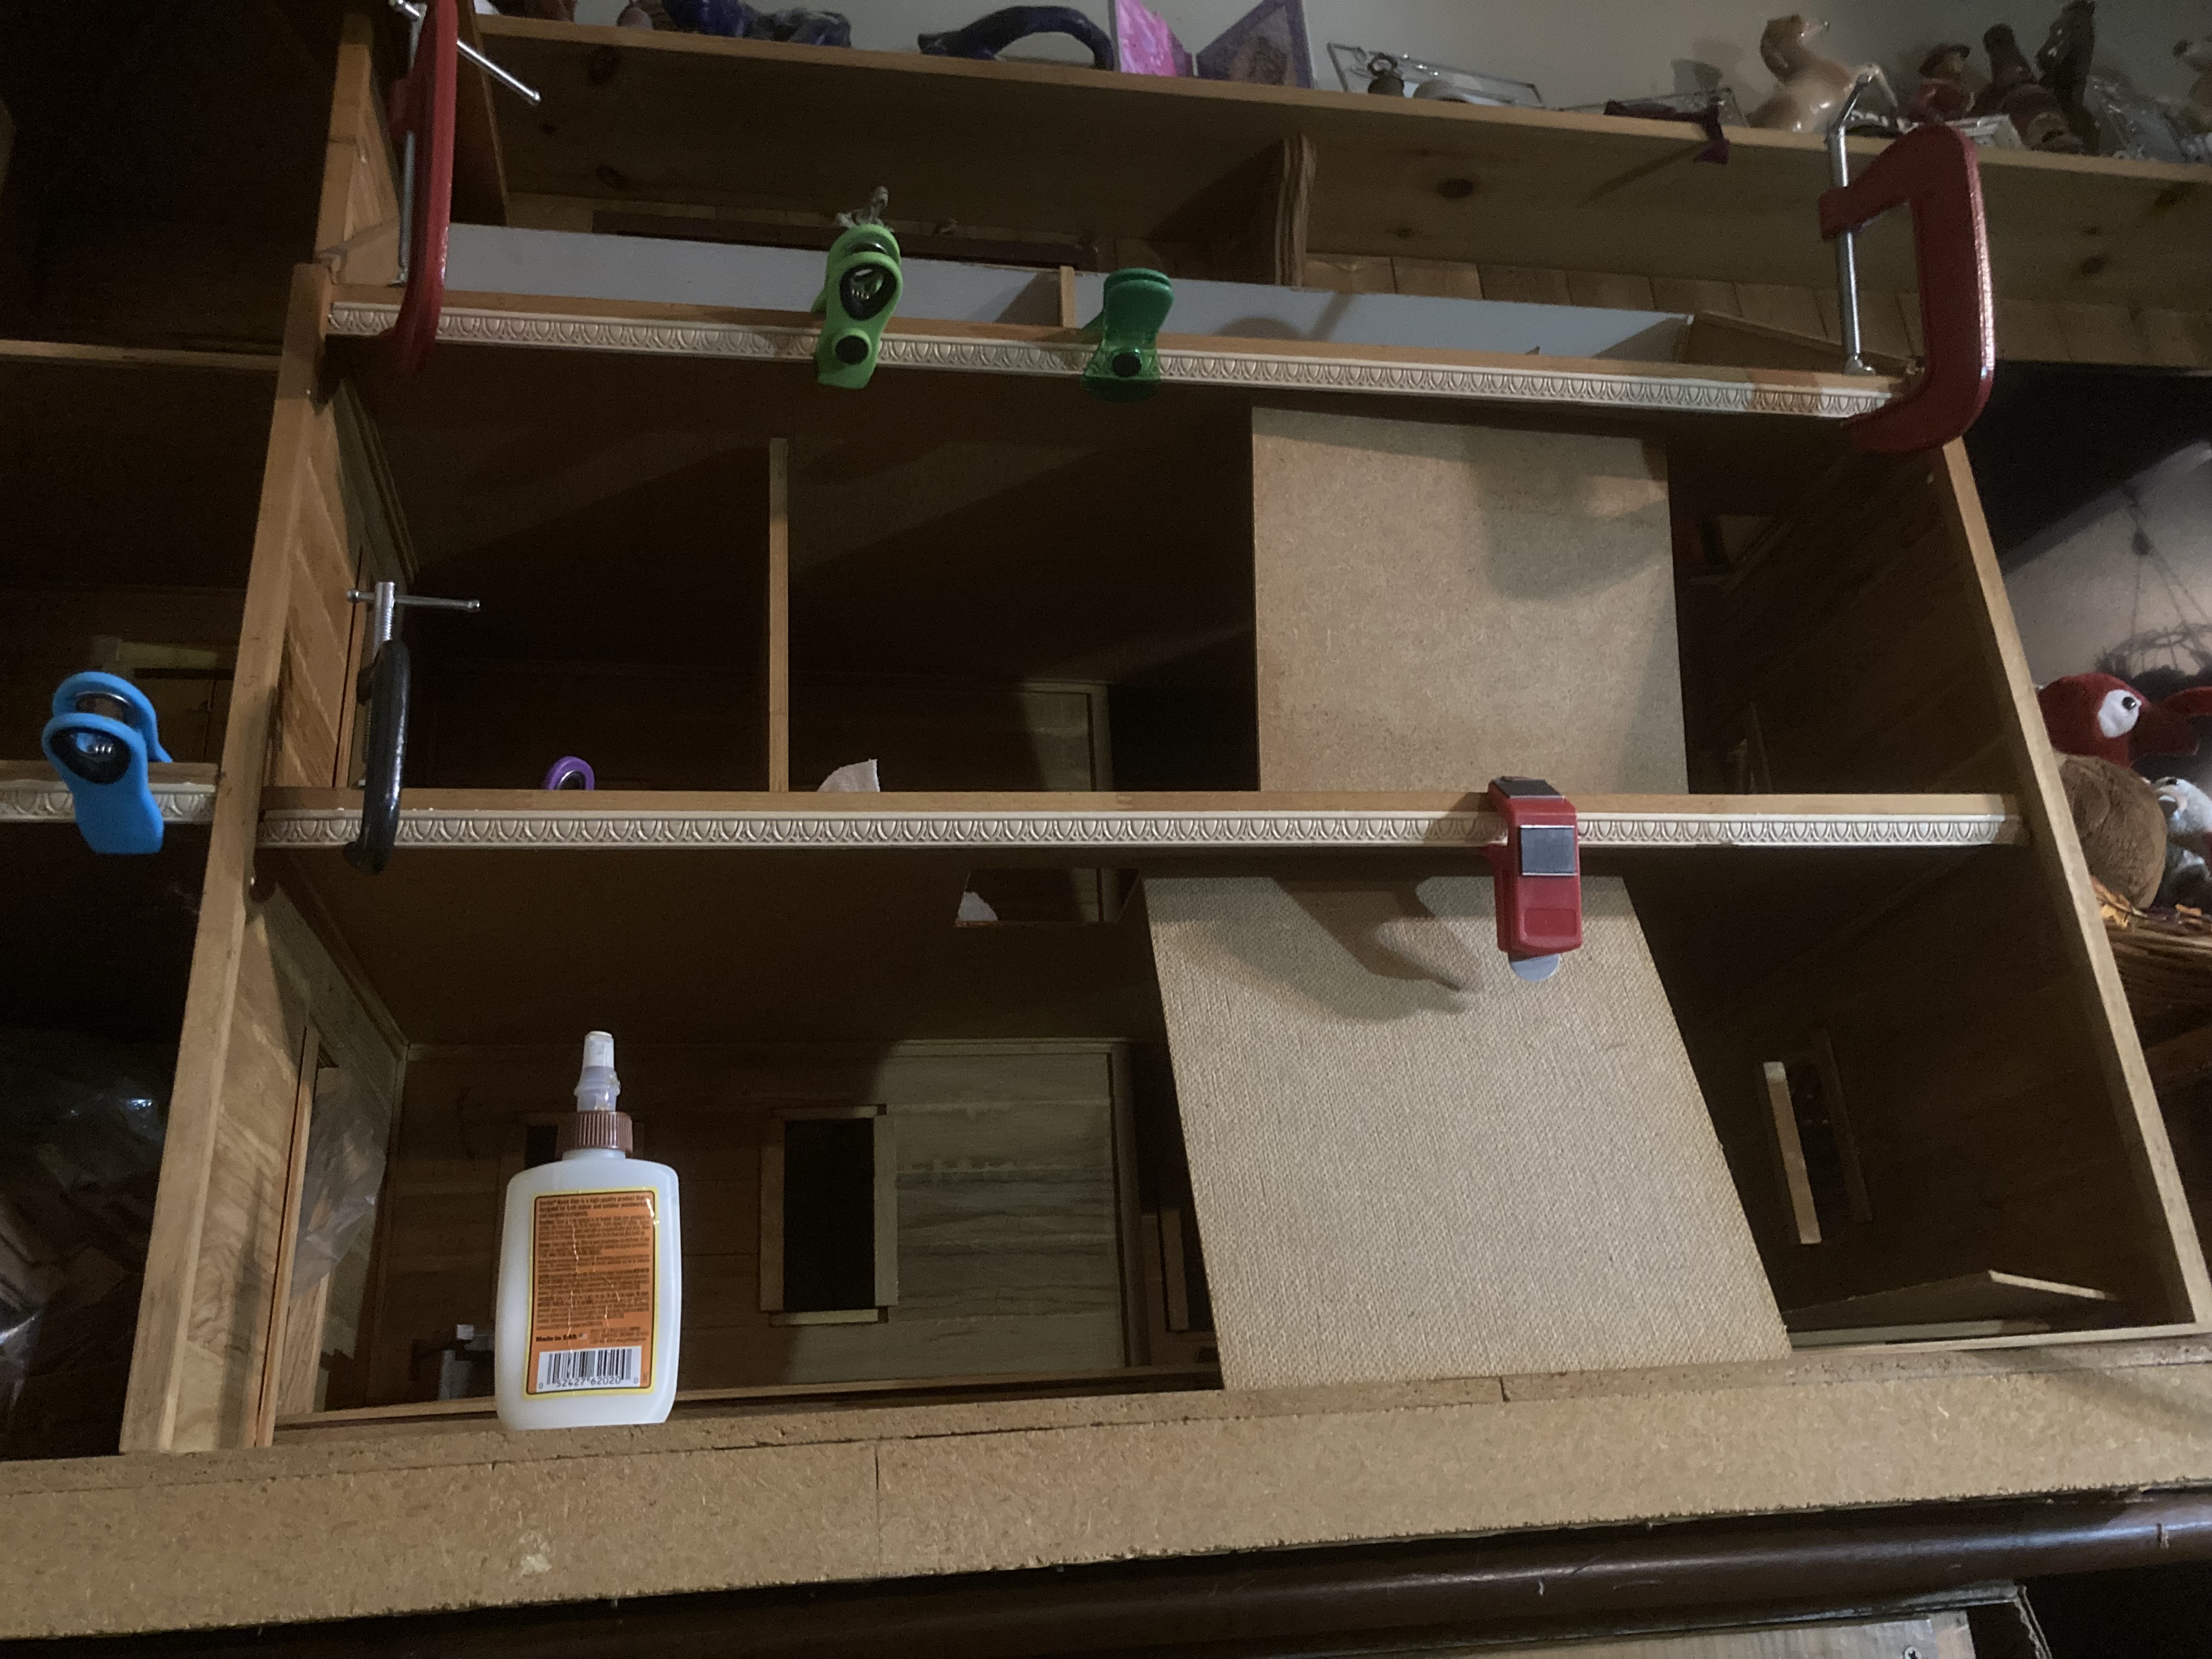
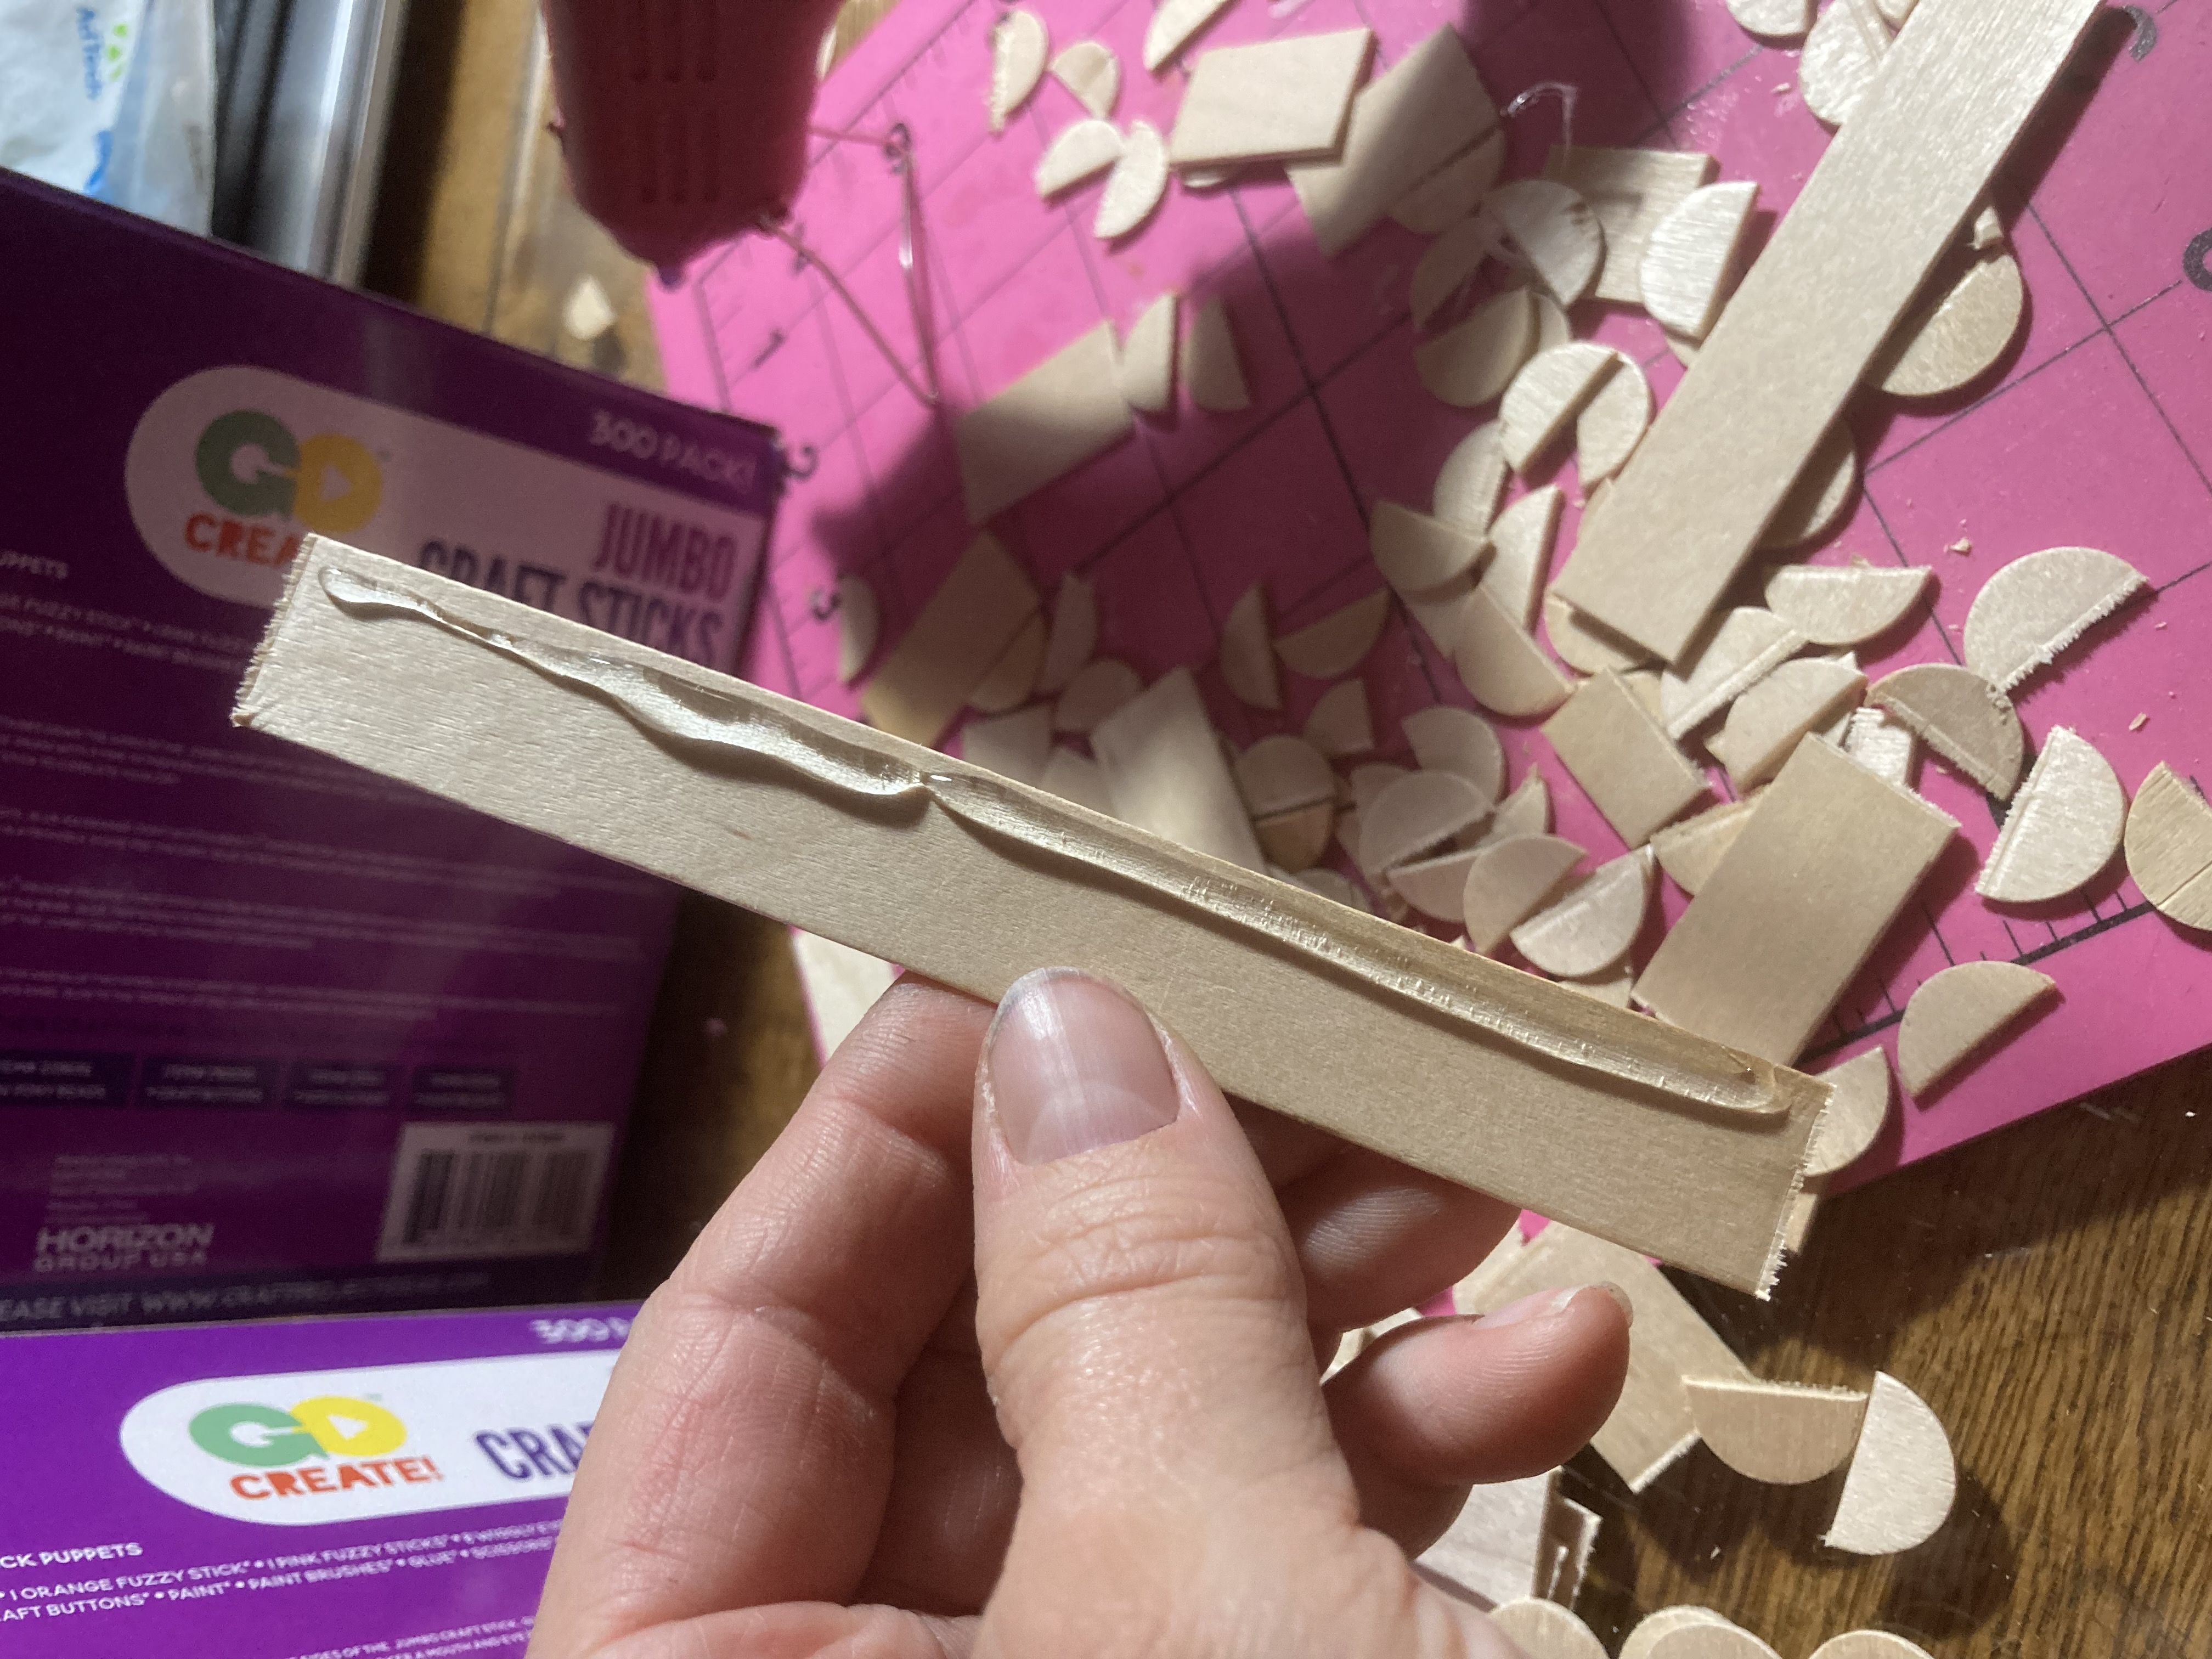
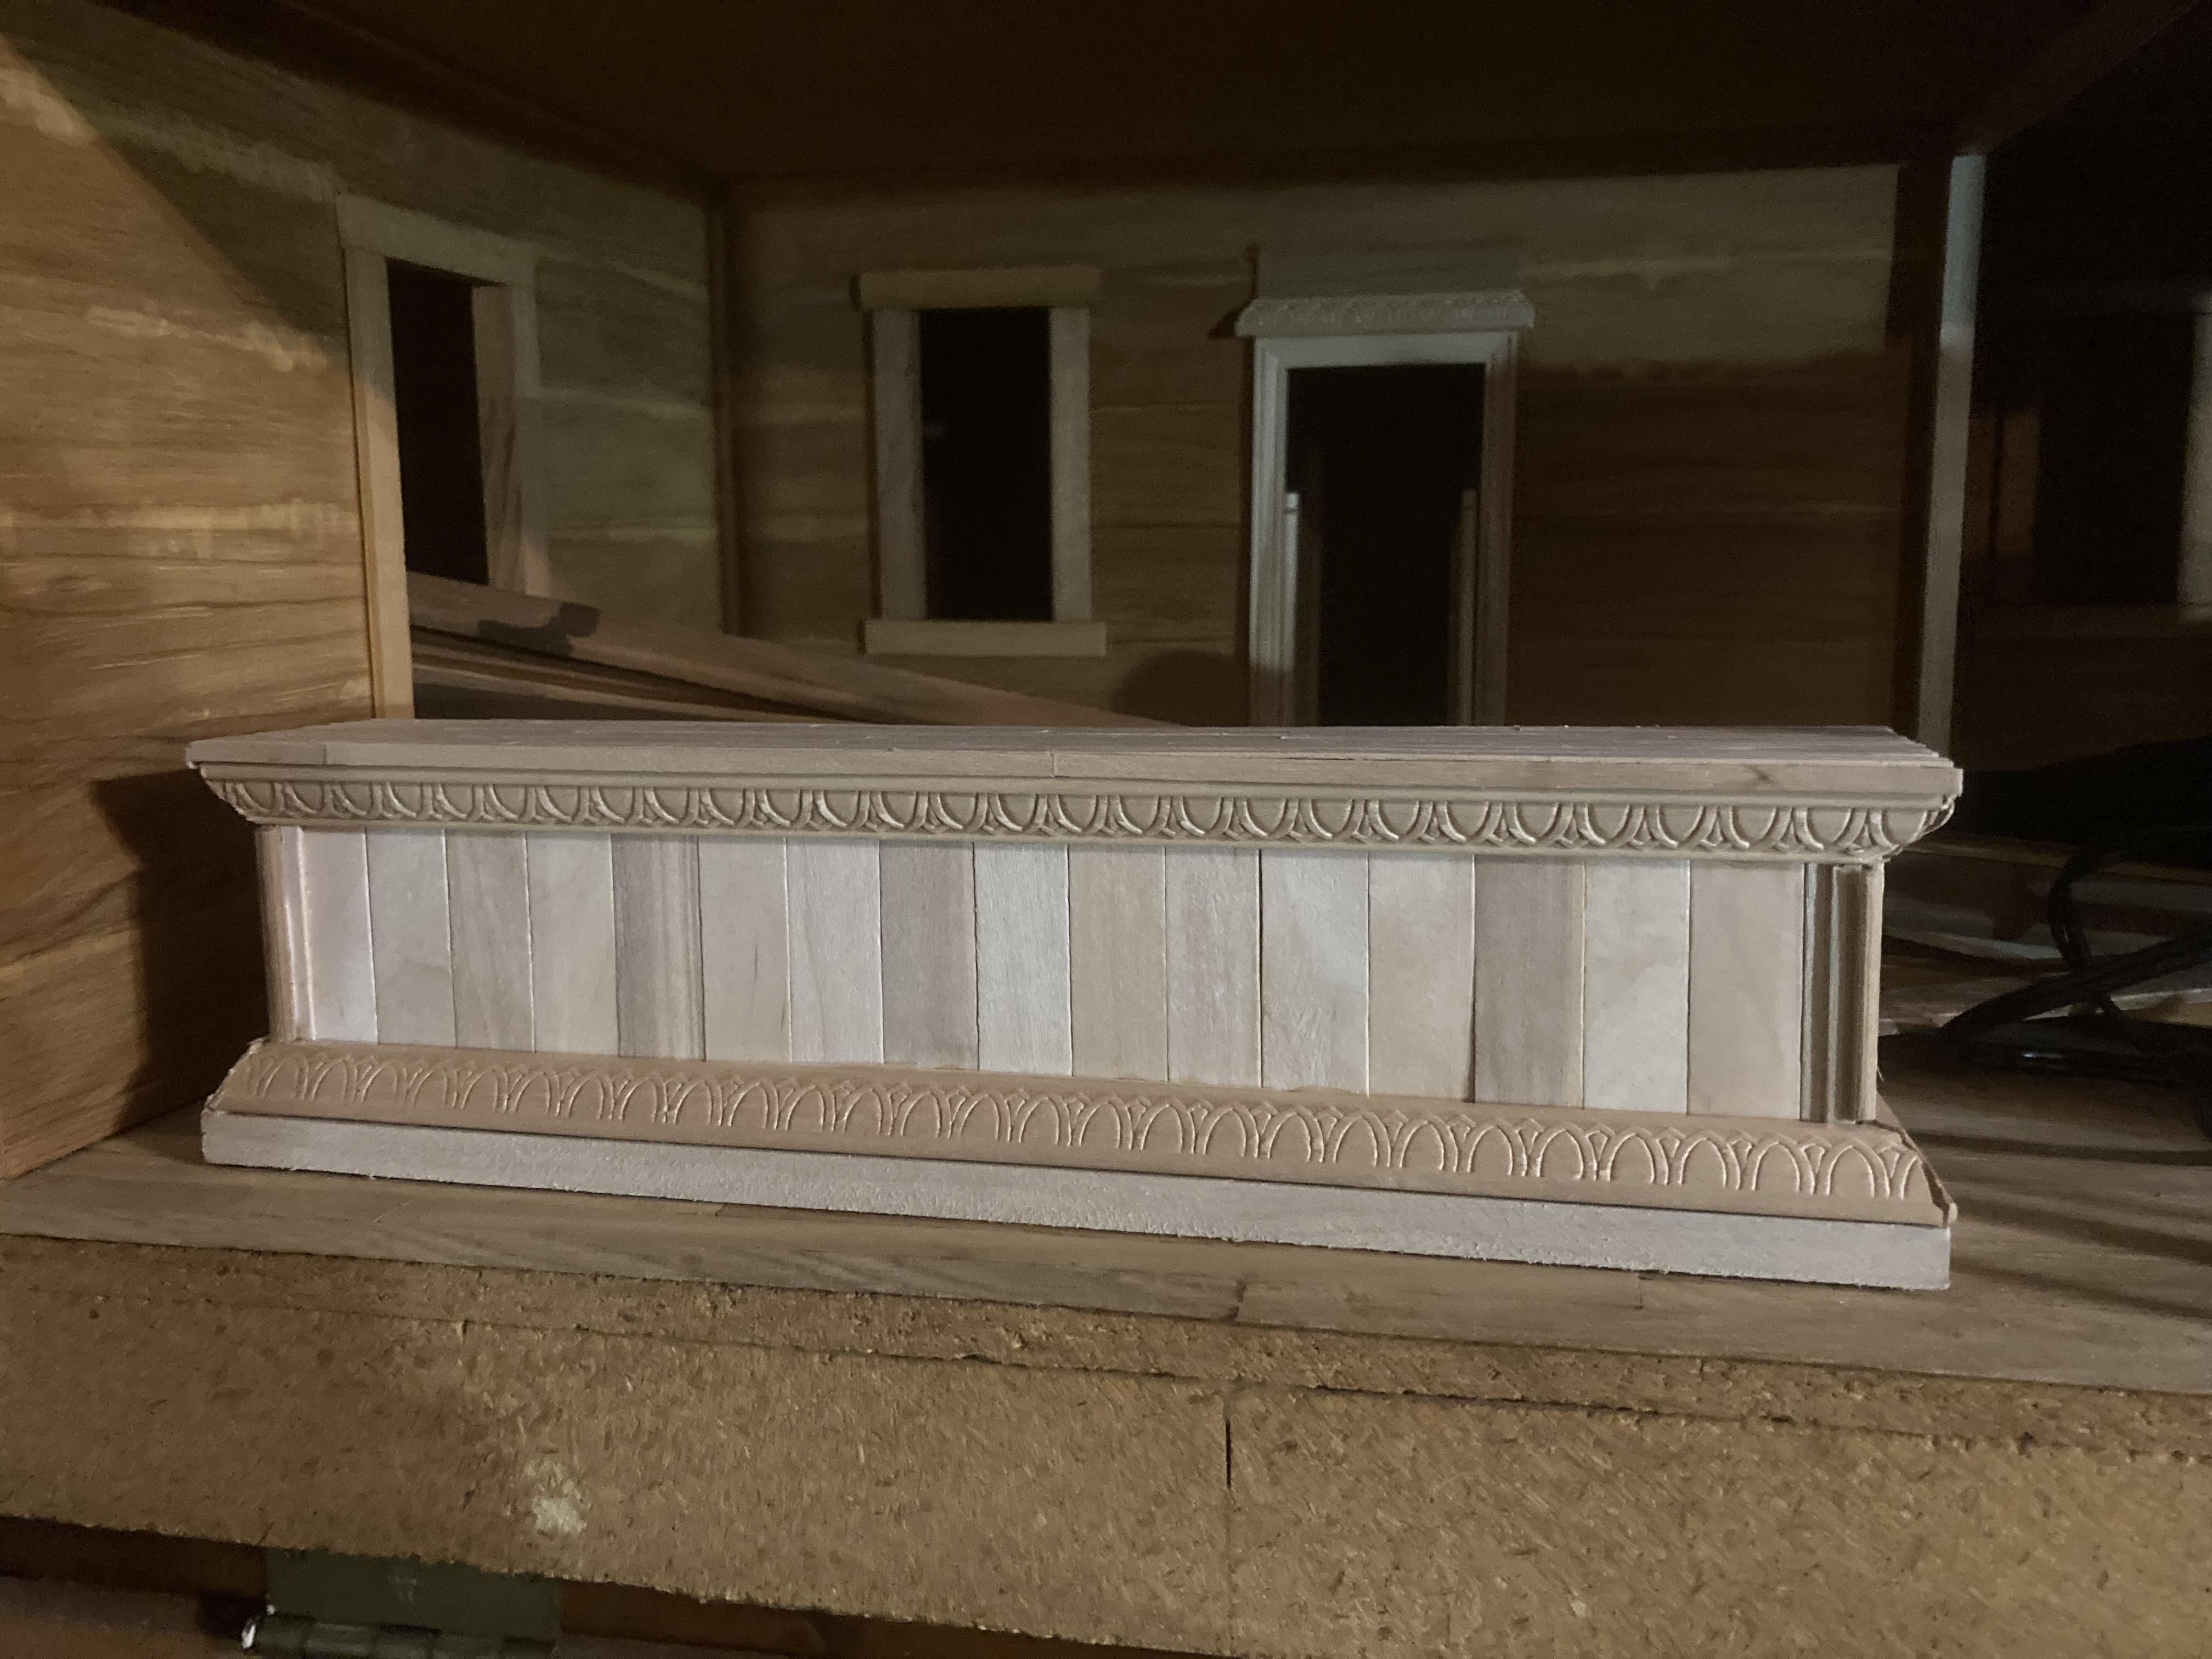
I bought some fancy decorative wooden trim from Menards and glued it along the front edges of the floors, where it sagged the most. I clamped it until the glue was dry. I used pieces of wood to brace it up as it dried to it wouldn’t sag anymore. This would work temporarily, but I knew that it would be weak over time if it didn’t have some better support. Before I could add any extra support, however, I would need to get the floors done on the bottom floor.

I also cut one of the front windows bigger, making it into a door. I bought a swinging bat-wing door on Amazon and glued it in place, but there is a gap on the top that will need to be repaired.
Installing flooring strips.

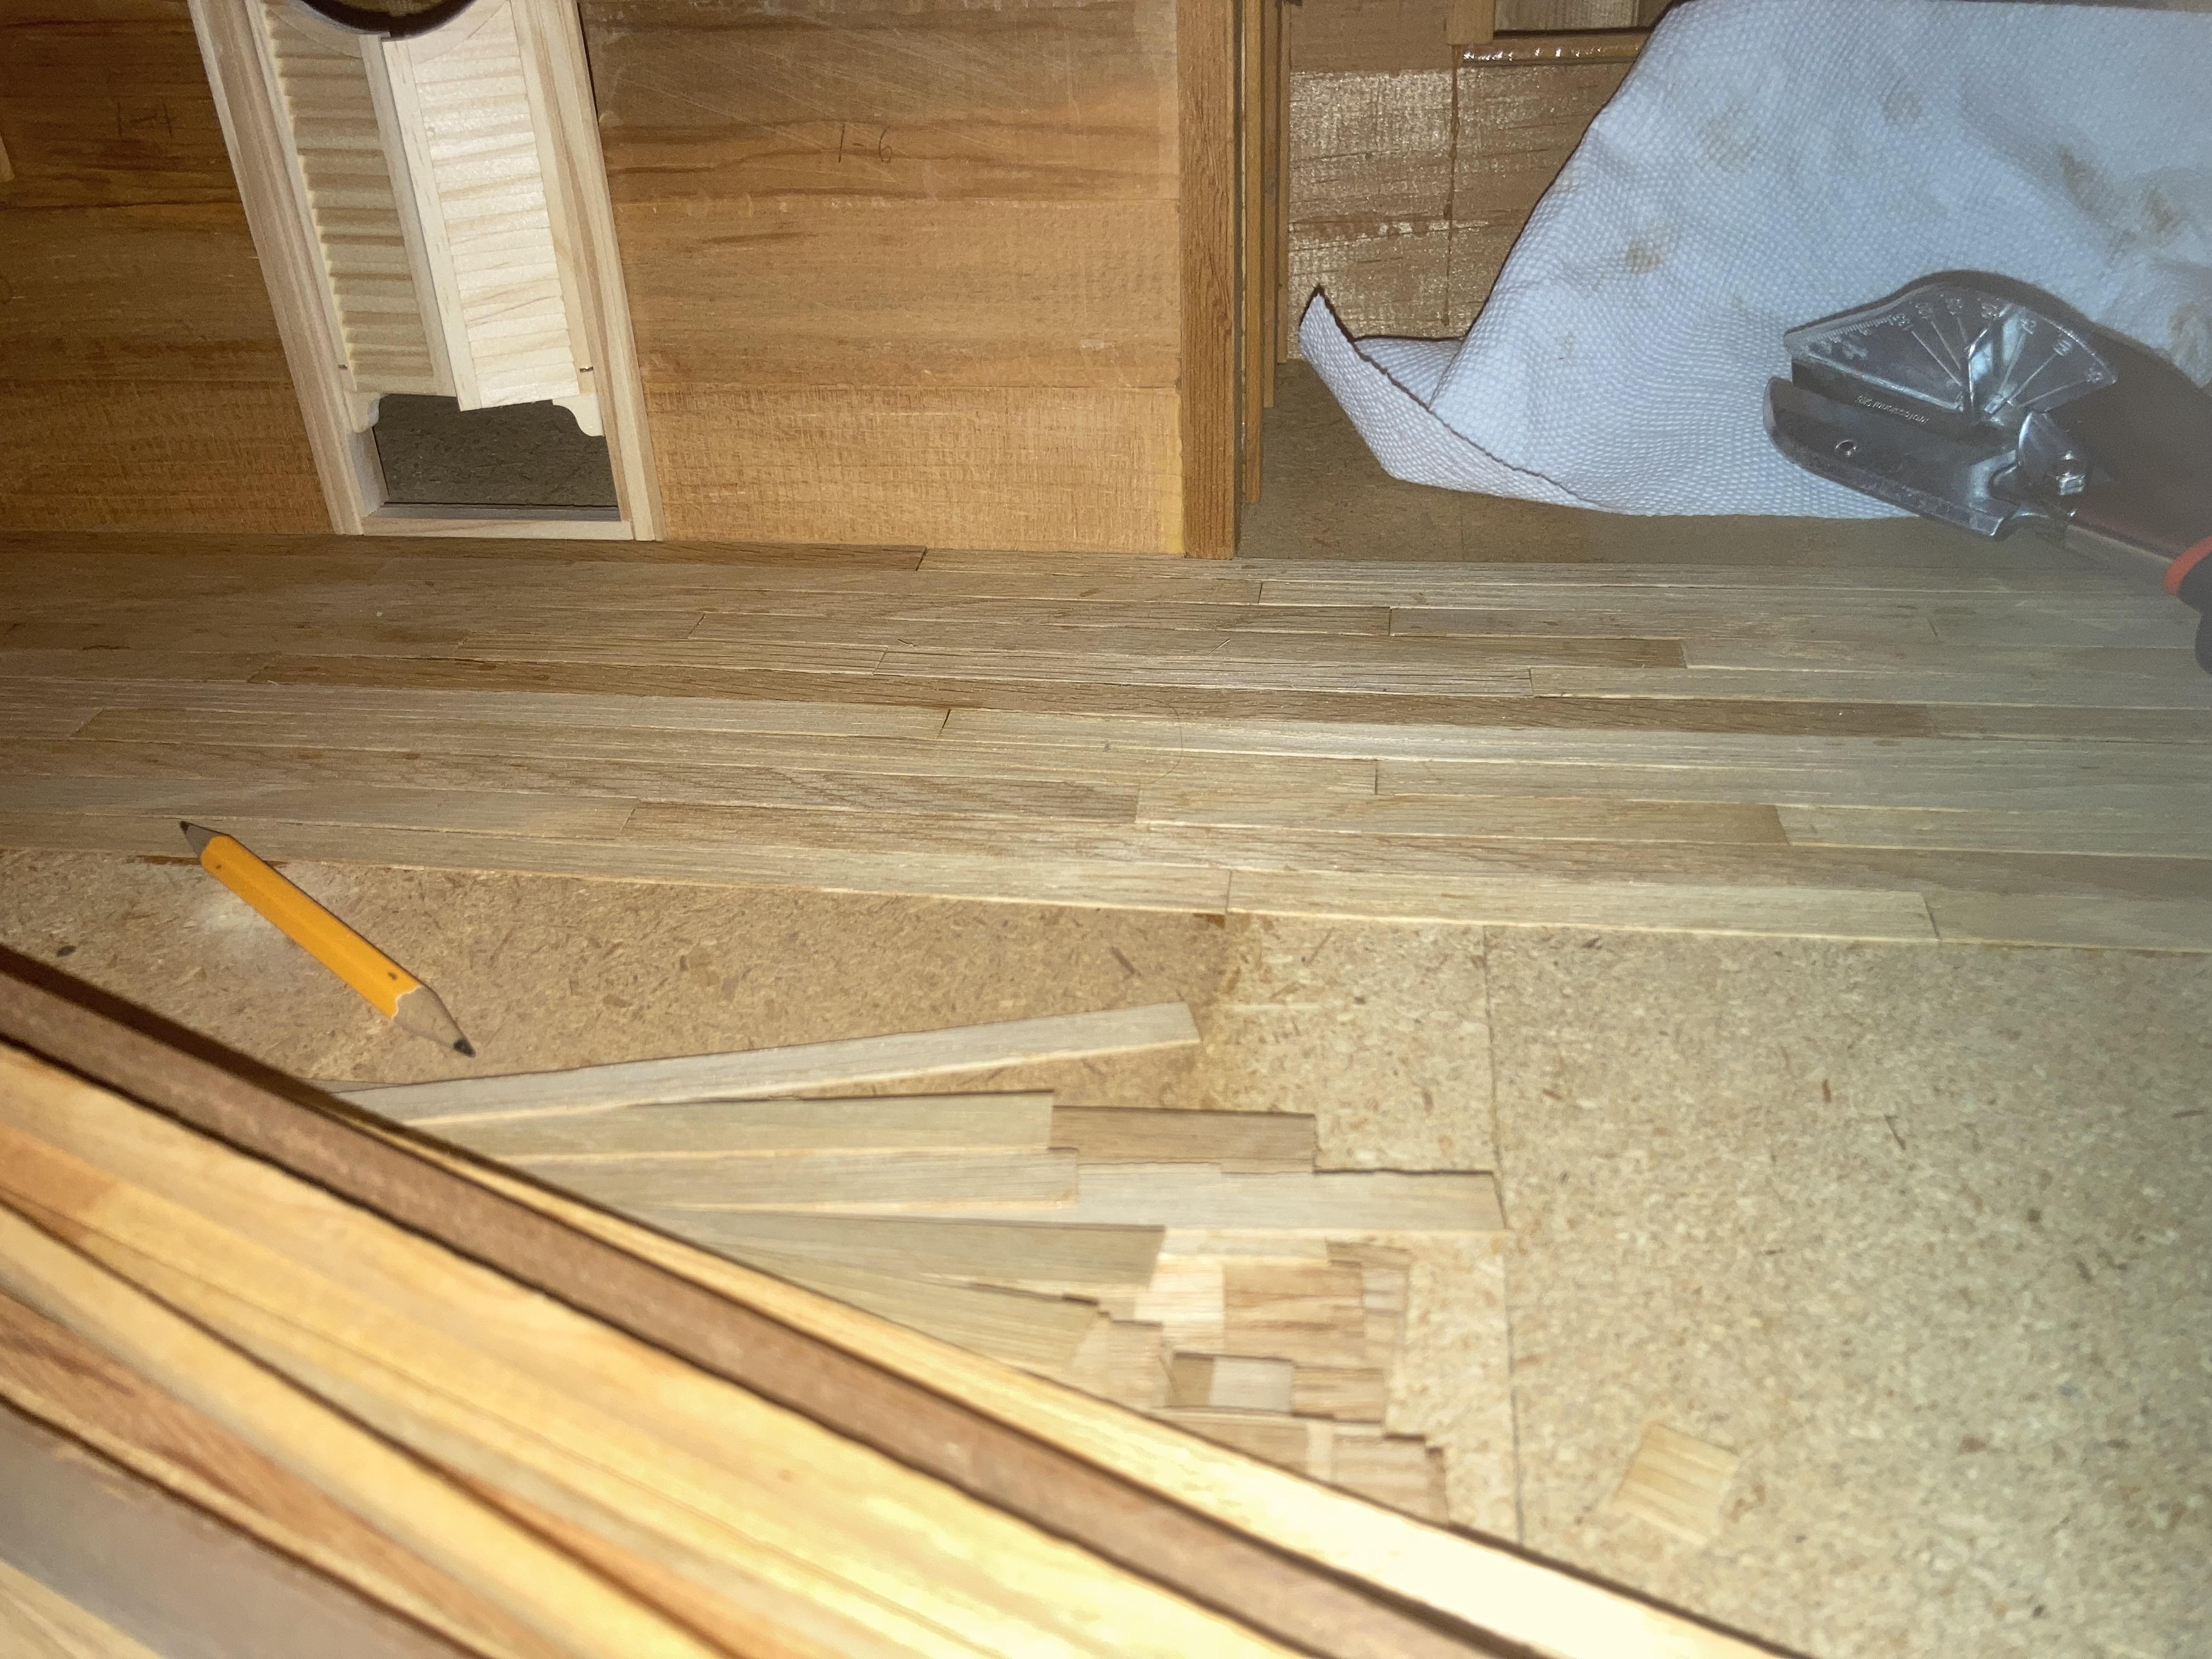
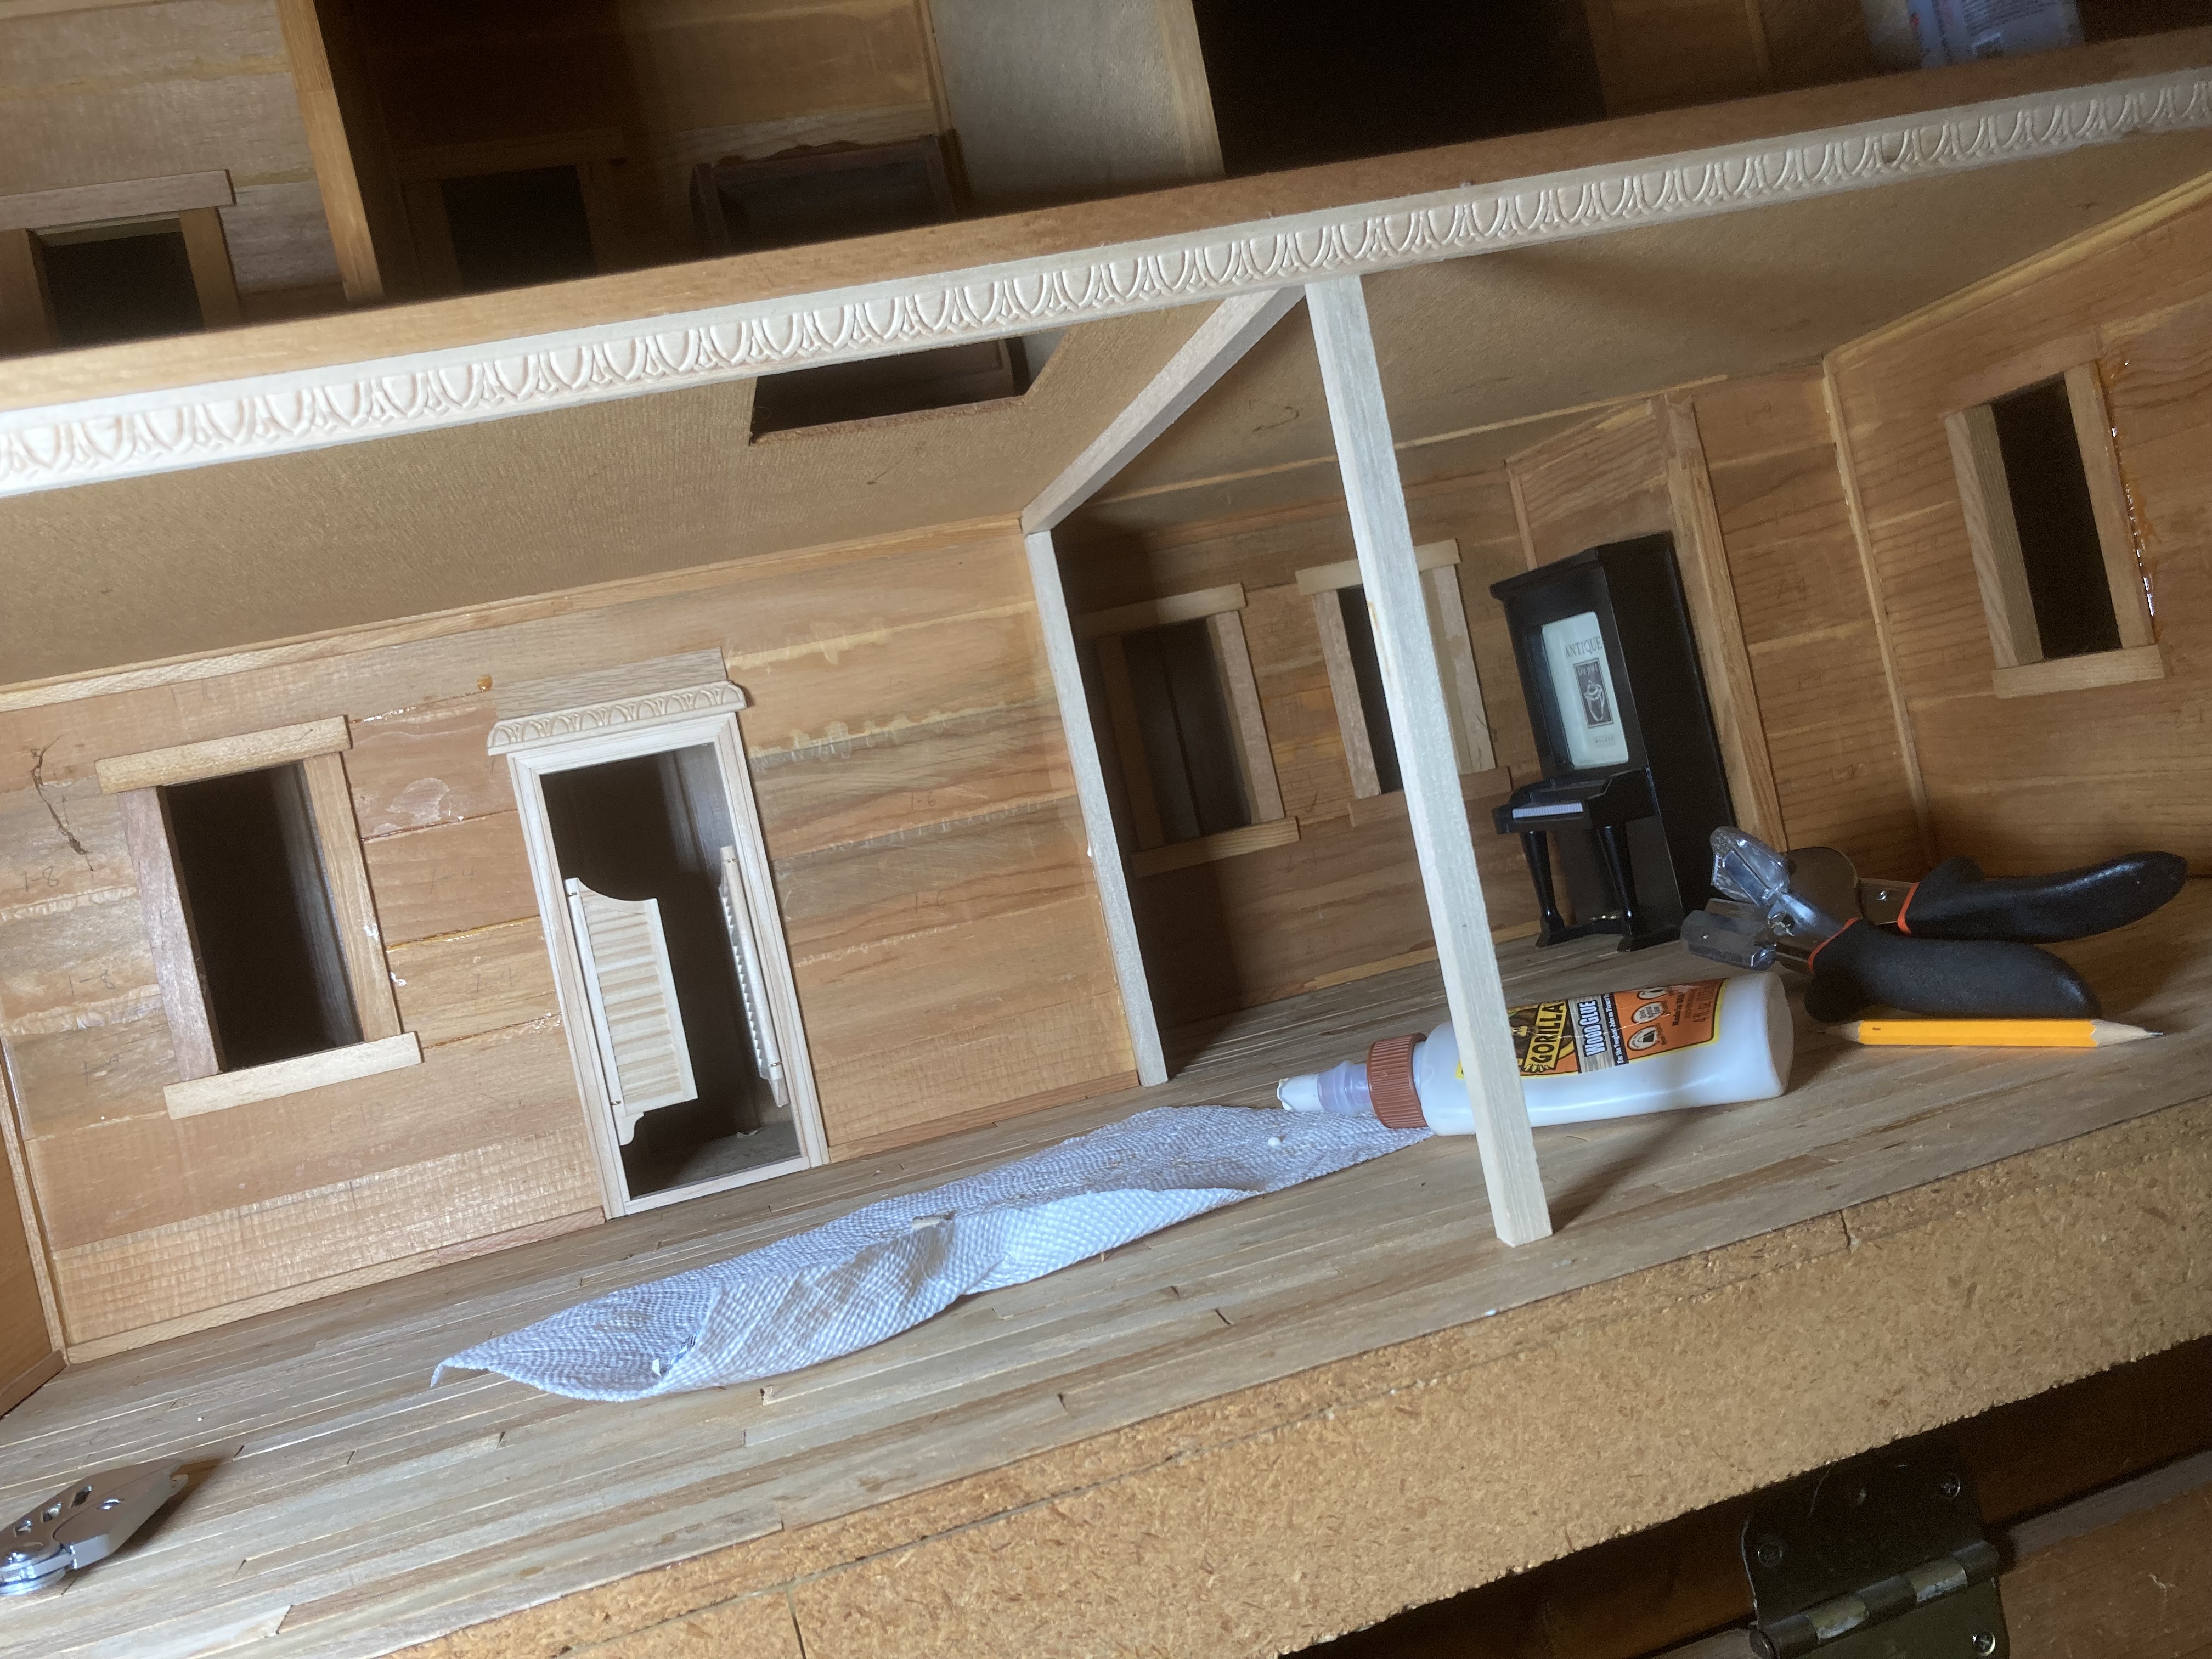
The kit came with flooring strips (YAY) so I worked at cutting and gluing them down. I kept the lengths staggered so there is no pattern to the wood that would draw the eye, just like a real wood floor. The pieces were so thin that the wood glue I used made them curl up in some areas. I weighed them down with heavy glass cup holders until they were dry.

When the floor was laid, I cut some square wooden dowels to make a bracing framework across the middle of my floor. Eventually I can make some sort of fancy corbels or something to spruce it up, but I am confident that it will help to brace the floor above just as a wall would. In this picture you can see the trim I added above the doorway to cover the gap–it wasn’t quite tall enough, so I added a strip of leftover flooring above that. It seems to blend in the with the wood of the walls enough that it works.

Next I need a bar.

This was made with leftover fancy trim from what I used to brace the edge of the floor, plus jumbo craft sticks and square dowels. I used small round dowels, cut in half length-wise, for the round edges on the ends.
Bar in place, with a couple of dolls posing. I built some narrow shelves around the doorway to the back room, lining them with alcohol bottles I found on Amazon and Ebay. The mirror behind the shelves is from the back of a mirrored phone case I bought at dollar tree. The foot rest at the bottom of the bar is made of coffee stirrers (I shoved round toothpicks inside for support) and pieces of square dowel. I bought the spittoons on ebay.

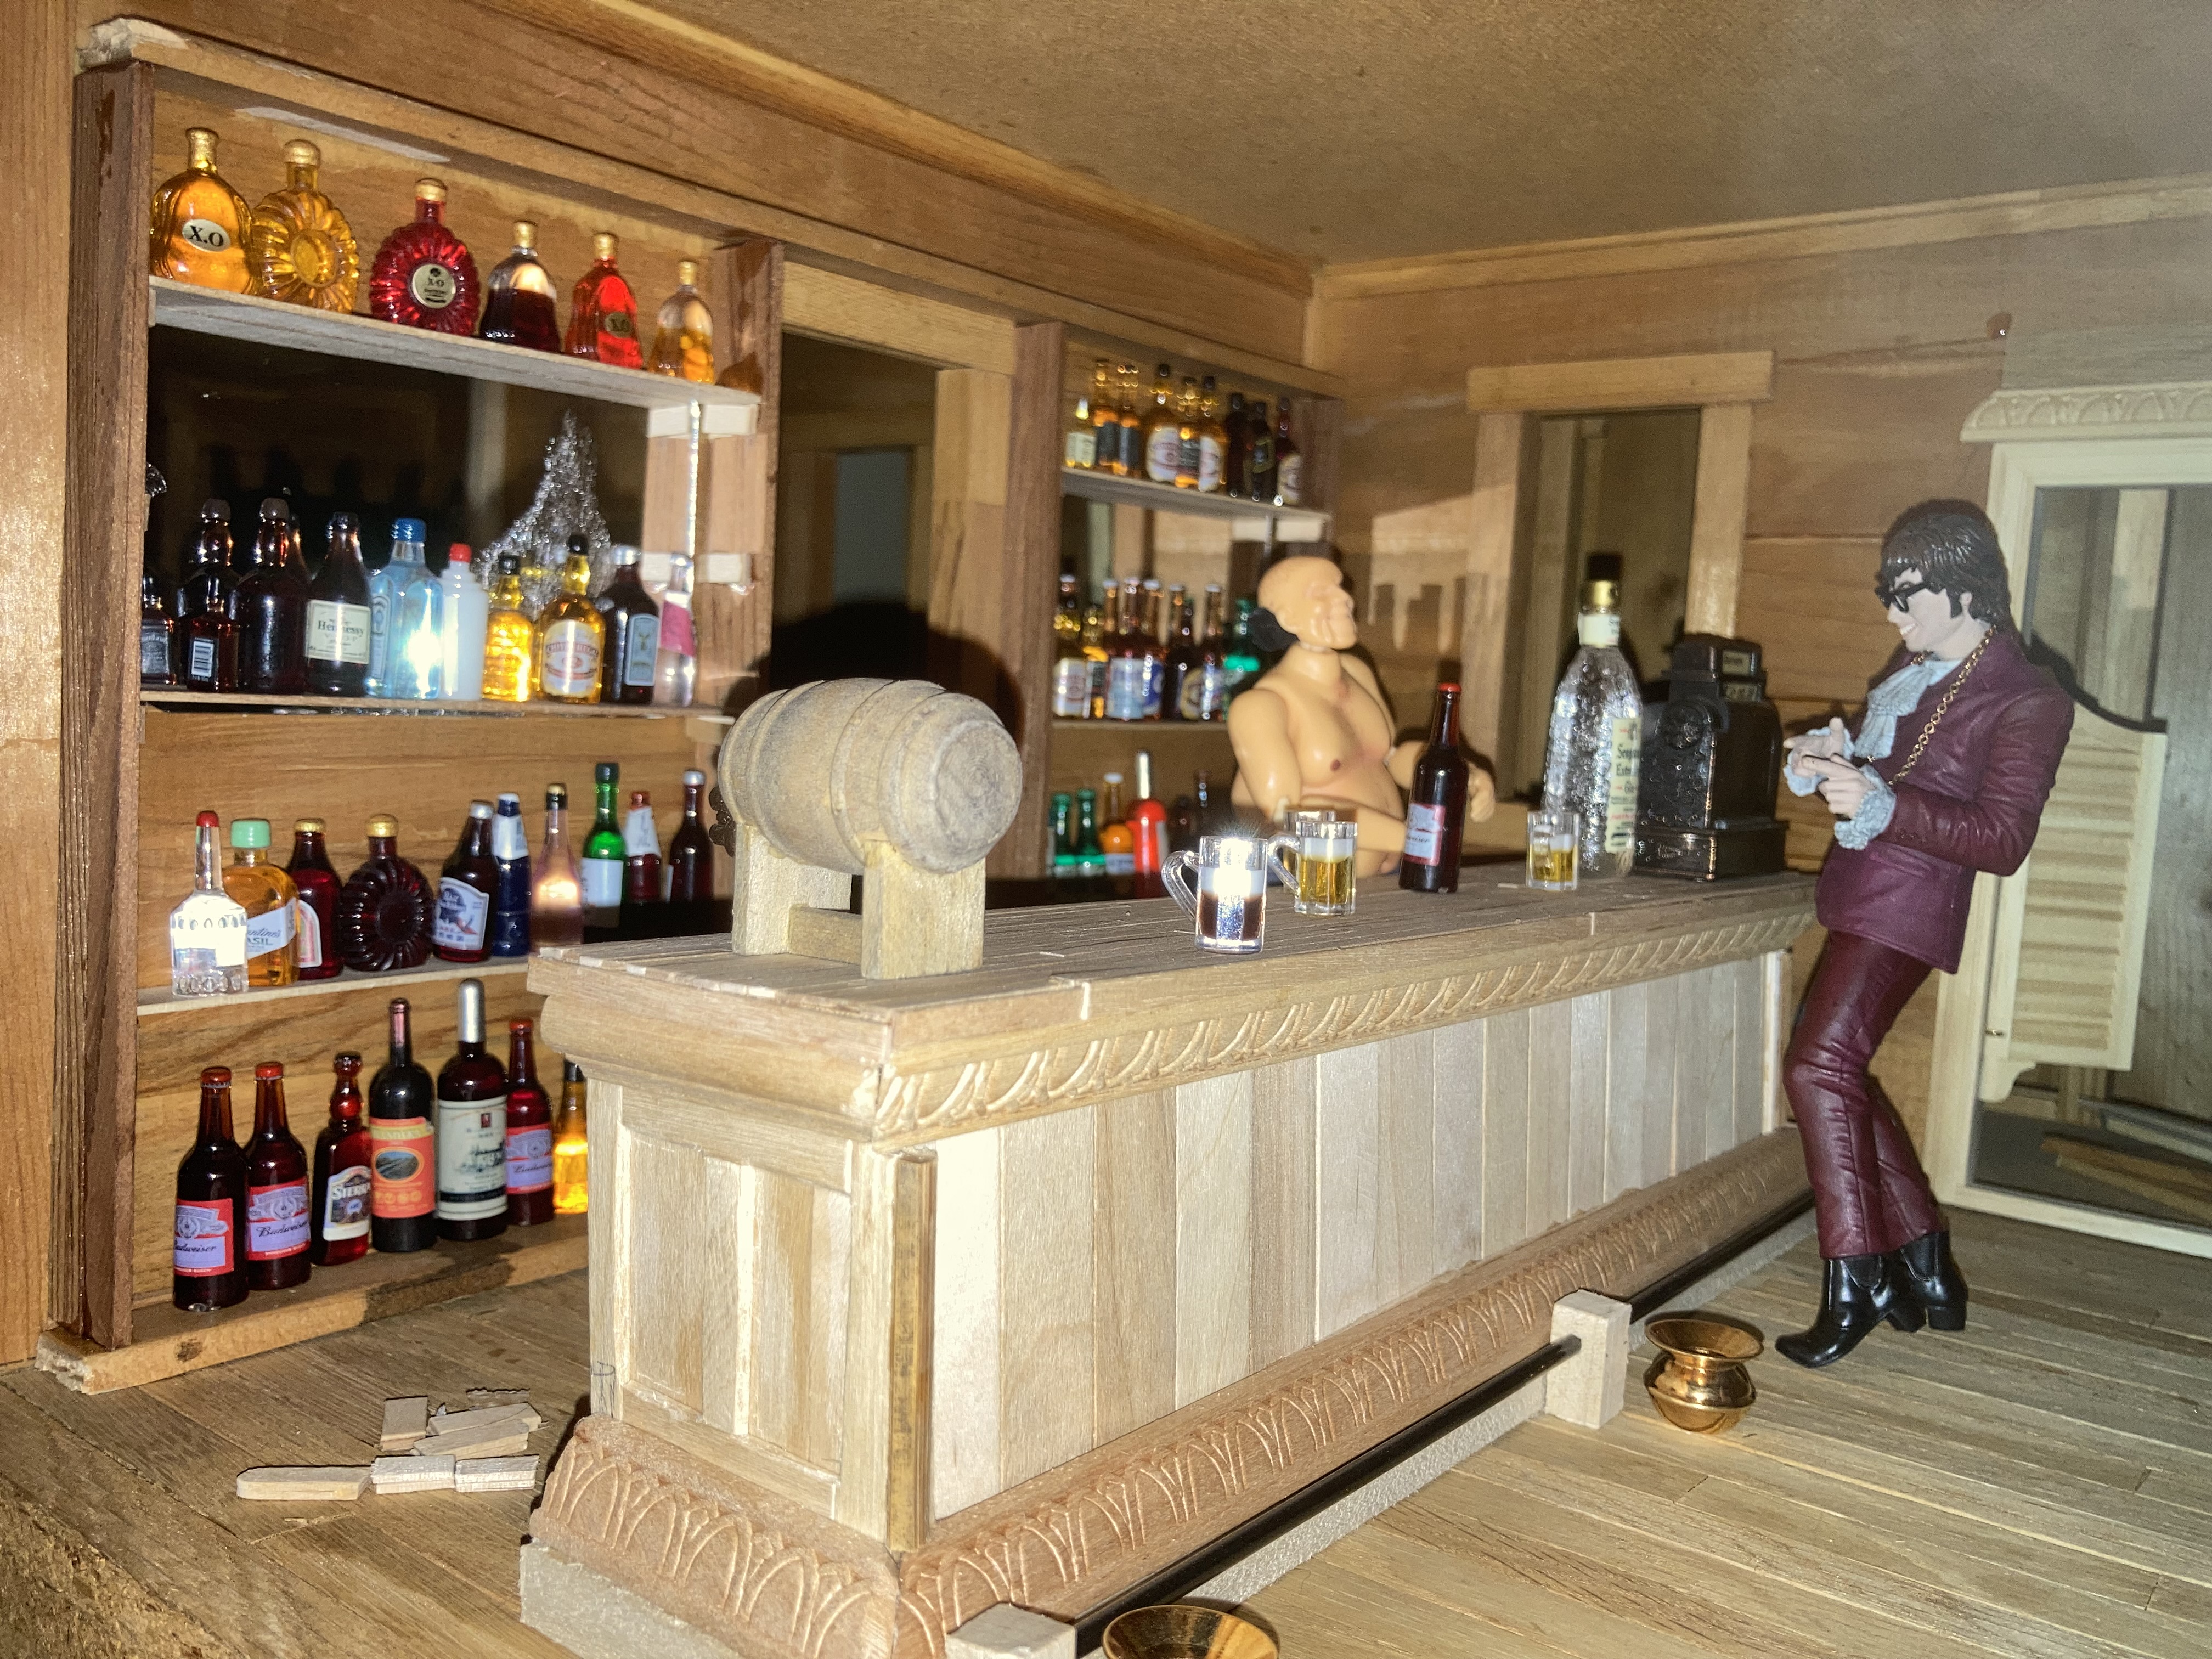
This is where I’m at right now. I plan to get more dolls. I want some bored dancing girls, some patrons playing cards, rooms upstairs, and a storage room behind the bar. Stay tuned!

What my Haunted Beacon Hill Dollhouse Looks like on the Inside

This is my haunted/abandoned Beacon Hill dollhouse. Its main resident is Ash from the Evil Dead, who is visible on the front porch, enjoying a smoke and a beer with his zombie friend (hey, it’s make believe, darn it!)

This is my Beacon Hill, which has been featured in past posts. It is, of course, a work in progress, much like my other houses/structures. I work on different projects sporadically as my time, interests, and supplies allow. I thought today that you might enjoy seeing the insides and some of the modifications I have made to it. At the moment it is decorated for the winter, with snow on the roof. The snow, by the way, is just a fuzzy fleece sweatshirt that was cut into pieces and laid on the surfaces.

Ash (a Neca action figure from the Evil Dead series) with a glass of beer and cigarette that were purchased on ebay. His friend is a zombie that I am guessing could be from the Walking Dead but I really don’t know. Their metal lawn chairs were from Dollar General, in the Fairie Garden section.
So, for the life of me, I cannot get this image to upload in the correct orientation. It is tilted sideways for now until I can figure it out. Anyway, this is a full view of the back. I keep it covered (at least the bottom couple of floors) with a piece of plexiglass that is velcroed to the back of the house. It helps keep out dust and cats.
A closeup of the kitchen. I have a metal Roper range (and love it so much!), a Dee’s Delights wringer washer, a (I believe) Reuter’s kitchen sink, a wooden chopping block, and a Peripera makeup refrigerator. (I might paint that sometime so it looks more like a realistic vintage fridge. ) One of my ‘broken’ windows fell out and I didn’t catch it before taking the photo.
Dining room. I cut a small storage under the stairs. I still need to make a door for it. The front doors of the house still need to be re-attached, but for now they look fine as being caved in, as though it was broken into.
Here is the living room. I have a denim-covered couch that I love, a leg lamp (it is actually a night-light version of the famous Christmas Story lamp), and a few other pieces of furniture. The white chairs are my version of old fashioned table chairs. They aren’t finished yet.
Upstairs sitting room. It is occupied by my child’s toy kitties lol!
Bathroom. It is also occupied by pets. I used watered-down paints to dirty up the appliances a bit, and also the floor. I am still working at painting the trim brown. It was all white when I bought it, and, while it looked very nice, it just didn’t give me the ‘old house’ feel that dark wood has.
The back of the roof tower. It didn’t originally have a door, so I cut and added one. I might add a ghost in there eventually. I made the shingles out of jumbo crafting sticks, by cutting the rounded ends off and overlapping them.
This was originally decorated as a nursery, but I am converting it to a secret room. I made a shallow book case to block the entrance (will eventually add hinges to it), and then managed to find a vintage METAL spiral staircase kit on ebay! This is, perhaps, my favorite feature of this house, so far. I painted it black, and then used some brown paint to add a little ‘rust’. I used a rotary tool to cut the hole in the ceiling for the stair opening, and then patched around it with cloth and glue. i plan to paint over it when I eventually repaint the room, and make the loose cloth look like falling plaster.
The spiral staircase leads to a tiny greenhouse on the roof. I made the greenhouse out of a fancy metal cage that once held scented potpourri. I covered it with clear plastic that I salvaged from plastic food containers. The fence in front of it is a work in progress that I am still figuring out. Eventually I hope to make it encircle the rooftop.
The upstairs hallway. The ceiling needs to be patched where there was a gaping hole leading to the tower. Since I made the tower an actual room, I need to put a floor there for it. I bought the bookshelf on ebay, and now I need to stain it and add books and decorations.
Ash’s bedroom, top right room, with a skeleton friend.
Pennywise in the guest bedroom (middle floor, right side). Pennywise is a Neca figure. He has balloon dog christmas tree ornaments as props, and a giant praying mantis as a dinner guest. I like to position him in fun areas, like in the closet, peeking out a window, etc. Behind him is a small glass display case that I am currently pretending is a large fish tank, with ‘Safari’ brand deep sea fish in it.

This is the progress I have made on this house so far. There are still projects left to do before it is ‘done,’ but, in reality, I will probably always find more things to do with it. It would be fun to add artwork sometime, or black-and-white photos, and I would REALLY like to make a basement that I can set the whole house on top of, with a stairway that leads outside, like some of the really old houses have. Then I could make a boiler and laundry room, and make it damp-ish looking and creepy–an ideal place for Pennywise to hide. Hmm…

Updating a 1980 DollHouse to Look more Realistic (and Eventually 1970’s-style)

Outside view (As I bought it.)
Inside view (before).

This house spoke to me for one reason or another when I found it on Marketplace. For some reason it feels older to me than the 1980 signature on the bottom. I have seen other, older houses that share the same basic shape but have different porches or a balcony on the window. I don’t know if it was built from a kit or maybe (and more likely) from plans. It has handy dandy wheels on the bottom and rolls so nicely!

The first thing that had to go on this house was the atrocious paint job. I cringed each time I looked at it. I swear someone decided to ‘spruce it up’ with chalk paint before listing it for sale, and they painted it so sloppily i just… well, I just had to fix it.

First I tried a little acetone on a cotton ball to see what exactly was underneath the paint. Was there some grand finish that begged to be restored? No–it looked like it was just white paint underneath, and it would be a mess to clean off the old paint just to get it back to white. I could just paint over it.

It took me a while to decide what I actually wanted to do with this house. I had plans for a saloon at some point, and a 1920’s style house party, with flapper girls and a grand banquet. My first thought was to make this a saloon, as the covered porch might be made old-west-ish, I suppose, but then just a week or so after I brought this house home I discovered a saloon-of-my-dreams house (actually it is a Duracraft Deluxe Victorian Mansion) that will make an awesome saloon and brothel. So this one will be my 1920’s house, and I think I am happy with that decision.

I started with some new siding to try to spruce up the outside. My mother had just re-sided her dollhouse with craft sticks, and I liked the result, and so I decided to try it myself.

Jumbo craft sticks with curved ends trimmed off (using miter shears). I used hot glue, applied only to one edge of the stick.

I used jumbo craft sticks, cutting the curved ends off to make them squared. Using hot glue (or I am sure that wood glue would be a better choice, but with a bit more patience needed for drying), I glued one long edge of the sticks at a time, overlapping them and keeping them staggered so they looked randomly applied.

Start at the bottom, doing one row at a time, and work your way up, overlapping the rows just slightly. Also try to keep the stick lengths random so you don’t form a pattern that will distract the eye.
Window trim

After I got the siding done, I cut some sticks length-wise to make slimmer window trim, and then glued them in place over the siding.

Siding and window trims in place.
White paint.

Once siding and trim were in place, I painted it white. It took several coats of paint to cover the wood and especially the black porch, but I am much pleased with it. I haven’t decided what to do with the roof, so for now, it will remain messy black. I will probably paint it, maybe like slate? I’ll have to do some research.

The porch still troubles me a little. I want to get more of an art deco feel, but something that will still fit in with the rest of the house. I am considering railings and corbels, to fancy it up a bit. Of course it still needs doors and windows, but that will come later.

I haven’t done much on the inside, yet. I am really hoping for some sort of grand staircase, but somehow without cutting into the wood floors. Hmm. Maybe a freestanding staircase that can be moved around? Lots to consider. I will, however, add a railing to the second floor so I can have guests leaning on it and looking down. And also, perhaps, a speakeasy in the attic. So many ideas!

12/26/2022 UPDATE: I’ve been toying with different ideas for a while on this one. After initially writing this post, I came across a different house that I want to make into a flapper girl house, so I wasn’t sure what to do with this one. I decided to try a 1970’s theme. I repainted it gold for now, and plan on adding shingles. Here is an updated pic:

Looking for that ’70’s look.

I have also added a lattice handrail made from tin ribbon. I might add triangles of that ribbon into the upper corners of the porch posts for decorative brackets. I have toyed with the idea of painting the trim brown but I don’t think I can bring myself to do it.

The idea for this house is now to decorate the inside with golds, browns, oranges, and greens to catch some of that 1970’s feel. I always loved the show “That 70’s Show” and hope to recreate some of that.

How to Update a Toy Dollhouse Barn to Look Weathered and More Realistic

Barn after a lot of modifications.

This barn was once part of someone’s railroad table. I had been looking for a good barn project (I love old farms, especially the barns, especially when they once had horses in them. I am a now-horseless horse-nut).

This barn was originally made to sit flat on the ground, but I wanted a lower level with livestock pens, more similar to my grandparents’ bank barn. In order for that to happen, I would have to build a base for it to sit into.

Building the base.

I started with a good plywood board for the base, set the barn on top, in the position I wanted to permanently affix it in. I traced out the barn’s outline.

Next I decided on the locations of doors and marked them with a pencil. I then cut lengths of square dowel to fit the walls, leaving open spaces for the various doors. I built up layers of dowel, alternating overlaps in the corners for structural strength, gluing them down as I went.

Original version of barn, sitting on top of its new base. I forgot to make the windows, so I later disassembled a few areas to cut out the windows and then glued it back together.

When the bottom of the barn was as tall as I wanted, I customized the dowel placement so the original barn would sit comfortably on it without moving. The main upper section of the barn is not glued onto the base, so that I can lift the top original barn off and see the inside of the lower level.

With trim on windows and doors and a little paint added.

I used halved craft sticks to add trim around the windows and doors. This helped to give the edges a more finished look.

After first coat of primer.

I didn’t like the original shiny red finish, so I sprayed the barn with two coats of Rustoleum 2x gray primer and paint to prepare it for acrylics. However, when I started painting, I discovered that the texture just didn’t seem right. The barn’s smooth wood was too flat to look like real barn wood, even with painted texture. I ended up using a pallet knife to apply a thin coat of wood putty, then scratched into it with the edge of the knife to give it texture.

Adding some wood putty for texture.

One end painted. Also with some shingles applied.
I decided to make my roof look rough, so I staggered the cedar dollhouse shingles on the roof. I started out painting the shingles first, but finally just put them all on and then painted afterwards, as it helped to keep the colors coherent.
Shingles done, front partially painted.

I used a mixture of browns, payne’s gray, and black on the wood, with a tiny bit of green for highlights.

This is a closeup of some of the texture from wood putty under the paint. This was before I was finished painting.

In case you were wondering, the animals are mostly vintage Auburn Toy Company plastic animals. I used to play with similar ones at my grandparents’ when I was a child. When I made arrangements to get this barn, I glanced at marketplace and found these animals for sale, and was able to snatch them up. I almost cried when I found them, as I haven’t seen any like them since my childhood. I have since found others on Ebay.

I have plans for further projects, including a small milk house/barn hill, beams in the hayloft, and possibly some horse drawn machinery. I think it would be cool to make stalls for the animals and milking stations. Stay tuned!