While I never did get good marks in History classes (I have to stop and think sometimes to remember important dates in my OWN life, much less others!), I do love seeing and learning about historical artifacts. As a child (and even as a teen) I always wanted to be an archaeologist, digging and discovering.
What I really love is when I find a horseshoe (or other antique) that comes with a story. It isn’t often that you find the history of a lowly horseshoe, but sometimes you will, and sometimes all you have to do is ask, as some sellers don’t think it’s important to say where they dug the shoe up, or how their grandfather was an award winning farrier back in the day and this was one last shoe he kept hanging above his garage door.
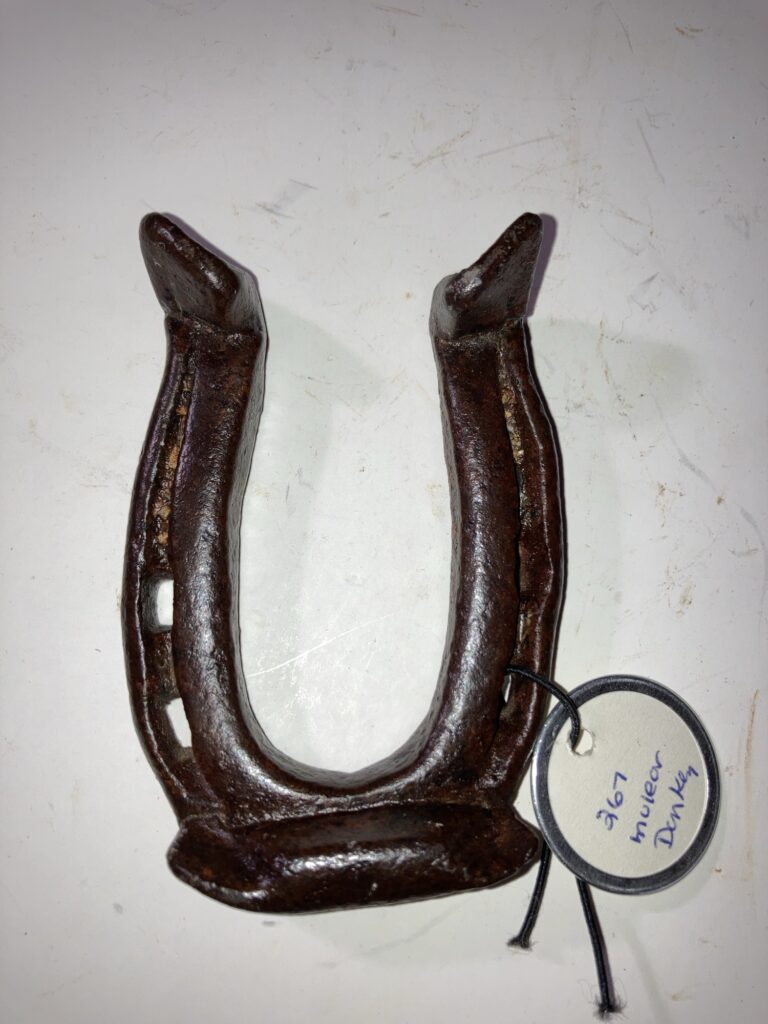
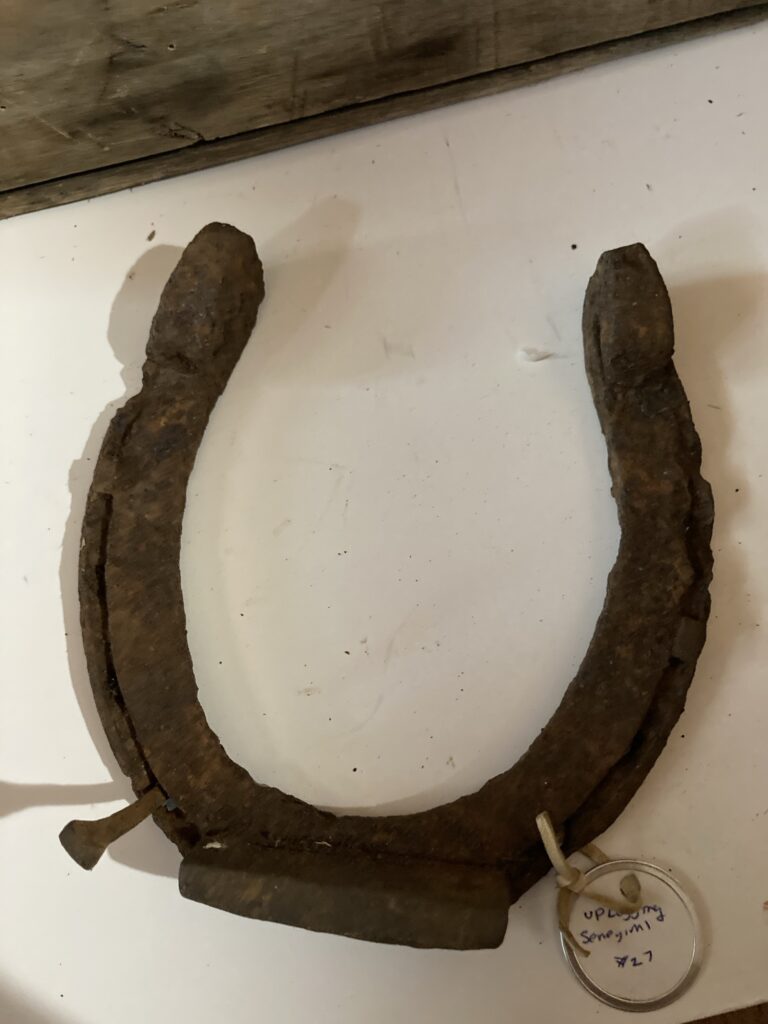
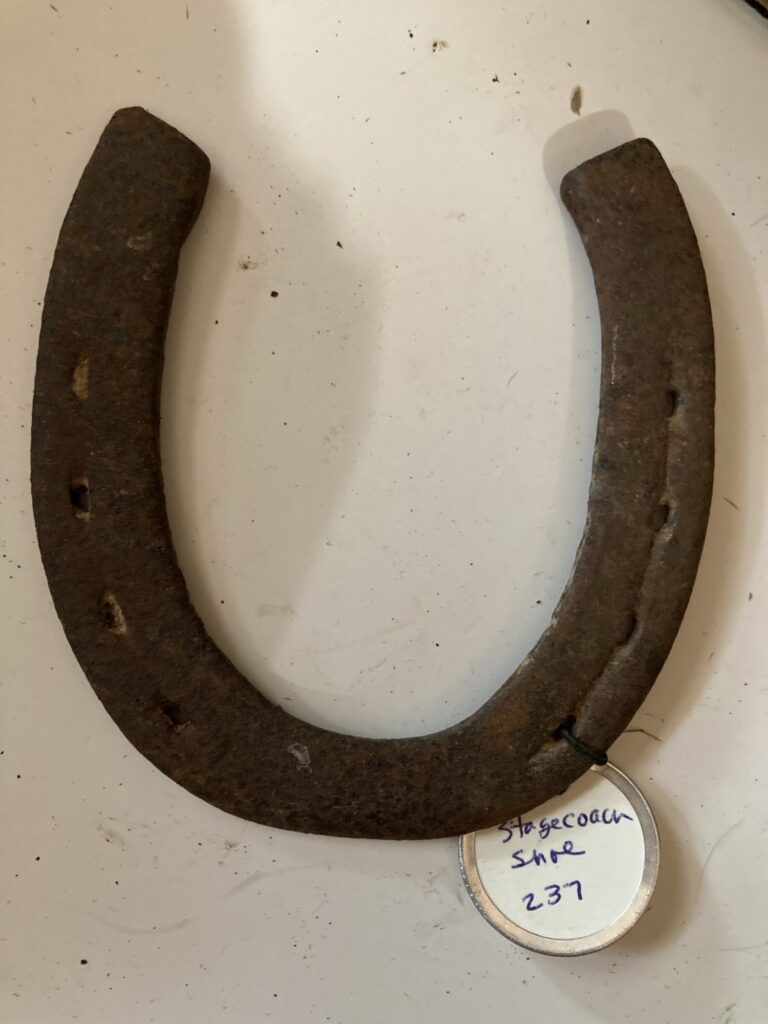
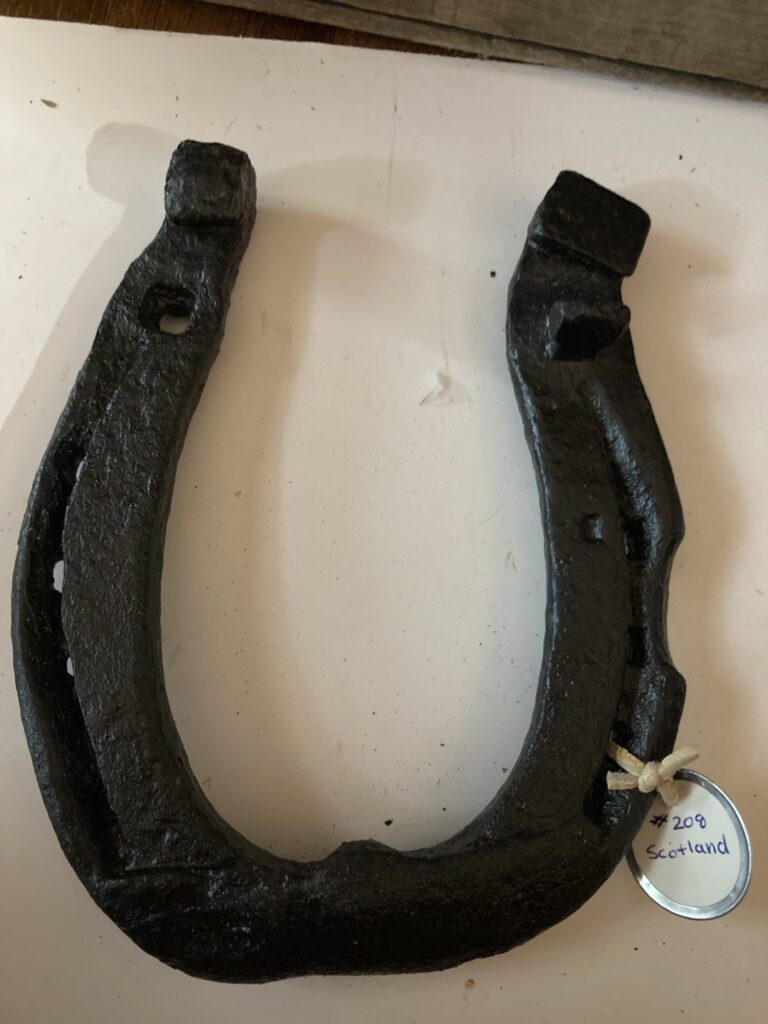
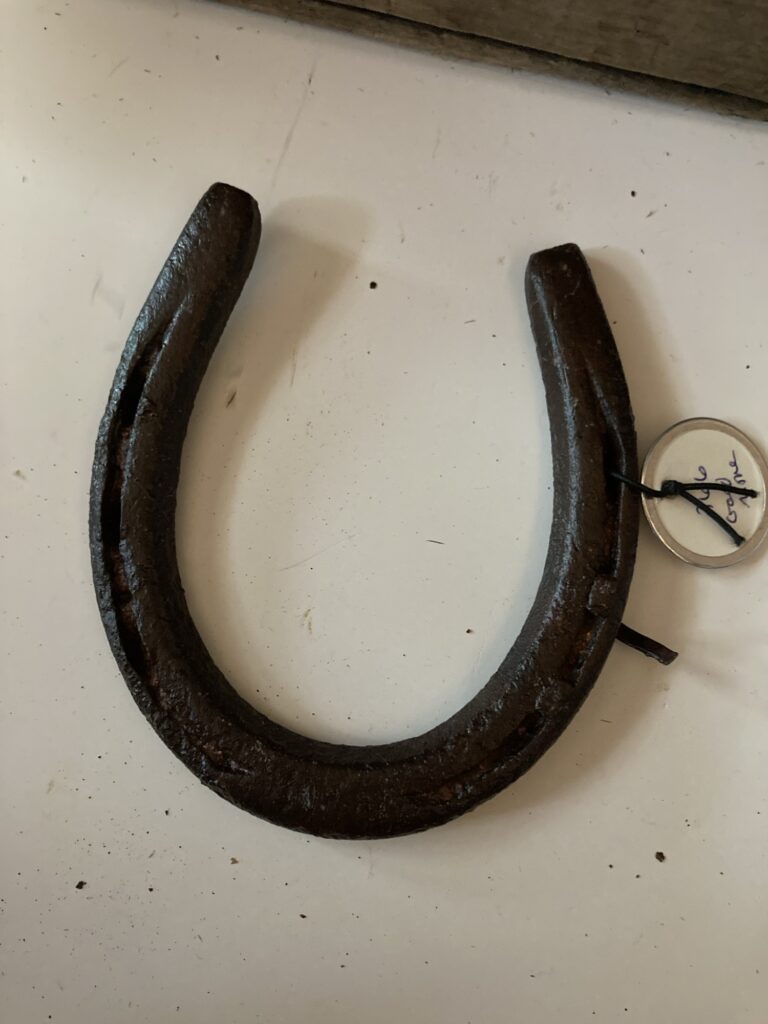
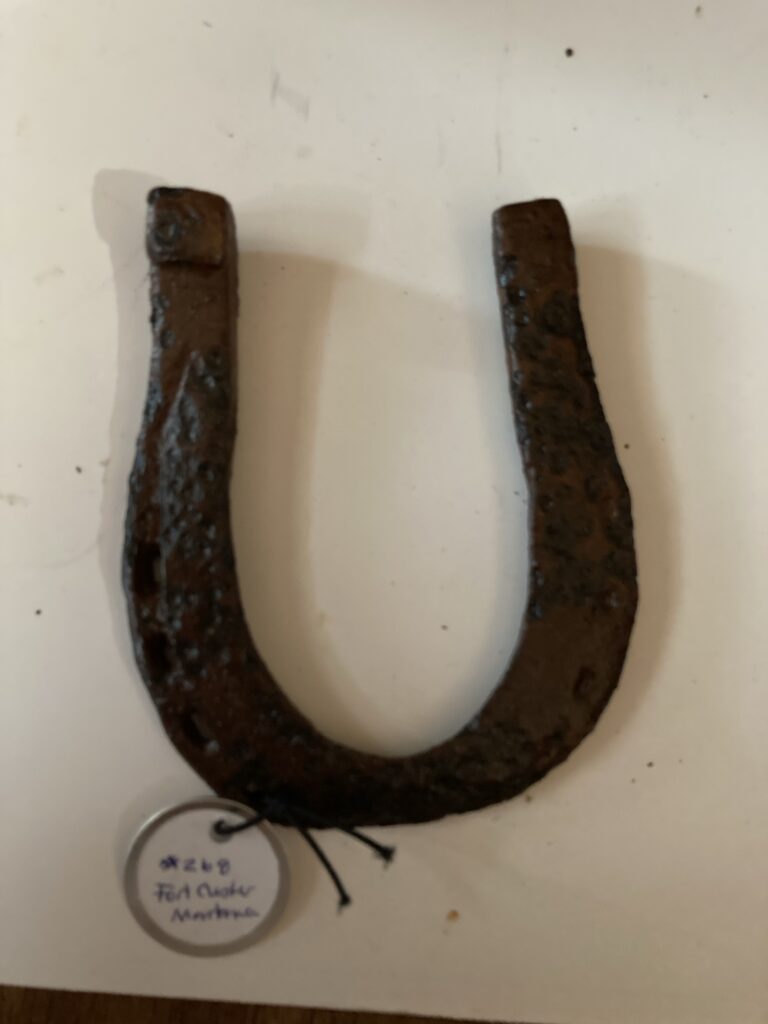
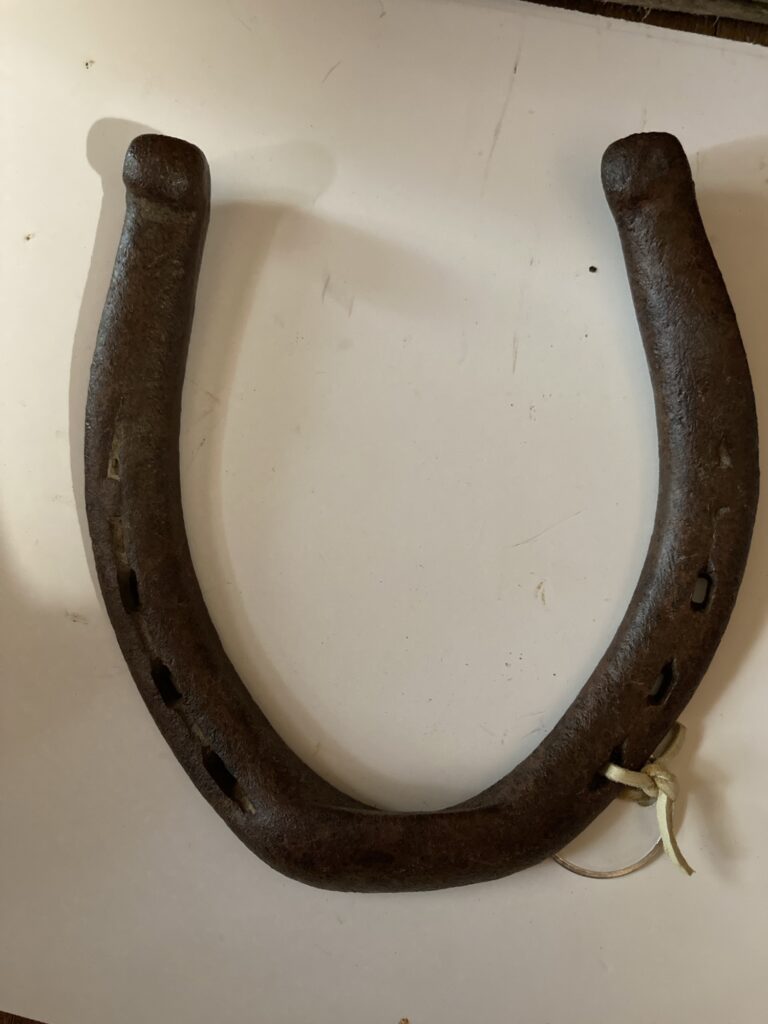
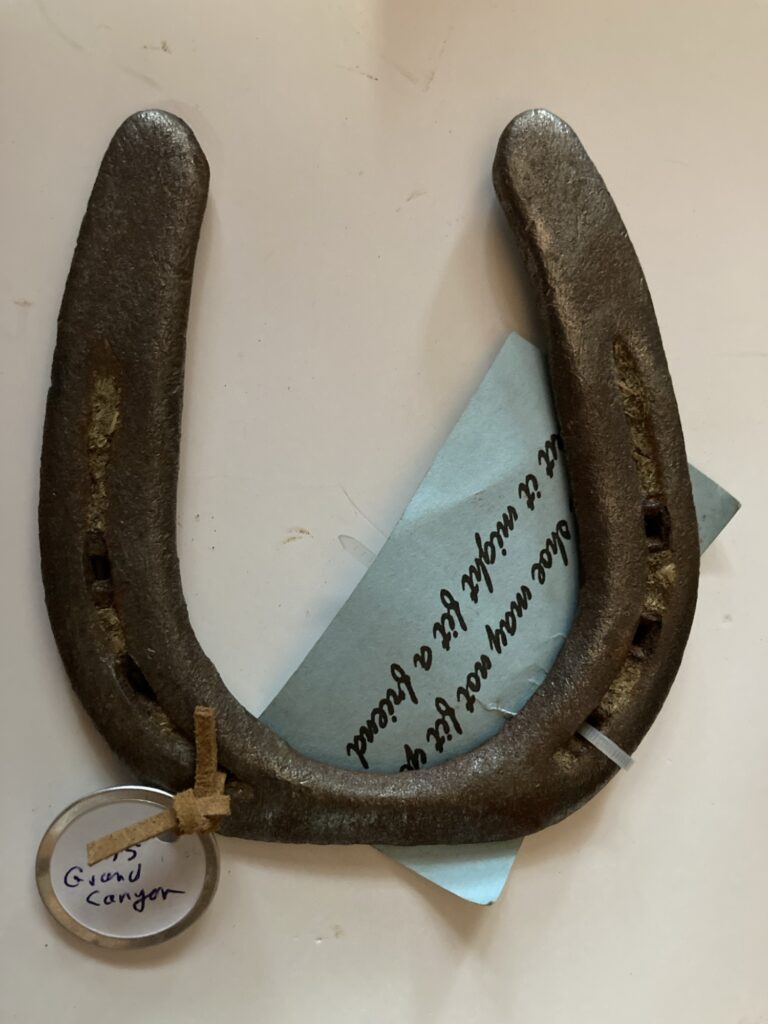
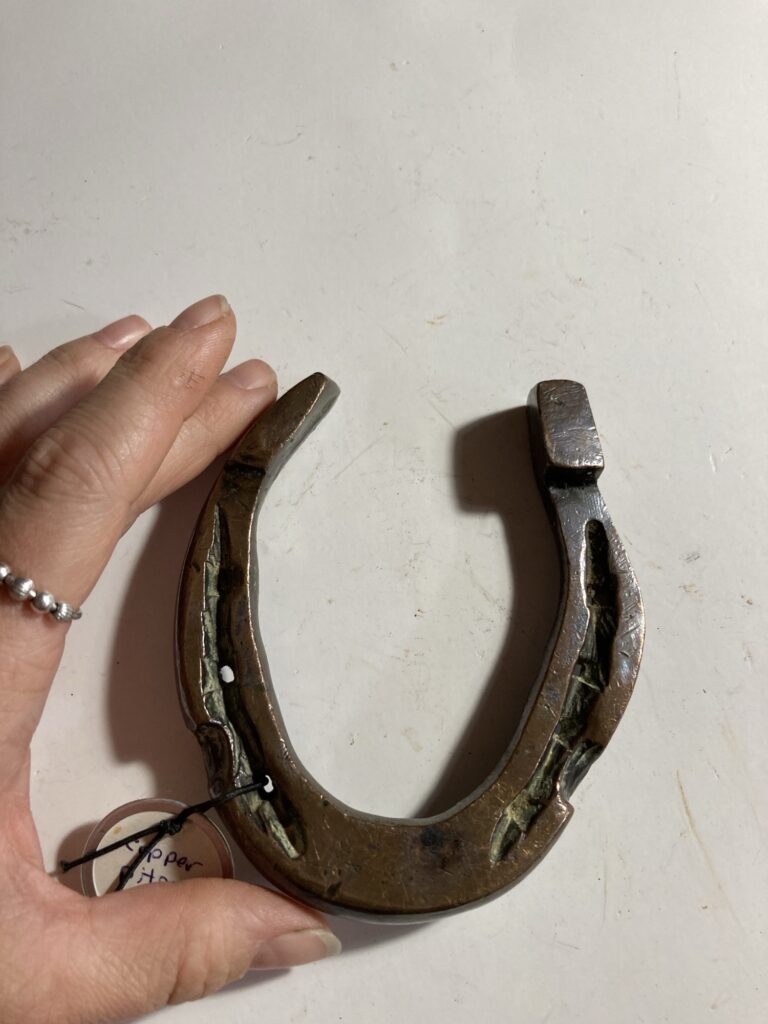
Isn’t it beautiful? The curved toe bar and angled heel caulks? This shoe, and several others that I ended up purchasing, was found by the seller’s uncle when he was younger. He was fascinated with old logging camps in Michigan’s Upper Peninsula, and spent much of his time searching them out through the woods. He picked up several old horseshoes in such locations, and nailed them all along his fences. Their age and condition testify to them probably being worn by the horses of lumberjacks to haul wood in the 1800’s-early 1900’s. Notice the extra bars at heel and toe, called caulkins, that were added for traction. I see this a LOT in old shoes in Michigan, where farming and logging were commonplace in our history.This shoe was found along an old stagecoach road in California. This enormous draft horse shoe was found near the old Smithy in Achafoila on the Aisle of Luing in Scotland. For some reason I can imagine a big old workhorse named Betty wearing it.This shoe was found along with a few others near an old gold mine.This mule shoe was found around Fort Custer, in Montana. Was it from the Indian Wars? This shoe was found metal detecting along the Oregon Trail in Wyoming. It has so much wear to it!This shoe was from a mule used in tours at the Grand Canyon.This solid copper shoe was from a pit pony in a coal mine in Wales.
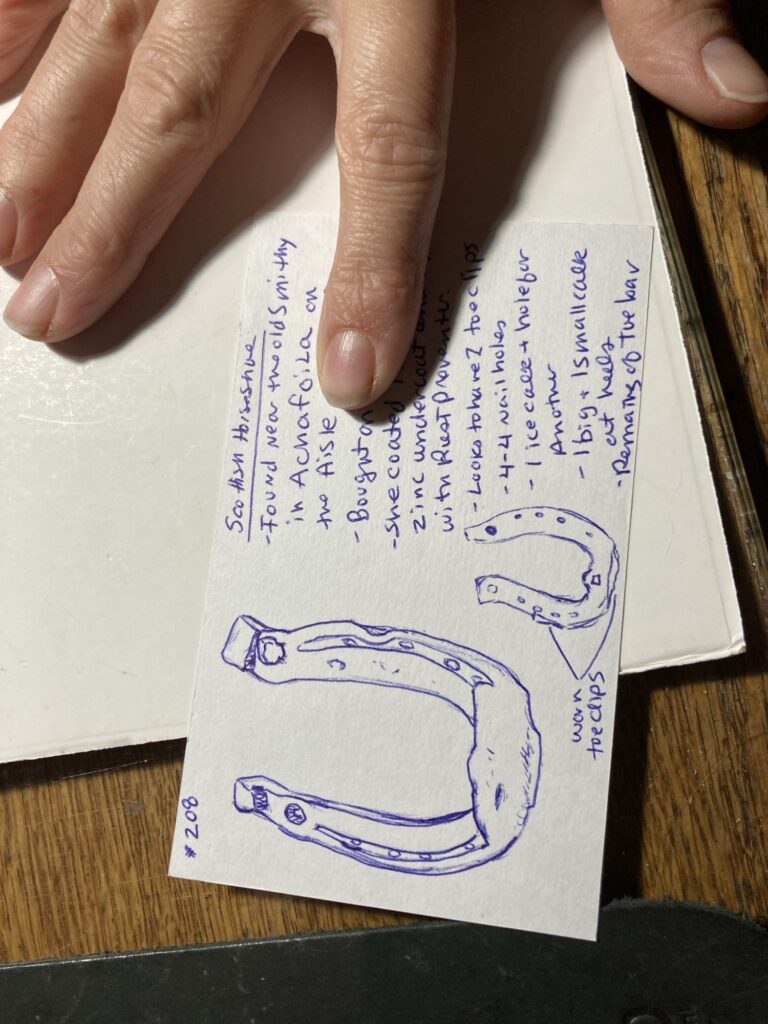
You may be wondering why all of my shoes have tags on them. I tag and number each individual shoe, and write a description of it on an index card so i know where i bought it, everything I know about it, how much I paid, etc. I also draw myself a little picture of it so it is easily recognized when I go to find the individual shoe. I keep the cards organized in a card index.
How I record important information about each shoe. The number on the card matches the numbered tag on the shoe.
I hope that with careful record keeping I can safeguard the history of each of my shoes. Unfortunately I didn’t do these things when I first started collecting as a child, but I remember a few details about my favorite shoes.
I have many, many more shoes in my collection (at the moment of writing this I own over 330 shoes). Record keeping helps keep their information organized and readily available. Now if I can just find an easy way to keep the shoes themselves organized 🤔.
While I was working on a dollhouse saloon, my mother suggested (jokingly, I am sure) that I should do a livery stable next. I had bought an awesome horse action figure (McFarlane Toys Roach from the Witcher series season 2), and was planning on eventually tying it outside of the saloon at a hitching post. The idea of a livery stable kept growing on me, because I LOVE horses, and I love barns as well. I started searching Facebook Marketplace for a suitable candidate.
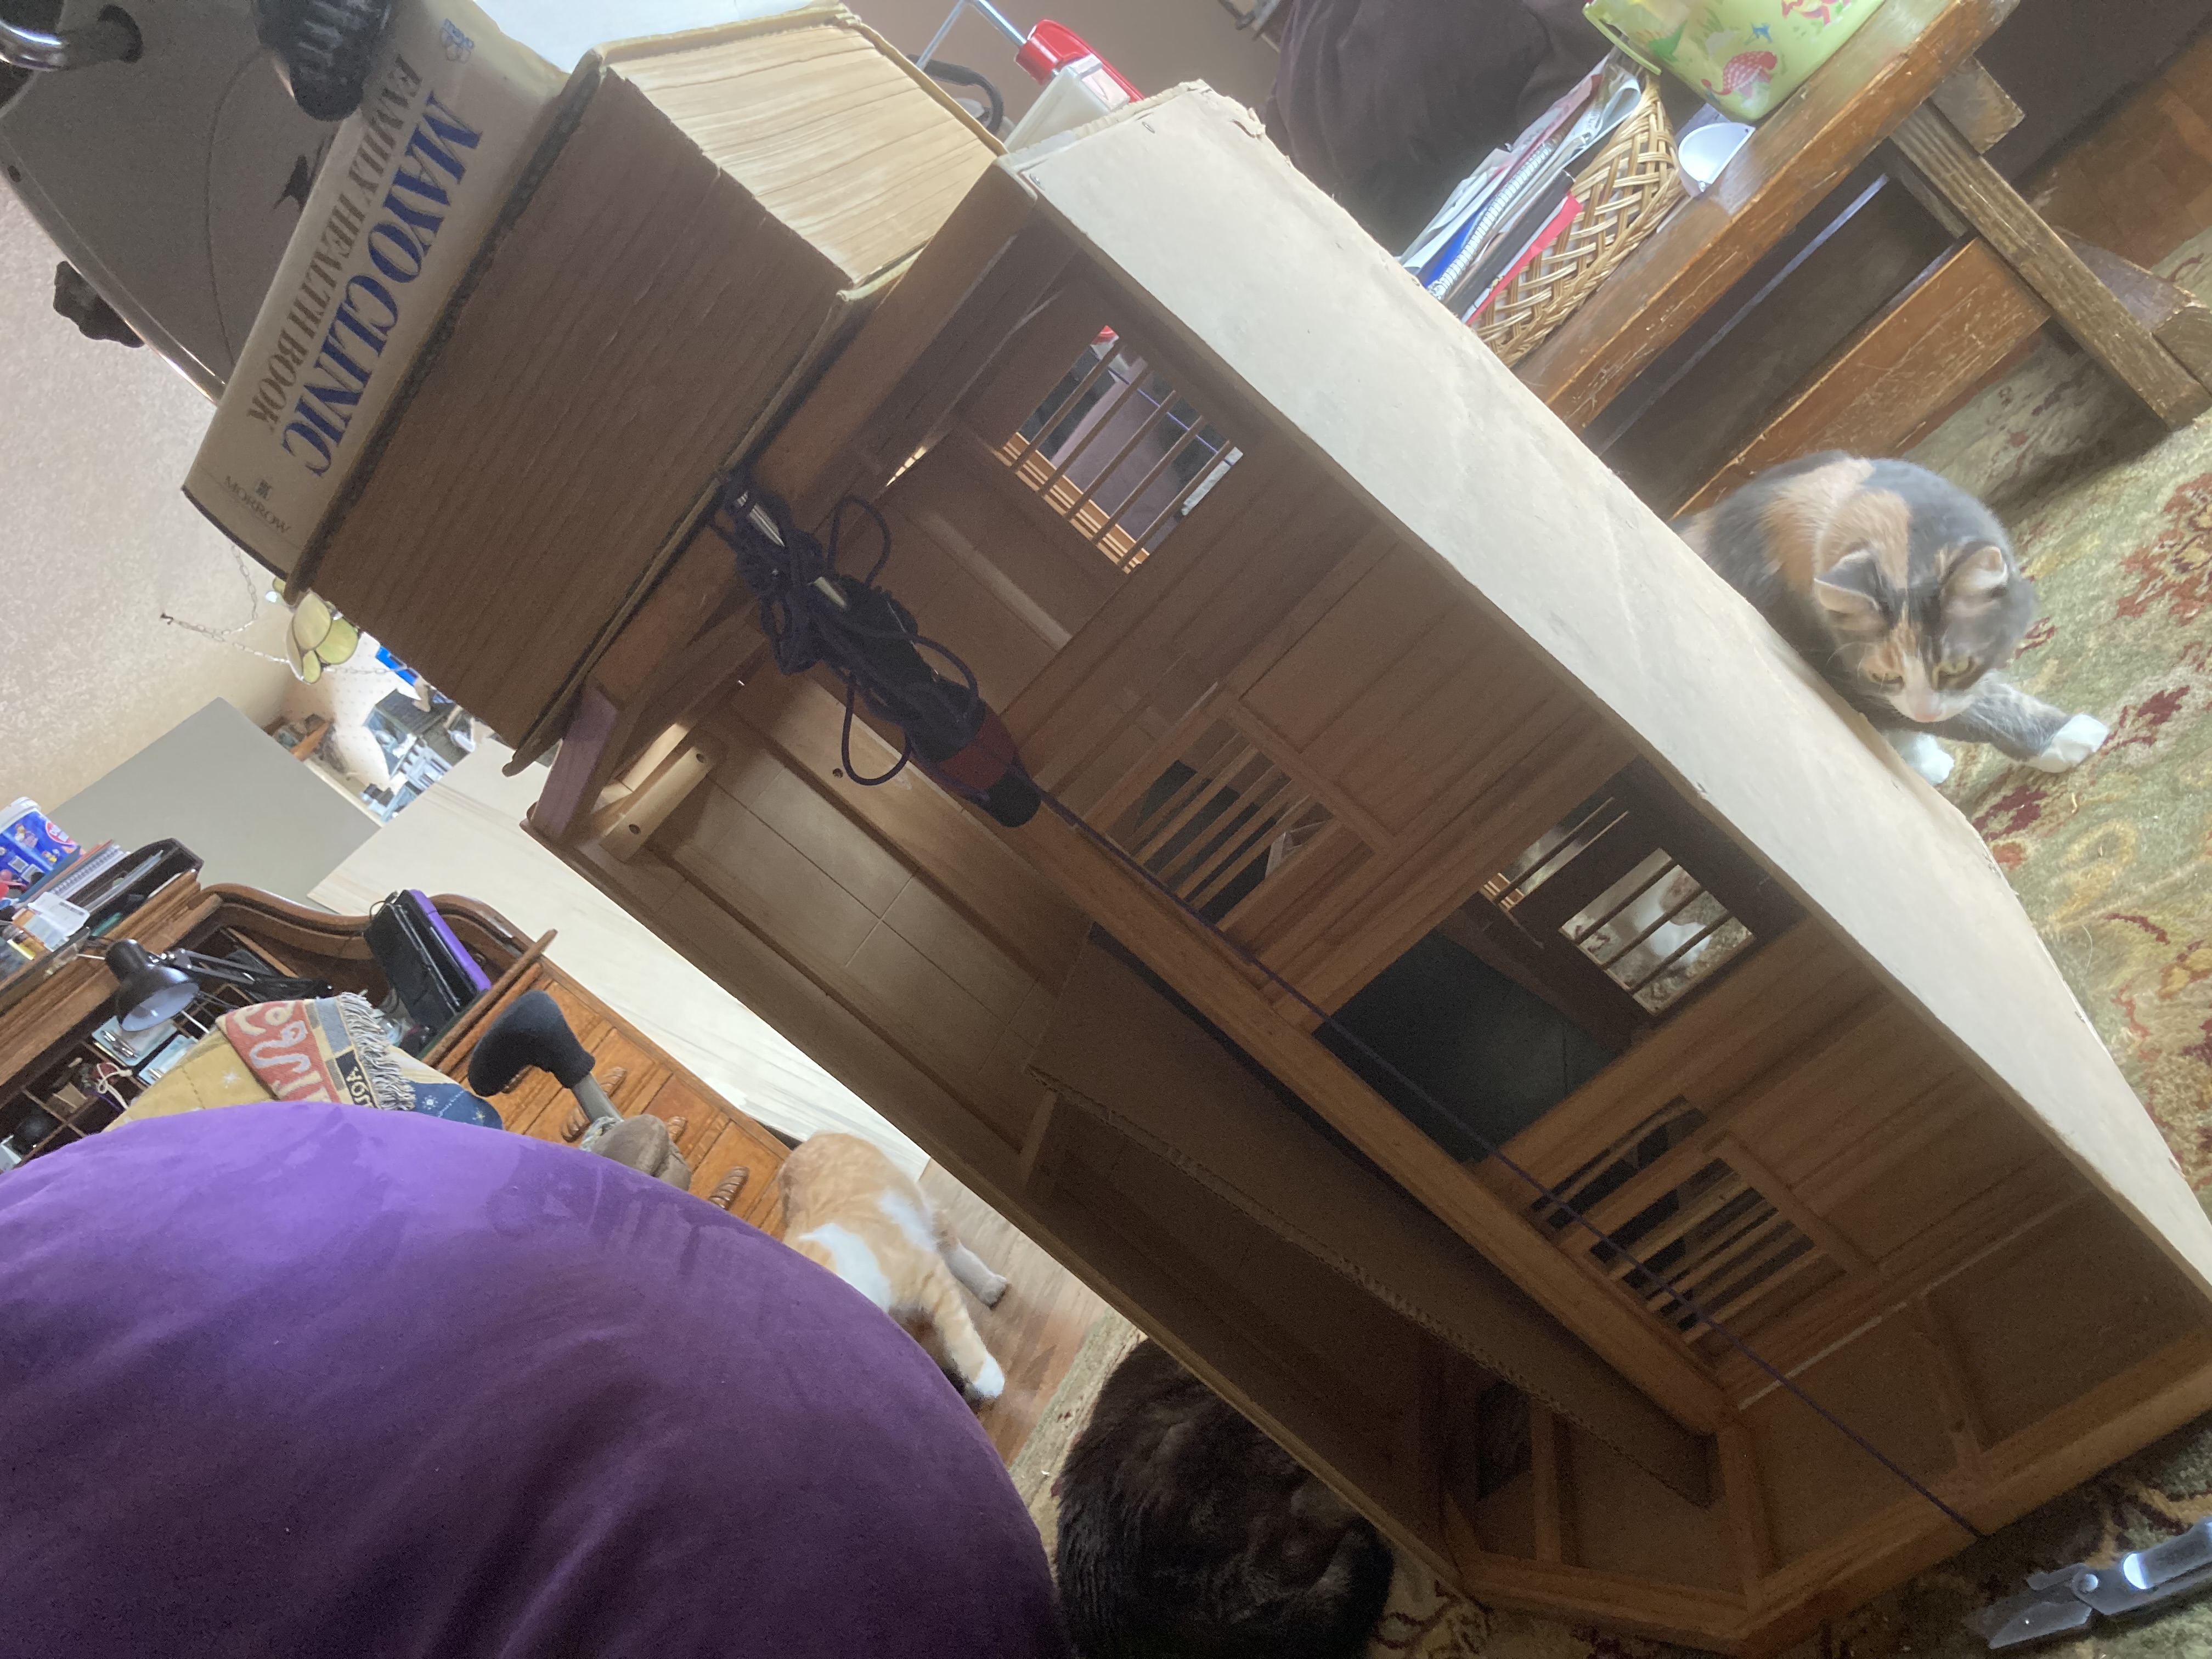
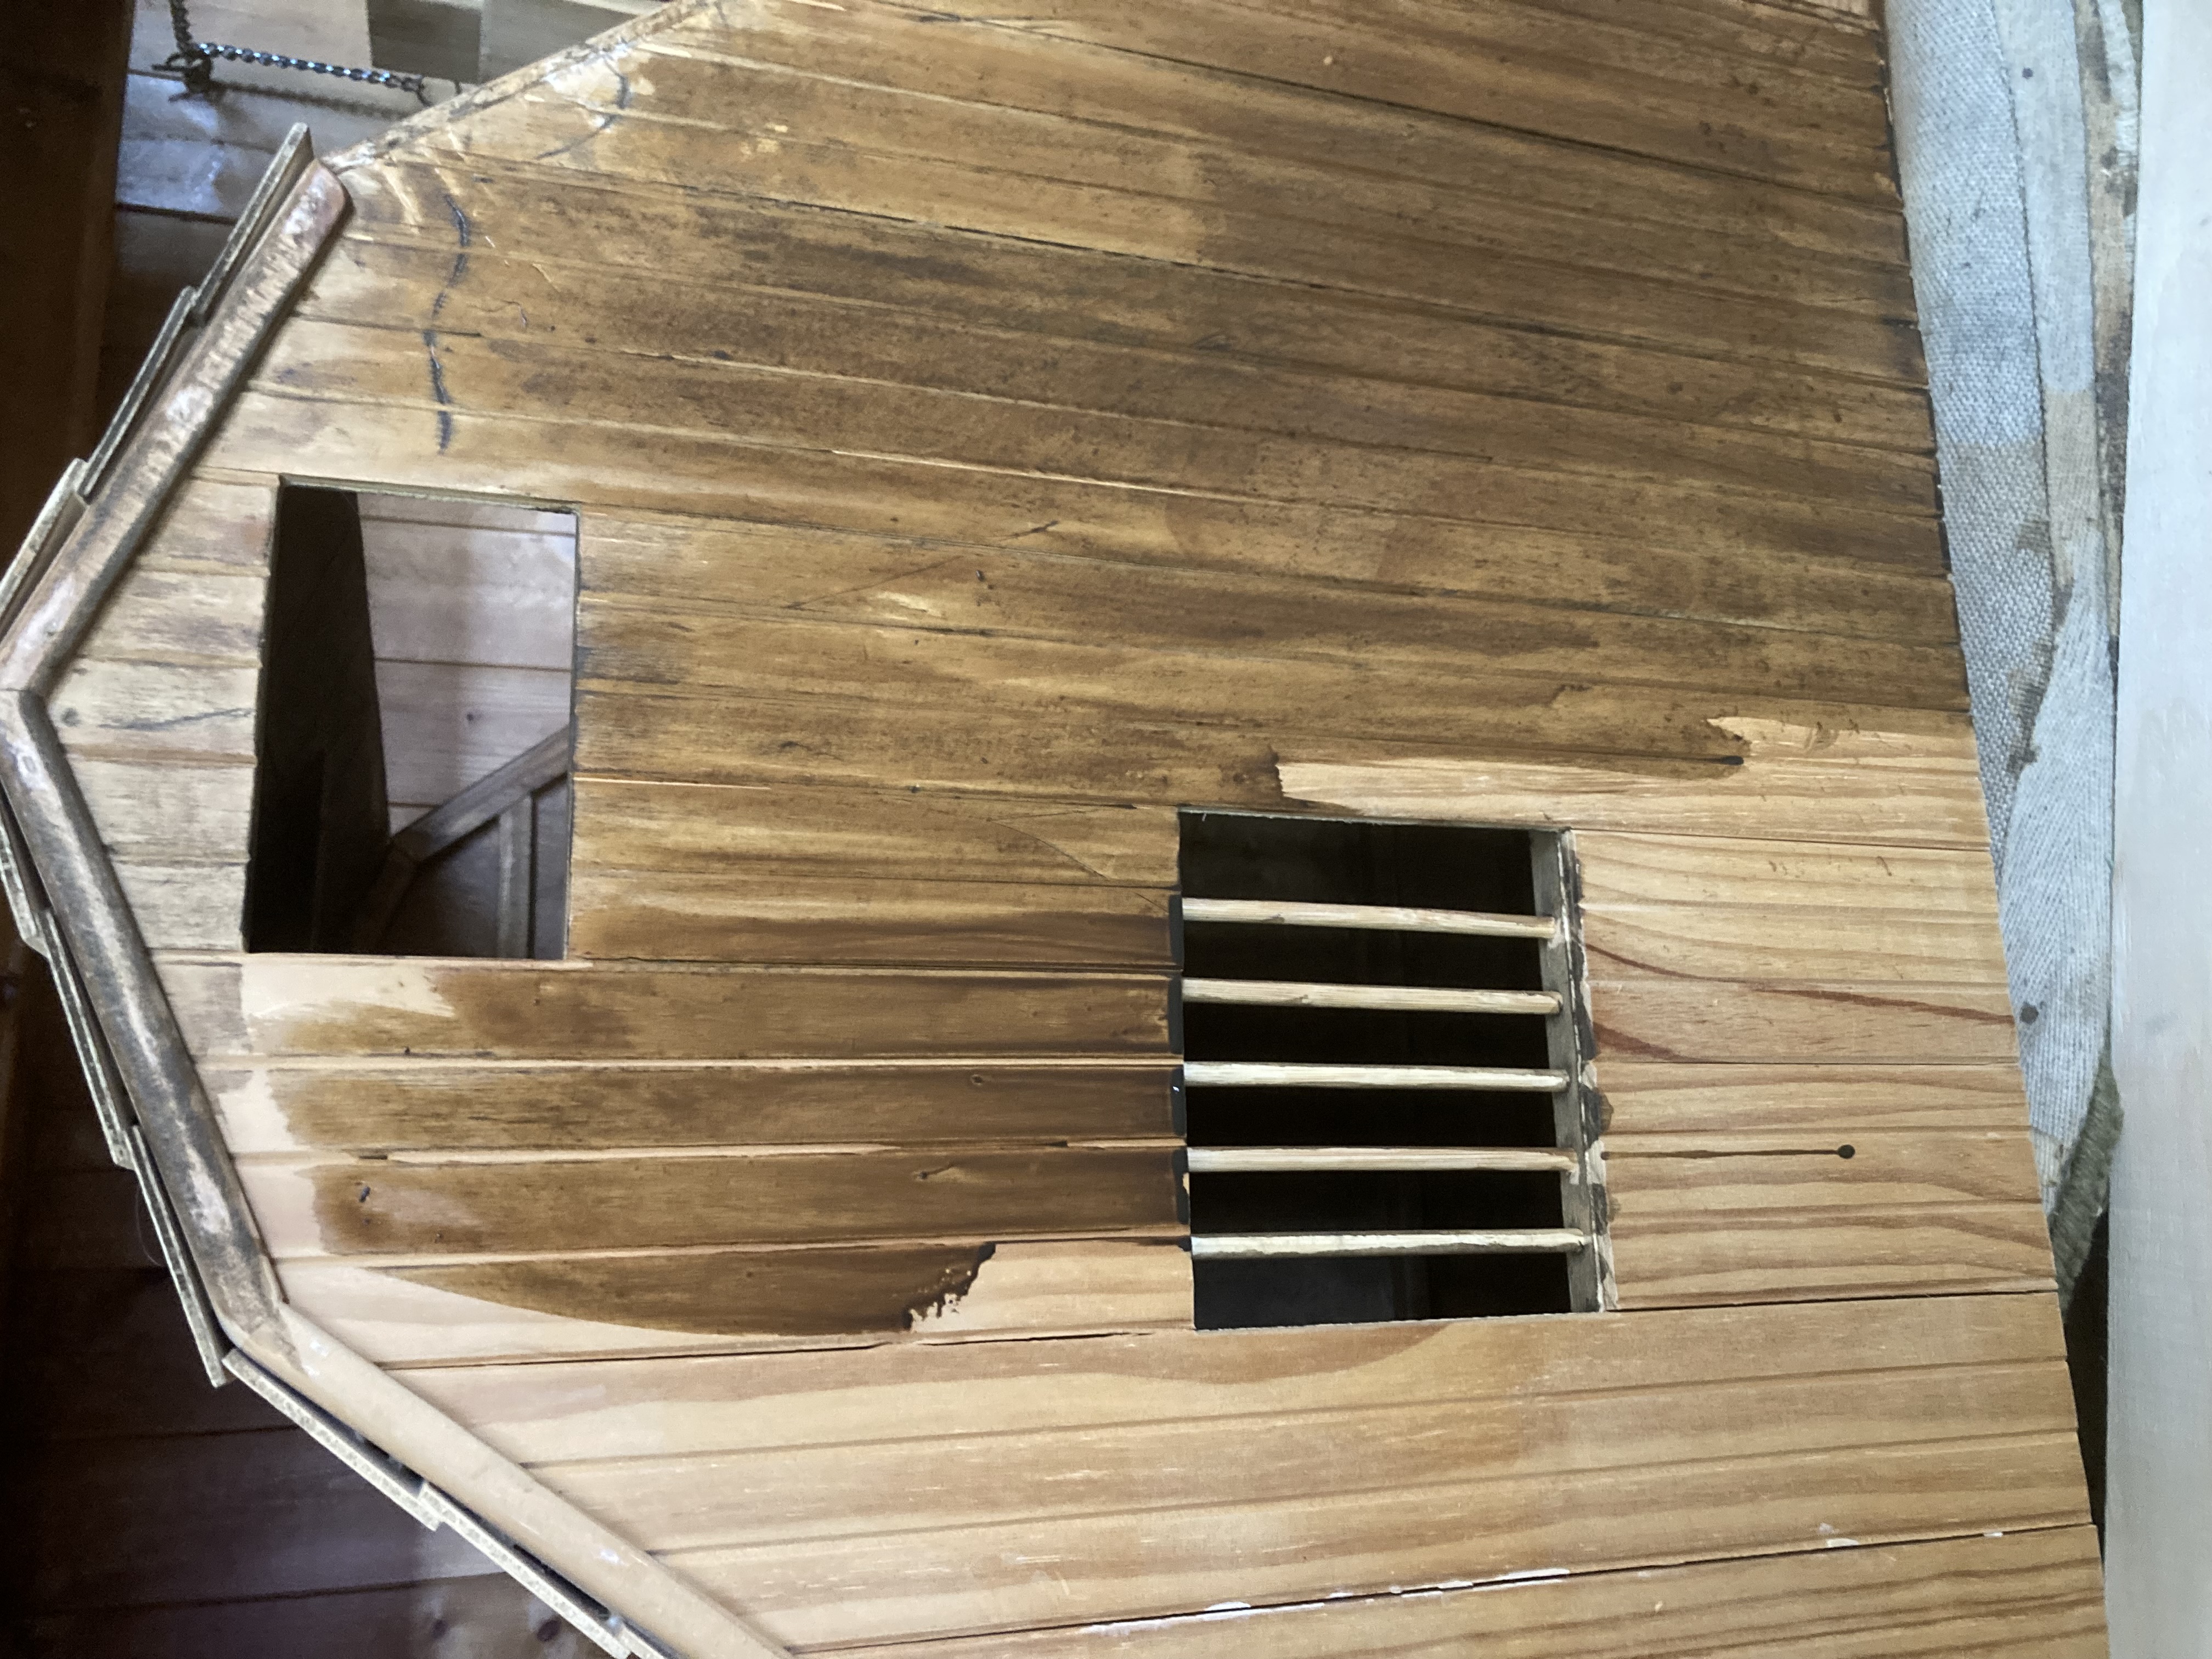
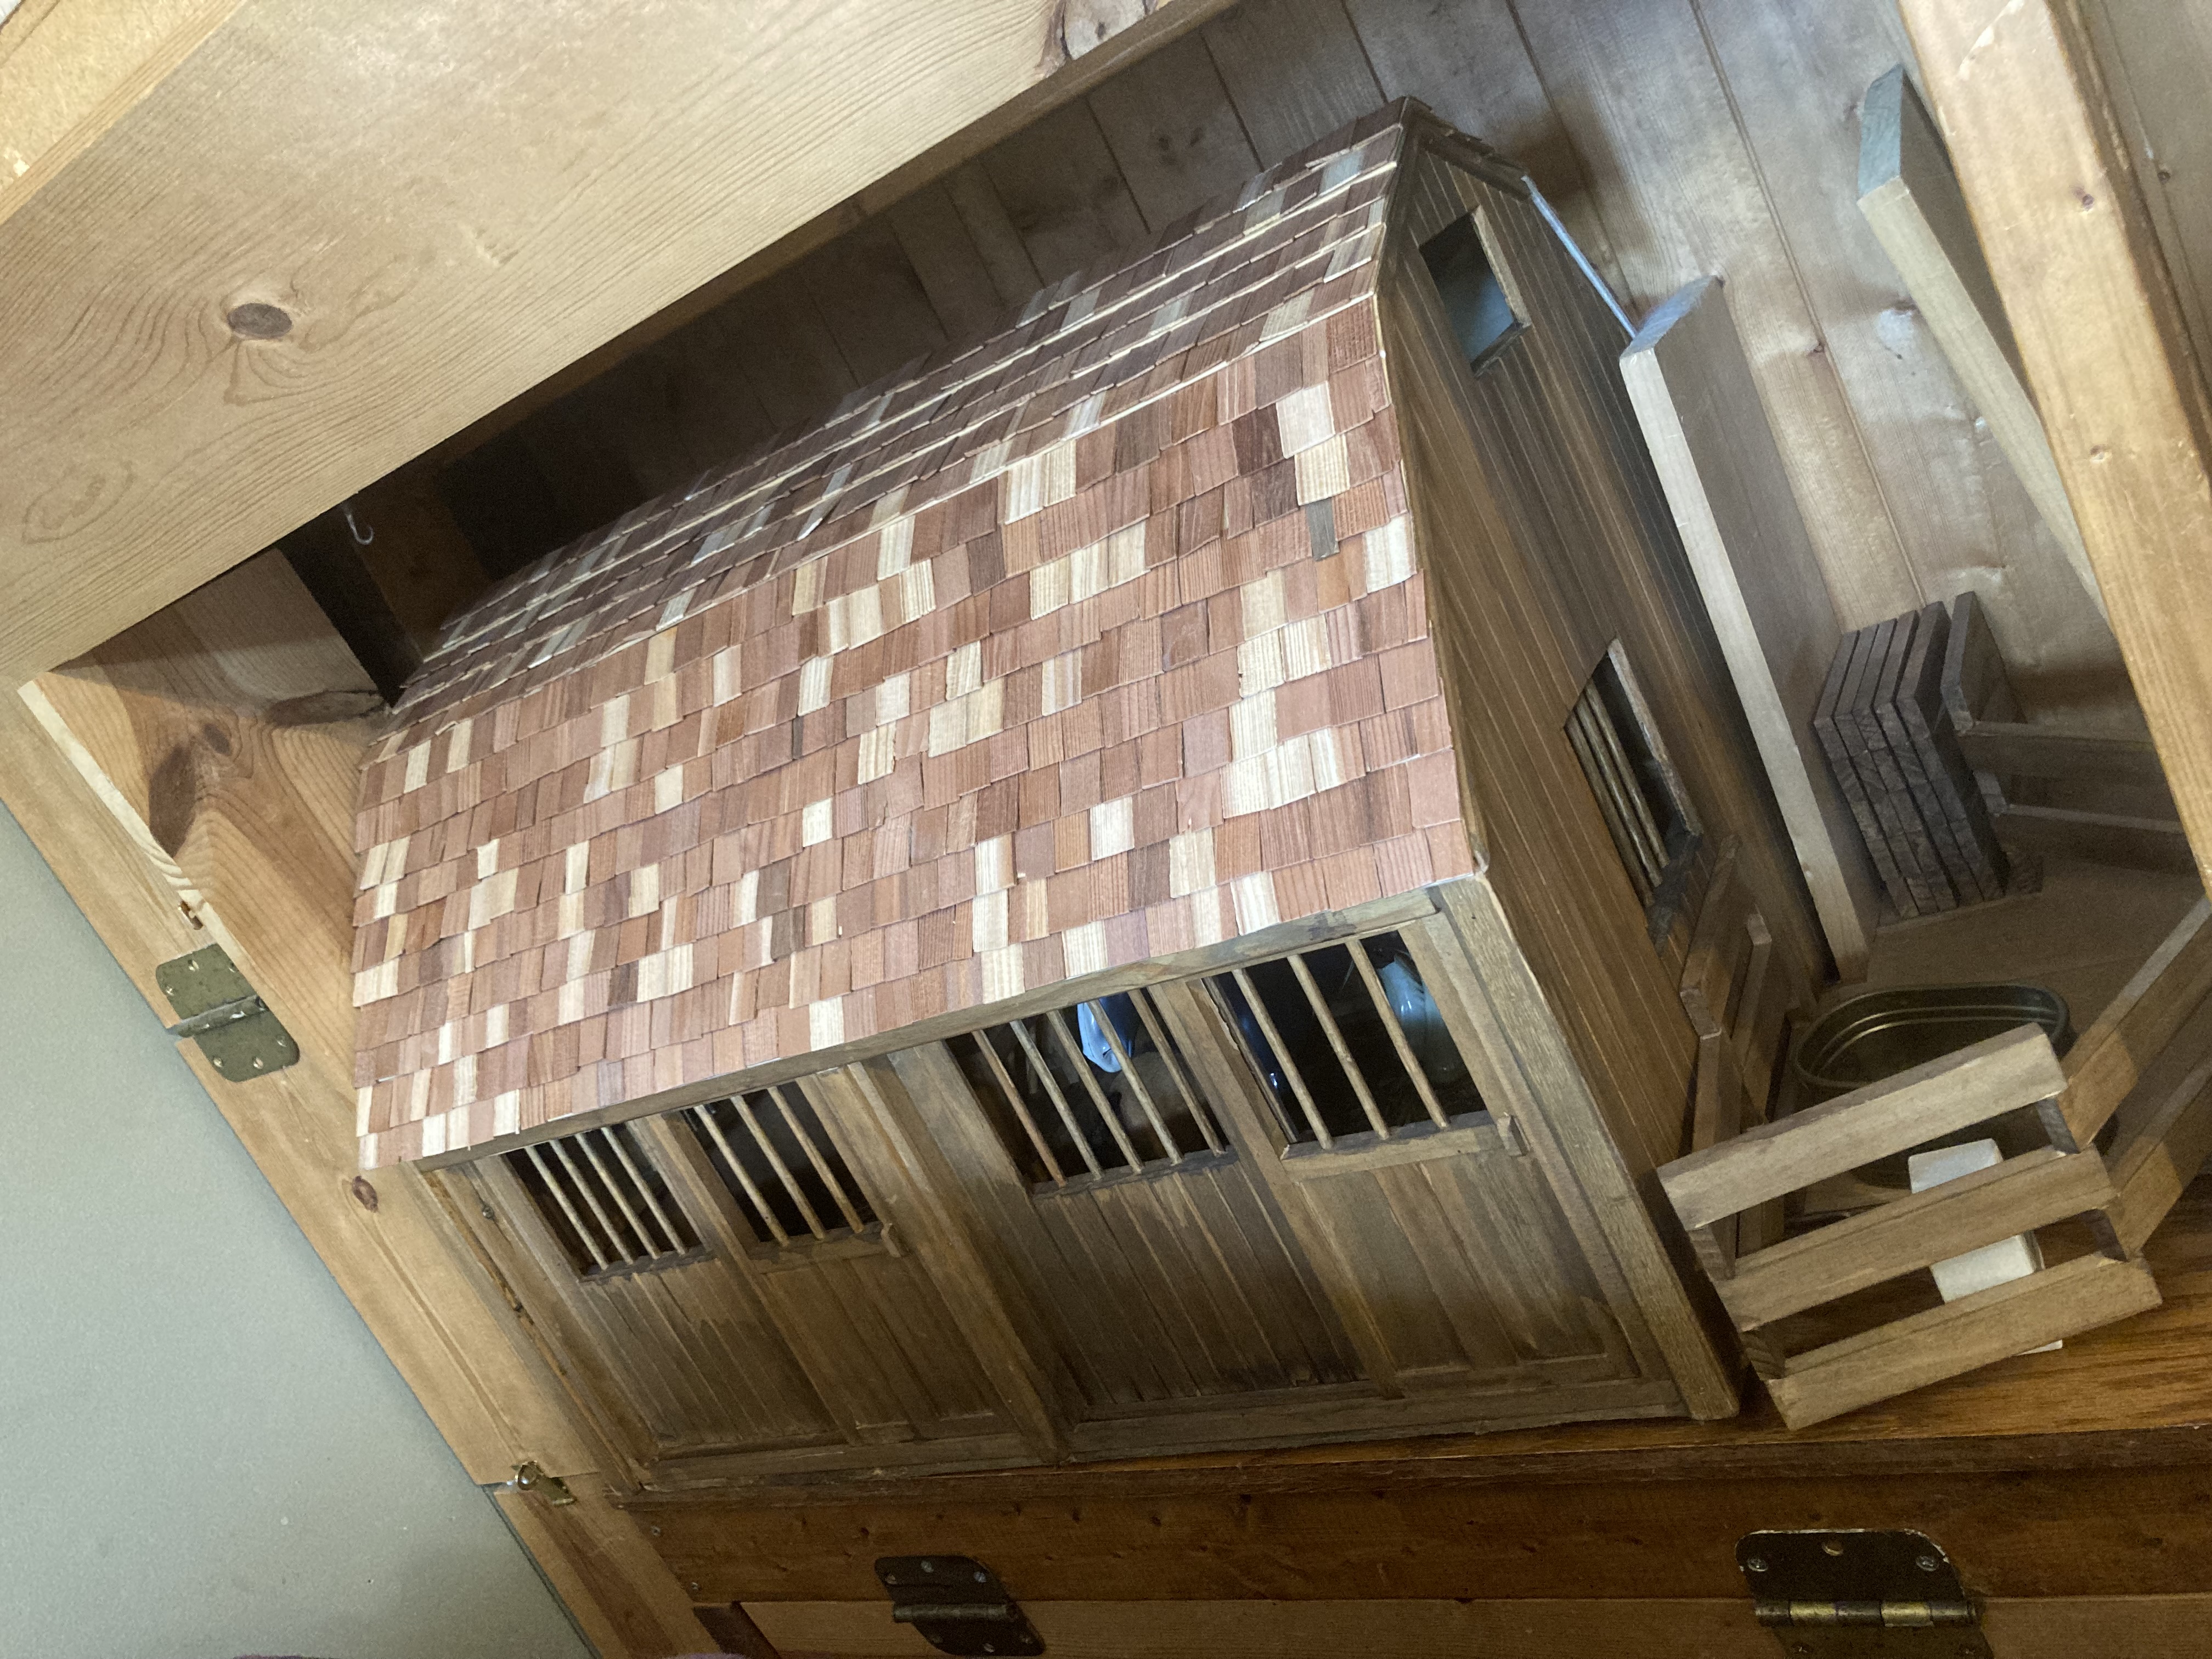
It’s not easy to see in this photo, but this is the barn I picked out. It is a vintage Breyer Horse barn. It had some minor structural damage that I was working on in this photo.
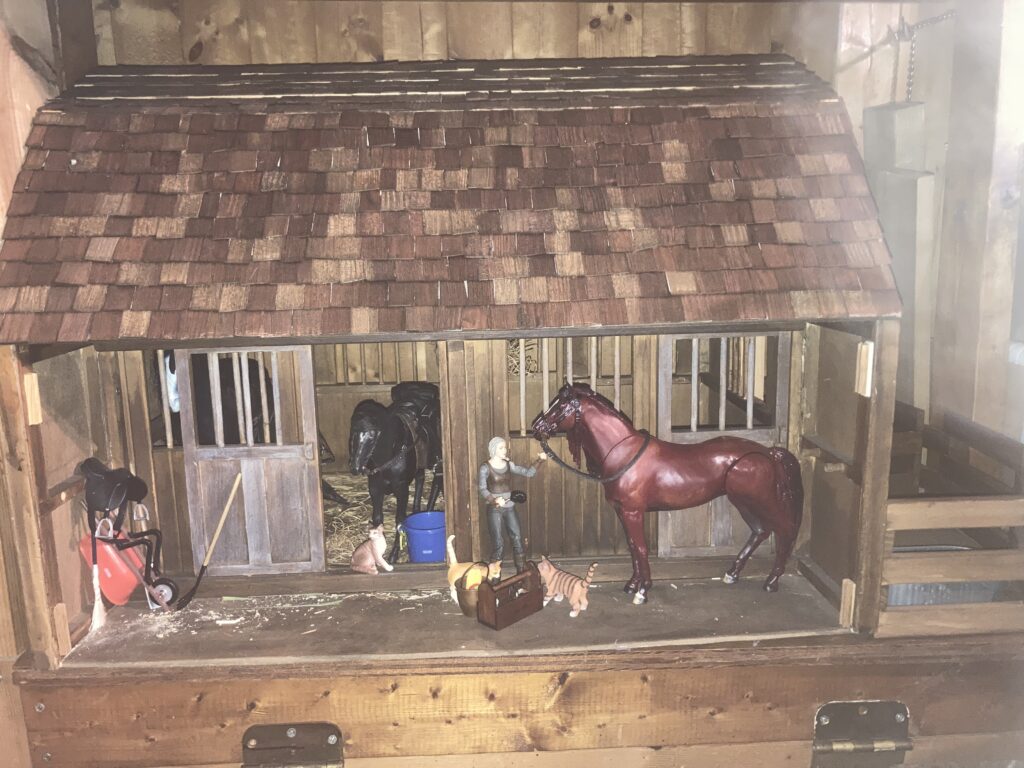
I chose a vintage Breyer Horse barn. There are 2 large stalls and a loft. Each stall has 2 doors–one in front and one in back. I loved these doors, as they slide like a real barn door. There is also a nice, wide aisle in front that I can use for staging photos.
I found several of these barns on Facebook Marketplace, and so had several to choose from. This particular one was nearby, came with some wooden fencing to use as a paddock, and needed a few minor structural repairs. The repairs didn’t scare me as they looked pretty easy to do, and the price was right, so I bought it. The above photo was as I was ‘clamping’ it so glue would dry properly. Unfortunately it is the closest ‘before’ photo I have of it.
I decided that I wanted to make a few changes to this stable so it is more realistic. I wanted to add a hinged section of roof to cover the front of the barn, as well as another section of flooring in the loft so it would be closed on top, making a second floor that I could fill with straw and horse tack.
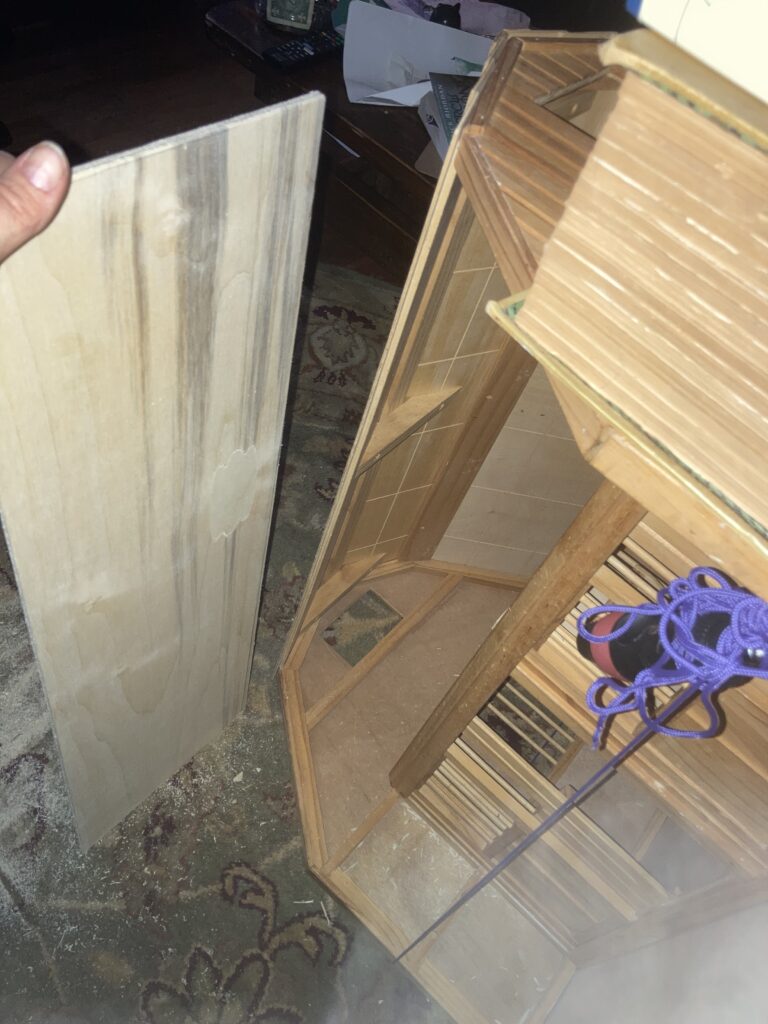
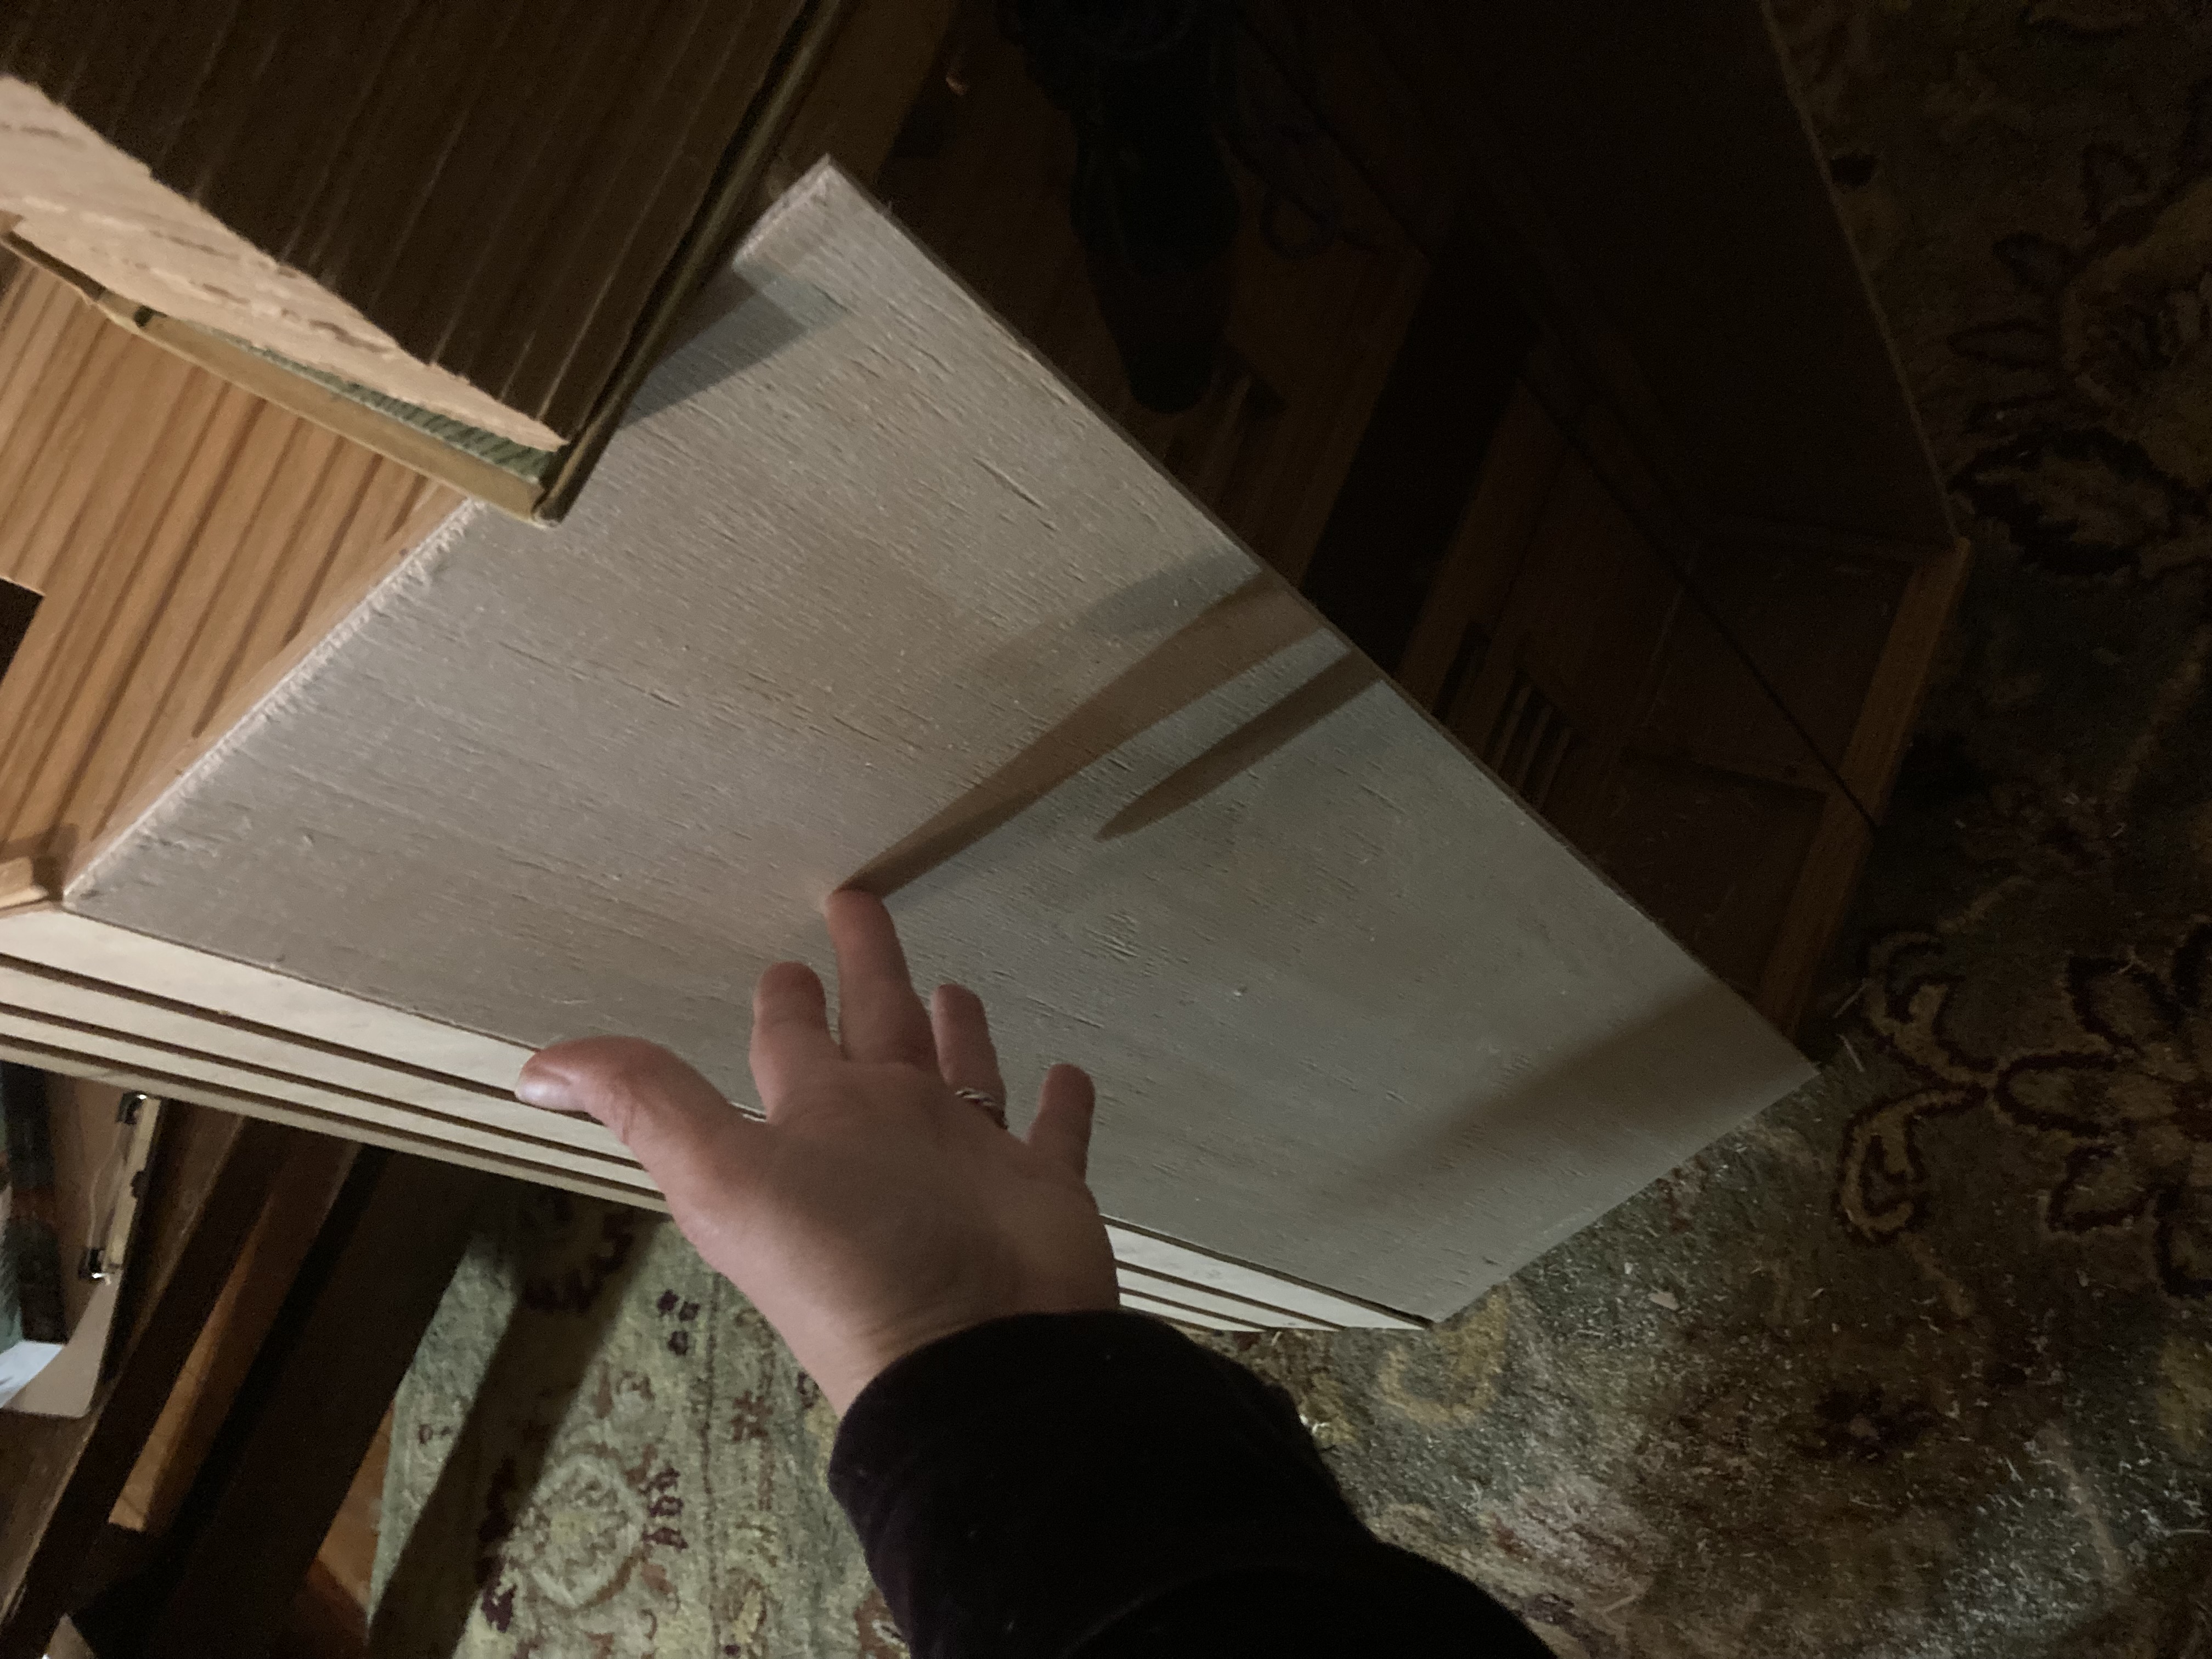
I cut out a section of thin wood to use as a hinged roof.Roof section fitted into place. I secured it using small brass hinges from the hardware store.
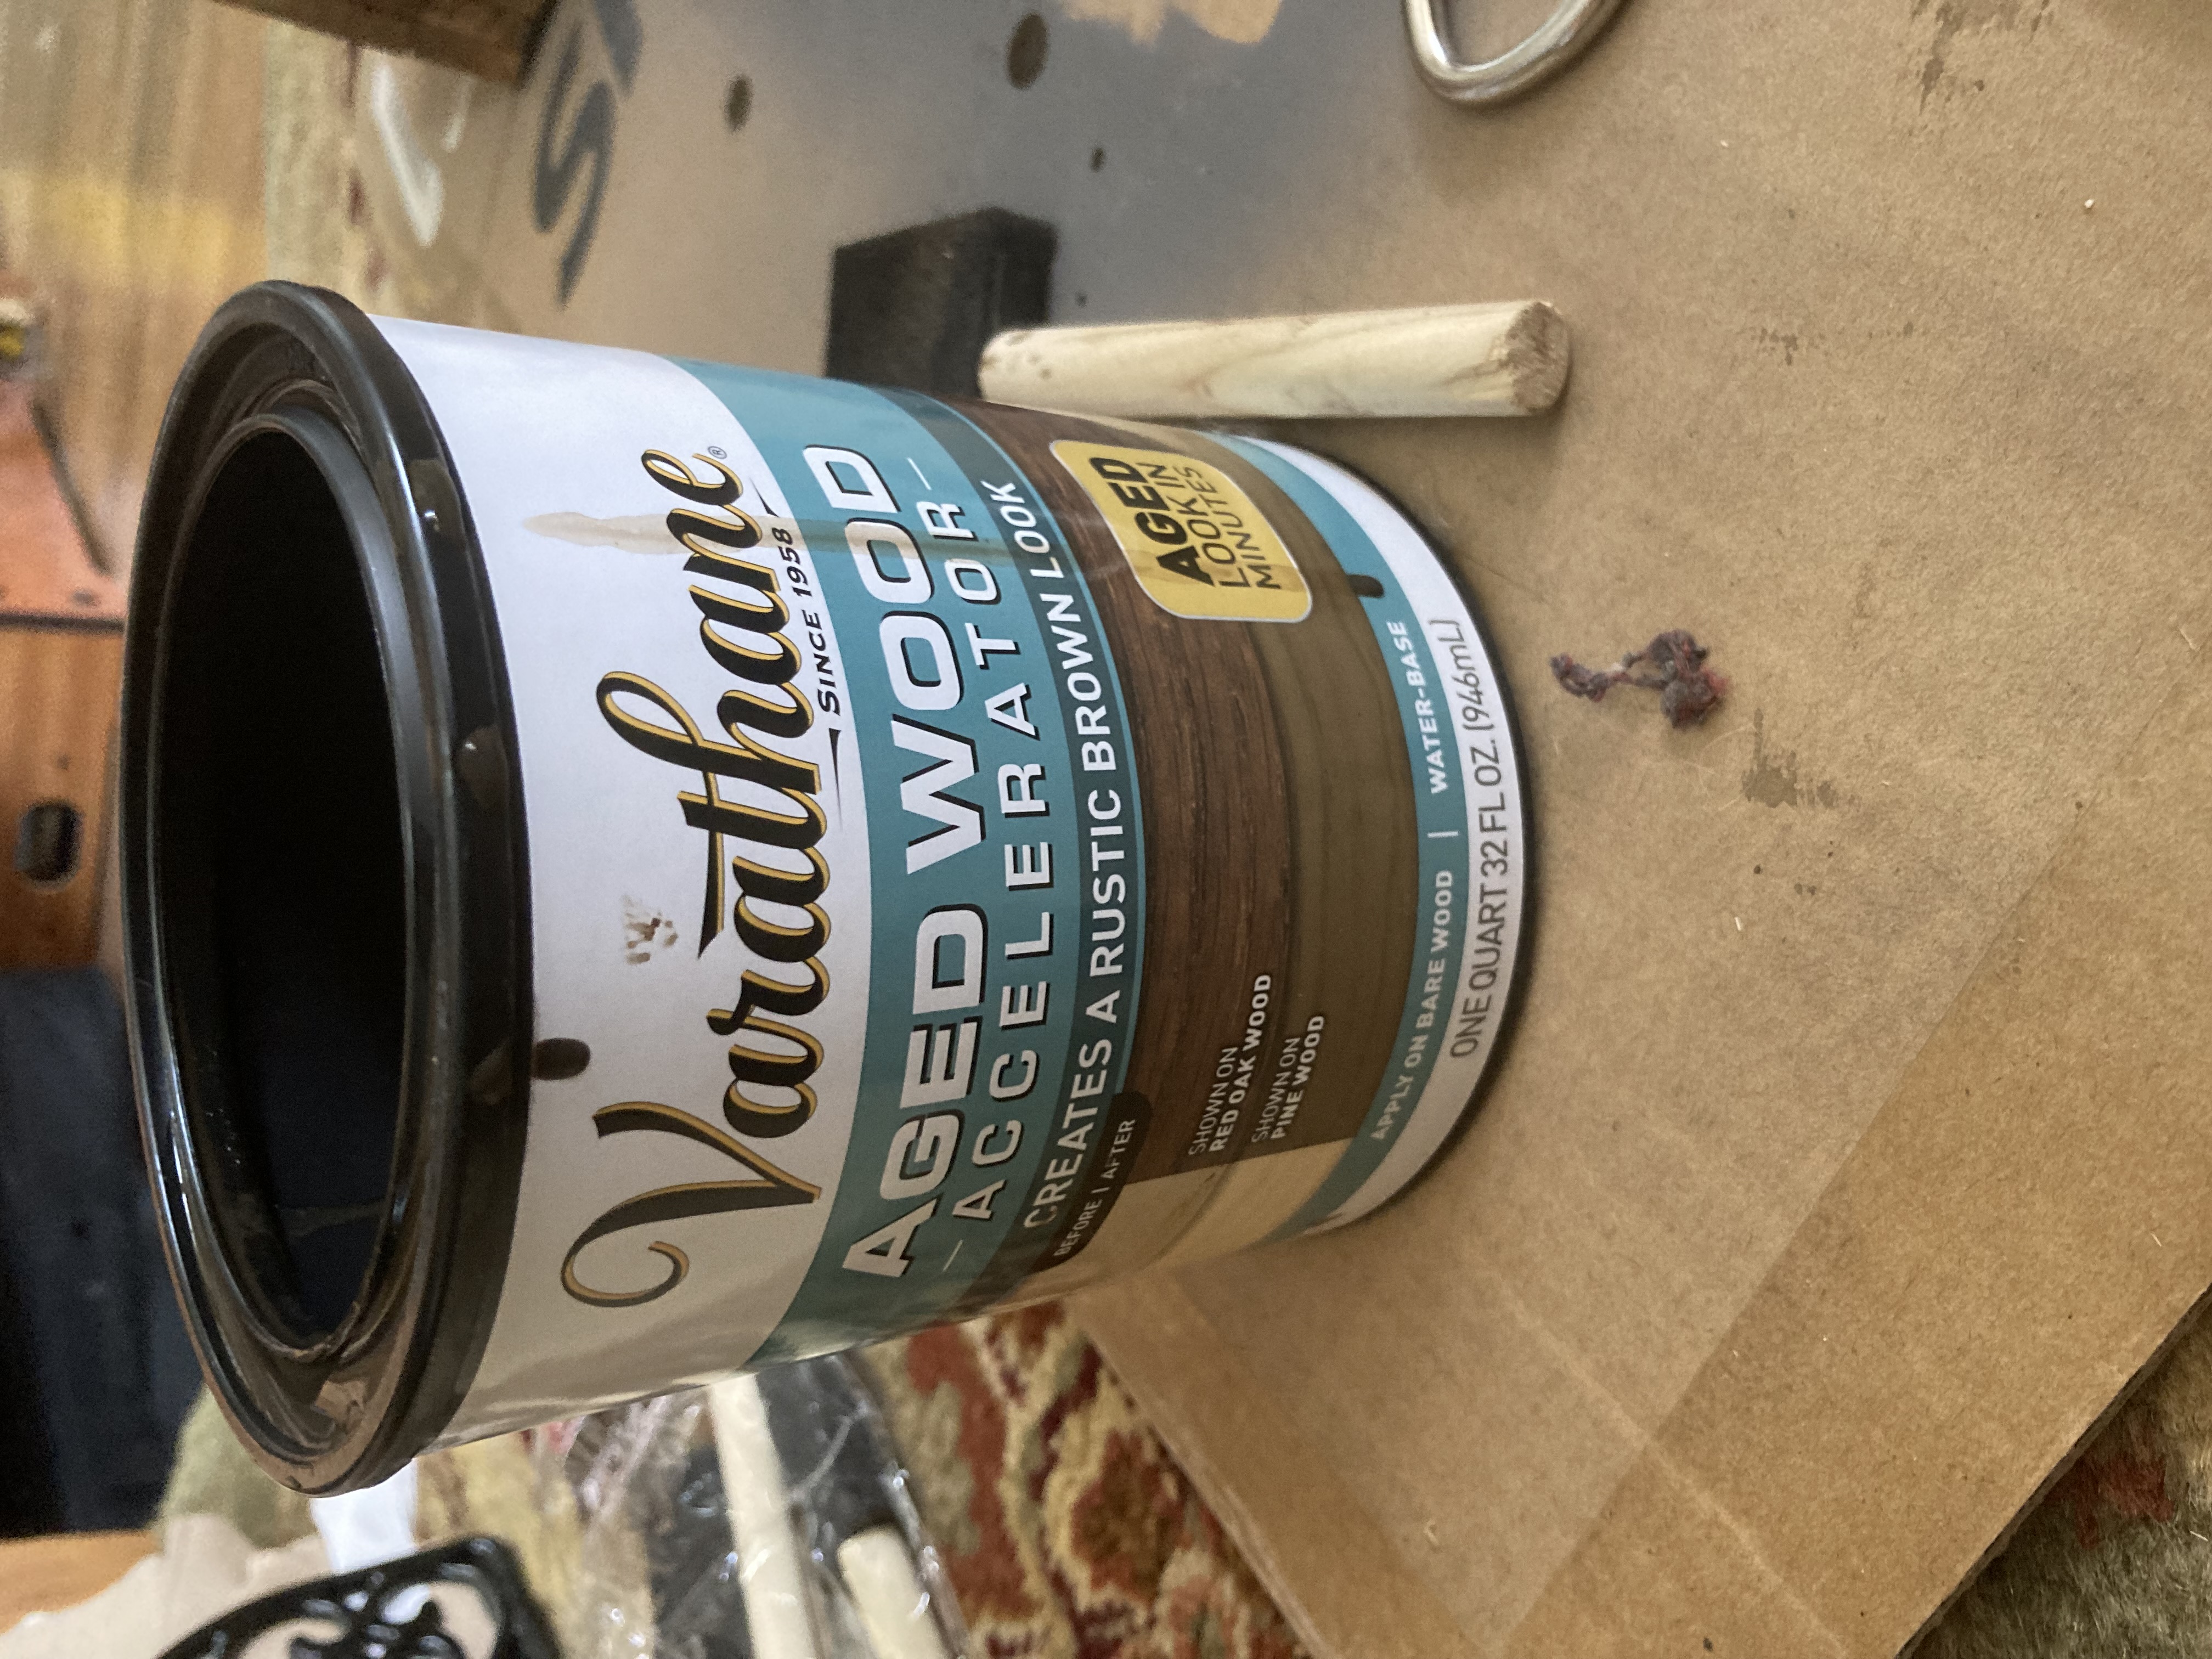
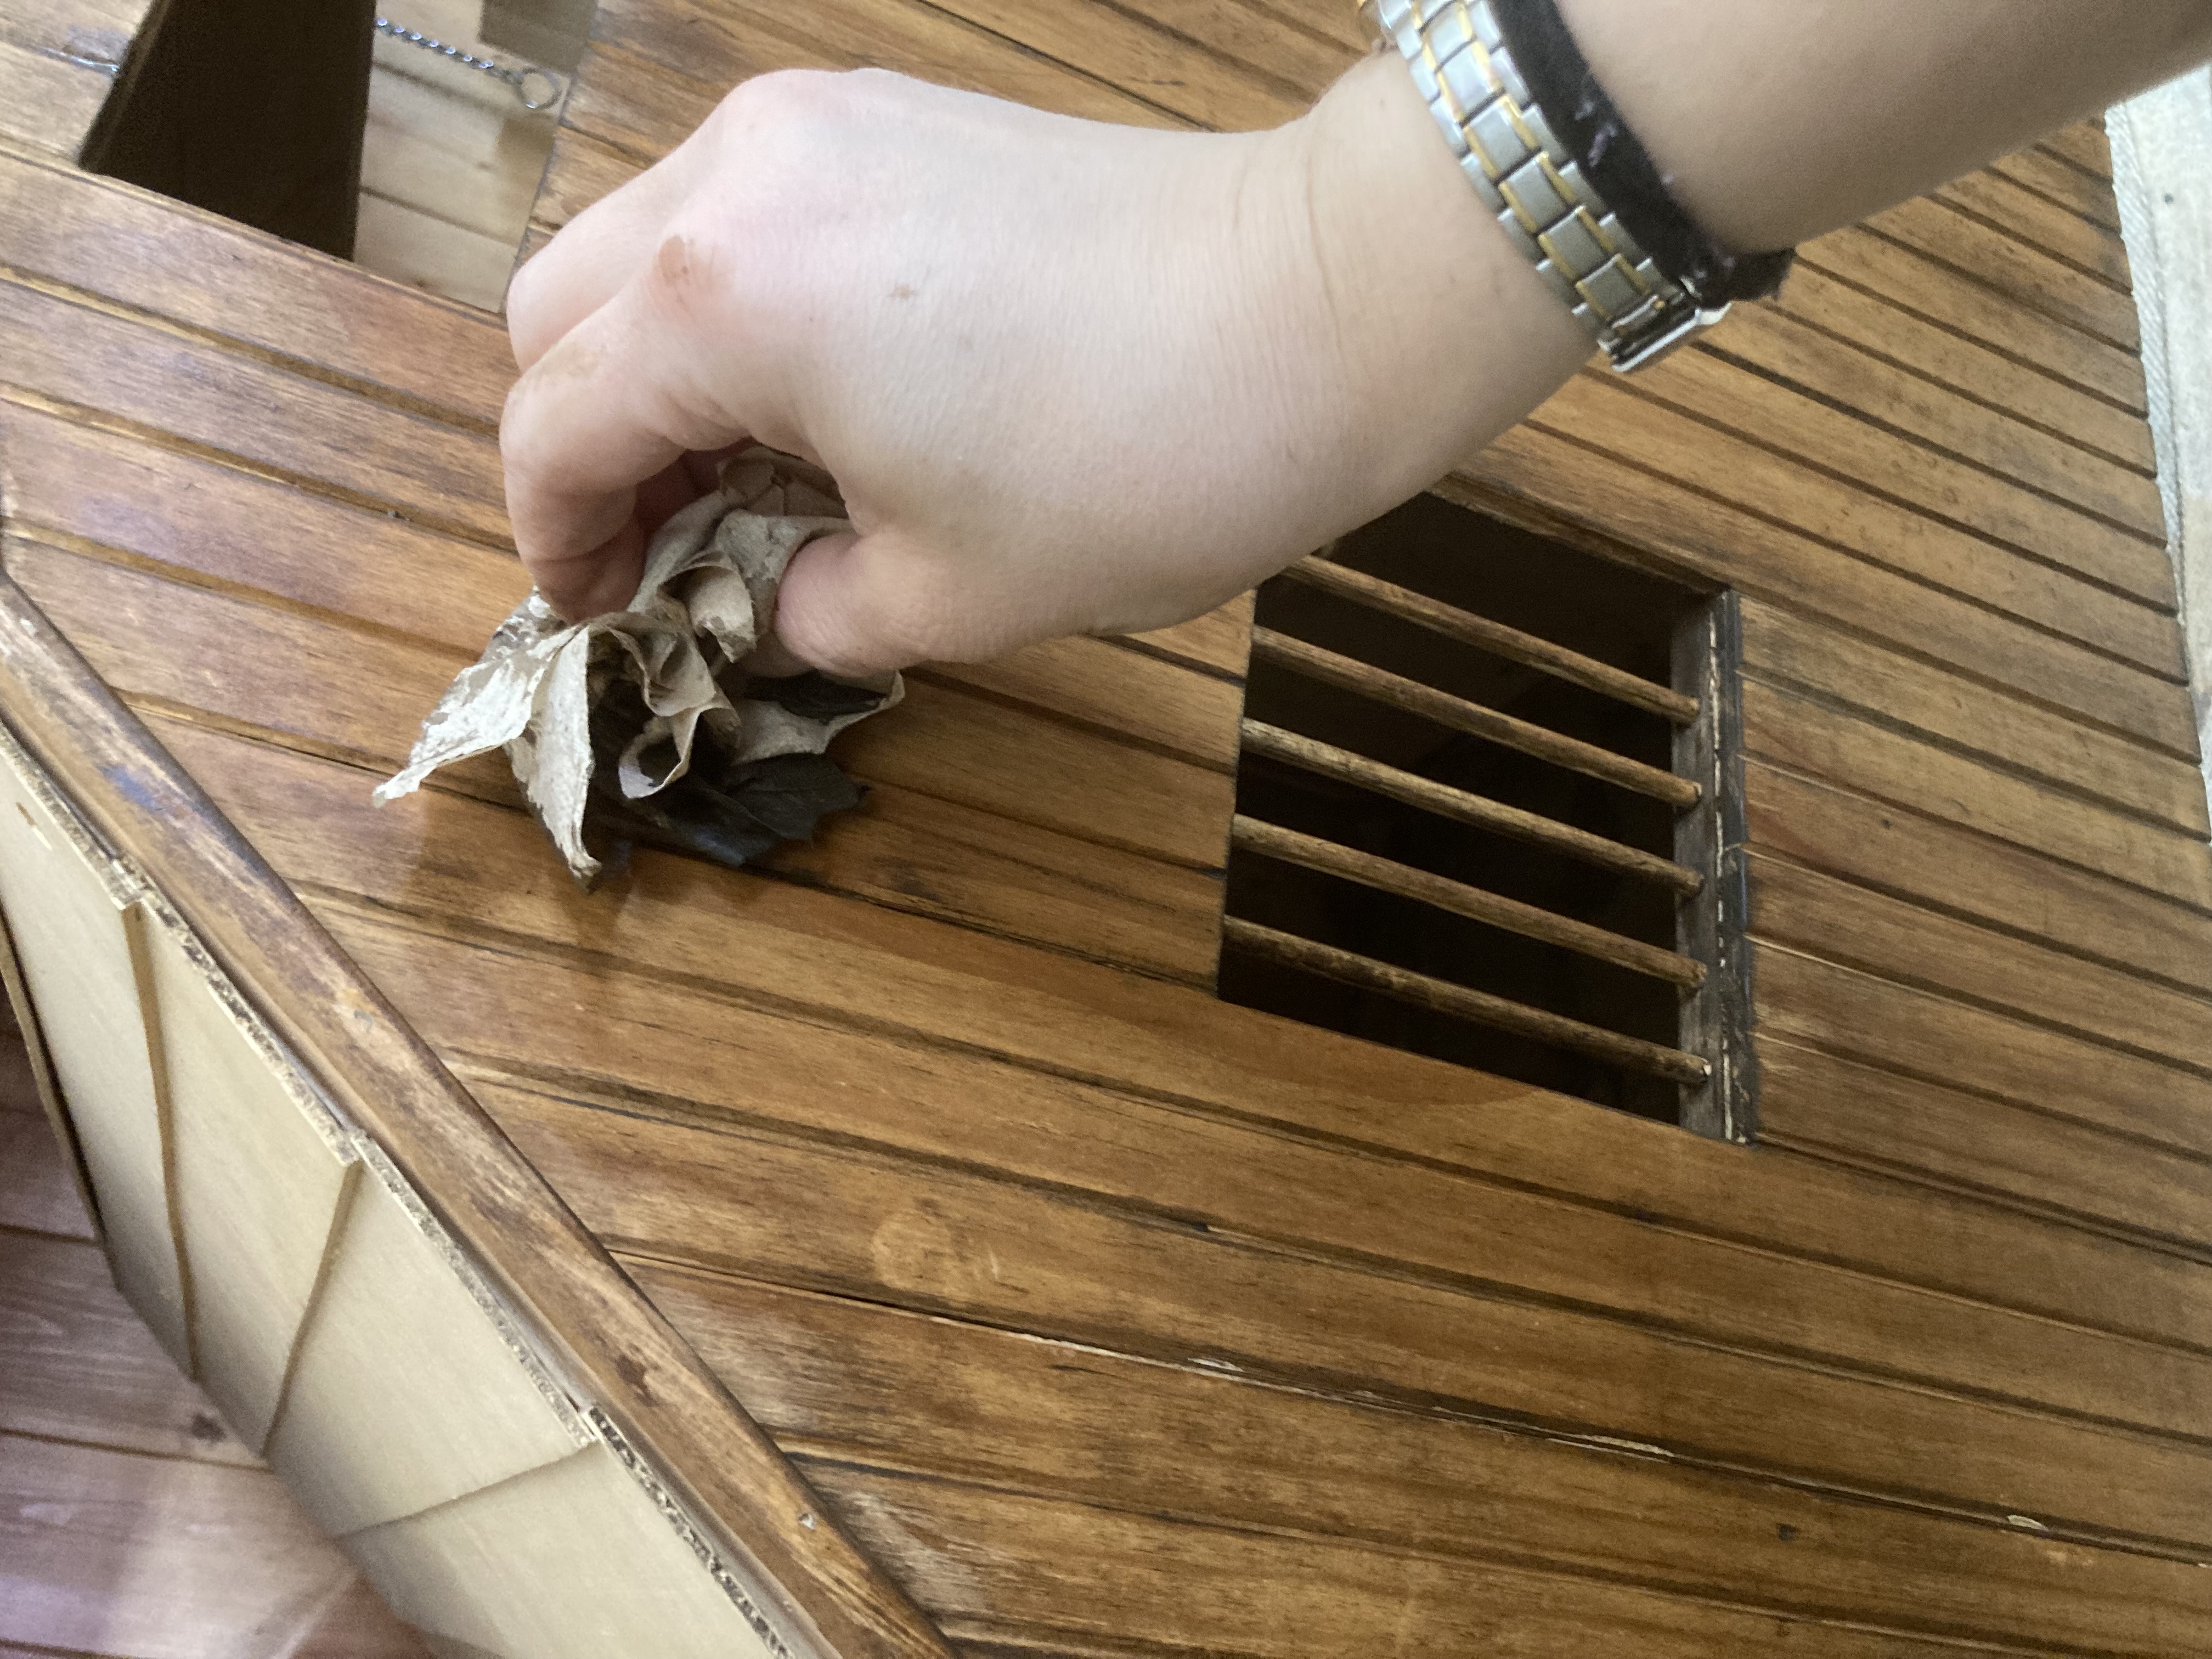
After these modifications were in place, I used Varathane aged wood accelerator stain to make the barn look aged. I brushed it on per the instructions.
This stuff is awesome, and has come in handy for several projects. I brushed it on with a foam brush and then used a paper towel to wipe off excess.A ‘during’ photo so you can see the before and after. Wiping off the excess. it helped make the individual ‘boards’ stand out.
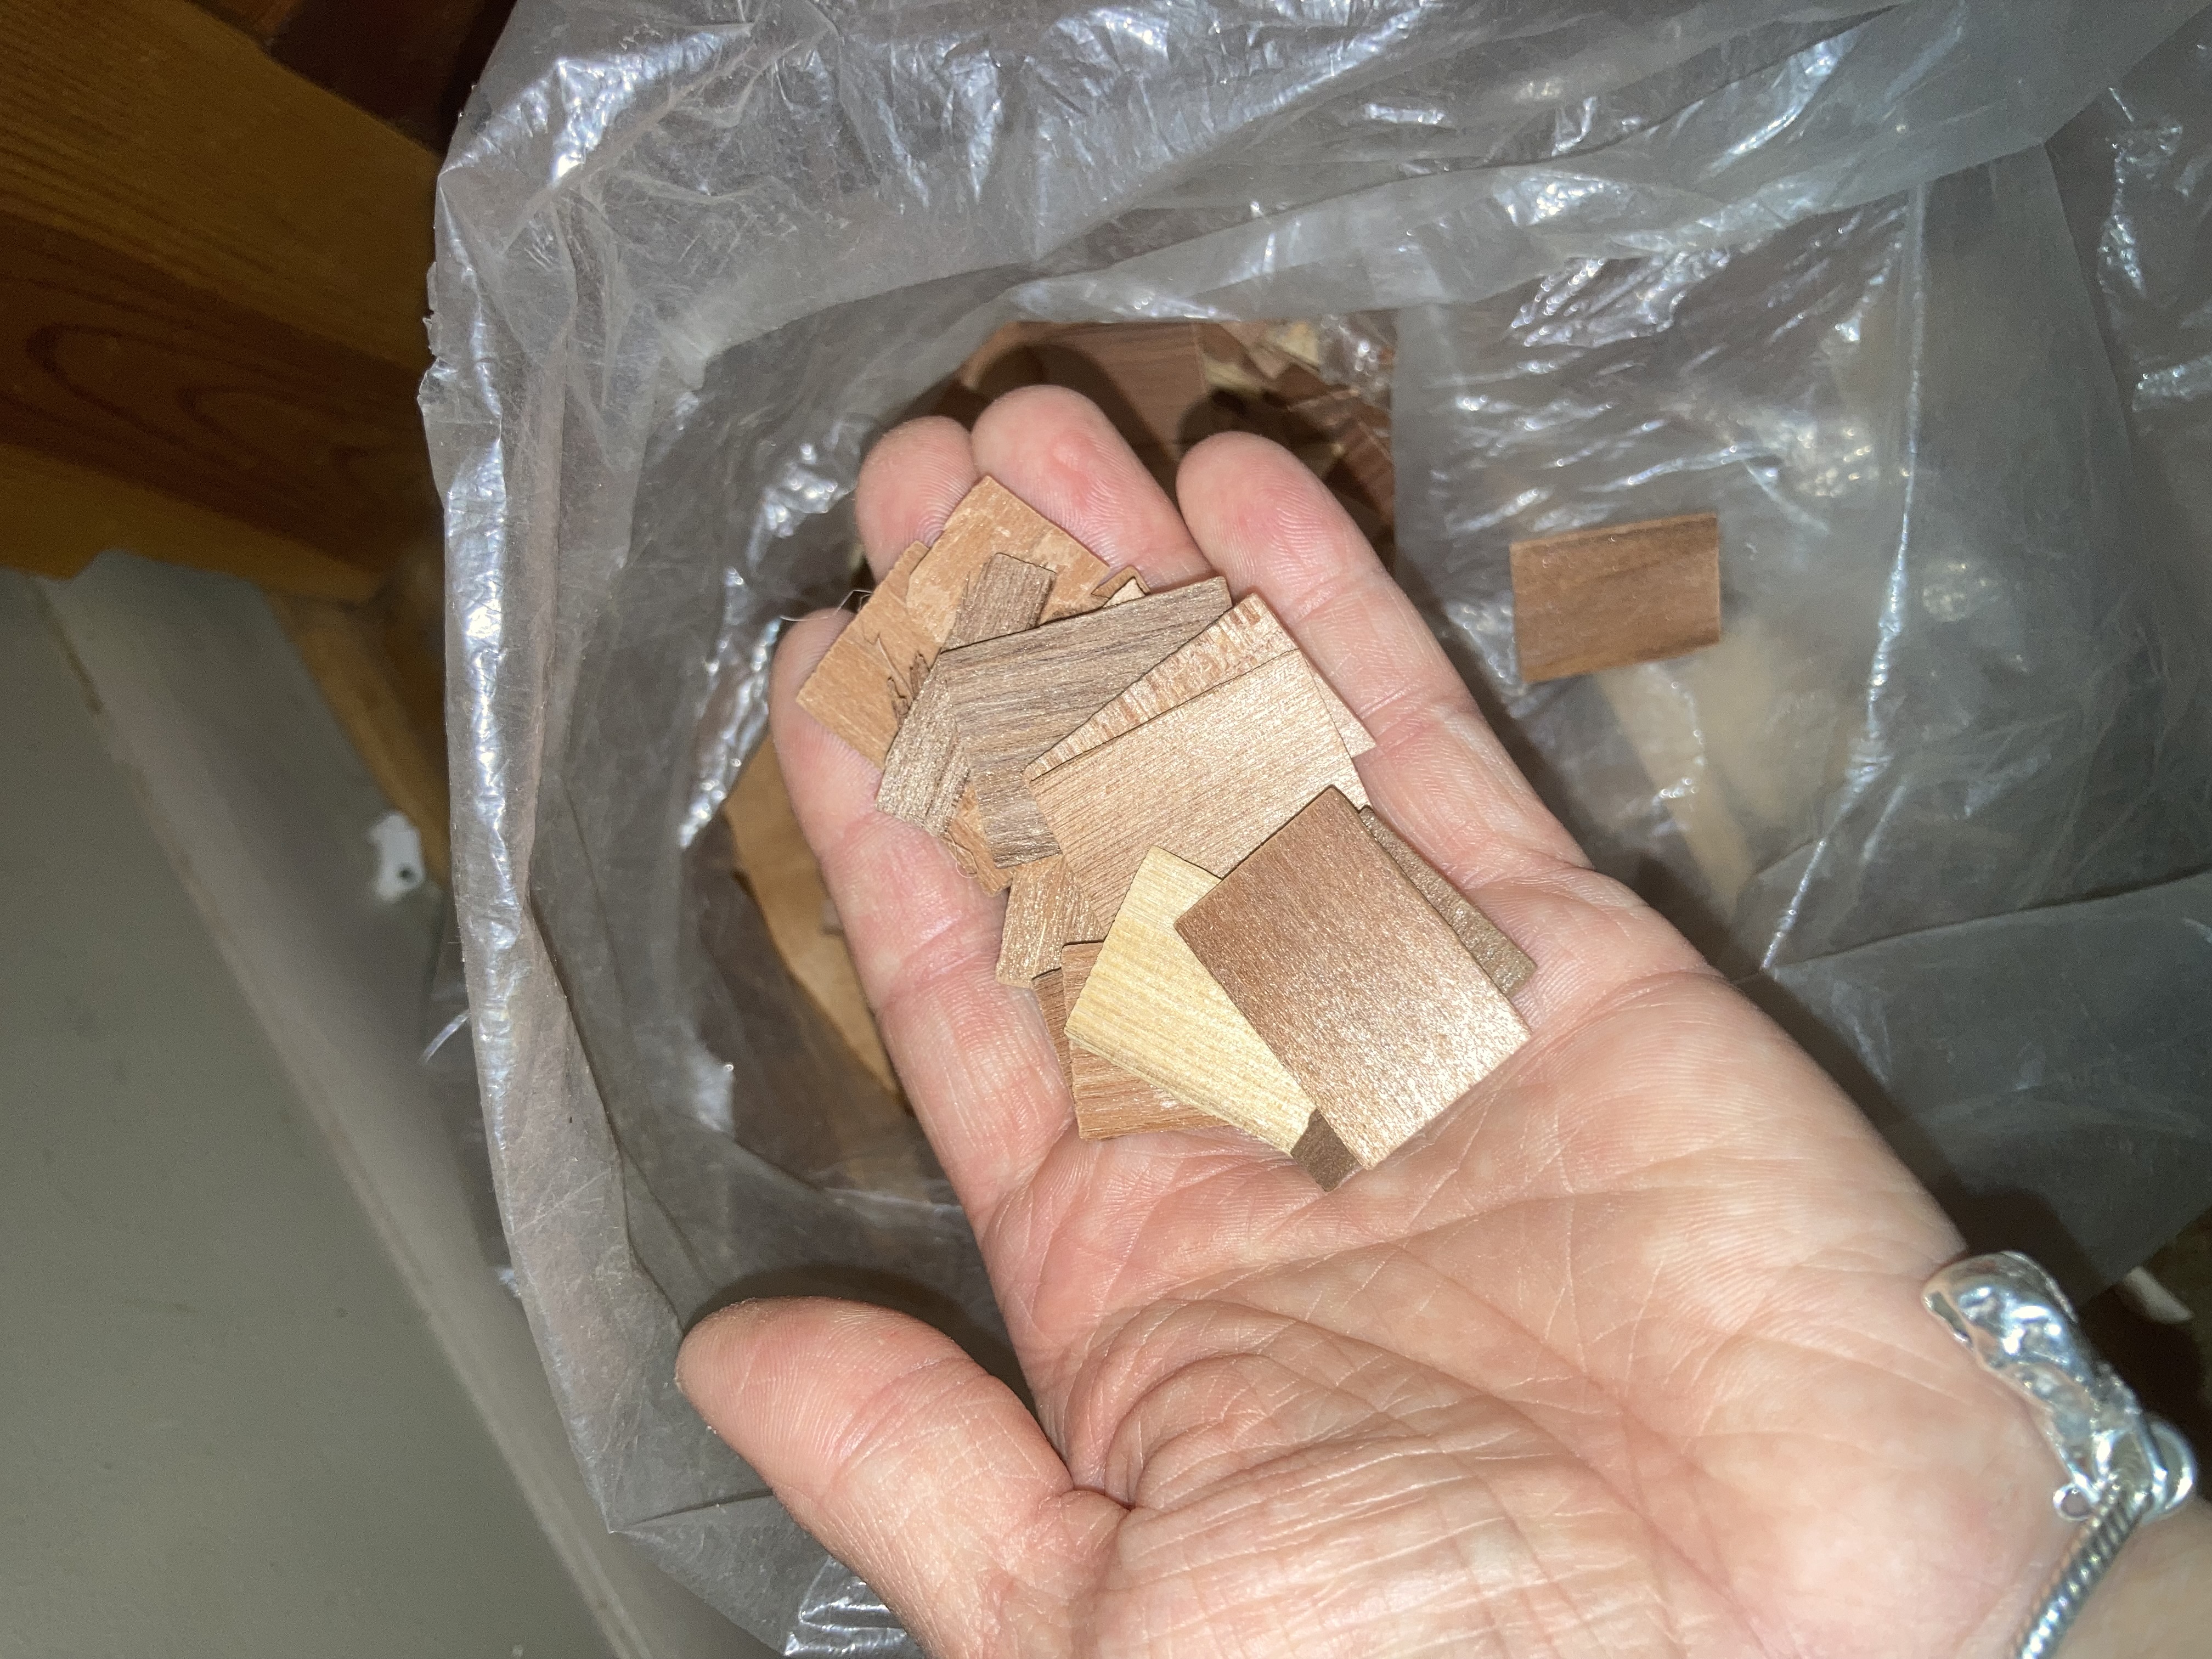
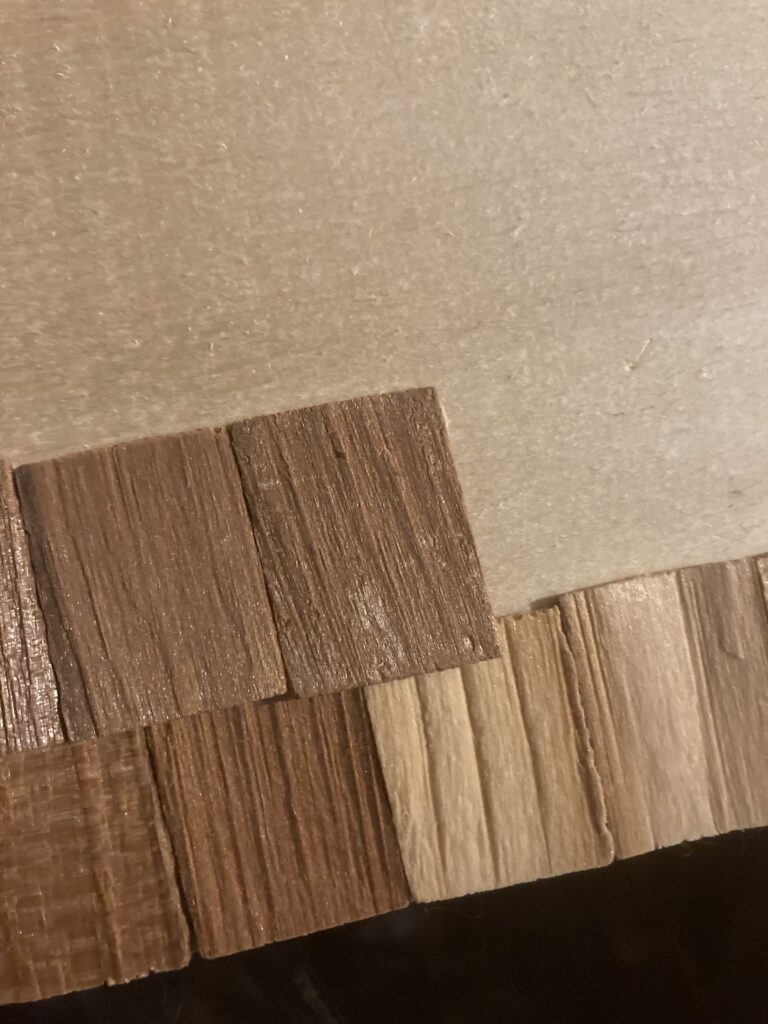
Next I wanted to add shingles, so I did.
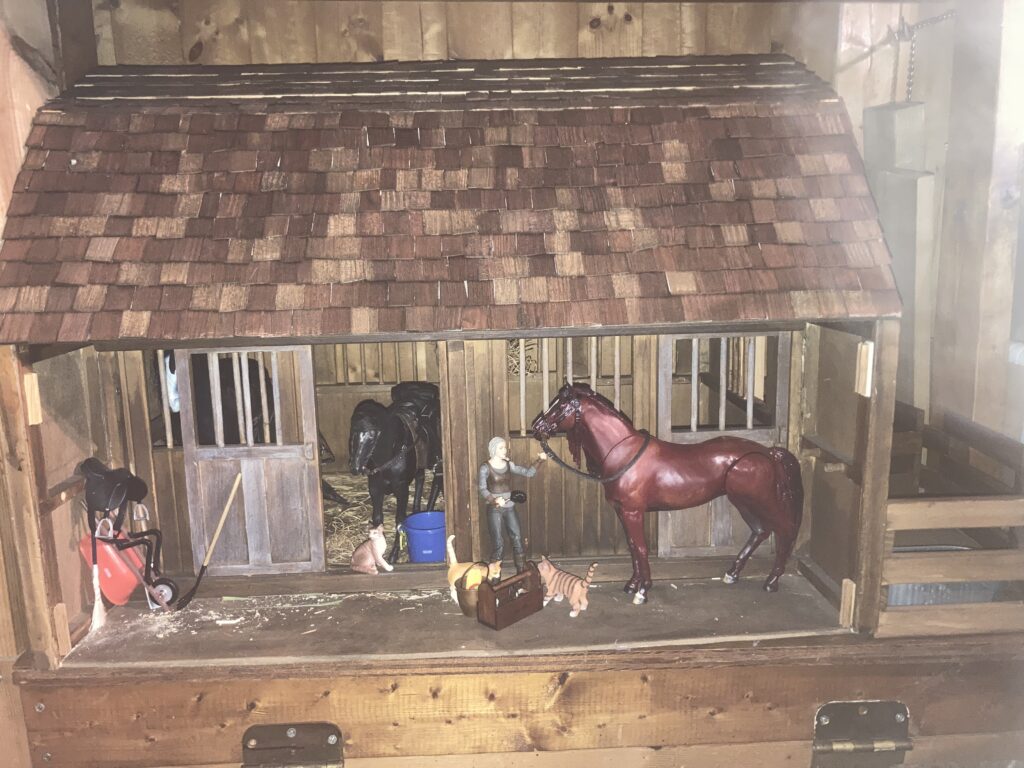
Cedar dollhouse shingles.Layer the shingles, starting from the bottom and going up. They overlap the previous later just a little bit. Stagger them so the cracks between don’t line up, just like on a real house. I use wood glue.Shingles added. Note–this is the BACK of the barn. After shingles are stained. This is the front of the barn, staged with the original ‘Roach’ horse action figure (the black one in the stall) and a modified ‘Roach’ in the aisle. I painted this one to look like my childhood horse, Sugarn Spice. The girl figure is ‘Ciri’, also from the McFarlane Toys Witcher series. There are Breyer horse accessories and some cats that I found on Amazon.
I stained the shingles with the same aging stain that I used on the rest of the barn. I bought more McFarlane ‘Roach’ horses and even painted some! My plan is to explain my painting/modification process in a future blog.
Any questions or comments? Feel free to post them! Thank you for visiting!
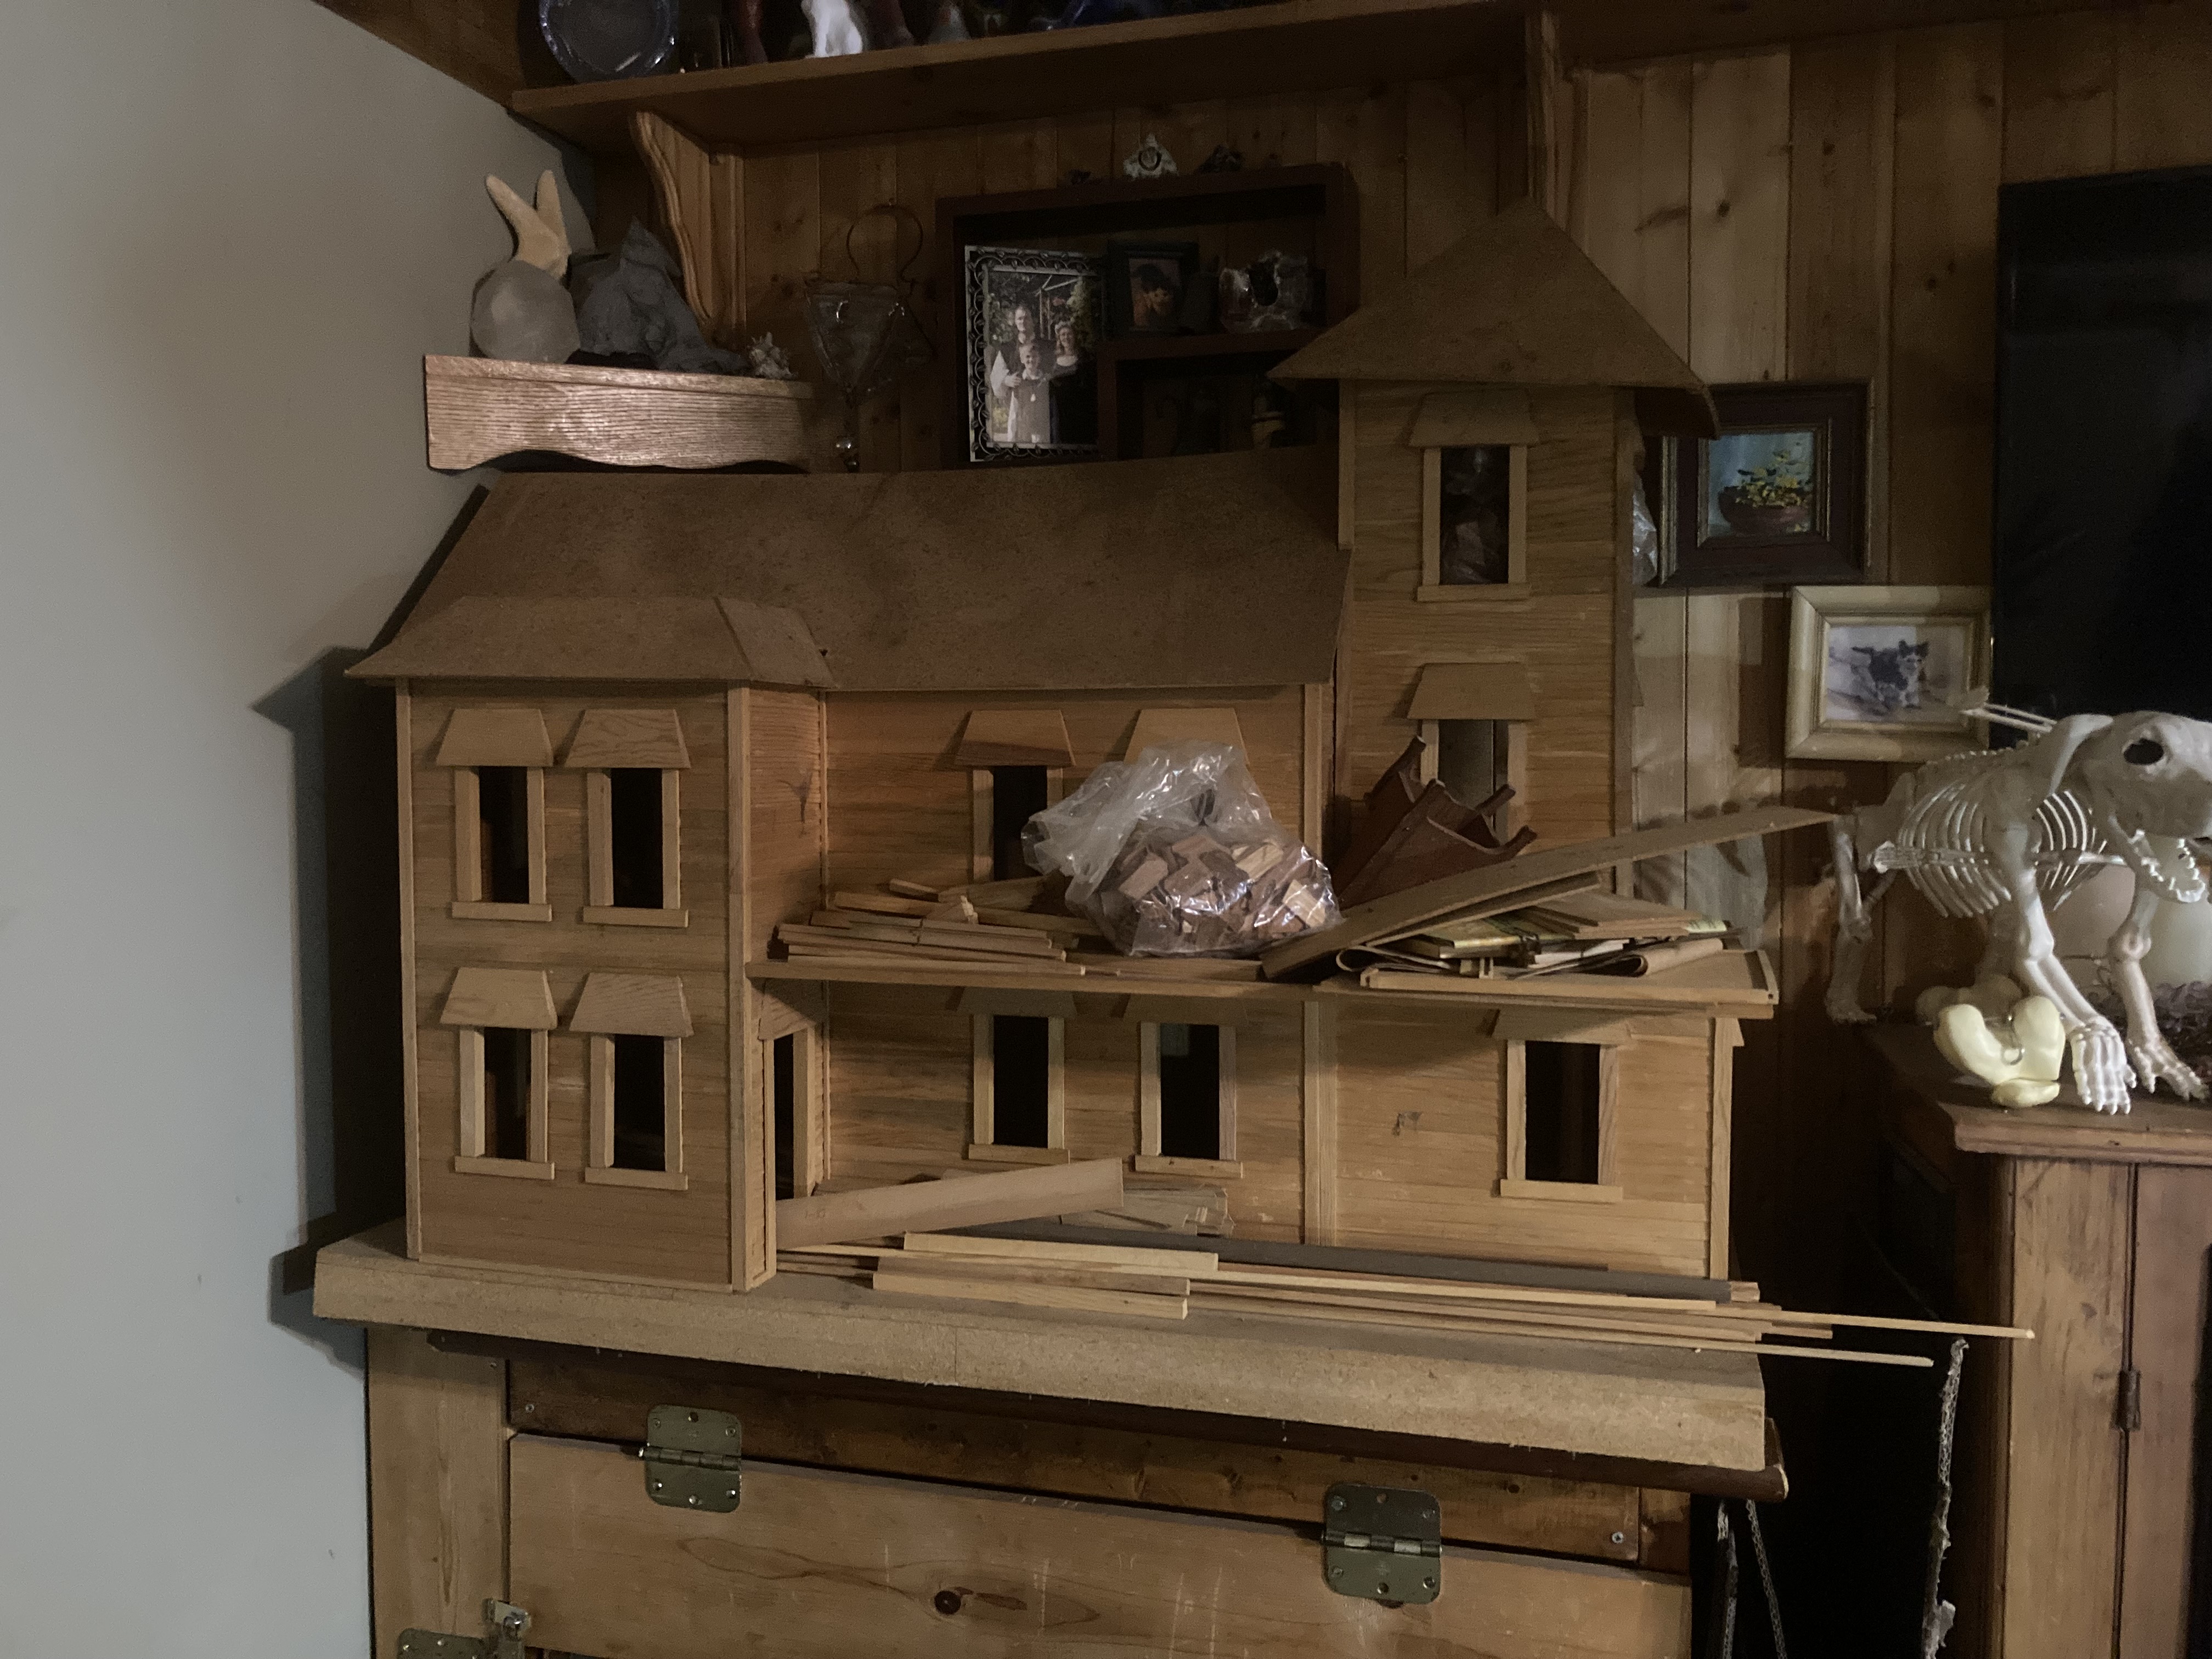
This house was an unfinished kit that I bought on Facebook Marketplace. It still had the instruction manual, plus an old sales catalog from Frank’s Nursery dated 1982, with this kit circled. I am guessing that was when it was purchased, and it had never been finished. It has a lot of dust on it.
Something about this dollhouse makes me think of a large saloon and brothel in an old west town. We just finished watching the old ‘Deadwood’ series (HBO) and I can’t help envisioning Al sitting on the upper porch drinking his coffee. When I found this house available within easy driving distance, at an affordable price, especially in its unpainted state, I dove for it!
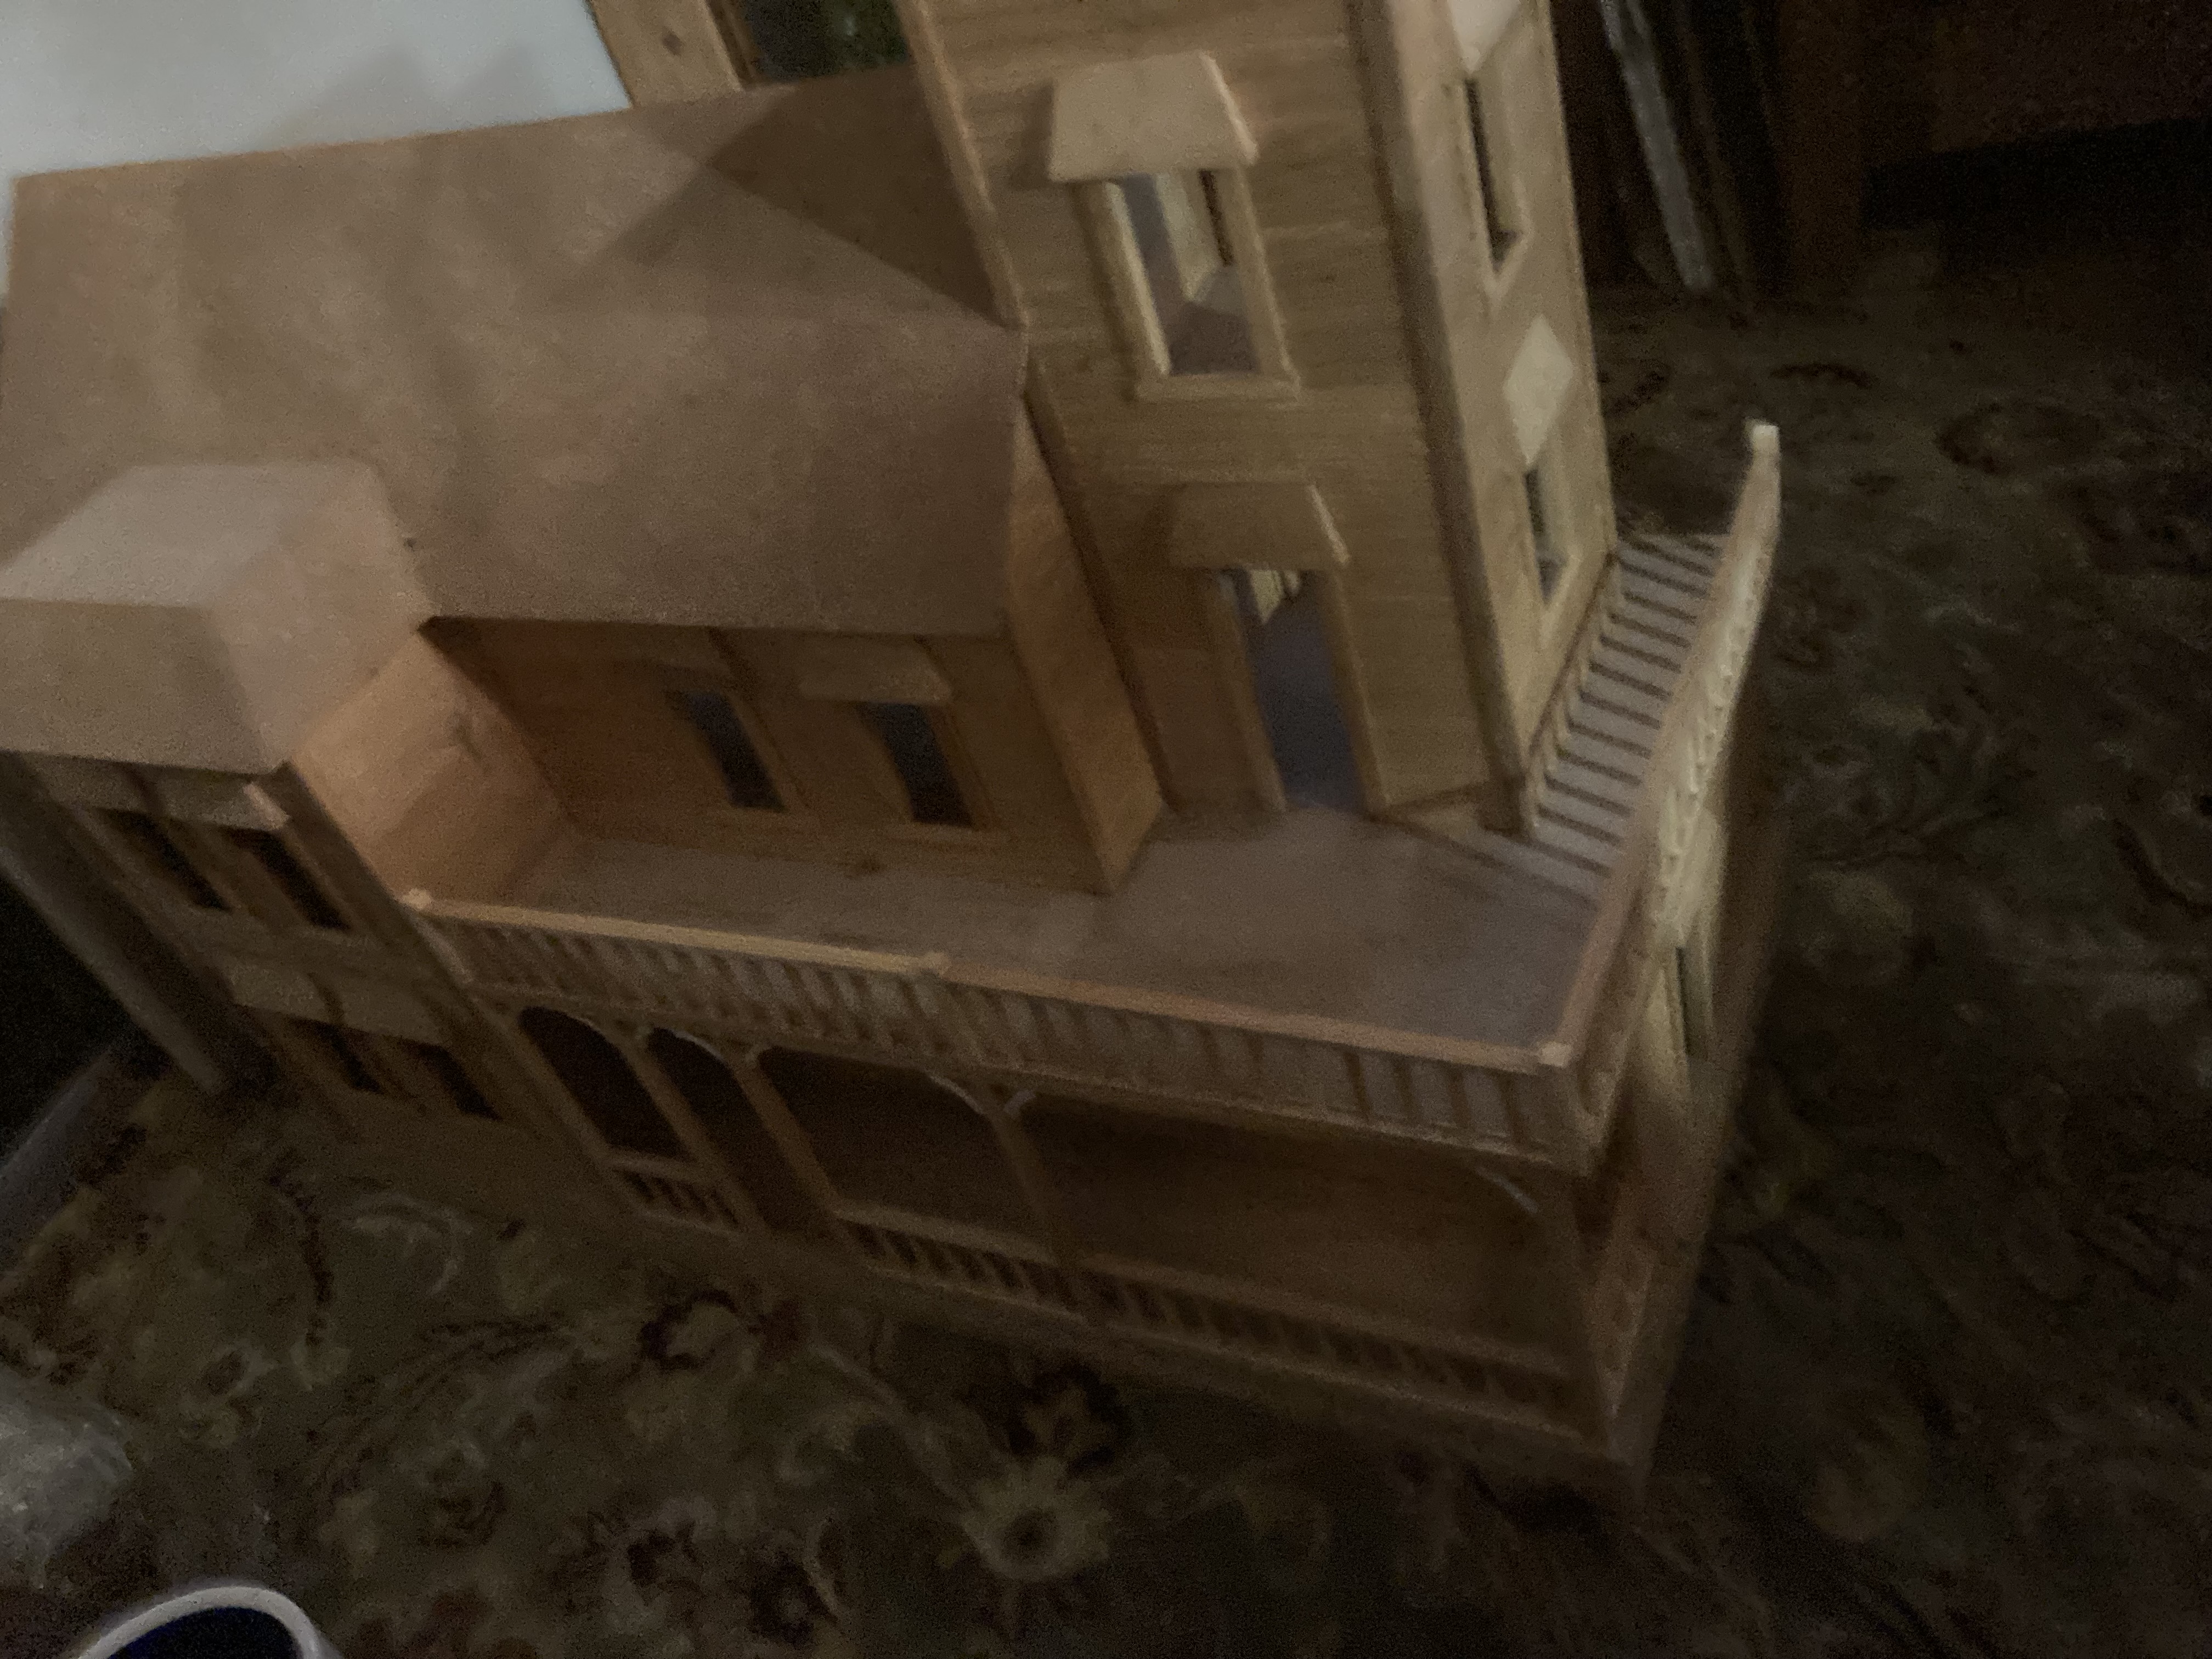
After the porch railings were finished. It looks more like a saloon to me now!
The first thing I did was finish the porch railings. The kit hadn’t been completed, and fortunately they included the instructions and the unfinished parts. It was easy to follow the instructions and install the porch rails.
Once the railing was installed, I turned the house around to focus on the inside. None of the inside walls had been installed, so the inside was a blank slate, which is great for me and my saloon intentions. However, without the support of the inside walls, the floors had sagged with time. I think someone probably used it like a shelf, which would have added to the problem. I decided that it needed some support, but I didn’t want any extra walls to break up that glorious open space on the bottom floor, so what to do?
Bracing the inside floors.
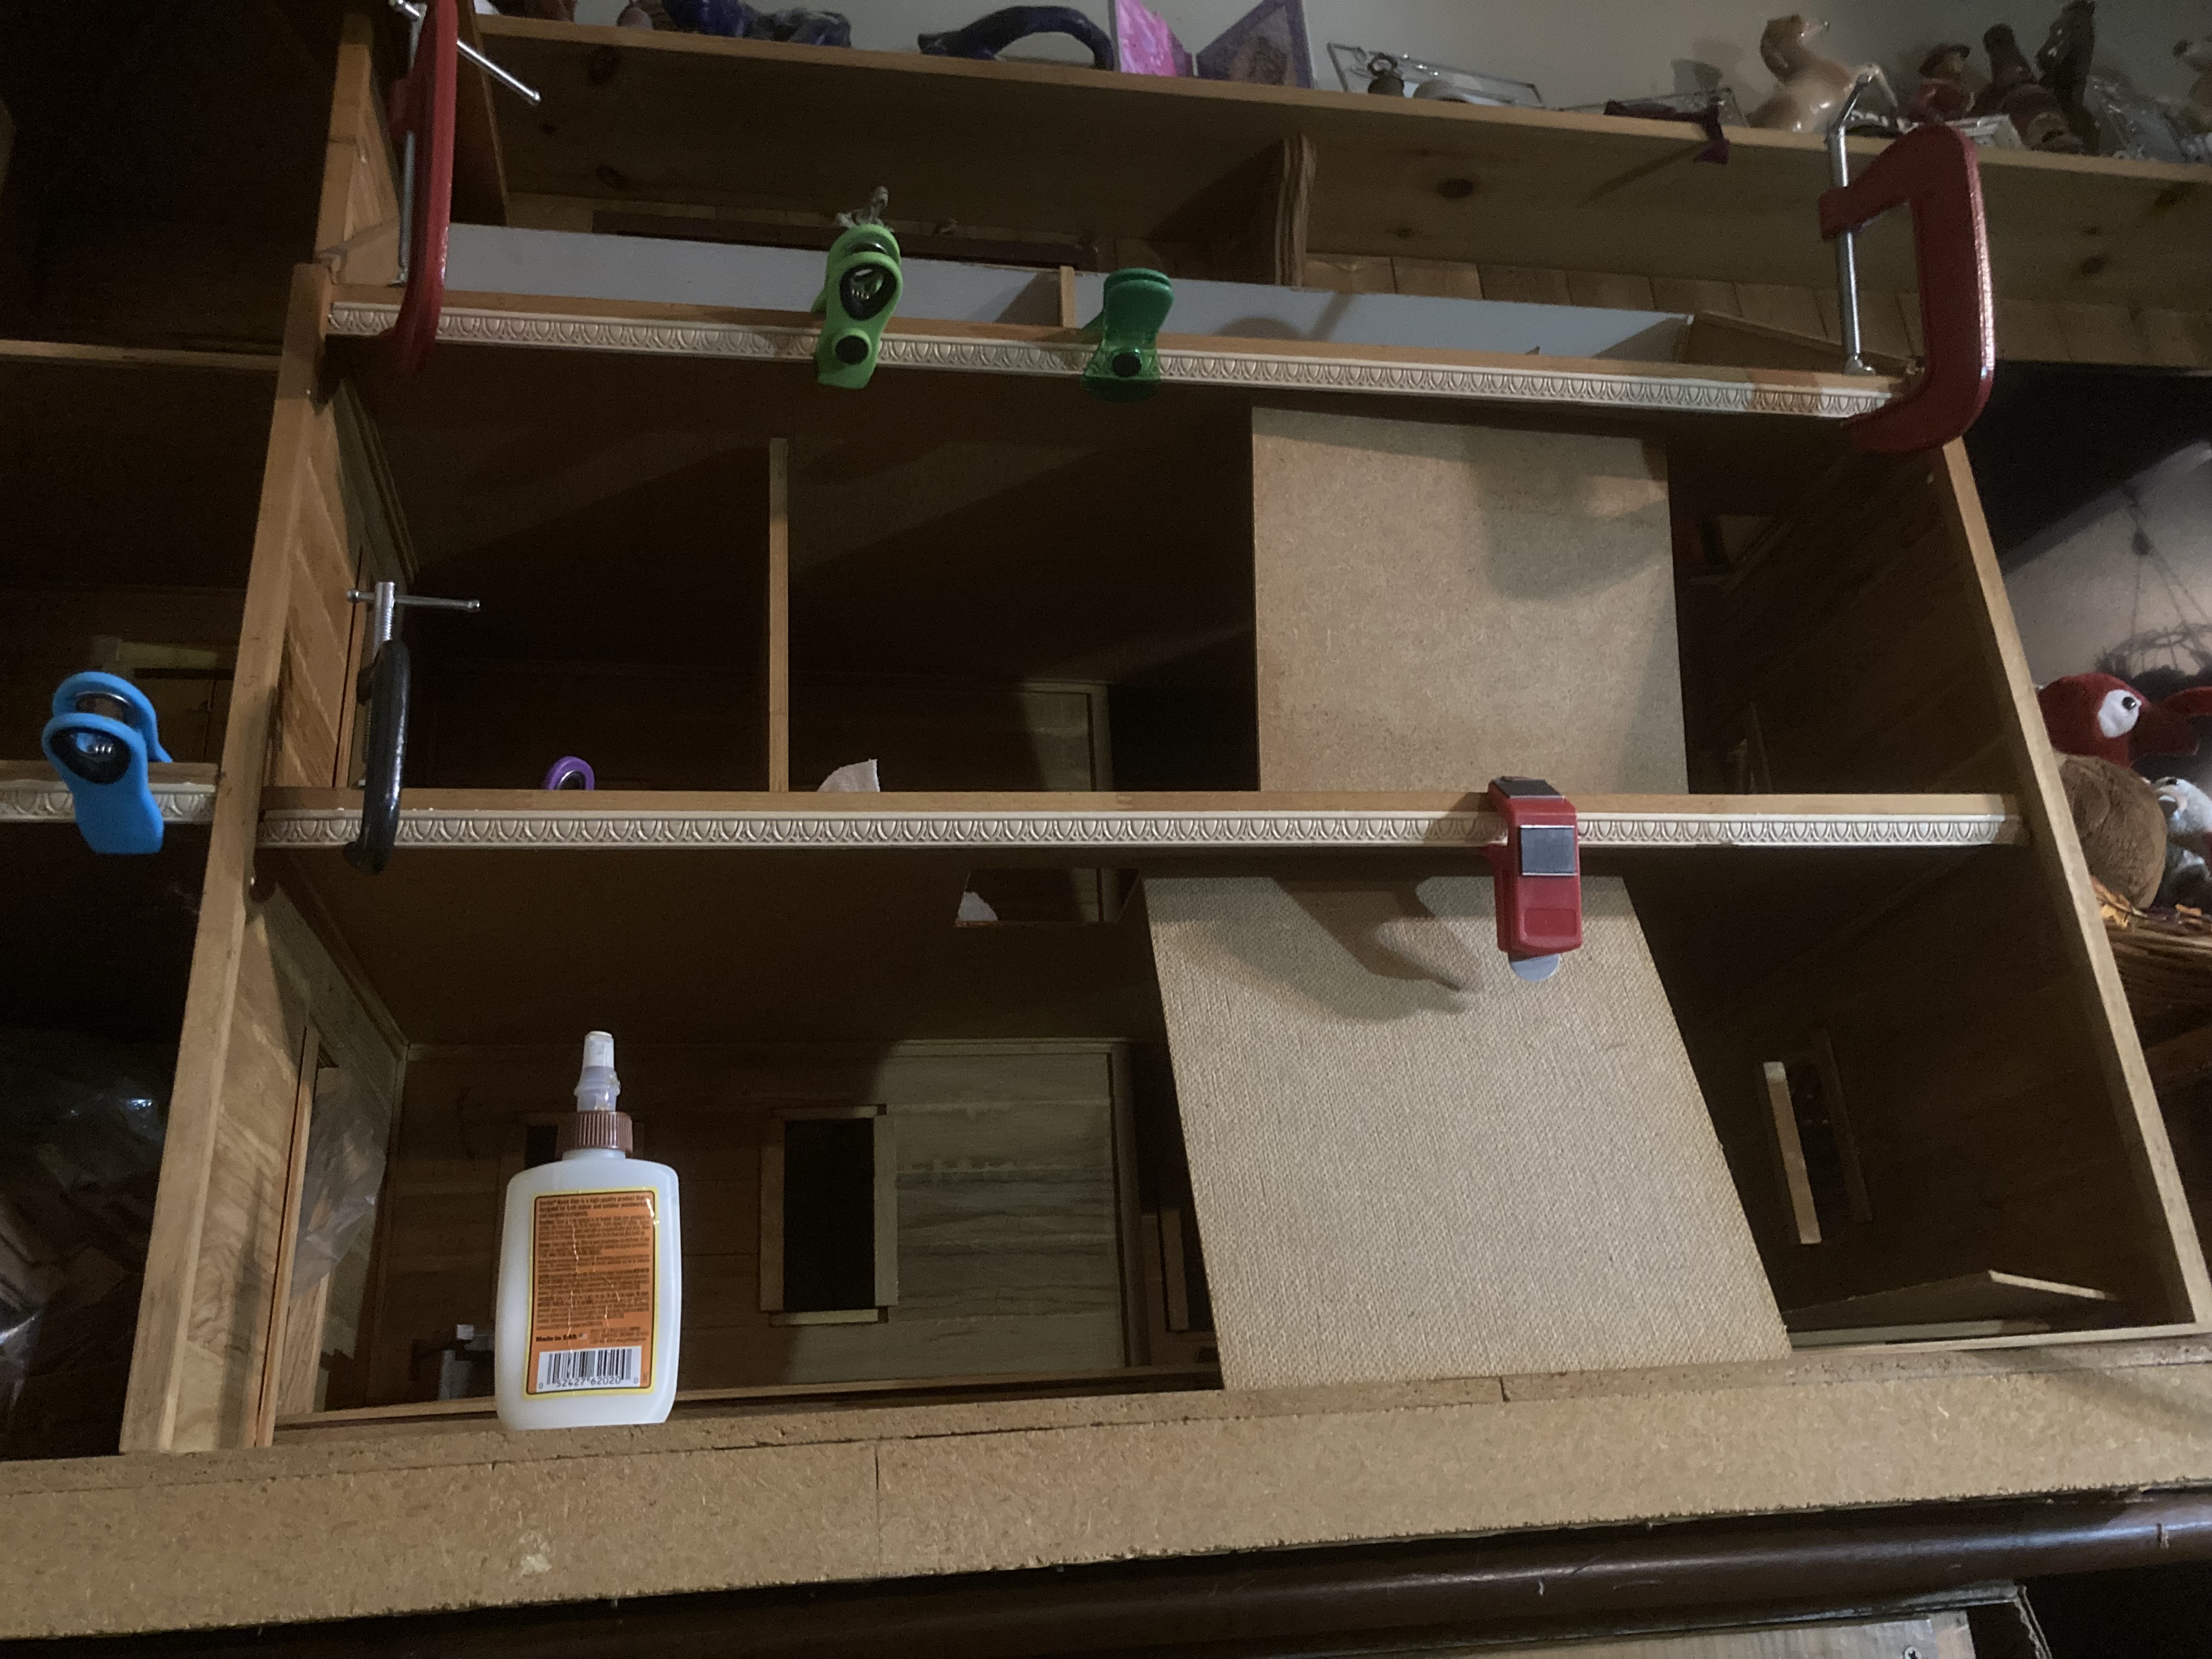
I bought some fancy decorative wooden trim from Menards and glued it along the front edges of the floors, where it sagged the most. I clamped it until the glue was dry. I used pieces of wood to brace it up as it dried to it wouldn’t sag anymore. This would work temporarily, but I knew that it would be weak over time if it didn’t have some better support. Before I could add any extra support, however, I would need to get the floors done on the bottom floor.
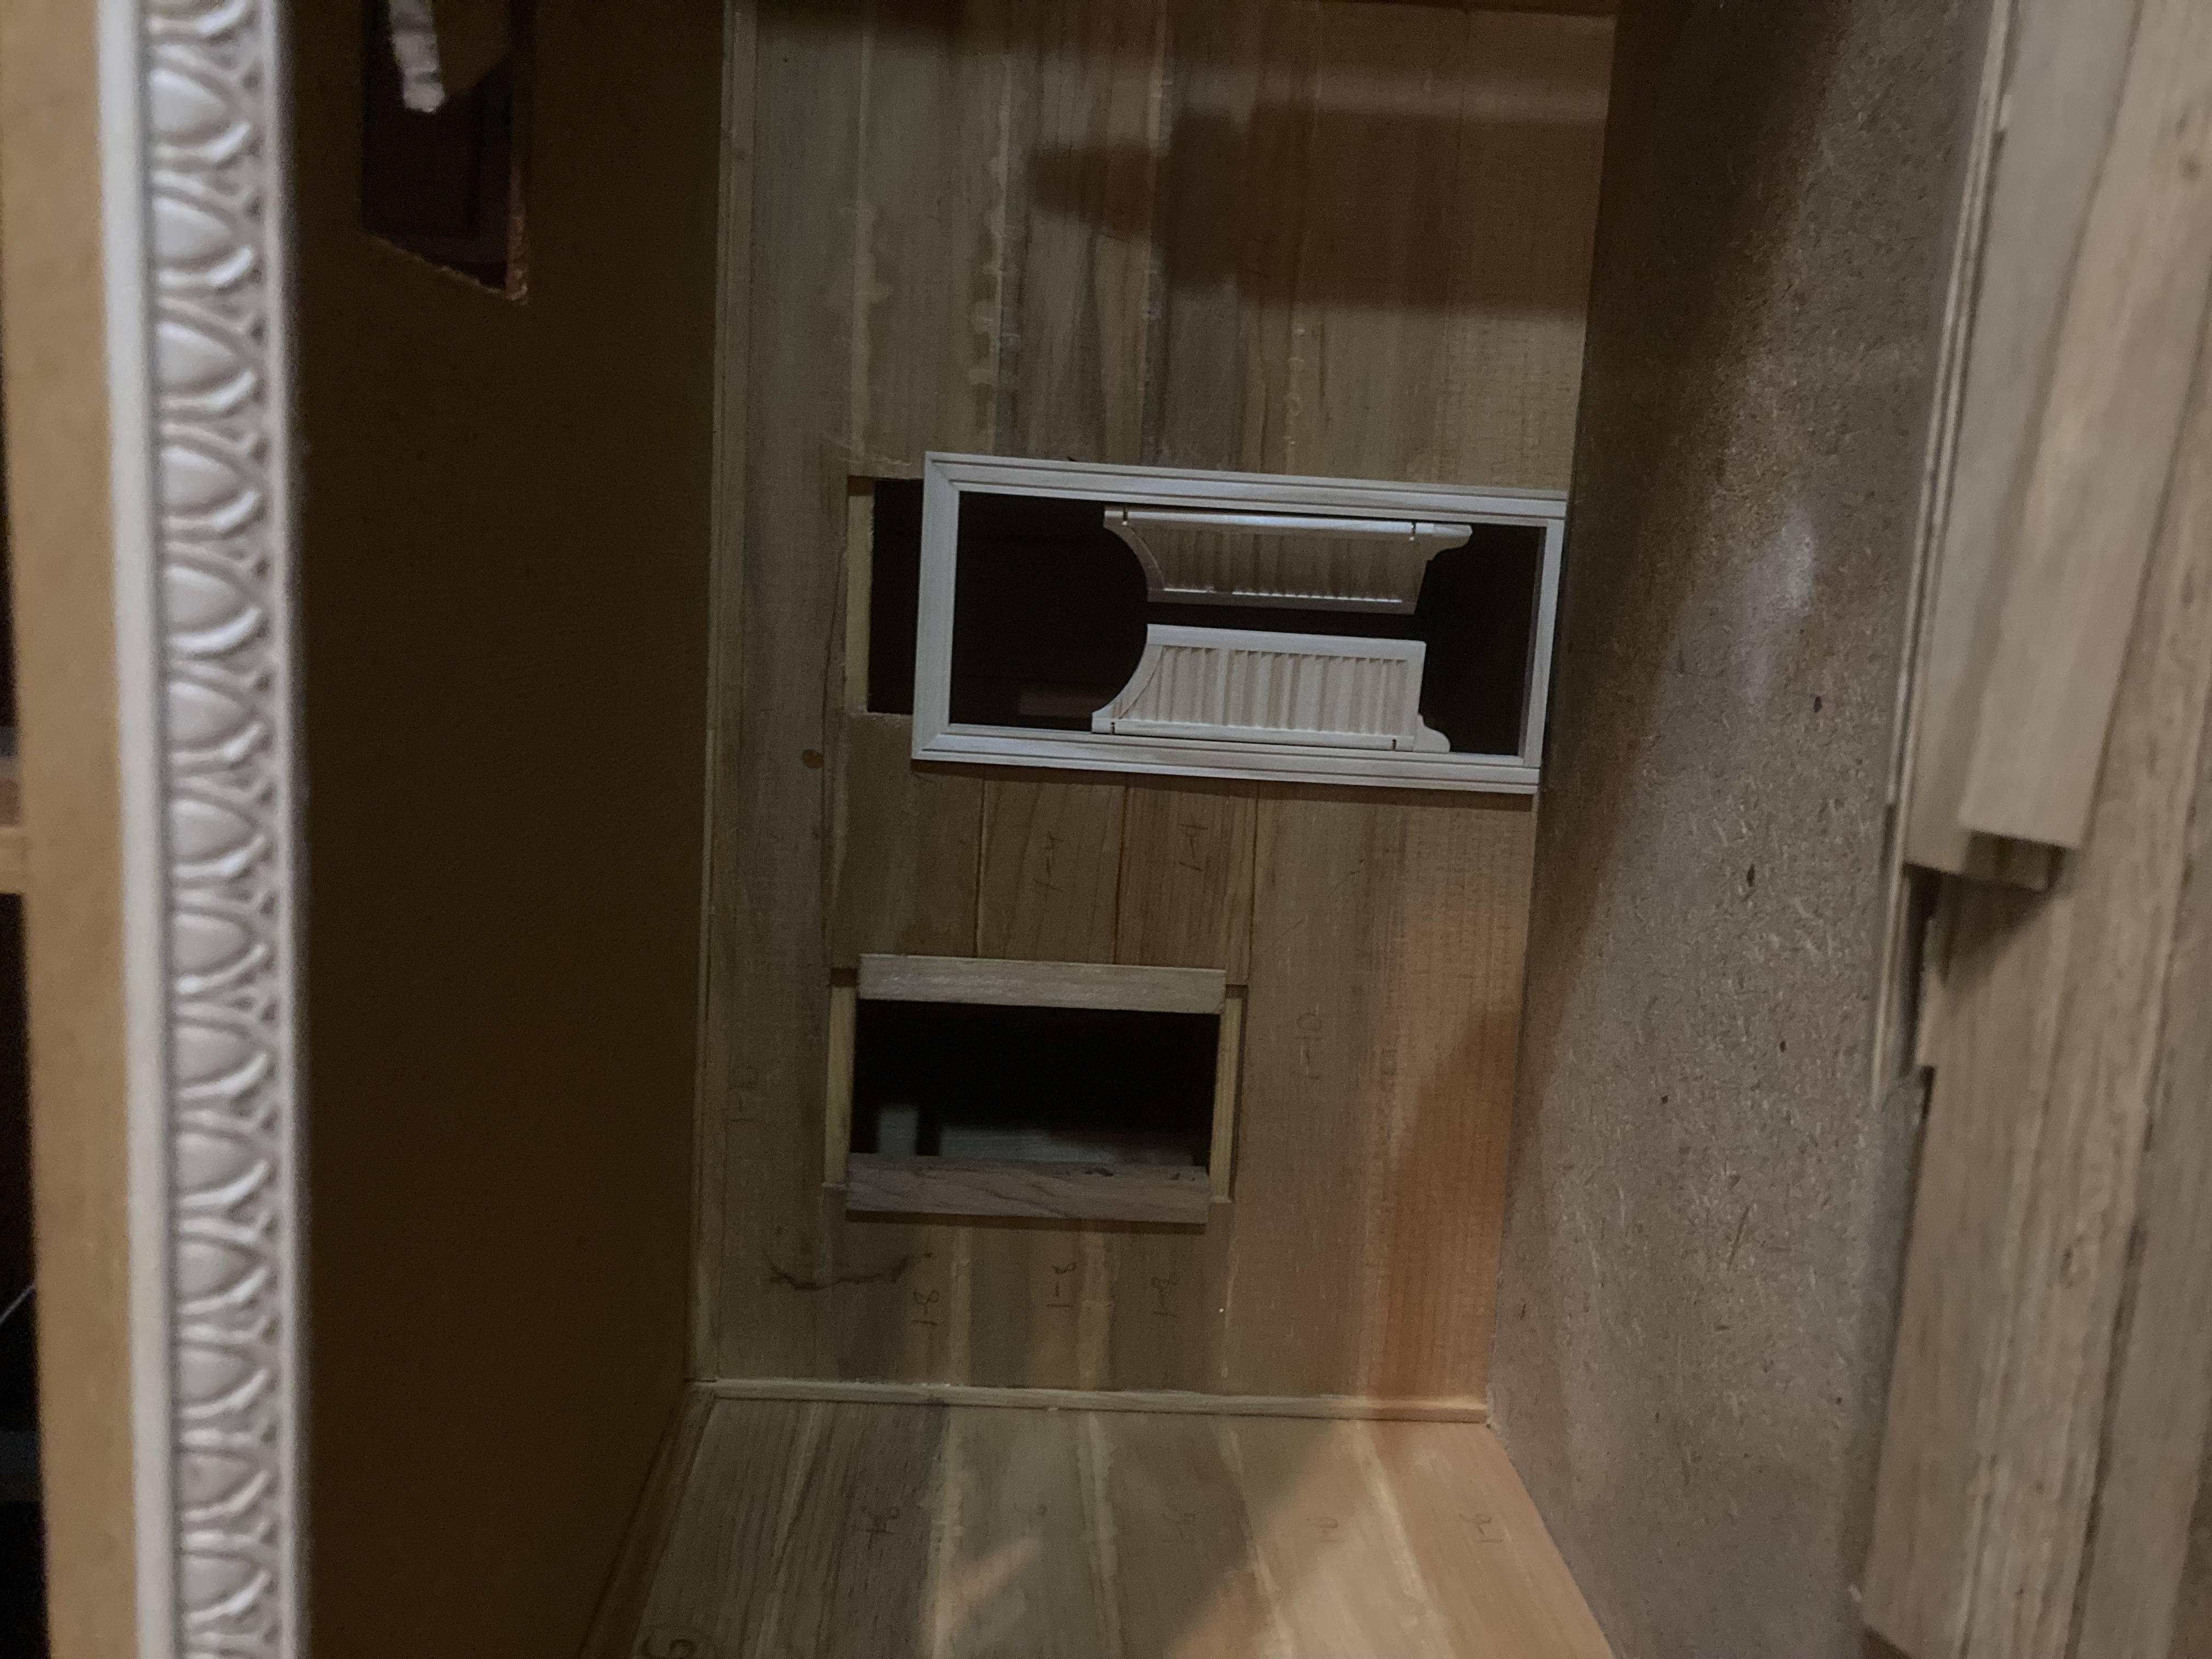
I also cut one of the front windows bigger, making it into a door. I bought a swinging bat-wing door on Amazon and glued it in place, but there is a gap on the top that will need to be repaired.Installing flooring strips.
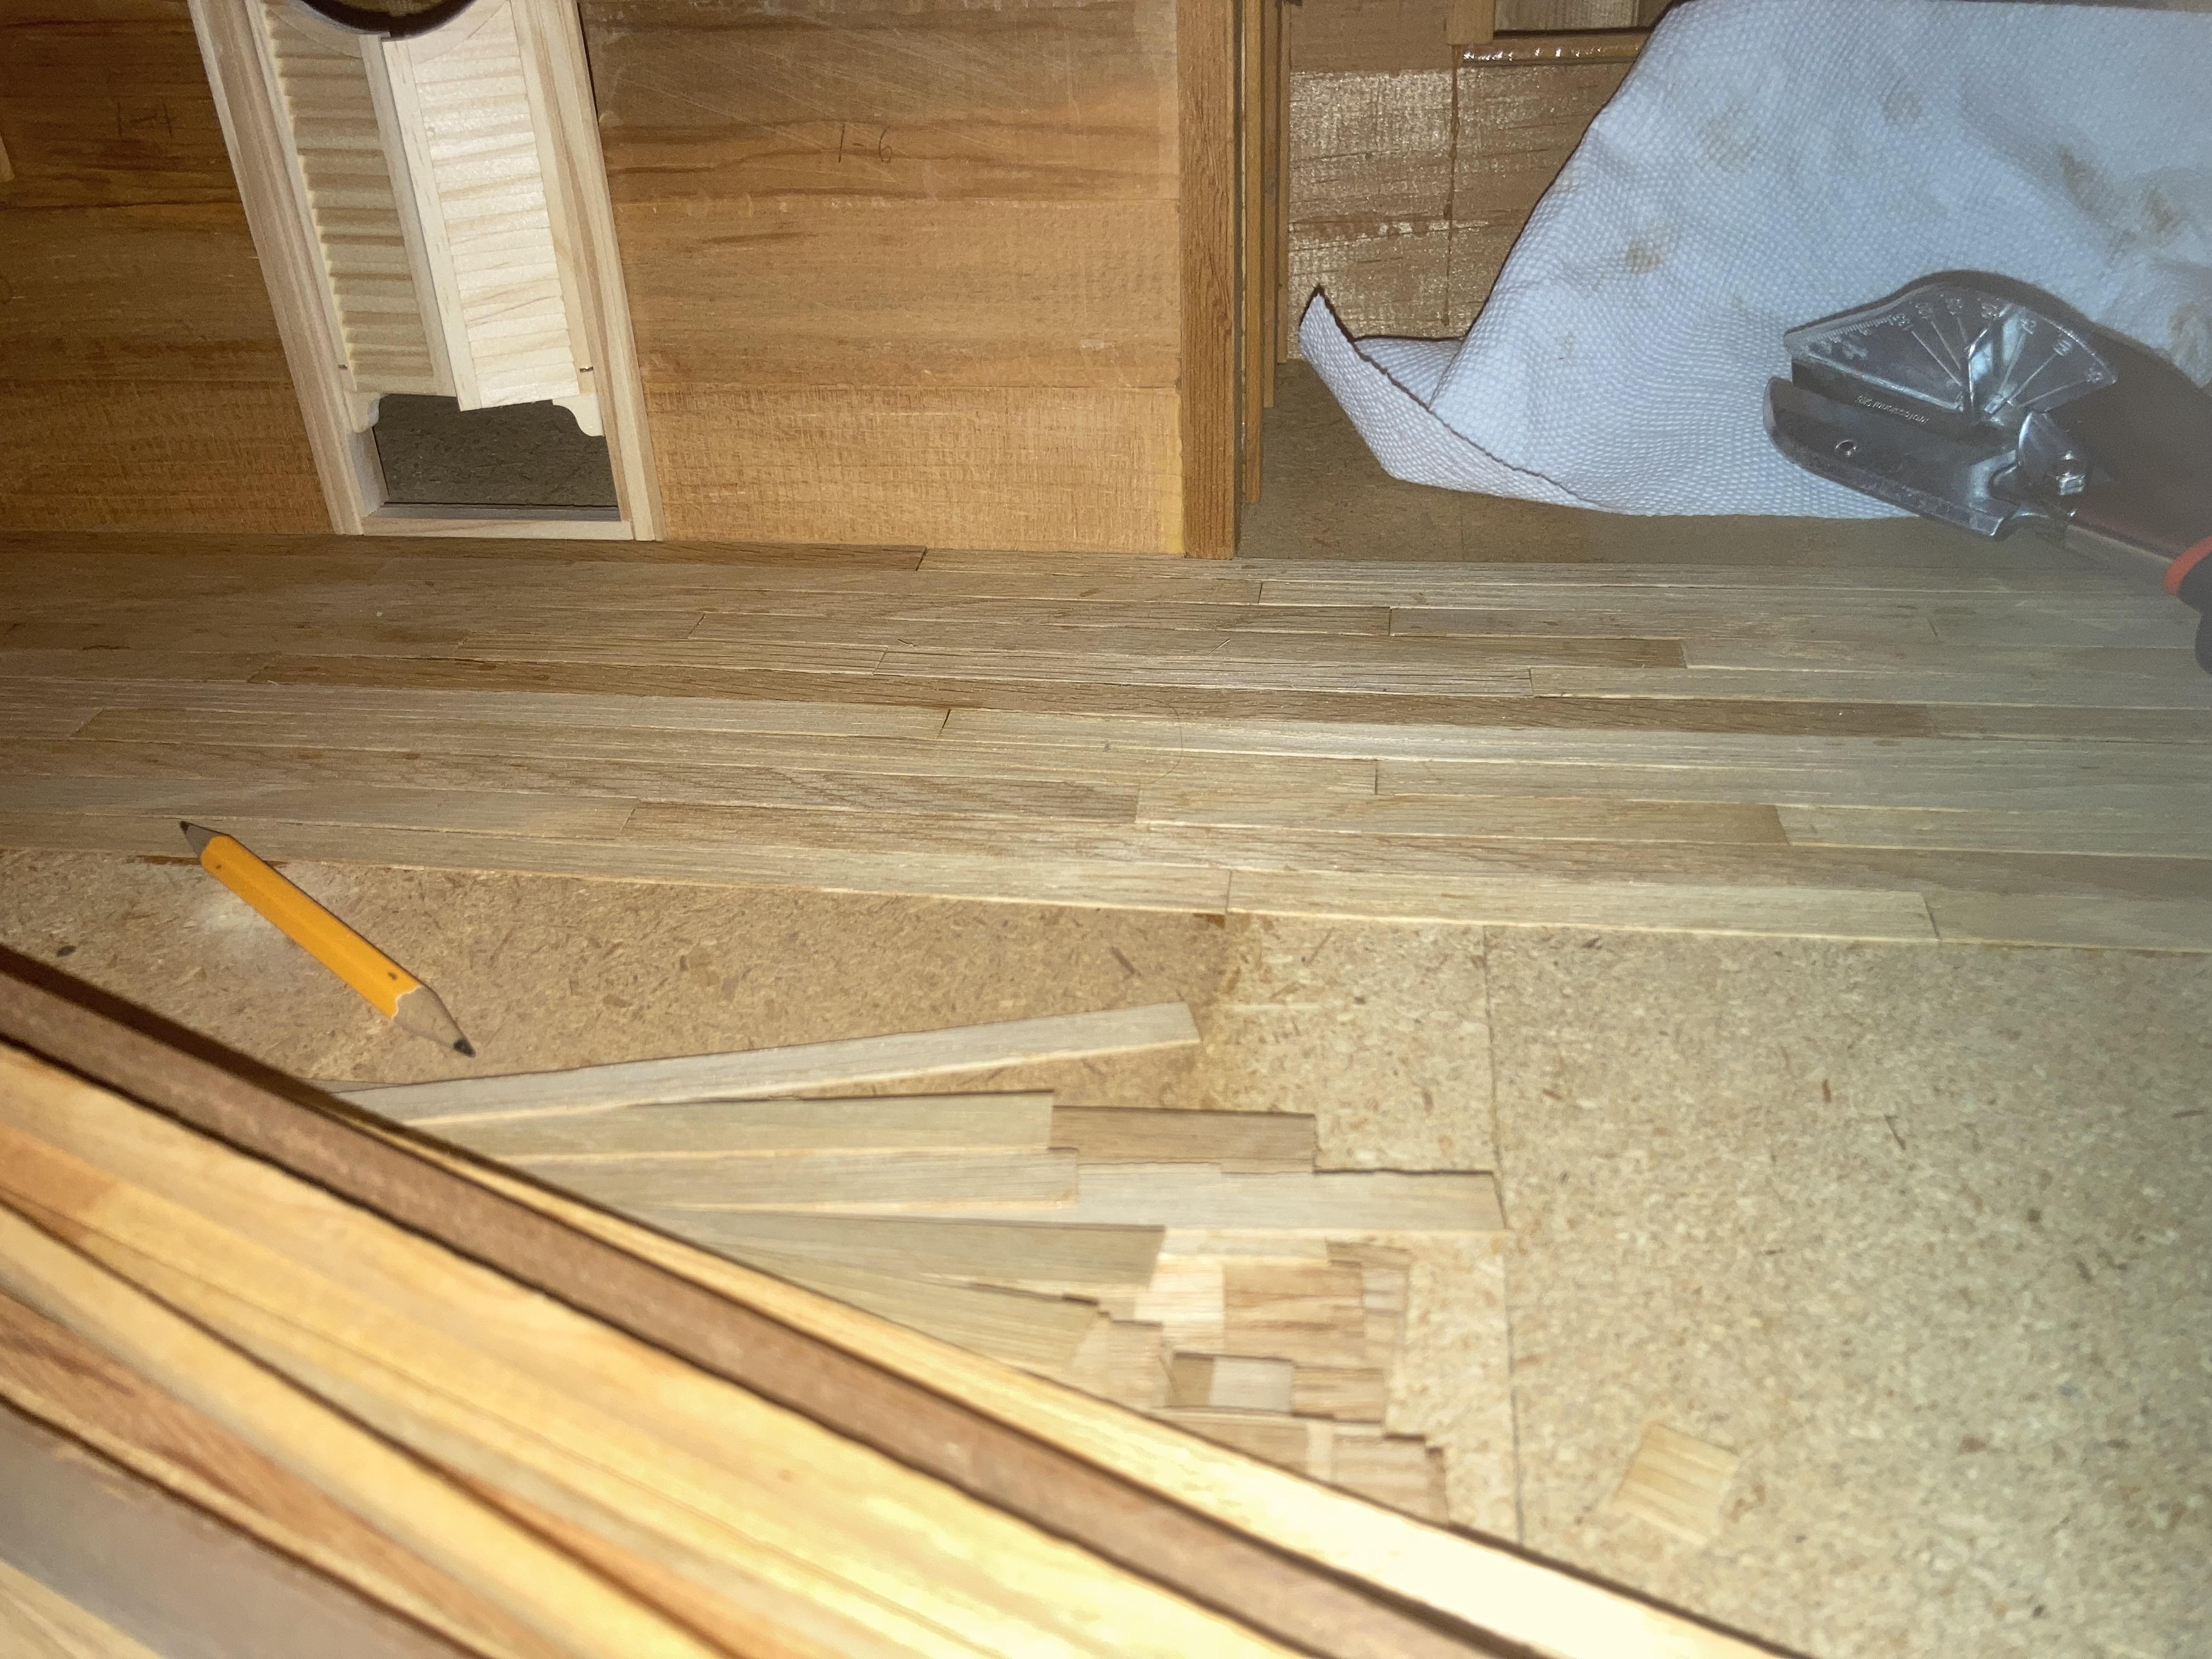
The kit came with flooring strips (YAY) so I worked at cutting and gluing them down. I kept the lengths staggered so there is no pattern to the wood that would draw the eye, just like a real wood floor. The pieces were so thin that the wood glue I used made them curl up in some areas. I weighed them down with heavy glass cup holders until they were dry.
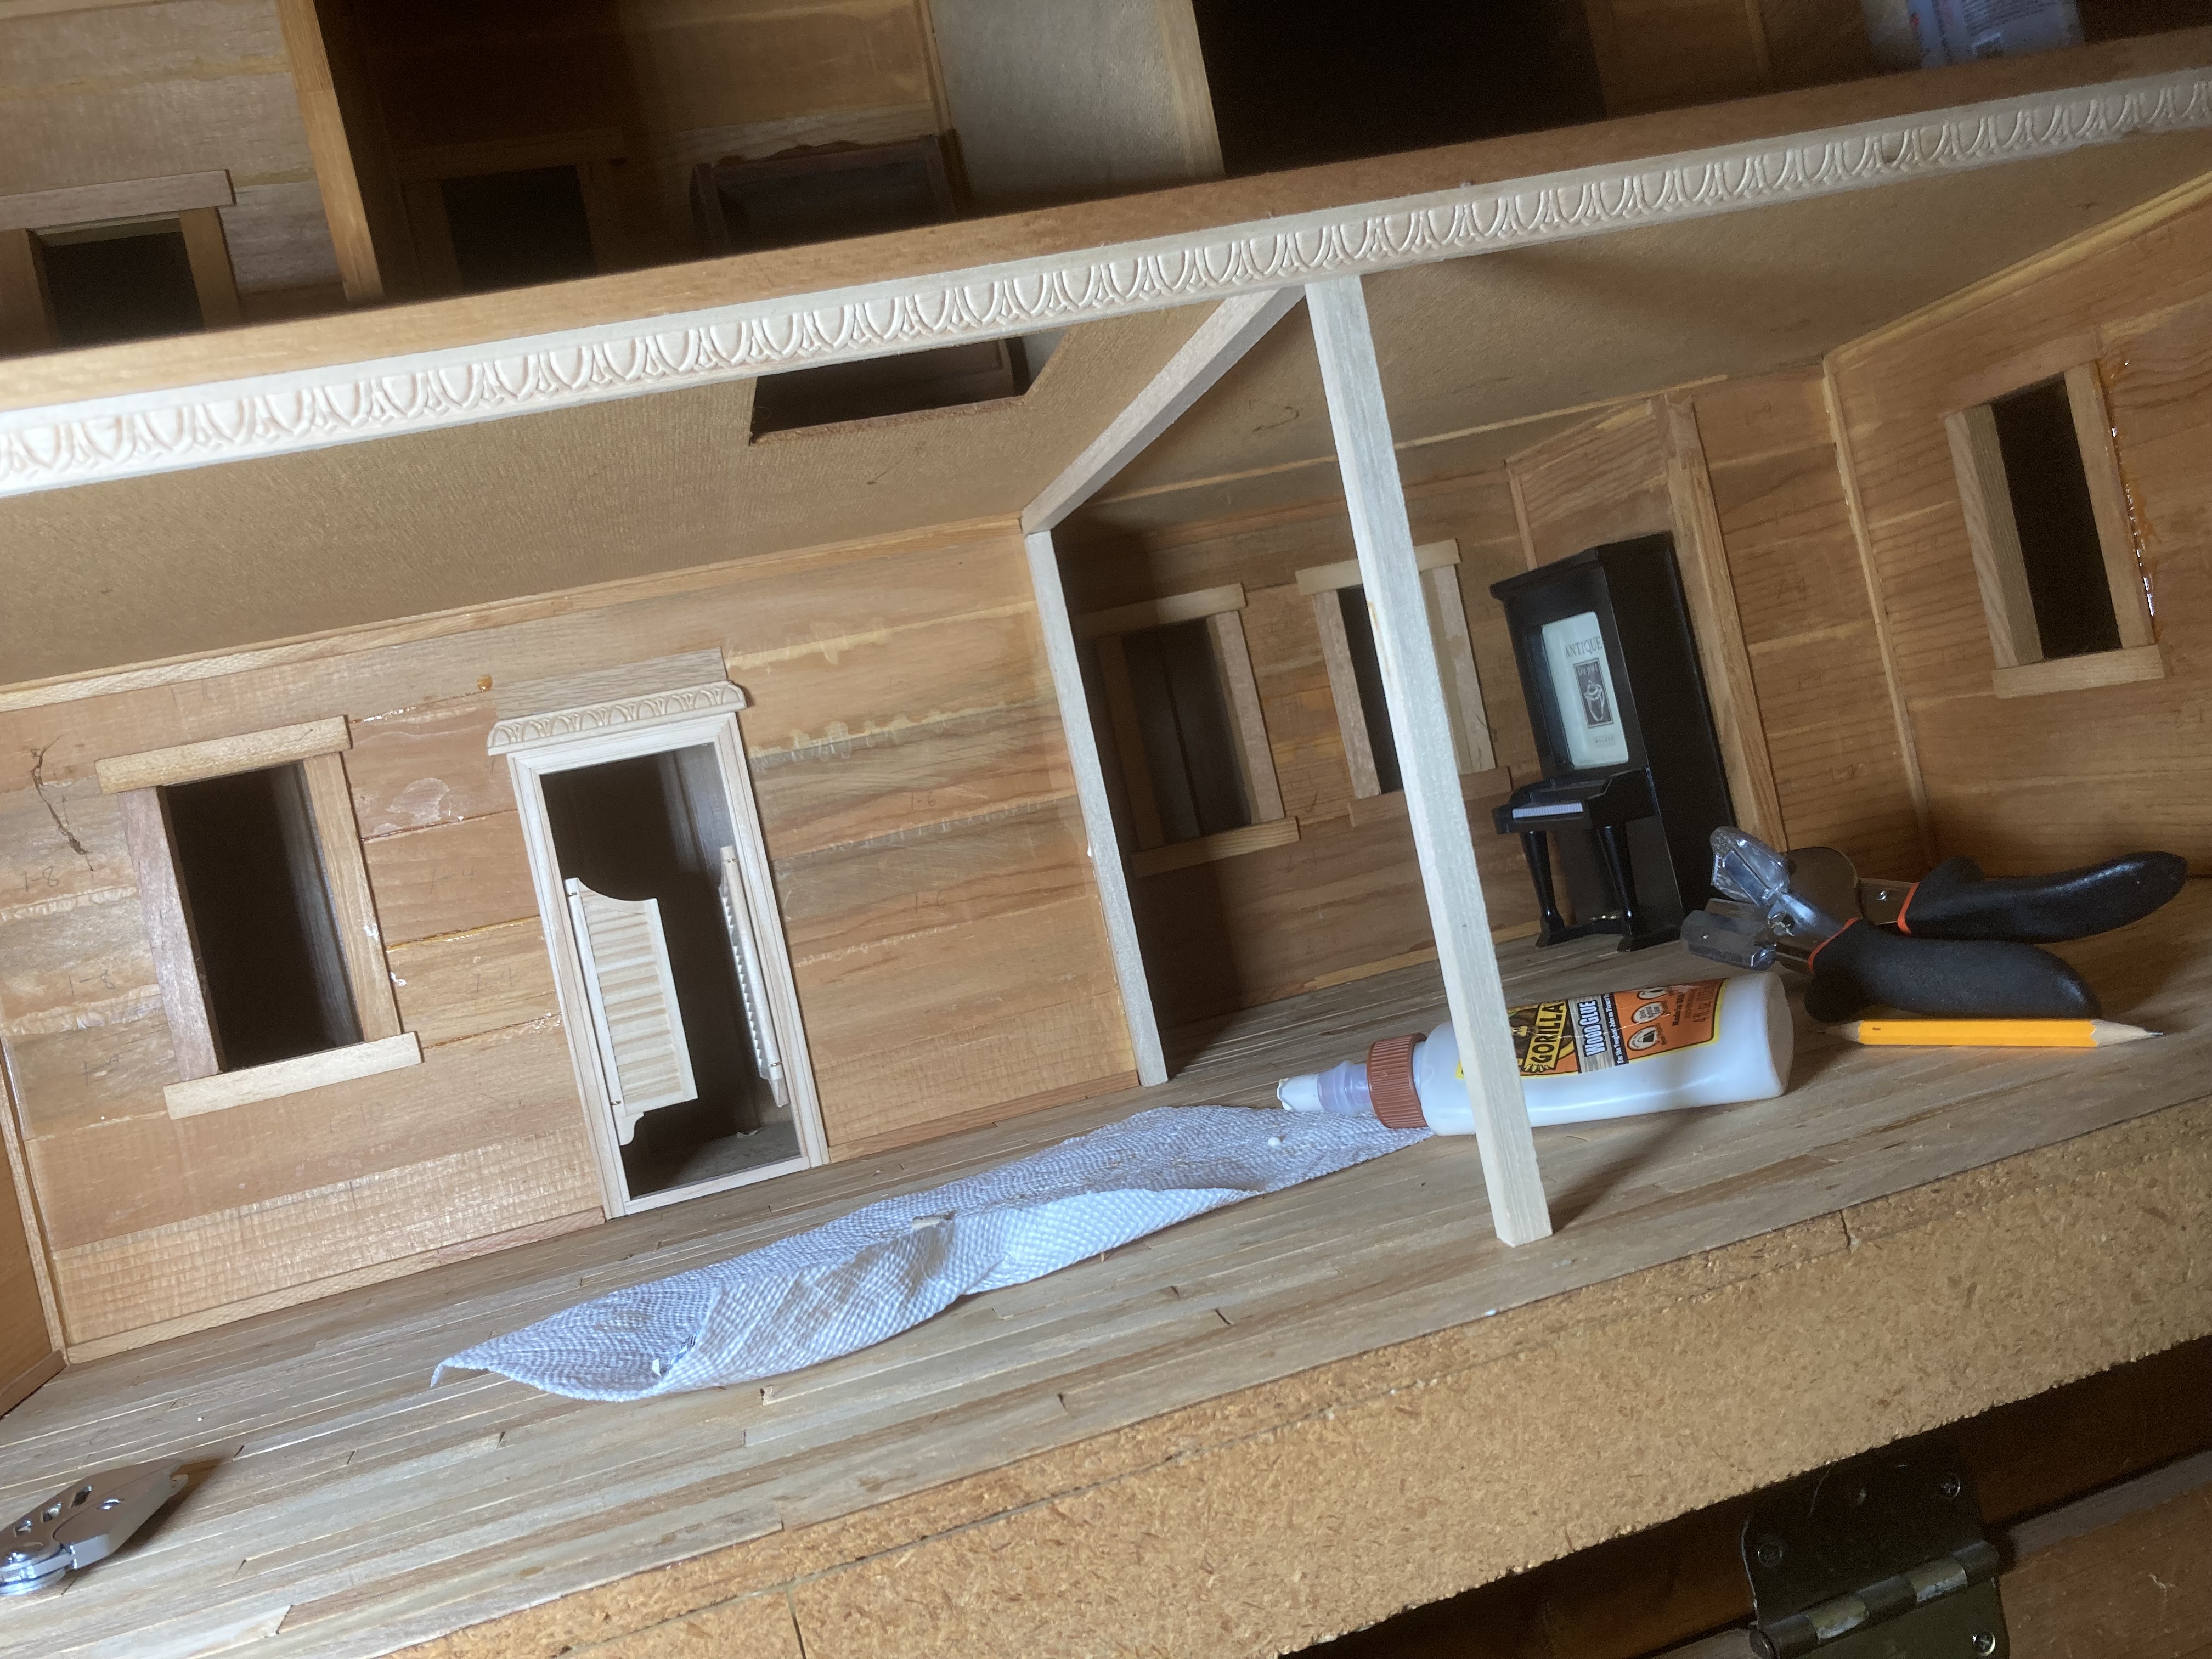
When the floor was laid, I cut some square wooden dowels to make a bracing framework across the middle of my floor. Eventually I can make some sort of fancy corbels or something to spruce it up, but I am confident that it will help to brace the floor above just as a wall would. In this picture you can see the trim I added above the doorway to cover the gap–it wasn’t quite tall enough, so I added a strip of leftover flooring above that. It seems to blend in the with the wood of the walls enough that it works.
Next I need a bar.
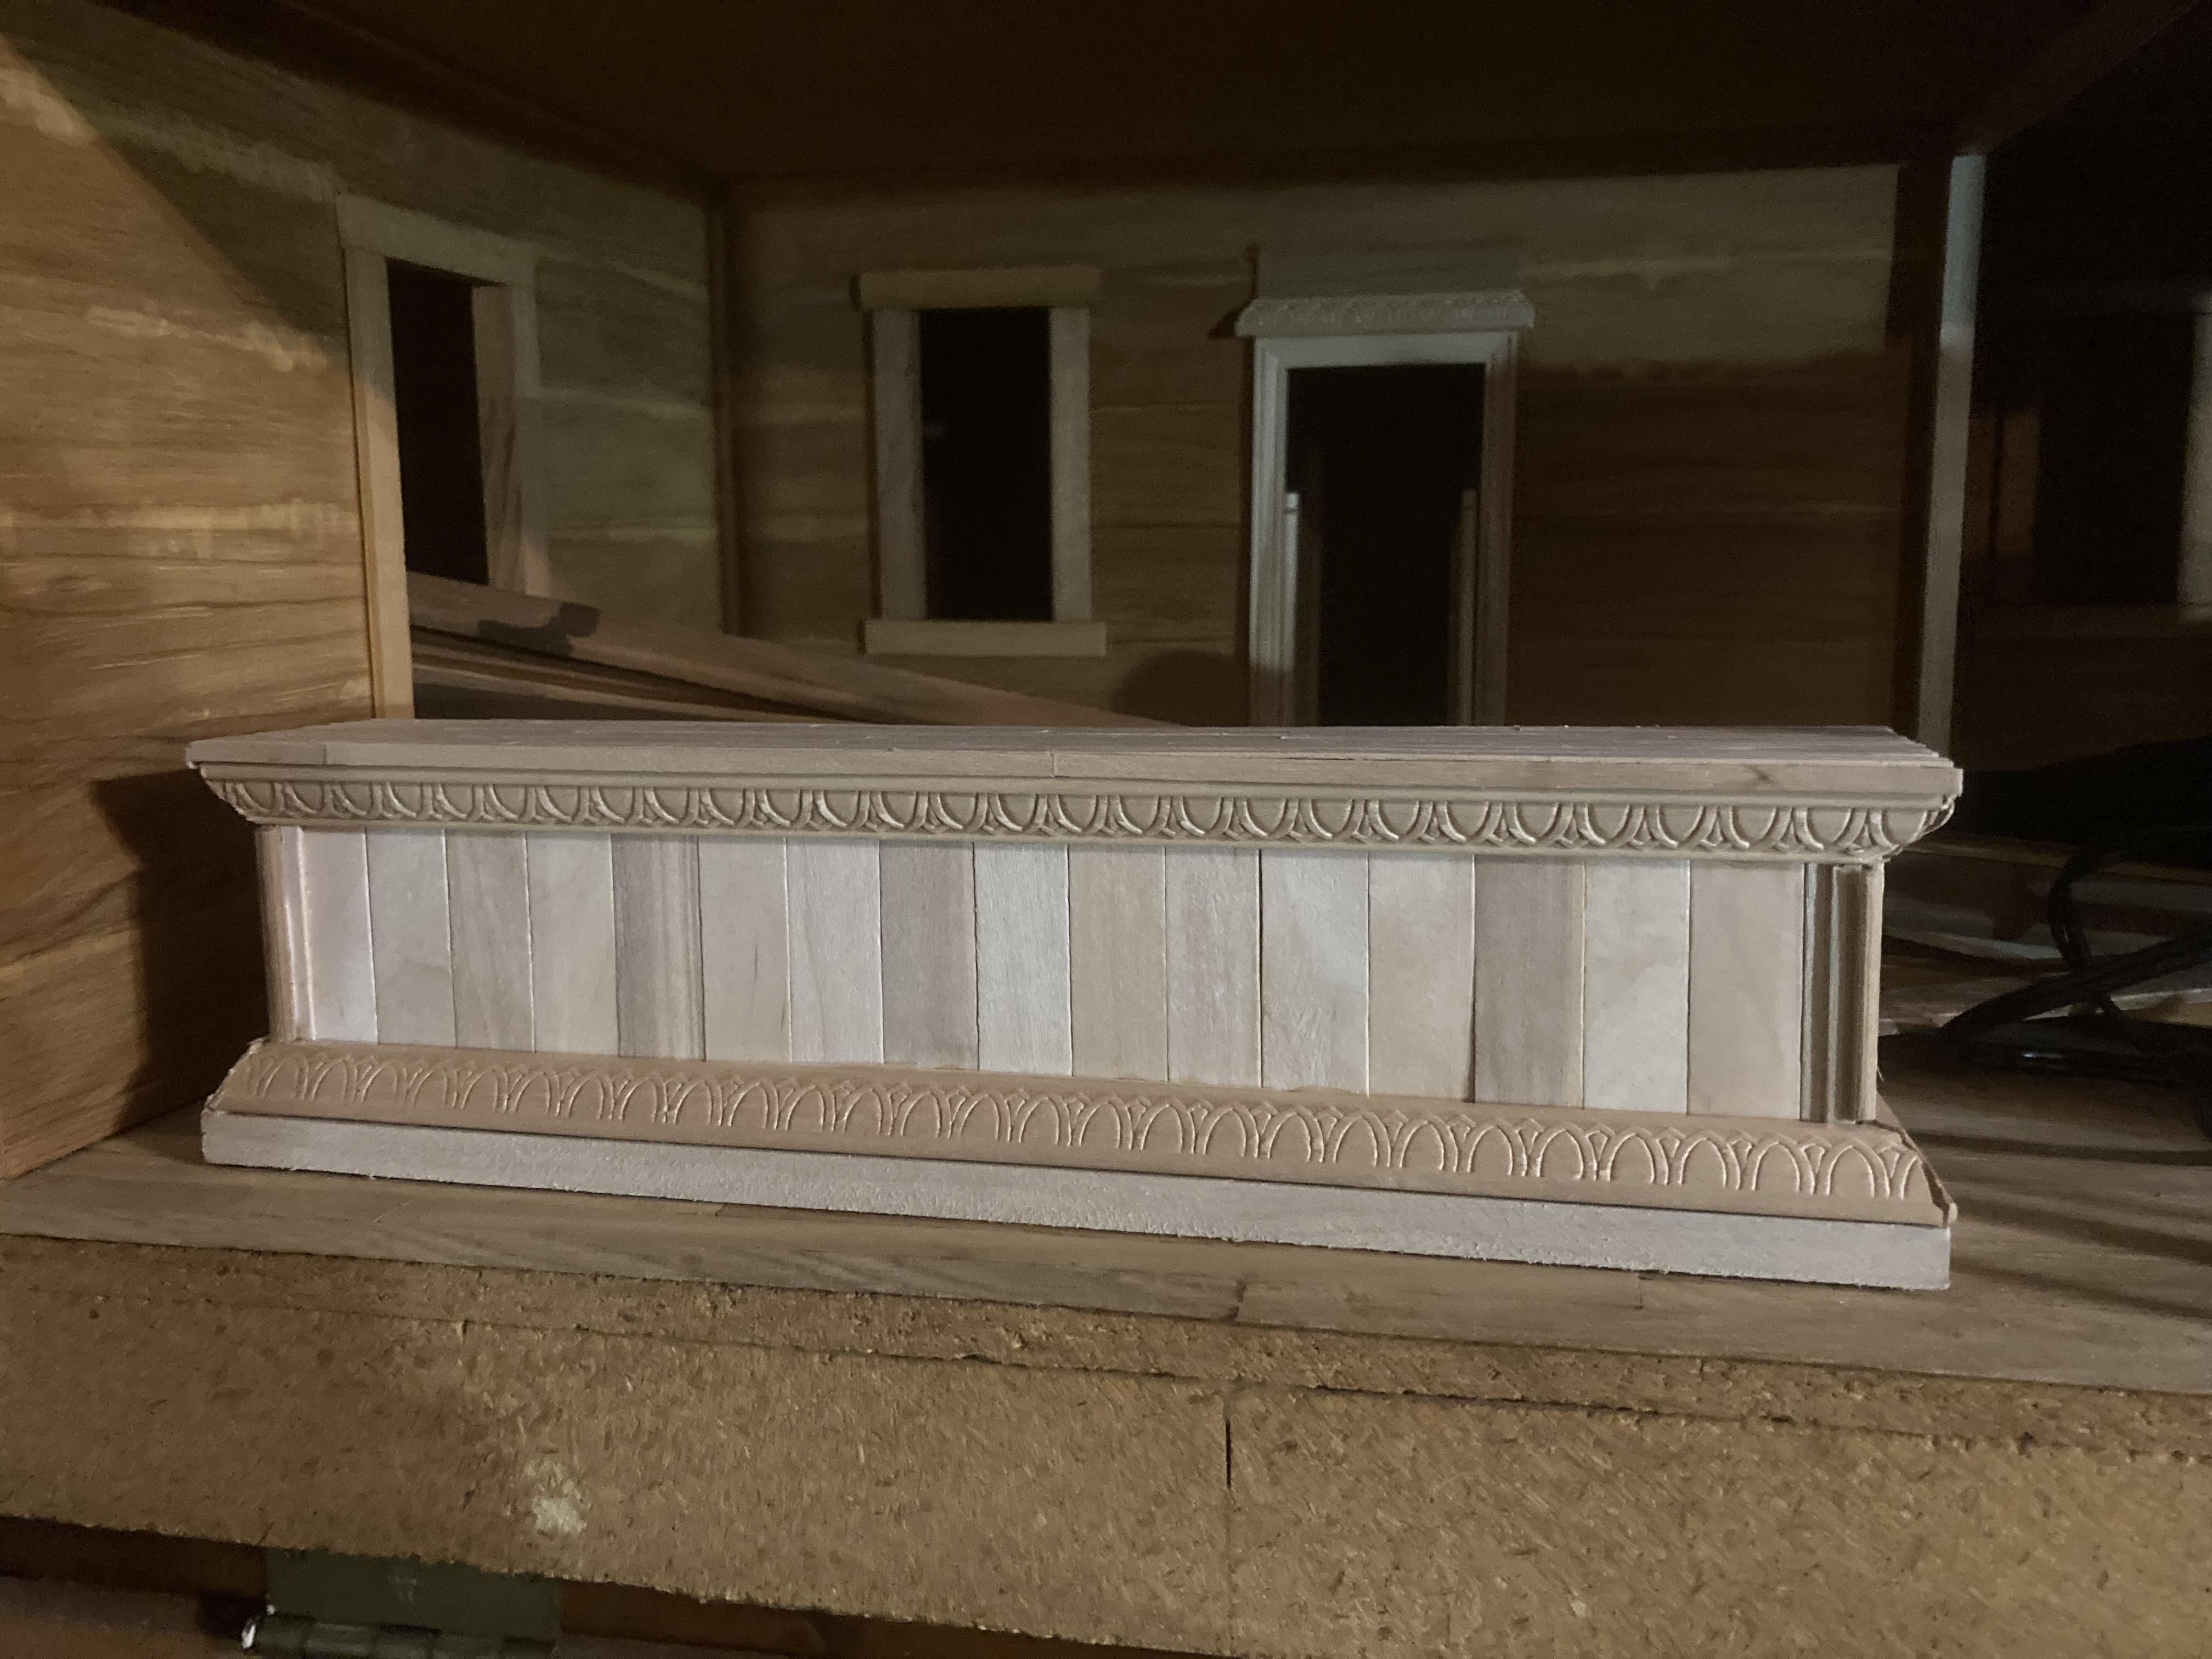
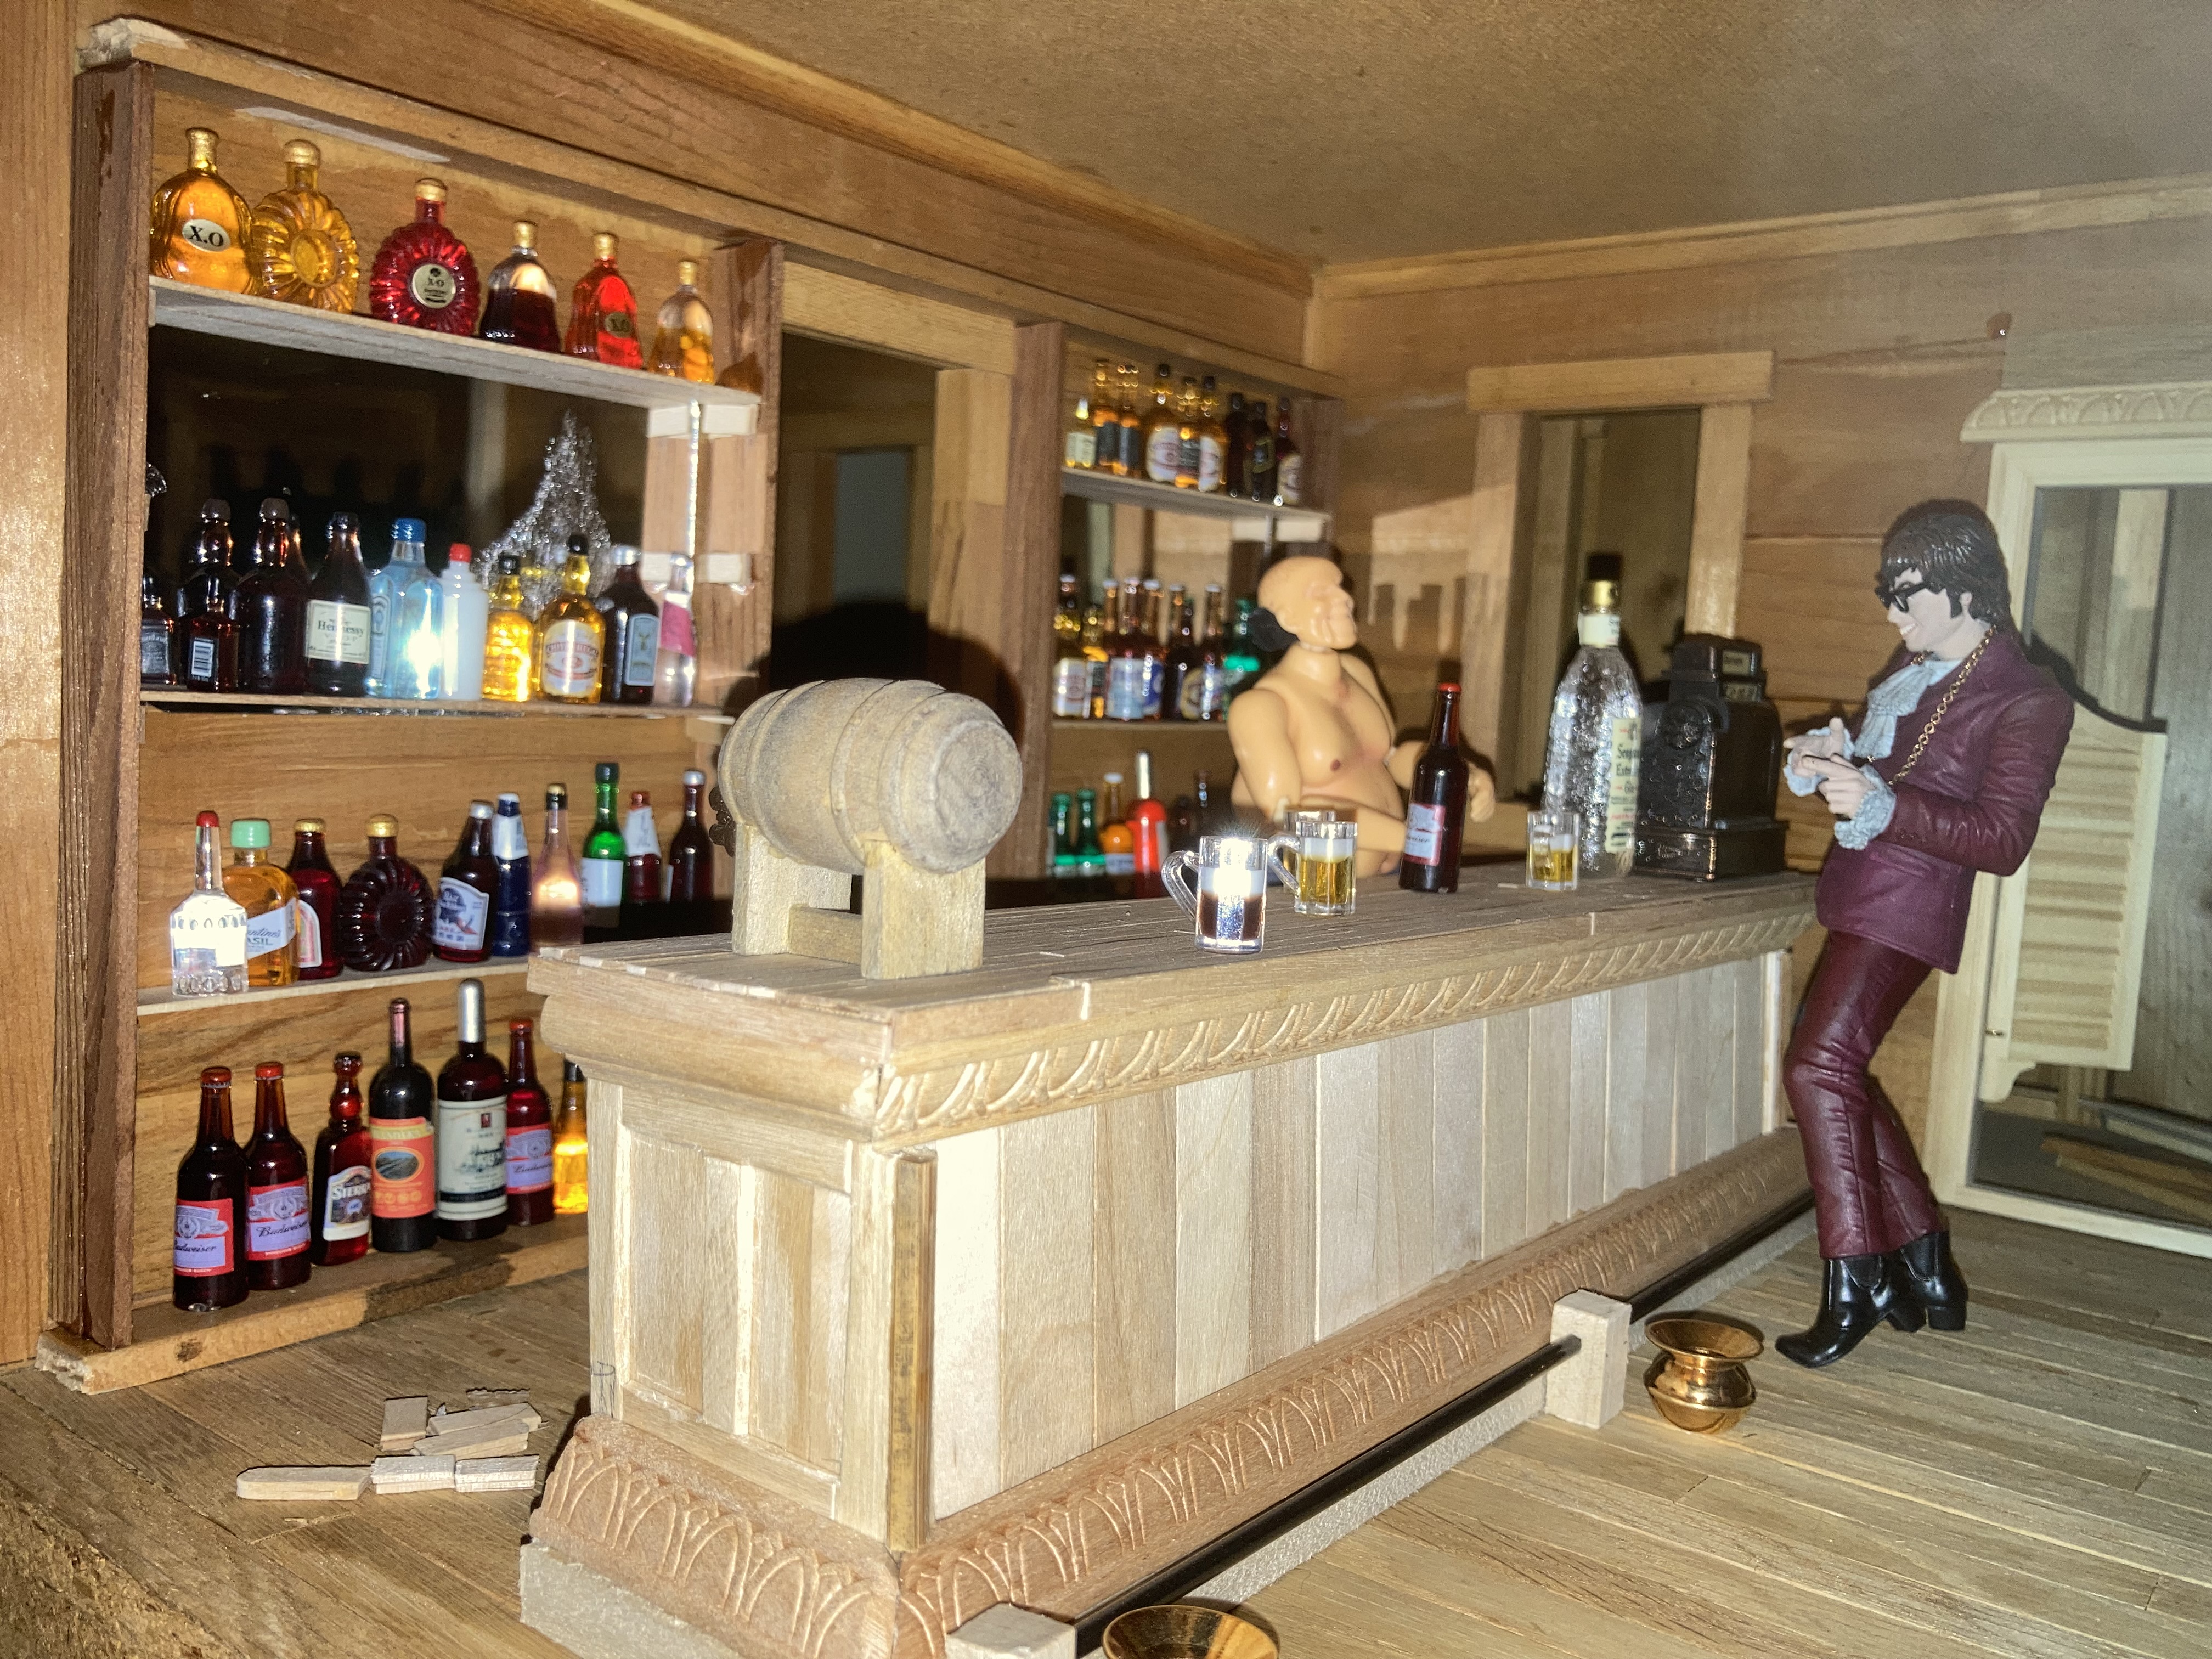
This was made with leftover fancy trim from what I used to brace the edge of the floor, plus jumbo craft sticks and square dowels. I used small round dowels, cut in half length-wise, for the round edges on the ends. Bar in place, with a couple of dolls posing. I built some narrow shelves around the doorway to the back room, lining them with alcohol bottles I found on Amazon and Ebay. The mirror behind the shelves is from the back of a mirrored phone case I bought at dollar tree. The foot rest at the bottom of the bar is made of coffee stirrers (I shoved round toothpicks inside for support) and pieces of square dowel. I bought the spittoons on ebay.
This is where I’m at right now. I plan to get more dolls. I want some bored dancing girls, some patrons playing cards, rooms upstairs, and a storage room behind the bar. Stay tuned!