
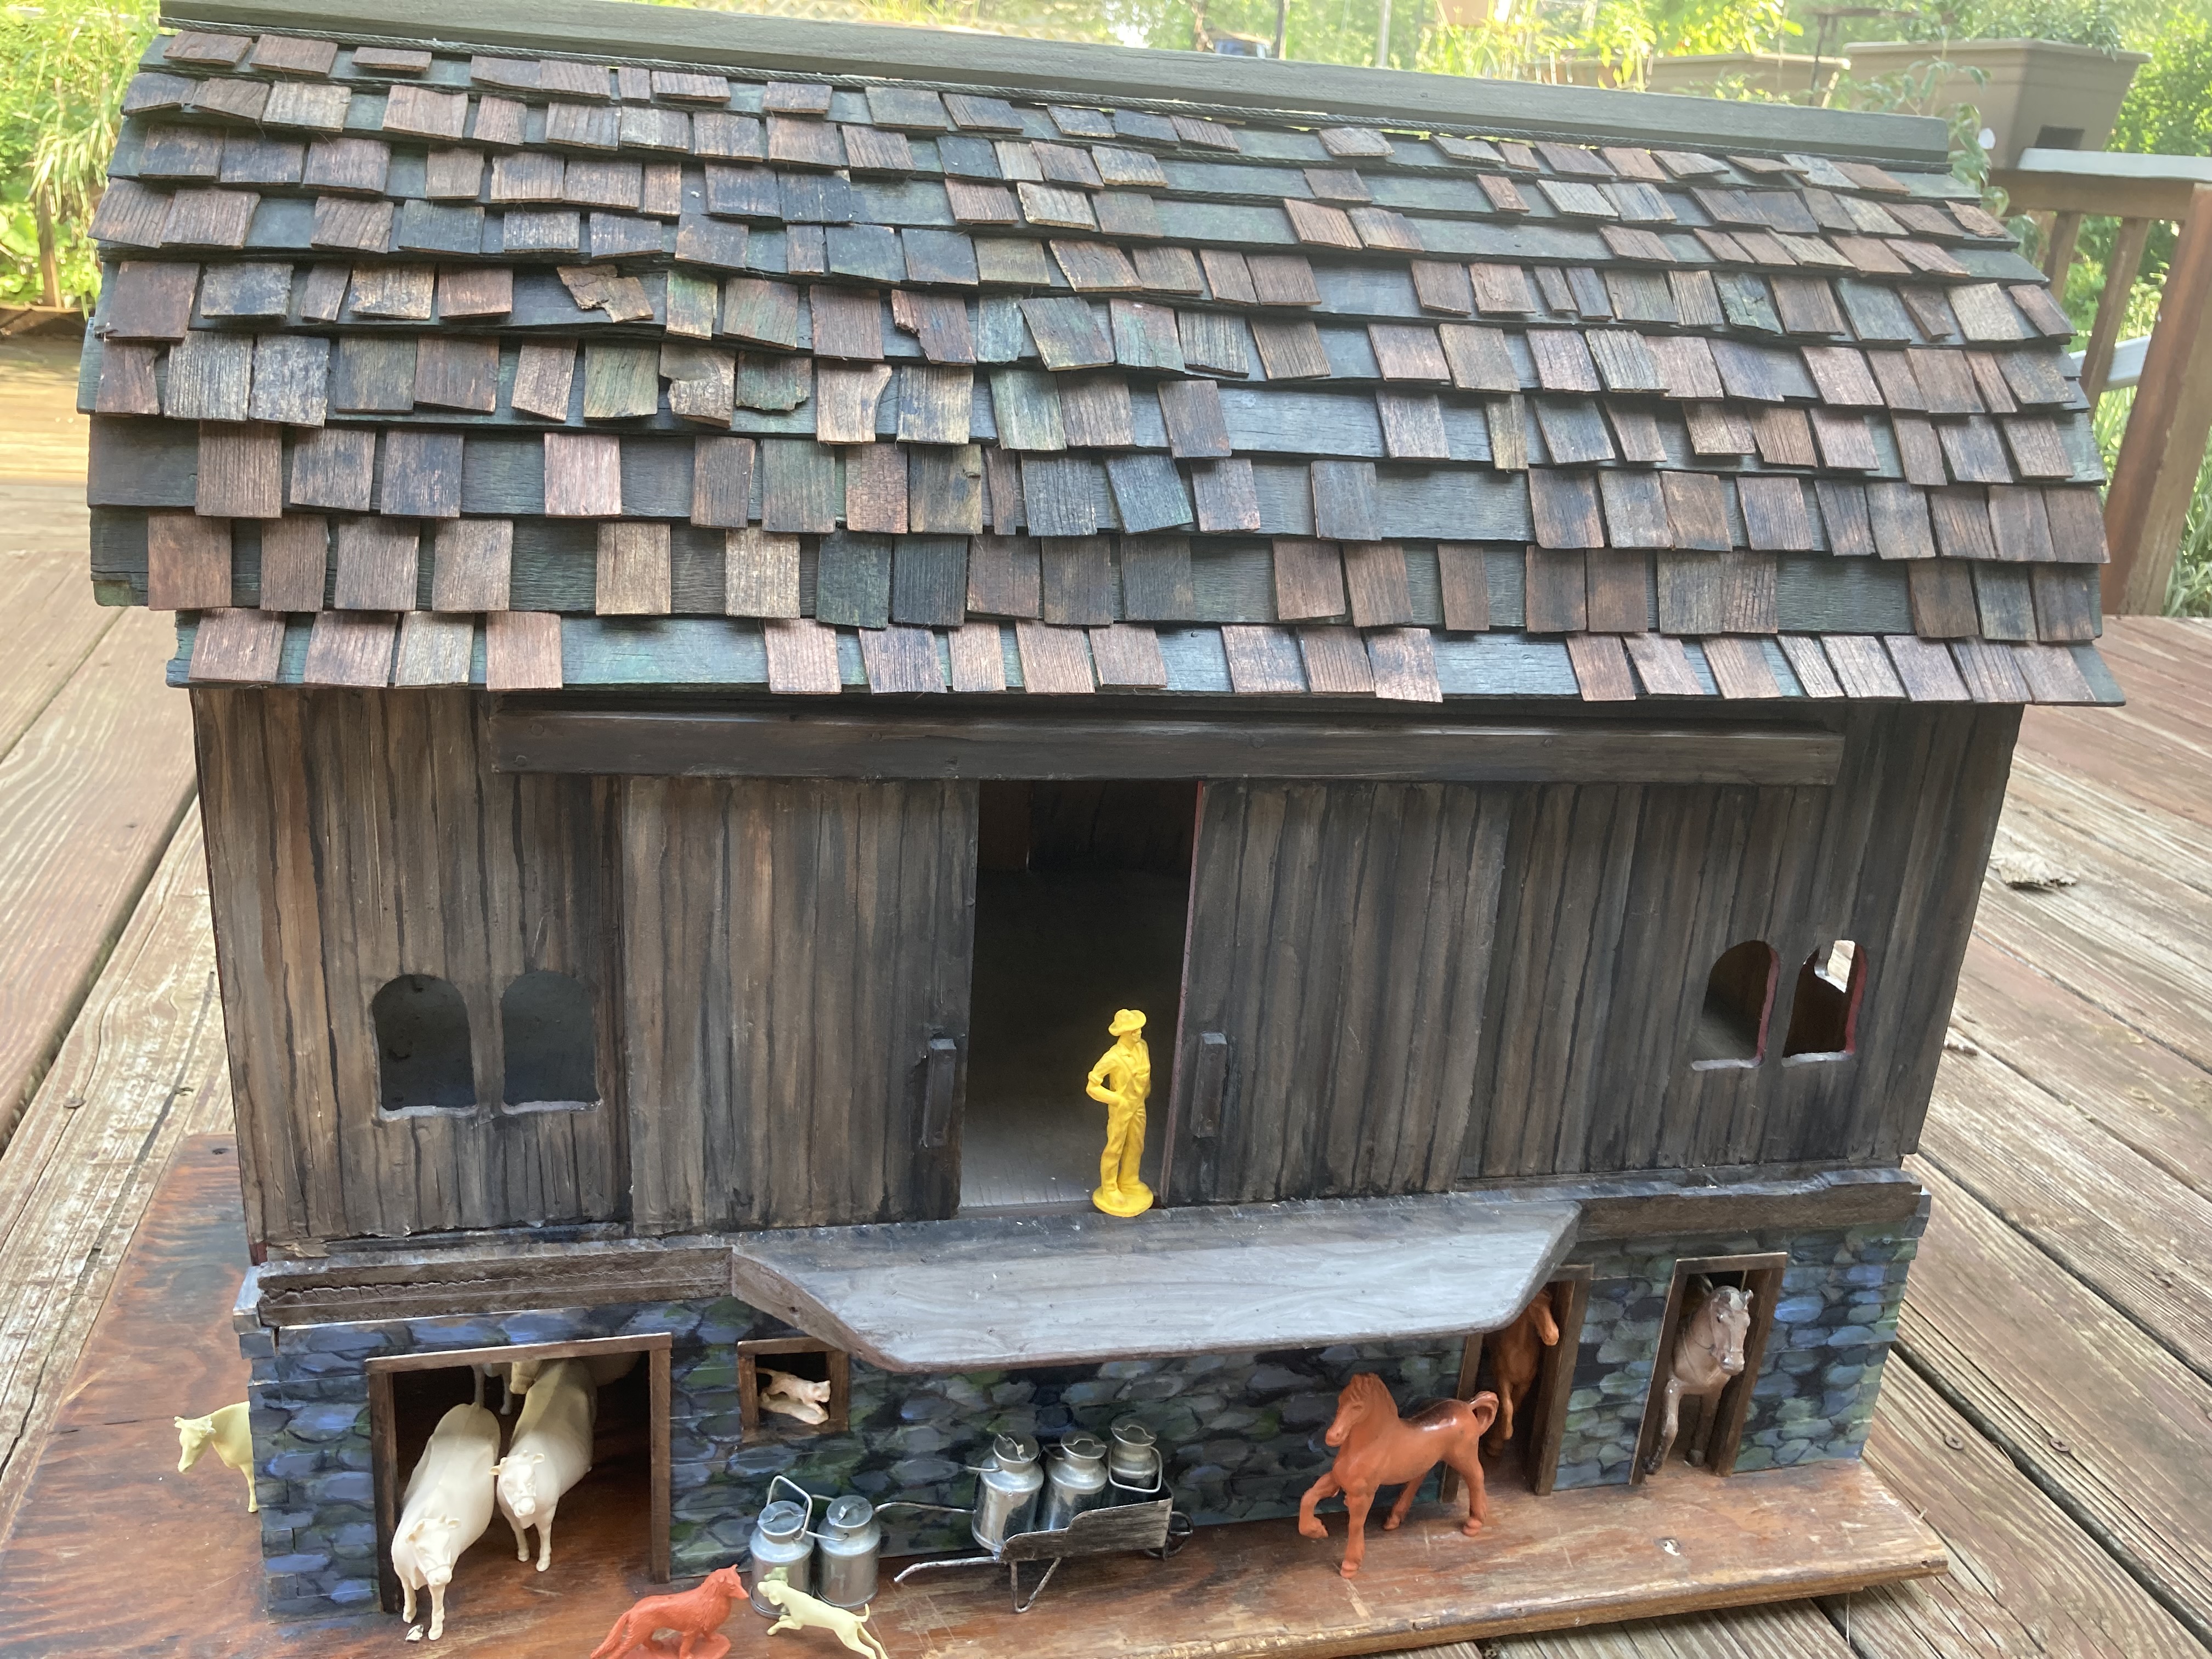
Barn after a lot of modifications.
This barn was once part of someone’s railroad table. I had been looking for a good barn project (I love old farms, especially the barns, especially when they once had horses in them. I am a now-horseless horse-nut).
This barn was originally made to sit flat on the ground, but I wanted a lower level with livestock pens, more similar to my grandparents’ bank barn. In order for that to happen, I would have to build a base for it to sit into.
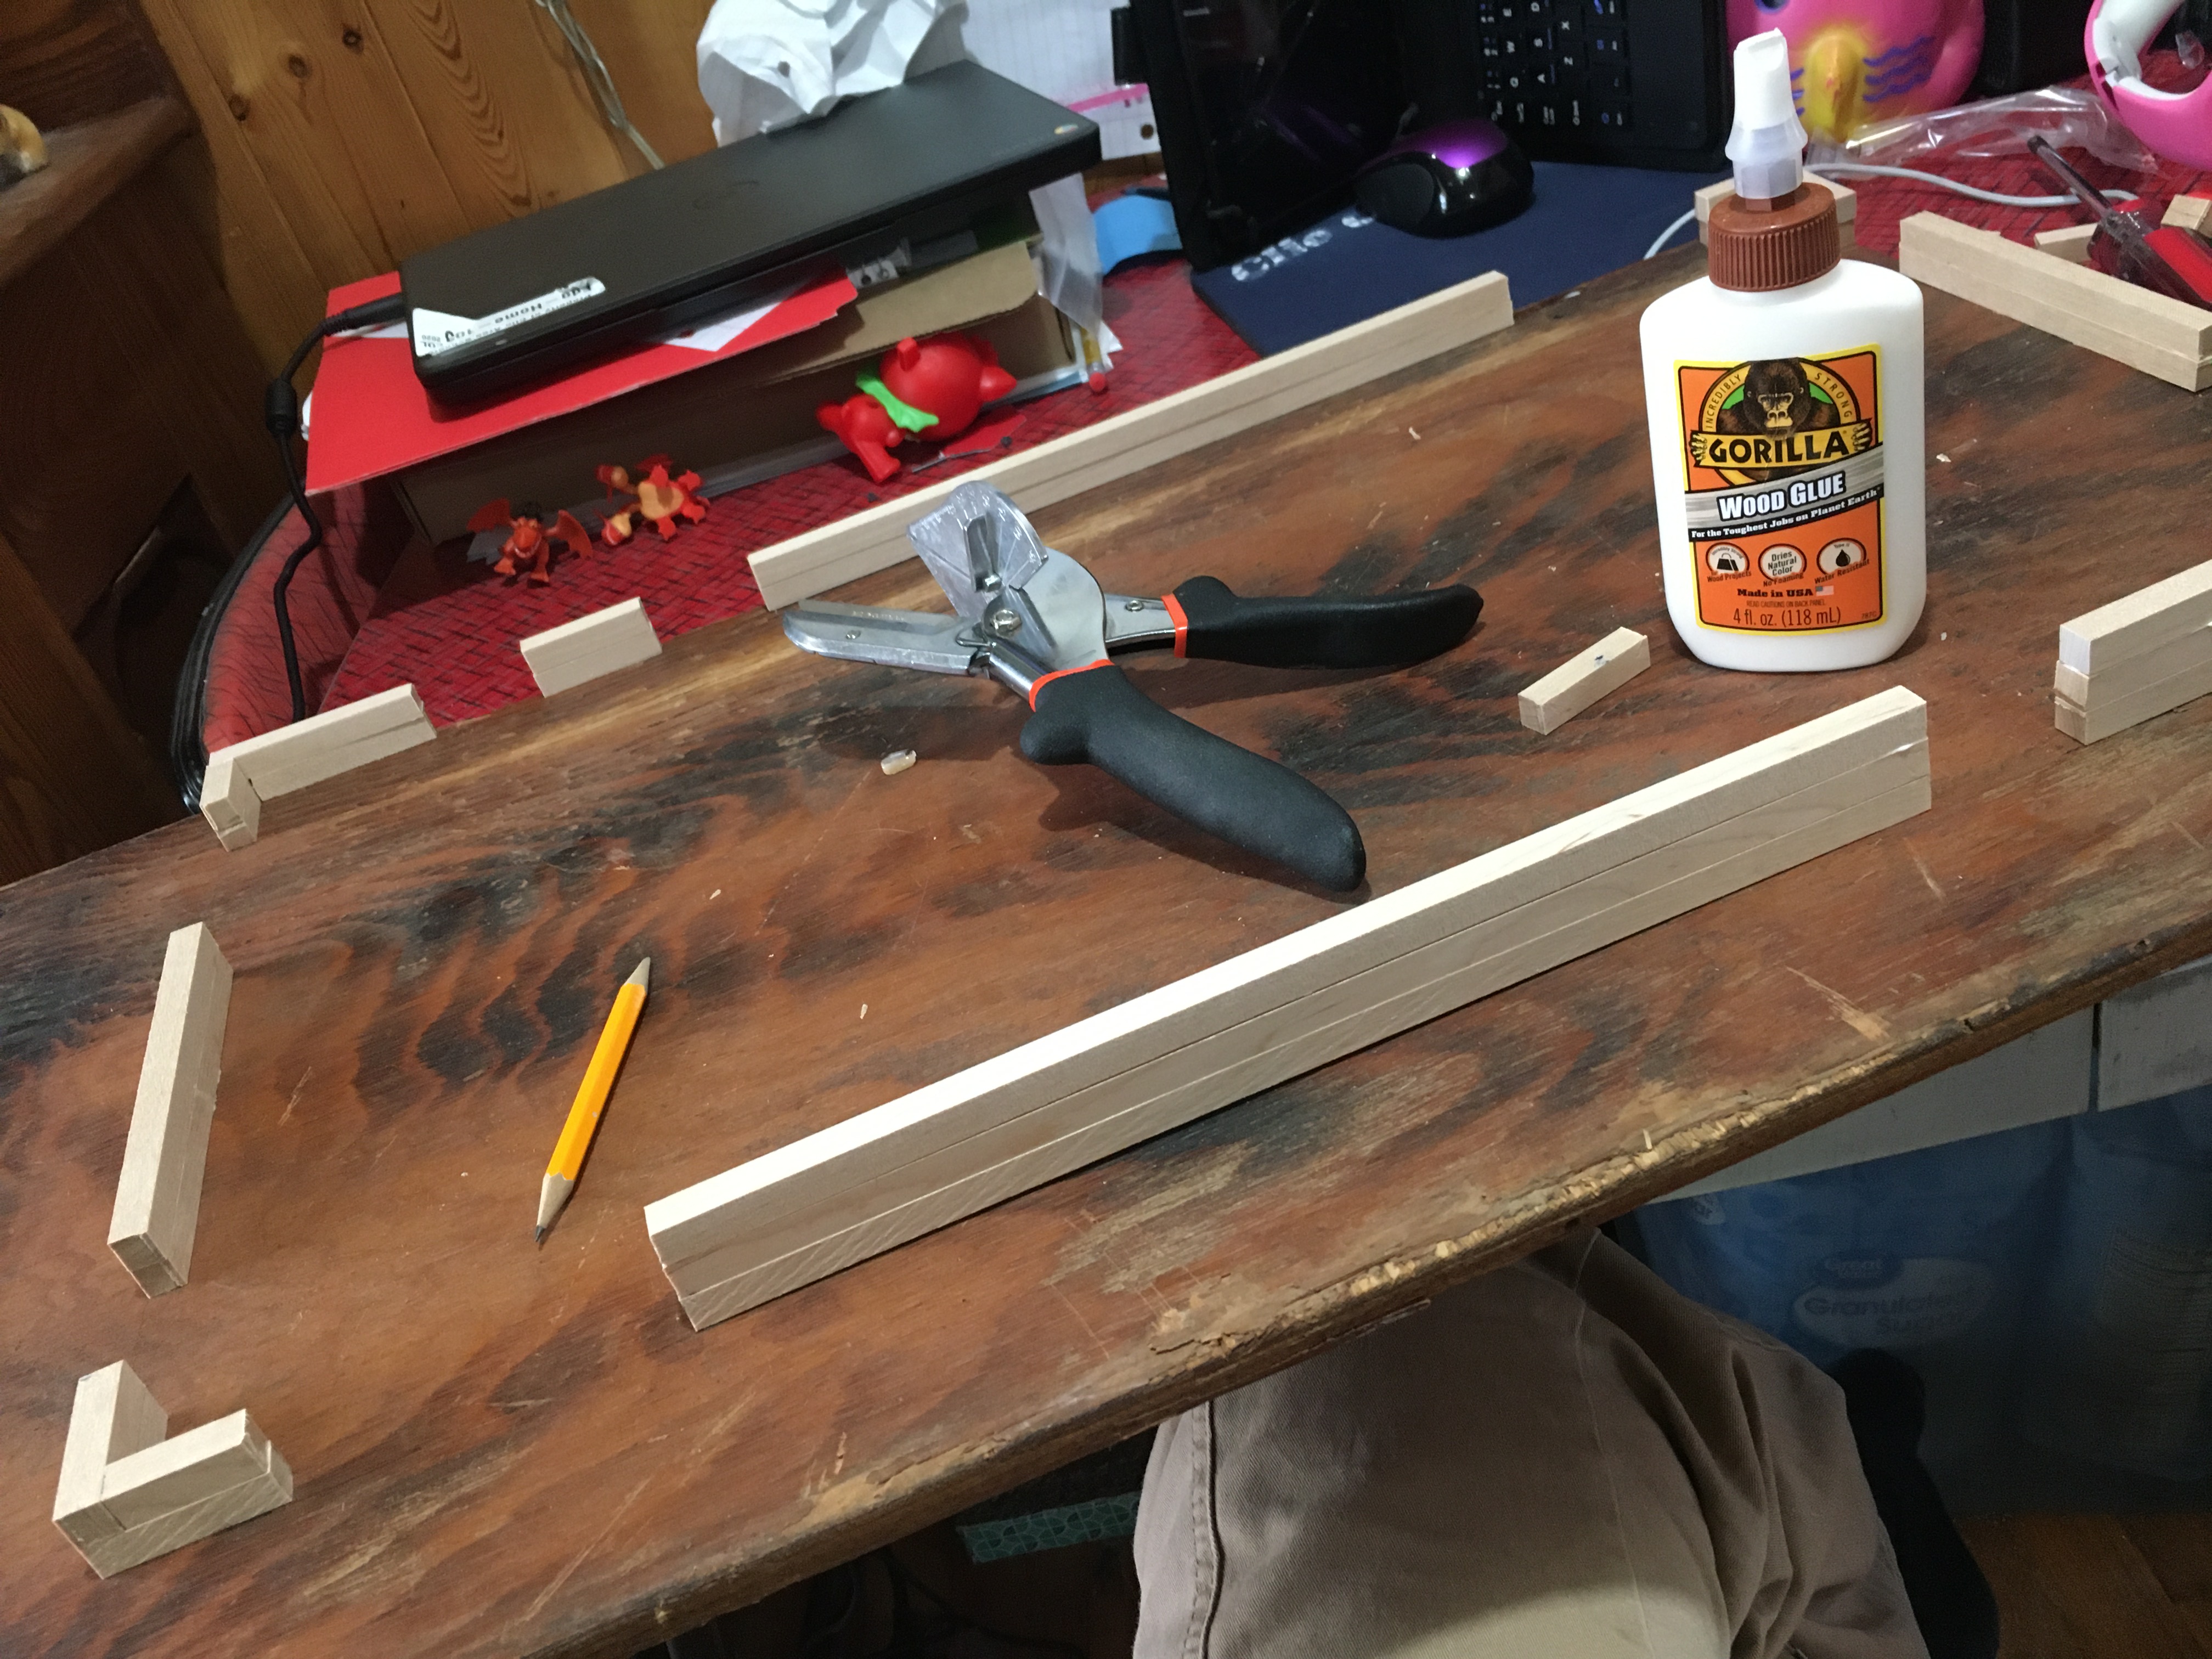
I started with a good plywood board for the base, set the barn on top, in the position I wanted to permanently affix it in. I traced out the barn’s outline.
Next I decided on the locations of doors and marked them with a pencil. I then cut lengths of square dowel to fit the walls, leaving open spaces for the various doors. I built up layers of dowel, alternating overlaps in the corners for structural strength, gluing them down as I went.
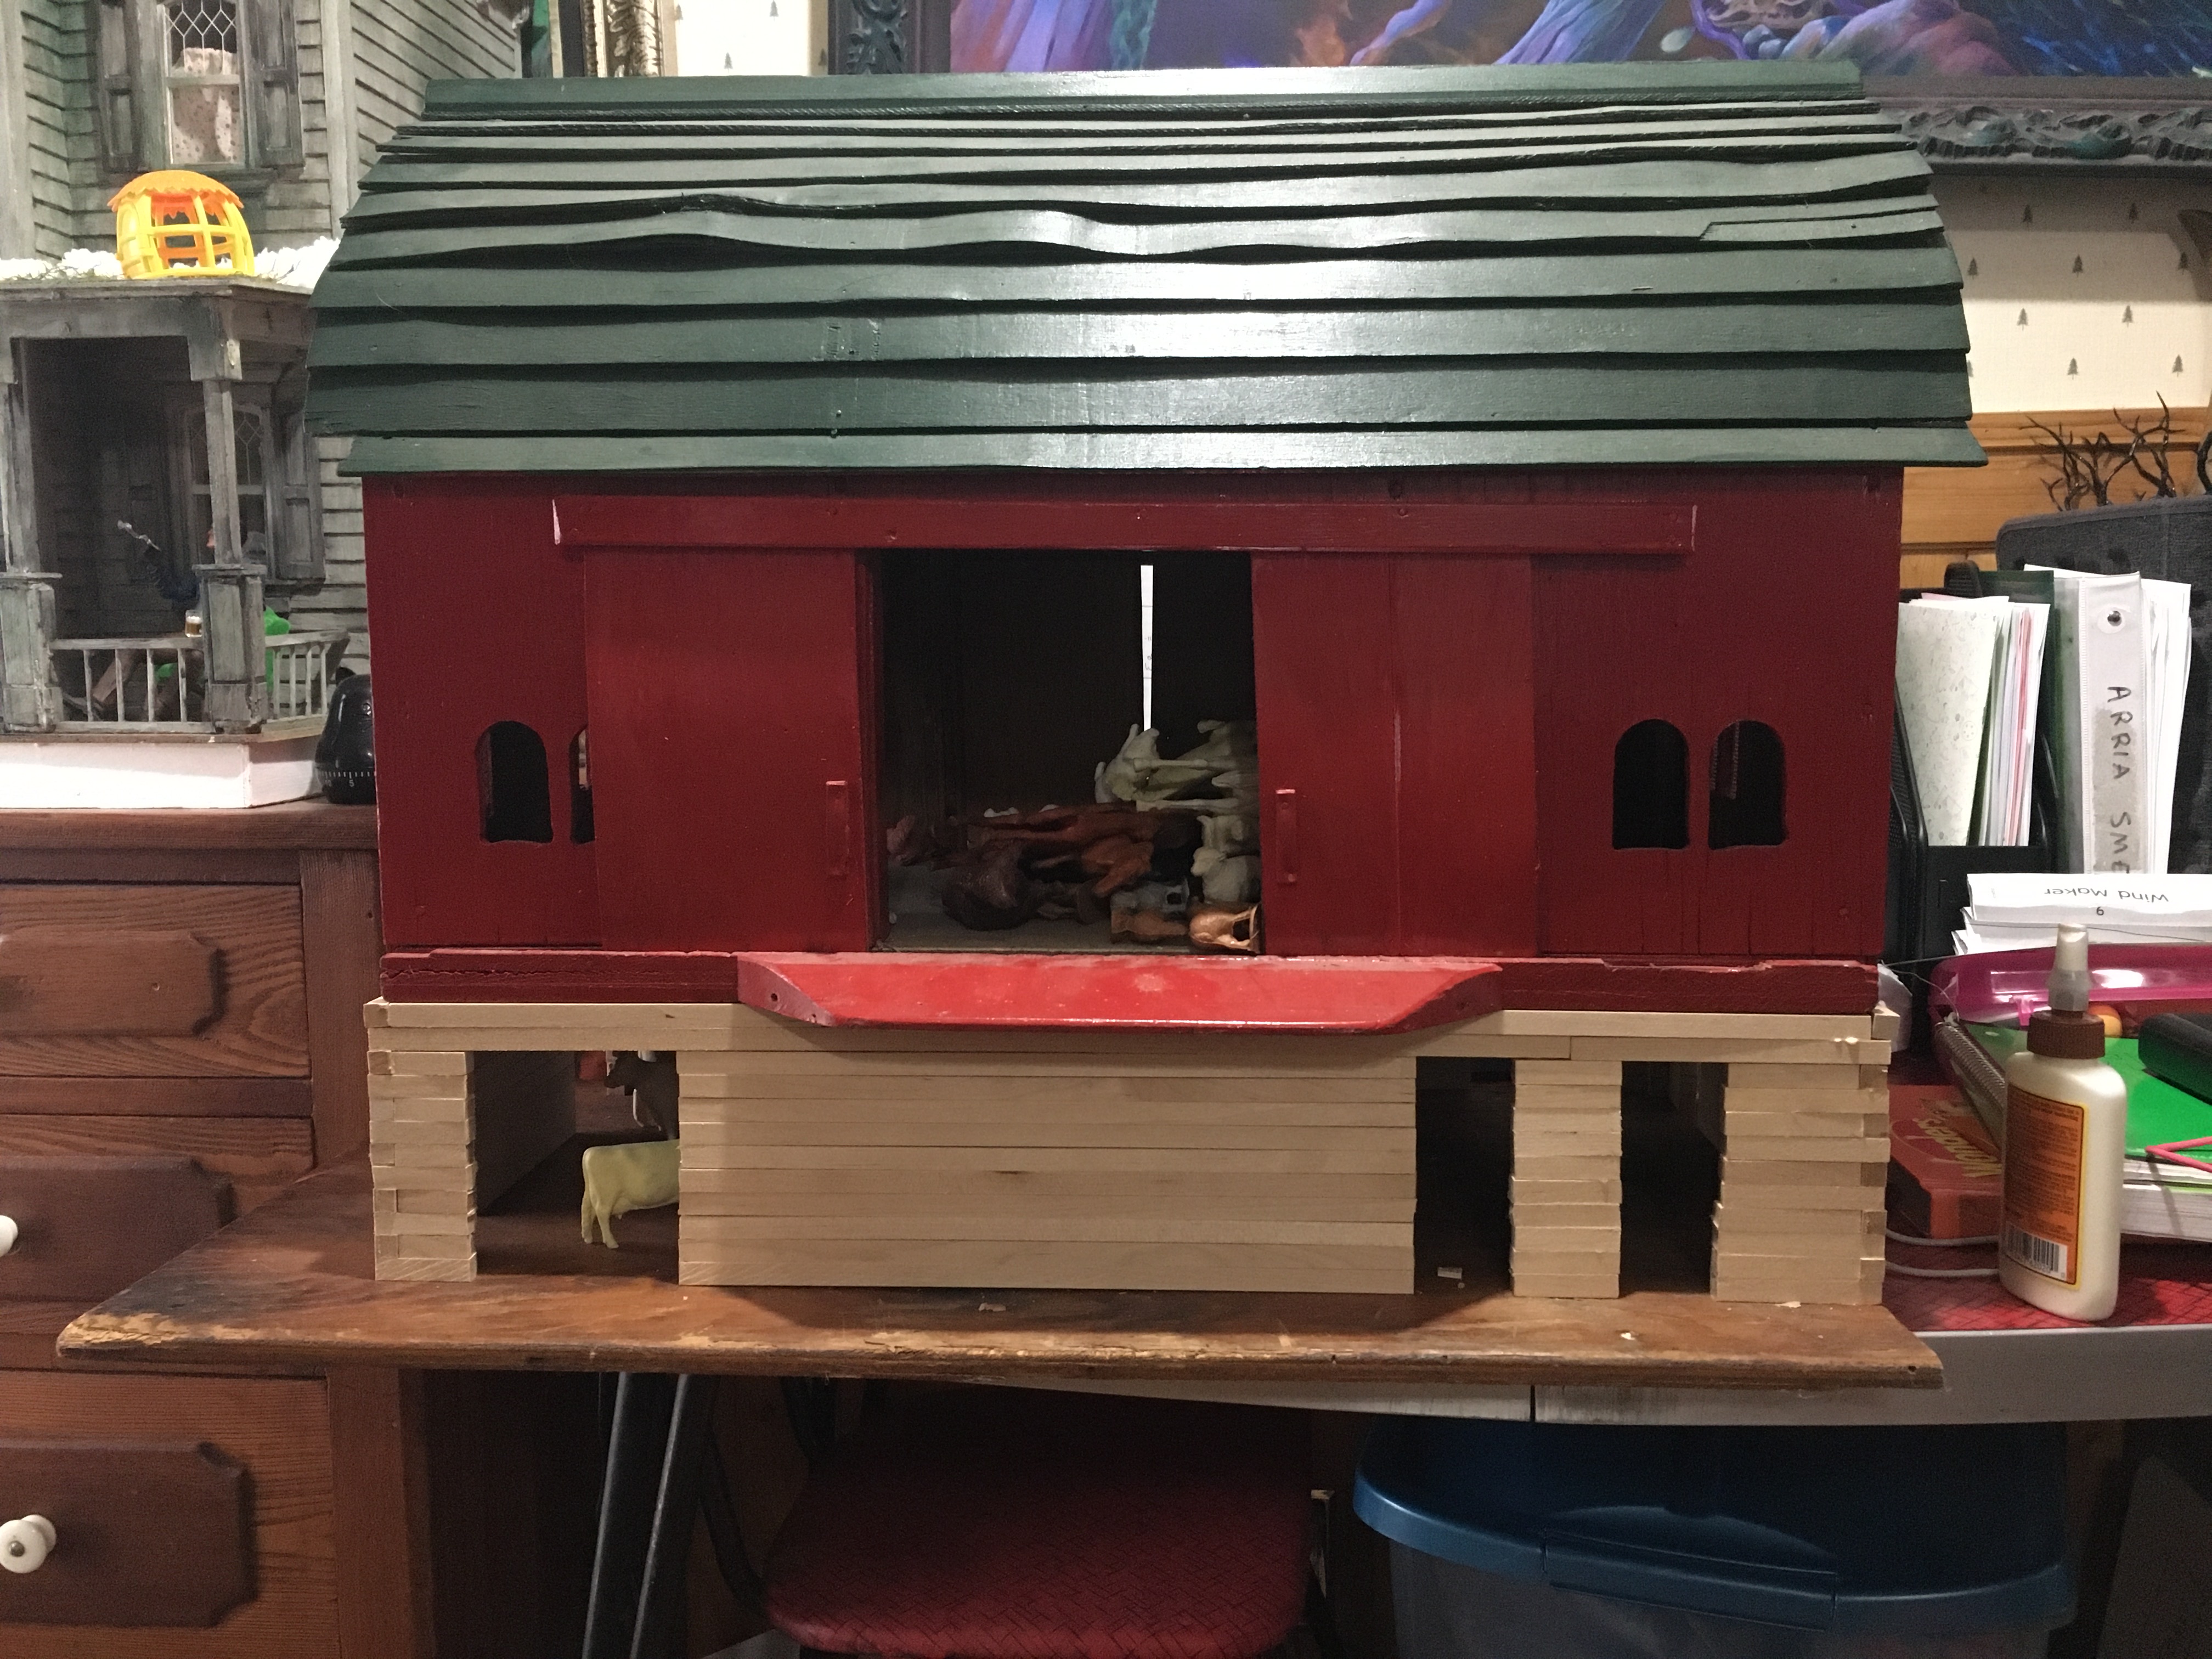
When the bottom of the barn was as tall as I wanted, I customized the dowel placement so the original barn would sit comfortably on it without moving. The main upper section of the barn is not glued onto the base, so that I can lift the top original barn off and see the inside of the lower level.
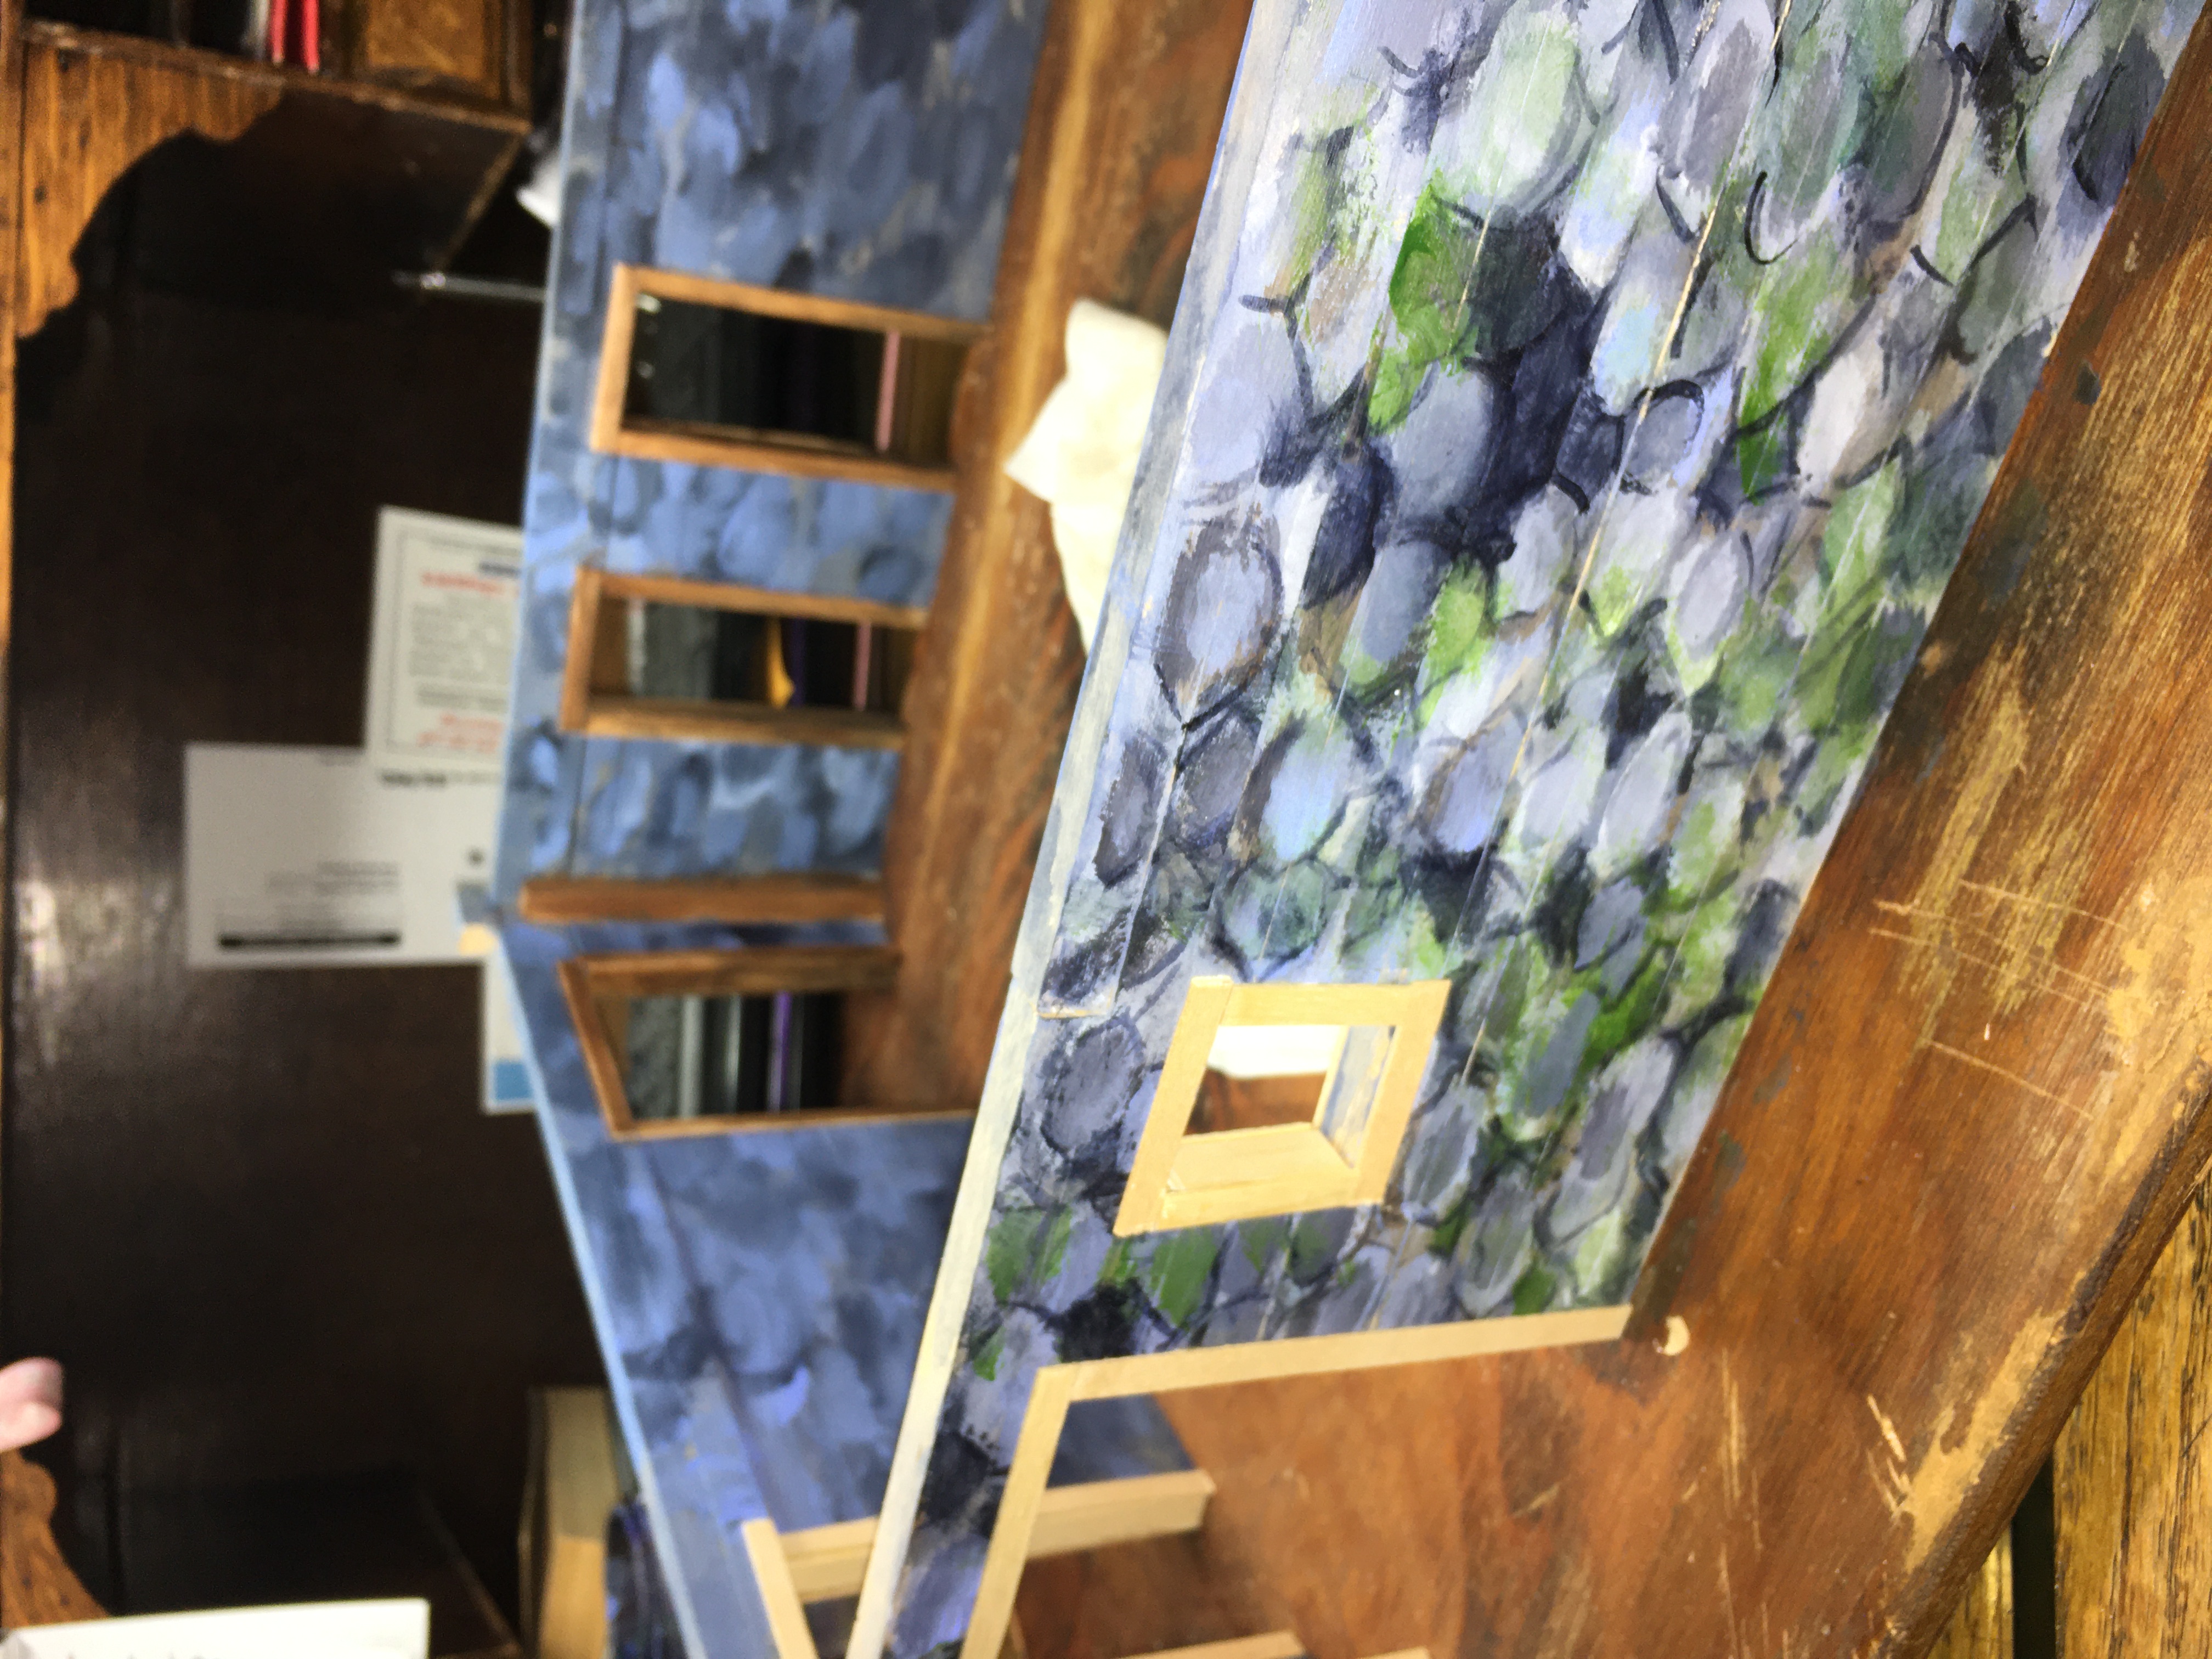
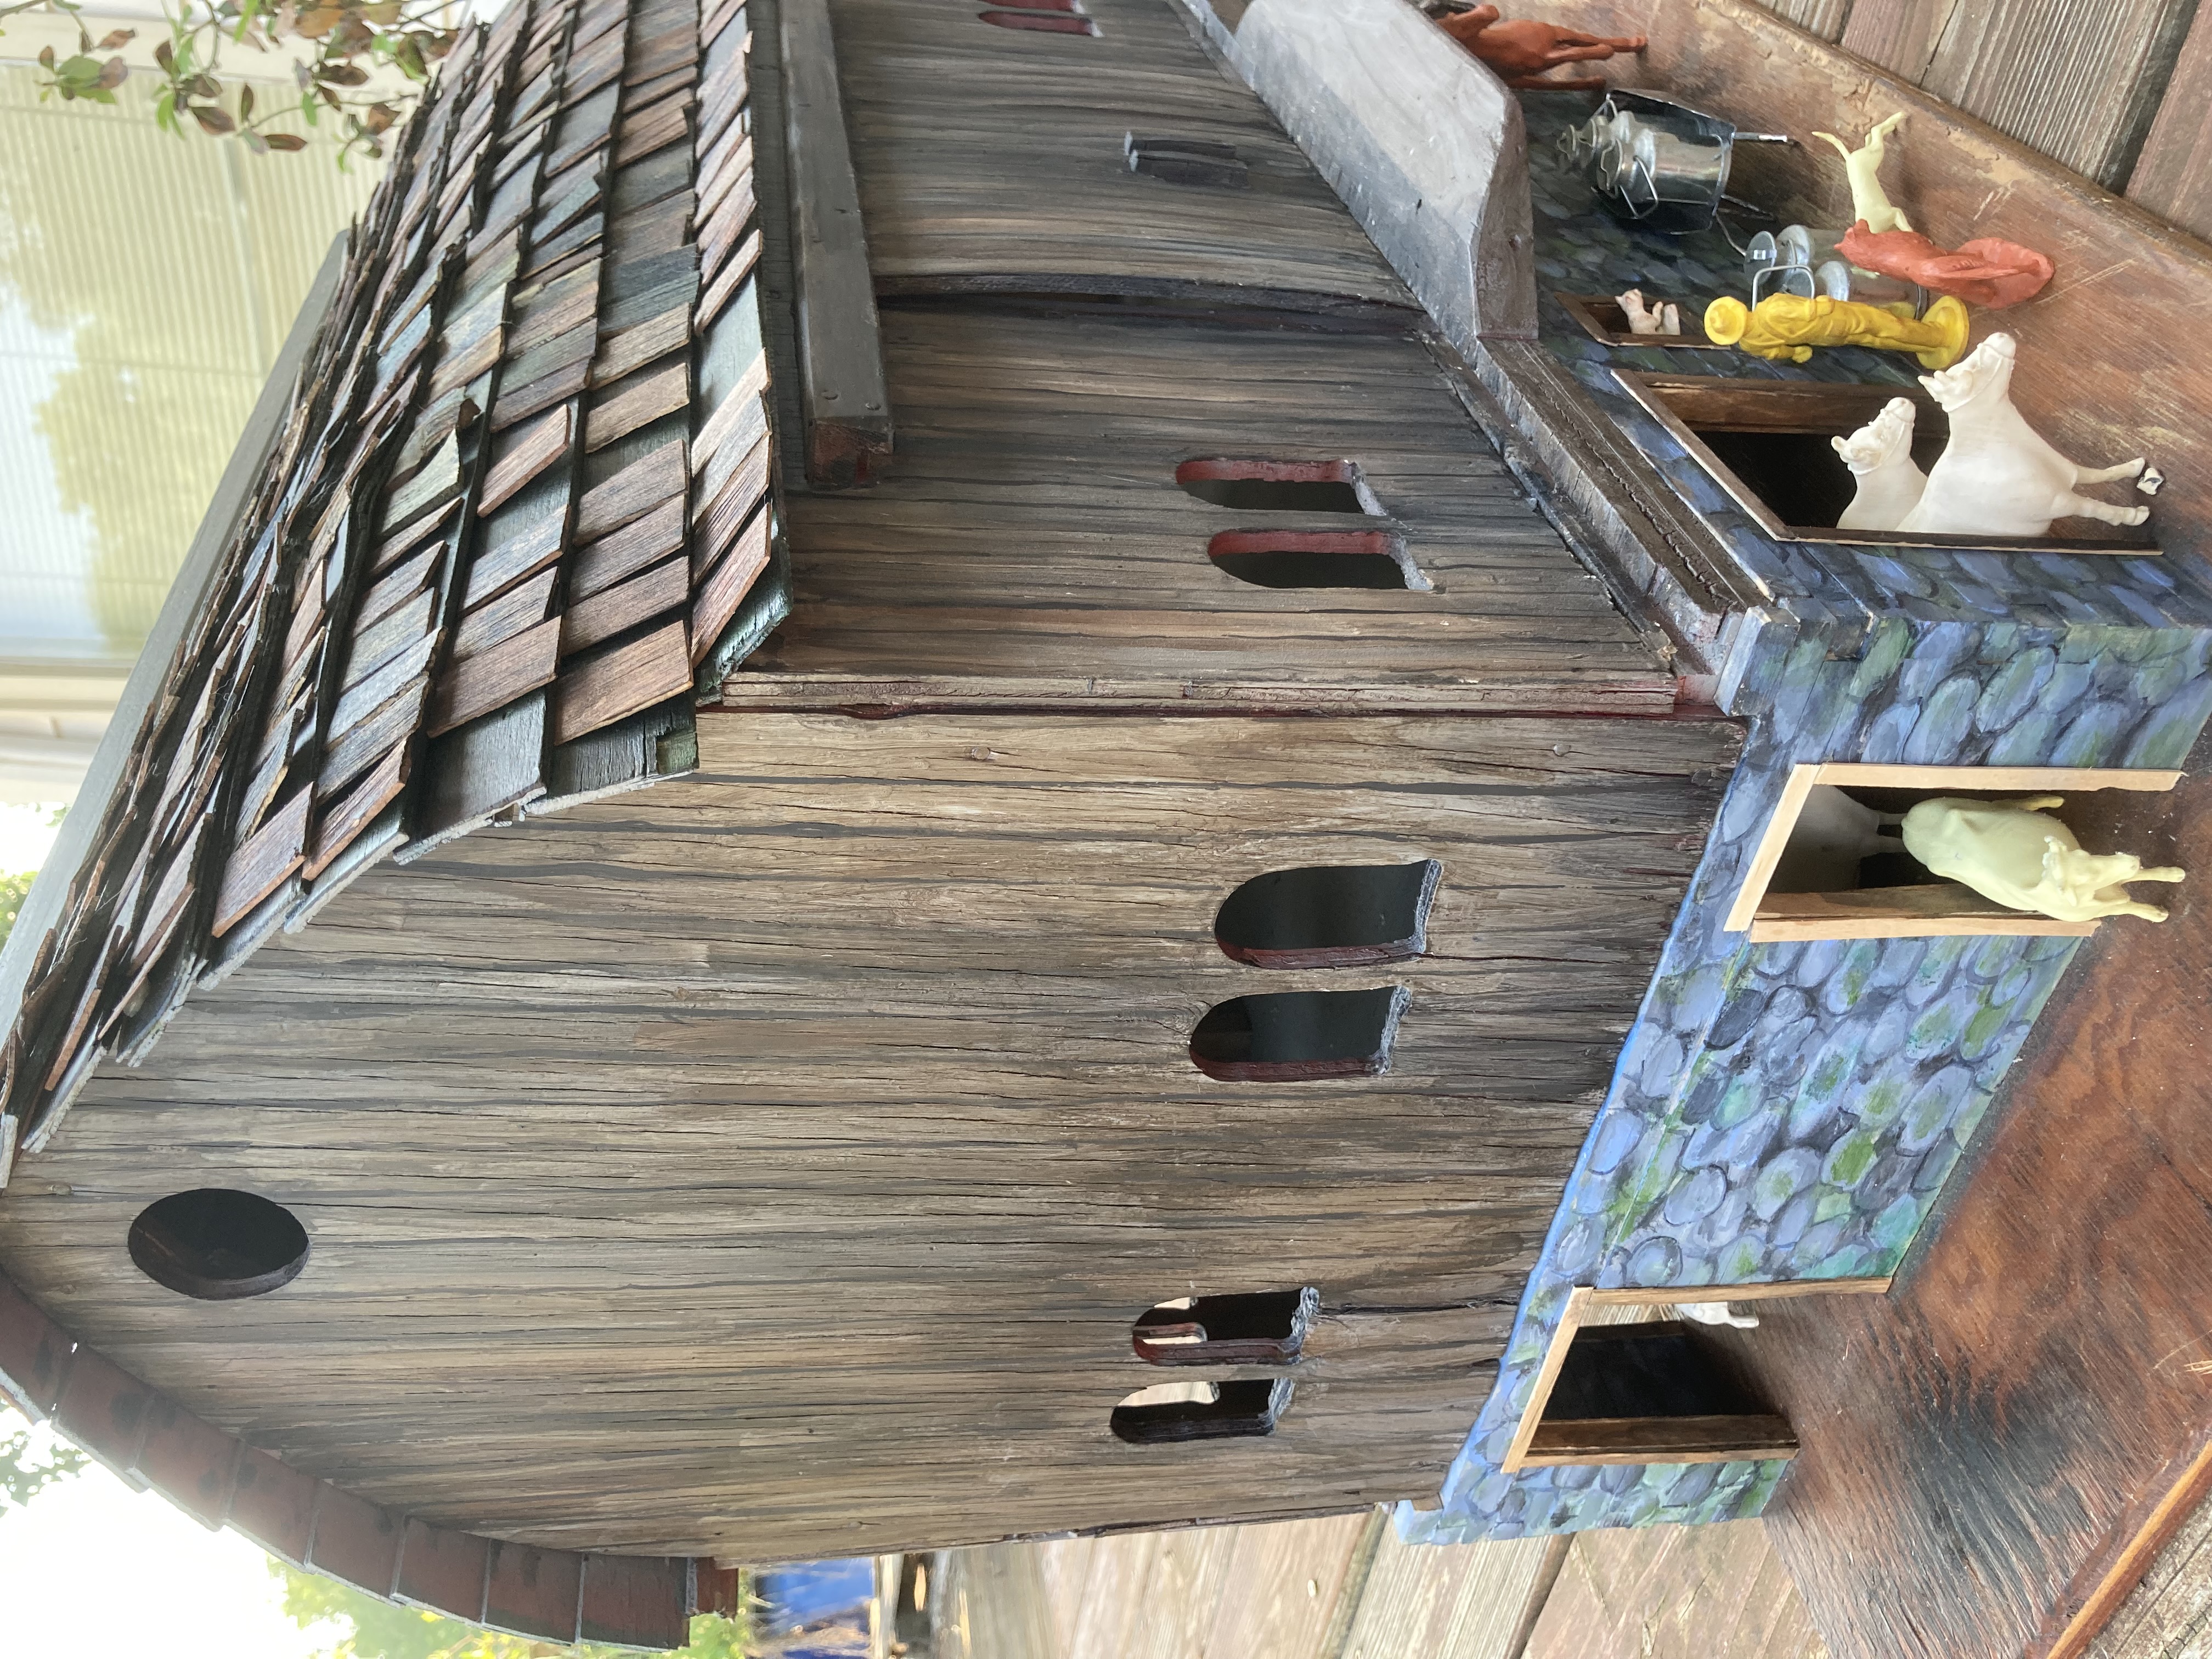
I used halved craft sticks to add trim around the windows and doors. This helped to give the edges a more finished look.
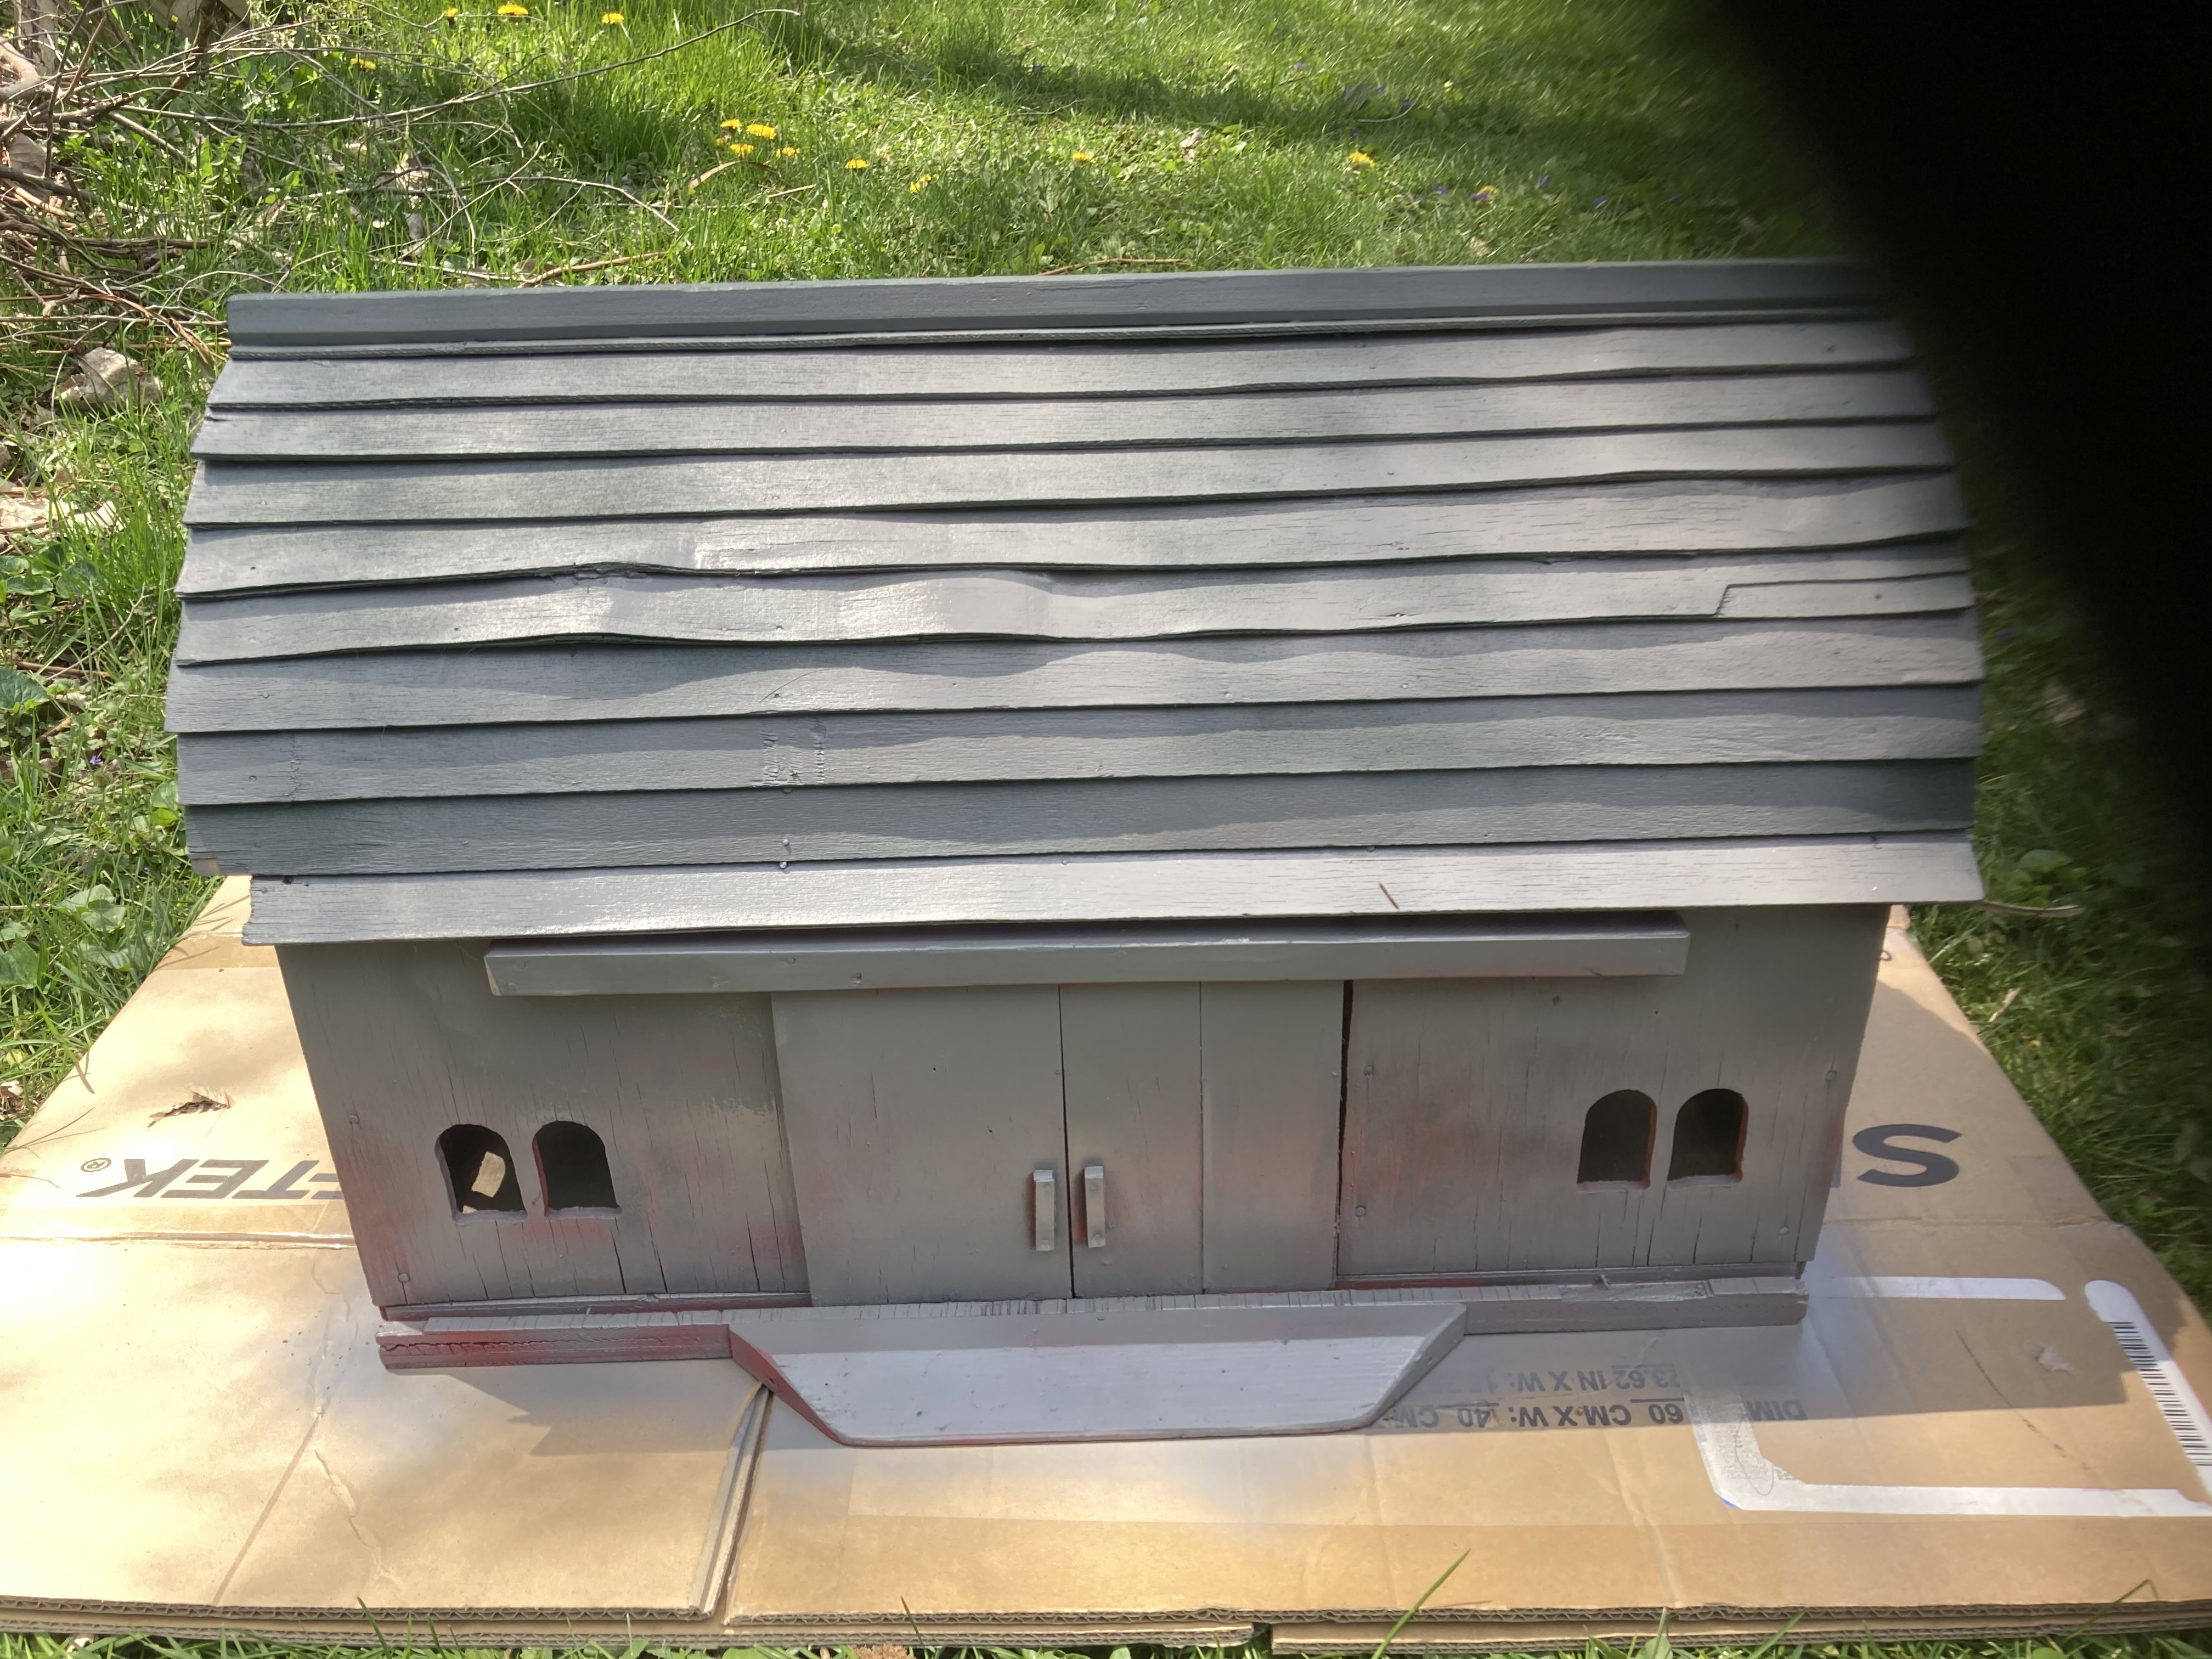
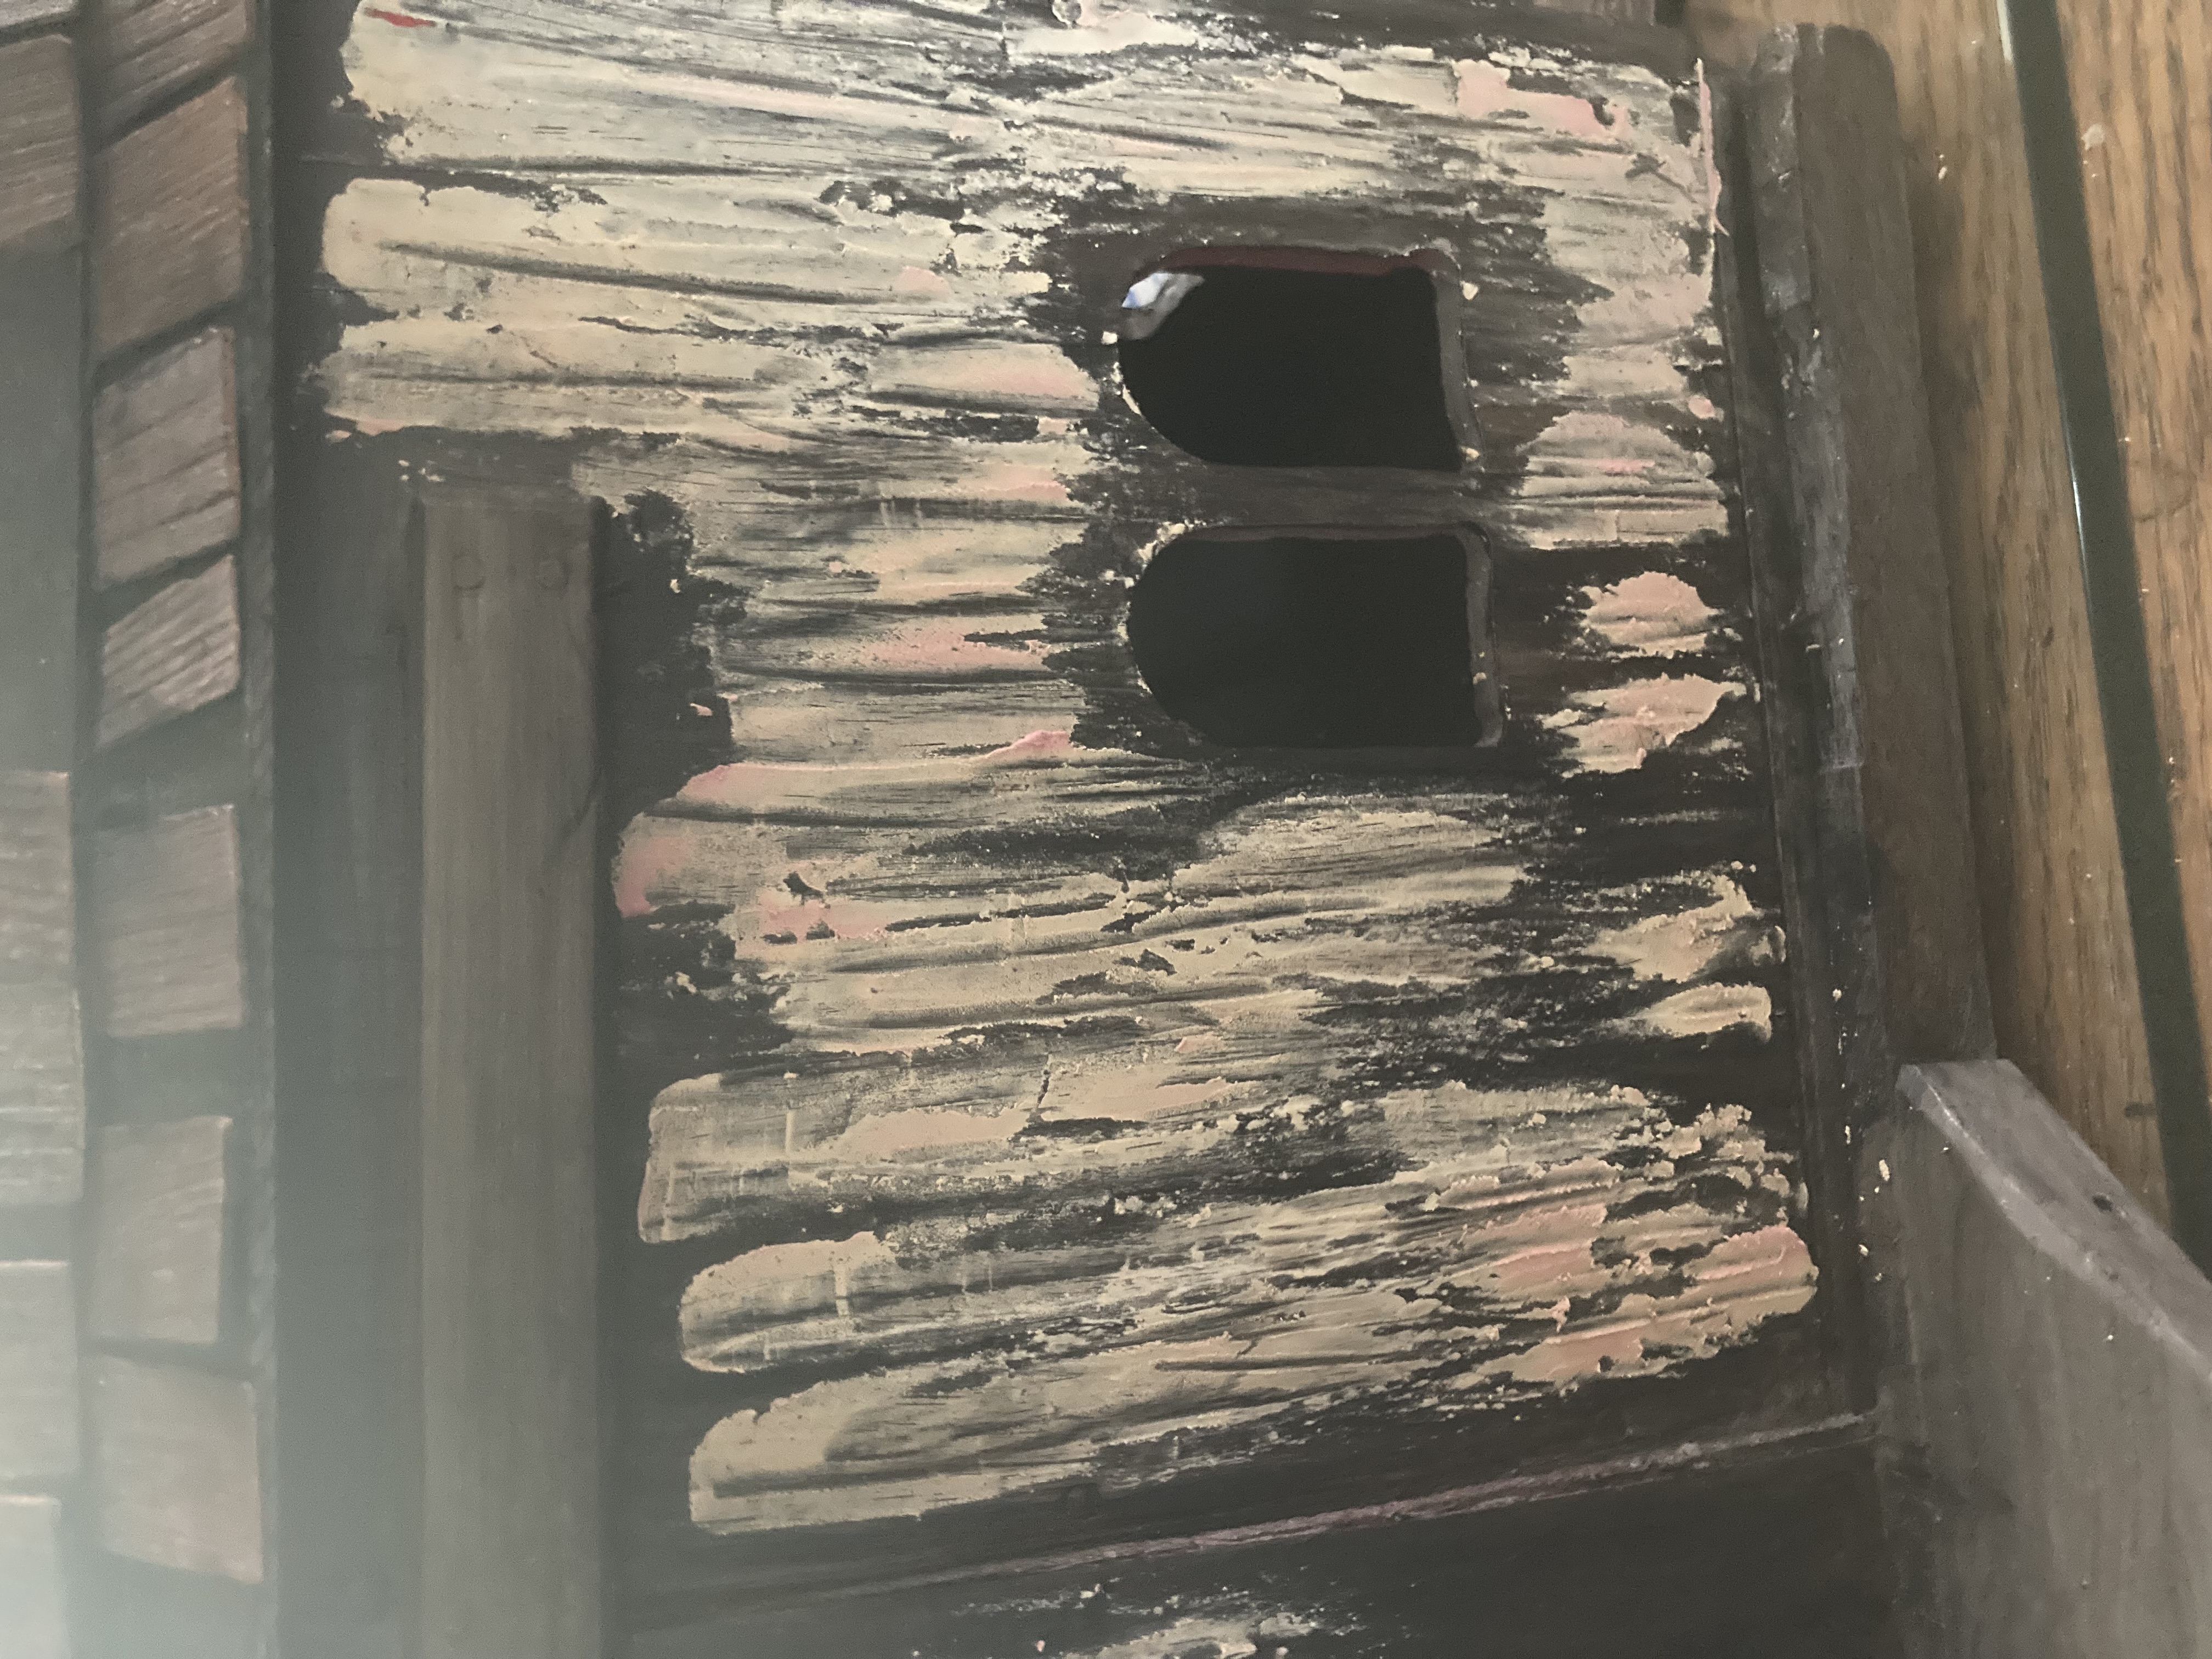
I didn’t like the original shiny red finish, so I sprayed the barn with two coats of Rustoleum 2x gray primer and paint to prepare it for acrylics. However, when I started painting, I discovered that the texture just didn’t seem right. The barn’s smooth wood was too flat to look like real barn wood, even with painted texture. I ended up using a pallet knife to apply a thin coat of wood putty, then scratched into it with the edge of the knife to give it texture.
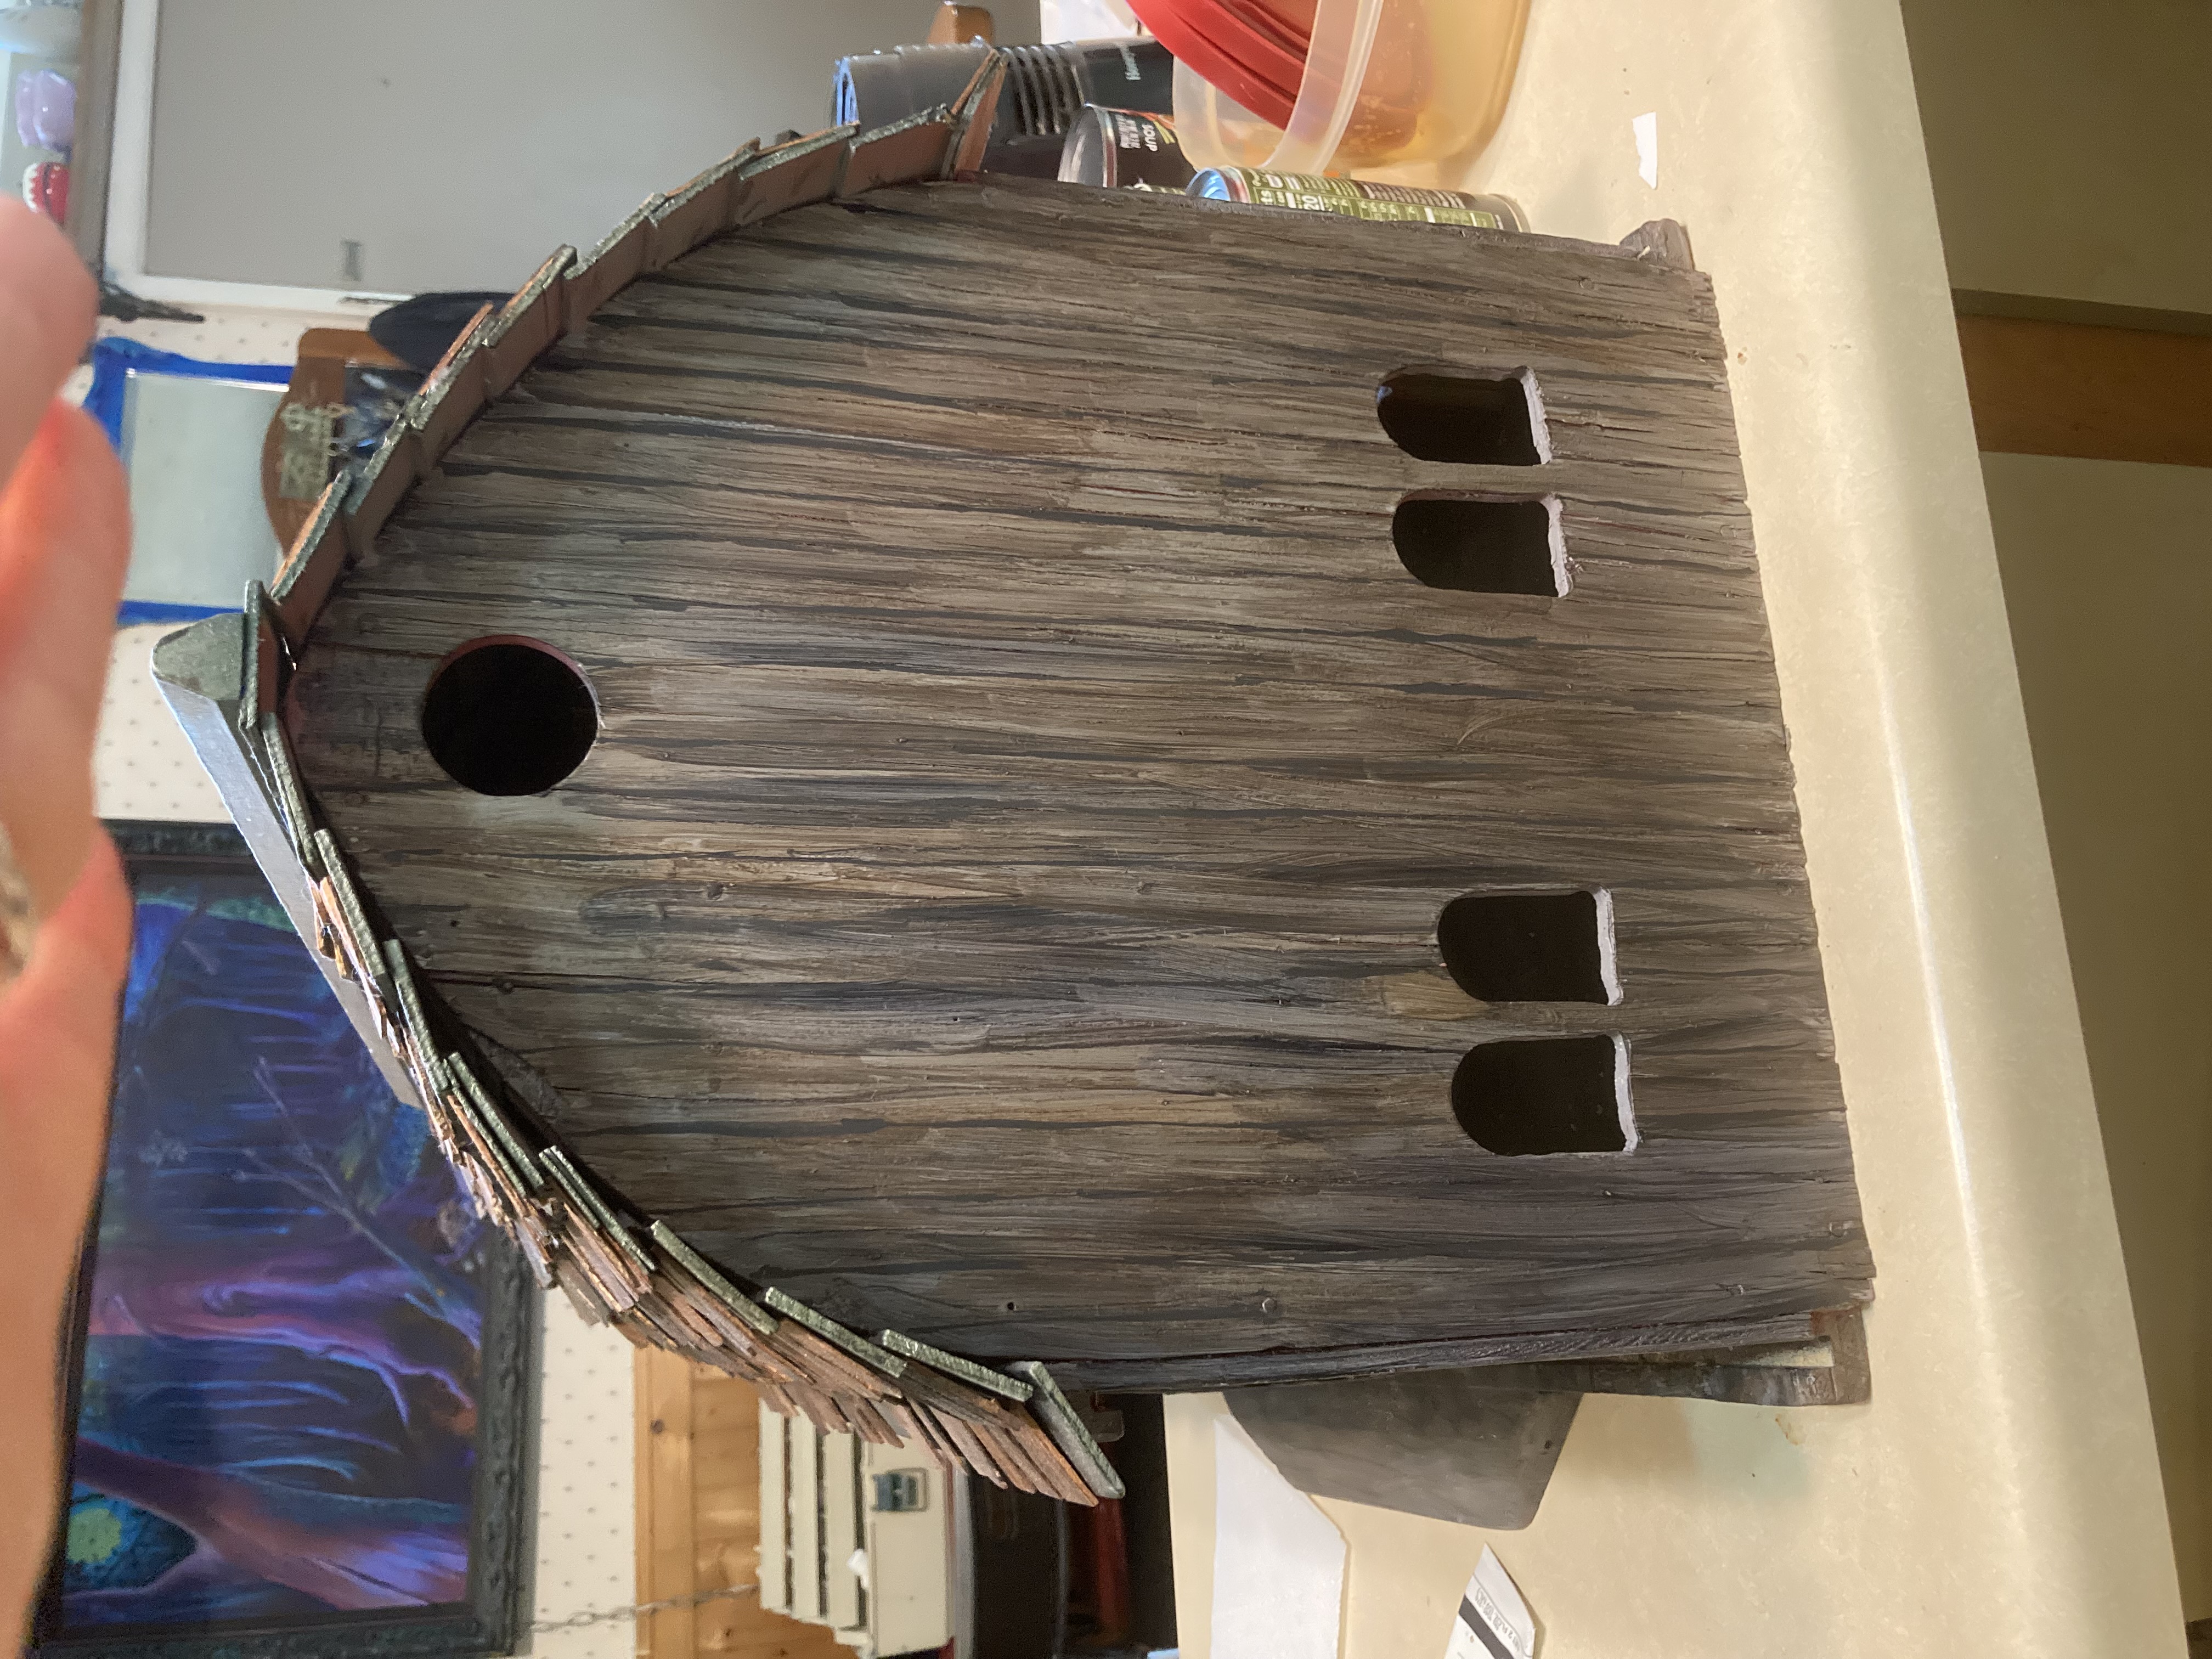
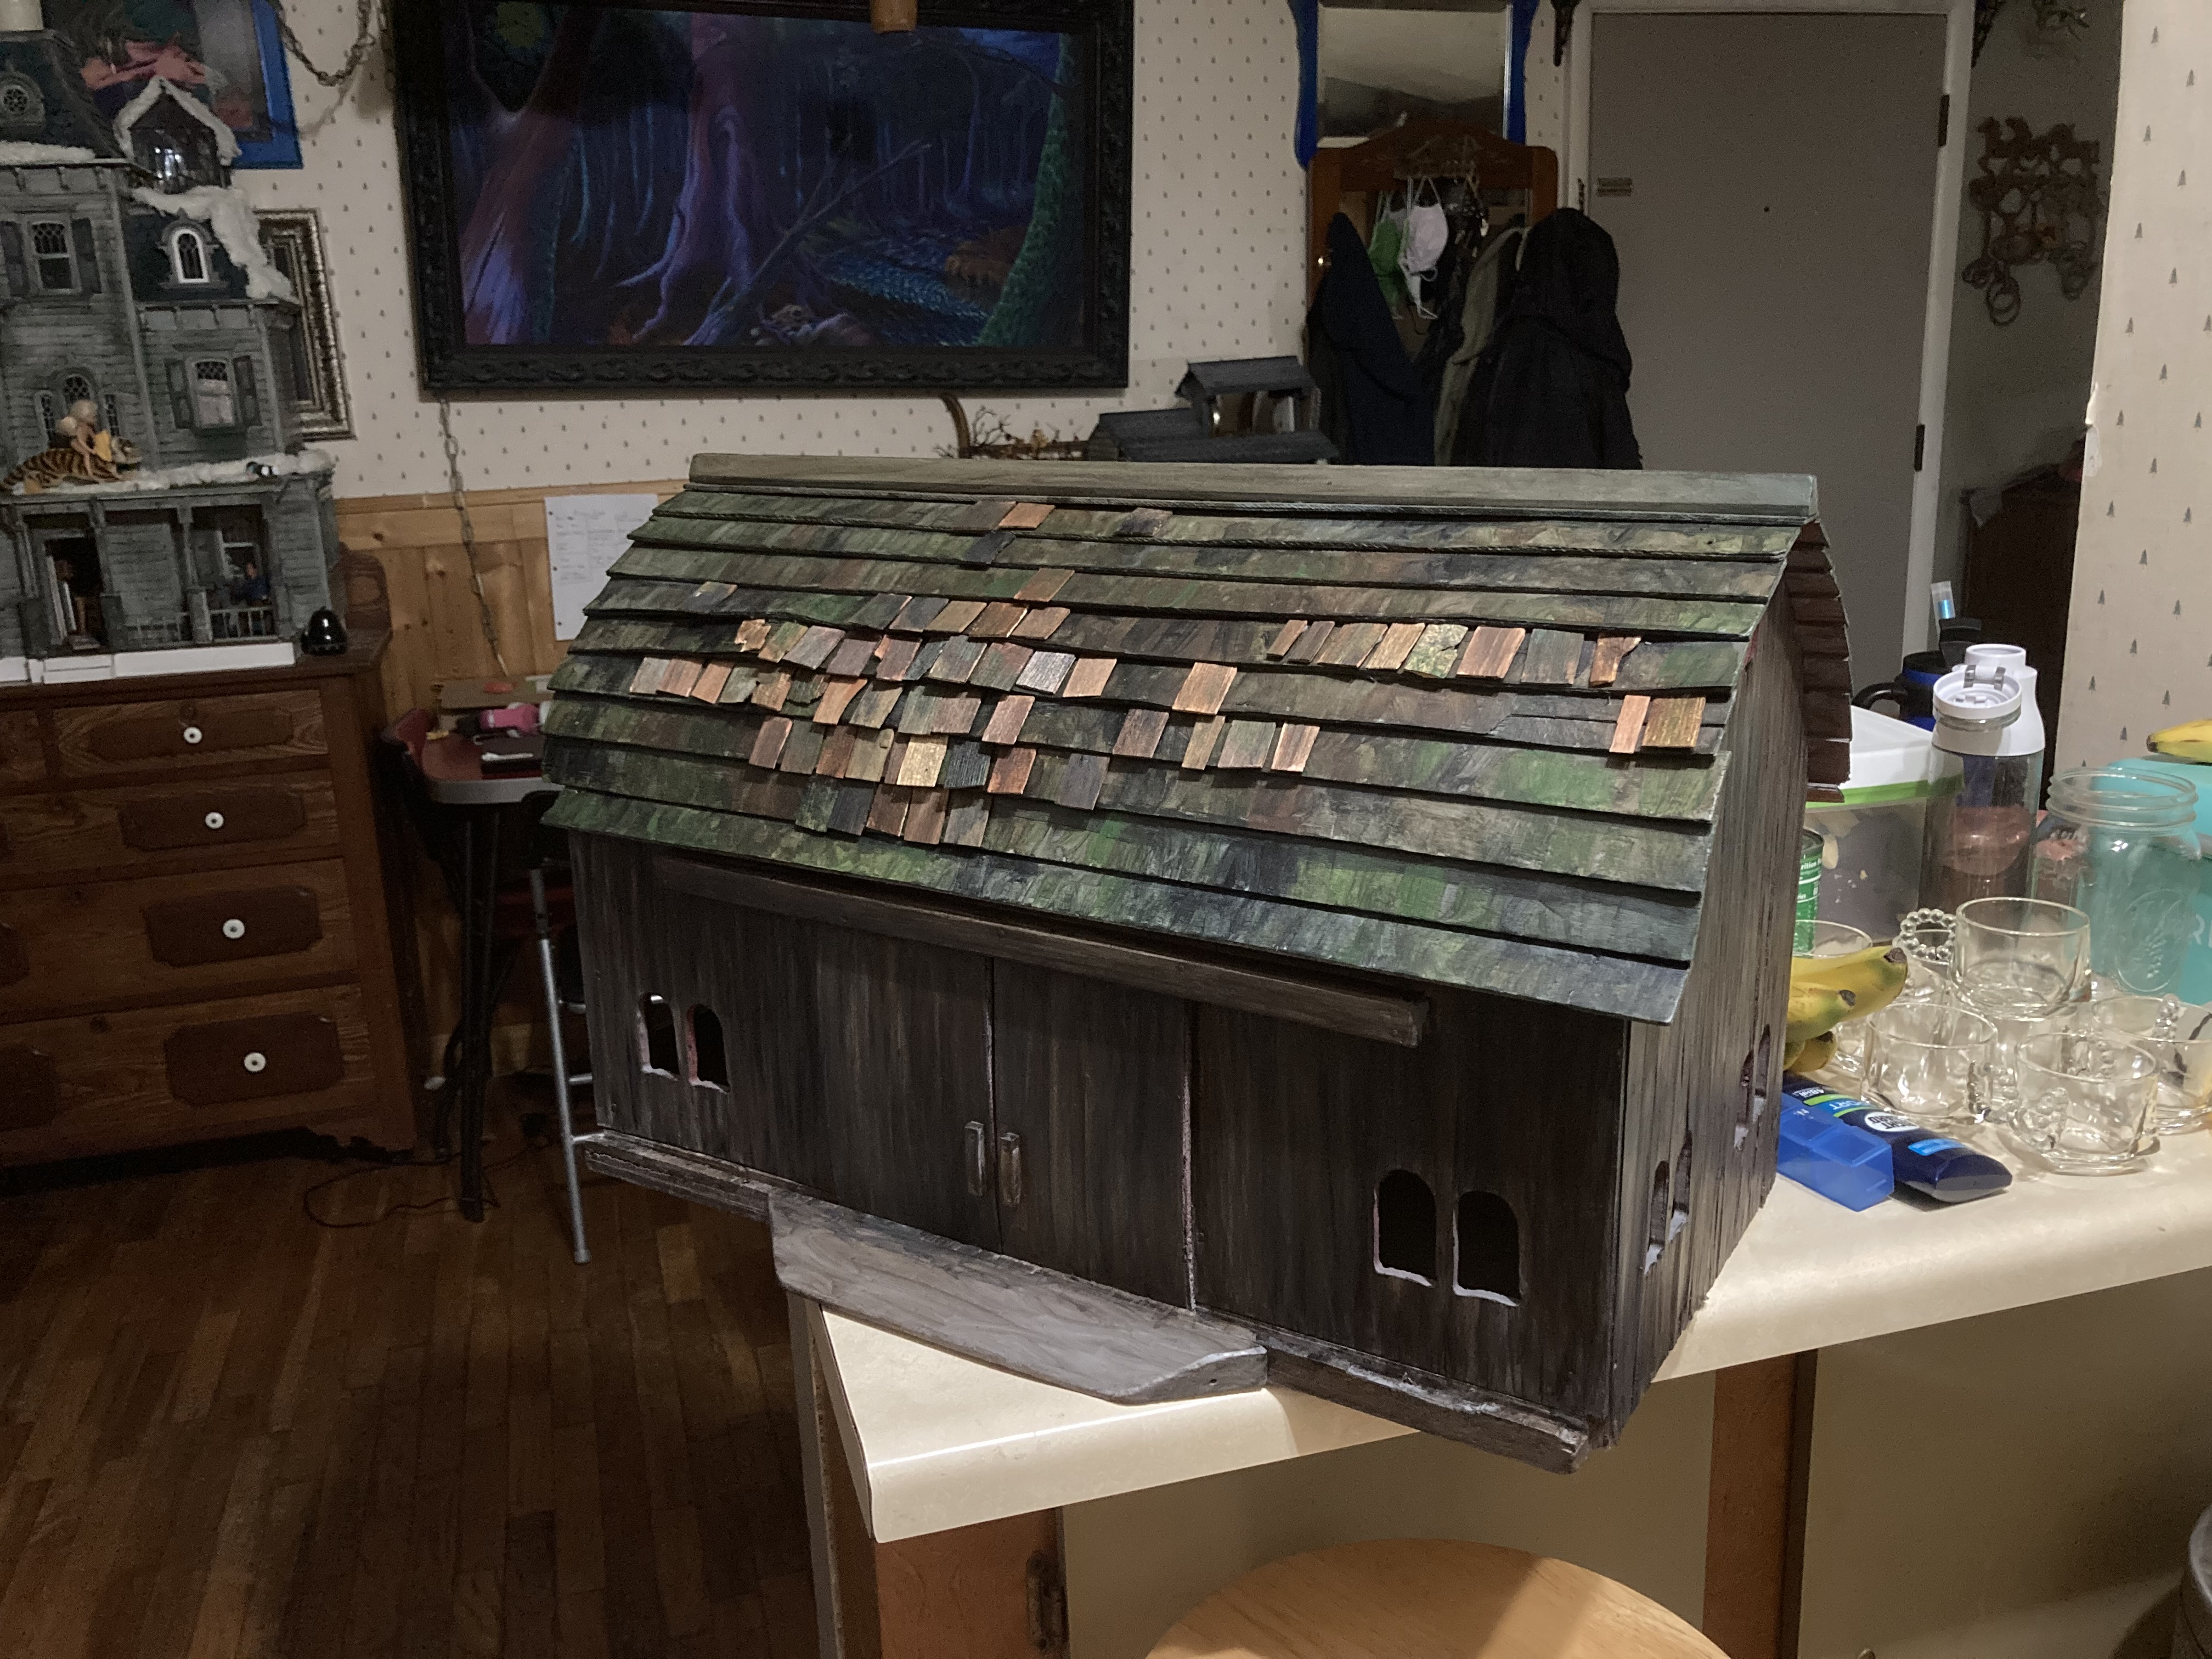

I used a mixture of browns, payne’s gray, and black on the wood, with a tiny bit of green for highlights.
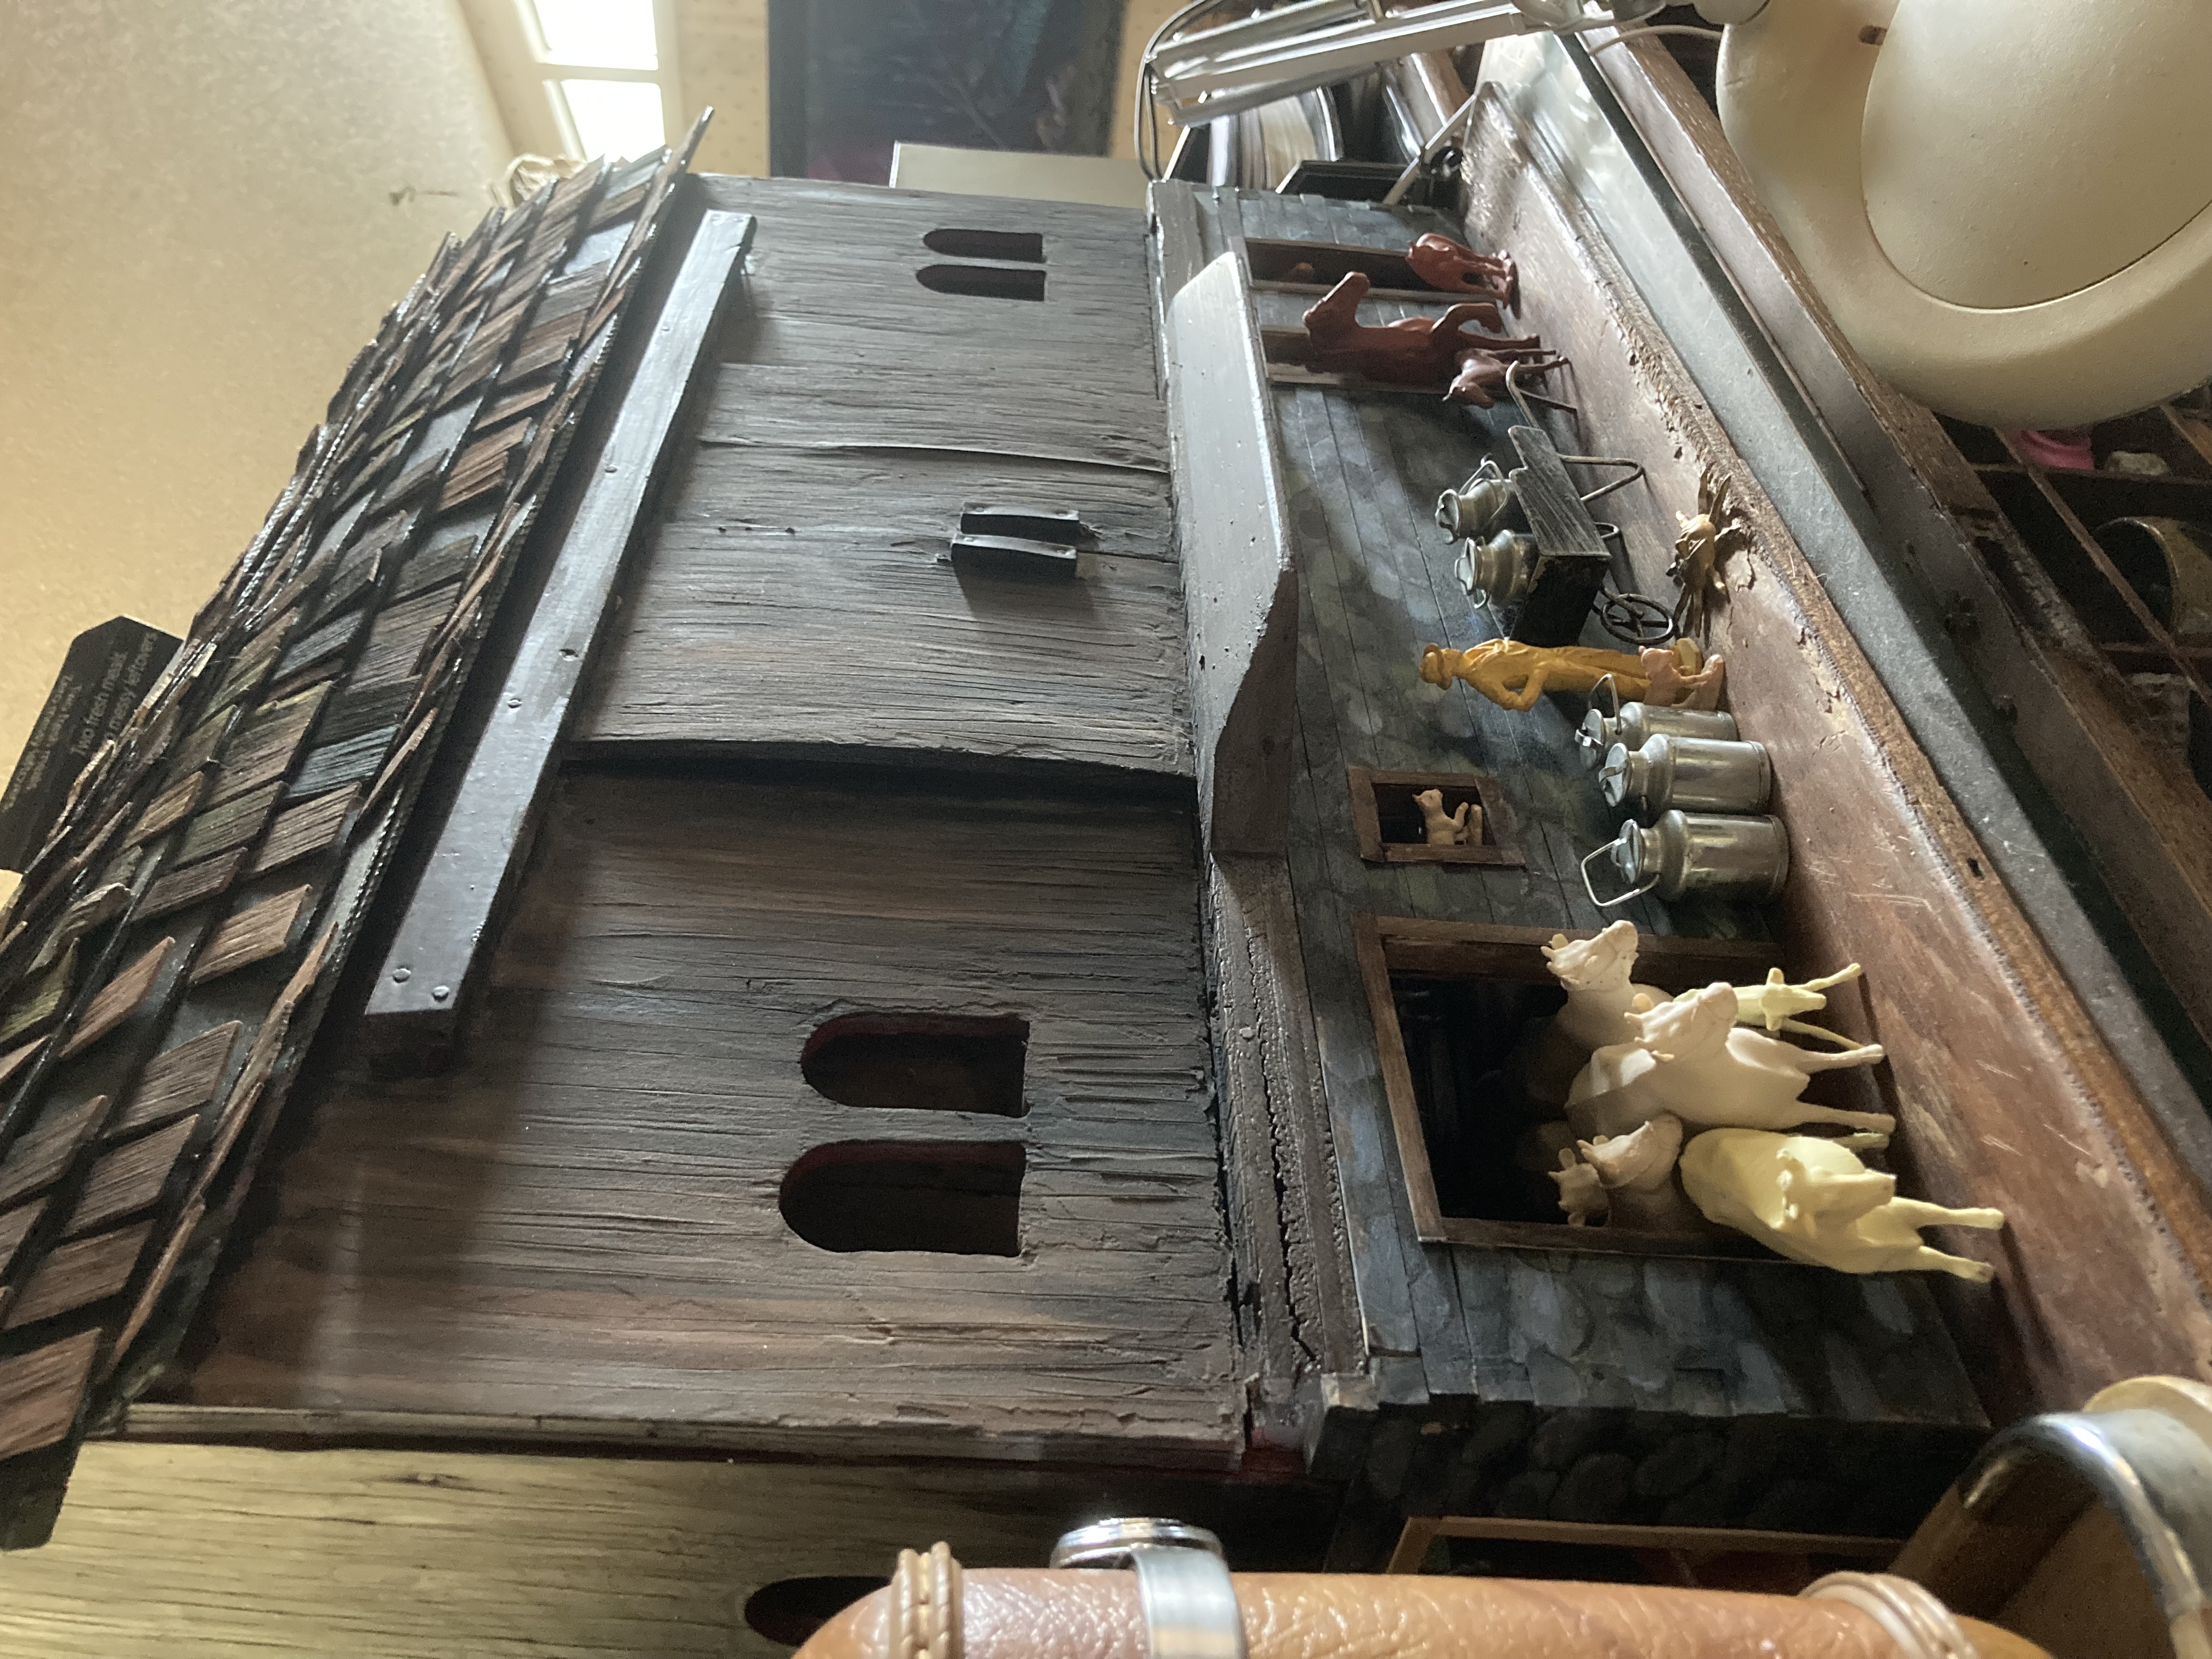
In case you were wondering, the animals are mostly vintage Auburn Toy Company plastic animals. I used to play with similar ones at my grandparents’ when I was a child. When I made arrangements to get this barn, I glanced at marketplace and found these animals for sale, and was able to snatch them up. I almost cried when I found them, as I haven’t seen any like them since my childhood. I have since found others on Ebay.
I have plans for further projects, including a small milk house/barn hill, beams in the hayloft, and possibly some horse drawn machinery. I think it would be cool to make stalls for the animals and milking stations. Stay tuned!