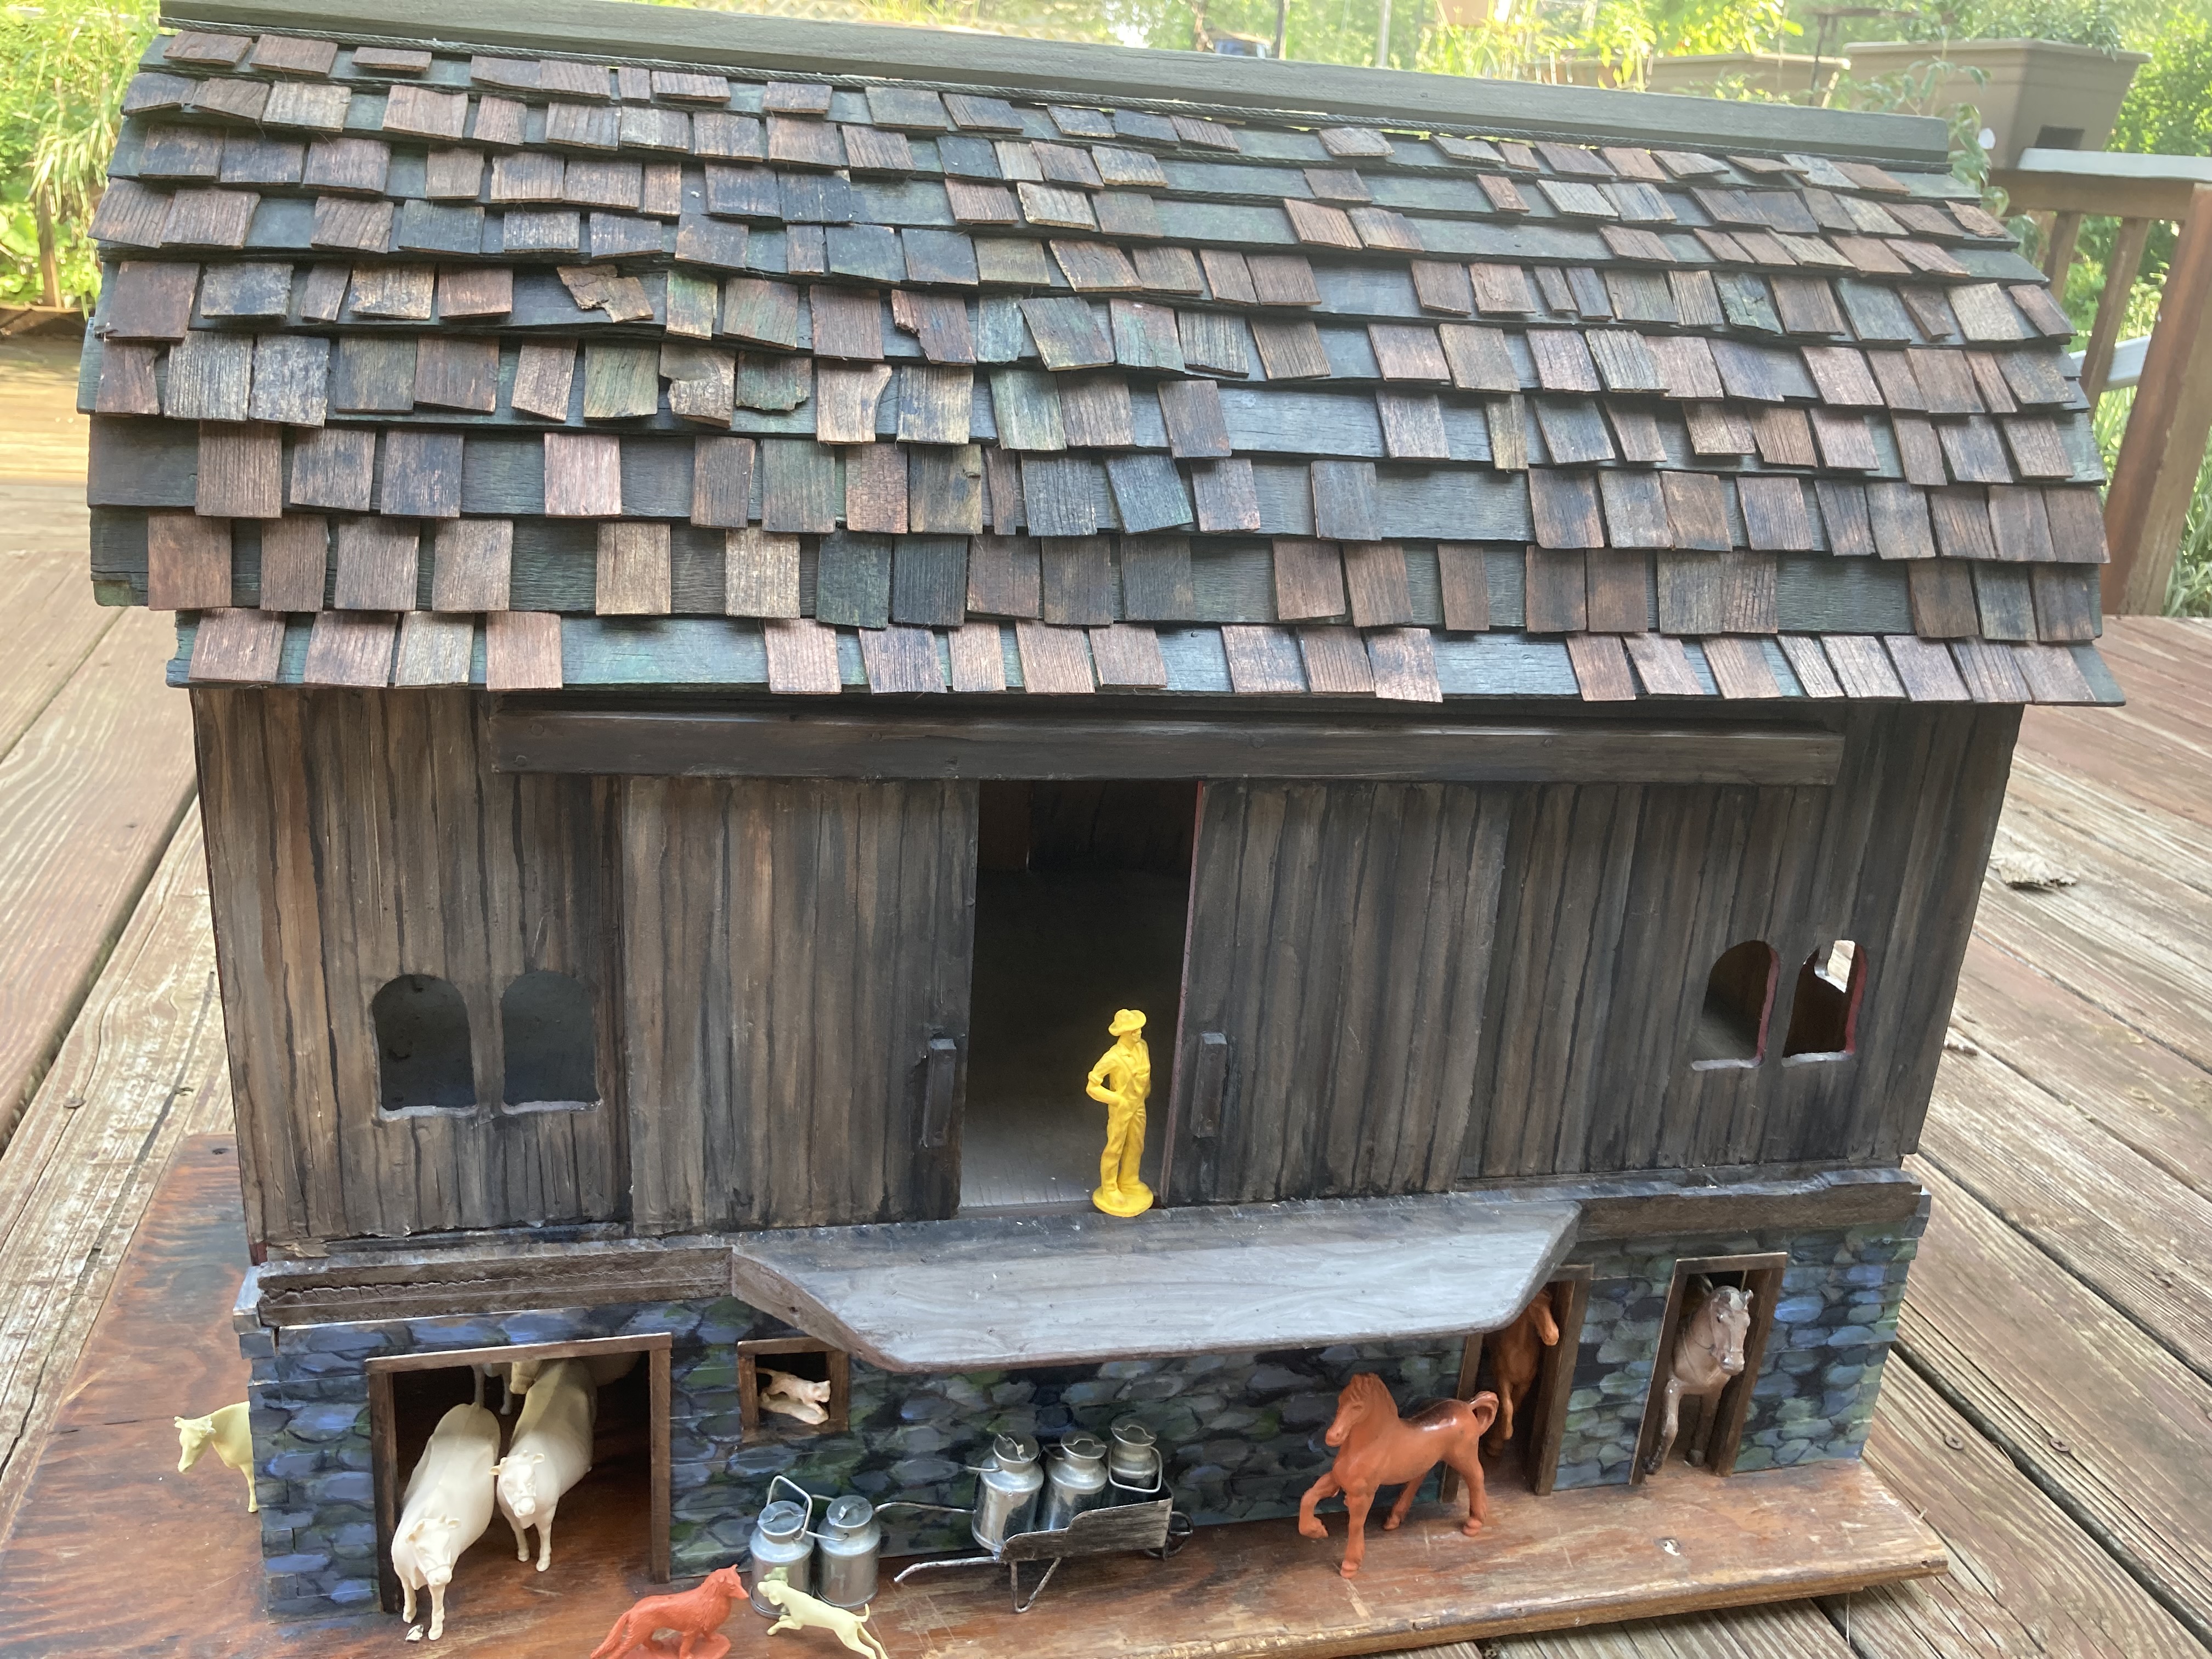
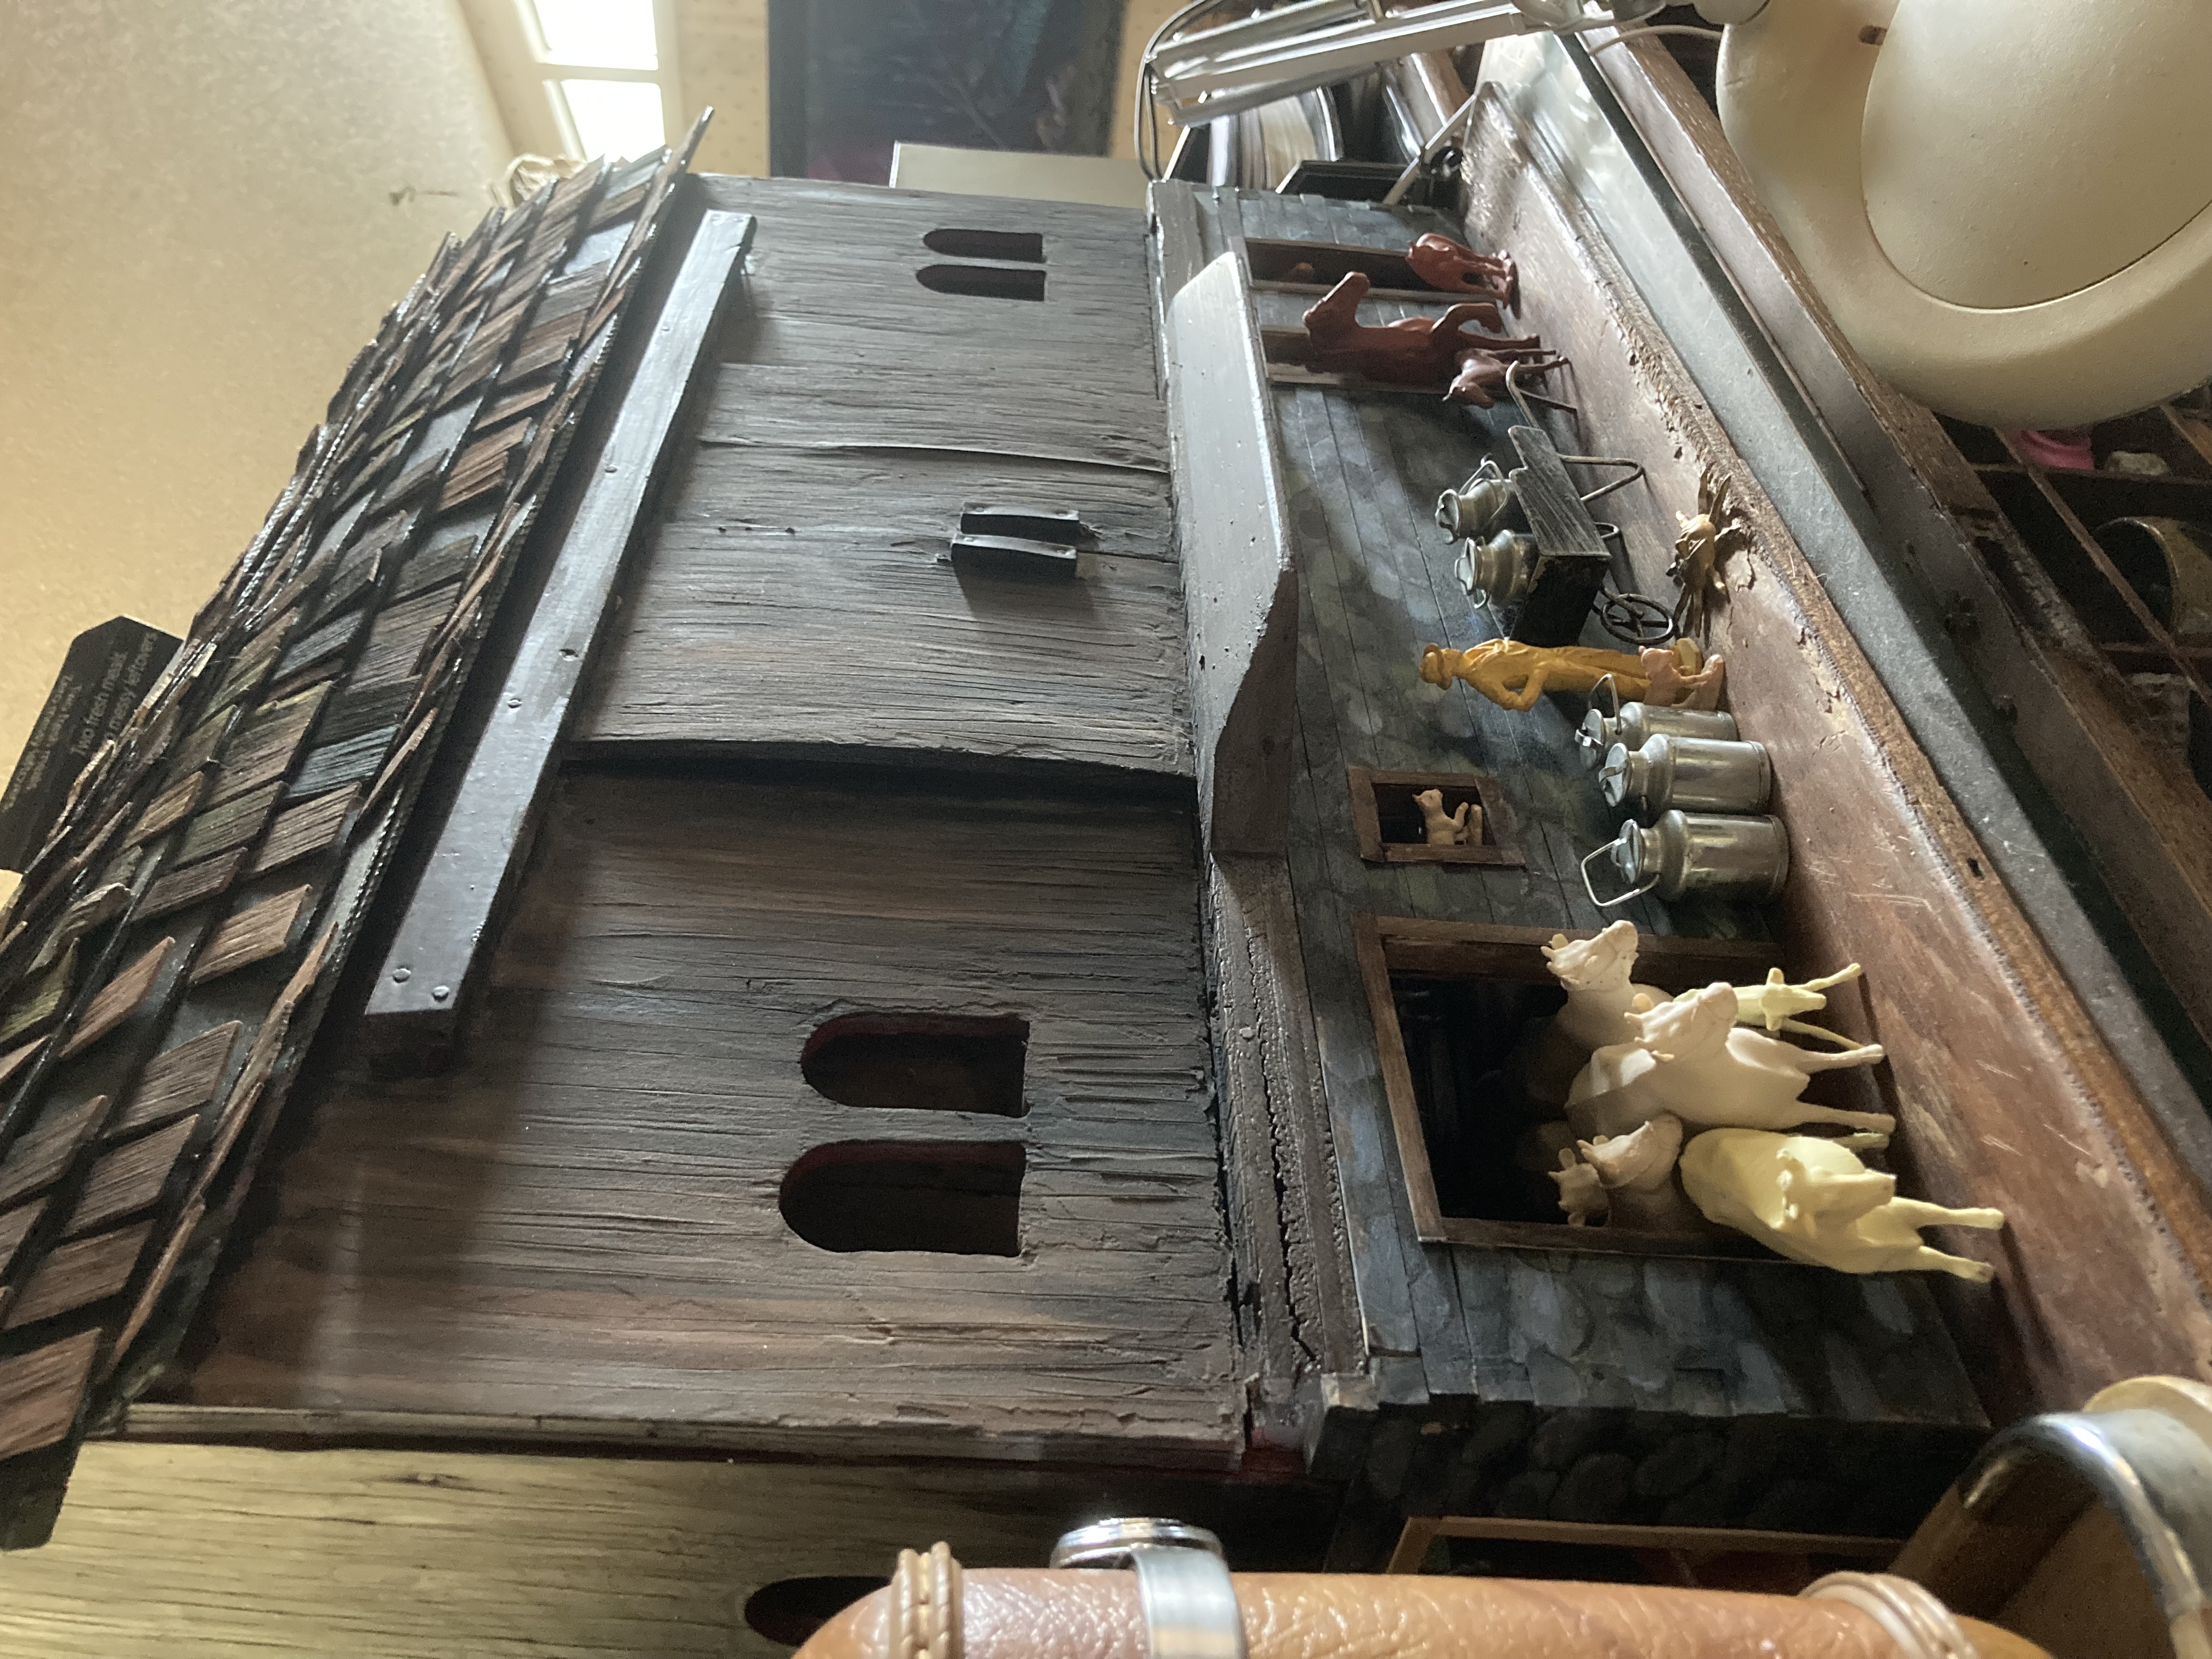
This barn was once part of someone’s railroad table. I had been looking for a good barn project (I love old farms, especially the barns, especially when they once had horses in them. I am a now-horseless horse-nut).
This barn was originally made to sit flat on the ground, but I wanted a lower level with livestock pens, more similar to my grandparents’ bank barn. In order for that to happen, I would have to build a base for it to sit into.
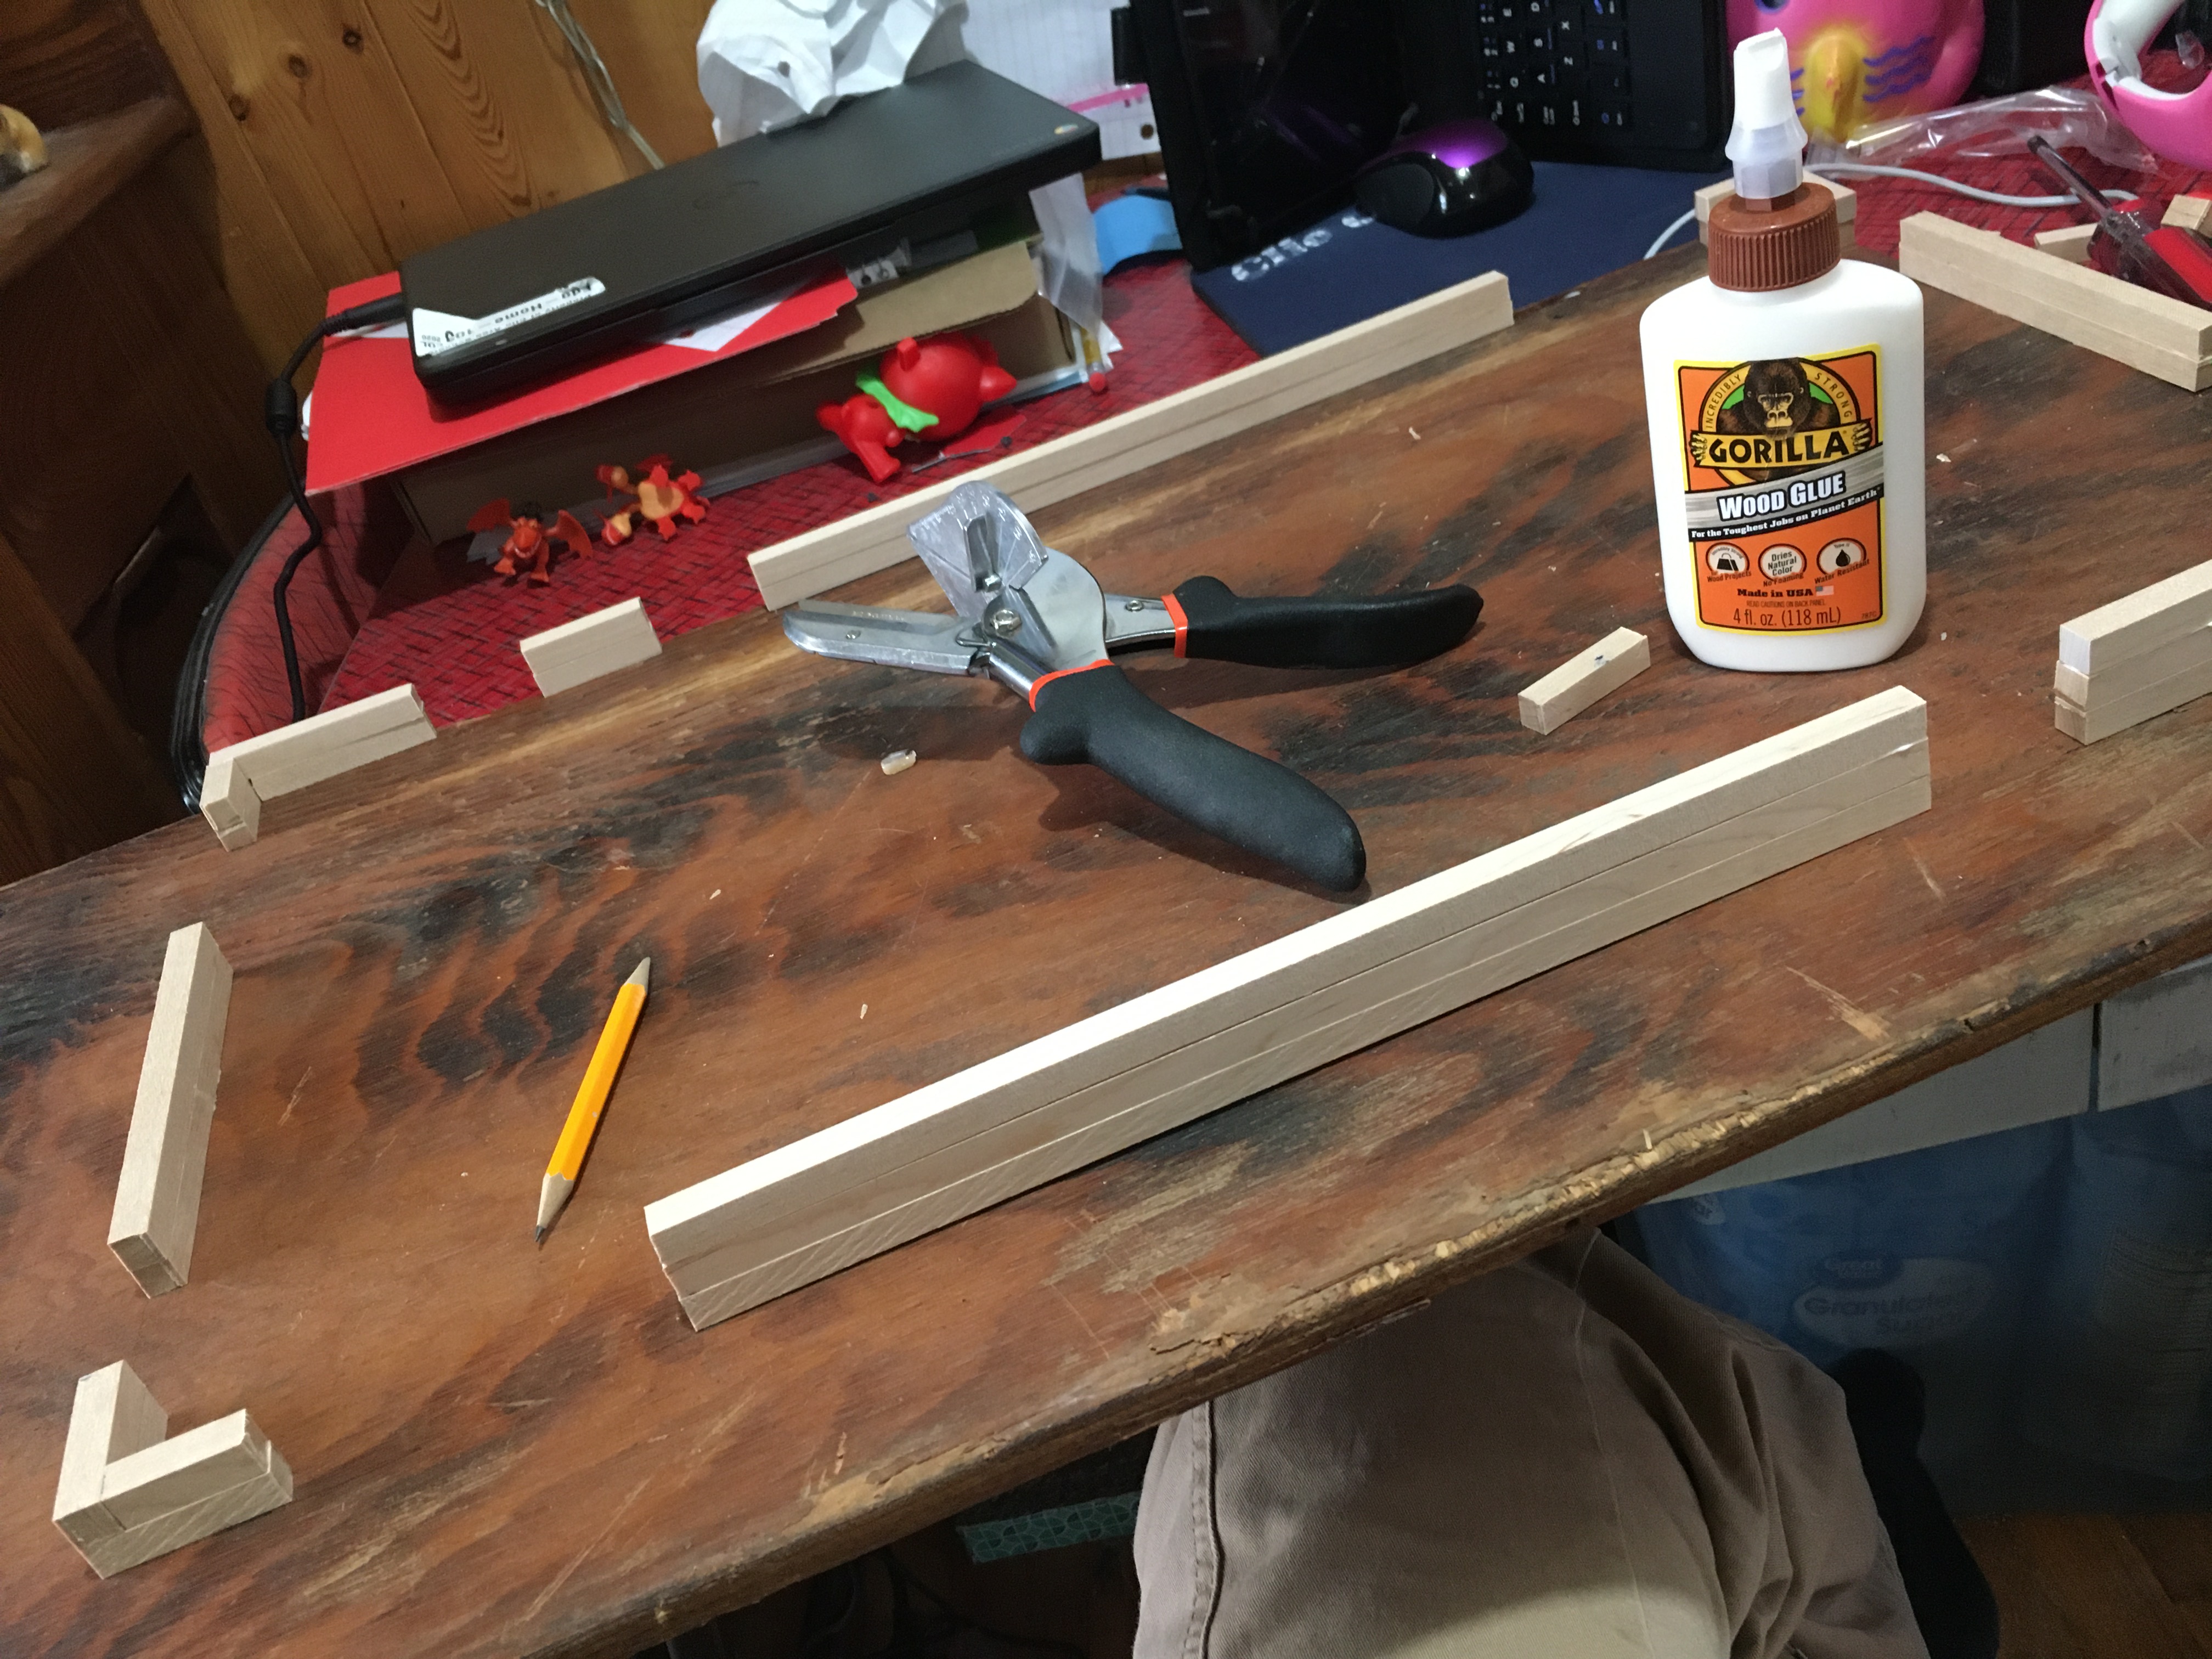
Building the base.
I started with a good plywood board for the base, set the barn on top, in the position I wanted to permanently affix it in. I traced out the barn’s outline.
Next I decided on the locations of doors and marked them with a pencil. I then cut lengths of square dowel to fit the walls, leaving open spaces for the various doors. I built up layers of dowel, alternating overlaps in the corners for structural strength, gluing them down as I went.
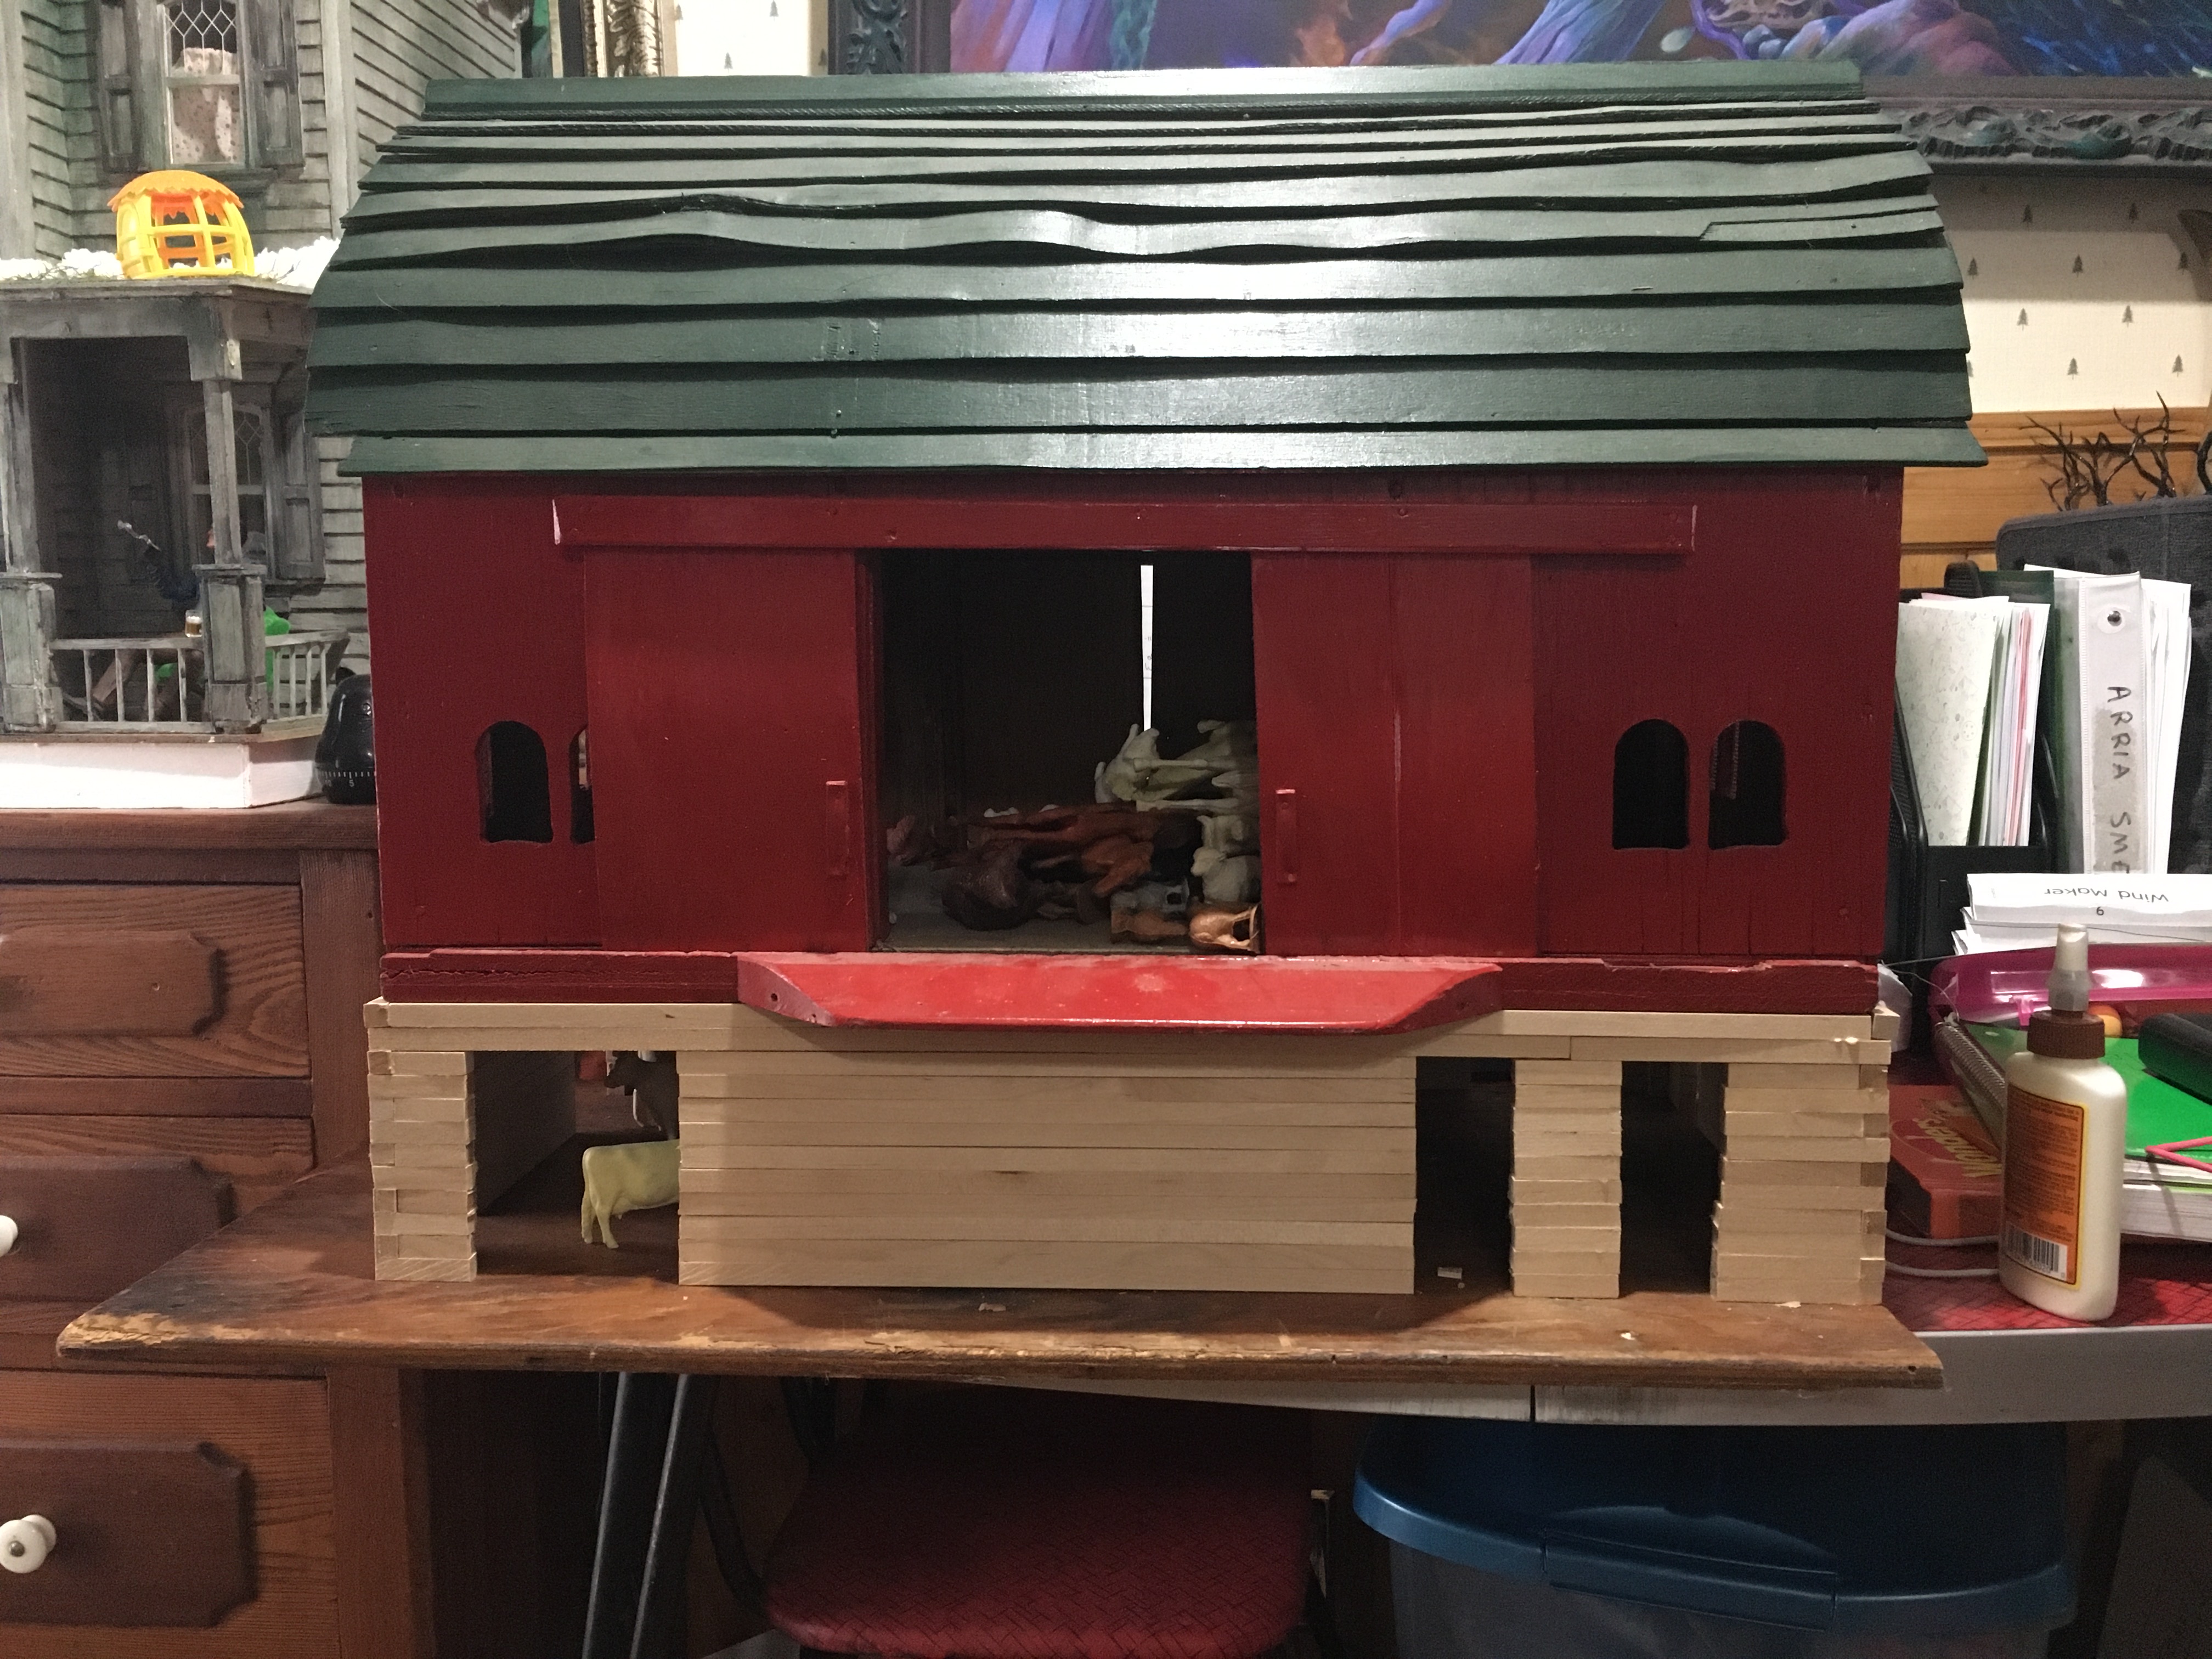
Original version of barn, sitting on top of its new base. I forgot to make the windows, so I later disassembled a few areas to cut out the windows and then glued it back together.
When the bottom of the barn was as tall as I wanted, I customized the dowel placement so the original barn would sit comfortably on it without moving. The main upper section of the barn is not glued onto the base, so that I can lift the top original barn off and see the inside of the lower level.
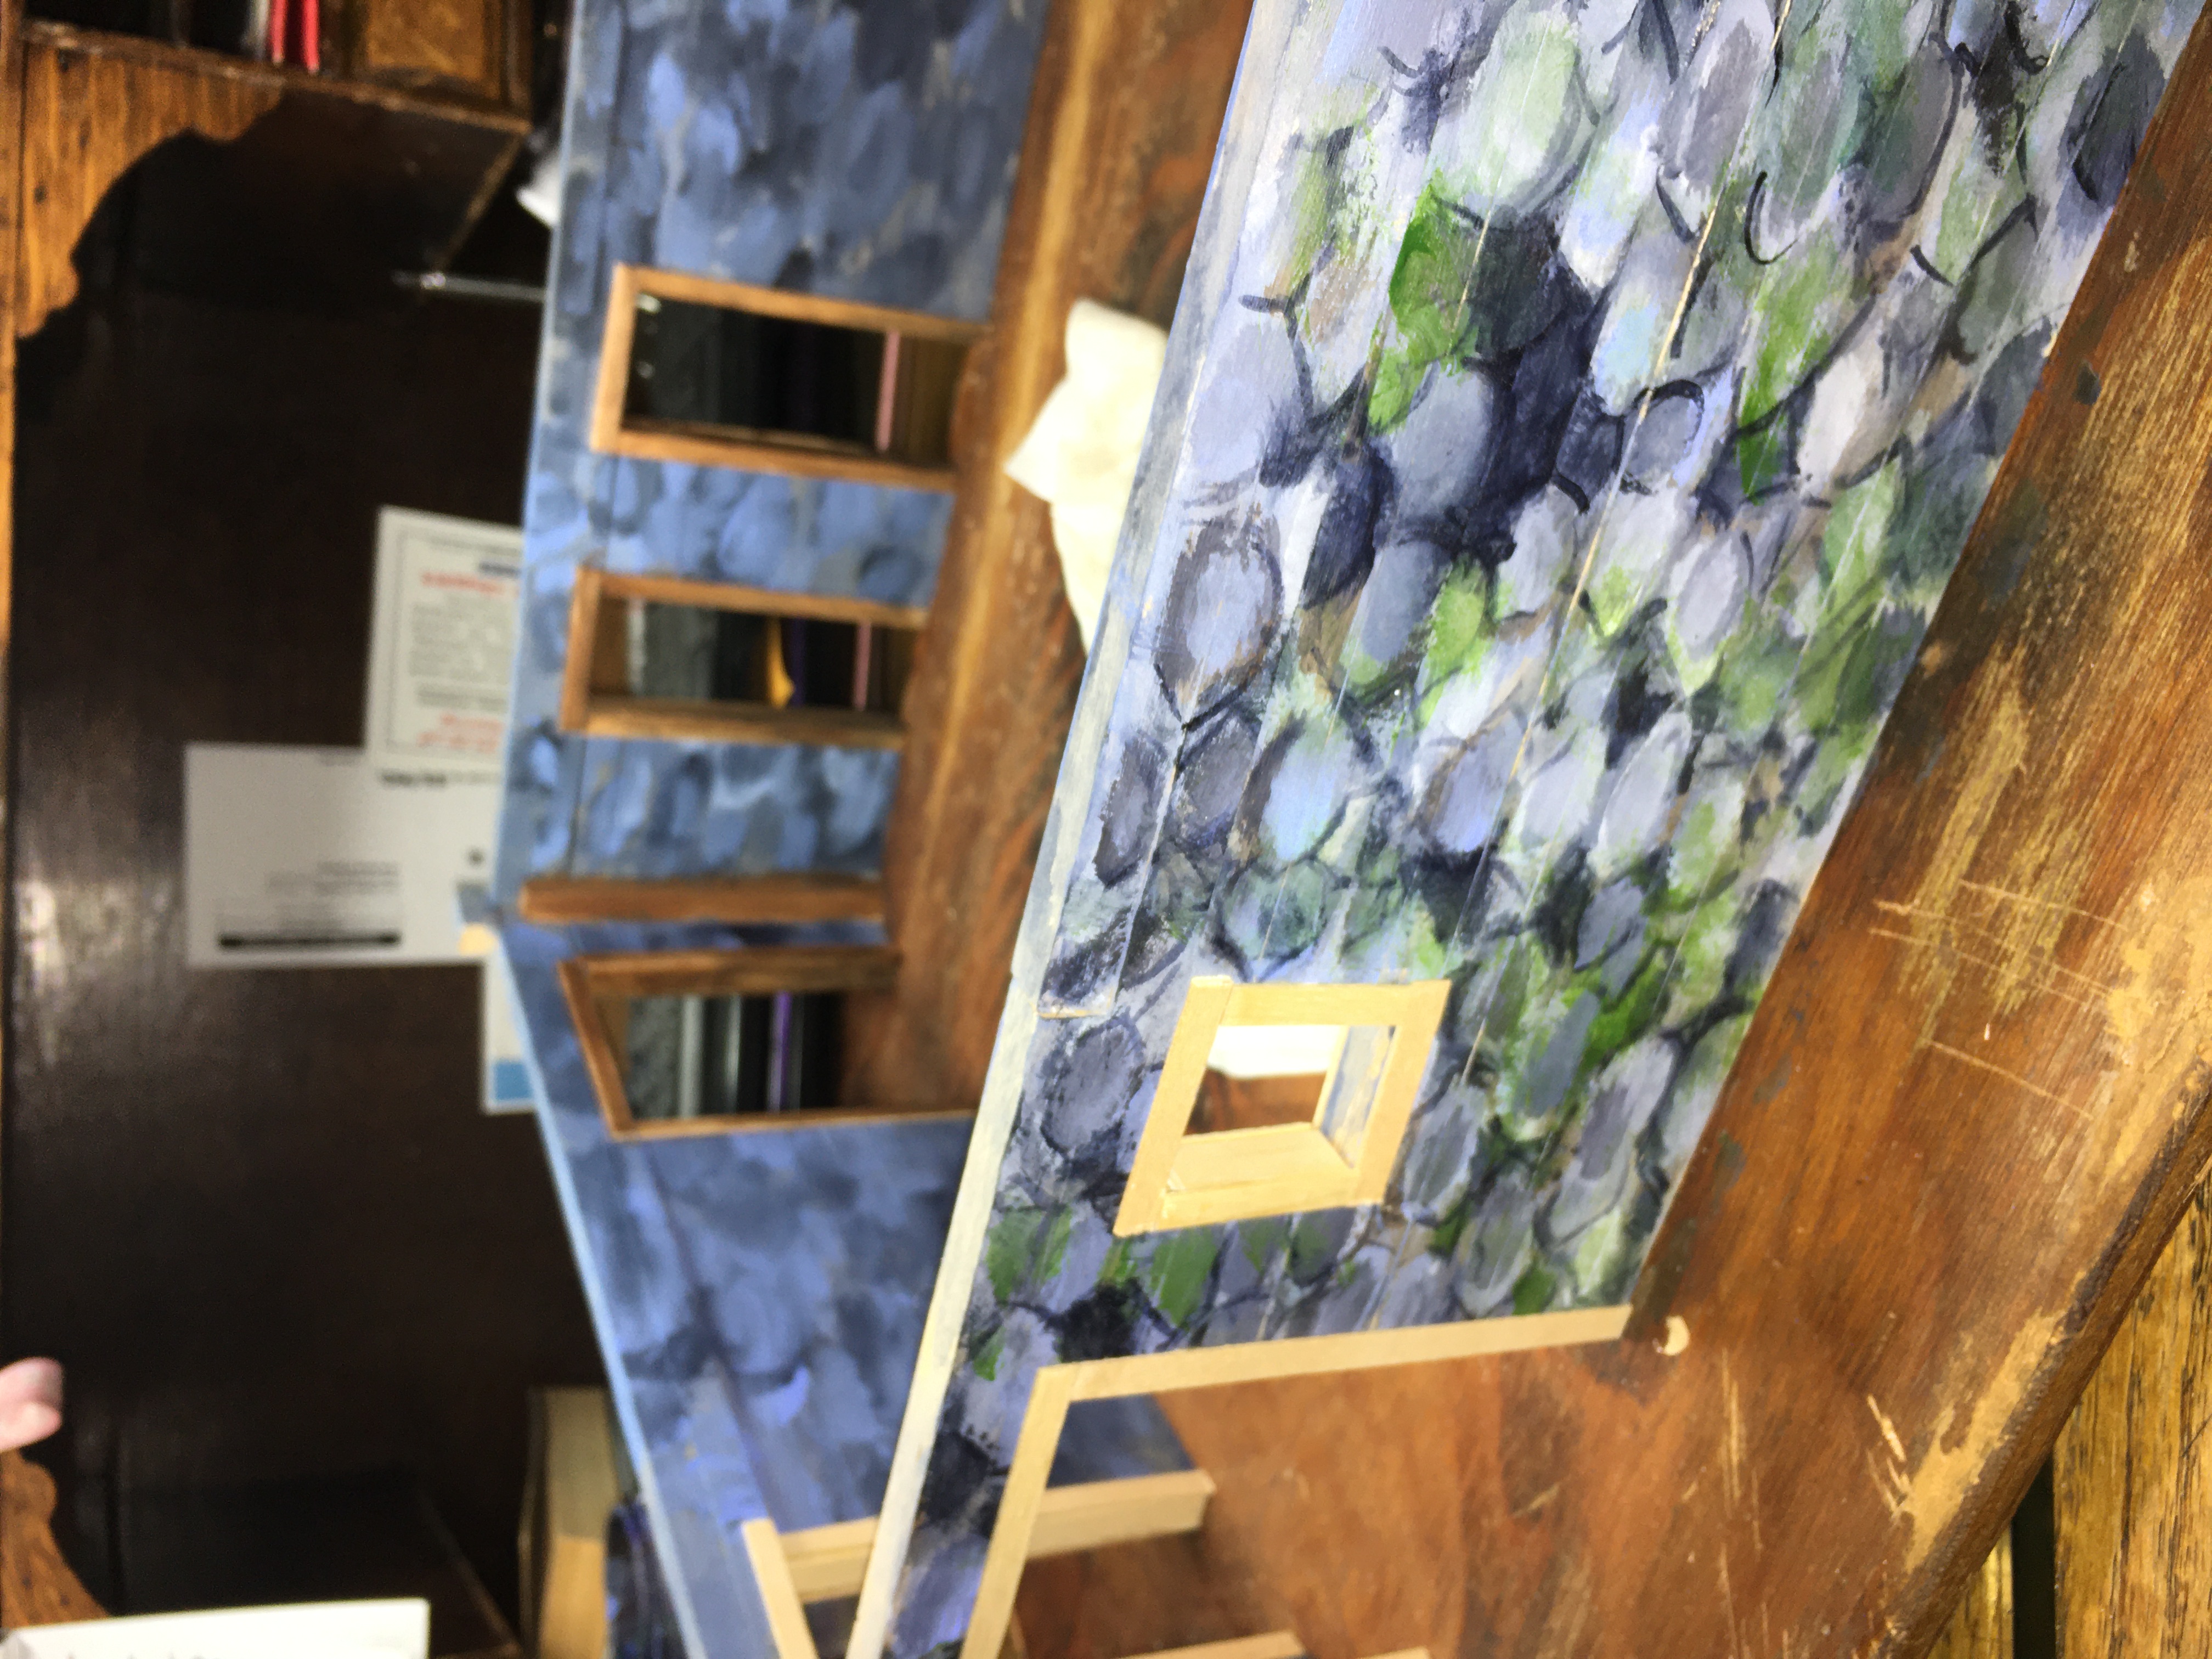
With trim on windows and doors and a little paint added.
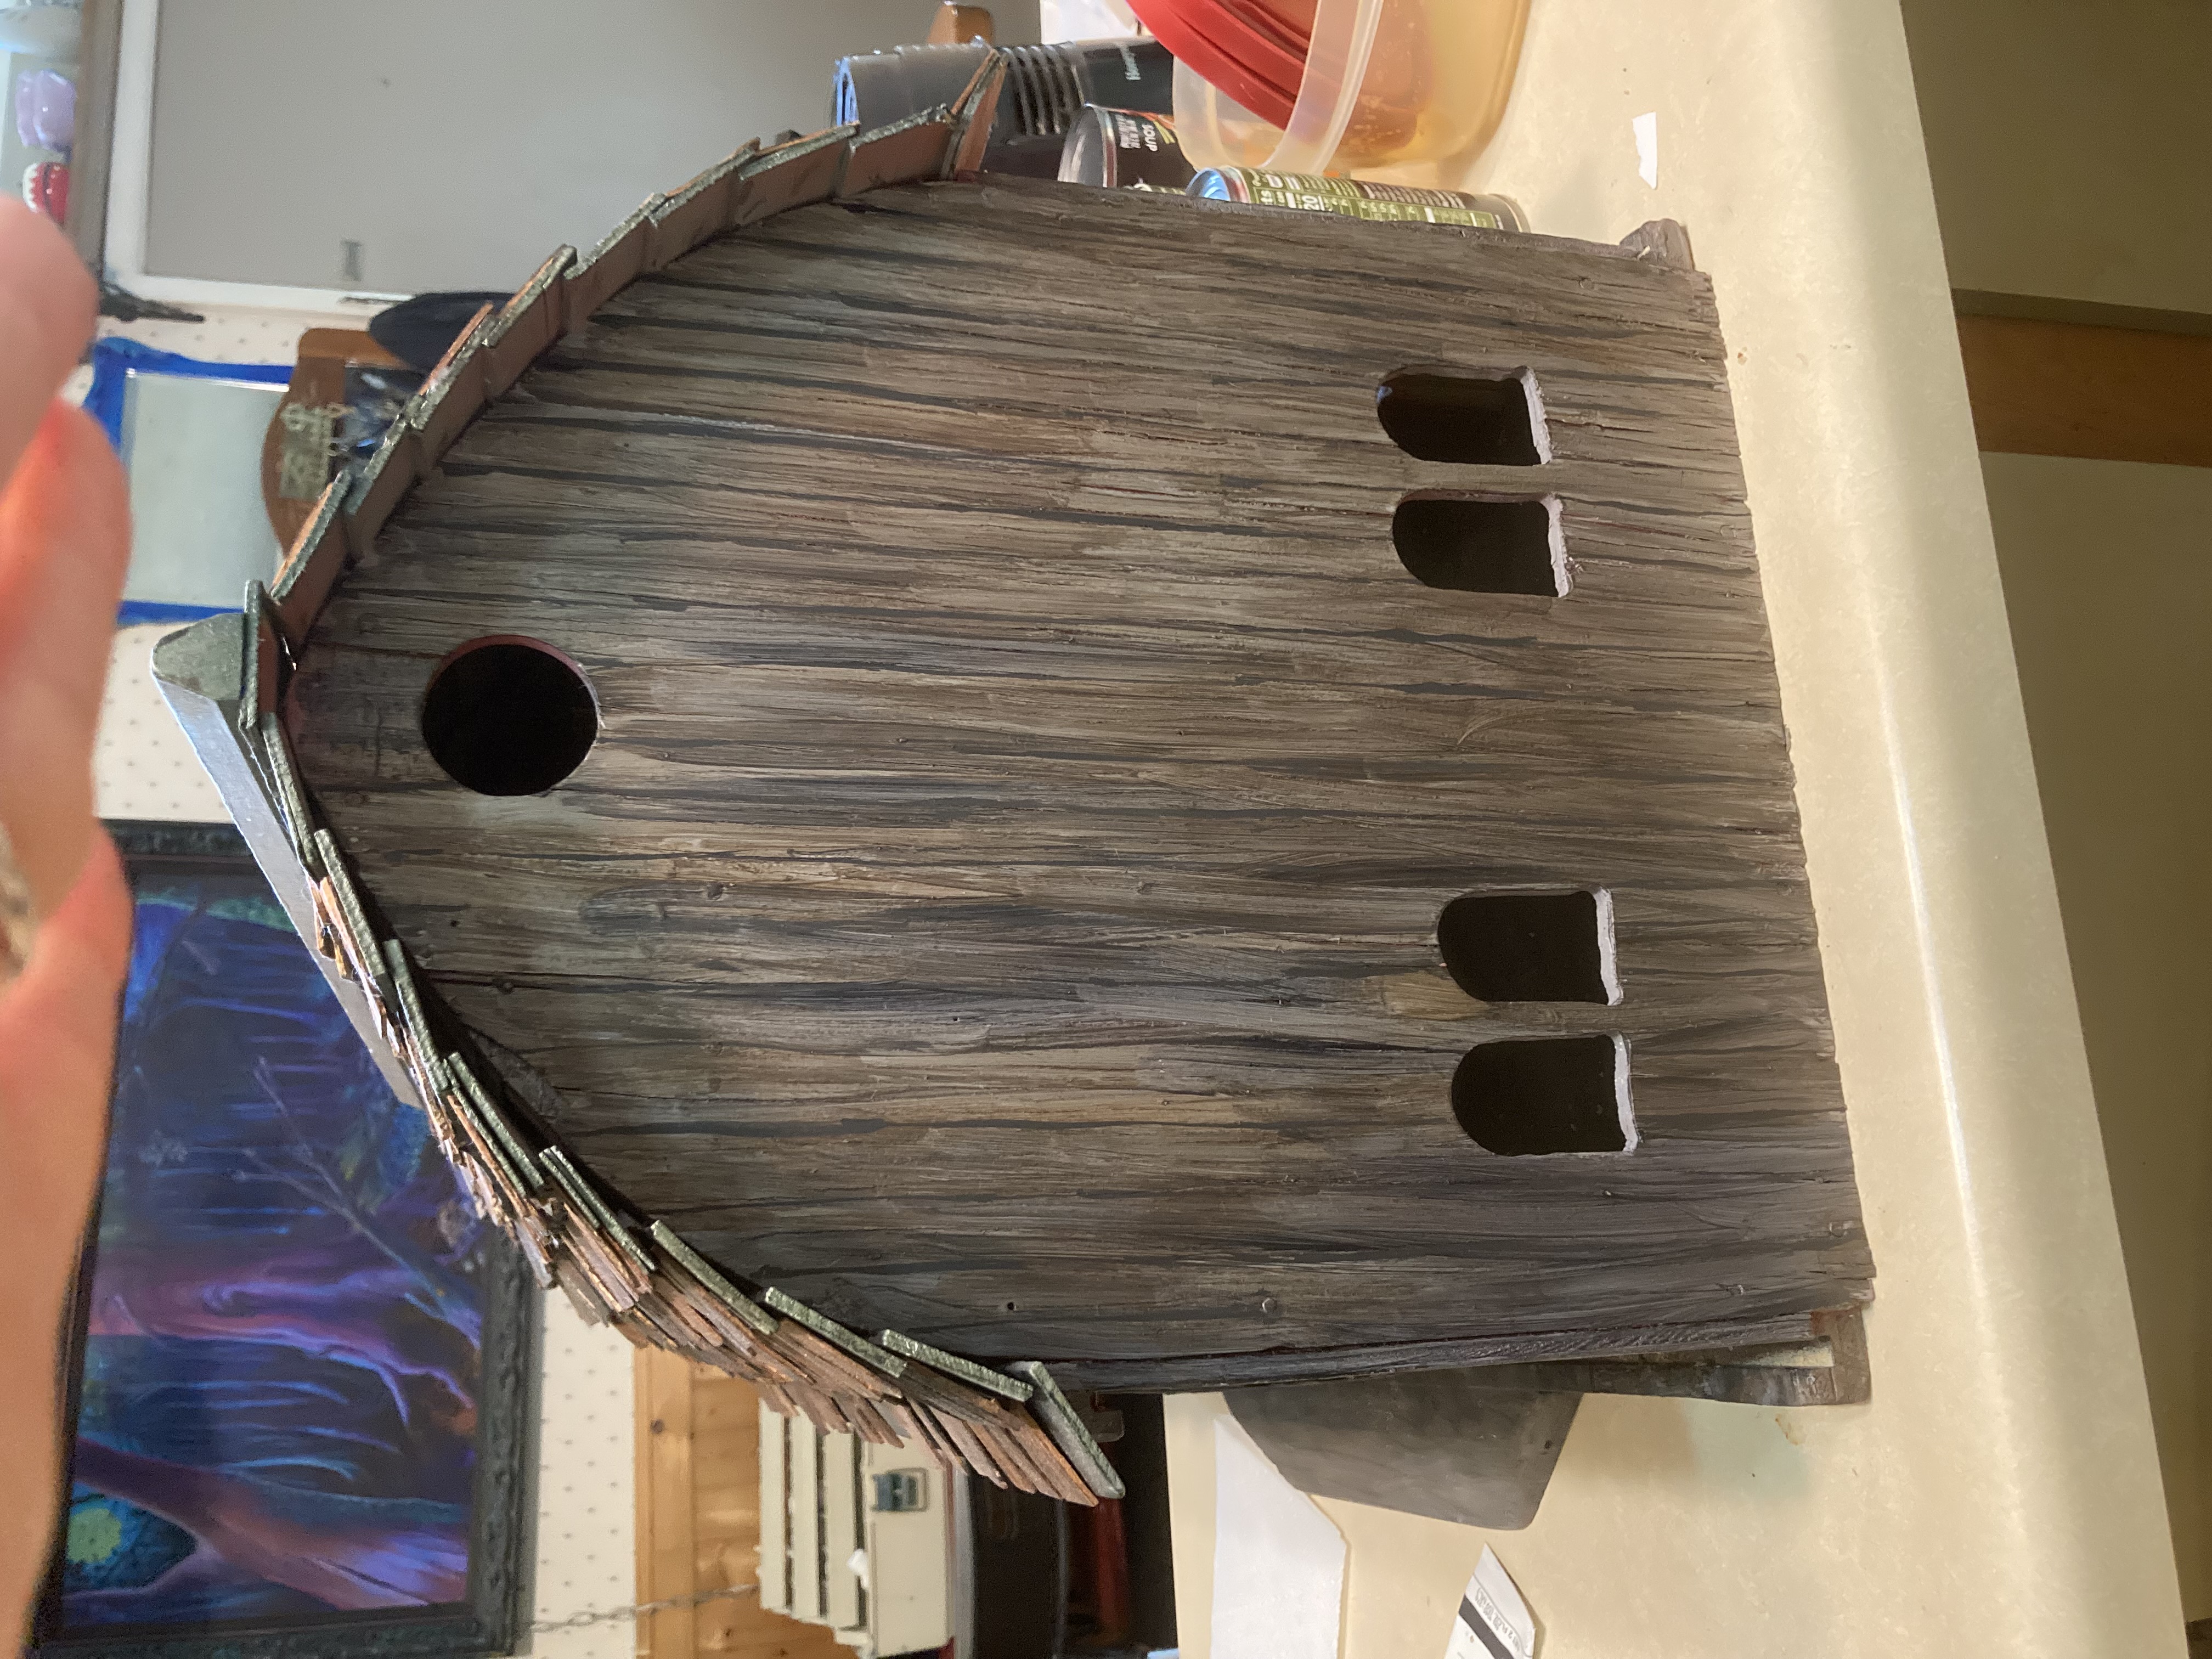
I used halved craft sticks to add trim around the windows and doors. This helped to give the edges a more finished look.
After first coat of primer.
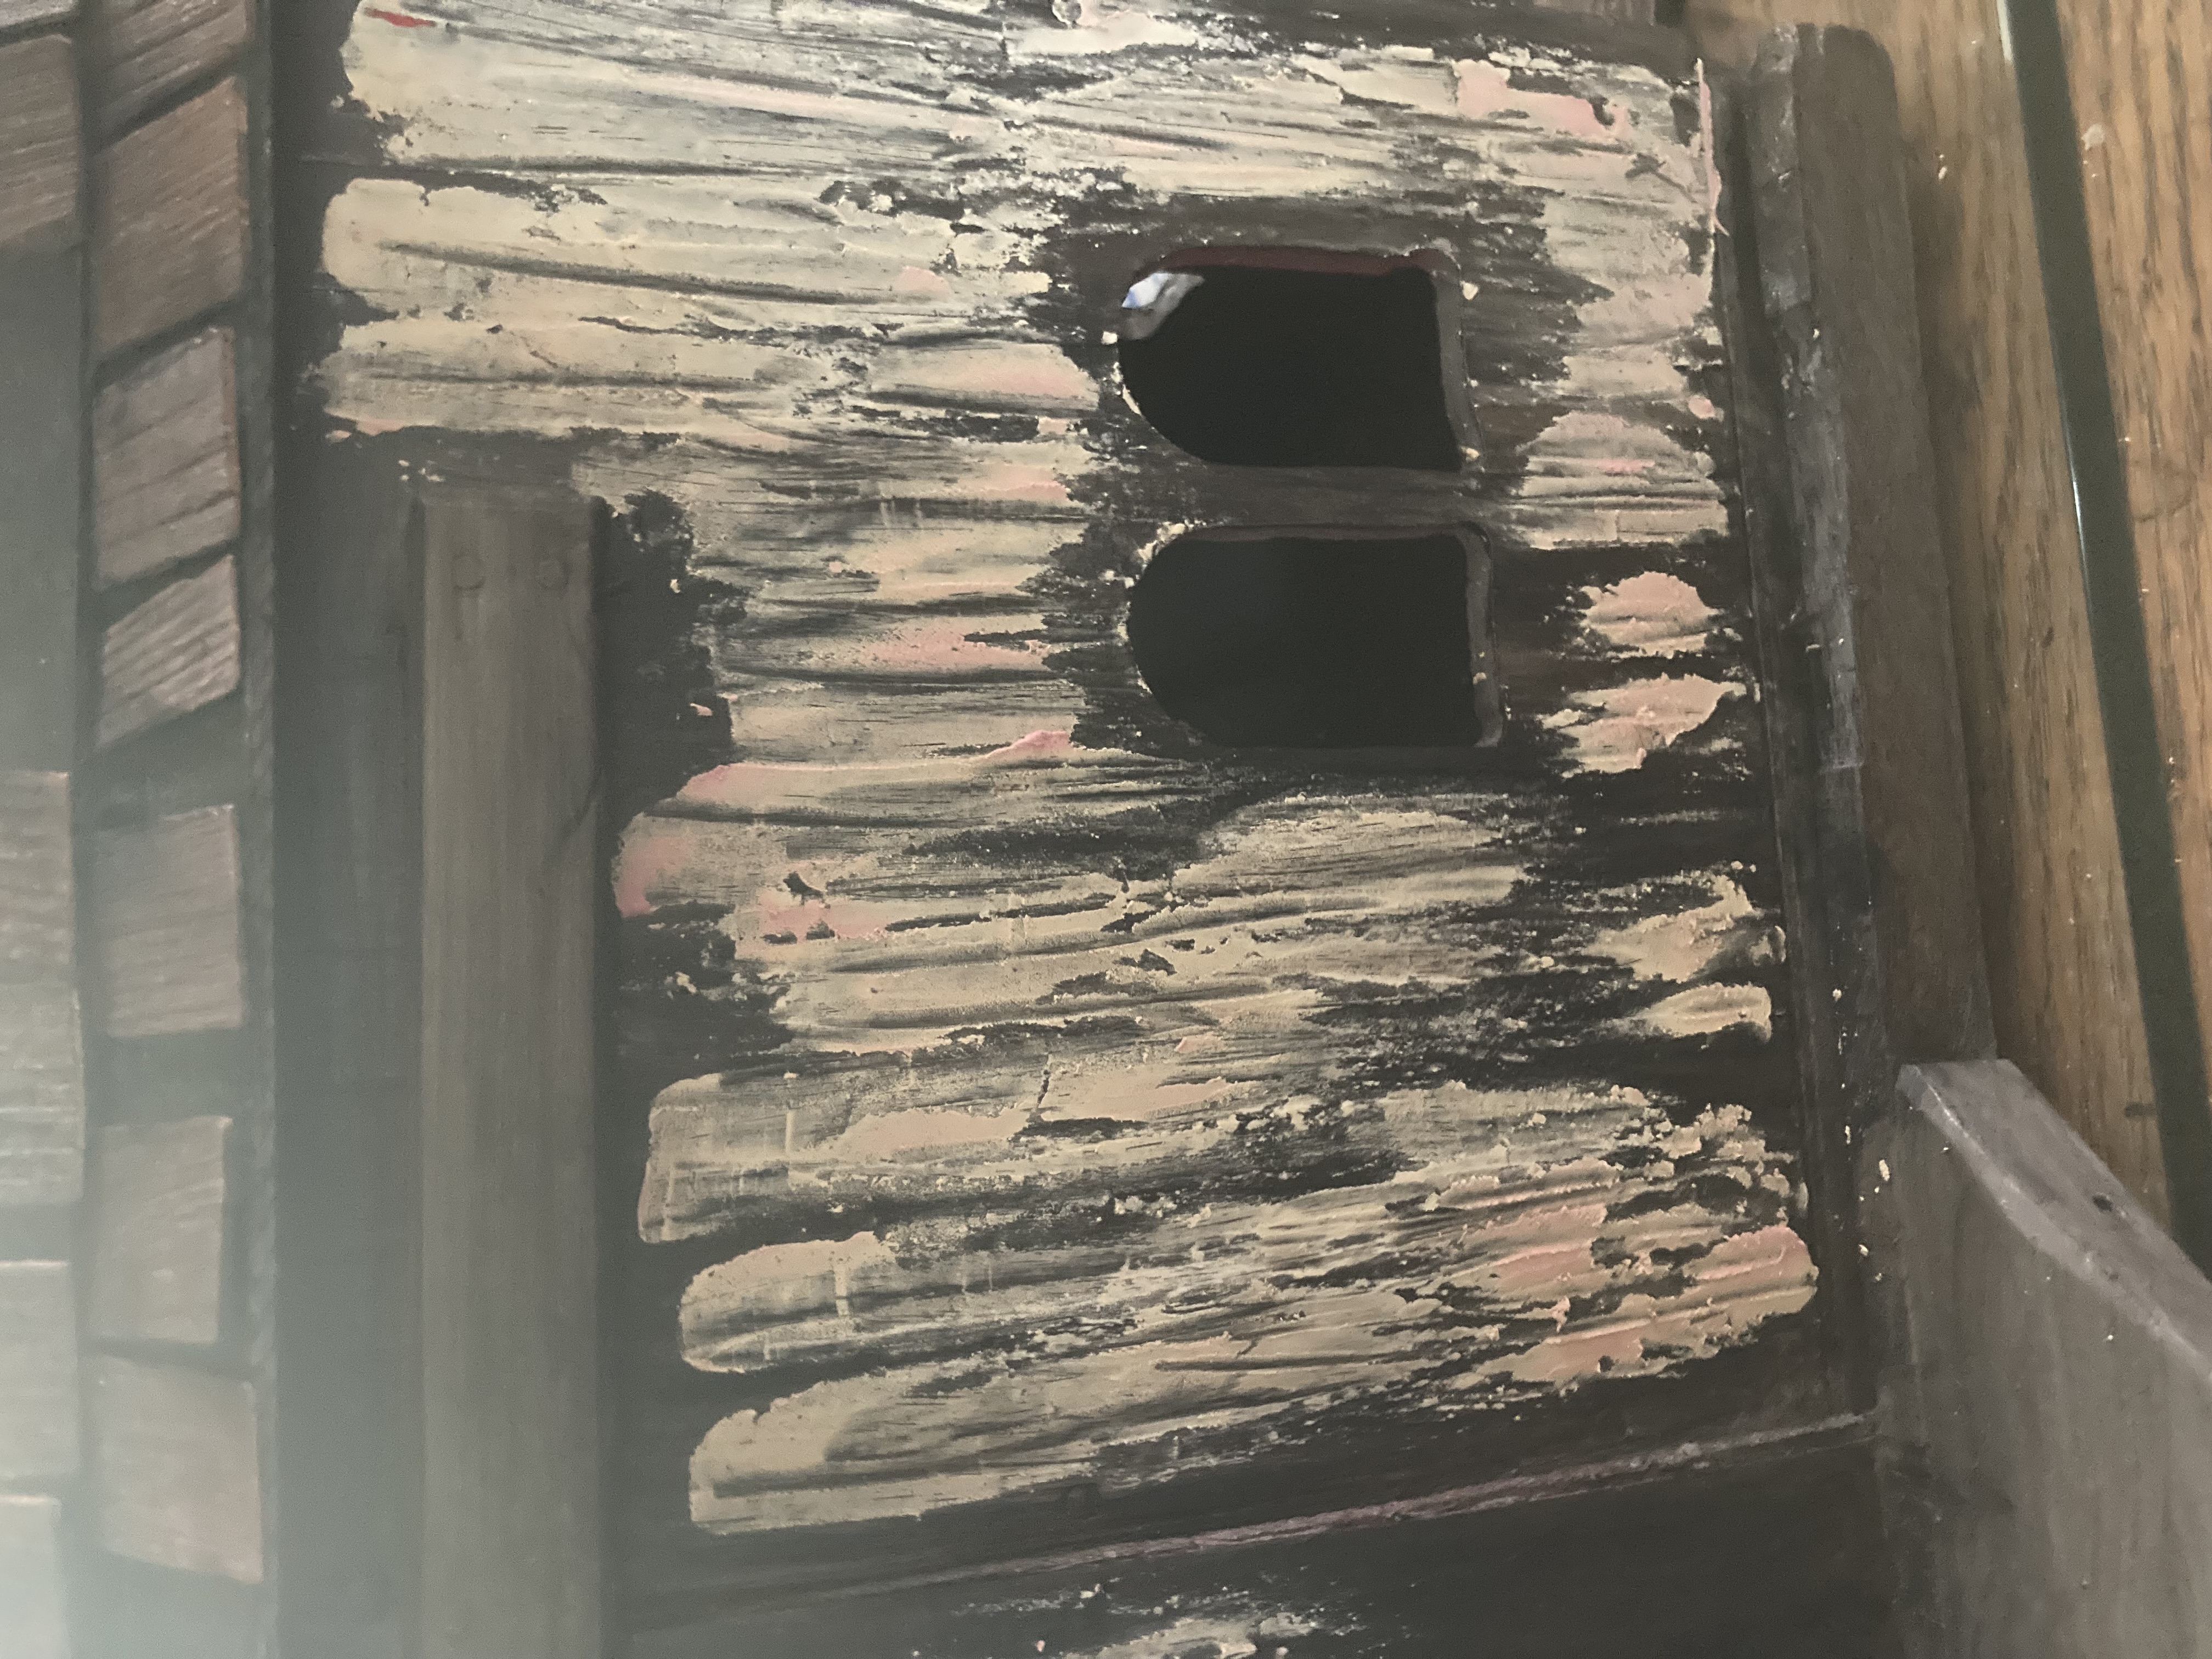
I didn’t like the original shiny red finish, so I sprayed the barn with two coats of Rustoleum 2x gray primer and paint to prepare it for acrylics. However, when I started painting, I discovered that the texture just didn’t seem right. The barn’s smooth wood was too flat to look like real barn wood, even with painted texture. I ended up using a pallet knife to apply a thin coat of wood putty, then scratched into it with the edge of the knife to give it texture.
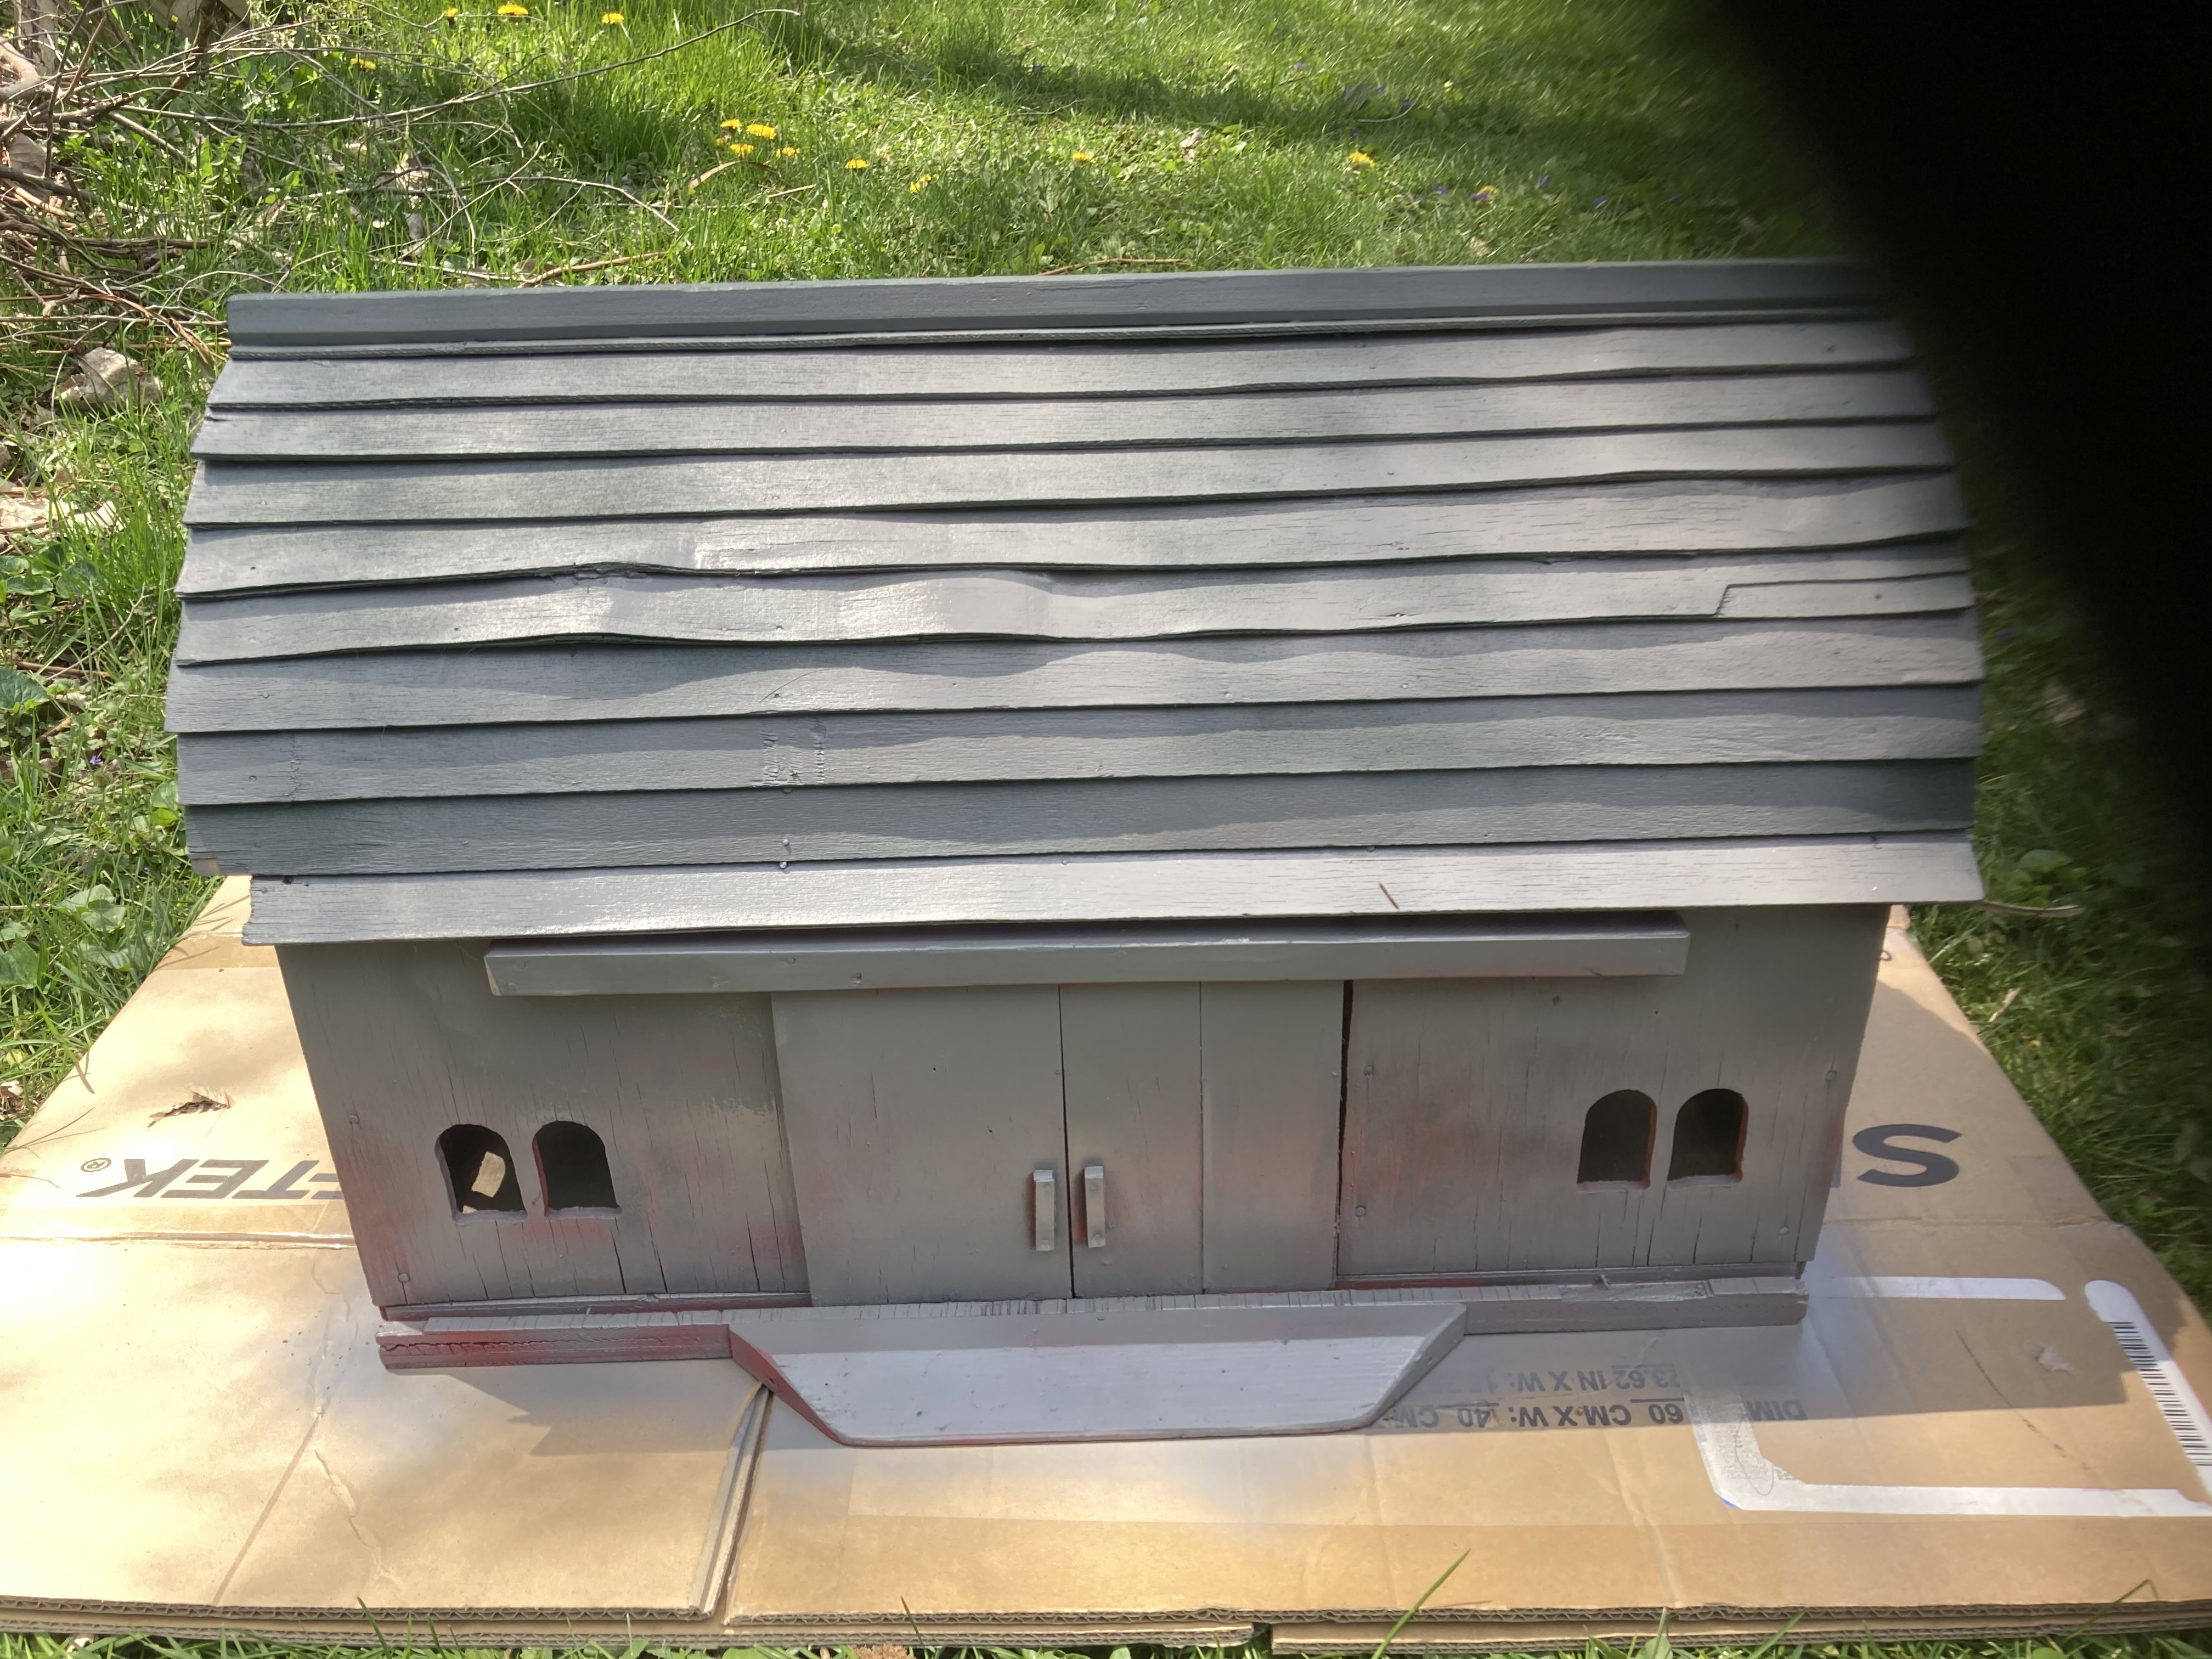
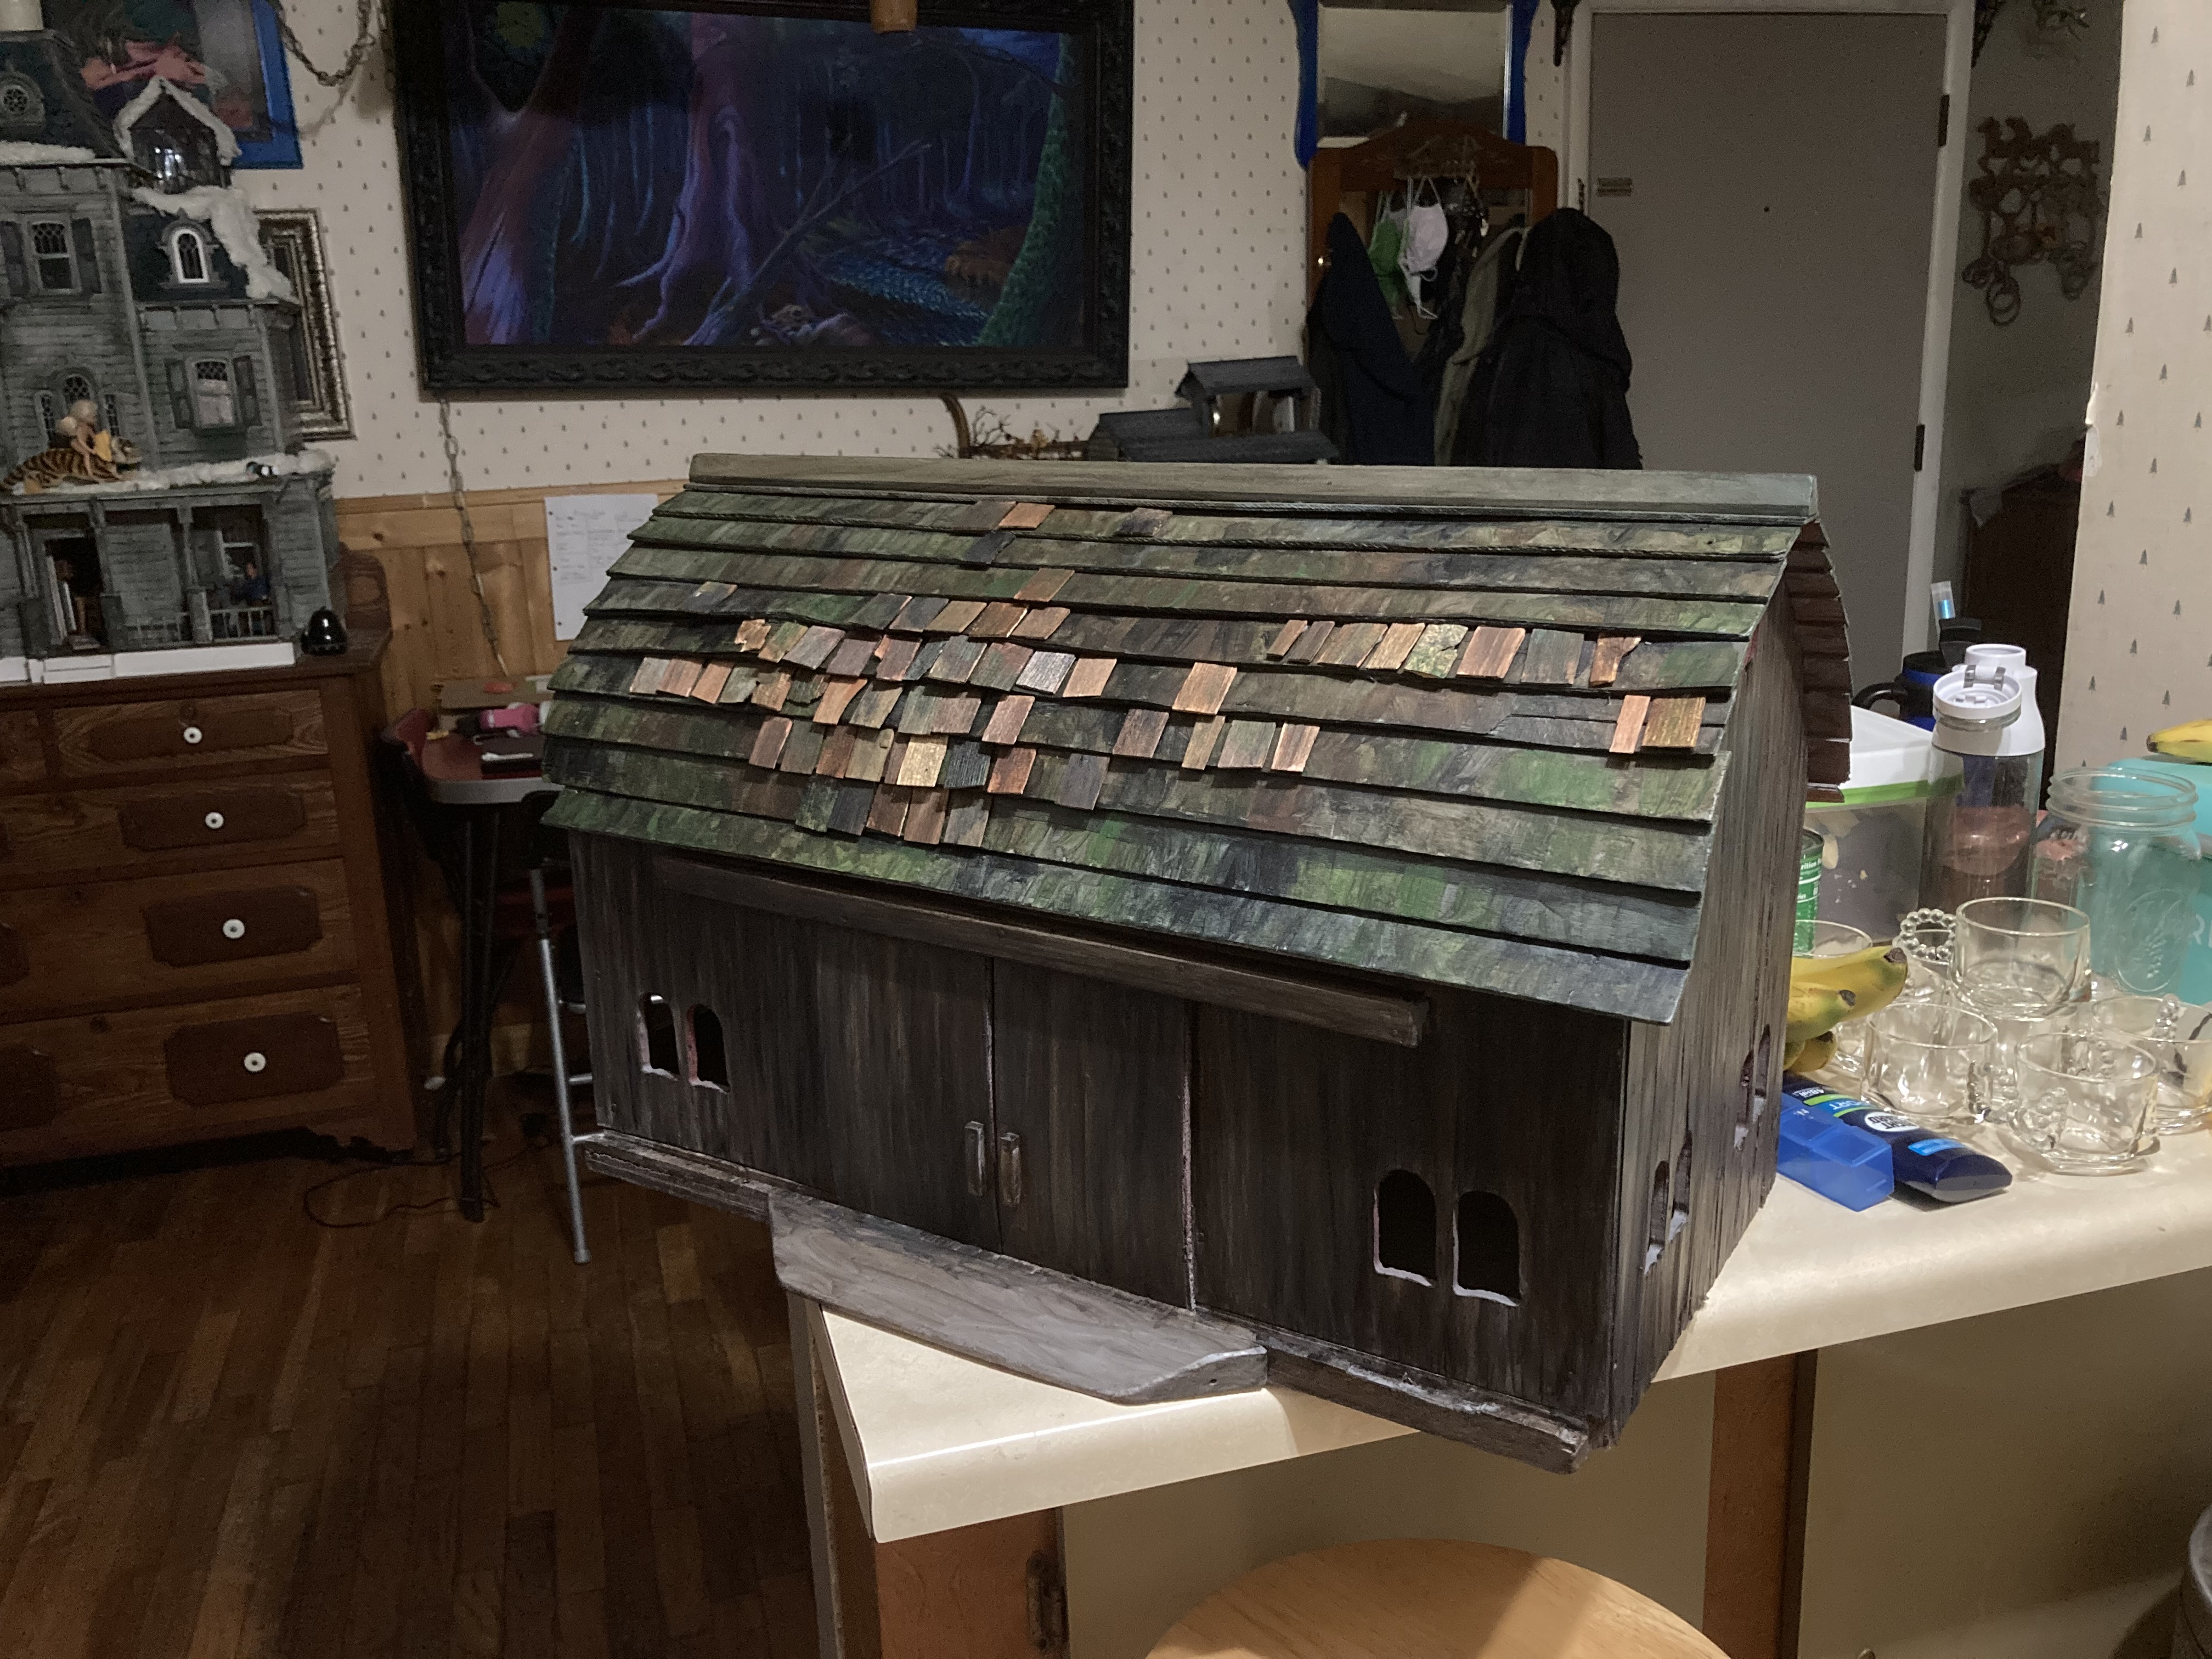
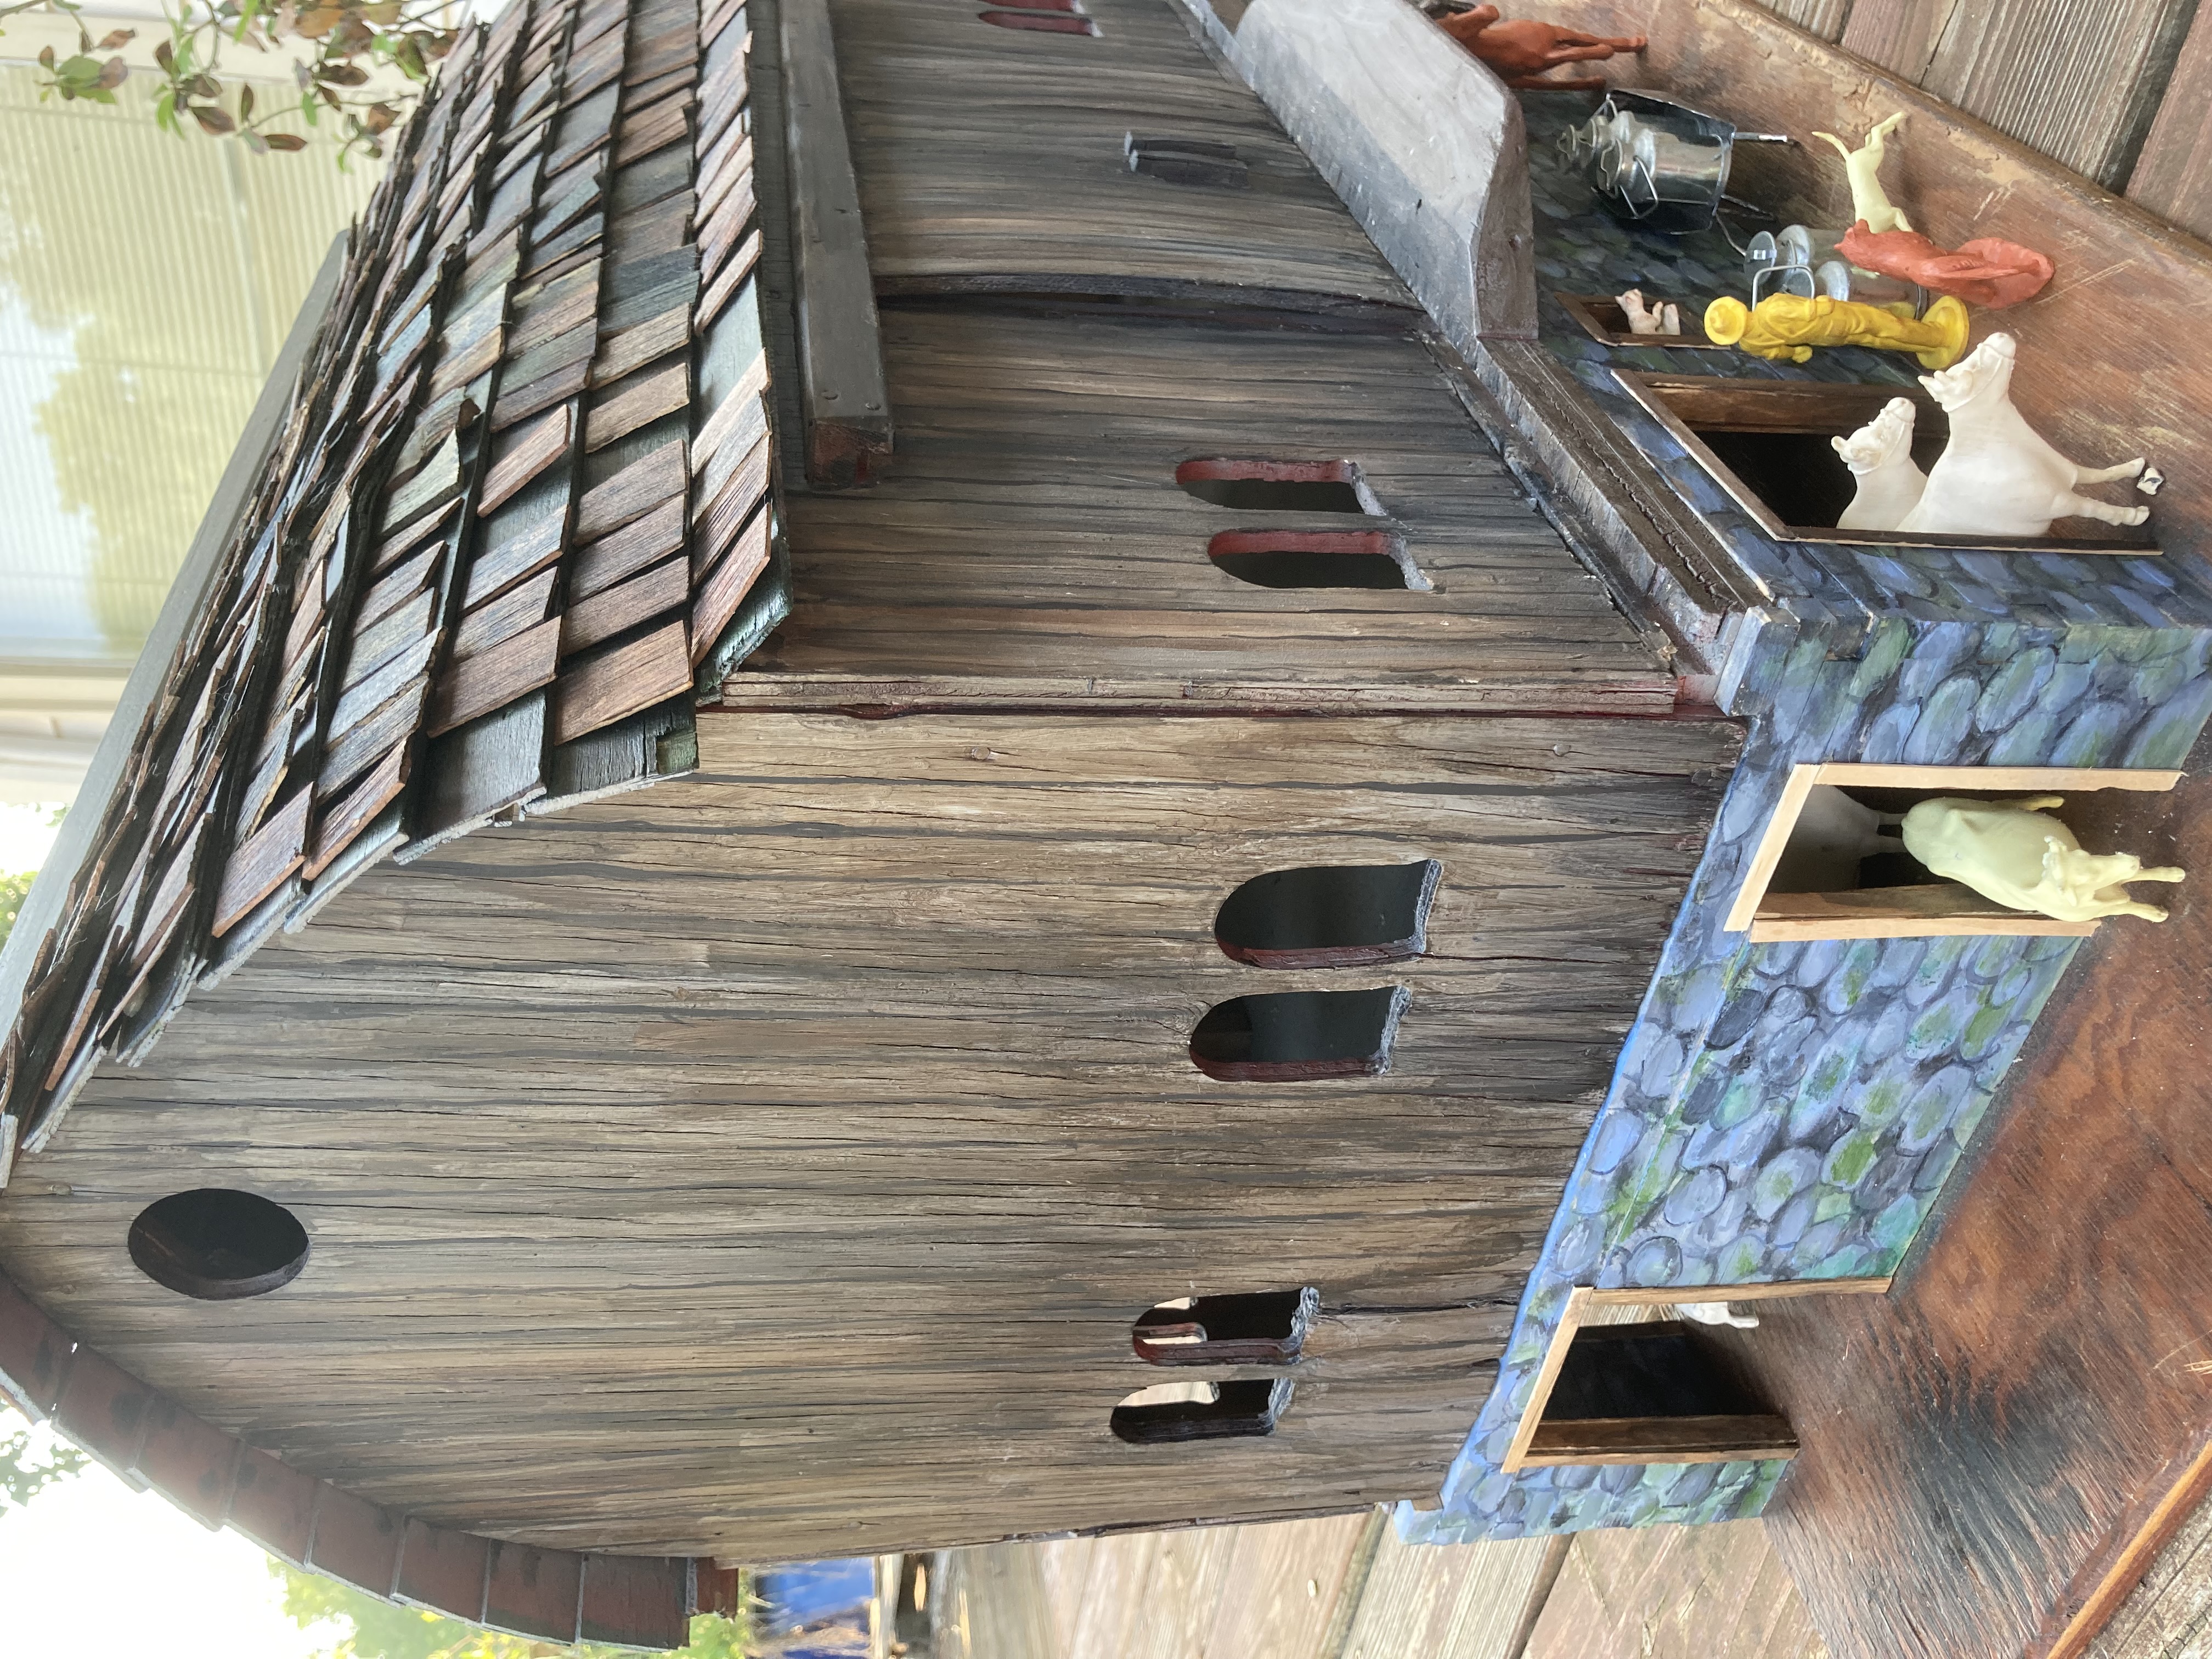
Adding some wood putty for texture.One end painted. Also with some shingles applied.I decided to make my roof look rough, so I staggered the cedar dollhouse shingles on the roof. I started out painting the shingles first, but finally just put them all on and then painted afterwards, as it helped to keep the colors coherent.Shingles done, front partially painted.
I used a mixture of browns, payne’s gray, and black on the wood, with a tiny bit of green for highlights.
This is a closeup of some of the texture from wood putty under the paint. This was before I was finished painting.
In case you were wondering, the animals are mostly vintage Auburn Toy Company plastic animals. I used to play with similar ones at my grandparents’ when I was a child. When I made arrangements to get this barn, I glanced at marketplace and found these animals for sale, and was able to snatch them up. I almost cried when I found them, as I haven’t seen any like them since my childhood. I have since found others on Ebay.
I have plans for further projects, including a small milk house/barn hill, beams in the hayloft, and possibly some horse drawn machinery. I think it would be cool to make stalls for the animals and milking stations. Stay tuned!
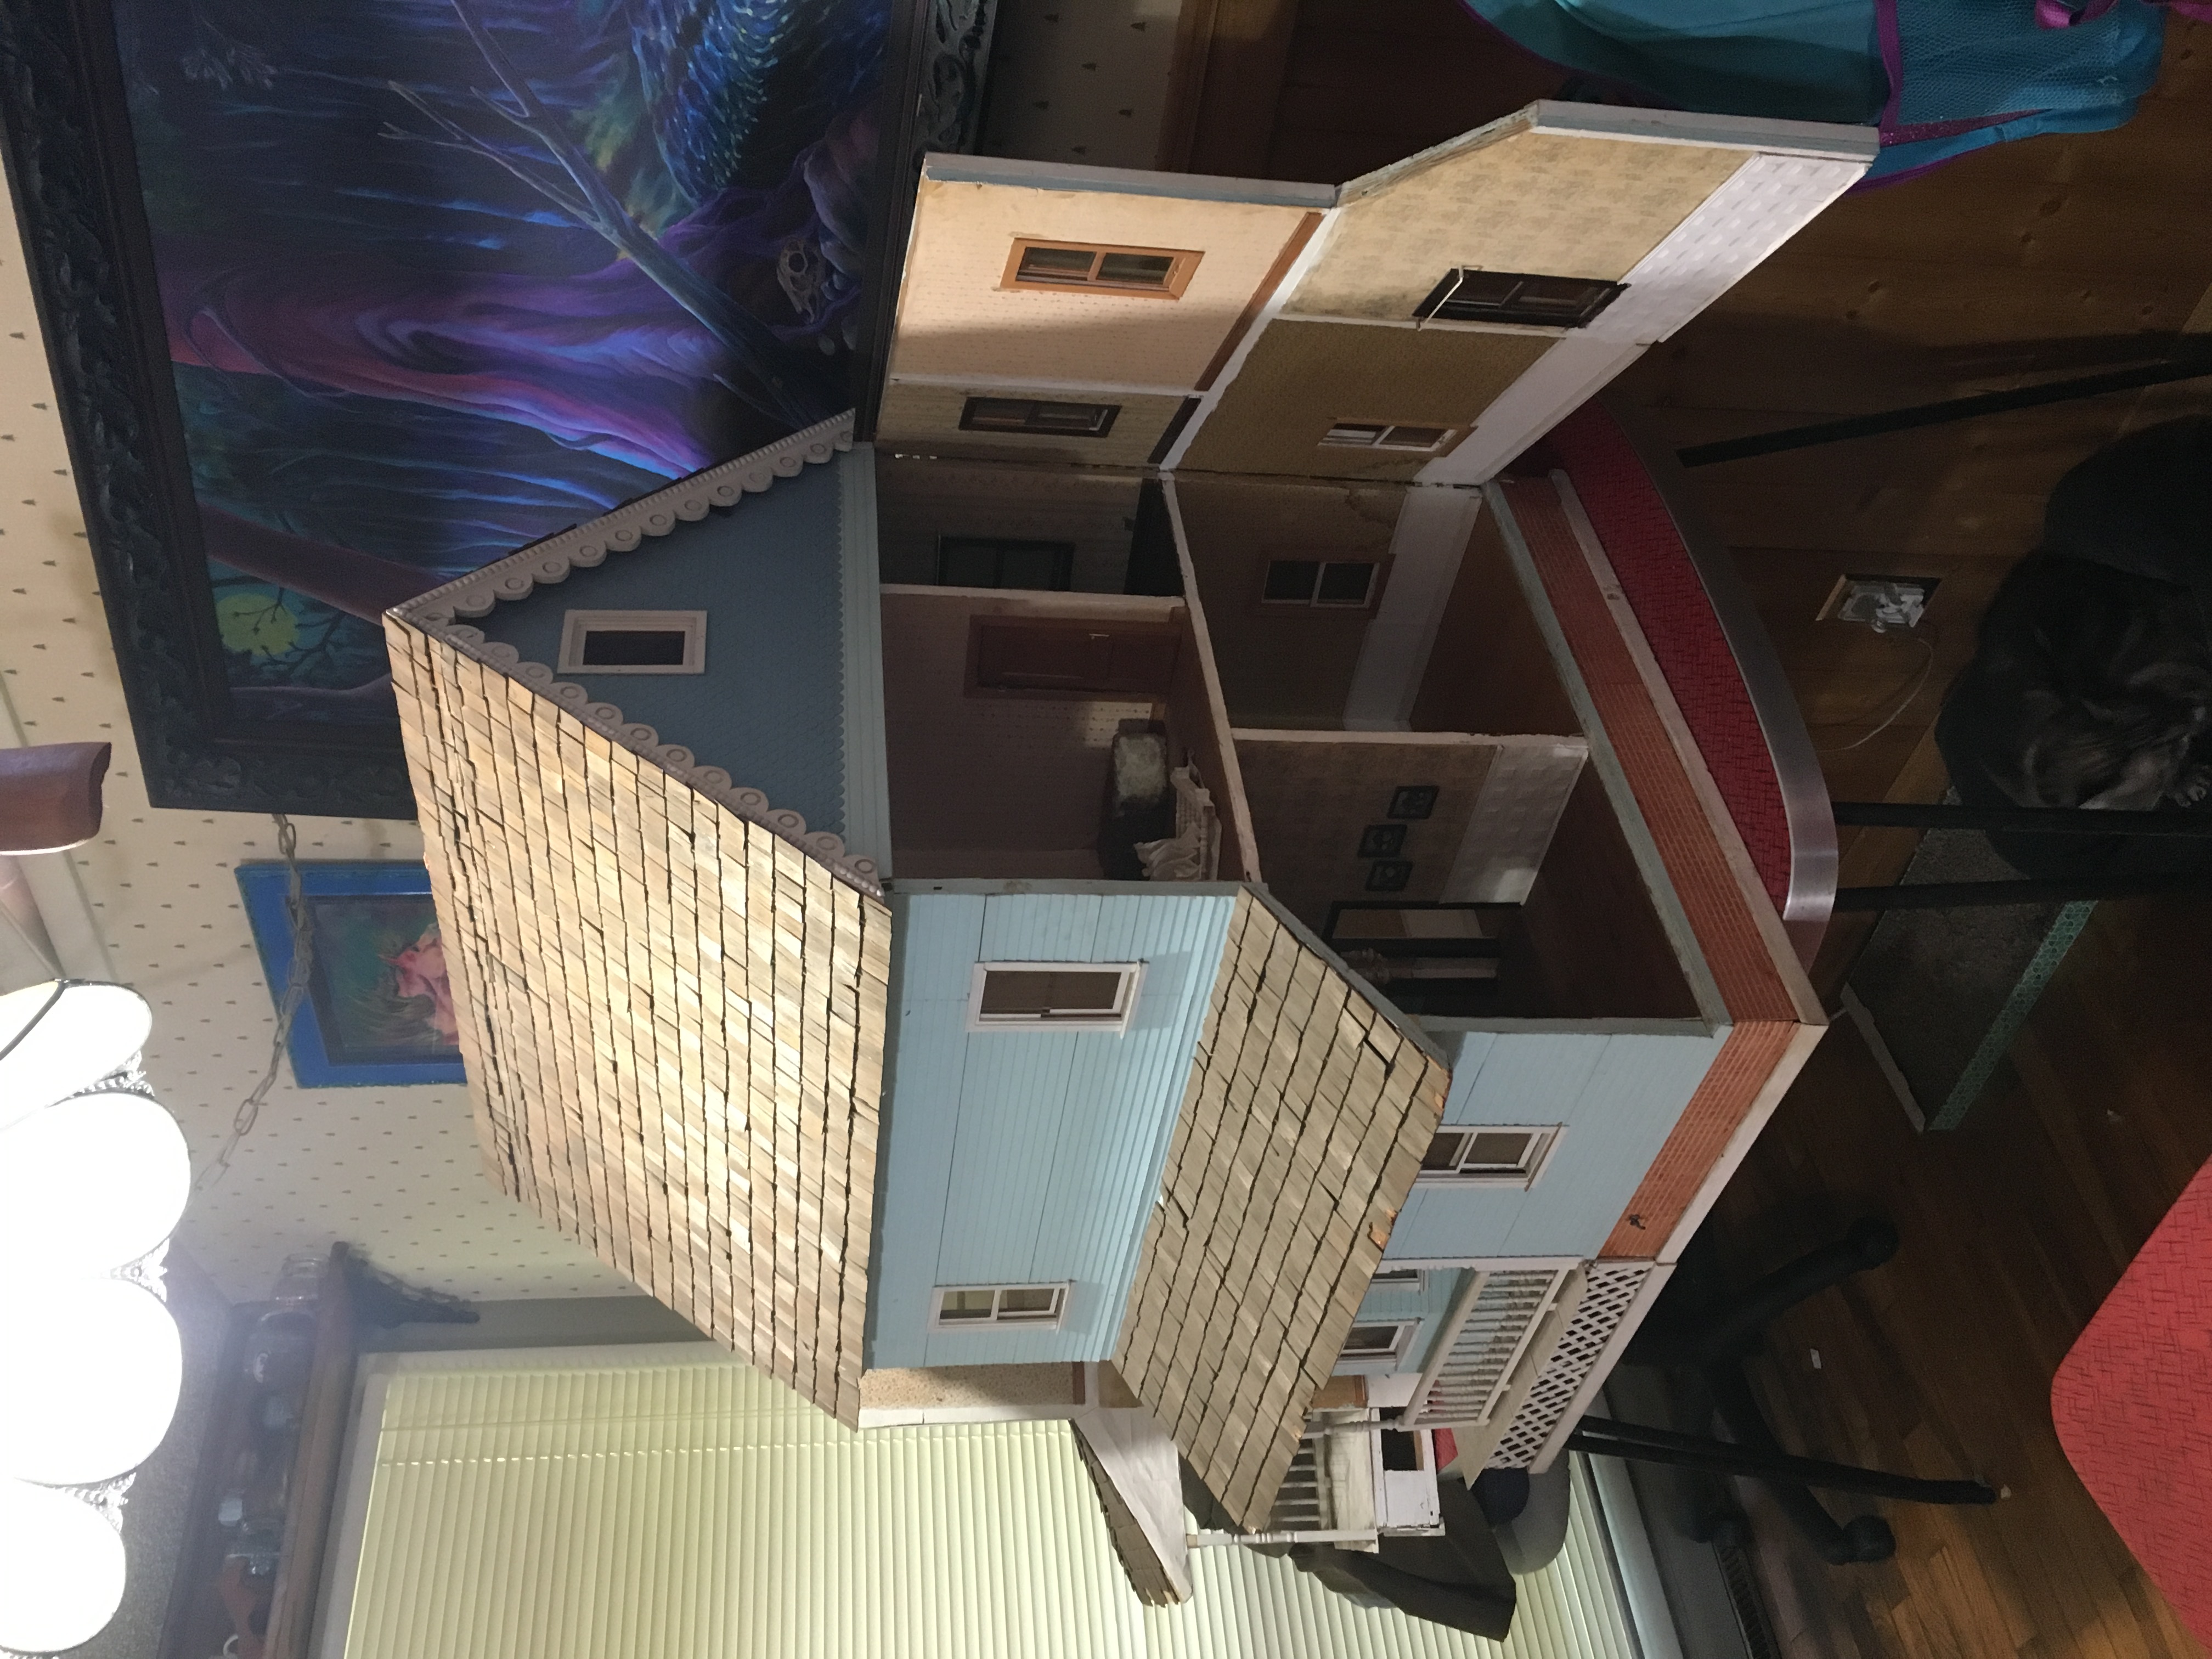
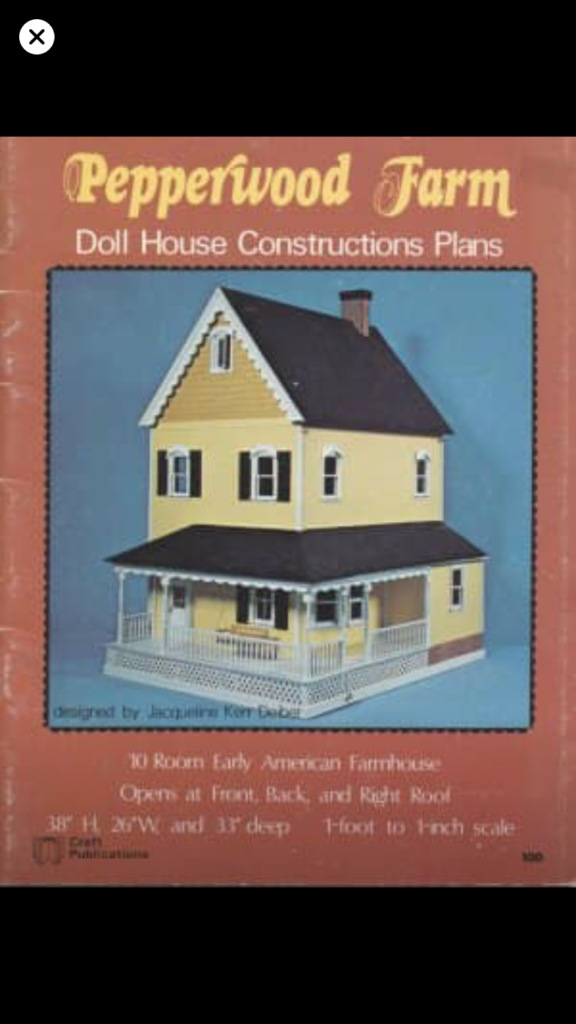
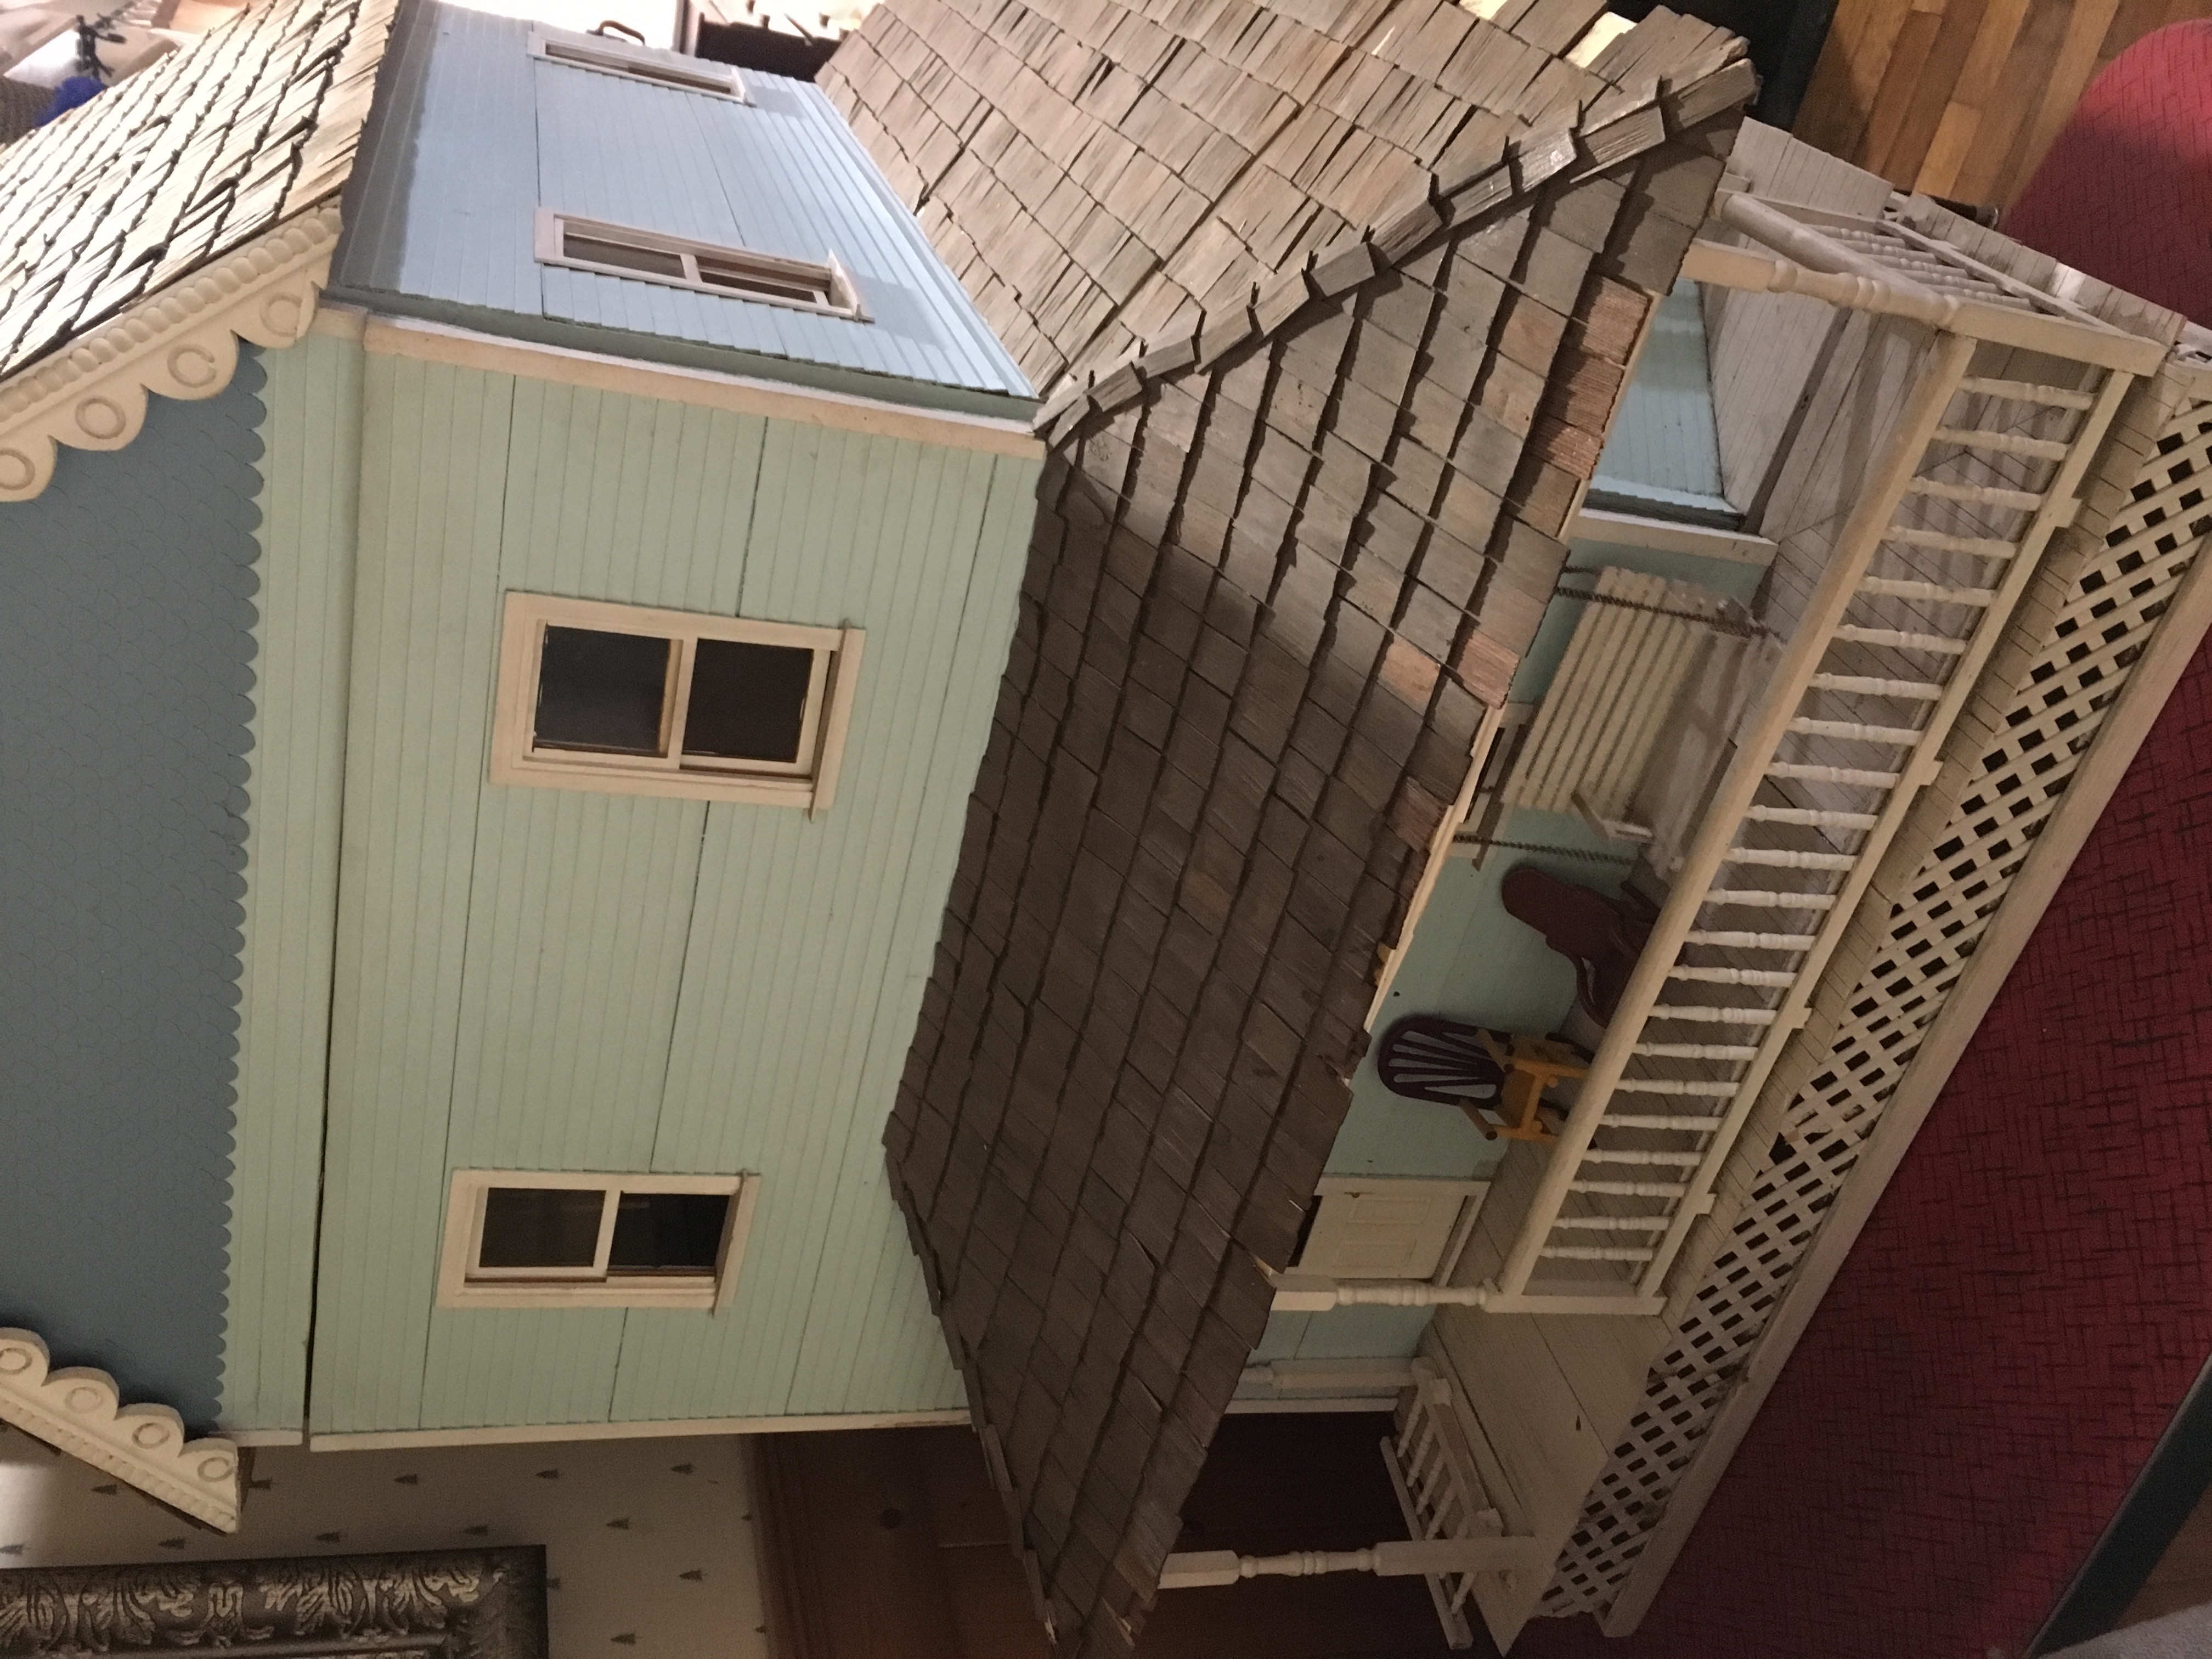
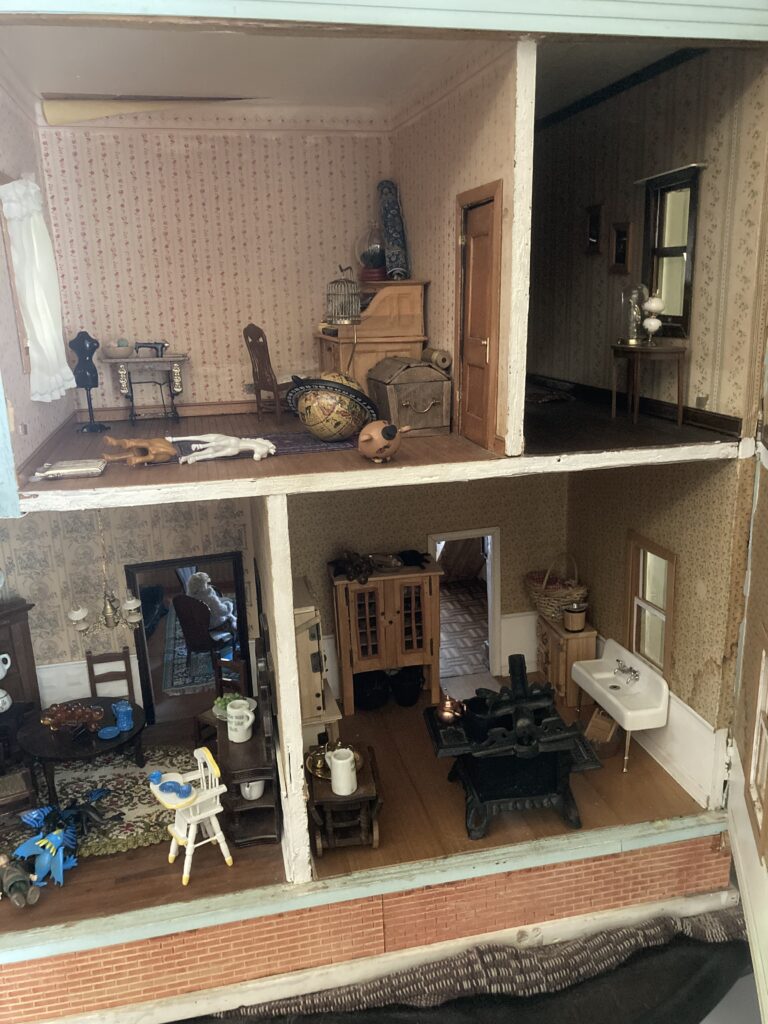
This is the Pepperwood Farm dollhouse. I was fortunate enough to acquire it from Facebook marketplace in September of 2019. We drove across the state on a 3 hour, one-way drive to get it. These houses were made from plans that were sold in a book. It was built by hand with thick plywood, so it is very heavy!
I believe that this particular house was built in the late 1970’s-early 1980’s. The wallpapers are a bit brittle and faded from age (but I love them). The older couple who had inherited it from their friend decided to pass it on to another who would enjoy it just as much, so I was fortunate to come across it.
There isn’t much that I plan on changing with this house at the moment. The inside has been decorated wonderfully, with trims and papers that I adore, but could use a few finishing touches, along with some light restoration. Mostly I have been having fun with making and collecting furniture for it.
The windows open like real windows, the attic has studs in the storage room, the attic bedroom has a few built-ins. It’s such a quaint little home, and my daughter and I have fun playing in it together.
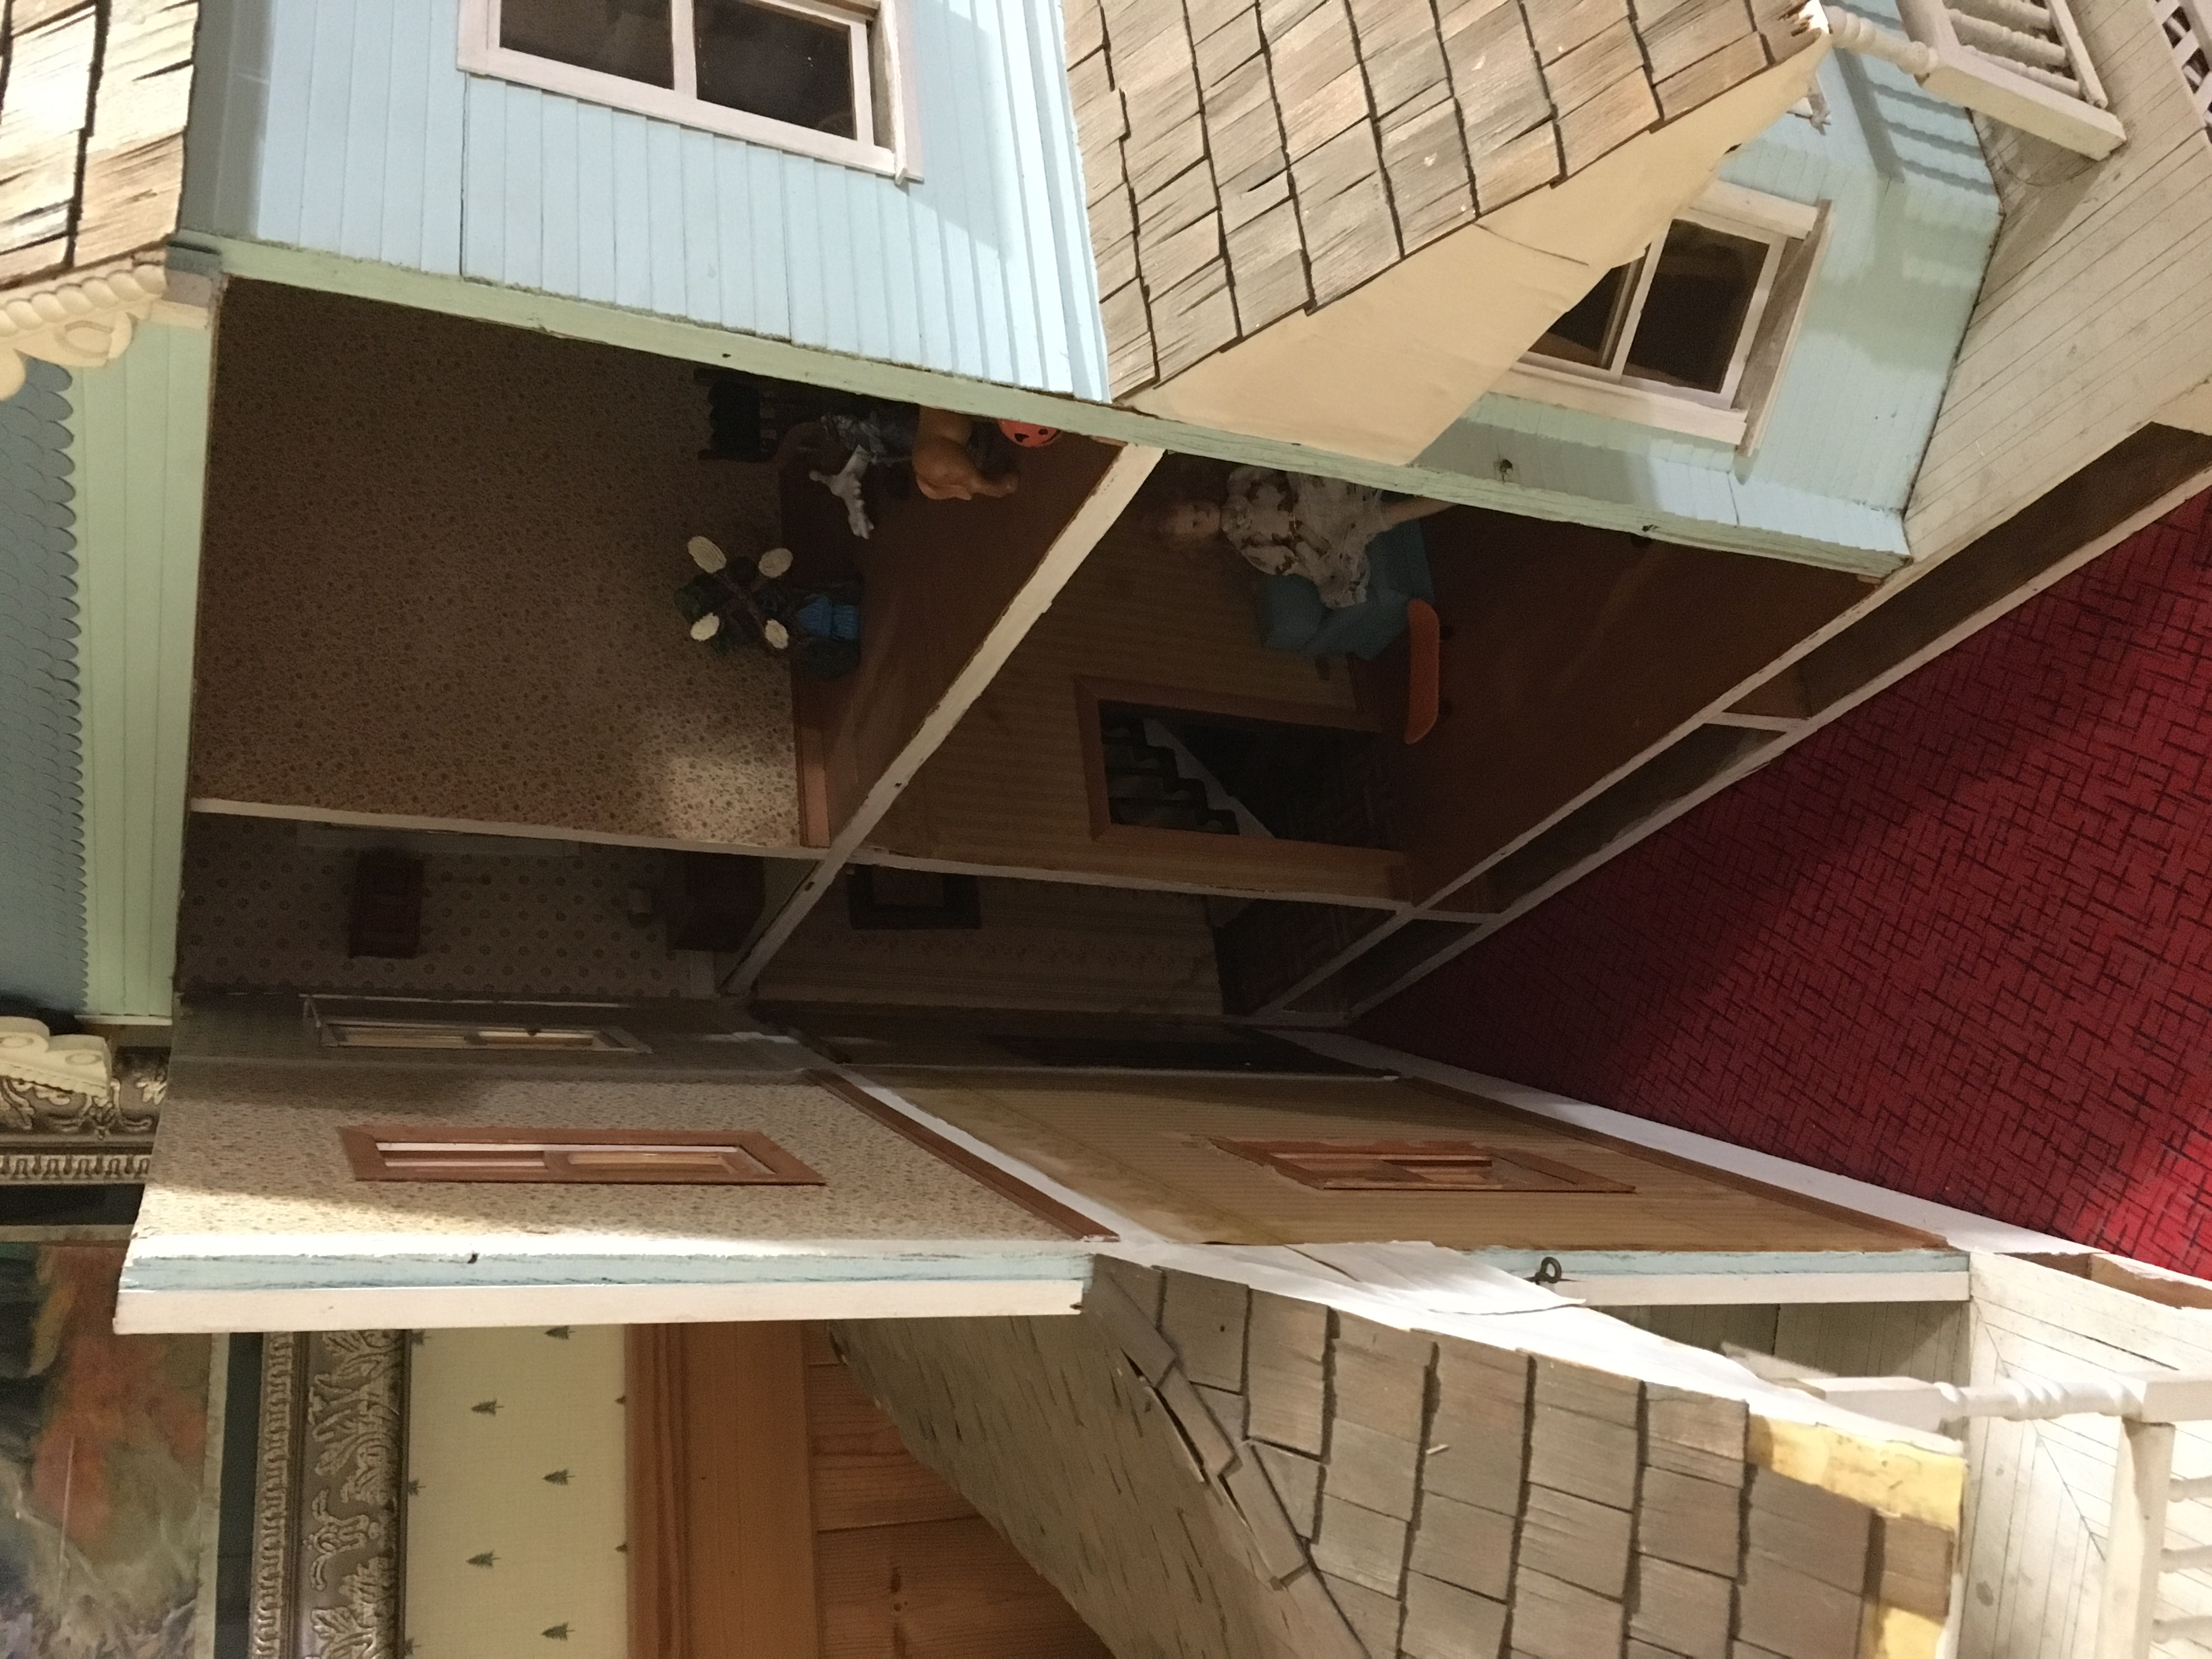
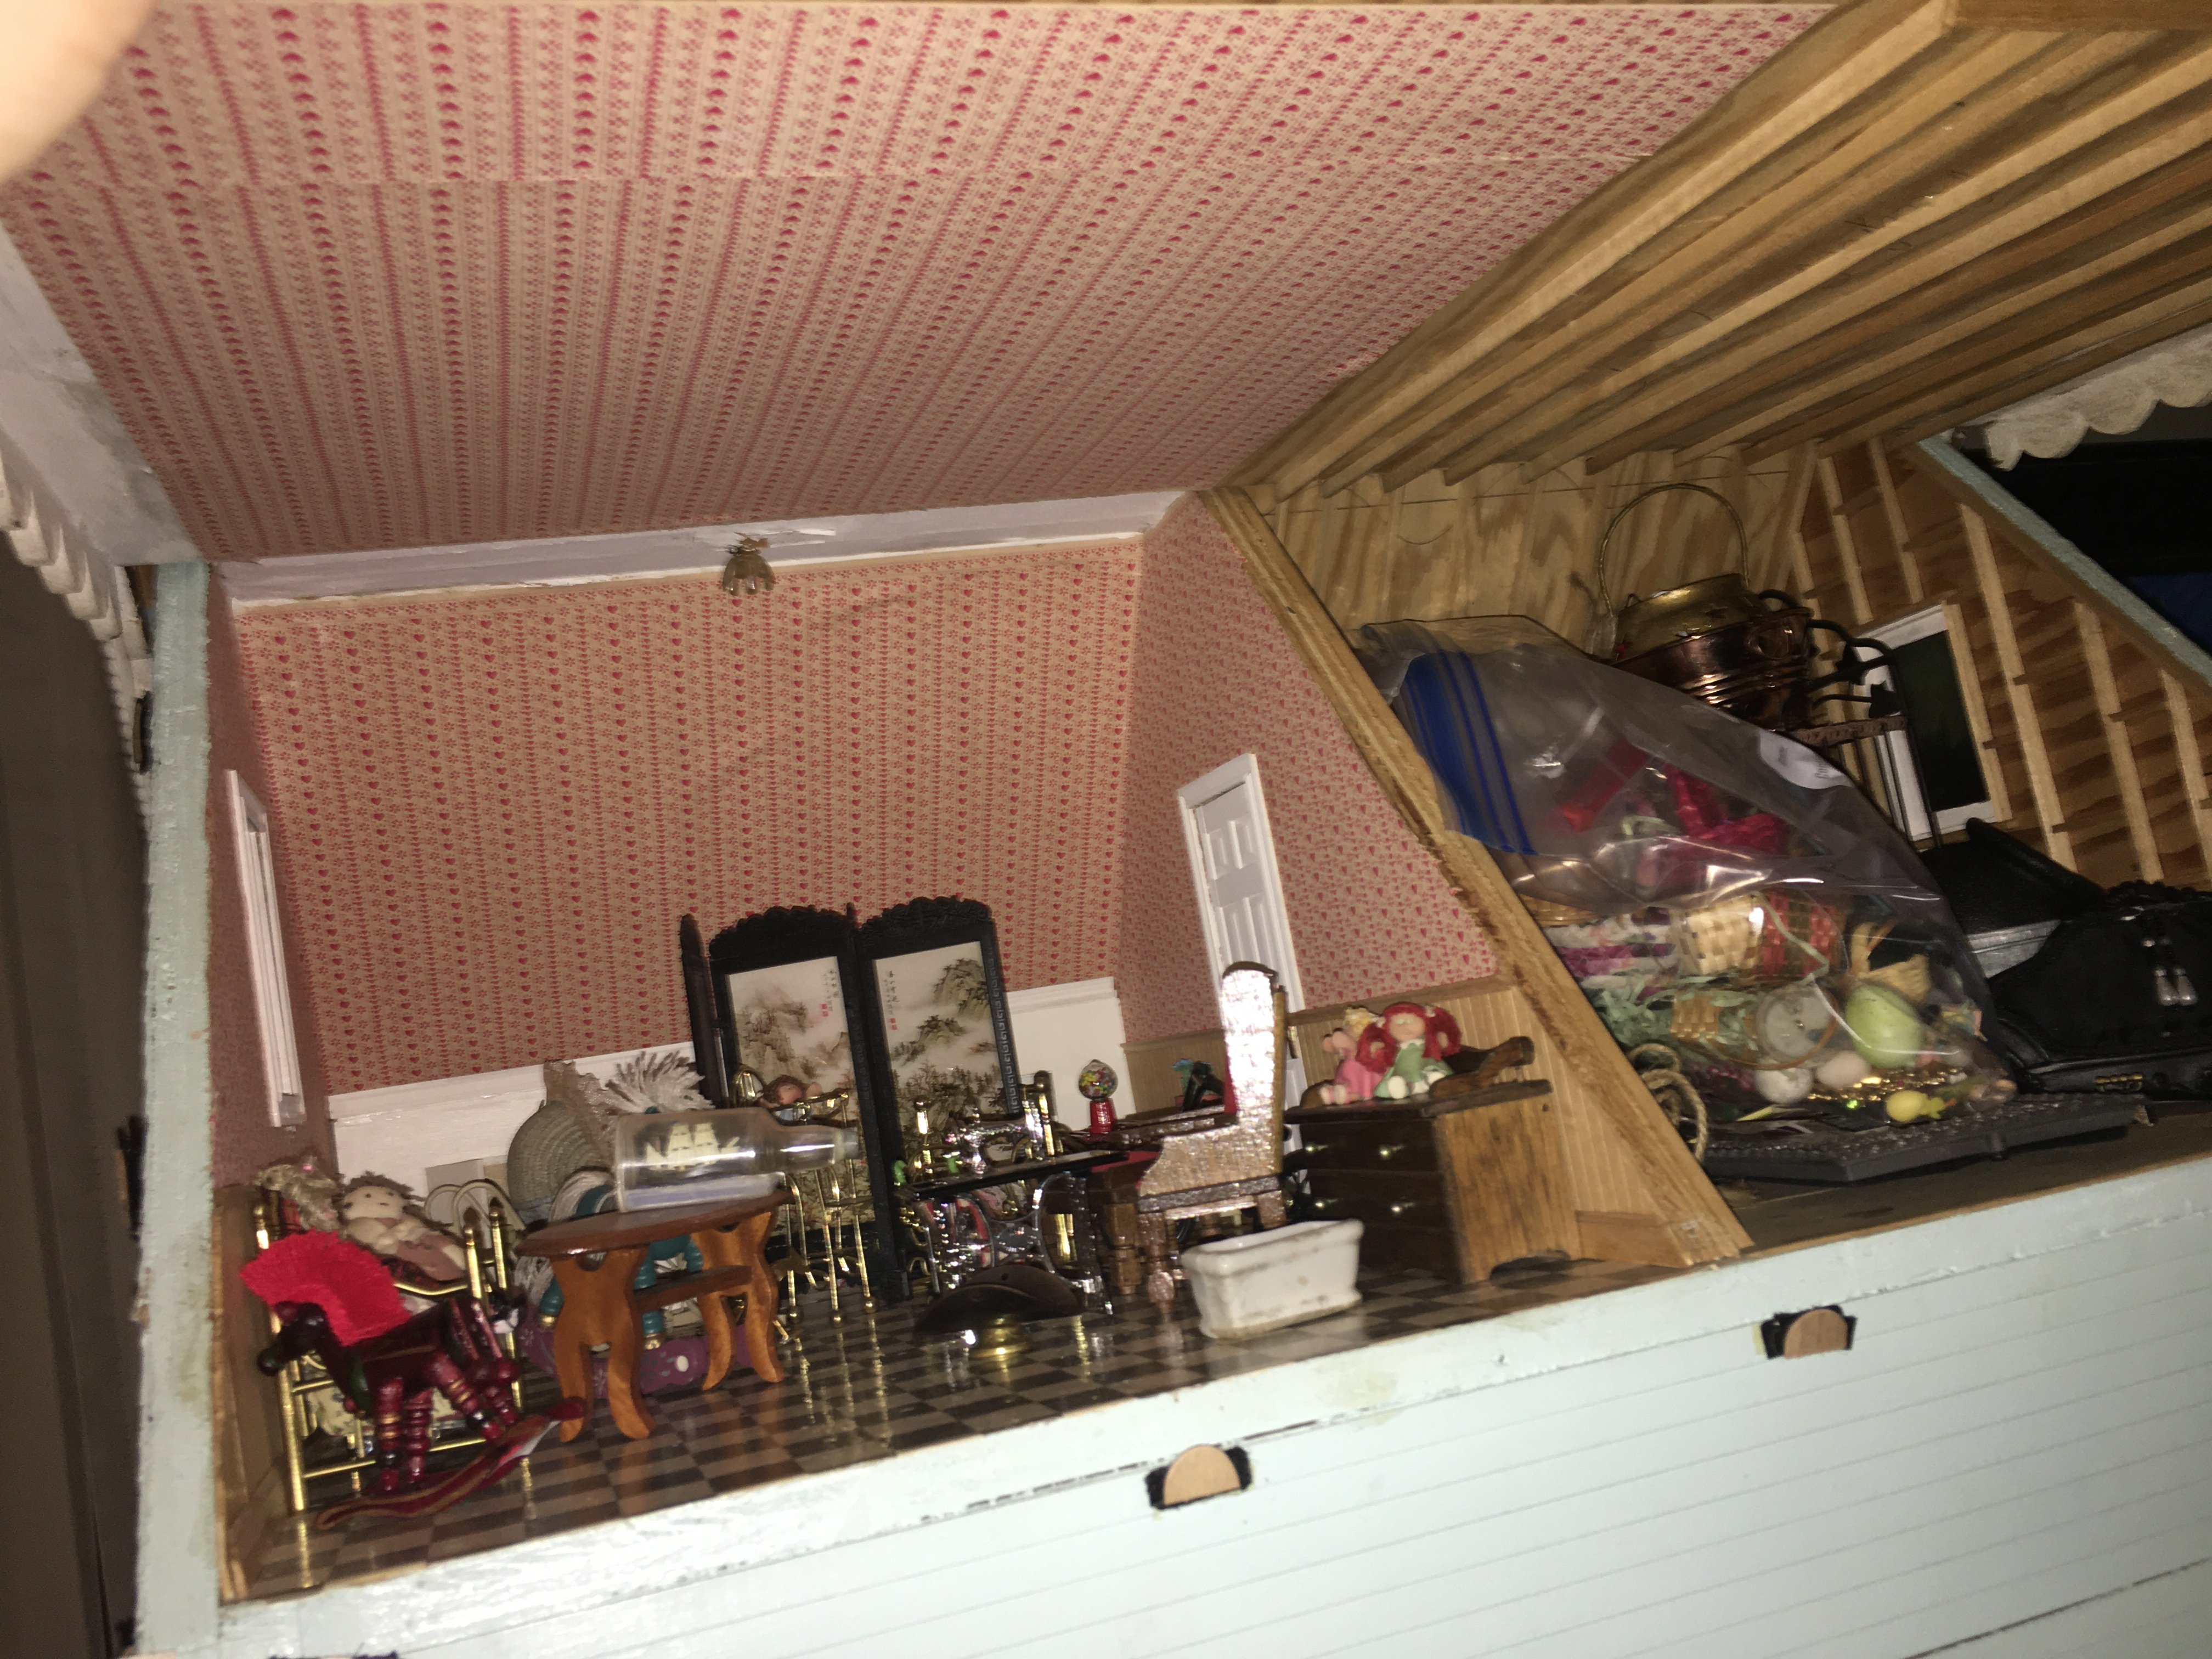
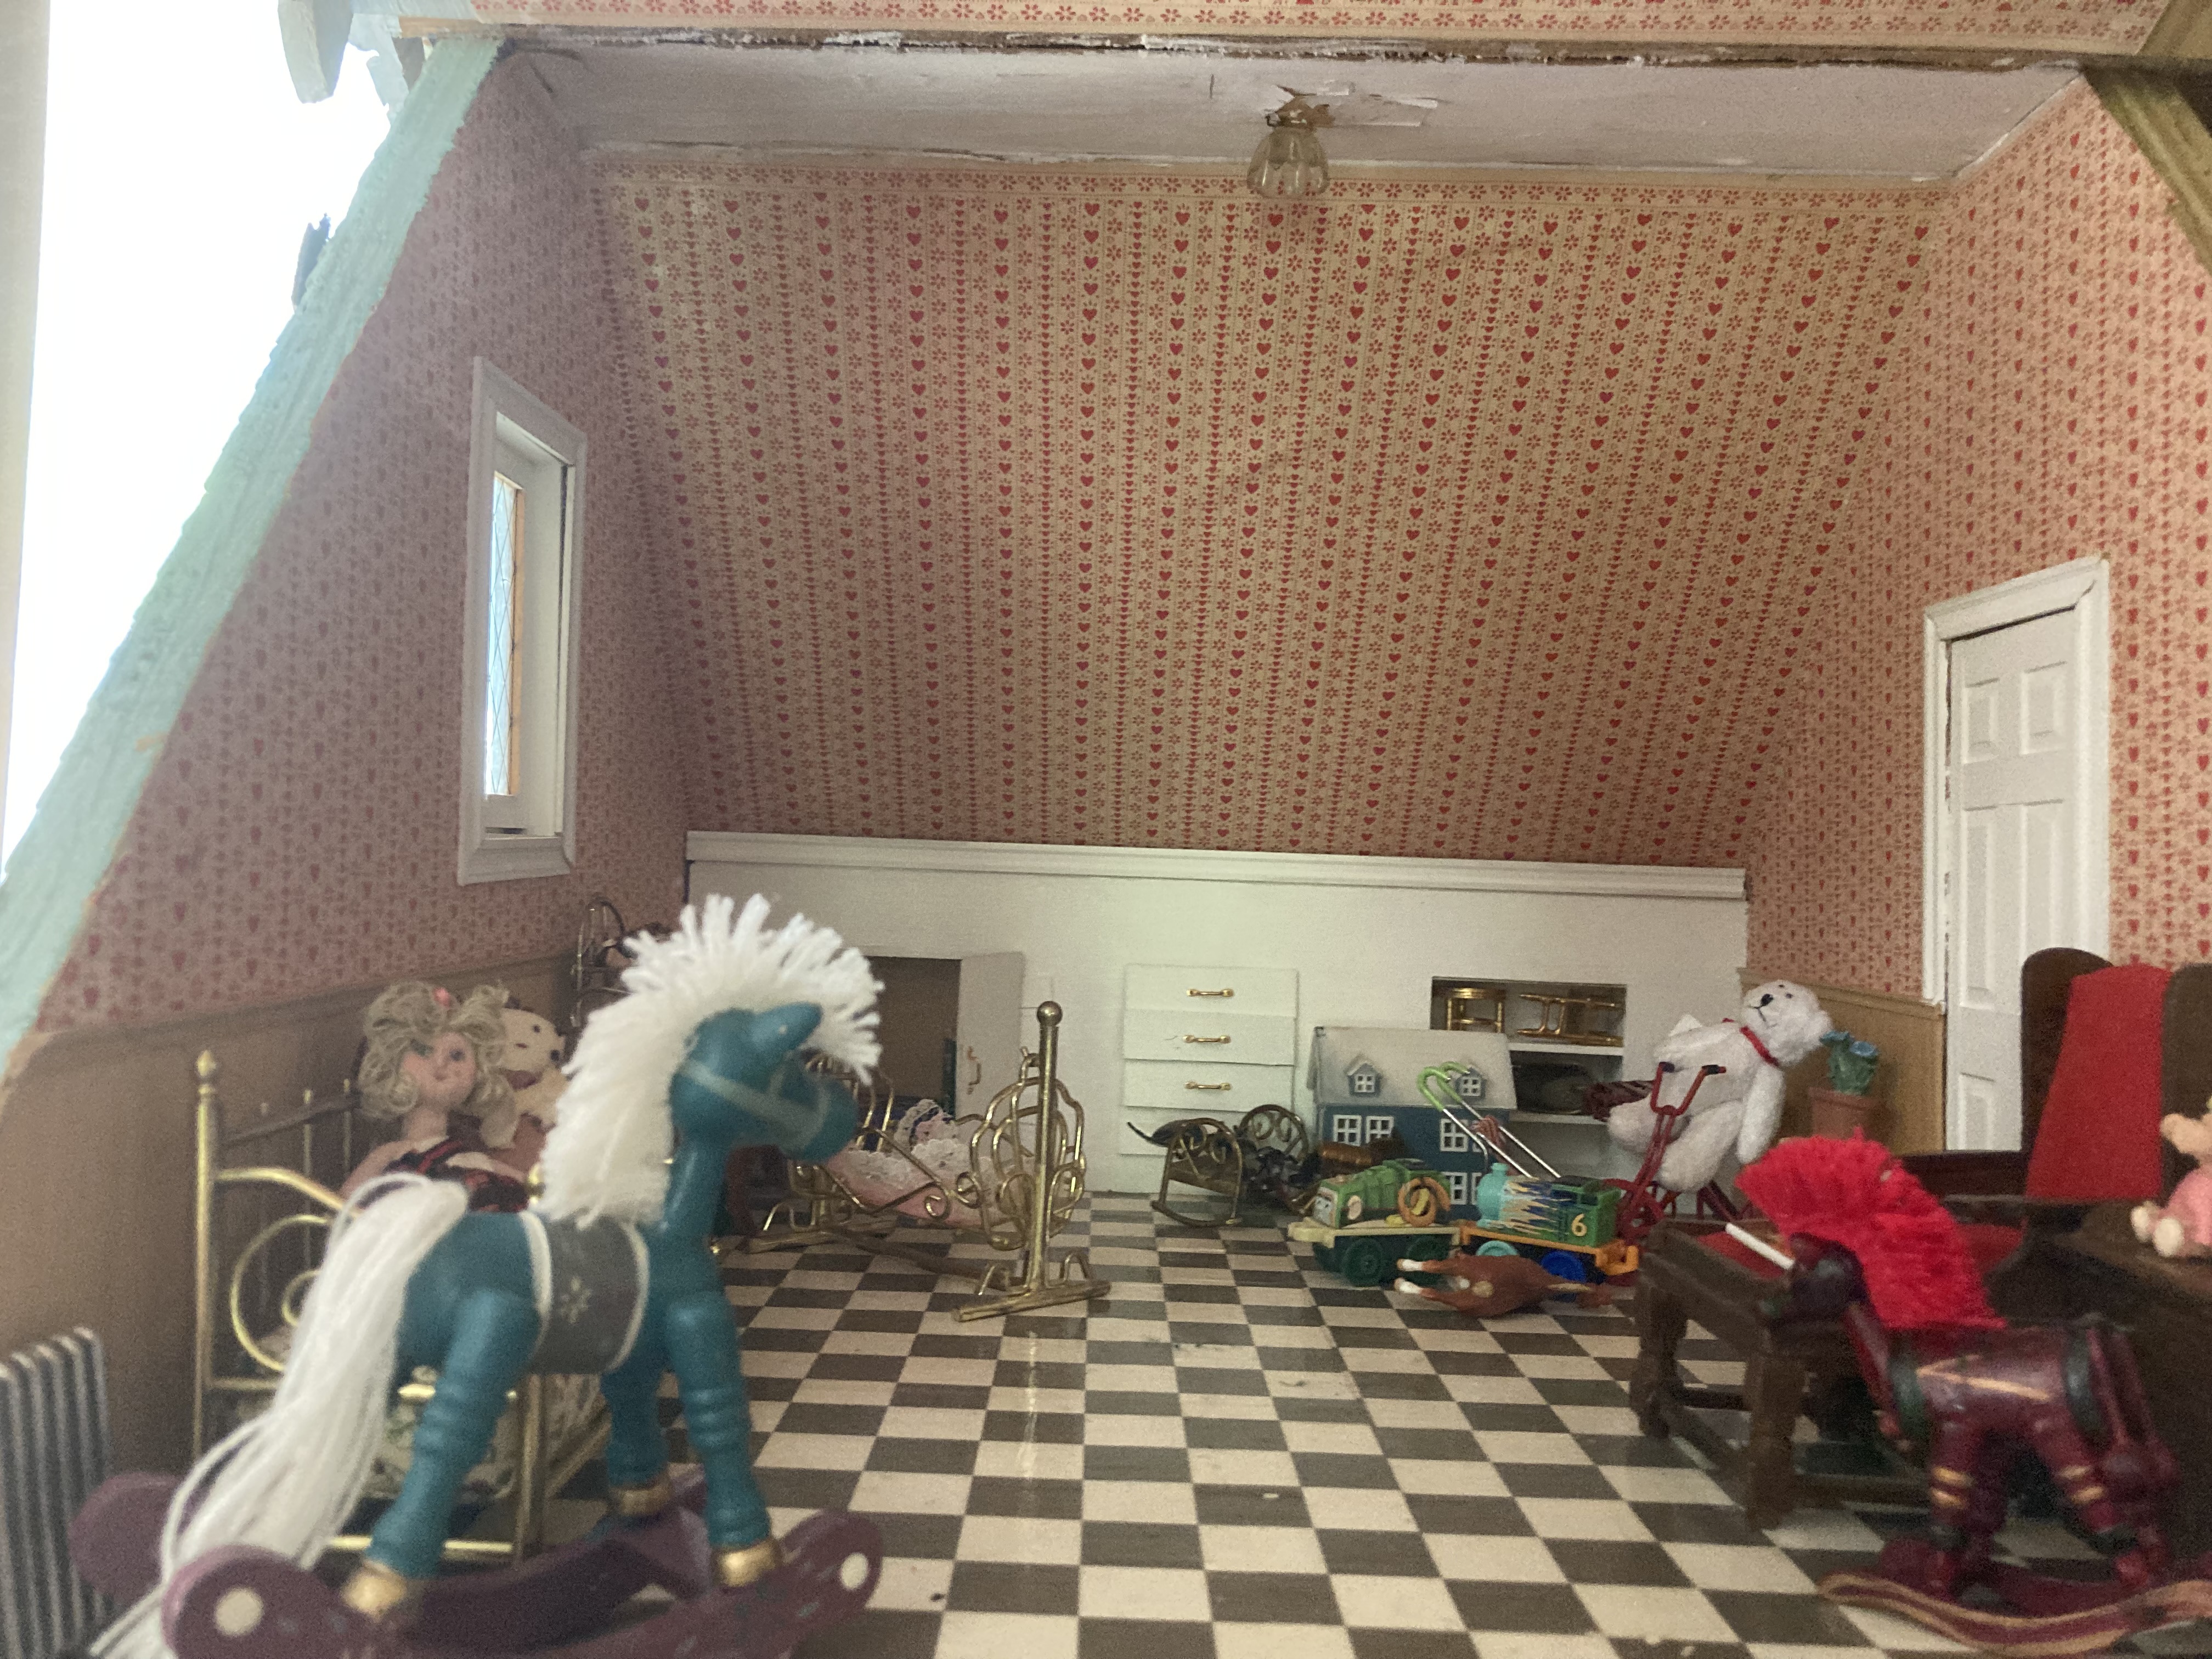
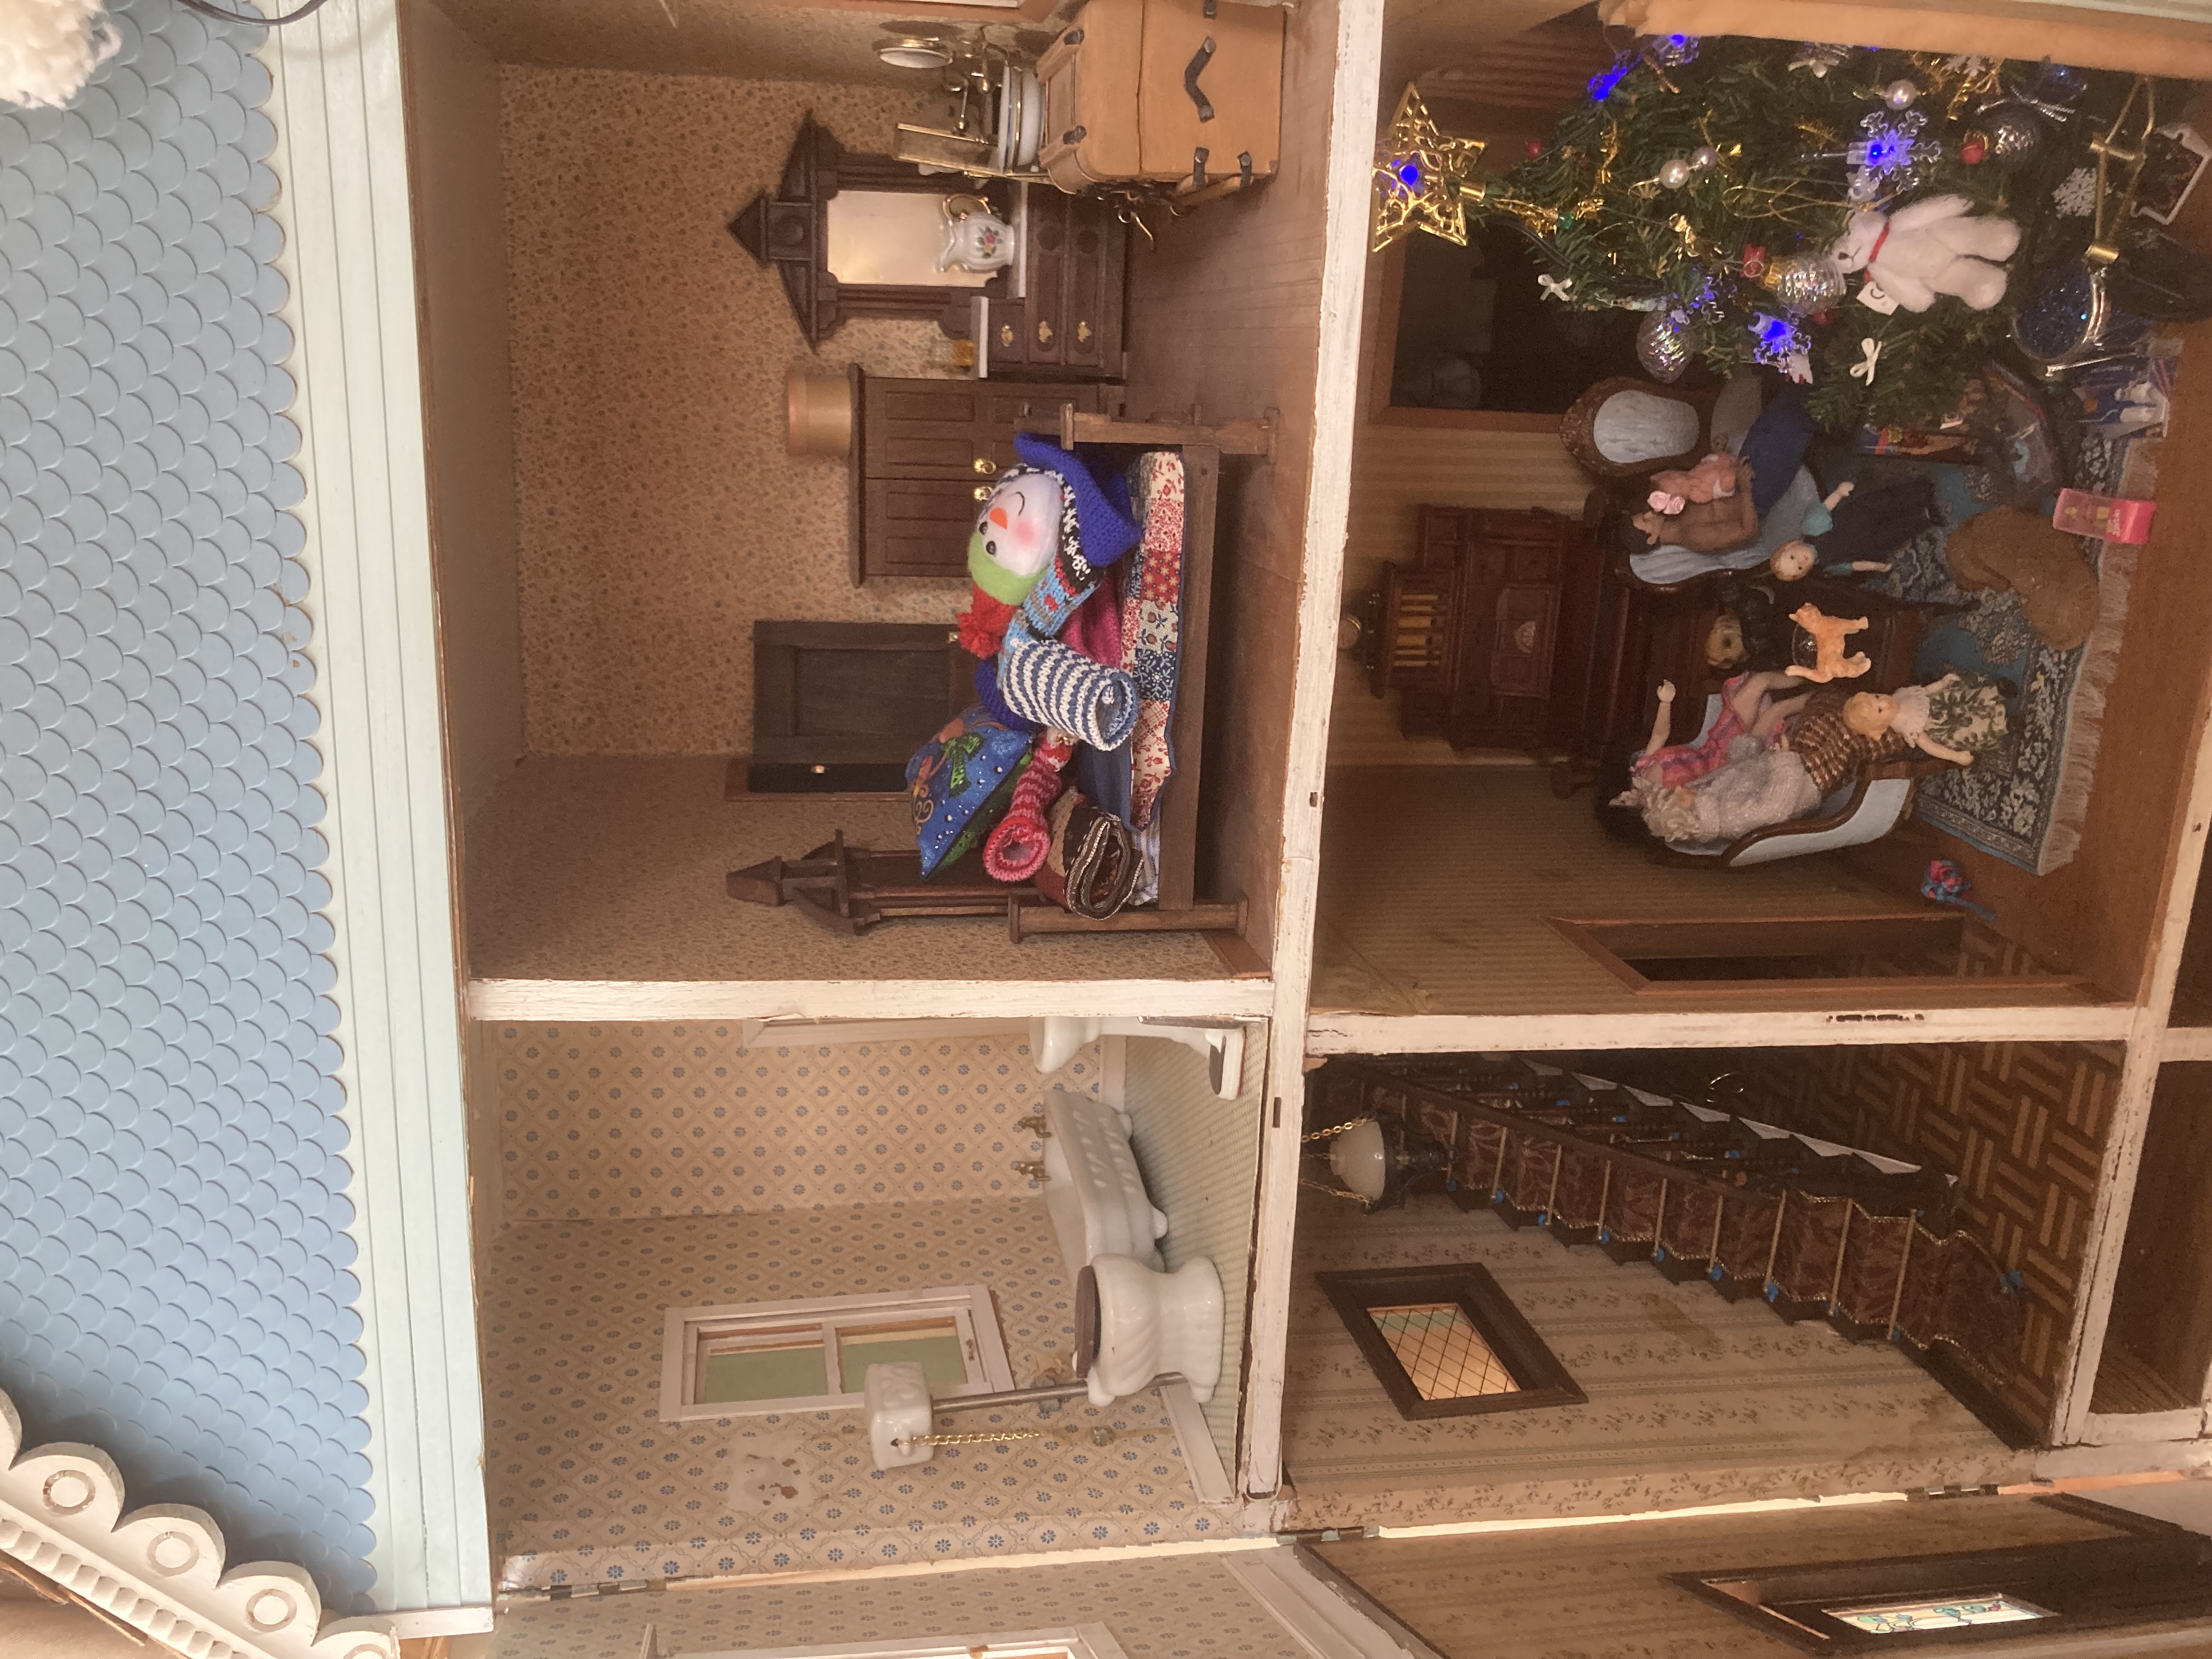
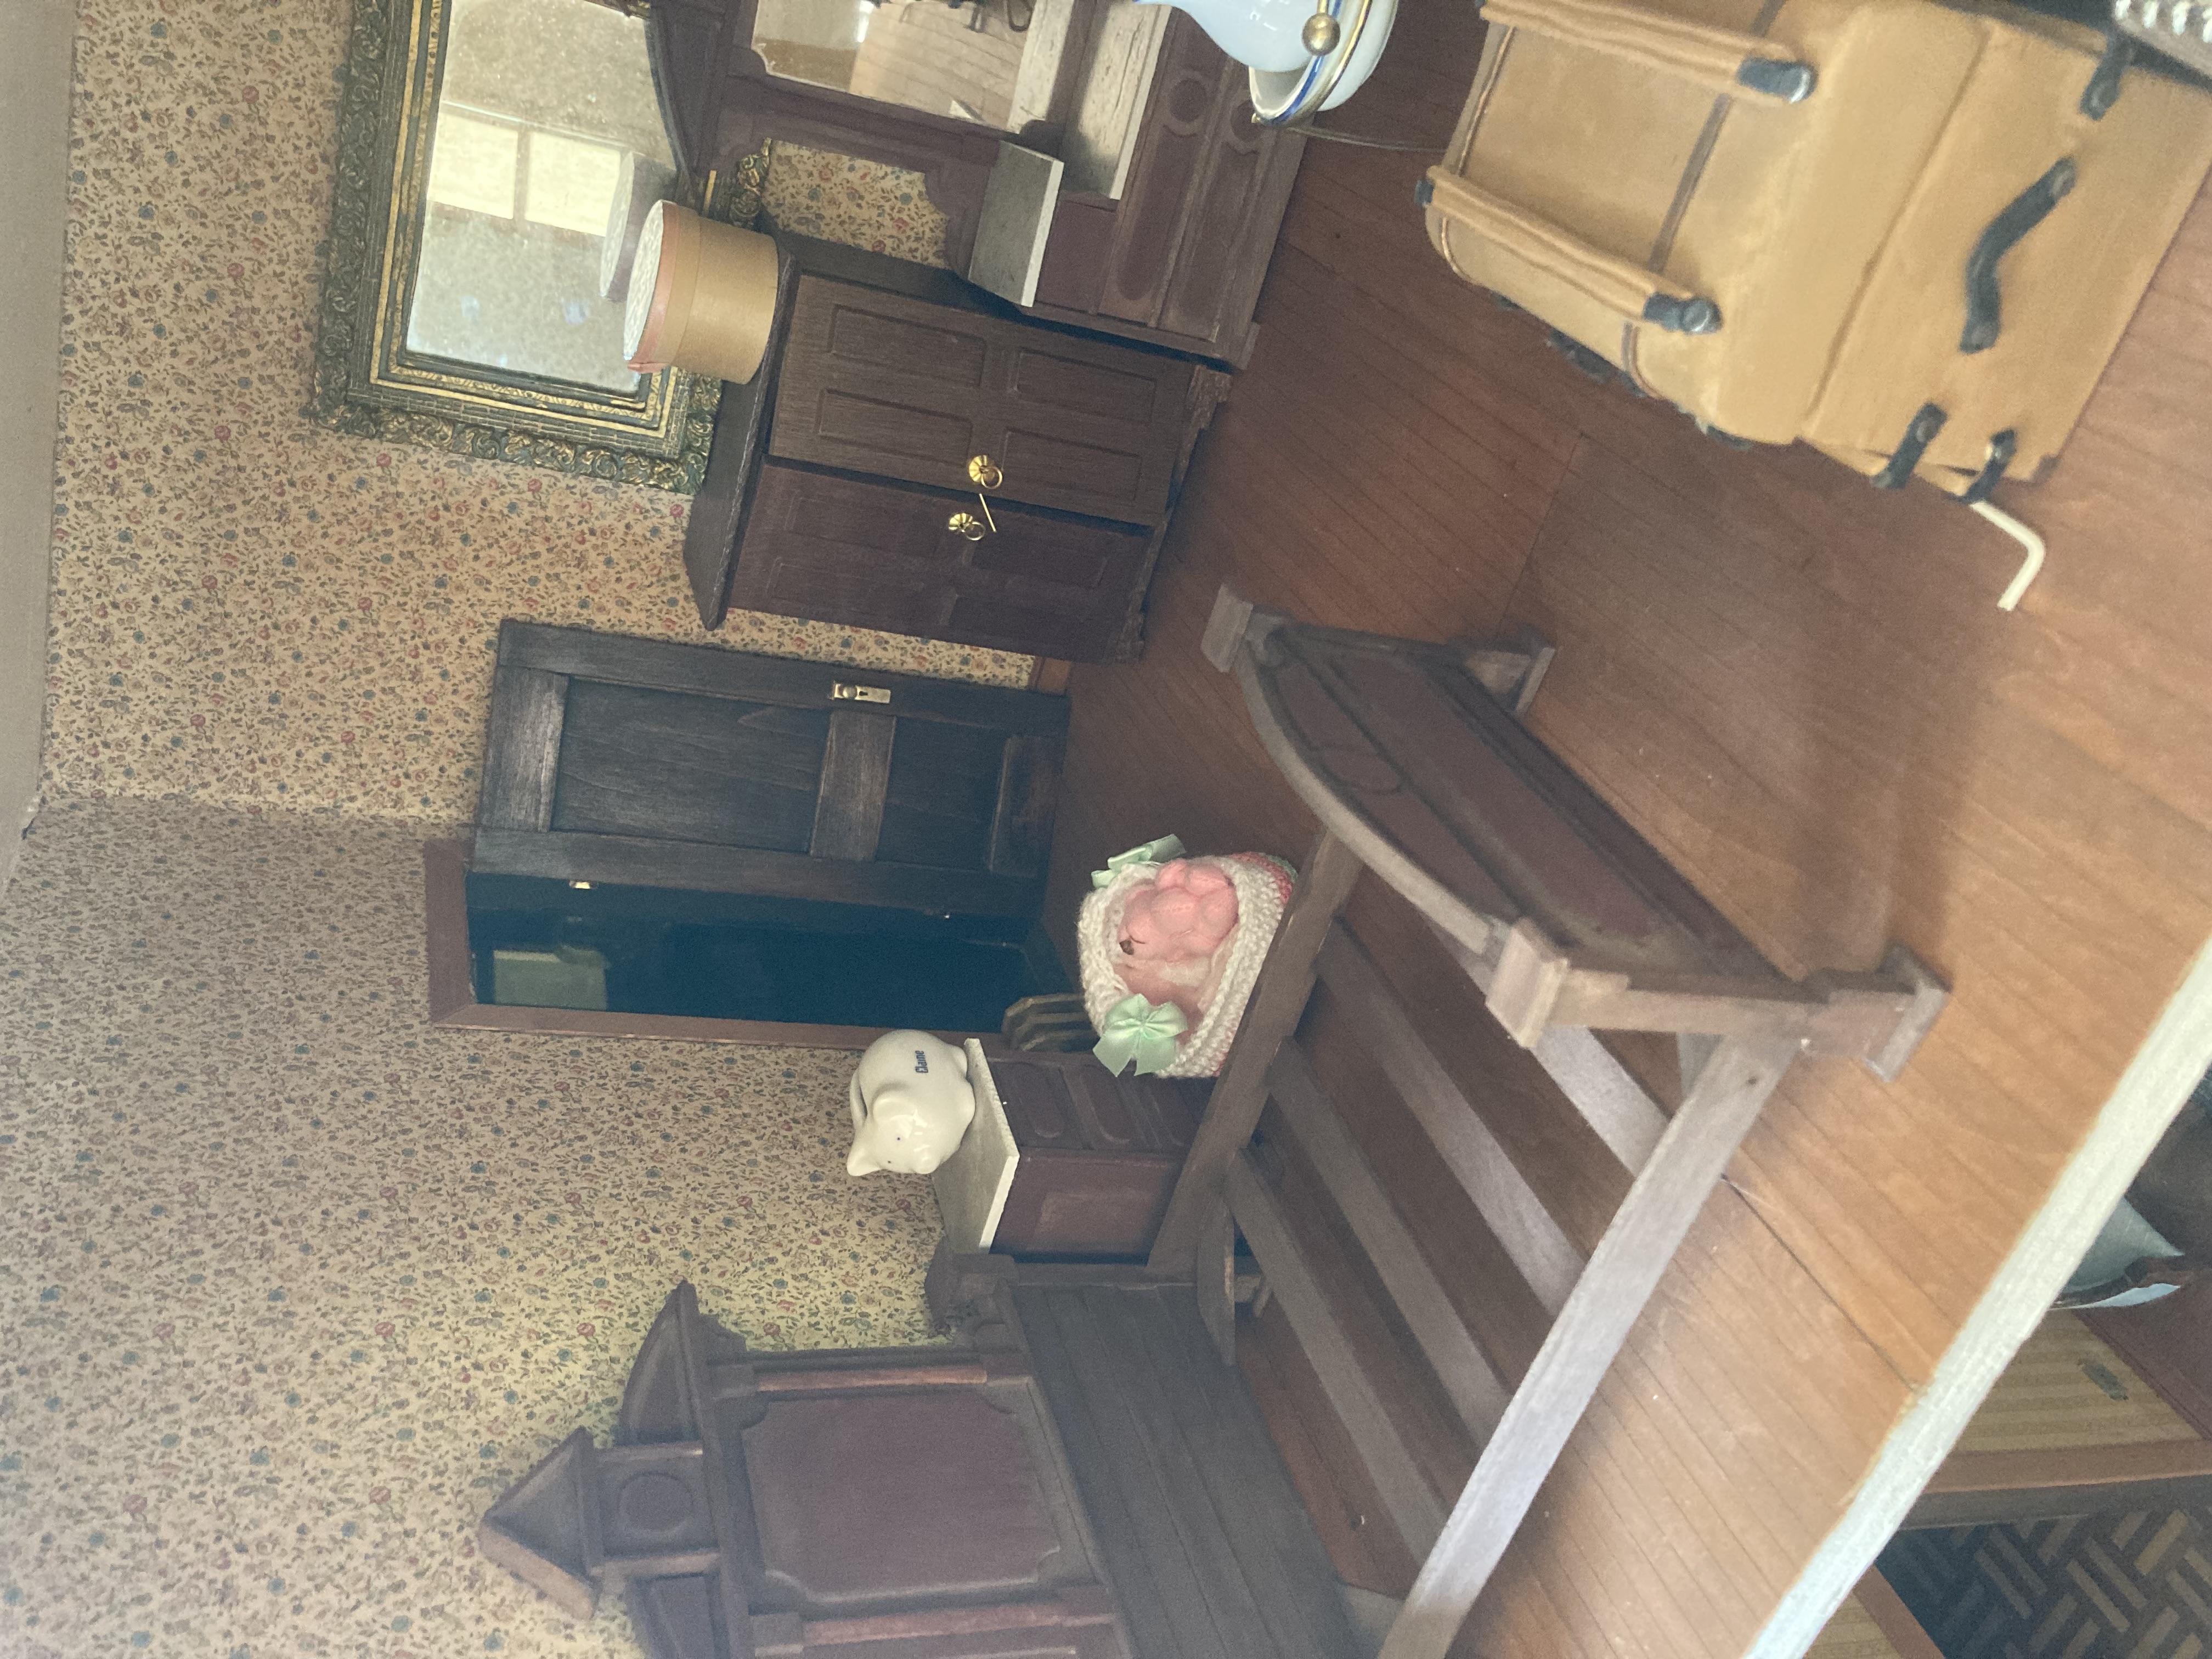
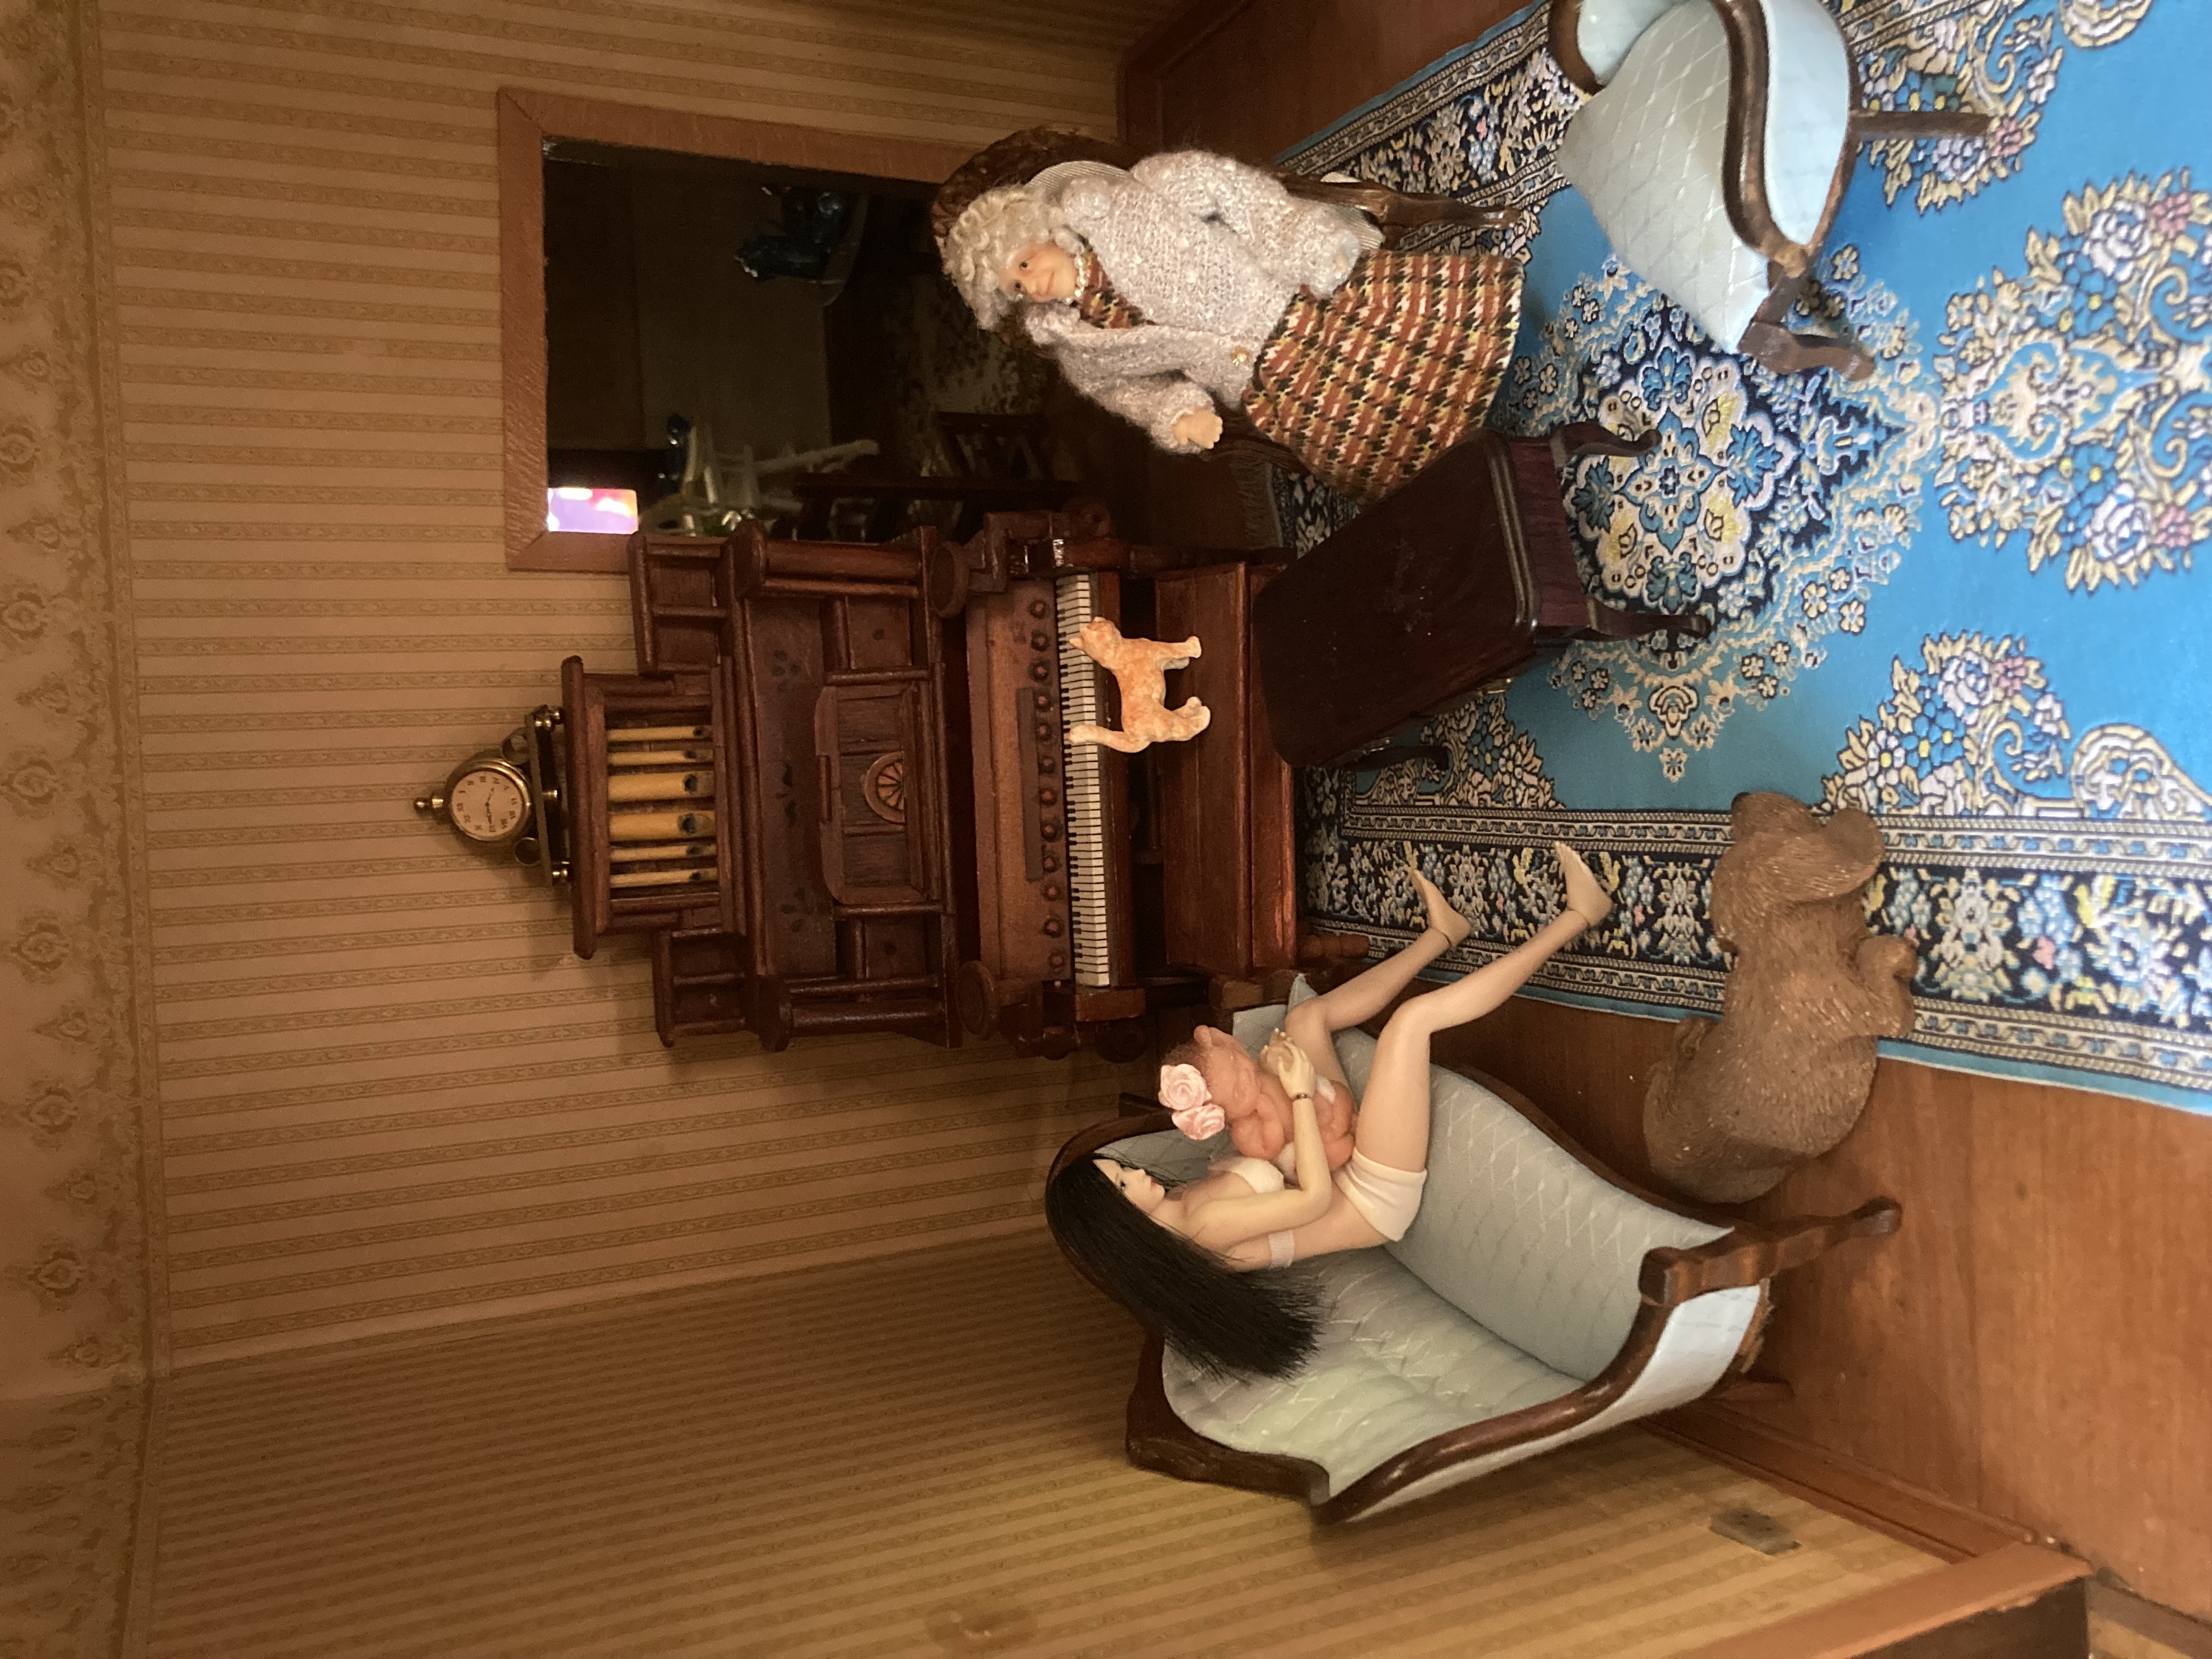
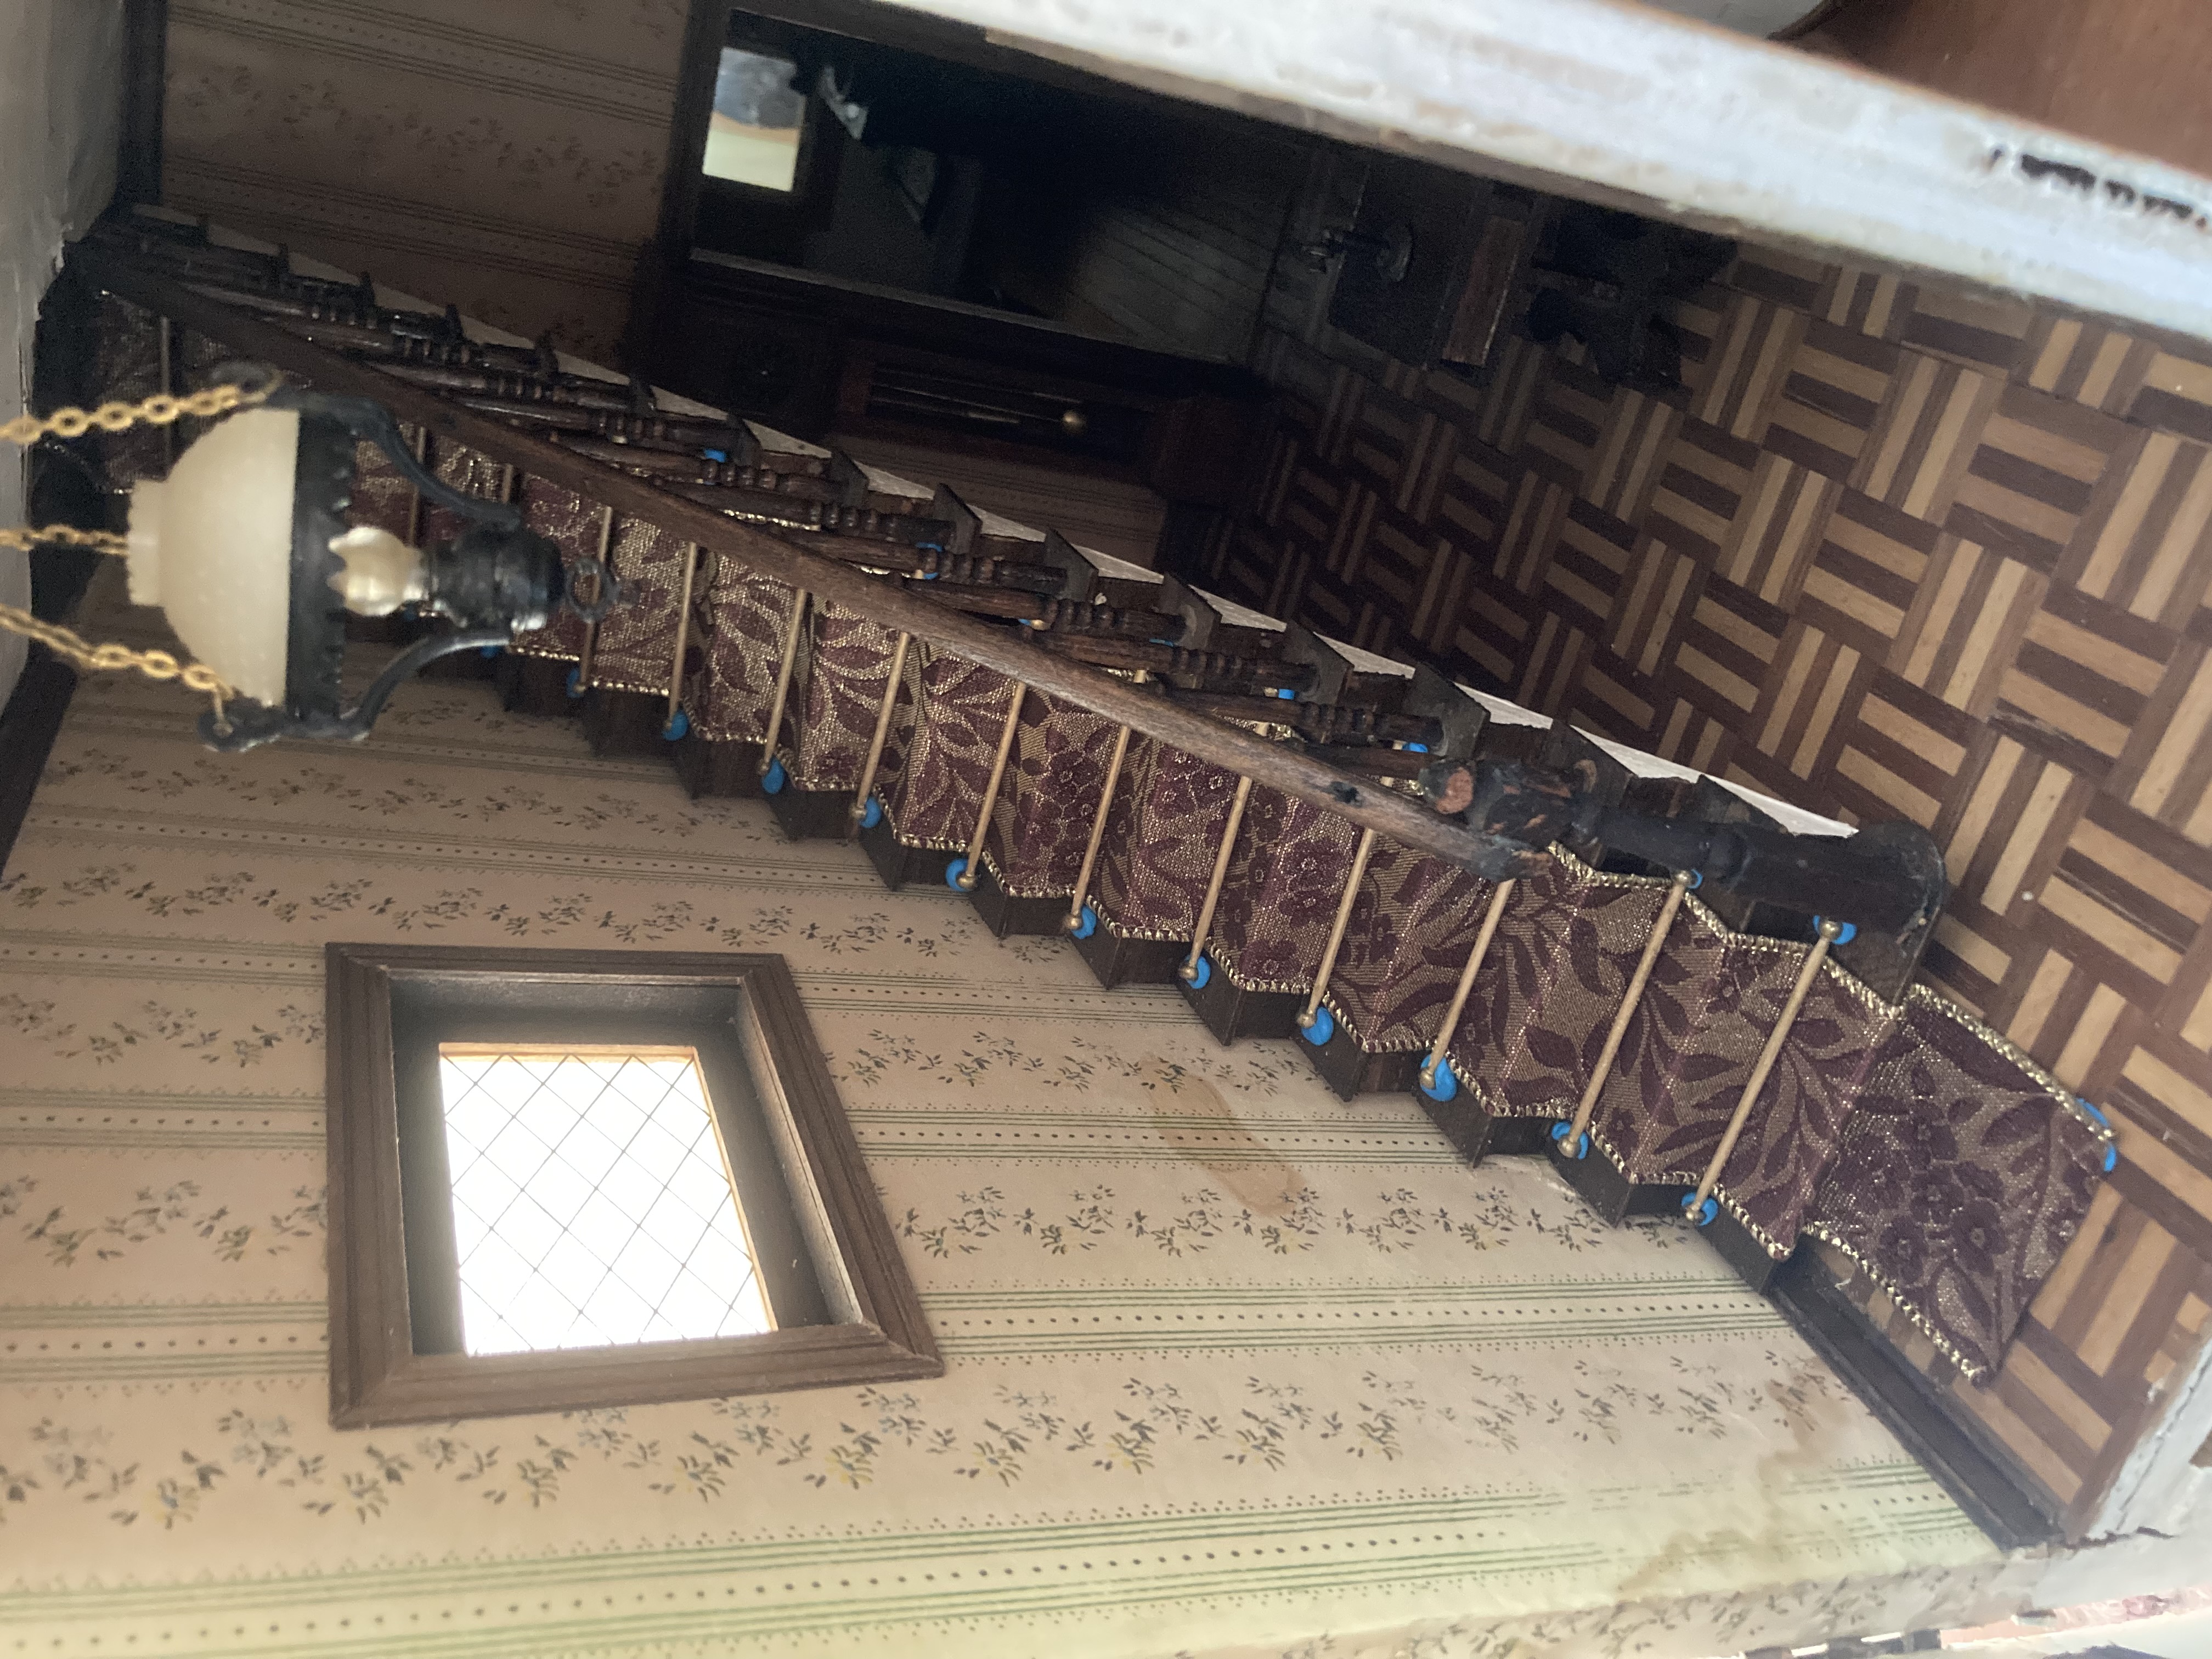
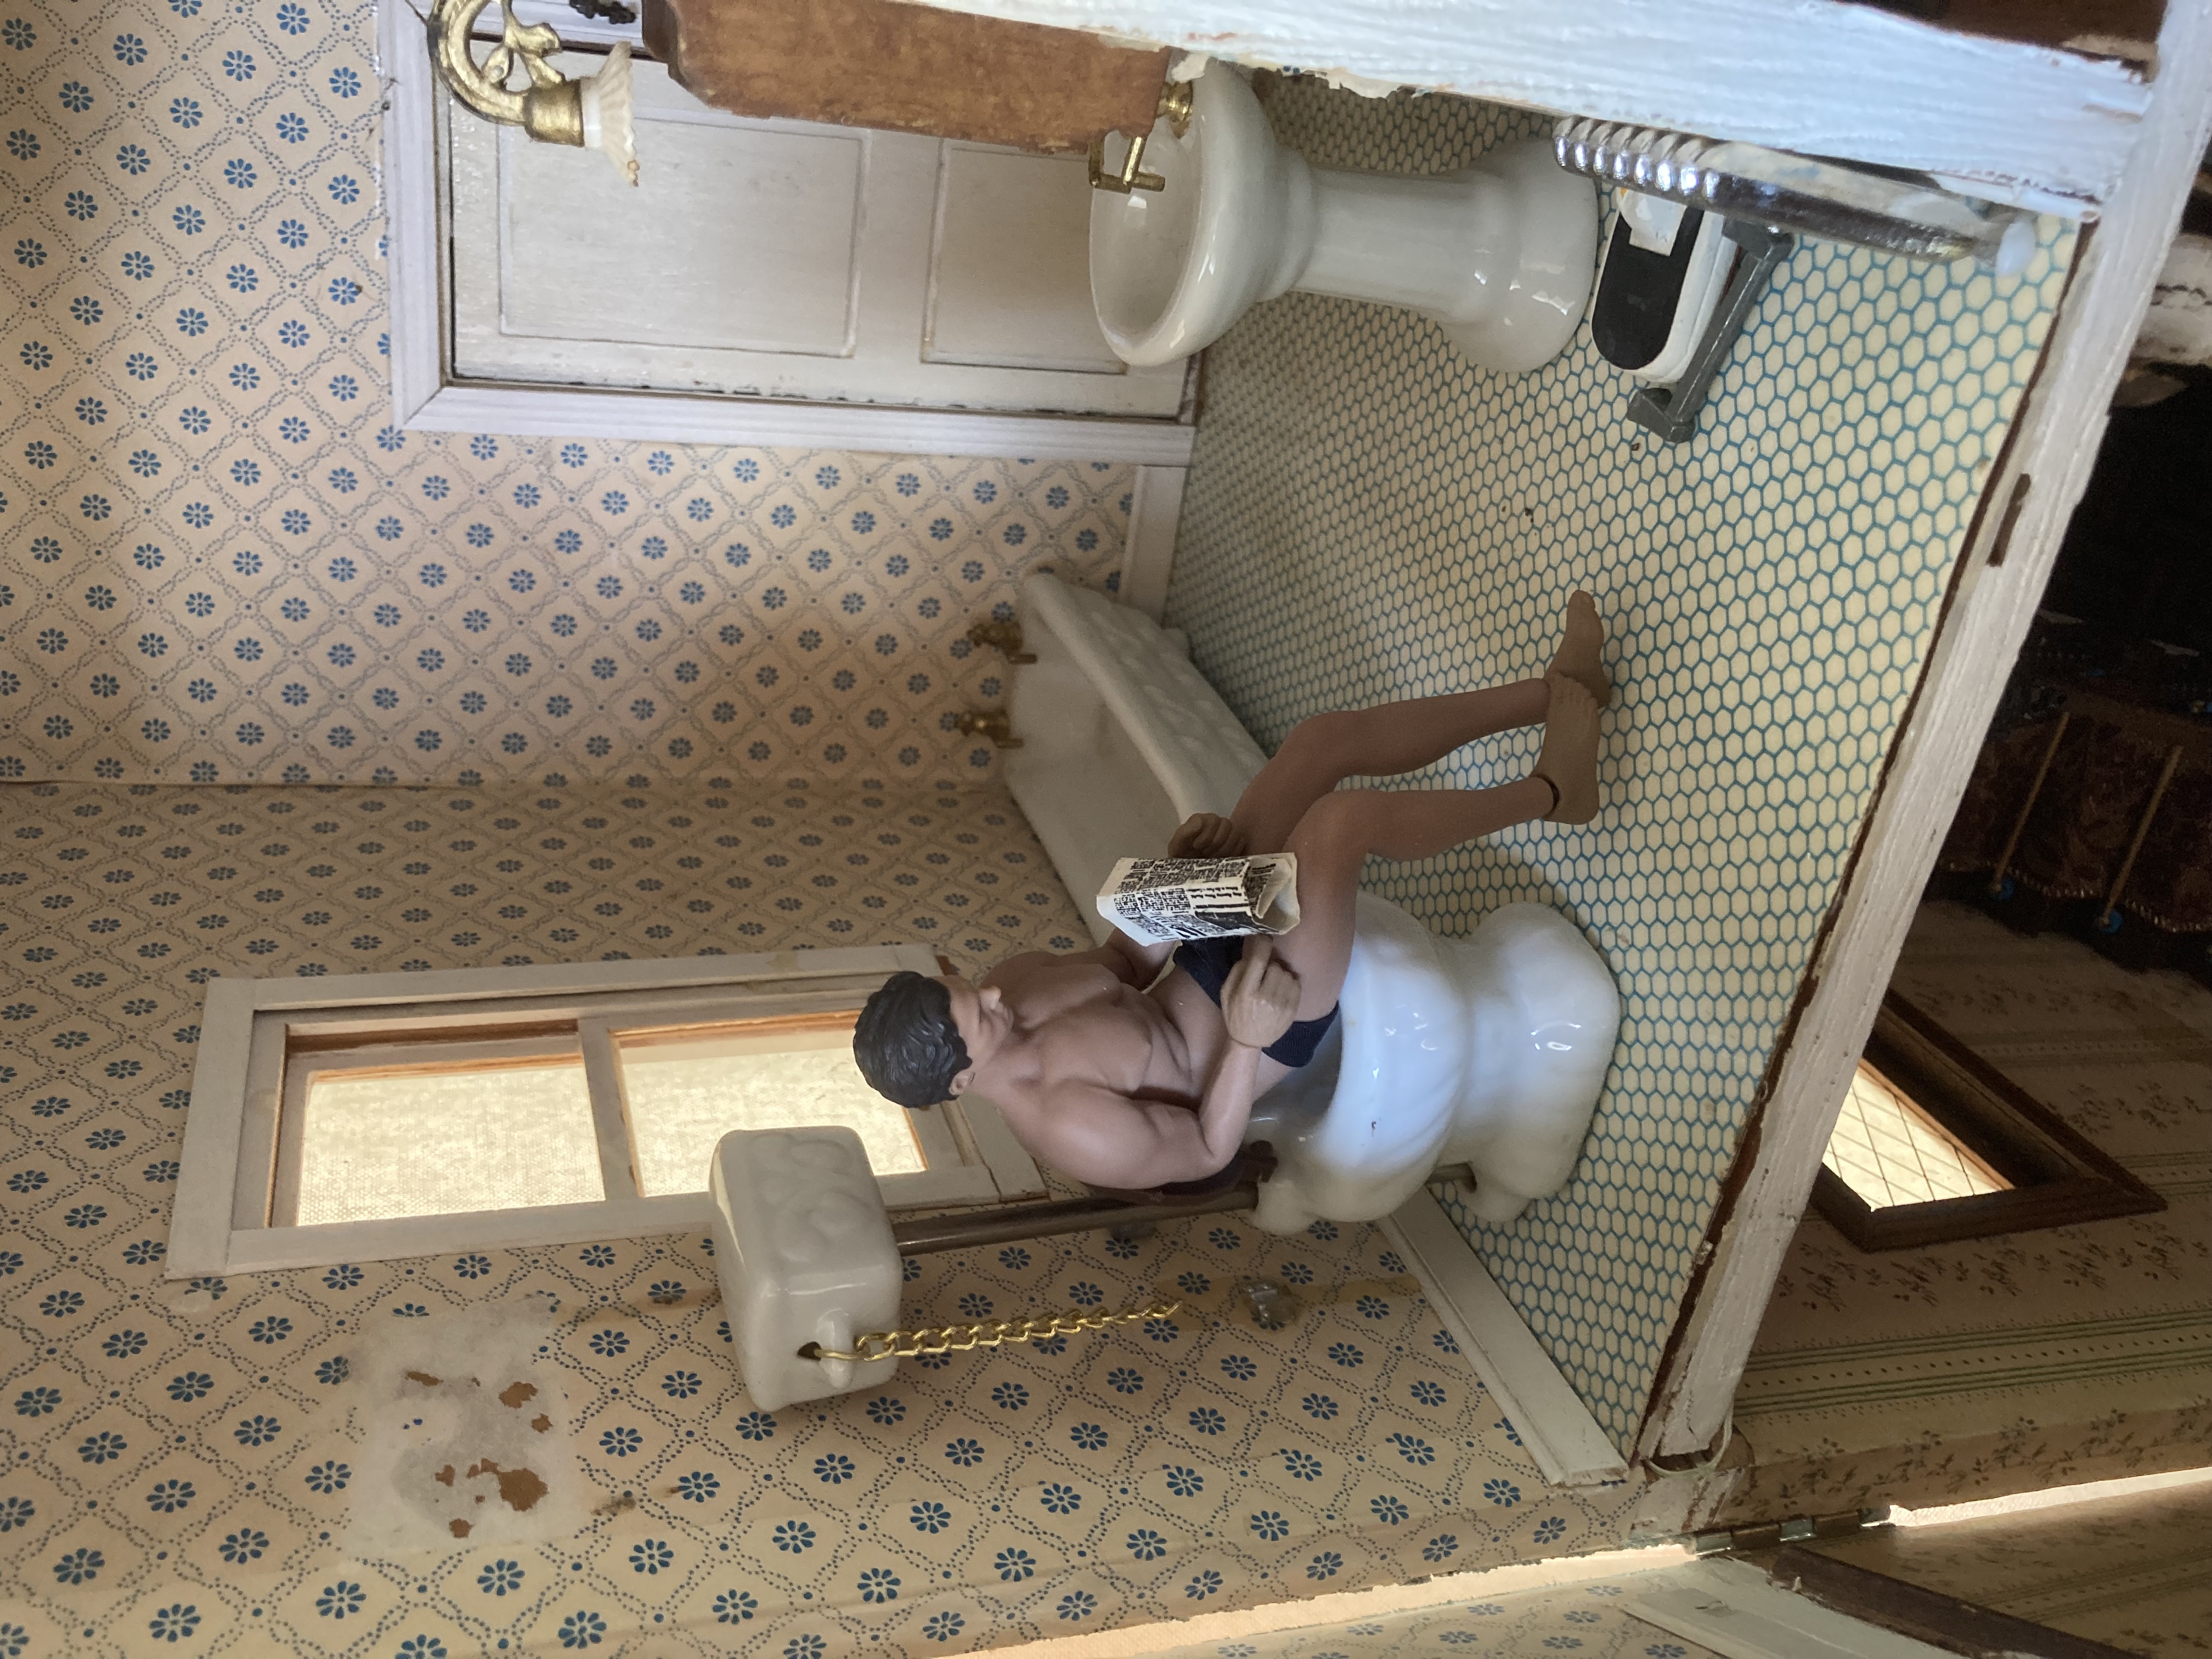
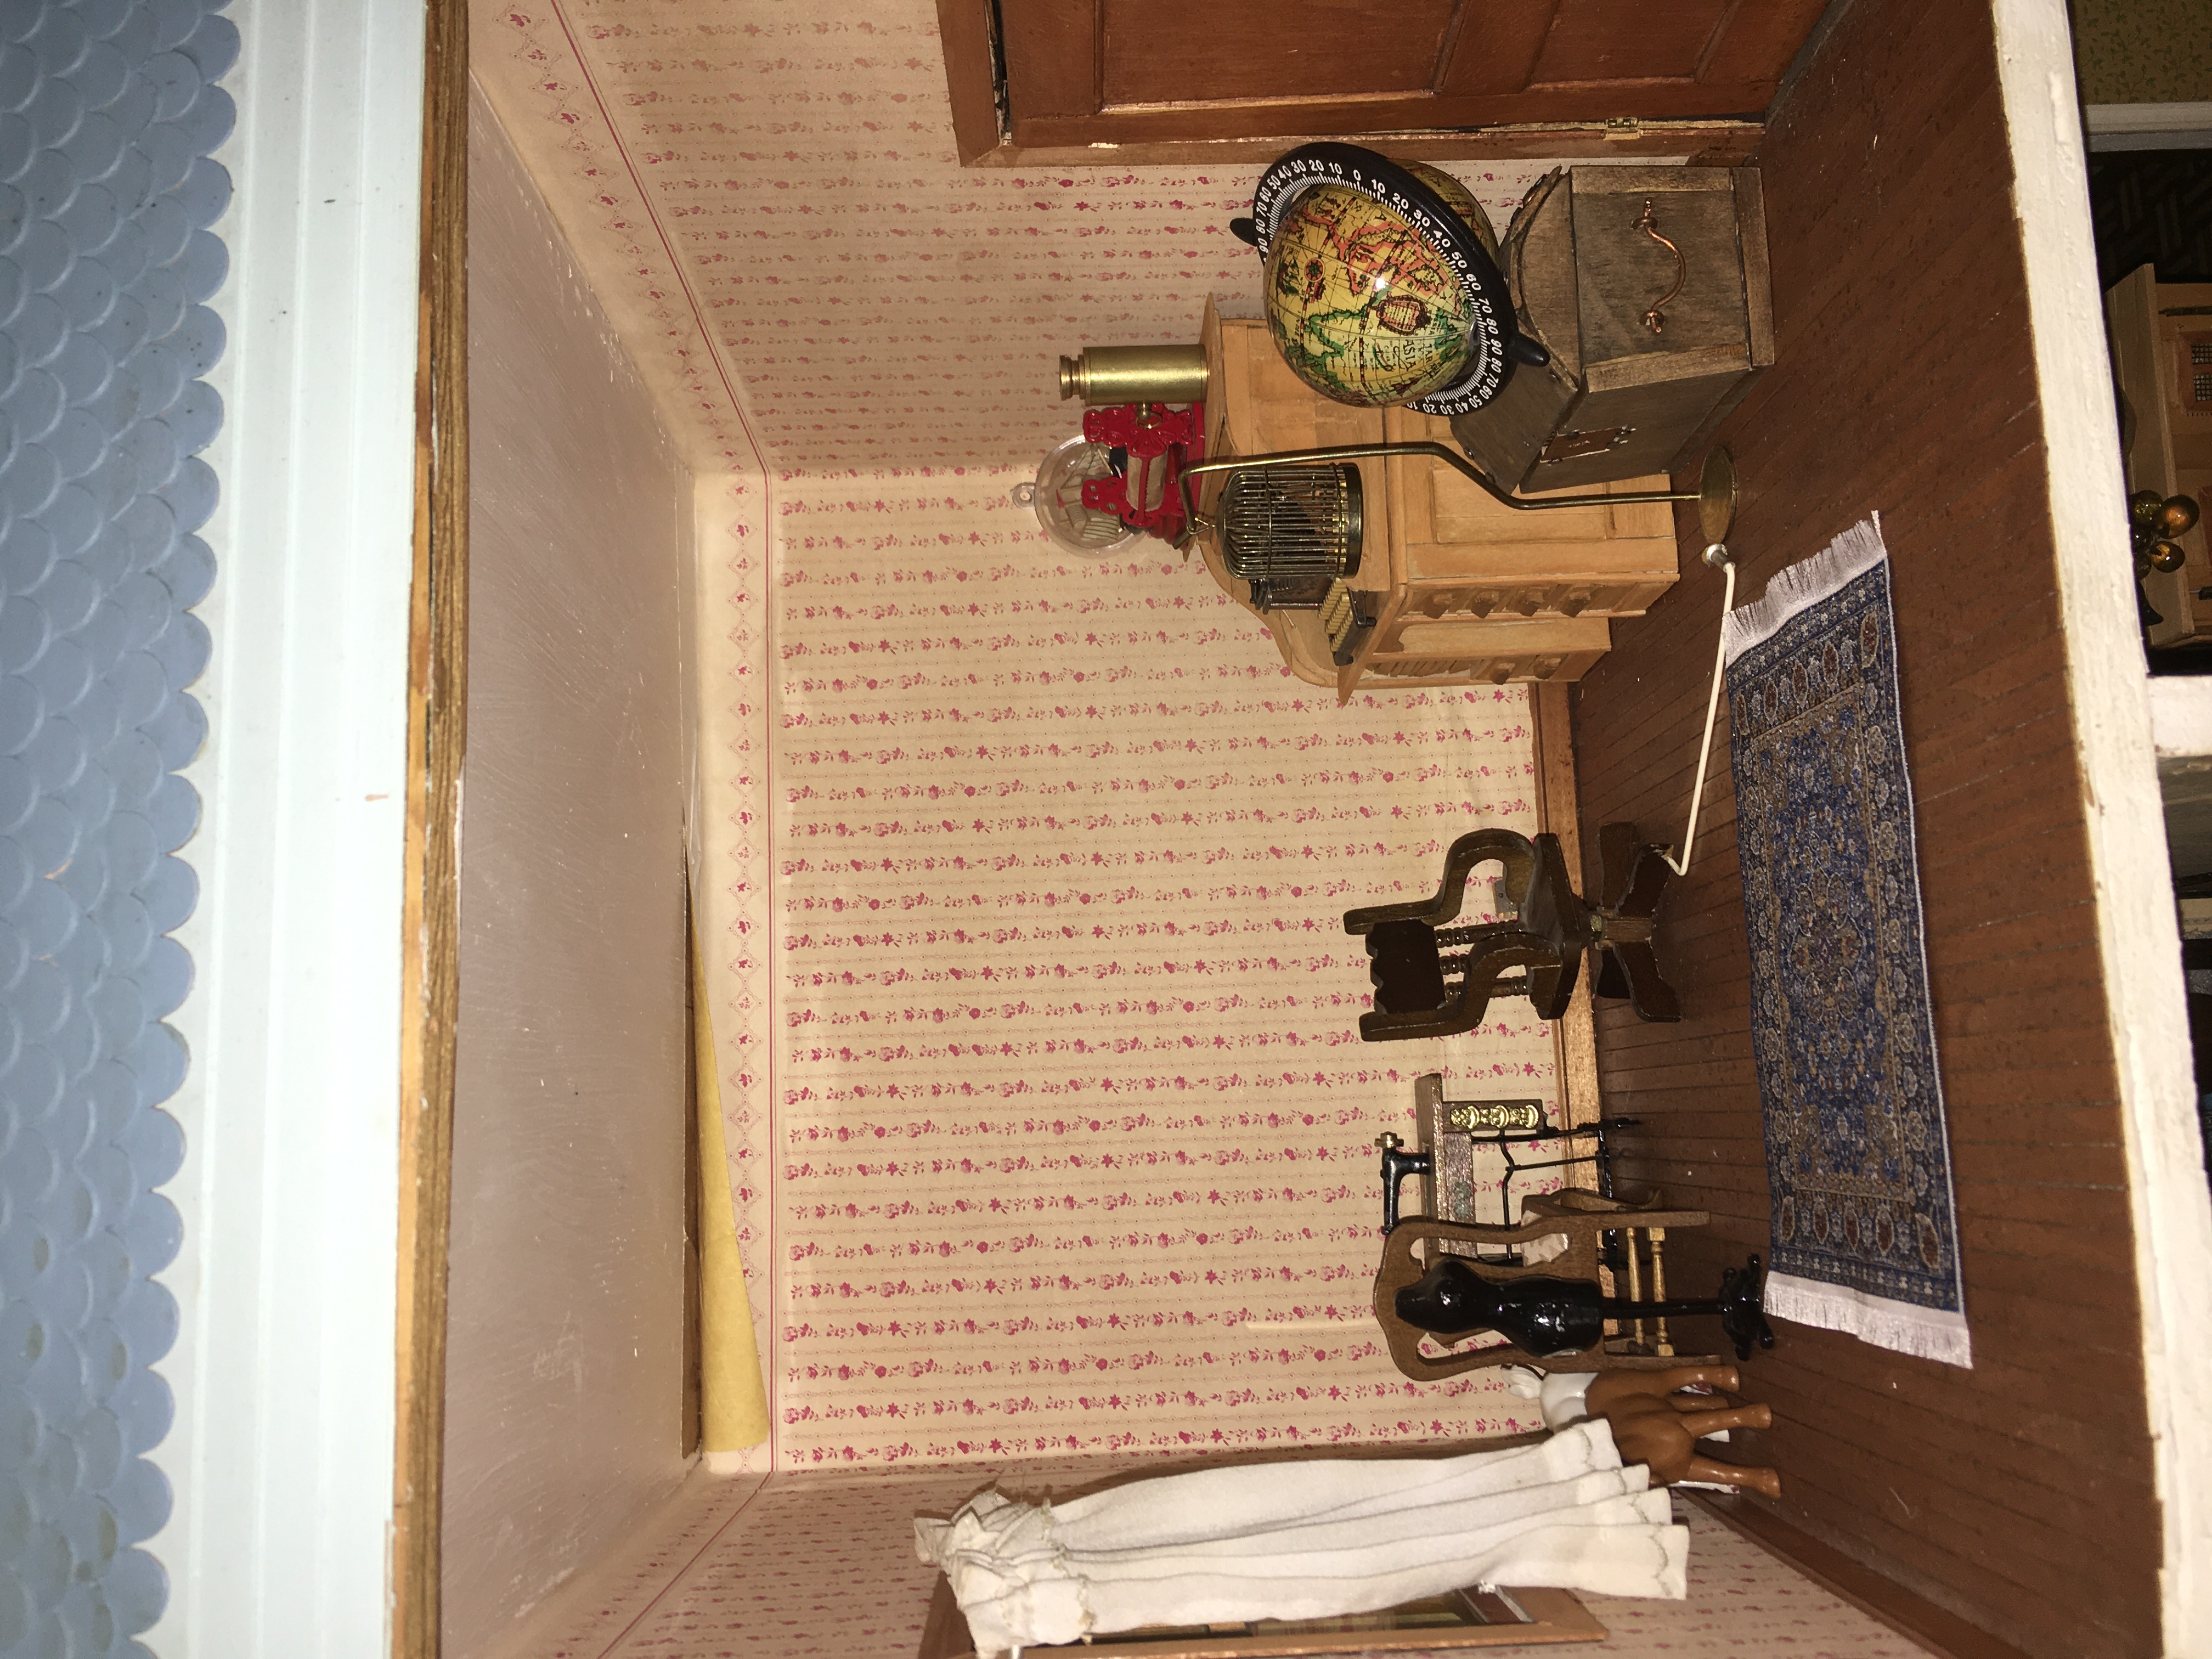
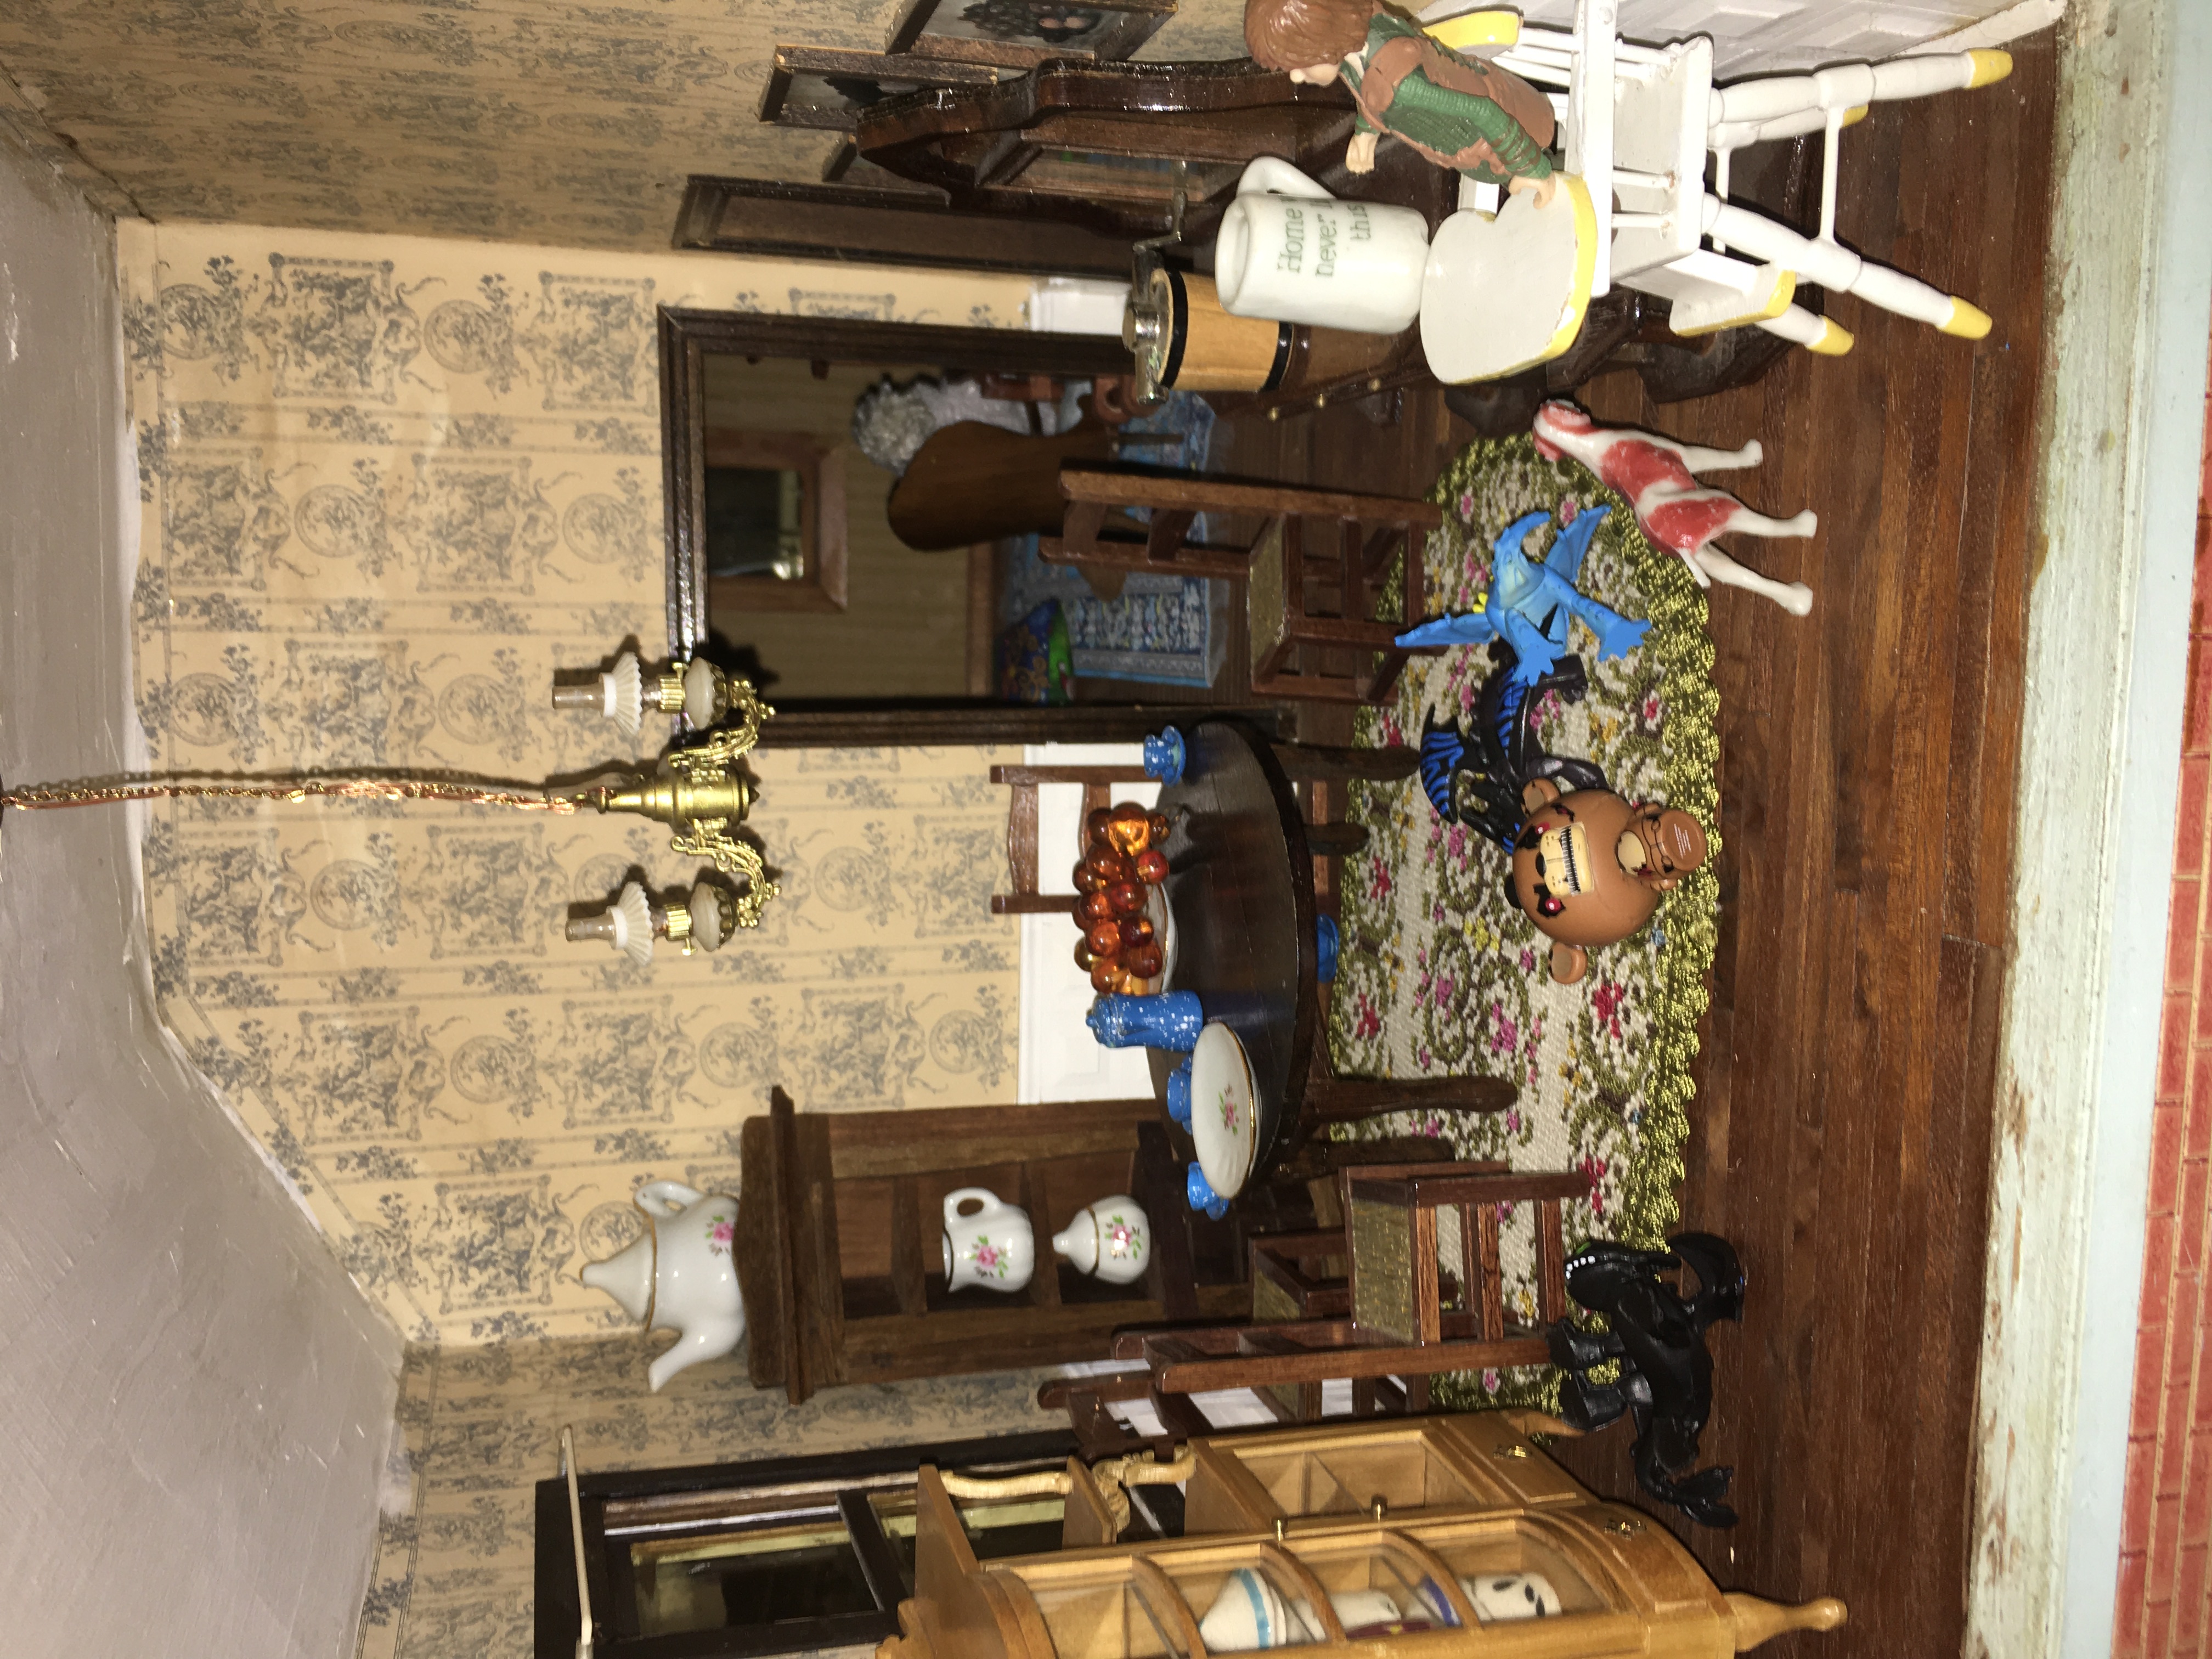
Here is an image of the space under the hinged roof. On the left is the untidy nursery, and on the right is the untidy attic. Note the studs in the walls, like an unfinished space. I love the details that the maker put into this house.A closeup of the nursery. Note the built-in cupboards/drawers in the back. These appear to be made of thin wood. This is the side with the front door and porch opened up. It has the stairwell, the bathroom, the main bedroom, and the parlor. This is during Christmas. A closeup of the main bedroom, before I got the mattress made for the bed. The trunk was something I made as a teenager and the bedroom set was a vintage victorian bedroom kit from Realife Miniatures.A closeup of the parlor. The parlor organ was a windup music box that I altered to resemble a Reed Organ, using wood, popsicle sticks, and dowels. The stairs. The rug is a wide strip of ribbon, with stair rods made of toothpicks capped with beads, held in place with blue sticky putty (until I switch it to museum wax).The bathroom. I found some glass mosaic tiles that I eventually plan to install. I think I will attach them to matboard and piece it in along the walls and floor so I can just cover up the existing stuff without damaging it. The doll is a Ficen, with a Tom Holland head added. This view is with the other side opened up. It shows the kitchen, dining room, second bedroom, and upstairs hallway.The second bedroom. I plan on making this the grandmother’s room. I would like to make a murphy bed to put in here. I did make the rolltop desk as a miniature of my own desk, and the trunk is one I made as a teenager. This is an older photo, as I now have a nicer Heidi Ott sewing machine.The dining room, with my daughter’s toys in residence. The kitchen. I made the piesafe out of popsicle sticks. I would like to make a decent hoosier cabinet to put in here, also. There is one that I made (out of view on the wall opposite the sink) but I wasn’t very happy with it and want to replace it.
The insides of this house are constantly changing and evolving as I find different pieces of furniture or as I decorate for the seasons. Lately I have found myself wondering what new siding would look like, or even bricks? In my area of Michigan, I see a lot of old brick farmhouses, and they are breathtaking! I haven’t seen any photos of a brick pepperwood farm before. Perhaps someday I will try it out, even if it’s just printing some bricks on paper and taping them to the siding to see what it might look like.
Have any questions or comments? Want to see more photos of anything specific? Just leave a comment in the comment section!
Several months ago, I happened upon a photo of an antique dollhouse on Pinterest. I’d never been particularly interested in dollhouses, although my mother was (and still is) interested in miniatures while I was growing up.
That photo sparked my interest. The more I thought about it, the more I wanted, no NEEDED an old-fashioned-looking dollhouse that I could decorate for the holidays, especially Halloween and Christmas.
I looked online for ideas. I read about different dollhouse styles. I discovered that many people, much to my delight, would buy or build a dollhouse, keeping in mind a specific era in which to decorate it.
So, in essence, you could use your hobby to research a certain era in history and try to recreate it in your own little world? How awesome!
It happened that one day while at work, a coworker reminded me of a large, work-related box that I was expected to bring home that night, and instructed me to keep this in mind during our lunch hour, as the town we worked in was having its annual garage-sale event. Of course, I accepted the challenge and decided to stop at a couple of sales during our break.
For some reason, I was drawn to a particular road that I passed on occasion, and it so happened that the second sale I stopped at had exactly what I was looking for.
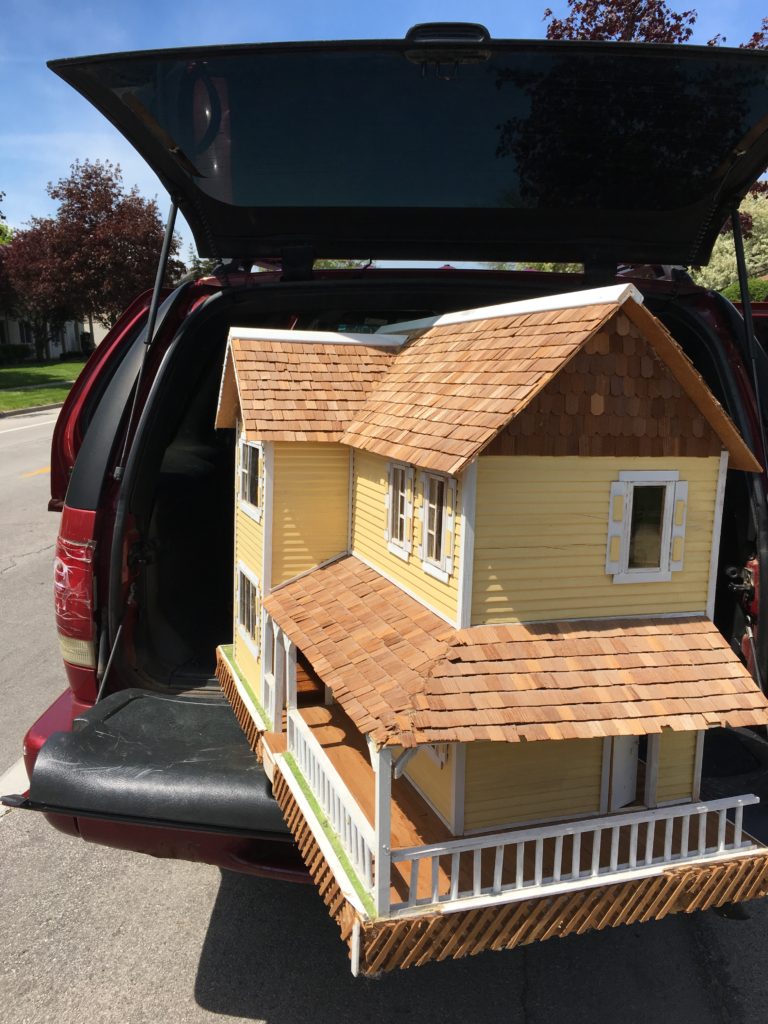
This farmhouse was purchased on the last day of the sale, for half off its original asking price of $65.
It barely fit in the back of my small SUV!
It was the last day of the sale, and everything was half off, including this not-quite-so-little gem. For $32, which was all the money I had on me, I acquired something that took up the whole back end of my vehicle, and a lot more of what little free time that I have.
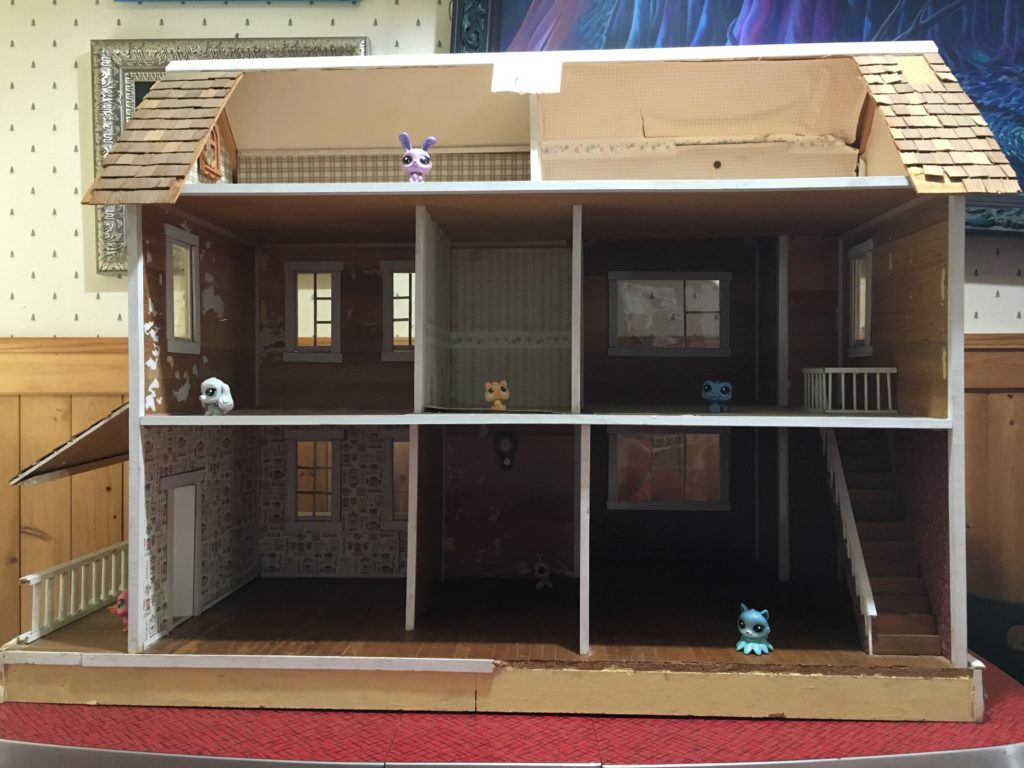
My 6 year old daughter quickly took to filling it with toy dragons, puppies, and kitties.
Inside view, shortly after acquisition (and after my daughter’s toy animals took possession.)
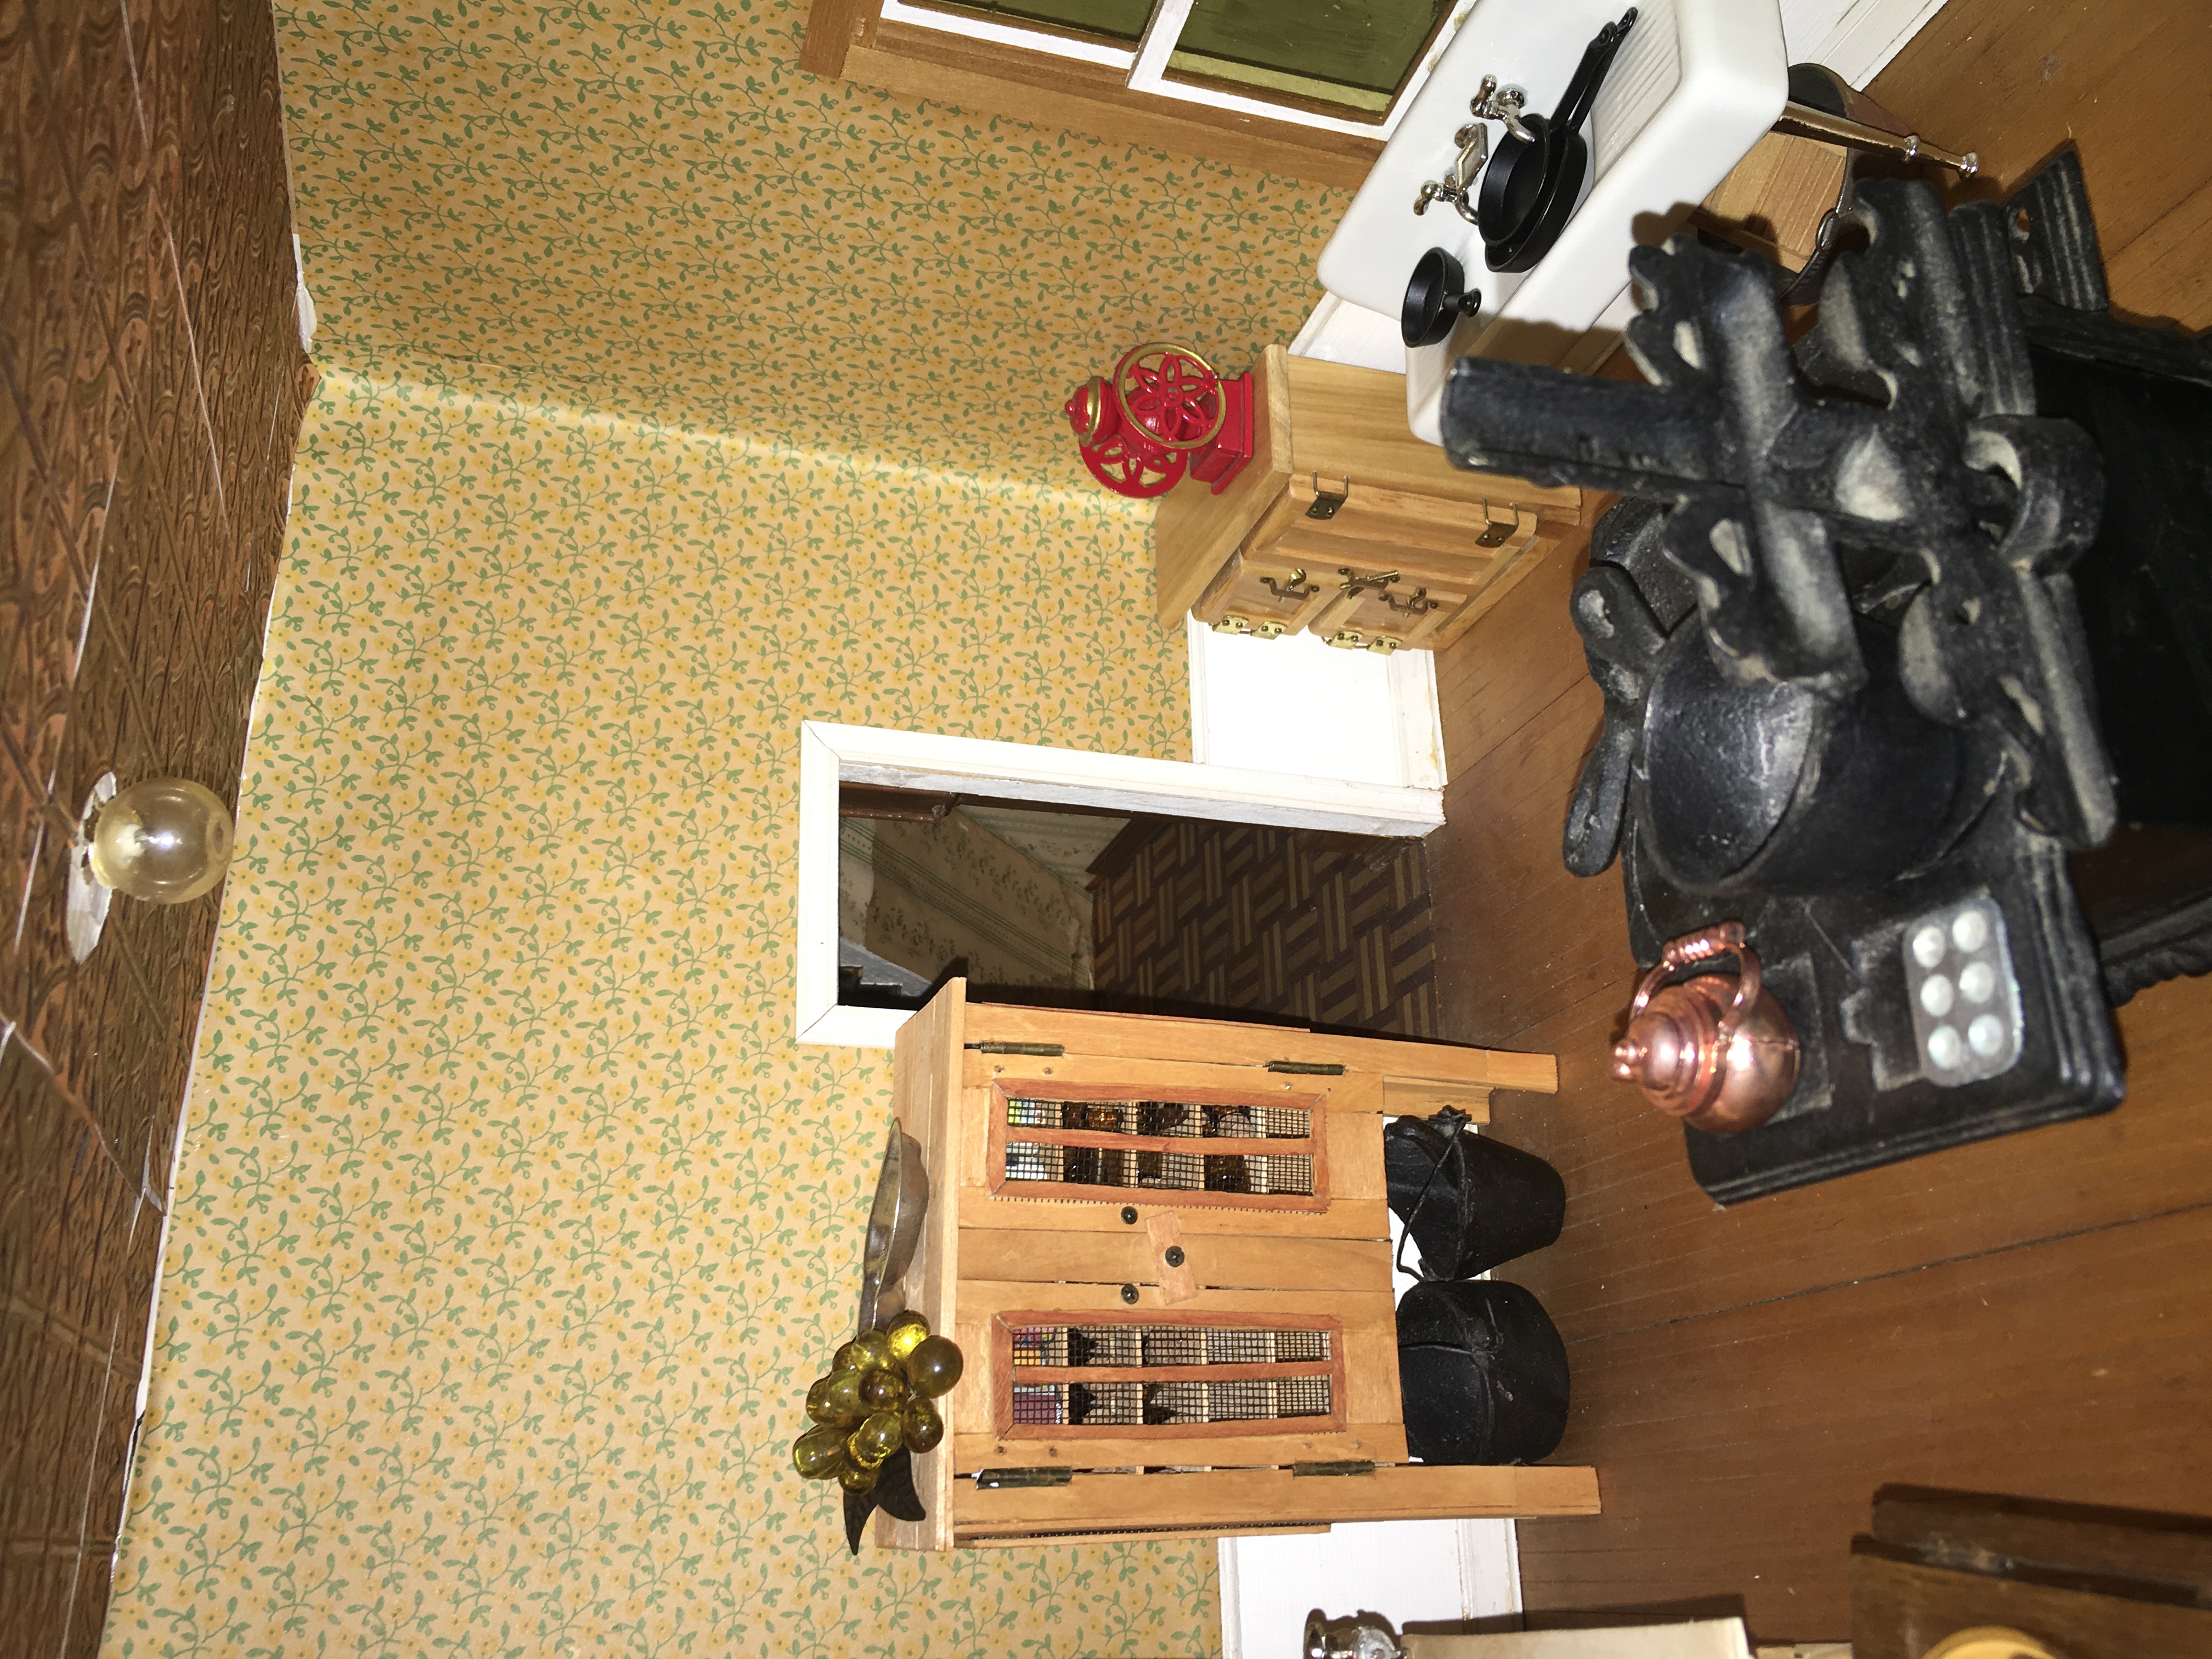
I’m still deciding on an exact time frame in which to decorate, but am leaning toward it being a rural farm that hasn’t quite gotten electricity, yet.
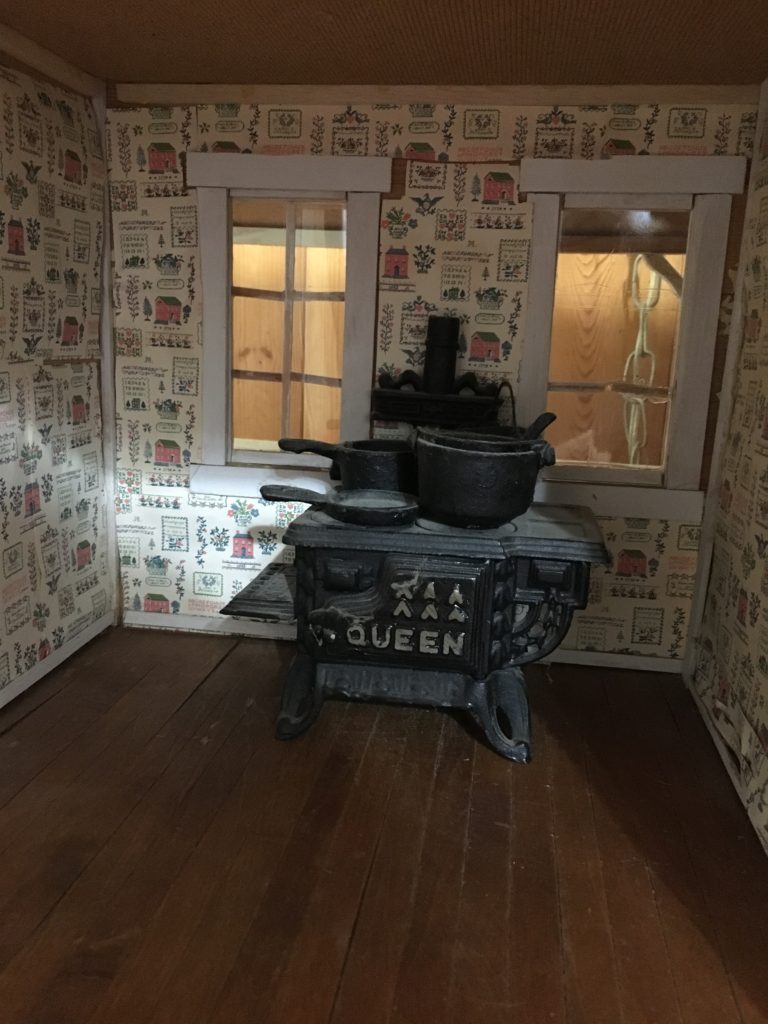
My mini cast iron stove fits in pretty well, except it does take up a lot of room in the small kitchen. I may have to re-think this in the future. The original wallpaper in the kitchen. I just love this pattern! It reminds me of something that my mother used as a border in her kitchen for a while. Unfortunately, this paper is poorly applied, and the adhesive that they used has stained it considerably over the years.
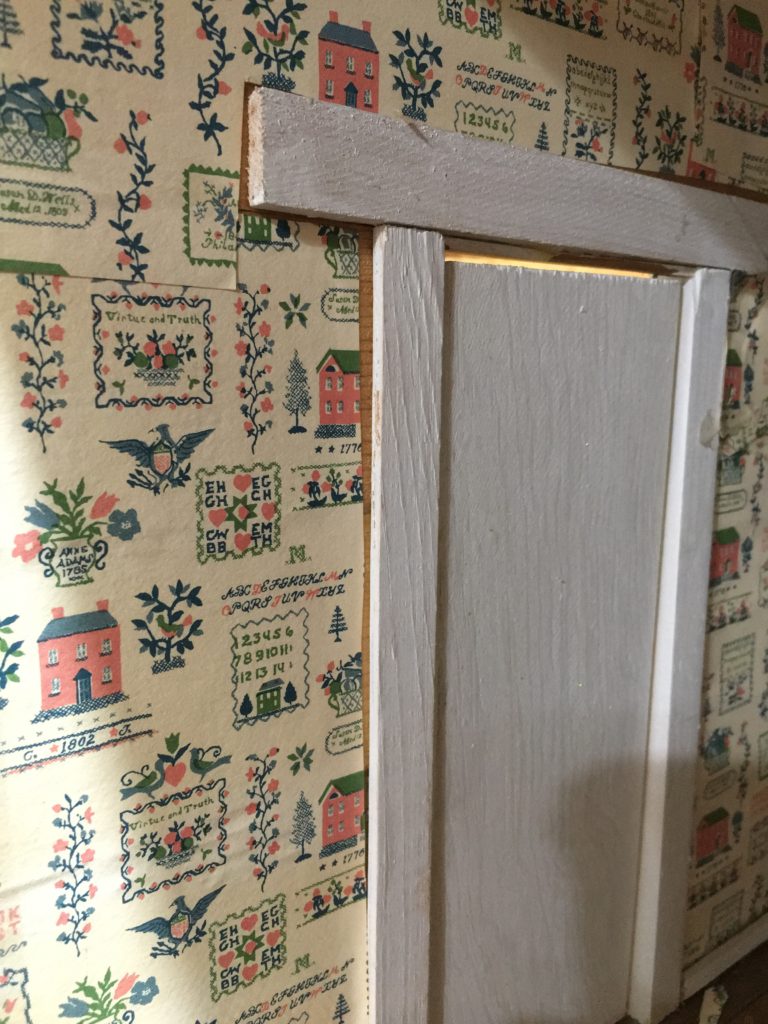
One of the first things I did was to rip out some of the old wallpaper that I didn’t like. It wasn’t too difficult to remove with a warm hair dryer, and a vinegar-wetted sponge for the more stubborn areas. As you can see in progress photos, I’m still not done with that task.
Bathroom Floor
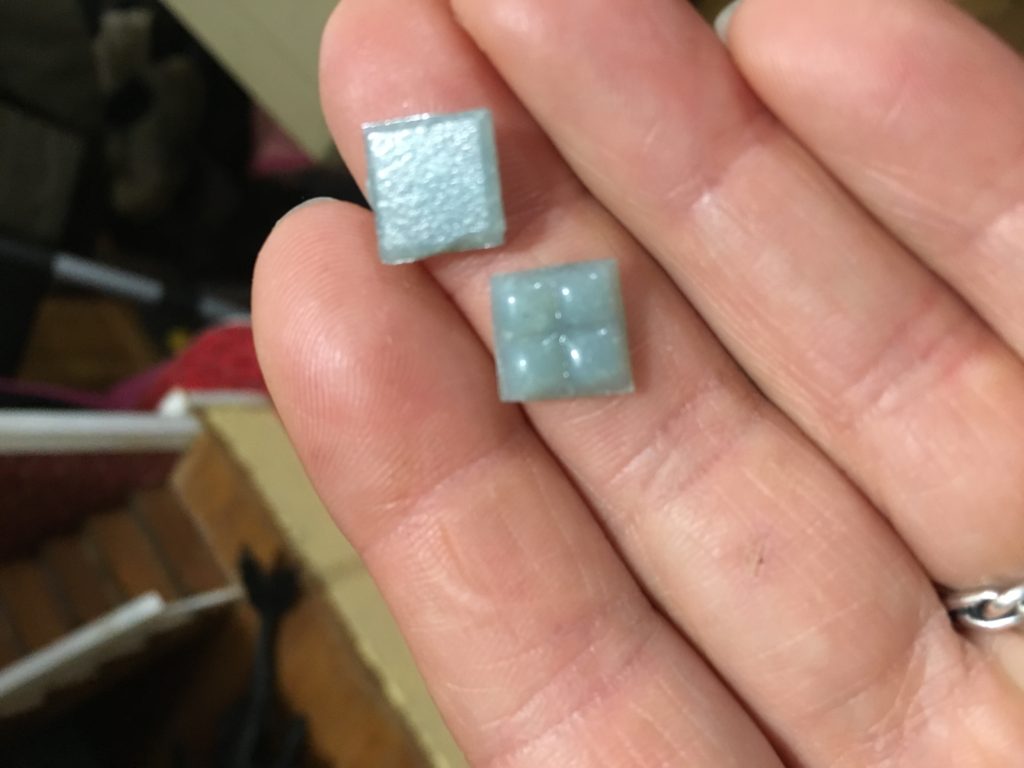
I acquired, through Amazon, some mosaic tiles of real glass to use for my bathroom floor! I plan to order a few more sheets of them to add to the walls, also.
The individual tiles are made of real glass, and come in a sheet mounted on paper. You cut the paper to the size you need, and then glue the tiles down with paper-side up. Then, you use a wet sponge to pull the paper off the tiles.
The individual glass tiles (ordered from Amazon.com, from seller Melody Jane) come mounted on a sheet of paper. You trim the paper to the size you want, and can also nip the tiles to fit. I didn’t need to nip them, fortunately for me, as they fit the space I needed perfectly. I then glued the tiles face down (so the paper side is up).
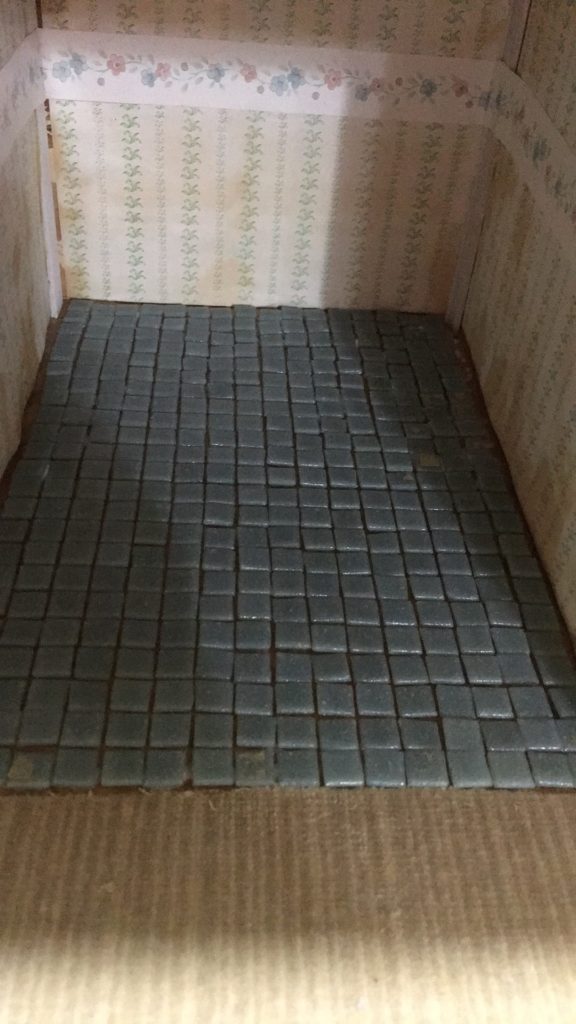
Tiles glued down. Note that some pieces of paper backing still have to be washed off.
After the glue dries, you next use a wet sponge to break up and wash away the paper backing. Unfortunately for me, I didn’t glue my tiles well enough, and some popped off, so I had to also use this step to re-glue loose tiles.
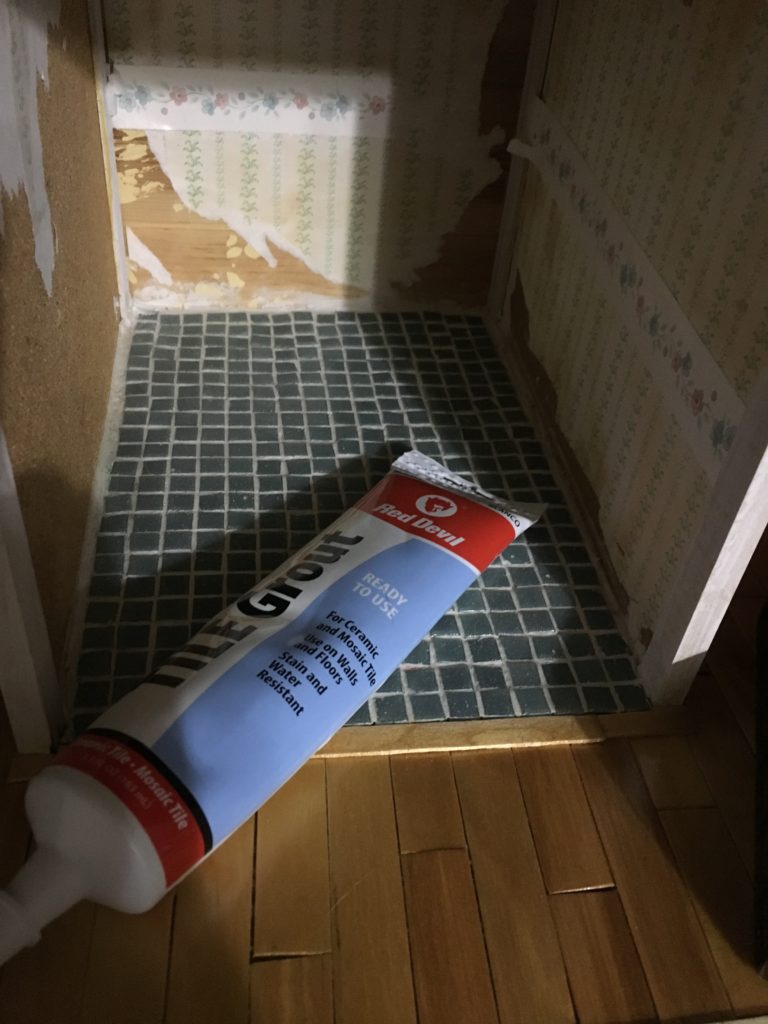
After removing the paper backing and making sure all of the tiles were glued securely, I bought a tube of mosaic tile grout.
Tile grout, after the tiles have been grouted.
I followed the directions on the tube, and filled in the cracks between the tiles with white grout. It was easy-just cut the tip off the tube per directions, then gently squeeze out the paste along the cracks in the tiles. I used a small square of cardboard as a squeegee, pushing the grout deep into the cracks and smoothing it around the tiles. When I was sure that the cracks were filled, I used a damp sponge to gently wipe the wet grout from the tops of the tiles, without pressing so hard that it washed the grout out of the cracks. All in all, I am very pleased with the final result. I plan to eventually purchase more sheets of these tiles to use as backsplash on the walls and around where the tub will be.
Second Level Flooring
The flooring on the second level was pretty rough-outdated scraps of dingy carpet. I made quick work ripping that out. Leftover glue and/or material was easily removed with a damp sponge and vinegar in a spray bottle.
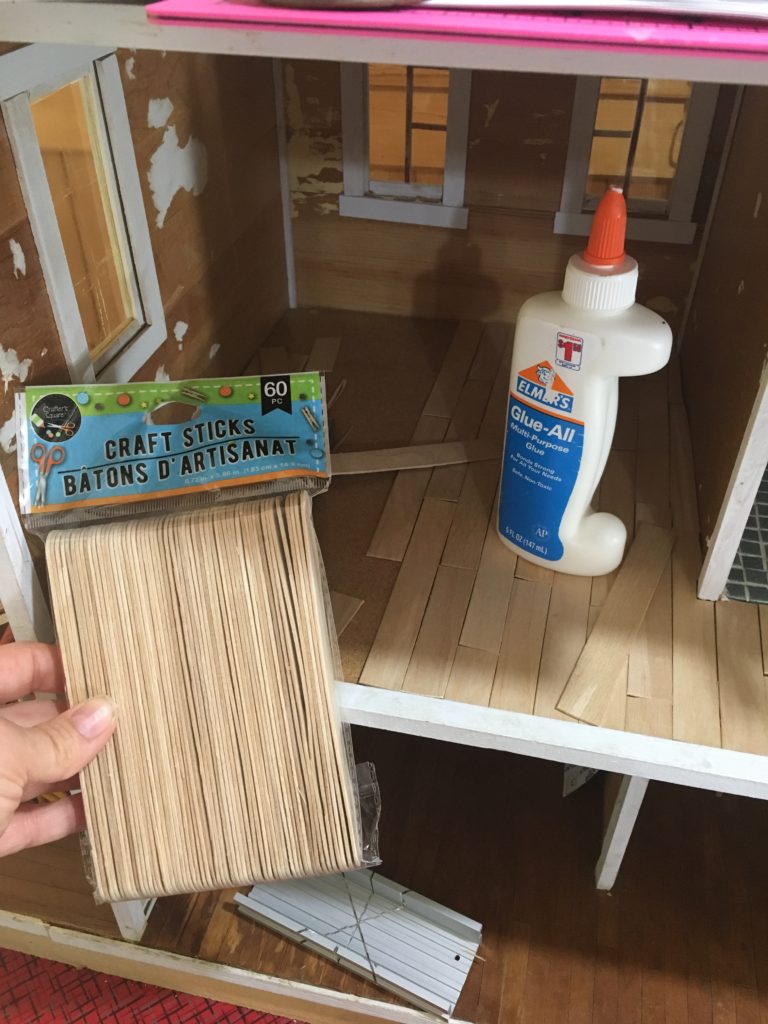
These jumbo craft sticks worked well for flooring, and also for many other miniature crafts.
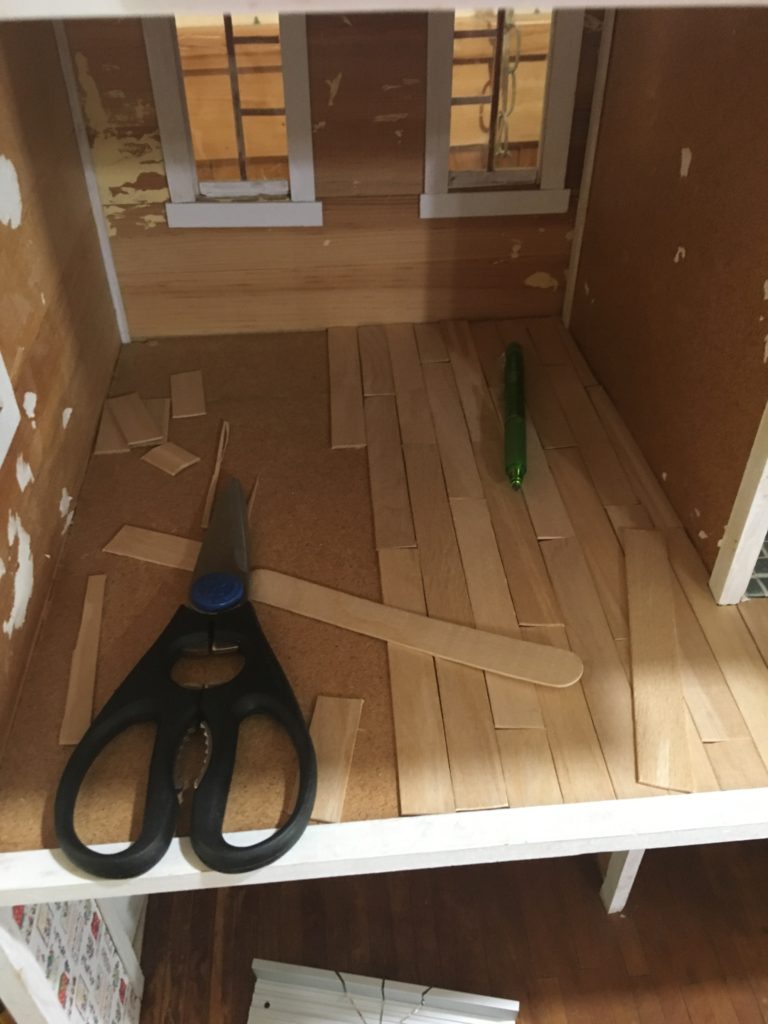
I decided on a pine plank look for these floors, as I have seen plenty of older homes with simple pine boards on the floors. To achieve this look, I found some jumbo craft sticks at the local Dollar Tree. I cut off the rounded ends using poultry shears, so they would be more board-like, and then staggered them across the floors to make the board ends more random. (Side note-a previous owner of our house installed the wood floor in our kitchen in such a way that the board ends are almost all lined up, and it looks awful. It’s really torture to an OCD person. Please, don’t do this to people).
I staggered the sticks to make the board ends more random.
I used an xacto knife to cut the pieces to fit around doors and corners. I used elmer’s glue to glue all of the pieces down, and set heavy glassware on top of troublesome boards to keep them flat (I tried to avoid warped boards as much as possible).
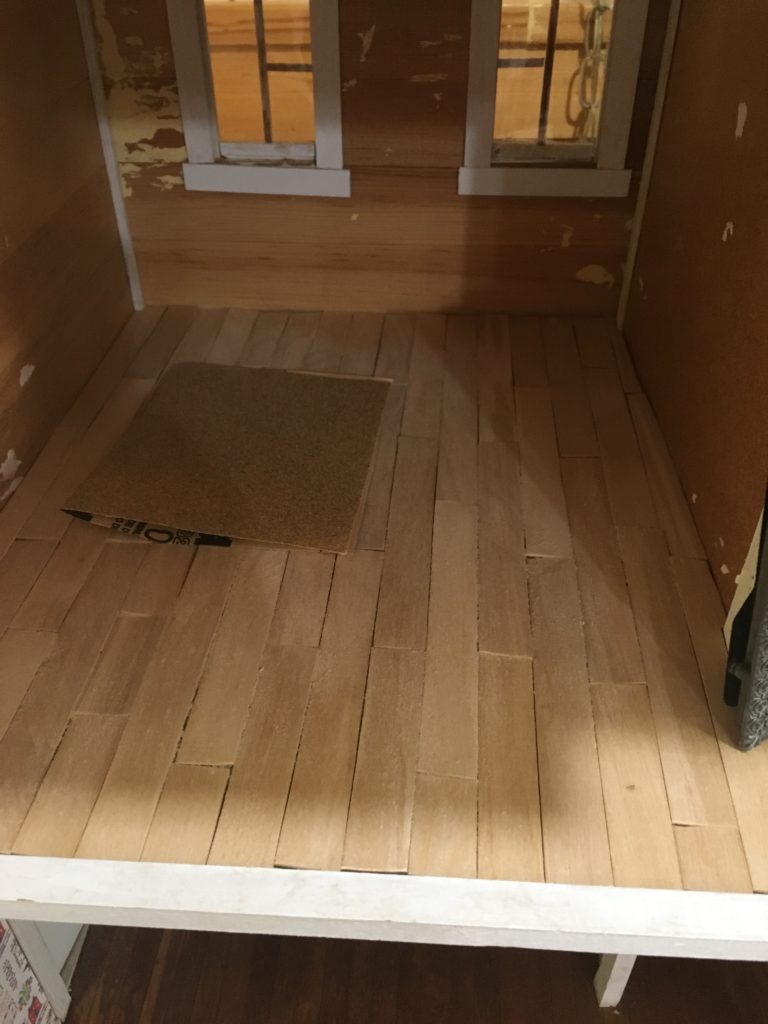
I sanded the floorboards after the glue was dry, to smooth out rough edges and fill some of the cracks between boards with a little sawdust.
After the glue dried, i took some sandpaper and sanded with the grain of the wood, trying to level out rough edges and get a little sawdust into the cracks between boards.
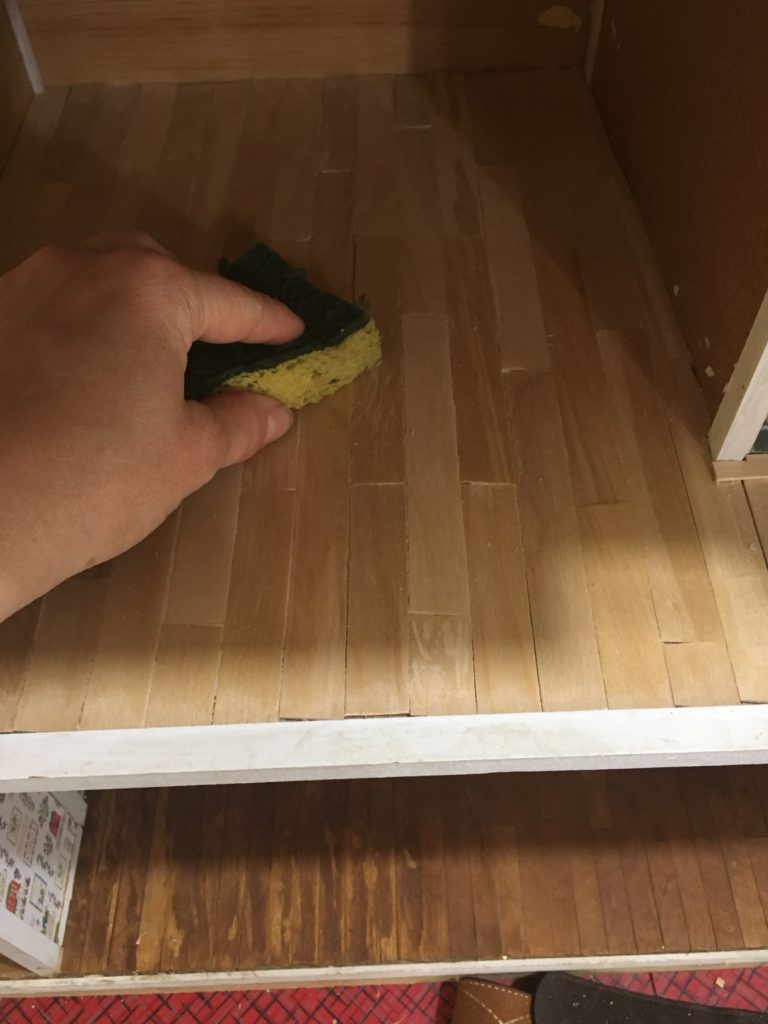
After sanding, wipe the boards with a damp sponge to clean sawdust off the surface before varnishing.
After sanding, I wiped the boards with a damp sponge to remove excess sawdust and prep the surface for varnishing. If you decide to use stain, now would be the time to do it, before varnishing.
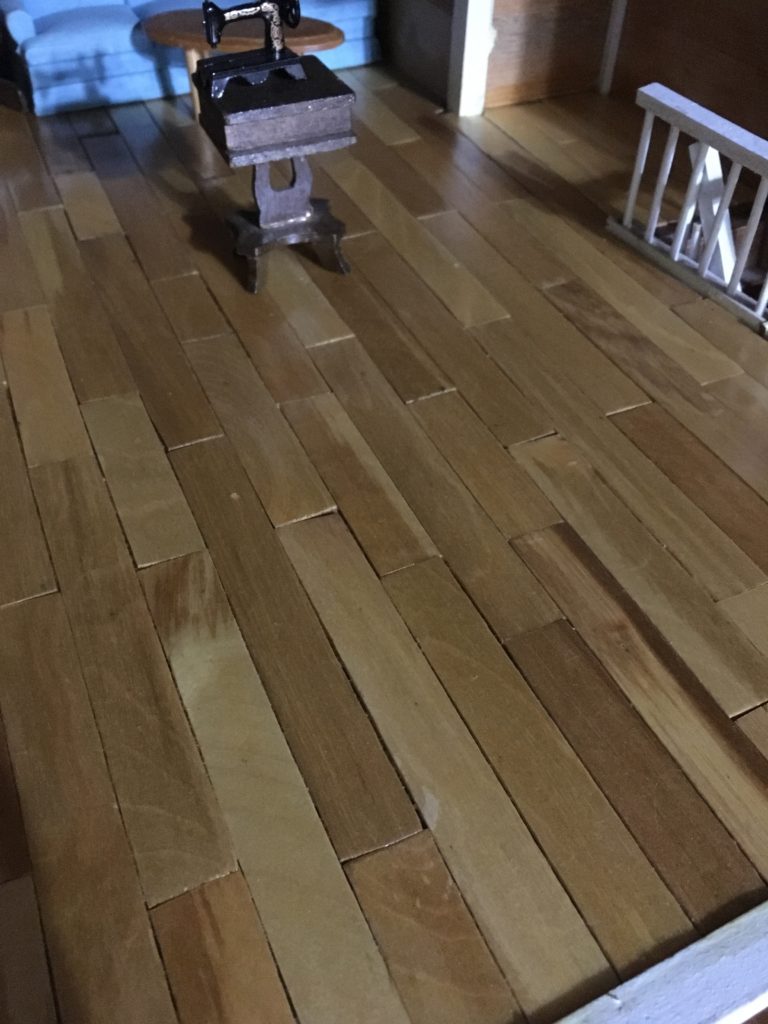
After several coats of varnish.
I applied varnish according to instructions on the can- putting it on with a brush, letting it dry, sanding lightly (I used a torn piece of paper to sand, as it doesn’t take much), and then applying another coat. I applied several coats until I was satisfied. Now, my first-level flooring is jealous!