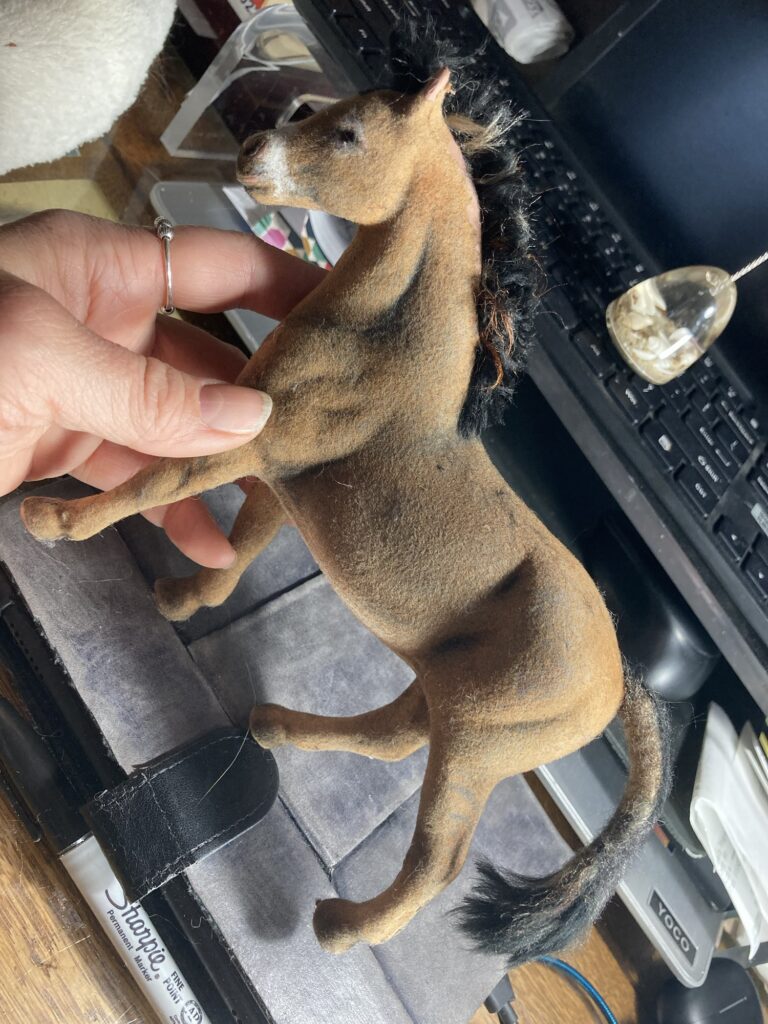
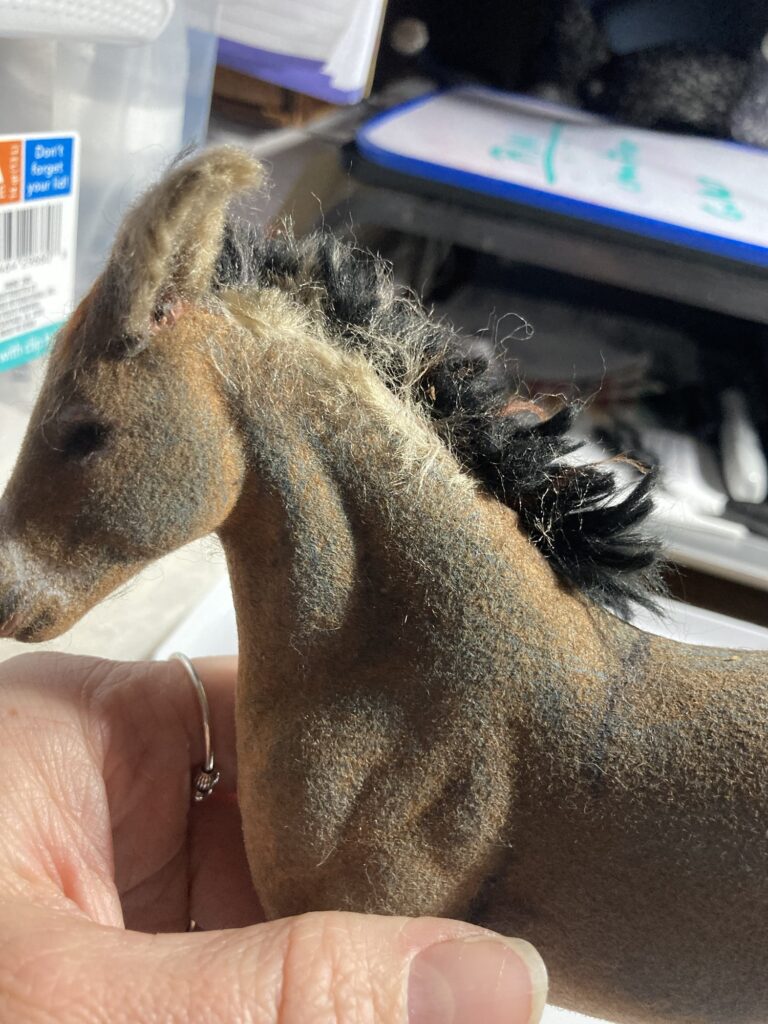
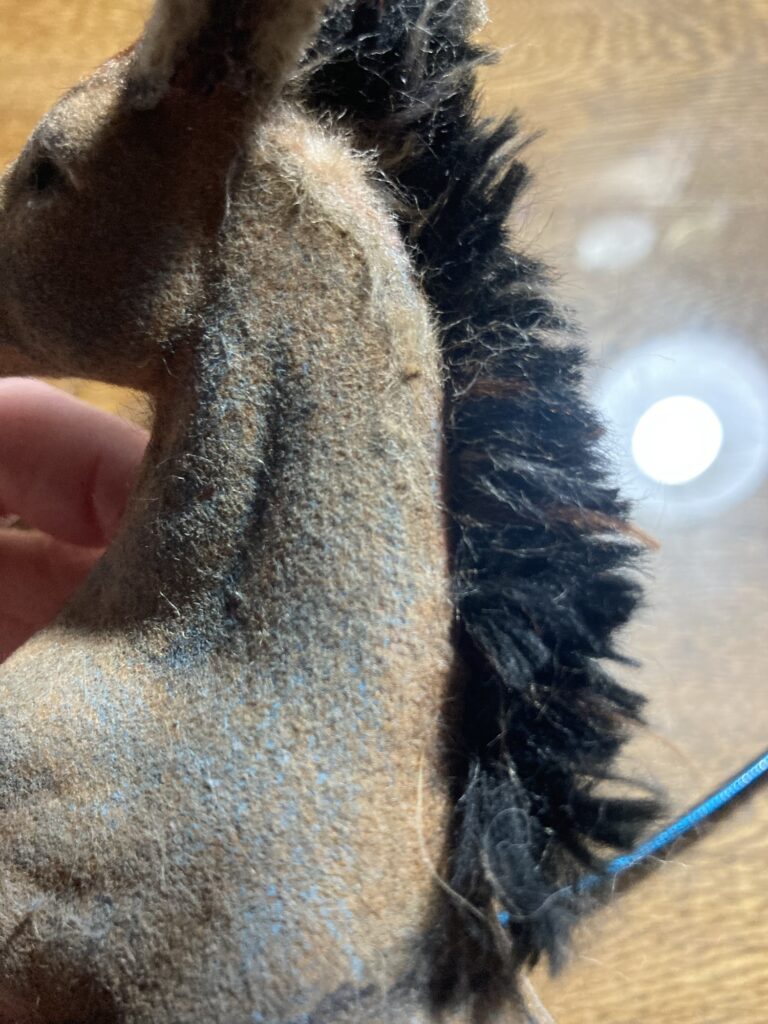
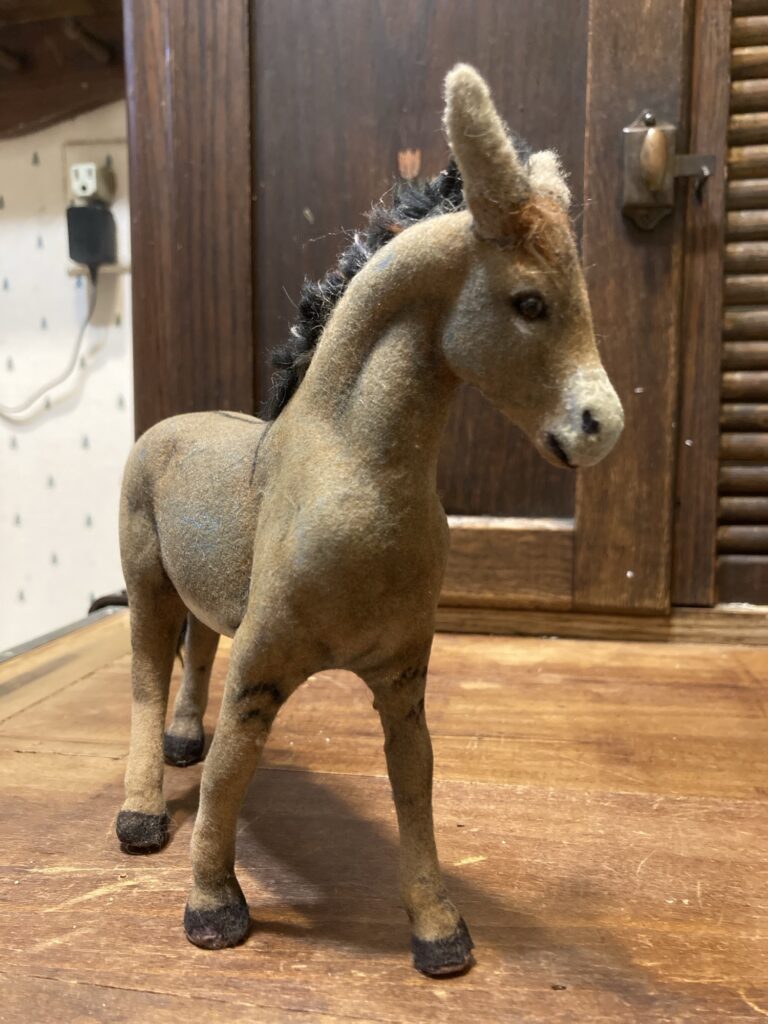
Altering an old flocked horse toy to add detail and make it look like a donkey.
In my last article, I started working on taking an old flocked toy horse and altering it so it resembles a donkey. We already added mane and used colored pencils to add more detail and shading. In this article we will finish up by adding long ears, a tail, and missing body hair.
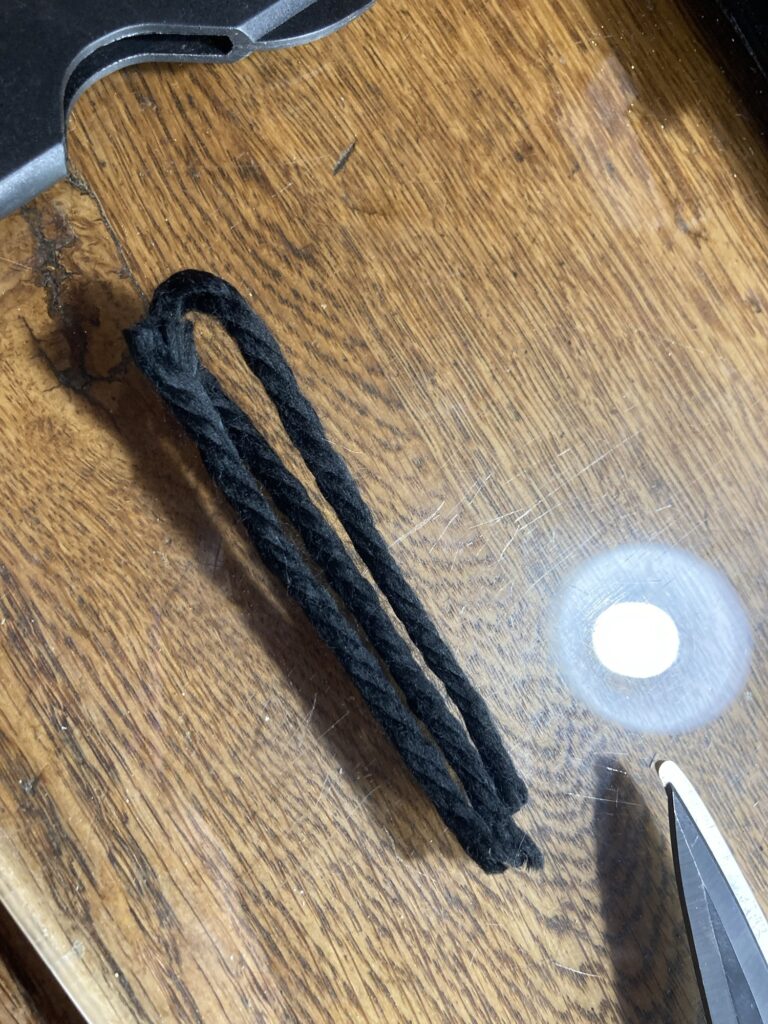
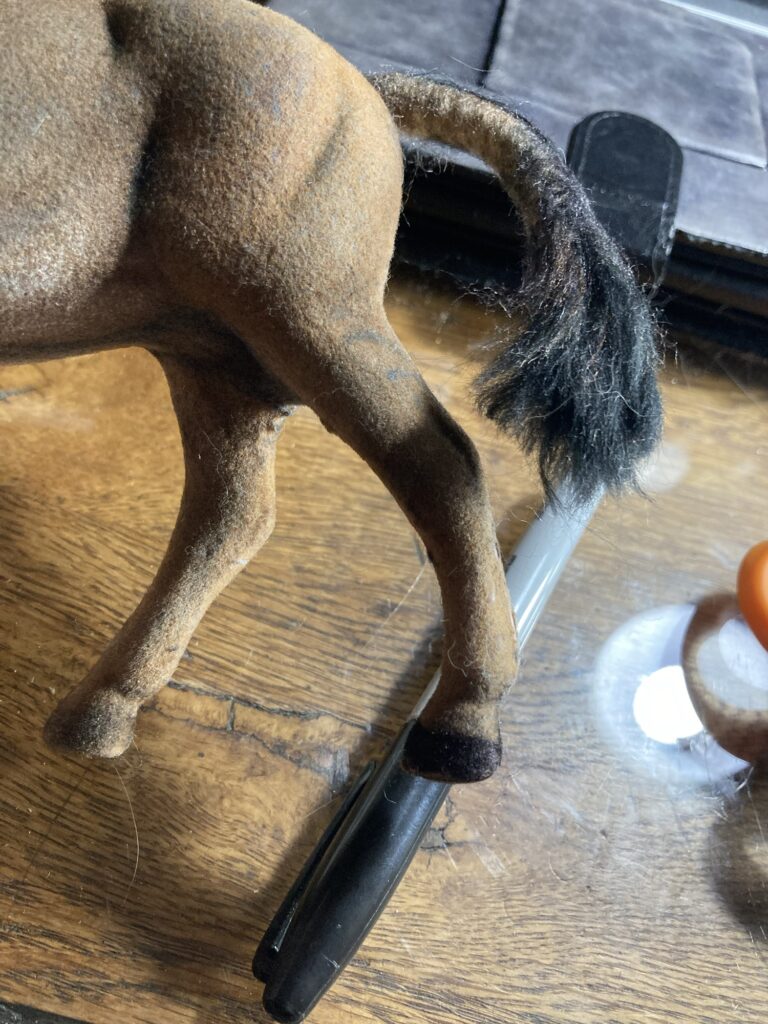
First I will start with the tail. i took some acrylic yarn and made a core for the tail by folding a piece over itself into a shape about as long as i want the tail to be.
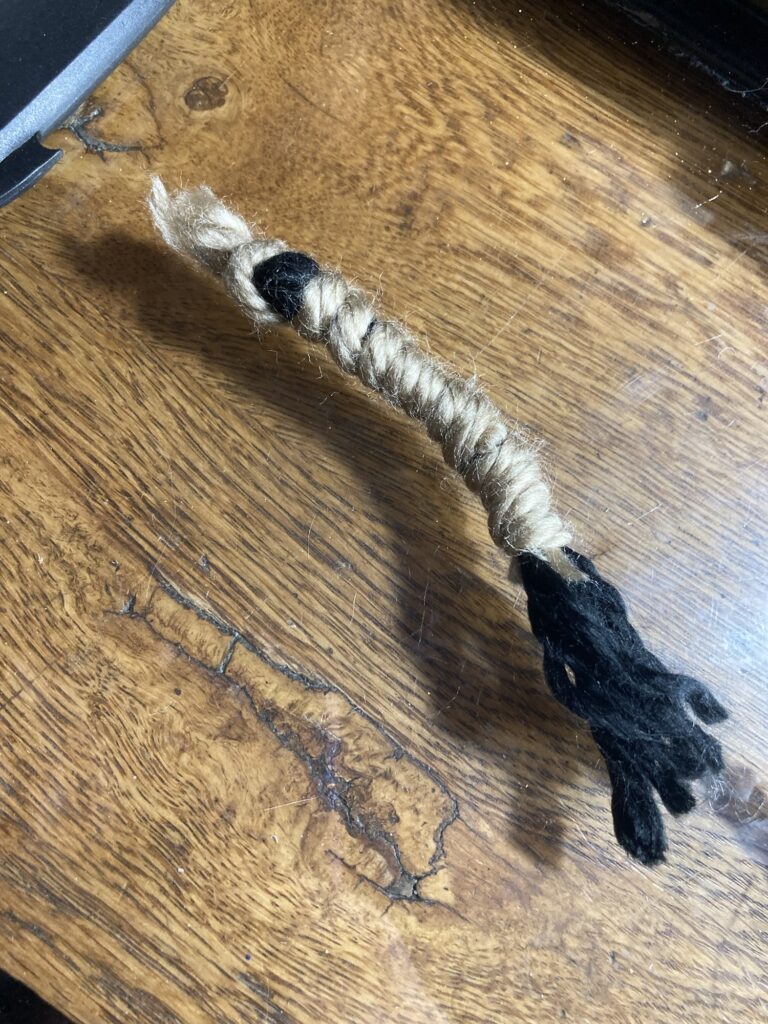
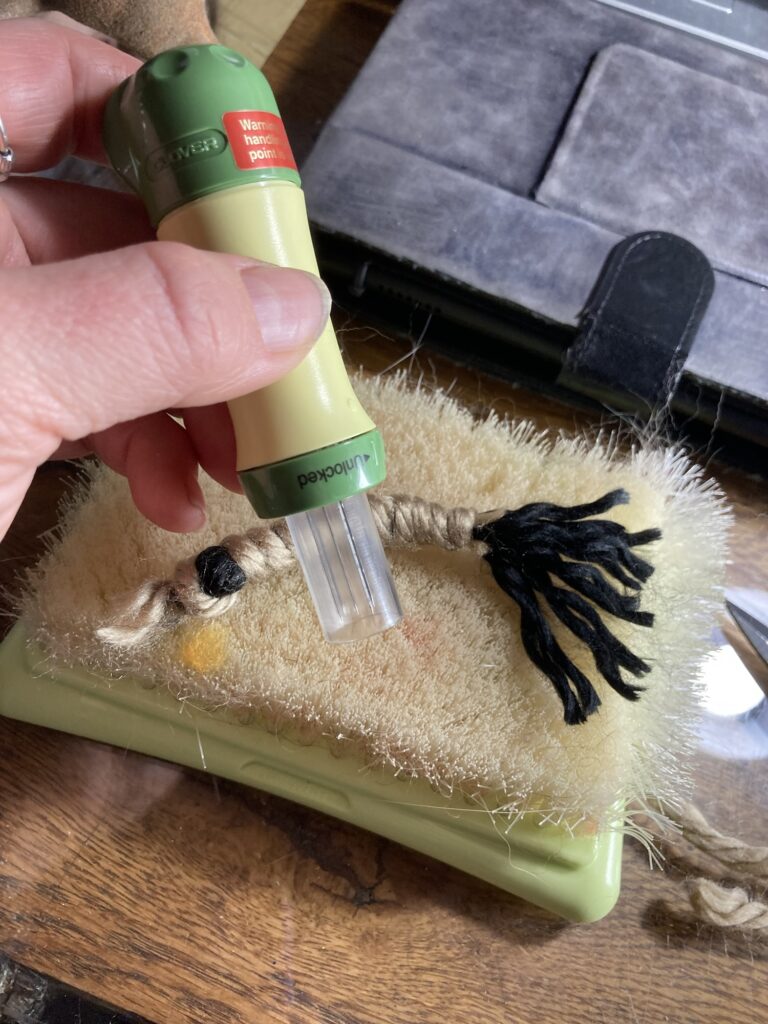
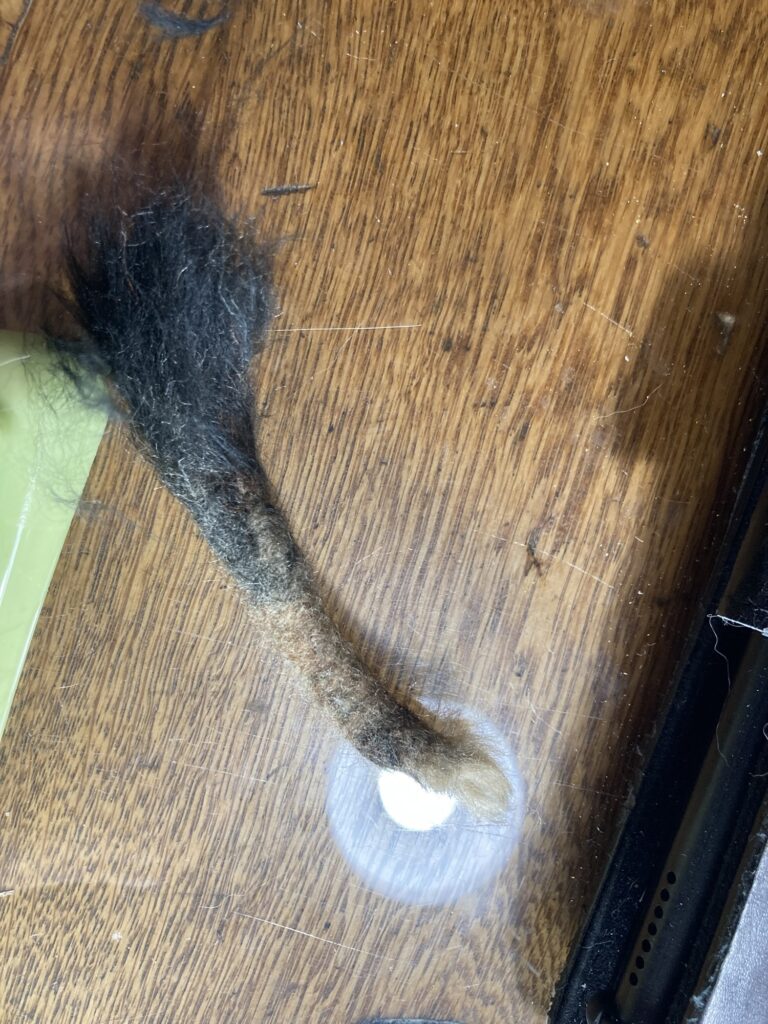
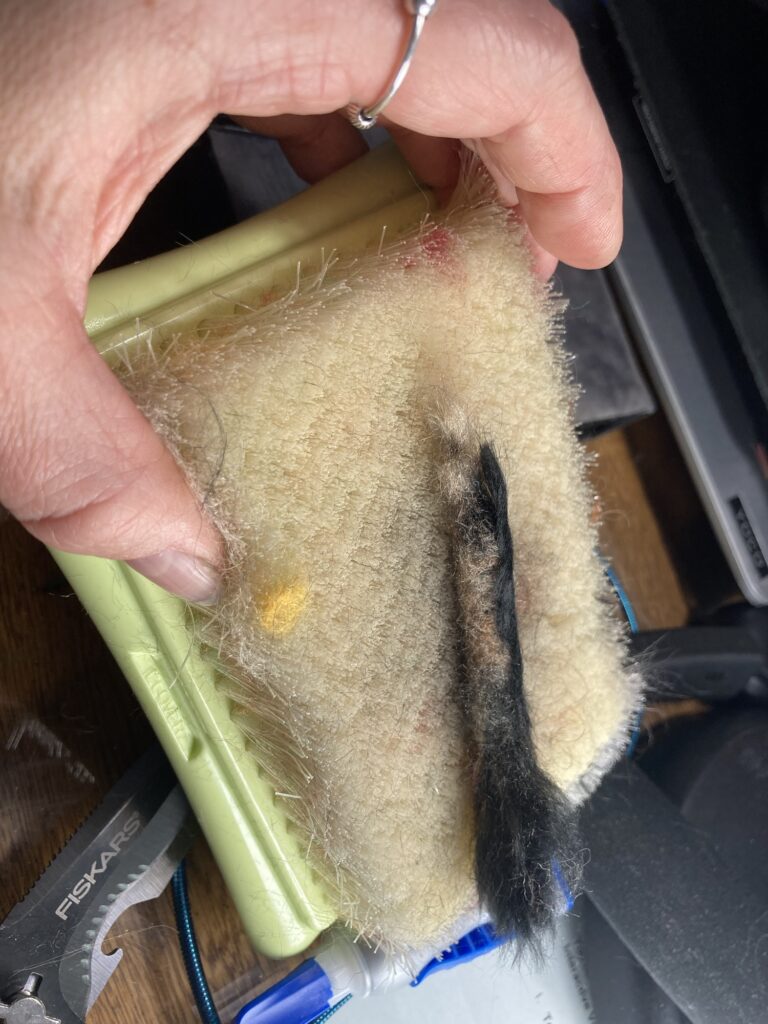
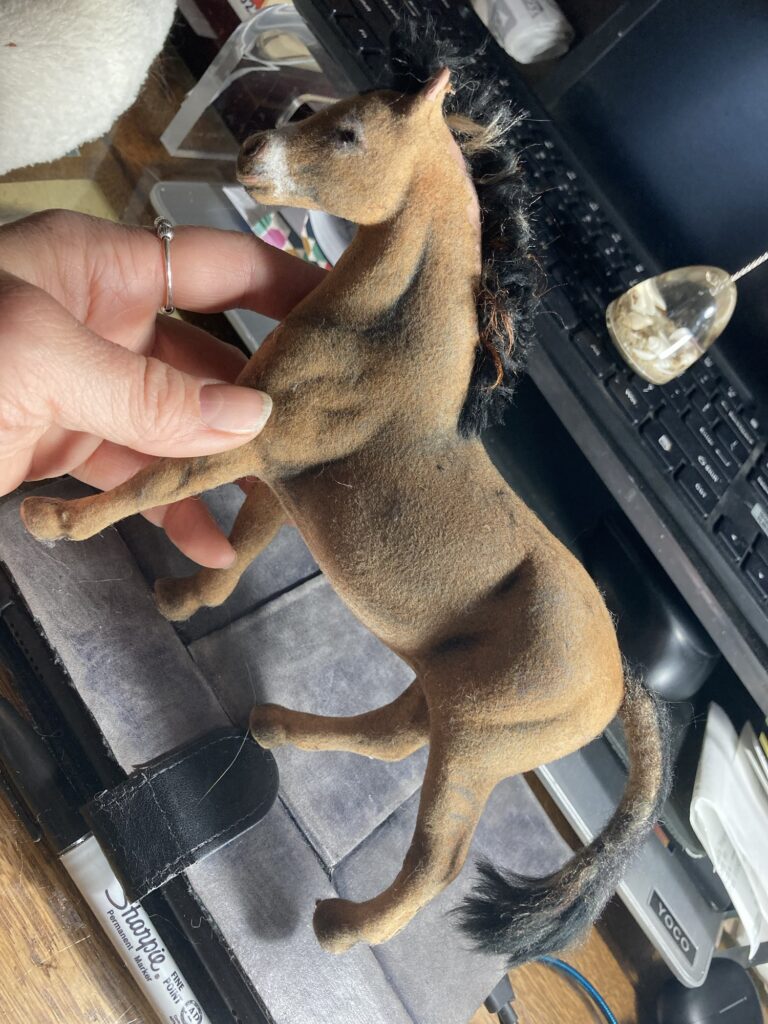
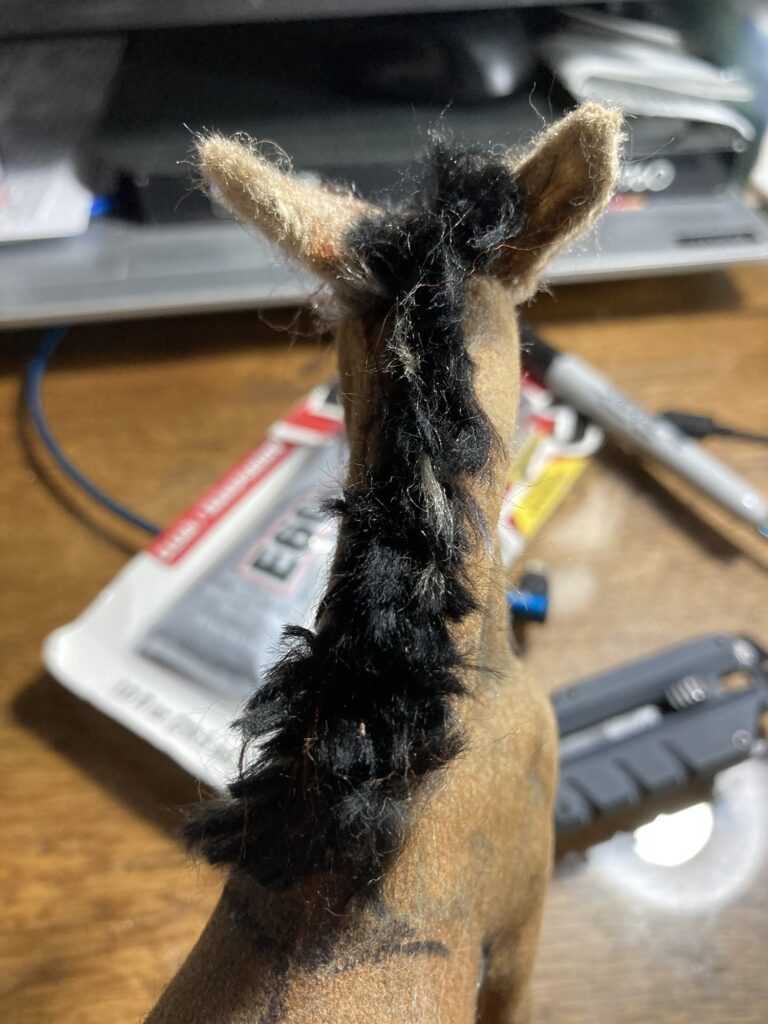
Next I wrapped the core of the tail with some brown yarn that closely matches the color of the donkey body.Then I took my felting needle tool and pummeled the tail to push the fibers together.Here i have the tail looking more like a tail, leaving the tip of it alone so it looks hairier.I added a black stripe down the back.Here is our donkey almost finished, with the tail glued in place.His tail is nice and wispy at the end.
Now i want to work on his ears.
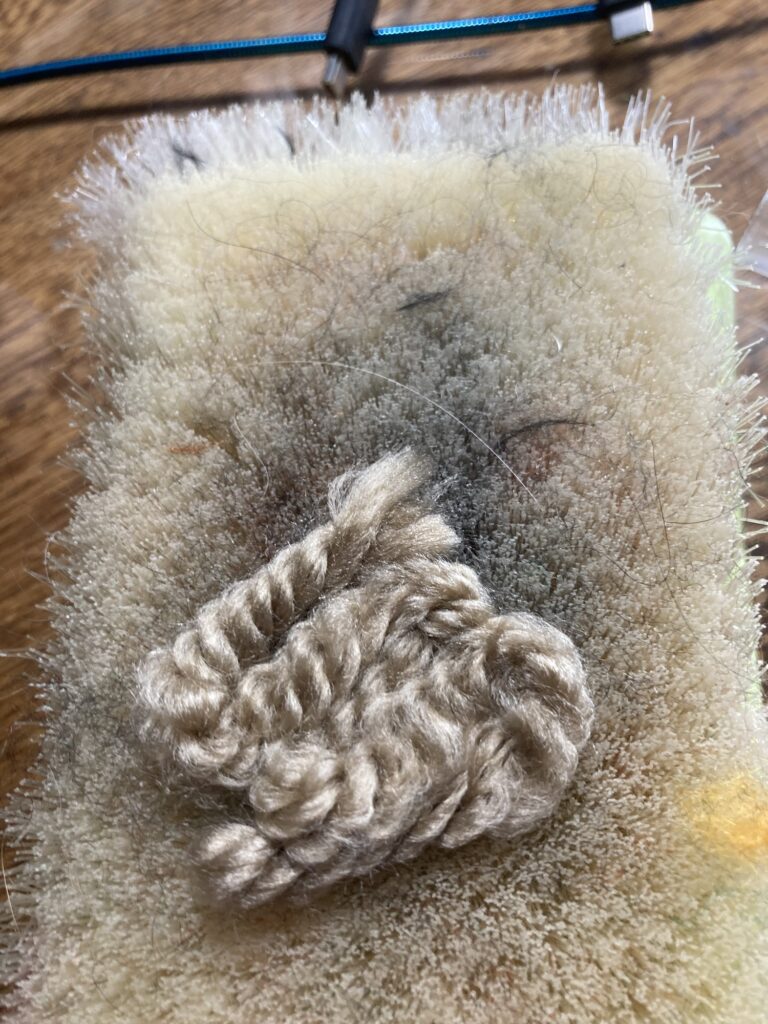
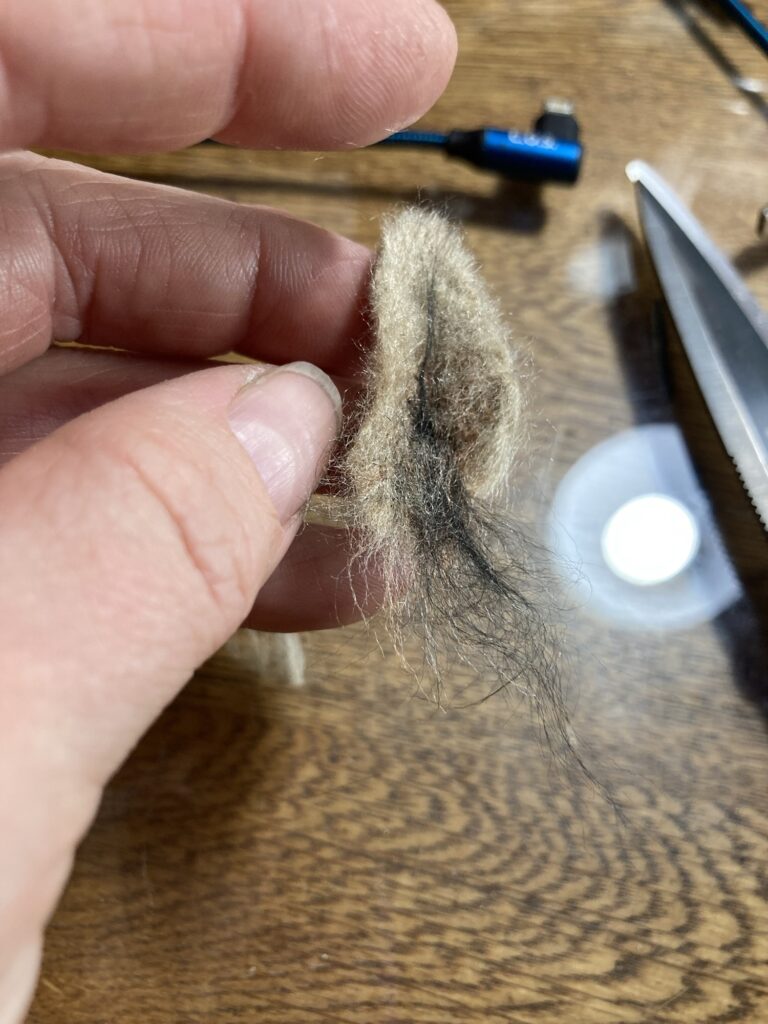
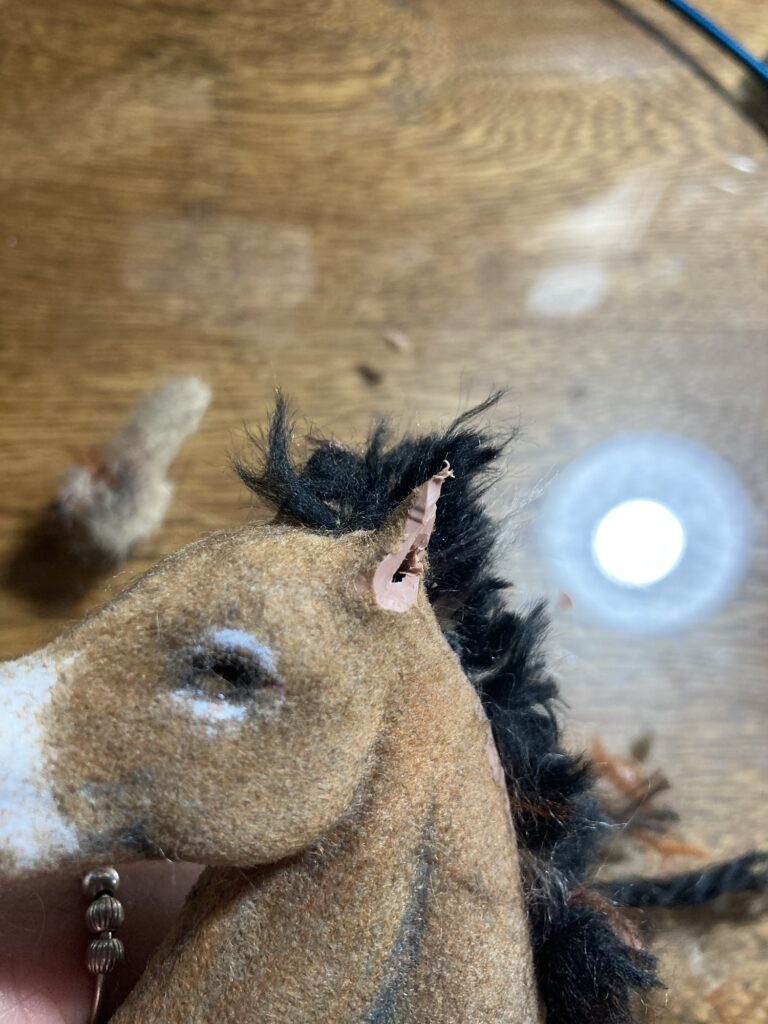
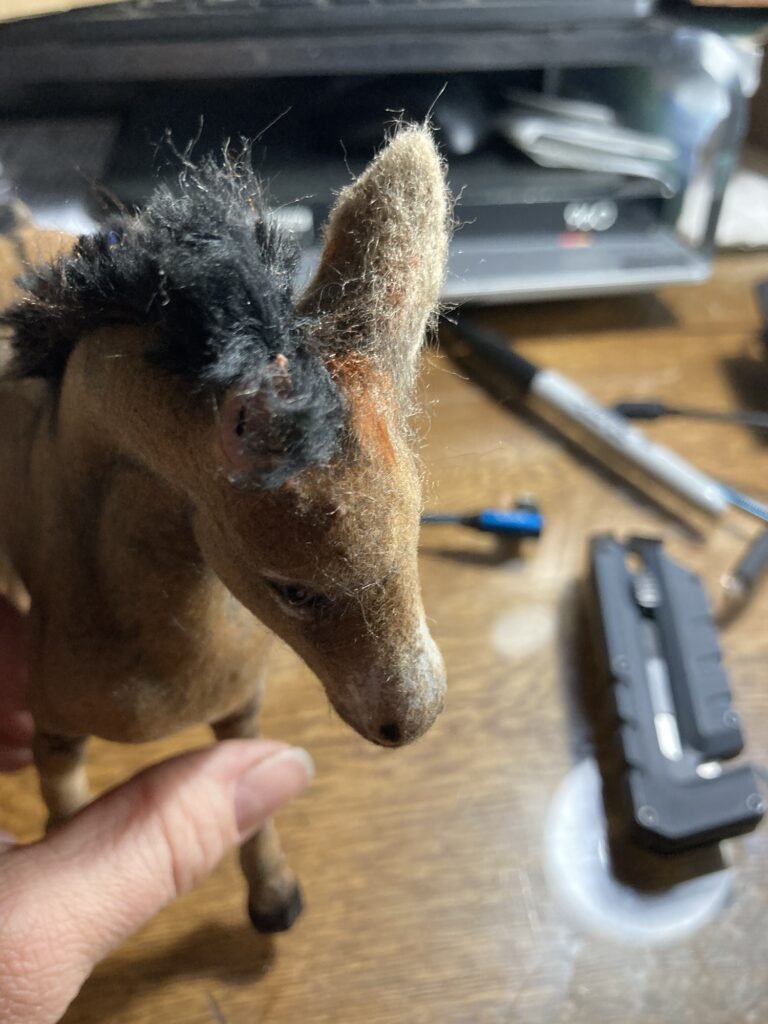
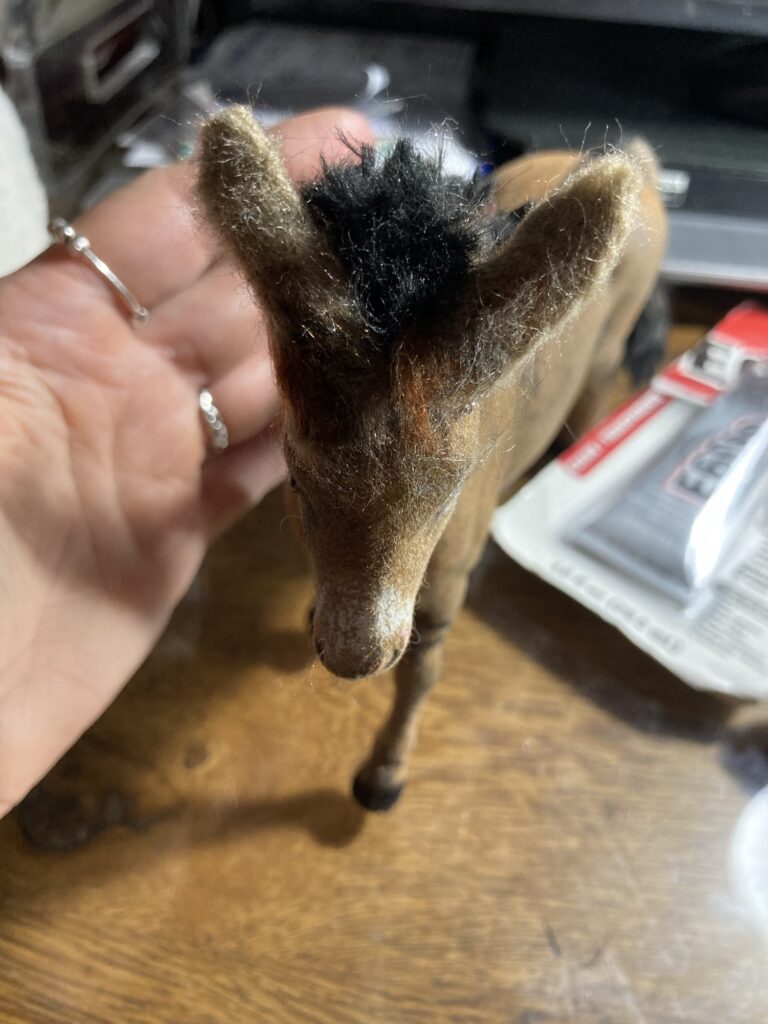
I took a length of yarn that closely matches his body color and snaked it so it is in a basic shape to start with. I just want a flat piece first, and then i can trim it to the shape i want.Here is the first ear. I used the felting needles to create a flat piece of material and then trimmed and folded it around to create an ear shape.I had to use an exacto knife to cut his original plastic ears so that I can make his new ears positioned the way I want, which is slightly backward like he is paying attention to what is behind him.One ear glued in place over the trimmed plastic ear.Both ears in place.
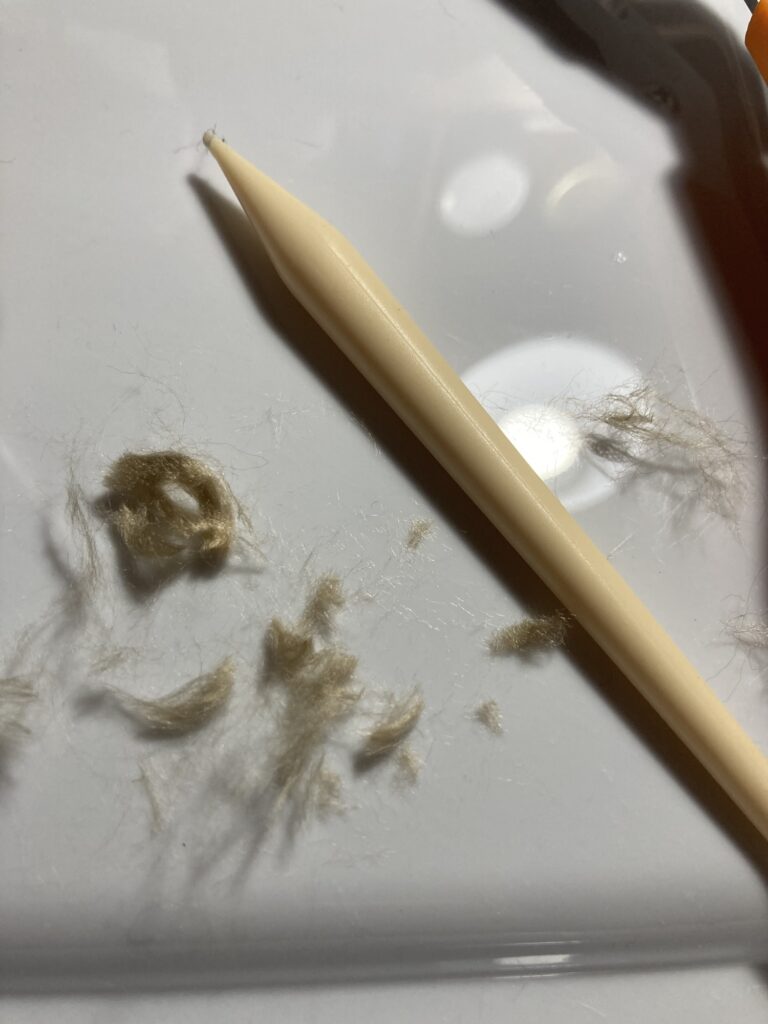
Next i cut some tiny pieces of the yarn that matches his body color and glued them to areas where some of his flocking has worn off.
Yarn glued to areas with missing flocking.I trimmed the hair with fine scissors so it more closely resembles the body hair he already had. Completed donkey.
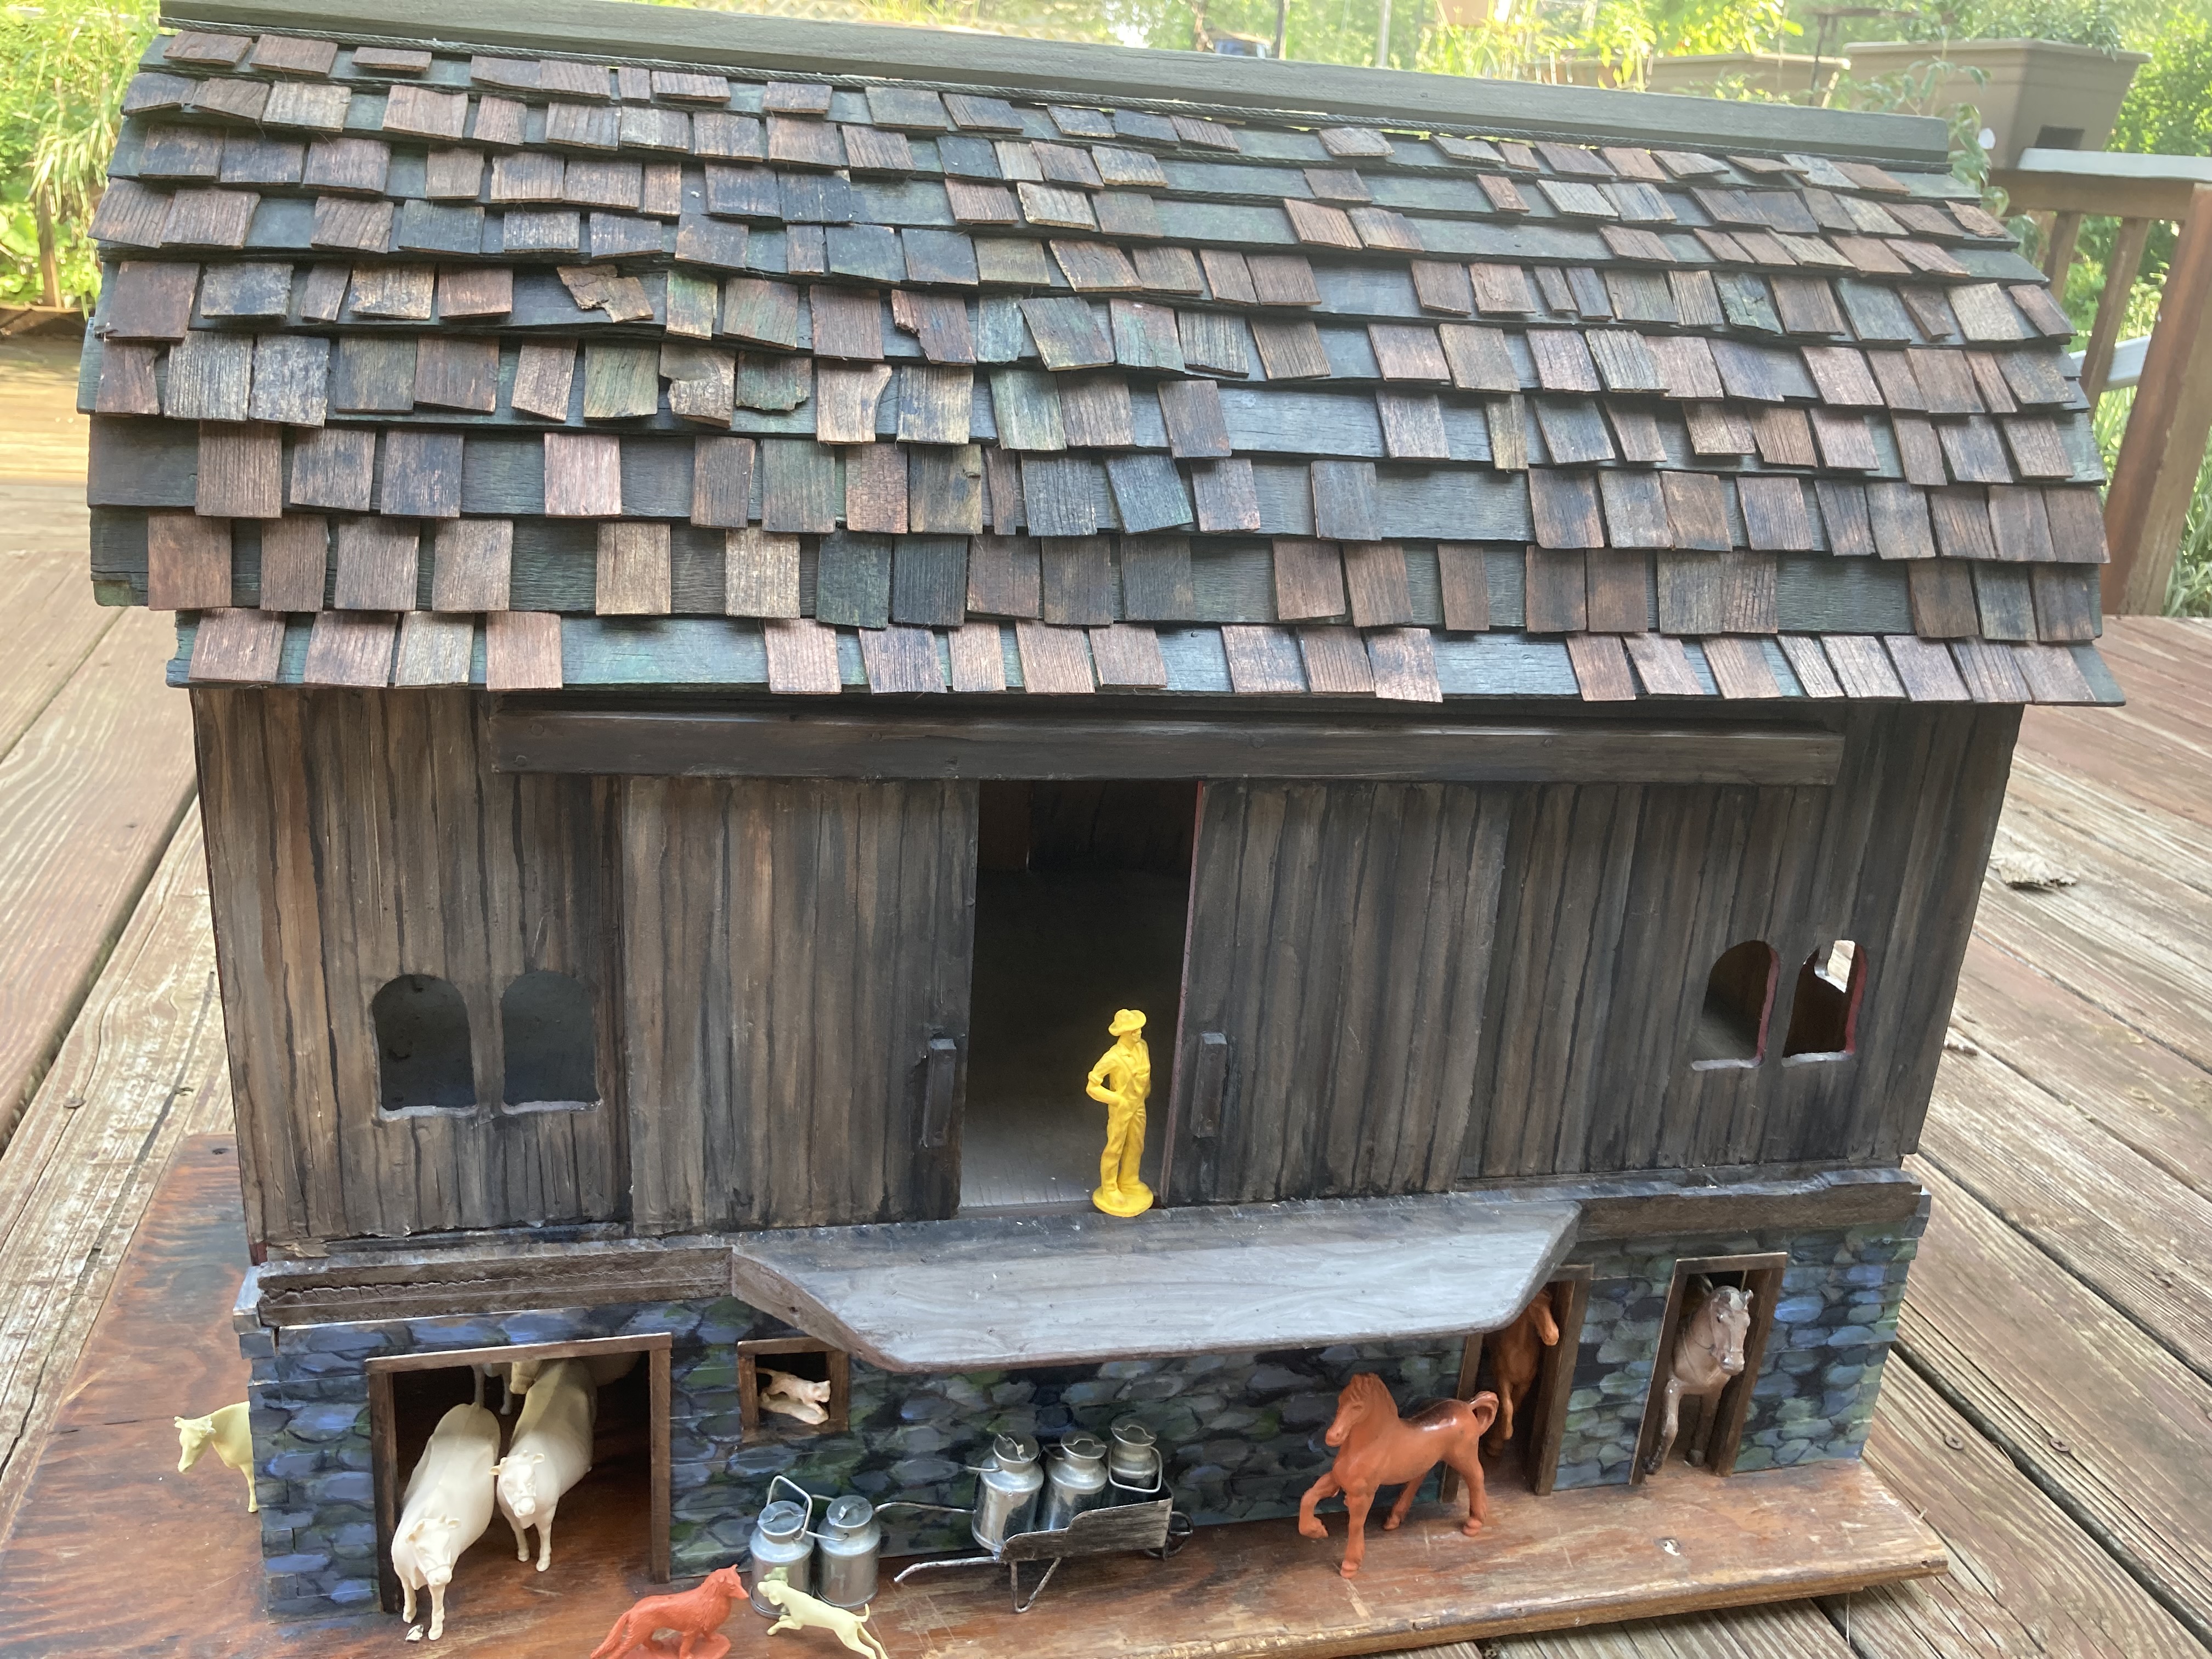
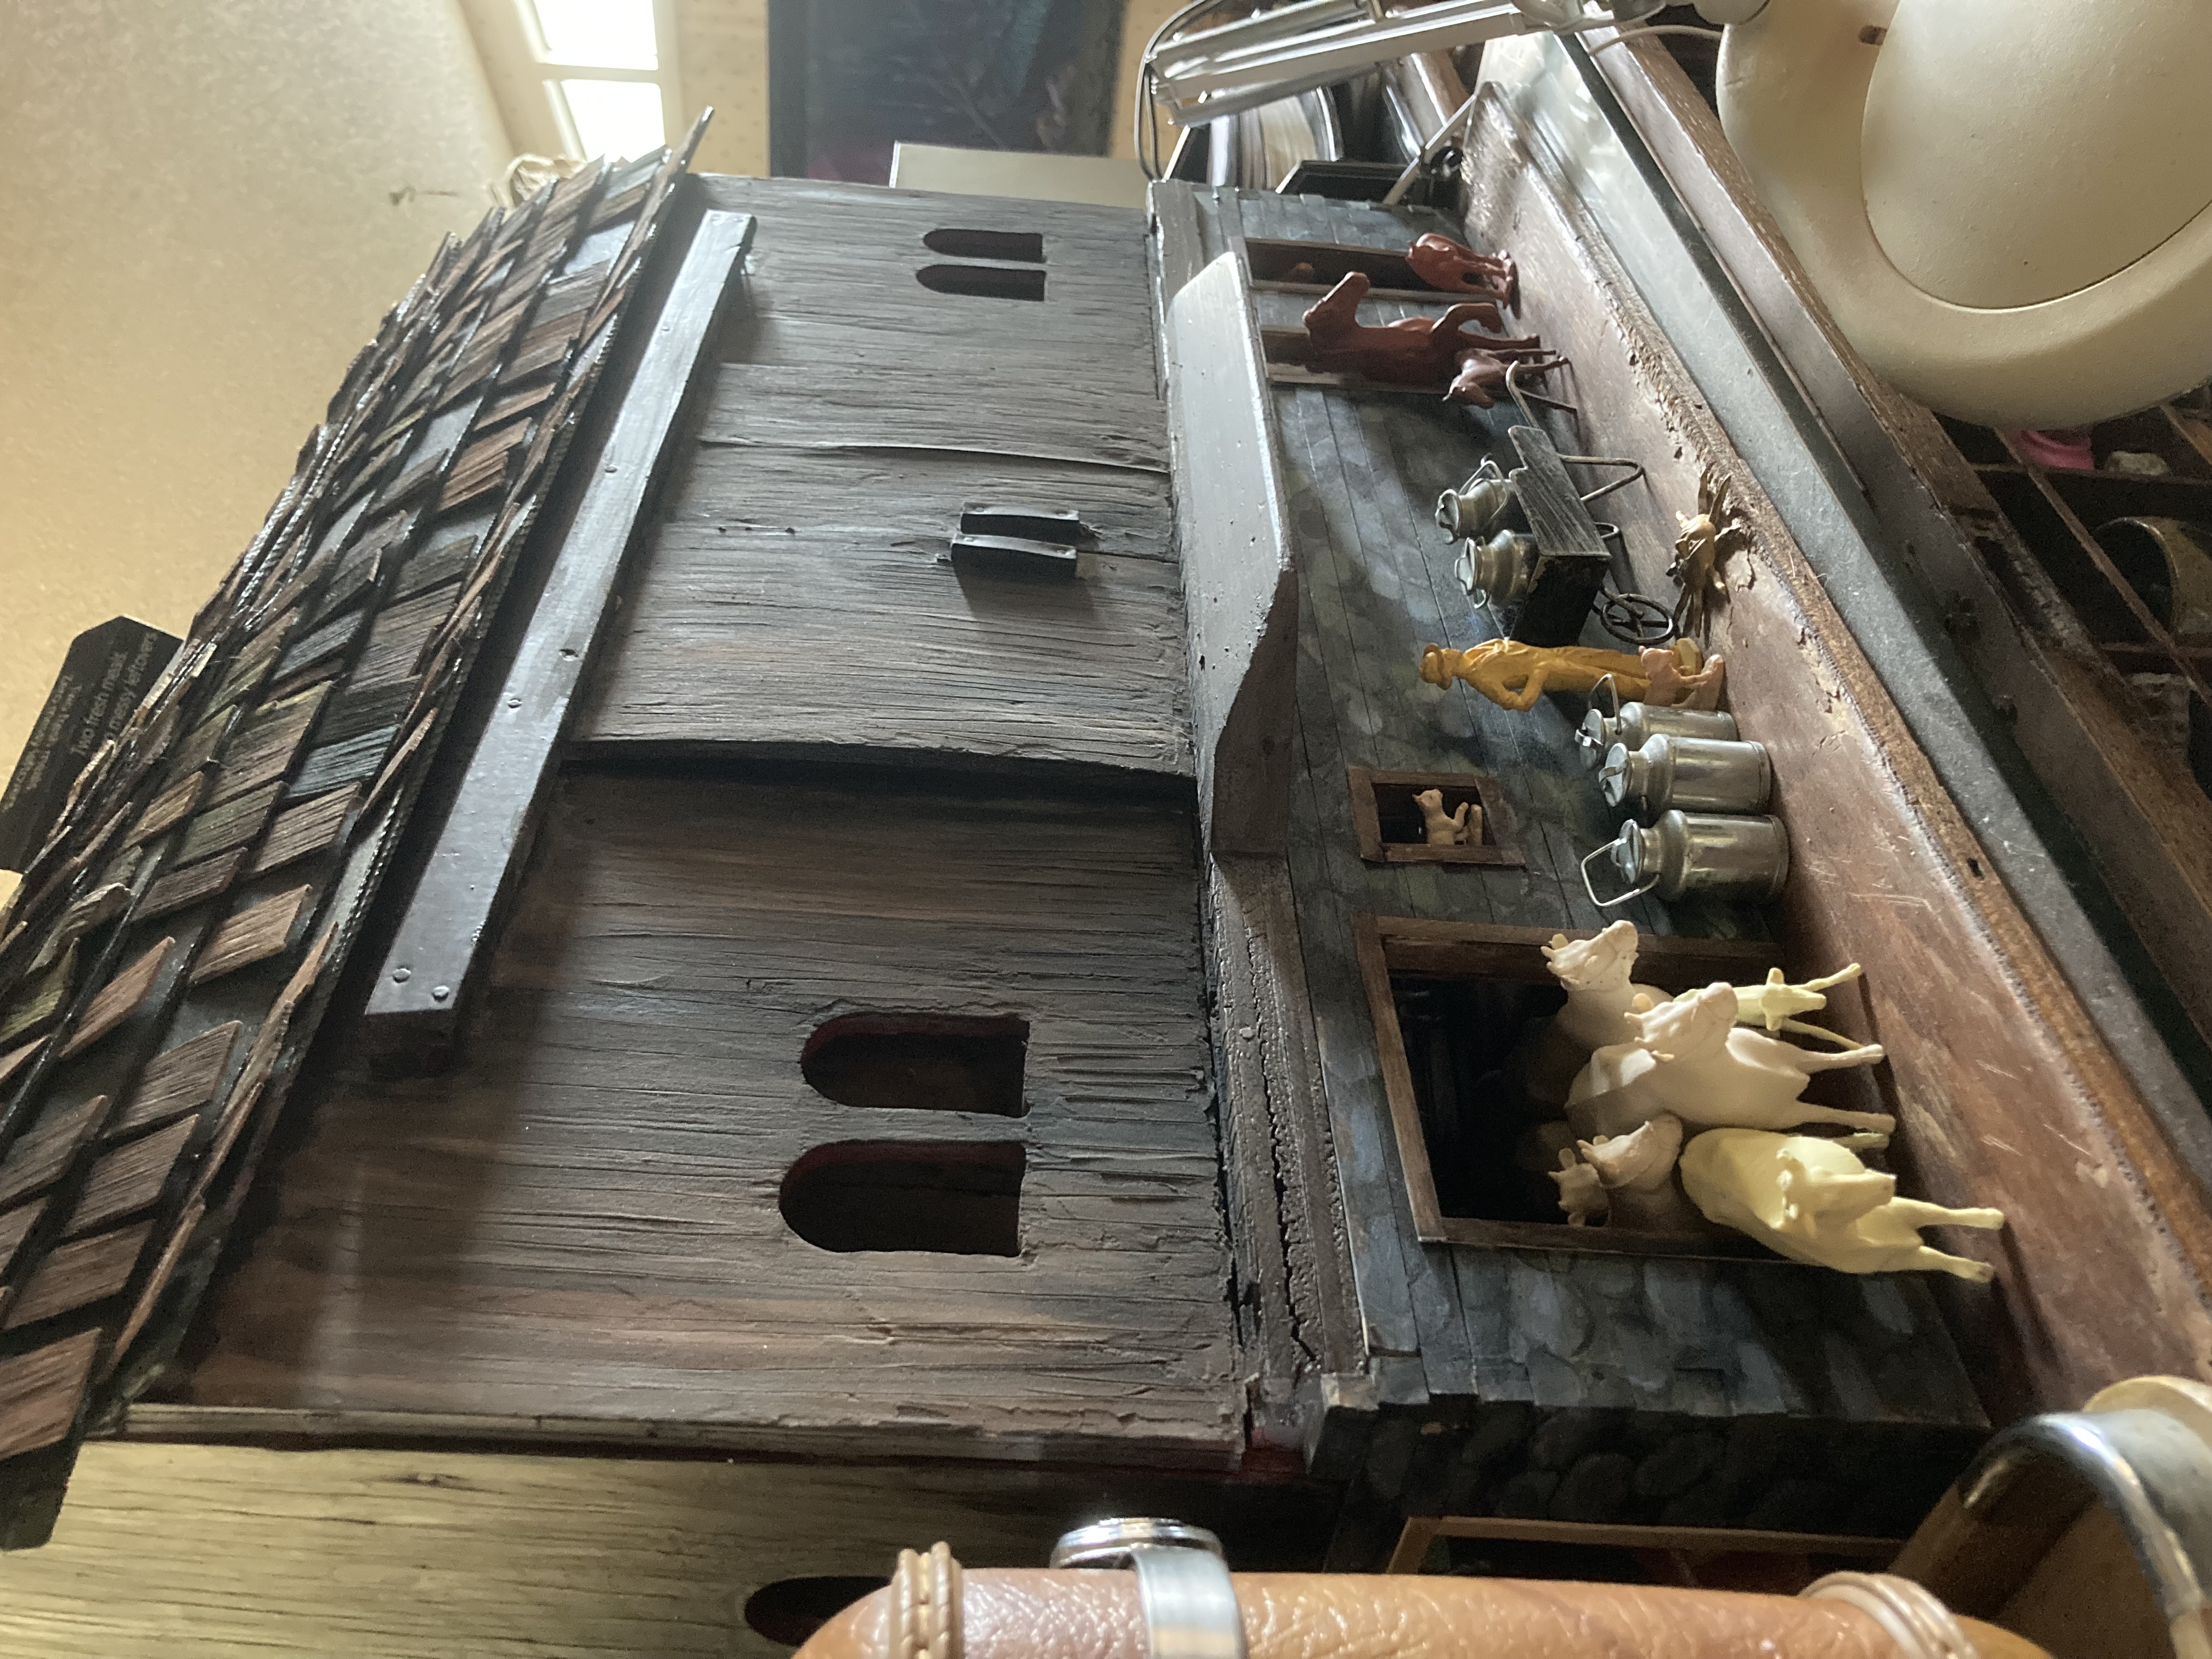
This barn was once part of someone’s railroad table. I had been looking for a good barn project (I love old farms, especially the barns, especially when they once had horses in them. I am a now-horseless horse-nut).
This barn was originally made to sit flat on the ground, but I wanted a lower level with livestock pens, more similar to my grandparents’ bank barn. In order for that to happen, I would have to build a base for it to sit into.
Building the base.
I started with a good plywood board for the base, set the barn on top, in the position I wanted to permanently affix it in. I traced out the barn’s outline.
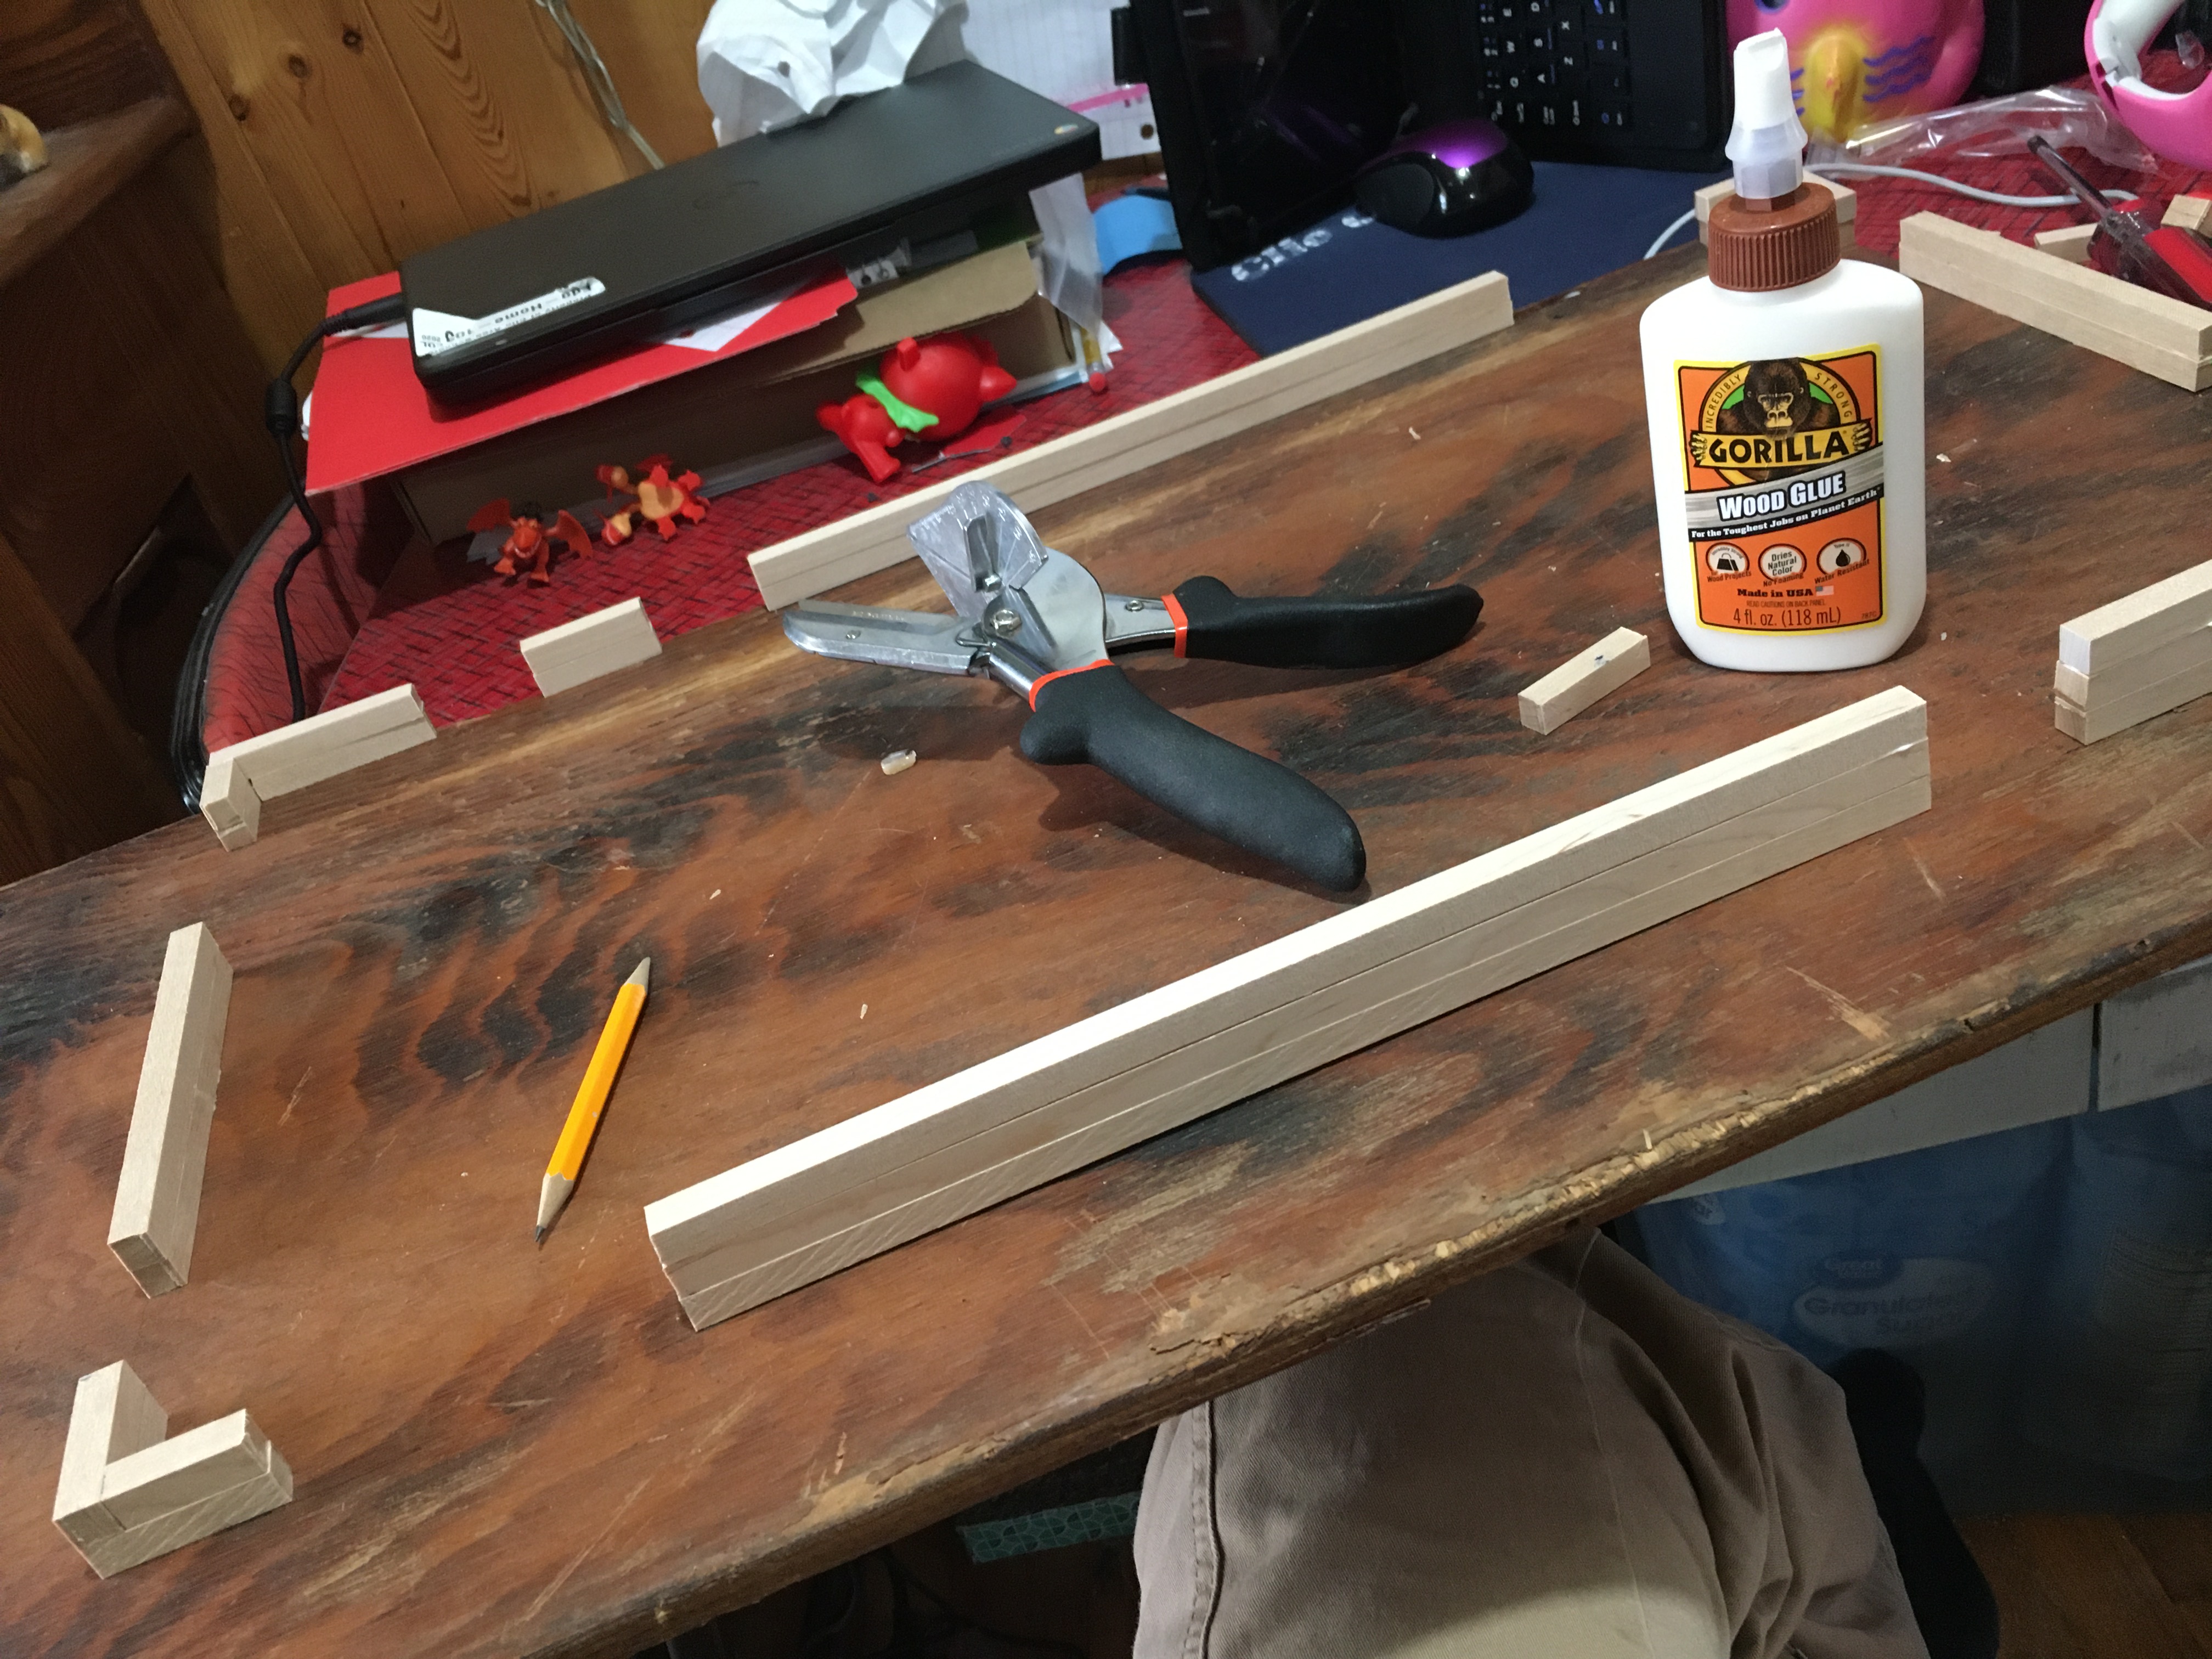
Next I decided on the locations of doors and marked them with a pencil. I then cut lengths of square dowel to fit the walls, leaving open spaces for the various doors. I built up layers of dowel, alternating overlaps in the corners for structural strength, gluing them down as I went.
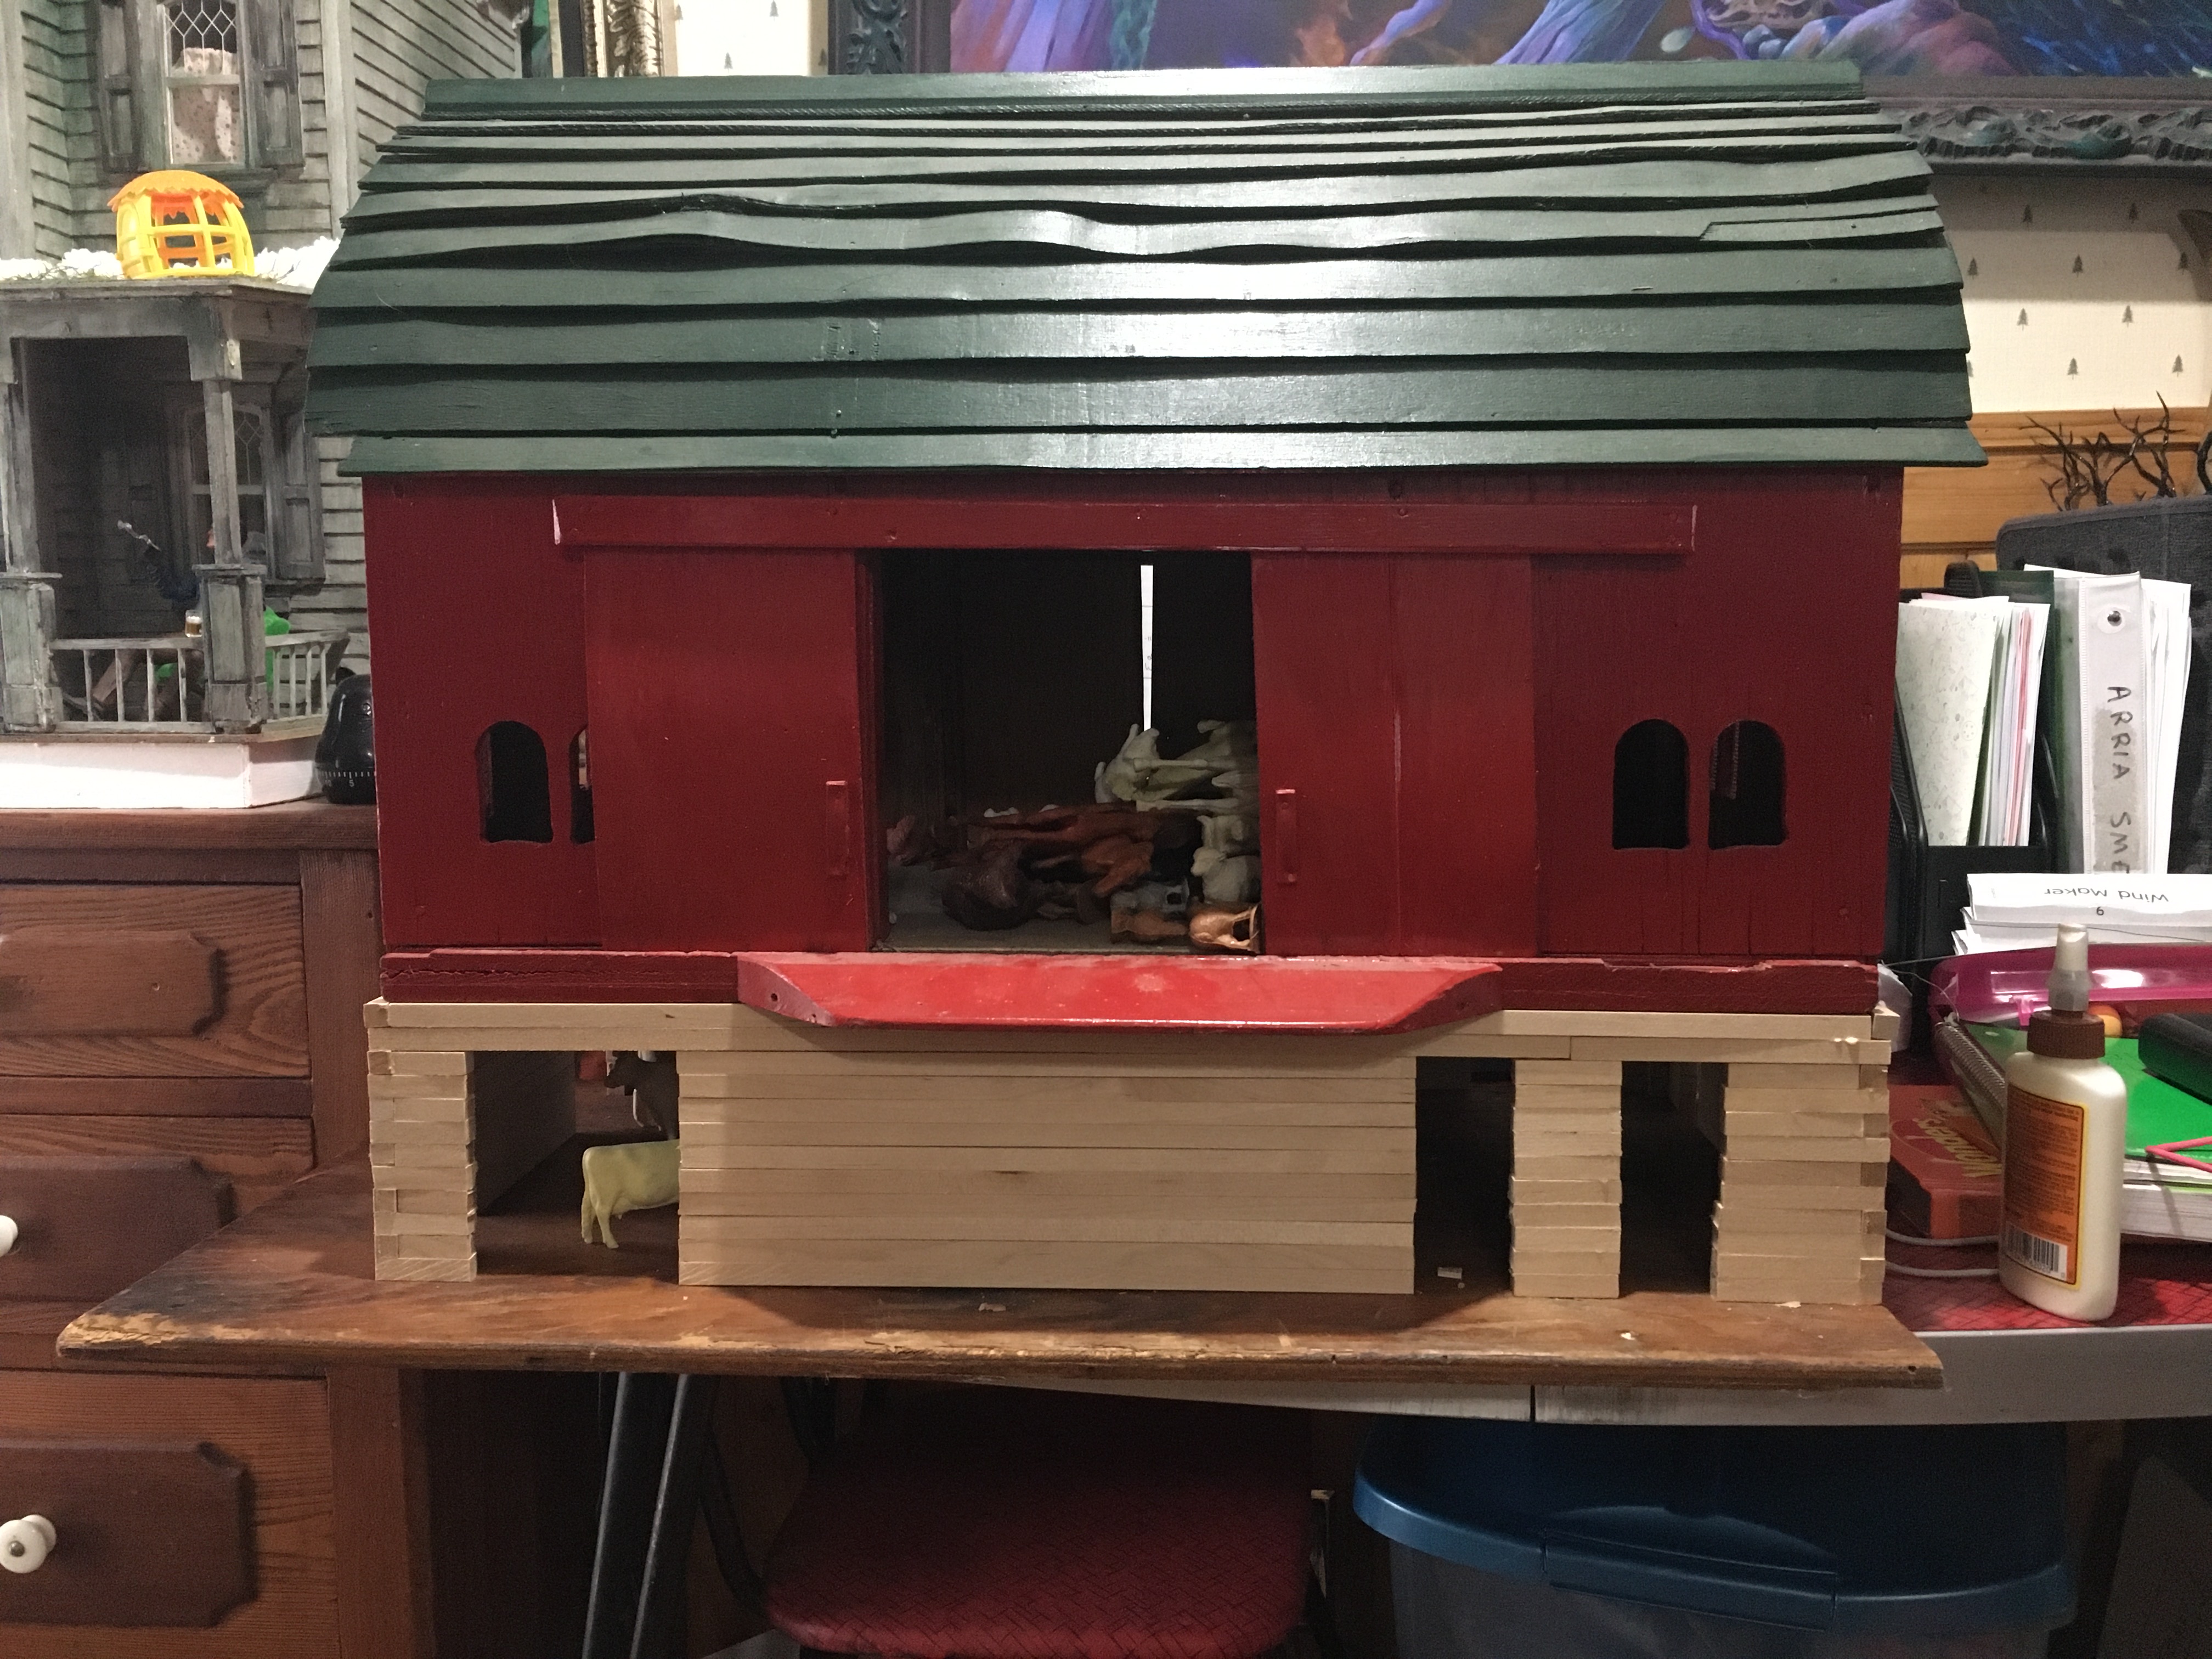
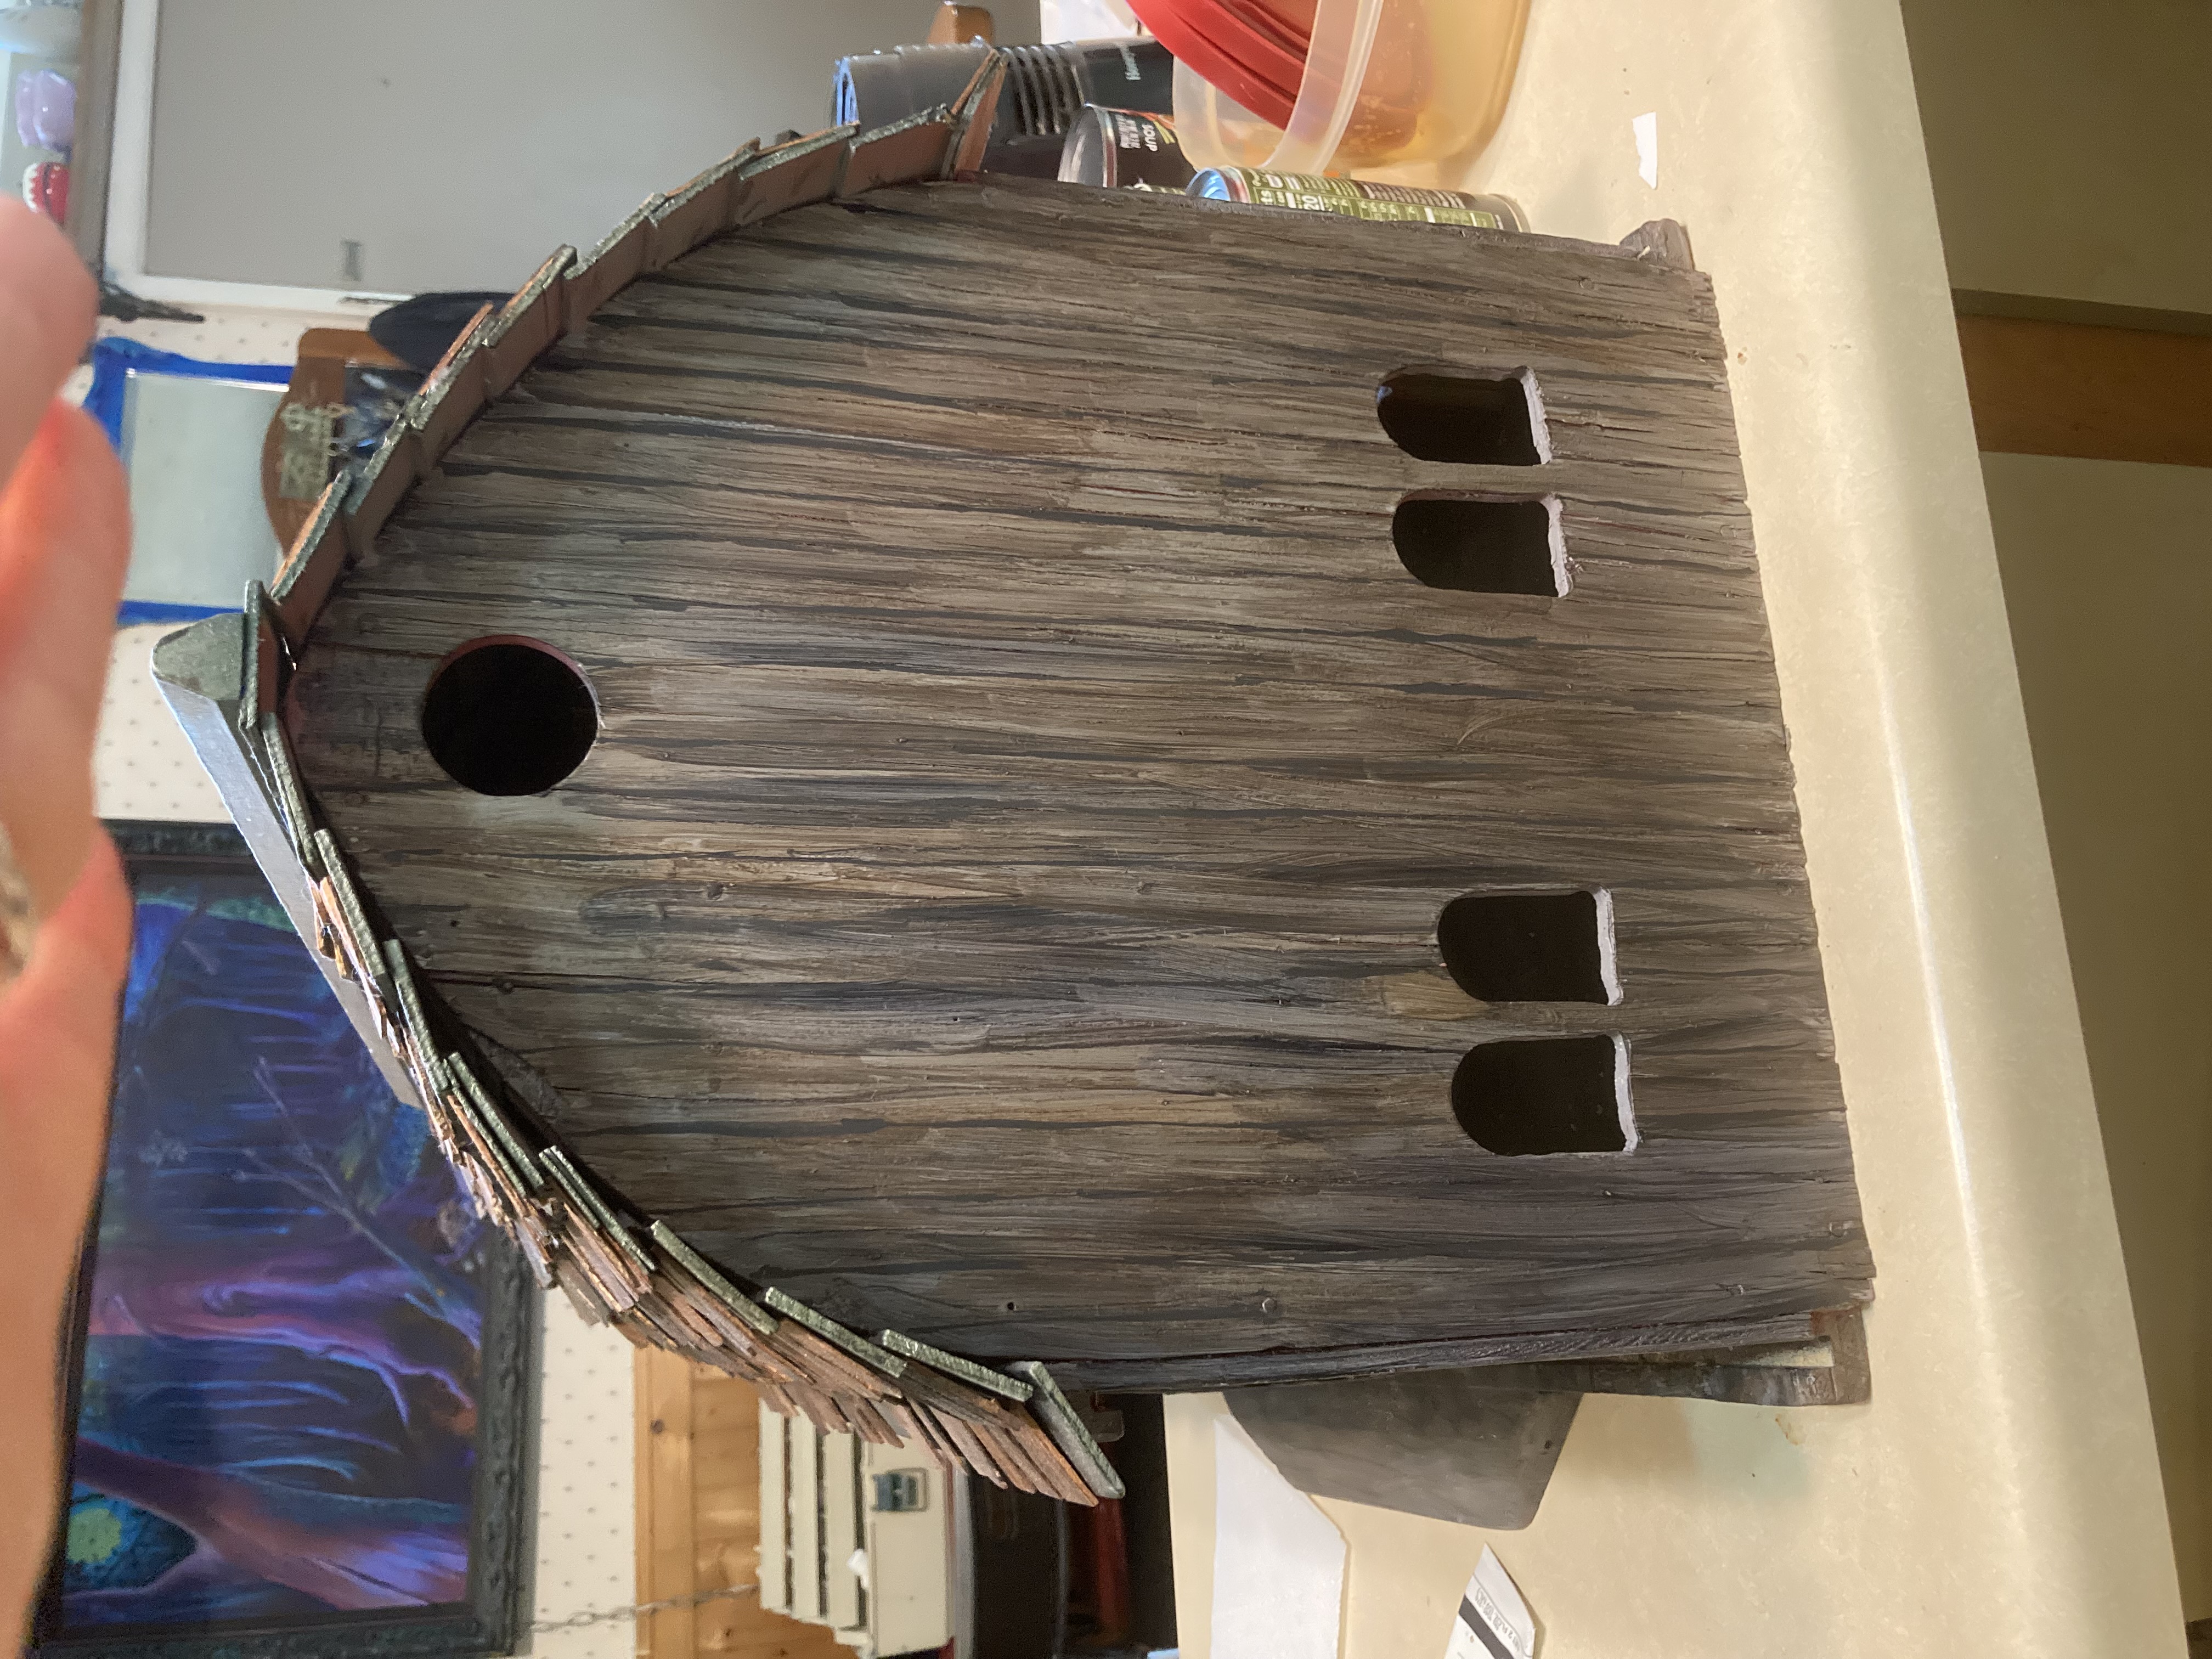
Original version of barn, sitting on top of its new base. I forgot to make the windows, so I later disassembled a few areas to cut out the windows and then glued it back together.
When the bottom of the barn was as tall as I wanted, I customized the dowel placement so the original barn would sit comfortably on it without moving. The main upper section of the barn is not glued onto the base, so that I can lift the top original barn off and see the inside of the lower level.
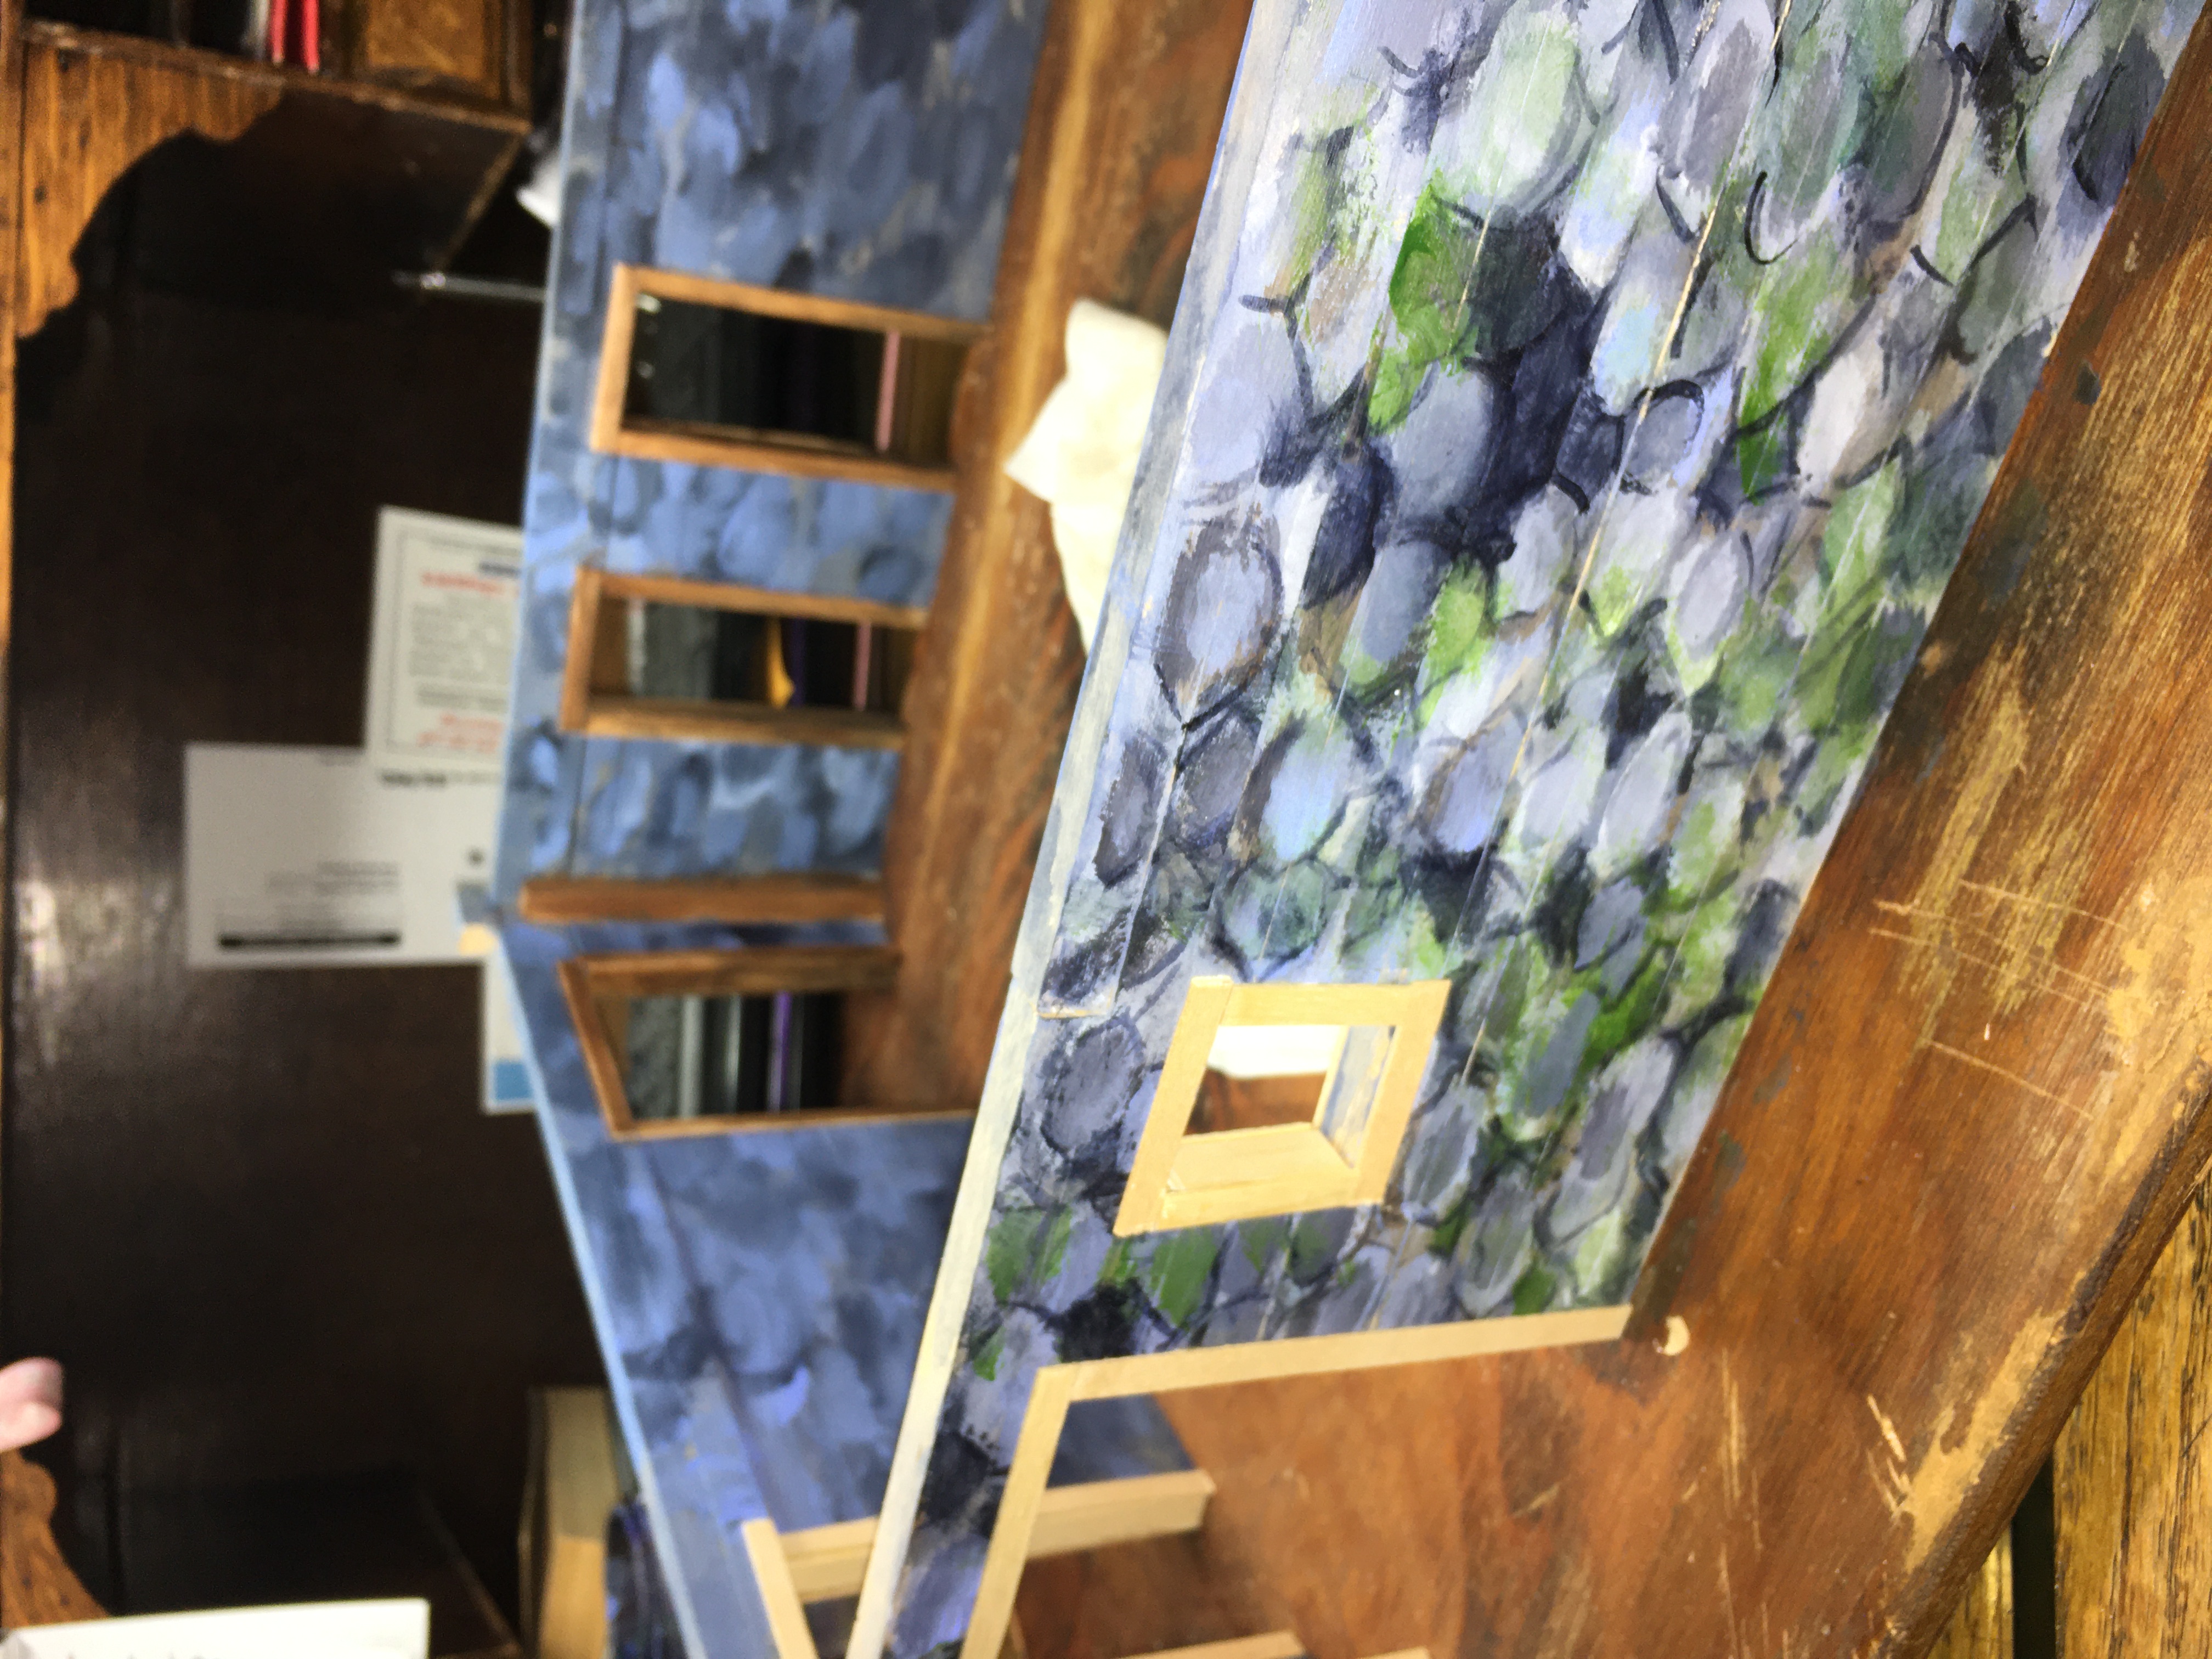
With trim on windows and doors and a little paint added.
I used halved craft sticks to add trim around the windows and doors. This helped to give the edges a more finished look.
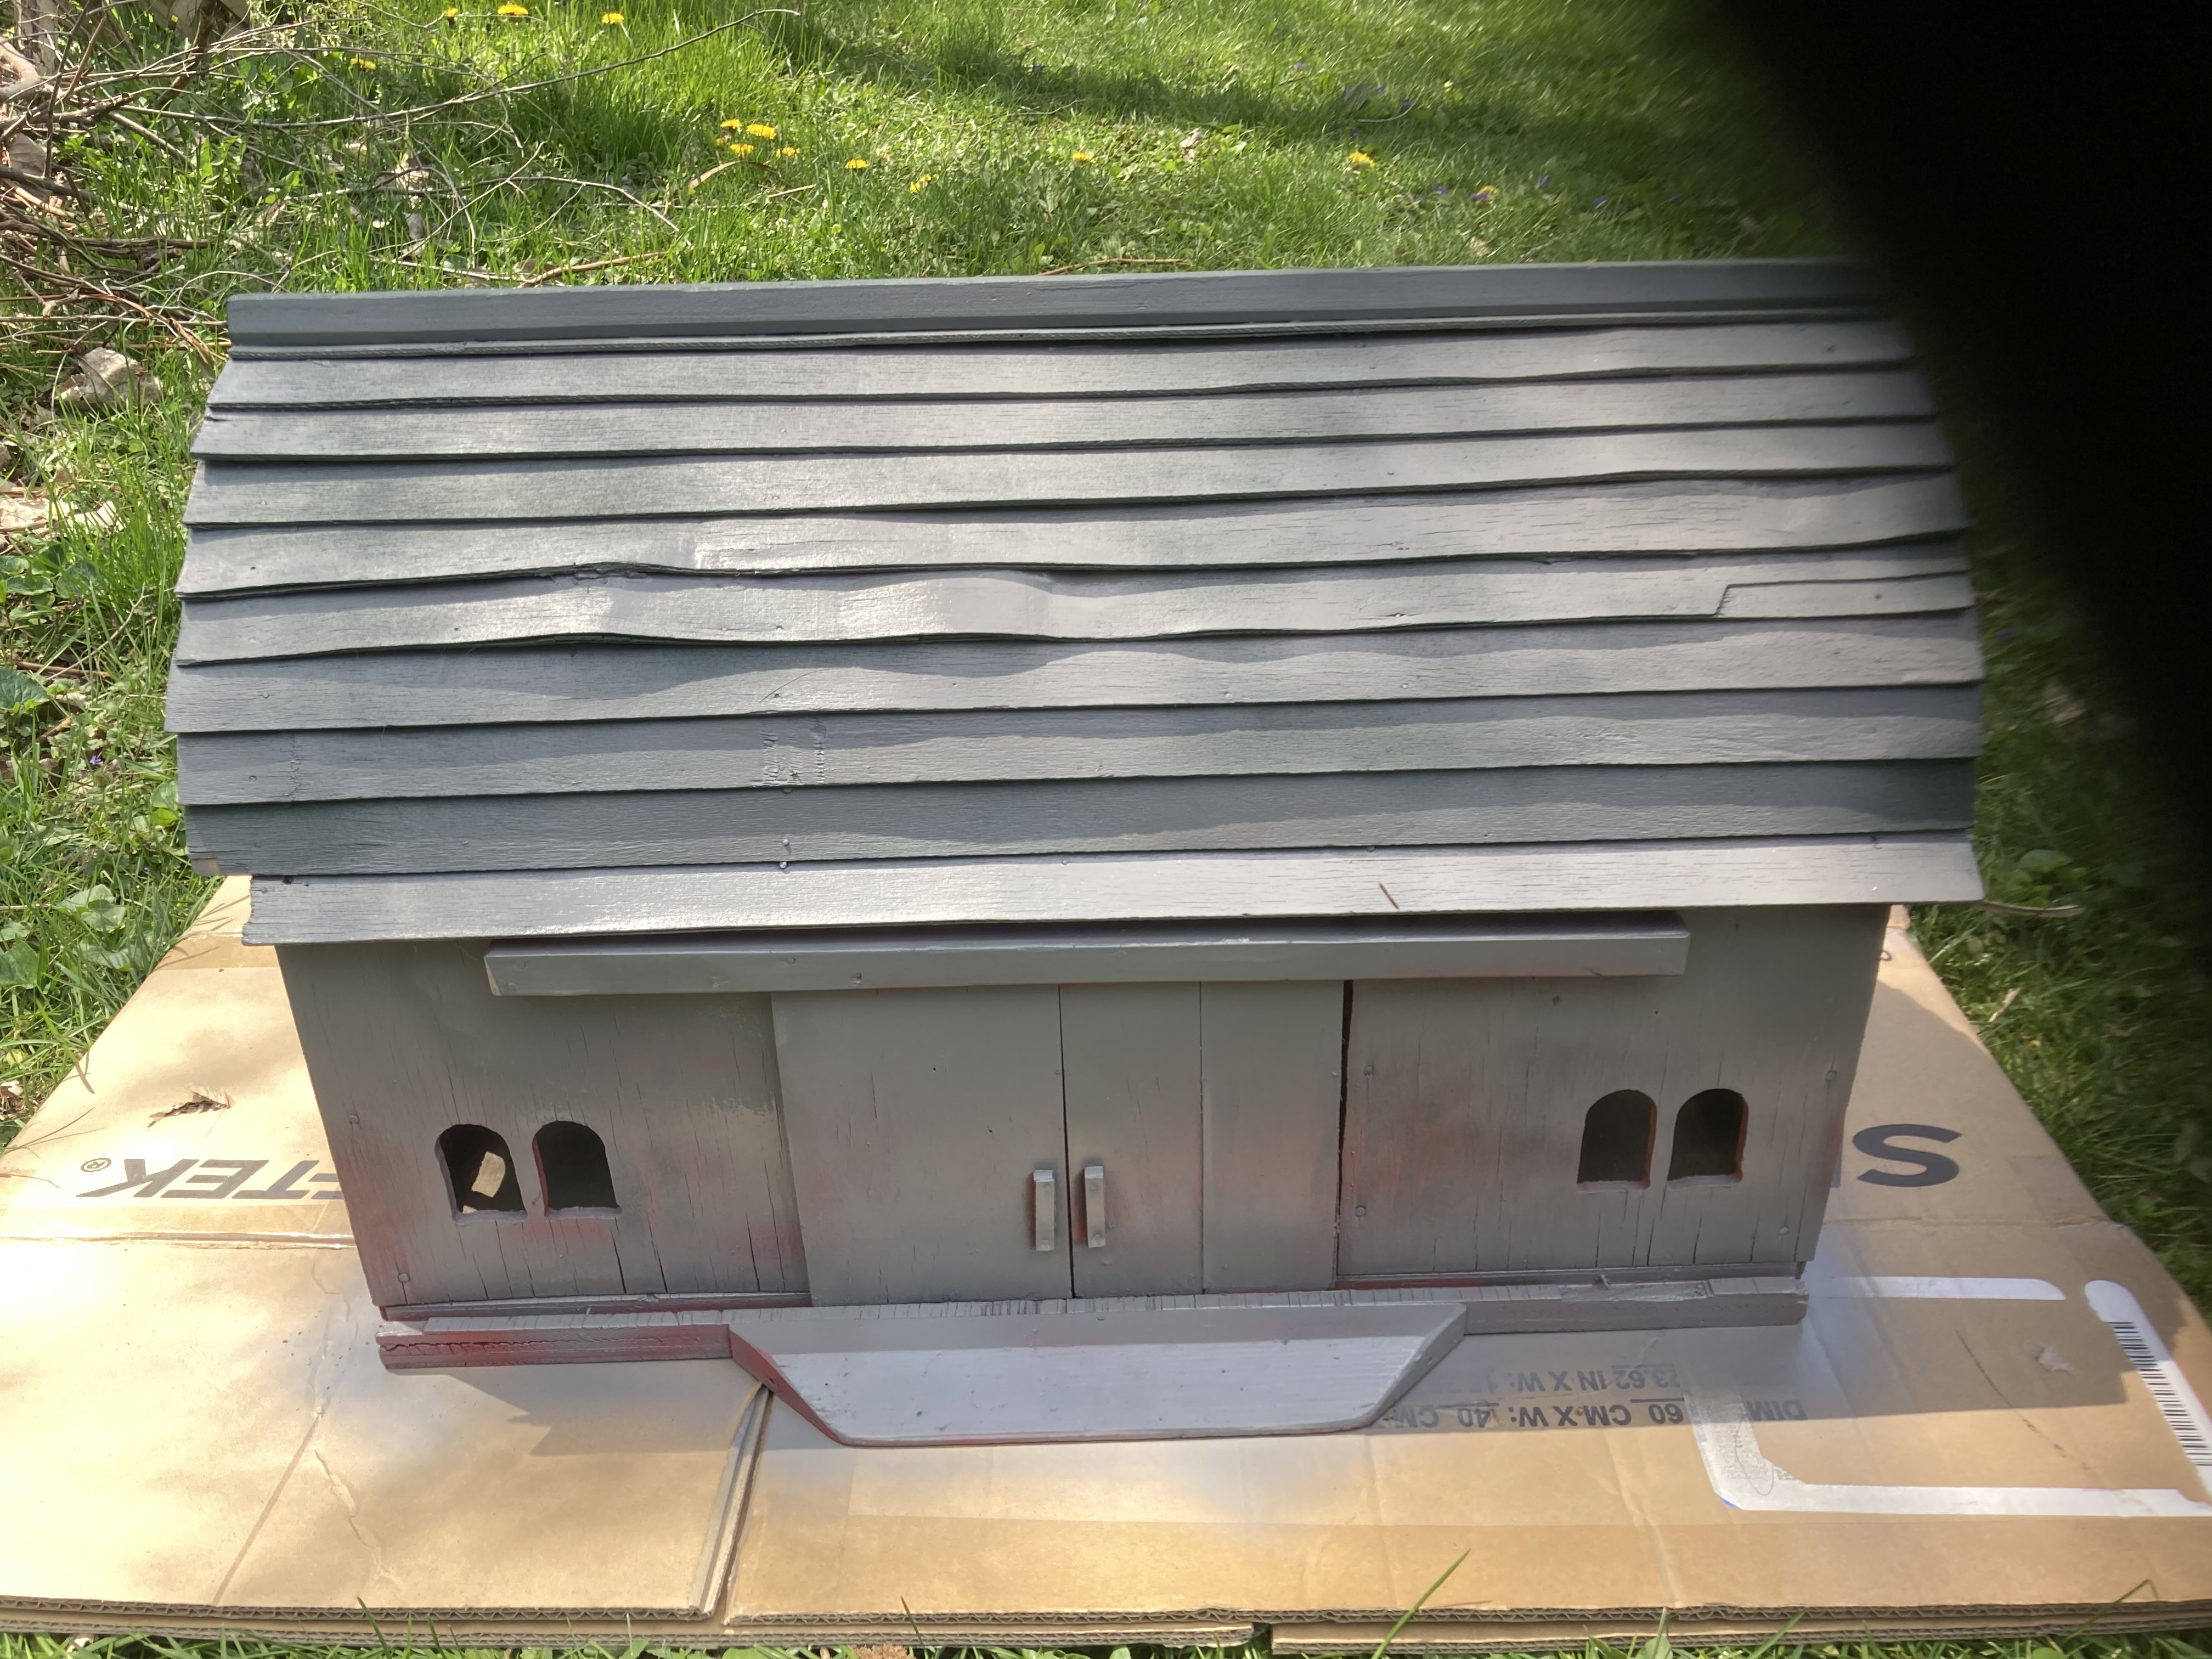
After first coat of primer.
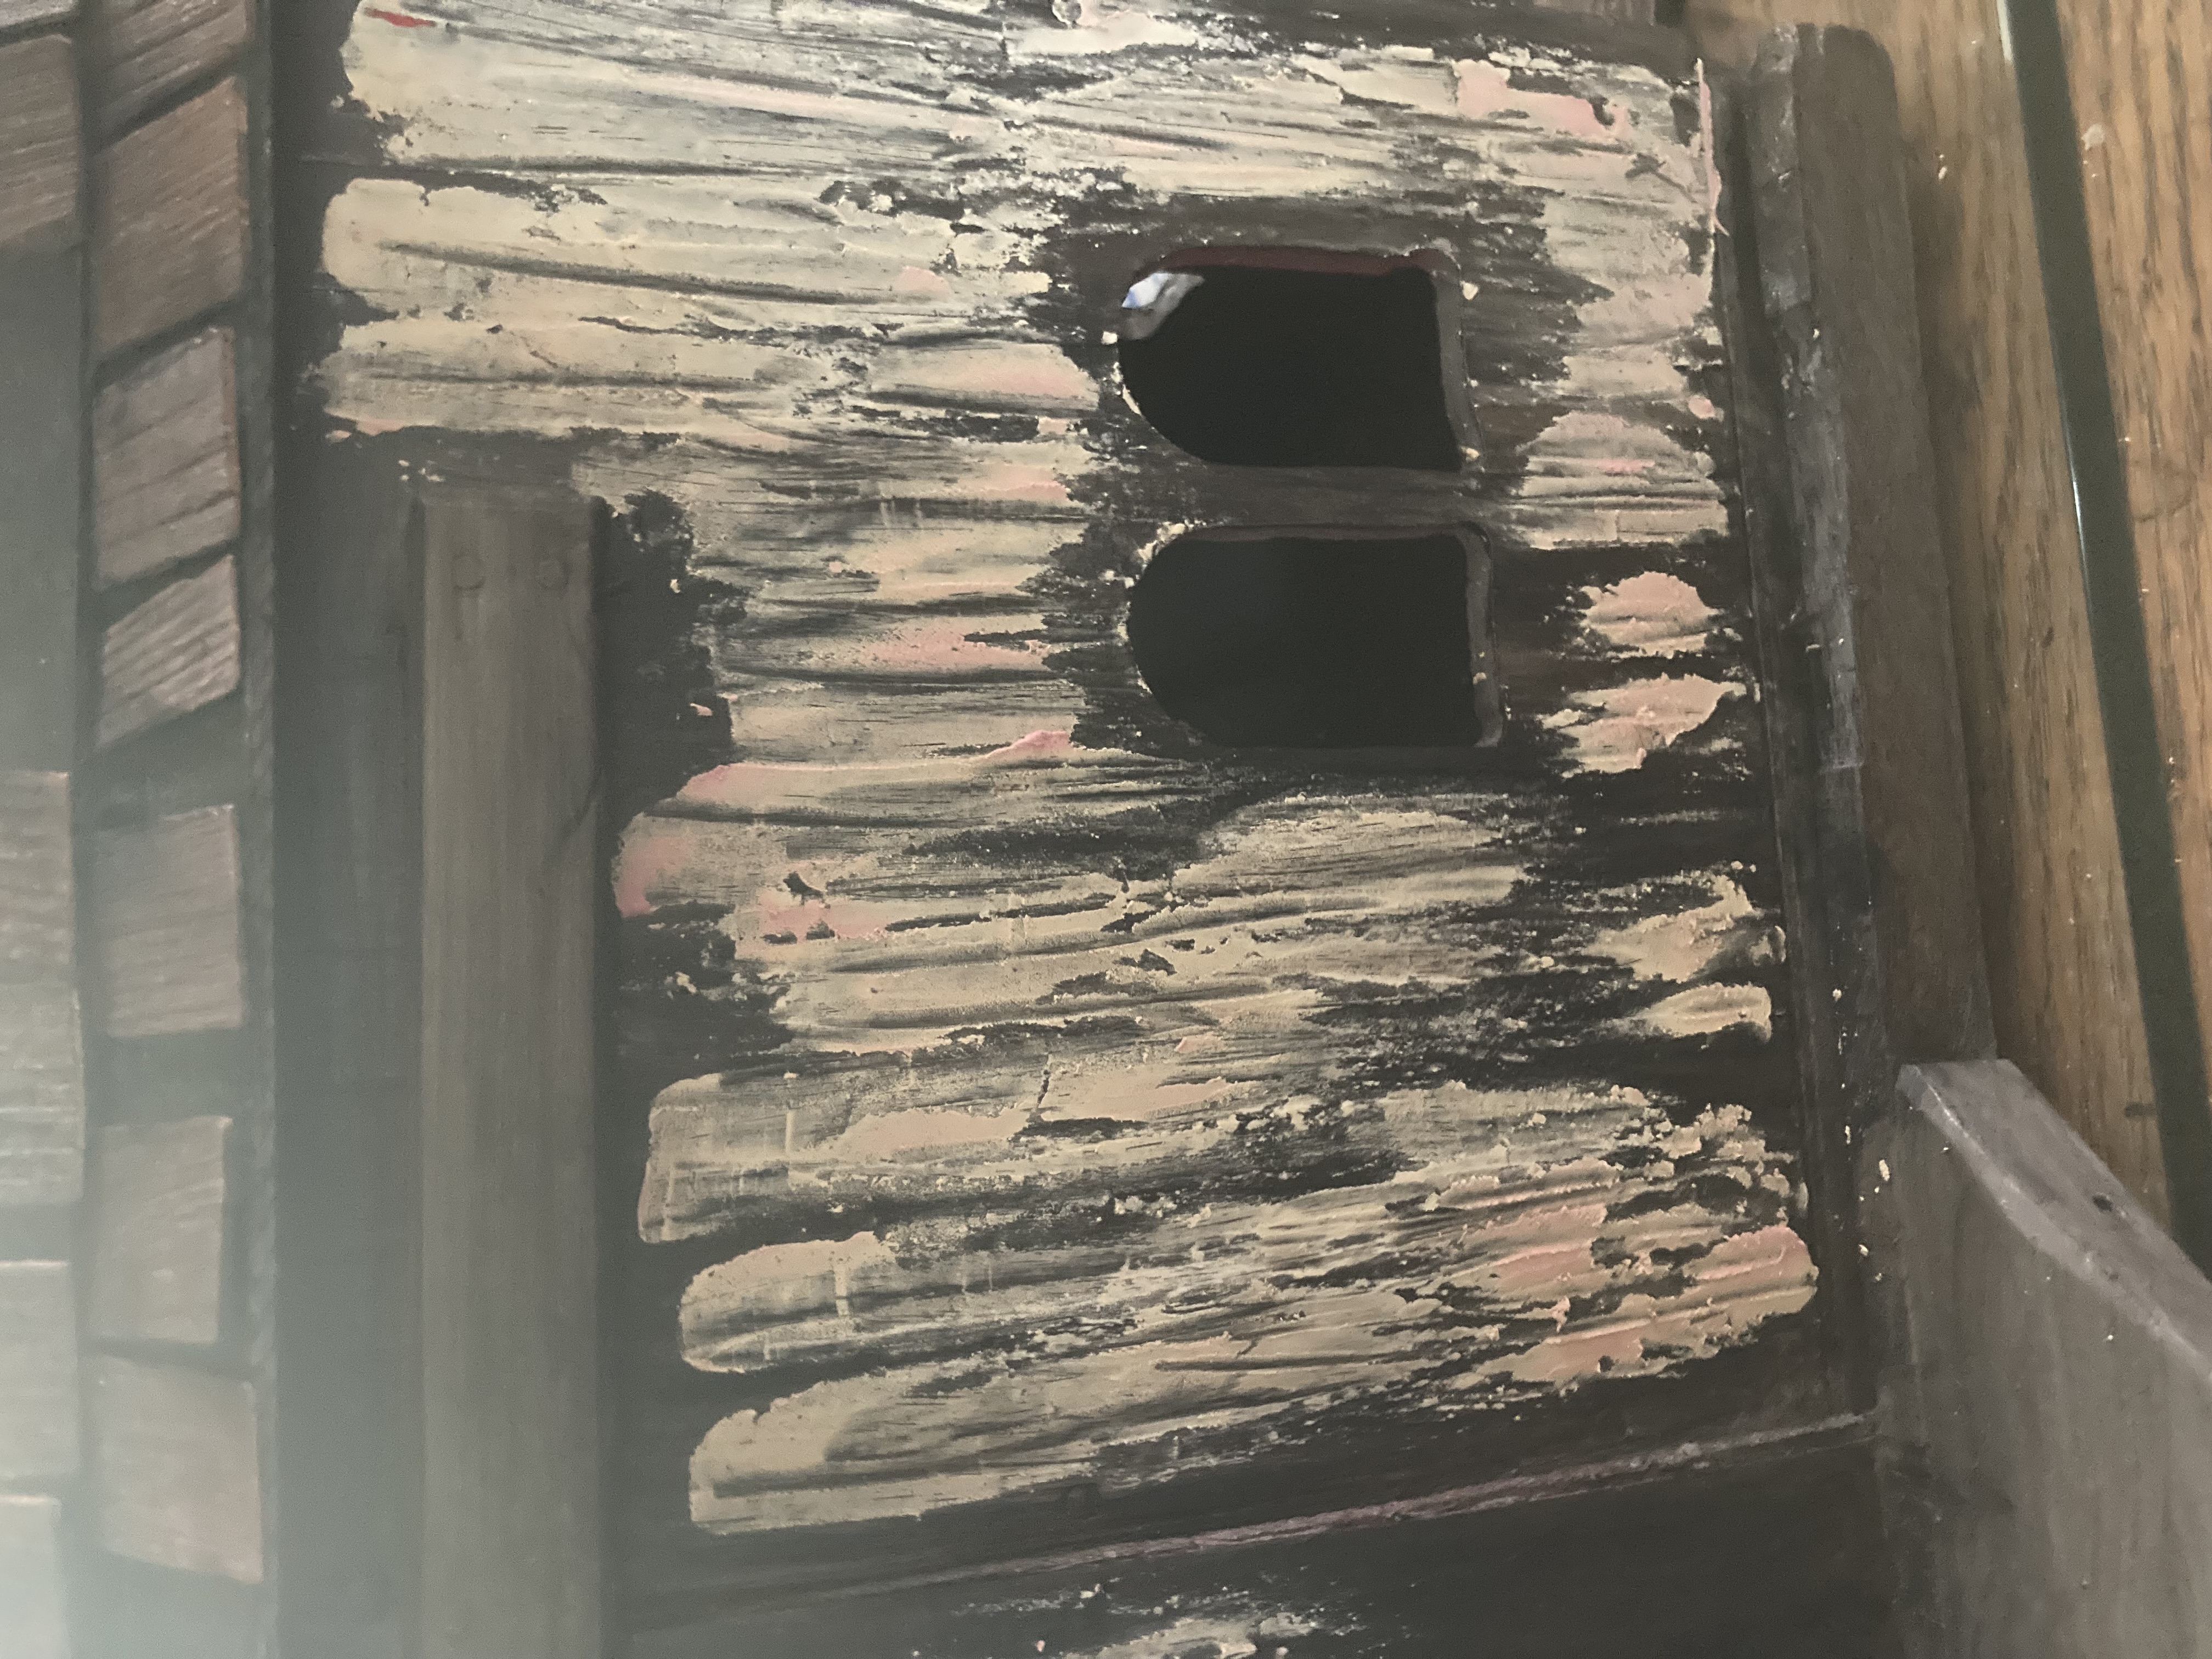
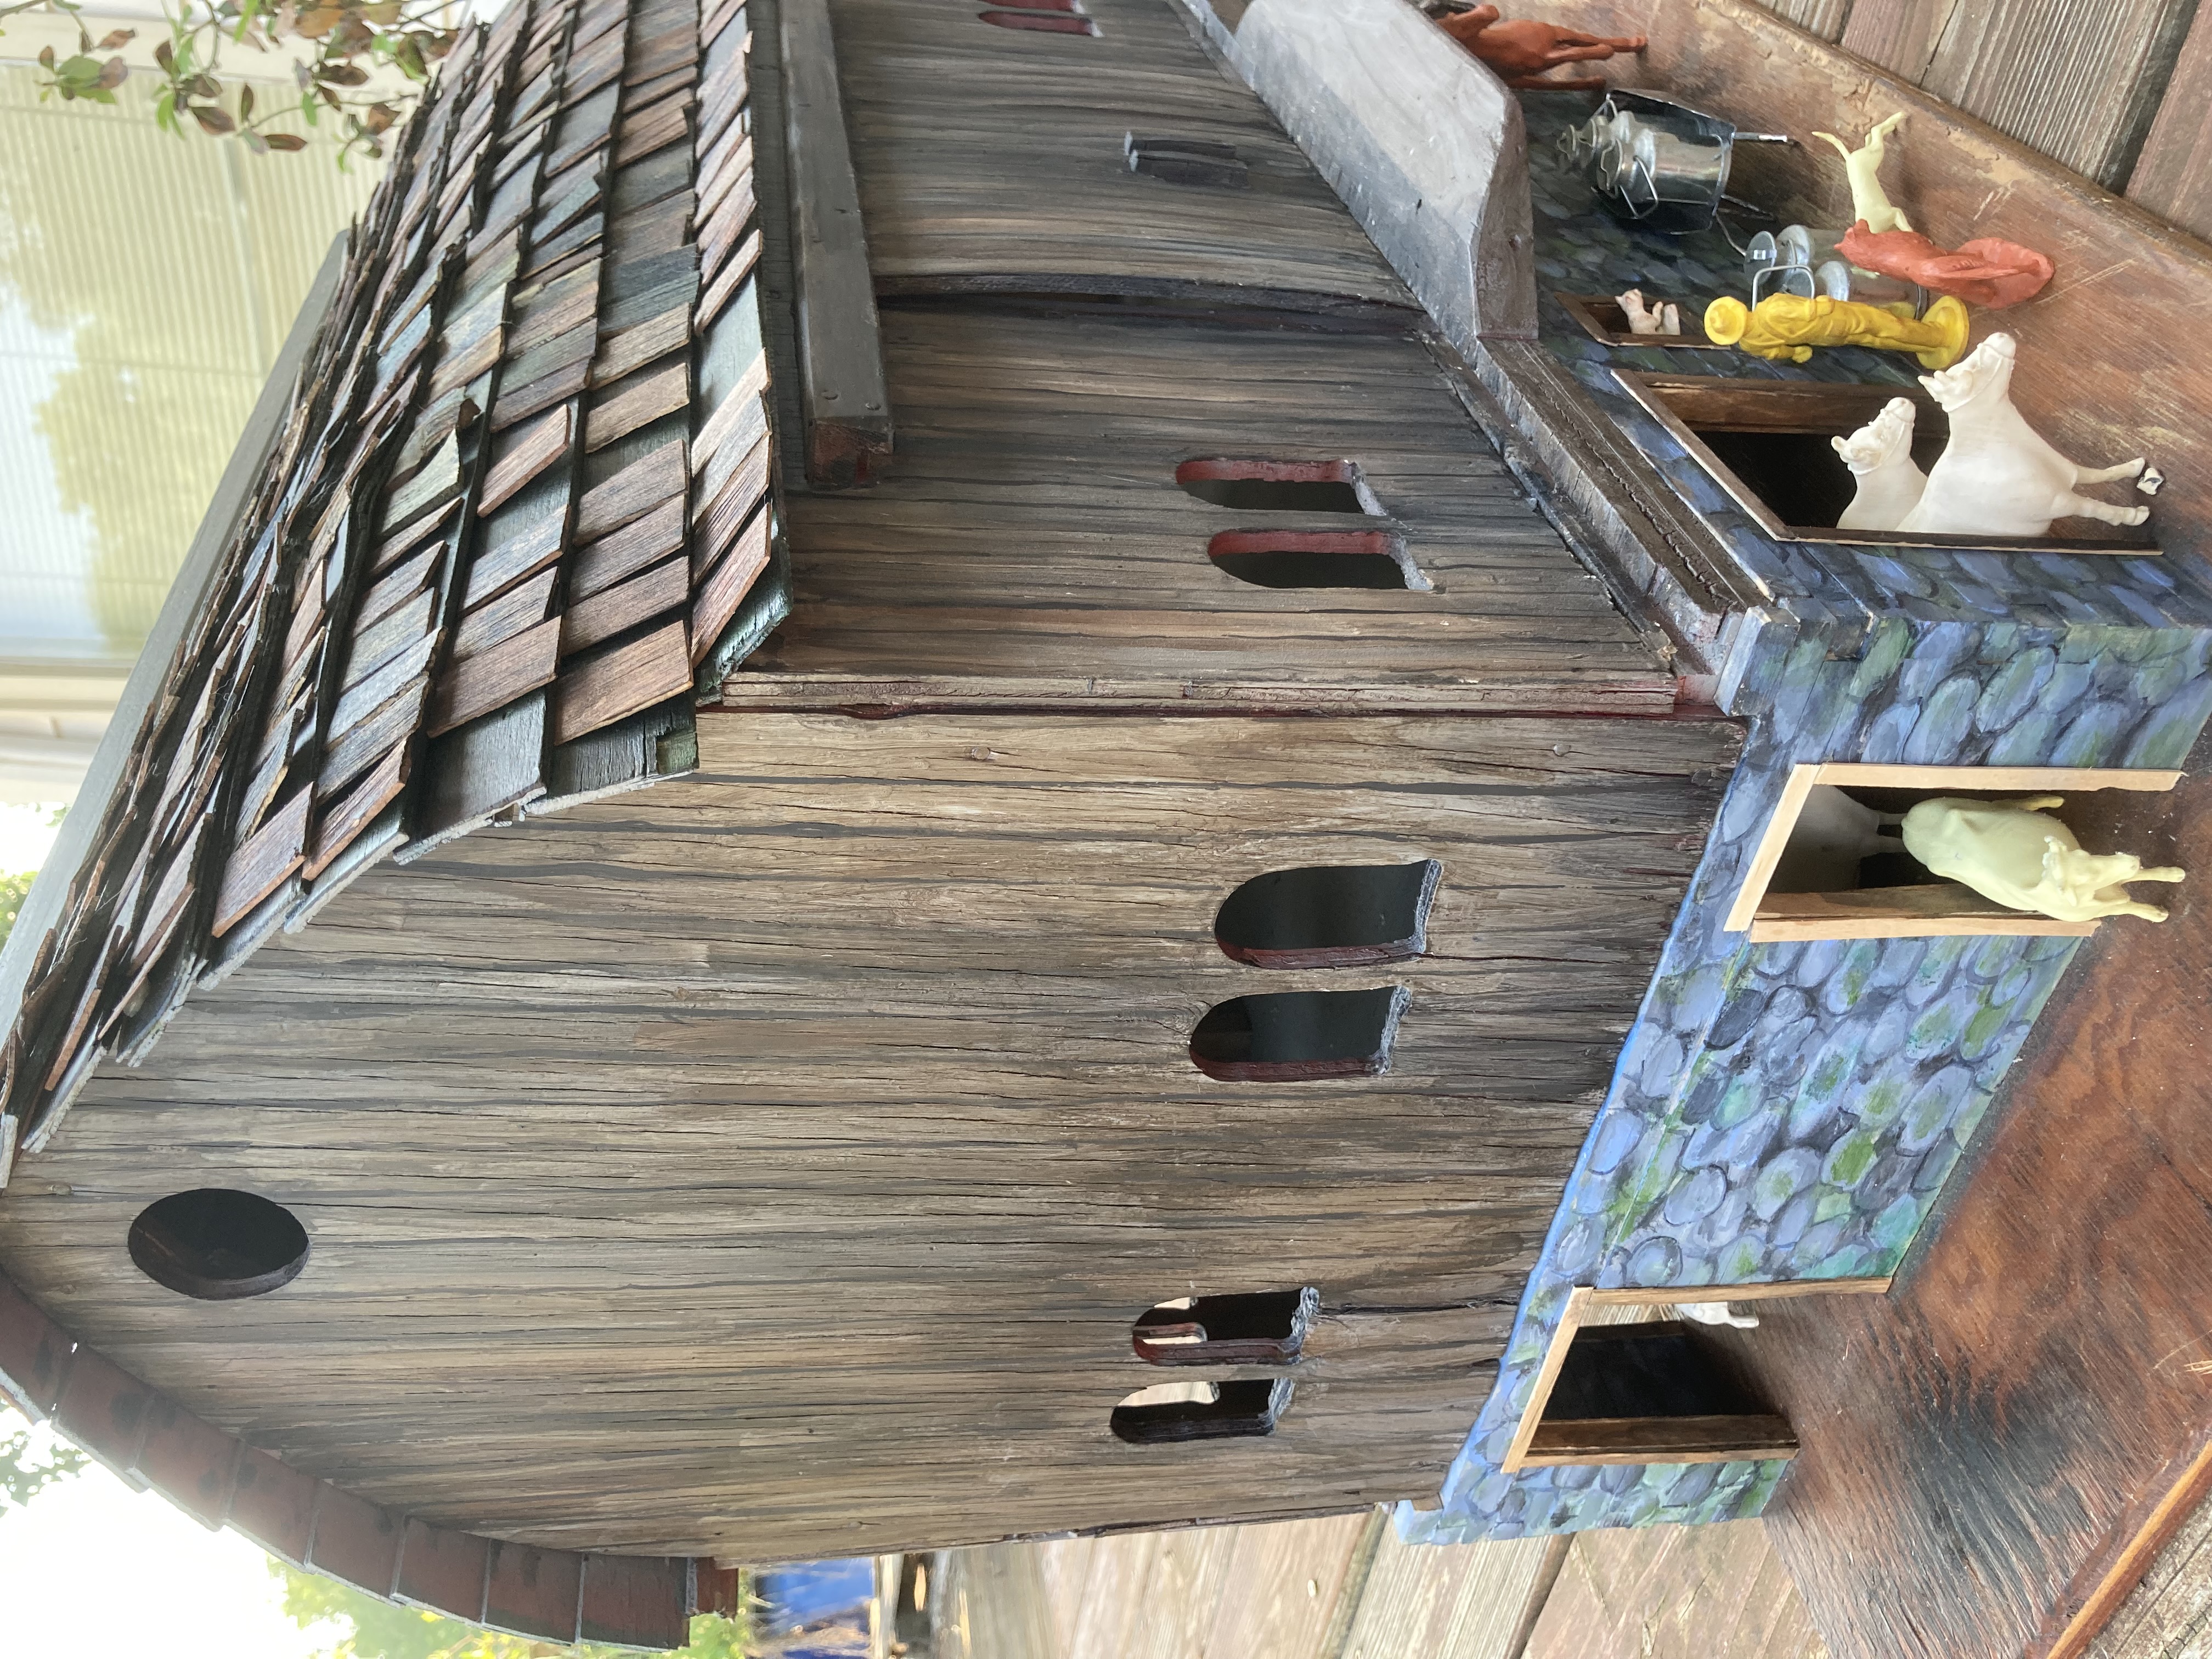
I didn’t like the original shiny red finish, so I sprayed the barn with two coats of Rustoleum 2x gray primer and paint to prepare it for acrylics. However, when I started painting, I discovered that the texture just didn’t seem right. The barn’s smooth wood was too flat to look like real barn wood, even with painted texture. I ended up using a pallet knife to apply a thin coat of wood putty, then scratched into it with the edge of the knife to give it texture.
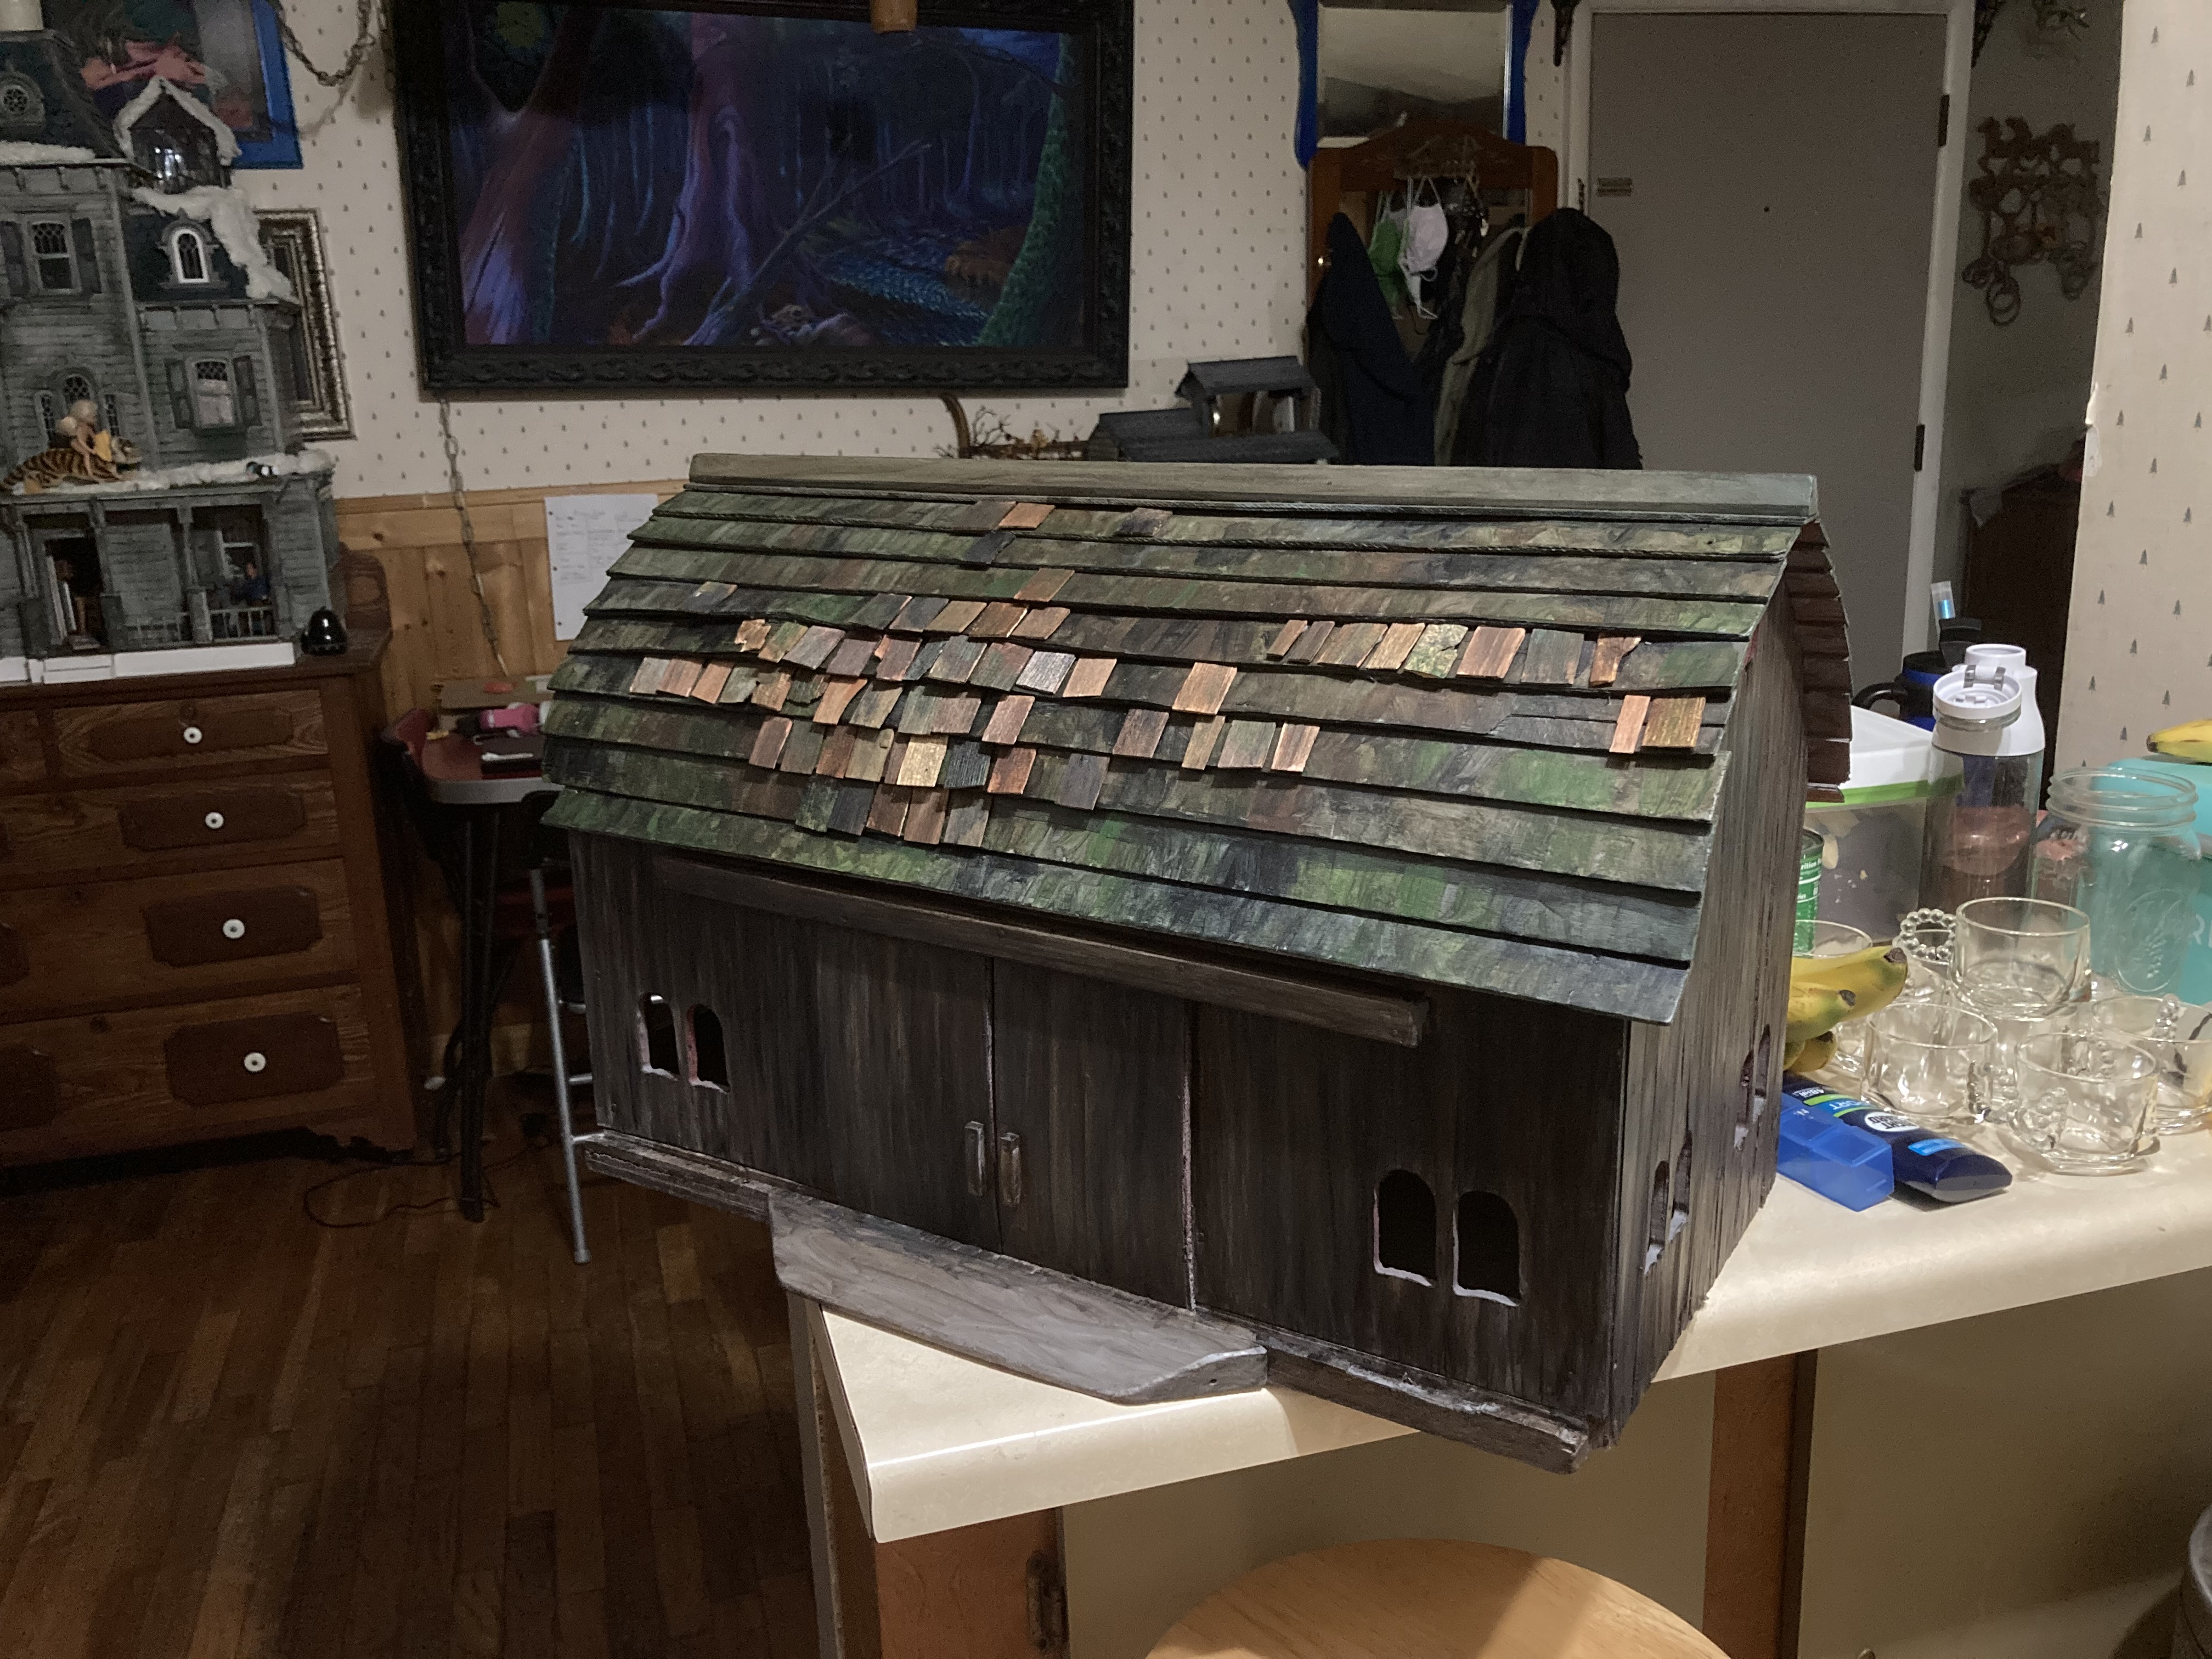
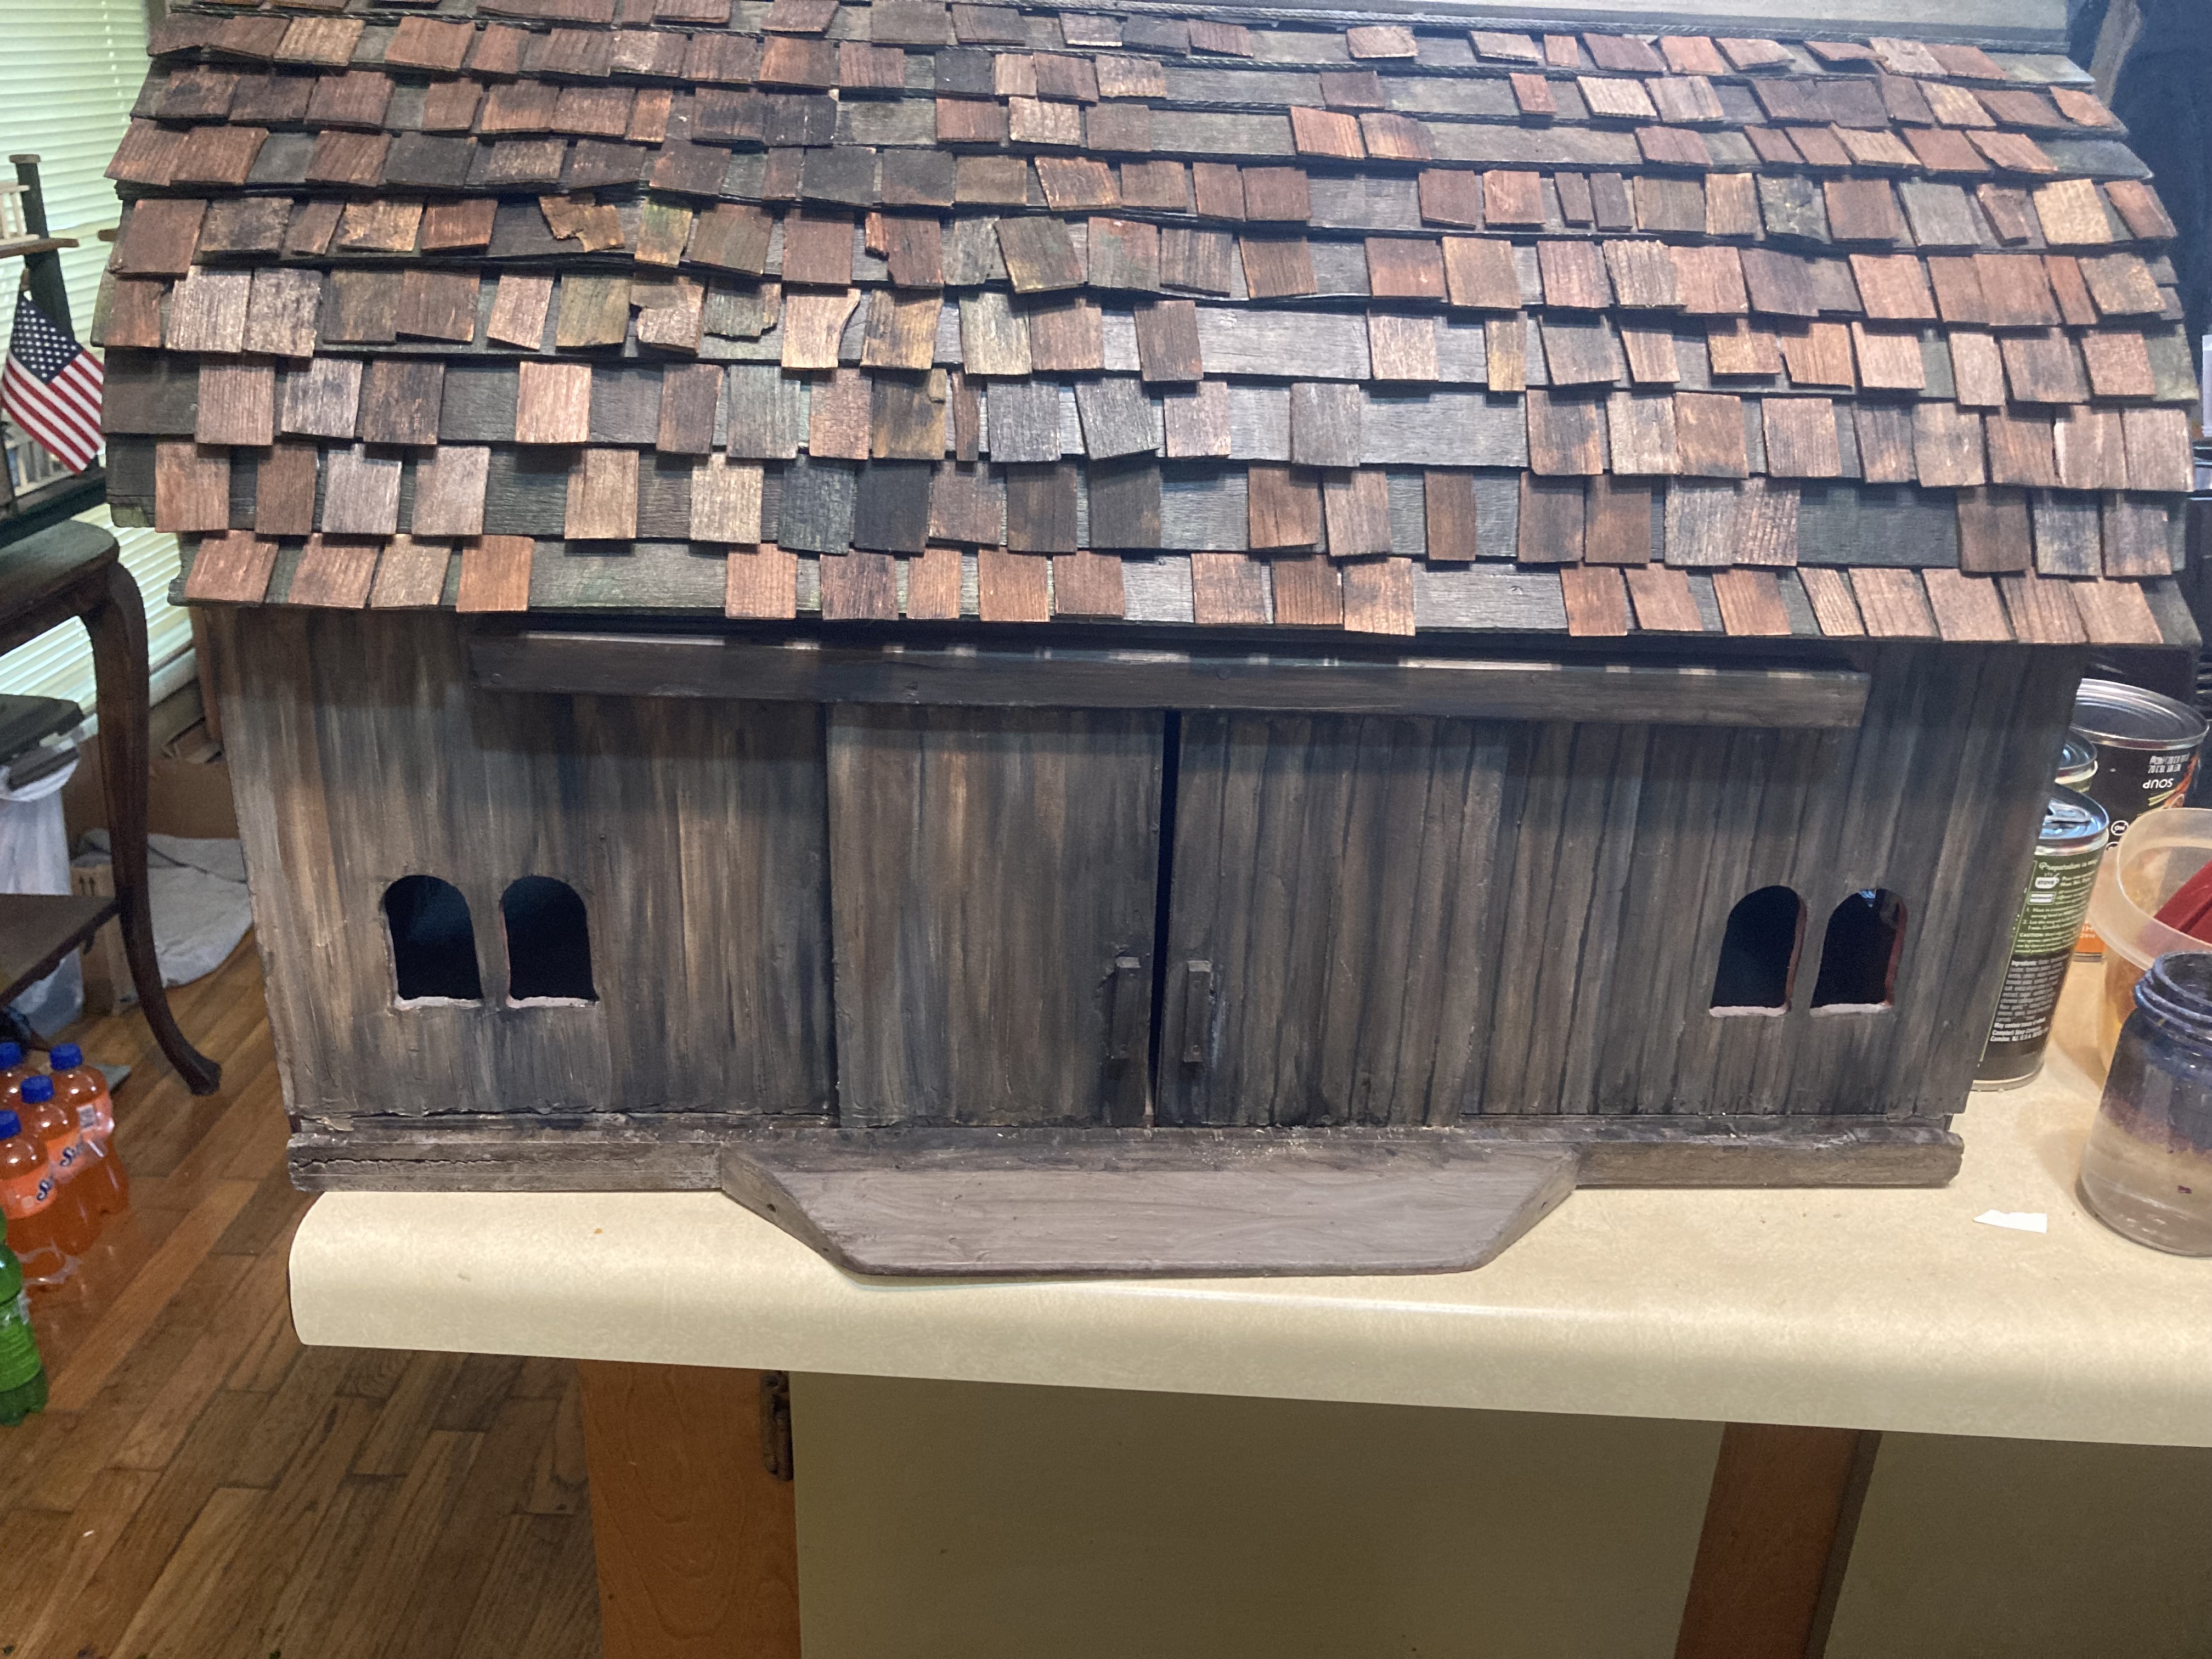
Adding some wood putty for texture.One end painted. Also with some shingles applied.I decided to make my roof look rough, so I staggered the cedar dollhouse shingles on the roof. I started out painting the shingles first, but finally just put them all on and then painted afterwards, as it helped to keep the colors coherent.Shingles done, front partially painted.
I used a mixture of browns, payne’s gray, and black on the wood, with a tiny bit of green for highlights.
This is a closeup of some of the texture from wood putty under the paint. This was before I was finished painting.
In case you were wondering, the animals are mostly vintage Auburn Toy Company plastic animals. I used to play with similar ones at my grandparents’ when I was a child. When I made arrangements to get this barn, I glanced at marketplace and found these animals for sale, and was able to snatch them up. I almost cried when I found them, as I haven’t seen any like them since my childhood. I have since found others on Ebay.
I have plans for further projects, including a small milk house/barn hill, beams in the hayloft, and possibly some horse drawn machinery. I think it would be cool to make stalls for the animals and milking stations. Stay tuned!