Altering a flocked horse to be a donkey part 2

Altering an old flocked horse toy to add detail and make it look like a donkey.

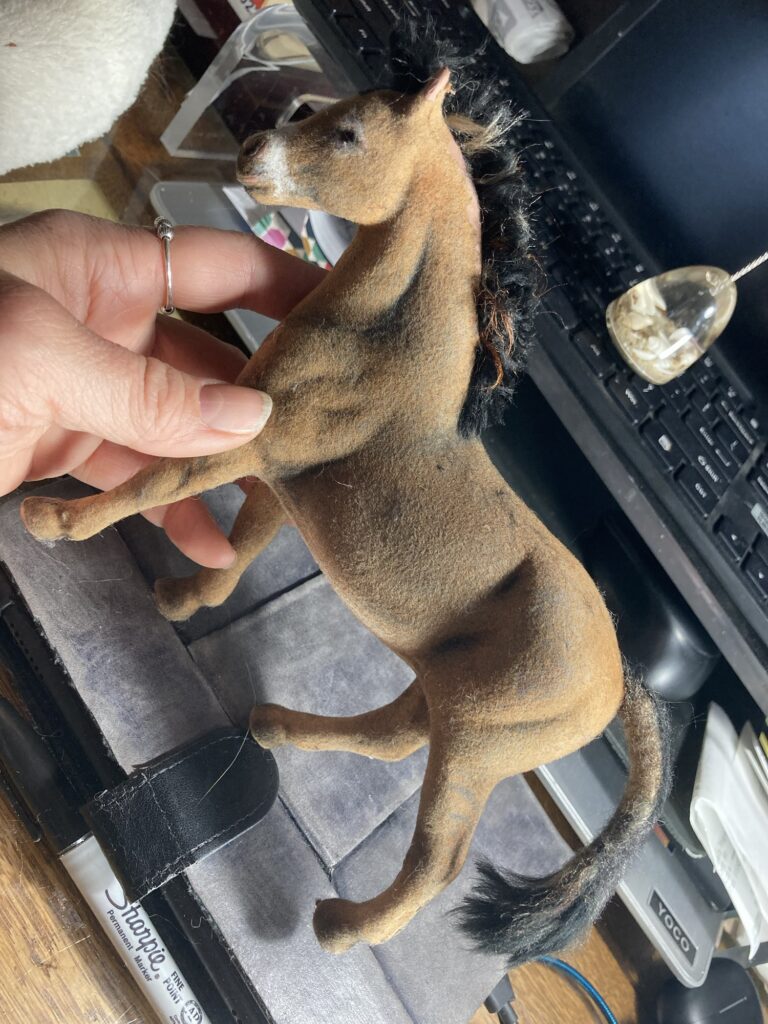
In my last article, I started working on taking an old flocked toy horse and altering it so it resembles a donkey. We already added mane and used colored pencils to add more detail and shading. In this article we will finish up by adding long ears, a tail, and missing body hair.
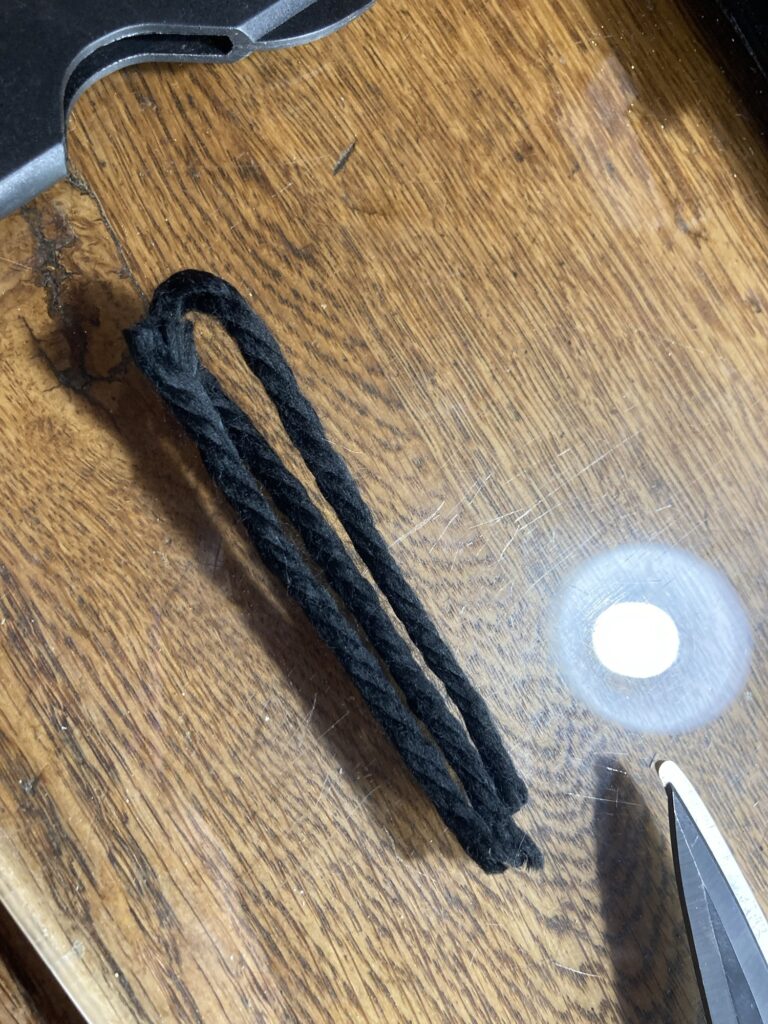
First I will start with the tail. i took some acrylic yarn and made a core for the tail by folding a piece over itself into a shape about as long as i want the tail to be.
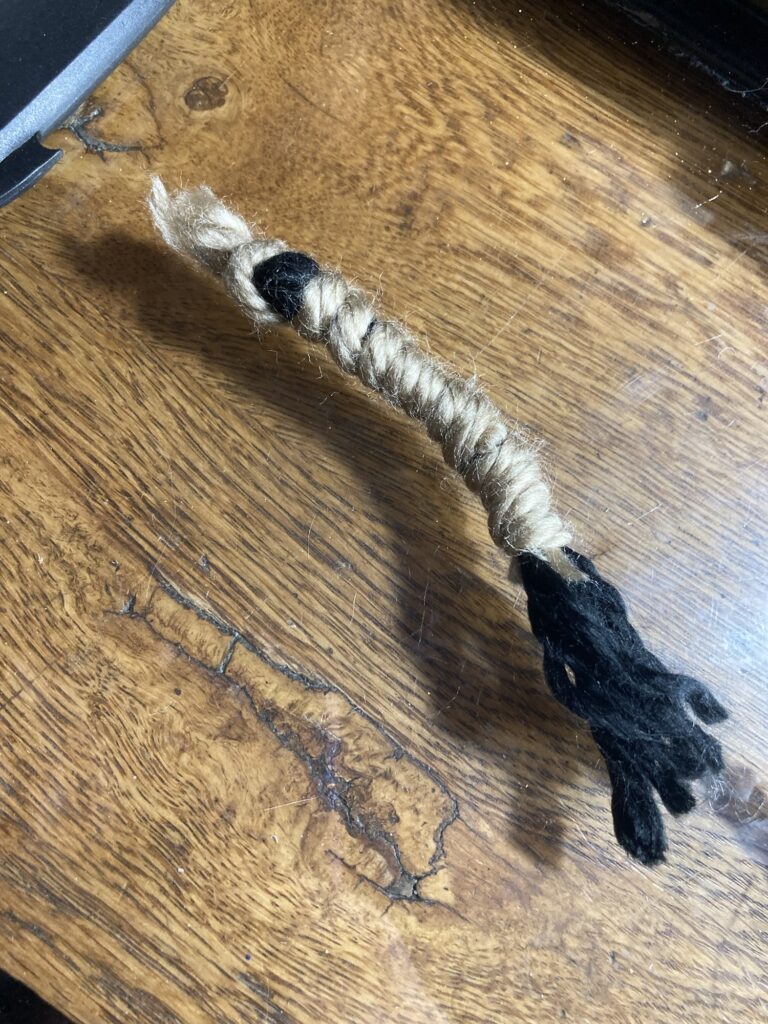
Next I wrapped the core of the tail with some brown yarn that closely matches the color of the donkey body.
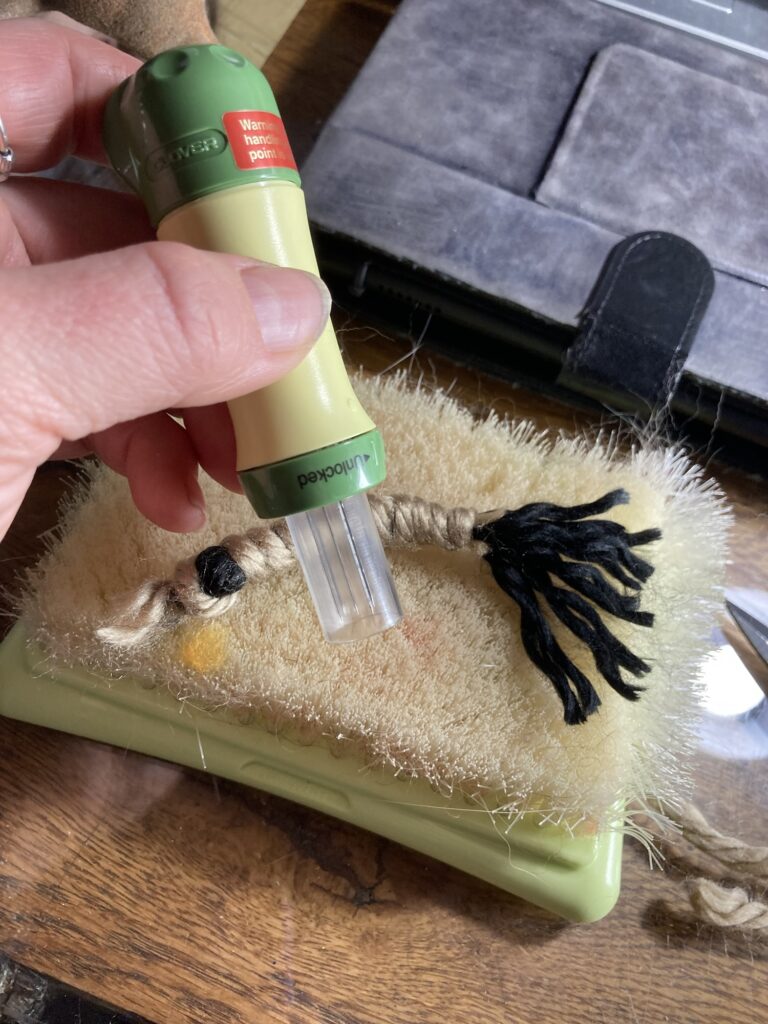
Then I took my felting needle tool and pummeled the tail to push the fibers together.
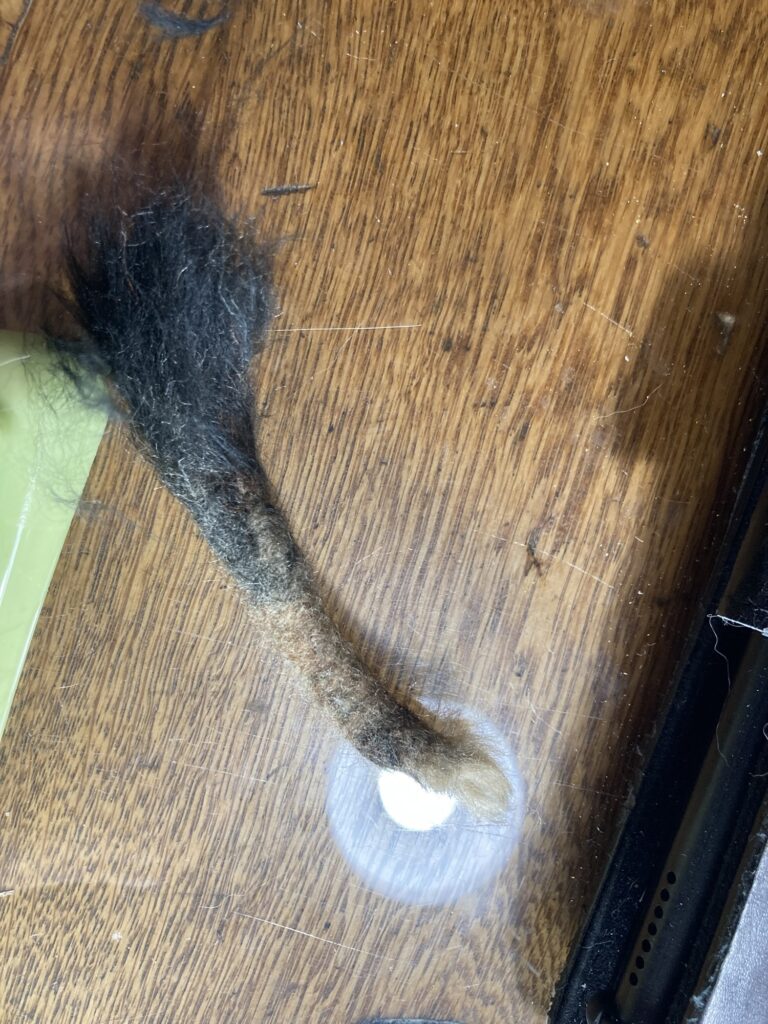
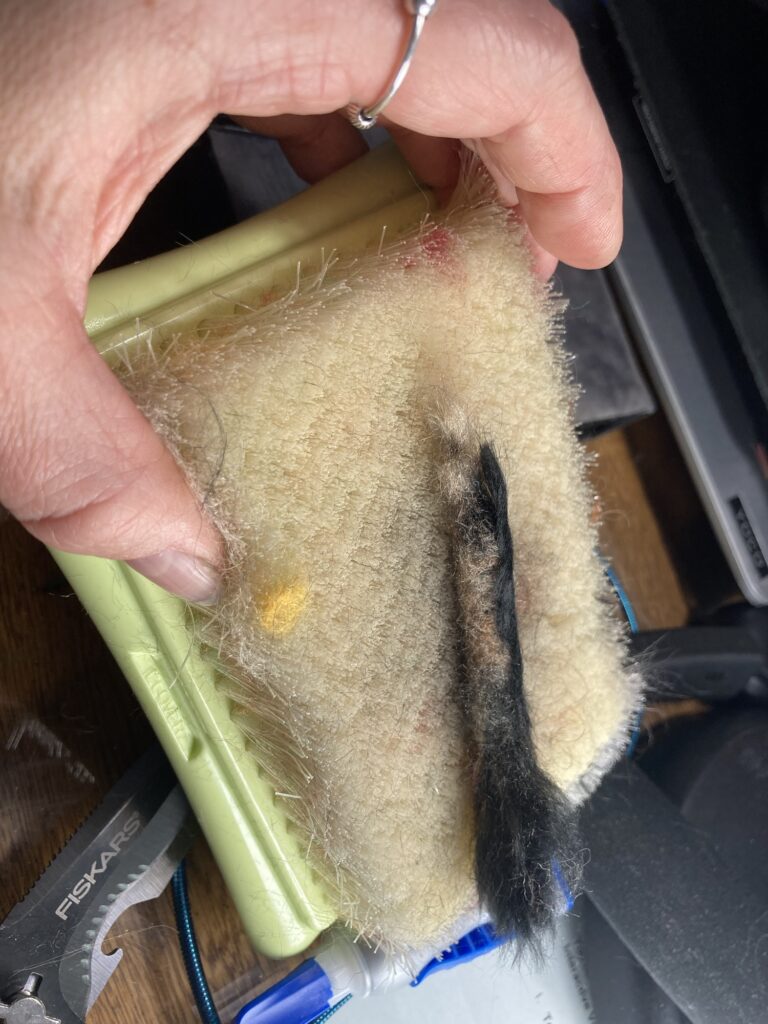
Here i have the tail looking more like a tail, leaving the tip of it alone so it looks hairier.
I added a black stripe down the back.
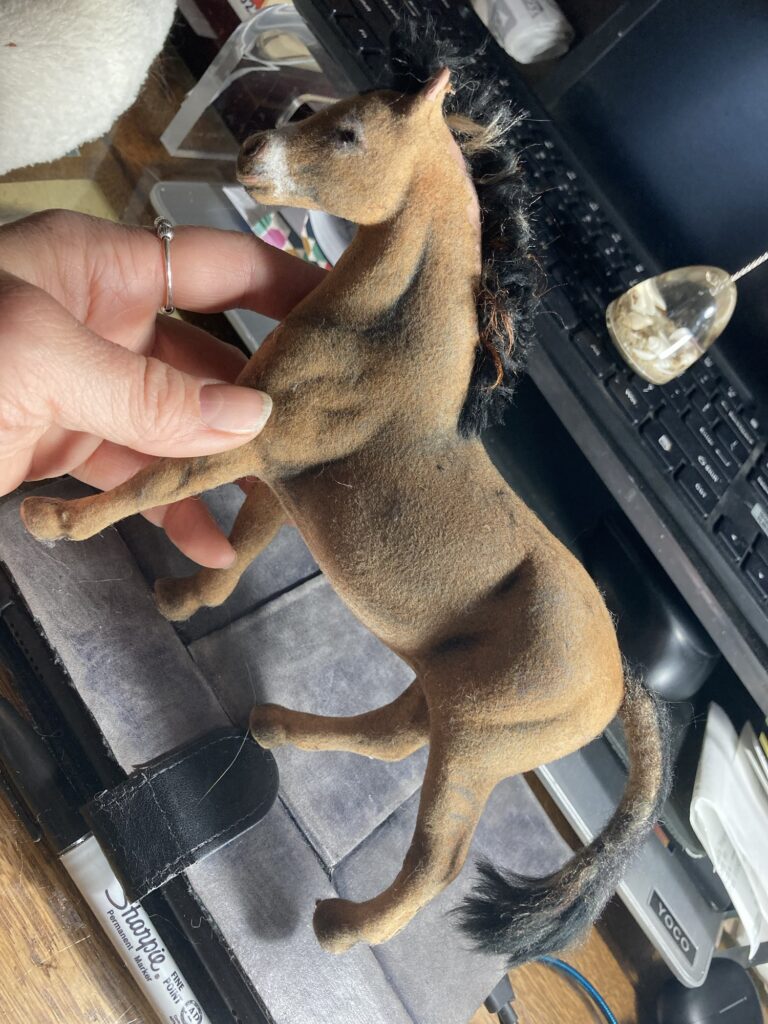
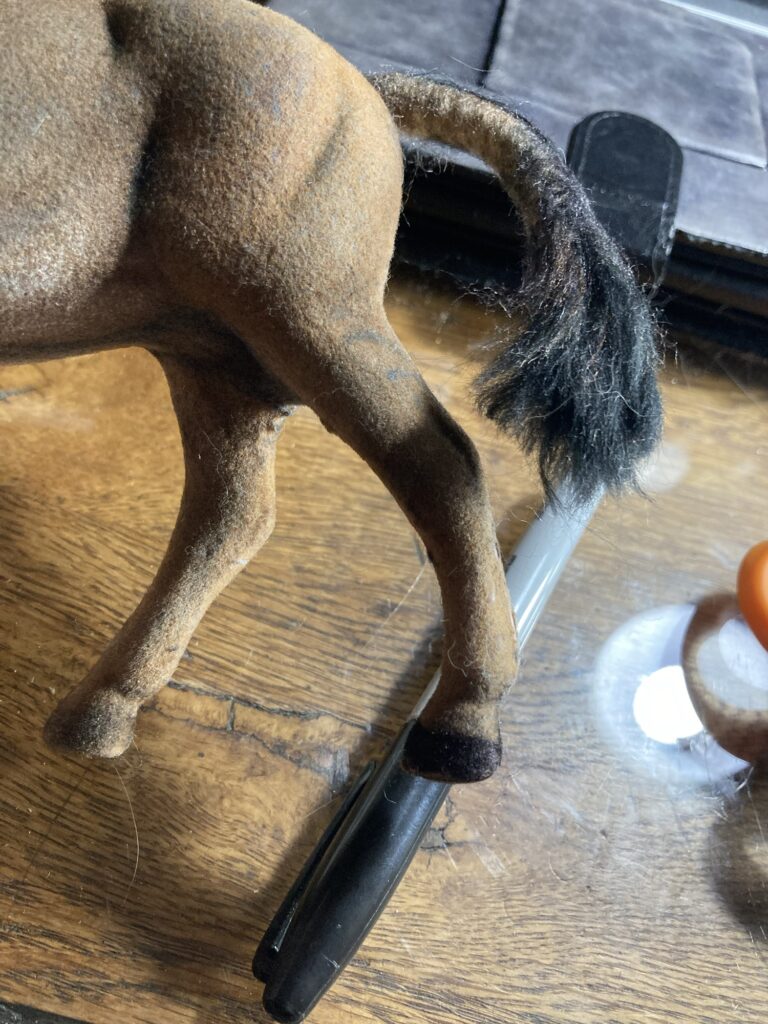
Here is our donkey almost finished, with the tail glued in place.

His tail is nice and wispy at the end.

Now i want to work on his ears.
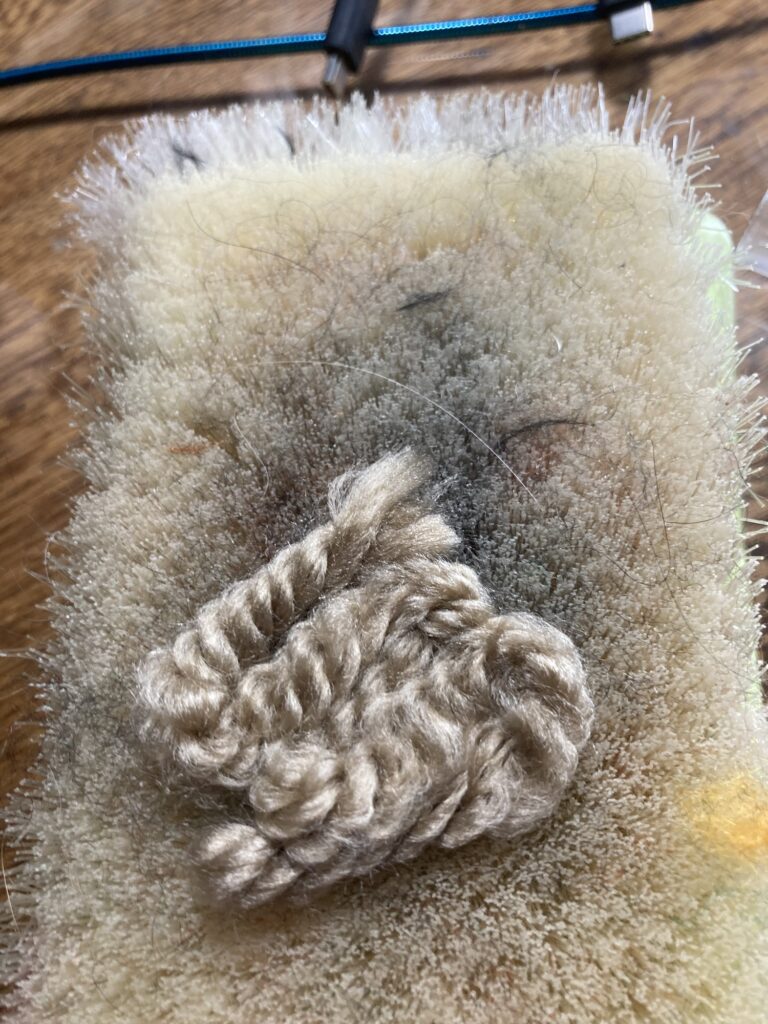
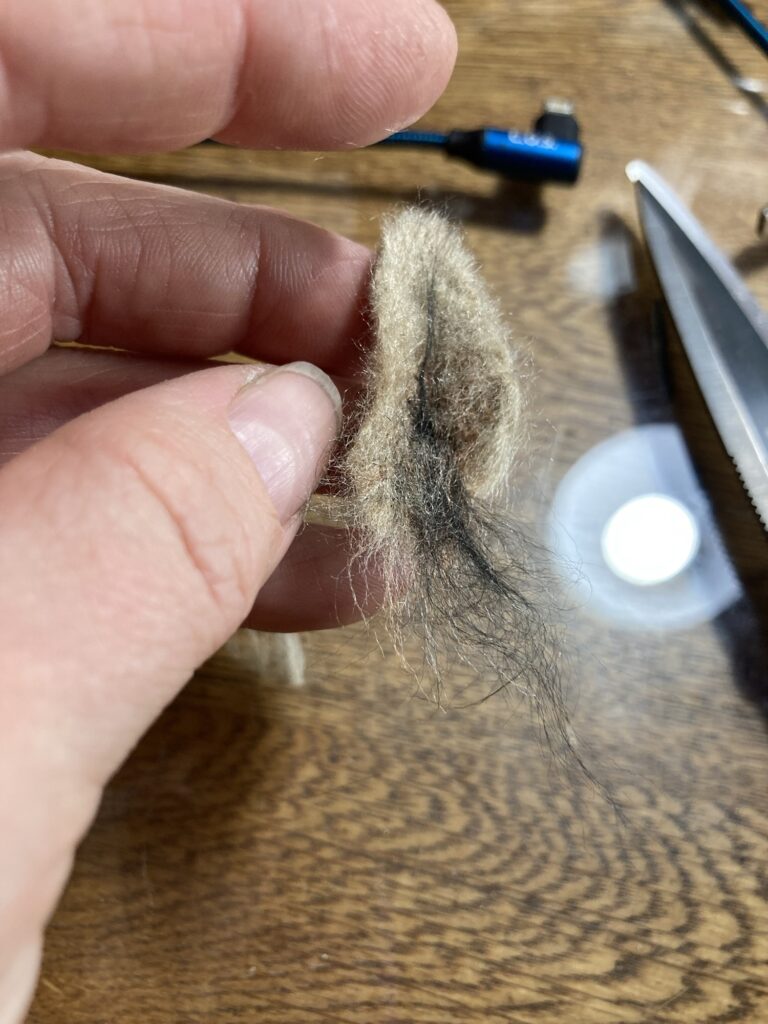
I took a length of yarn that closely matches his body color and snaked it so it is in a basic shape to start with. I just want a flat piece first, and then i can trim it to the shape i want.
Here is the first ear. I used the felting needles to create a flat piece of material and then trimmed and folded it around to create an ear shape.
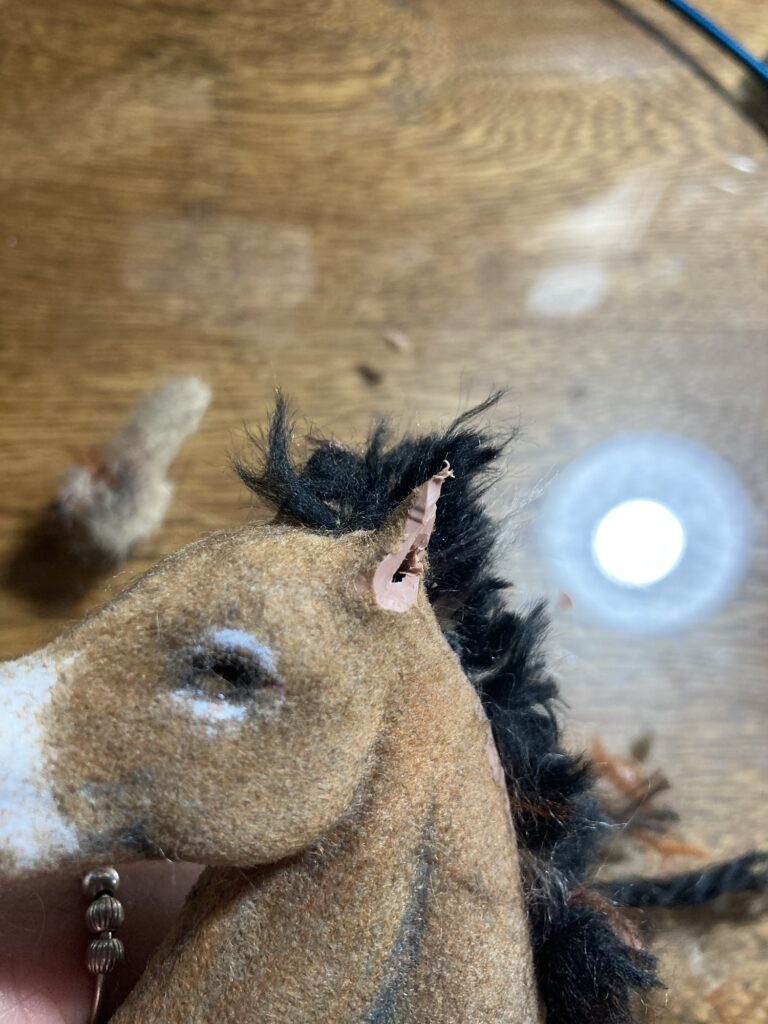
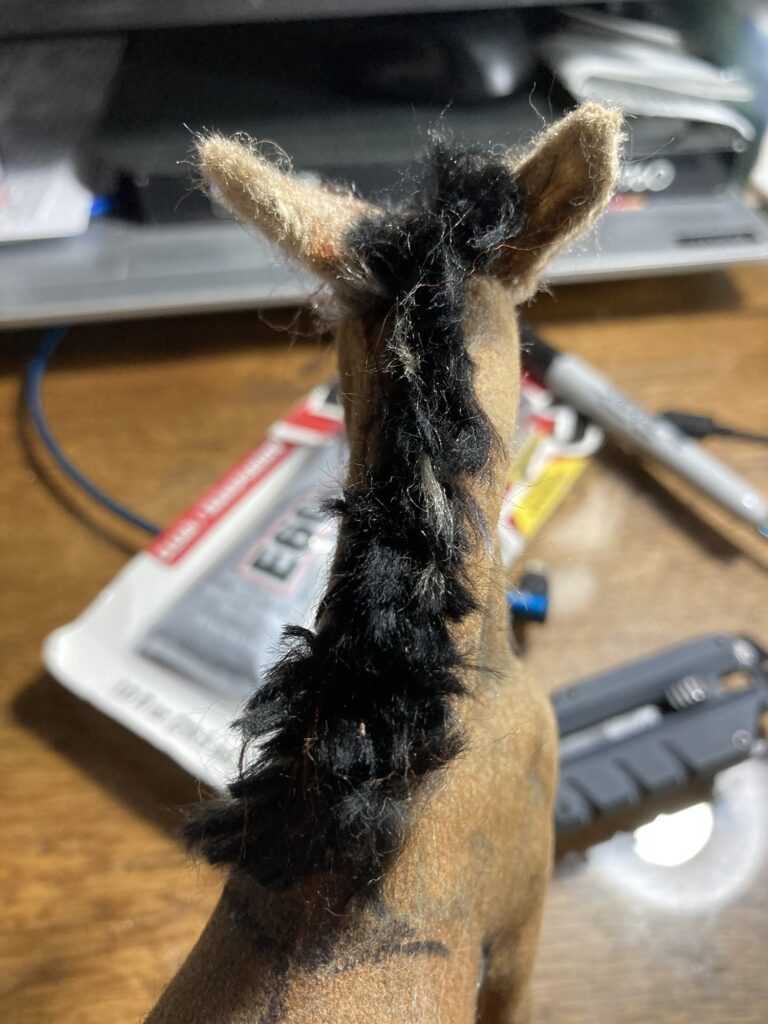
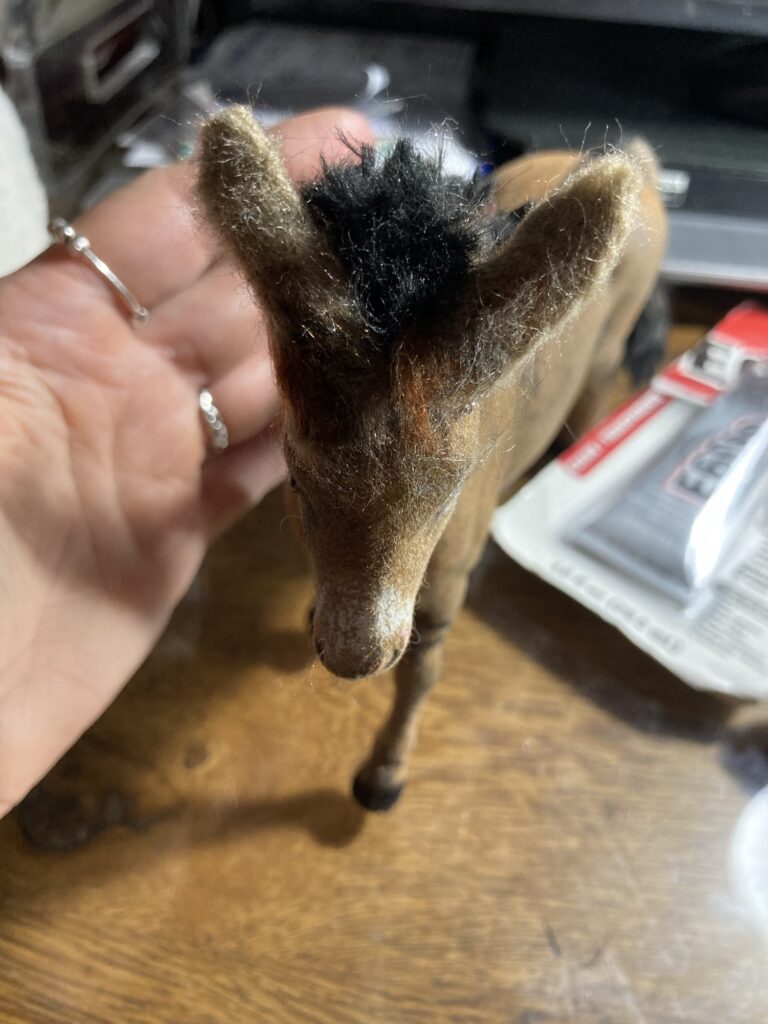
I had to use an exacto knife to cut his original plastic ears so that I can make his new ears positioned the way I want, which is slightly backward like he is paying attention to what is behind him.
One ear glued in place over the trimmed plastic ear.
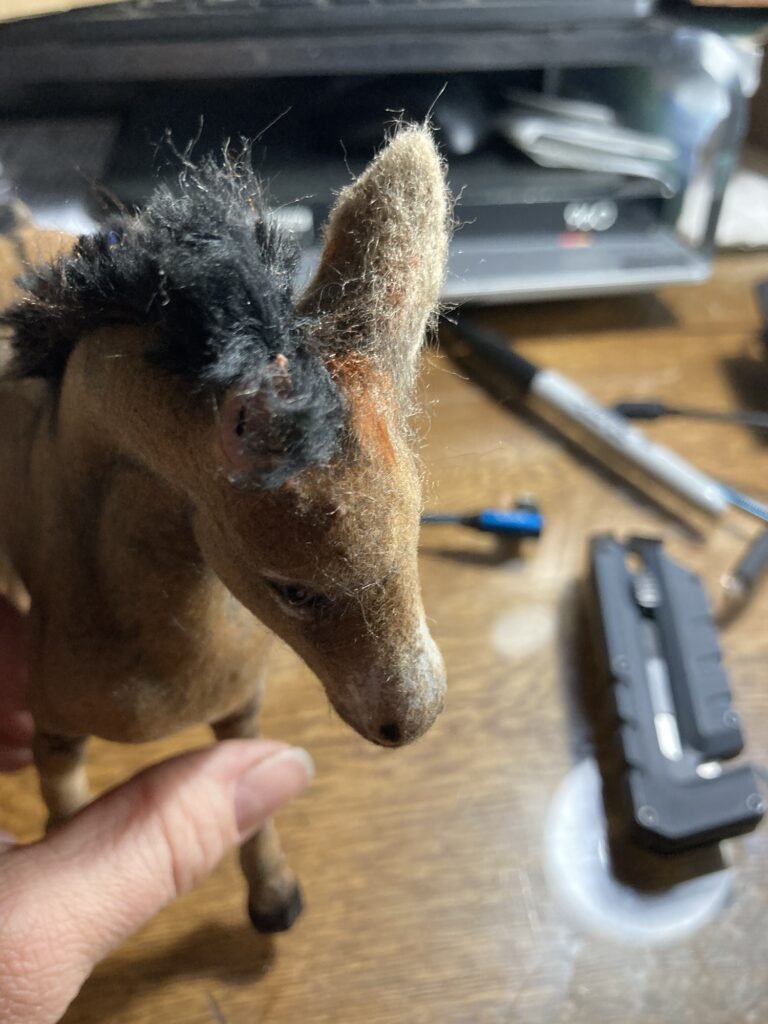
Both ears in place.

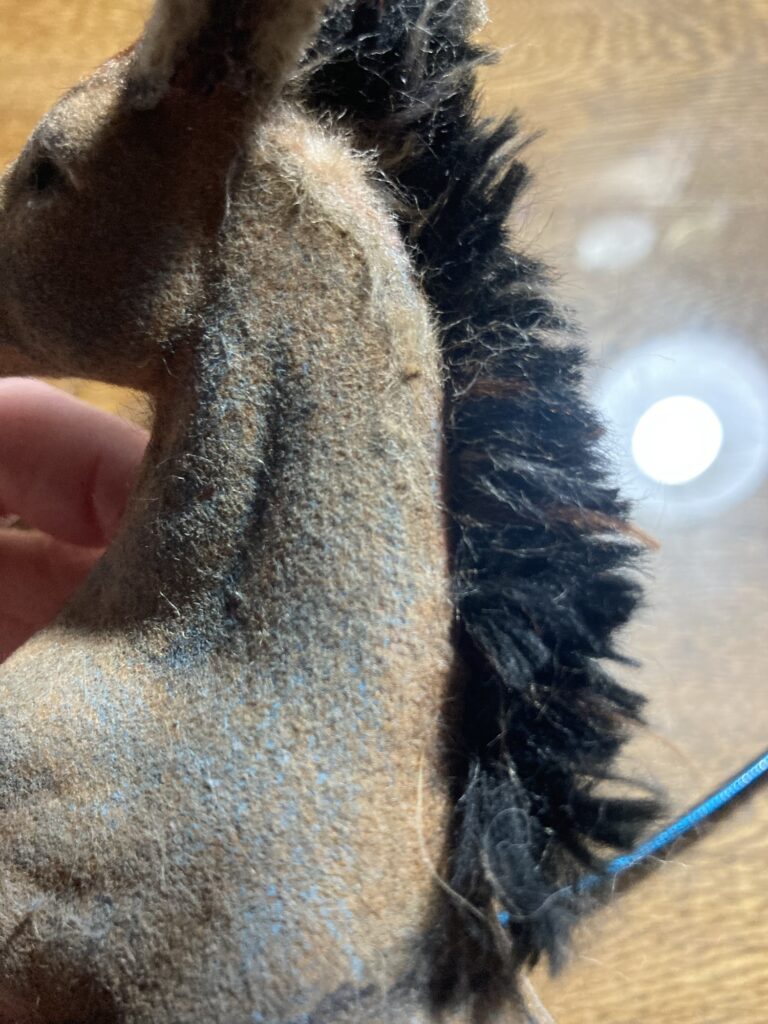
Next i cut some tiny pieces of the yarn that matches his body color and glued them to areas where some of his flocking has worn off.
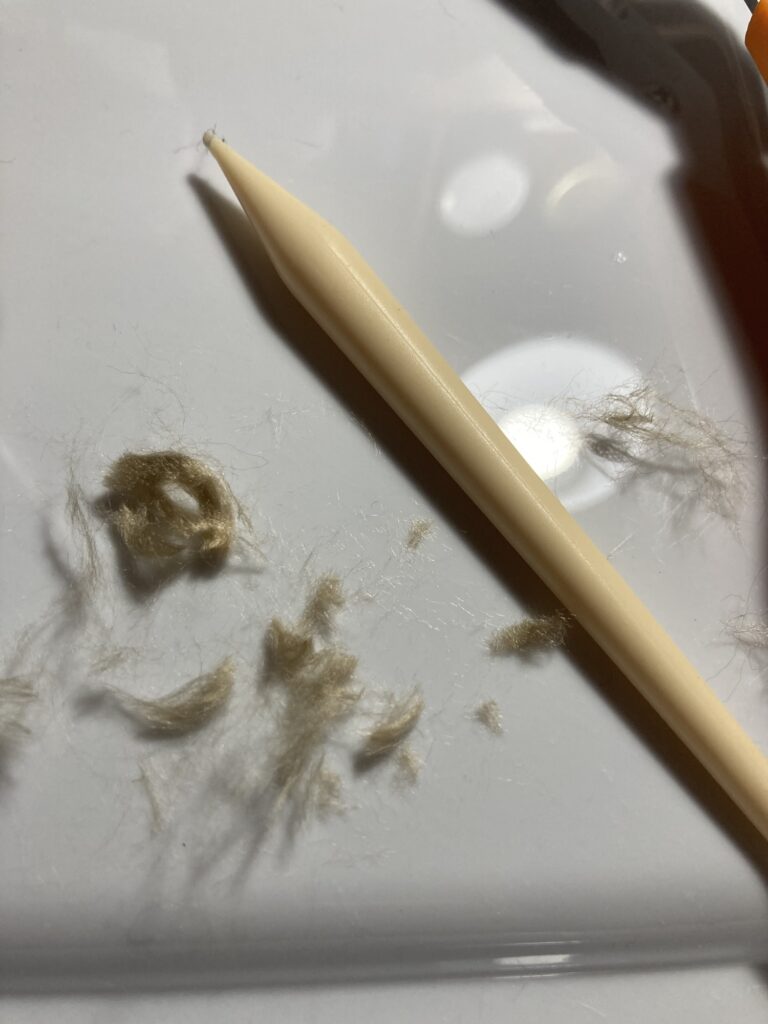
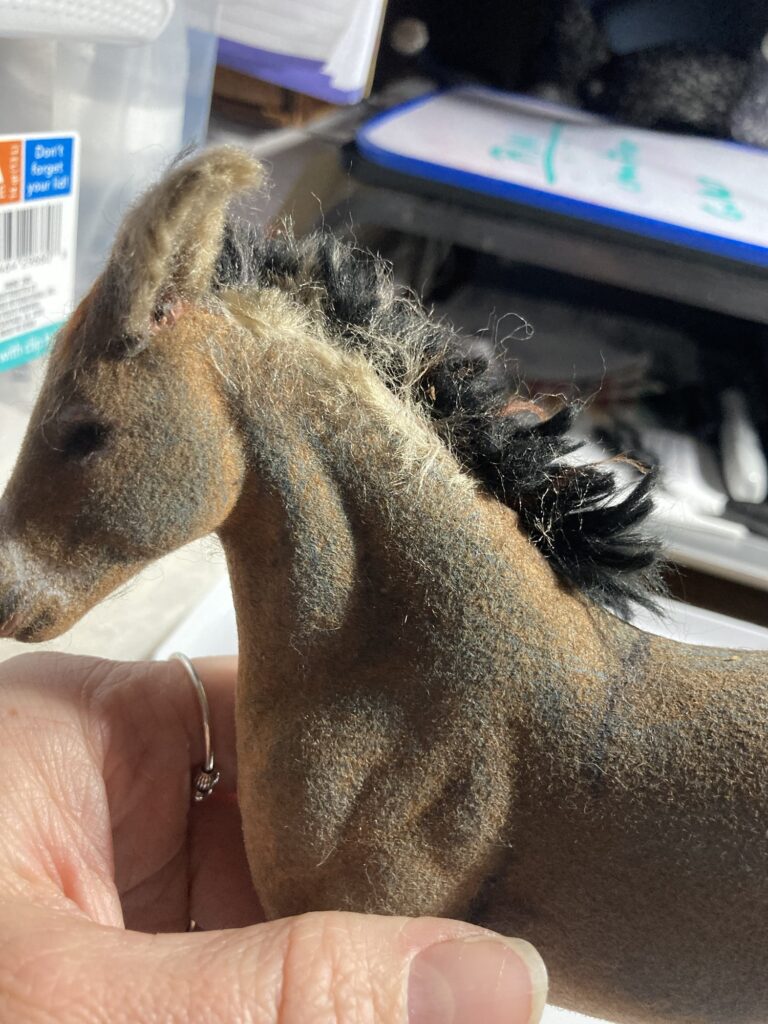
Yarn glued to areas with missing flocking.
I trimmed the hair with fine scissors so it more closely resembles the body hair he already had.
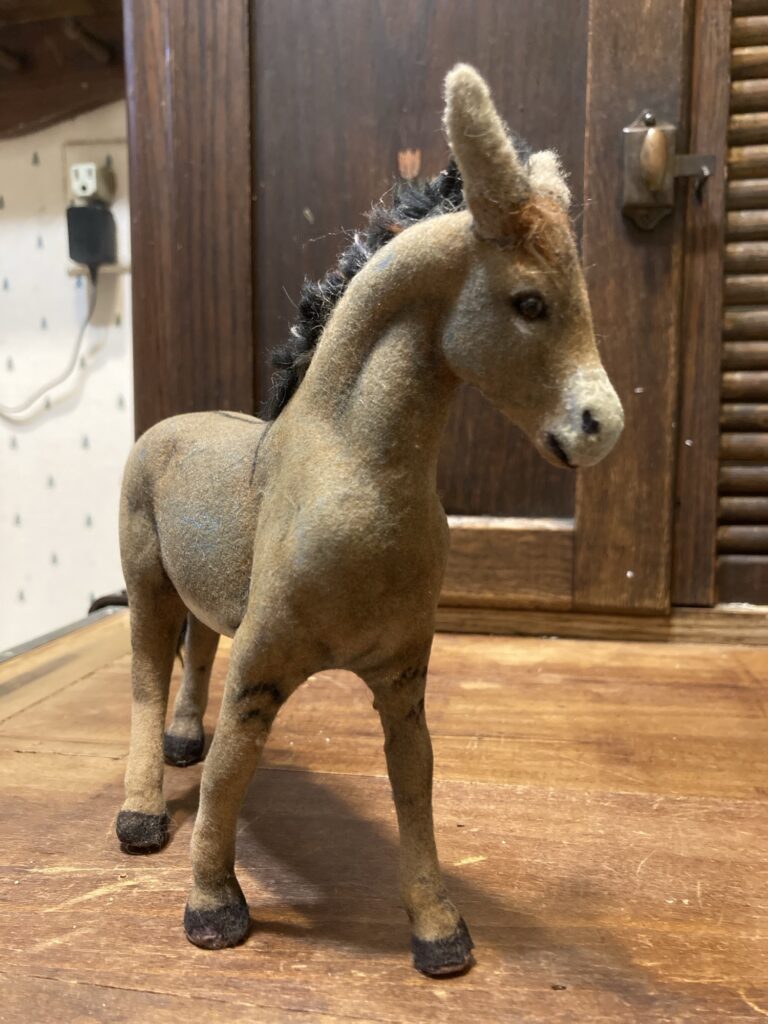
Completed donkey.