How to Easily Make Broken Dollhouse Windows Without Breaking them

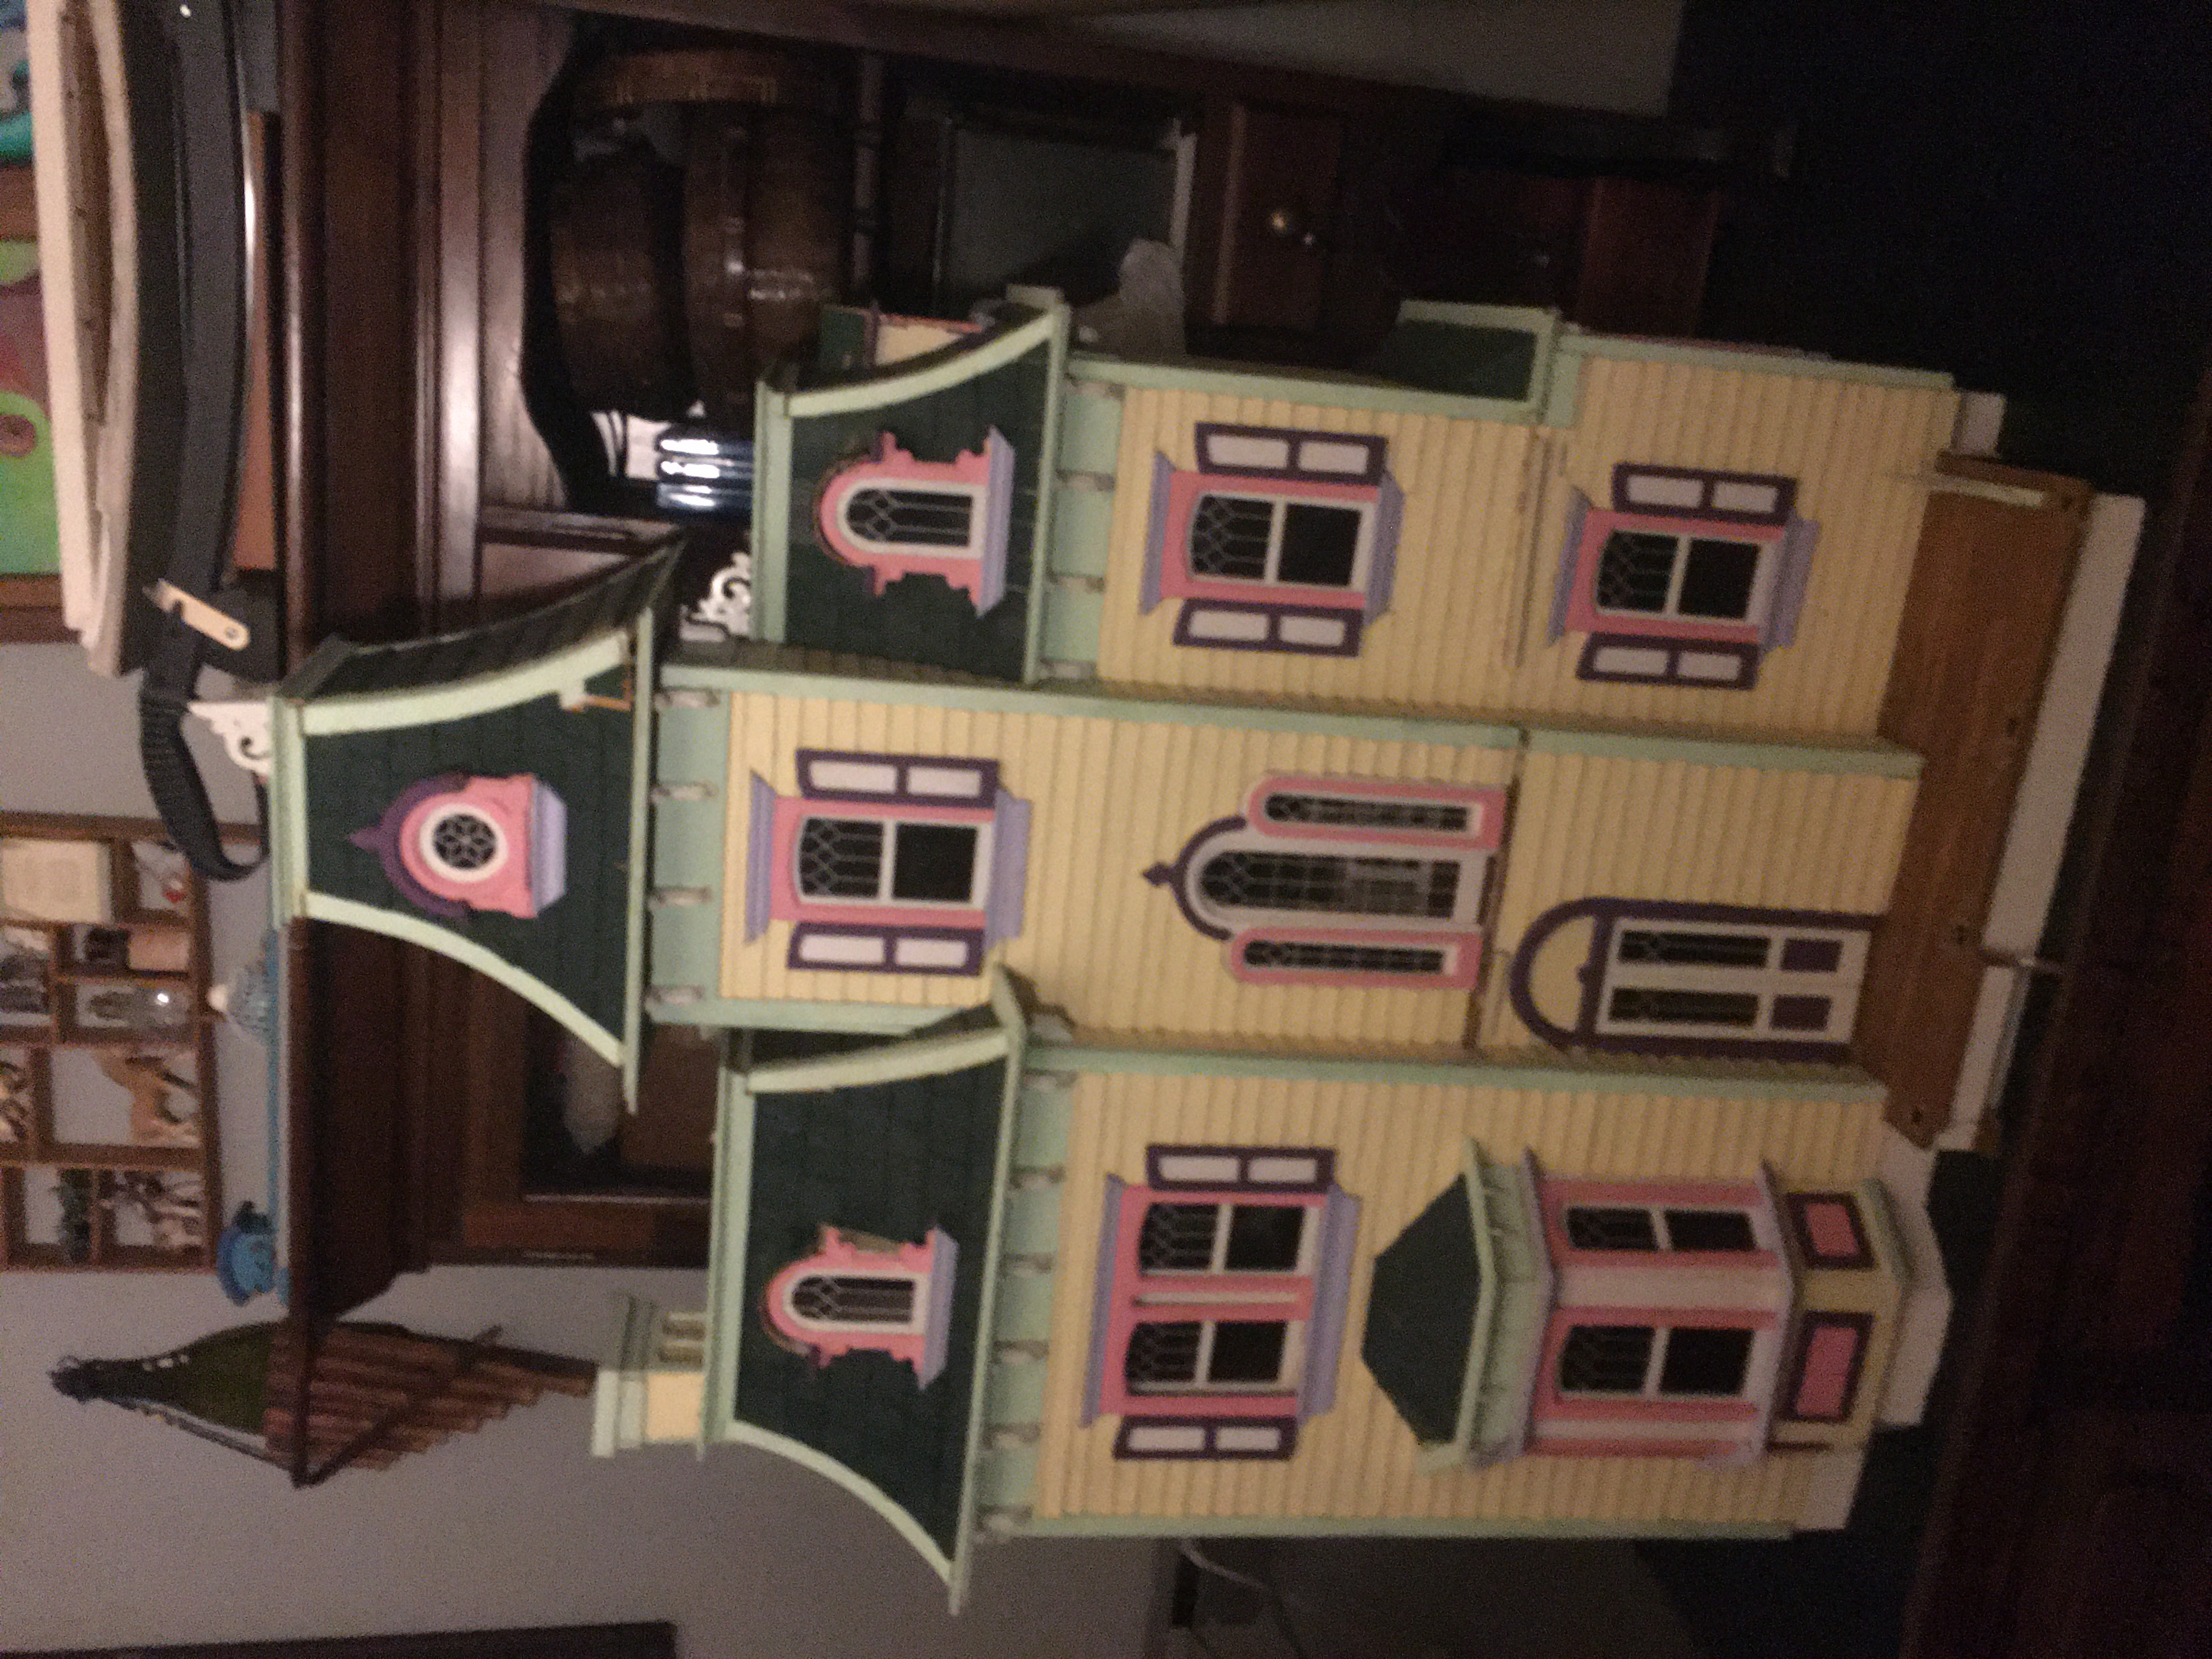
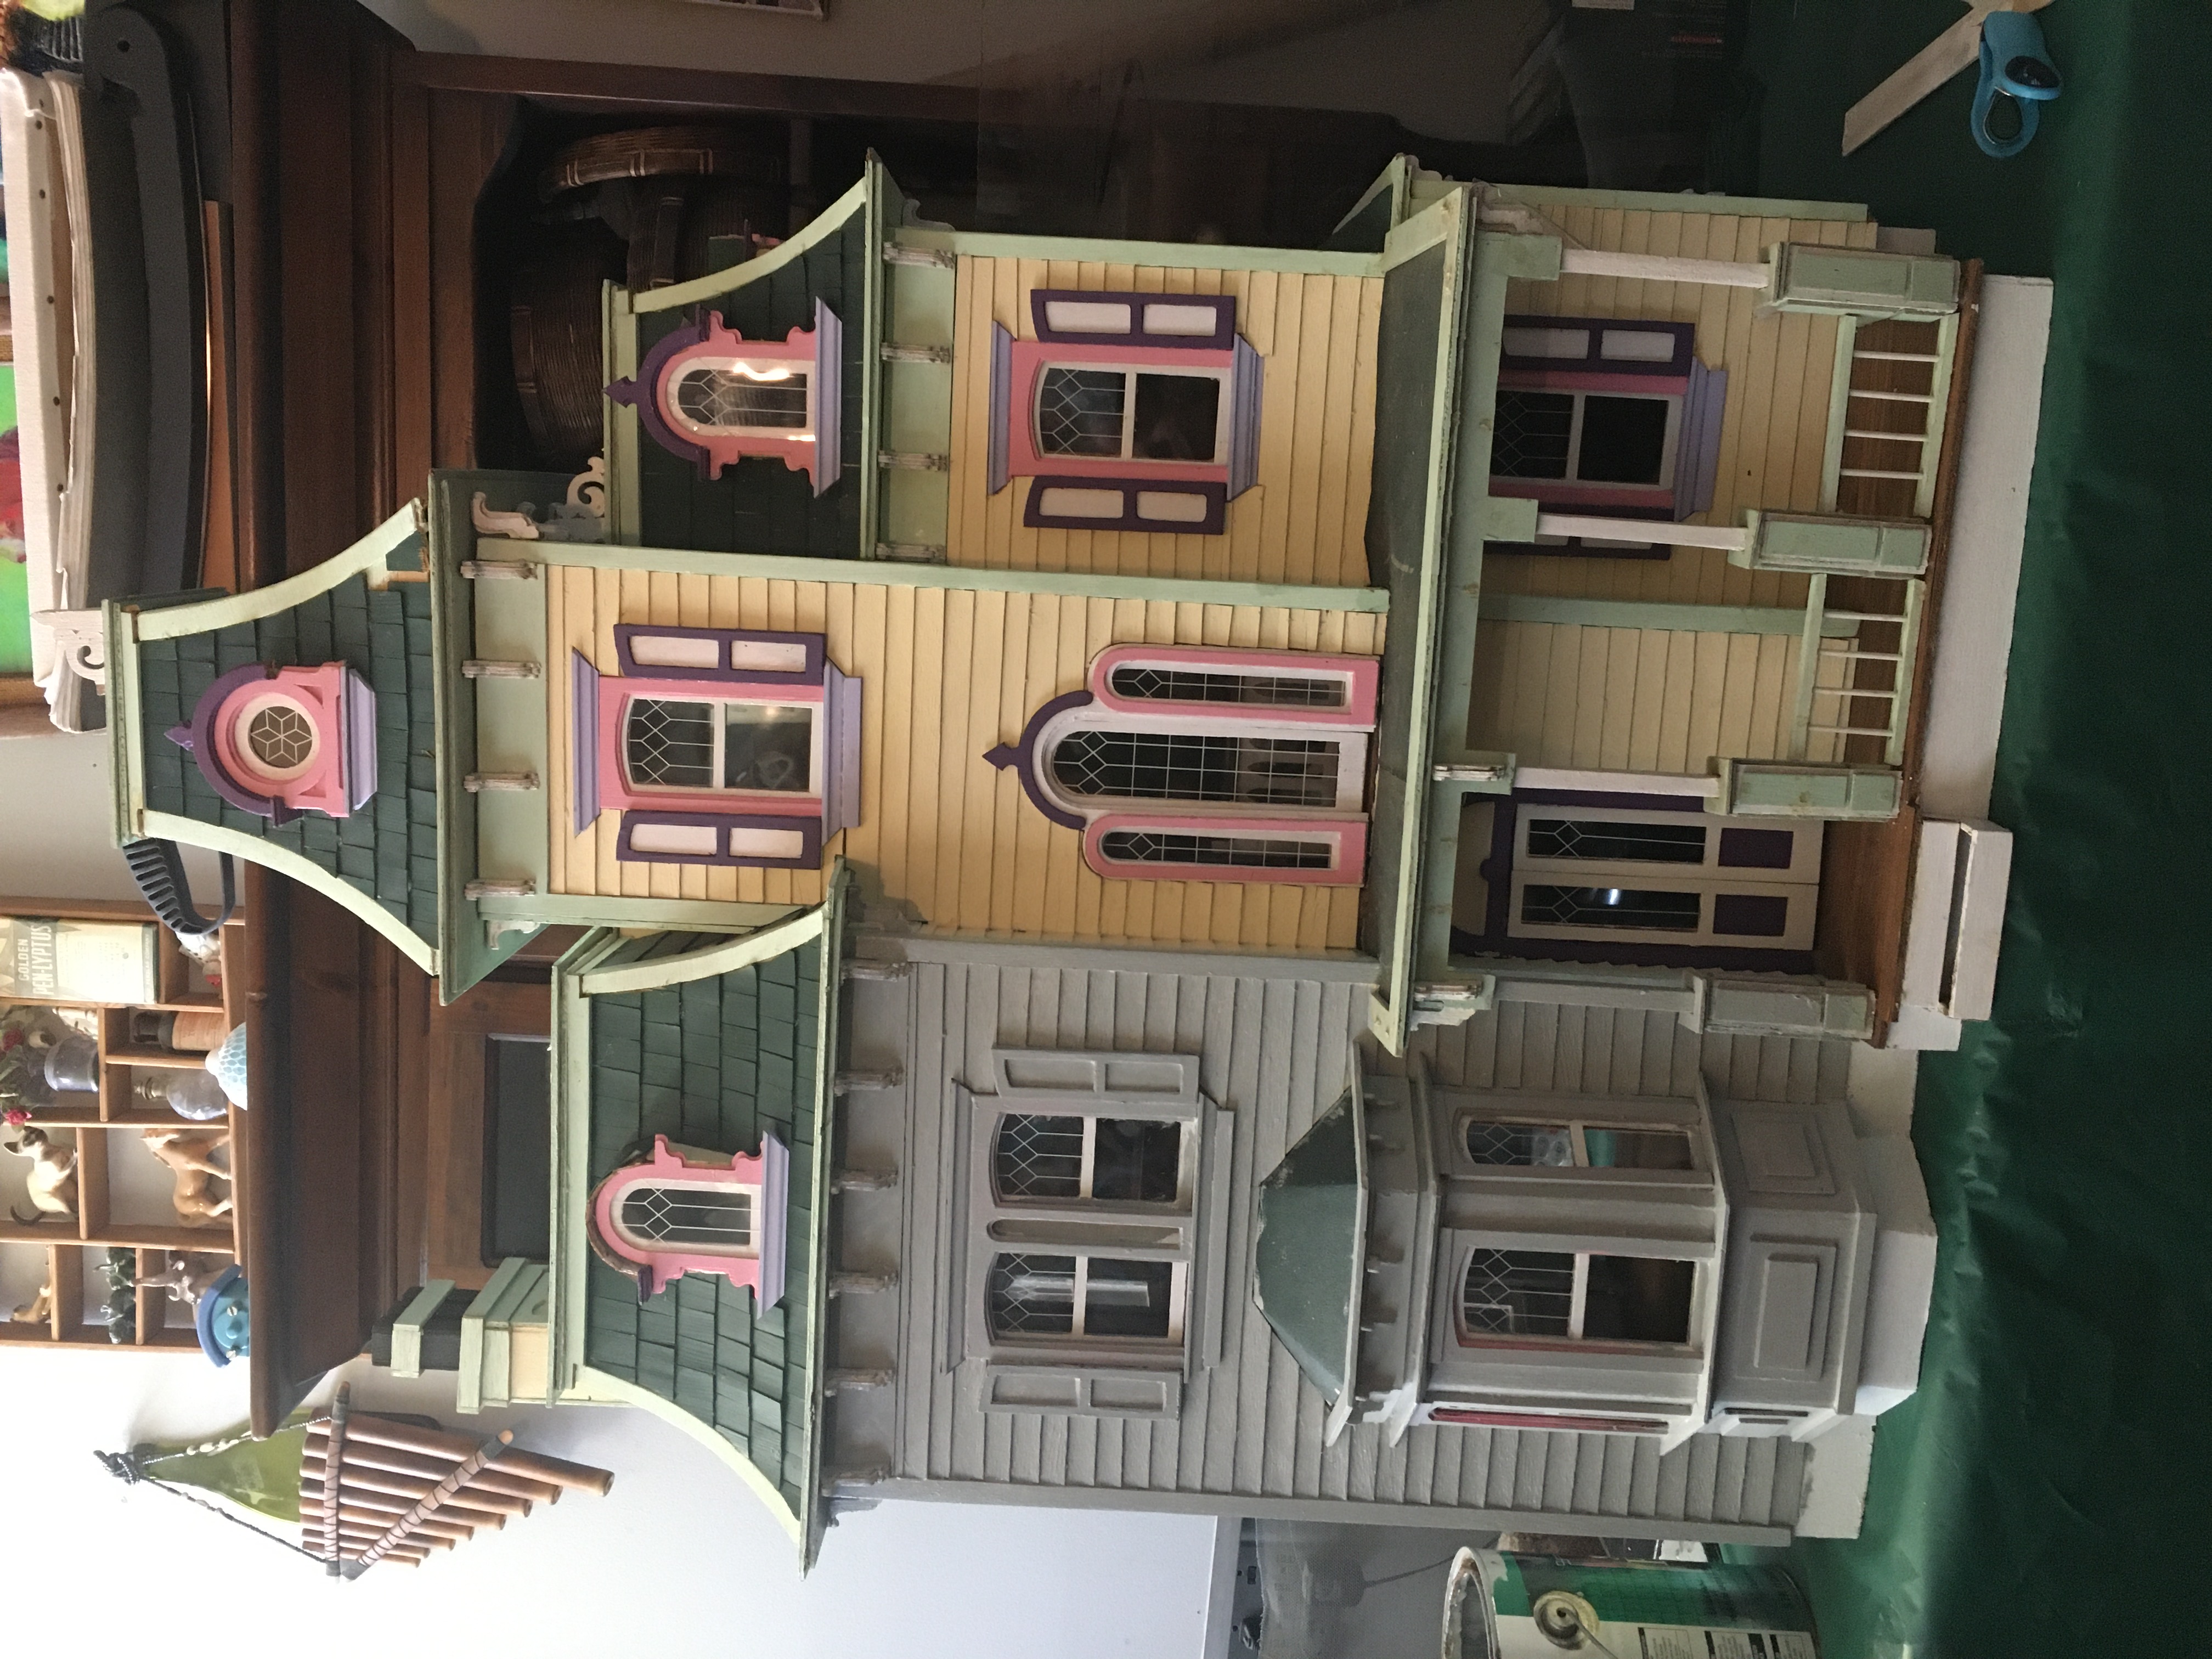
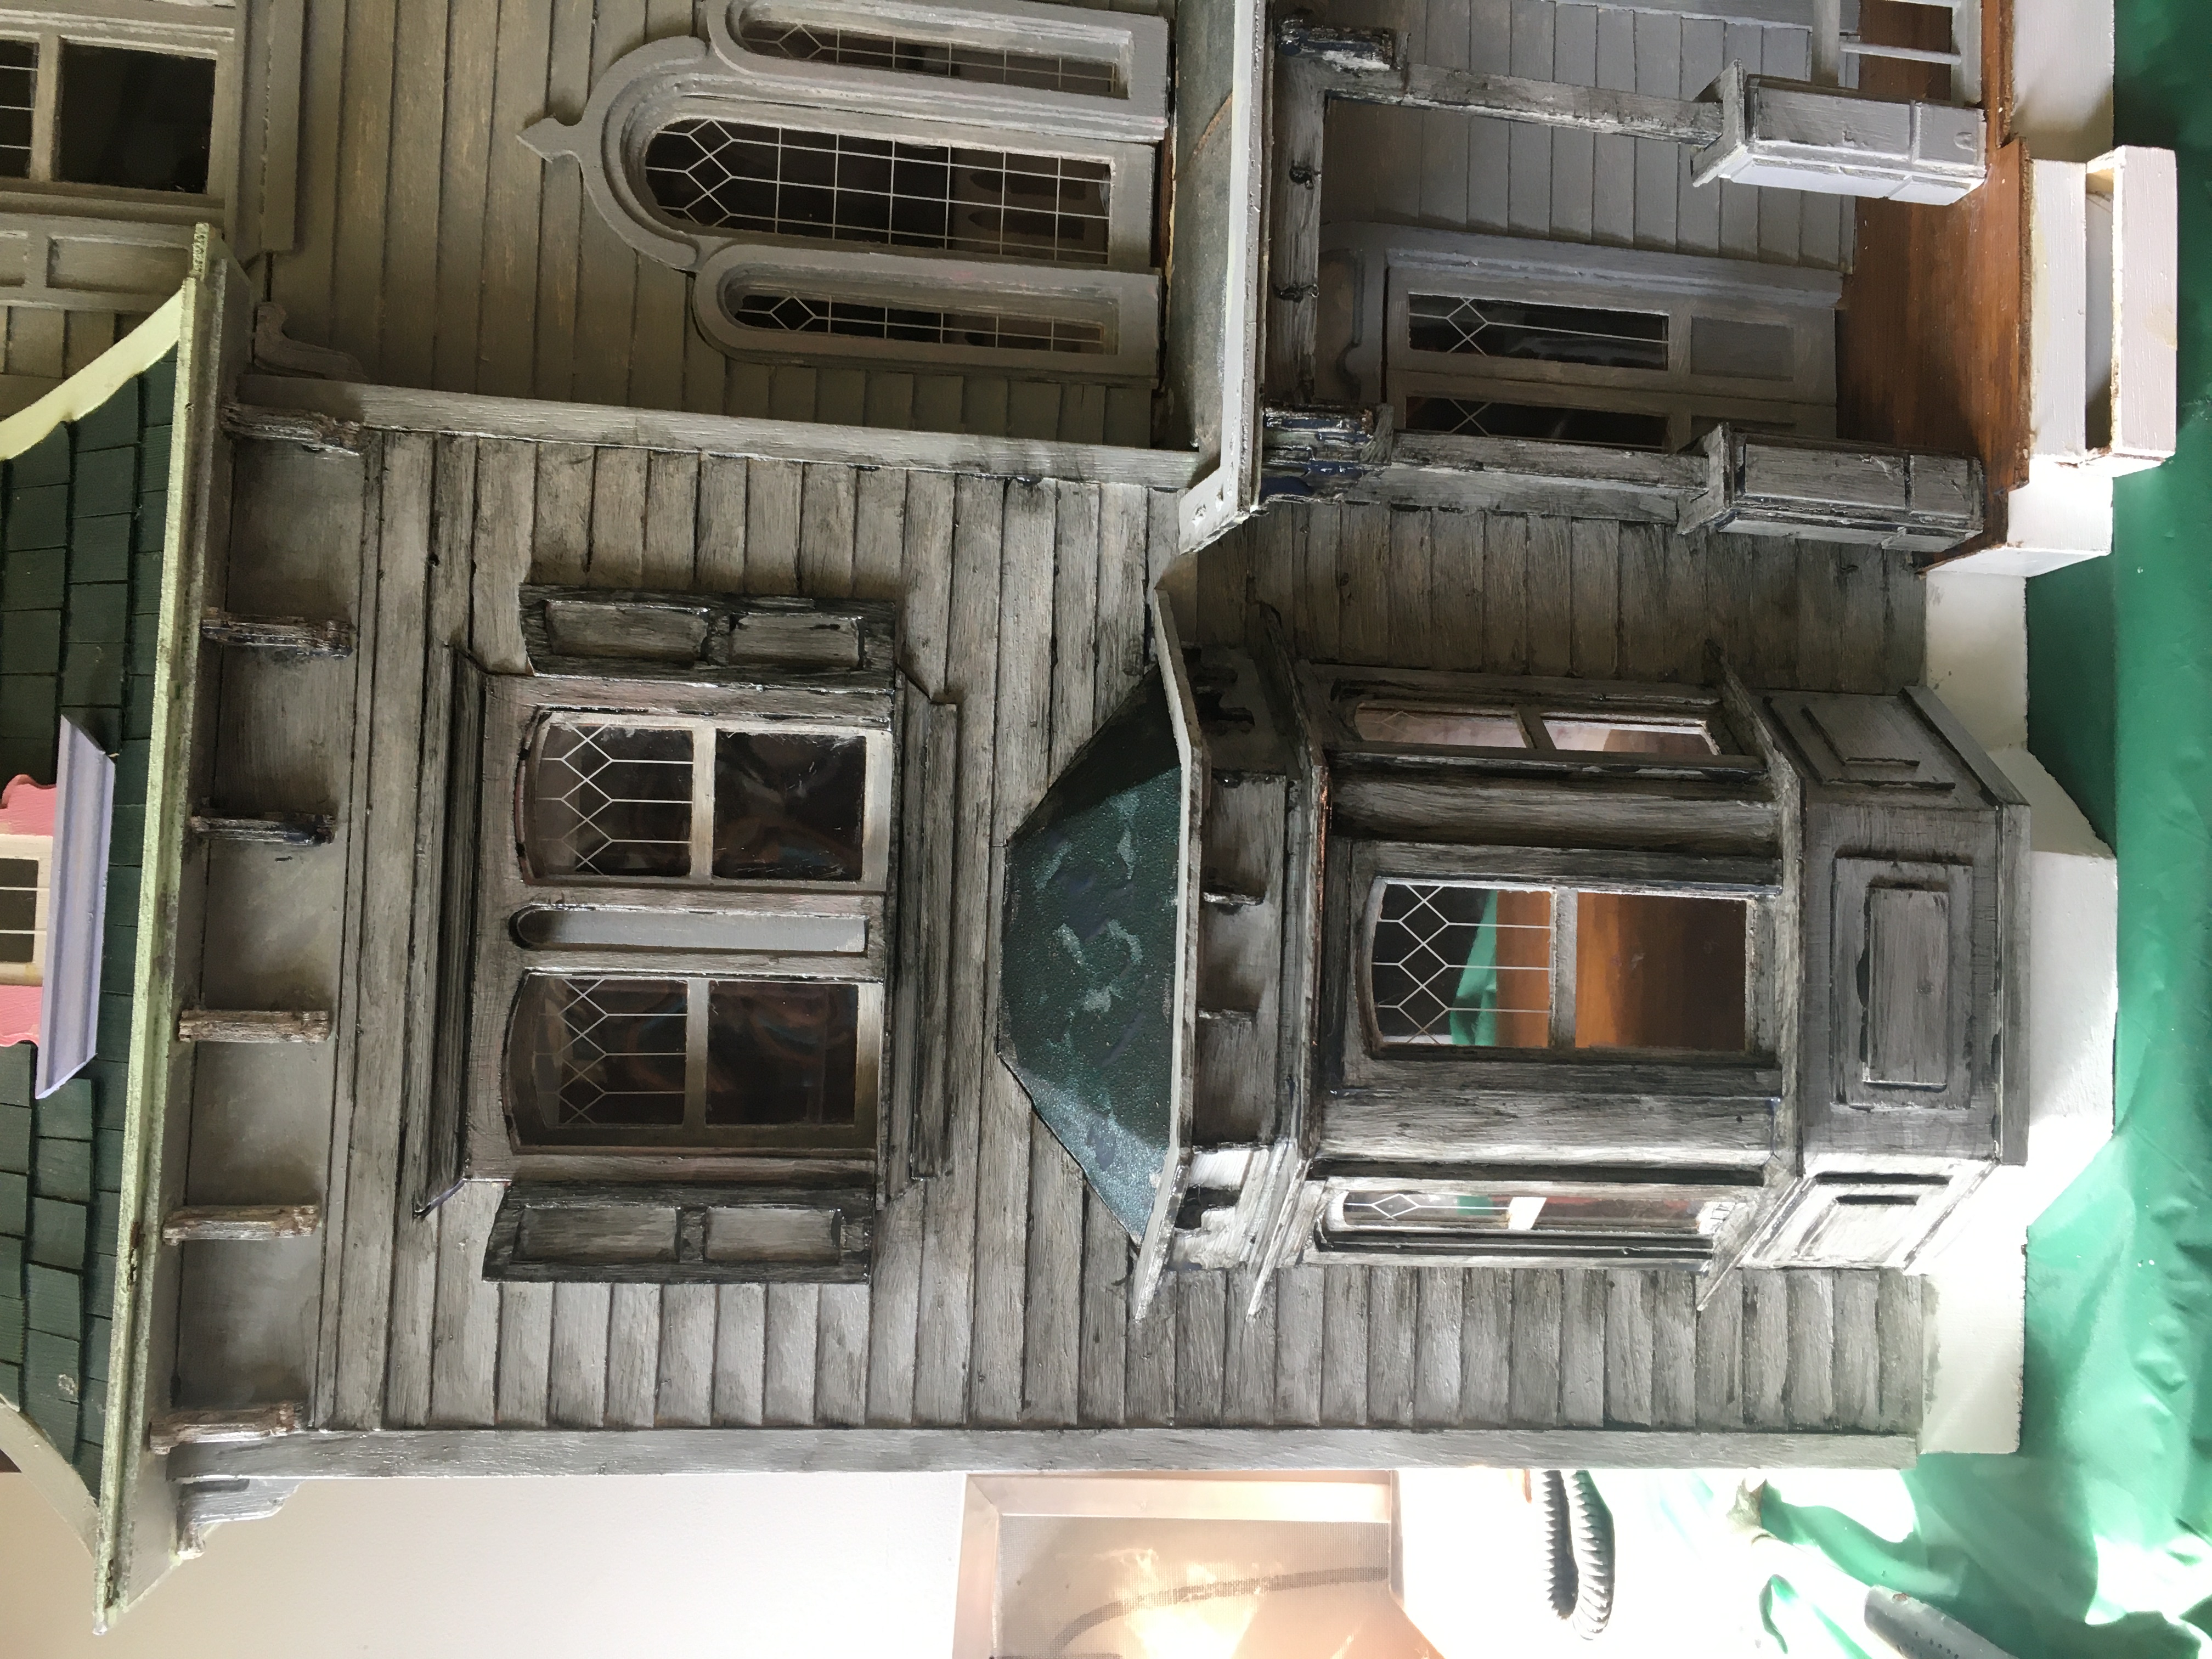
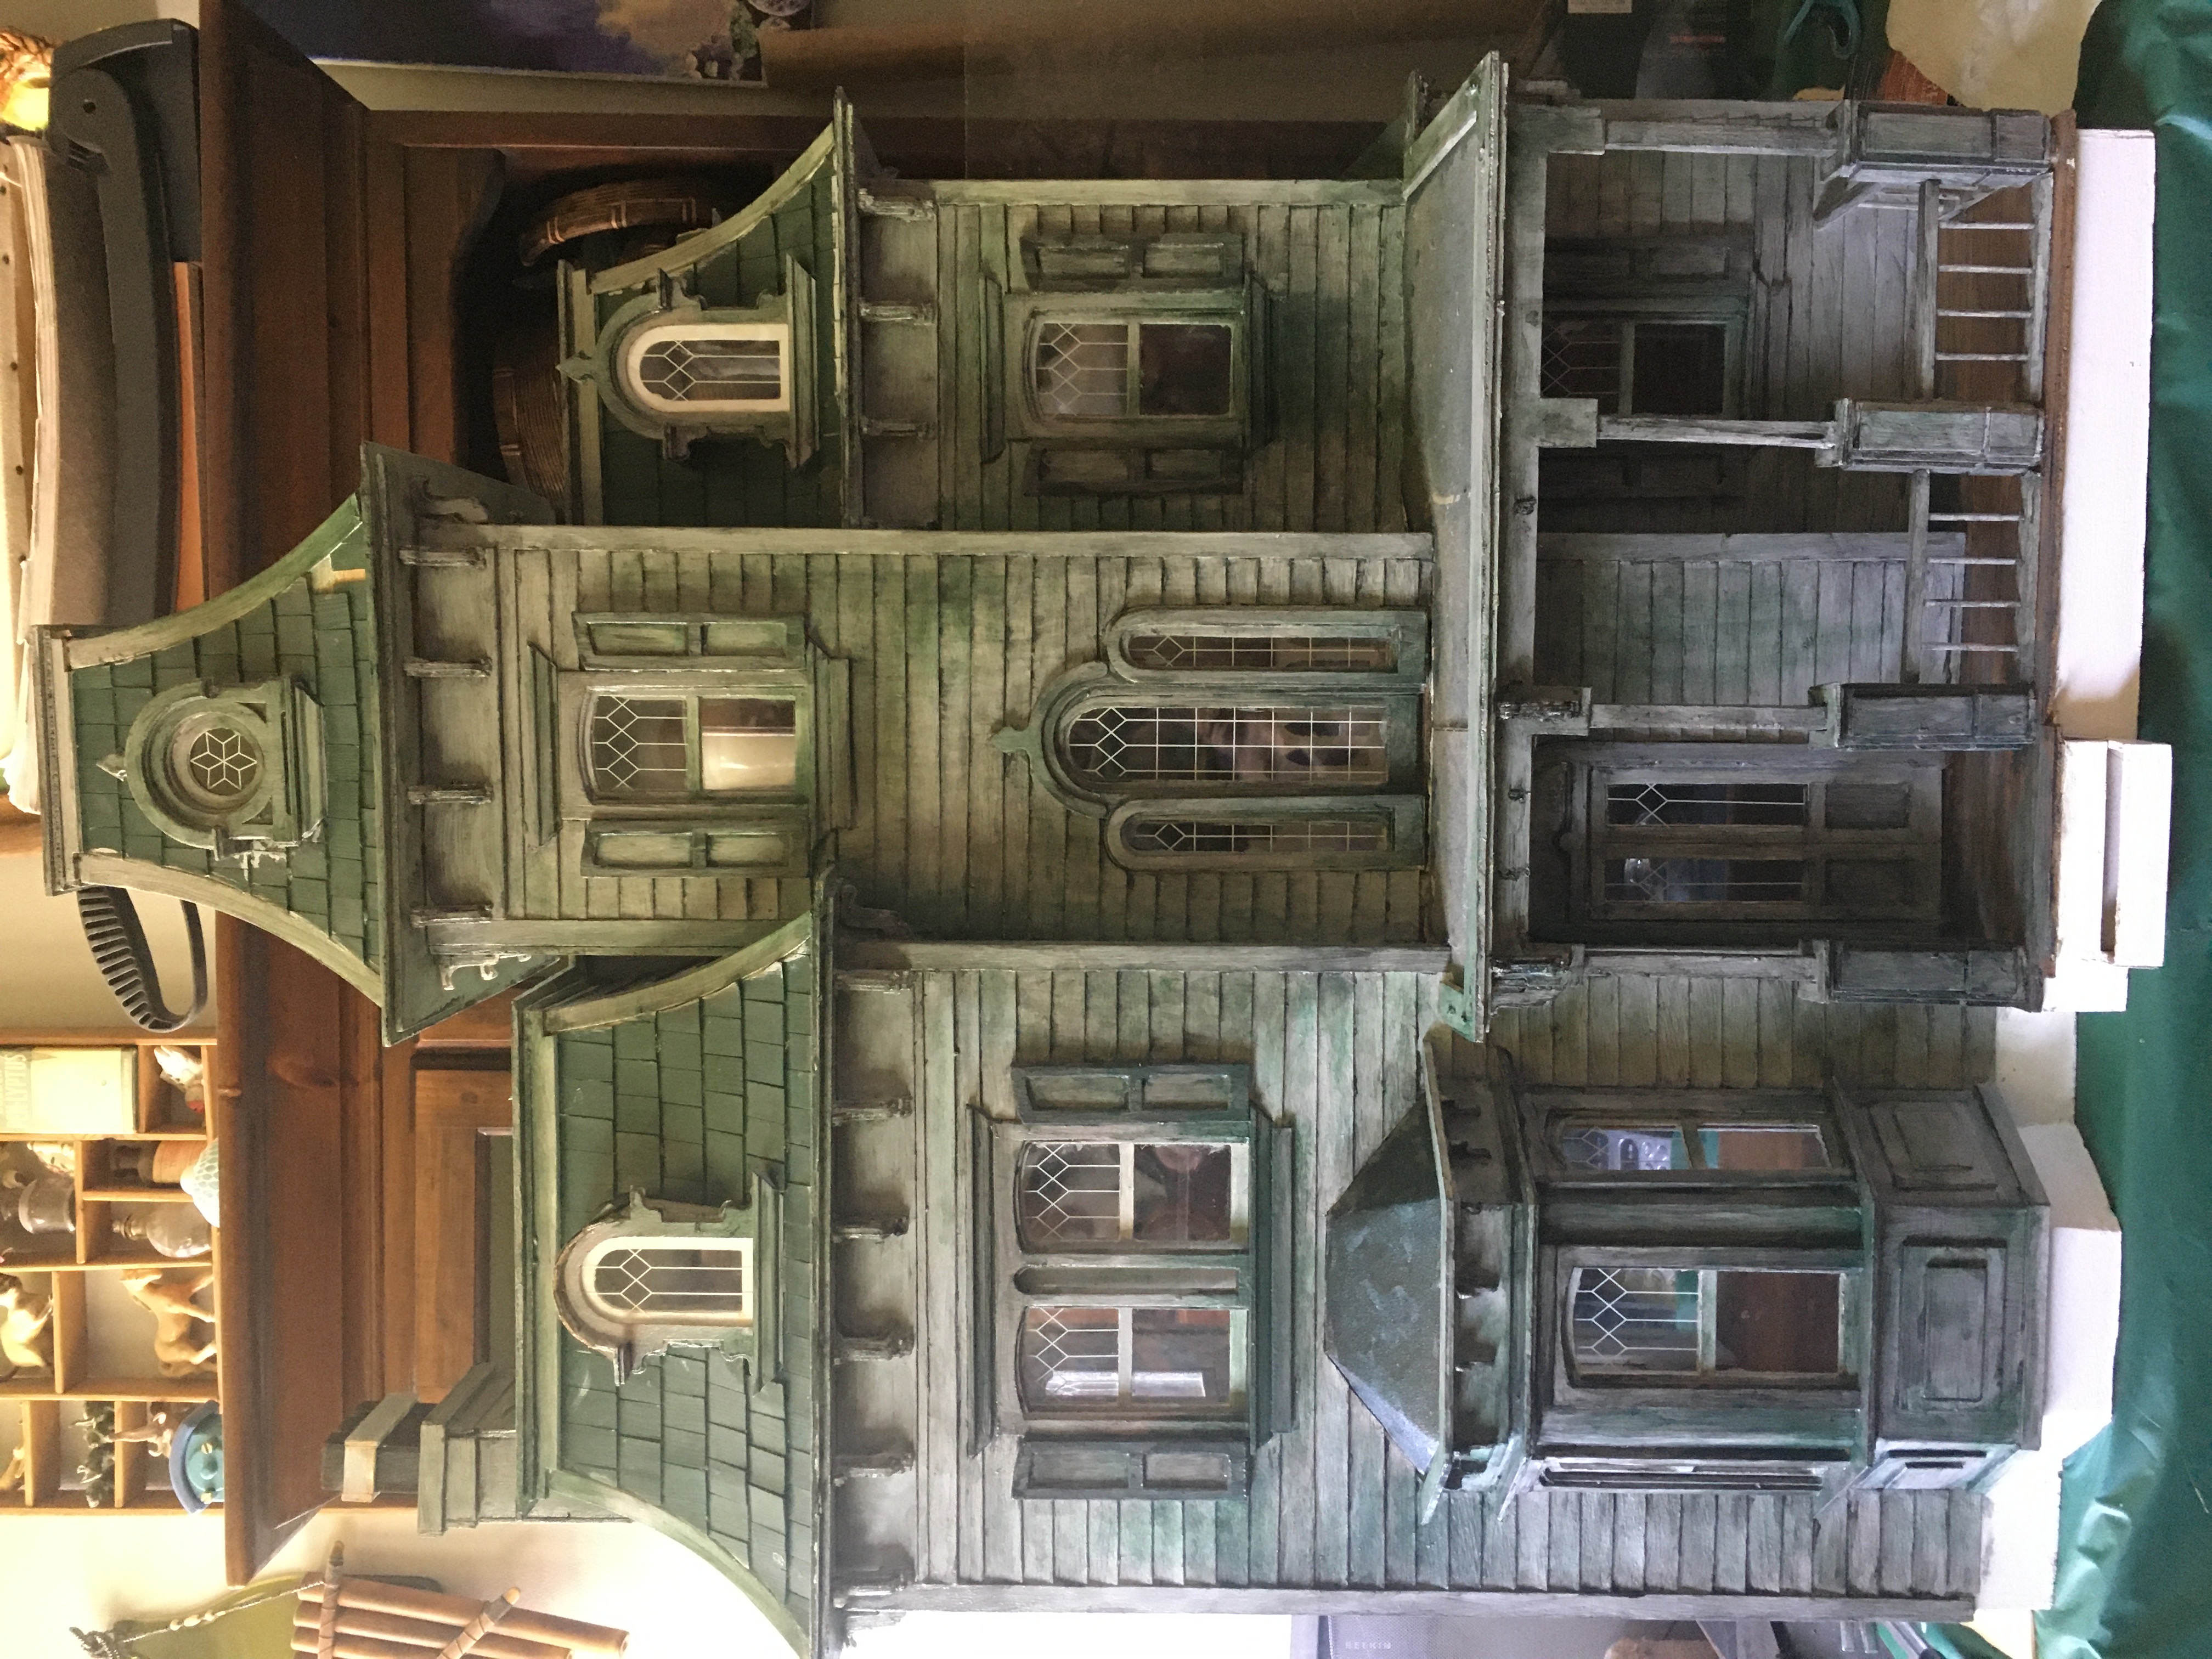
For my Beacon Hill project, I decided that, as the house is in disrepair, I wanted to add broken windows. However, as I really don’t enjoy breaking things, I decided to try something to make them LOOK broken.

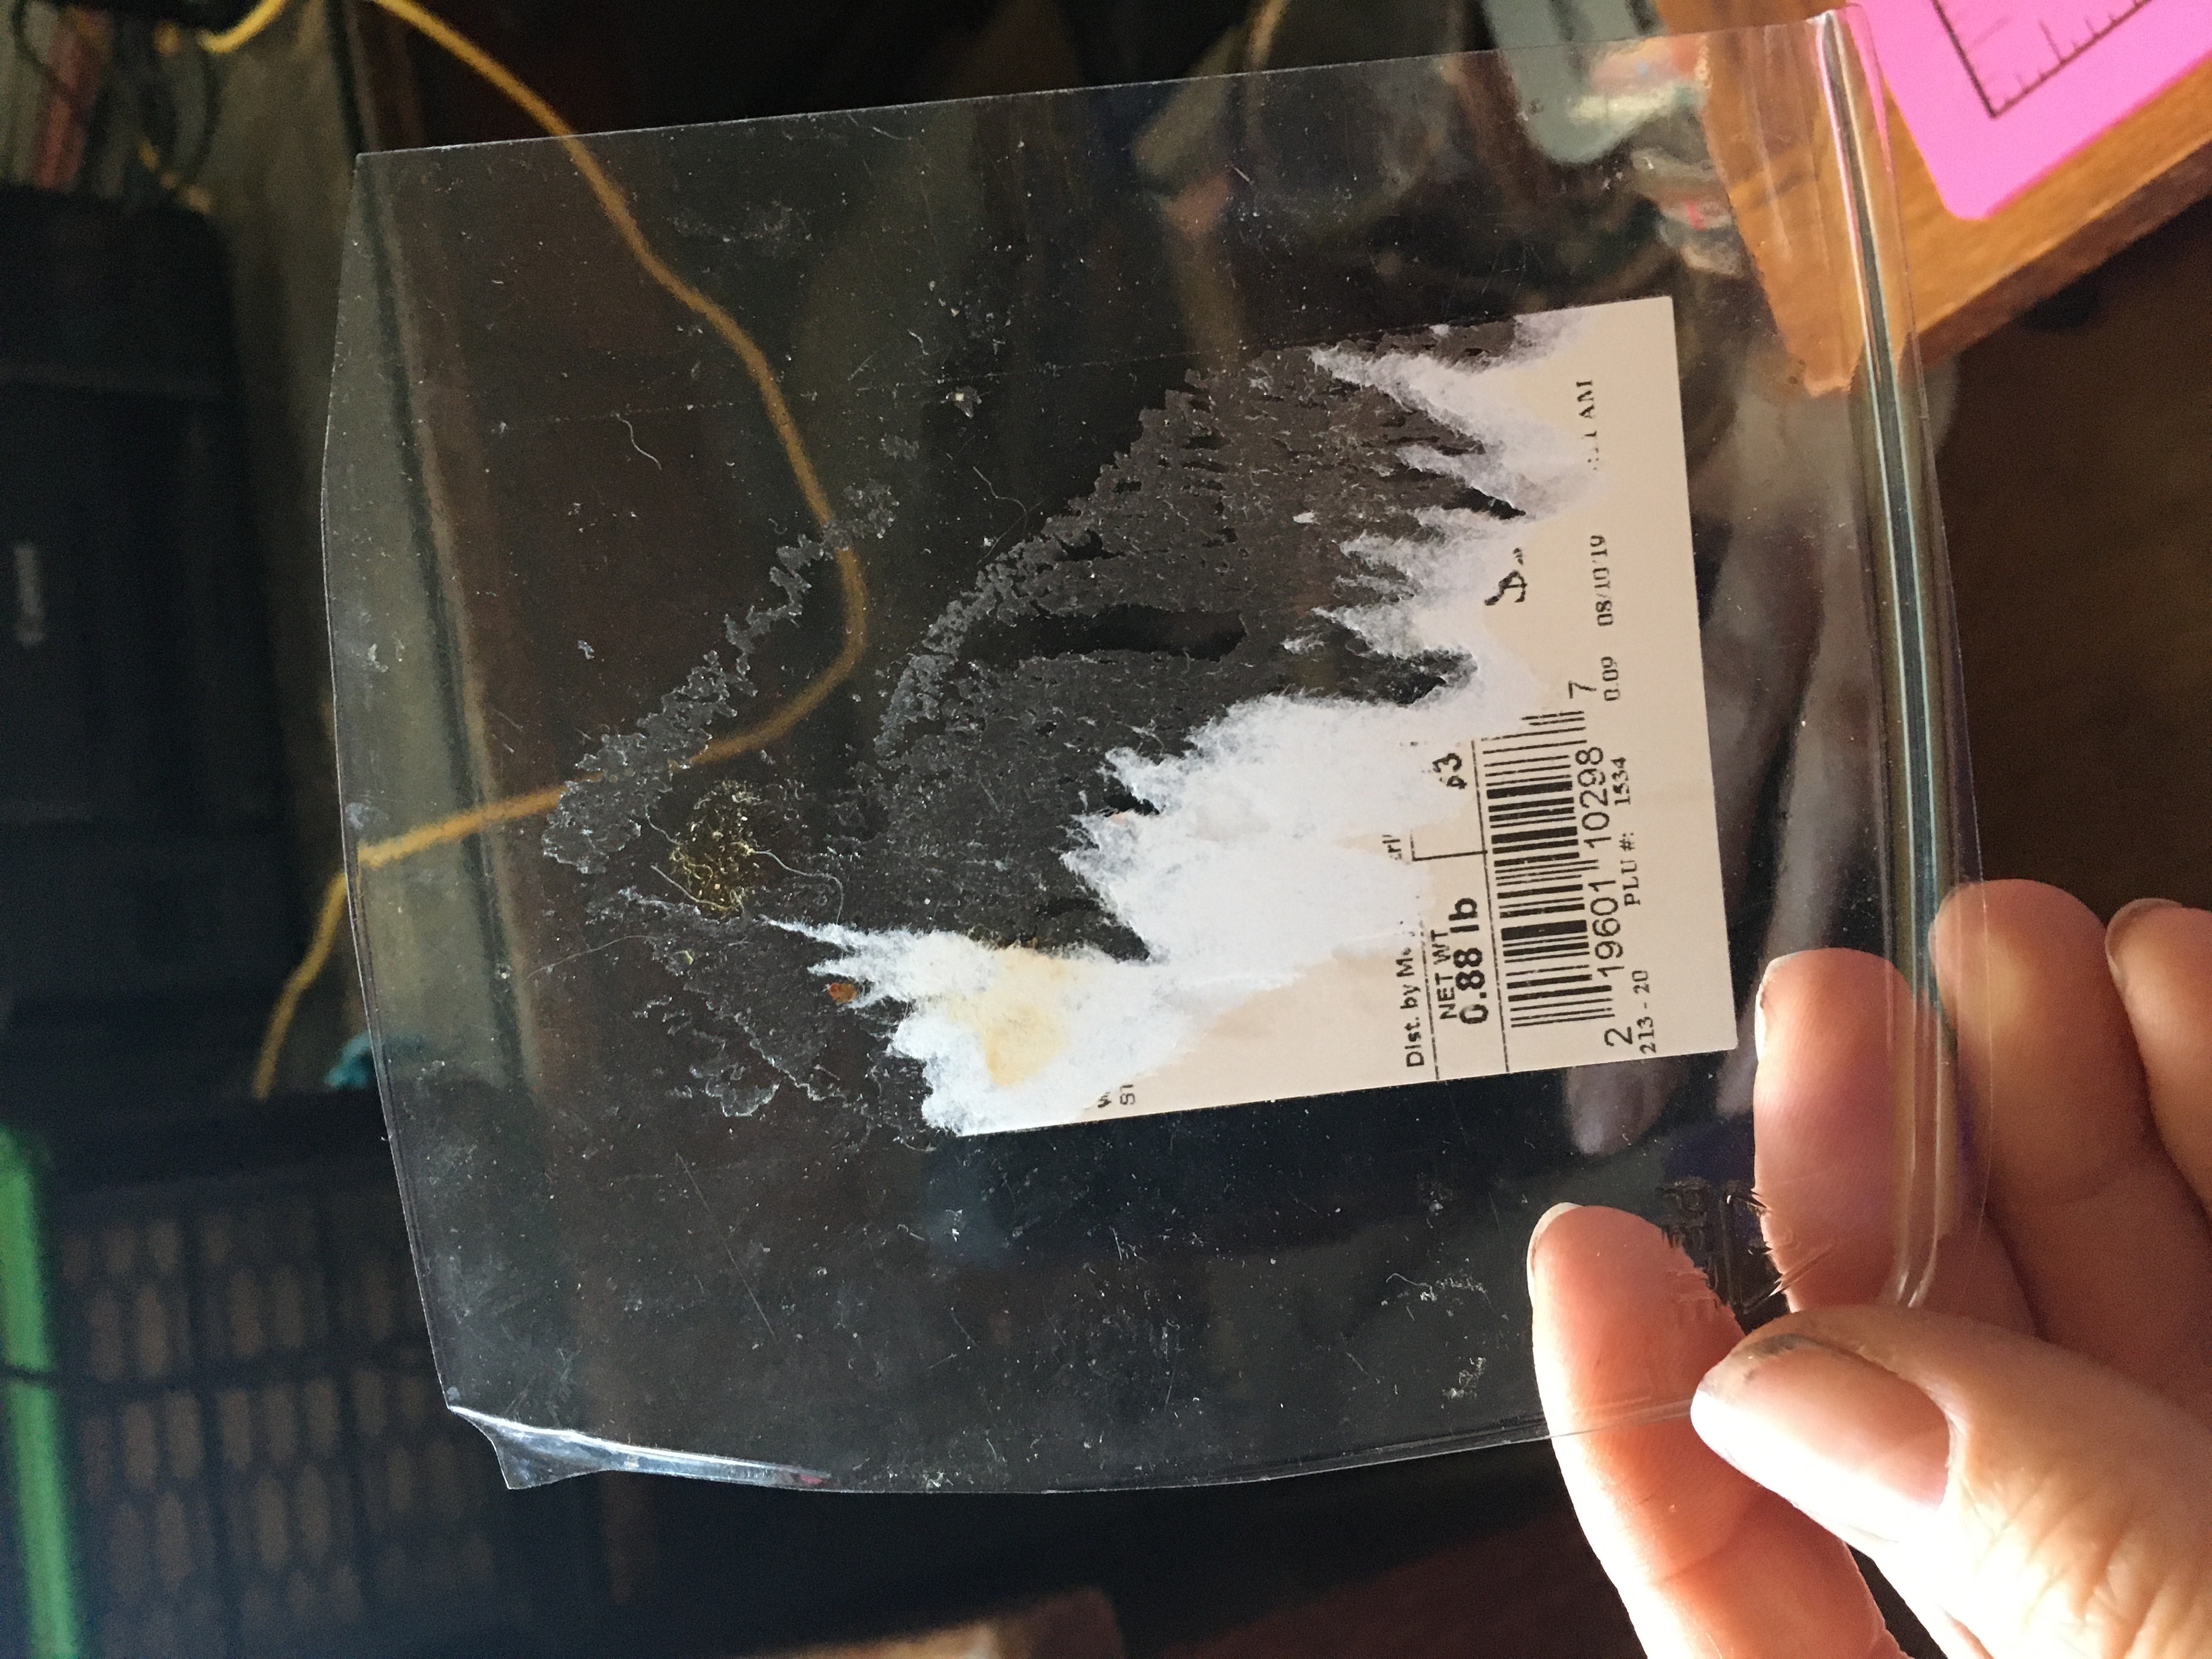
I started out with a piece of clear plastic from a vegetable container from the store.

I am just showing this piece as an example. Obviously, it is much easier to use a piece that doesn’t have a large sticker on it!

After picking out your piece of clear plastic, cut it so that it can slide into the existing window, over top of the existing plastic or glass. I made mine just a hair larger so that it could be popped into place and hopefully stay put!
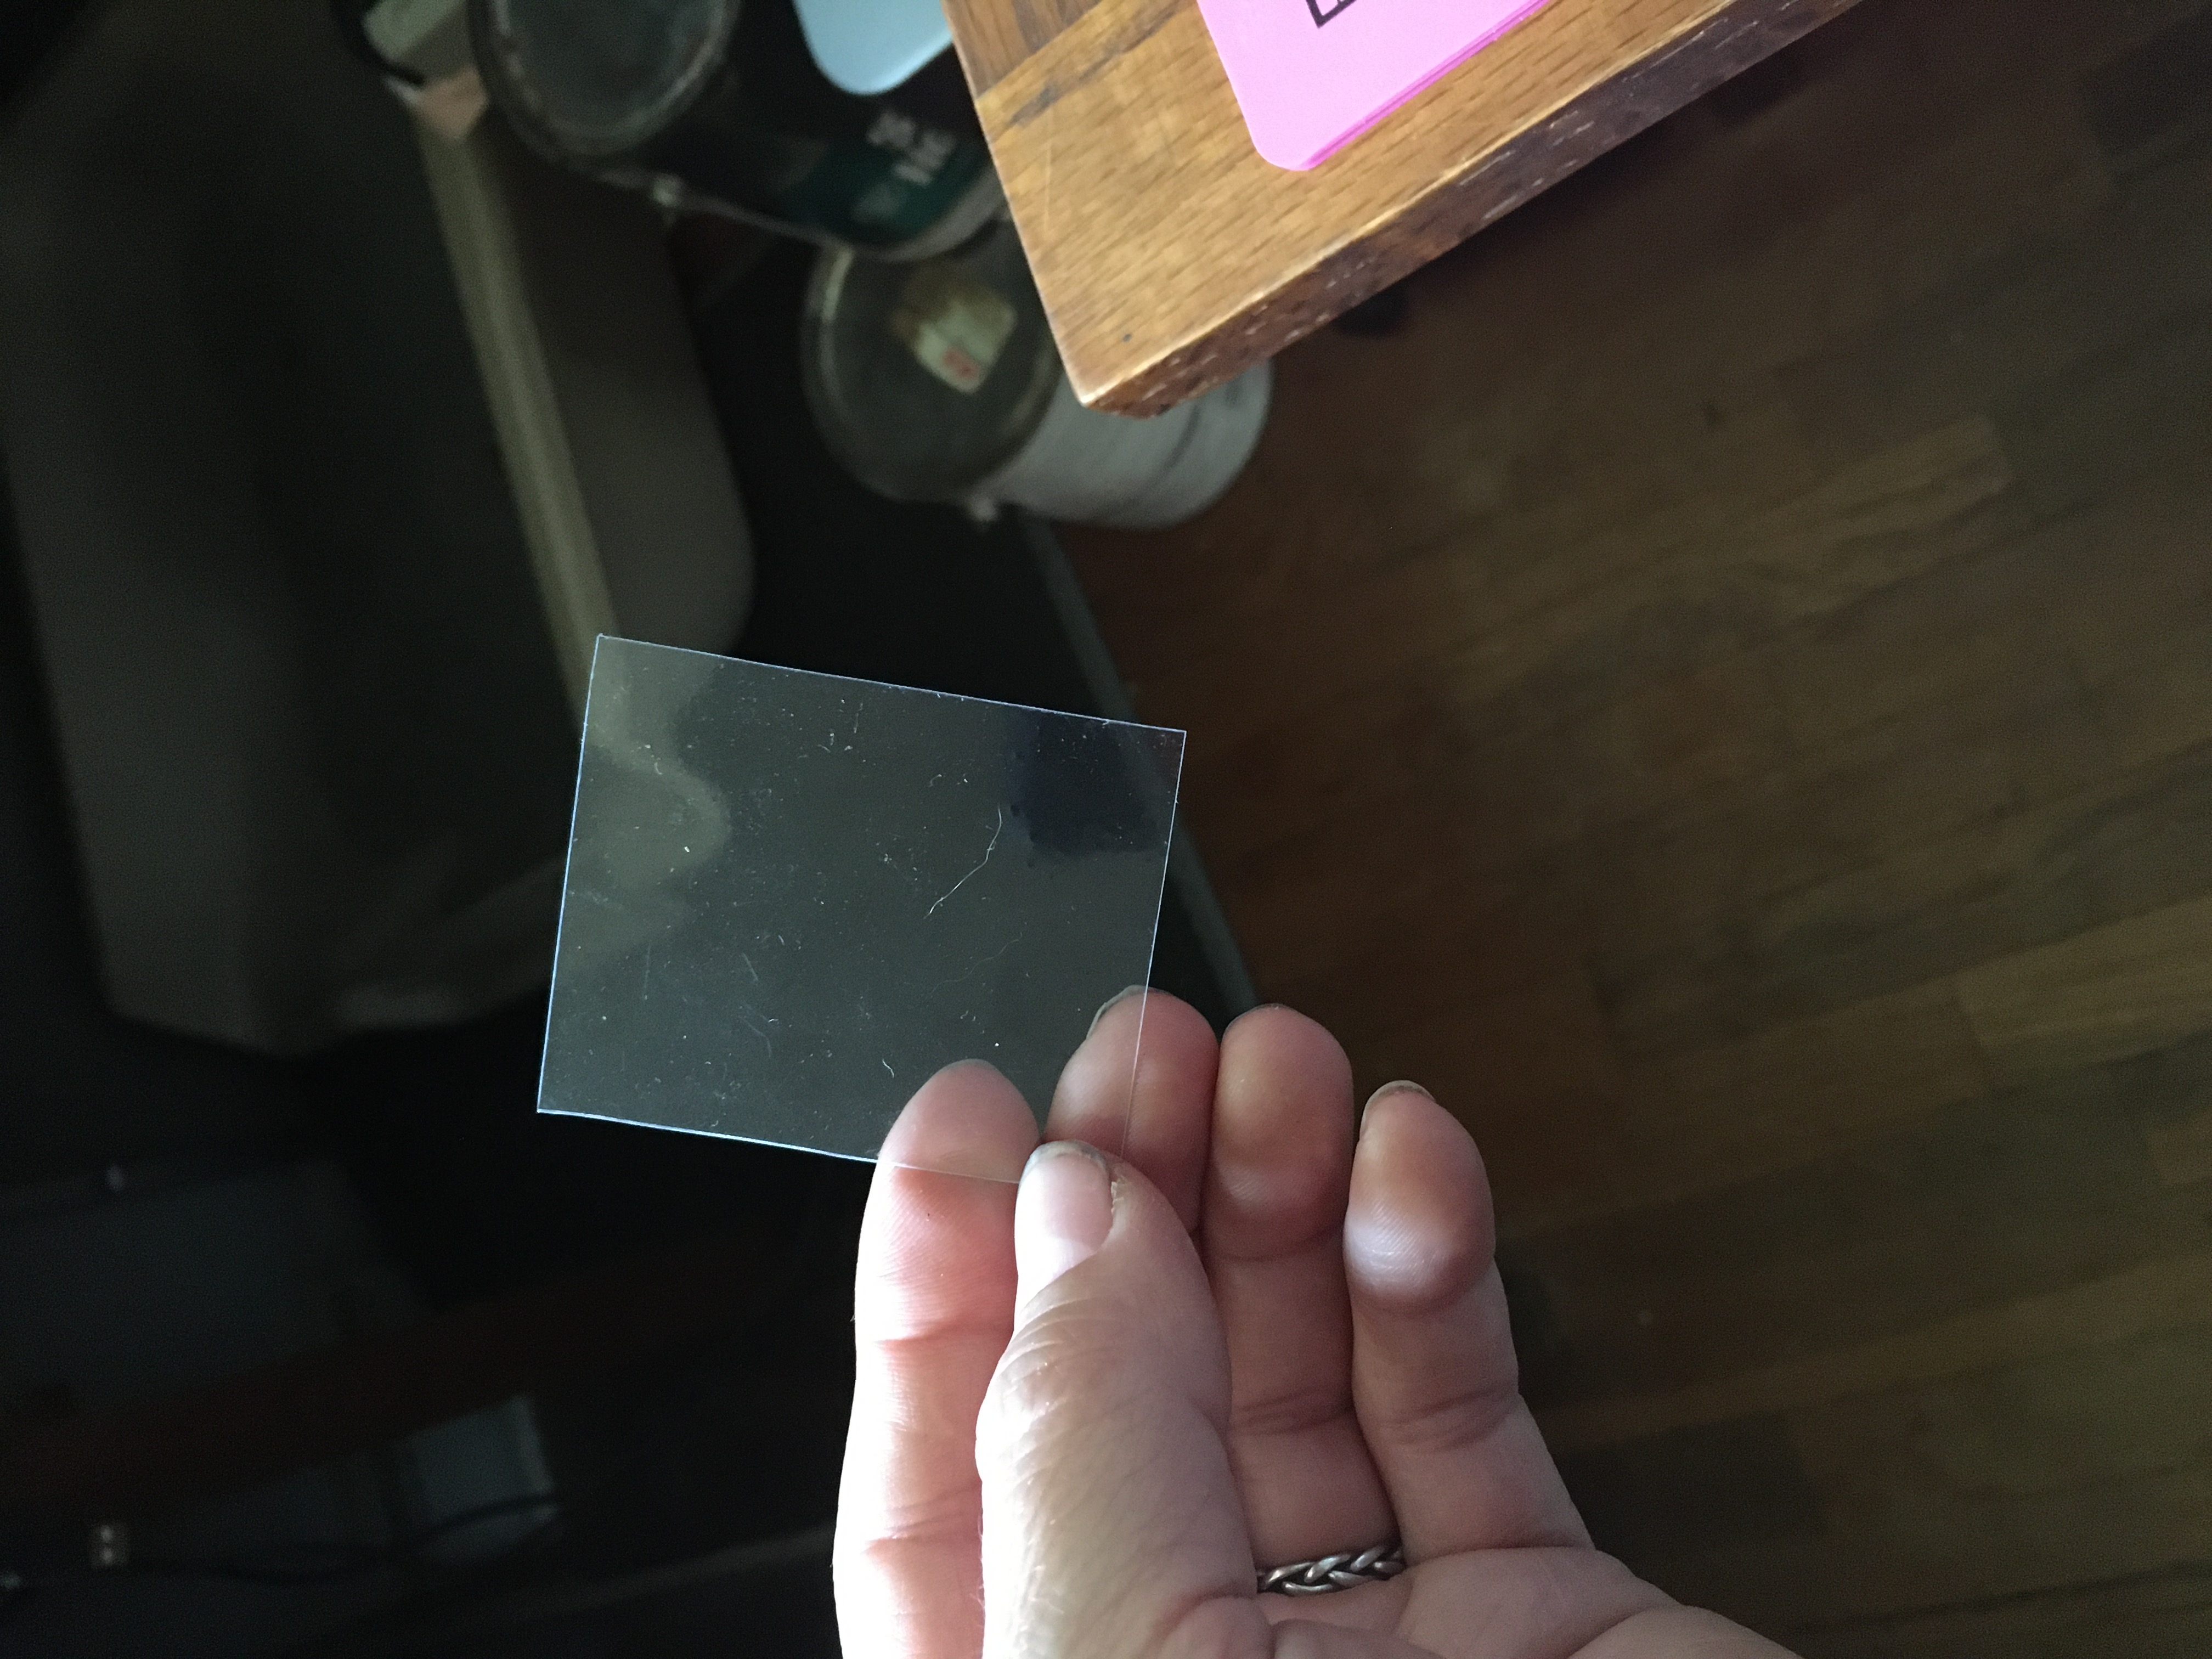
Cut to size

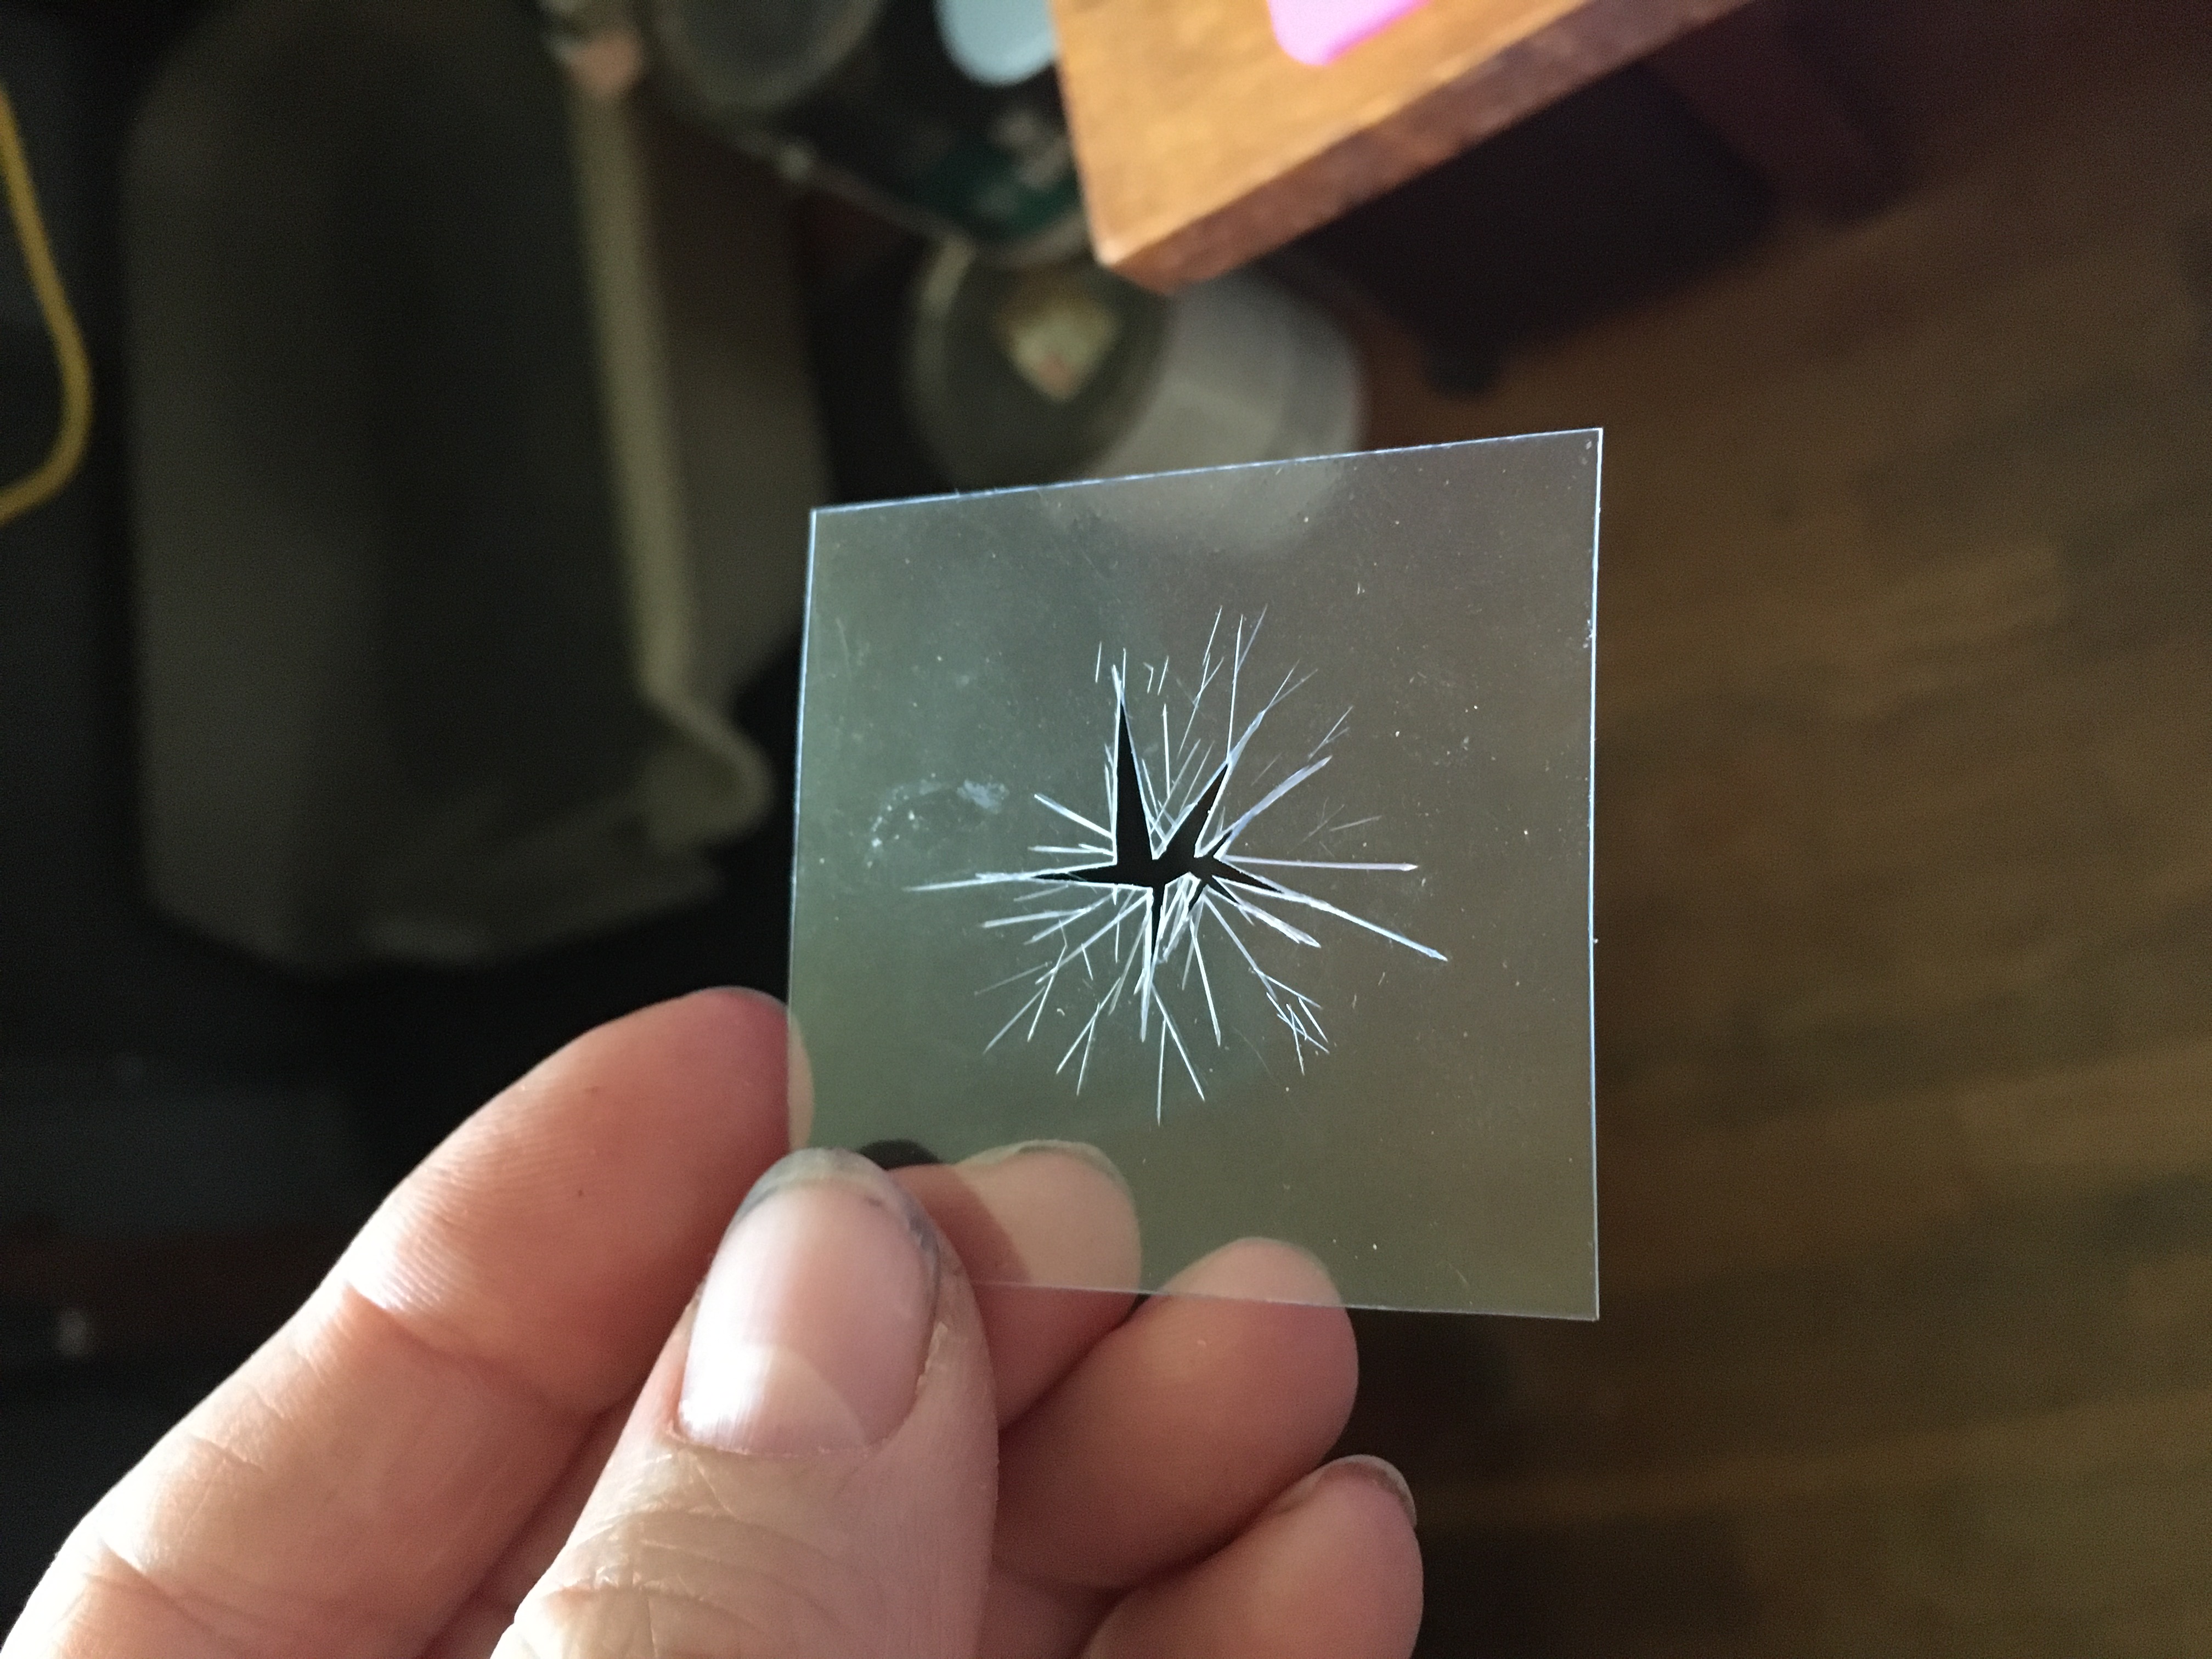
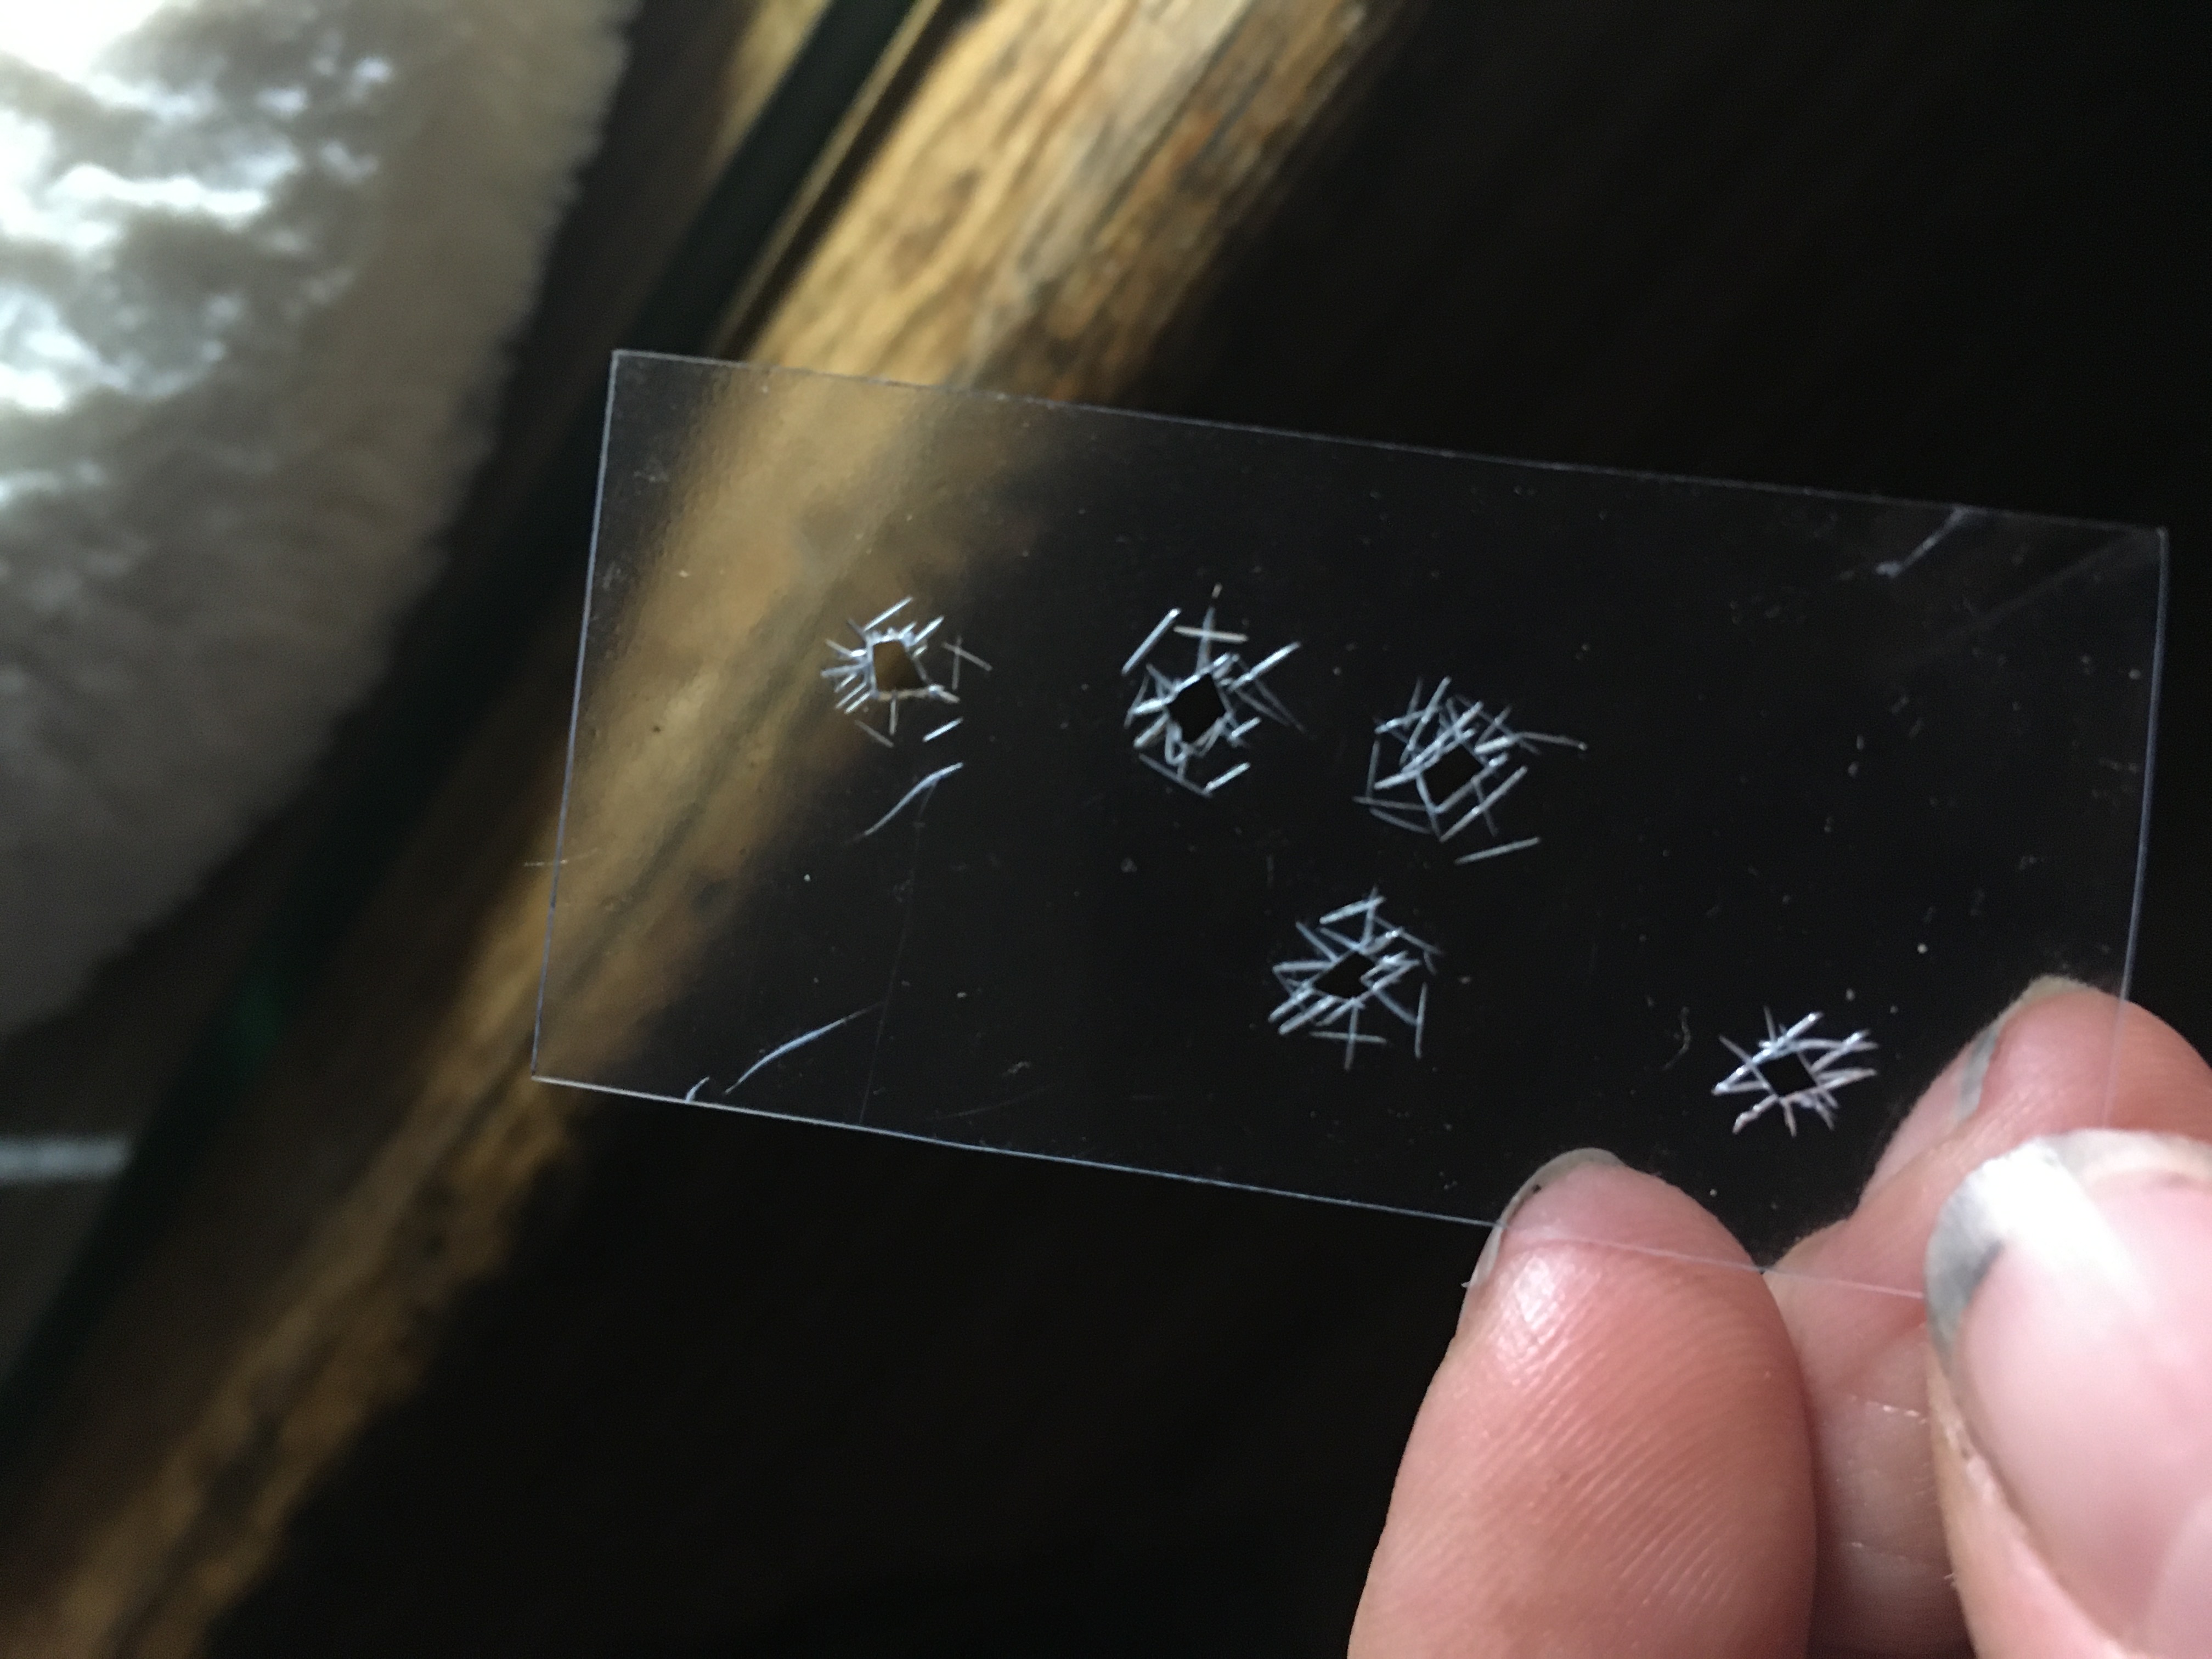
After the plastic is cut to the desired size, I used an xacto knife to carve cracks, holes, bullet holes, etc into them. Here are some examples:

Spider-webbed, with a hole.
Bullet holes. Notice that a lot of bullet-ridden glass has smaller spider-webs around the holes, as the bullet passes through with so much force.

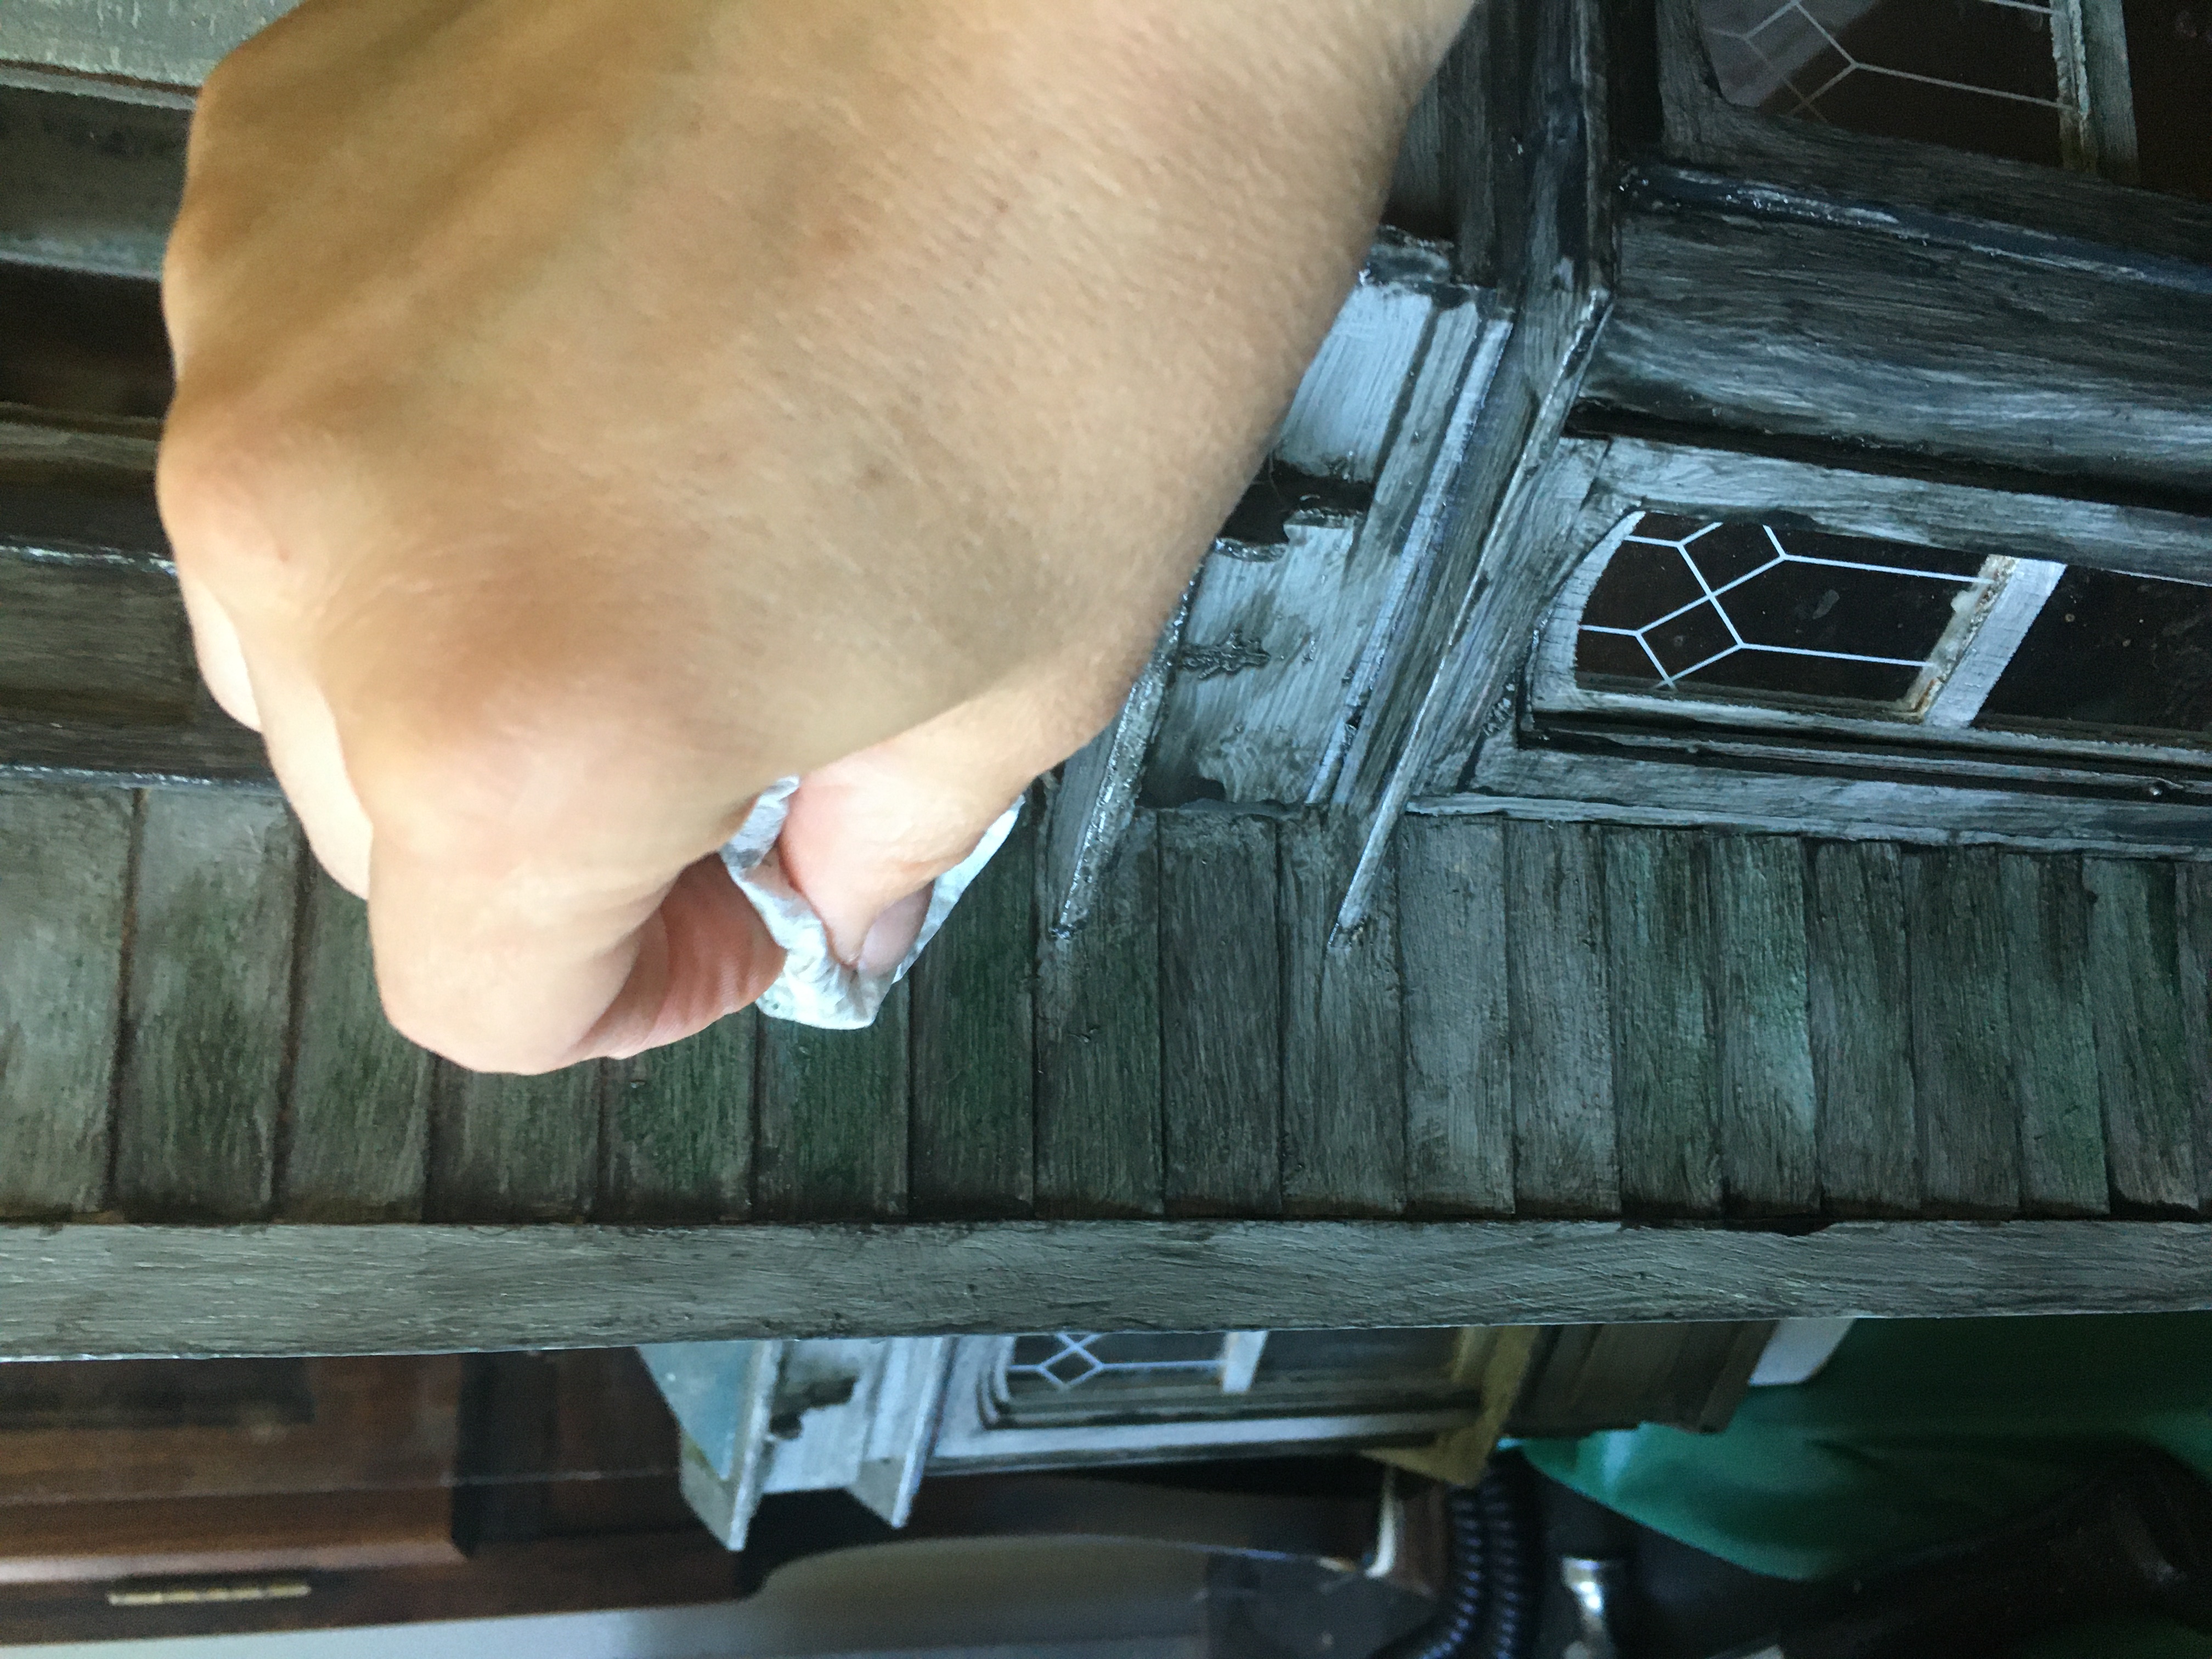
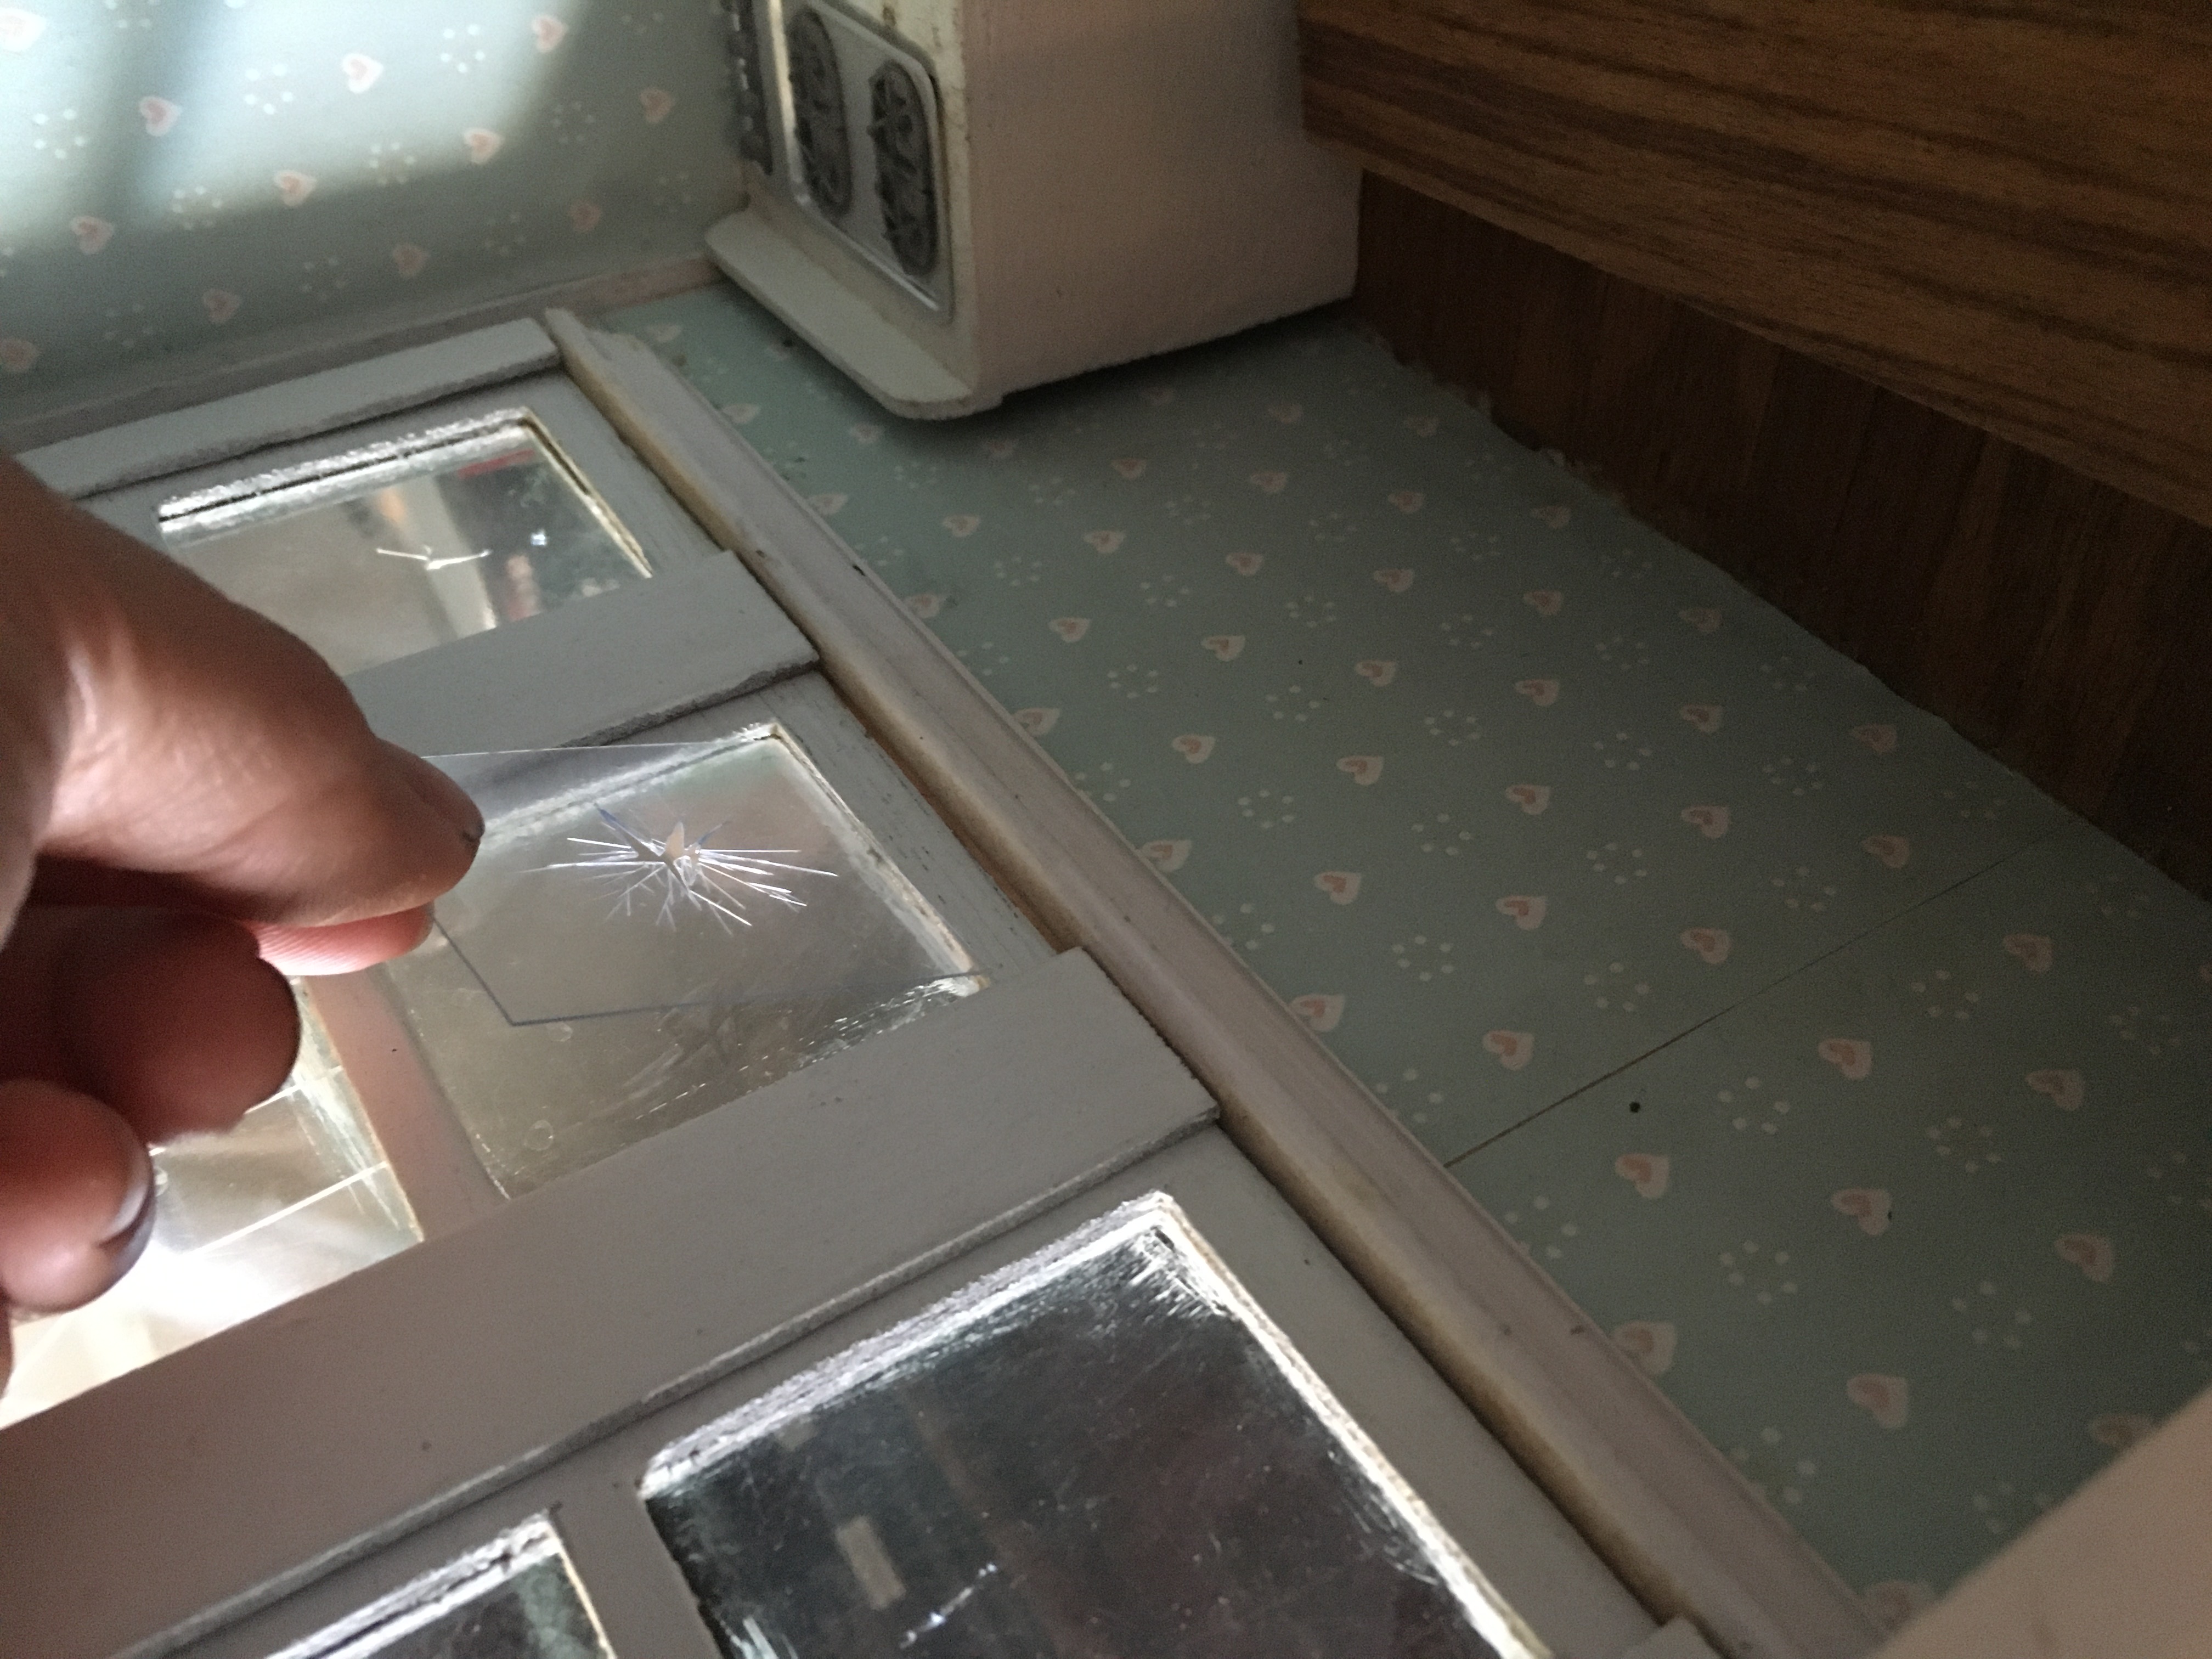
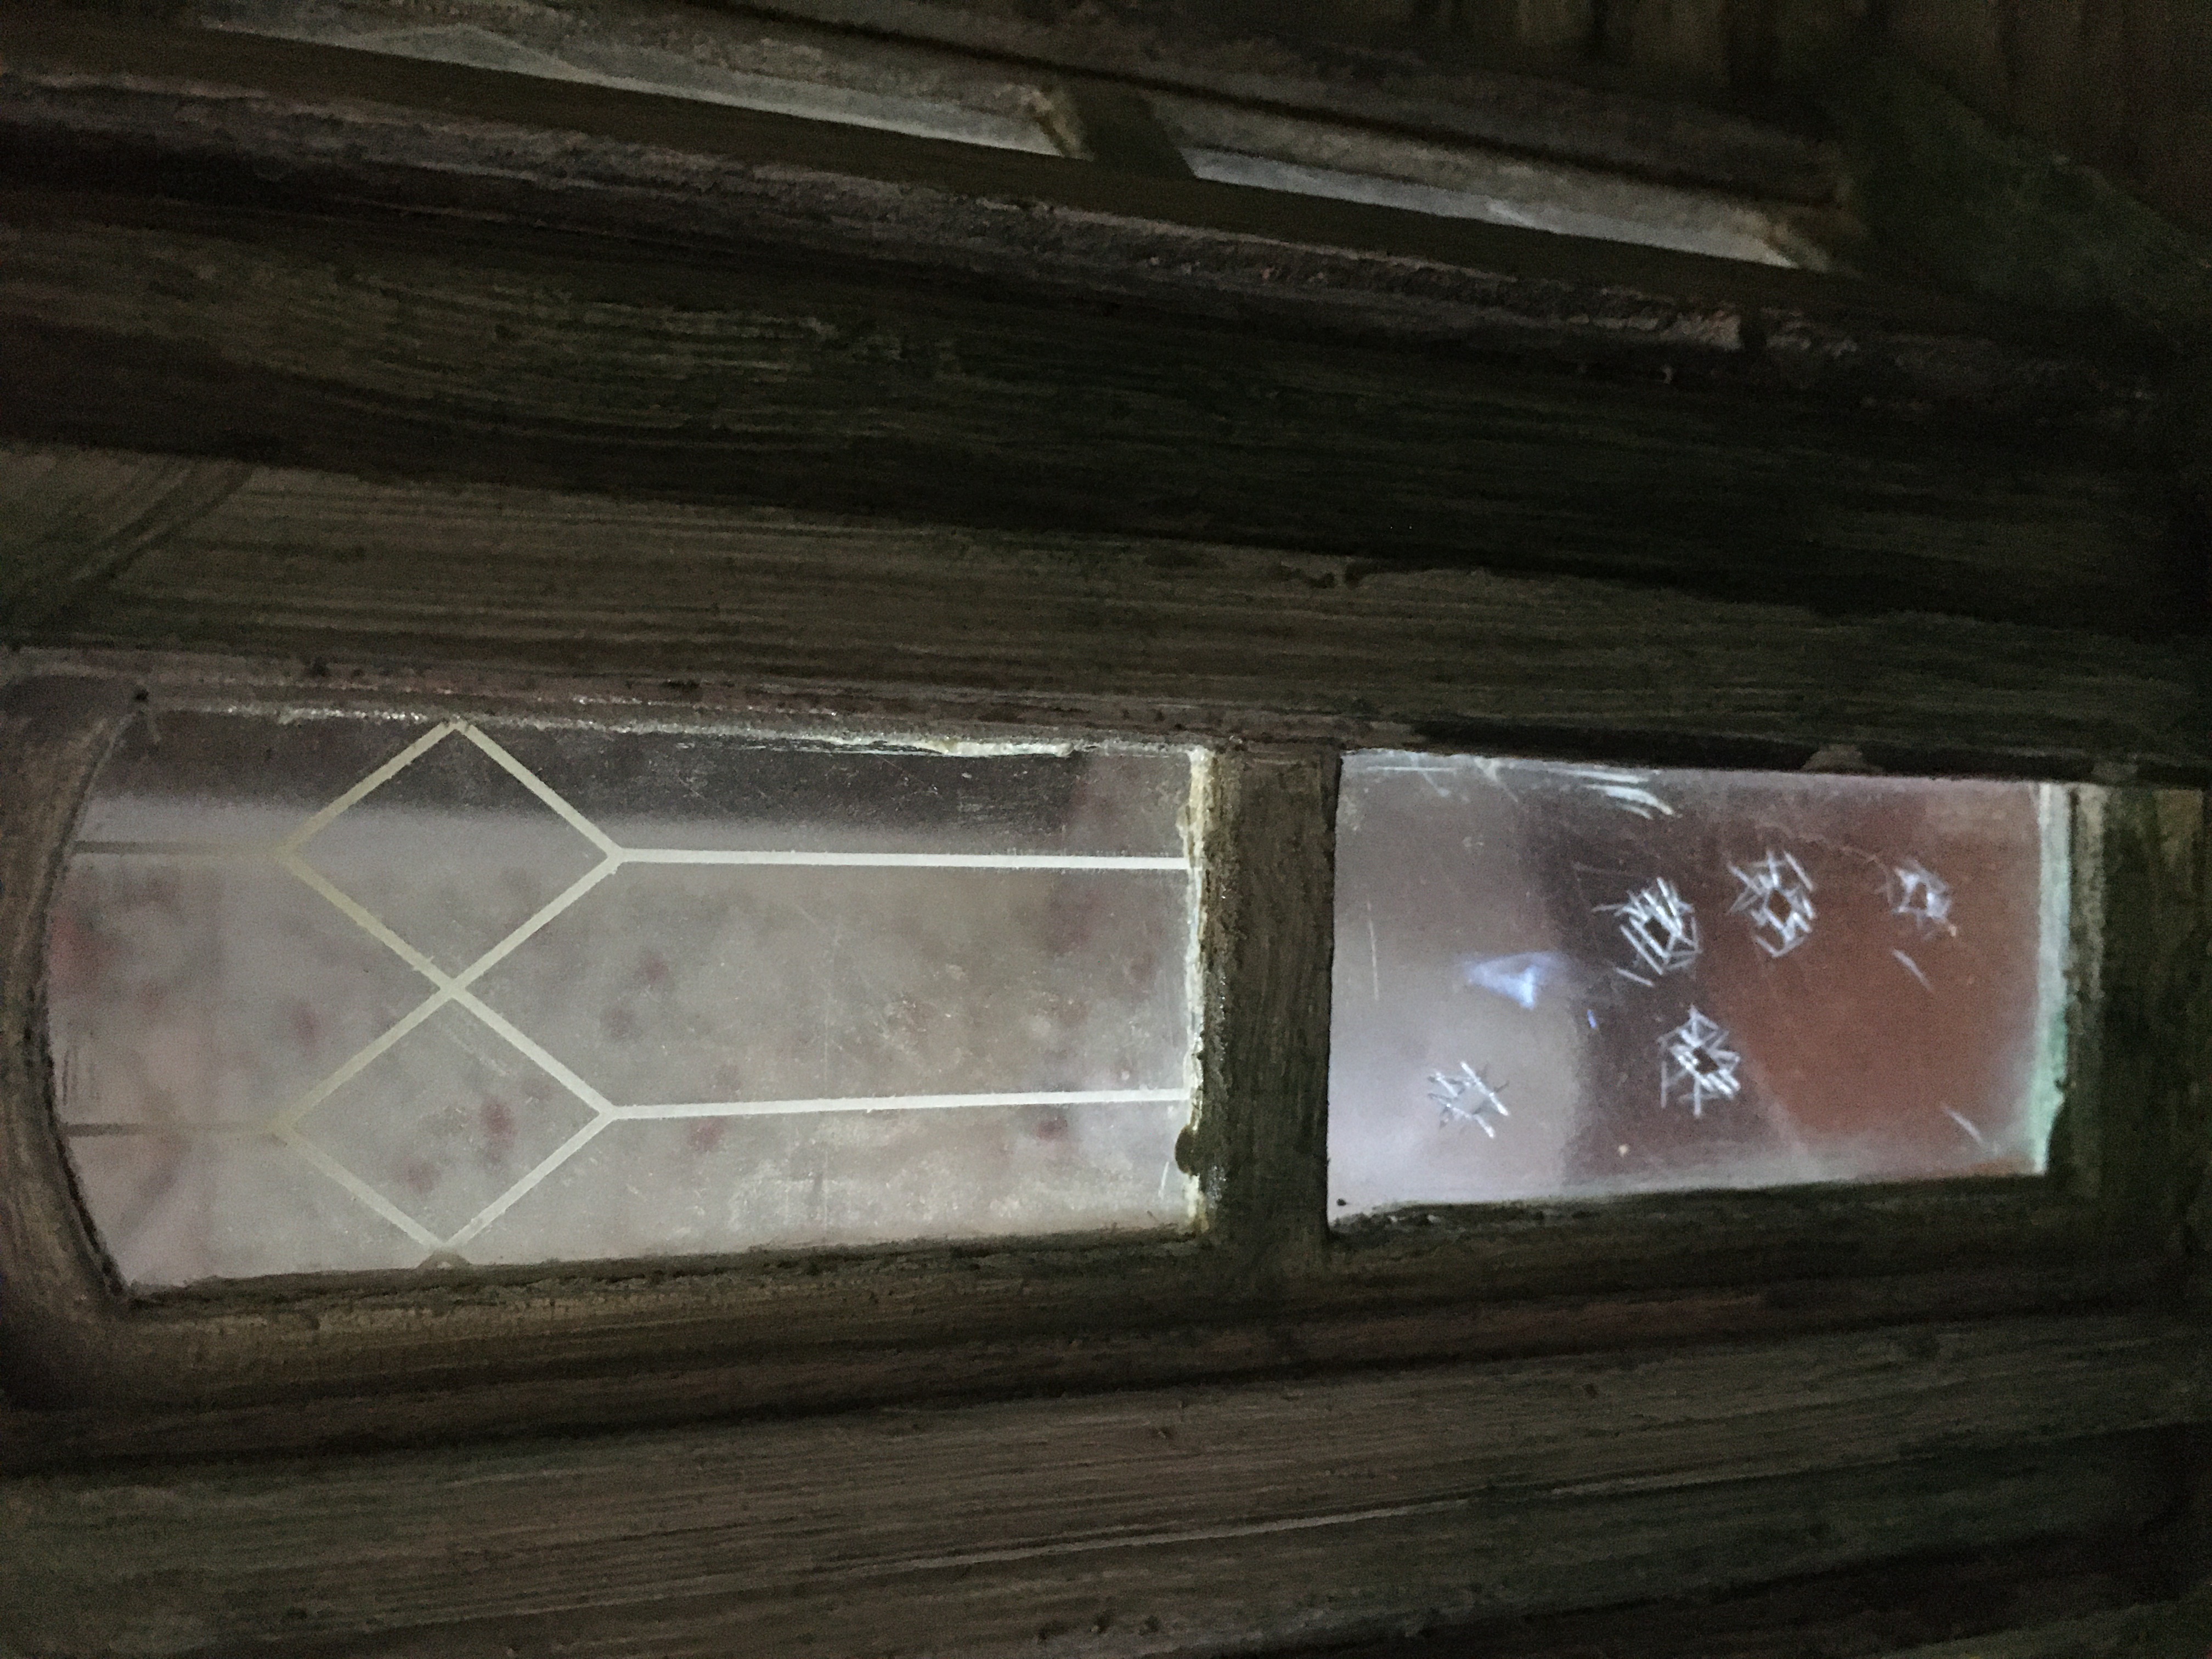
After you have your broken windows prepared, gently insert them over your old windows, popping them into place. I placed my windows on the INSIDE of the house, so that they aren’t bumped as often, as they might fall out if jostled.

Inserting the new window over the old.

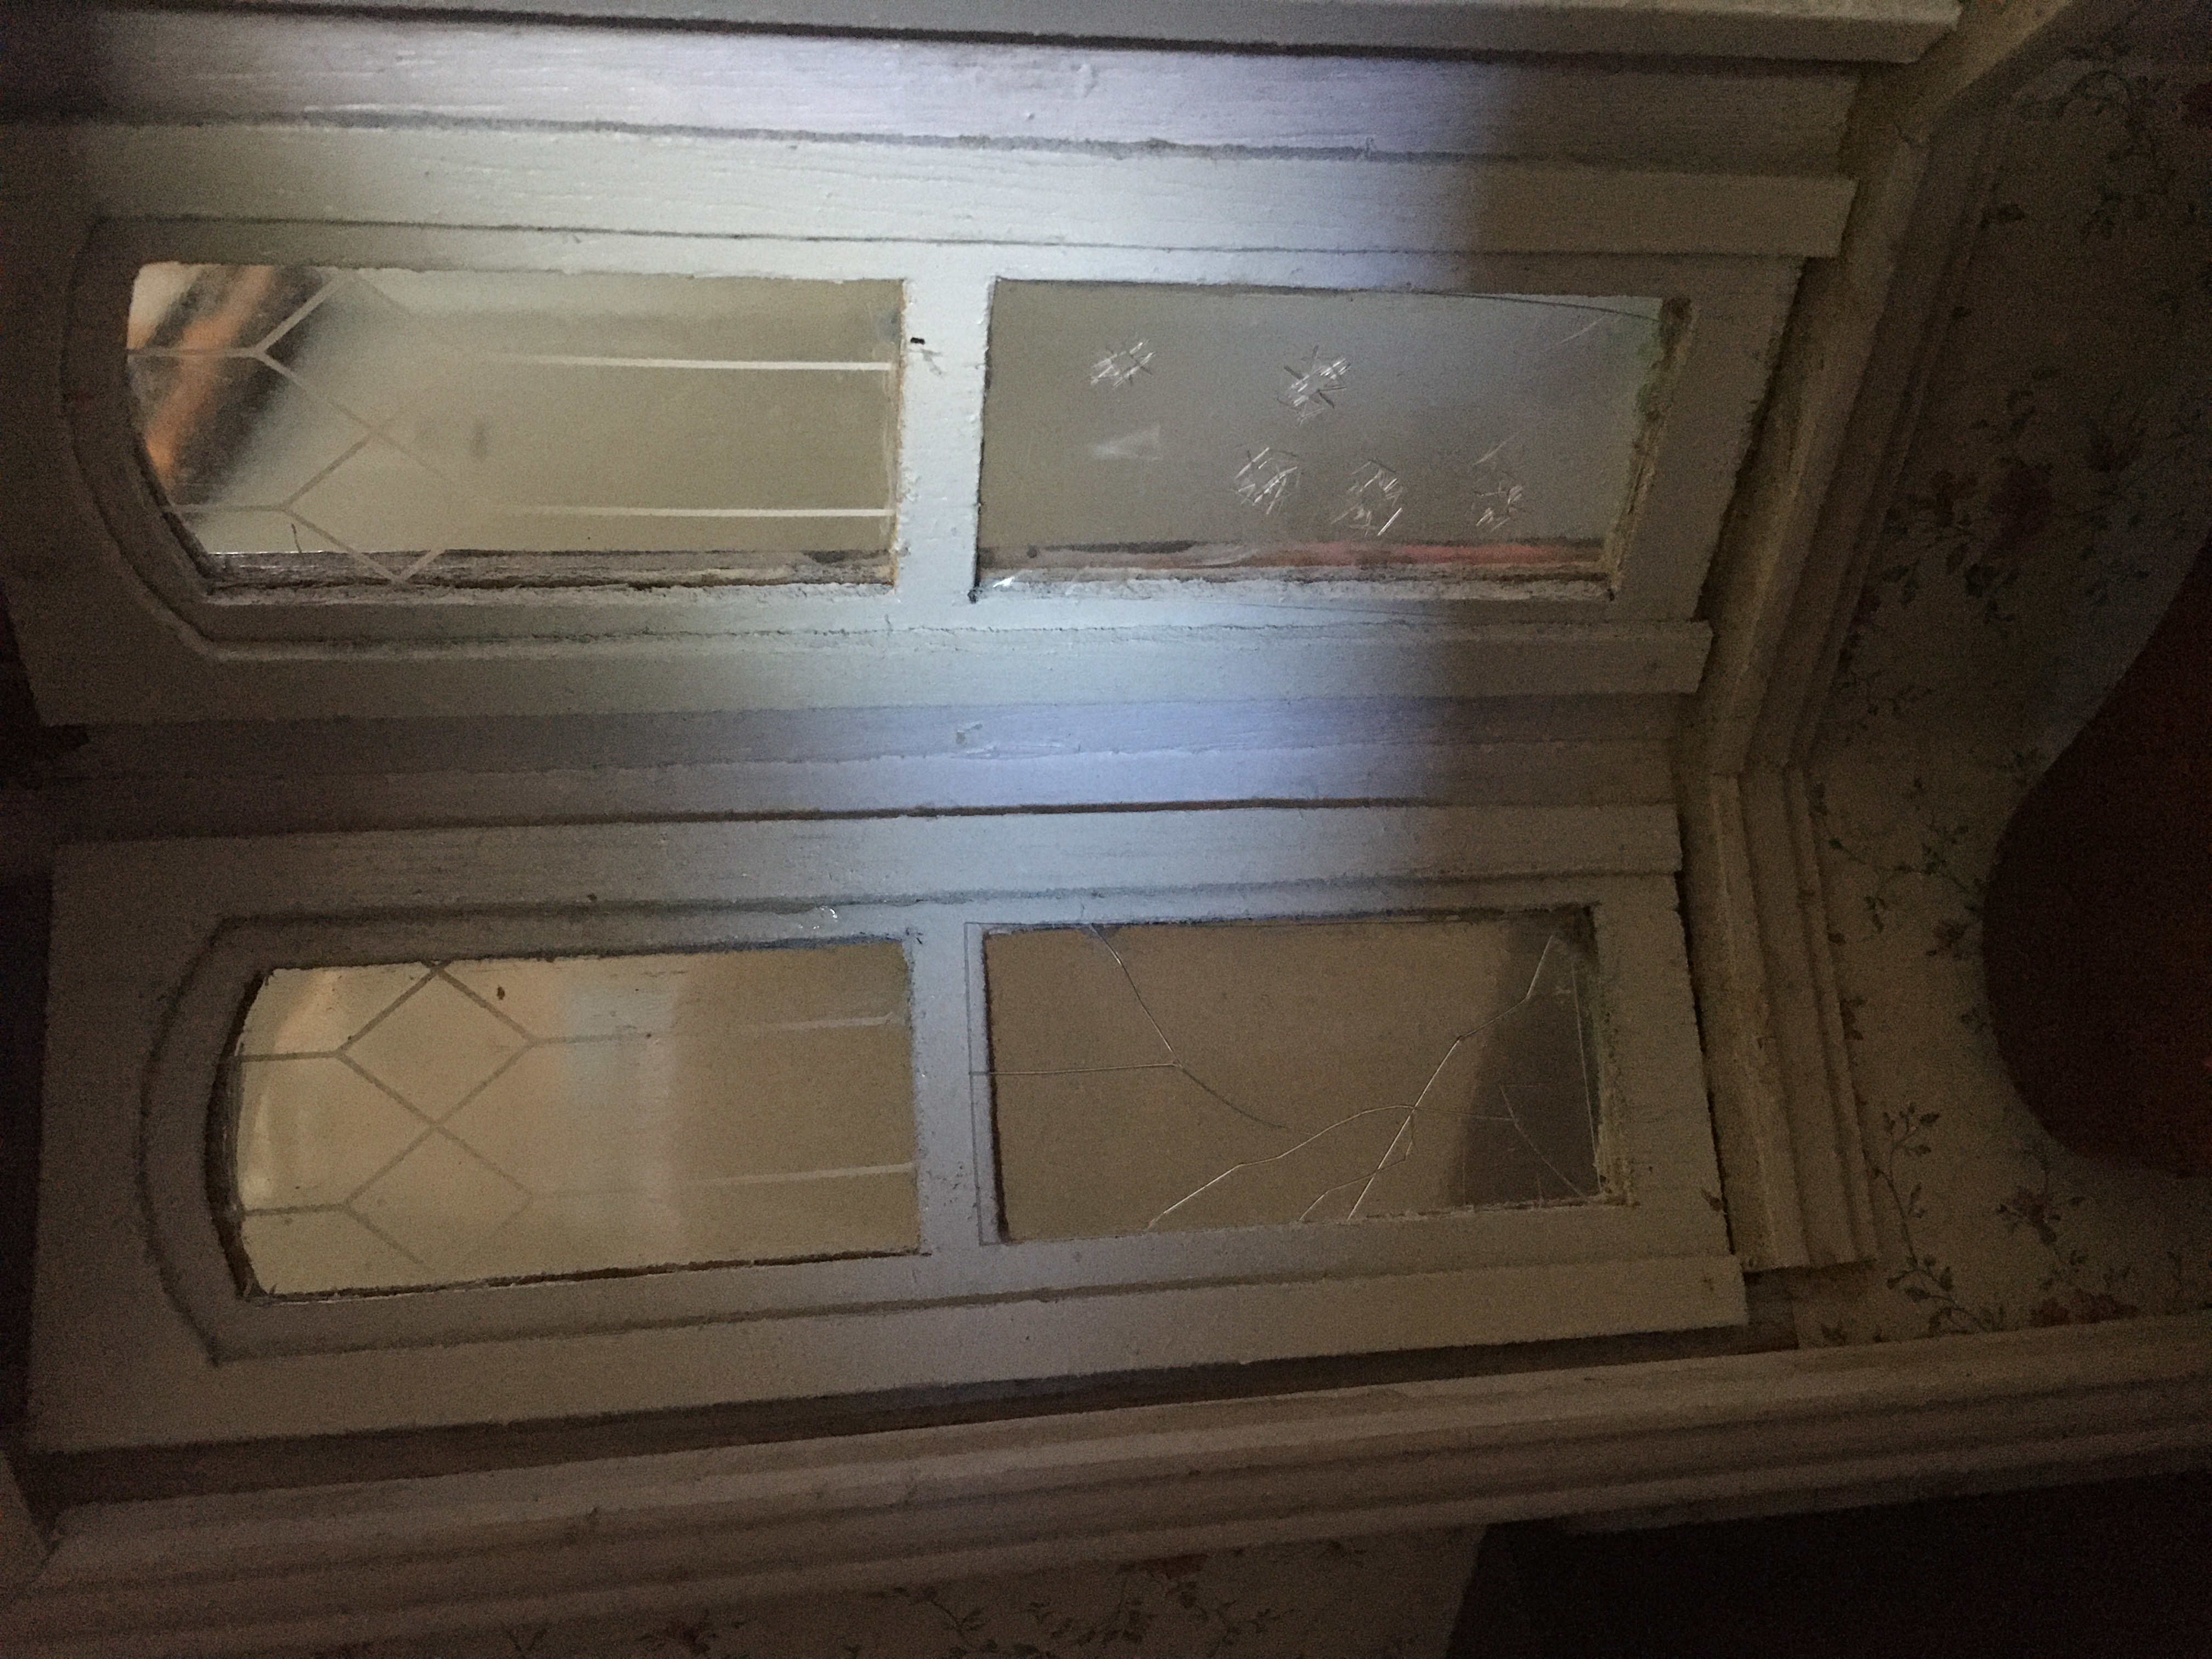
You can also keep some of the ‘shards’ left after making your holes, and drop them on the floor of your dollhouse, as broken glass.

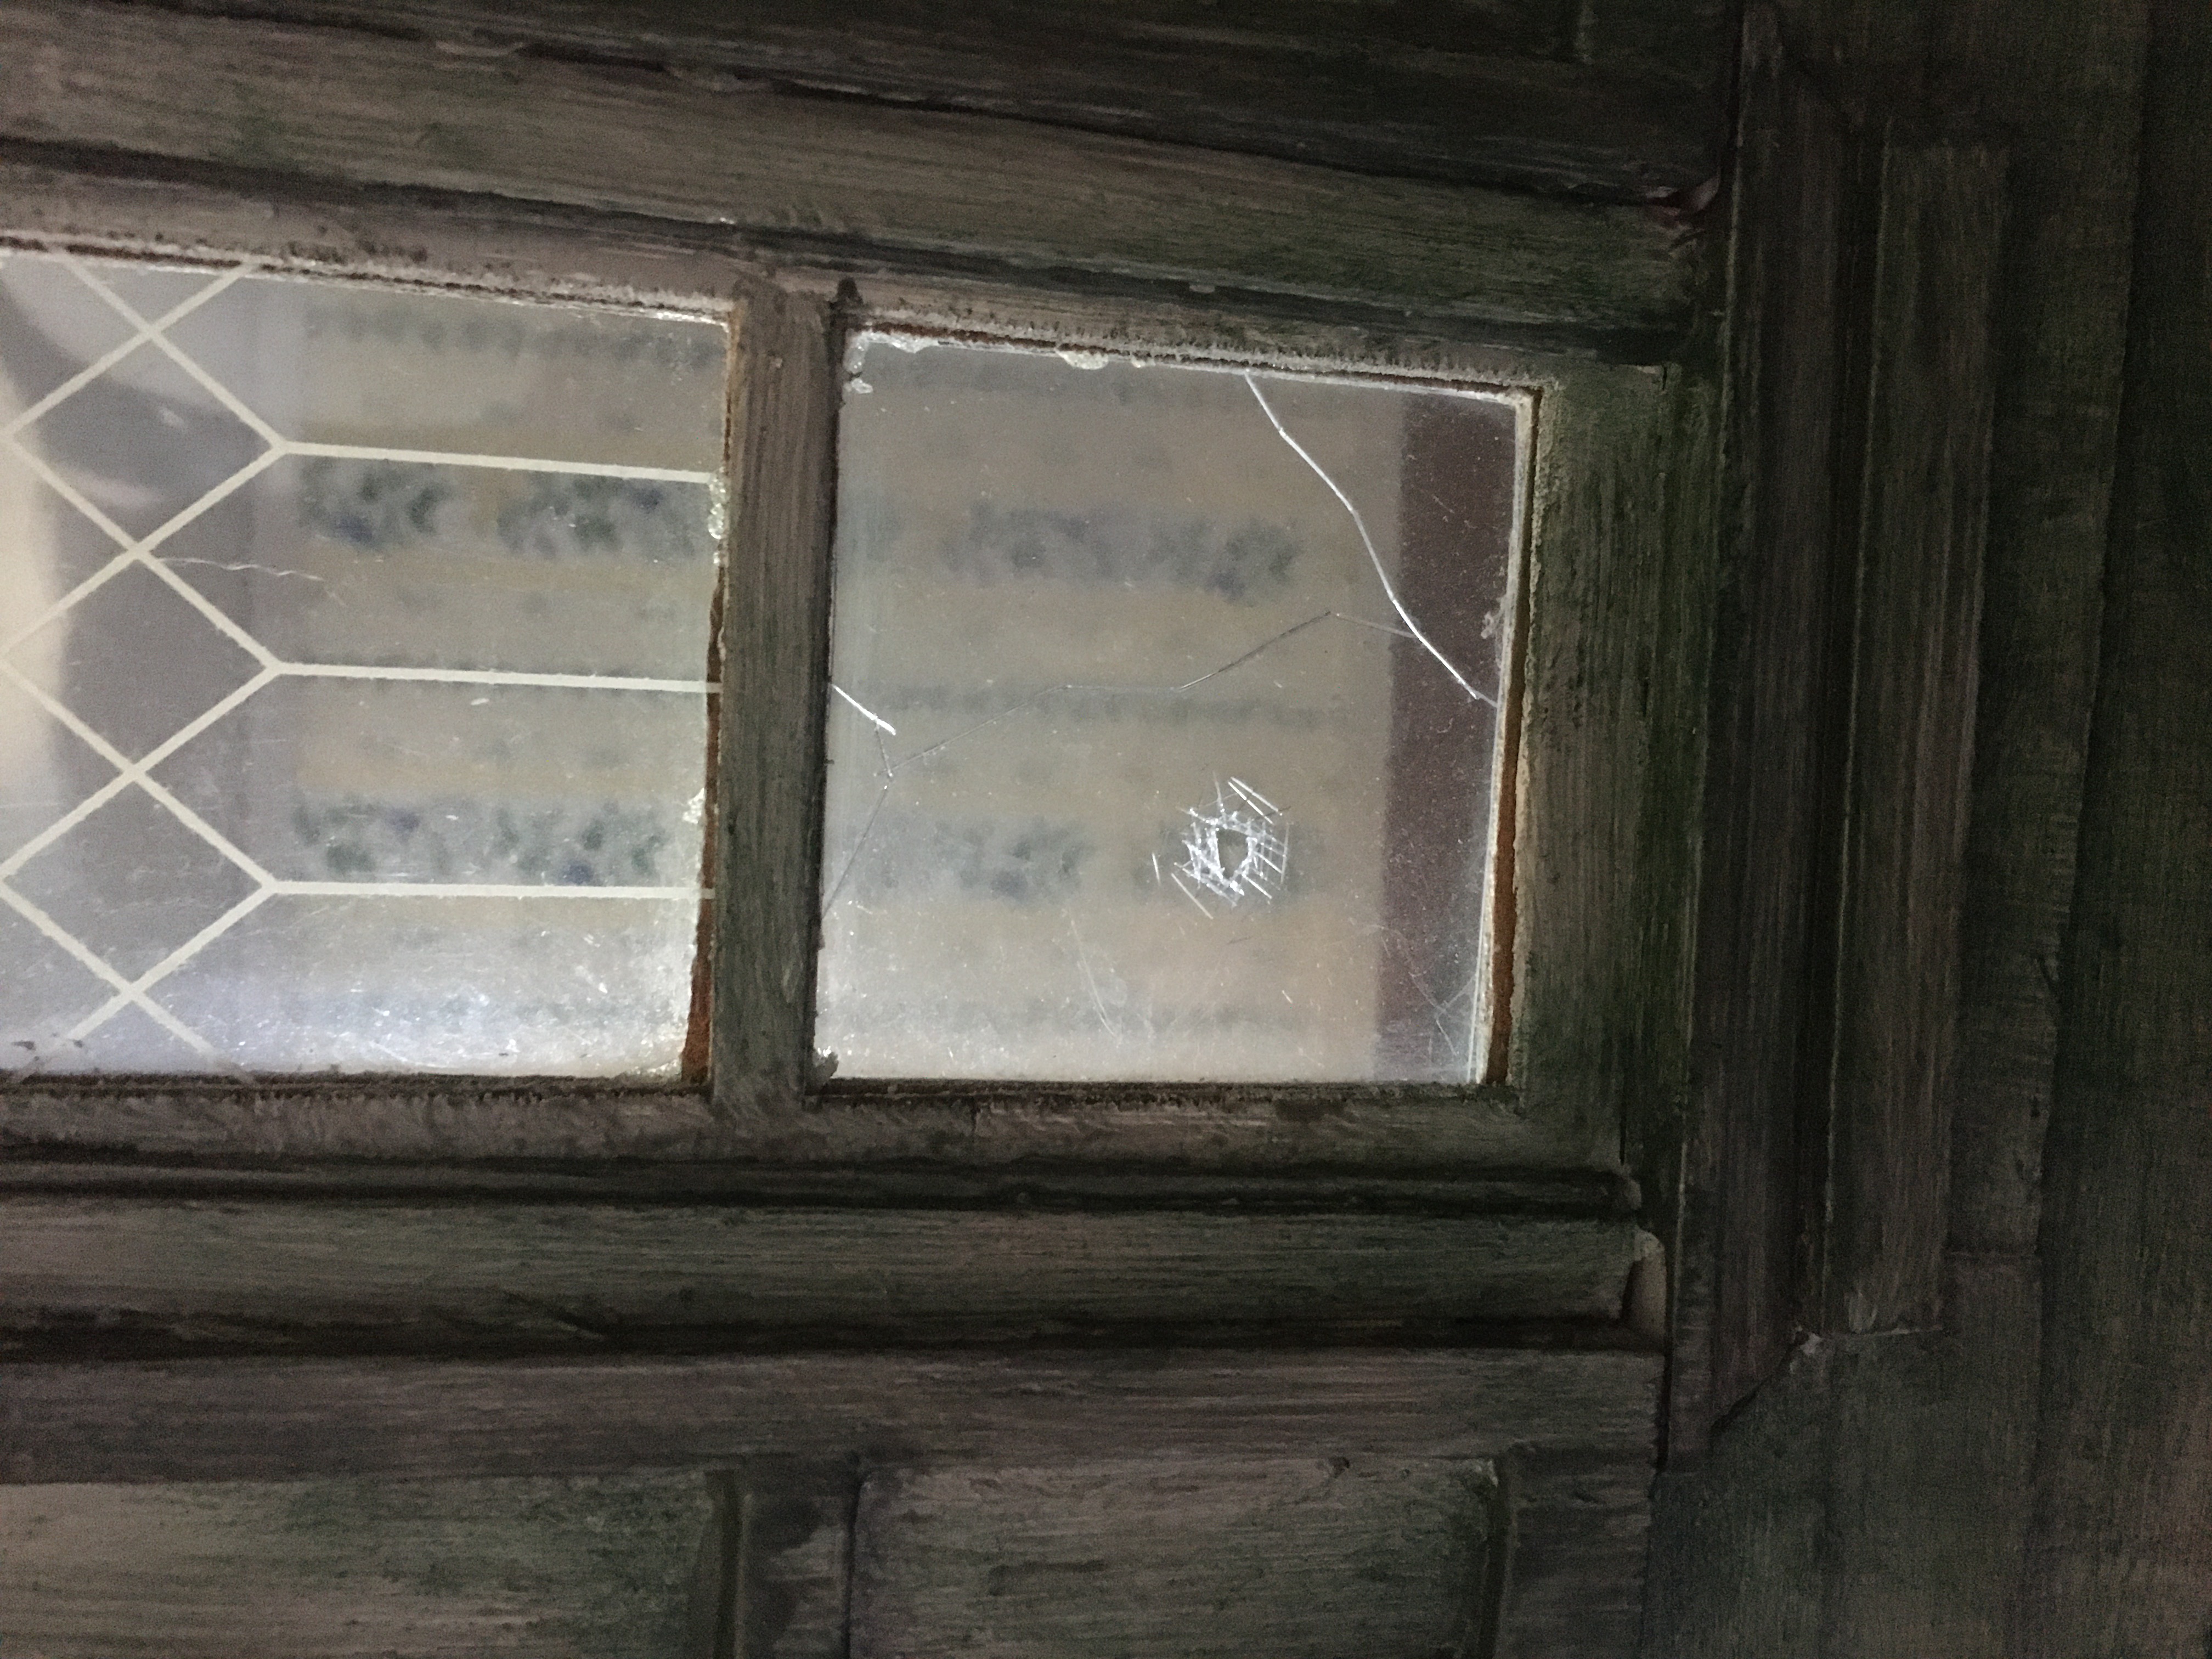
You could leave slivers of broken glass around the edges of the pane, so it looks like a giant hole. You could make the whole window spider-webbed. The possibilities are endless!

How to Paint a Beacon Hill Dollhouse so it looks Abandoned or Haunted

So, during lockdown in 2020, I was lucky enough to find a reasonably priced Beacon Hill Victorian mansion for sale on marketplace. I purchased it, made some repairs, and decided to redecorate it as an aged house, fallen into disrepair.

This is my Beacon Hill on the day I purchased it. The porch had become detached and it really needed new paint on the exterior. A few minor pieces were missing but nothing I was concerned about, as I planned to make it a neglected house.

First things first, I needed to reattach the porch, which, luckily, was included with the house. I used wood glue and painstakingly pieced it all back together.

This photo shows the reattached porch, plus the beginning of the first layer of new paint.

Next step was a layer of light gray paint. I used some leftover house paint that I had laying around.

For the next step, I found some dark gray paint, and, using a stiff-bristled brush, I scrubbed this paint into the cracks and crevices to look like weathering and dirt. I scrubbed the brush up and down and side to side, wiping away excess paint, until i had achieved the look I wanted. I continued to do this over the whole exterior of the house.

Adding some green.

After the dark gray was looking the way I wanted, the next step was to add a bit of dark green. I wanted it to be very faint, so i brushed it on with my stiff brush and then wiped it off. The trick to this was to make it not uniform. I tried to make it more pronounced in areas that I felt might have more water runoff, for instance, and on areas of the boards that might be more exposed to the sun. In real life I have a white house, and have had to clean my own siding, so I have observed this to an extent.

I still need to paint the base, but I haven’t decided how I want to make the base look, yet. I may go with a cinder block foundation, which would require a different look, so, for now, I chose to leave it.

I plan on changing the shingles to a fishscale look, so I didn’t touch them at this time. It does look fine with the shingles that are on it, but I really wanted the fishscales, and will add them at a later time.