How to paint the San Franciscan Doll House to Look Haunted or Abandoned

The San Franciscan

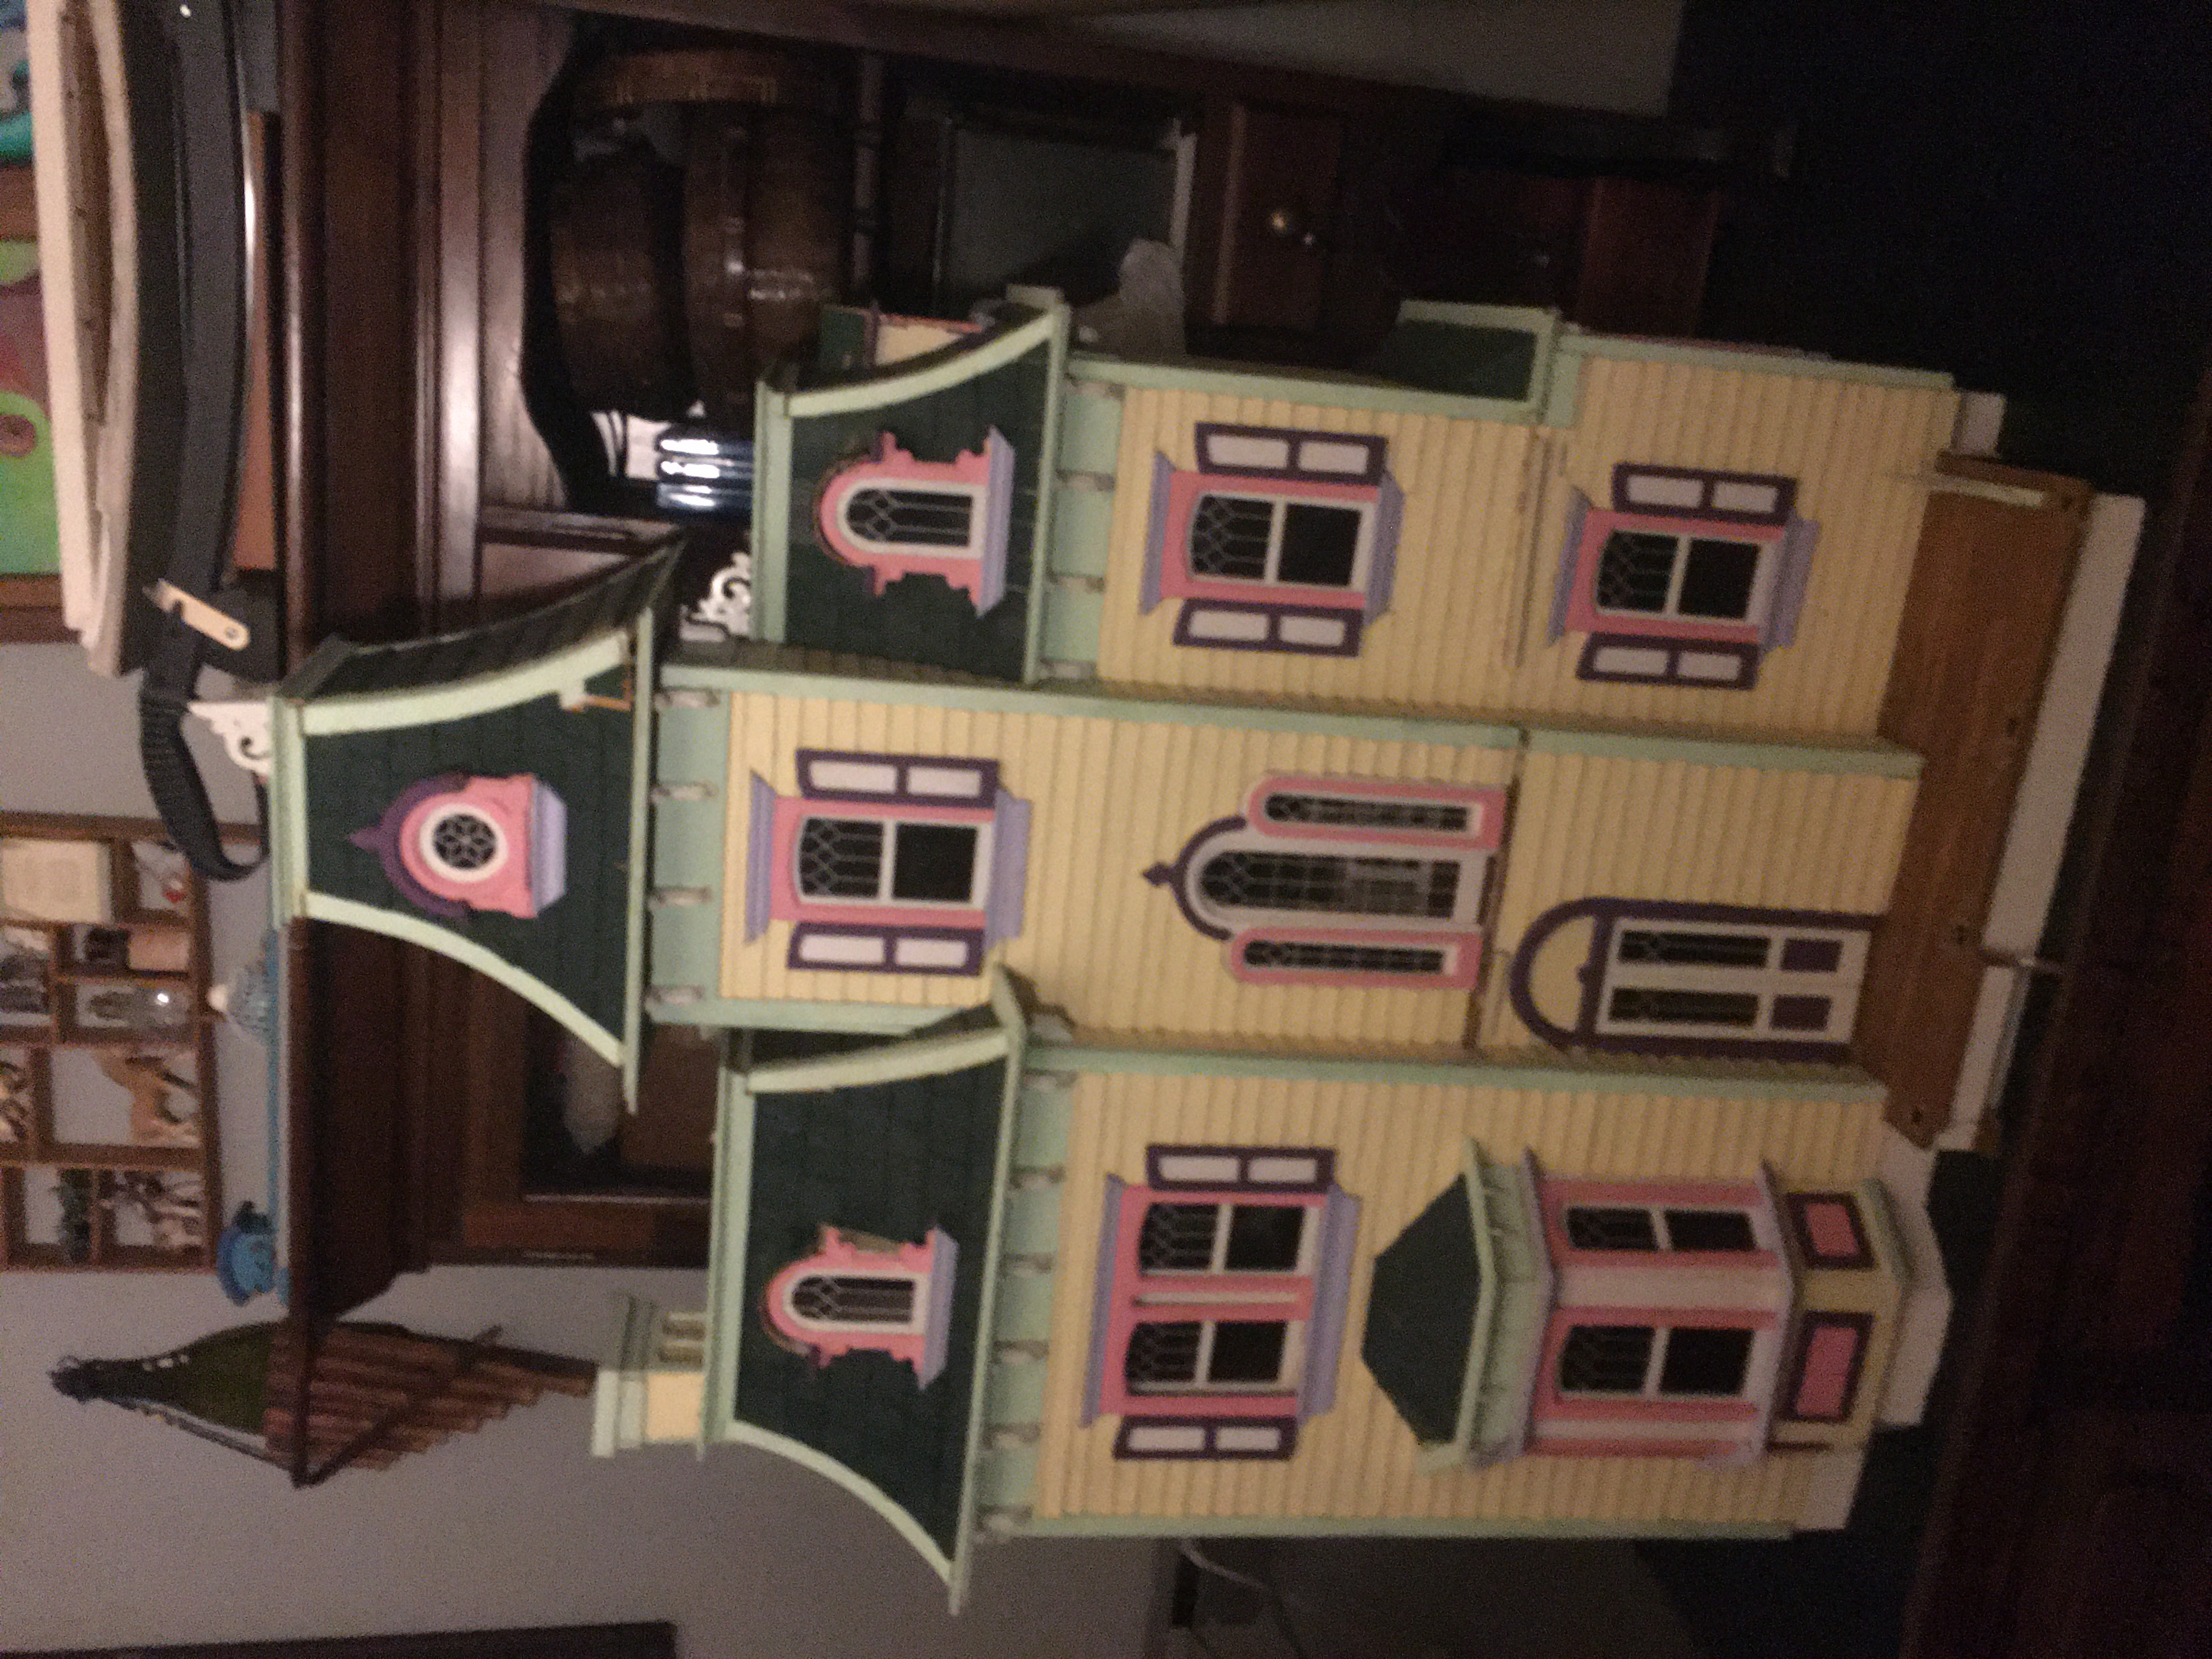
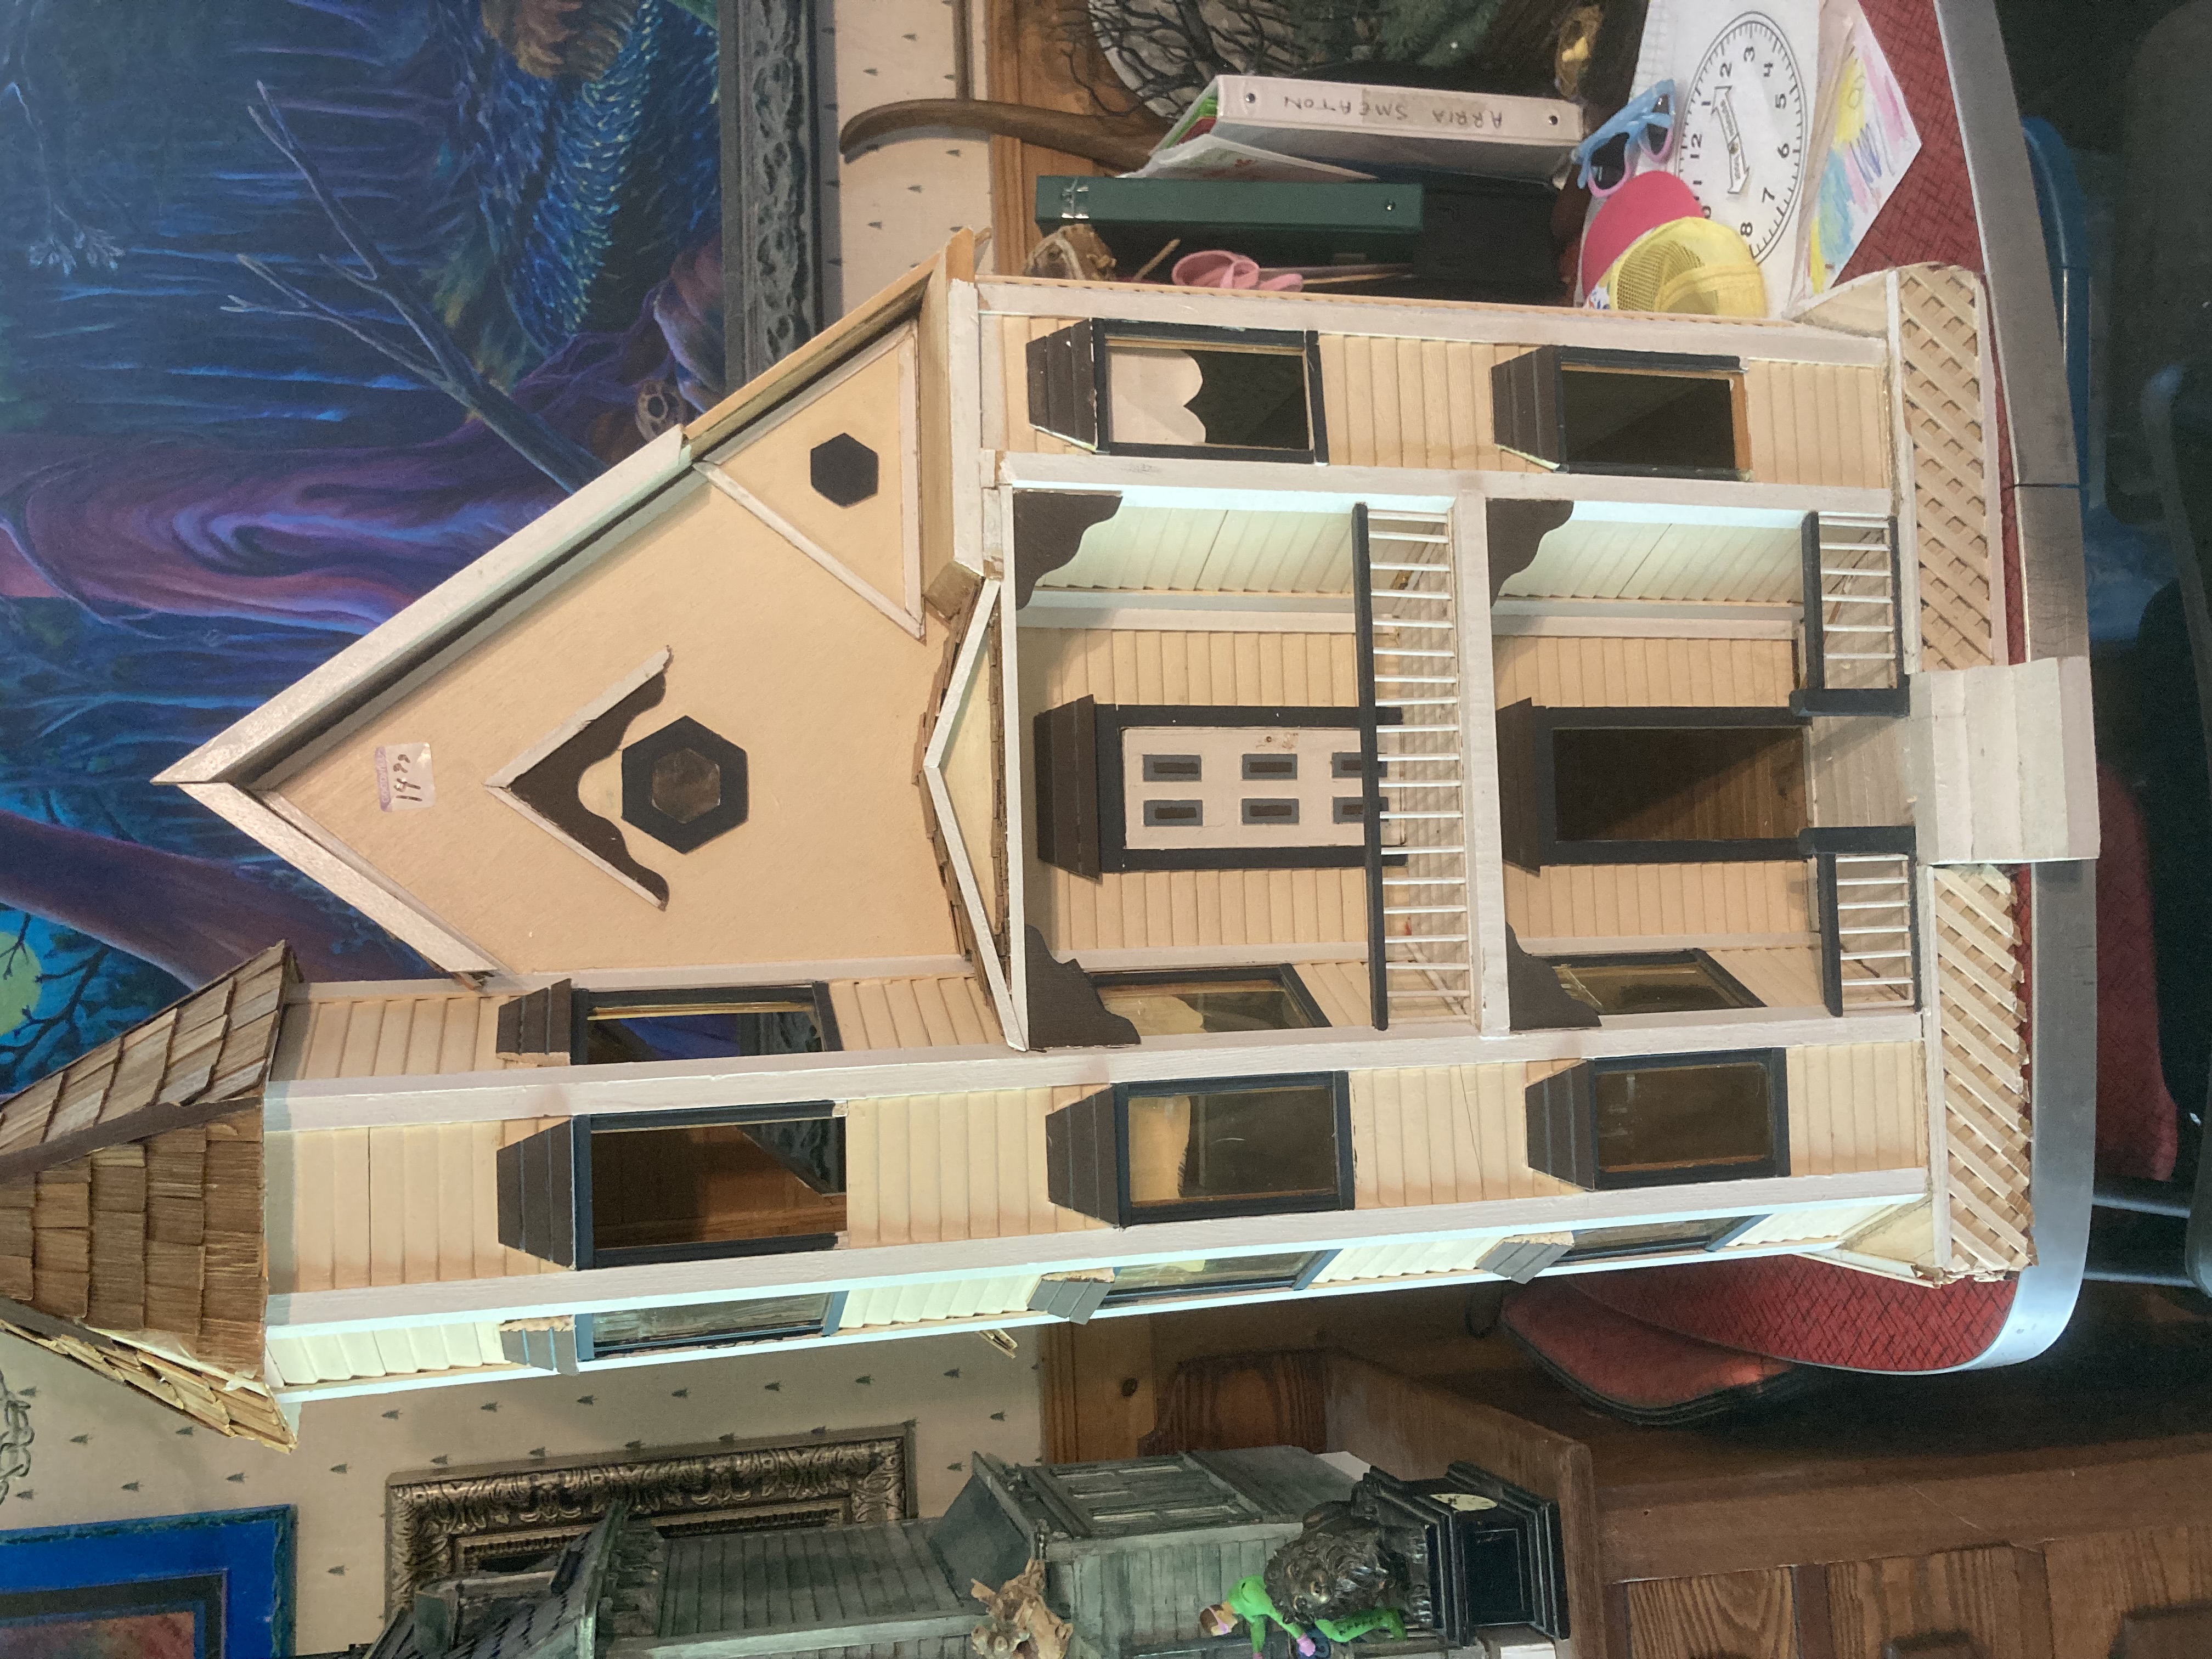
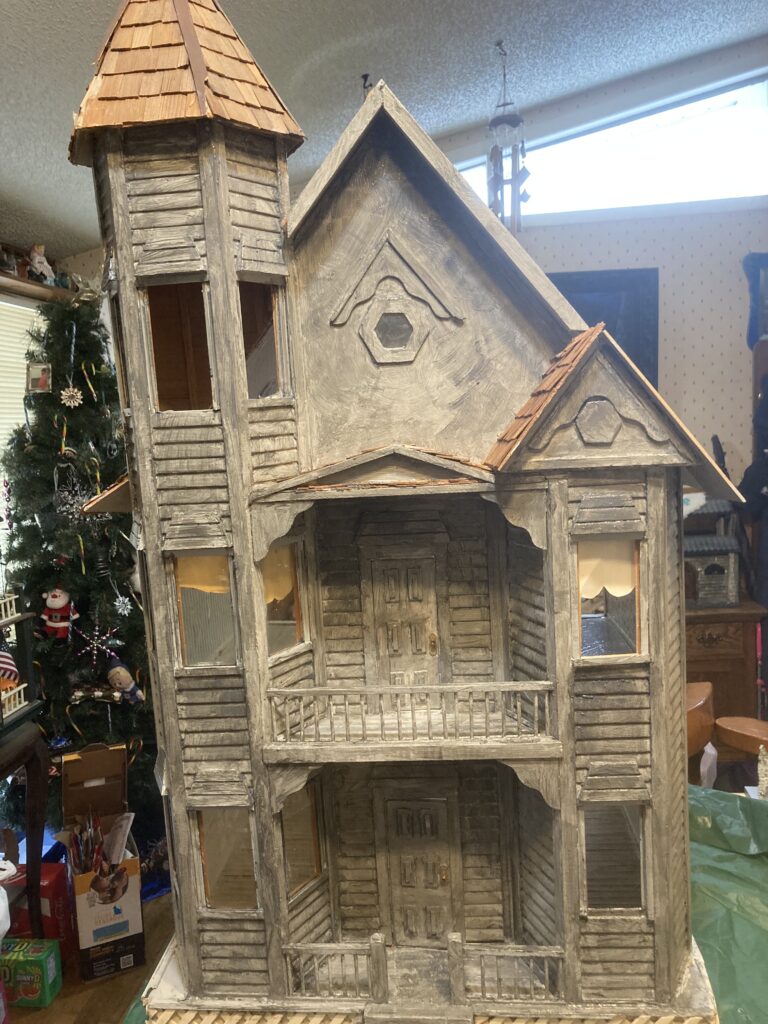
Recently, I was at the local Goodwill store with my 10 year old daughter, and we came upon a very dilapidated San Franciscan dollhouse for only $15. I wasn’t very interested in it, myself, because I already have a very nice Victorian mansion (the Beacon Hill, see other posts), and the San Franciscan didn’t really interest me much. My daughter, however, fell in love. She told me she would trade my Bayberry Cottage house back to me if I got her this one. I decided to go for it.

As we bought it. It needed a LOT of work. Part of the roof needed mending, parts of it weren’t attached correctly, interior walls are missing, etc. Luckily a lot of the parts were there and just needed to be reattached.

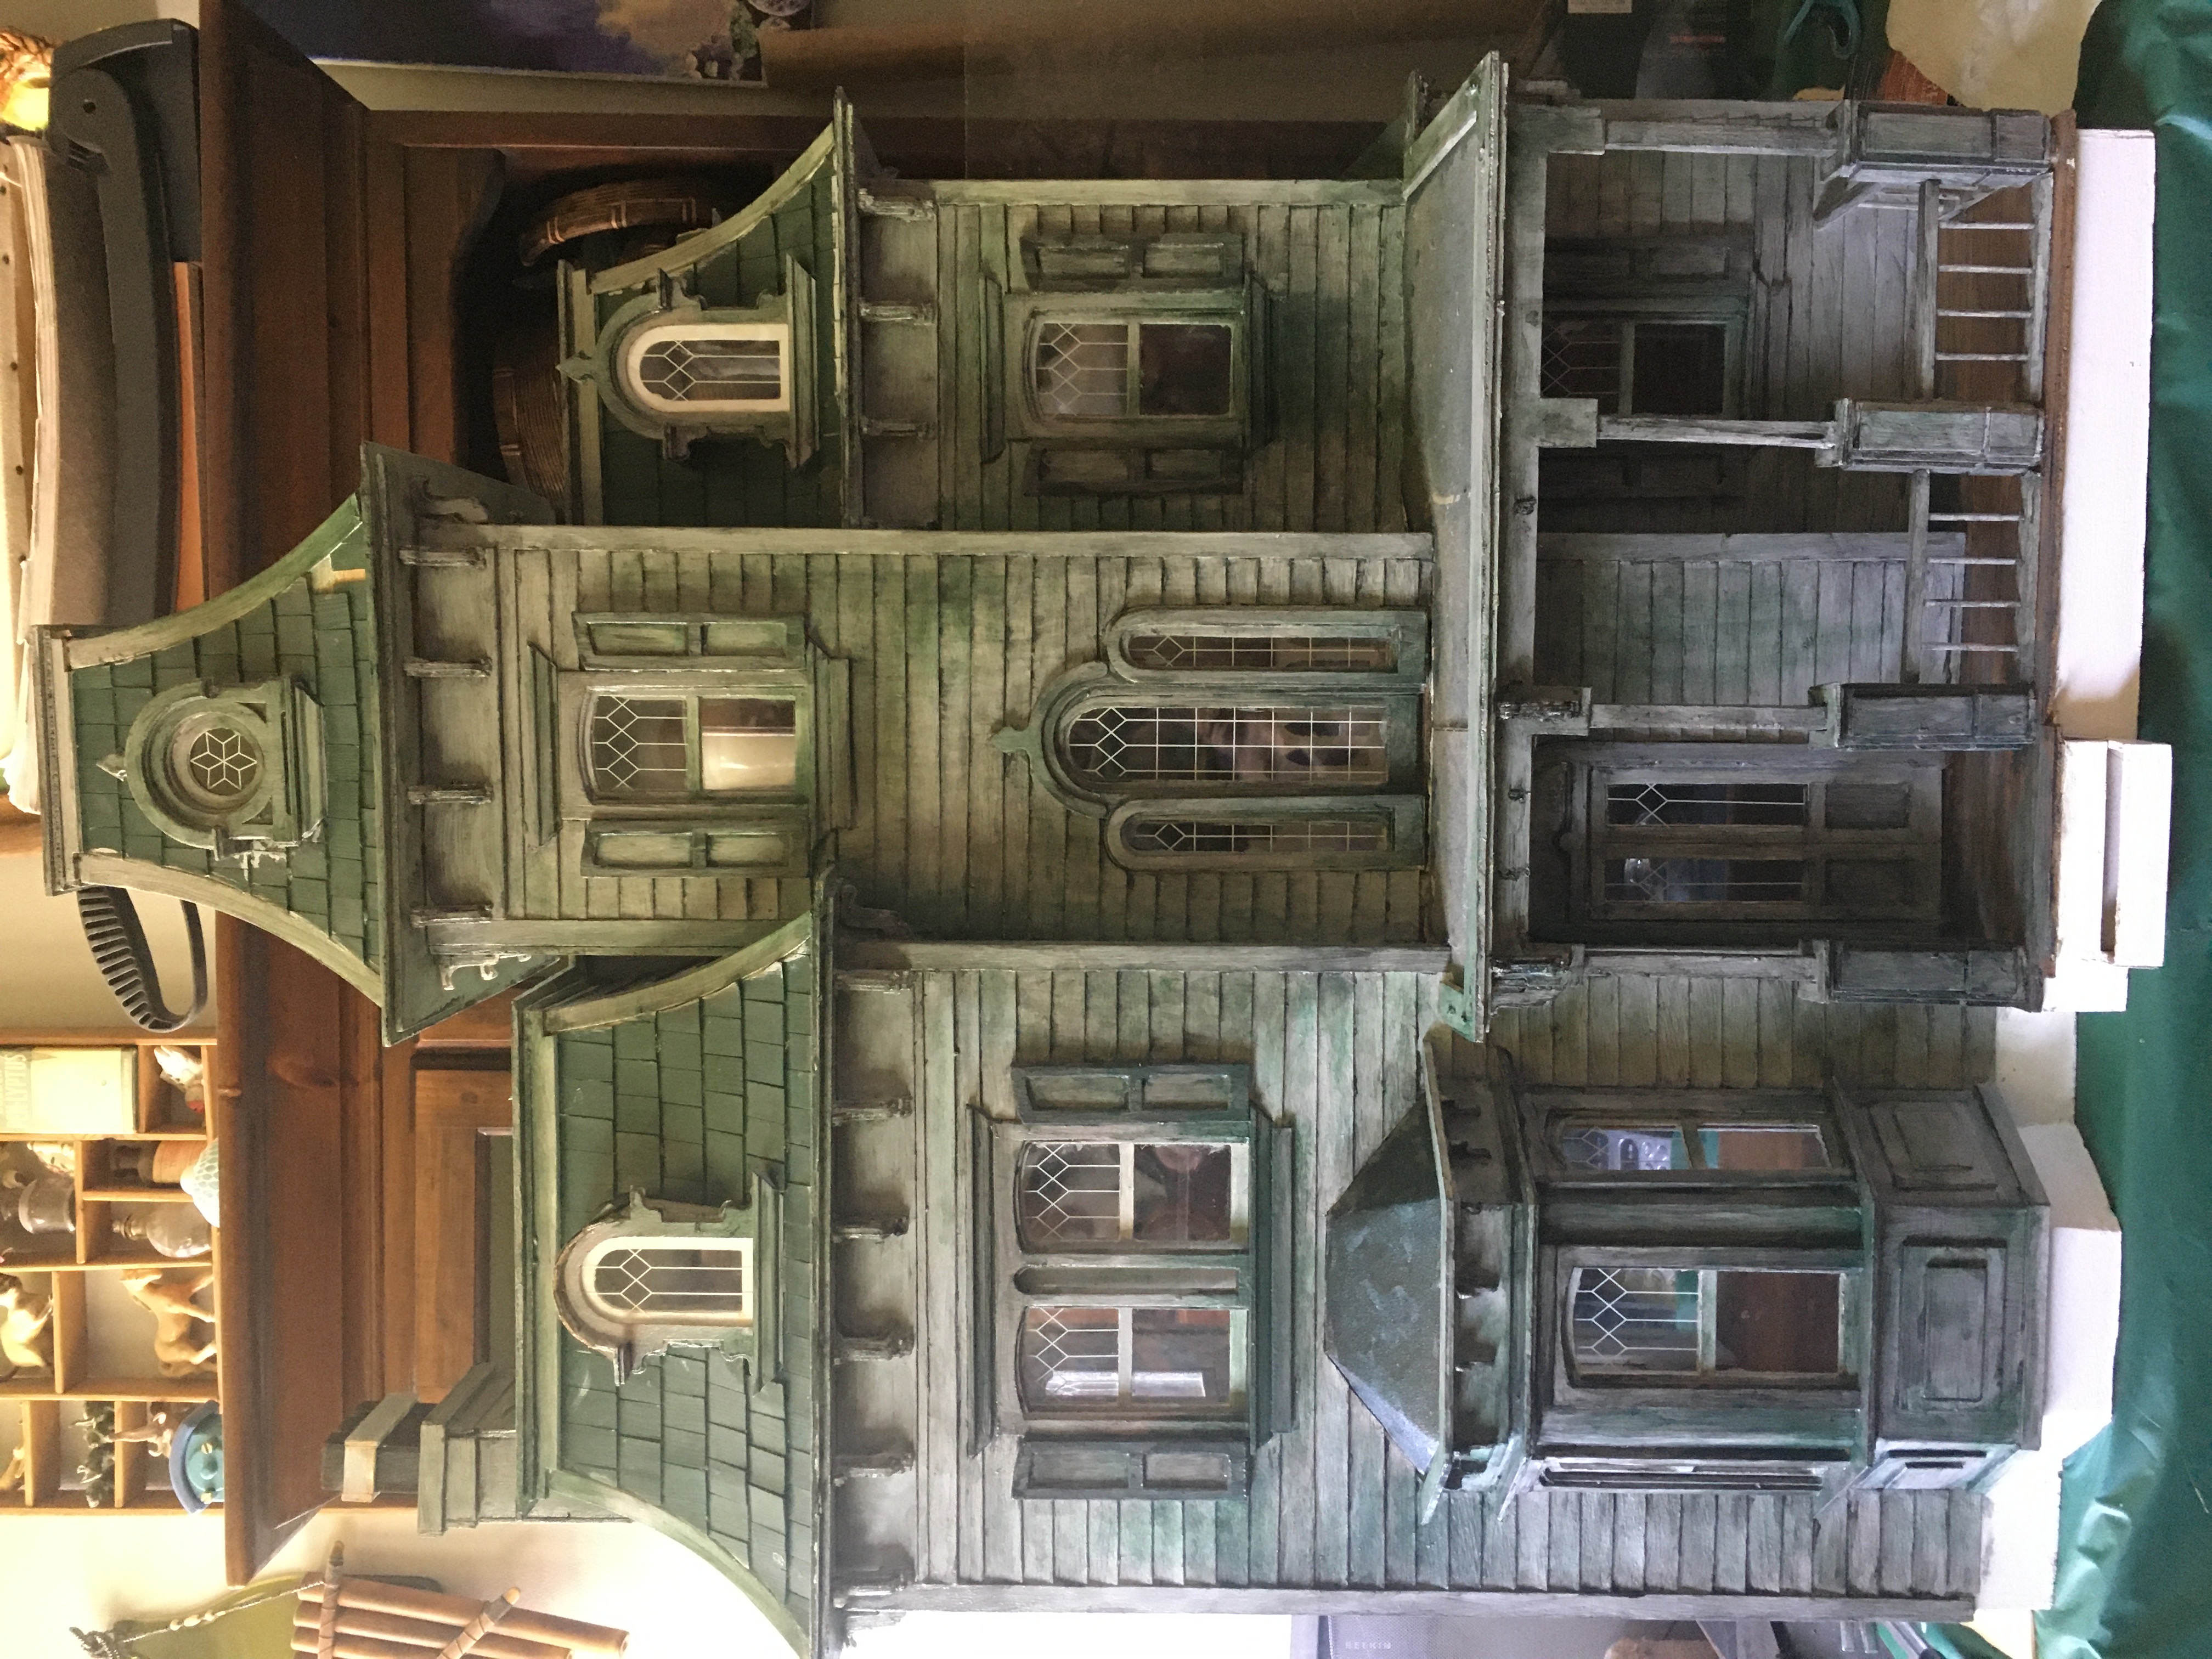
My daughter is a big fan of my haunted Beacon Hill dollhouse, and plays in it often. She has been bugging me to repaint her San Franciscan to look haunted like my Beacon Hill. I LOVED painting my Beacon Hill to look abandoned, and relished the opportunity to try it again on a different house.

After a lot of mending was done, i started putting on the first coat of paint. This is the beginning of the base coat of light gray.

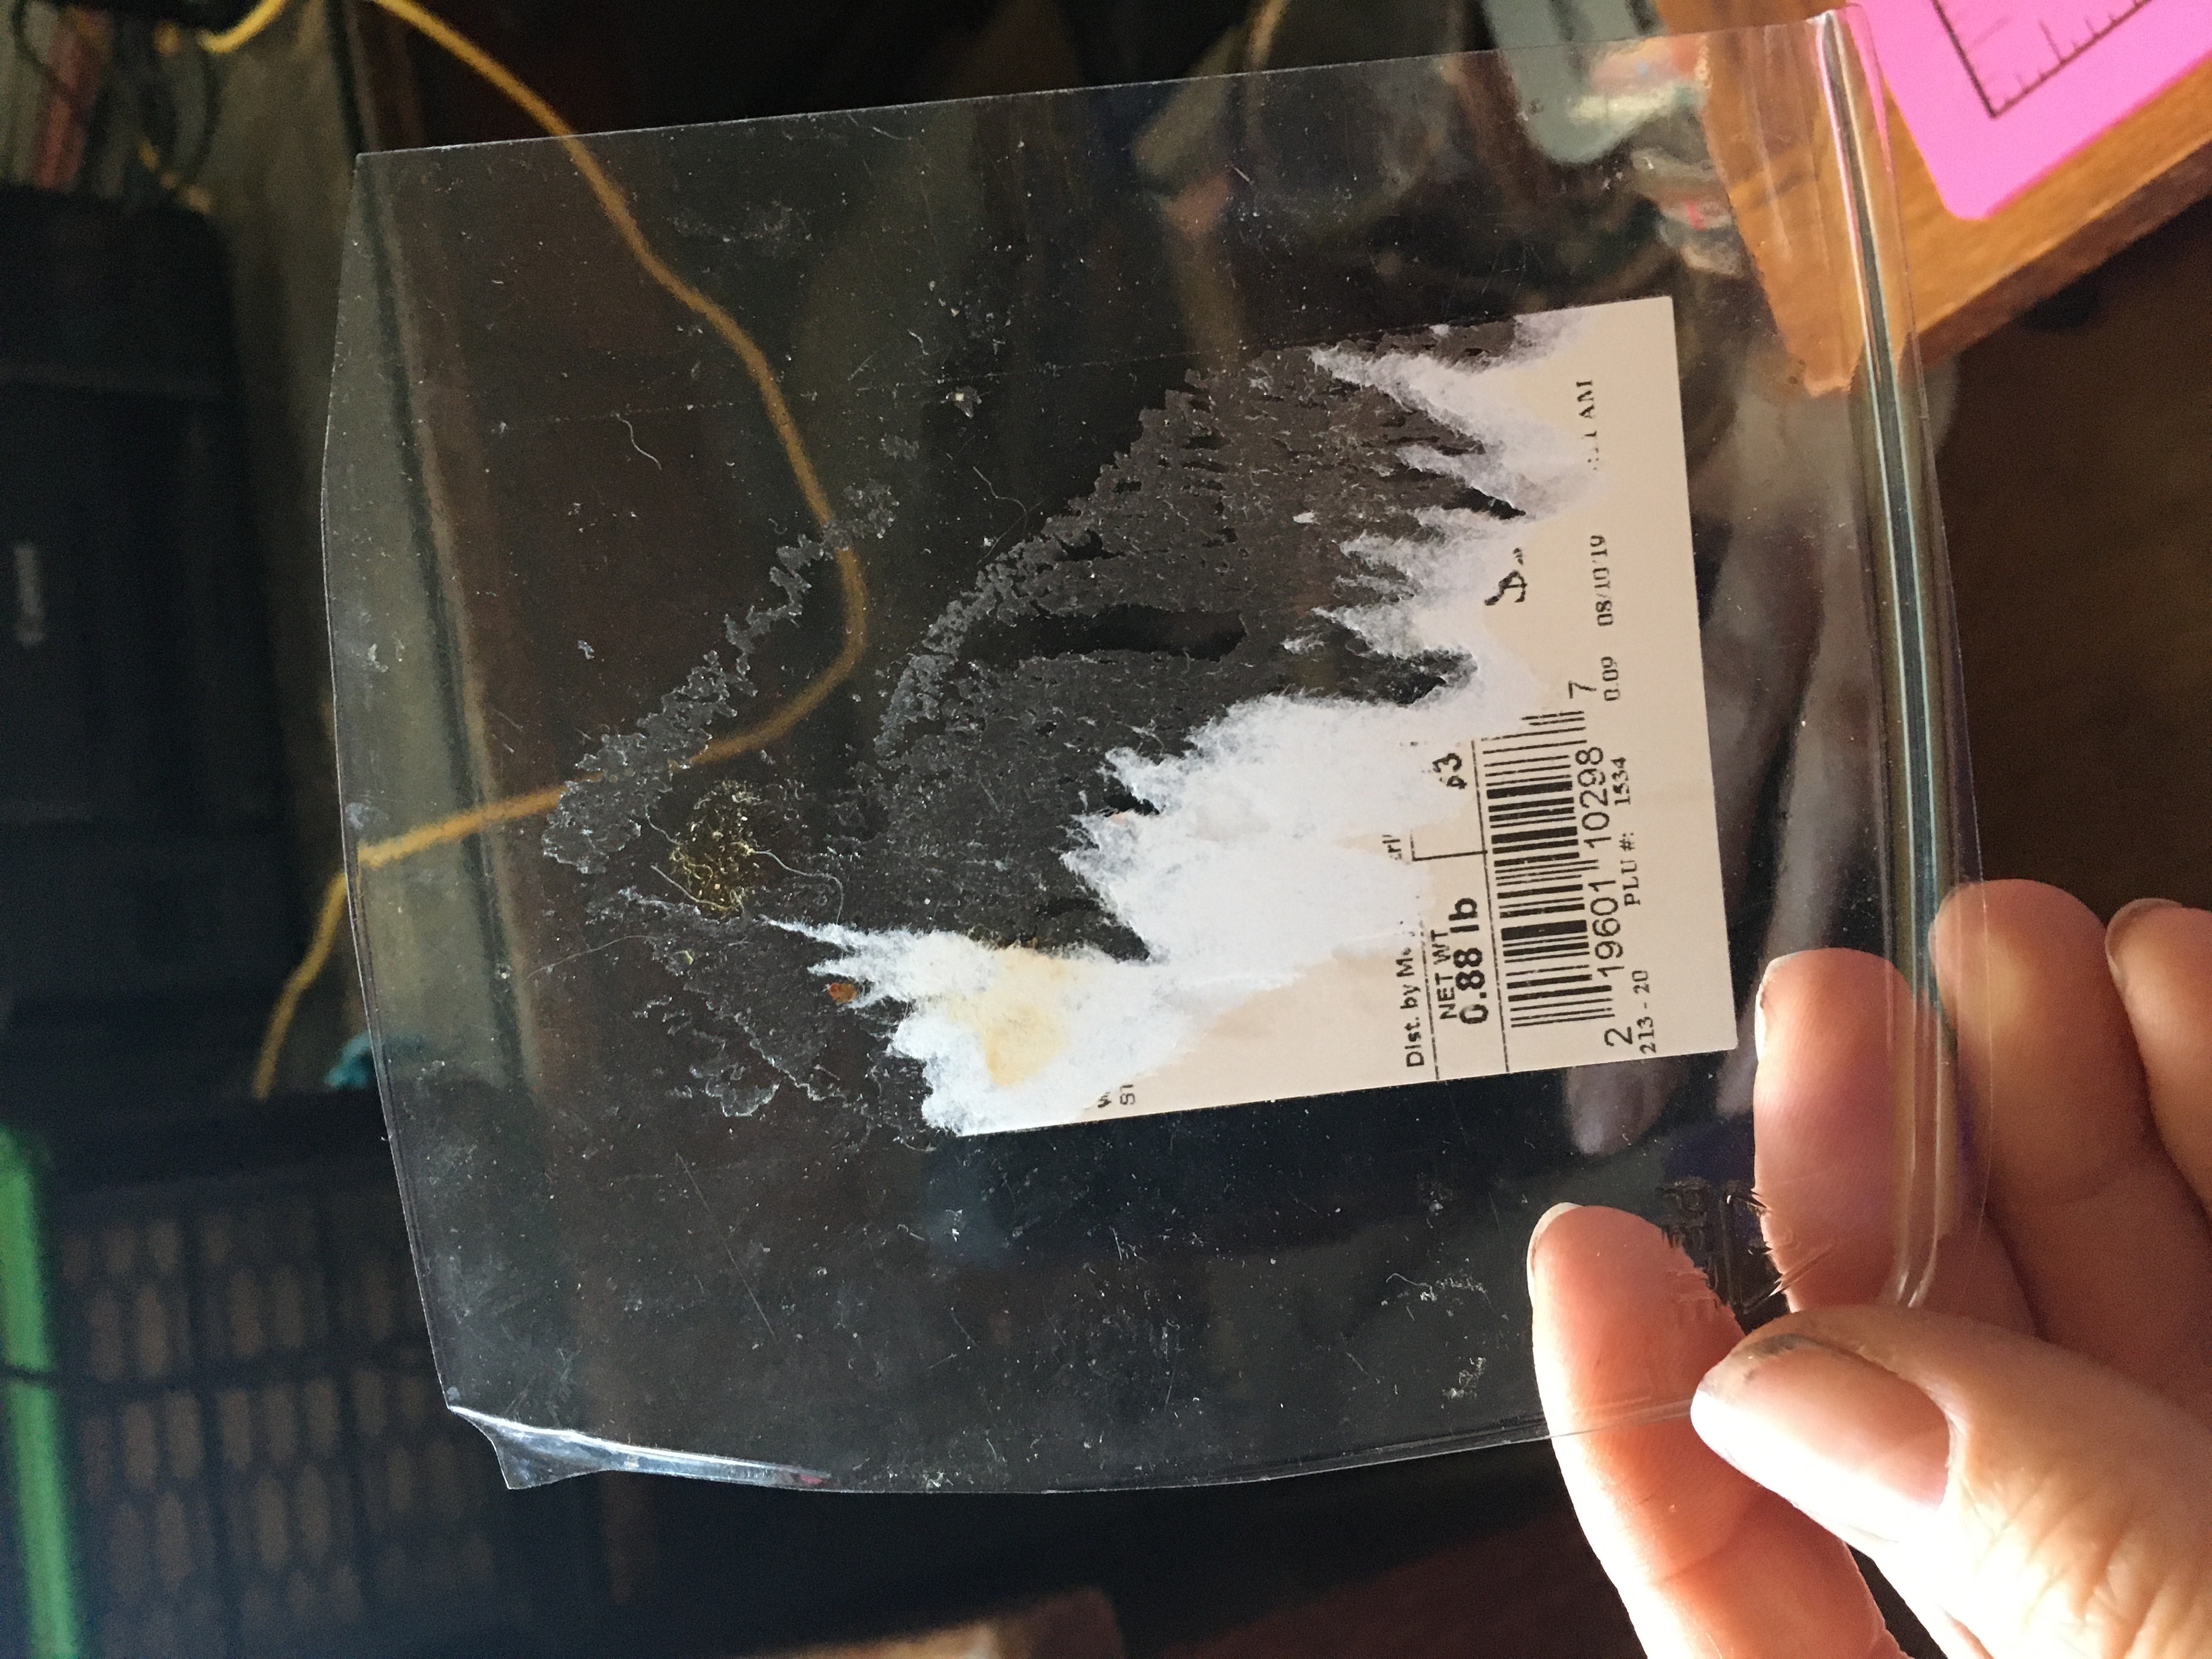
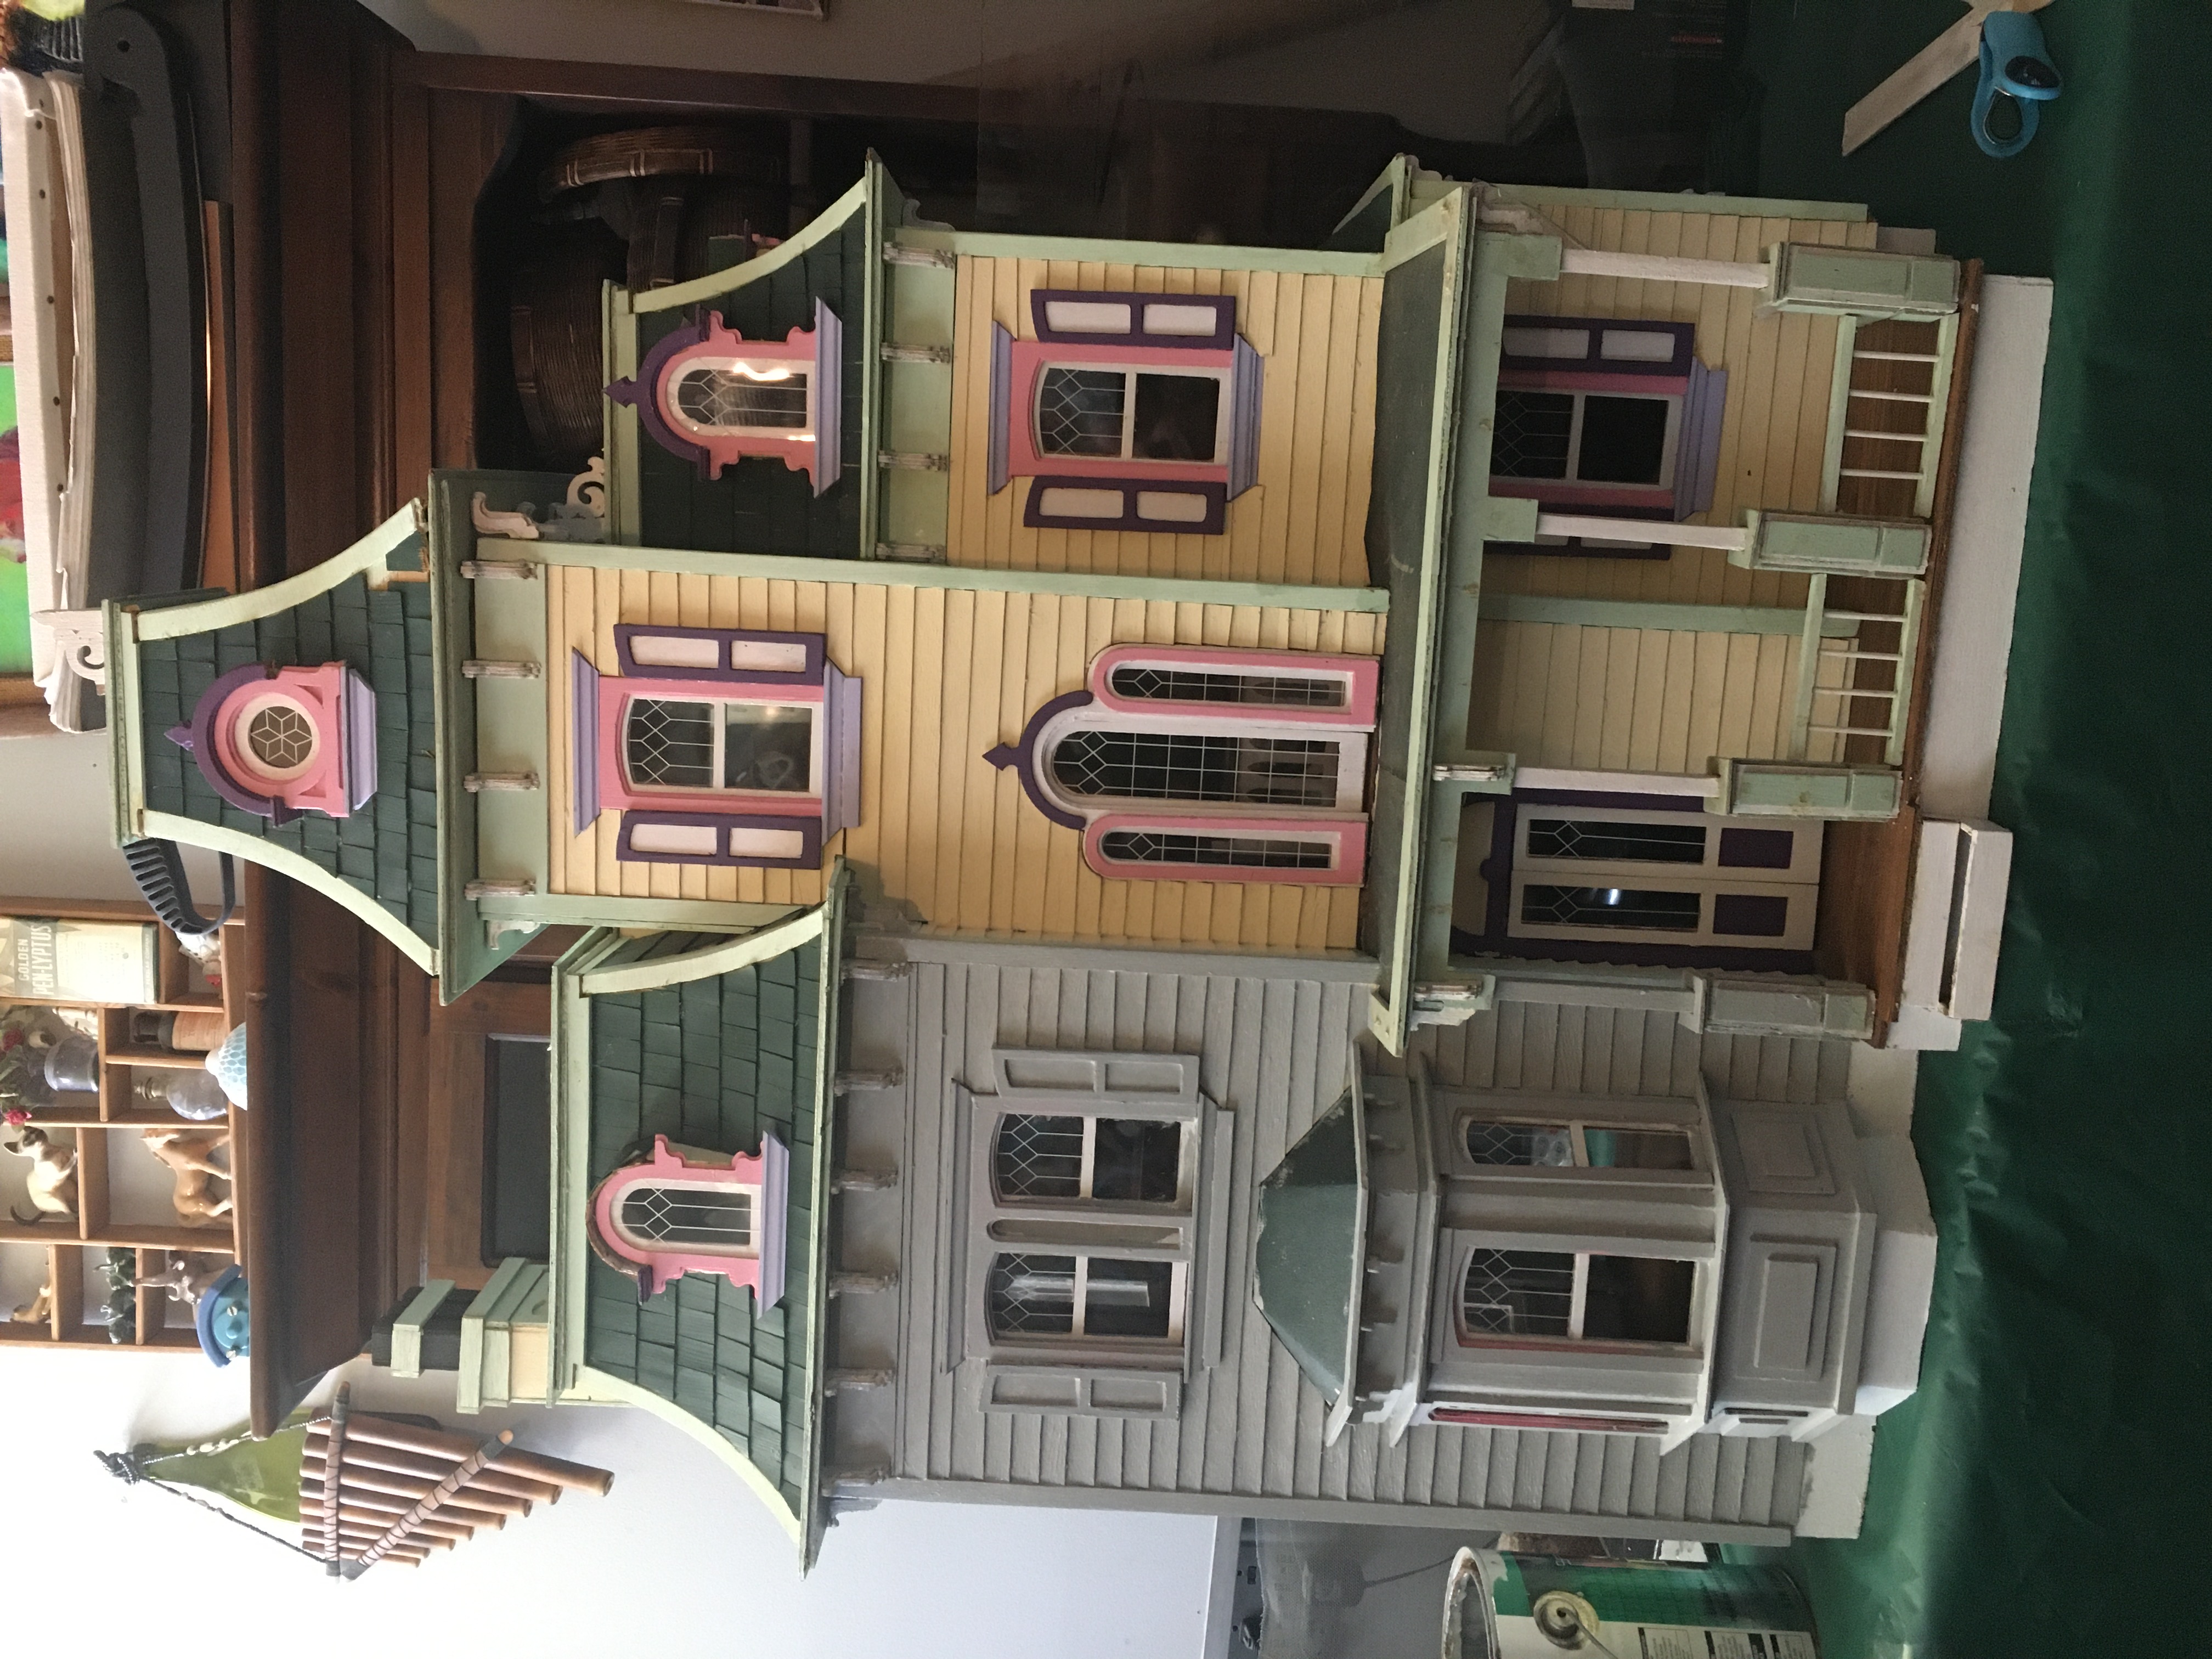
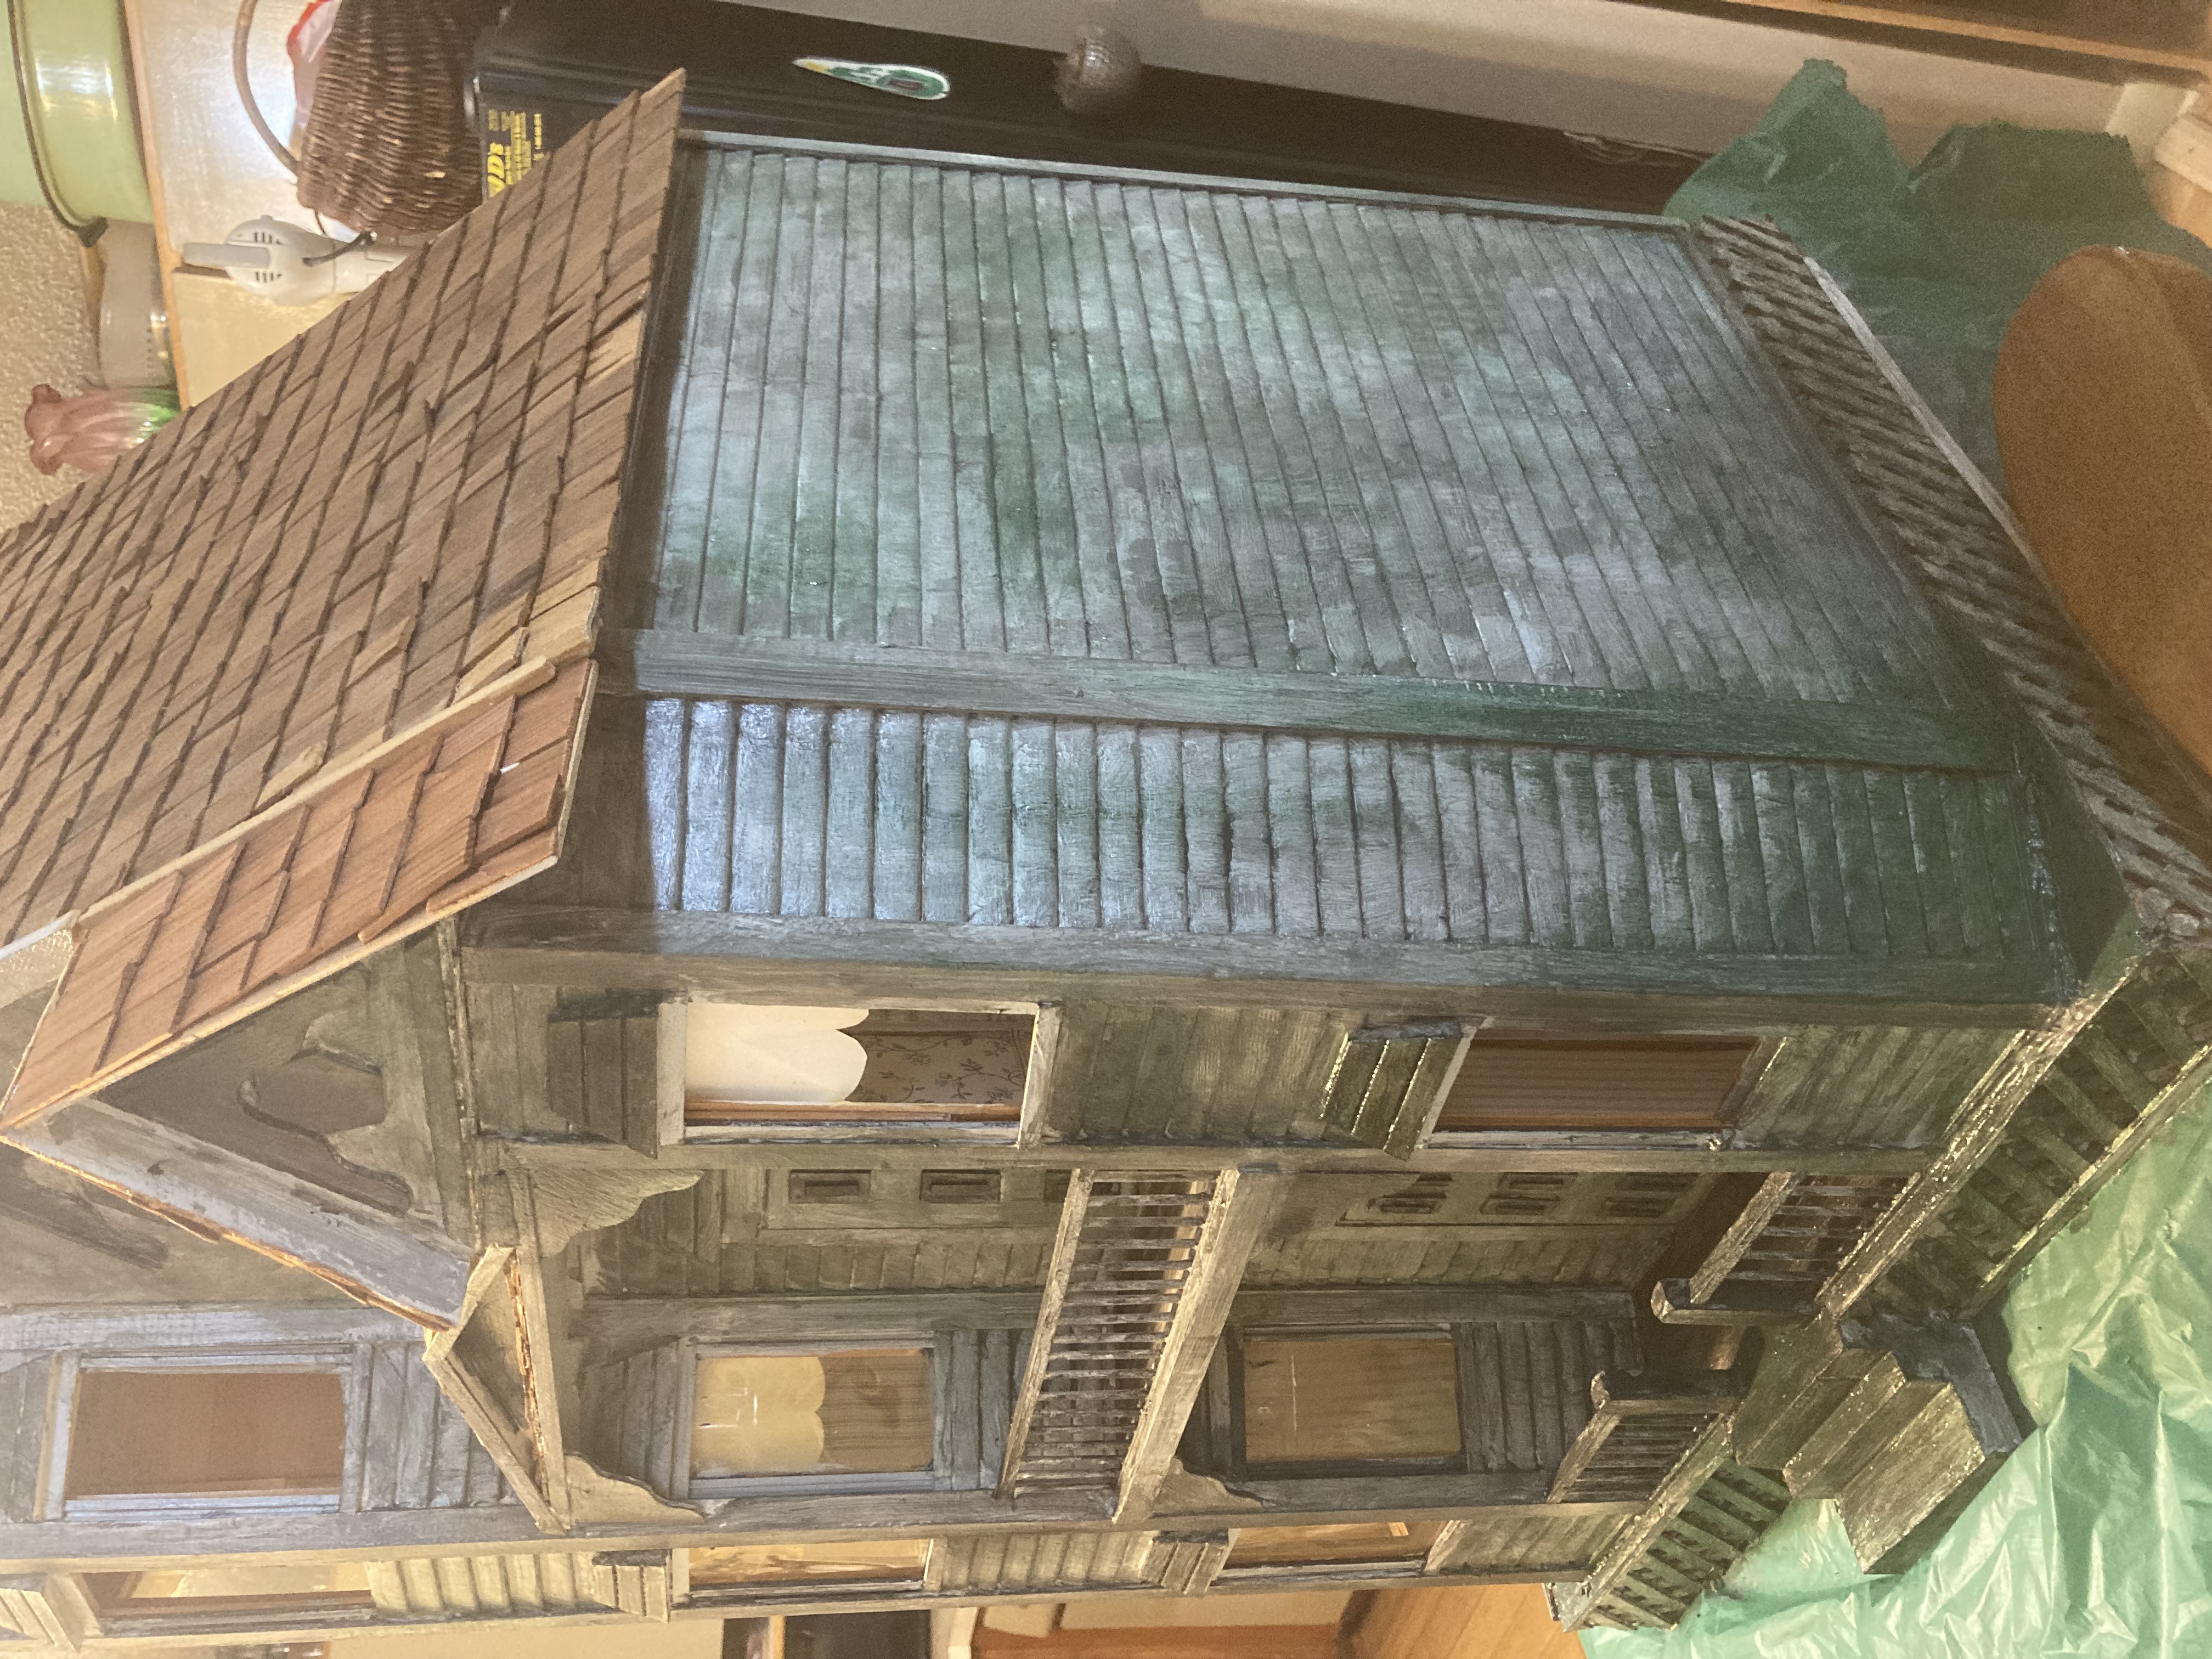
First thing, I had to make a few structural repairs to the outside. I was lucky in that a lot of the missing pieces of this house were in a ziplock bag that came with it. I also had to take off and reattach a few pieces that weren’t put on correctly by a previous owner. After these initial repairs were done, we started painting.

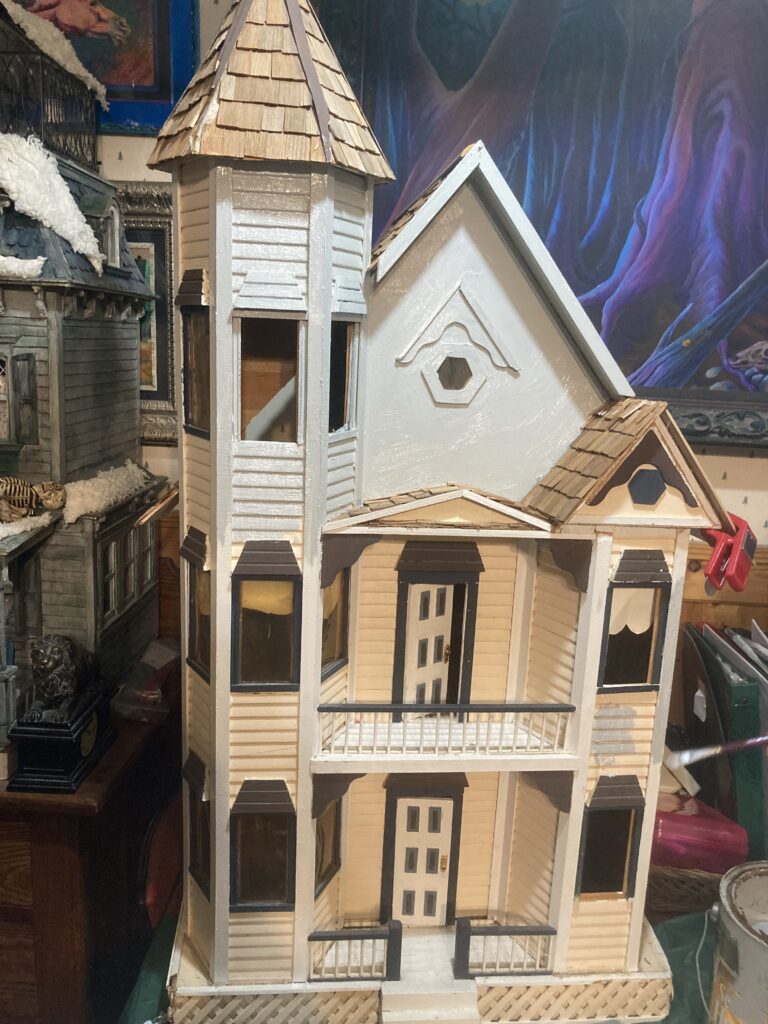
I started with a base coat of light gray exterior paint that I had left over from previous projects. We worked it into all of the nooks and crannies of the siding, on all of the railings, and pretty much anywhere that we wanted to look aged.

After the base coat. In the background you can see the Beacon Hill decorated for Christmas. While my paints were out I was finally able to get that bright white trim at the bottom of it darkened to match the rest of the house lol!

After the gray coat is on, I let the paint dry thoroughly before moving on to the next step.

Applying the darker gray ‘dirt.’

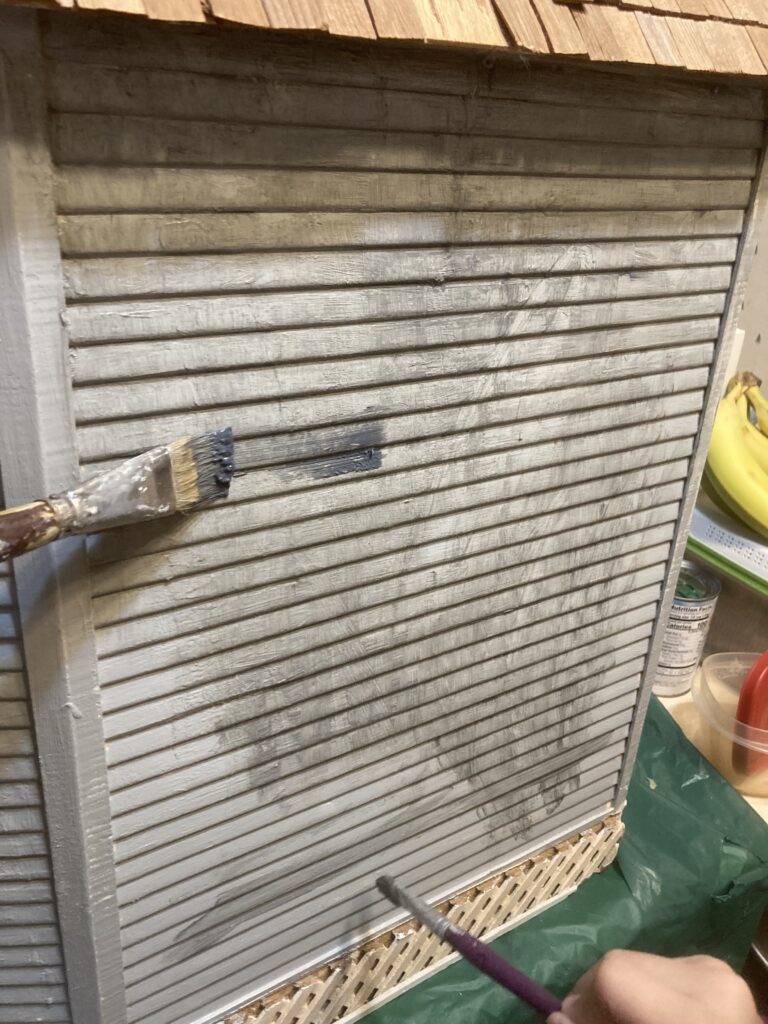
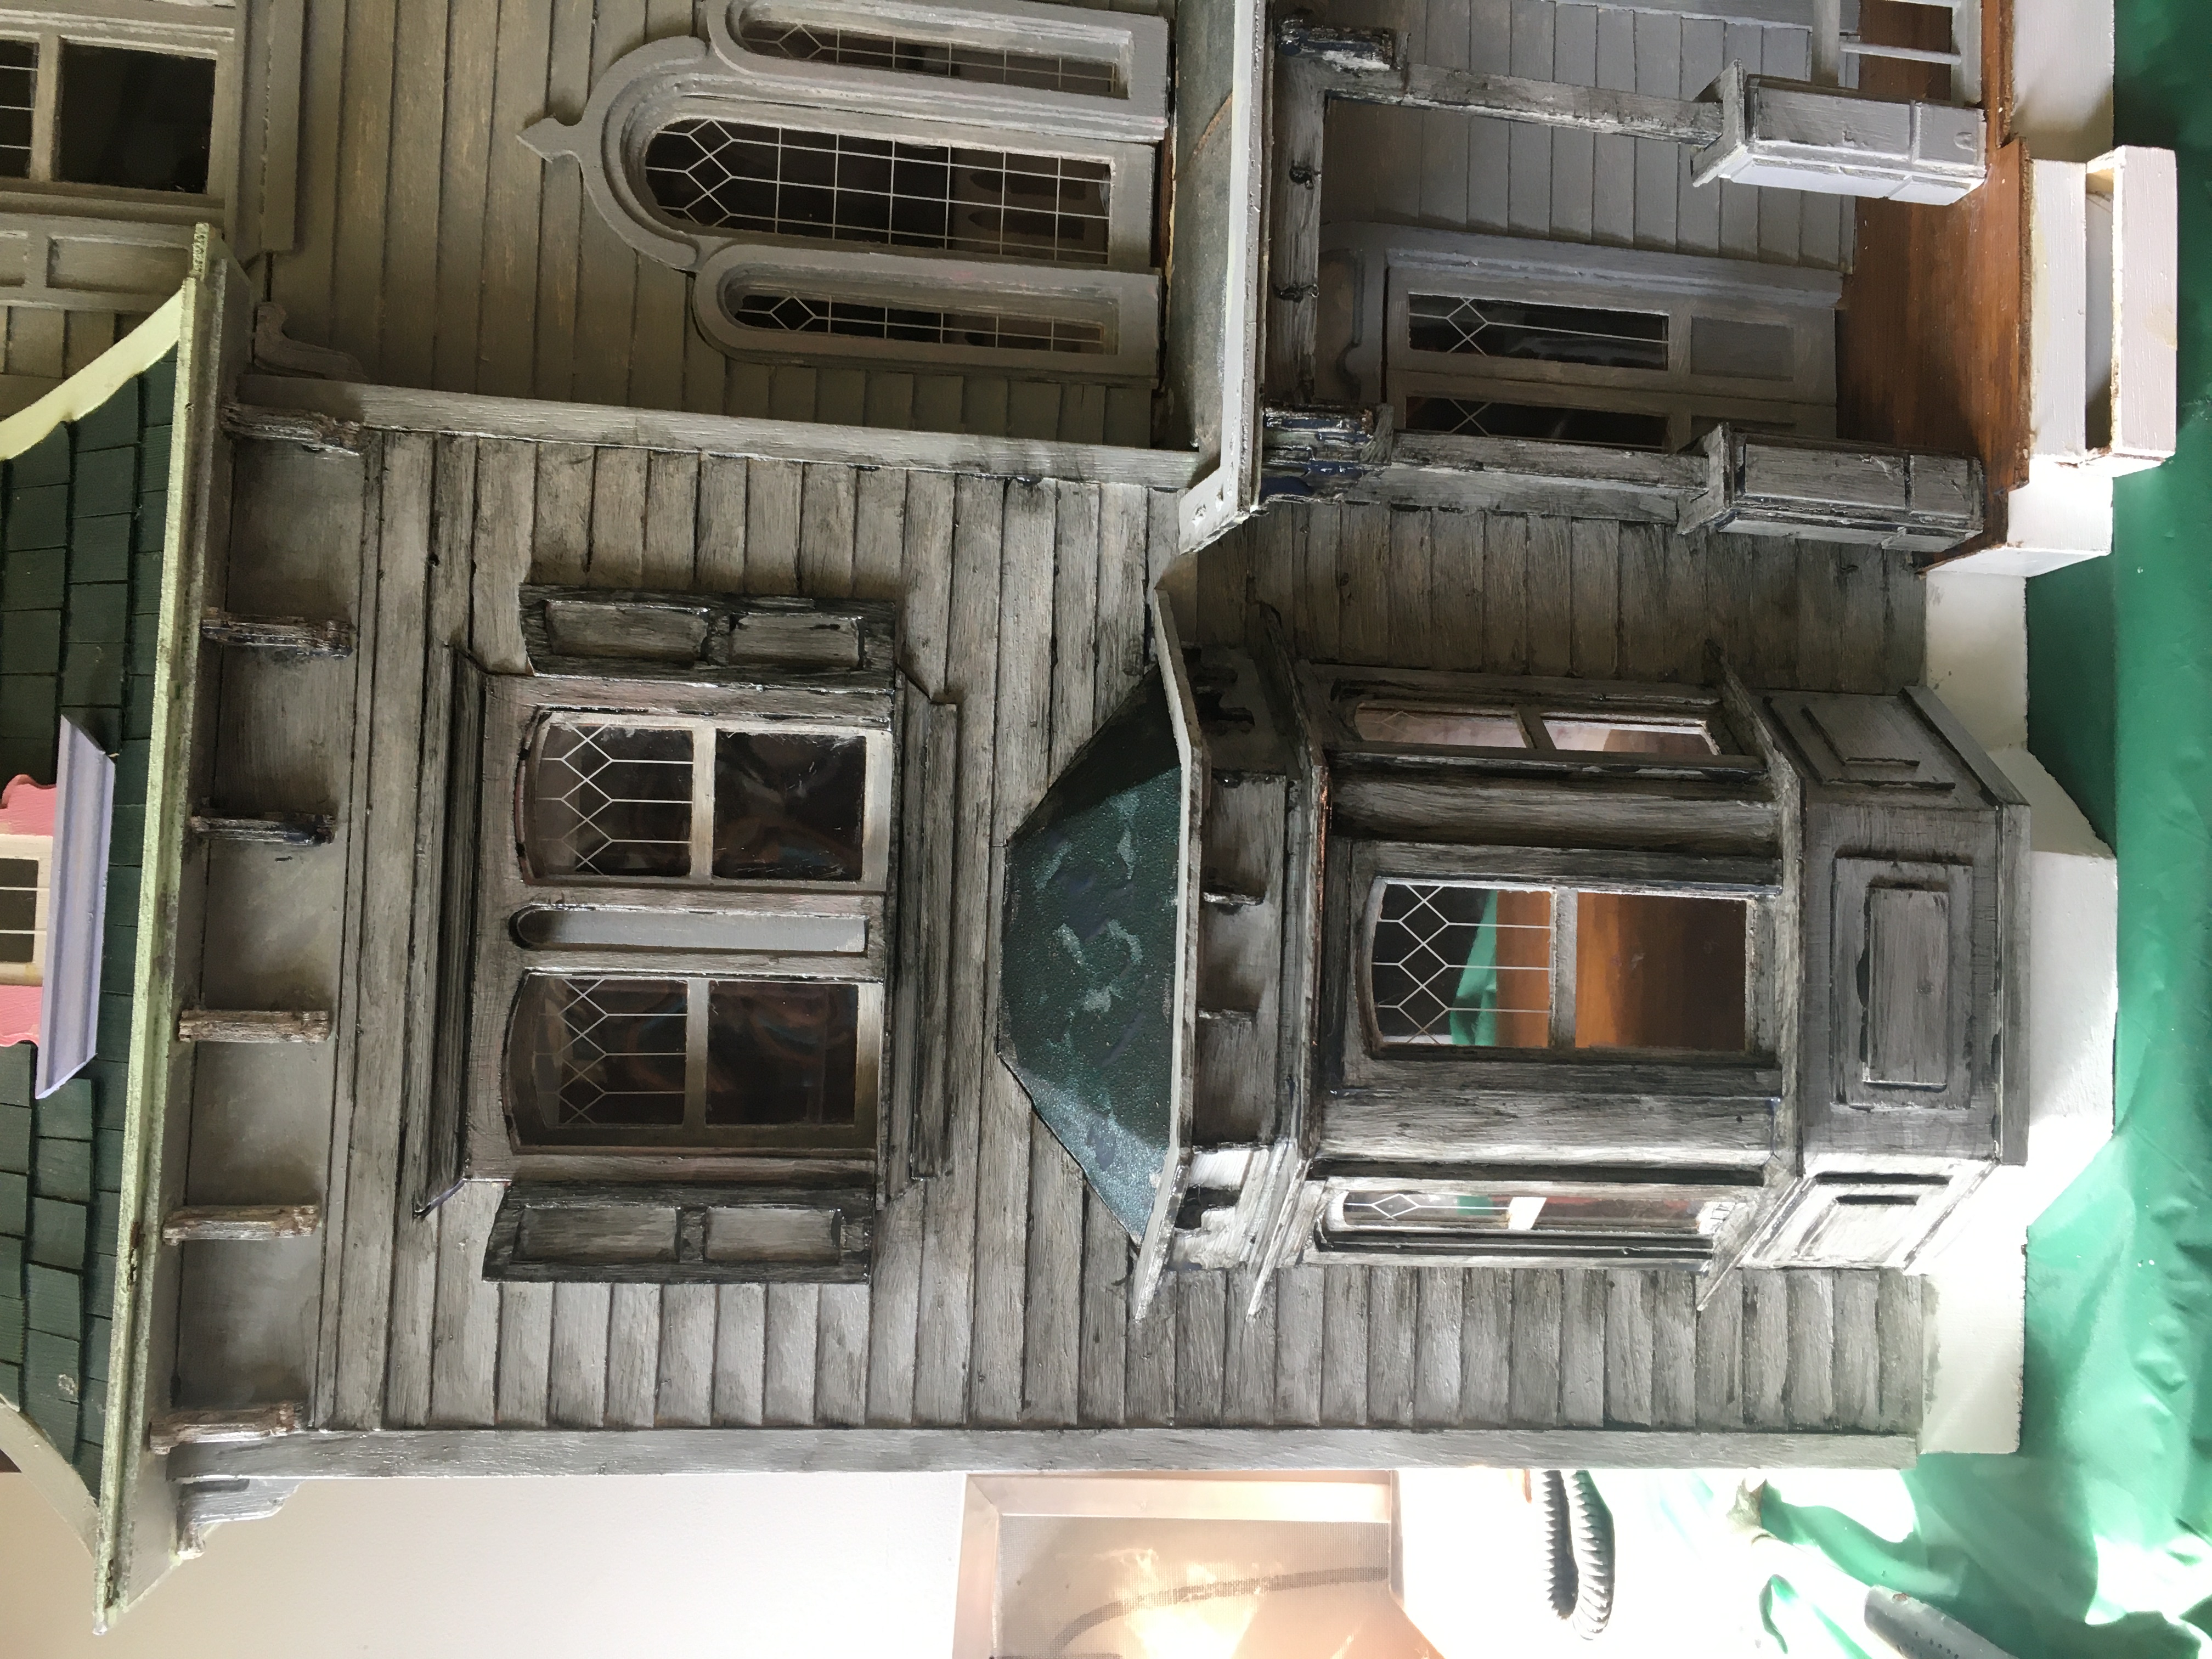
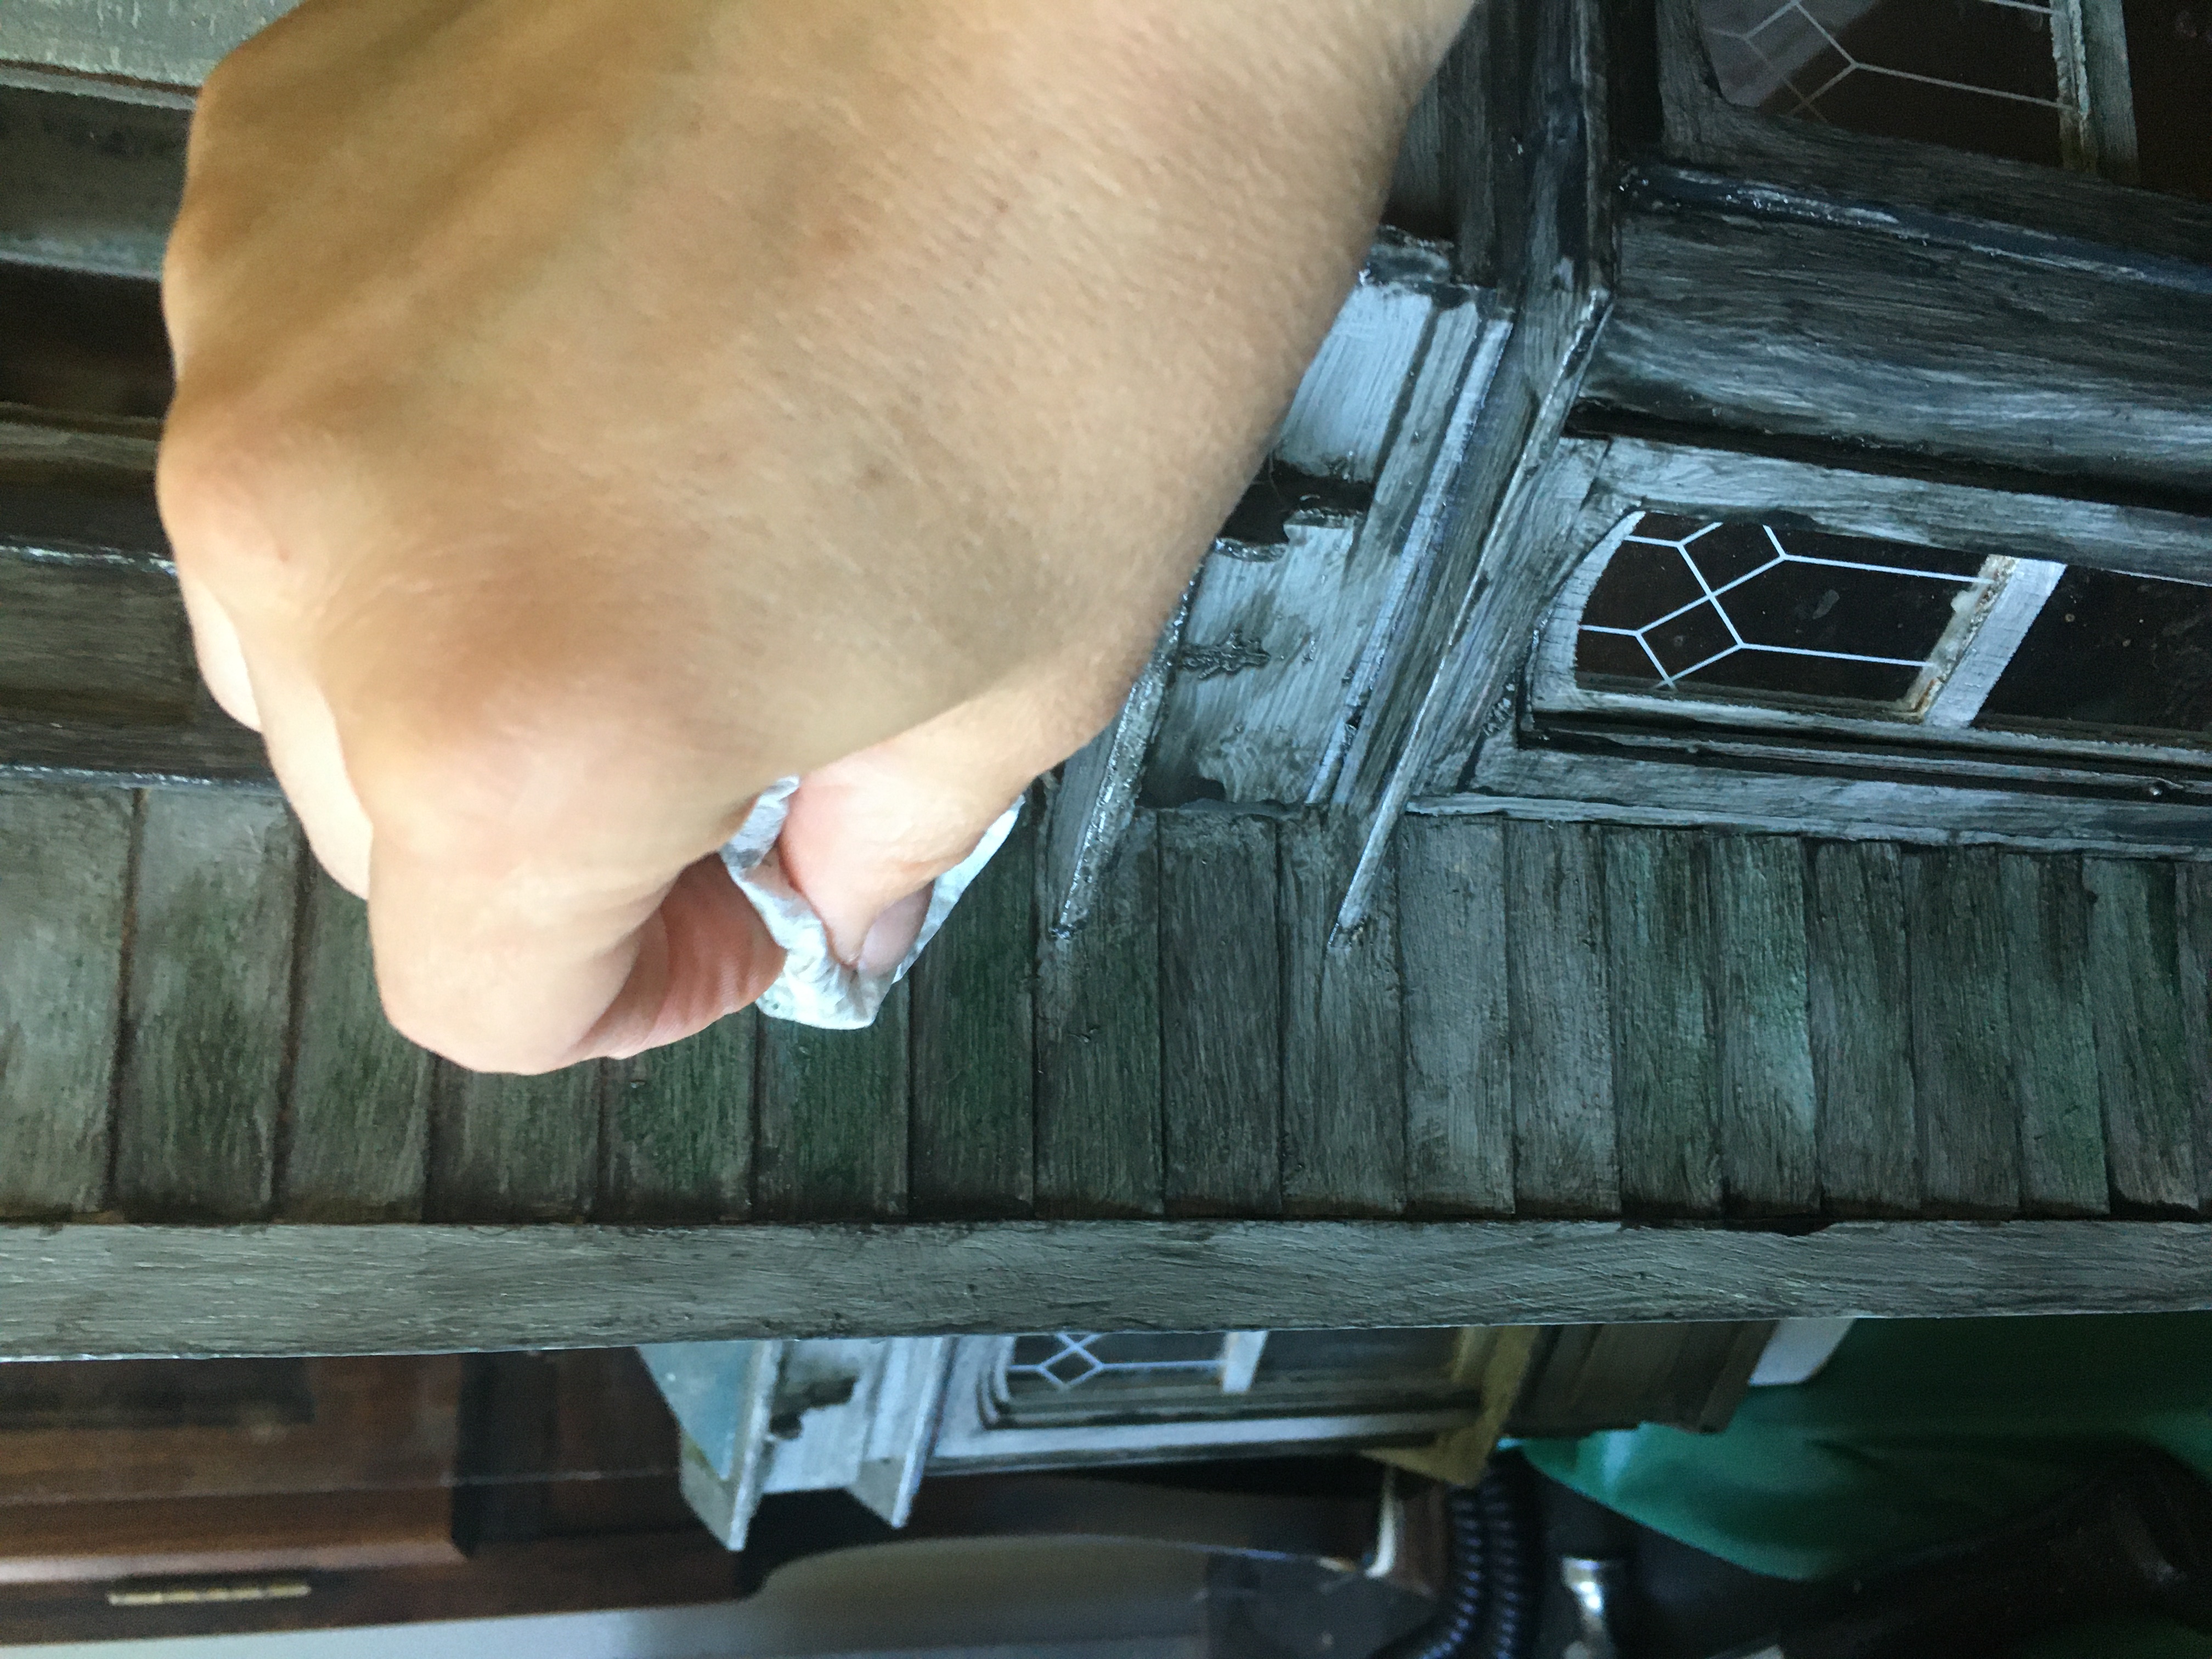
For the next step, I found it easier to use two brushes. I used one brush to apply a small amount of a dark gray paint. I wet the second brush with water (but not sopping wet), and then brushed it over the wet dark paint. My wet brush had stiff, coarse bristles that I used to scrub the ‘dirt’ into the crevices of the siding. I scrubbed the pigment up and down, back and forth, and all around until I was satisfied with its grungy appearance.

More grunge. It’s a little thick in this photo–I think I softened it up more later.
I continued the dark gray ‘grunge’ over the whole house until I was satisfied.

After the dark gray looked satisfactory, I moved on to the next color. I wanted more contrast, so I added JUST A BIT of black. Black is a very overpowering color and I did not want to overdo it. I applied it in just a few areas, particularly the porch rails, the trim above the windows, and a little on the porch floor where I felt there might be more dirt and rot accumulated.

With a small amount of black highlights. The black is also scrubbed in (using the same method as the dark gray) to keep it more weathered looking. (My daughter has her Pokemons in it already lol).

After black, I wanted a little green as wood can get a thin film of mold on it over time. I kept the green paint watered down a LOT because it didn’t want it very strong. Just a very thin hint of it is enough.

With some green added for mold. It is very watered down. I made it stronger in some areas for interest.
Front view after the green wash was applied.

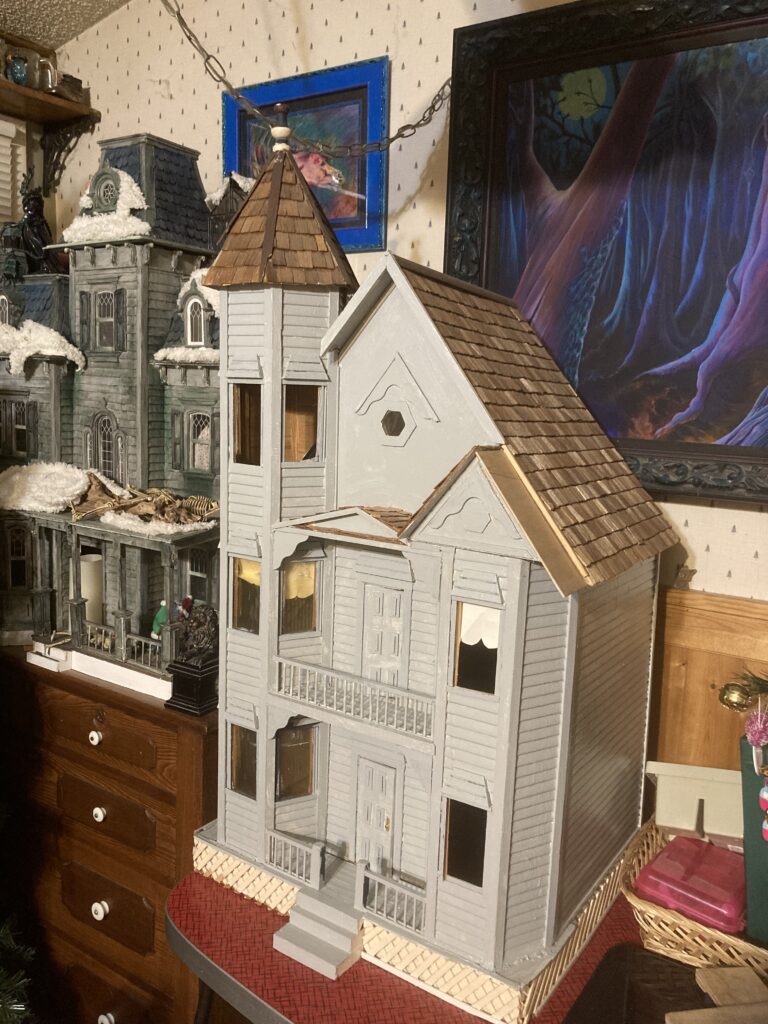
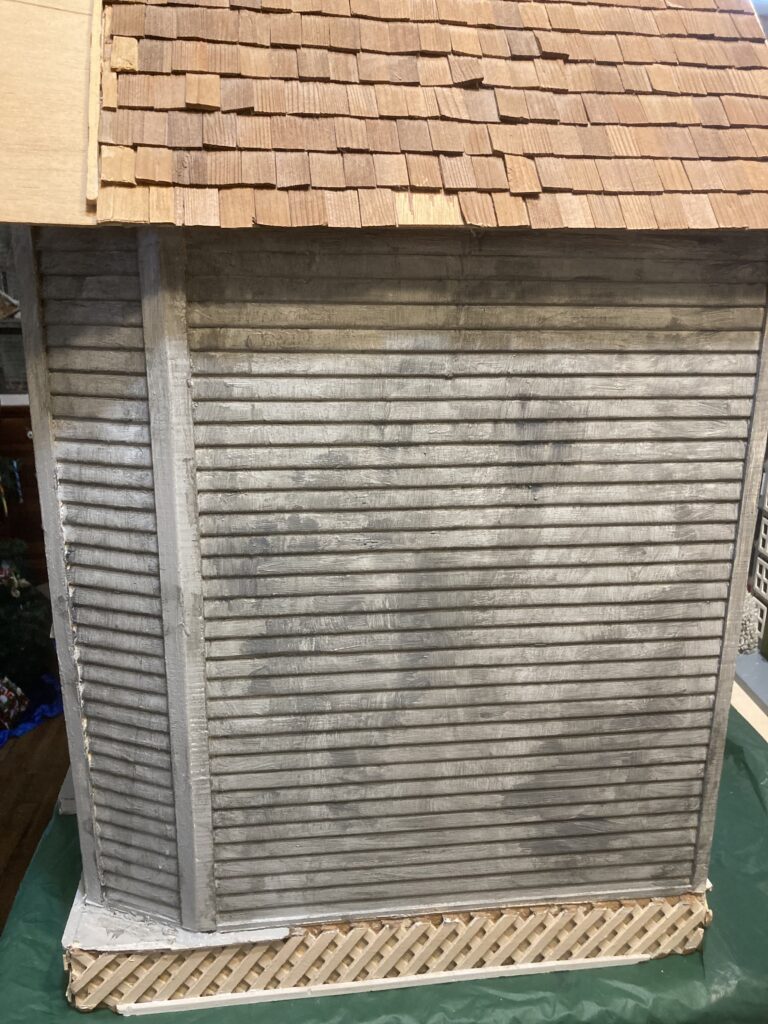
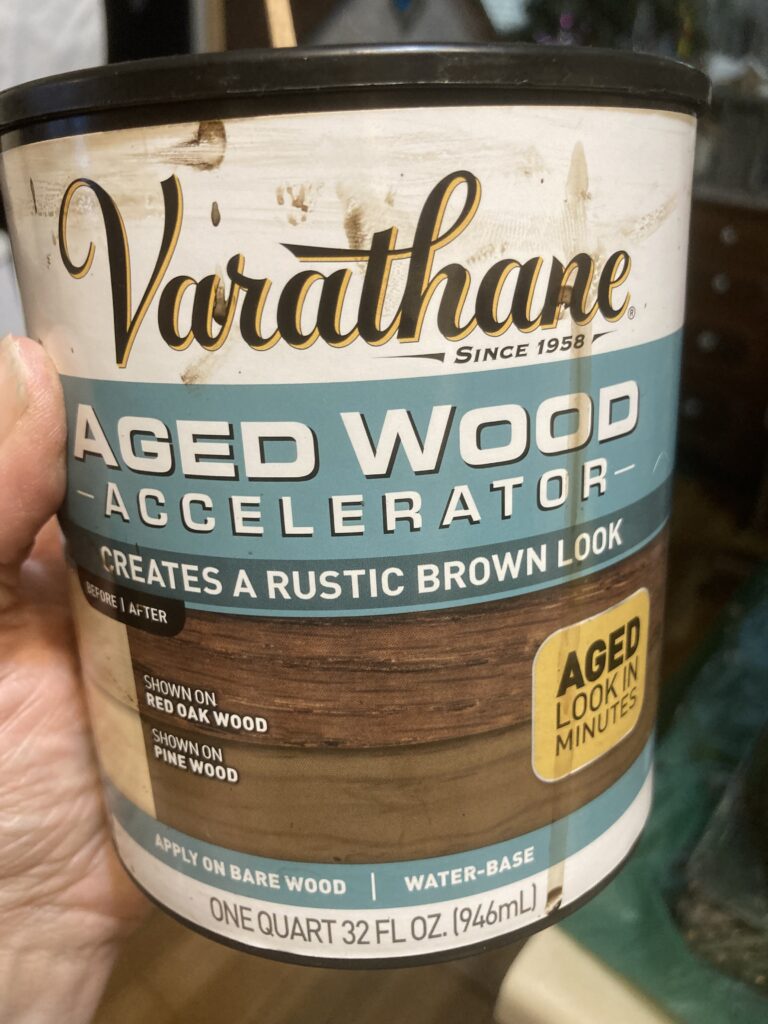
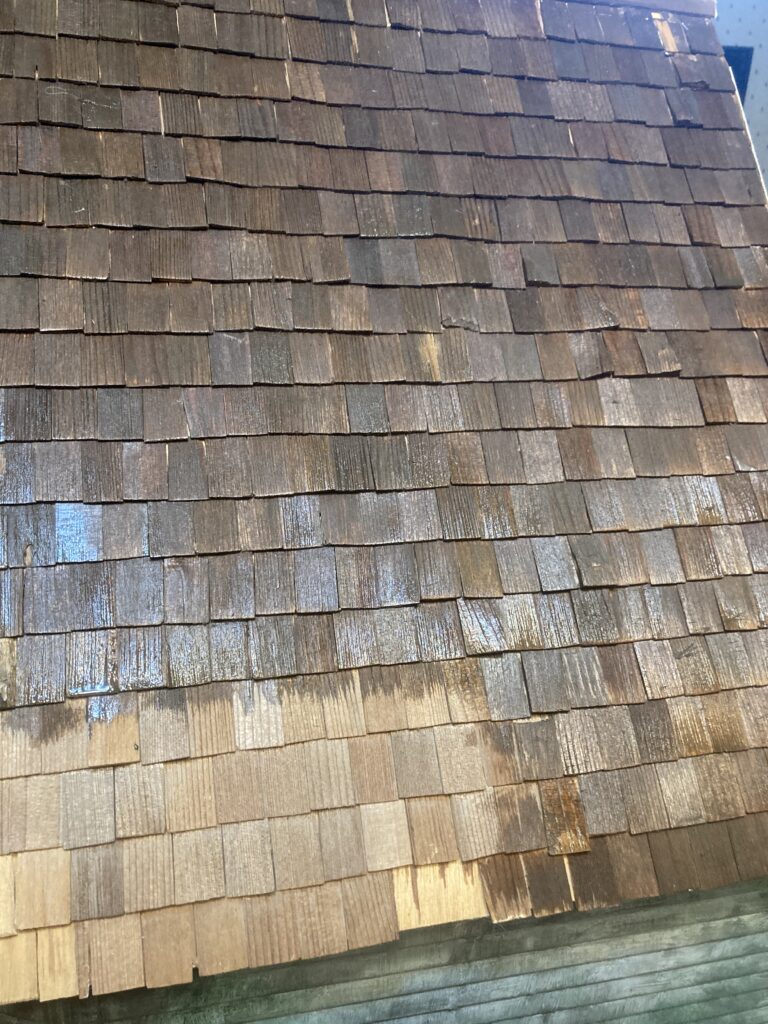
Feeling fairly satisfied with the paint, I moved on to the shingles. As they were, they looked way too new for an abandoned building, so I needed to age them somehow. Luckily, I have this handy-dandy Aged Wood Accelerator from Varathane. This was purchased in the wood stain department at Menards. So far this product has come in handy for several of my dollhouse projects.

Handy-dandy!
Here is a color comparison of the original shingles (bottom left) opposed to having them stained. A word of note- any areas of glue will not stain. If that bothers you, you could go back over those sections with a bit of matching paint. I wasn’t bothered so I just left them, as they weren’t very noticeable to me.
Final product.

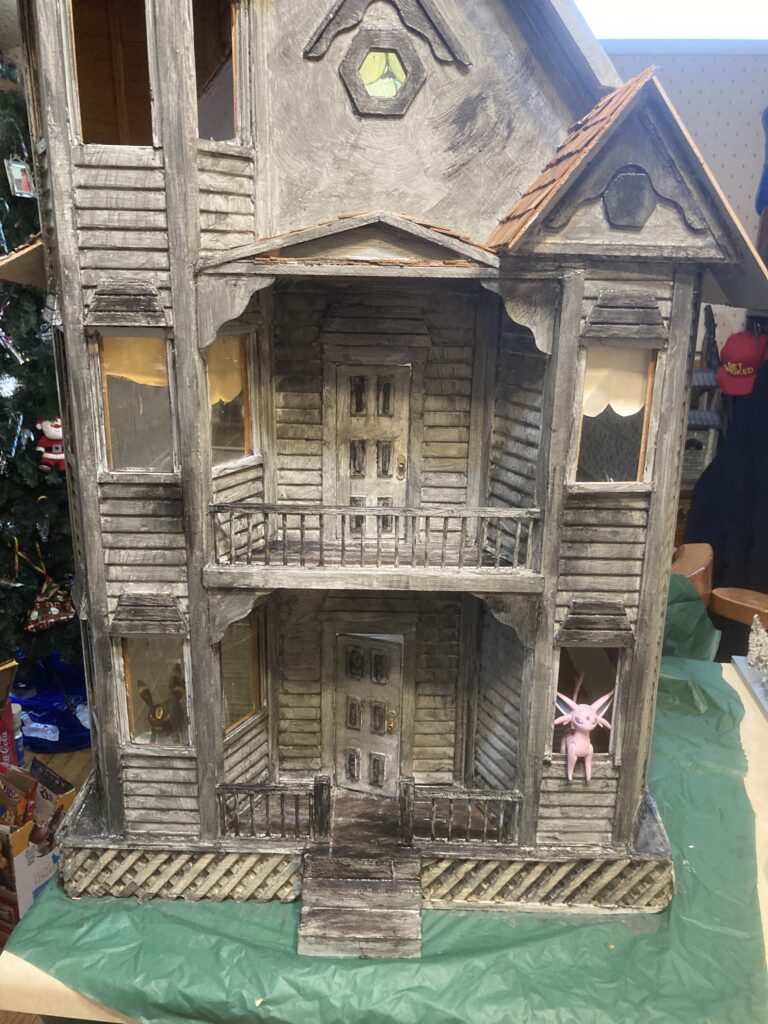
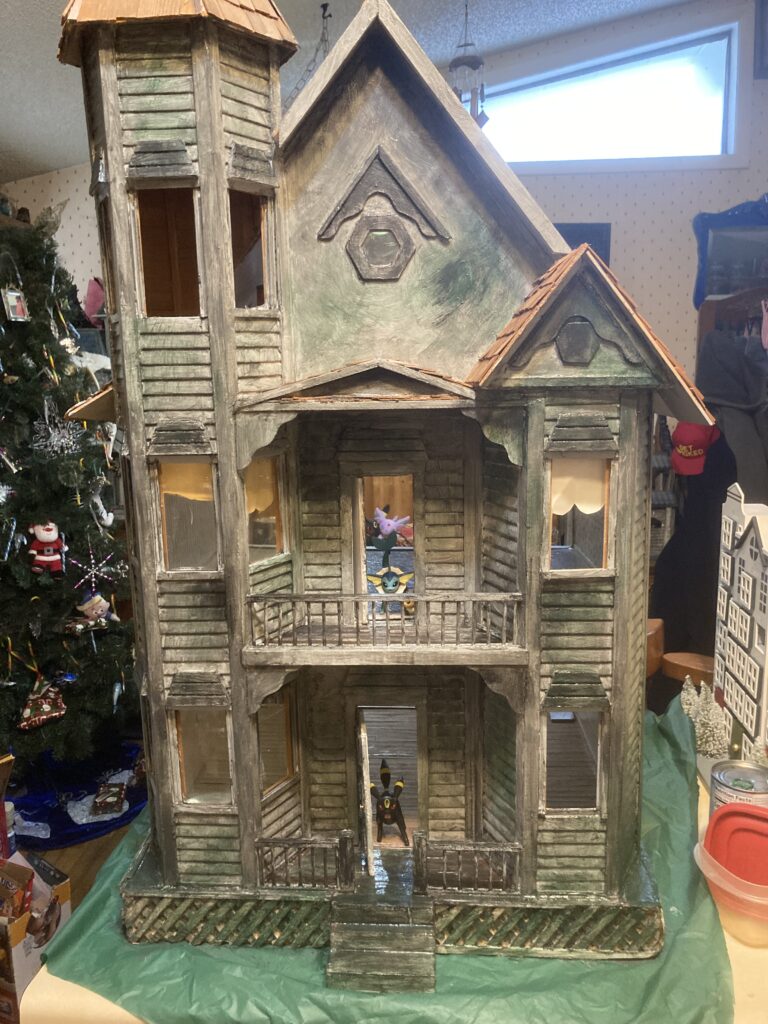
We were both pretty pleased with how this project turned out. Eventually we might move on to the interior, but for now it is a blank slate for my child to decorate as she pleases. Let me know if you have any questions or comments!

How to Easily Make Broken Dollhouse Windows Without Breaking them

For my Beacon Hill project, I decided that, as the house is in disrepair, I wanted to add broken windows. However, as I really don’t enjoy breaking things, I decided to try something to make them LOOK broken.

I started out with a piece of clear plastic from a vegetable container from the store.

I am just showing this piece as an example. Obviously, it is much easier to use a piece that doesn’t have a large sticker on it!

After picking out your piece of clear plastic, cut it so that it can slide into the existing window, over top of the existing plastic or glass. I made mine just a hair larger so that it could be popped into place and hopefully stay put!

Cut to size

After the plastic is cut to the desired size, I used an xacto knife to carve cracks, holes, bullet holes, etc into them. Here are some examples:

Spider-webbed, with a hole.
Bullet holes. Notice that a lot of bullet-ridden glass has smaller spider-webs around the holes, as the bullet passes through with so much force.

After you have your broken windows prepared, gently insert them over your old windows, popping them into place. I placed my windows on the INSIDE of the house, so that they aren’t bumped as often, as they might fall out if jostled.

Inserting the new window over the old.

You can also keep some of the ‘shards’ left after making your holes, and drop them on the floor of your dollhouse, as broken glass.

You could leave slivers of broken glass around the edges of the pane, so it looks like a giant hole. You could make the whole window spider-webbed. The possibilities are endless!

How to Paint a Beacon Hill Dollhouse so it looks Abandoned or Haunted

So, during lockdown in 2020, I was lucky enough to find a reasonably priced Beacon Hill Victorian mansion for sale on marketplace. I purchased it, made some repairs, and decided to redecorate it as an aged house, fallen into disrepair.

This is my Beacon Hill on the day I purchased it. The porch had become detached and it really needed new paint on the exterior. A few minor pieces were missing but nothing I was concerned about, as I planned to make it a neglected house.

First things first, I needed to reattach the porch, which, luckily, was included with the house. I used wood glue and painstakingly pieced it all back together.

This photo shows the reattached porch, plus the beginning of the first layer of new paint.

Next step was a layer of light gray paint. I used some leftover house paint that I had laying around.

For the next step, I found some dark gray paint, and, using a stiff-bristled brush, I scrubbed this paint into the cracks and crevices to look like weathering and dirt. I scrubbed the brush up and down and side to side, wiping away excess paint, until i had achieved the look I wanted. I continued to do this over the whole exterior of the house.

Adding some green.

After the dark gray was looking the way I wanted, the next step was to add a bit of dark green. I wanted it to be very faint, so i brushed it on with my stiff brush and then wiped it off. The trick to this was to make it not uniform. I tried to make it more pronounced in areas that I felt might have more water runoff, for instance, and on areas of the boards that might be more exposed to the sun. In real life I have a white house, and have had to clean my own siding, so I have observed this to an extent.

I still need to paint the base, but I haven’t decided how I want to make the base look, yet. I may go with a cinder block foundation, which would require a different look, so, for now, I chose to leave it.

I plan on changing the shingles to a fishscale look, so I didn’t touch them at this time. It does look fine with the shingles that are on it, but I really wanted the fishscales, and will add them at a later time.