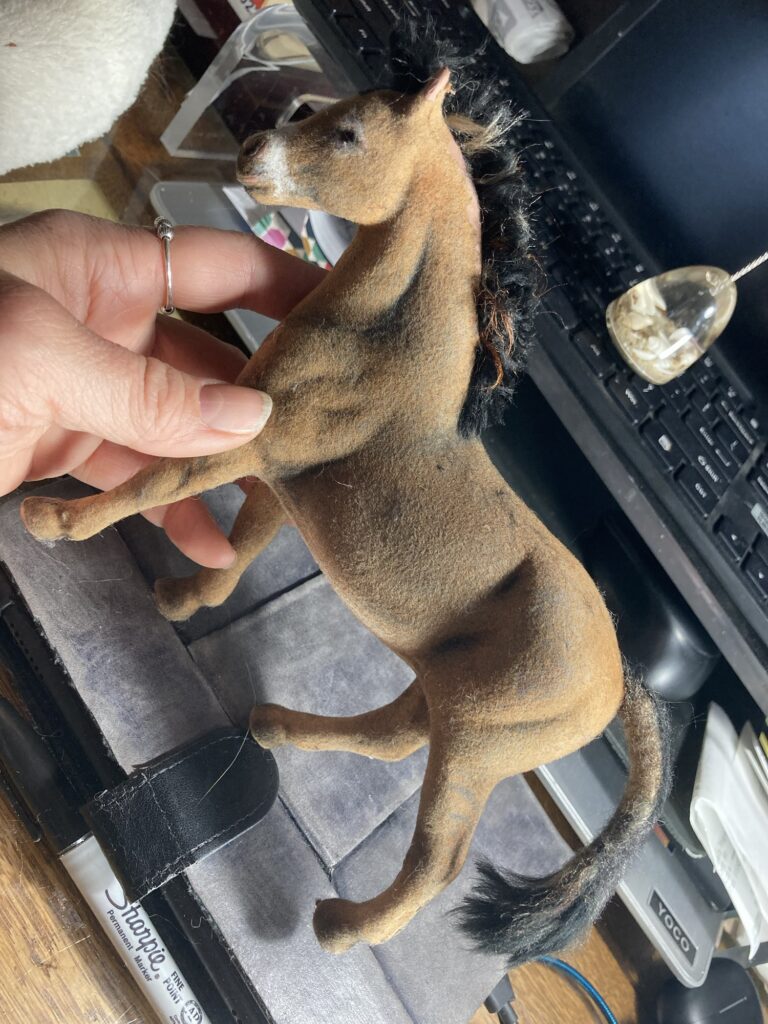
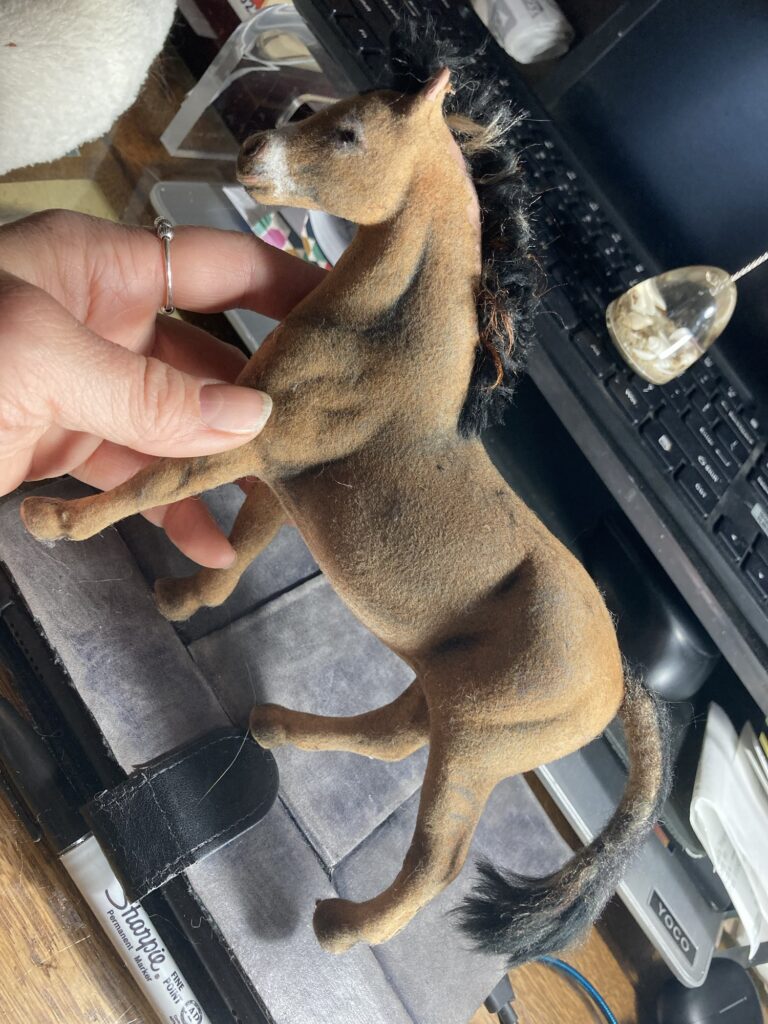
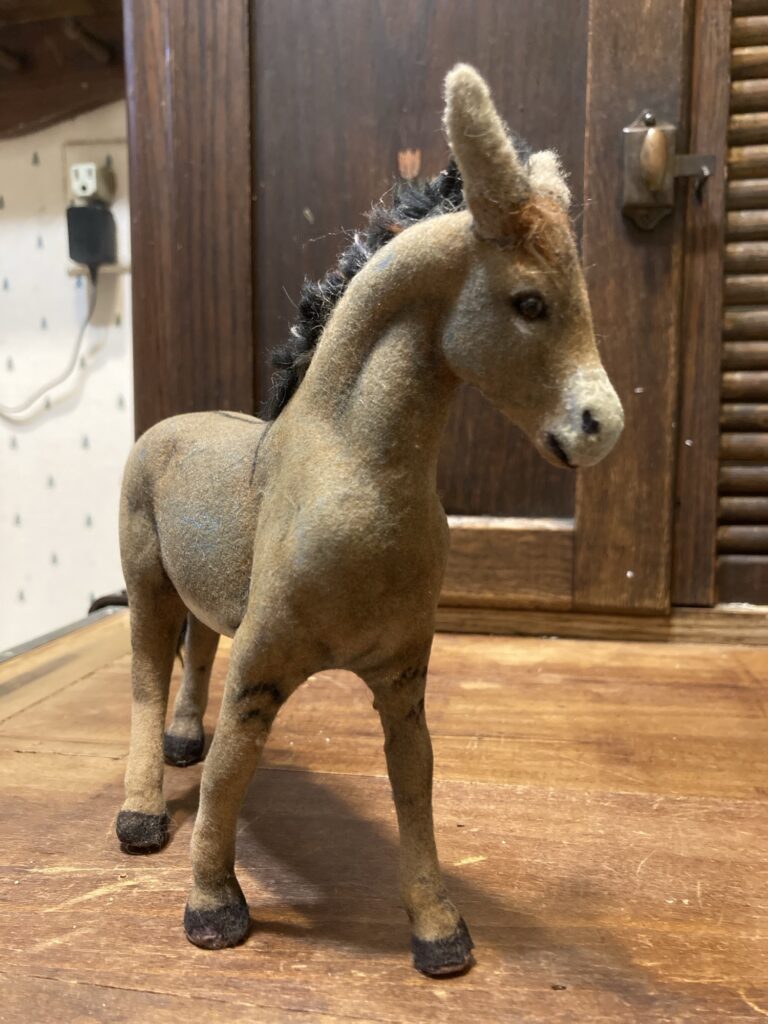
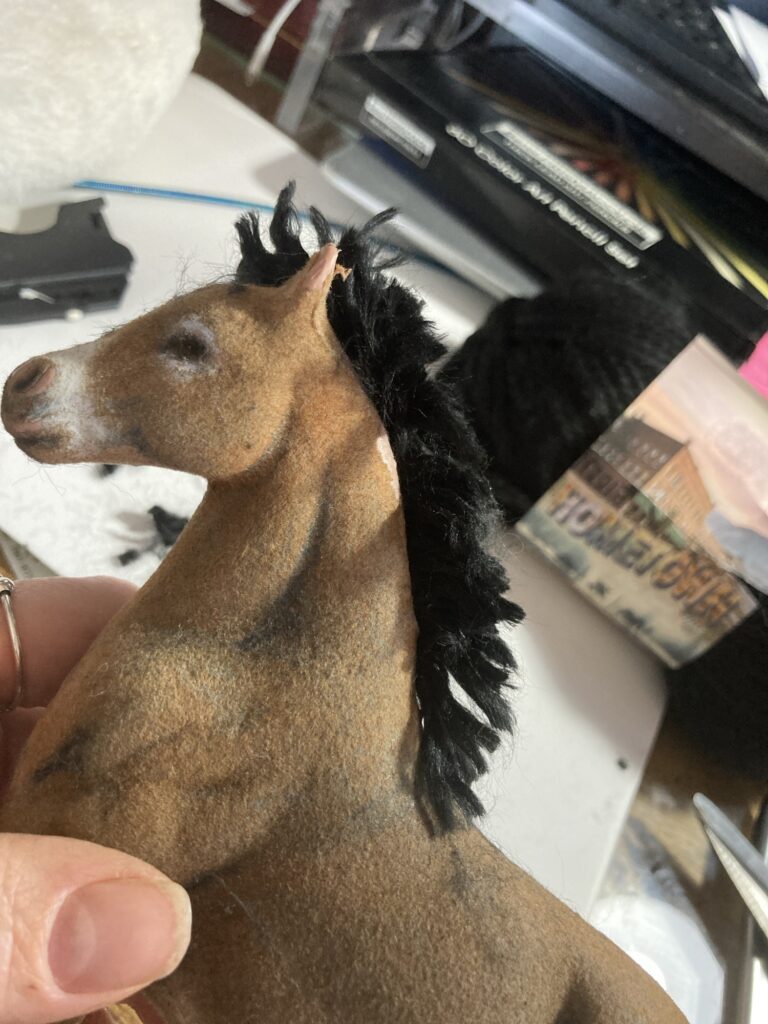
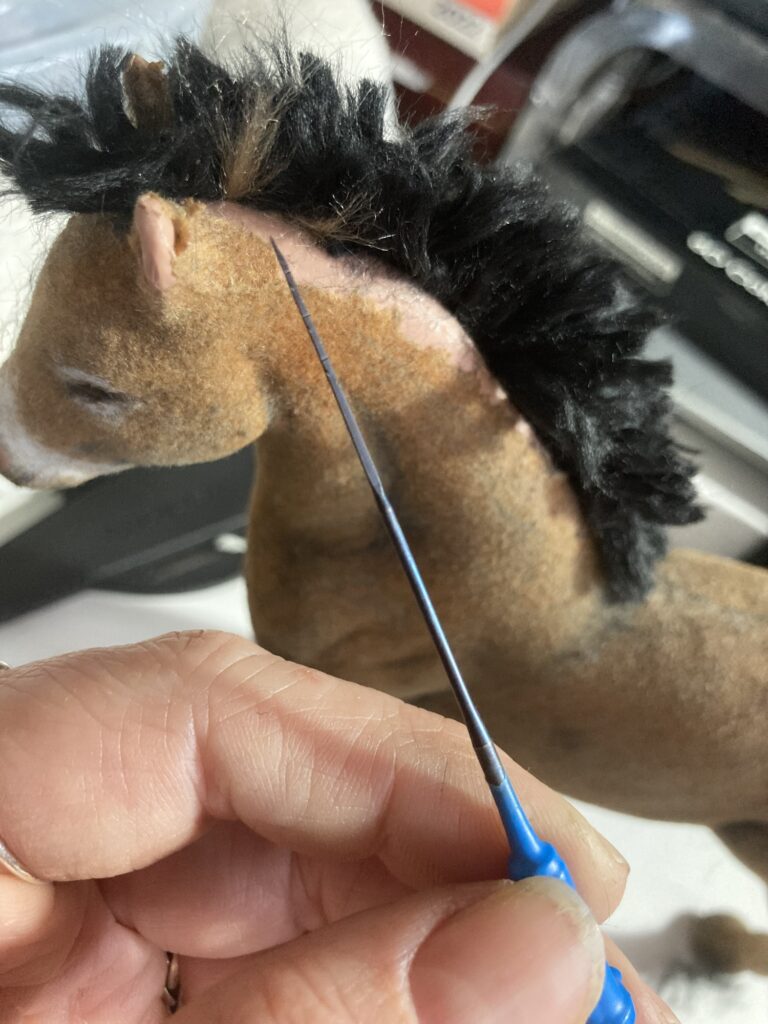
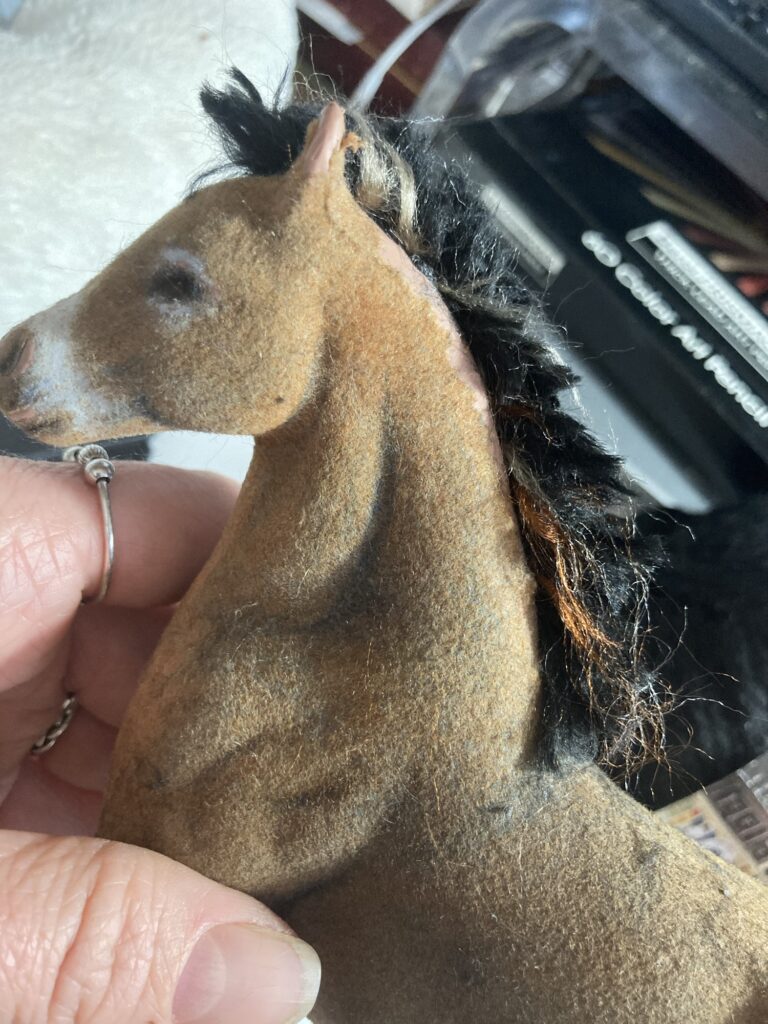
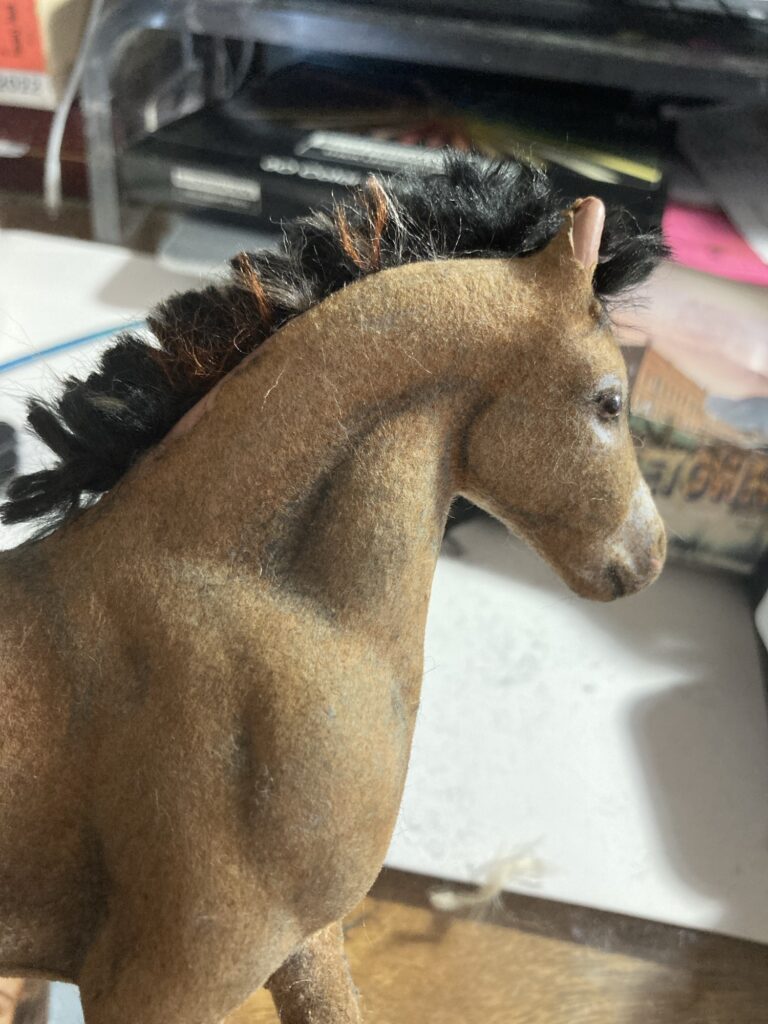
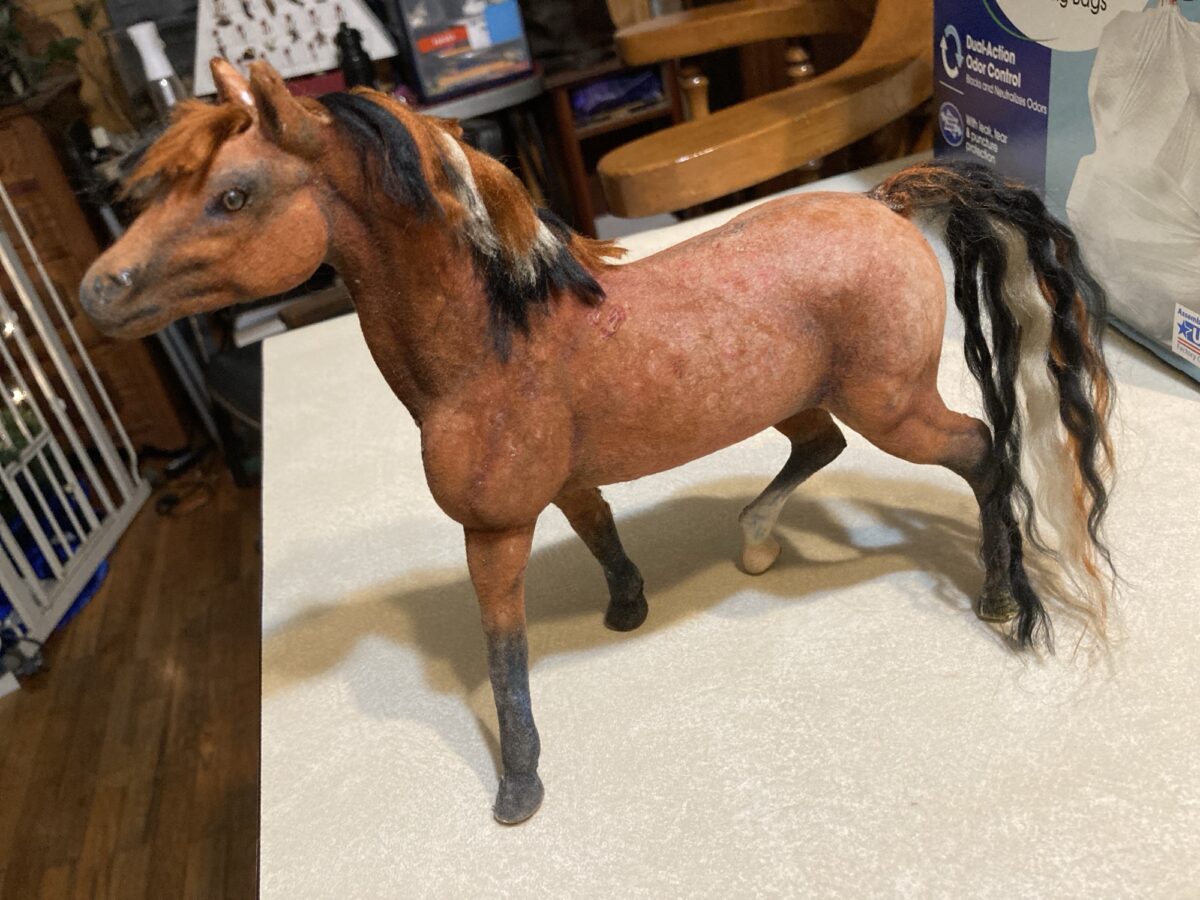
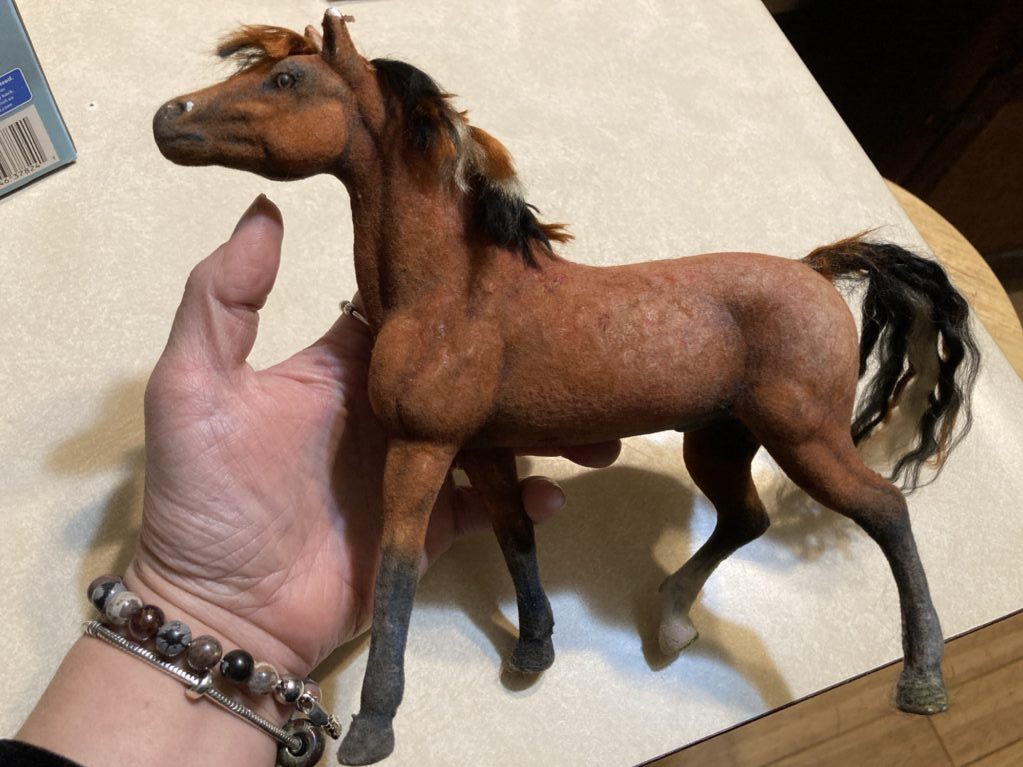
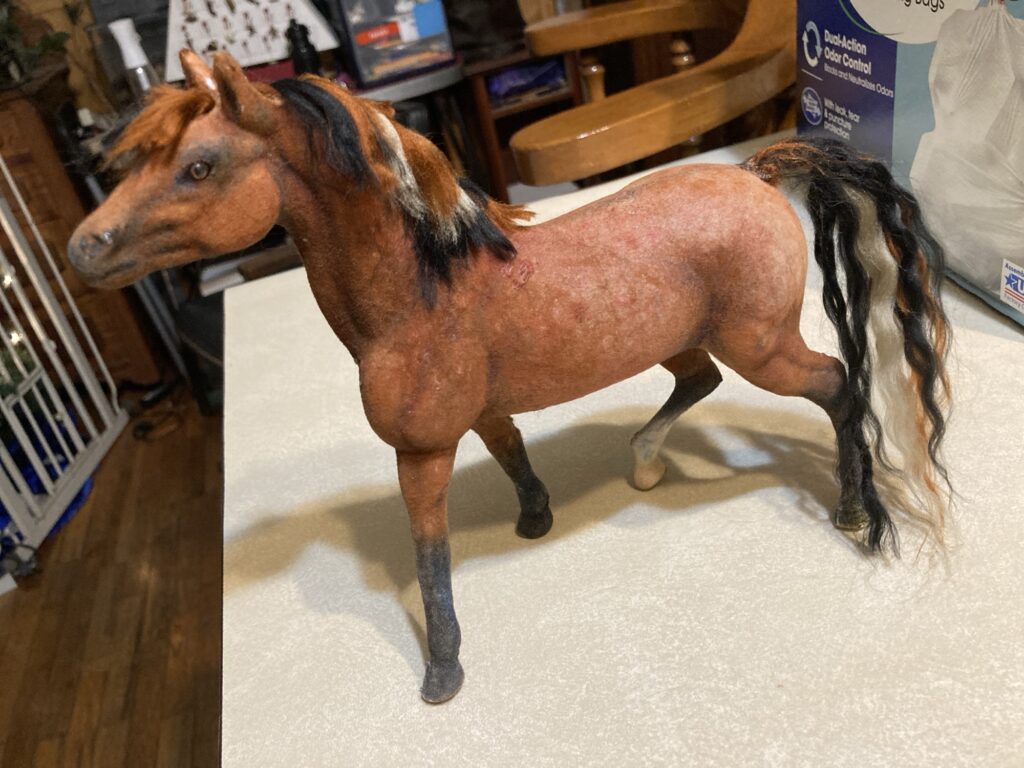
Altering an old flocked horse toy to add detail and make it look like a donkey.
In my last article, I started working on taking an old flocked toy horse and altering it so it resembles a donkey. We already added mane and used colored pencils to add more detail and shading. In this article we will finish up by adding long ears, a tail, and missing body hair.
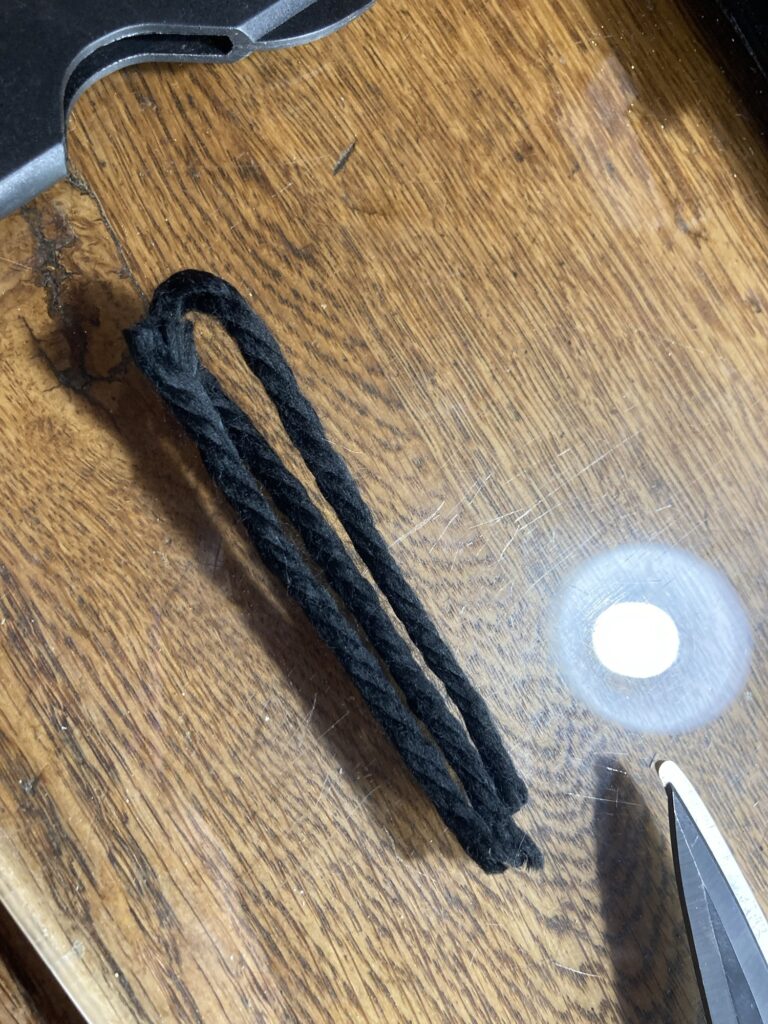
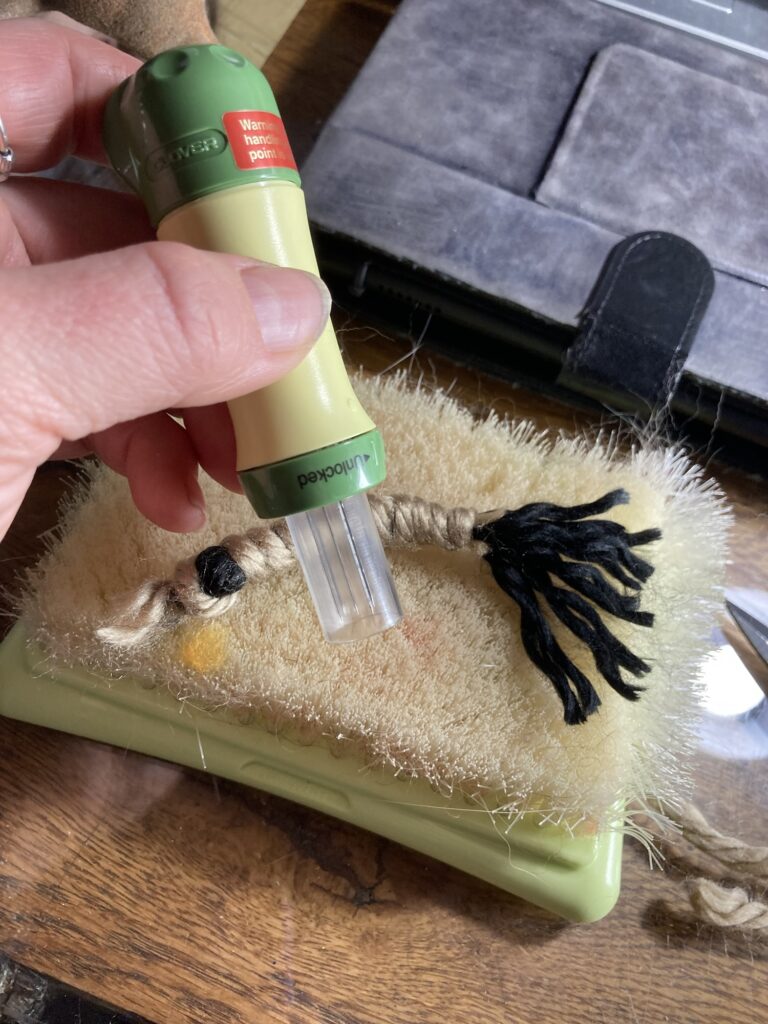
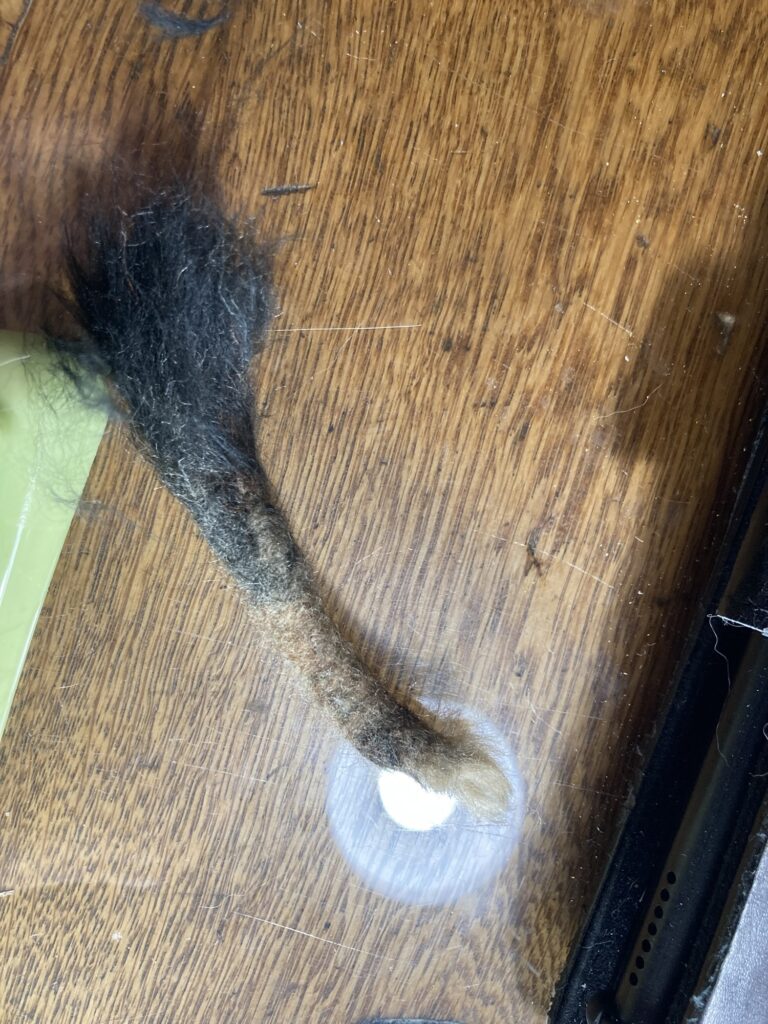
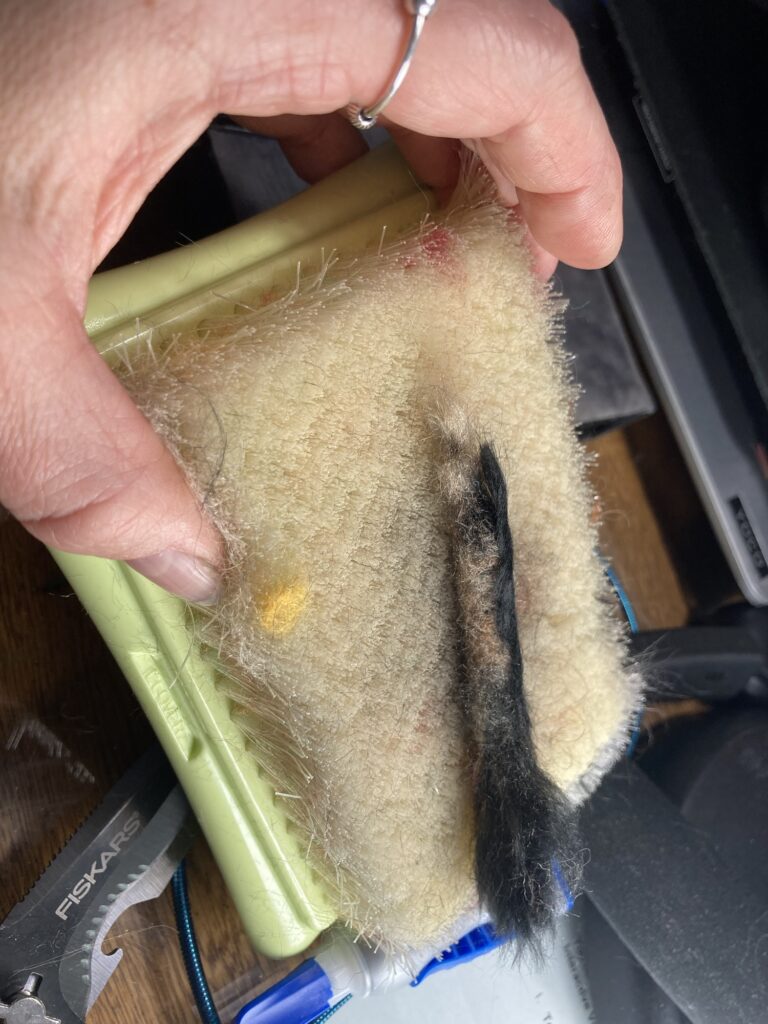
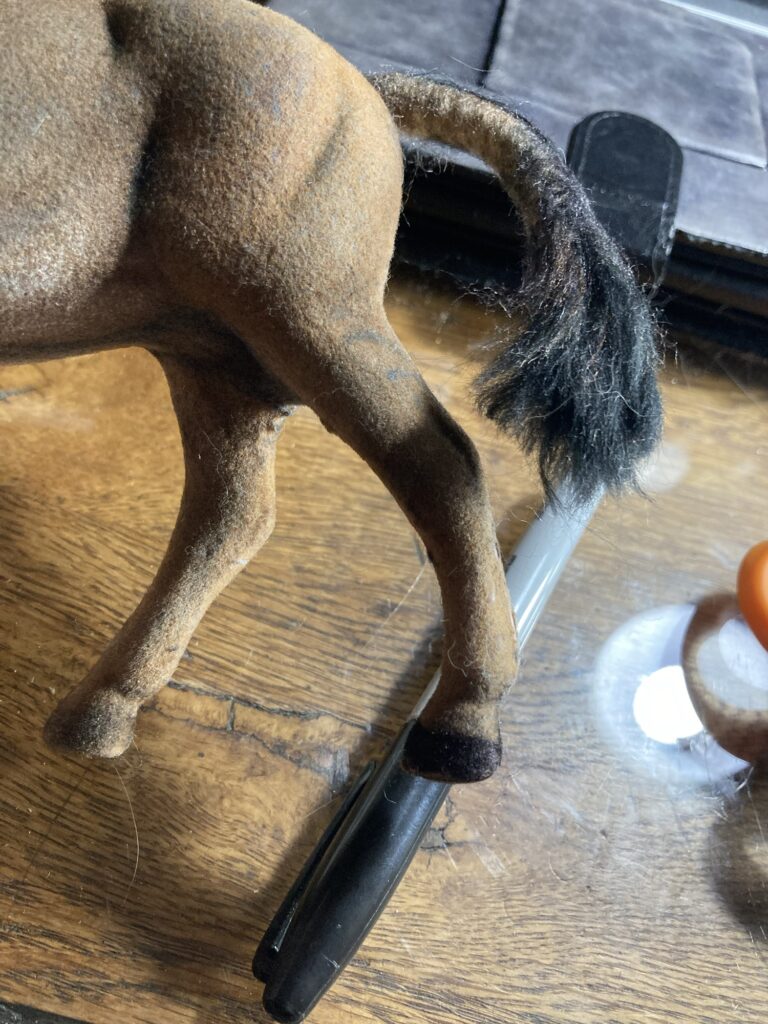
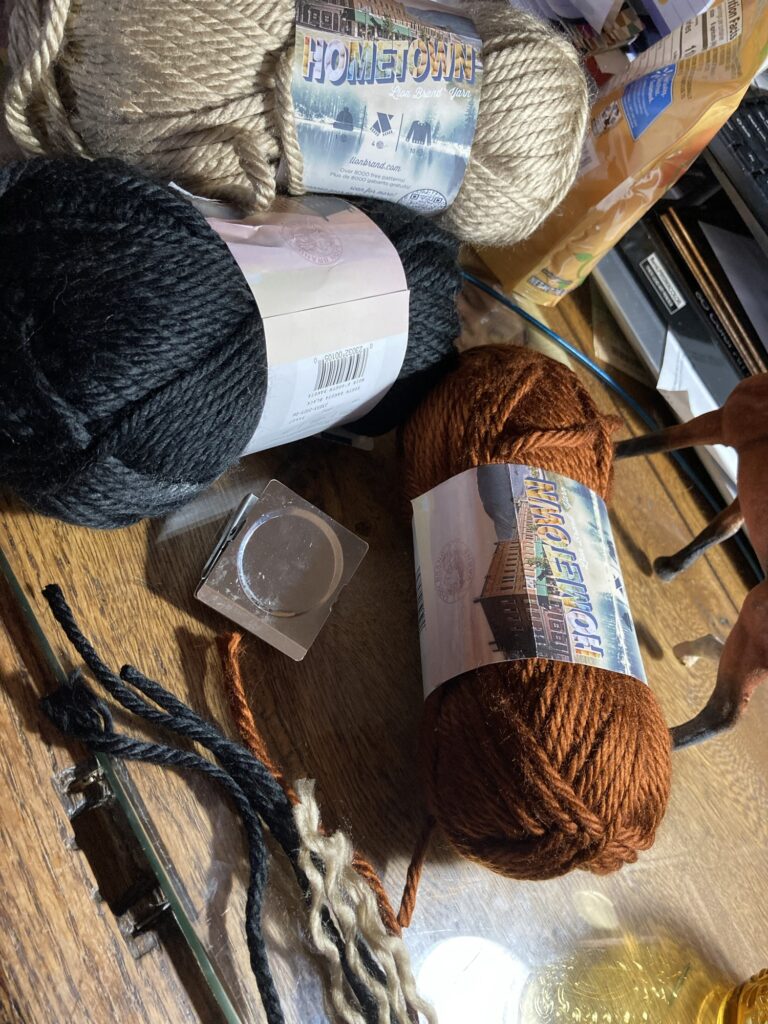
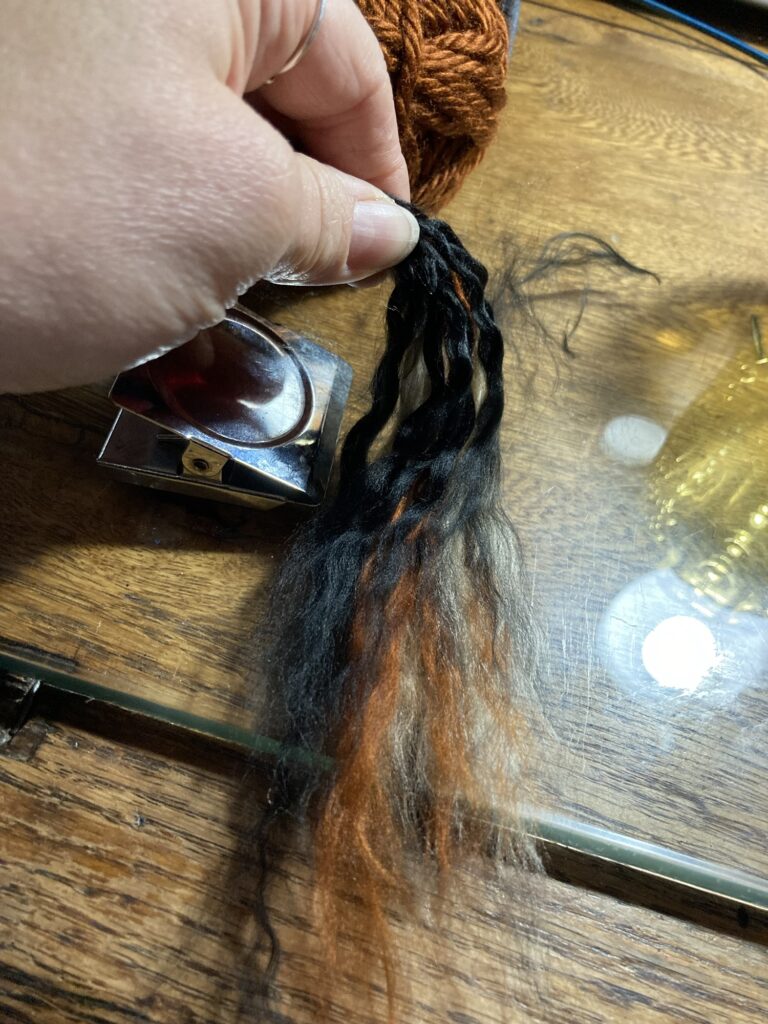
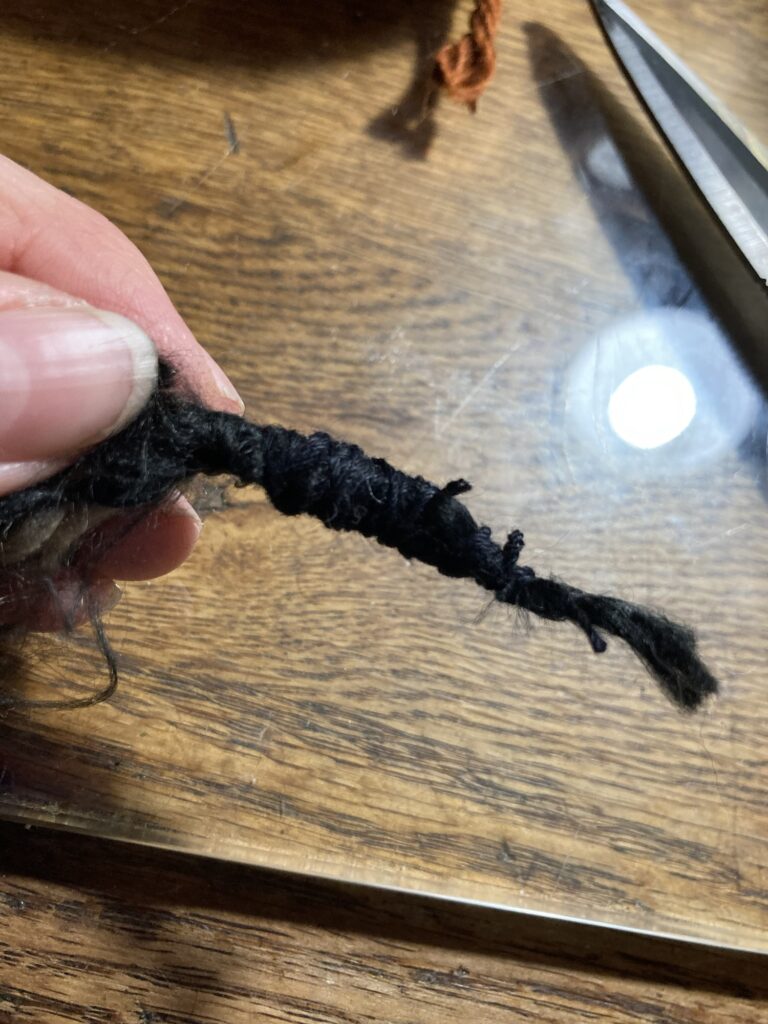
First I will start with the tail. i took some acrylic yarn and made a core for the tail by folding a piece over itself into a shape about as long as i want the tail to be.
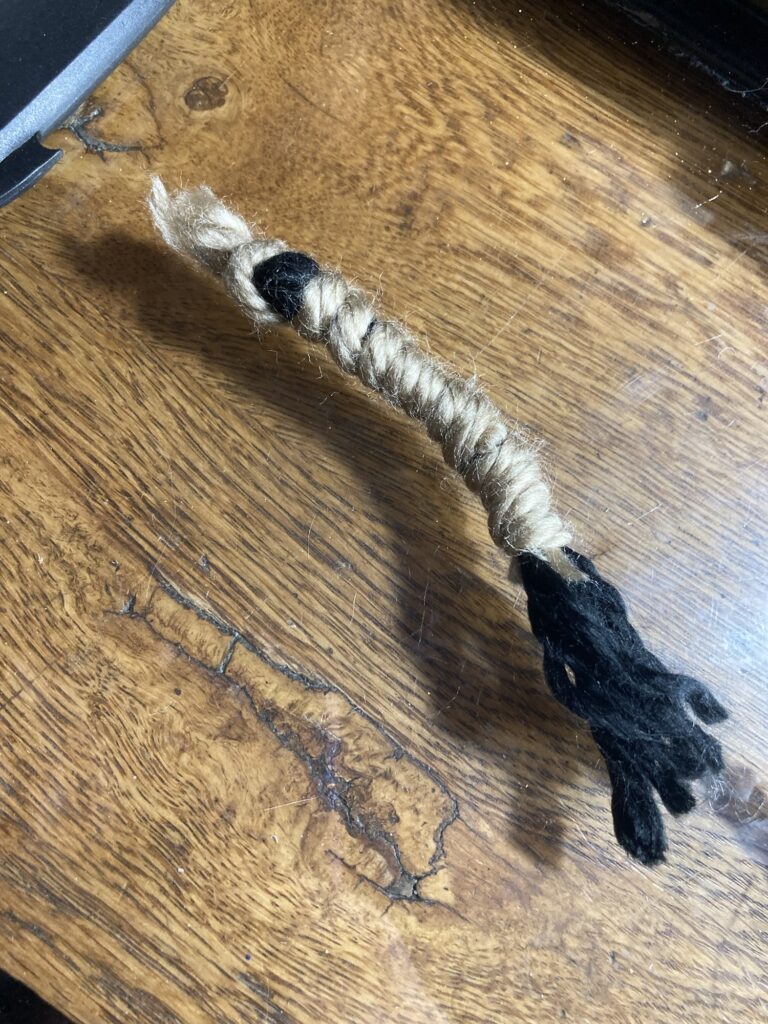
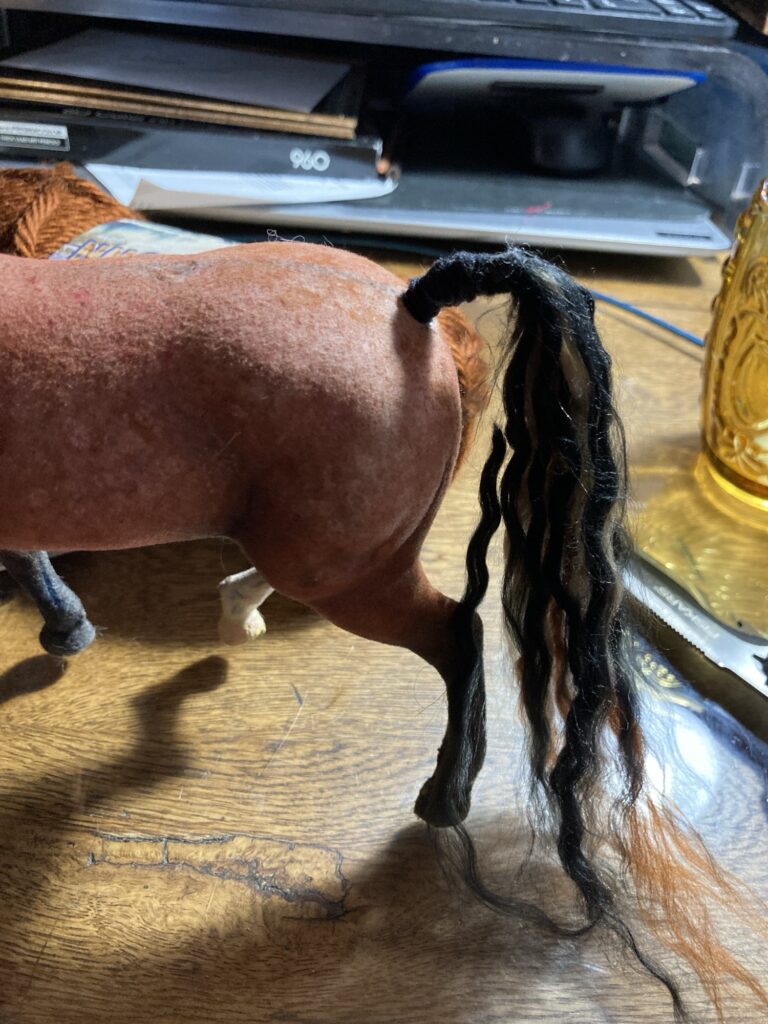
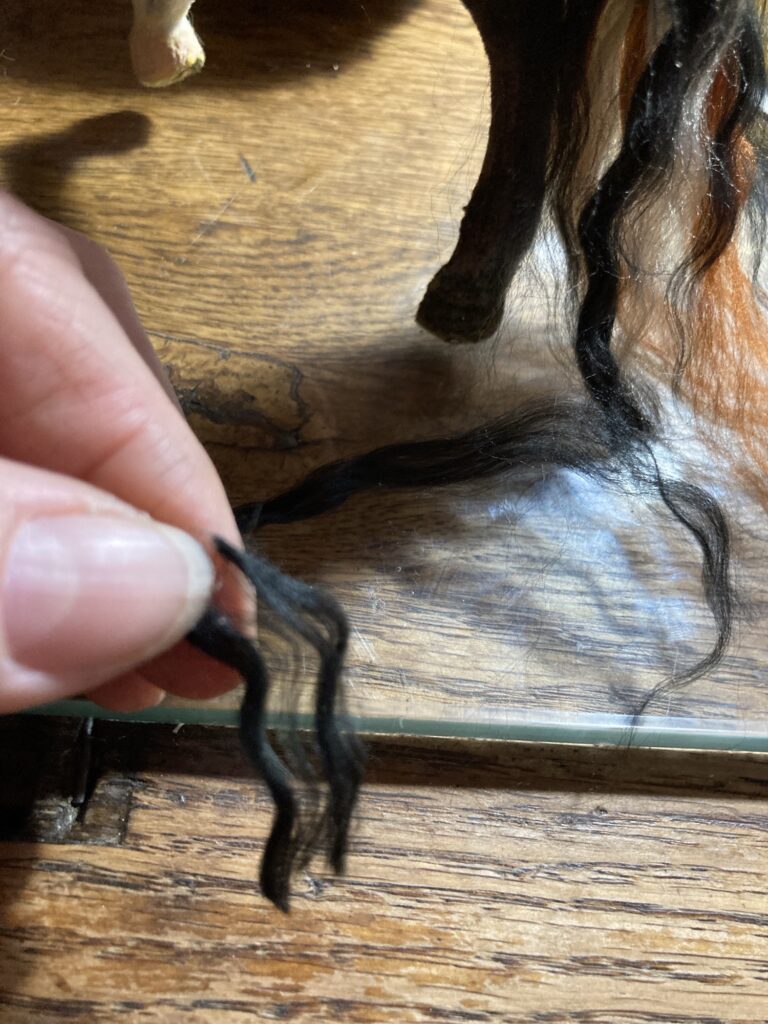
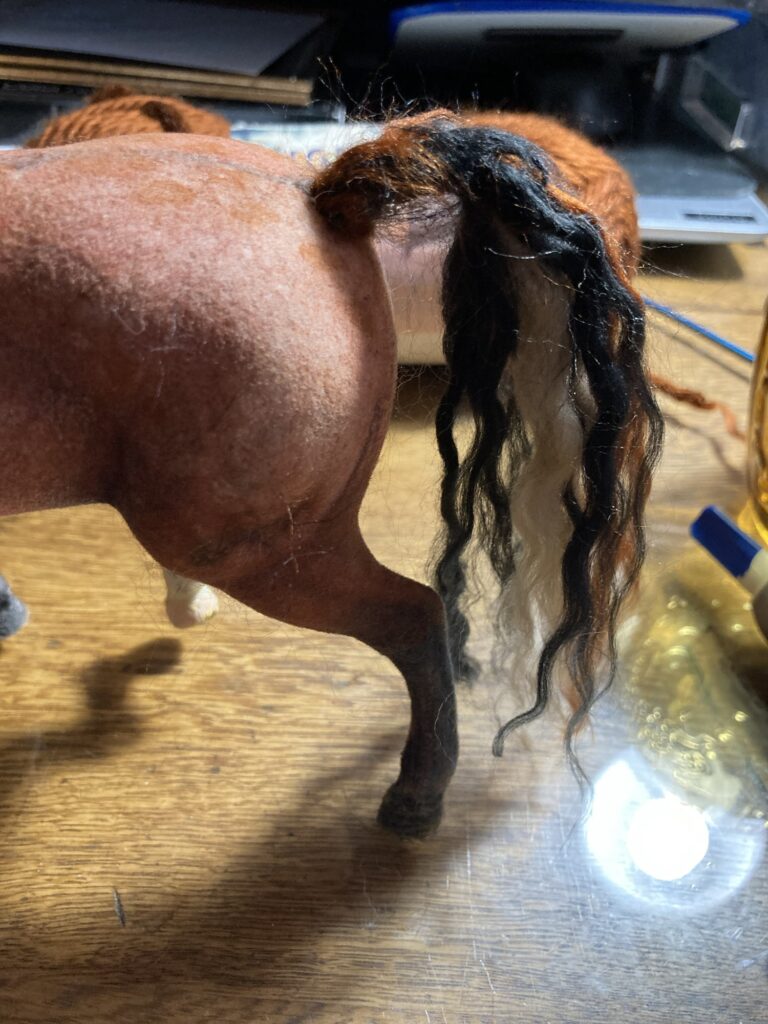
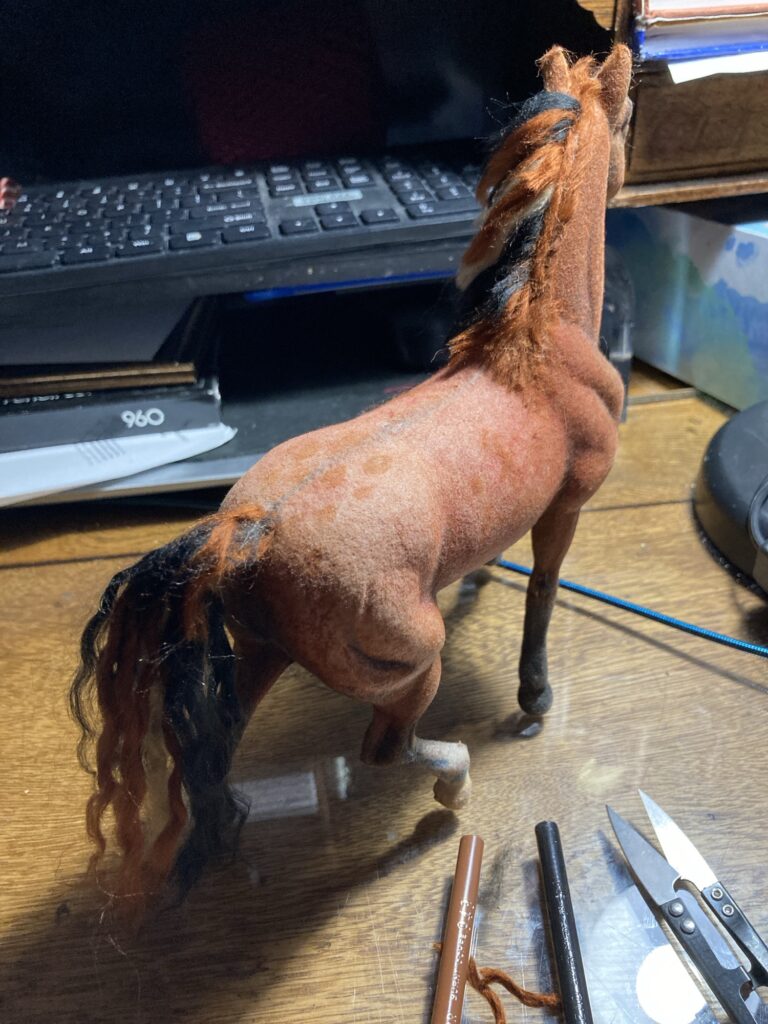
Next I wrapped the core of the tail with some brown yarn that closely matches the color of the donkey body.Then I took my felting needle tool and pummeled the tail to push the fibers together.Here i have the tail looking more like a tail, leaving the tip of it alone so it looks hairier.I added a black stripe down the back.Here is our donkey almost finished, with the tail glued in place.His tail is nice and wispy at the end.
Now i want to work on his ears.
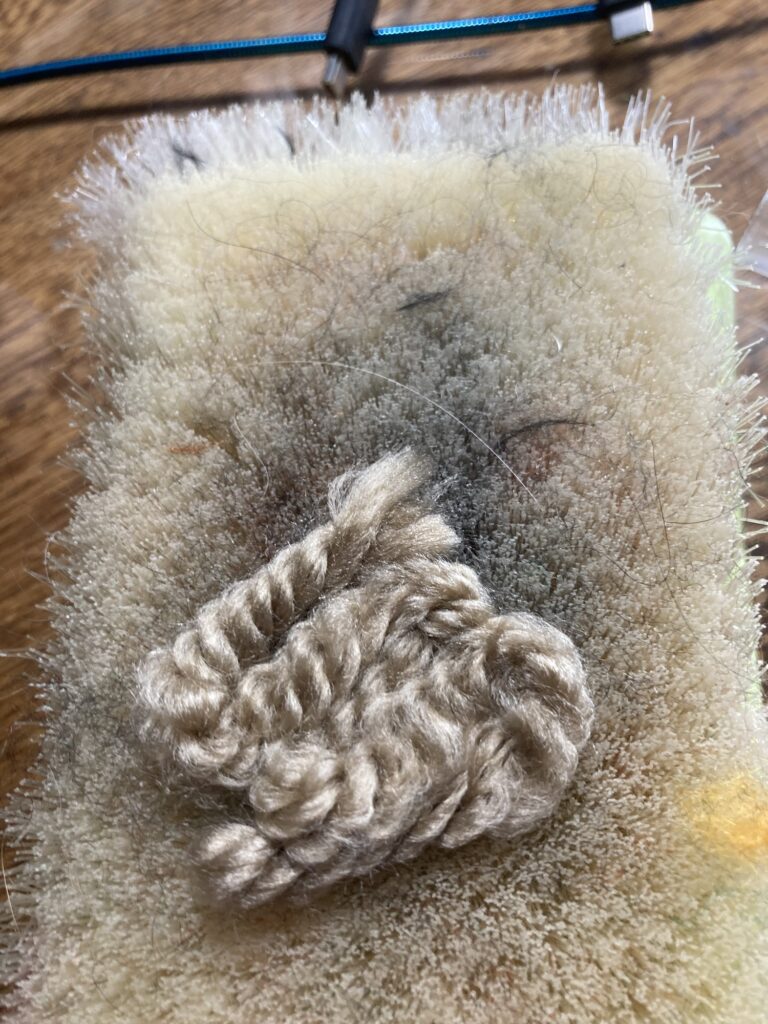
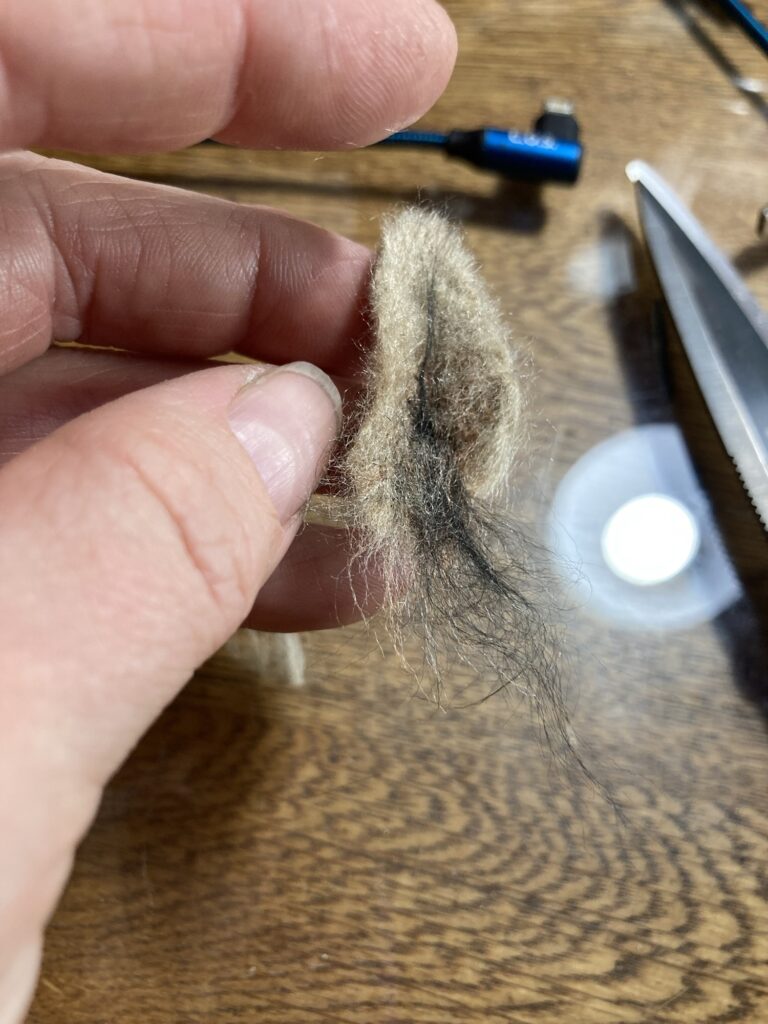
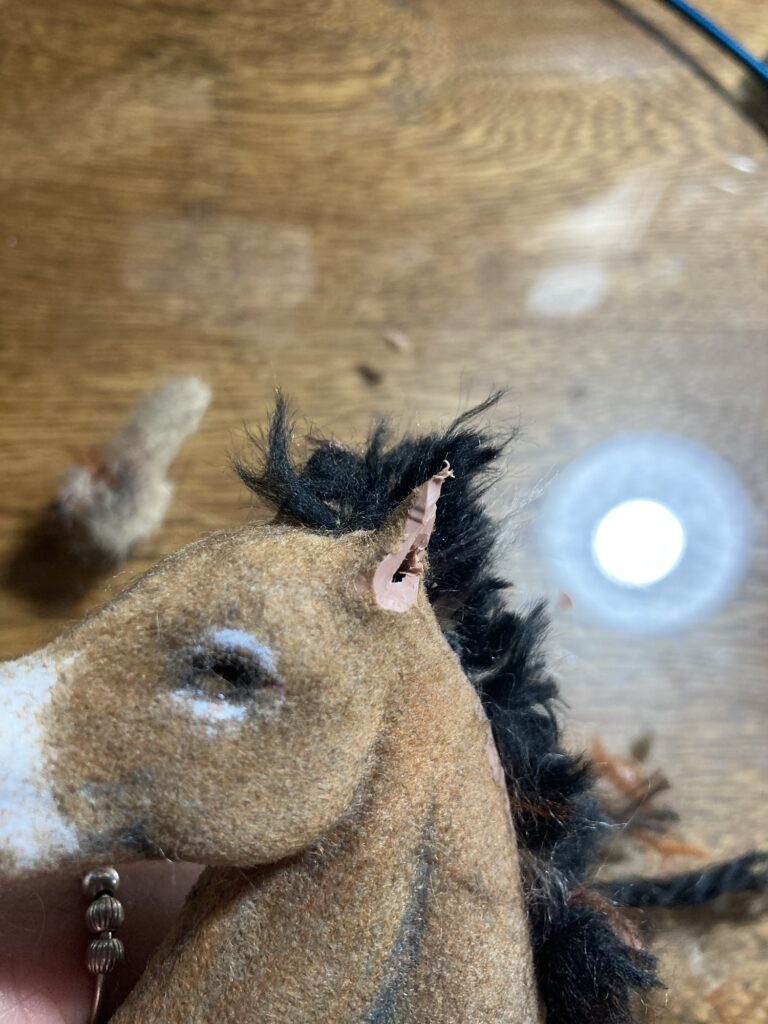
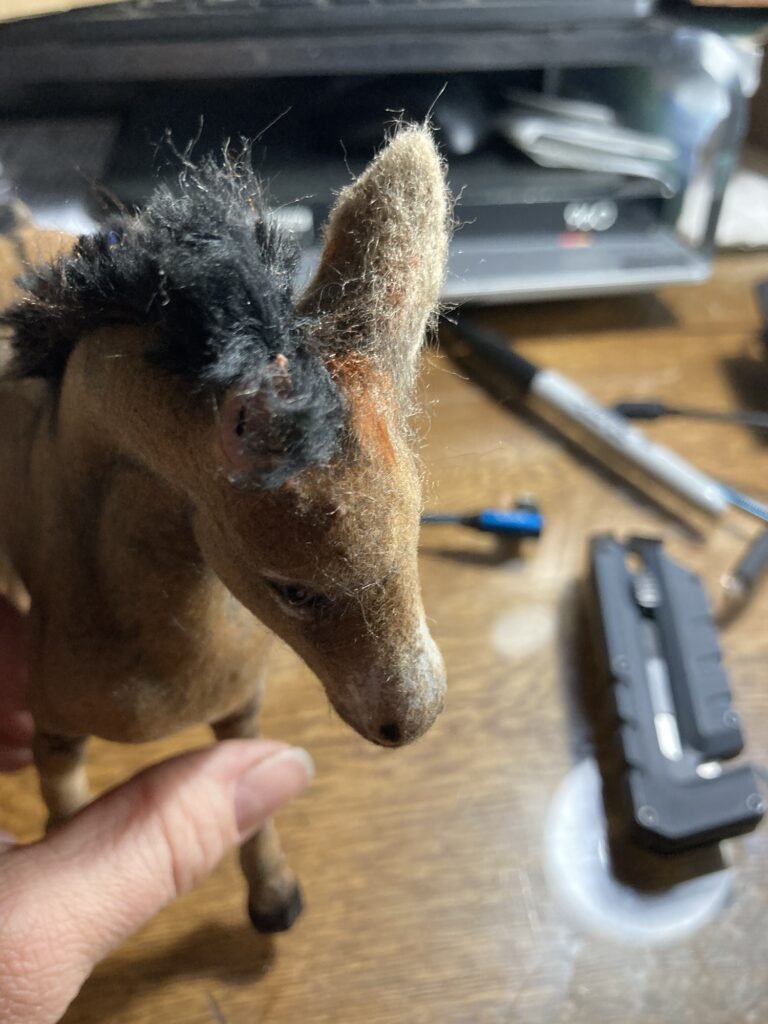
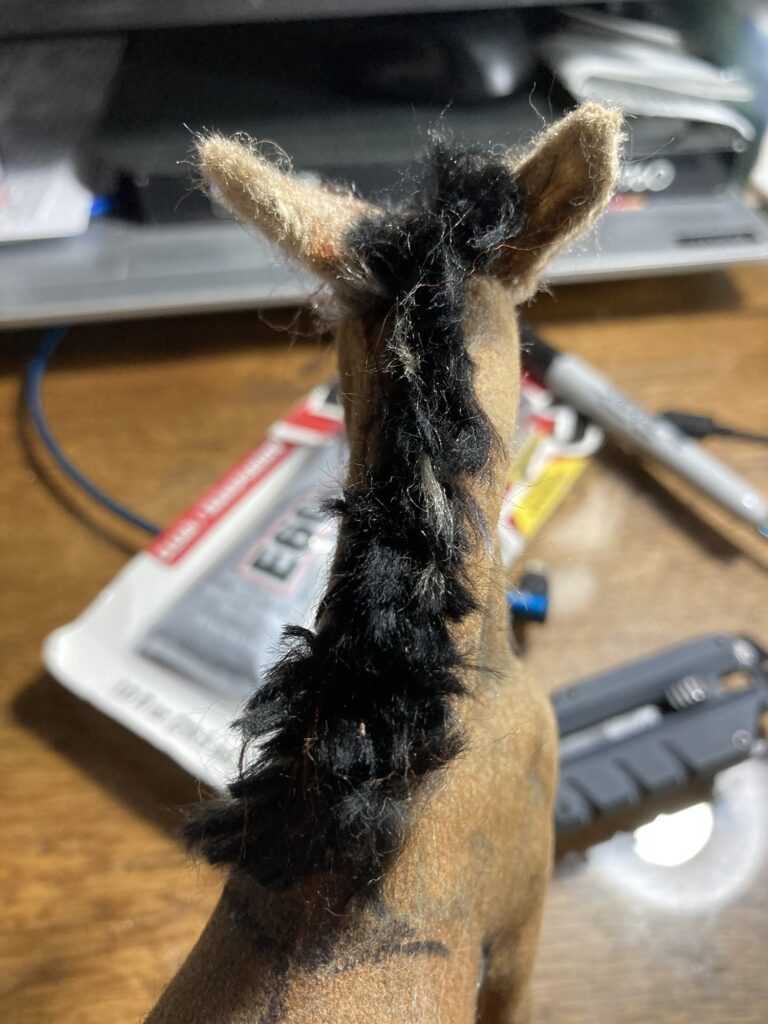
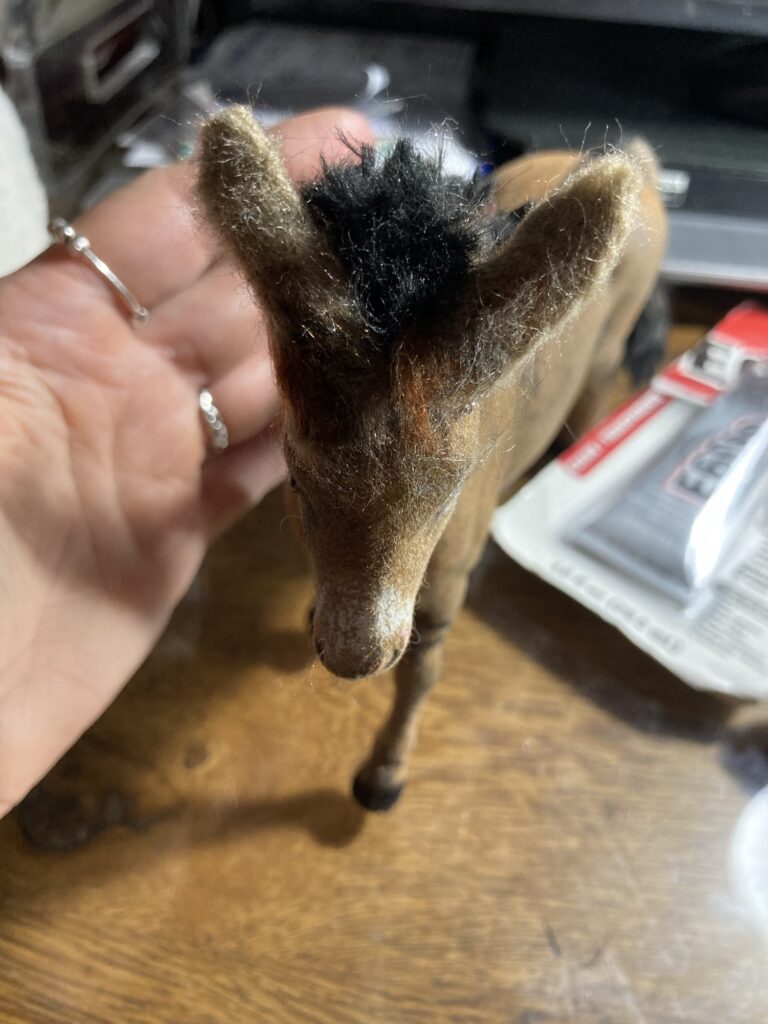
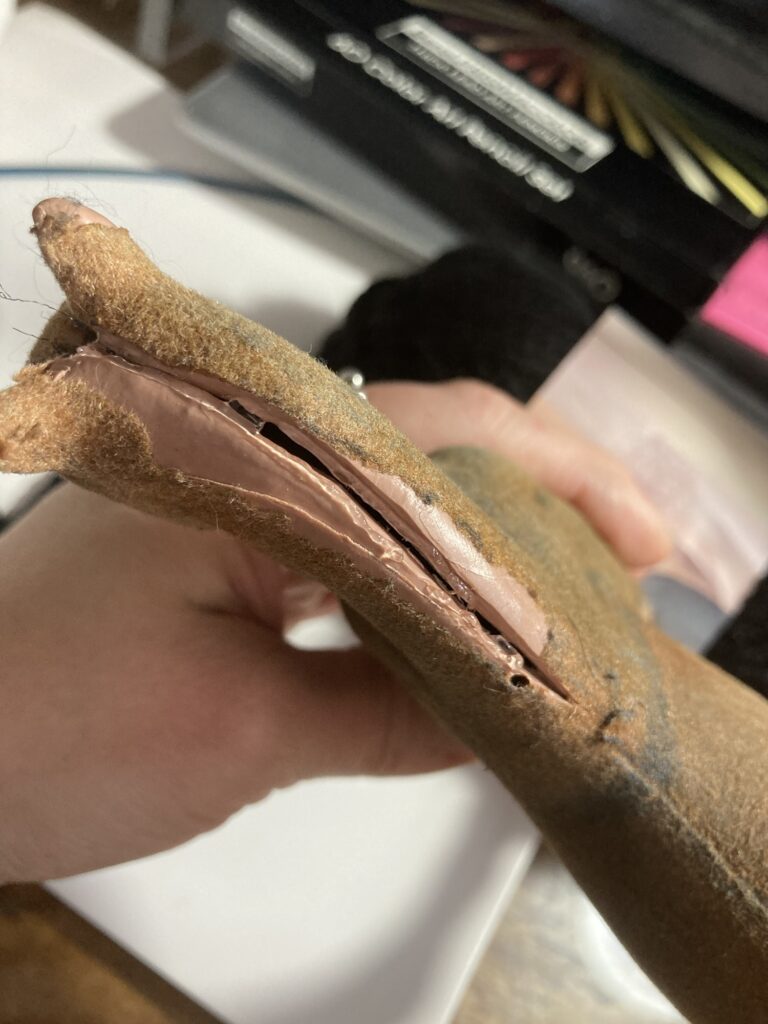
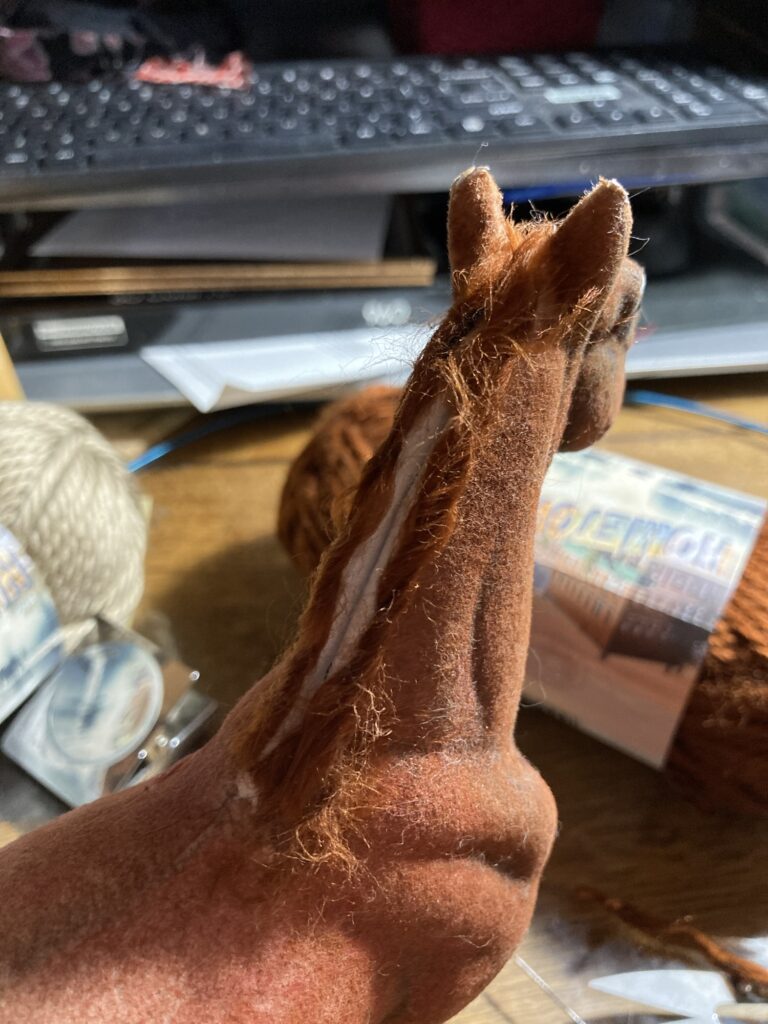
I took a length of yarn that closely matches his body color and snaked it so it is in a basic shape to start with. I just want a flat piece first, and then i can trim it to the shape i want.Here is the first ear. I used the felting needles to create a flat piece of material and then trimmed and folded it around to create an ear shape.I had to use an exacto knife to cut his original plastic ears so that I can make his new ears positioned the way I want, which is slightly backward like he is paying attention to what is behind him.One ear glued in place over the trimmed plastic ear.Both ears in place.
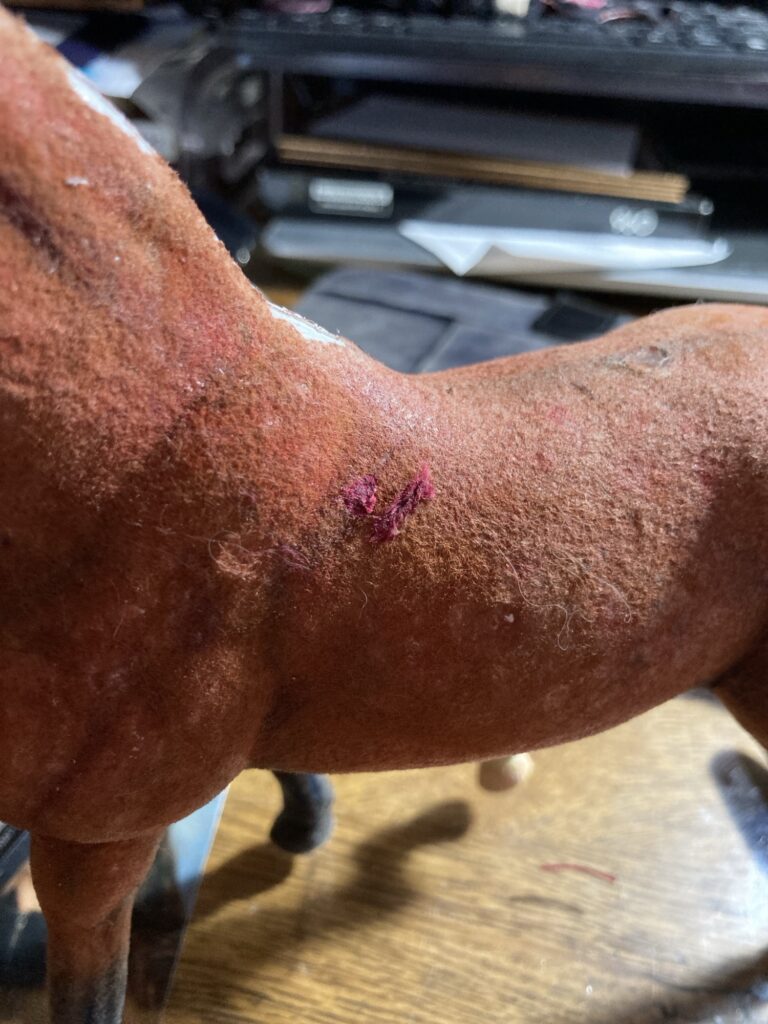
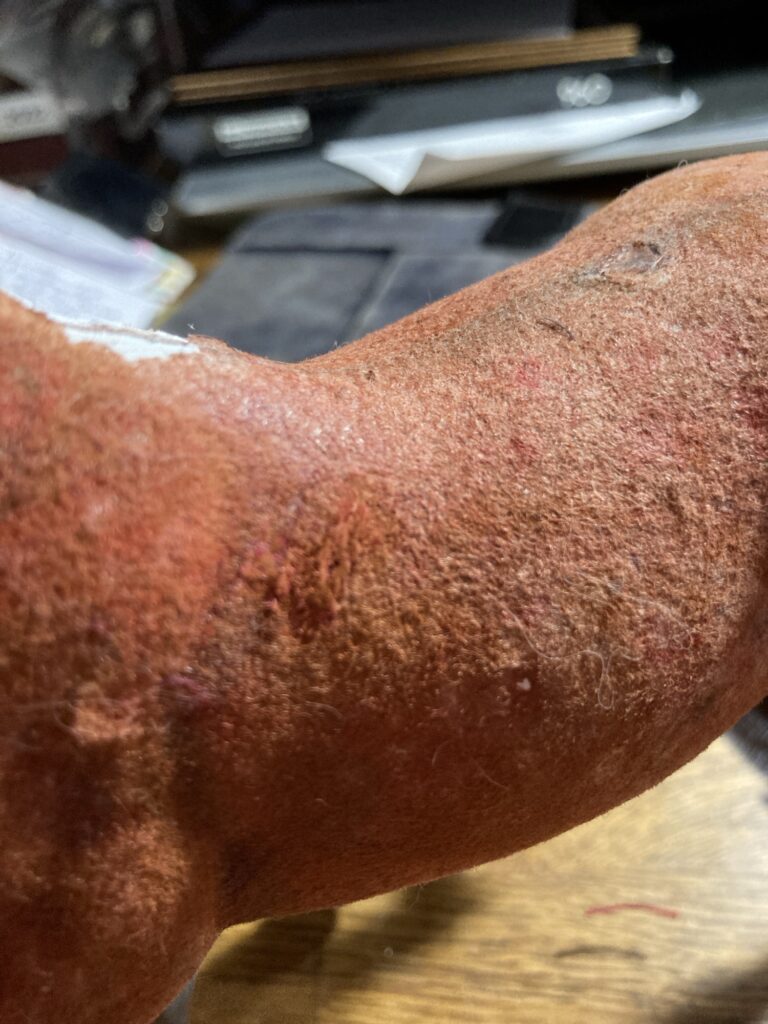
Next i cut some tiny pieces of the yarn that matches his body color and glued them to areas where some of his flocking has worn off.
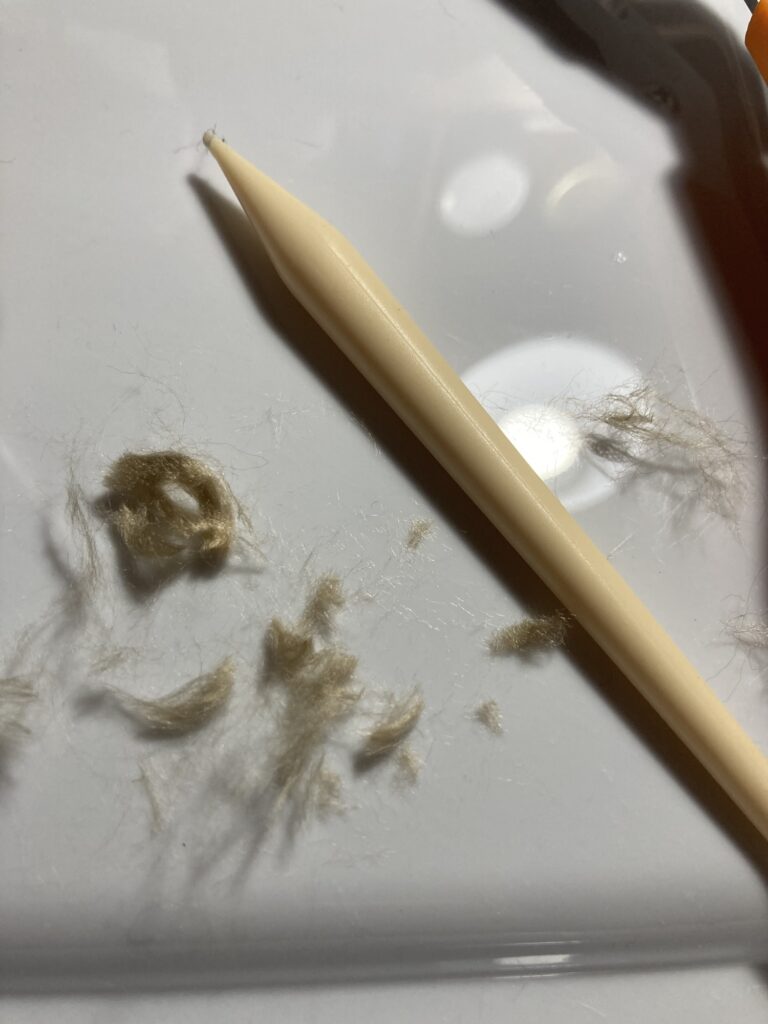
Yarn glued to areas with missing flocking.I trimmed the hair with fine scissors so it more closely resembles the body hair he already had. Completed donkey.
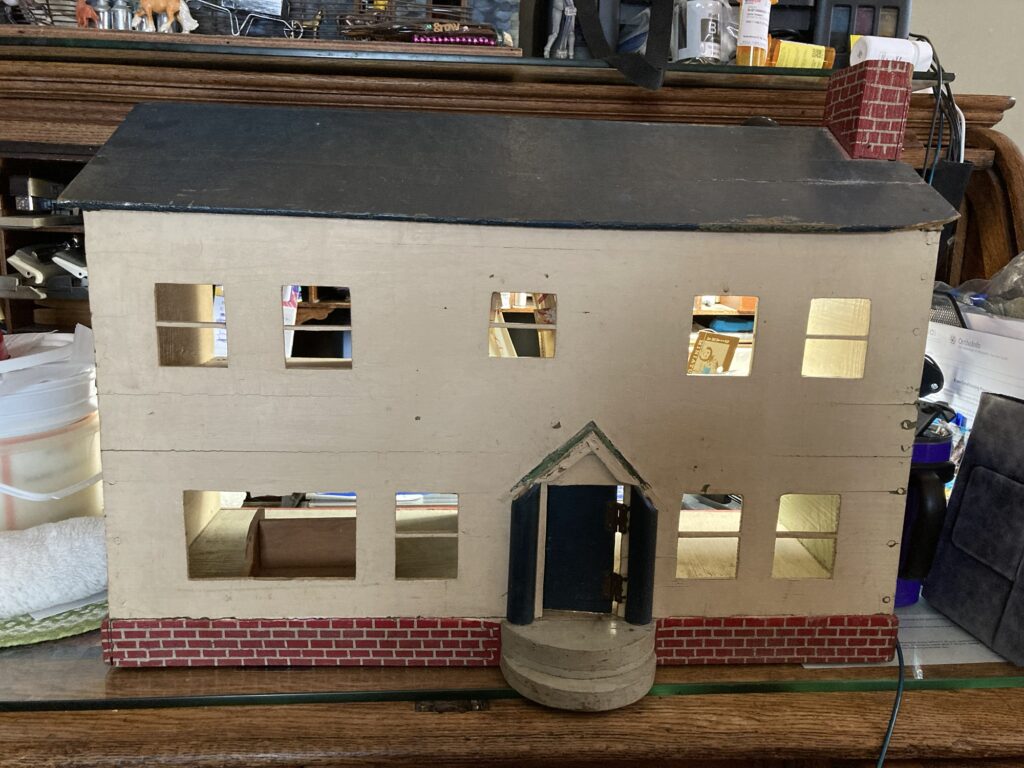
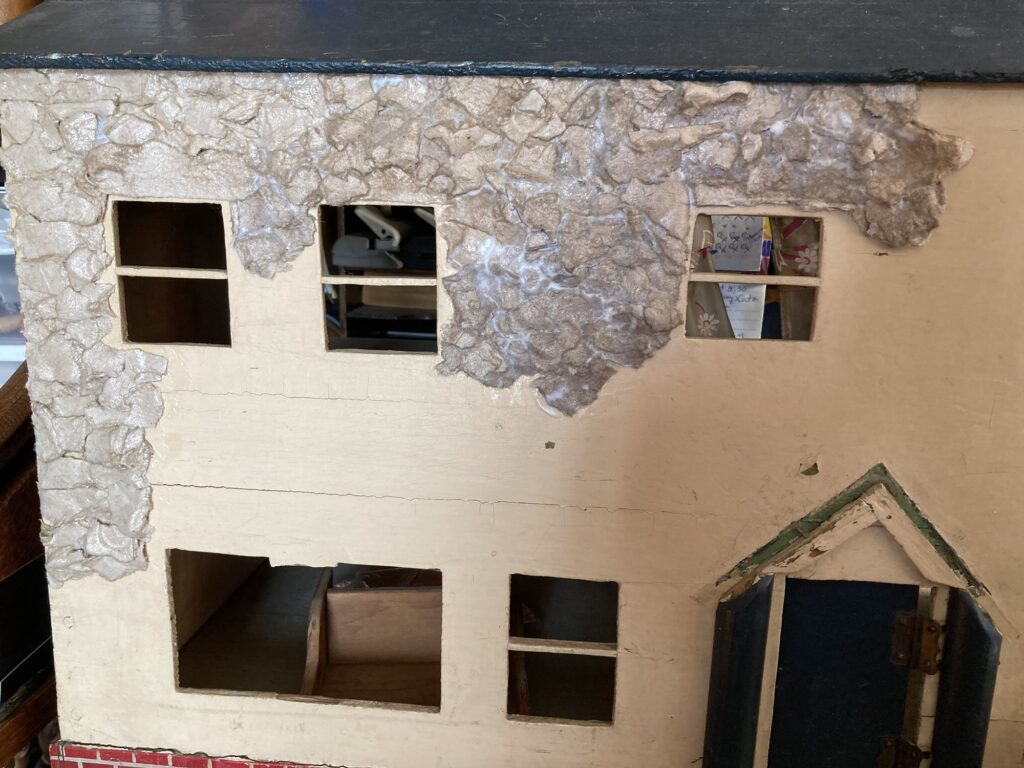
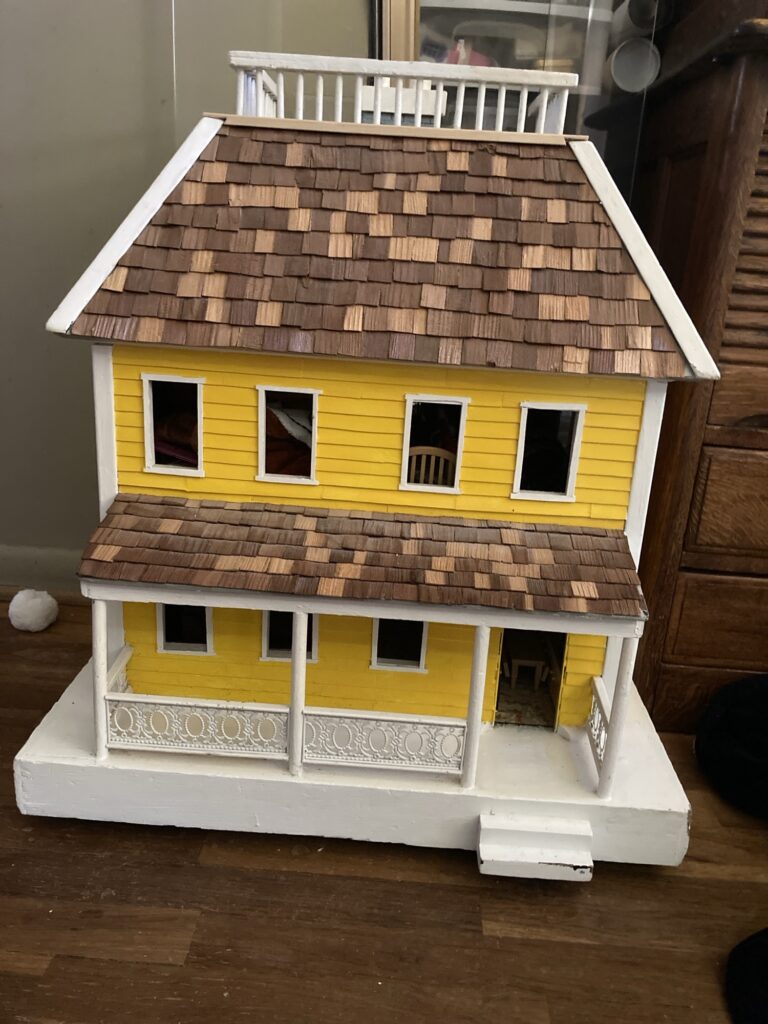
This dollhouse was purchased on Facebook marketplace. It is older and I believe home made probably in the 1950’s. I liked the tall, narrow shape of it for my medieval plans.
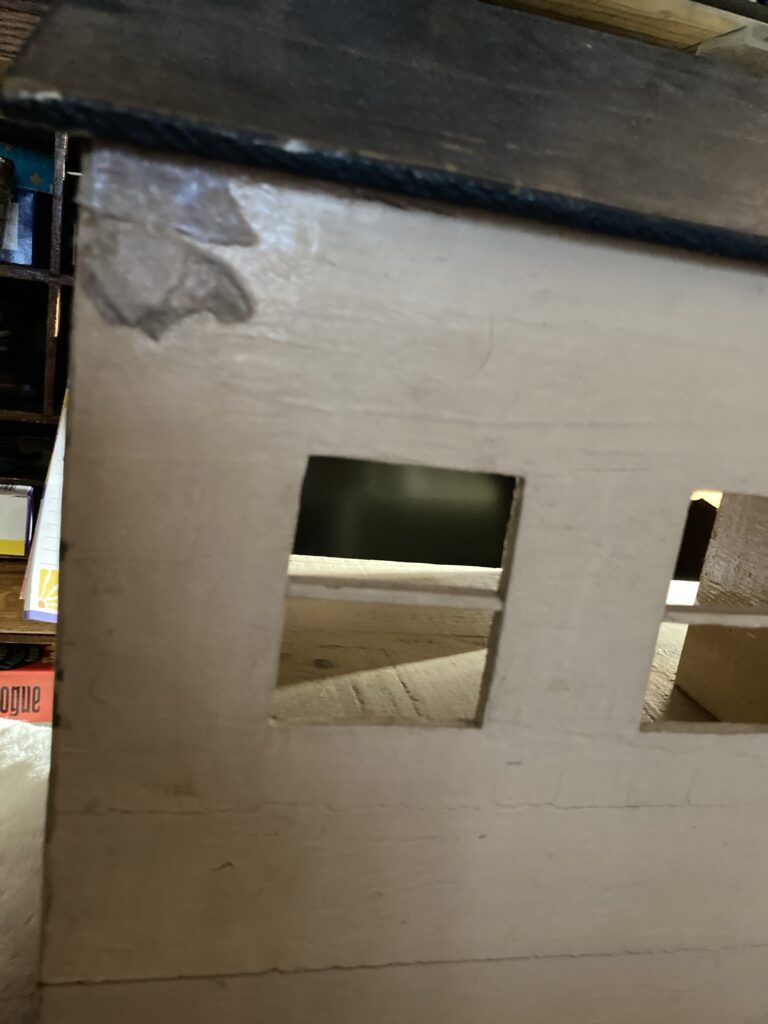
First off, I decided to take photos of the exterior for my own personal records. I feel bad altering this 75-ish year old house, but I feel that if I ever feel like changing it back to original condition I think I could without too much trouble.
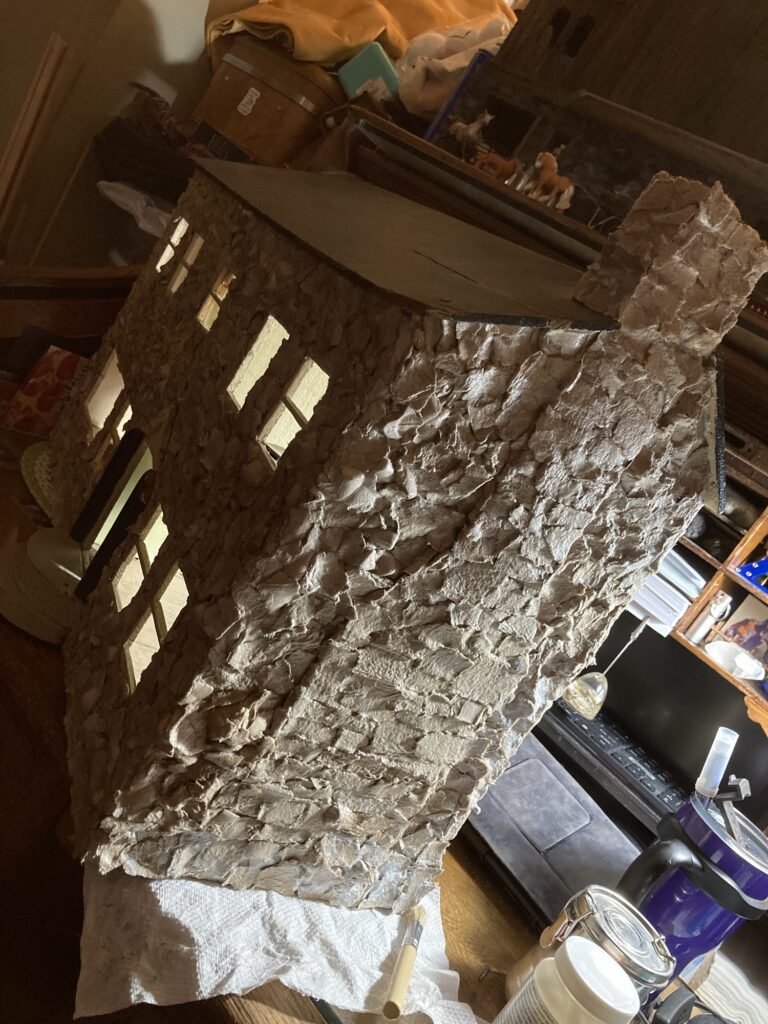
What I am starting off with. This house would need a bit of restoration if I wanted to make it like new. Instead I plan on adding stone siding and eventually a thatched roof.
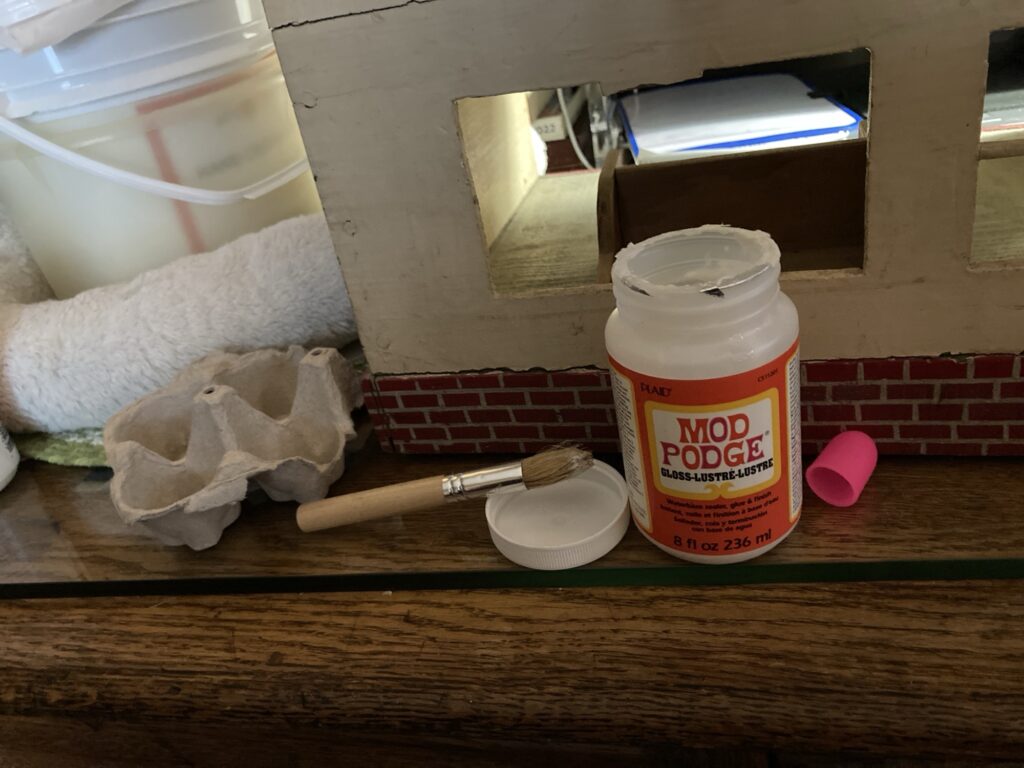
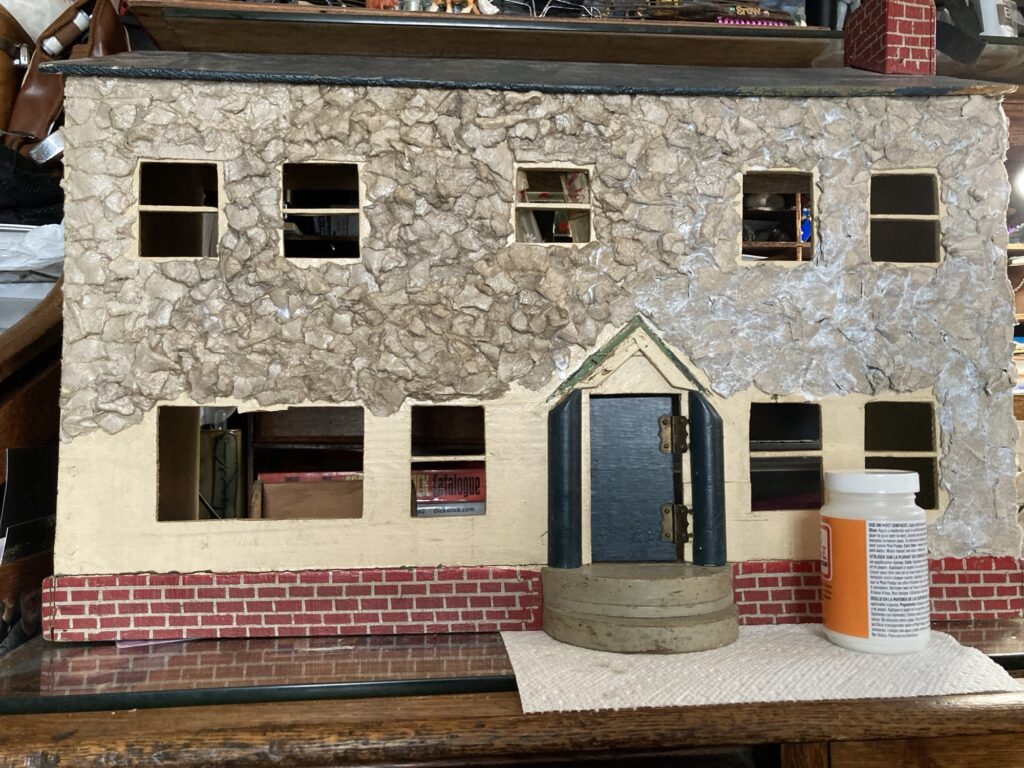
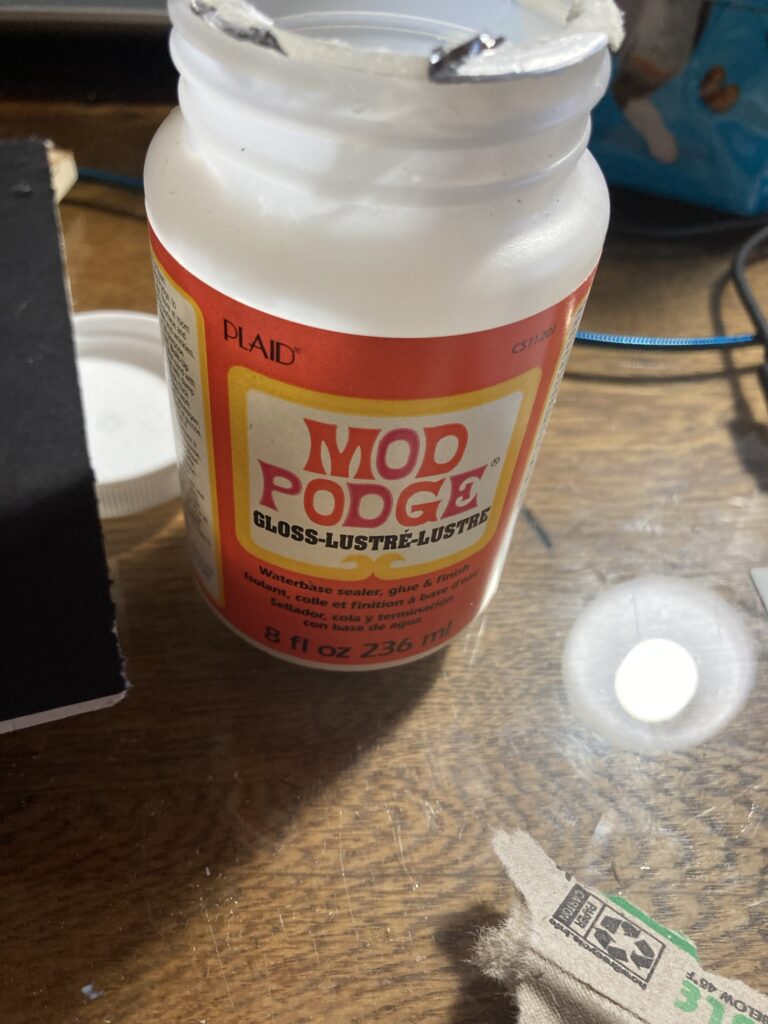
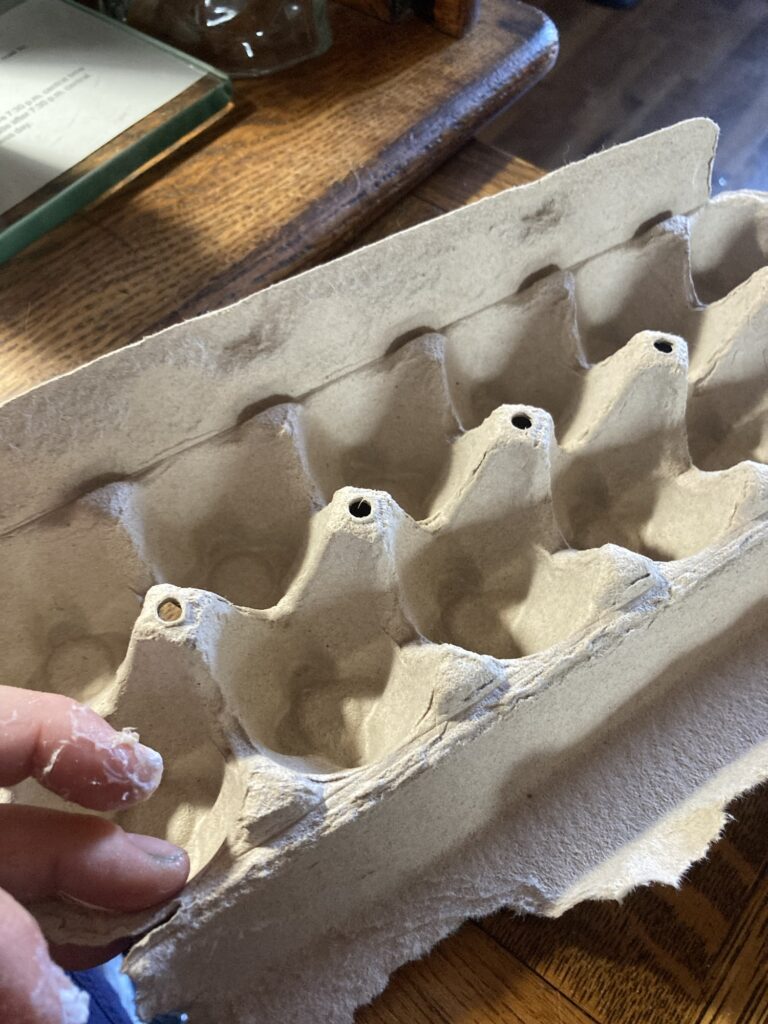
Next I am going to add egg carton stonework to the exterior. I start with cardboard egg cartons and mod podge adhesive.
I am using Mod Podge and a stenciling brush with my cardboard egg cartons.
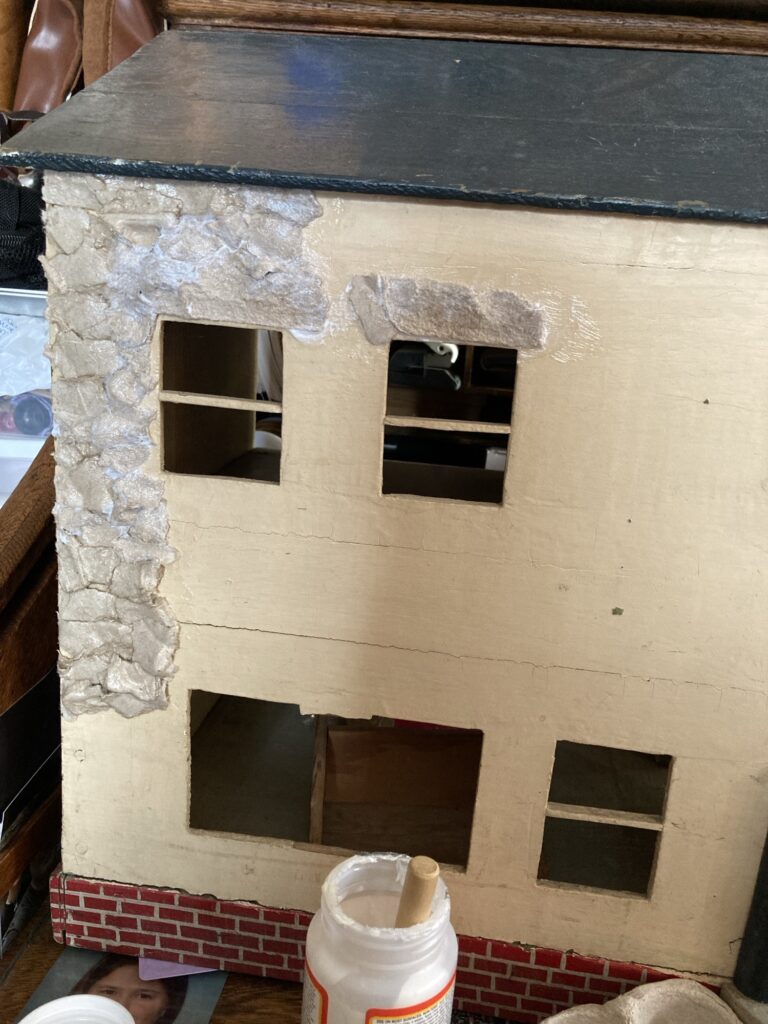
I rip off little pieces of egg carton and, makingsure any writing is on theback of the piece so it won’t be noticed, I glue it with the Mod Podge so it will eventually have a brick texture. I build the pieces up so they are thicker in areas. I cover the front and back with the glue.
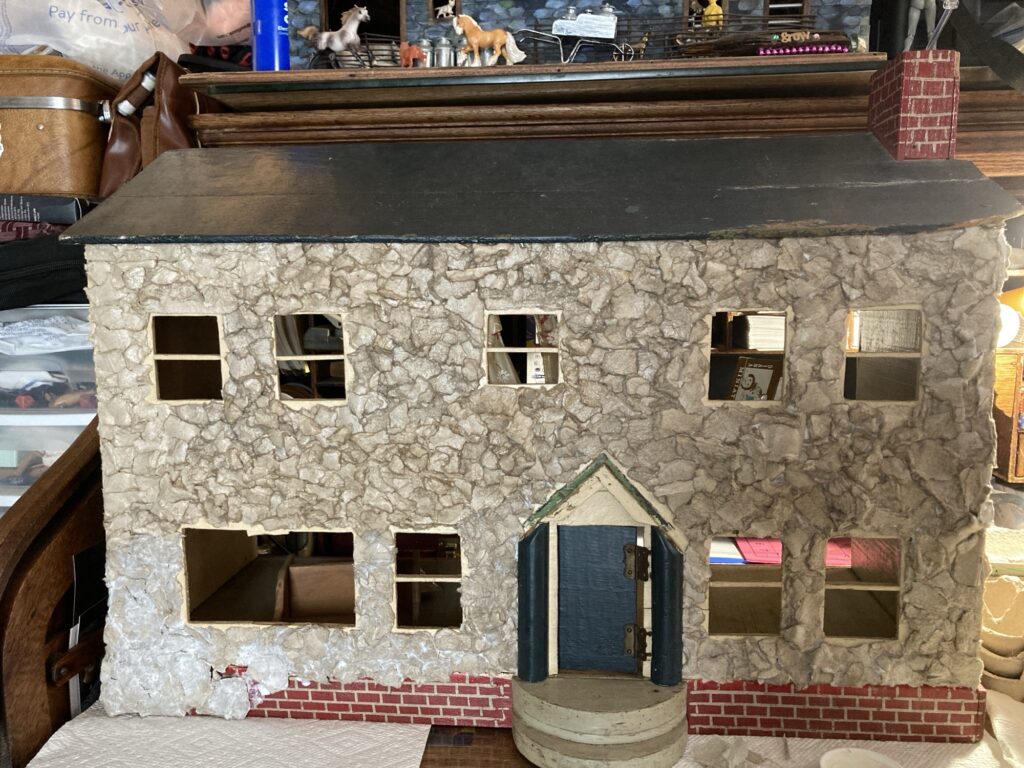
I rip the cardboard egg containers into pieces and then use the Mod Podge to cover both sides of it with glue. I am placing them to cover the whole surface of the house siding to get a stone-like texture. I am layering the pieces to get the best texture I can.
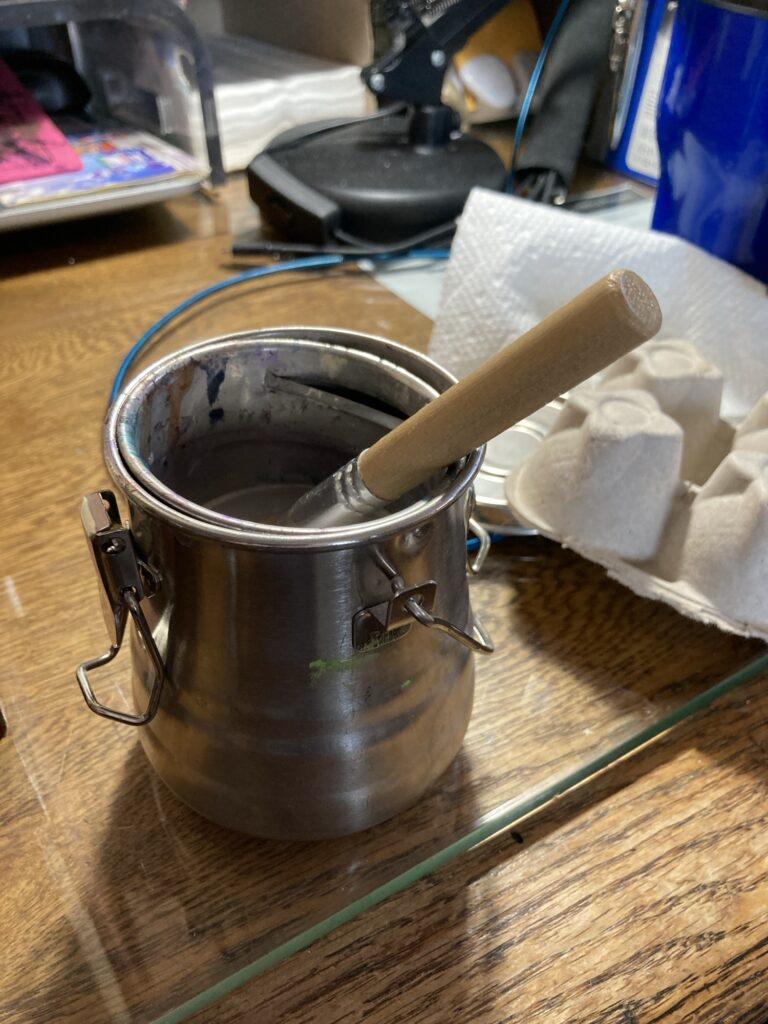
I am also keeping a paint brush can of water nearby to clean the bristles of my brush occasionally so the glue doesn’t dry to it. I wipe off excess water from the bristles on a paper towel so i don’t thin out my glue.
Keep the glue from drying on your brush by cleaning it in water occasionally, and then wiping off excess water to keep the glue from being thinned.
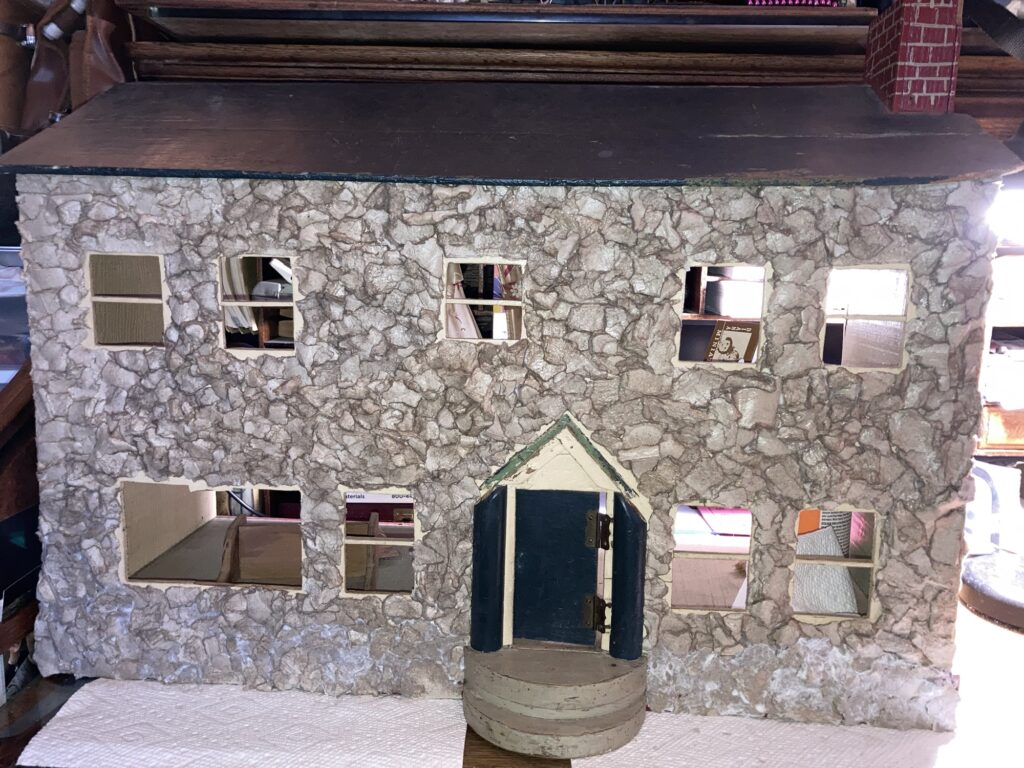
My plan is to possibly paint them to resemble individual stones when it is all dry, depending on how it looks.
I am keeping a little space to the window’s edge for trim to be added later. It shouldn’t be difficult to carefully trim away excess cardboard if I need to in order to make room for the window trim.
One side pretty much done for now. Still have to do around the doorway better. Another side done. I chose to make the chimney ‘blocks’ more uniform to have a distinction between siding and chimney.
I have been wanting a donkey for my dollhouse livery stable, and decided to try updating another flocked horse toy.
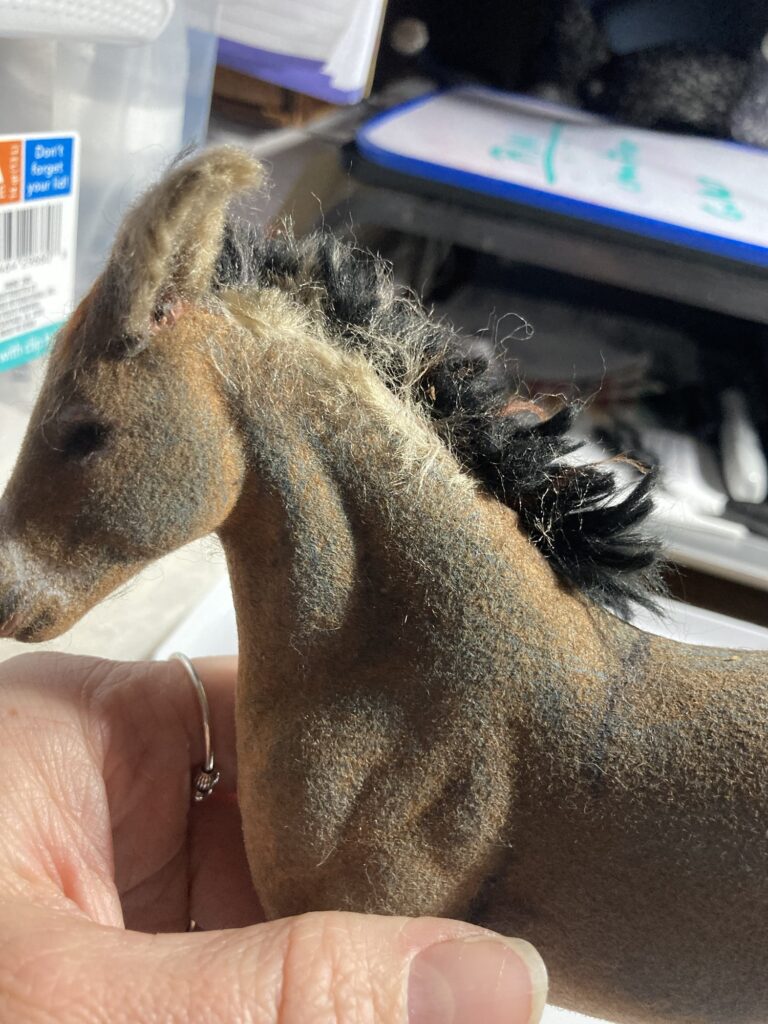
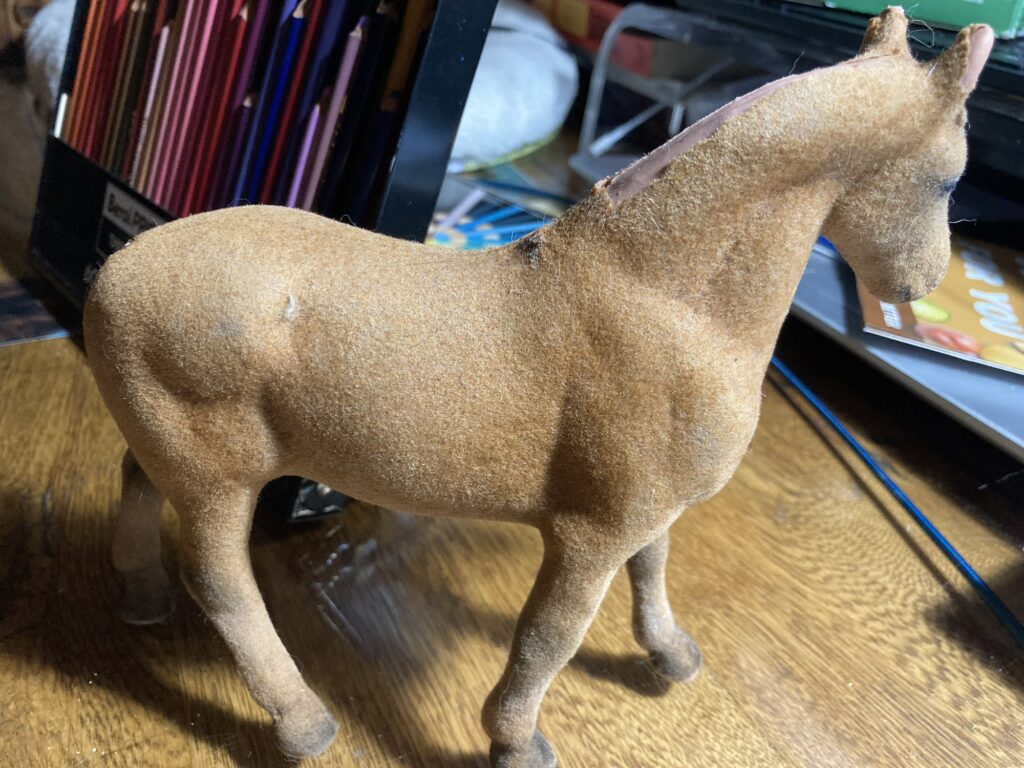
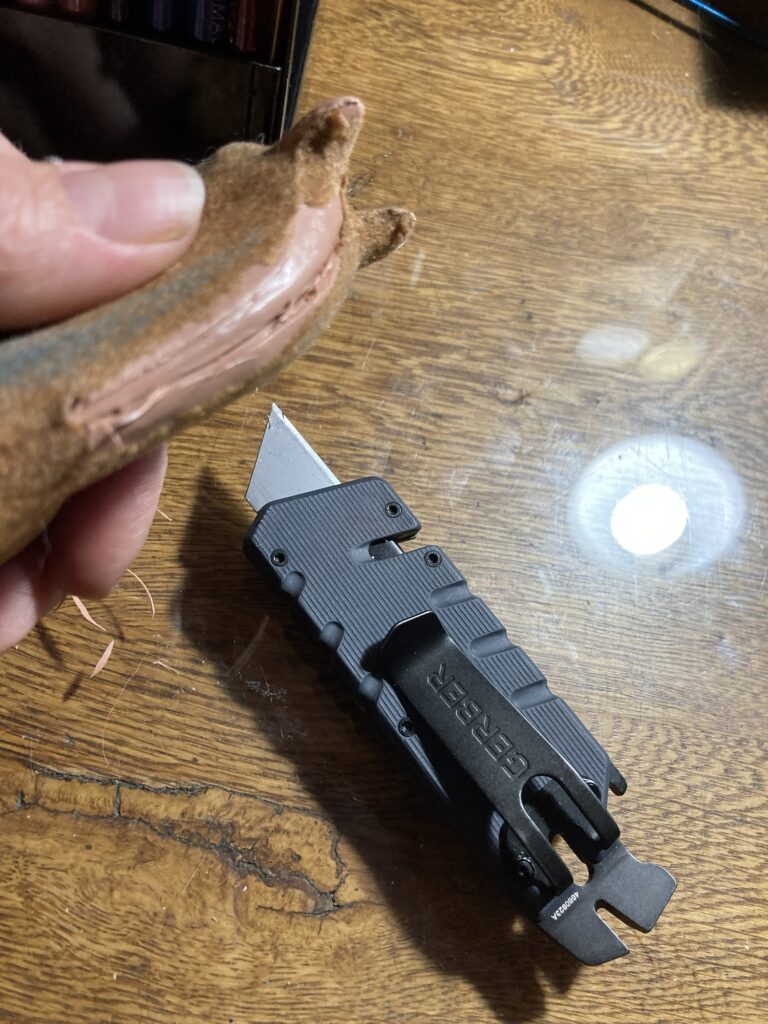
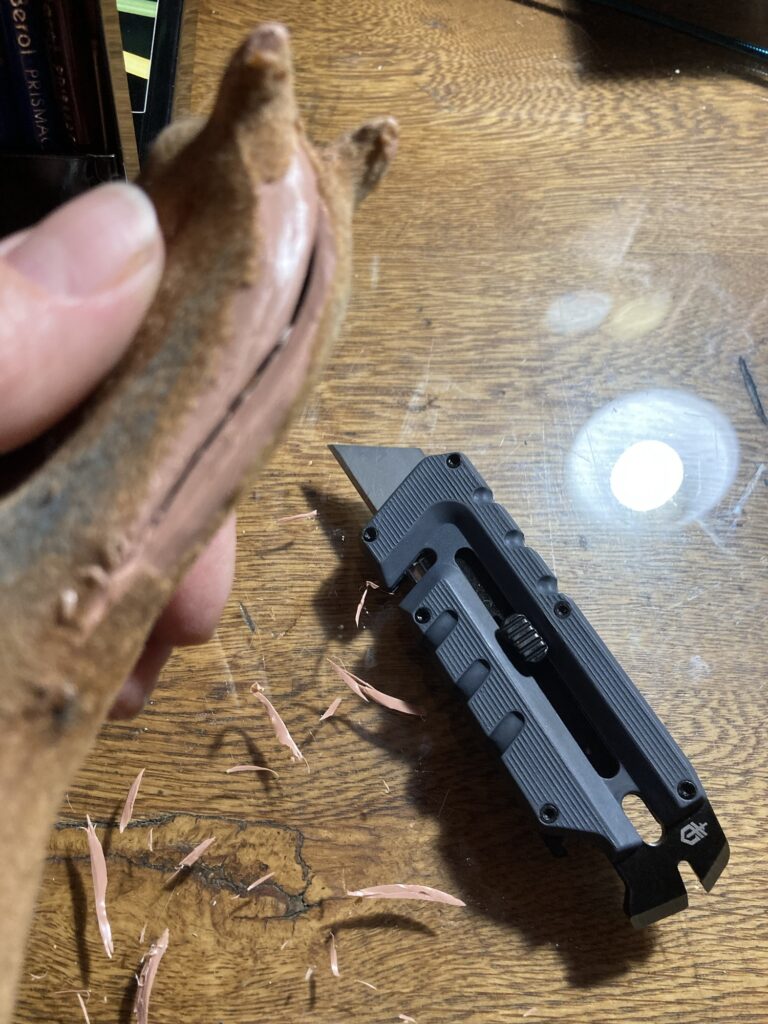
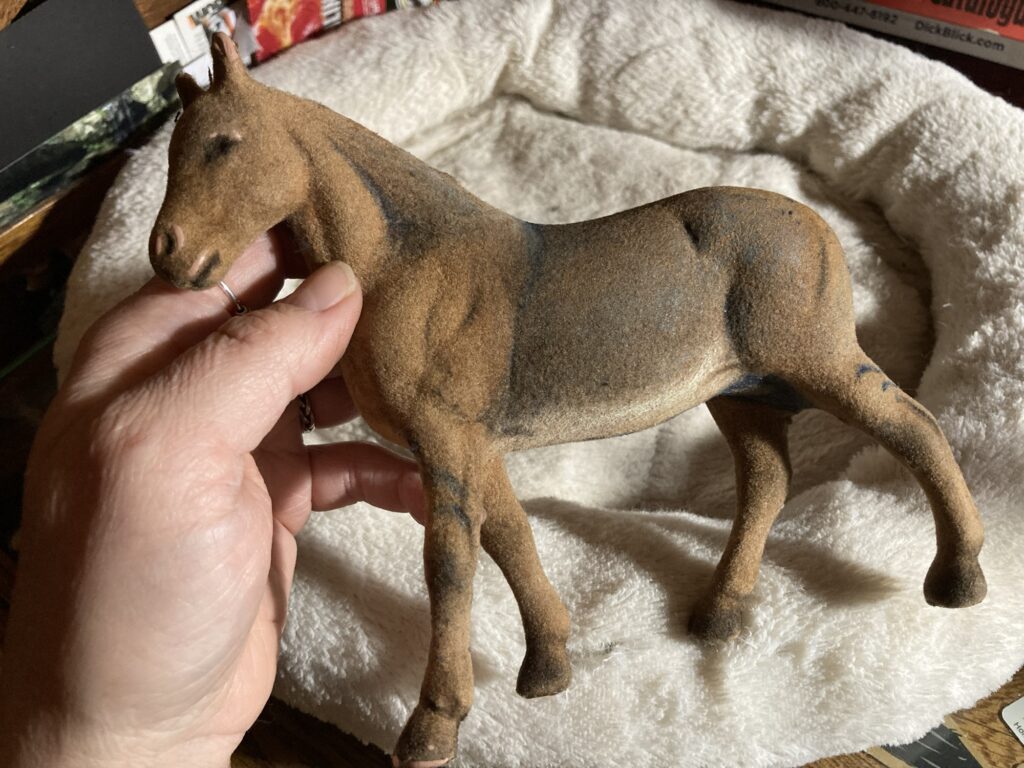
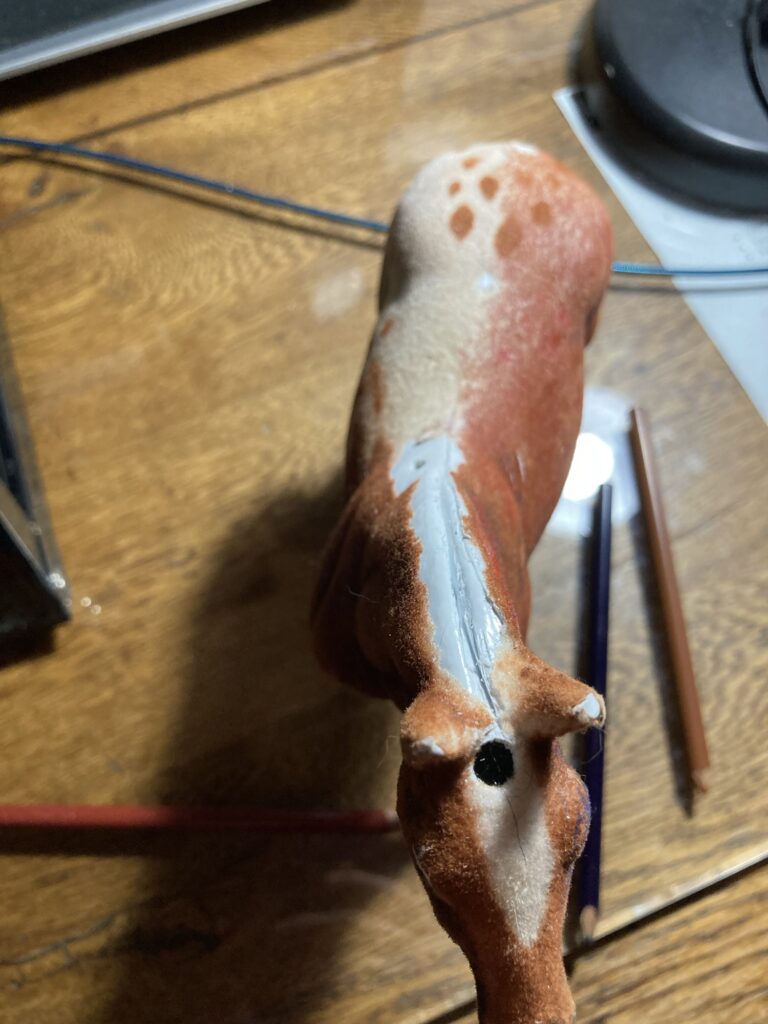
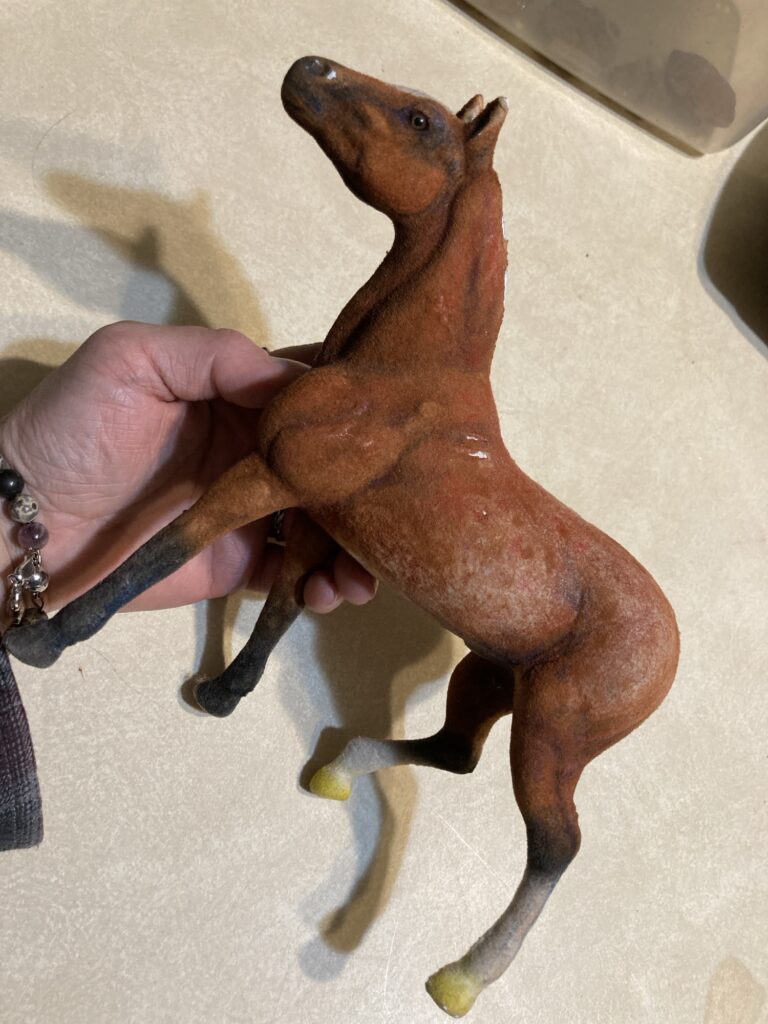
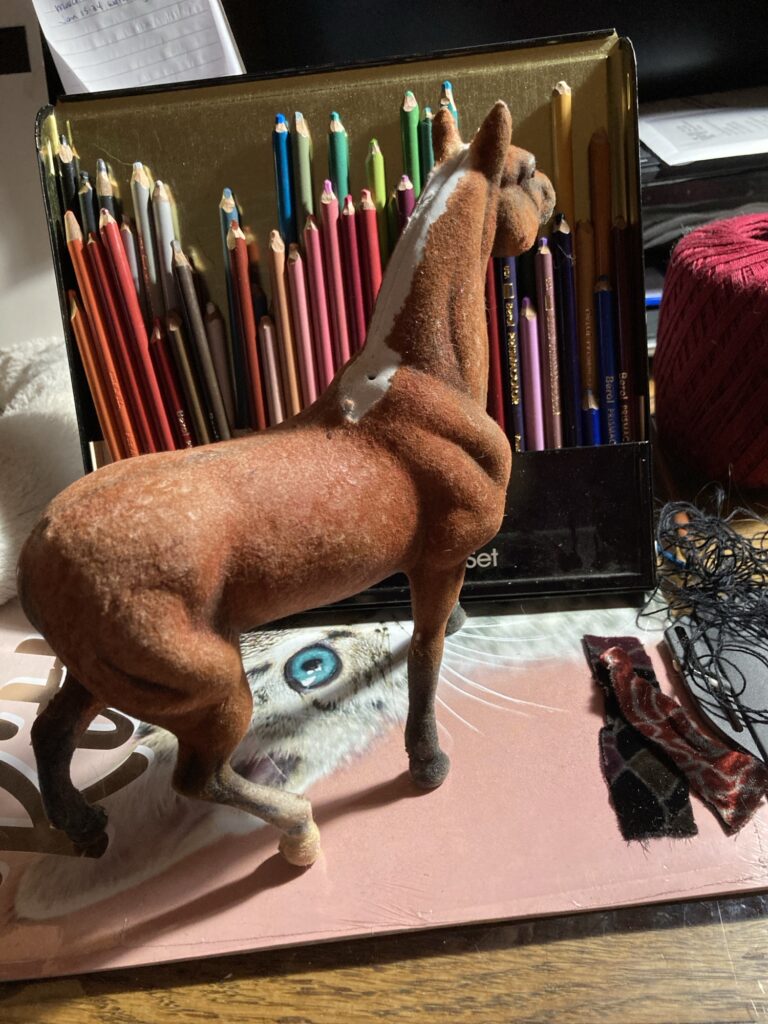
Here is the horse I started out with. I had already removed his mane and tail as they were in pretty bad shape.I used a box cutter (or you could use a craft knife or something similar) to hollow a groove down the back of his neck where the mane will be.Deepened the groove so it goes down into the hollow area of his body.Working on colors.
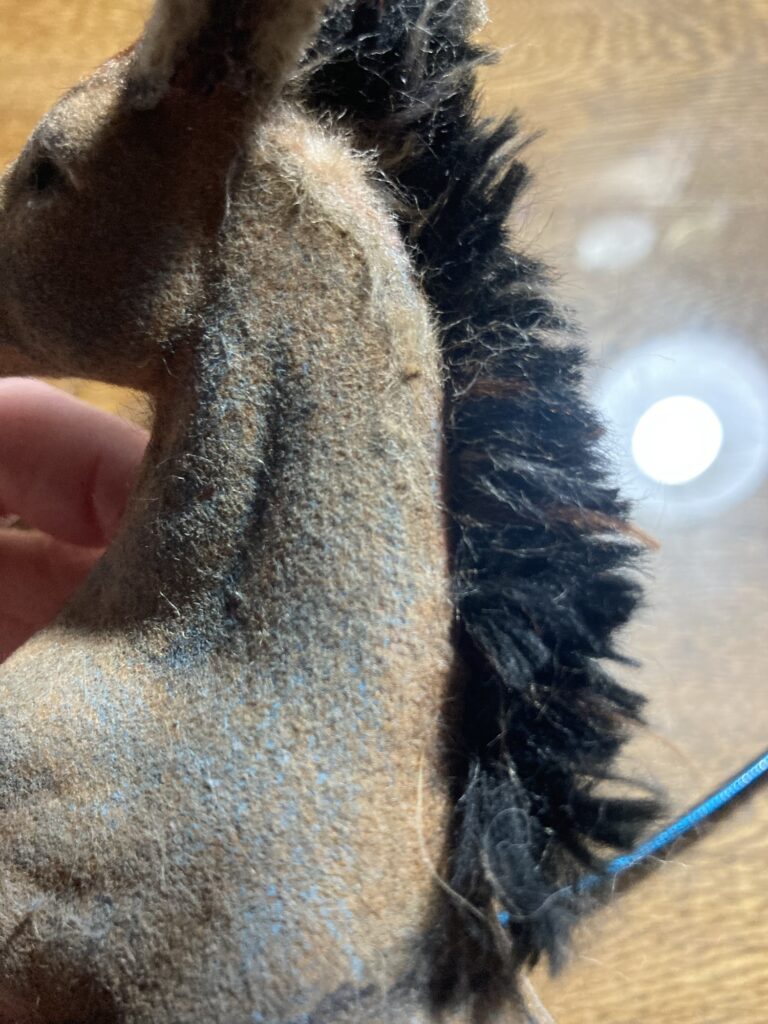
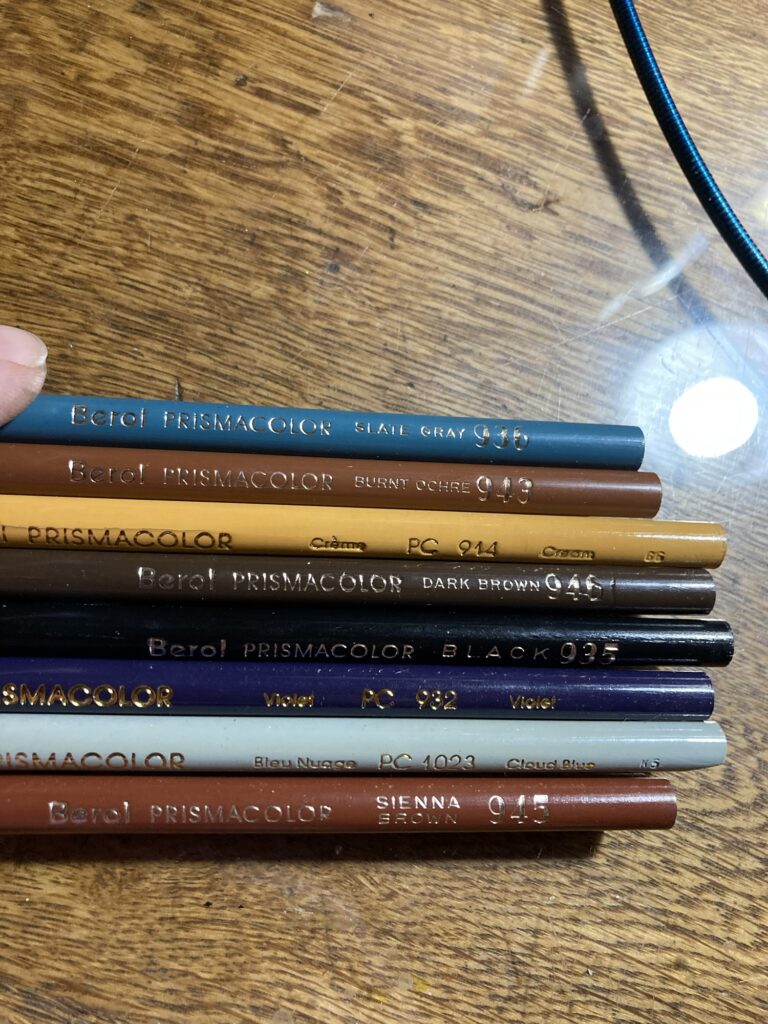
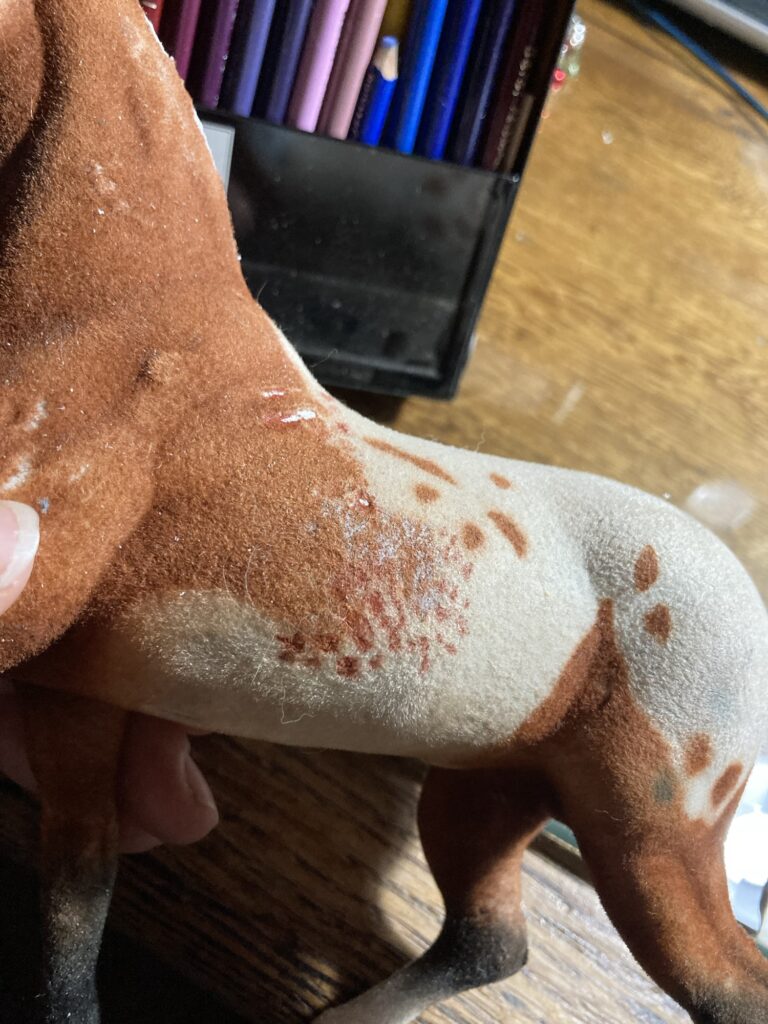
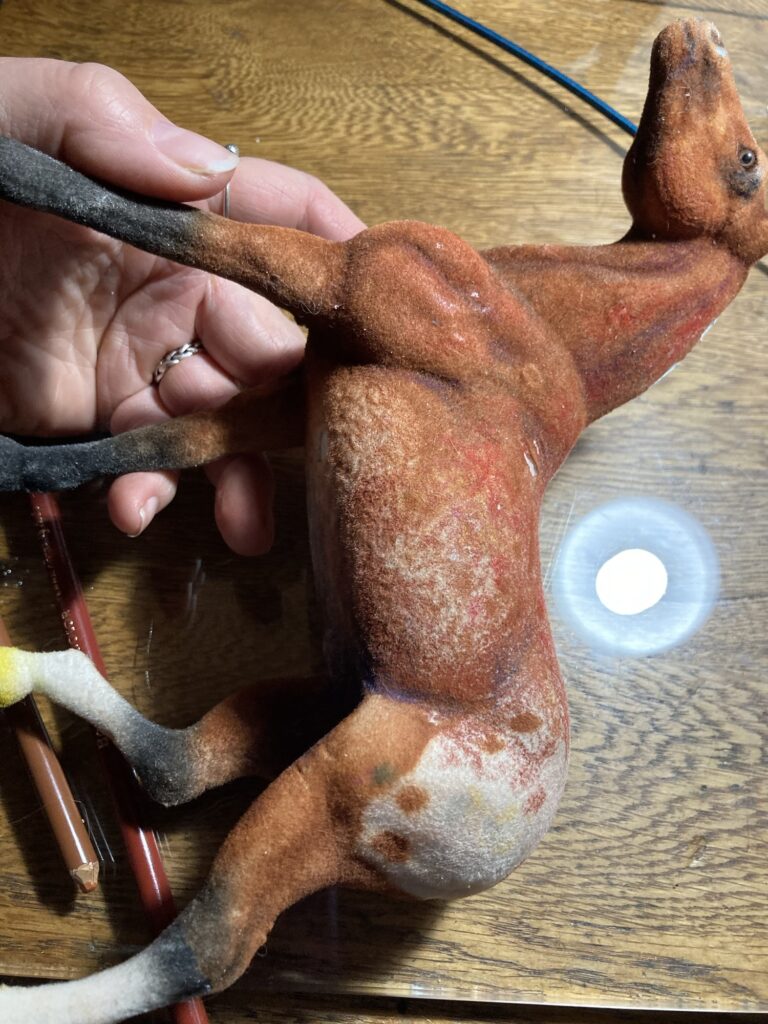
I used different colors of Prismacolor art pencils to highlight areas and darken lines so he has a more contoured feel even though his body isn’t very anatomically correct. I even added some lines and shading in flat areas that I know would have certain wrinkles or grooves.
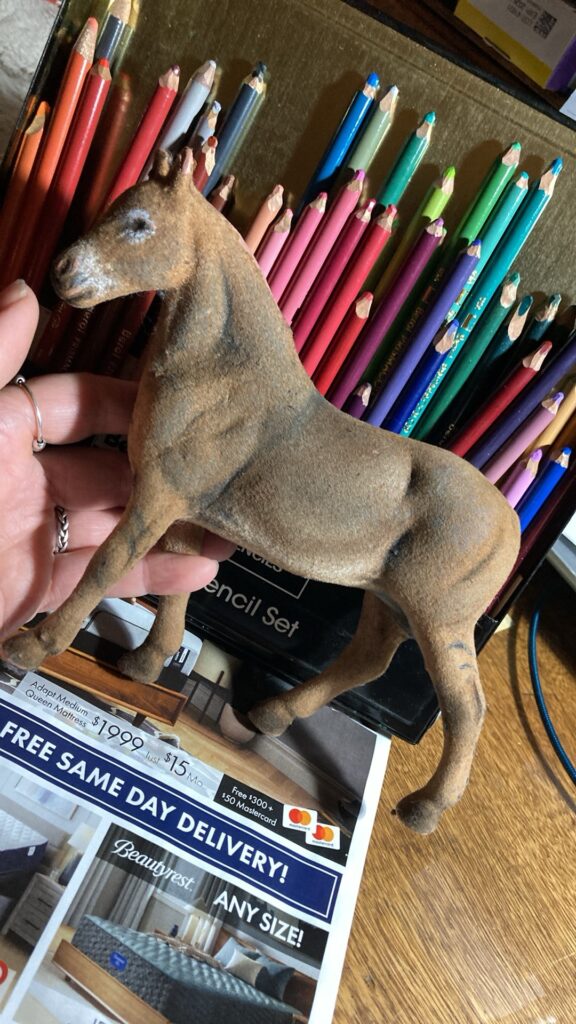
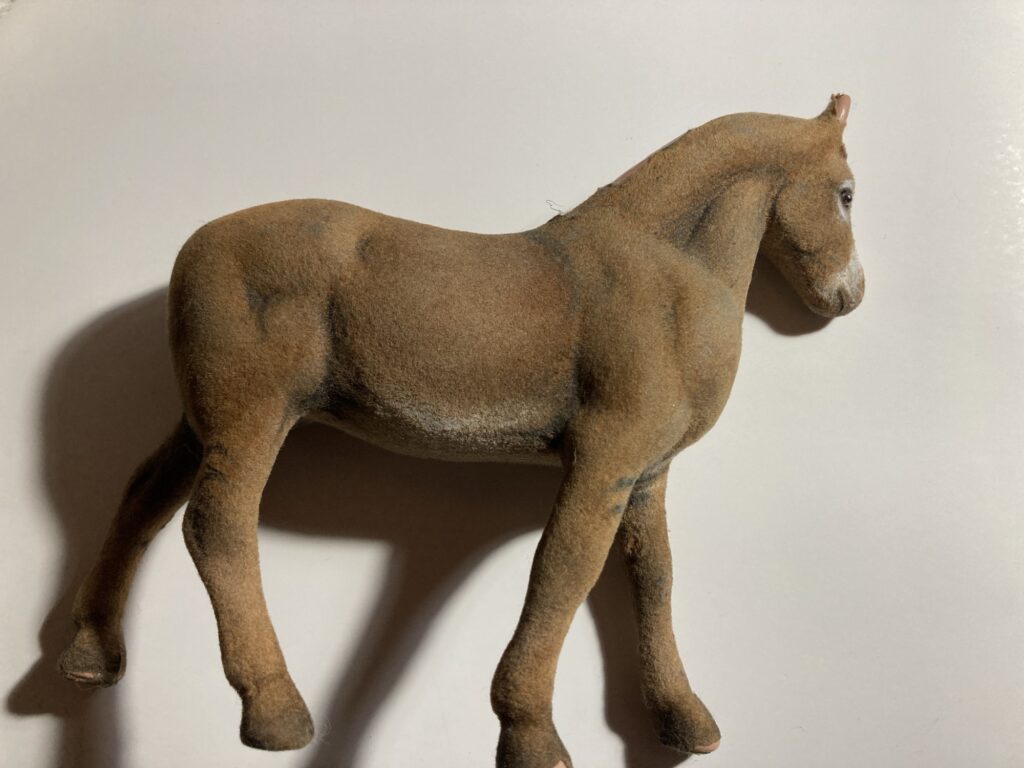
Different colors of pencils that I used on his body.Looking better! I will eventually have to find a replacement eye, or just have him be disabled.His other side
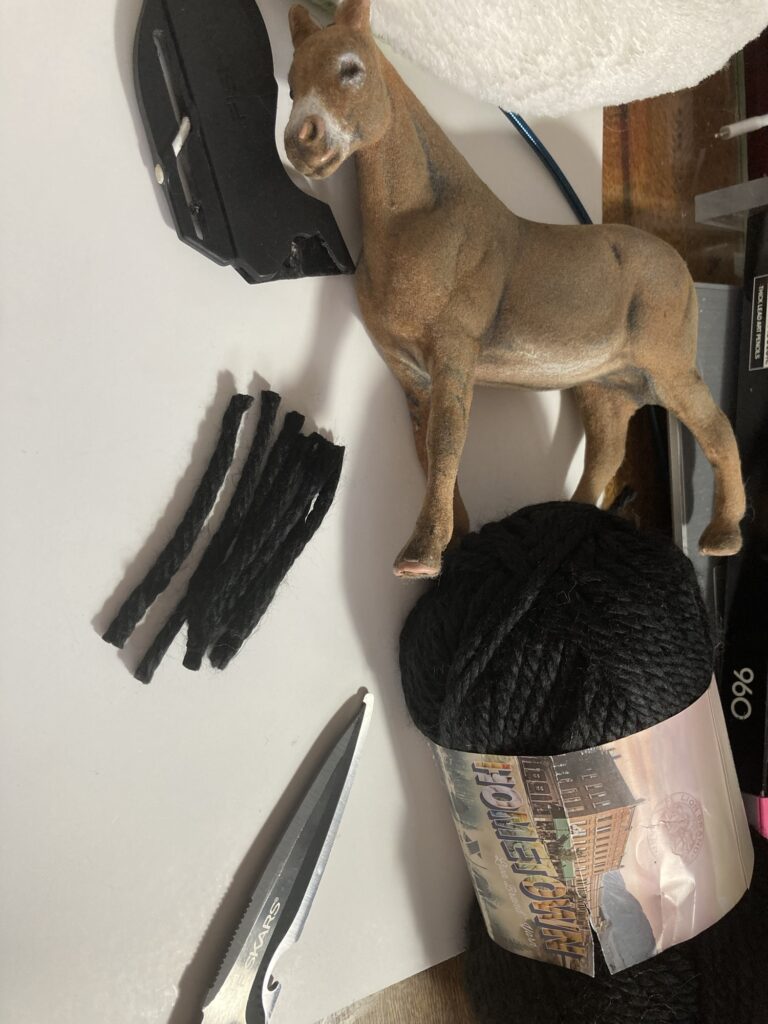
I decided to work on the mane, next. I cut small sections of soft, black, acrylic yarn.
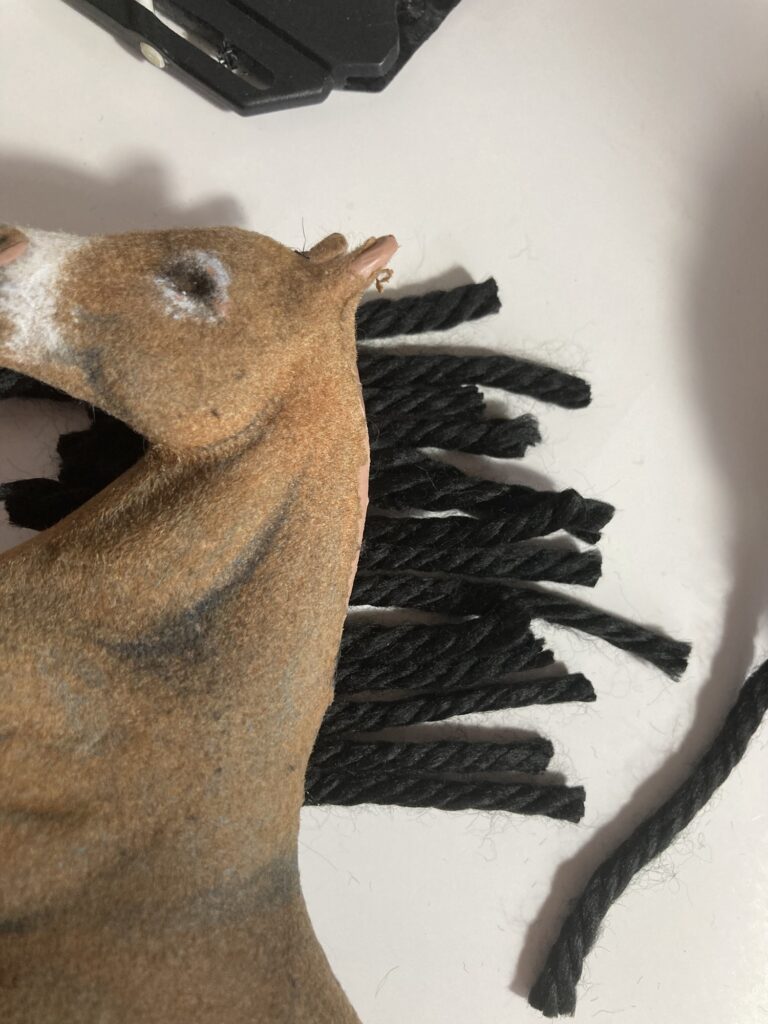
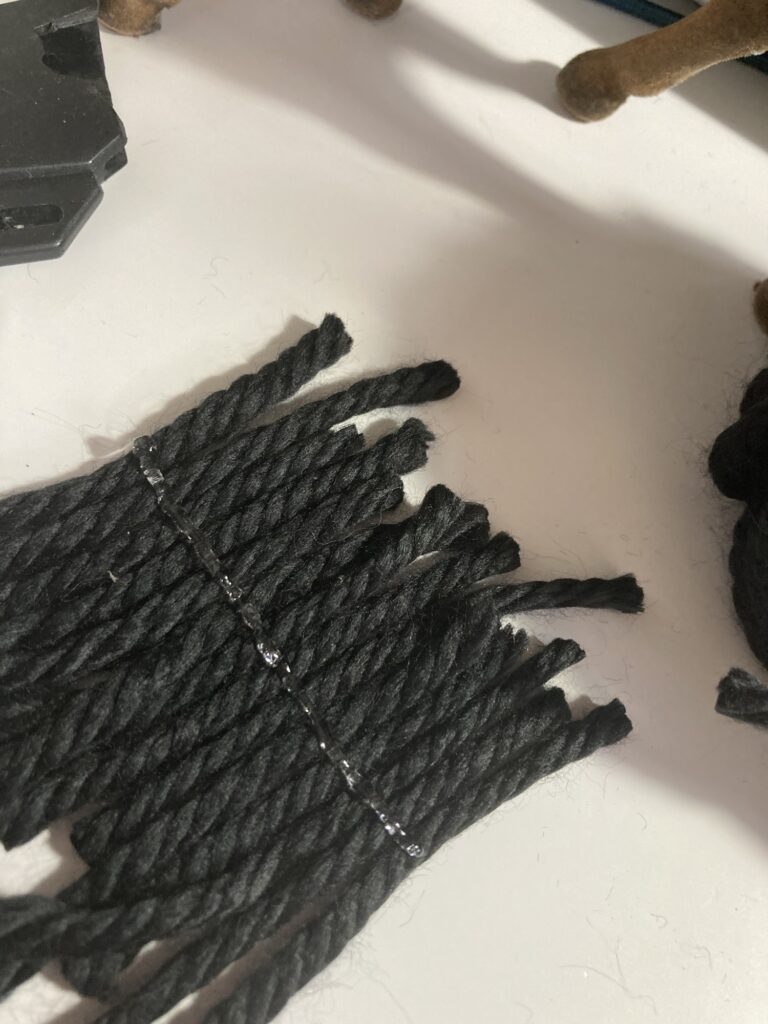
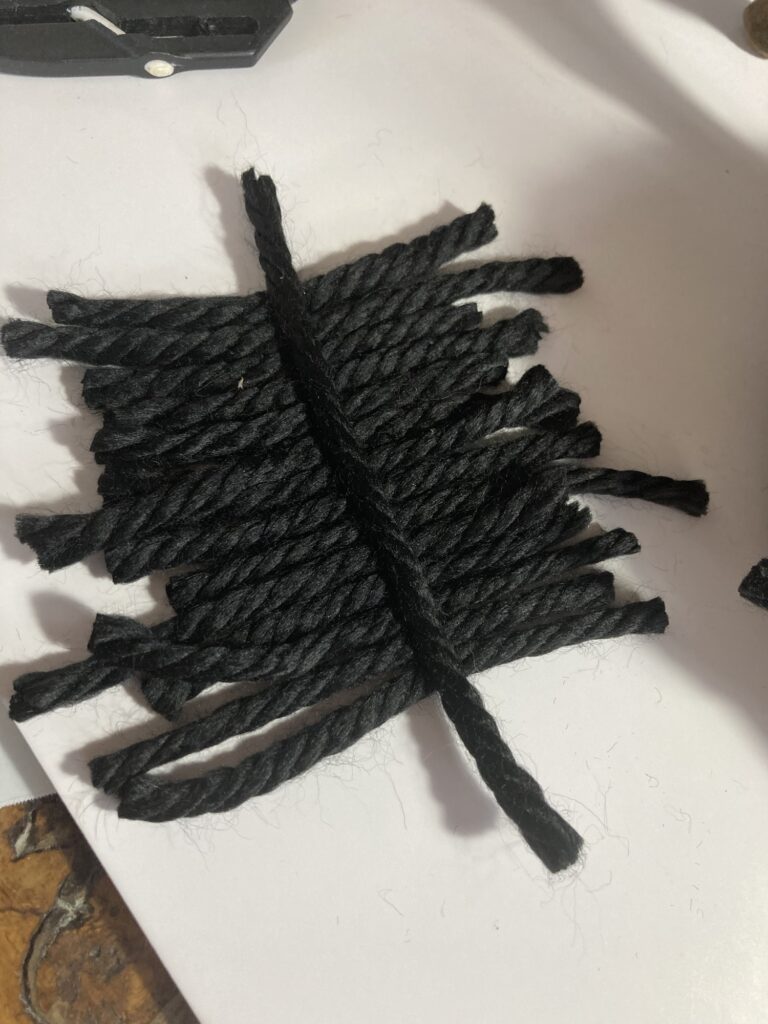
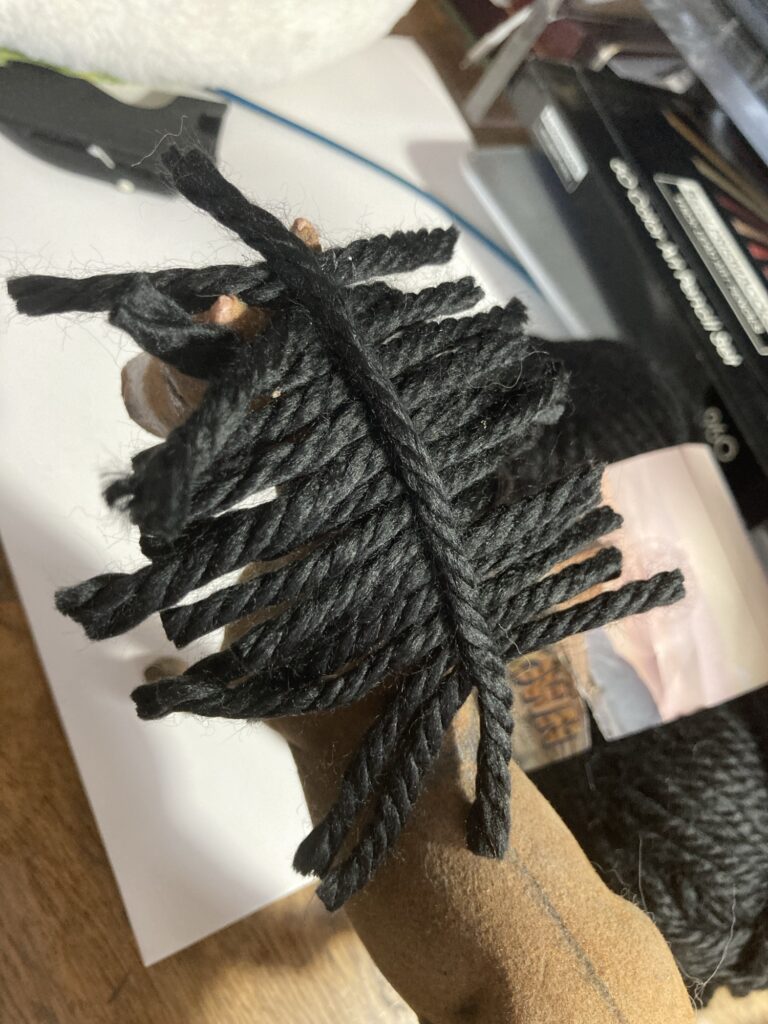
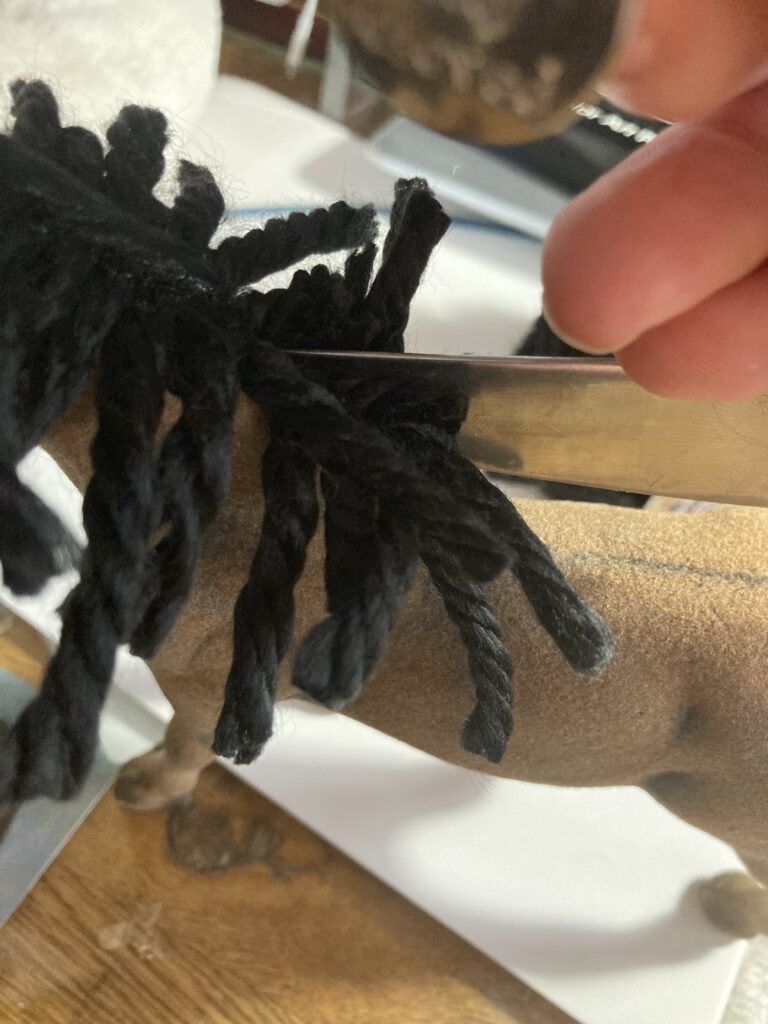
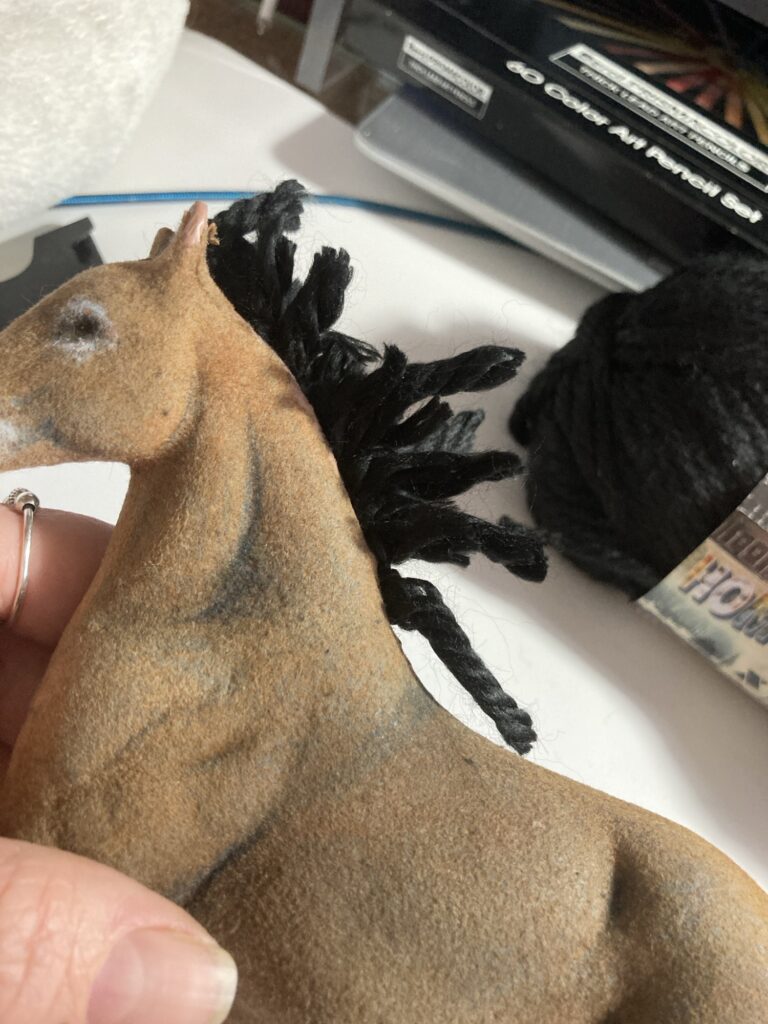
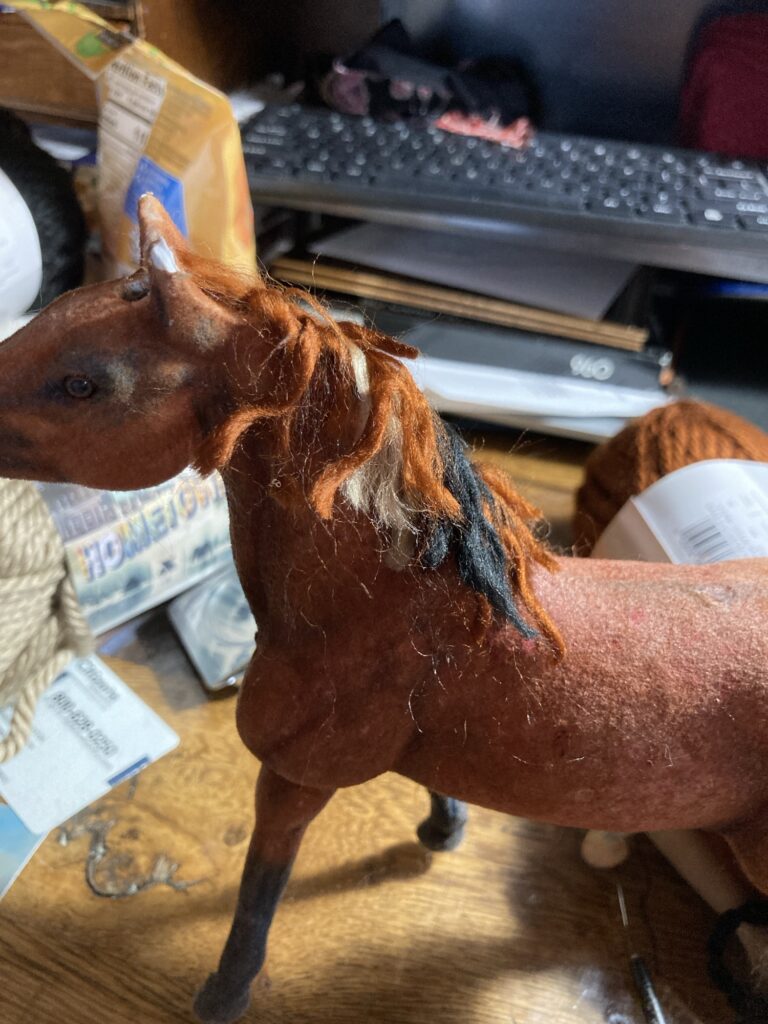
I used Hometown brand acrylic yarn. It is soft, thick, and unravels well.I cut enough pieces so that, when laid out alongside each other, they should be enough to cover his whole neckline.I Lined up the yarns so they were close together, and then made a line of superglue going down the middle.Next I added a longer string over the line to hopefully glue all of the yarns together in a more easily managed section.After the glue on my mane has dried for a while, i put a little glue around the trench on his neck where the mane will be added. It should help keep the mane in place once i push it in.I carefully place the hair on his neck so that the middle strip is centered over the trench.Using an old butter knife, i gently push the ‘hair’ into the trench.Now I gently arrange and trim his hair to be more ‘donkey like.’I decided to add a little more color to his hair, so I took a very few fibers of tan and brown and placed them over the mane where i wanted them to be, and used a felting needle to gently tuck them into the trench with the rest of the hair.After some more colors have been added. I can trim these to match the rest of the hair. I eventually used a little black marker to shade the colored areas to darken them and make them more subtle.Feeling good about how it is turning out for now. I can always come back and alter it later.
In this post, I experimented with an old flocked or velveted horse toy and altered it to be more realistic by adding new mane and tail, changing the colors to be more realistic, and fixing minor blemishes in the flocking. My plan is to use him in a dollhouse setting.
I recently acquired some inexpensive toy flocked horses, and decided to upgrade them for my dollhouse projects.
Flocked horses (or any other toy animal) are ones that have had a fuzzy velvet-like coating applied, so they look like they have real fur. I remember having some as a kid, and I also remember that the flocking can be easily damaged, so they need to be handled carefully. The ones I acquired are not in the best of shape, which is fine for me since I am doing this as an experiment, anyway.
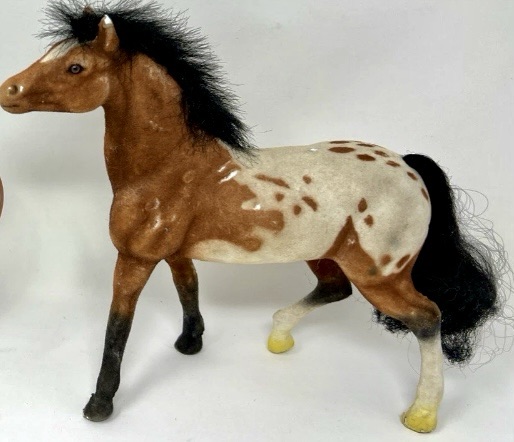
This is a photo from the listing of one of the horses i bought
The first thing I did was remove the mane and tail (i just carefully pulled it off, but discovered that, especially with the mane, you should be more careful as it is glued on and can pull off some flocking skin if you are not careful). I didn’t like the old hair and plan to replace it with something different, so decided that removing it would get it out of the way so I can work more easily.
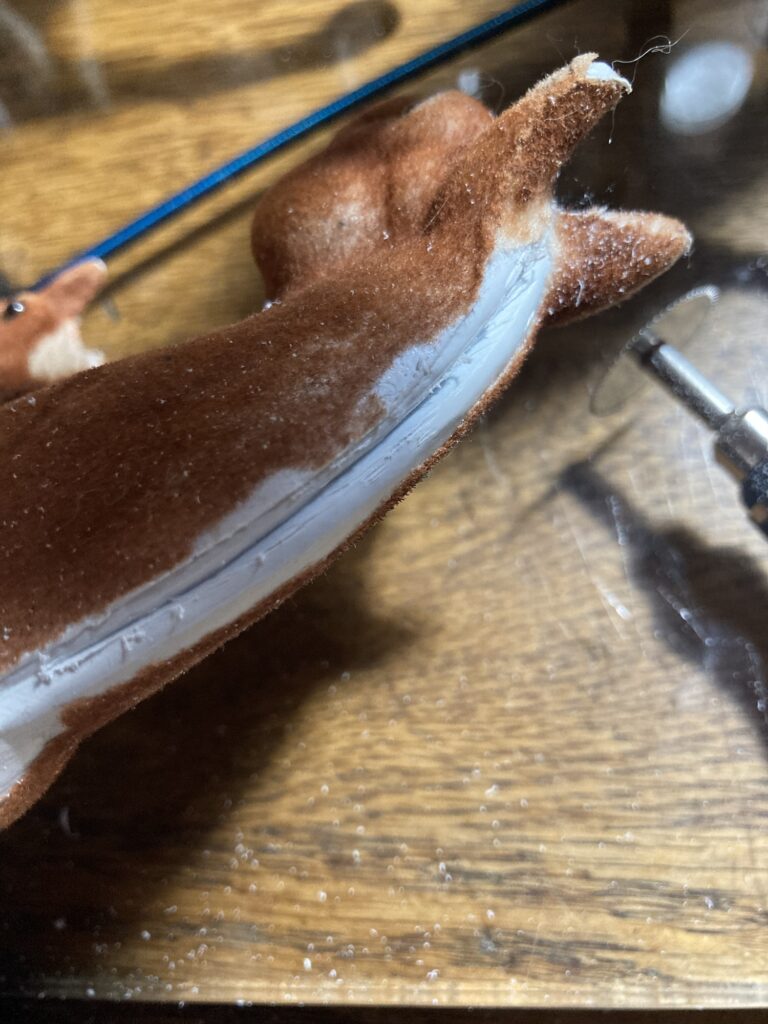
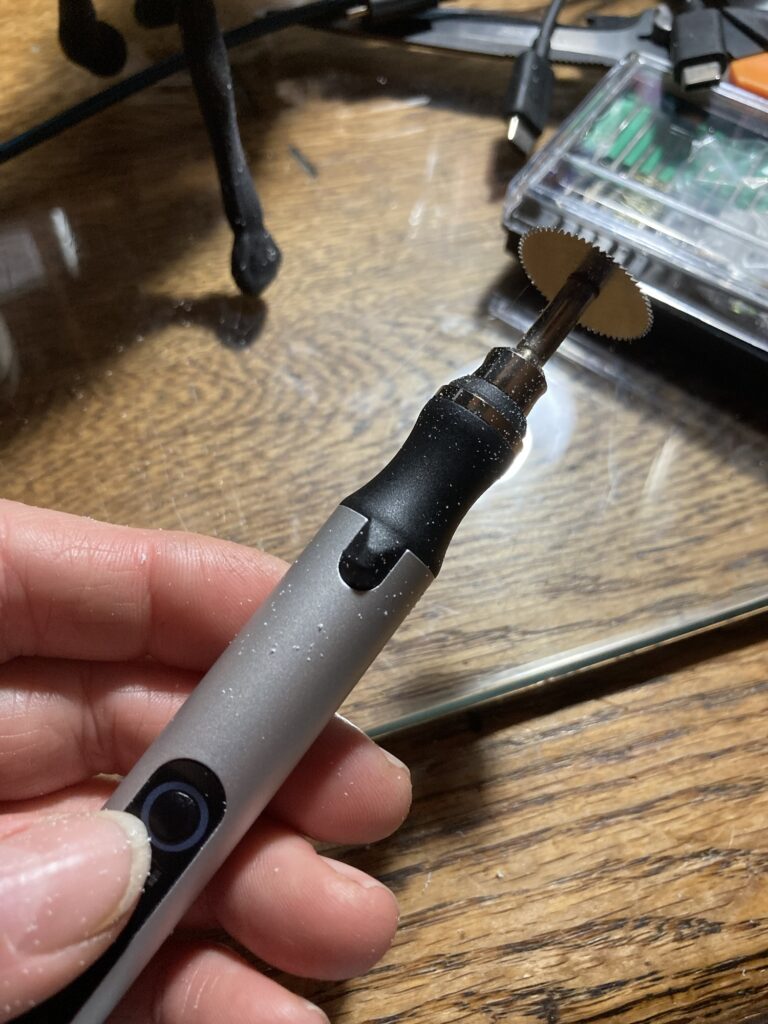
Next I took a small engraving tool with a saw attachment (a dremel type tool would work better, I am sure) and I sawed a small groove along the top of the horse’s neck where the mane will be.
The groove I made. I discovered as I went that it works best to cut right through the plastic into the hollowness beneath, which will help hold the hair better.My little engraving tool with saw attachment. You could even carefully carve it out with an exacto knife.
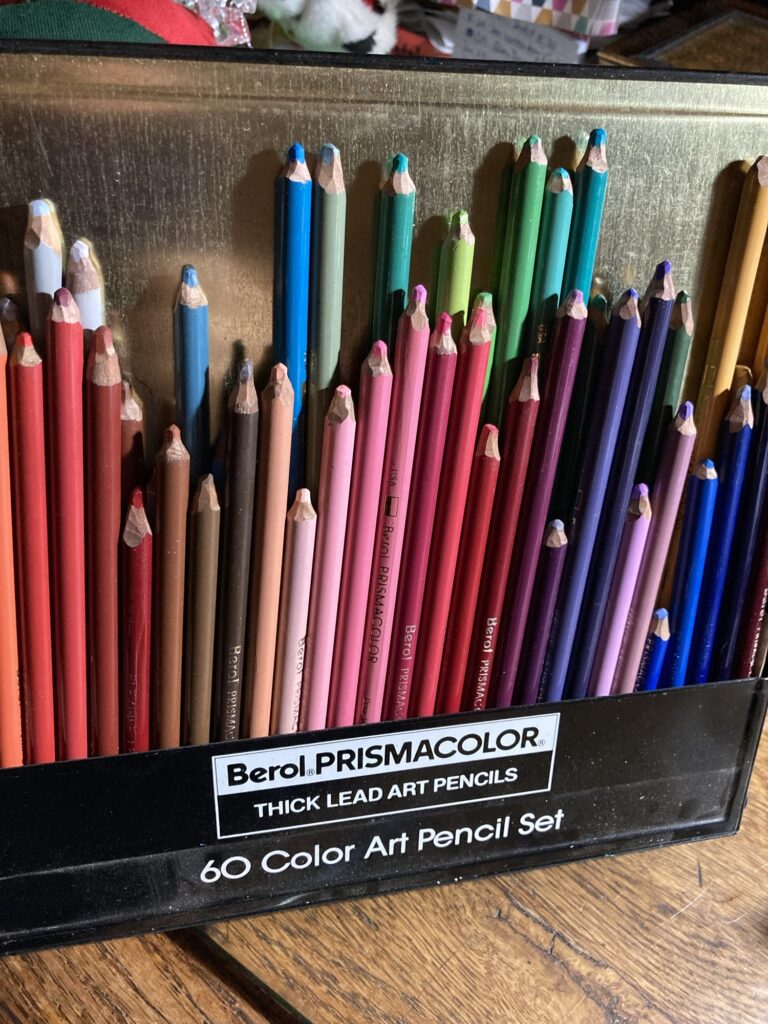
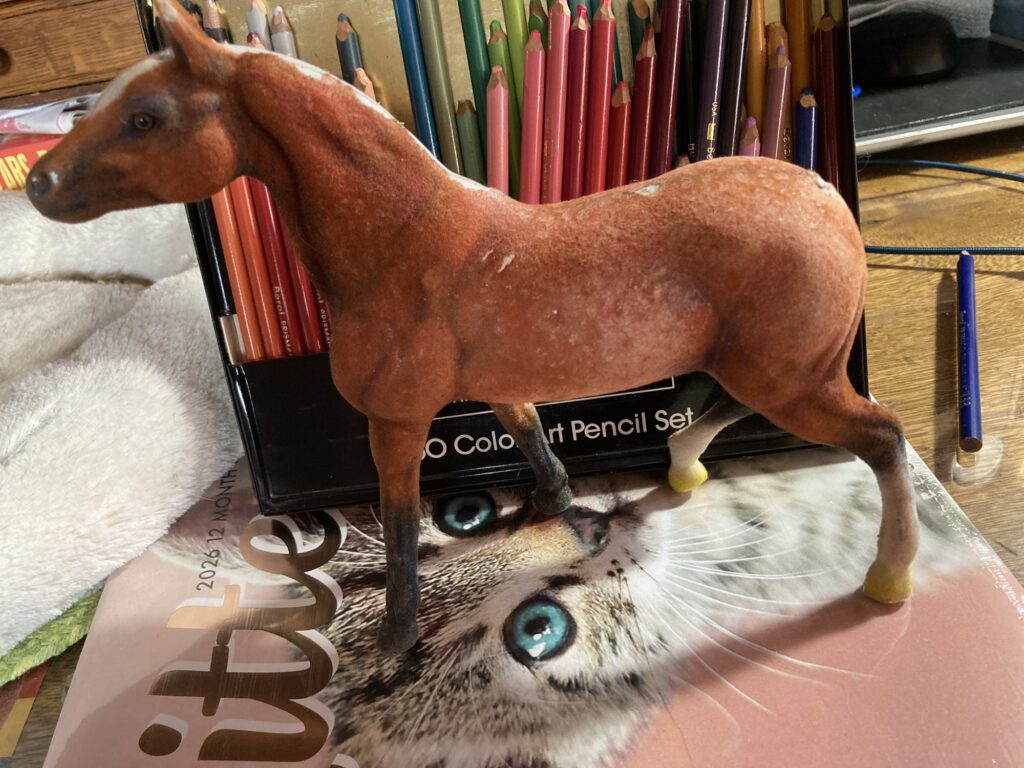
After making a groove, I moved on to experimenting with color. I decided to make this horse more of a roan color, and discovered that my colored pencils worked well. NOTE: I keep my colored pencils sharpened with a knife so that the tips are pretty blunt. I think that if a sharp pencil were used it might damage the fur on the horse. Also, don’t push too hard while coloring as it also may damage the finish. I am shading with light circular pencil strokes and it is working well for me.
These pencils are great! They are soft enough that they give off enough color without damaging the flocking.A few experimental marks turned out well
I quickly discovered a color that matched the brown of the main body pretty decently, and now can use that to blend the other colors in better. I found a dark grayish blue that works well for shading, to highlight the muscle tone, add dark patches around the mouth, eyes, undercarriage, ears, etc. There are still some areas that have scratches in the flocking. i have a few ideas in mind for simple repairs. I know that Amazon (and probably some hobby stores) sell flocking kits that could be used to repair my horses, but I think I can make do. We’ll see.
Here he is after a bit of work. I am using several shades of brown, a little blue, some red, and even bits of purple. A top view
I am trying to use shading to bring out or even draw in more of his better details, and also to hide some of the more terrible ones 😆. I tried to find some of the better looking flocked toys that were still inexpensive. Unfortunately they do have some wonky confirmation but it isn’t too bad. Ultimately it would be fun to get some Breyer horses and try flocking and coloring THEM, but it is safer right now to start on the cheap stuff. Also kind of fun!
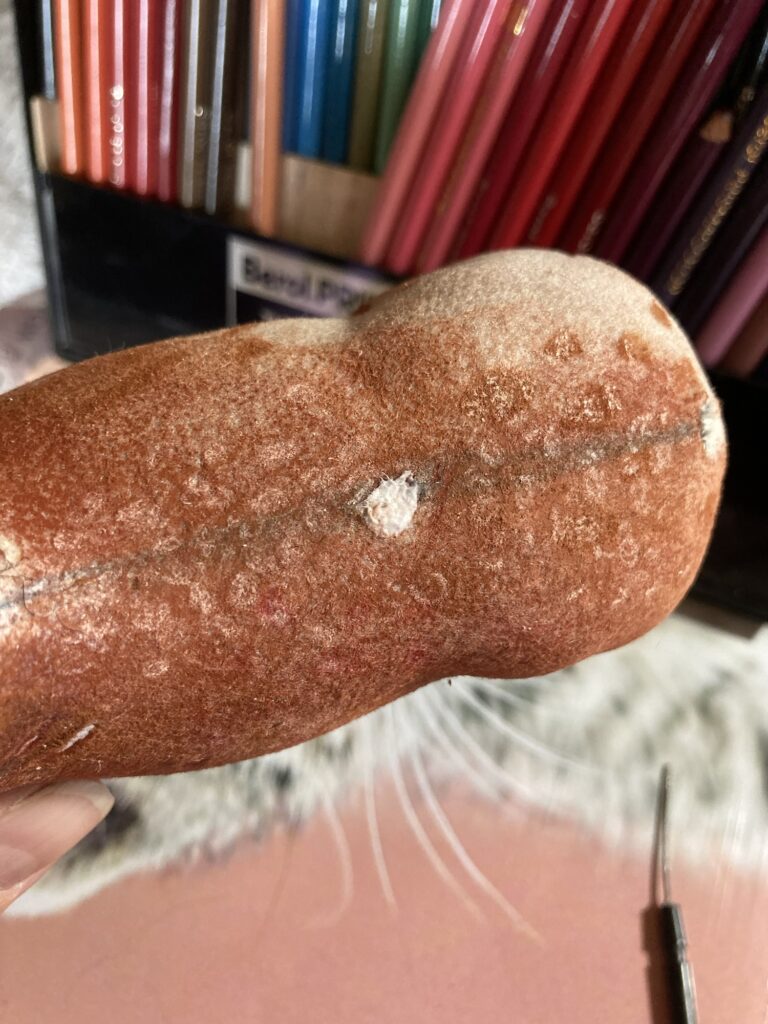
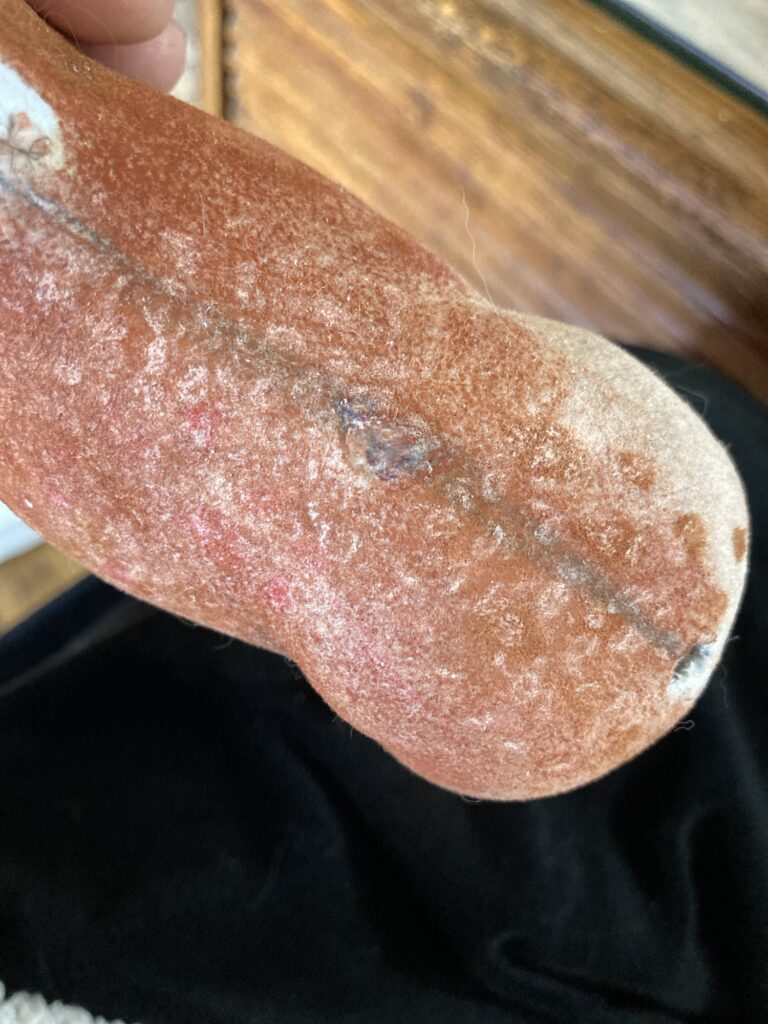
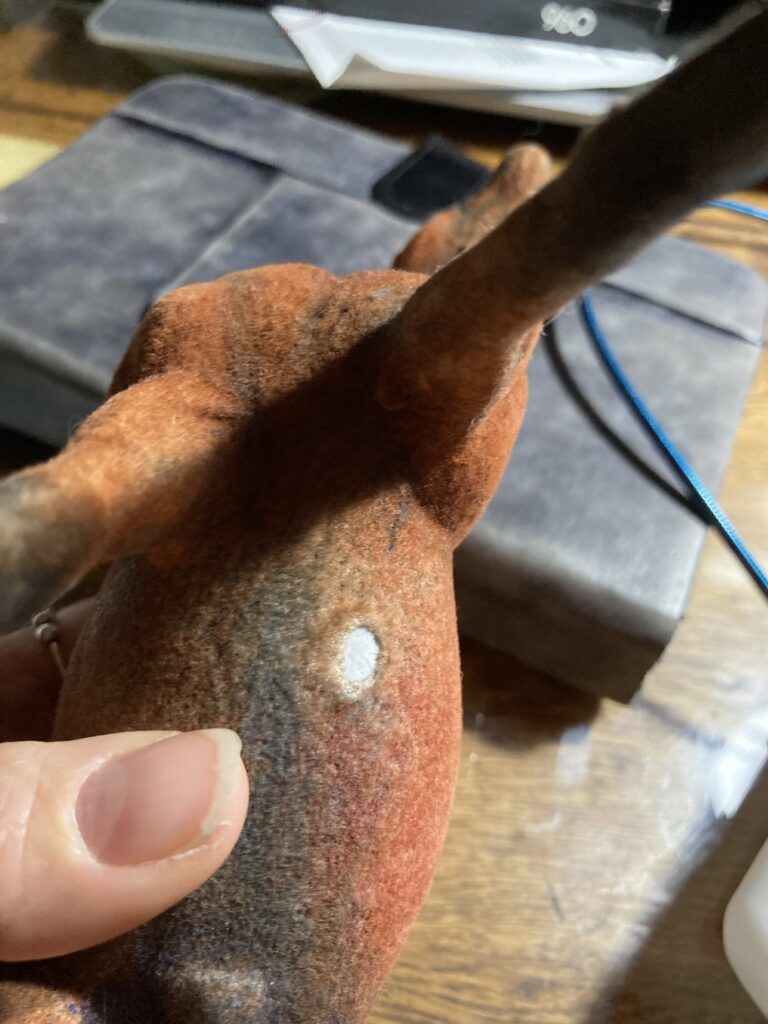
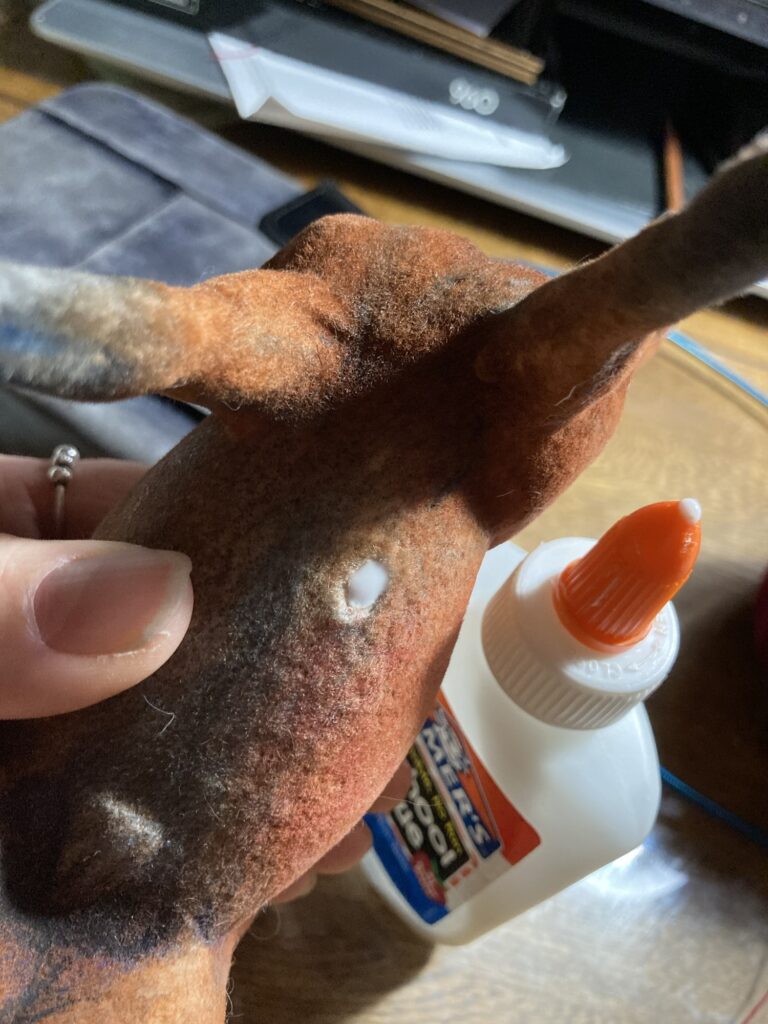
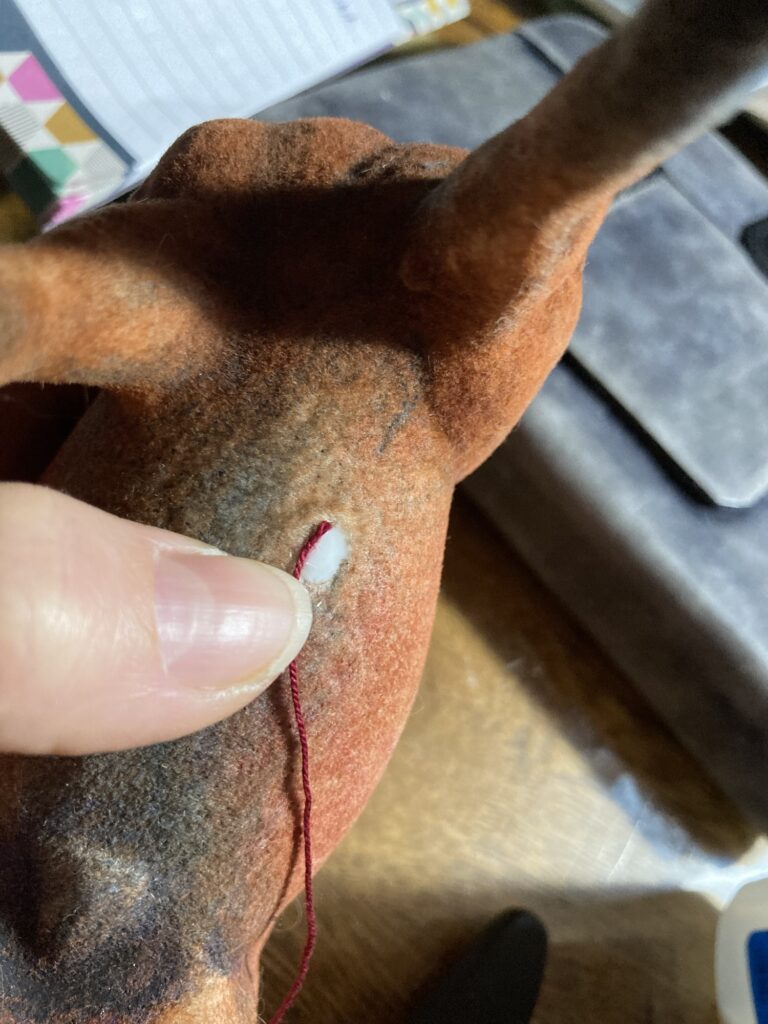
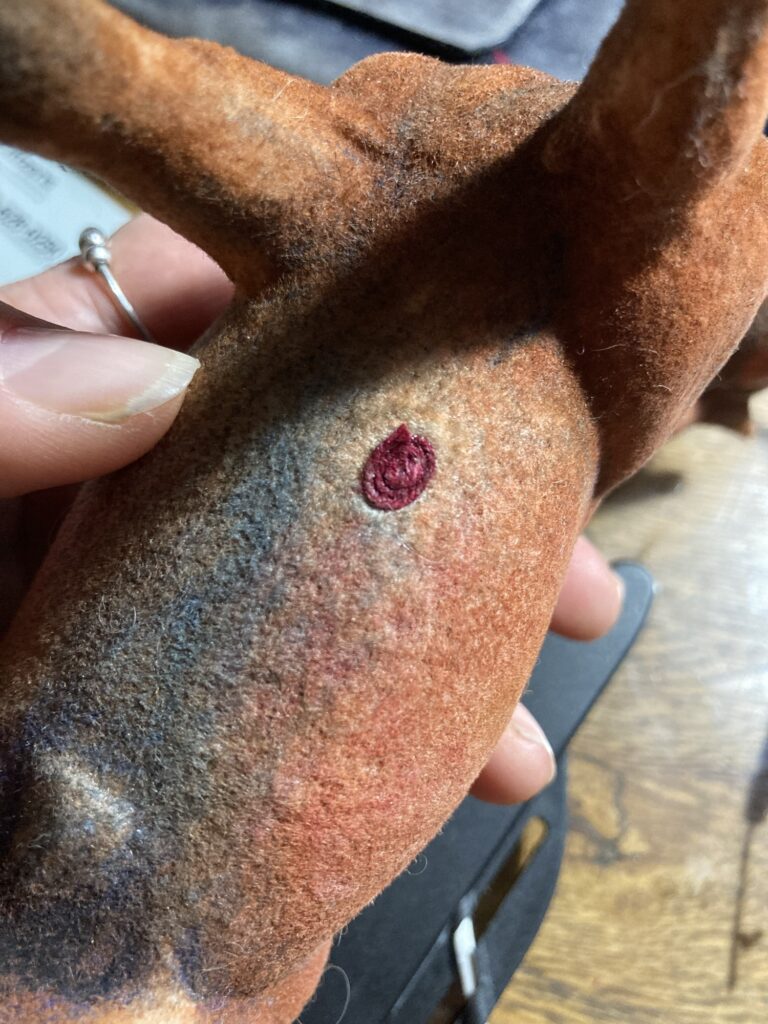
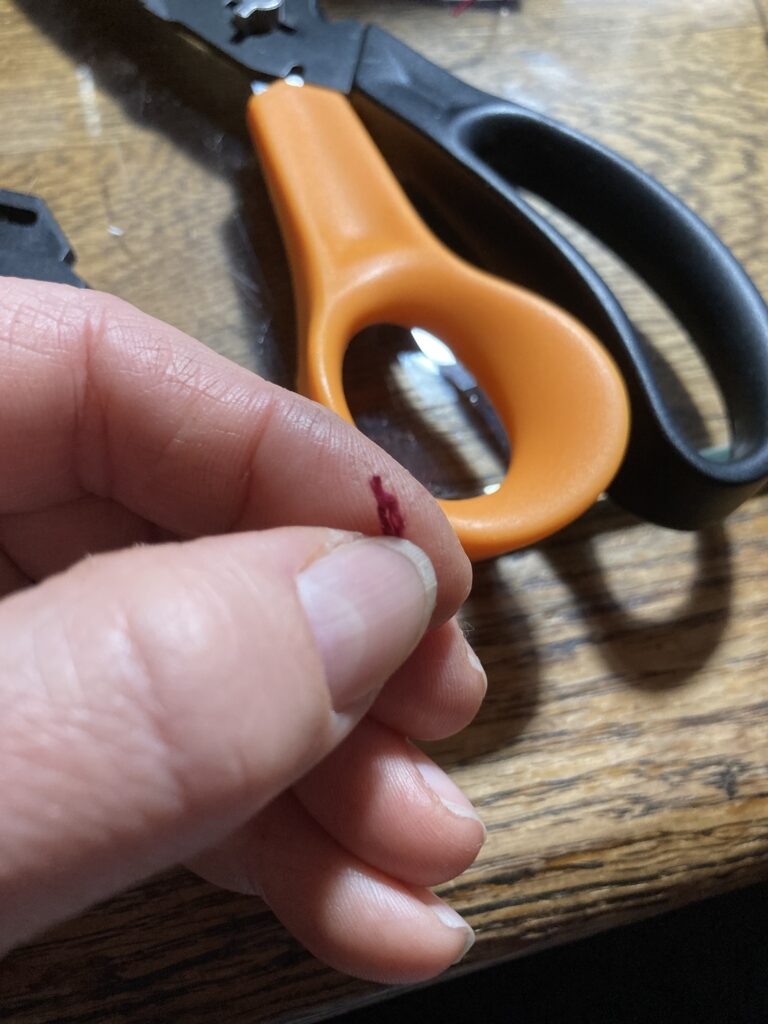
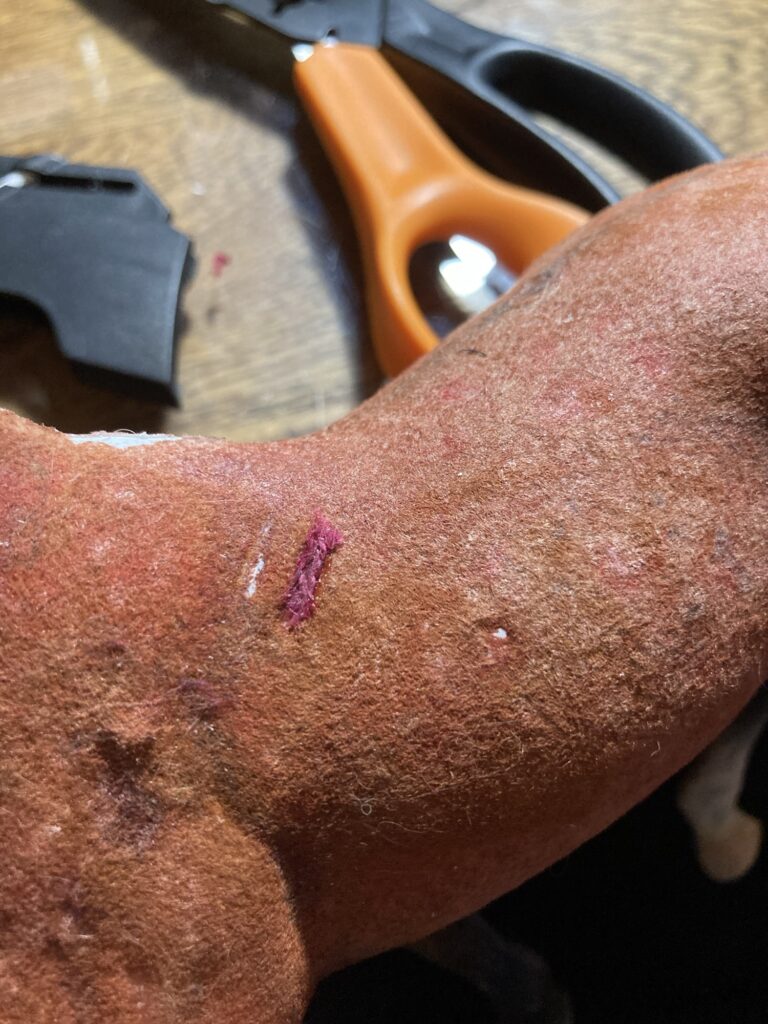
For one of the areas of damaged flocking, i tore off a little piece of paper towel, wet it thoroughly with elmer’s glue, and patted it into the damaged area. While far from perfect, once dried it holds the colored pencil markings enough to not be as noticeable. I have the feeling that too much glue might interfere though. I will probably try small pieces of fabric next.Next I need to fix his scratches and add some hair.Time to focus on this boo-boo. I decided to try string for this fix (it IS an experiment, after all). I filled it with glue. I started out with elmers, but decided that the glue wasn’t strong enough, as the string kept coming back out. I then switched to SUPER GLUE.Still in the process of adding hair.I used crochet string to wind a spiral to fill the hole.Here it is, super-glued in place. Still not sure how this will look, as it is a bit more textured than I thought it might be. Perhaps, if I try this one again, I might break up the fibers of the string a bit before attaching it to the horse. For the next small repair, i took a tiny length of string and pulled the fibers apart a bit before attaching.String glued in place to repair a small scratch in the flocking. I used super glue to attach it, and pushed it down with the butt end of a tool.A few more fibers added to the tiny bare patch above it. Once I color it with my pencils I think the texture will even out more.The same patches colored over with pencil. Not bad!
For a tail i decided to use a fluffy acrylic yarn.
I cut a few strands of different colors that I thought might look well together, and then separated the strands.After giving them a quick little brush out. Don’t overbrush, as it will pull the yarn apart. I wrapped thread around the base of the tail and glued it down to hold. Most of this is going to be inserted into the horse’s body.I used a felting needle to push the tail base into the hole, but I left a bit of the stiff area protruding to give the tail some spine like a real horse’s tail.Next I cut a few shorter fibers for the top of the tail base. I discovered that my felting needle worked well for attaching these fibers to the base of the tail.For the bald areas where the mane was pulled off, I cut and unraveled lengths of yarn that is close to the body color and glued them in place alongside the neck. The body hair alongside the mane is usually a bit longer, anyway, and maybe i can blend it in with colored pencil afterwards.
I cut a bunch of yarn fibers and unraveled them, and made a line of superglue along the trench I cut along the top of the neck. Now I am going to use the back of a knife to push the yarn into the trench.
Now he just has a few more areas of flocking to repair. I discovered that in areas where it isn’t as important to have fuzziness, like around the eyes and nostrils, I can dab a tiny bit of super glue, allow it to dry, and color right over it with colored pencil. It seems to give it just enough texture for the color to stick.While far from perfect, he does look a lot better than when I started, and I am learning different techniques to fix the flocking and make hair that I can use on the next ones.
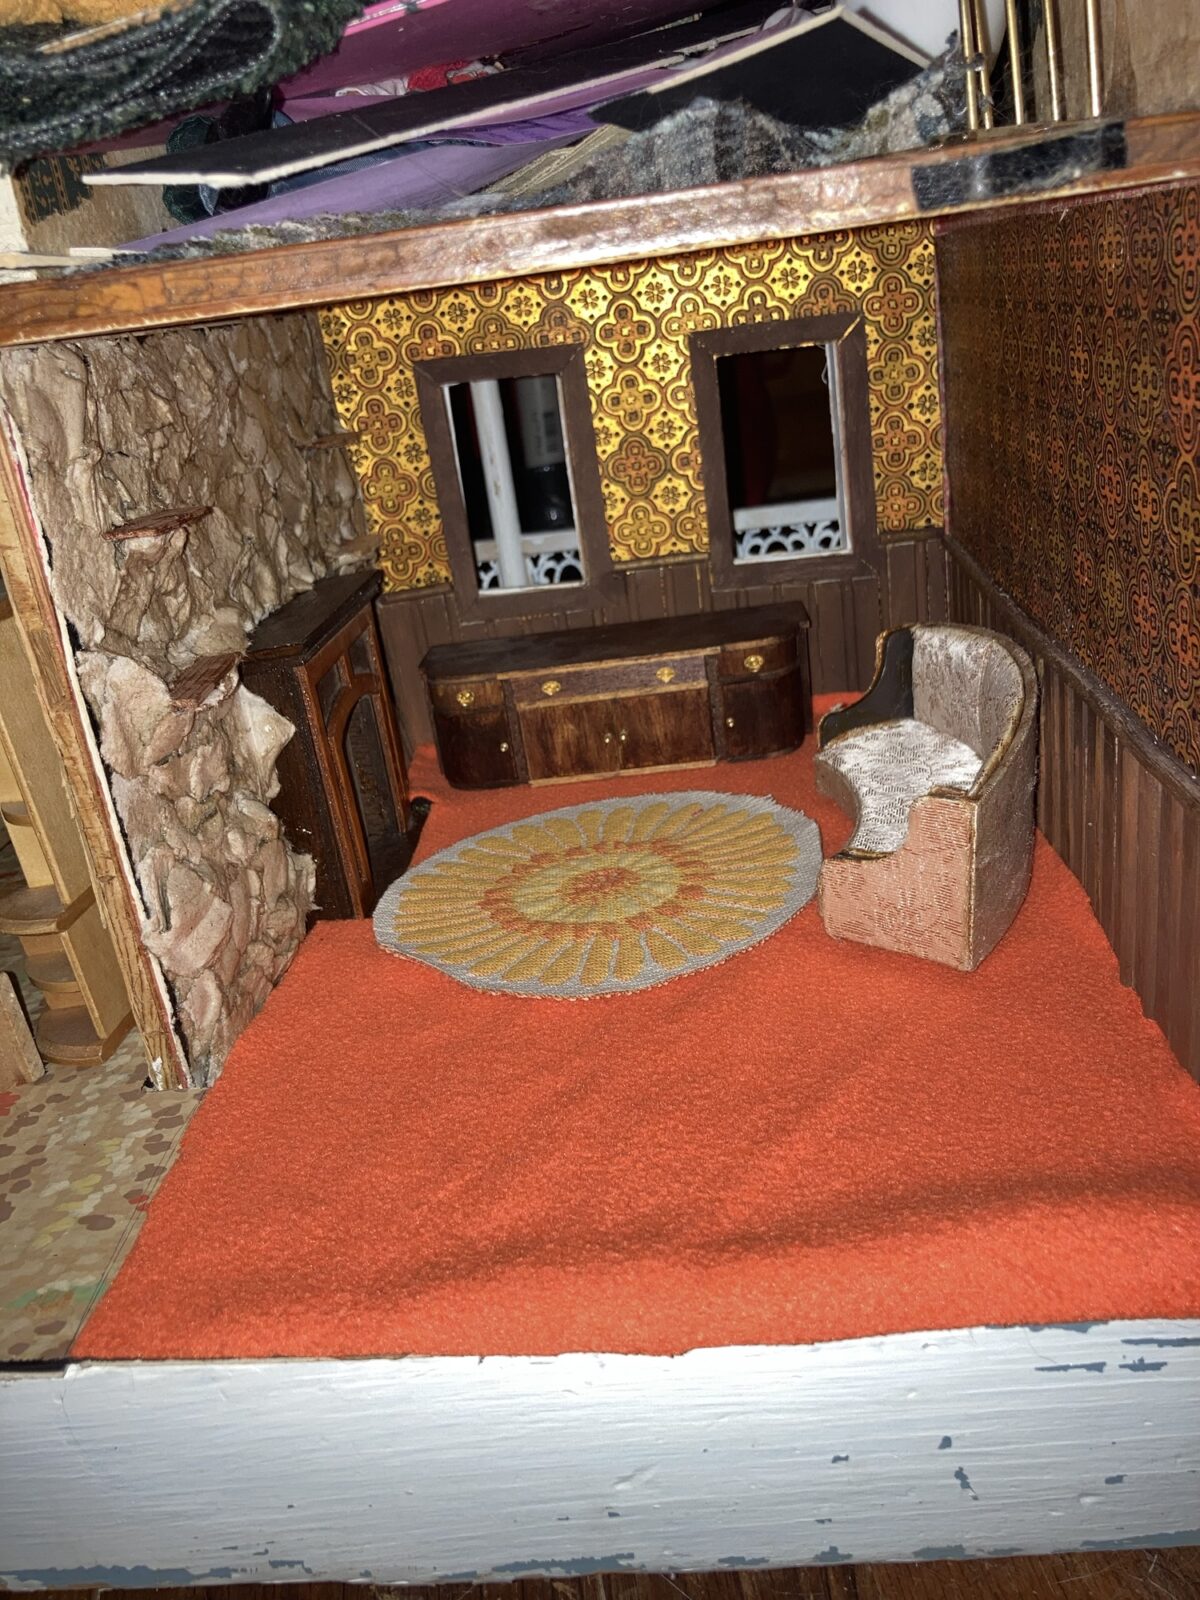
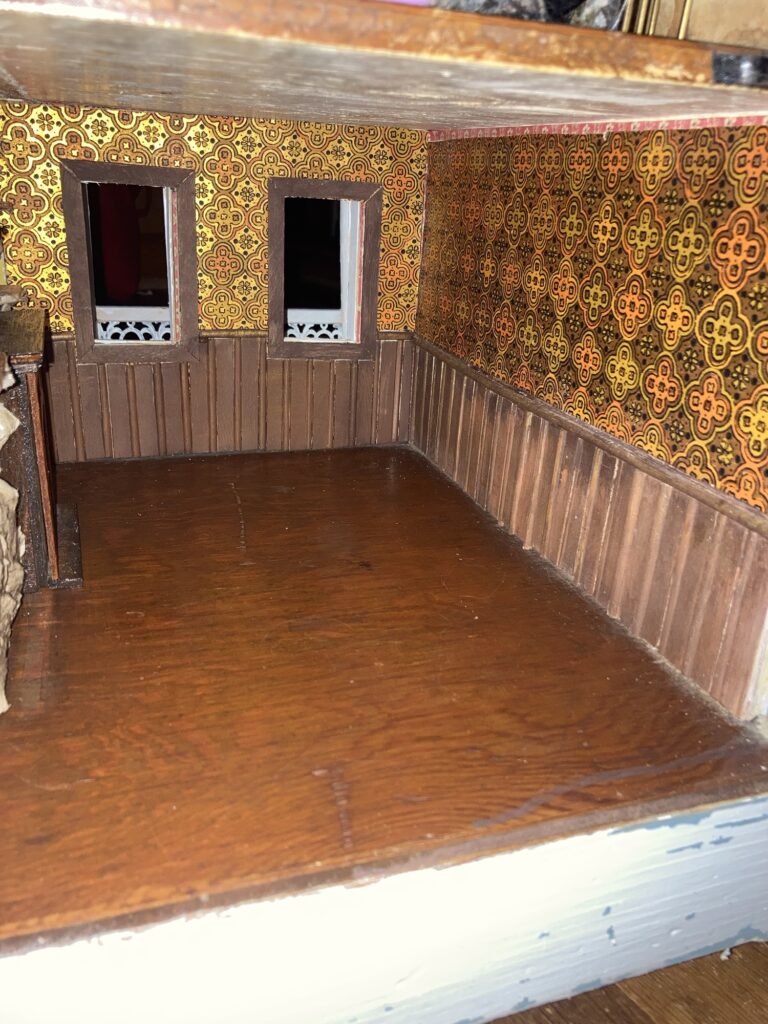
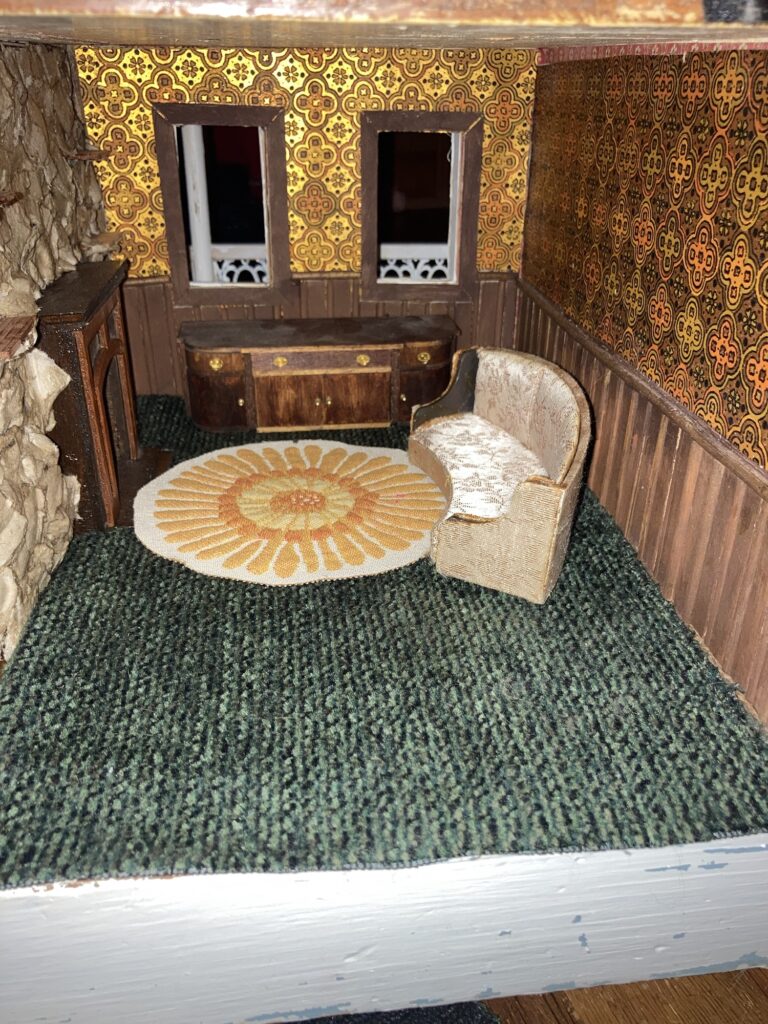
I decided to work on the living room of my 1970’s themed dollhouse. This house was basically gutted when I got it, so I am starting from scratch. I started out with a list of things I wanted in my 1970’s themed house, narrowed that list to what was actually do-able, and then decided on what projects for the house would be going in what rooms.
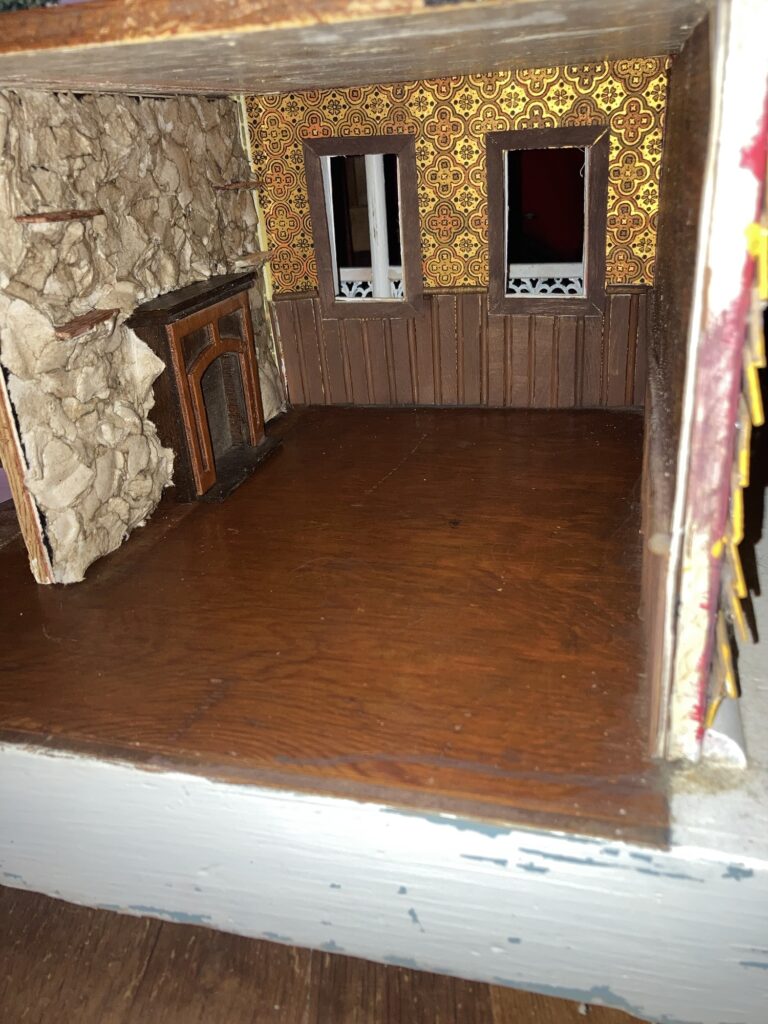
For the living room, i wanted a stone wall with a fireplace, wainscoting, and some authentic vintage wallpaper that we salvaged from my grandparents’ house before it was unfortunately torn down.
For the stone wall and fireplace, I first cut a piece of sturdy mat board to fit the wall it was going on. After double checking the fit, i attached the ready made fireplace that I chose for it.
I used mod podge to flue the egg carton
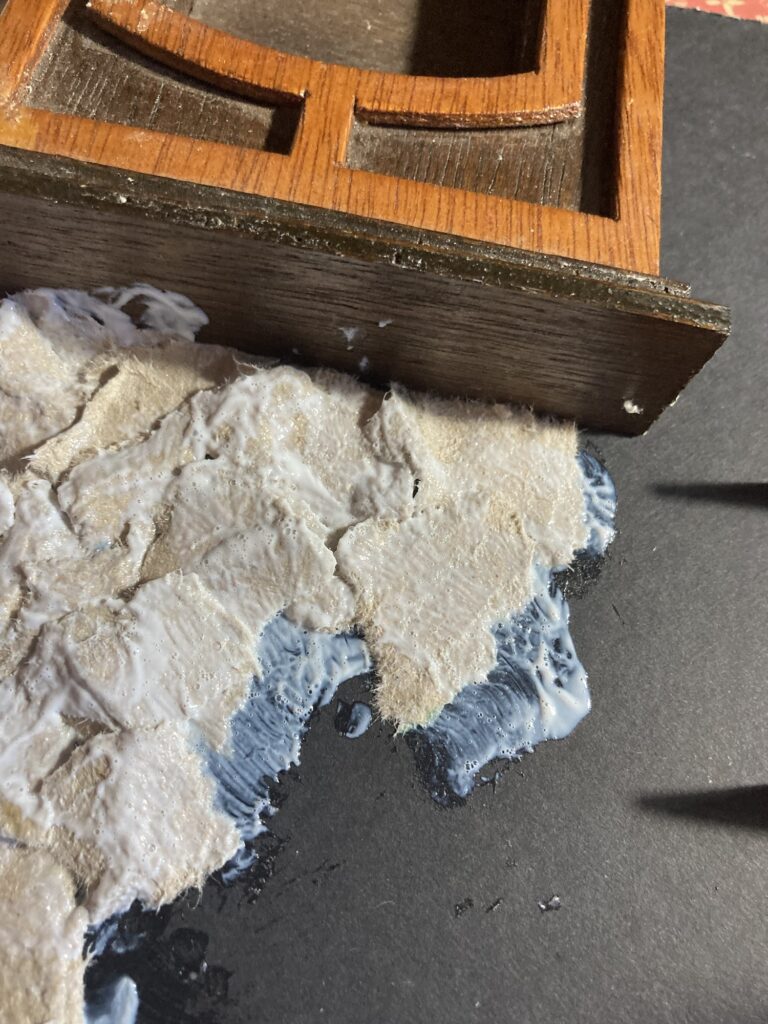
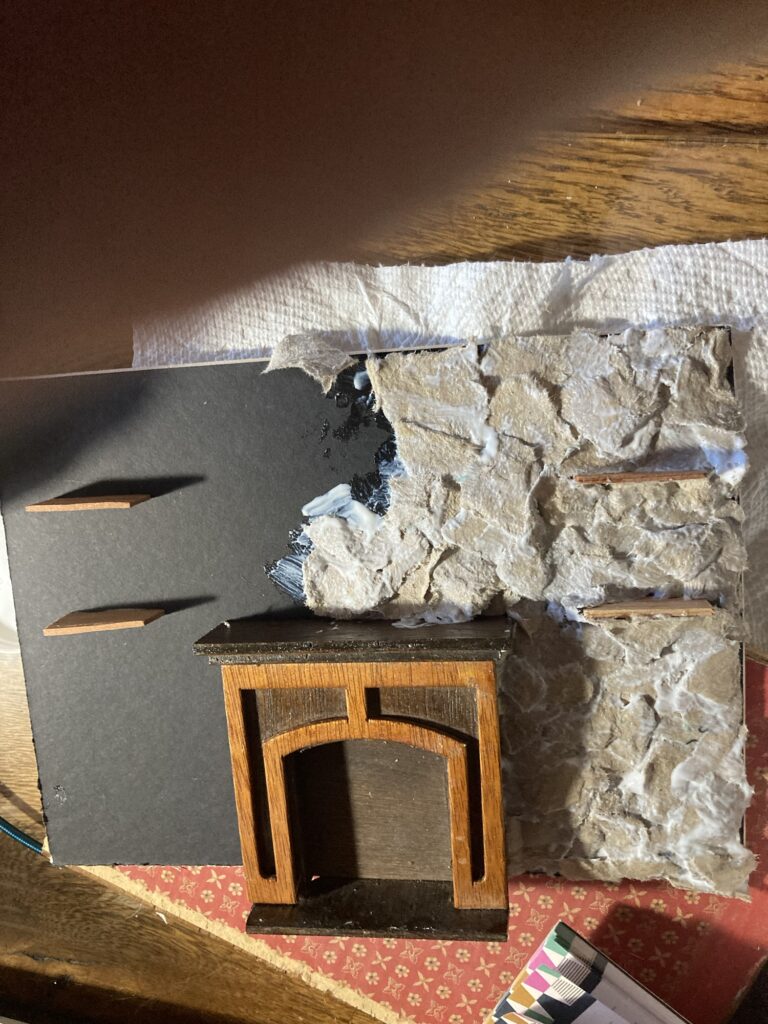
Next I used mod podge to glue little pieces of torn off egg carton (the cardboard type) onto the wall, layering it to form a stone texture. Note- keep the printed side pointed against the wall so it won’t have to be painted over later).
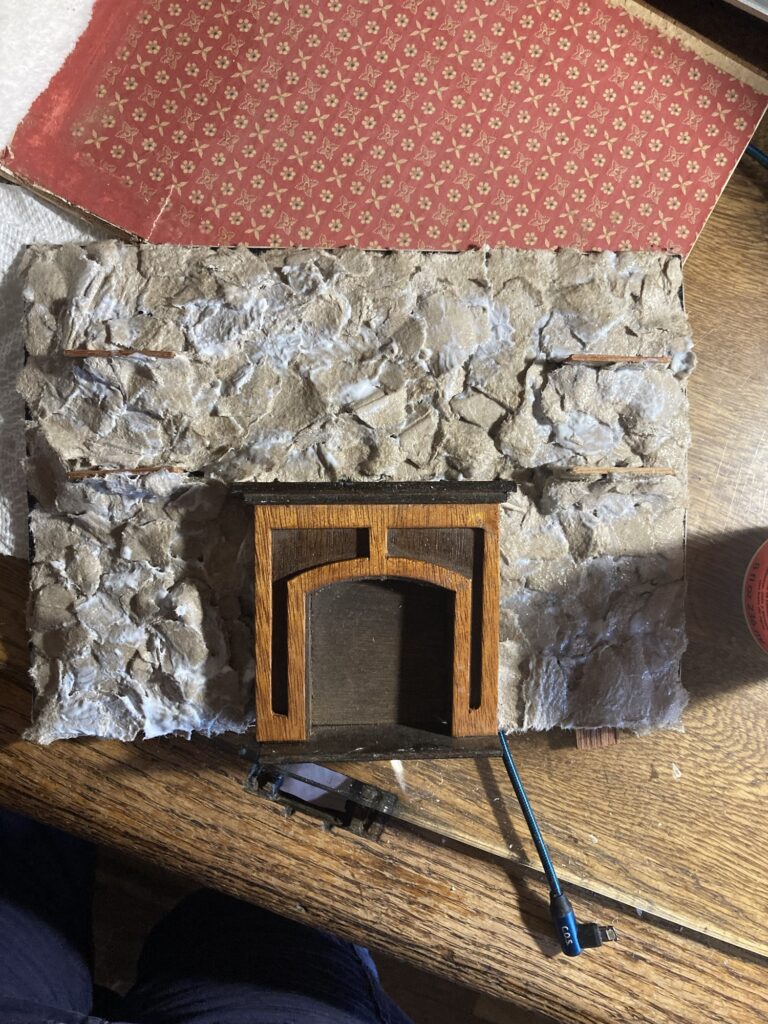
Tear off pieces of cardboard egg carton to use for the stone textureLayer the cardboard to form rough, rock-like texture, glueing it down and coating it with mod podge.I glued little pieces of craft stick on the wall to form shelves before placing the egg cardboard. What it looked like as it was drying.
When it was dry, I slid it into place on the wall of the dollhouse, made sure all fitted as it should and looked the way i wanted, and then glued it in place with just a dab of glue.
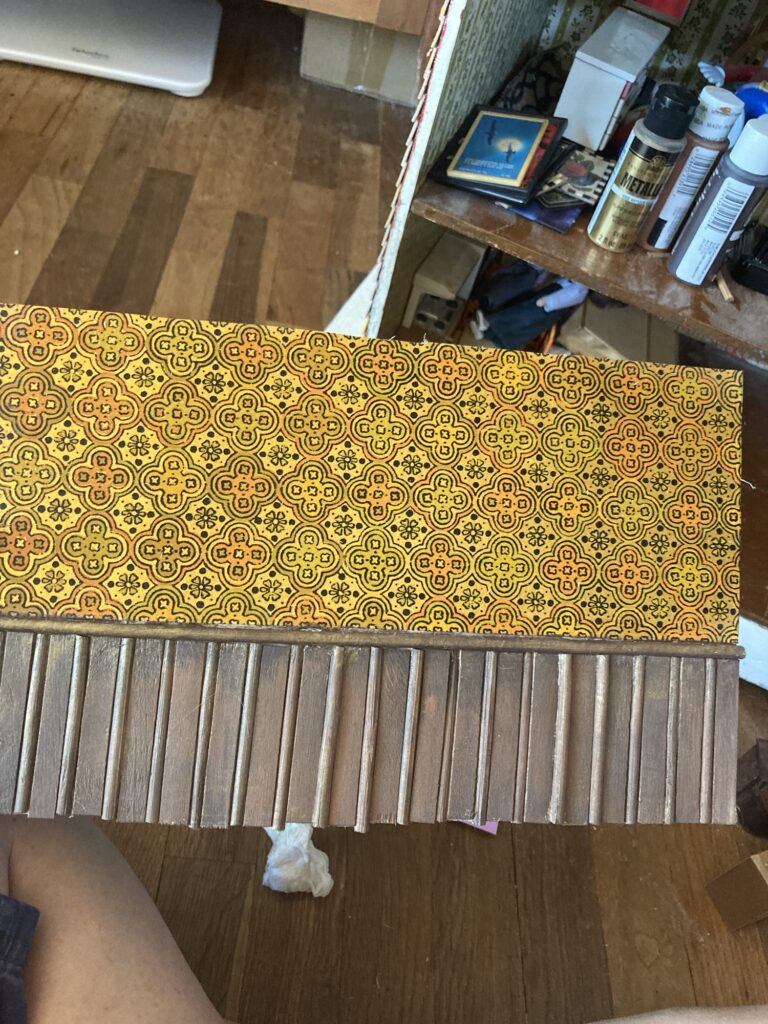
Next I cut another piece of mat board to fit another wall, and glued on a piece of my wallpaper. I cut pieces of popsicle stick and split dowels to create a pattern of wood for the bottom section of the wall, to form wainscoting.
I tinted the wood with thinned out paint so it looked like stain, and made a rail with a long split dowel.
I made sure it fit where i wanted and then glued it to the wall, then did the same for the other wall.
Eventually there will be trim along the ceiling, which will cover the little piece of old wallpaper peeking through.Another view
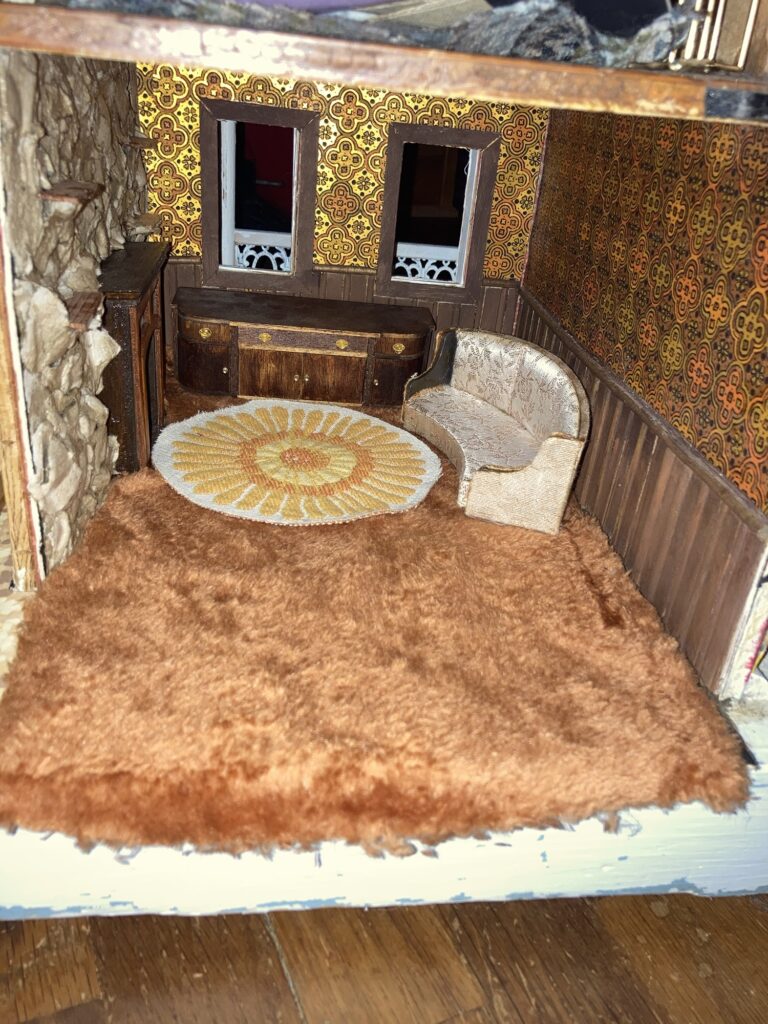
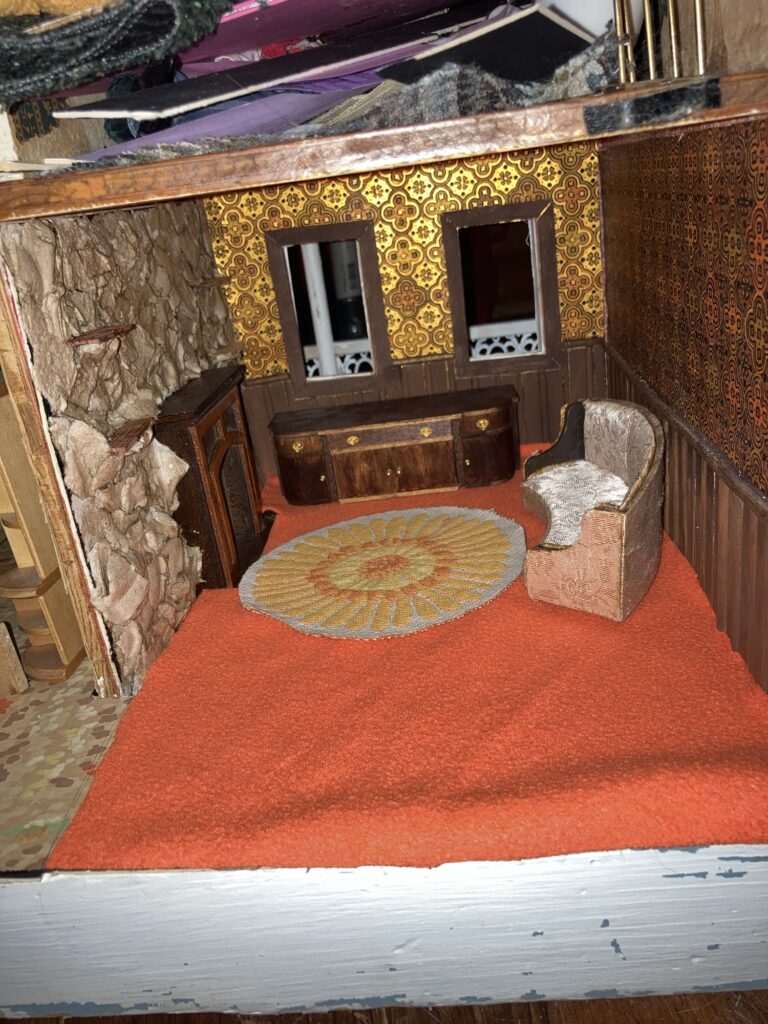
I haven’t been able to decide on a floor color, so I have tried several different colors of “carpet.”
Brown shag. I was hoping this would be a similar shade to the wood of the floor, as I like the rich warm hues, but it seems a little washed out to me now. (This is part of an autumn themed fuzzy pillow from a thrift store)Orange fuzzy (it’s the inside of an old sweatshirt, so it has that worn fuzzy carpet look to it 😆)Green (this is an old carpet sample)
I also tried a puke yellow but it definitely didn’t look good with the wallpaper. I am thinking of sewing an orange trim around my flower rug, and i would love to reupholster my couch to something like the orange flower velvet I used to see all the time, but haven’t found a good material for that, yet. Any thoughts? Which carpet do YOU think would look best? Leave a comment with your thoughts!
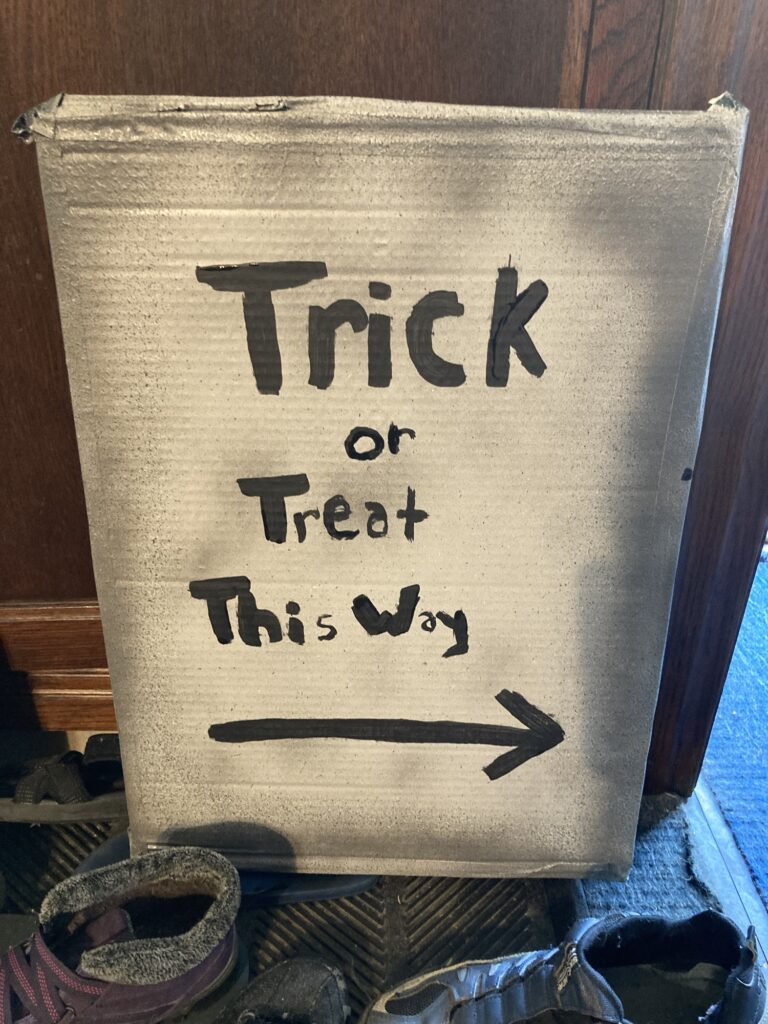
I decided this year to make some gravestones that we will set out in our yard for trick or treaters. I wanted something easy and inexpensive that I could do with my child.
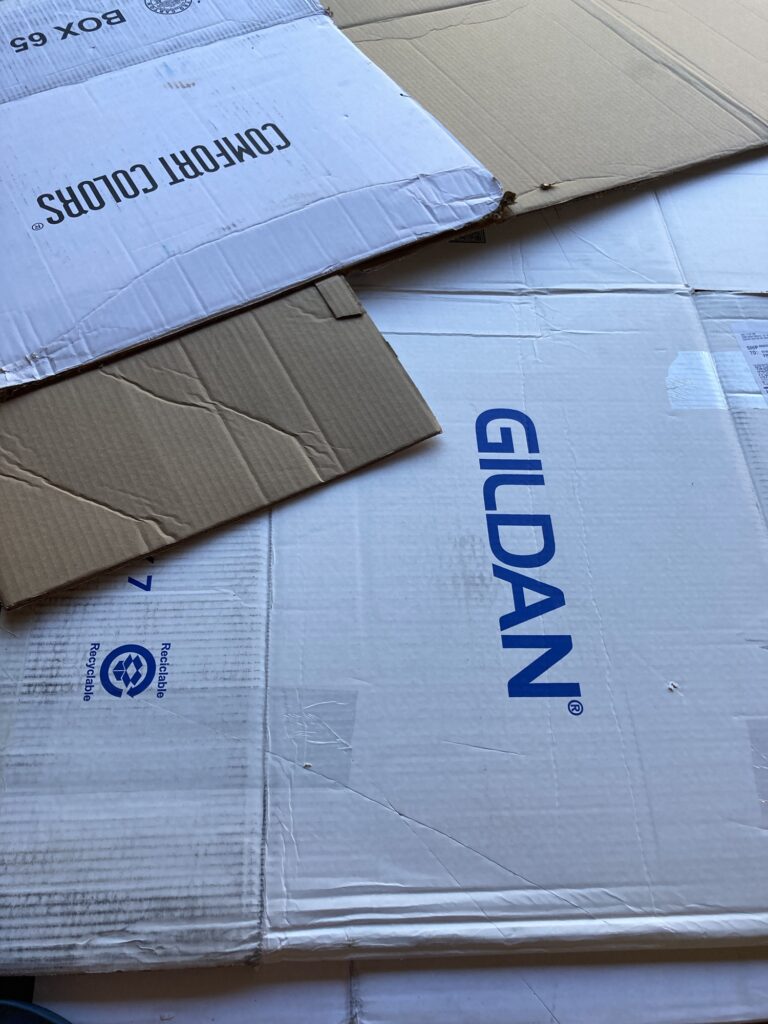
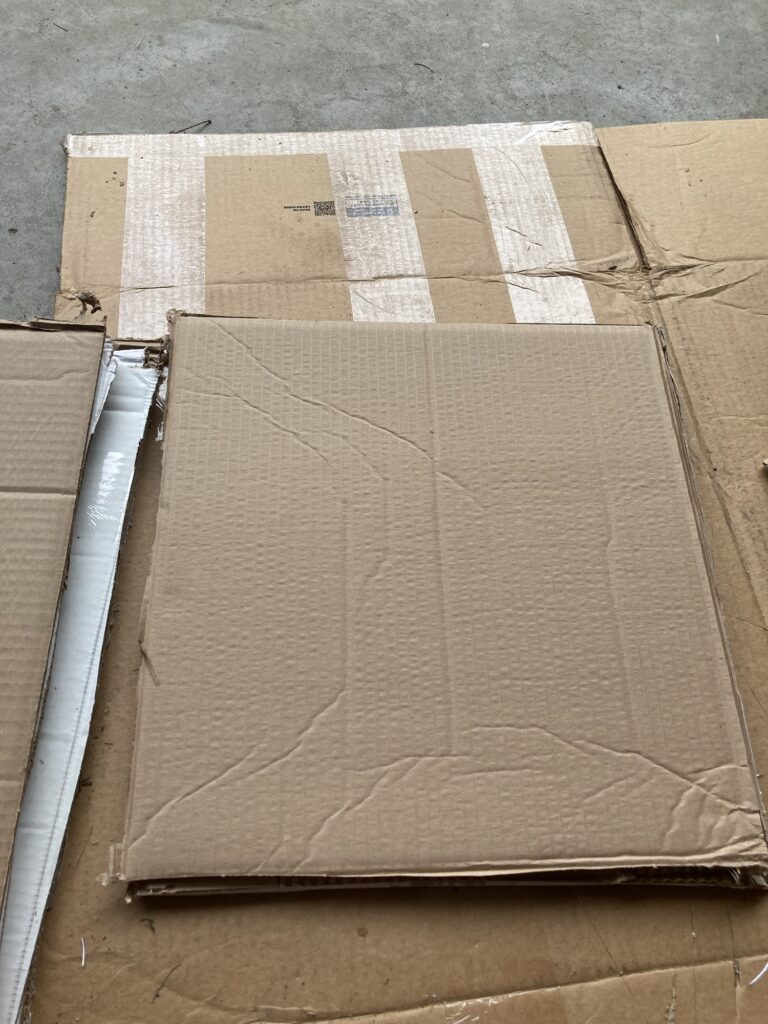
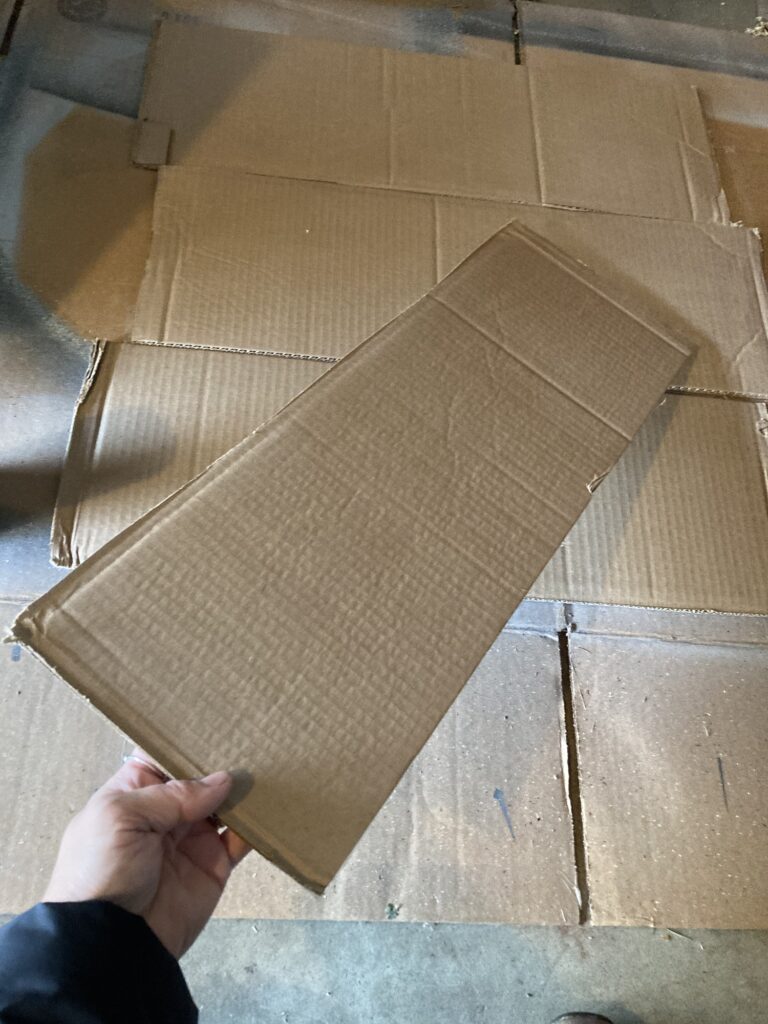
We started out with big pieces of cardboard cut from old boxes.
I cut out the shapes I wanted with a box cutter, cutting 3 duplicate pieces per headstone, so I can make them thicker.
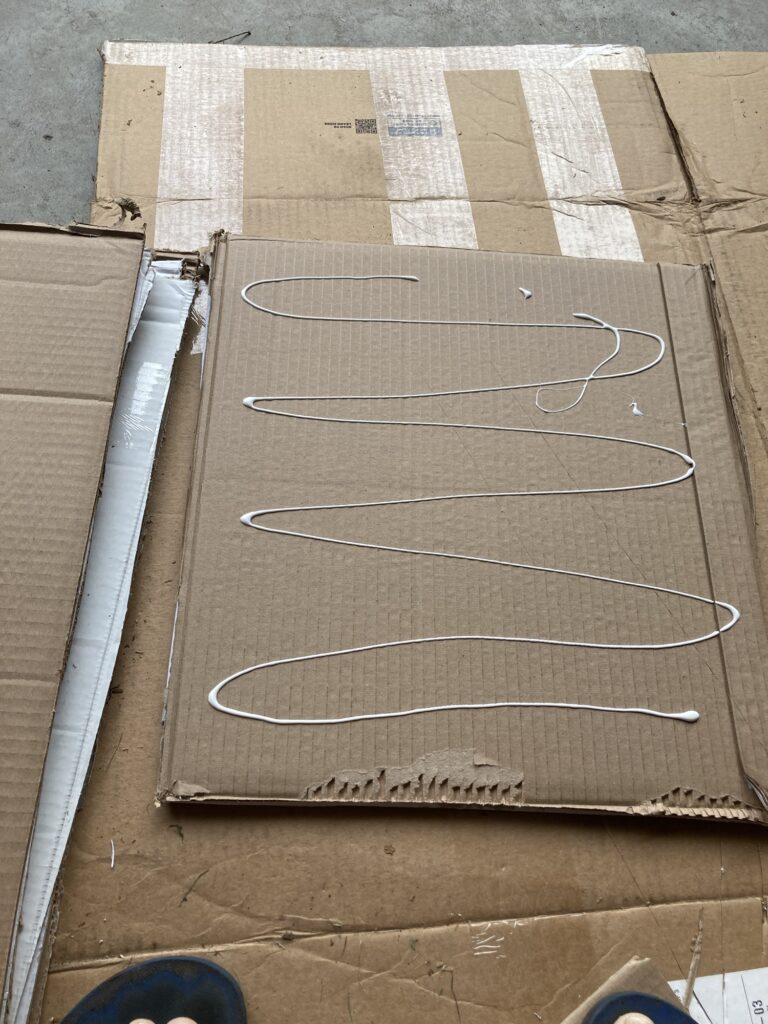
Applying glue
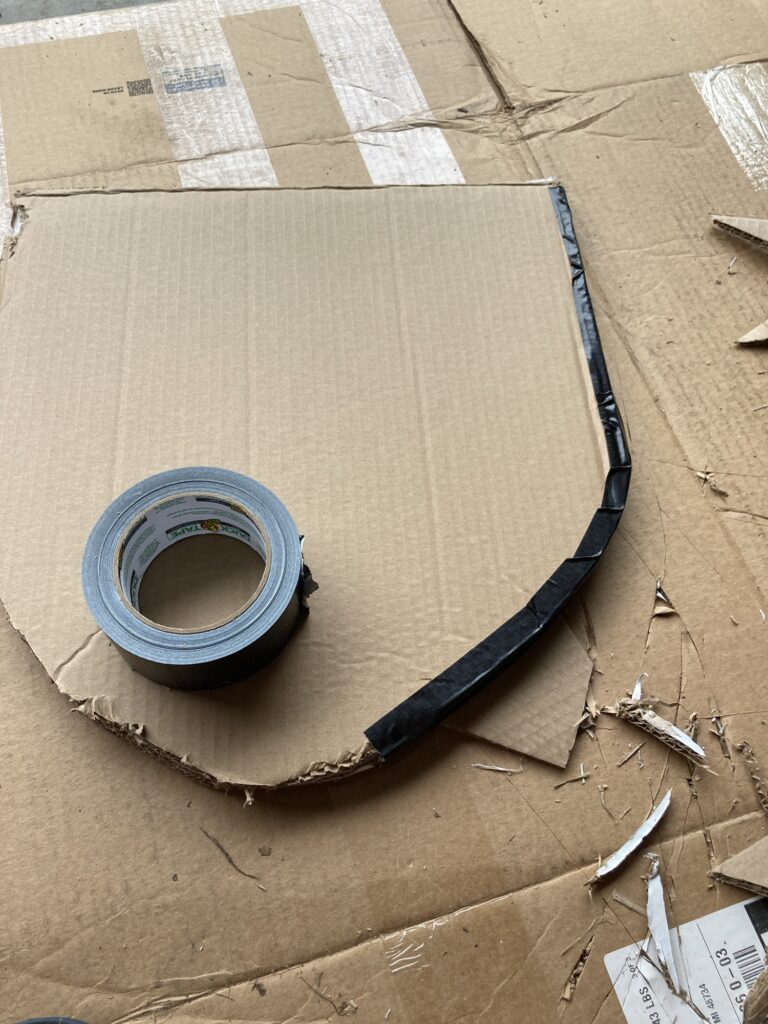
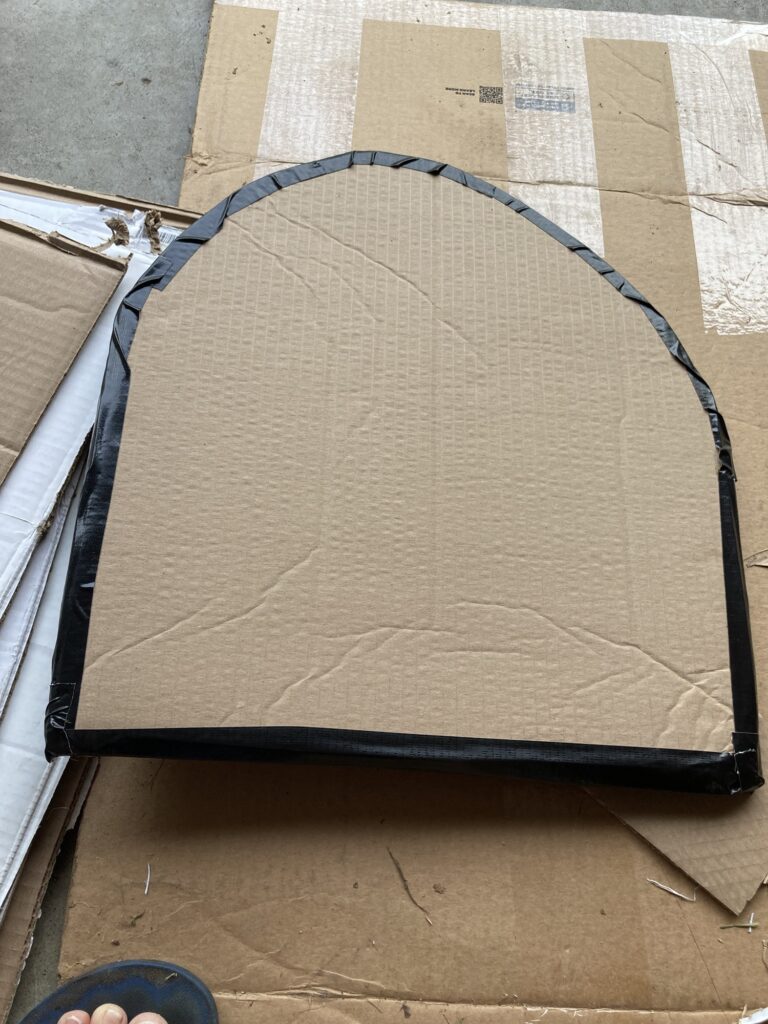
Next i glued the 3 pieces together. Then I used duct tape to seal off the edges of each stone, as I would like for them to last a while without falling apart or getting bugs inside.
Applying duct tape.Duct tape applied to edges
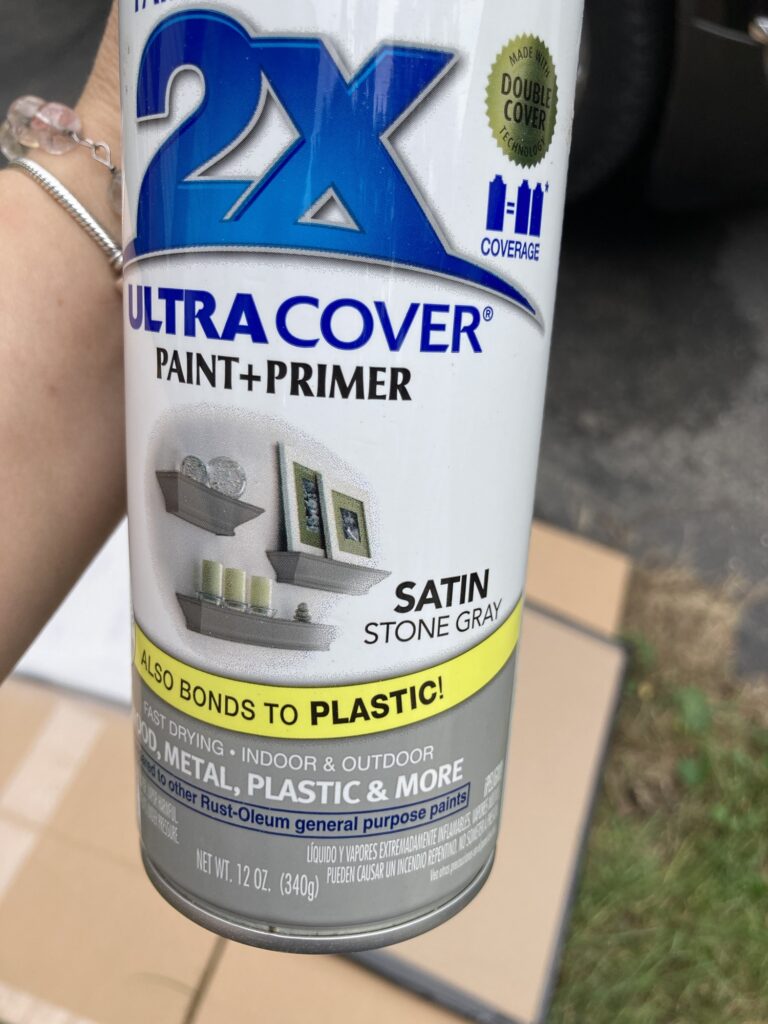
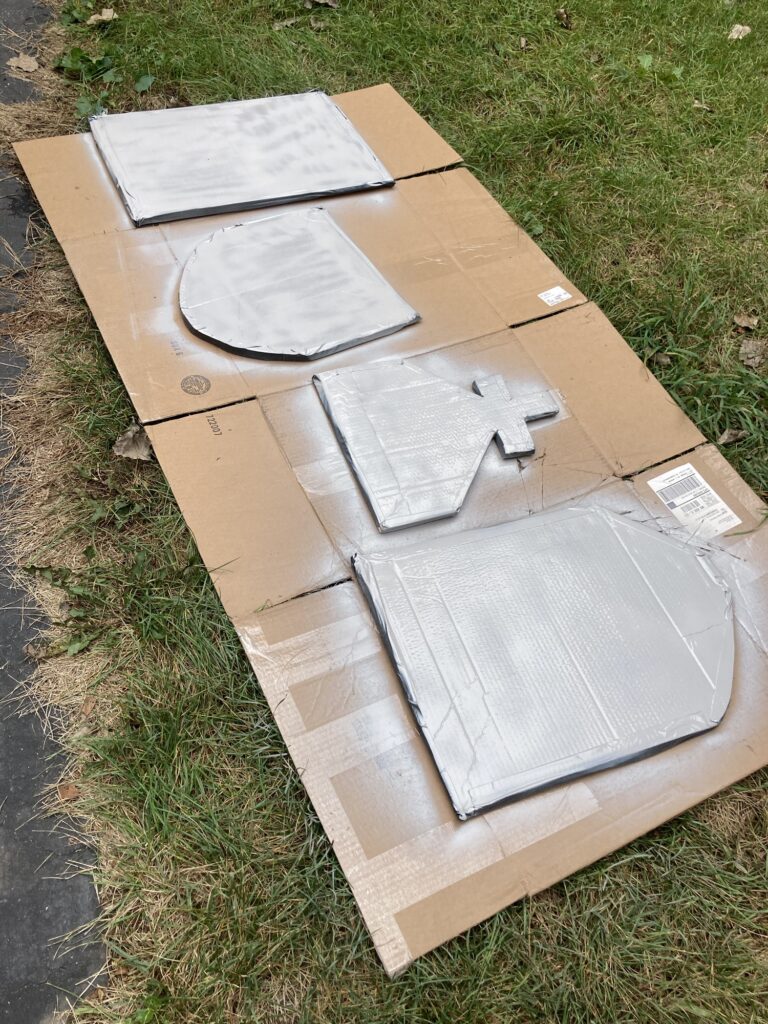
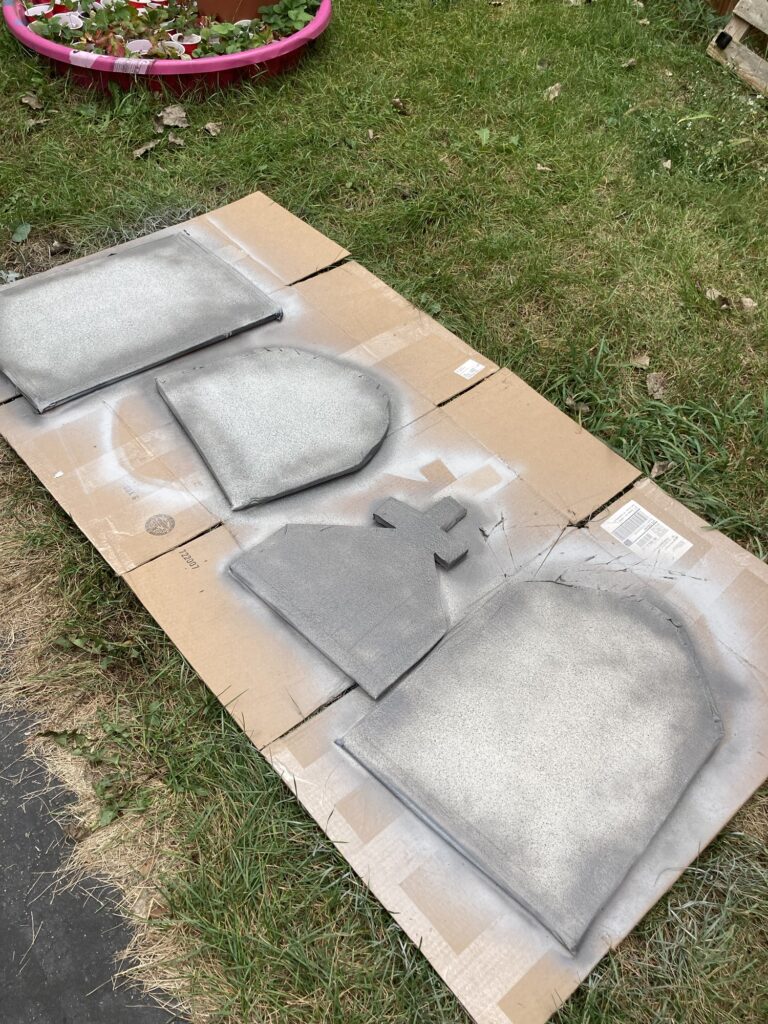
After all of my stones are prepared, I need to paint them. I used Rustleum paints.
My base coatBase coat applied.
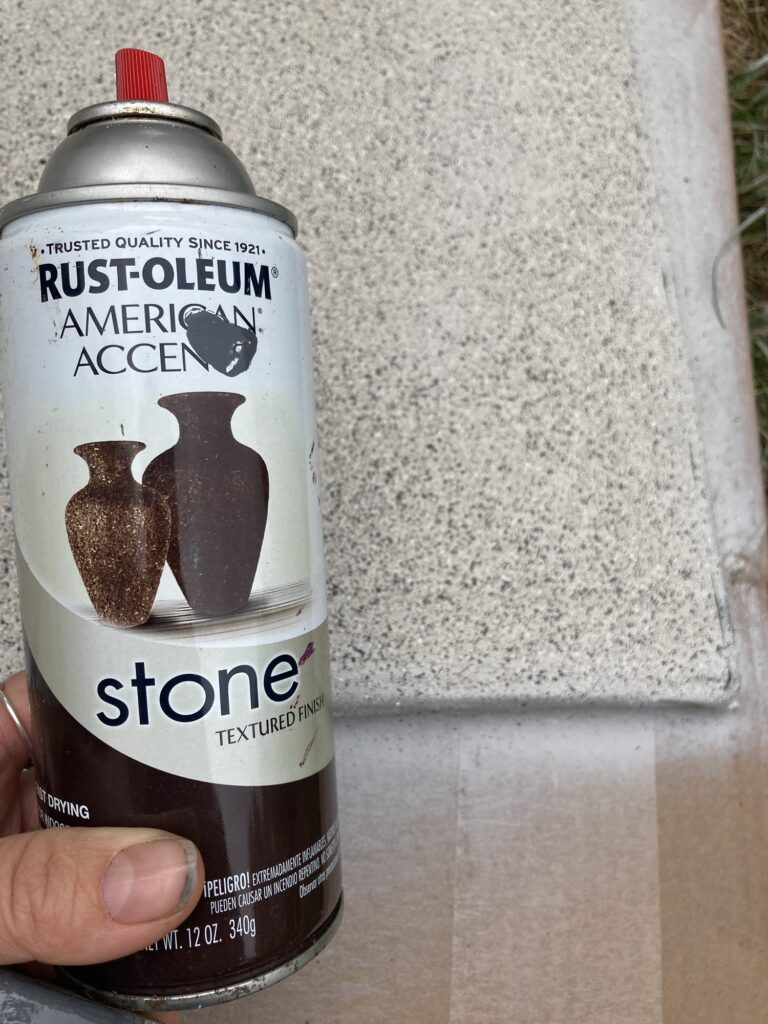
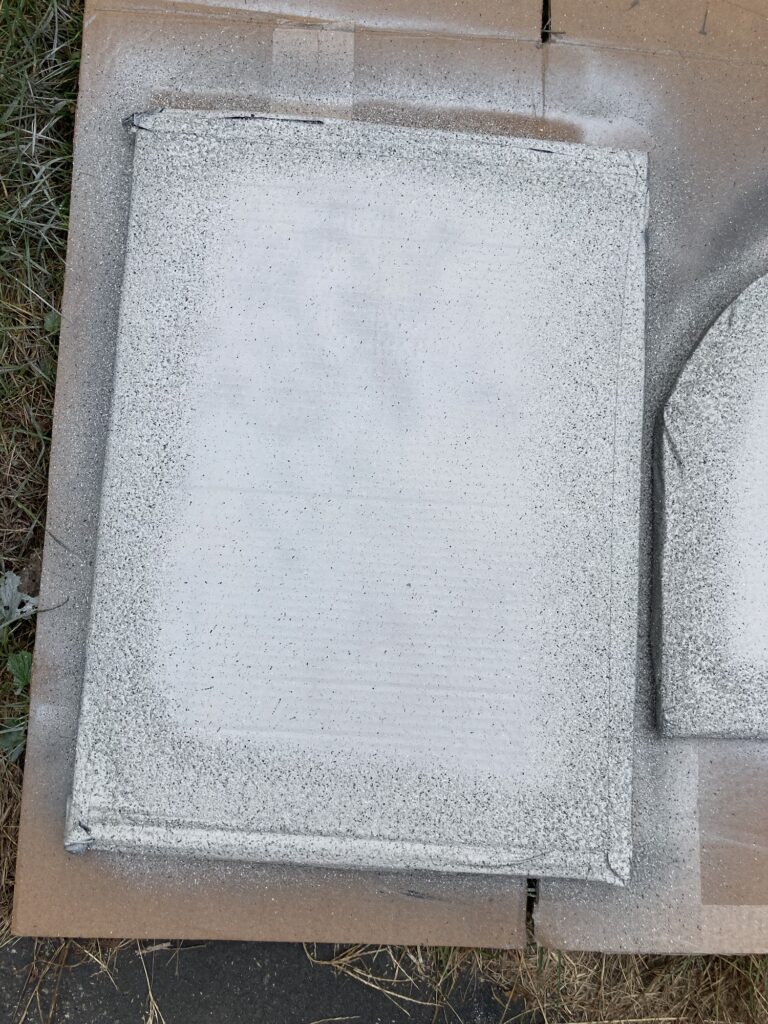
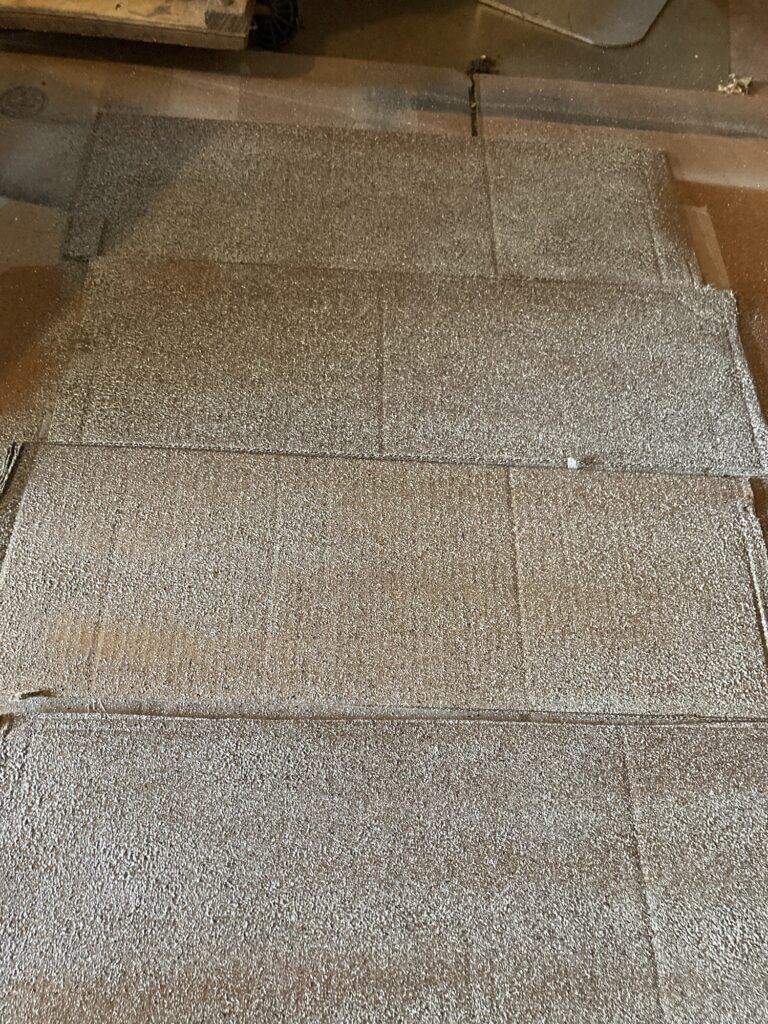
Next I used a stone texture paint.
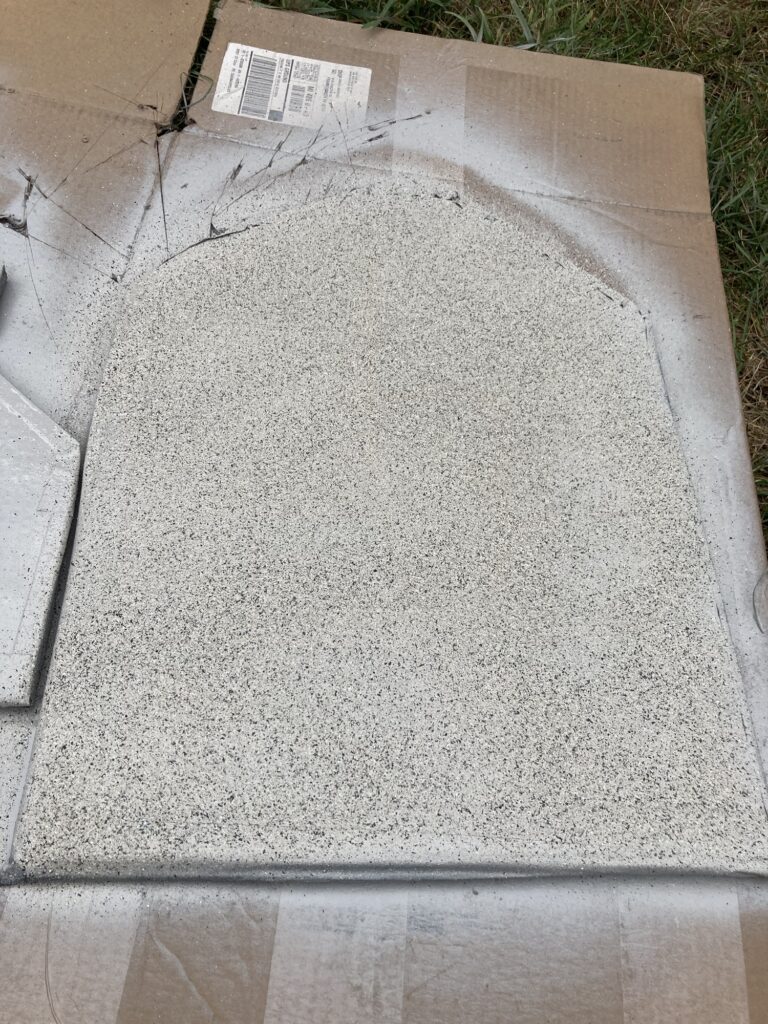
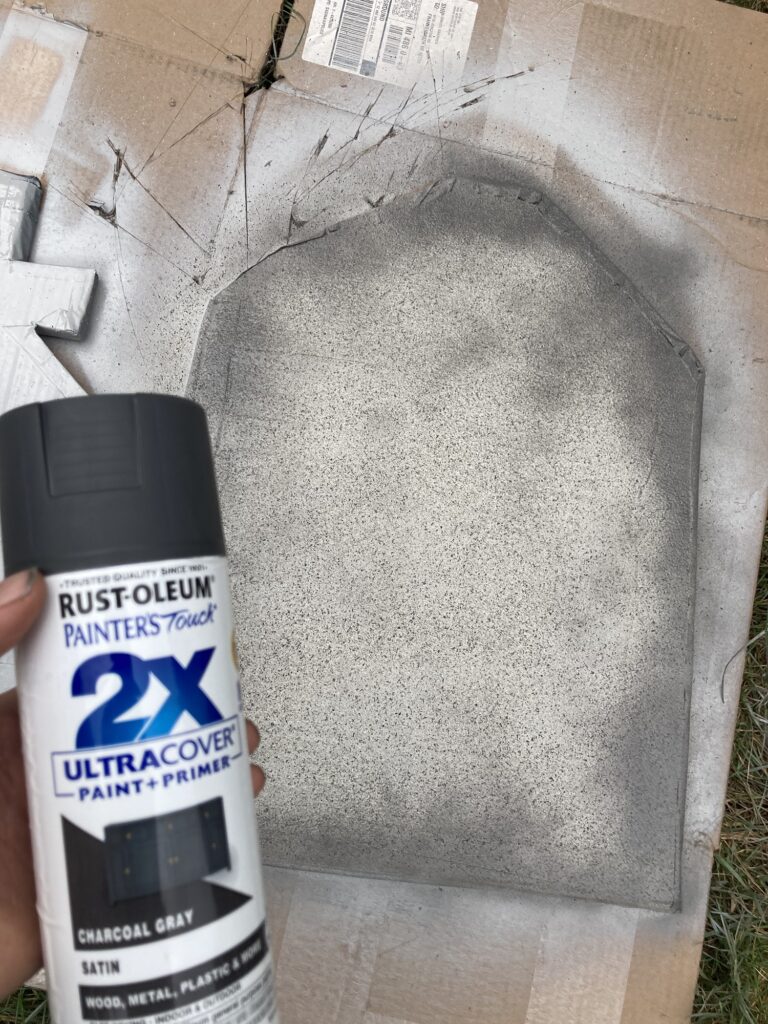
I painted the backs completely with the stone textured paint, as I don’t plan on adding words to this side.Adding some shadows to the back, over top of the stone texture.
I added a darker gray to the edges of the back so it looks more spooky and aged.
All of the backs done! Now I wait for the paint to dry completely before moving on to the fronts.
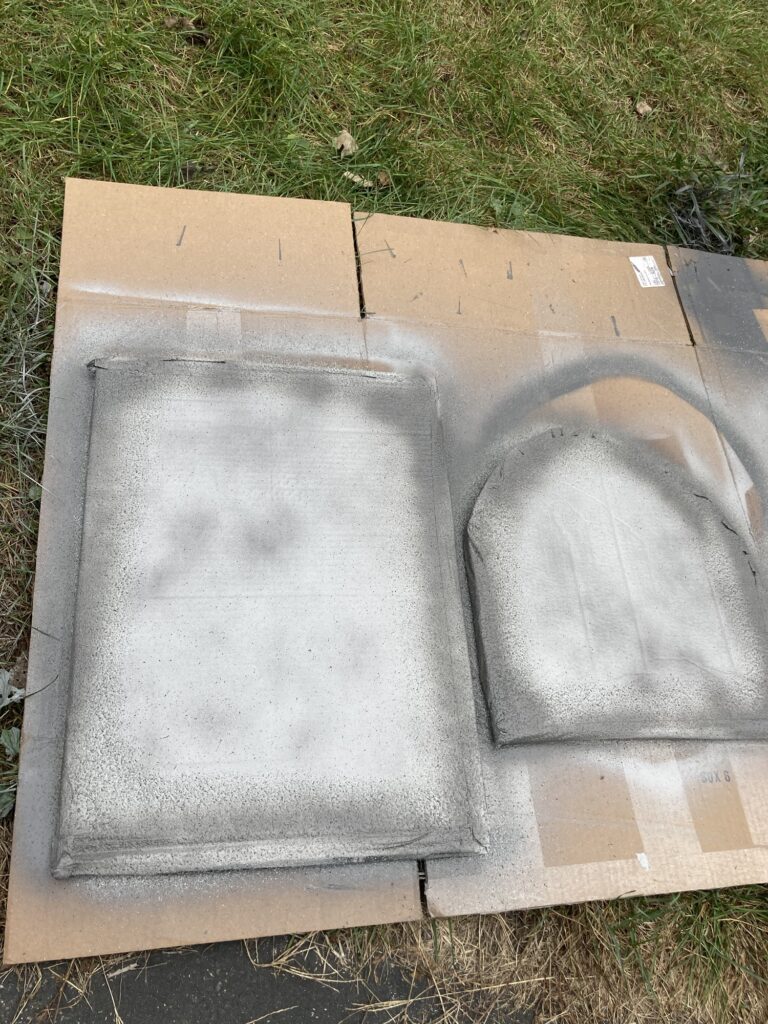
For the fronts I painted just the edges with textured paint so it is easier to write our words on.
And some shadow.
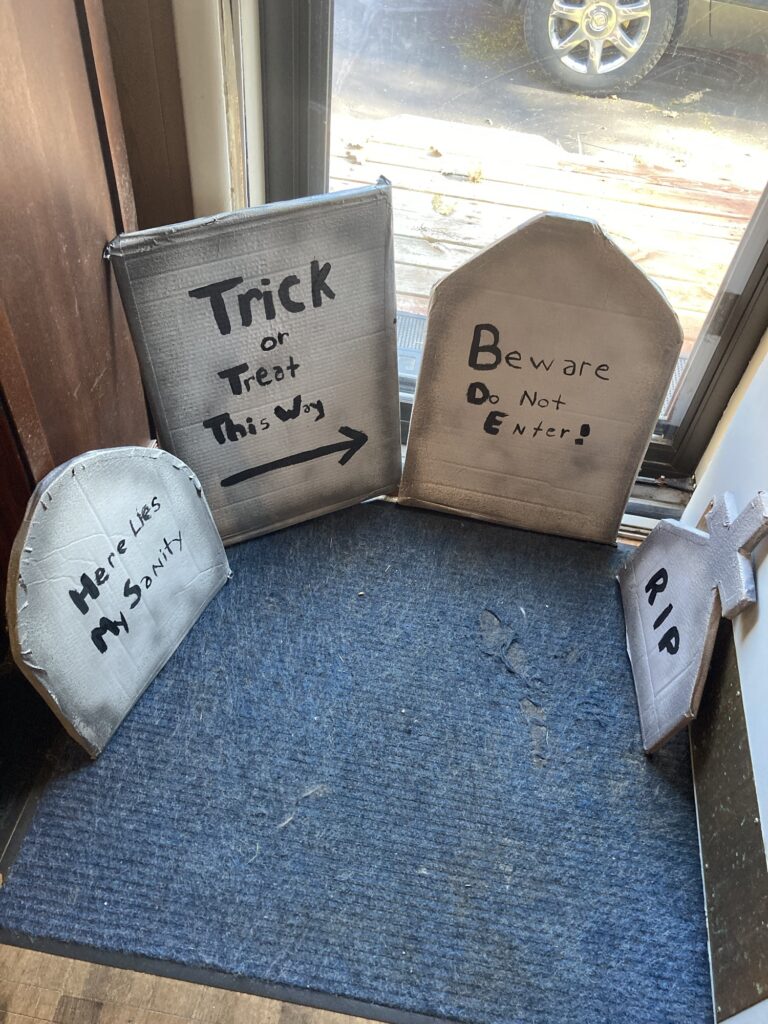
After the front is completely dry it is time to add words. I chose to let my child paint the words on as a fun project. I wrote the words and she painted over them.
In order to make these gravestones stand up, I decided to make a base for them.
I took the folded flaps of the boxes I cut up.
I gave them a quick coat of paint. You can be more elaborate if you want, but I just put some stone texture on them so they look a bit like dirt.
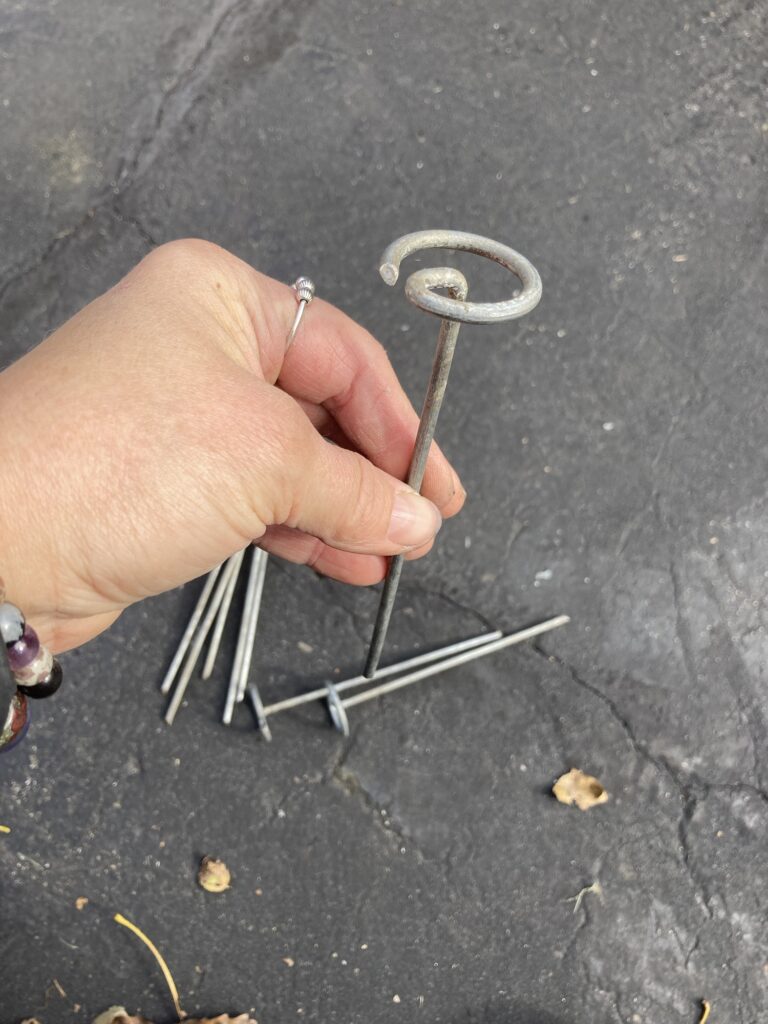
I found some landscape staples that I had for my garden. These are really nice staples but you could use any kind.
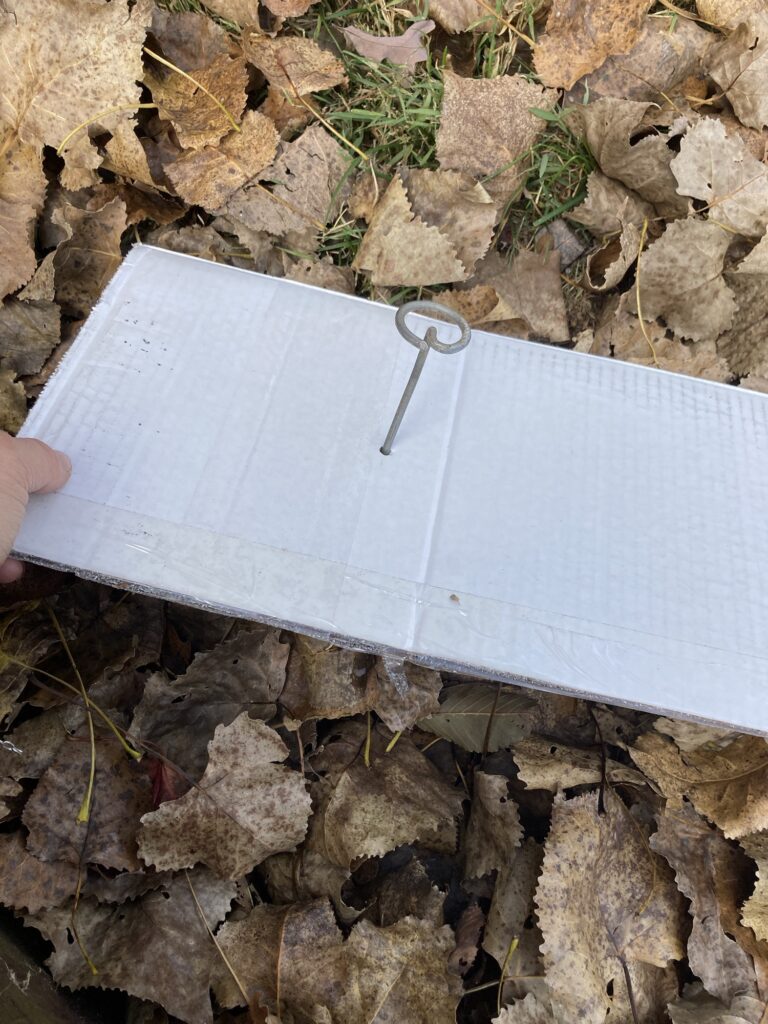
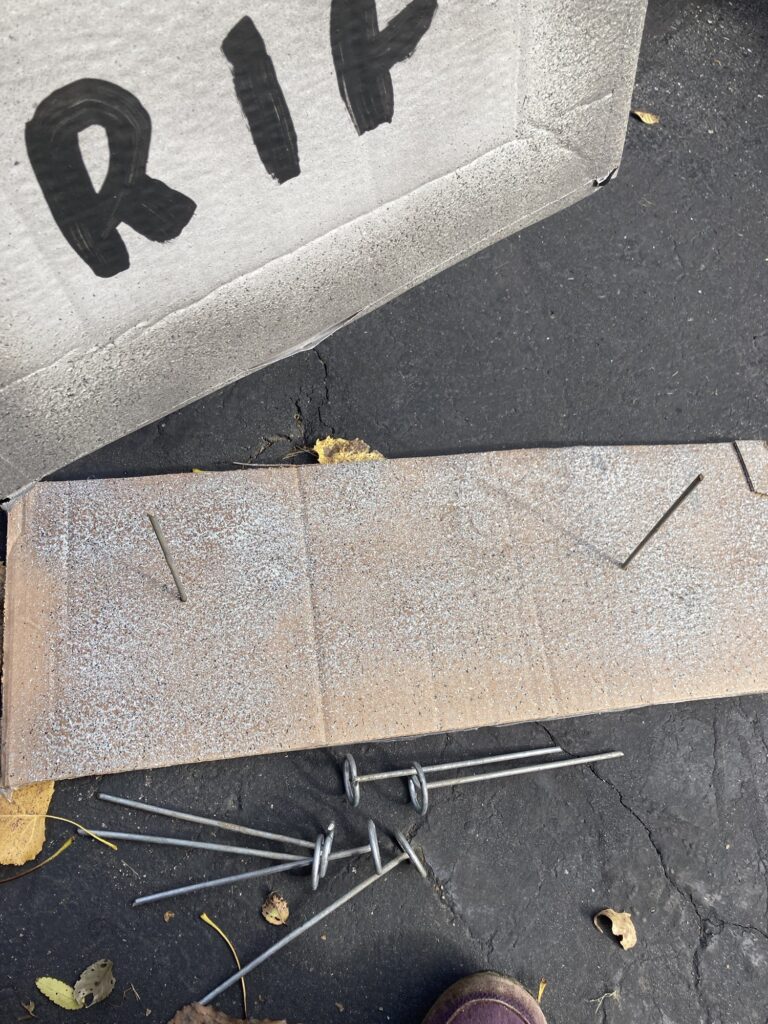
I inserted the staple into the UNDERSIDE of the base, so that the pointed part is going to be coming up on top.
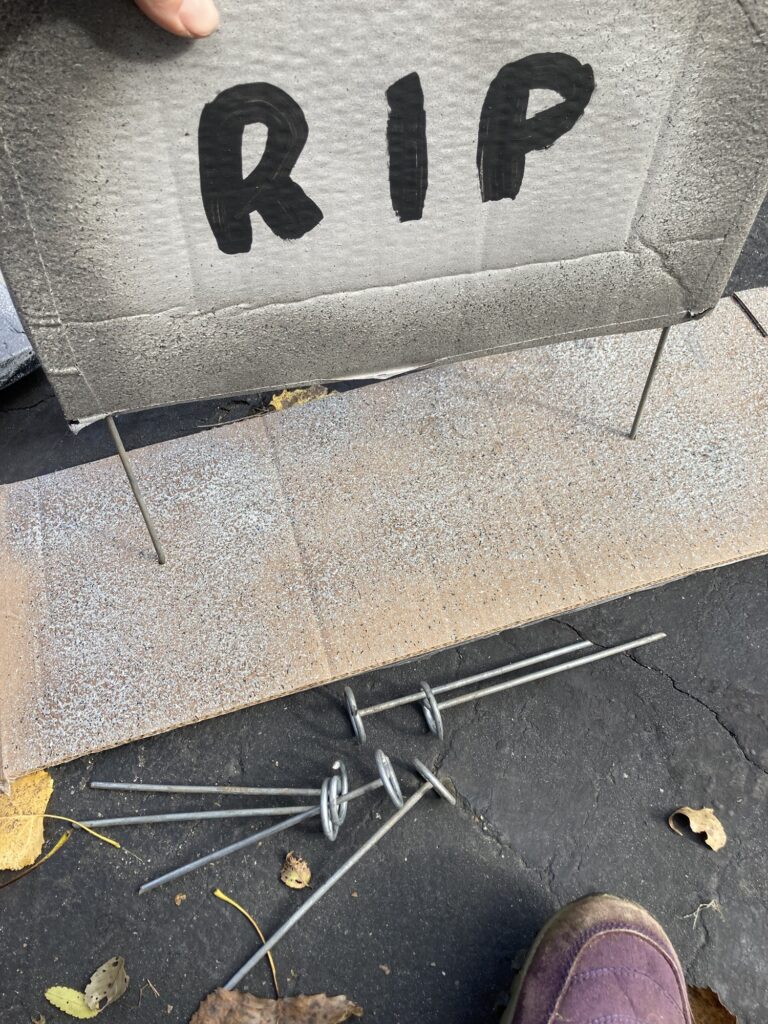
I inserted two staples on either side, so that the gravestone can be carefully pushed onto the staple. Keep a hard surface underneath so that the staple stays in place.
I gently pushed the gravestone so that the staple points go into the middle of the cardboard.
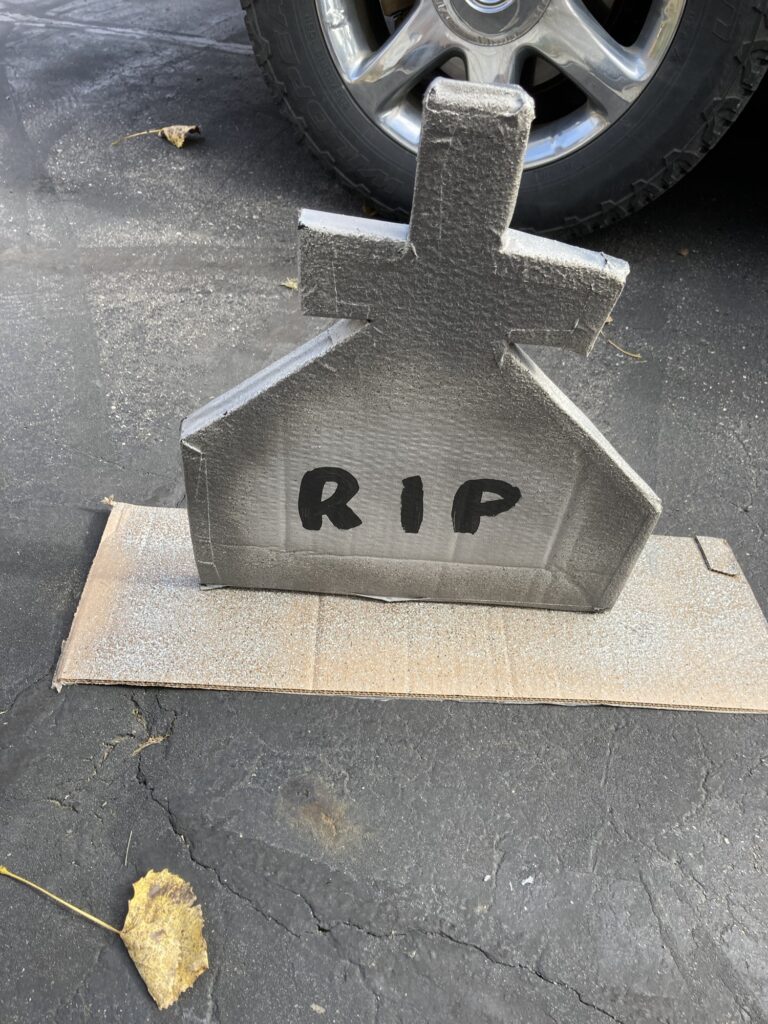
Now I have a more stable base to hold the stones upright! If it gets windy on Halloween, I can set a heavy stone on the base to hold the gravestone in place, or I can put some landscaping staples into the base to pin it to the ground.
Finished ghosts with glow-in-the-dark paint on them.
I have been wanting to make some ghosts for a while to inhabit my antique church. My church is a little on the rough side, so making it a bit haunted seems reasonable (without, of course, altering or damaging my church in any way). Anyway, this is a solution I really like.
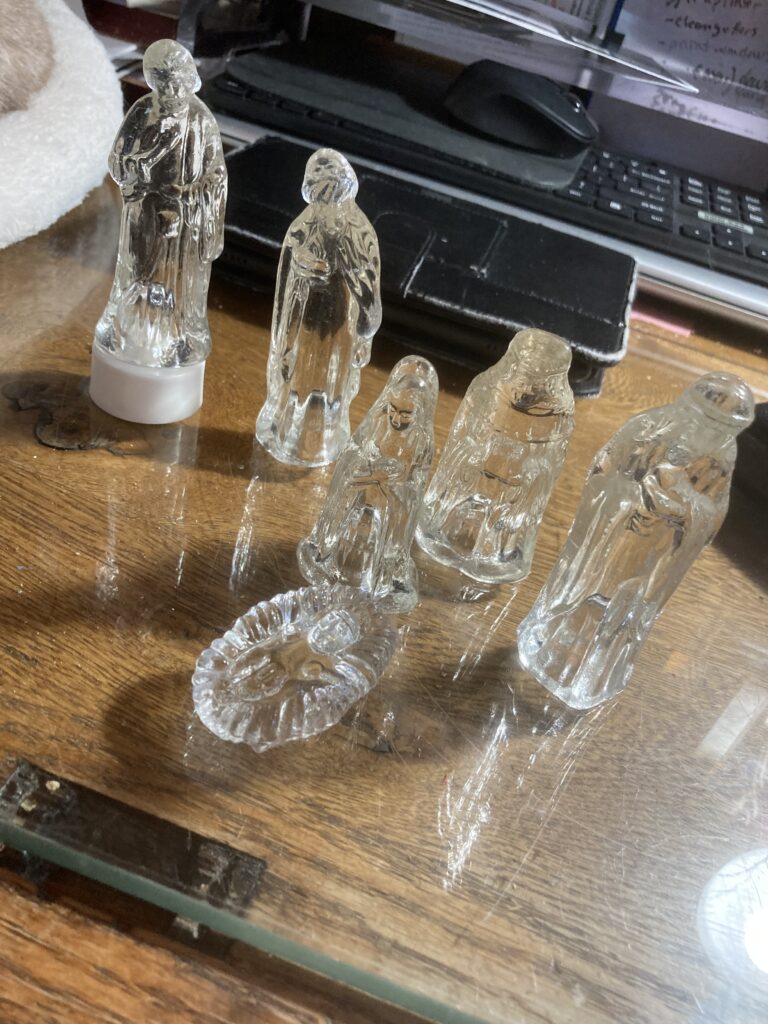
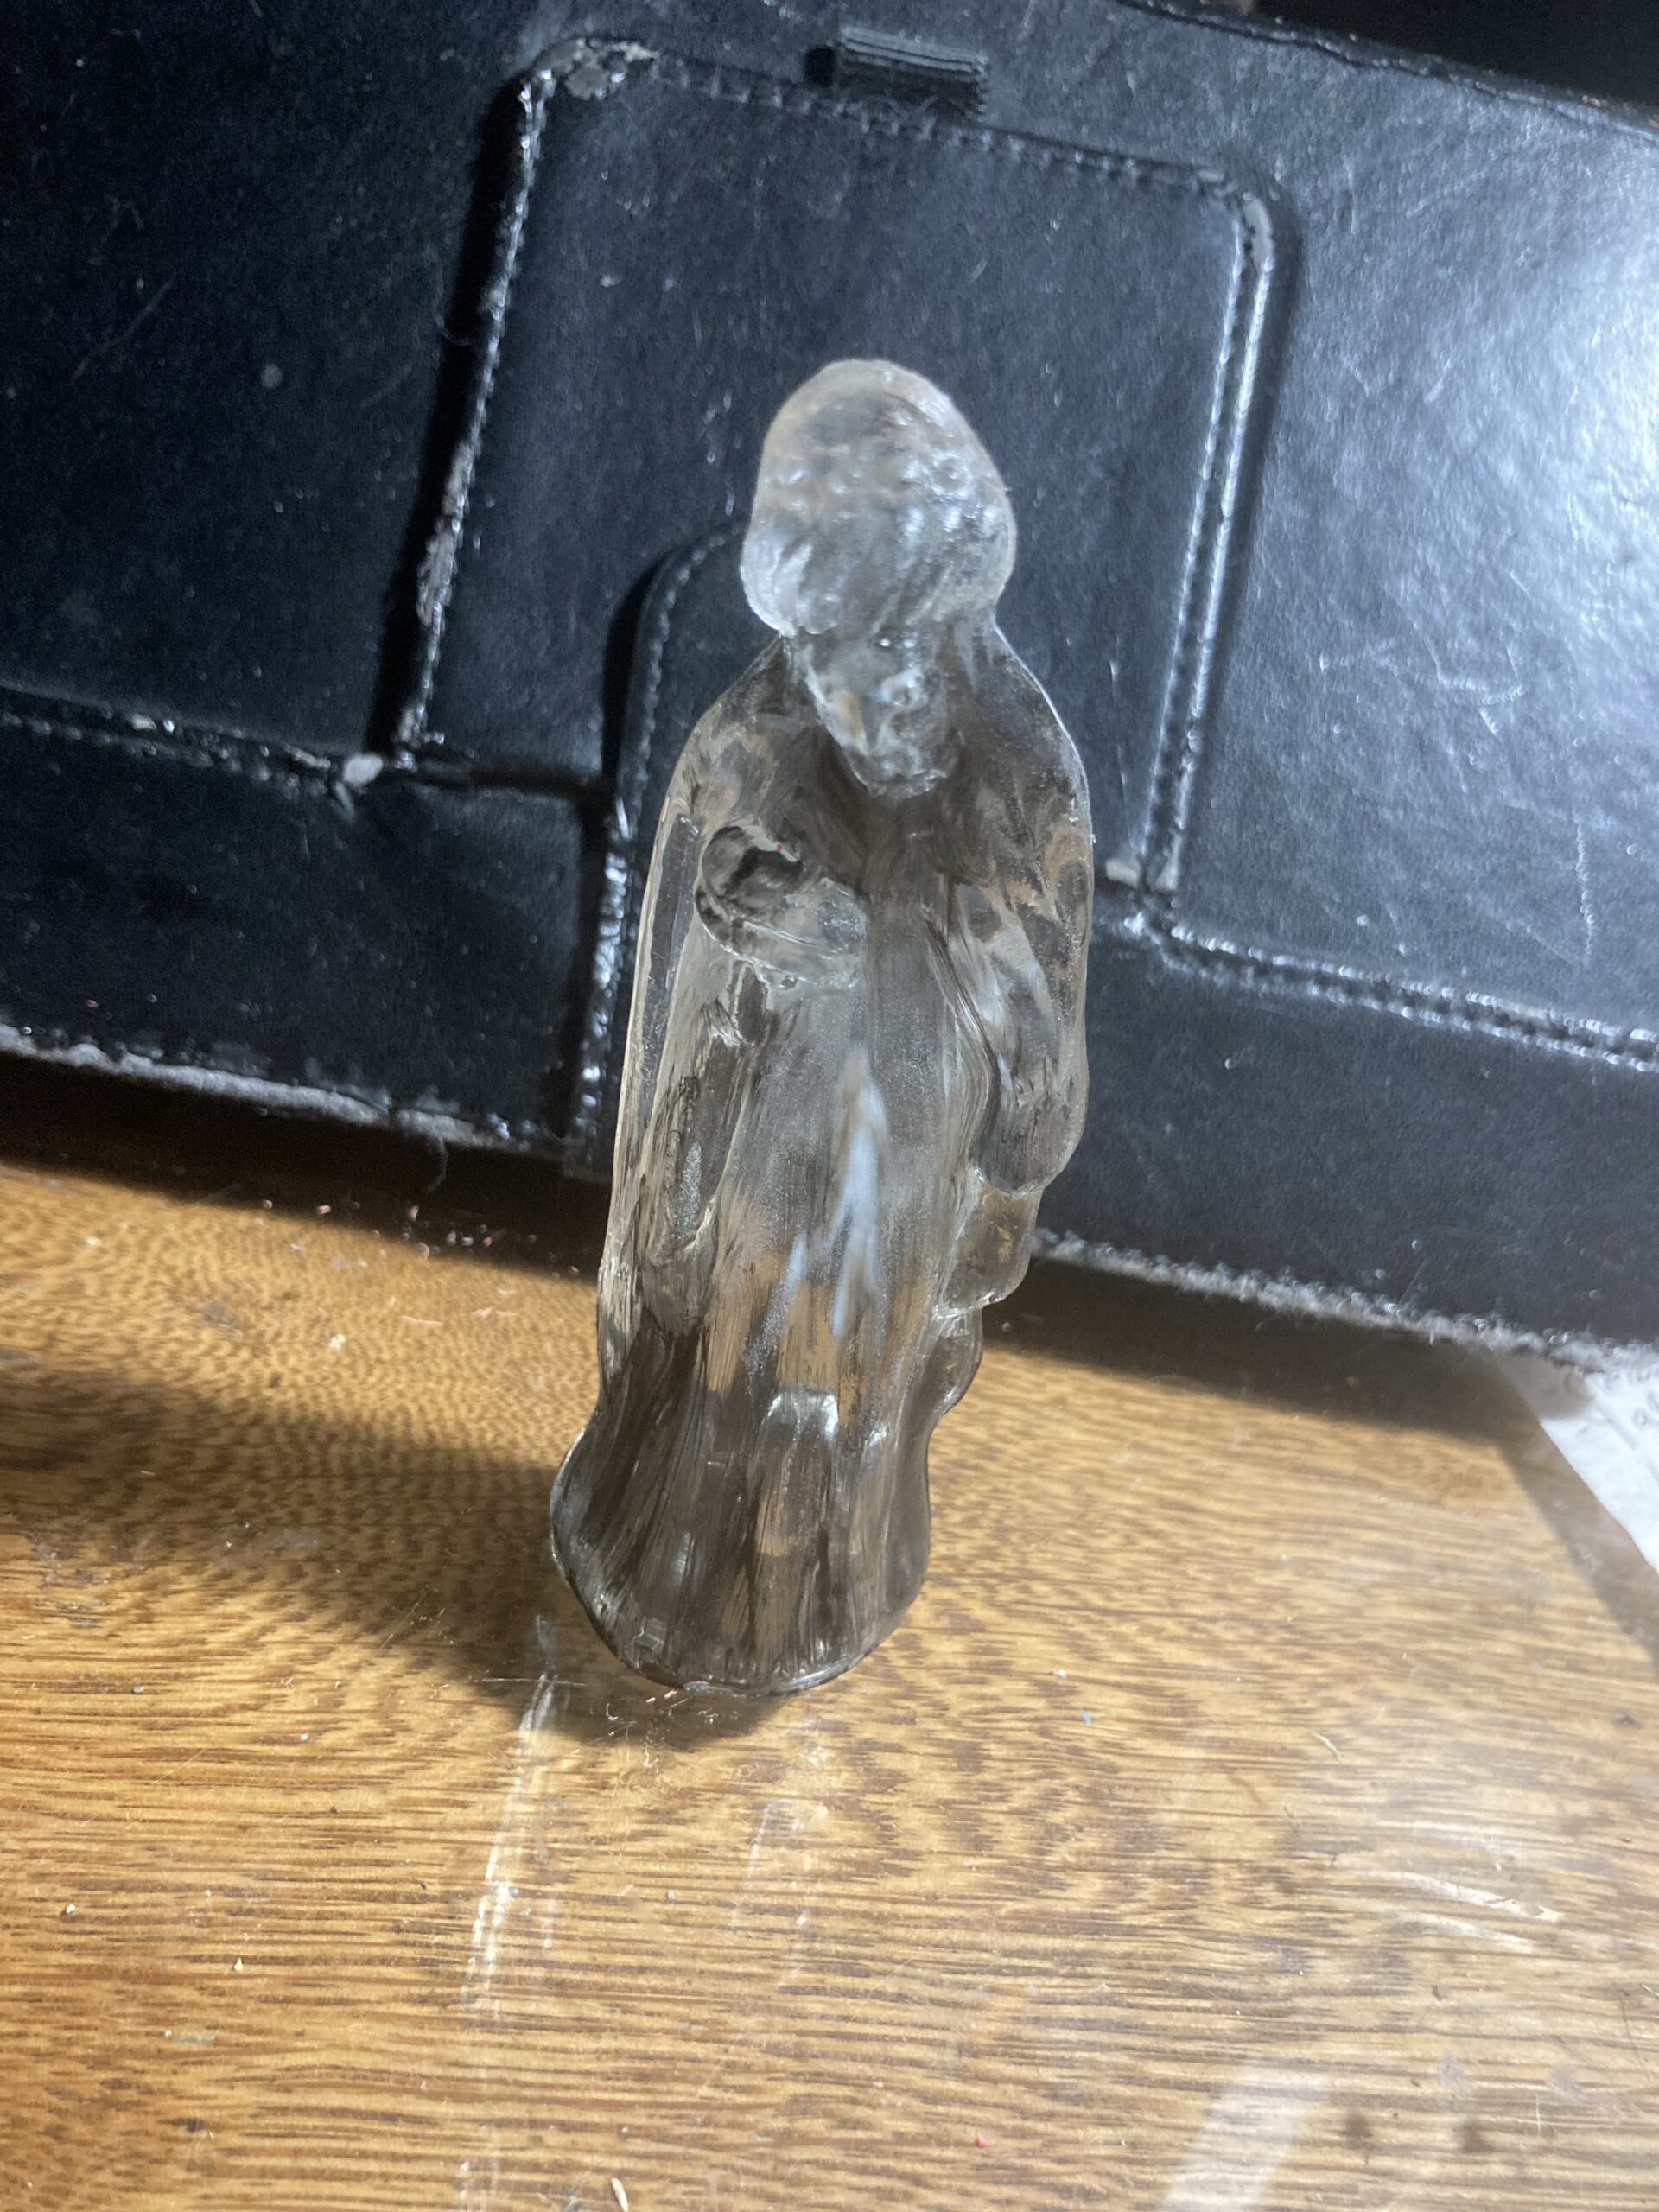
I started looking for clear glass figurines, and finally settled on a nativity set.
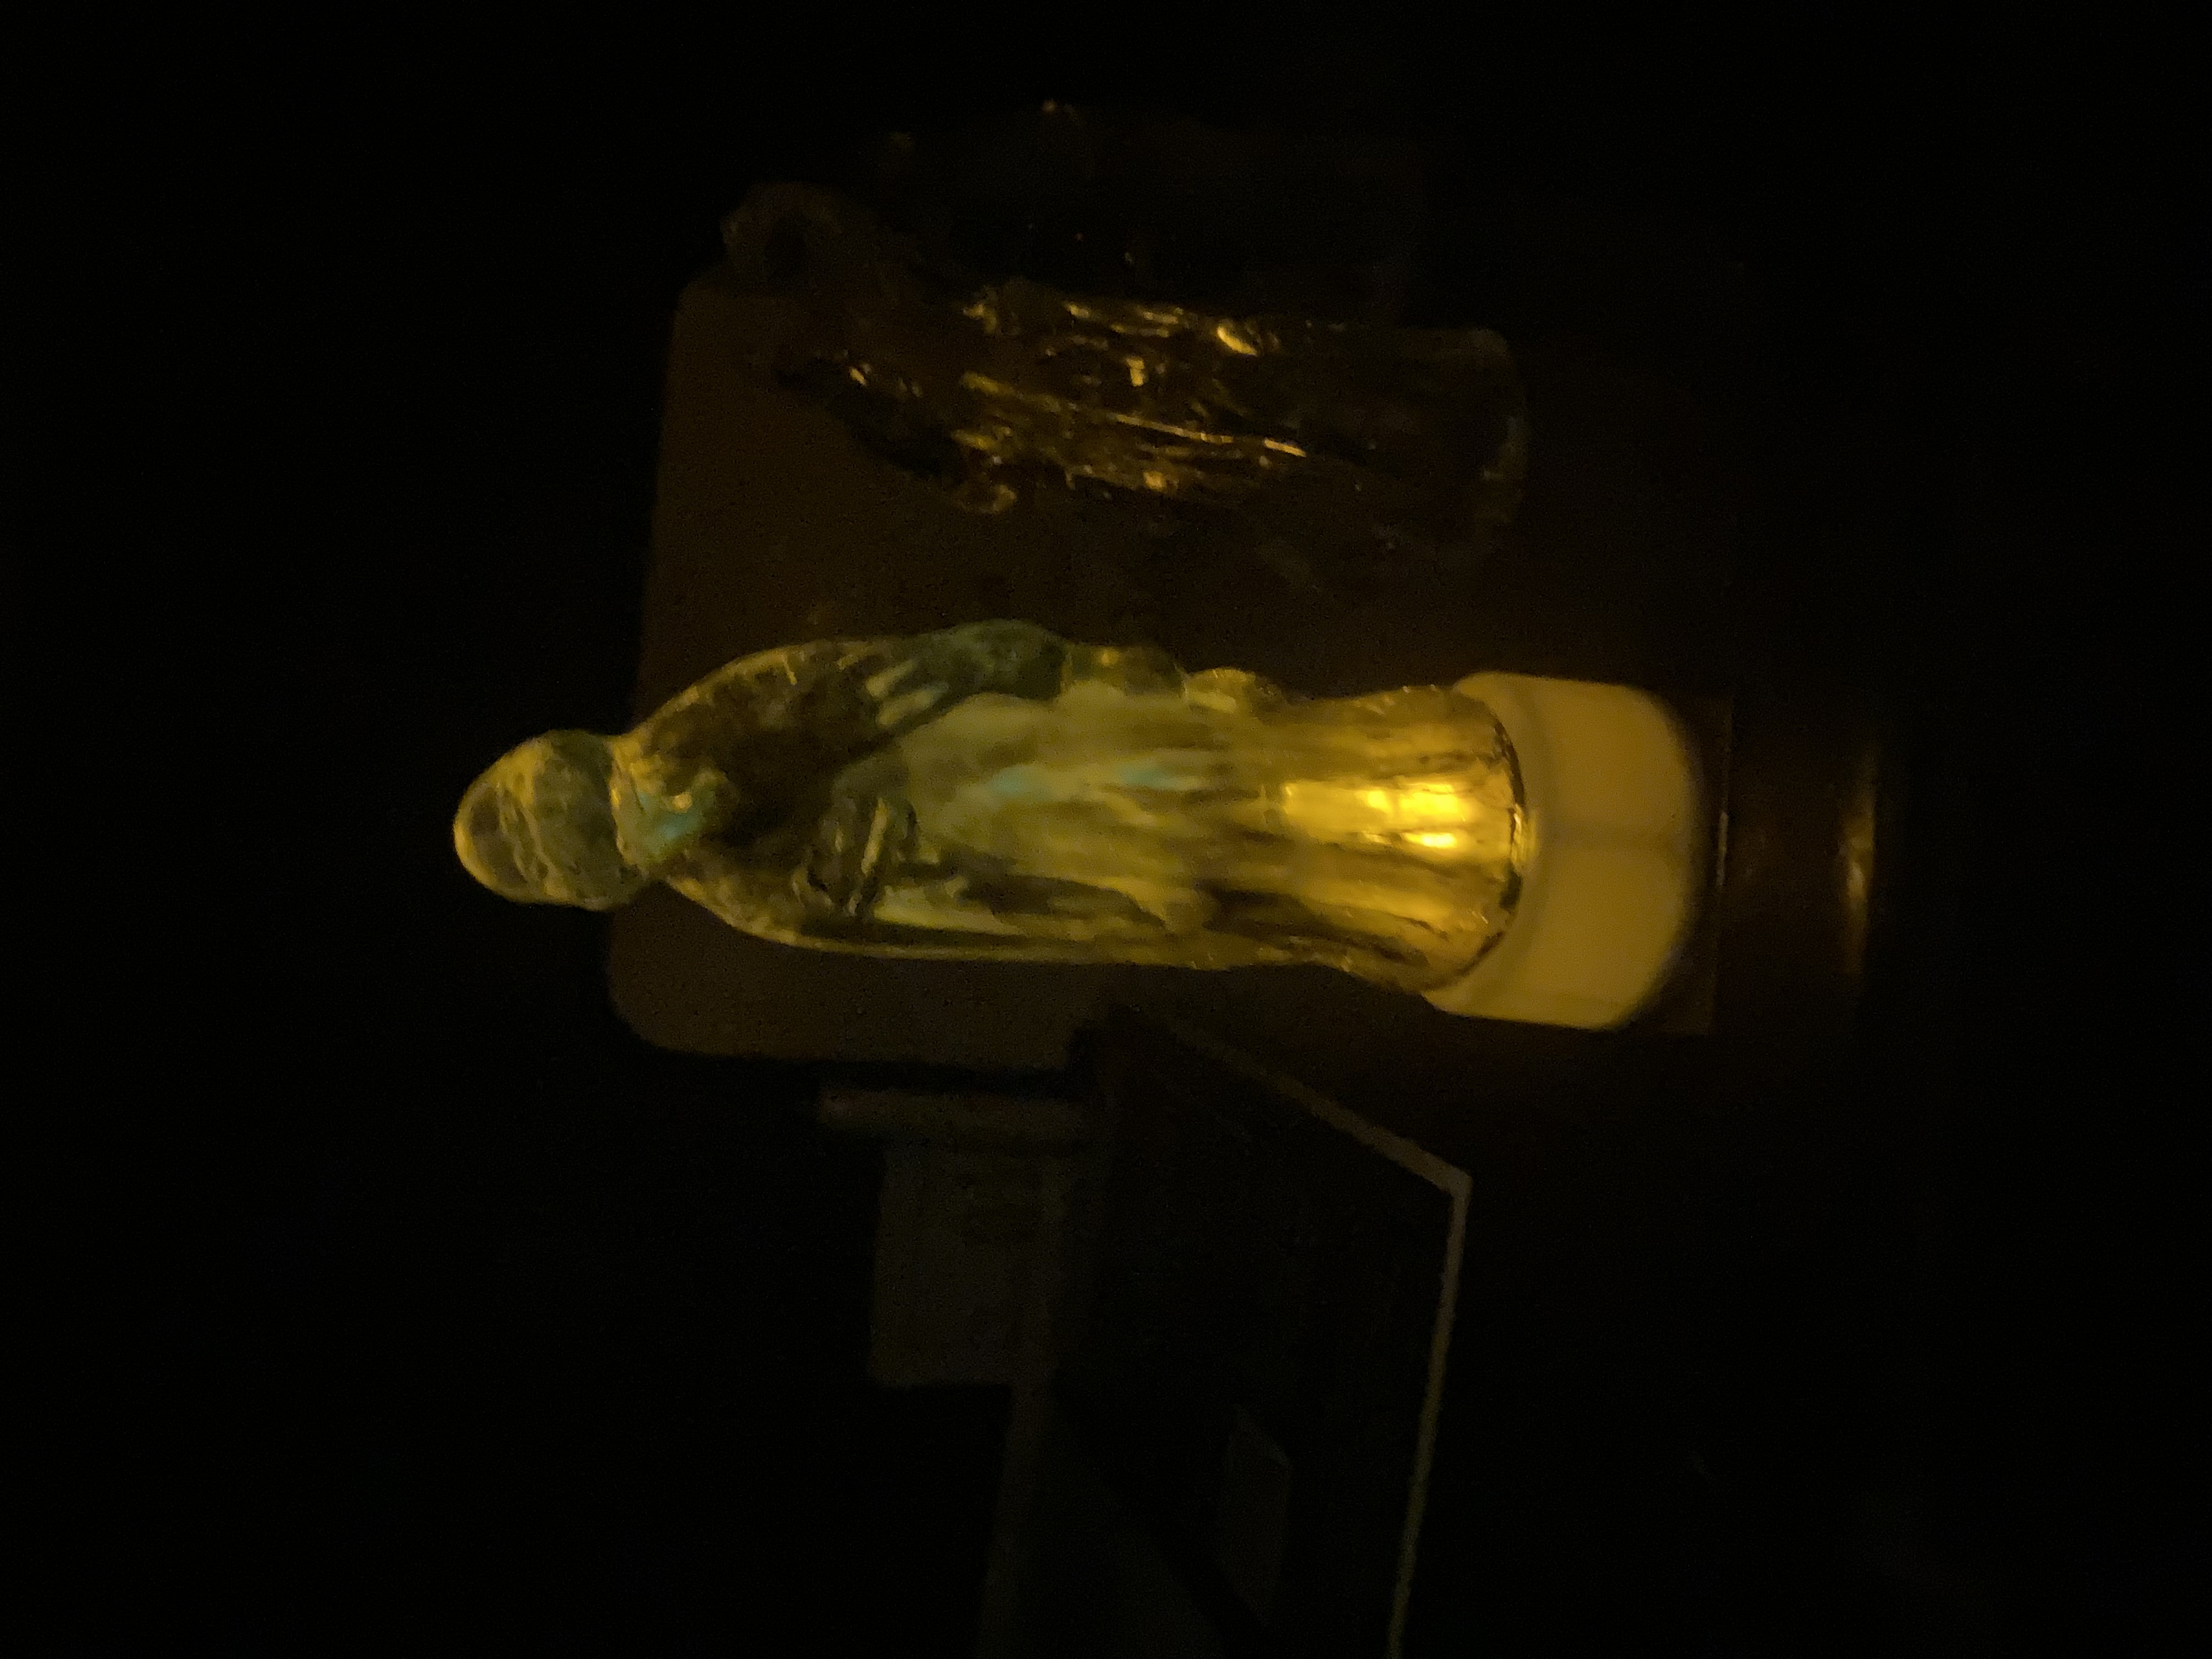
These figures worked out perfect! The base is a bit hollow, so a battery operated votive candle can be used, if desired, to light it up (the figure in the upper left corner is standing on a votive candle.)
These figures will fit well in my church, as they are about the right scale for the building, and also they look holy. I decided that, for my purposes, I wanted them to glow by themselves instead of having them elevated by sitting on candles. The candles would work fine if I had them in different settings, but I like using glow-in-the-dark paint.
The glow-in-the-dark paint I use is just a run of the mill crafting paint that can be found in the paint aisle of many craft supply stores. There are different brands and probably any brand will work. I bought mine from Walmart. I also used a darker paint for shadows; I believe I used payne’s gray acrylic.
I watered down the payne’s gray and put layers of paint in areas I want to be shaded, just to add more definition to the form, because otherwise the clear glass makes it hard to make out details. After the shadows, I put on thicker layers of the glowing paint in the raised areas like the head and hands, shoulders, sleeves, etc.
After painting the shadows and glowing highlights.
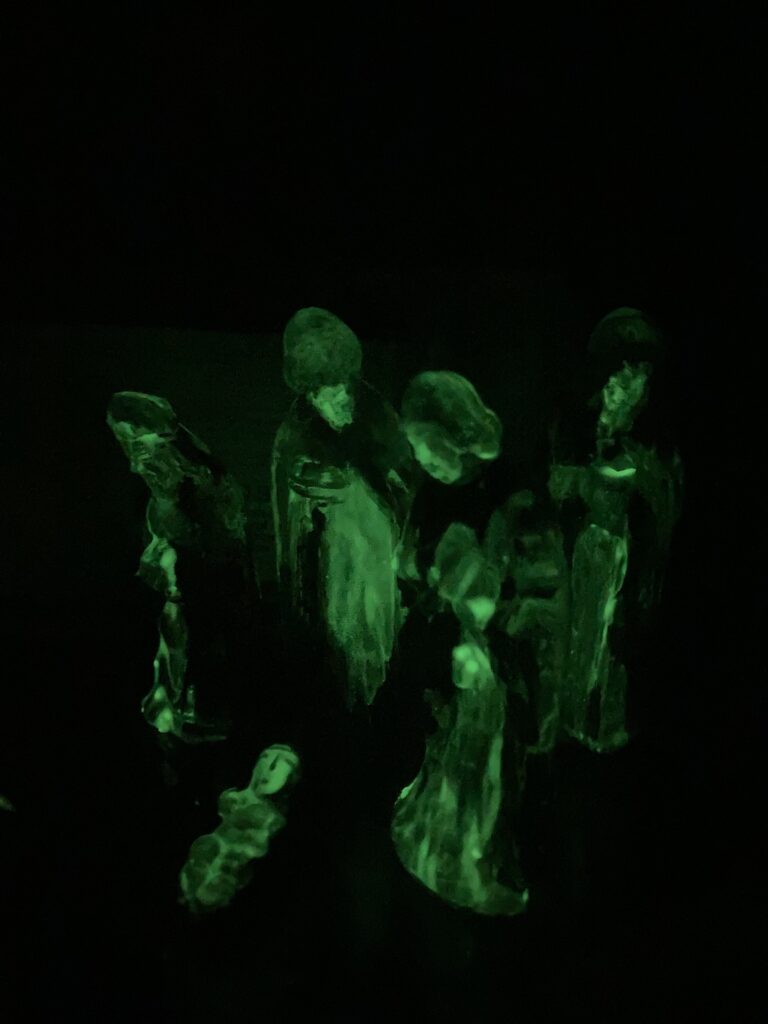
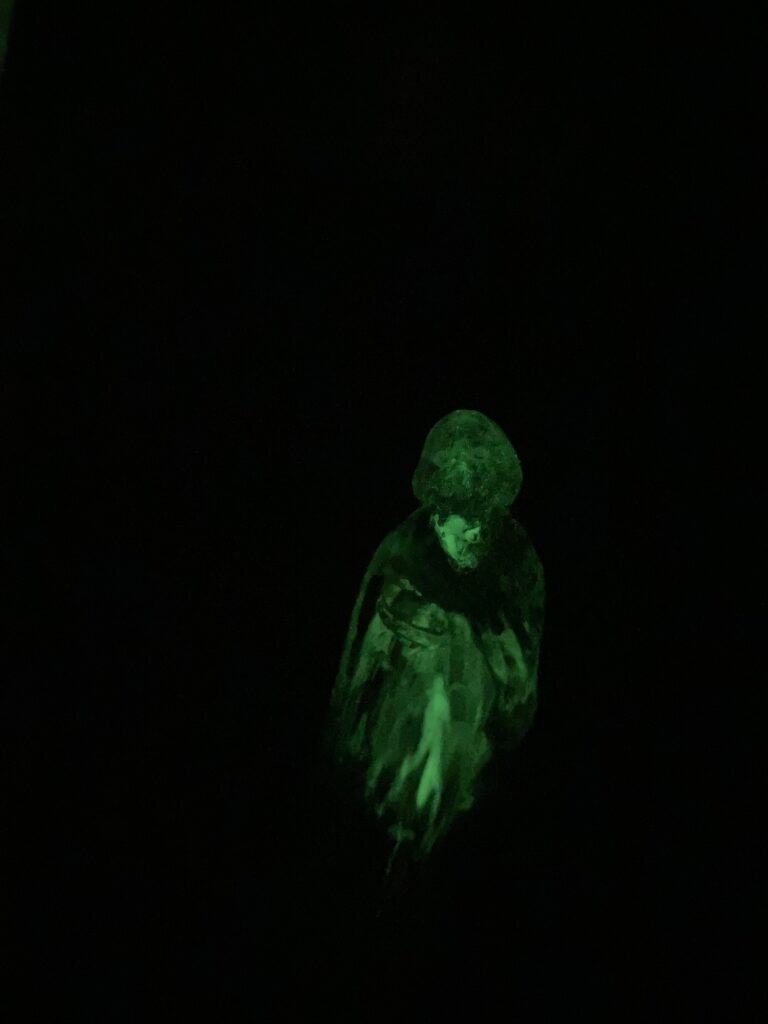
In order to make the figure glow, you need to hold it under a light, shine a flashlight on it, or just keep it in a well-lit place for a while to ‘charge’ it. The glow won’t last for very long before it needs recharging with a light source, but it is still fun.
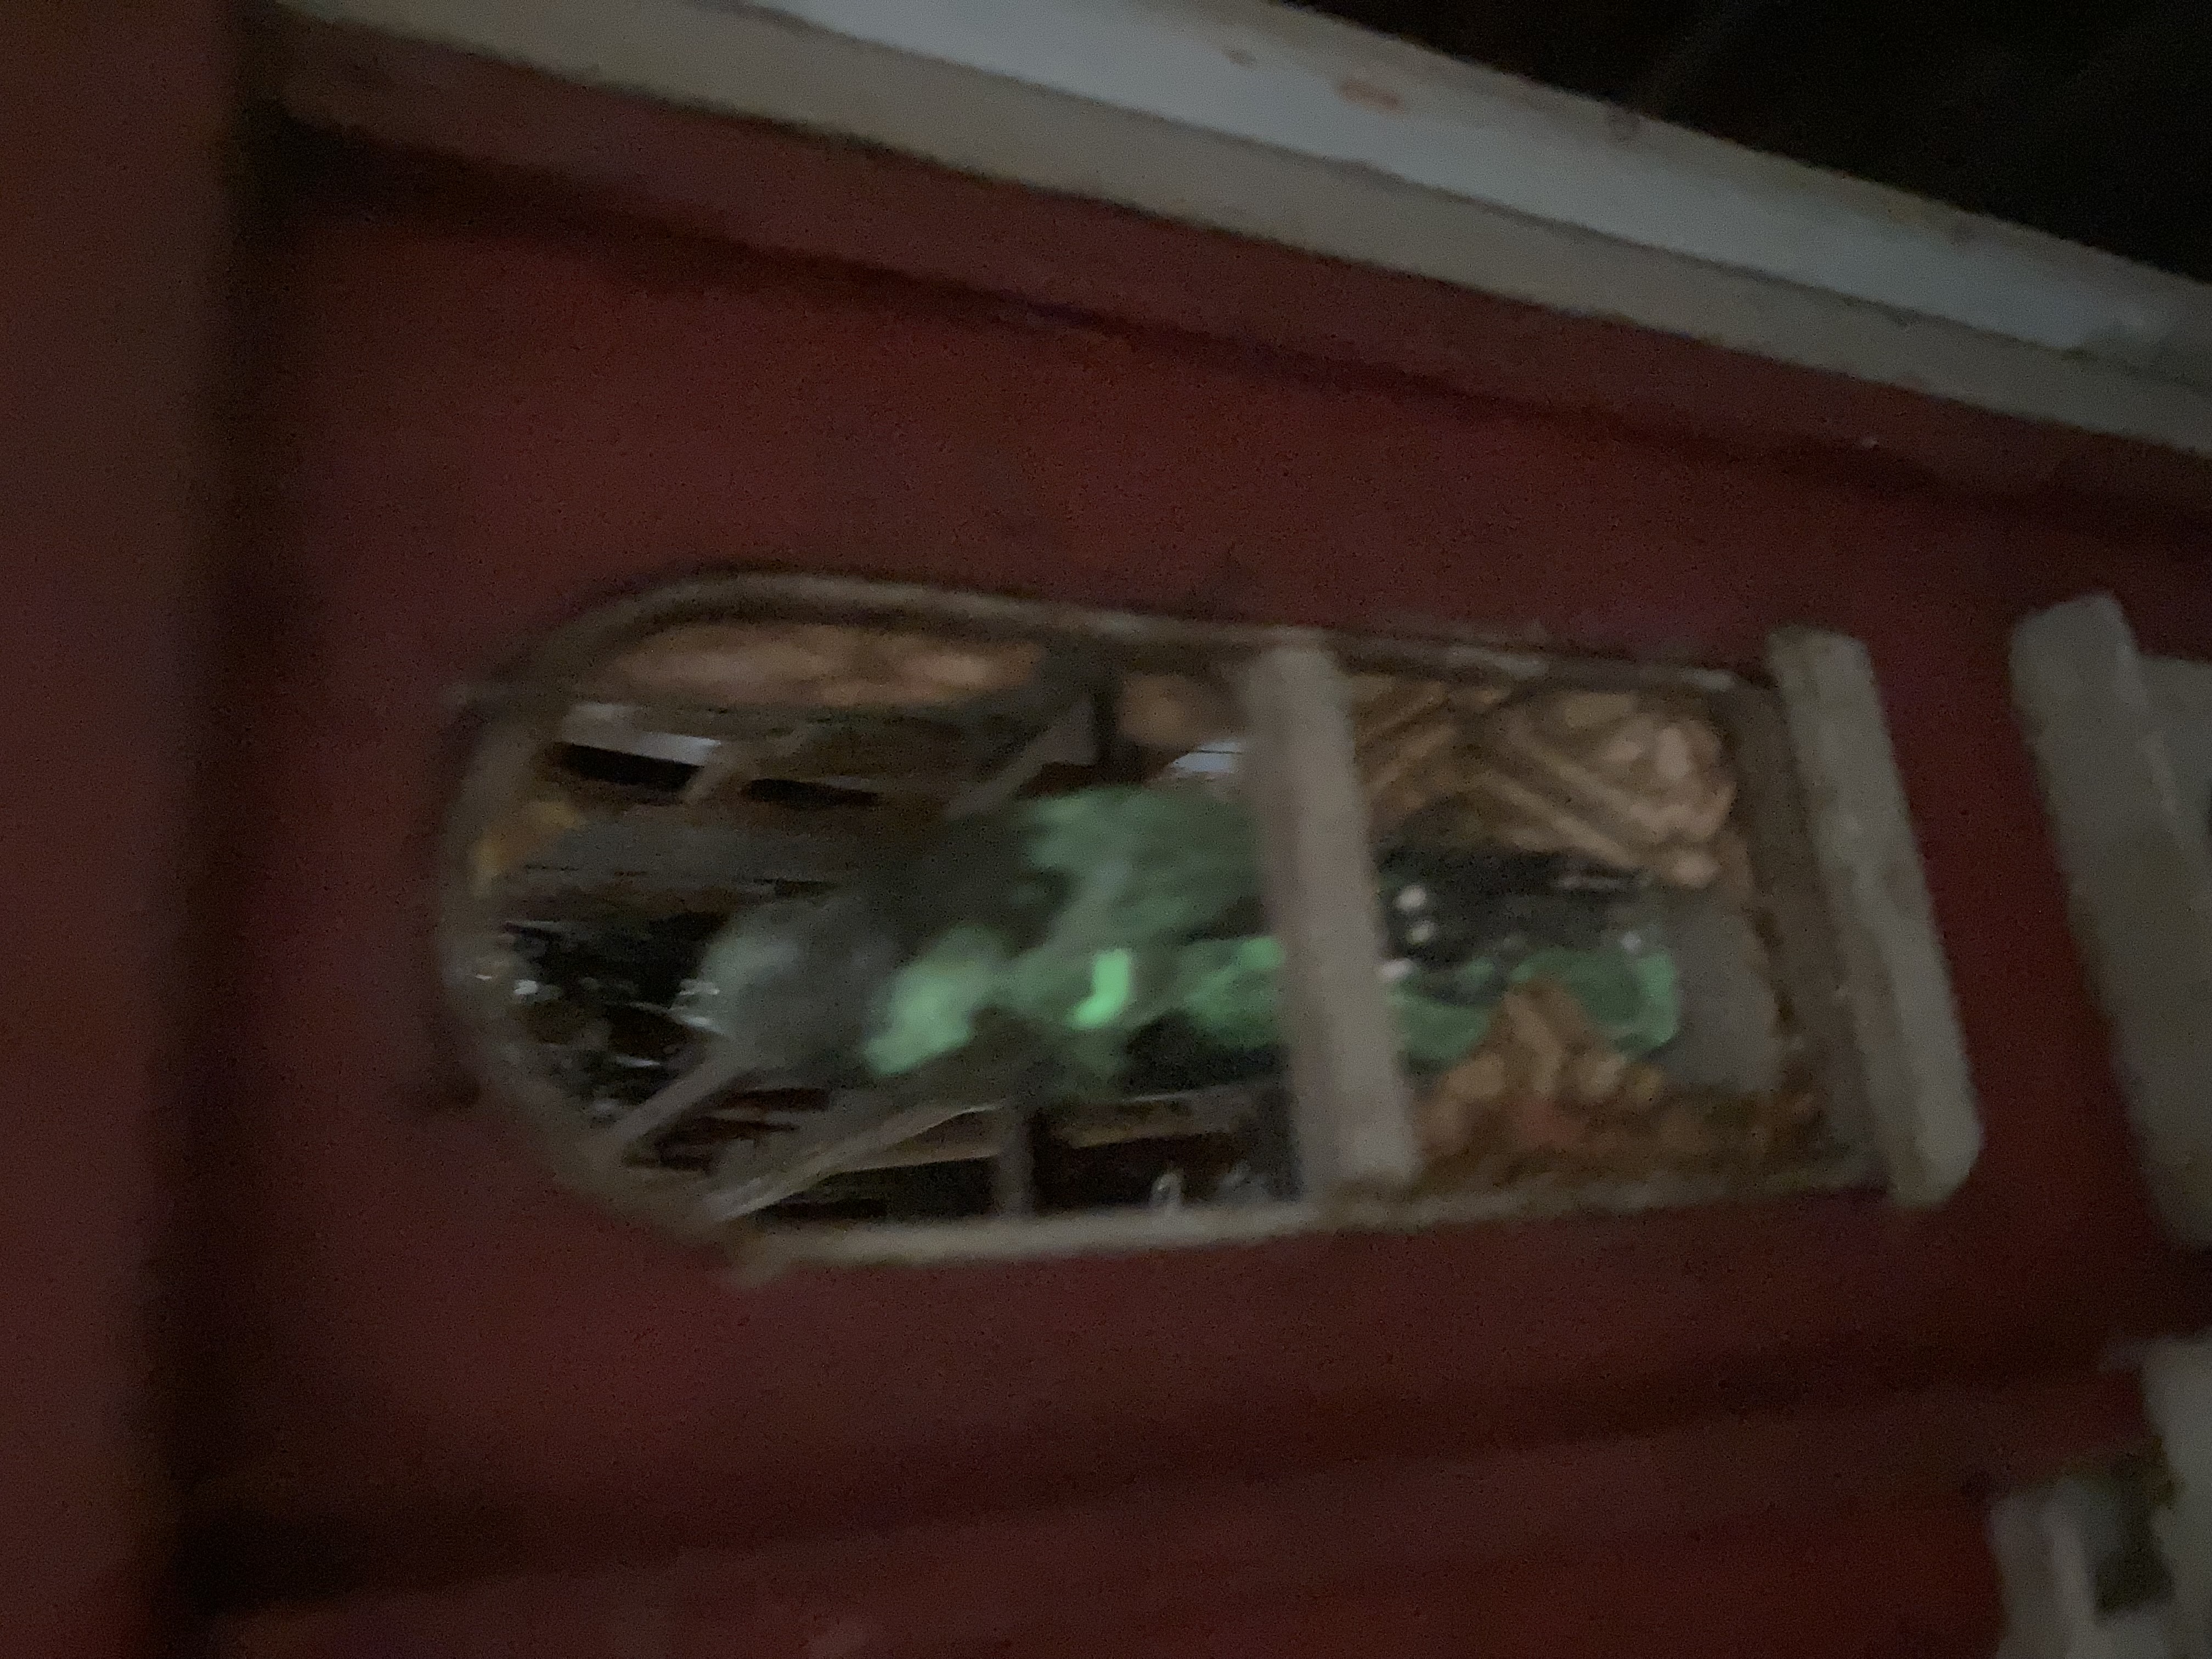
Charged and glowing.The same figure standing on the battery operated candle. It still looks spooky.As viewed through the broken window of my antique church. This church is featured in another of my posts if you would like to view it in more detail.