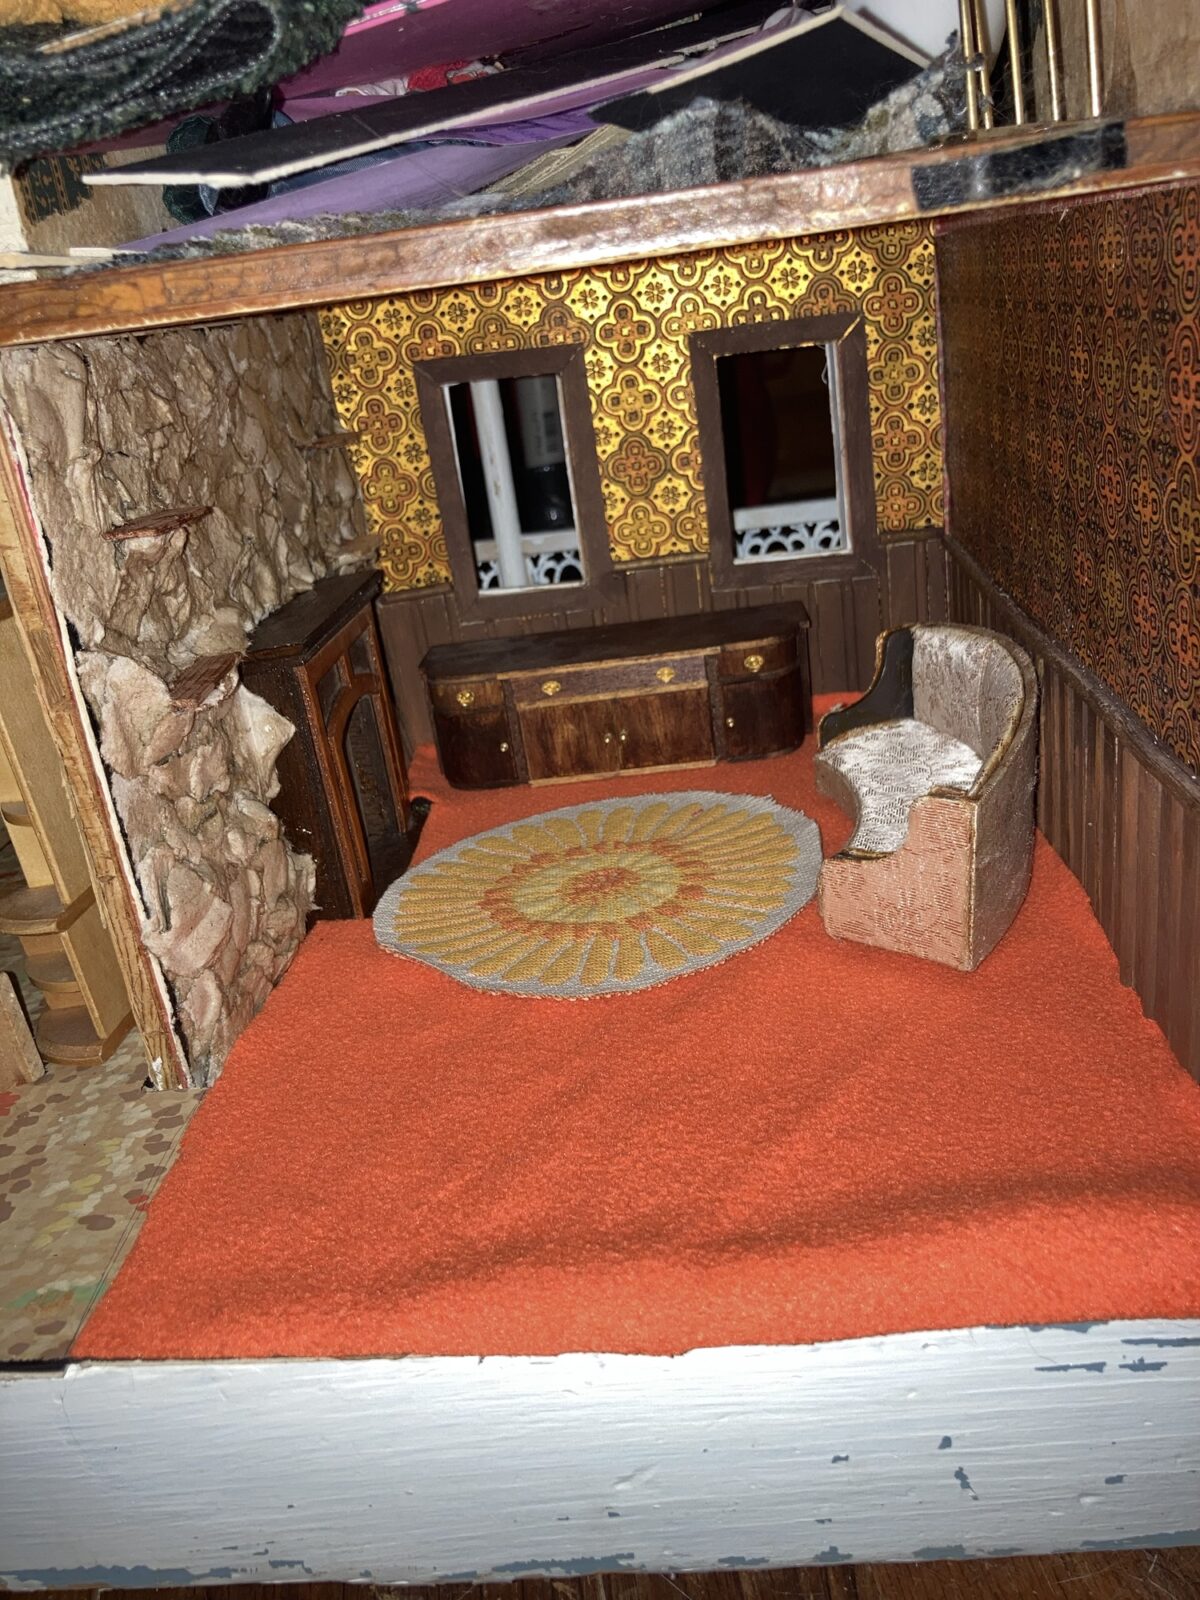
I decided to work on the living room of my 1970’s themed dollhouse. This house was basically gutted when I got it, so I am starting from scratch. I started out with a list of things I wanted in my 1970’s themed house, narrowed that list to what was actually do-able, and then decided on what projects for the house would be going in what rooms.
For the living room, i wanted a stone wall with a fireplace, wainscoting, and some authentic vintage wallpaper that we salvaged from my grandparents’ house before it was unfortunately torn down.
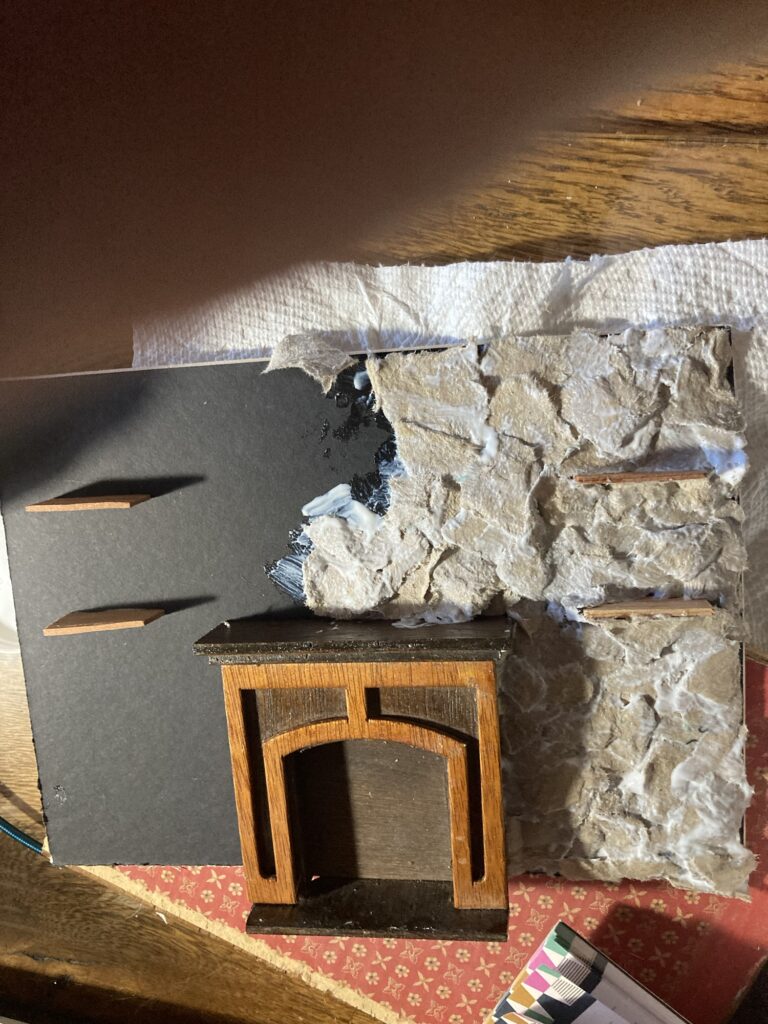
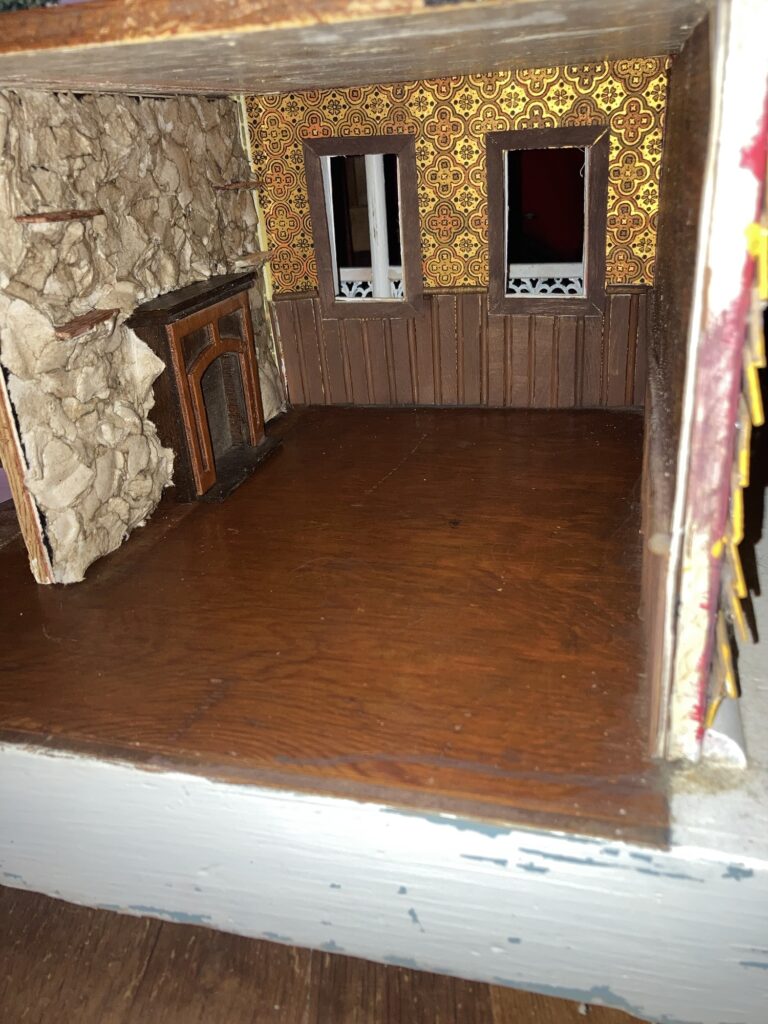
For the stone wall and fireplace, I first cut a piece of sturdy mat board to fit the wall it was going on. After double checking the fit, i attached the ready made fireplace that I chose for it.
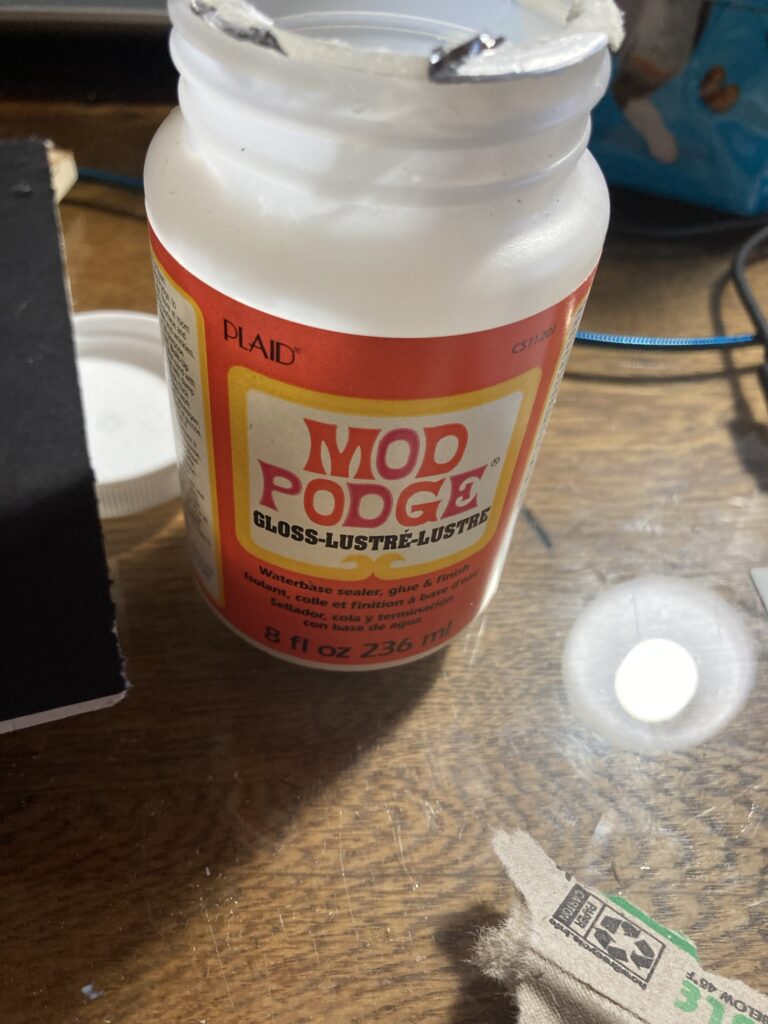
I used mod podge to flue the egg carton
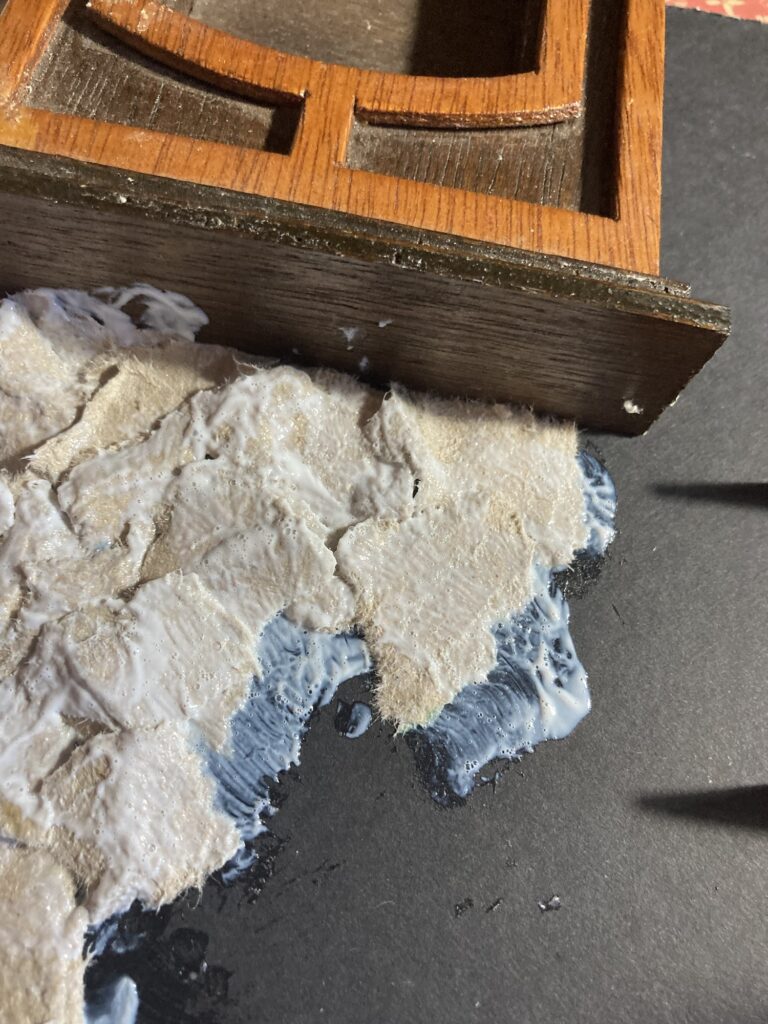
Next I used mod podge to glue little pieces of torn off egg carton (the cardboard type) onto the wall, layering it to form a stone texture. Note- keep the printed side pointed against the wall so it won’t have to be painted over later).
Tear off pieces of cardboard egg carton to use for the stone textureLayer the cardboard to form rough, rock-like texture, glueing it down and coating it with mod podge.I glued little pieces of craft stick on the wall to form shelves before placing the egg cardboard. What it looked like as it was drying.
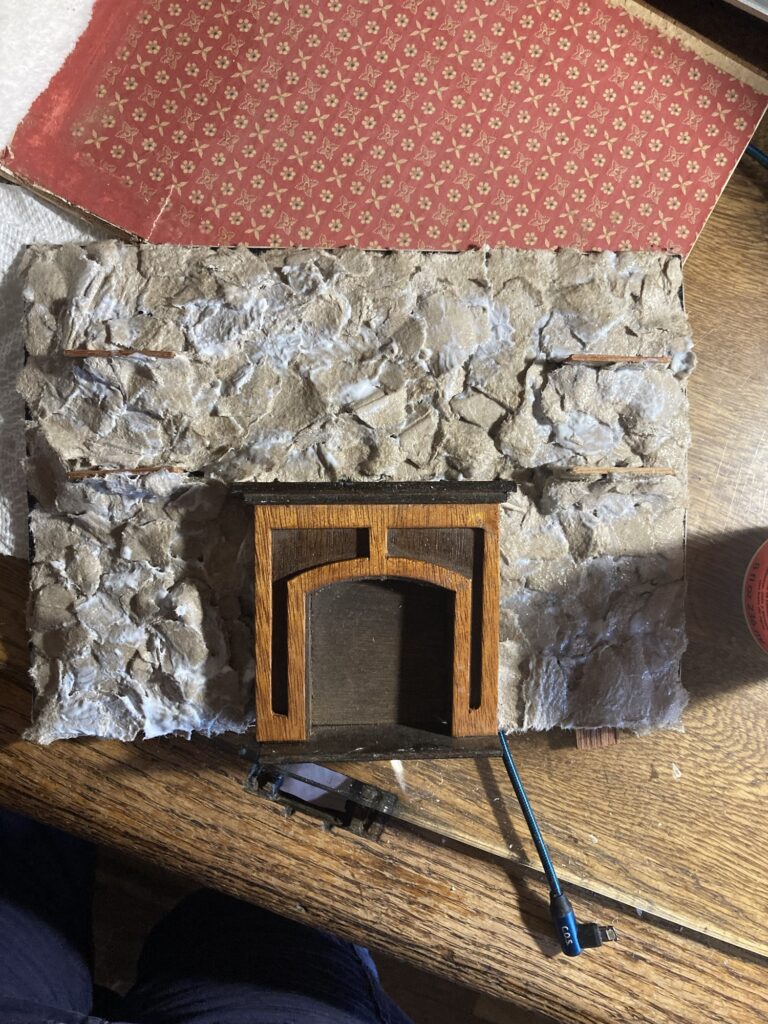
When it was dry, I slid it into place on the wall of the dollhouse, made sure all fitted as it should and looked the way i wanted, and then glued it in place with just a dab of glue.
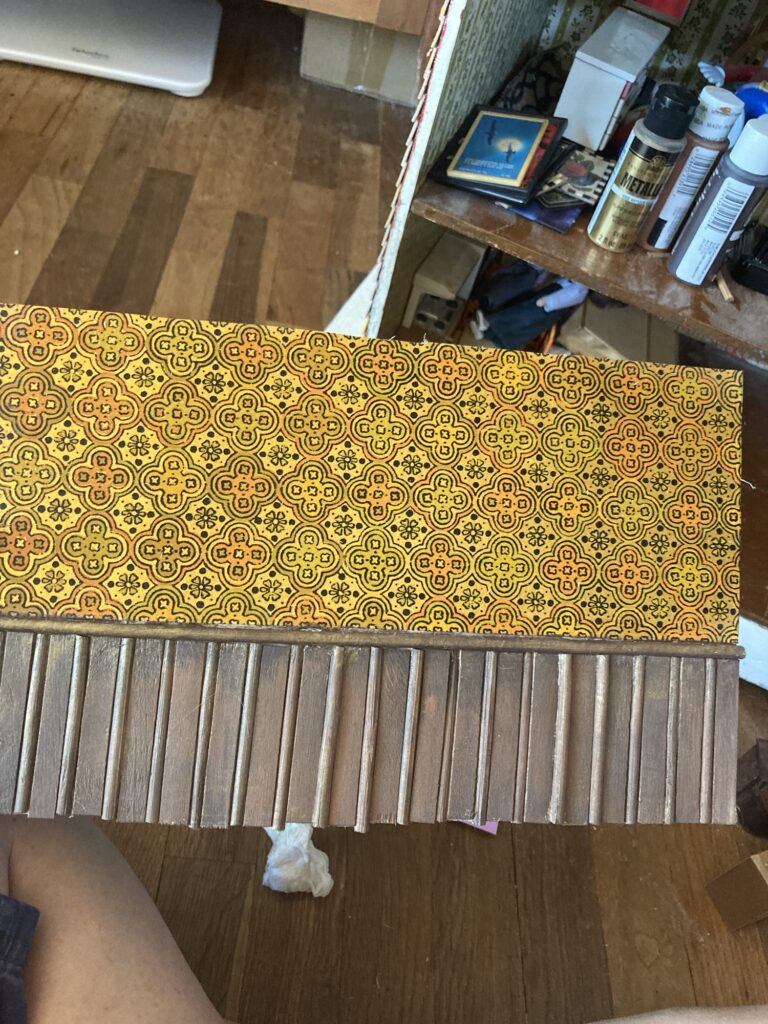
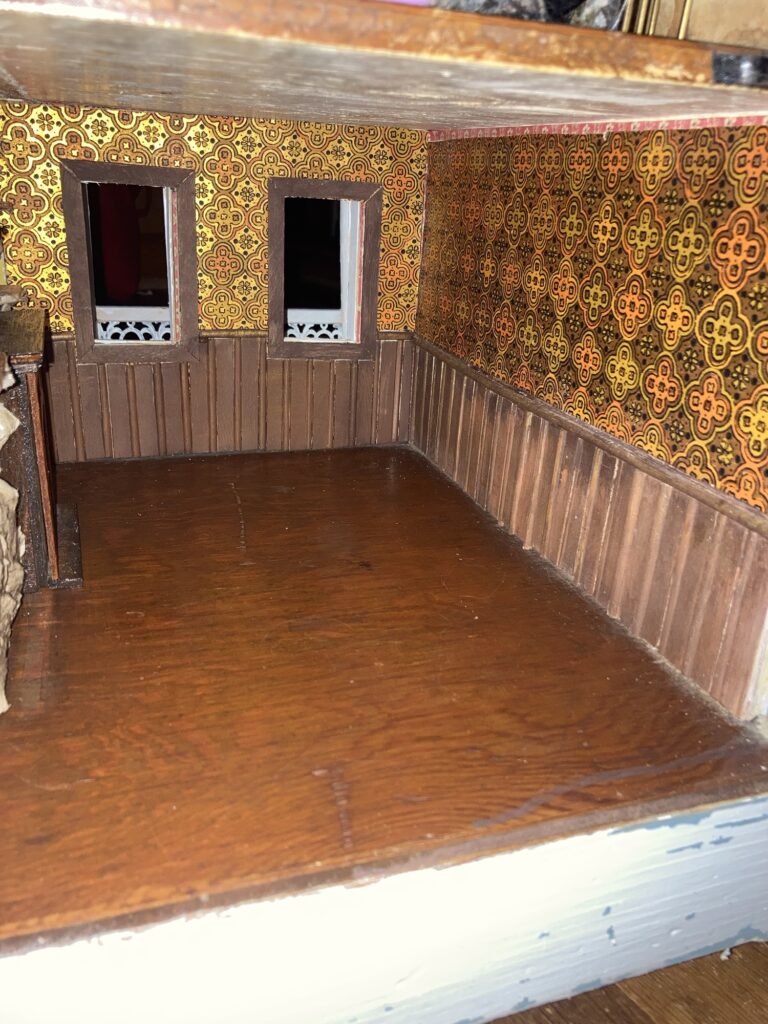
Next I cut another piece of mat board to fit another wall, and glued on a piece of my wallpaper. I cut pieces of popsicle stick and split dowels to create a pattern of wood for the bottom section of the wall, to form wainscoting.
I tinted the wood with thinned out paint so it looked like stain, and made a rail with a long split dowel.
I made sure it fit where i wanted and then glued it to the wall, then did the same for the other wall.
Eventually there will be trim along the ceiling, which will cover the little piece of old wallpaper peeking through.Another view
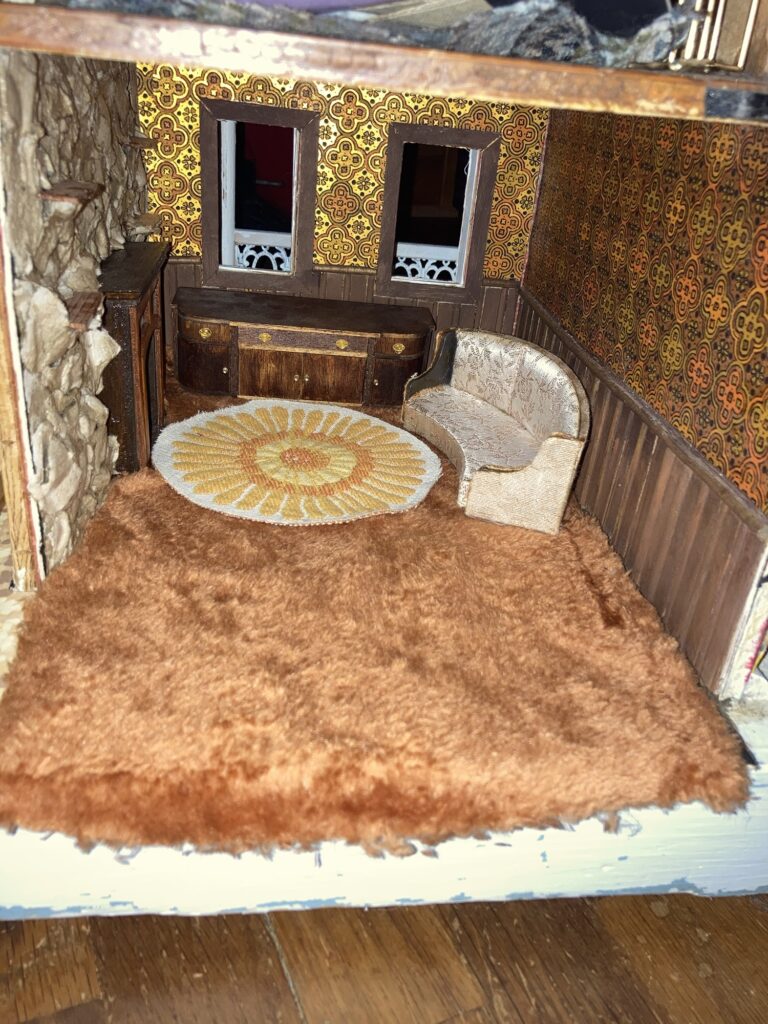
I haven’t been able to decide on a floor color, so I have tried several different colors of “carpet.”
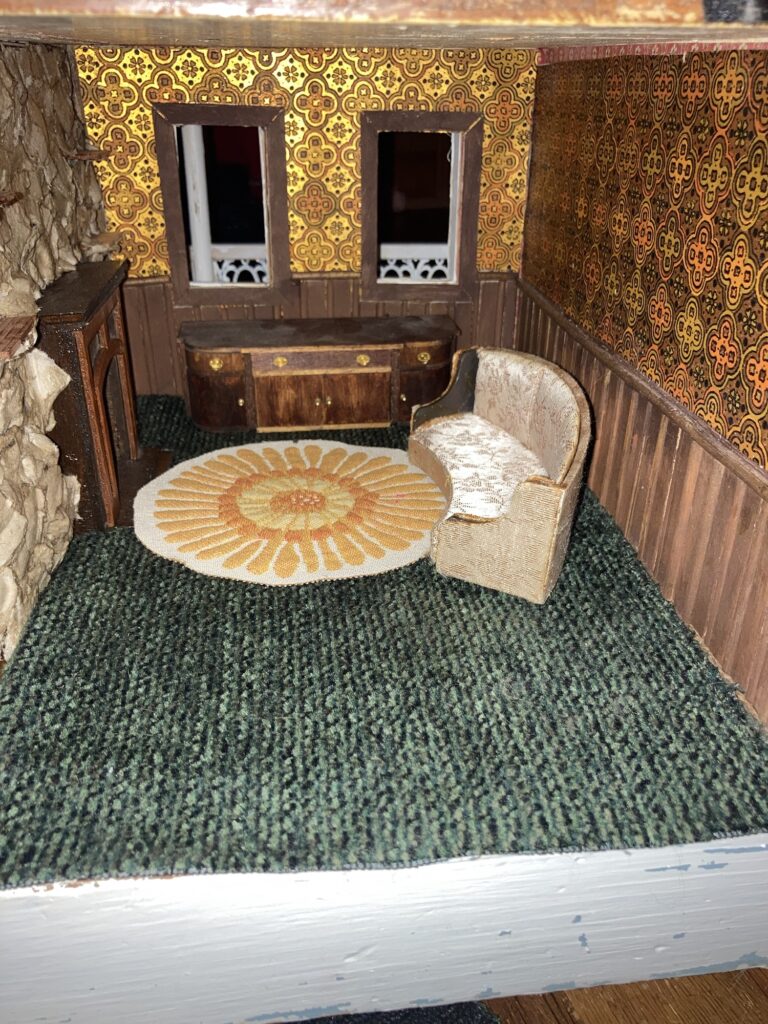
Brown shag. I was hoping this would be a similar shade to the wood of the floor, as I like the rich warm hues, but it seems a little washed out to me now. (This is part of an autumn themed fuzzy pillow from a thrift store)Orange fuzzy (it’s the inside of an old sweatshirt, so it has that worn fuzzy carpet look to it 😆)Green (this is an old carpet sample)
I also tried a puke yellow but it definitely didn’t look good with the wallpaper. I am thinking of sewing an orange trim around my flower rug, and i would love to reupholster my couch to something like the orange flower velvet I used to see all the time, but haven’t found a good material for that, yet. Any thoughts? Which carpet do YOU think would look best? Leave a comment with your thoughts!
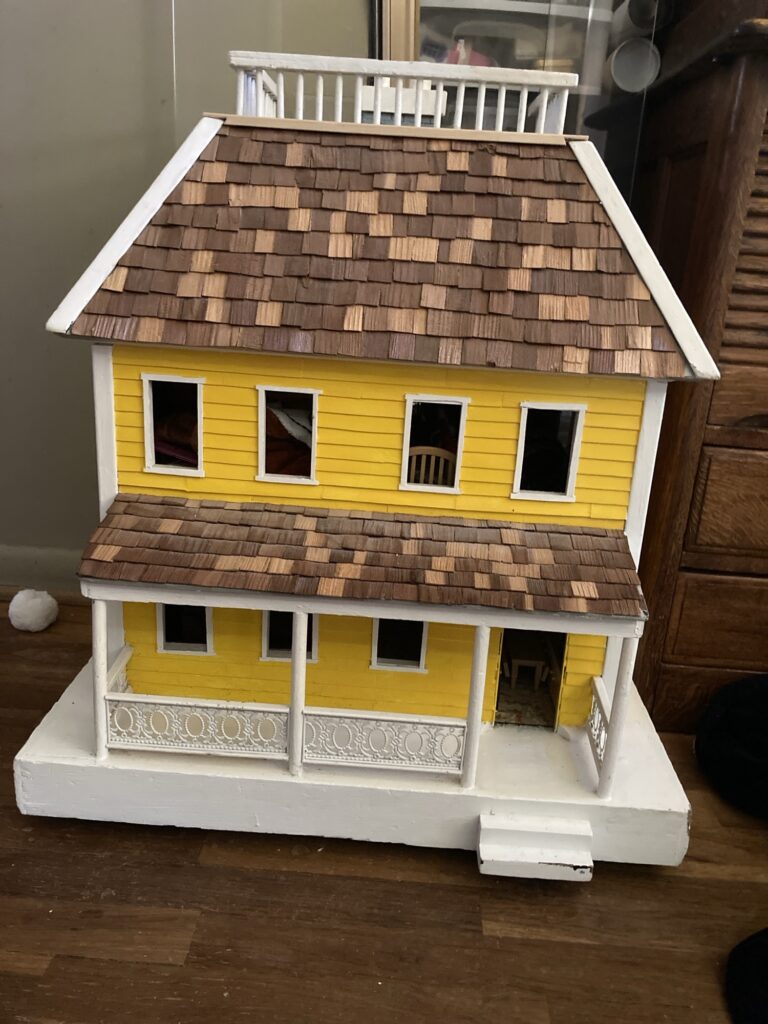
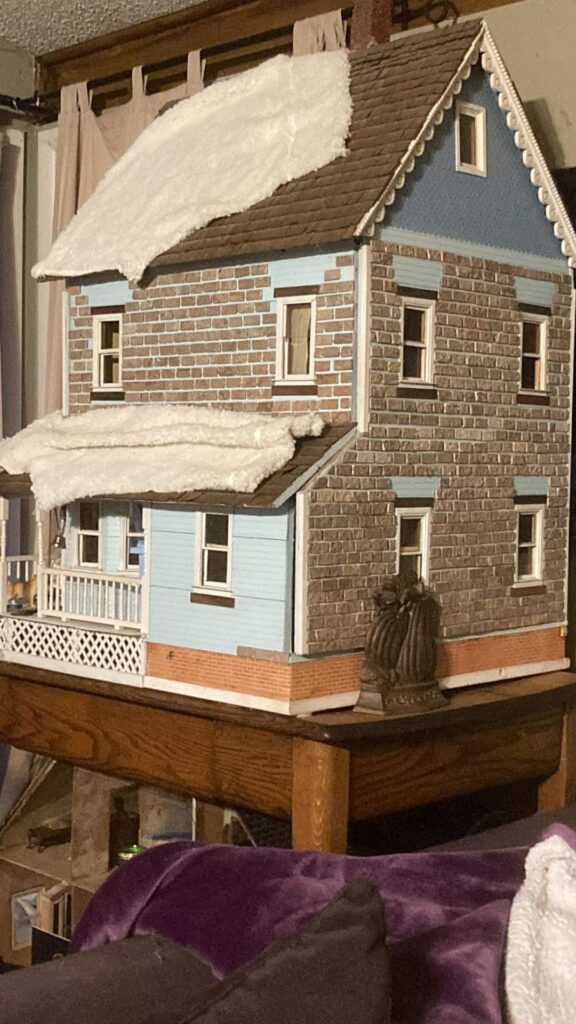
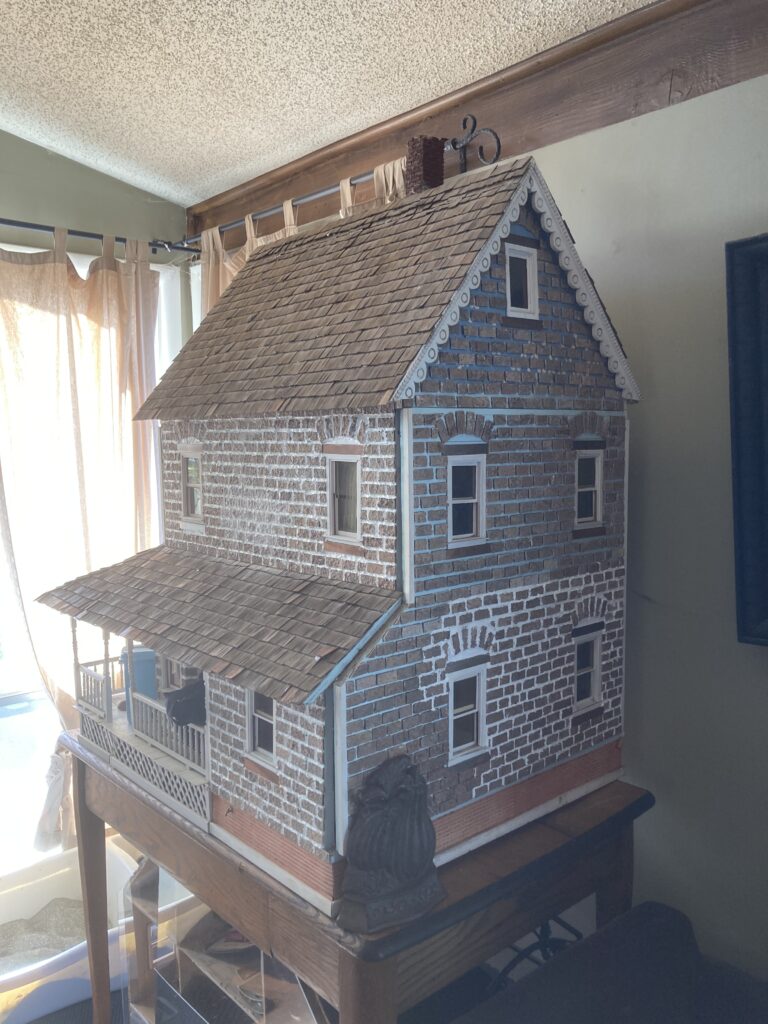
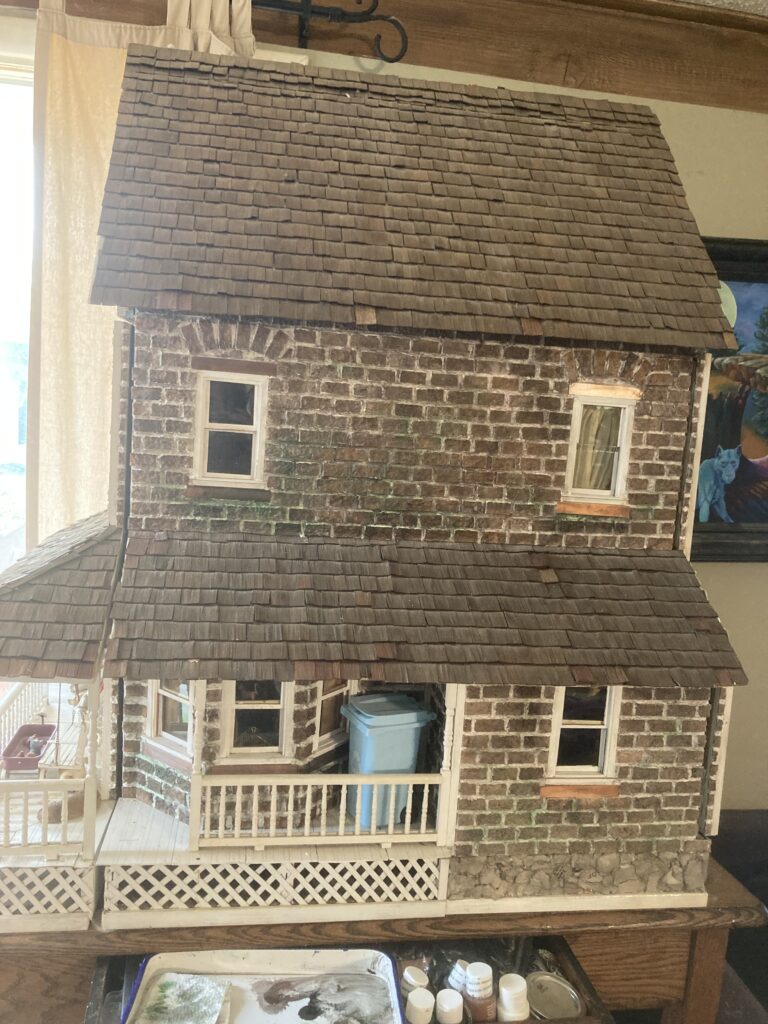
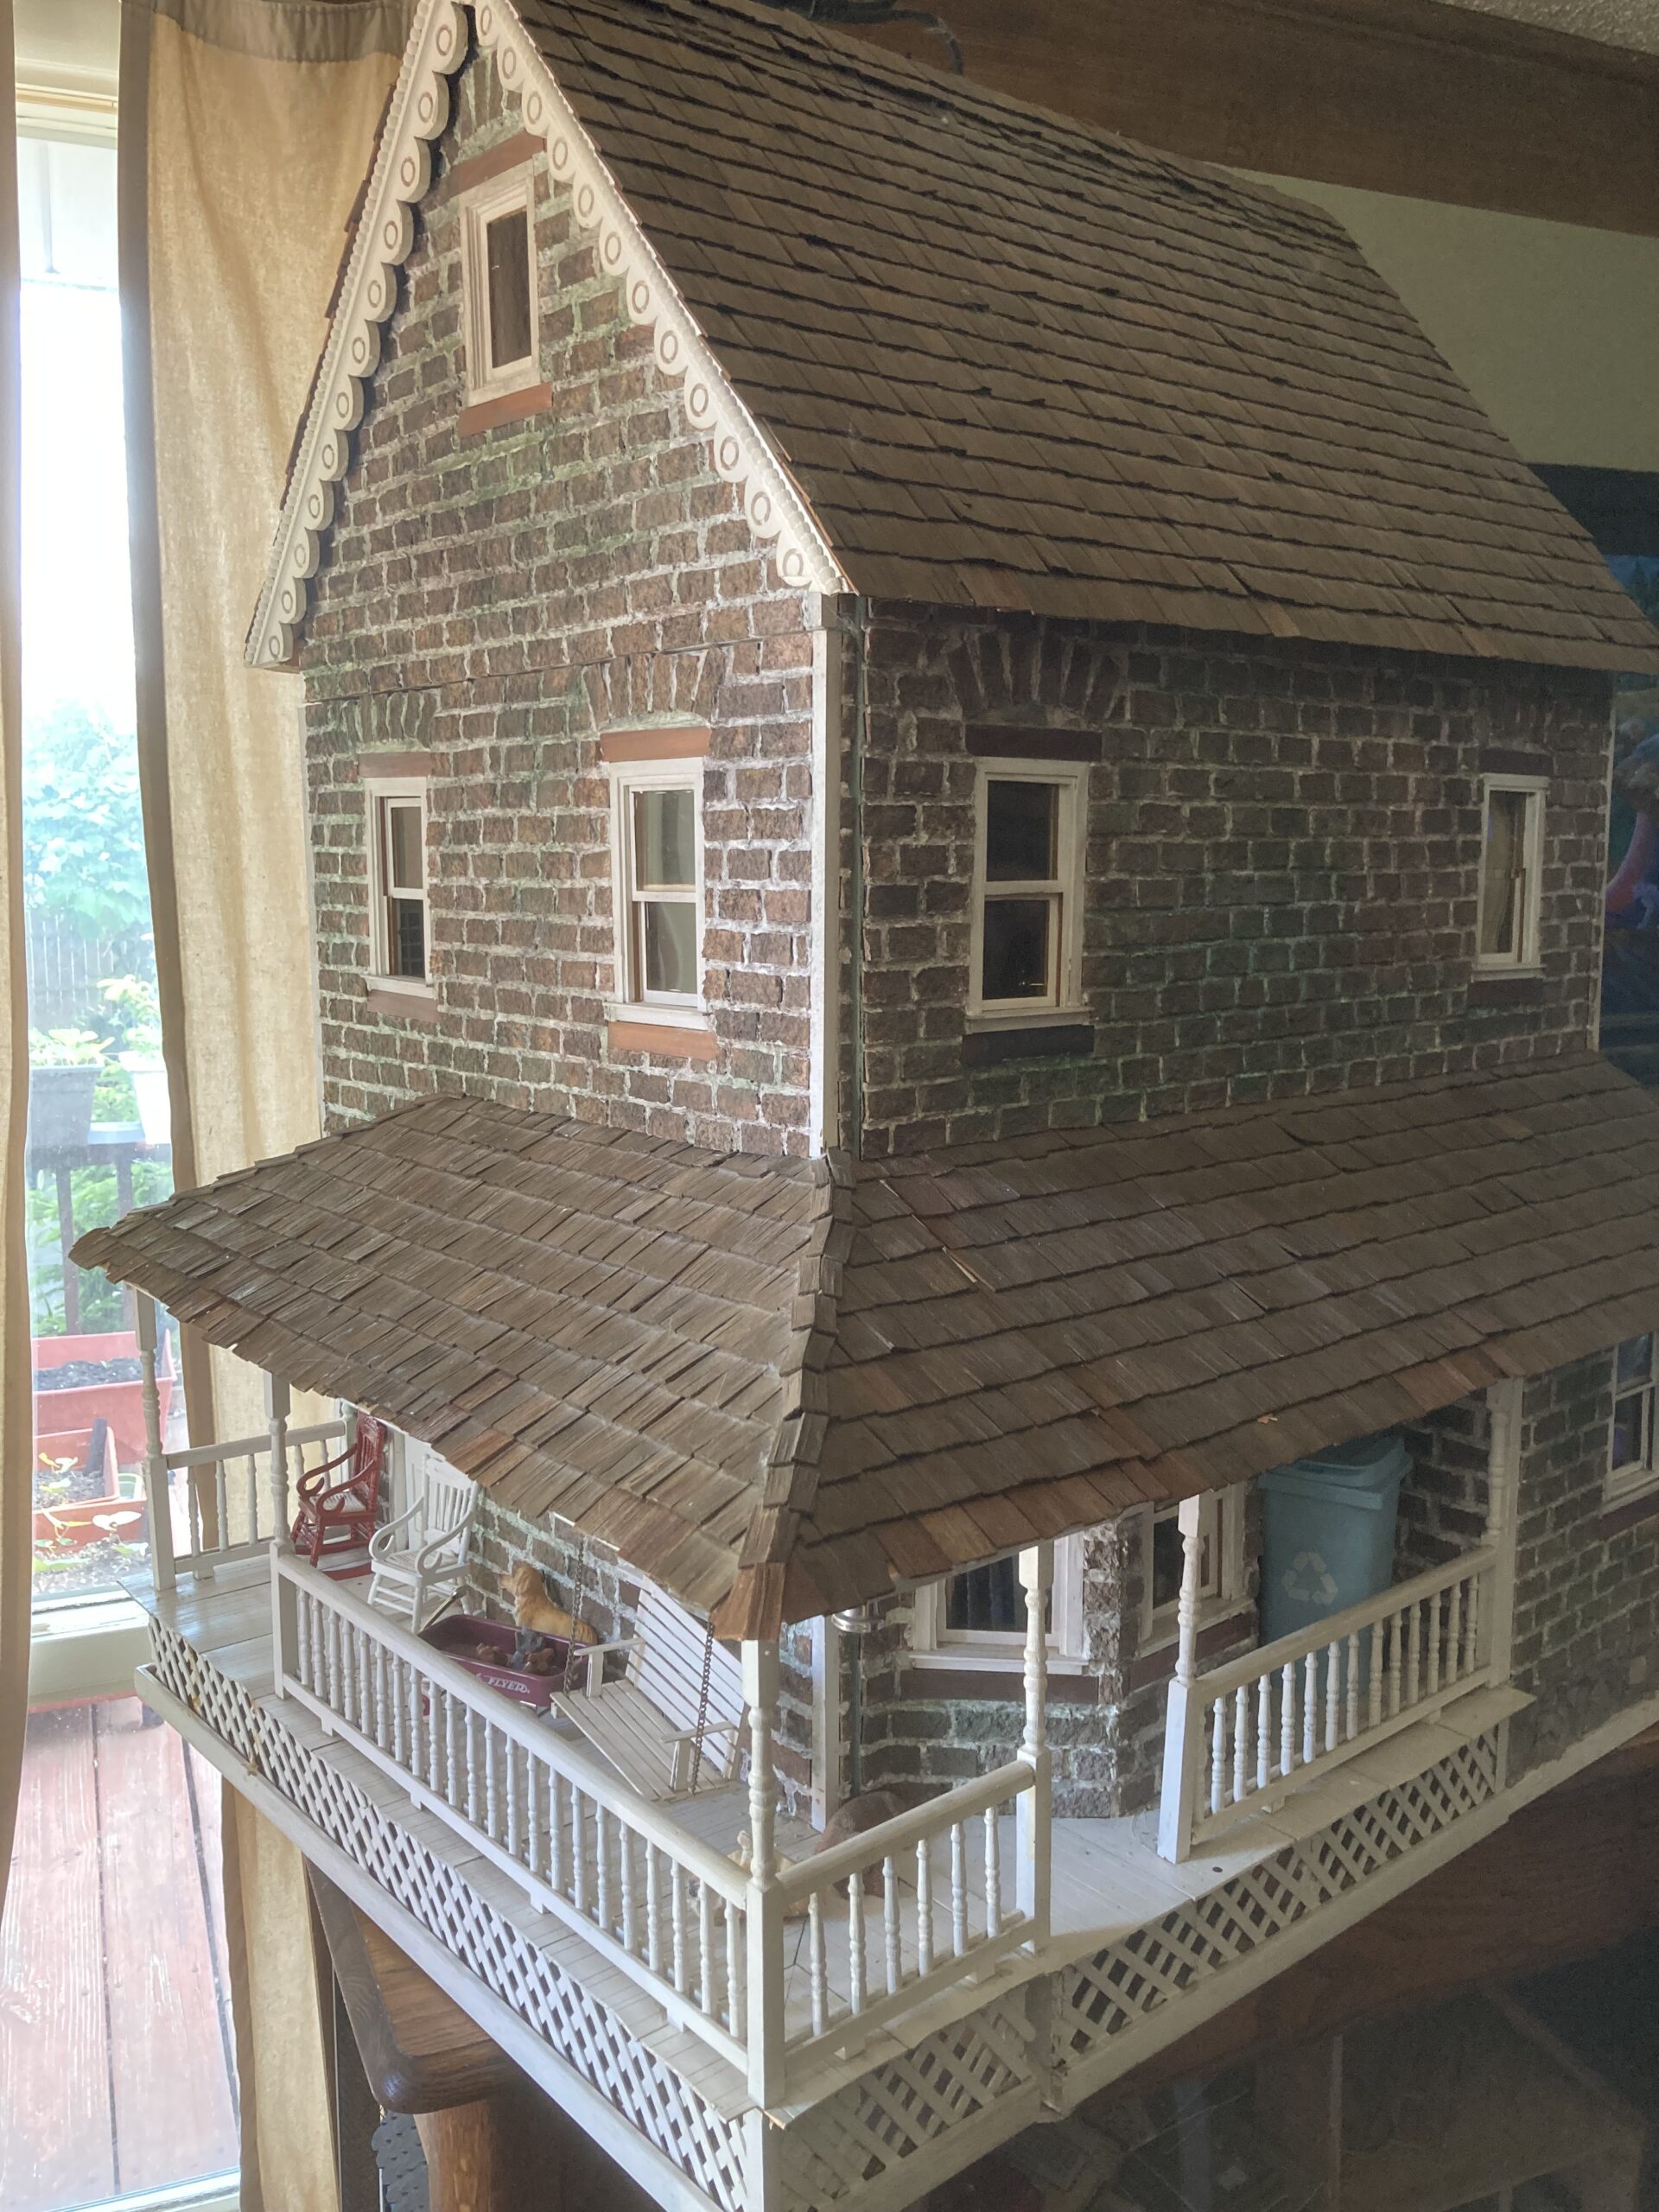
This is my Pepperwood Farm Dollhouse from previous posts, with an updated exterior!
I have debated for a long time on the exterior of my Pepperwood Farm dollhouse–it had light blue siding on it from a previous owner, and the siding wasn’t done very well, or maybe it shrank over time, and had a lot of gaps. I have wanted a brick dollhouse for a while, and when my husband said ‘no more dollhouses,’ (which is reasonable, I guess, as I have 13 in our small house), I decided to update my Pepperwood with some bricks!
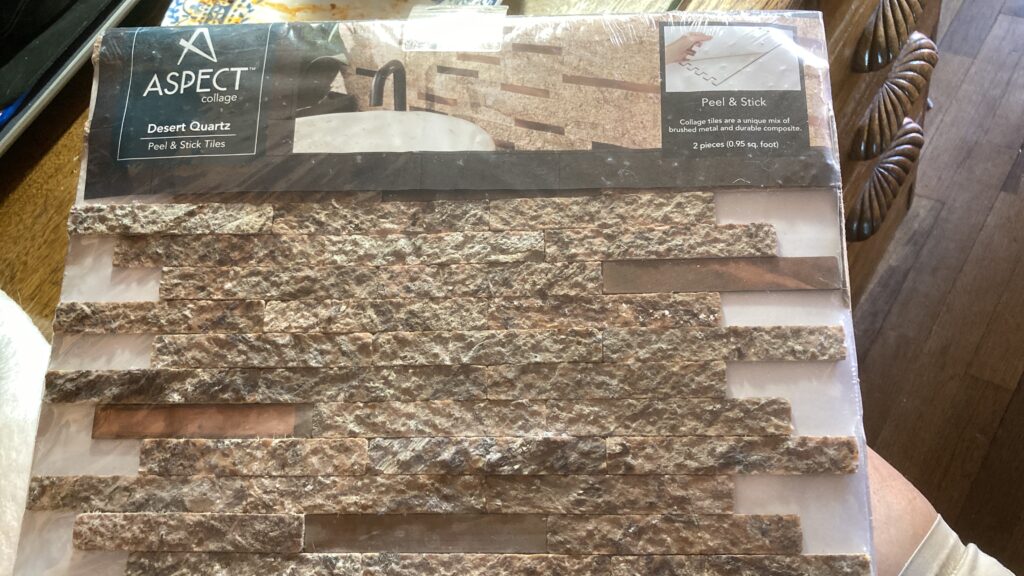
It all came about as I wandered the aisles of our local Menards hardware store and stumbled on a pile of stone-like backsplash on clearance.
The backsplash. It is very rough and stone-like.
The backsplash came as strips of stone-like material, all held together with a big sticker on the back. I needed to separate these strips and then cut them into bricks to attach to my dollhouse.
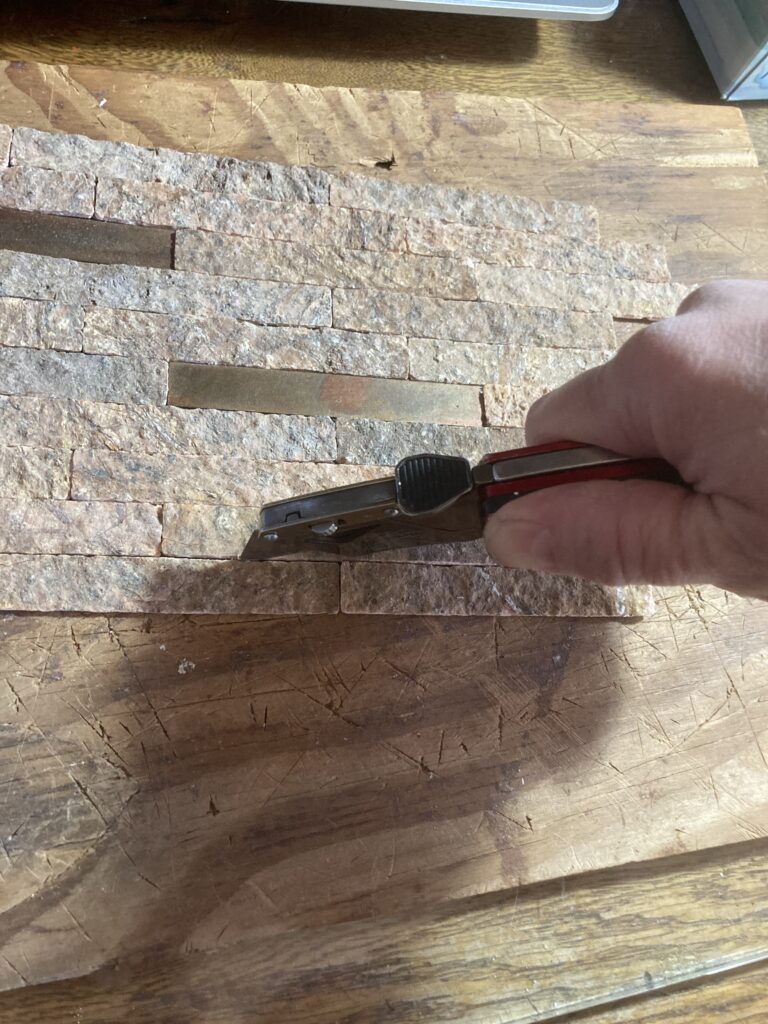
Step 1: Separating the strips.
I used my handy-dandy box cutter and an old piece of wood as a cutting board, and scored the underlying sticker between the strips of bricks.
Individual strips.
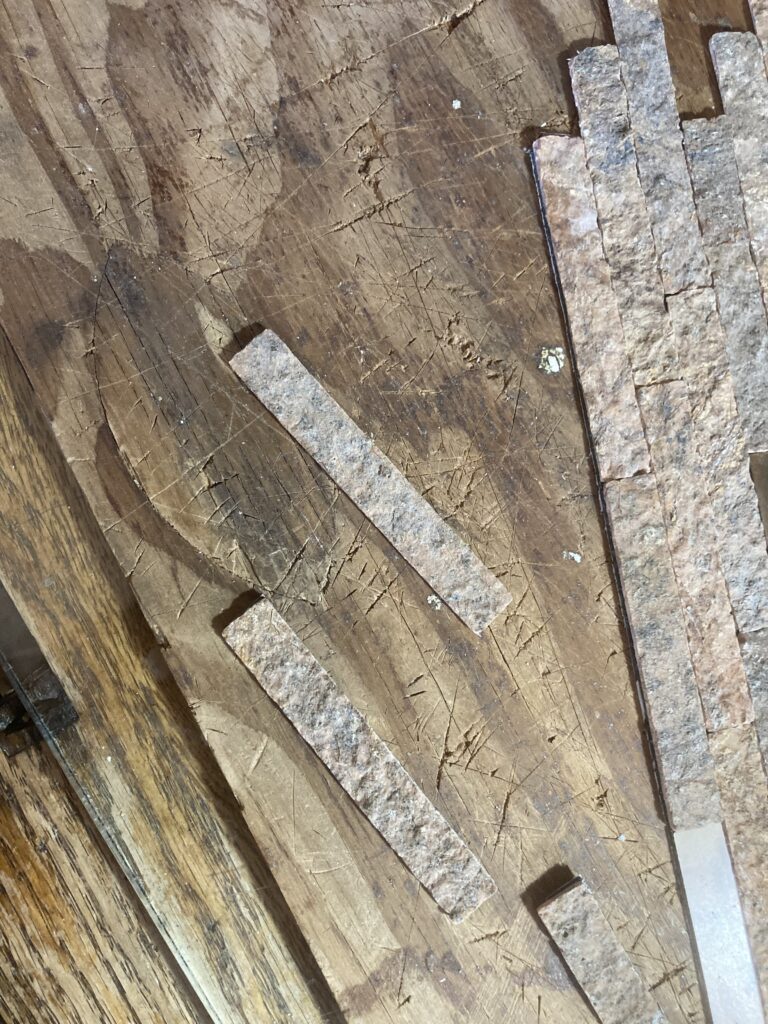
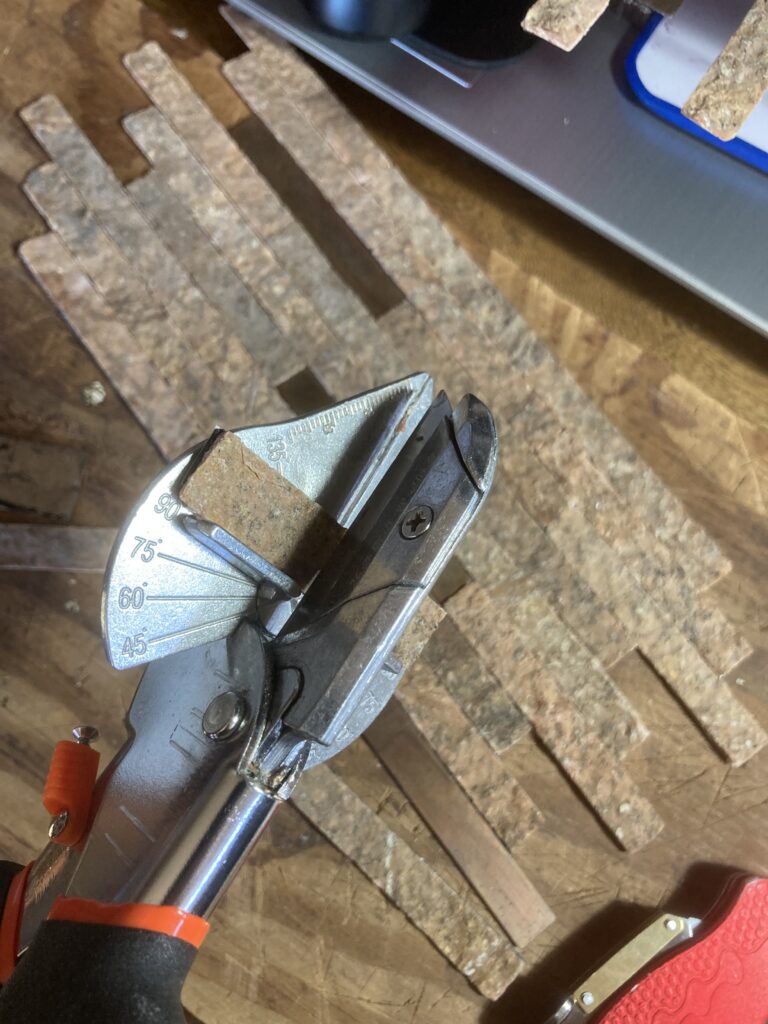
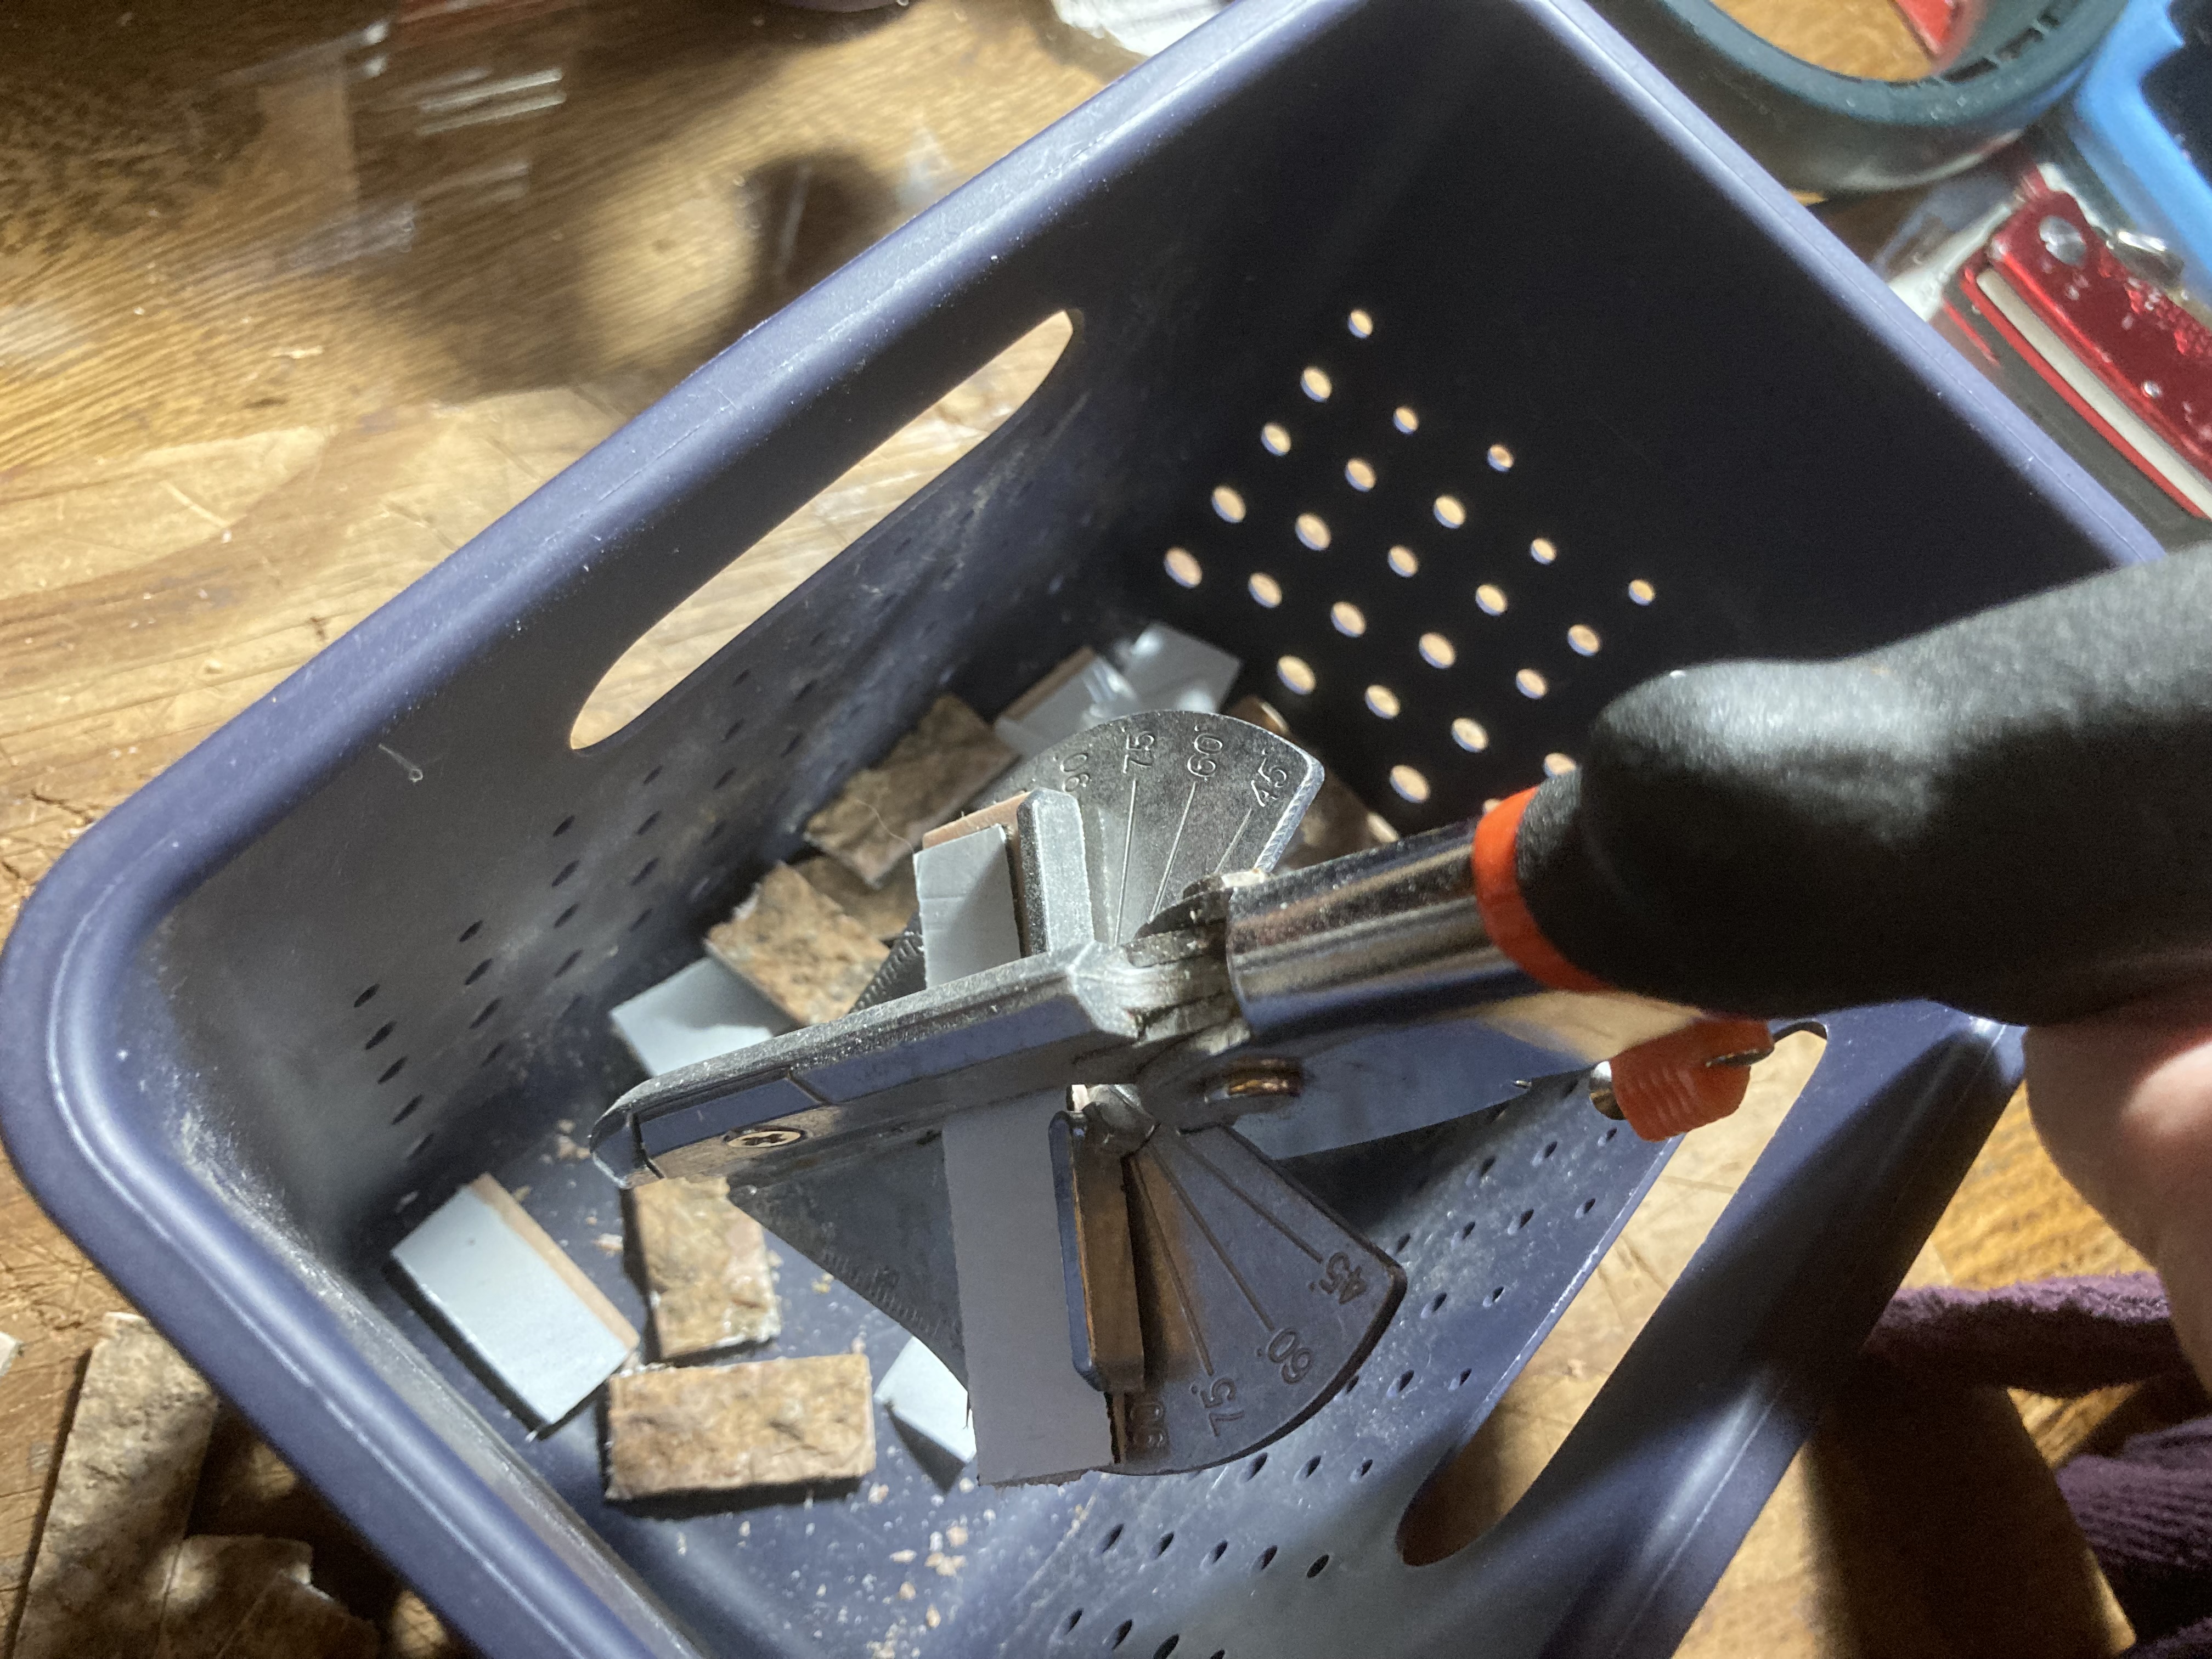
Step 2: Cutting the strips into bricks.
I used my miter shears to carefully cut the stone pieces into bricks. This was very difficult work, but worth it in the end. I eventually discovered that it was to my benefit to point the shears inside a box to catch the bricks, to prevent them flying all over the place after being cut.
Using a box to catch the bricks.
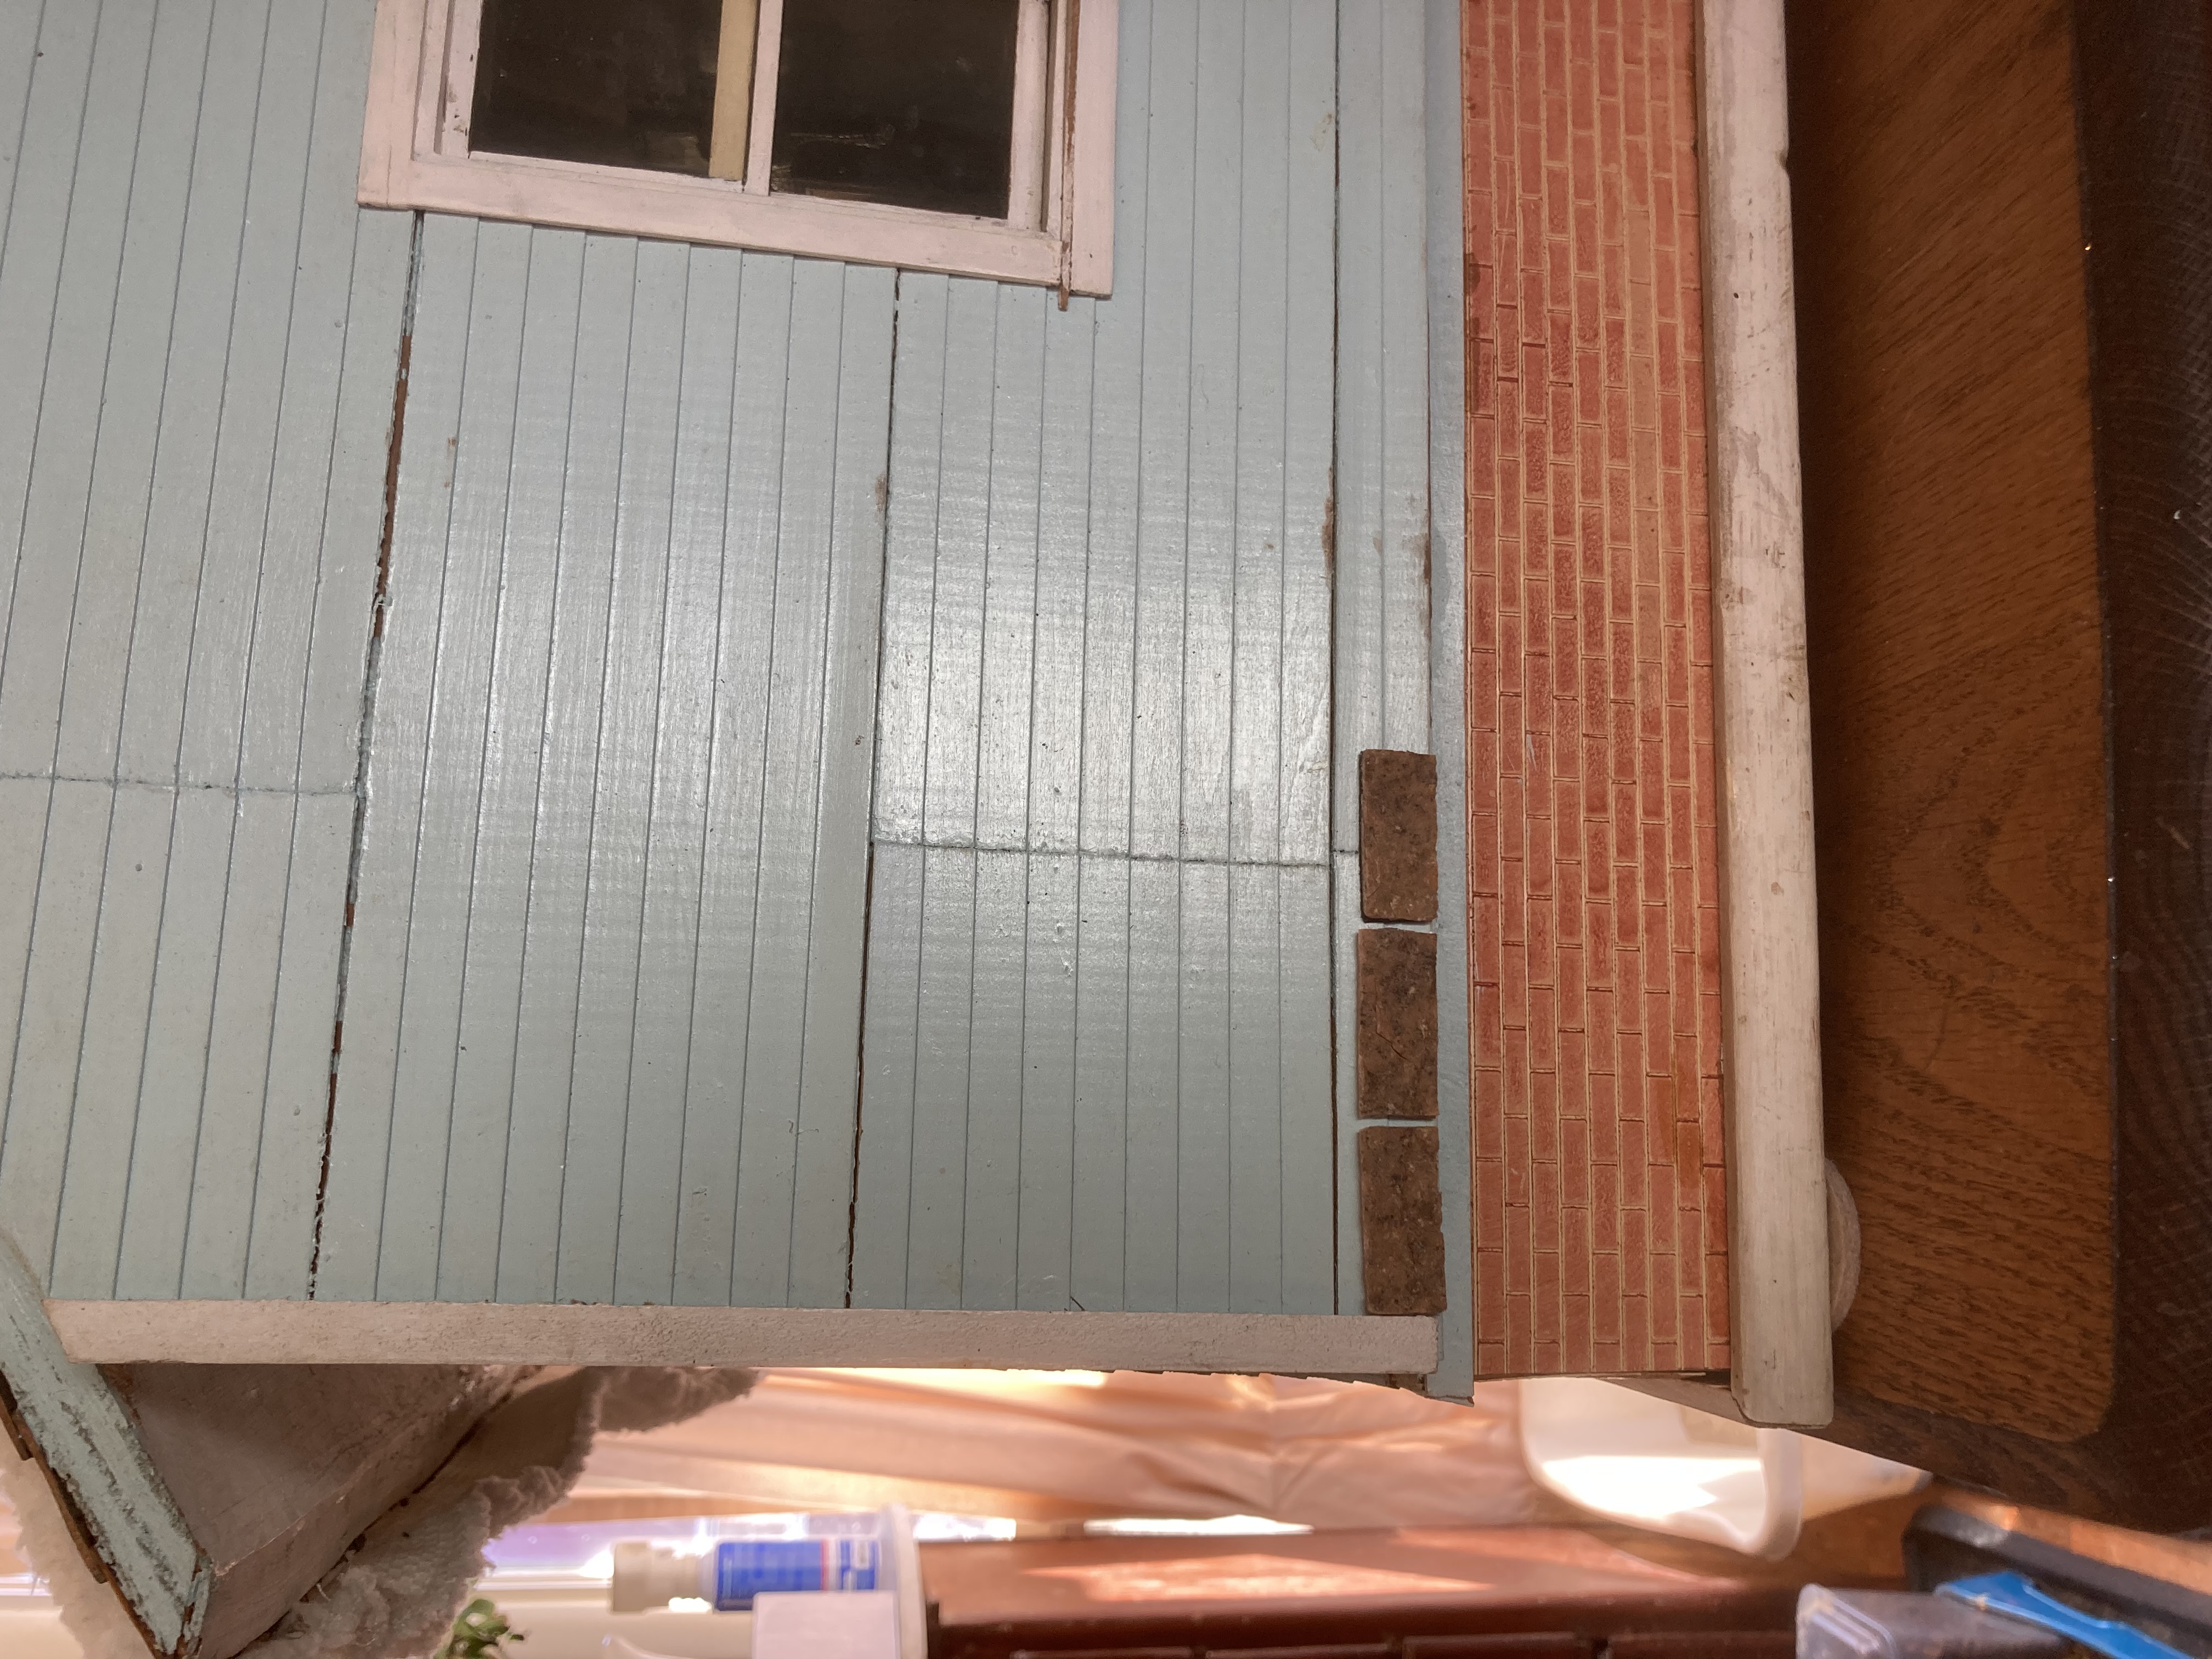
Step 4: Placing the bricks.
Placing the first bricks. These have an adhesive back, so I just peeled the paper backing and stuck them in place! The grout mortar I will add afterword will help seal them to the house better.
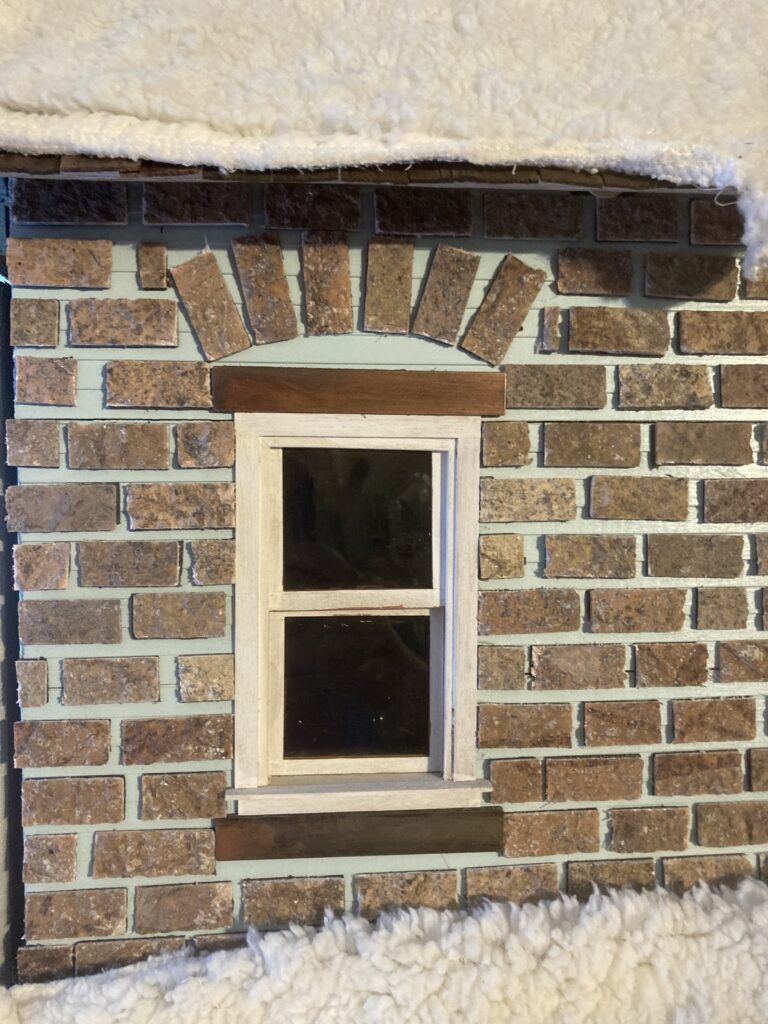
More bricks! I used the copper strips that were in the backsplash to make ‘supports’ for the windows. I left space above the windows to make fancy brickwork later.
And more bricks.
Most of the bricks placed.
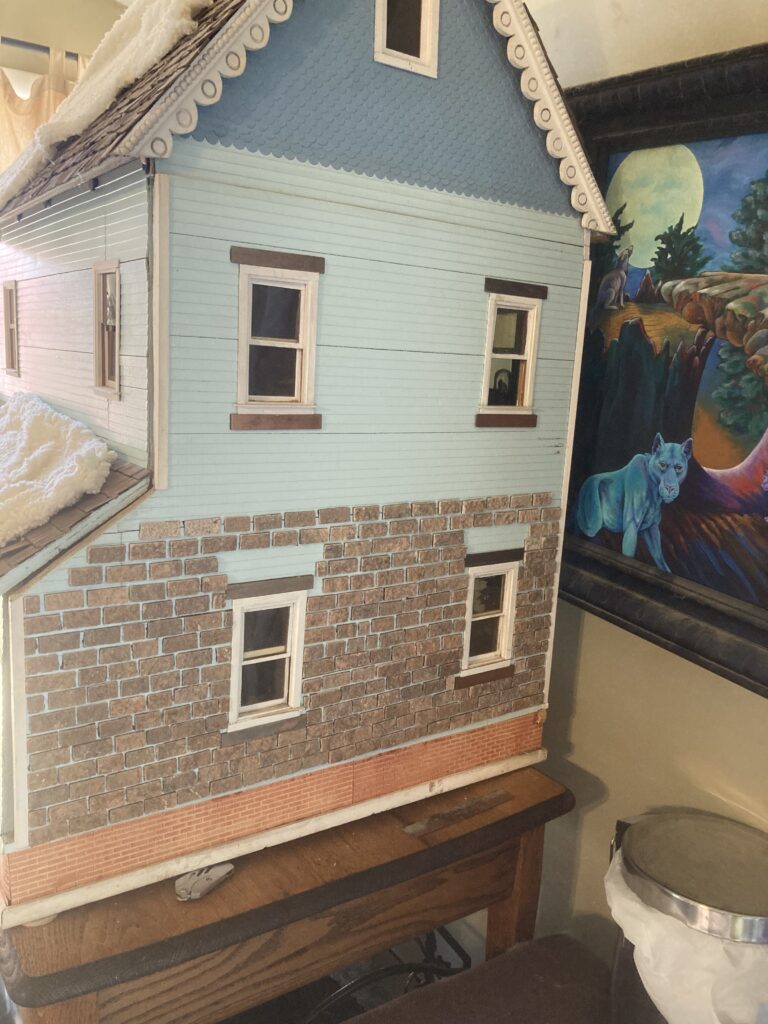
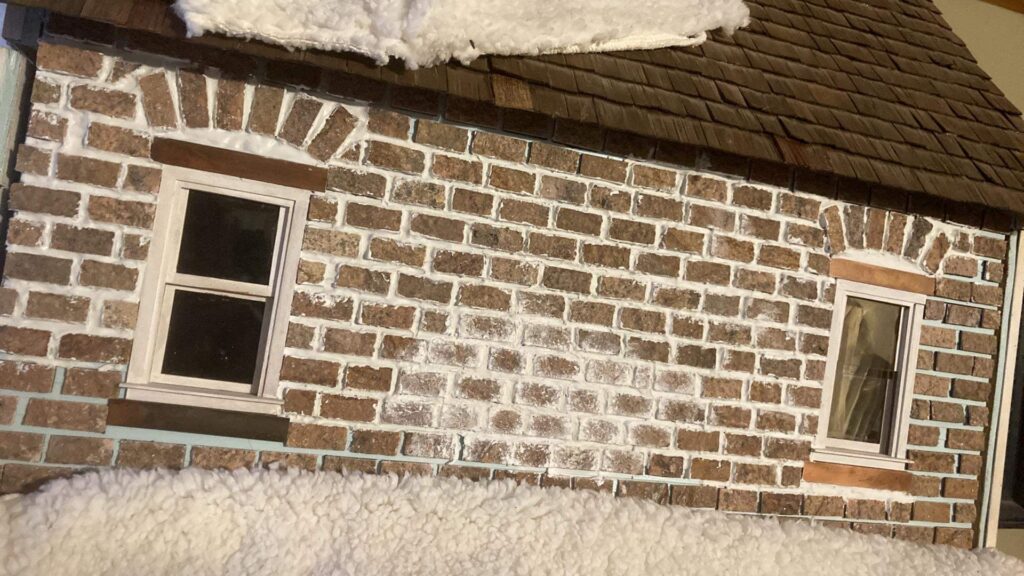
Brick arches above windows. I wanted it to be somewhat reminiscent of the brick farm houses common in my area.
Step 5: mortaring between the bricks.
This step was probably the hardest, most time-consuming dollhouse project I have yet accomplished. I can not begin to add up all of the many hours I spent performing this task.
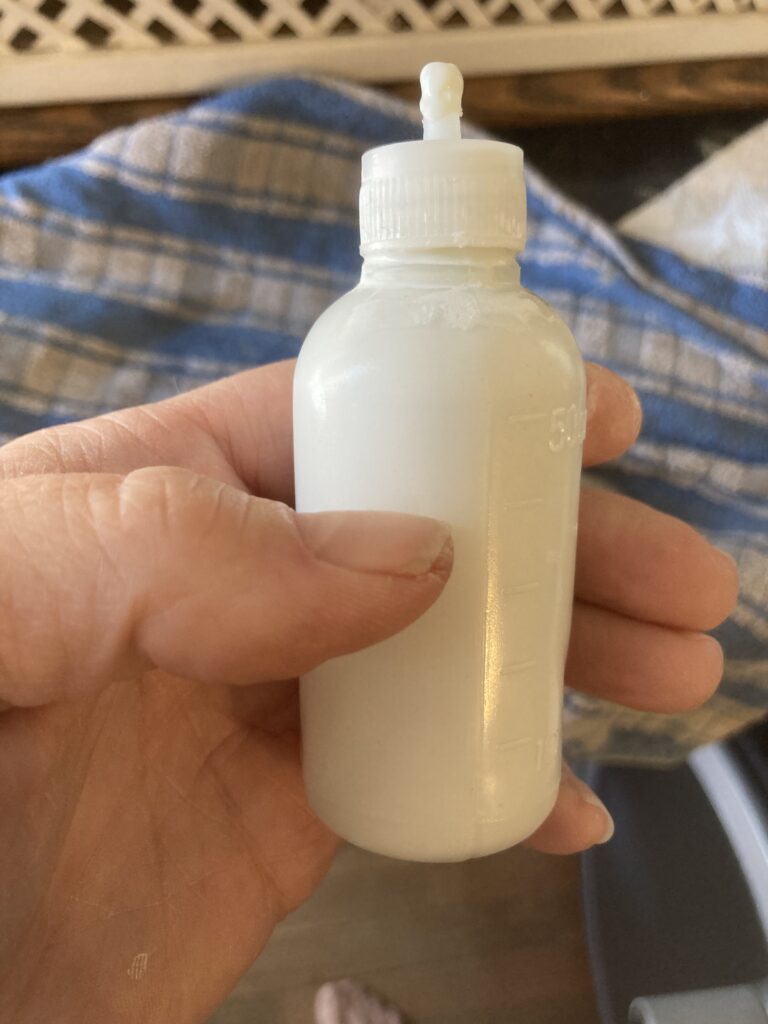
I ended up using un-sanded tile grout, mixing it into a thin paste, filling a tiny squeeze bottle, and squeezing it between the bricks. I had to used a thick piece of wire to push the grout around in between the bricks to fill any gaps.
This is the squeeze bottle I used. It came with many fine tips but this one worked best. The grout ‘mortar’ had to be mixed to just the right consistency to be easily squeezed from the bottle, but not thin enough that it runs when you squeeze it in place.
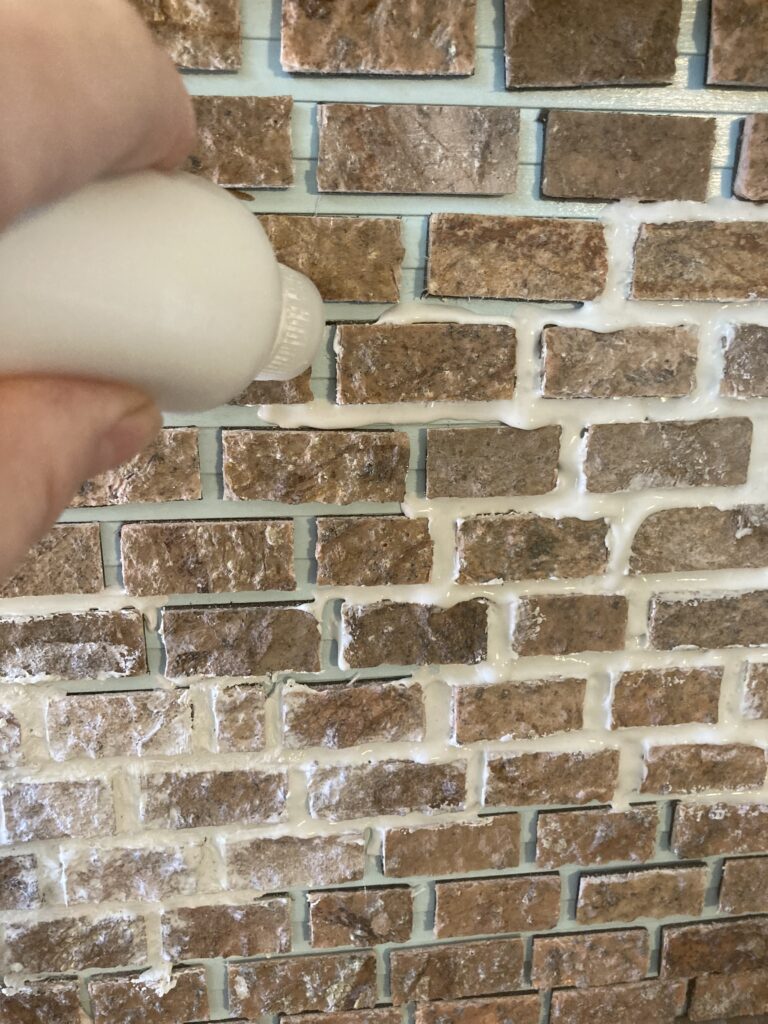
Squeezing mortar between the bricks. The white mess in the lower left was from when I first started, trying to get the hang of it. I eventually touched the bricks up with paint there.
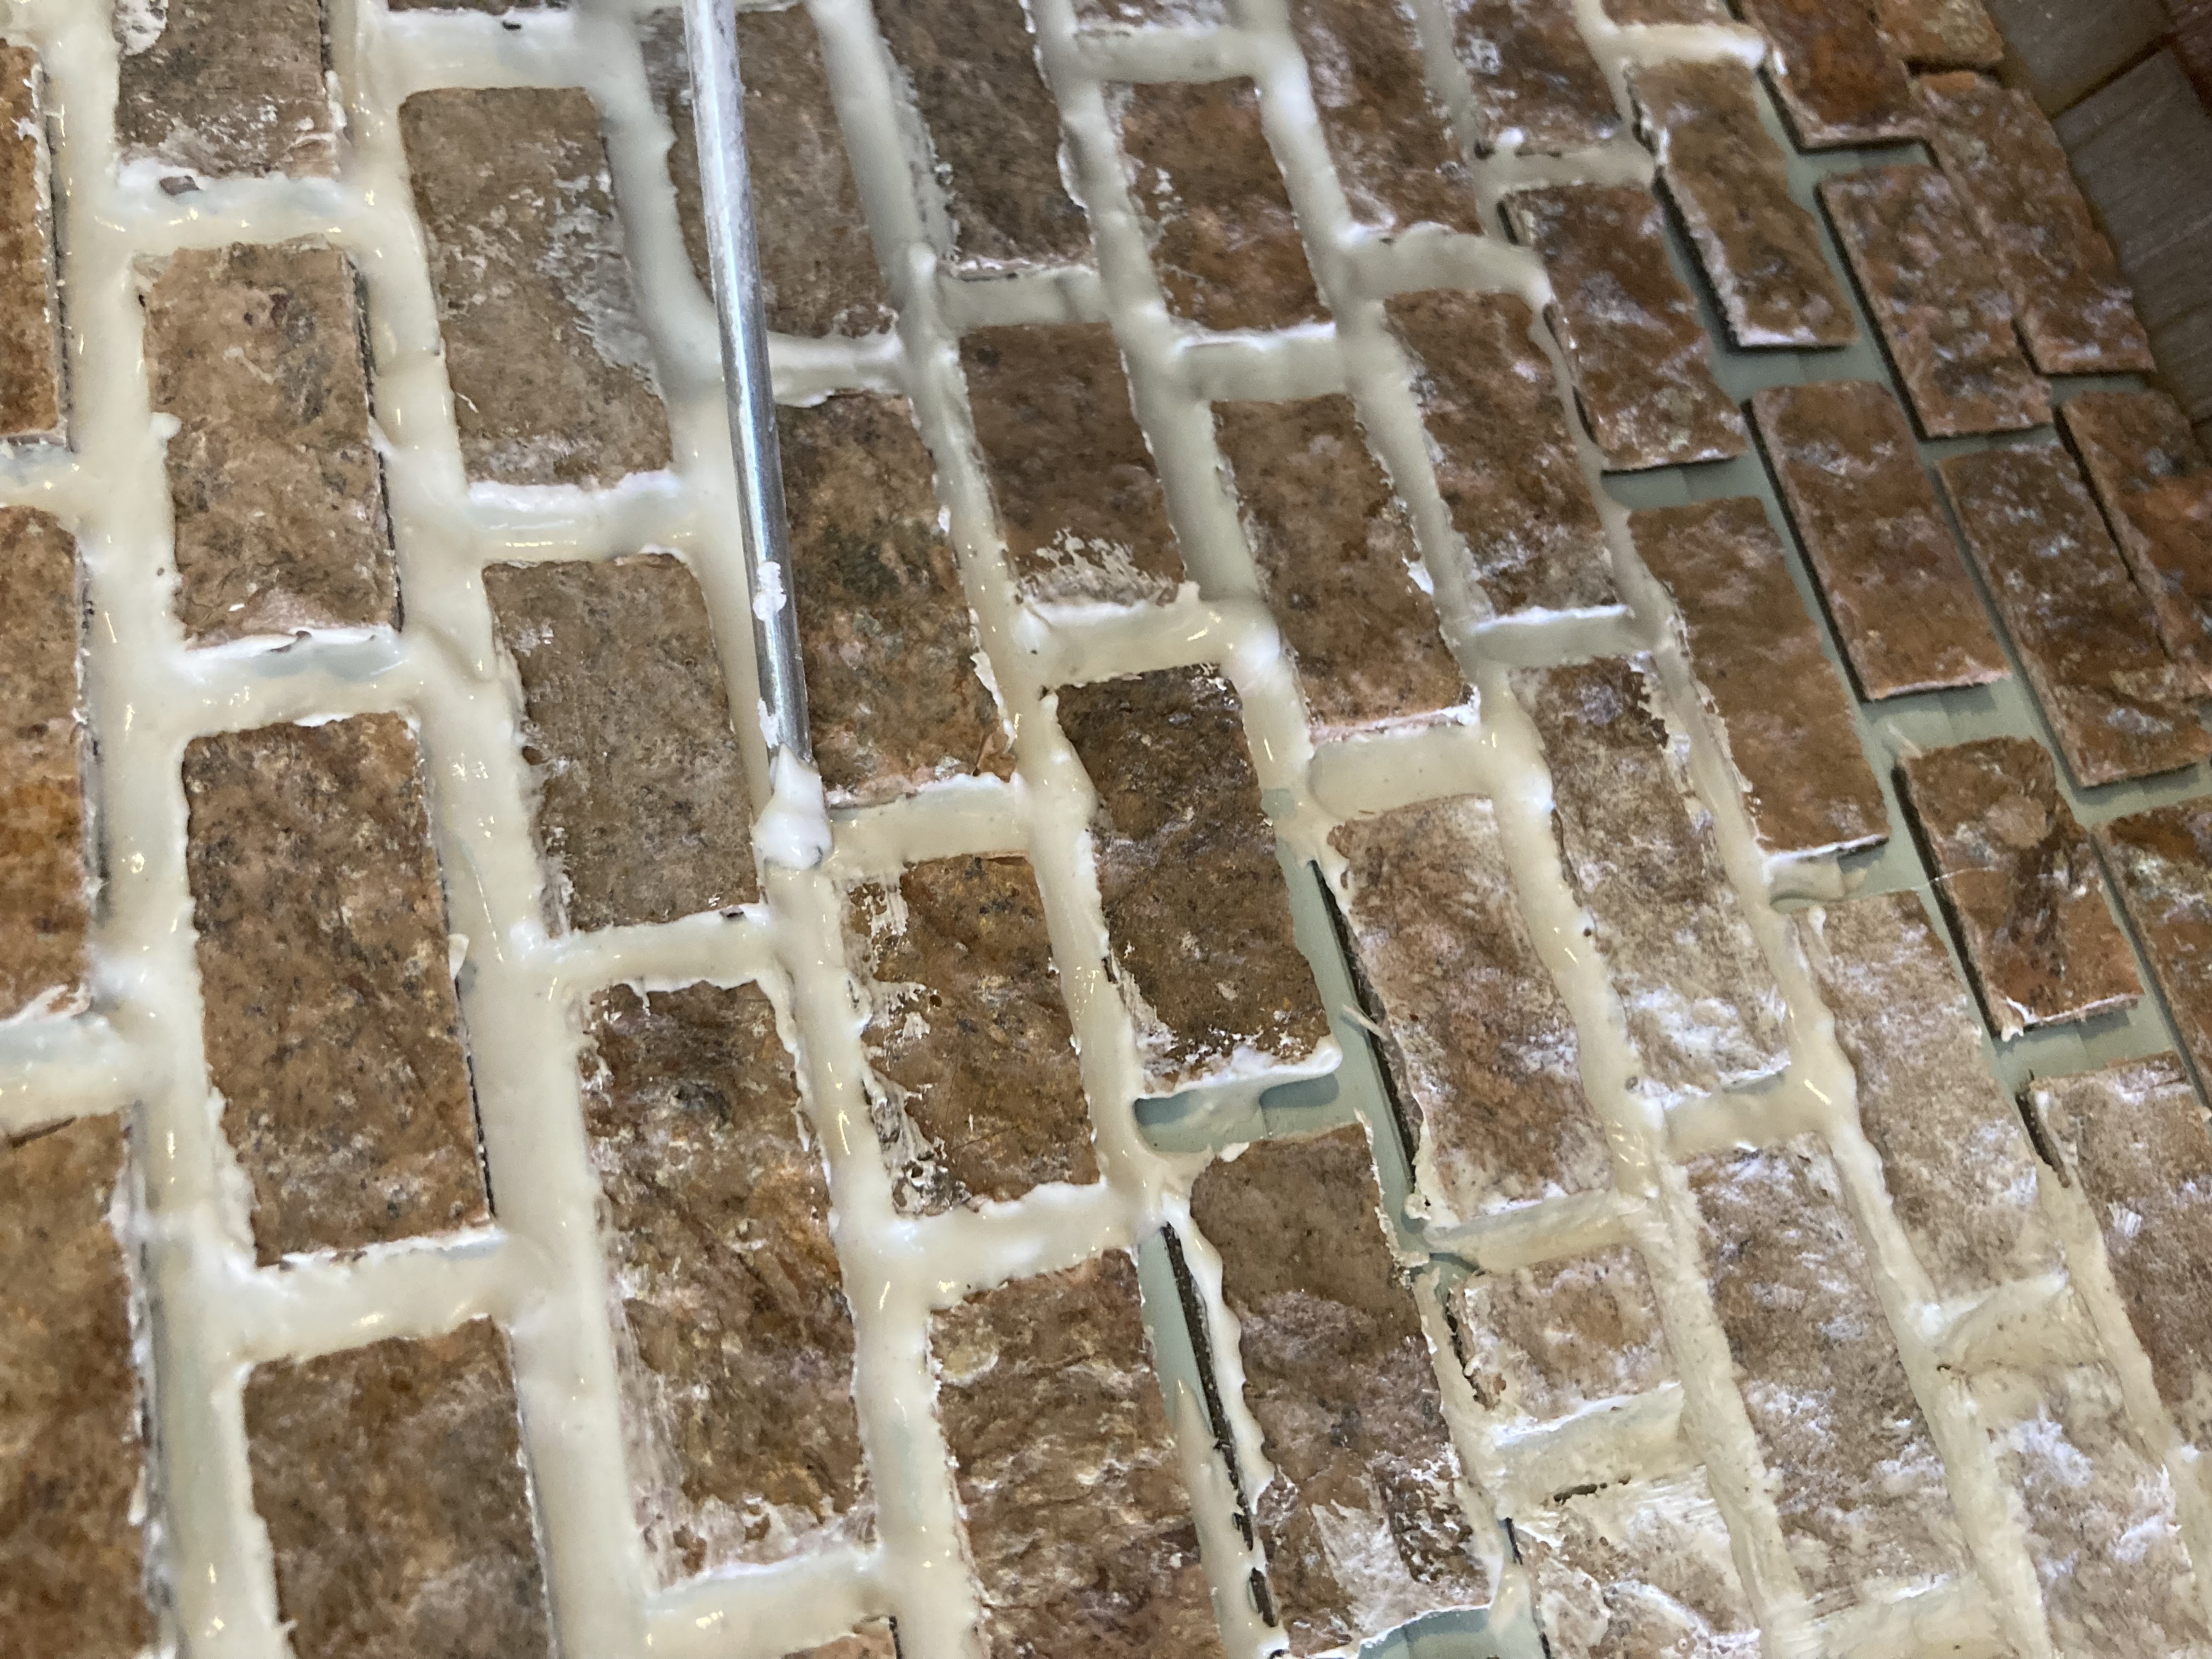
Using a thick wire ‘rod’ to push the mortar around to fill in gaps.
A little more progress.
More progress. Many hours of work. That is a cast iron door stopper holding the back of the dollhouse closed, so curious cats don’t sneak in and redecorate.
Almost done
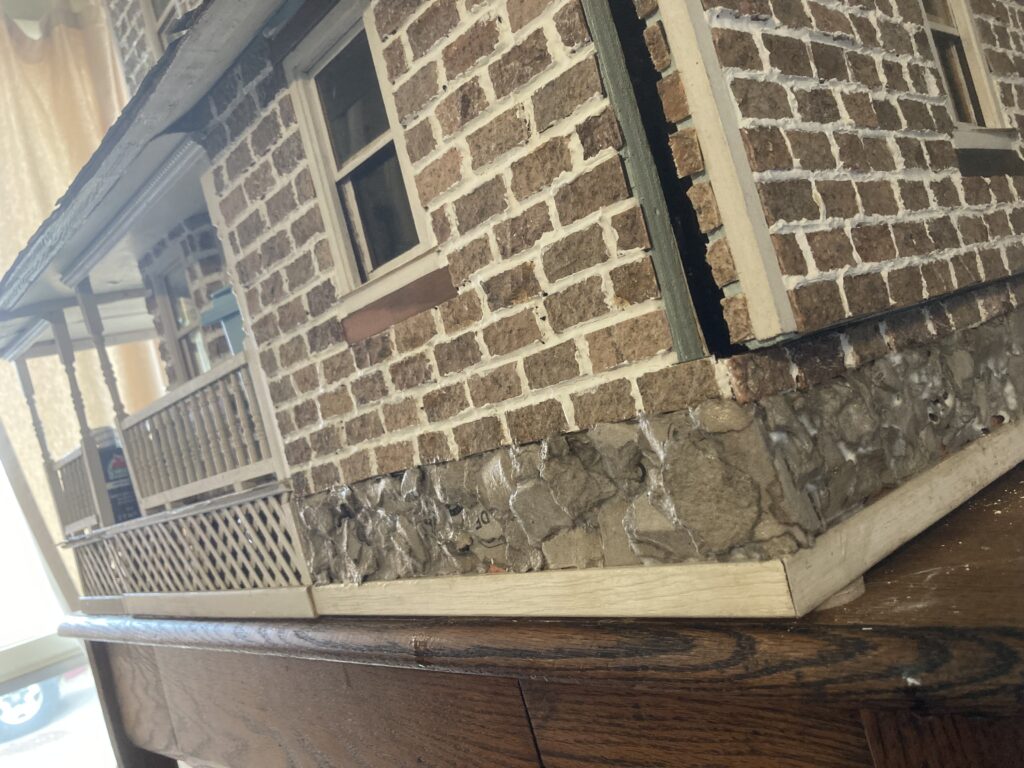
Step 6: a stone foundation. I wanted to add this before aging the bricks, so i could age the foundation at the same time.
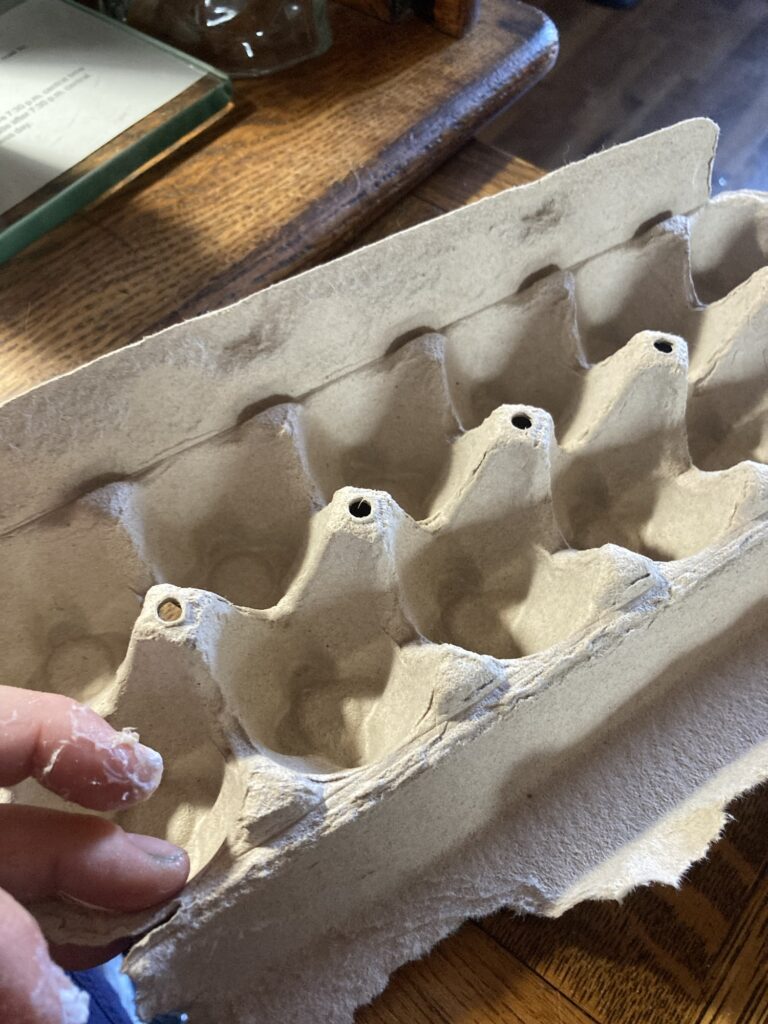
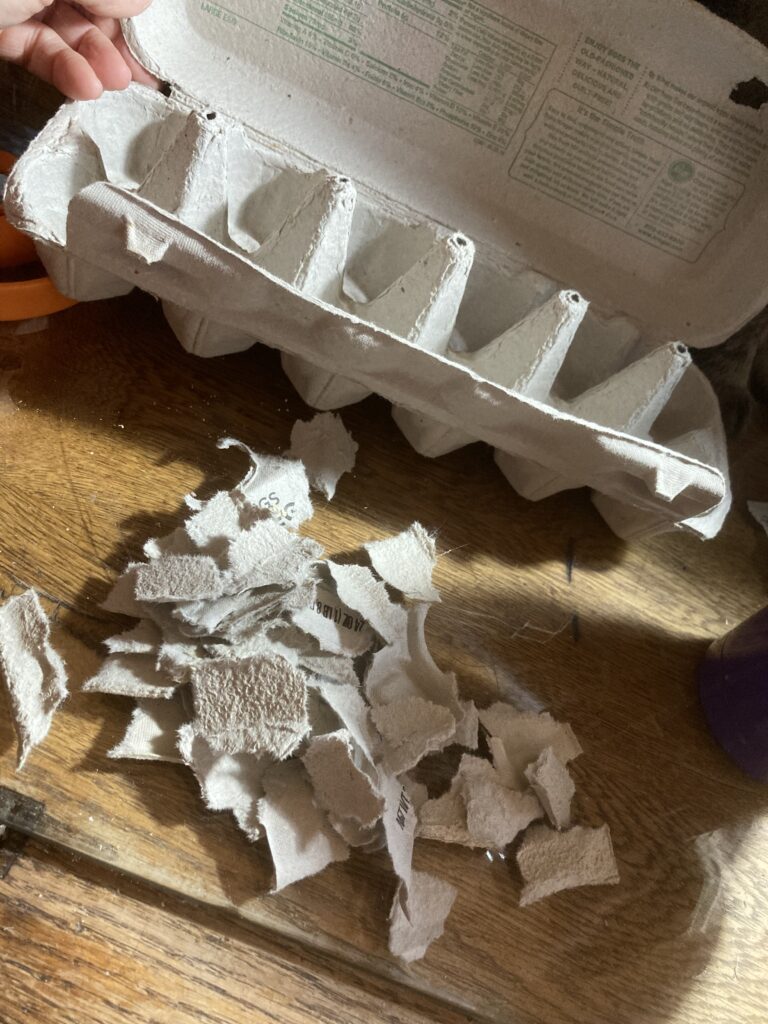
I wanted to make the bottom foundation more of a natural stone instead of bricks, so I thought I would try the egg carton/modpodge method. You start with a cardboard egg carton and break it into pieces (for this project I only needed one carton).
Egg carton
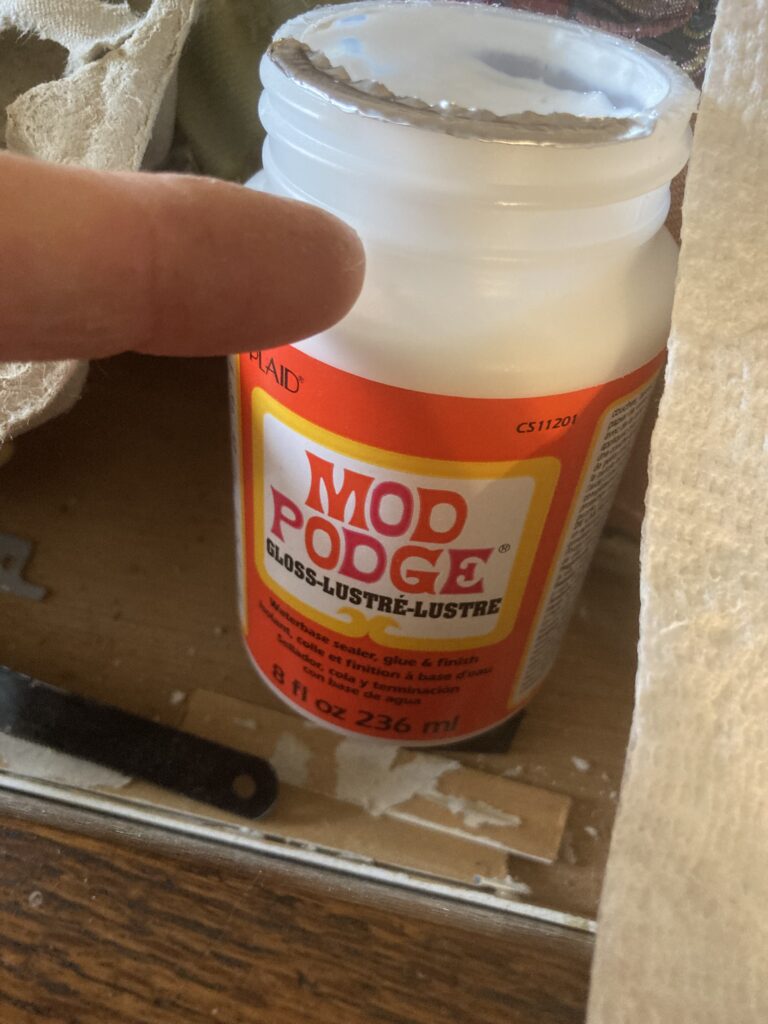
Then I used Modpodge and a cheap bristle paintbrush from DollarTree (I think it was a stencil brush).
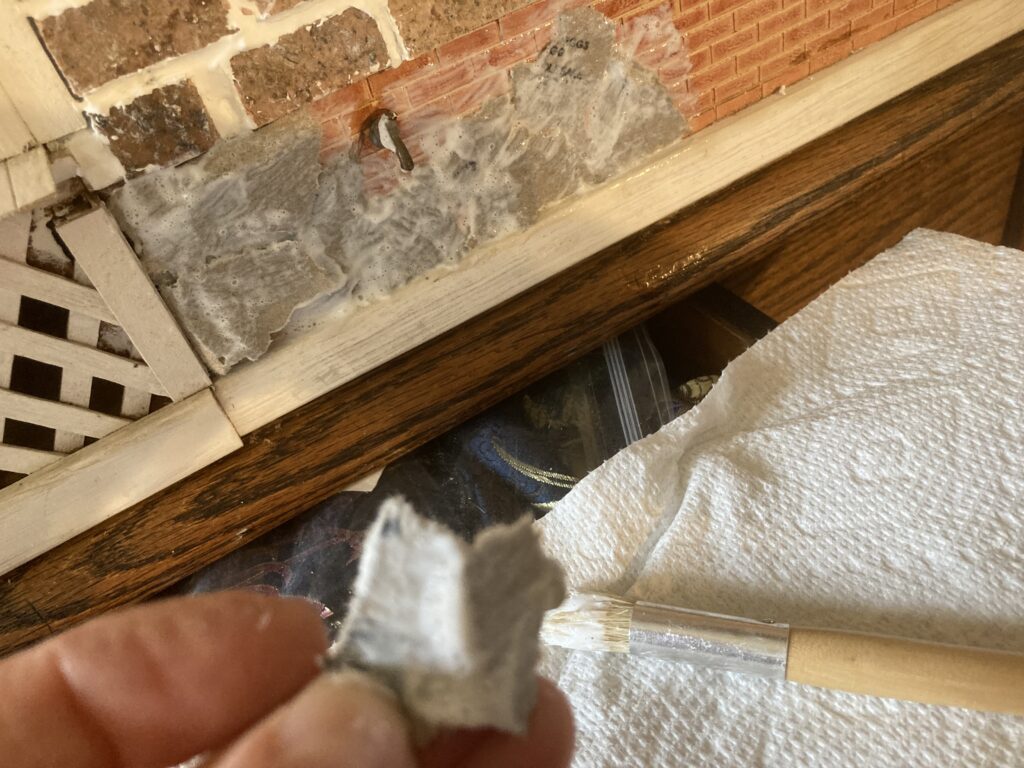
I basically just pasted the cardboard pieces all over the base of the dollhouse so it looked like stones. I built them up in layers to add depth.
Doesn’t look like much while it is wet, but when it is dry…
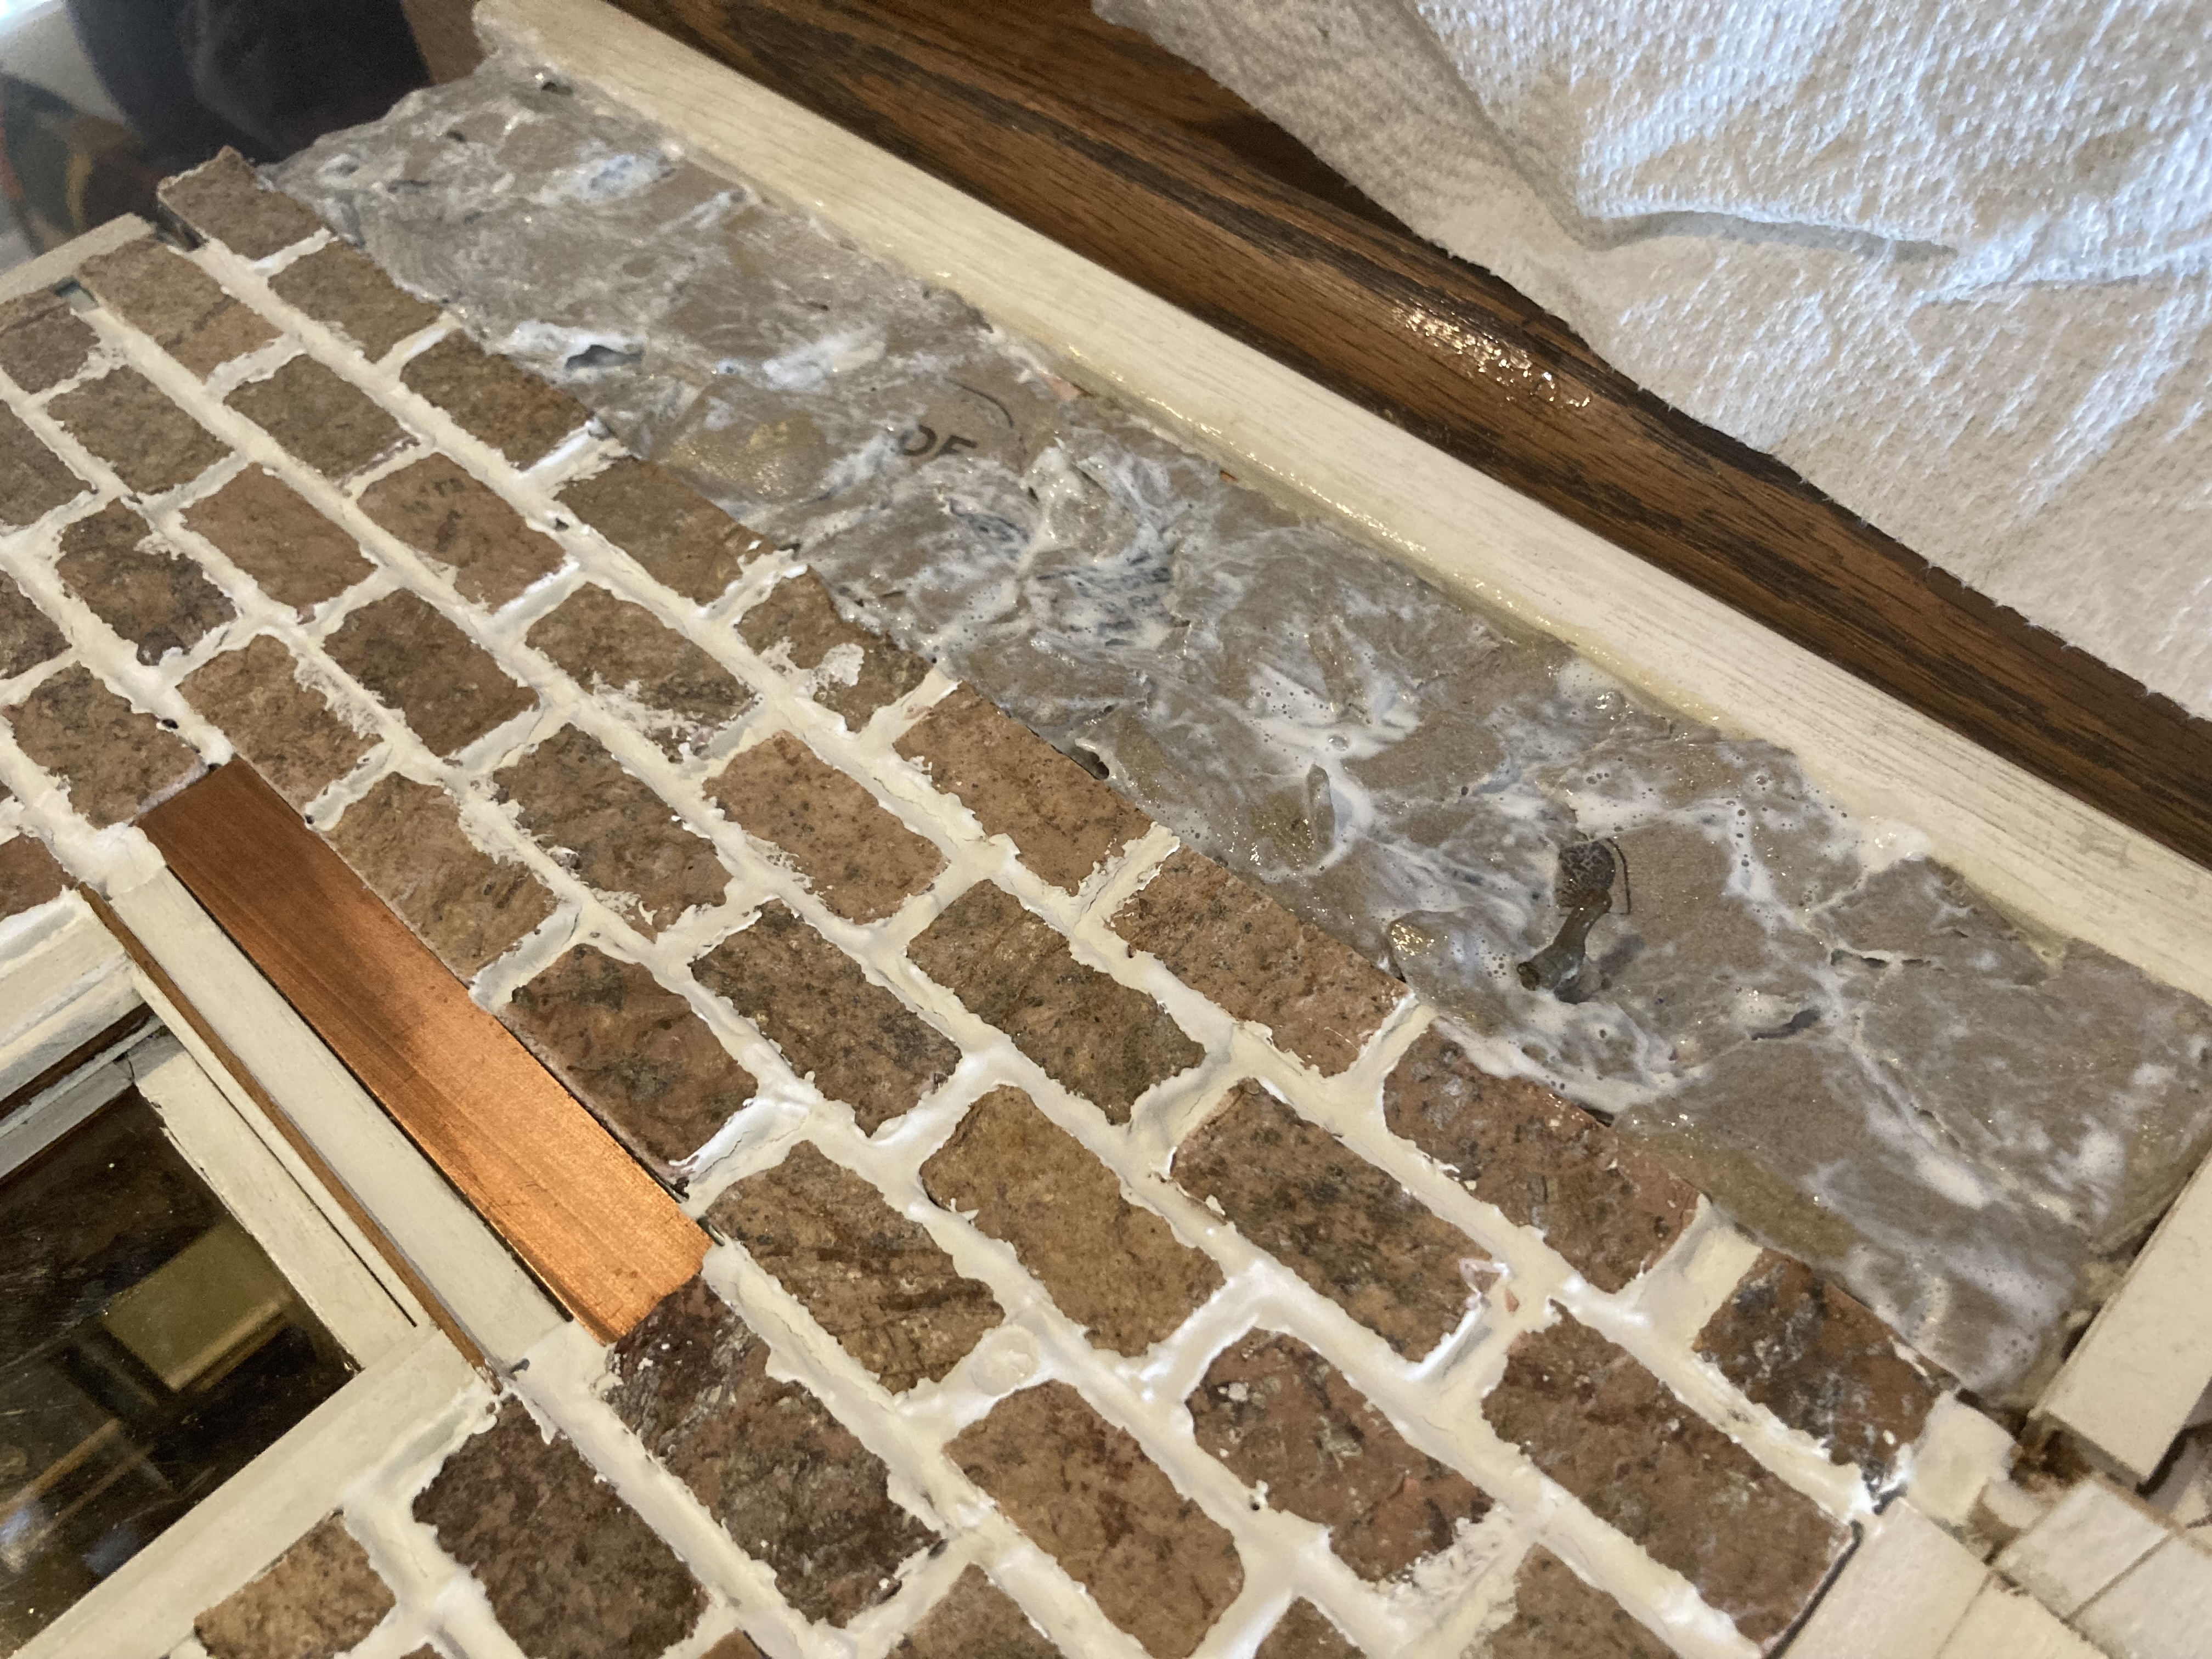
So satisfying.
I eventually decided to keep the ‘stone’ on the base as-is, without painting it, so I went back through and added a few more pieces to cover up any writing left exposed on the cardboard.
Step 7: Aging.
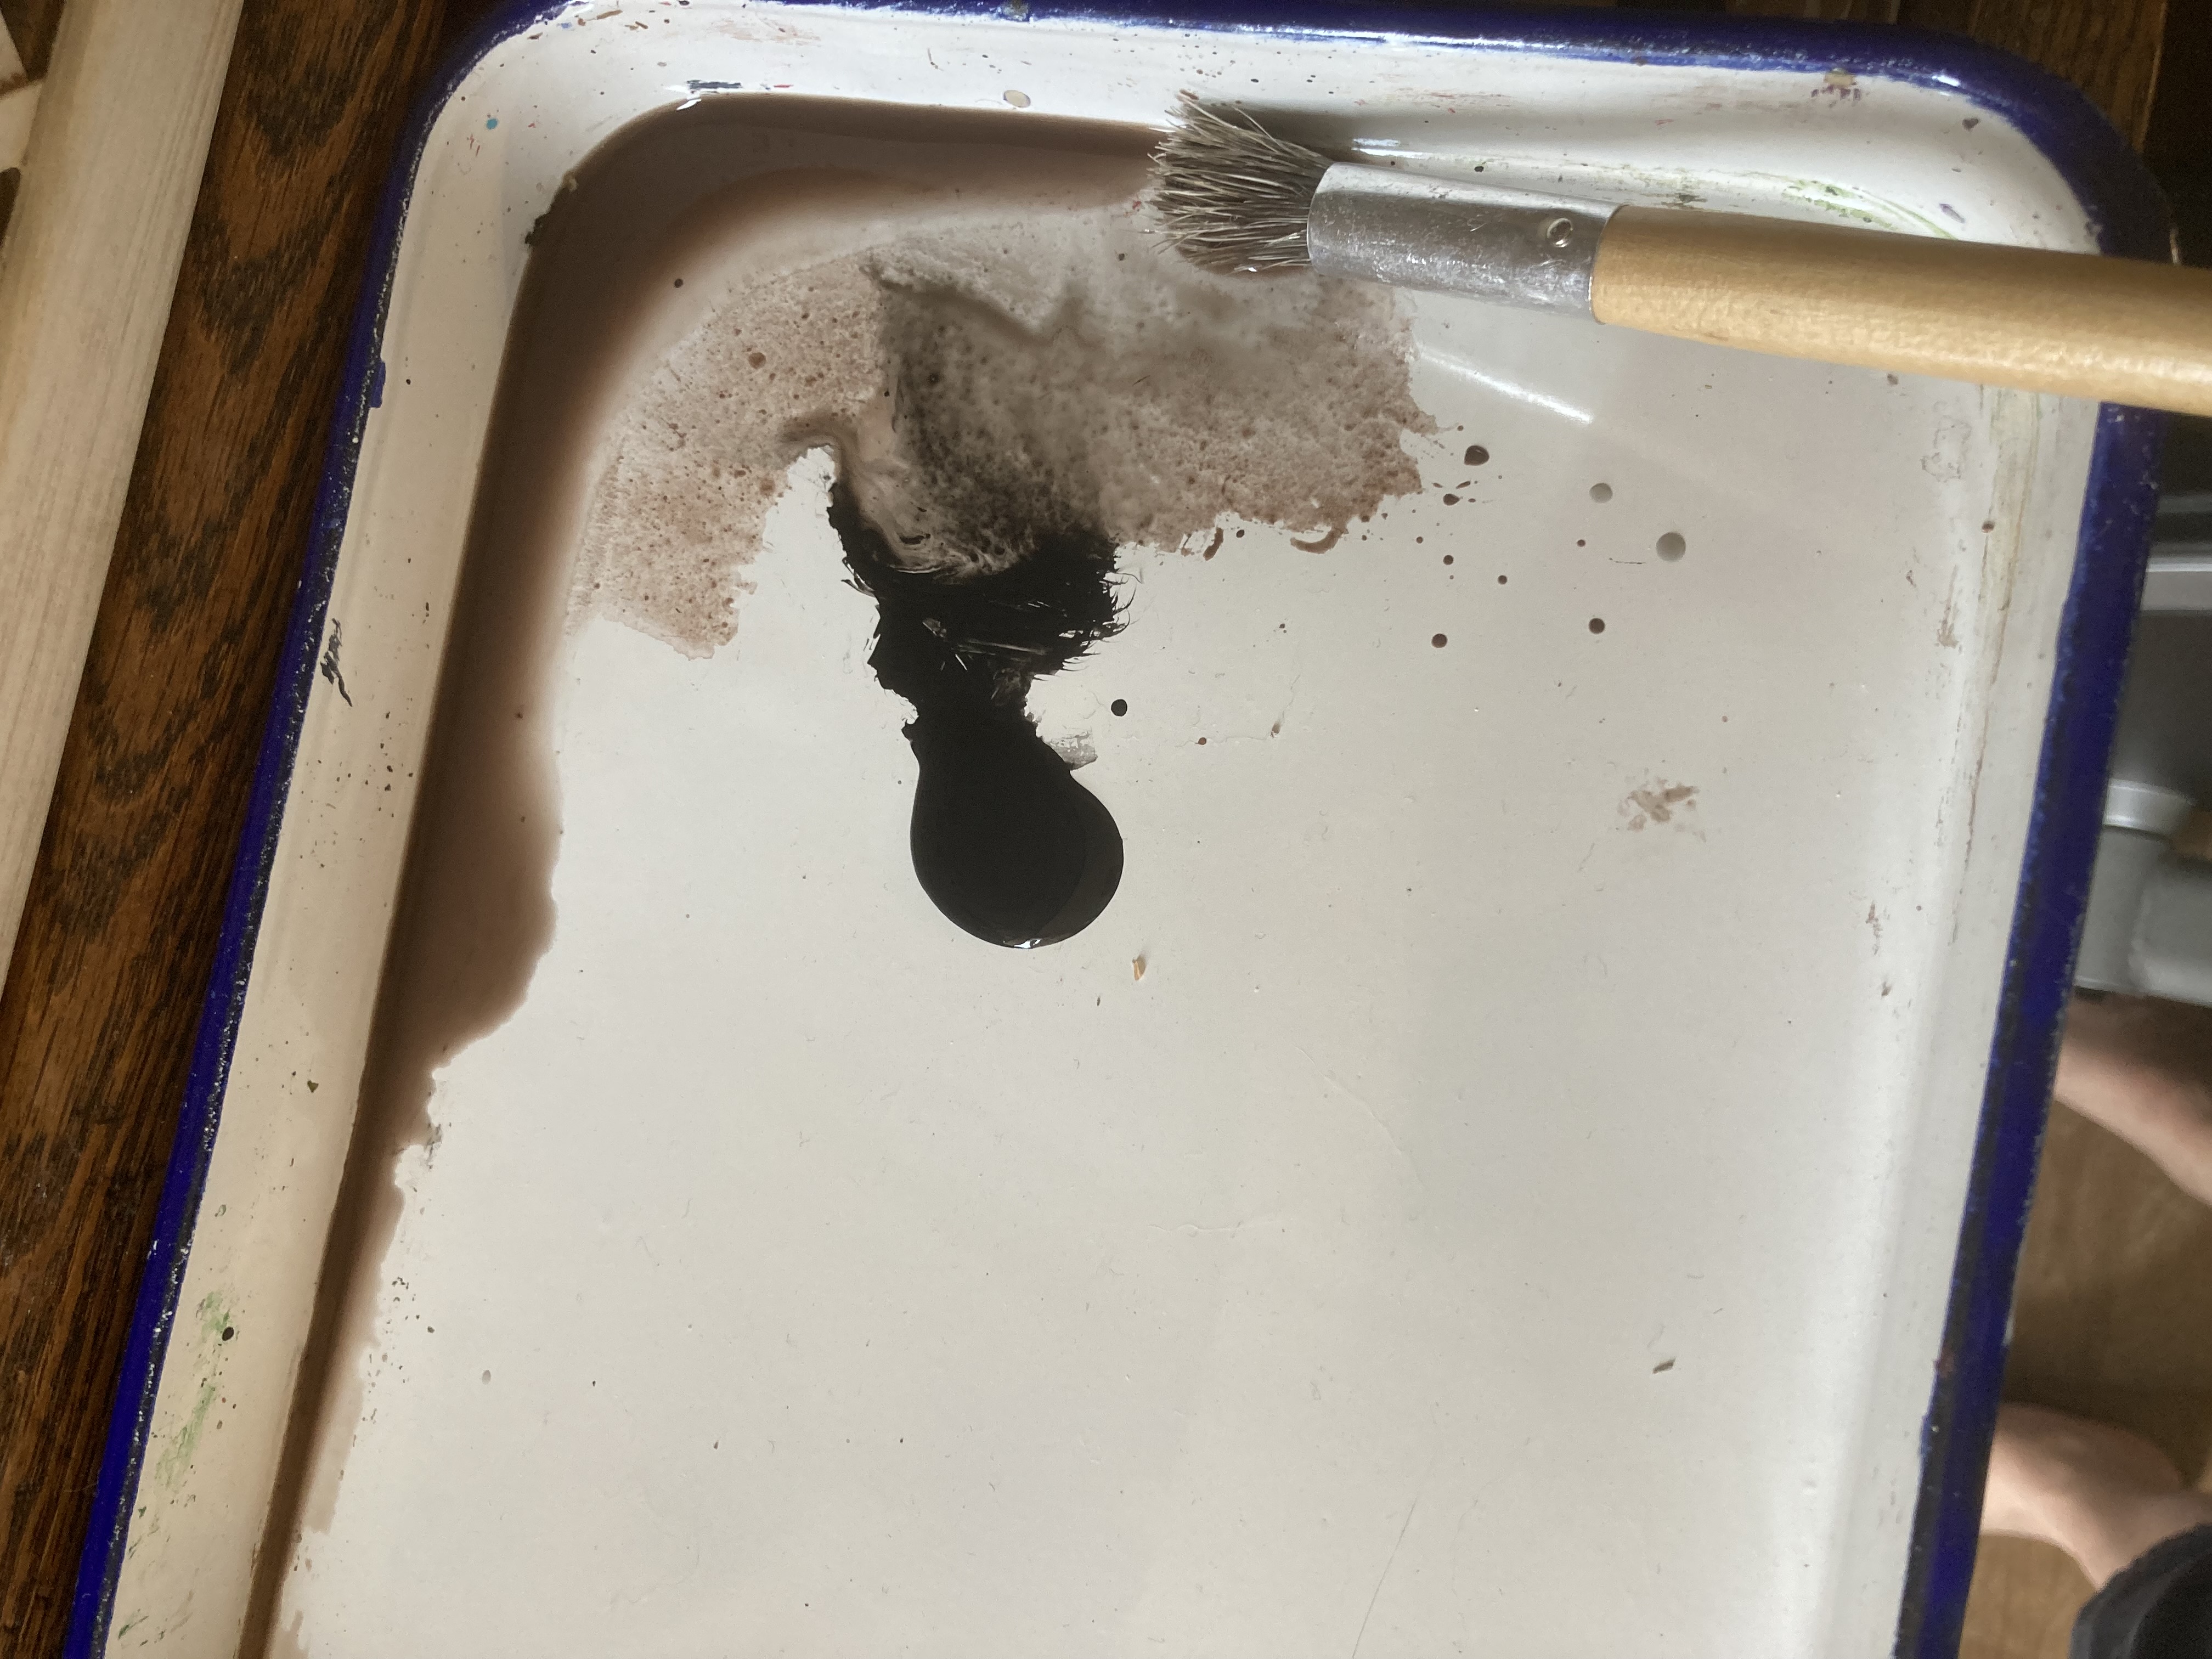
I didn’t want the stark white grout between the bricks to stay that color, as it just isn’t very natural looking, so I knew right away that I would age it with some watered down paints.
Watered down acrylic paints and my good old bristle stencil brush. The bristle brush is good for digging into crevices with your weathering paints.
I ended up using brown, a little green, and a tiny bit of black, making various washes over different areas of the house to make it look weathered. Just like any real house, the weathering will not be consistent through the entire finish, as variations in architecture, sun exposure, potential leaks, water runoff, etc will create different effects. I just varied it enough to make it interesting.
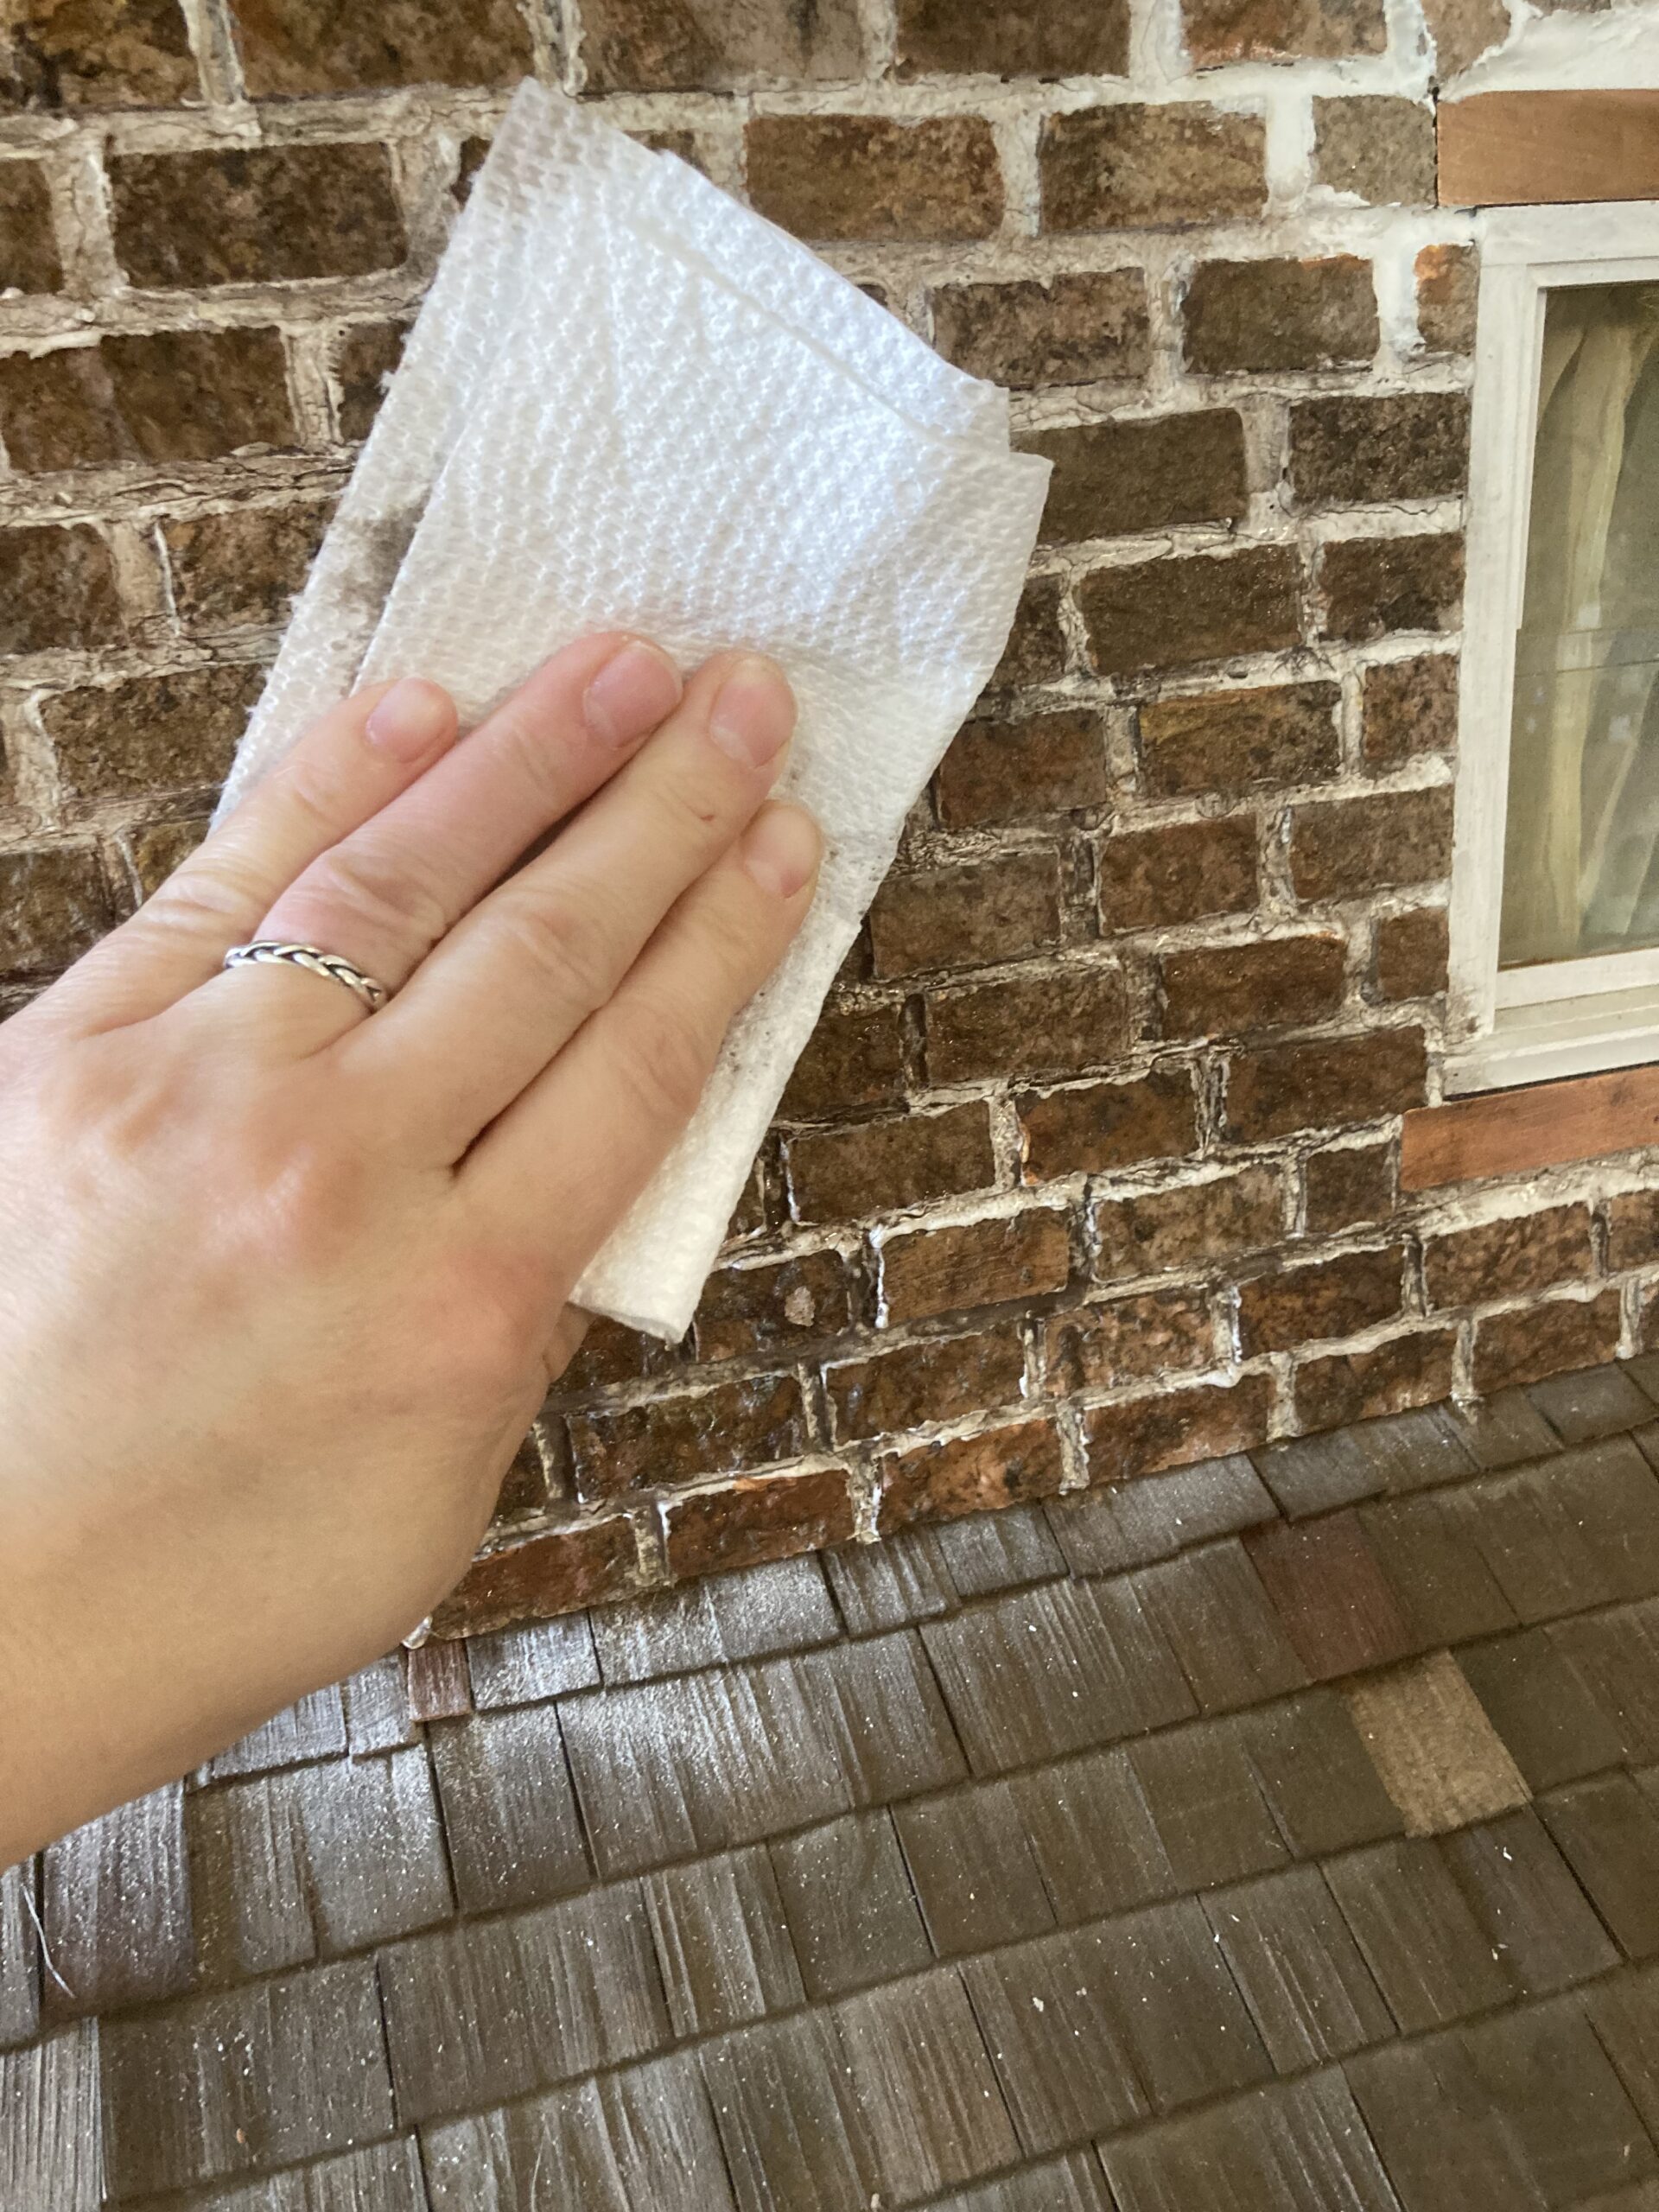
Patting off excess paint with a paper towel.
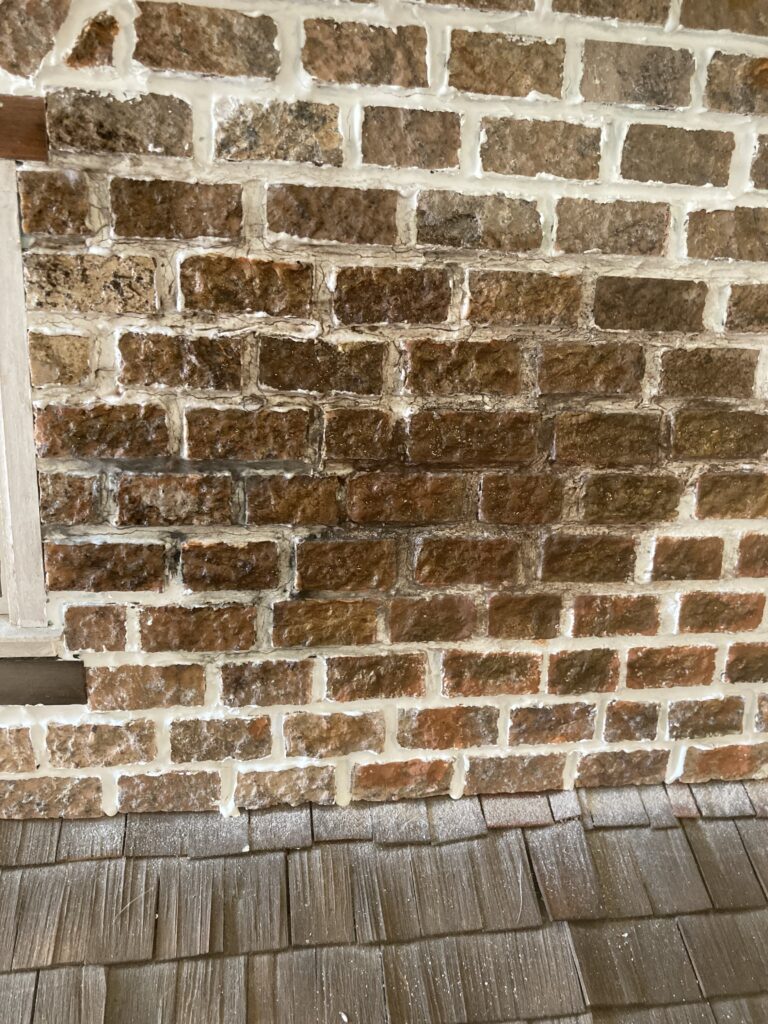
Working paint into those cracks and crevices.
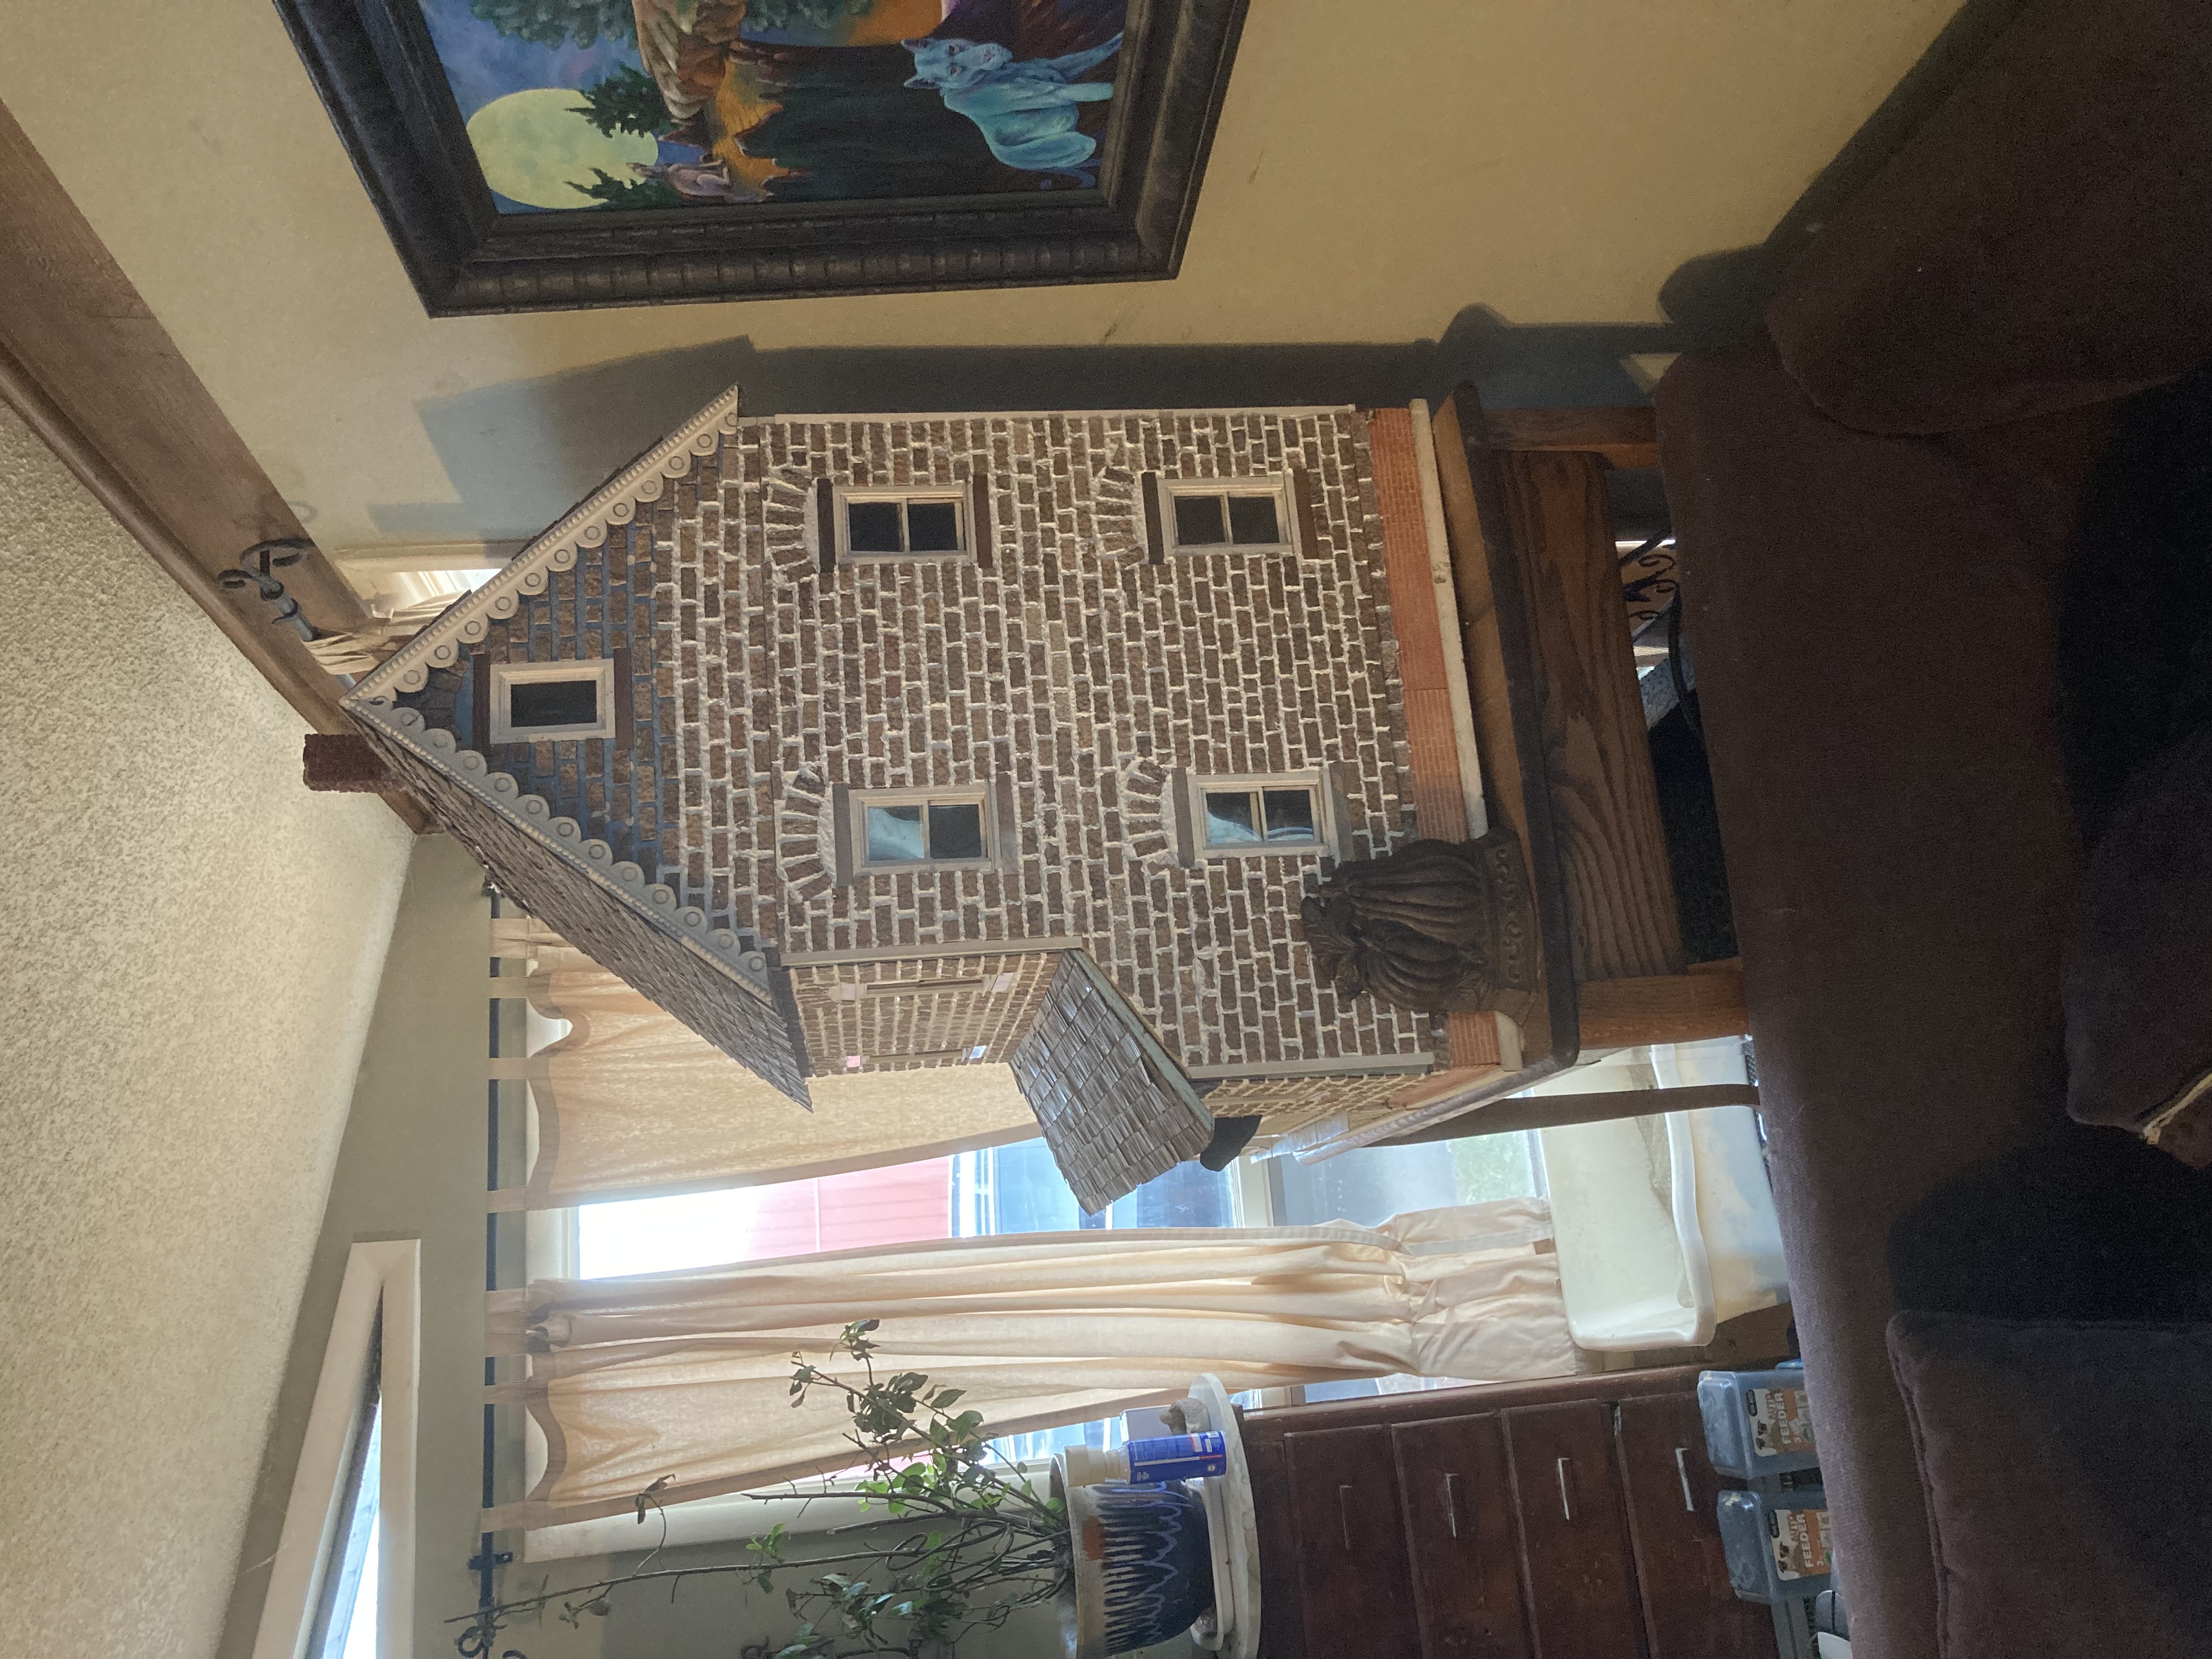
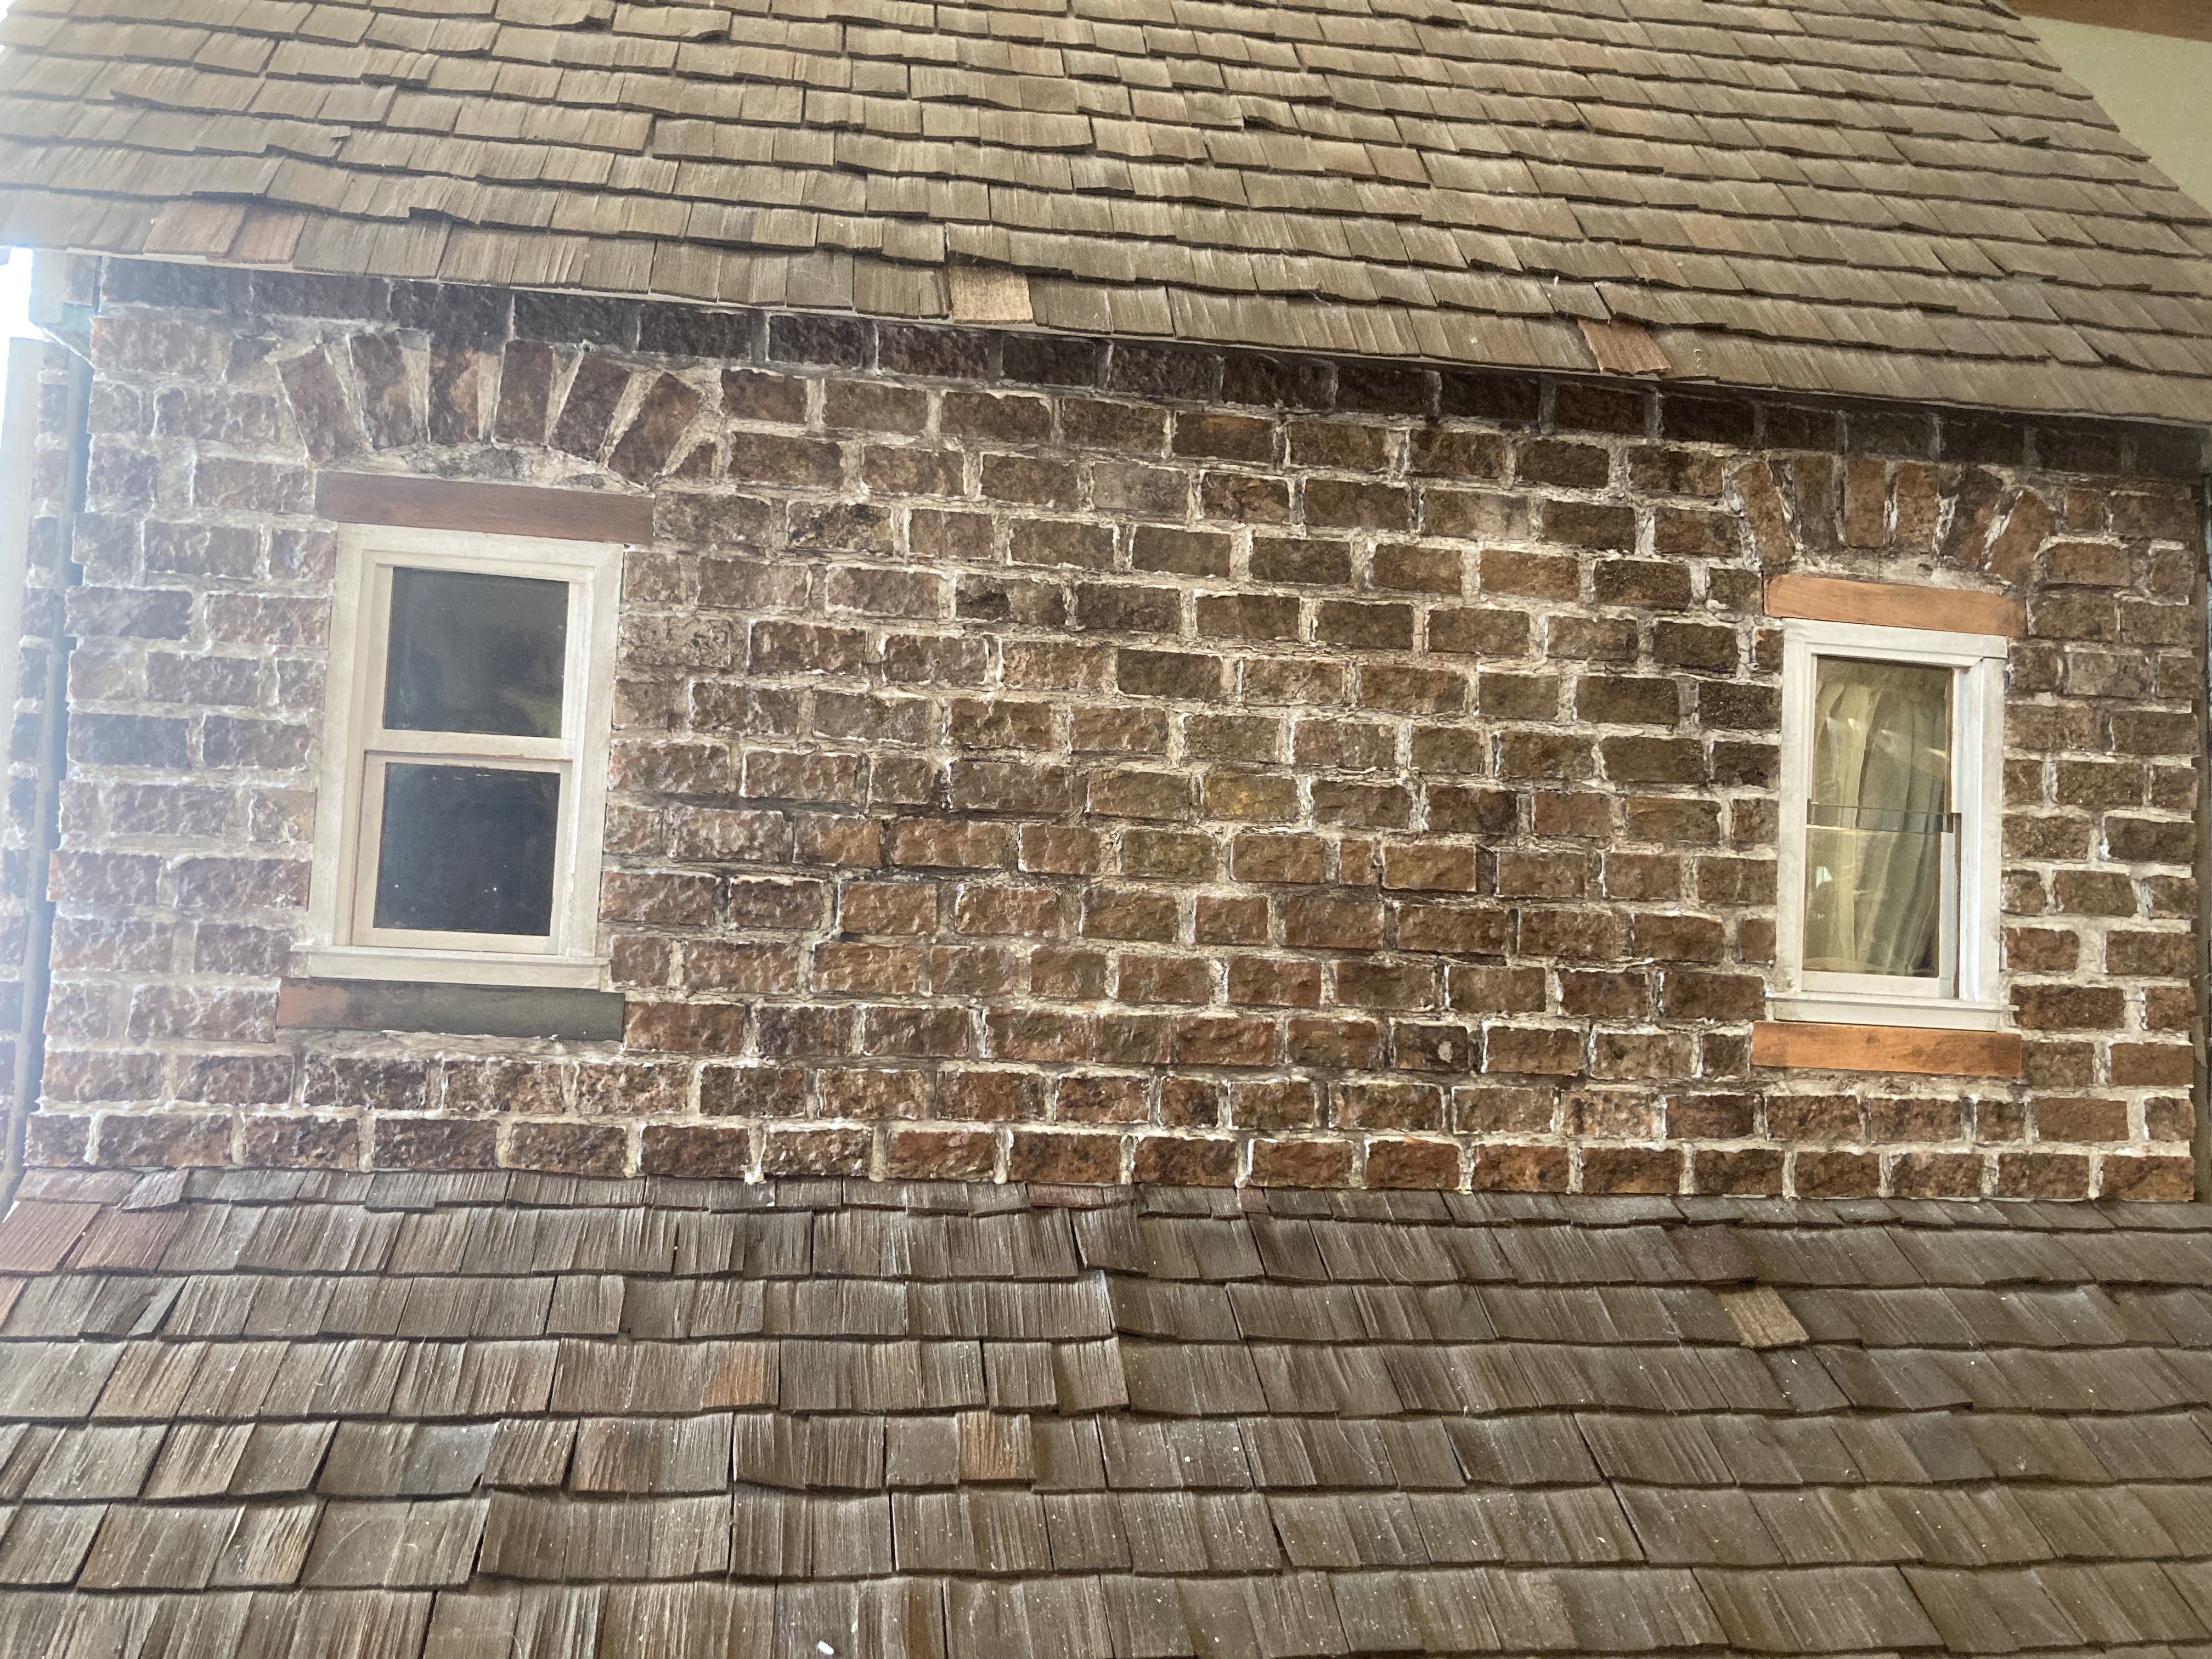
In a brighter light.
This house project took so MANY hours to complete, and my hands were so sore from squeezing that little squeeze bottle, but I am so pleased with how it all turned out. My next plans for this include making gutters to cover some of the white trim on the corners (I should have removed the trim before putting on the bricks, but hadn’t thought about it until it was too late). Also I have started remodeling the bathroom. Stay tuned for more!