How to Make Working Dollhouse Windows from Scratch

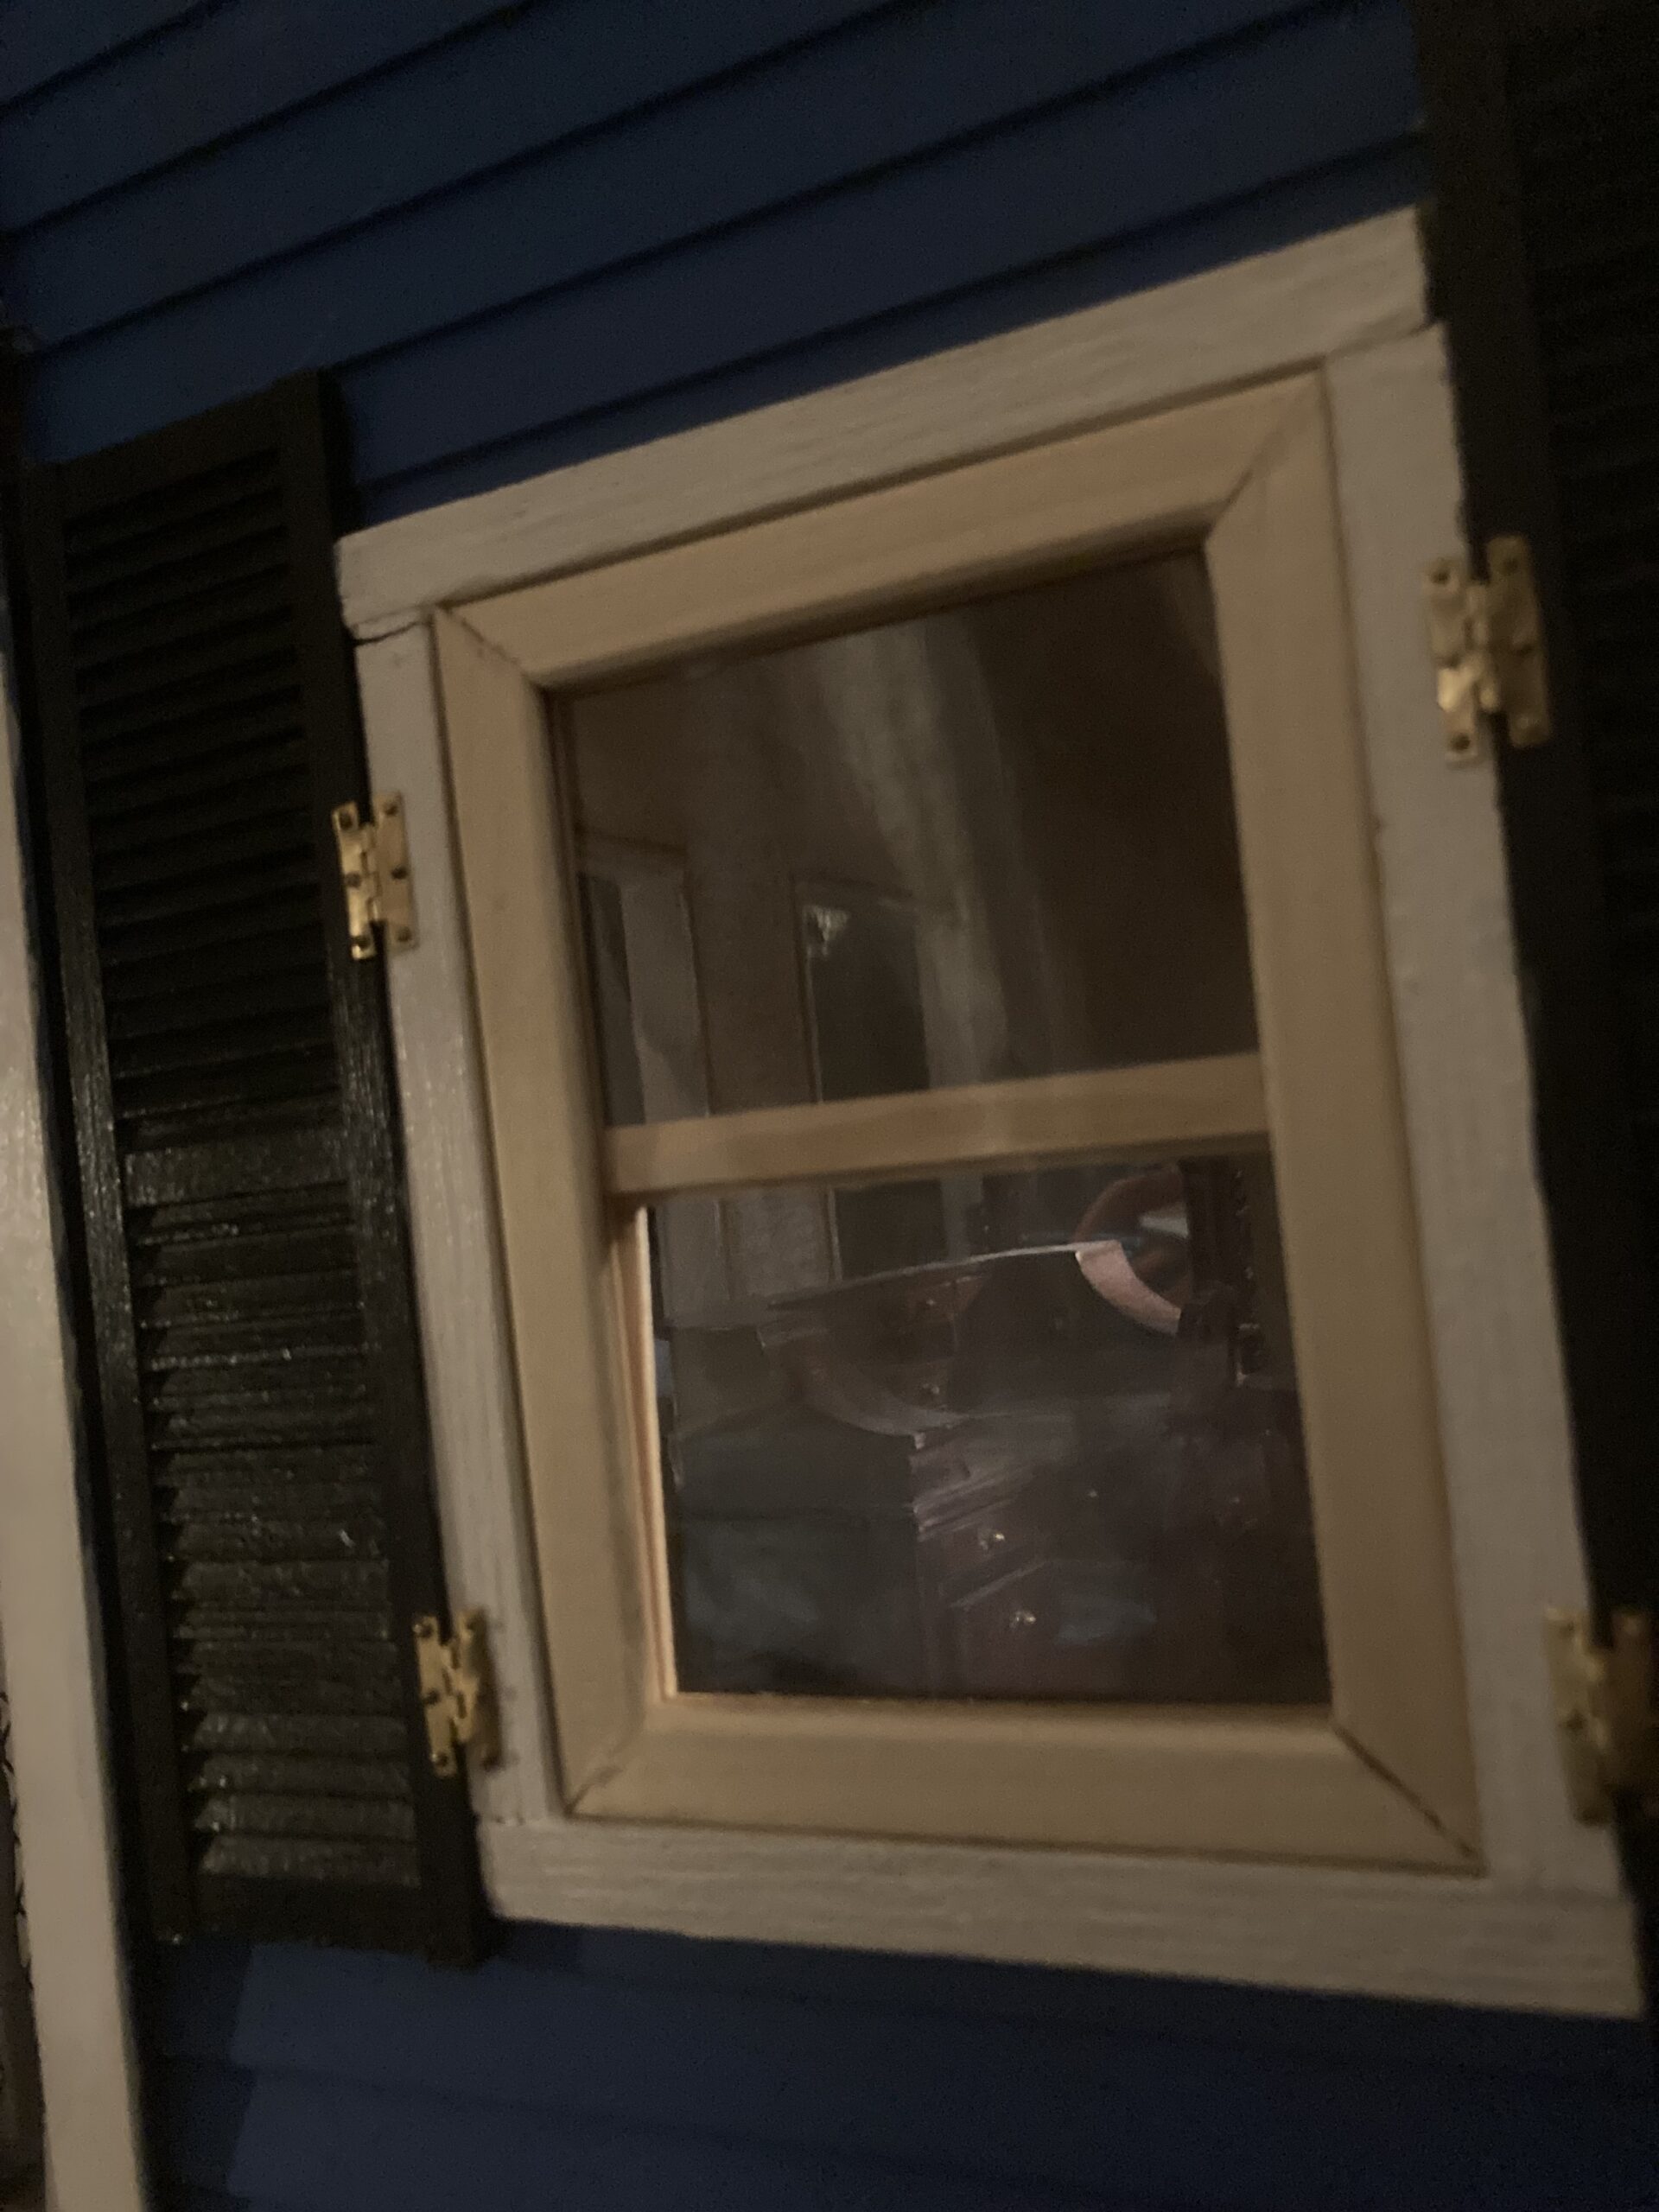
View from the outside.

For my new-ish 1920’s style house, I had a hard time finding room for it and ended up keeping it on the floor, under a table that has another house on it. Unfortunately, my darling kitties have discovered that it has no plastic in the windows, and they can slip their paws in and play with my mess. (I have furniture inside, but the inside was basically stripped before I got the house–no trims, doors, flooring, even the wallpaper was ripped off the walls.) Anyway, I made it a priority to get windows on it.

At first I was just going to slap clear plastic into a frame and call it done. Then, after studying the working windows in my Pepperwood farm house, I decided that I might be able to make some working windows.

For this project, I collected clear plastic from different food containers to use as the ‘glass.’ It is clear, it is cheap, it is sturdy enough, and it is easily available. I have my own little collection that I have been building over the past couple of years for projects such as this, mostly the tops off mini doughnut lids from Walmart. Anyway, I also used Hardwood Outside Corner Trim from Menards. This trim has two equal sides that form a right angle to each other.
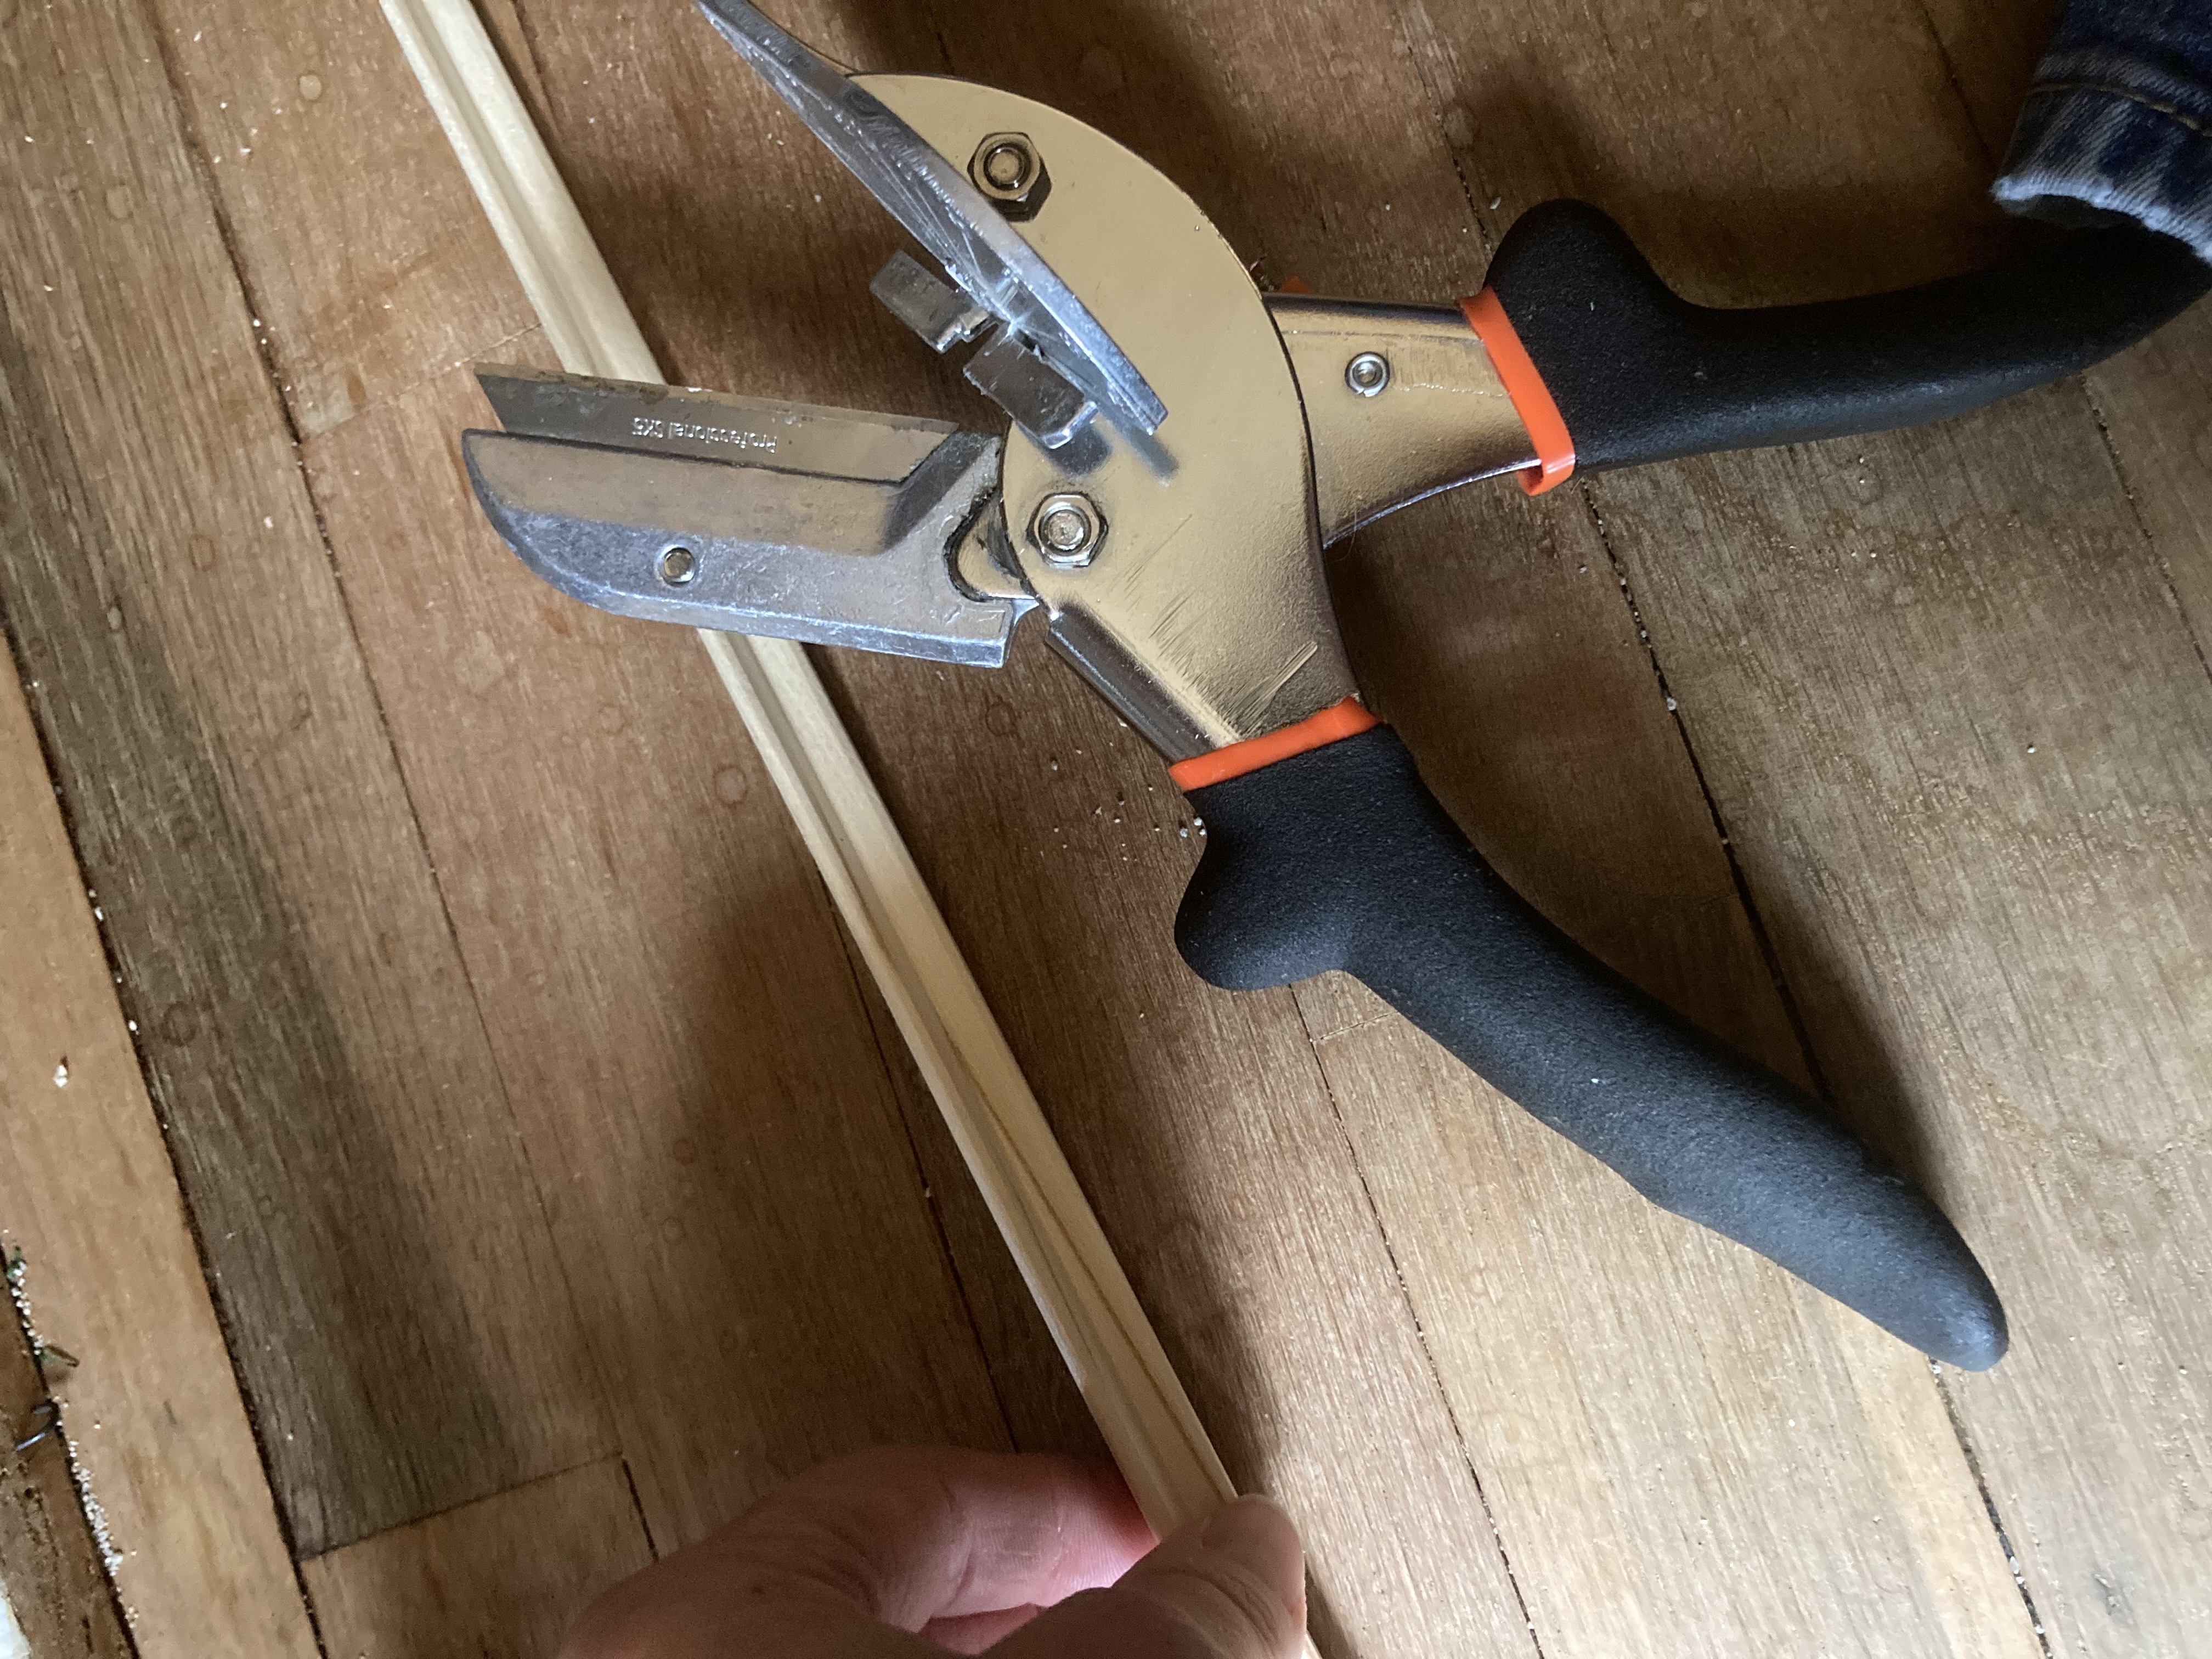
Hardwood Outside Corner Trim from Menards, with my handy dandy miter shears.

I also used my miter shears, wooden coffee stirrers, and wood glue.

First, I used the miter shears to cut the corner trim at the proper angles and sizes to make a frame inside the window. I glued the pieces together, so it is an inner frame for my window hole. When you hold it up, it will look like a picture frame where the outside of the frame is nice and flat, while the inside has a raised ridge that will hold the window workings.
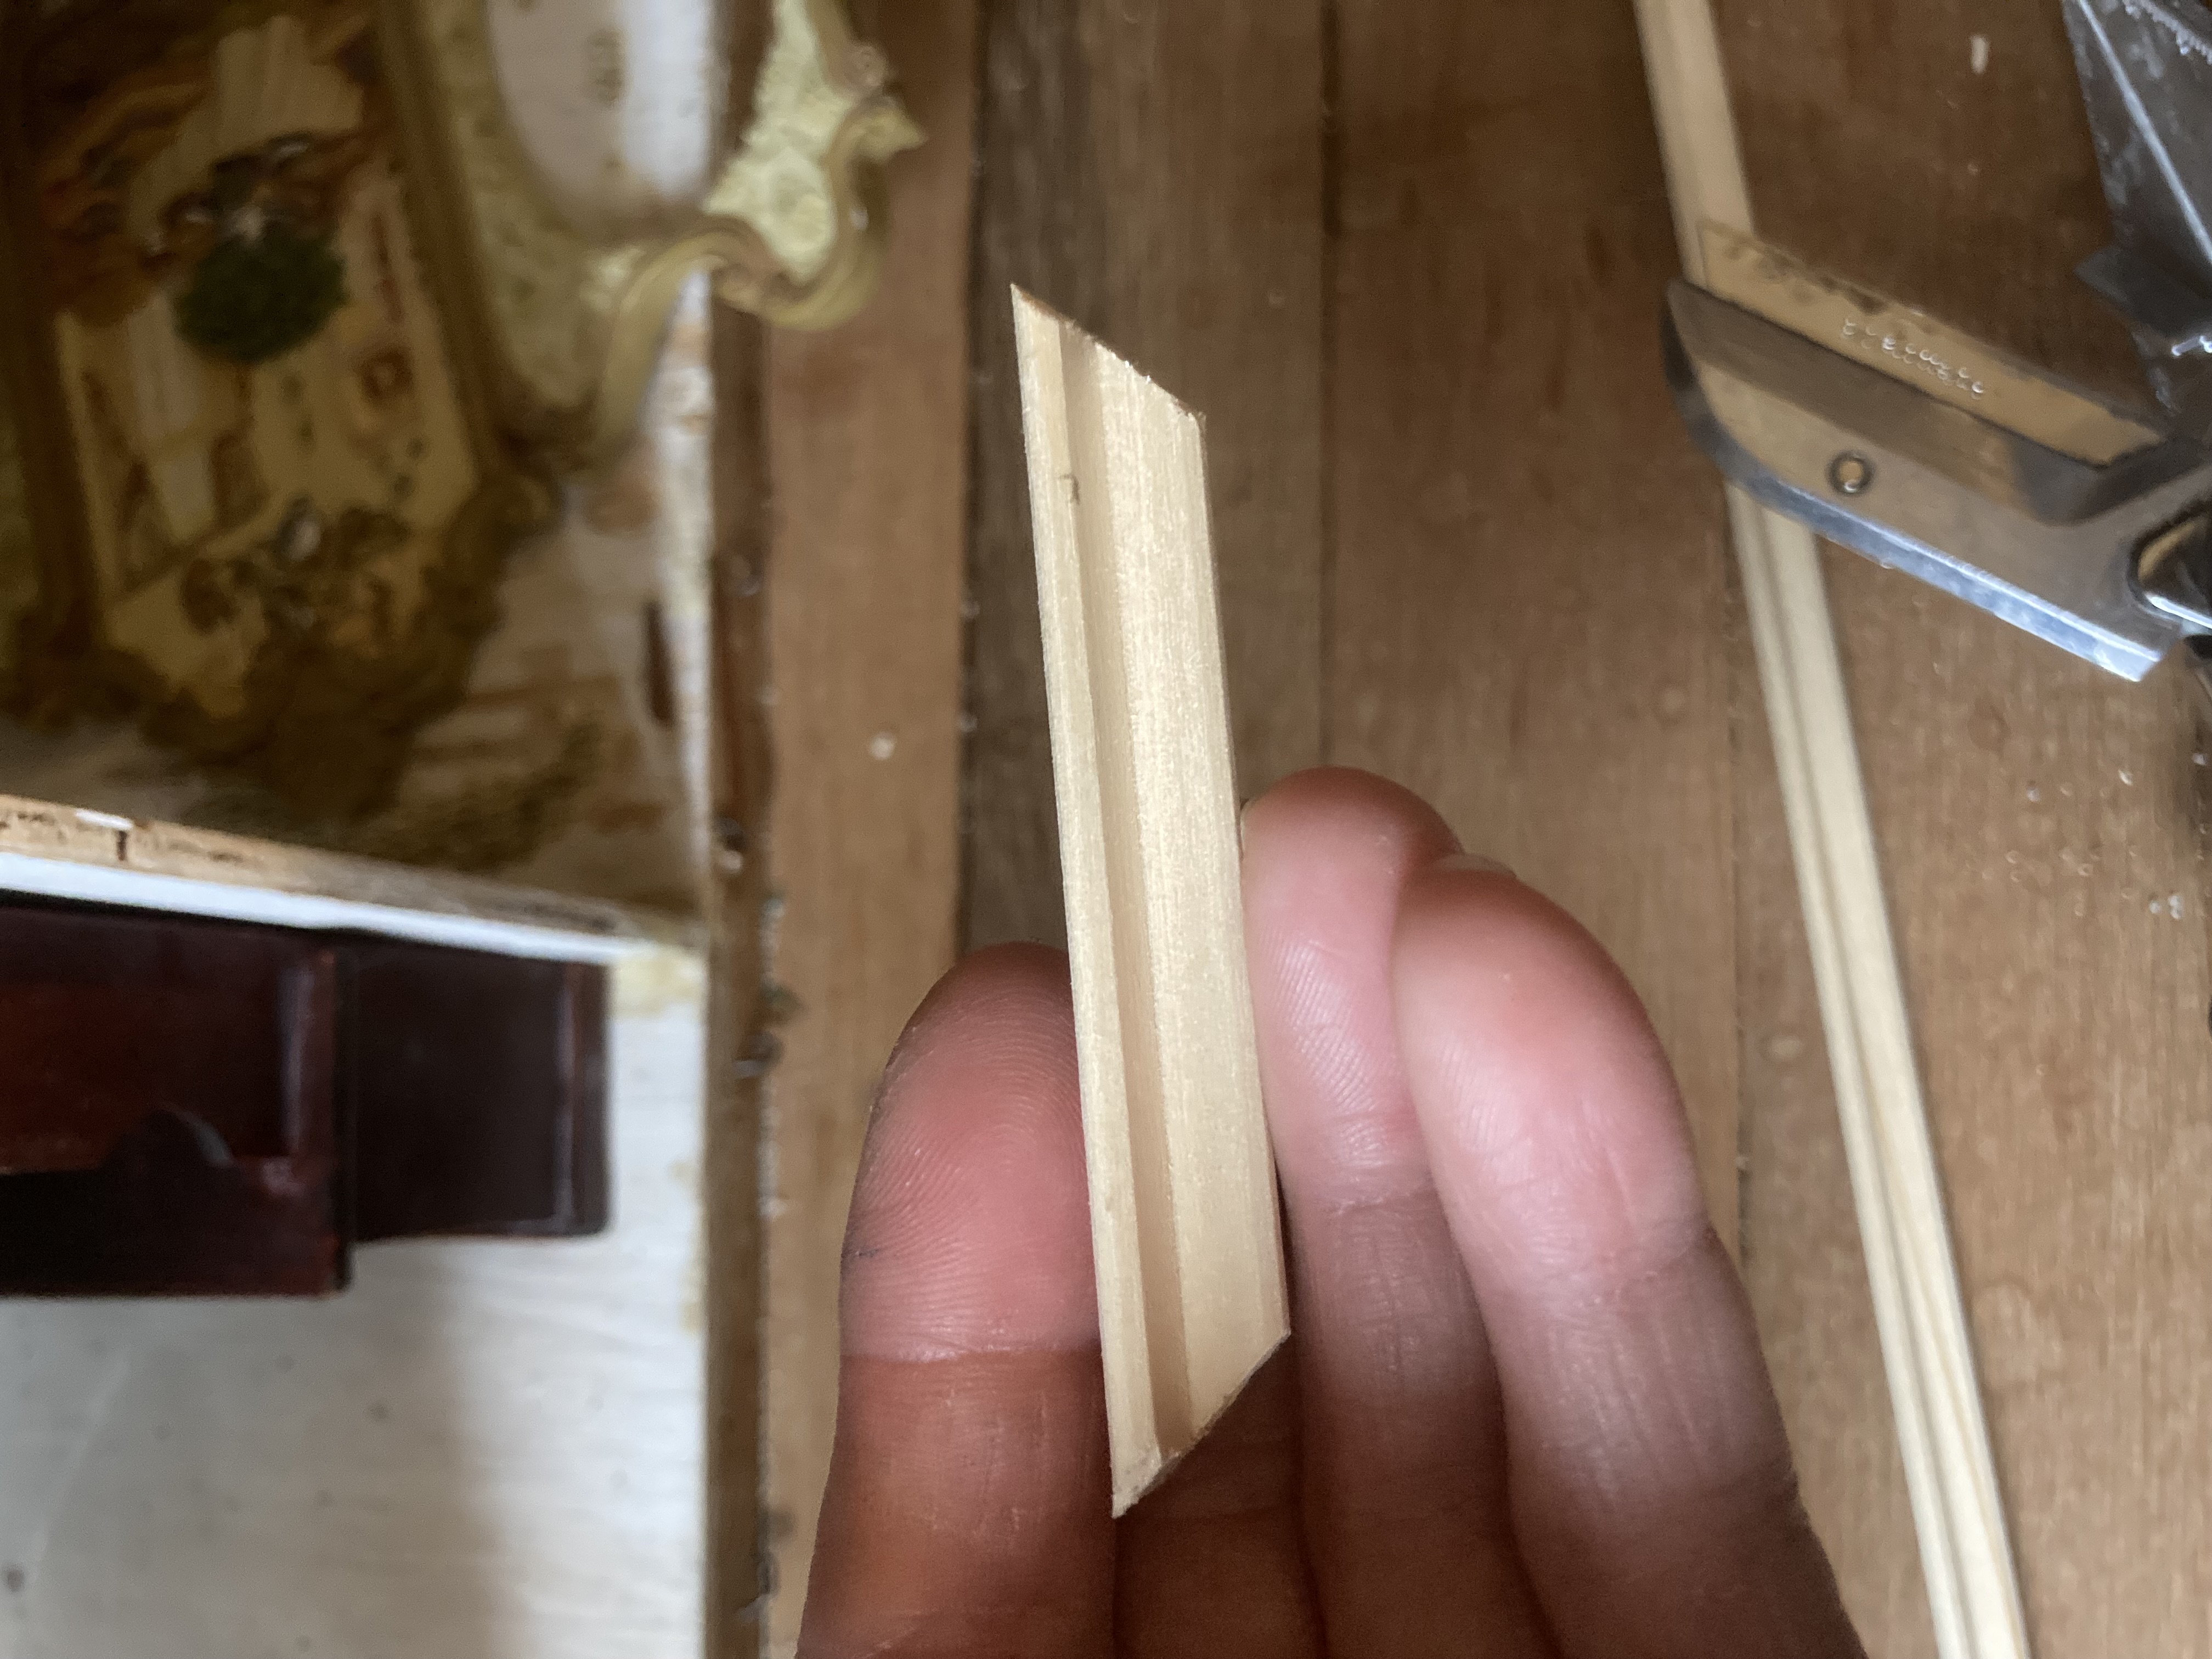
Example of a measured and cut piece to line the inside of the window hole.

I placed the new inner window frame so that the section that looks smaller is pointing outward, while the side with the wider opening is pointing inward, to the interior of the house, and the side with the smaller opening is pointed outside.
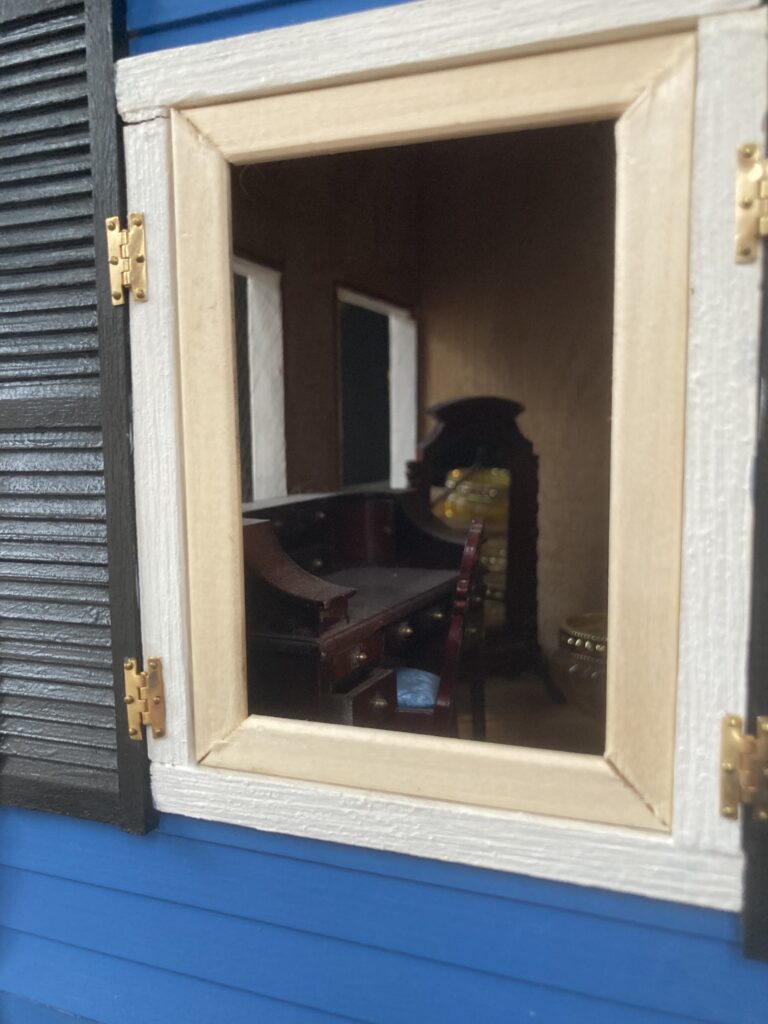
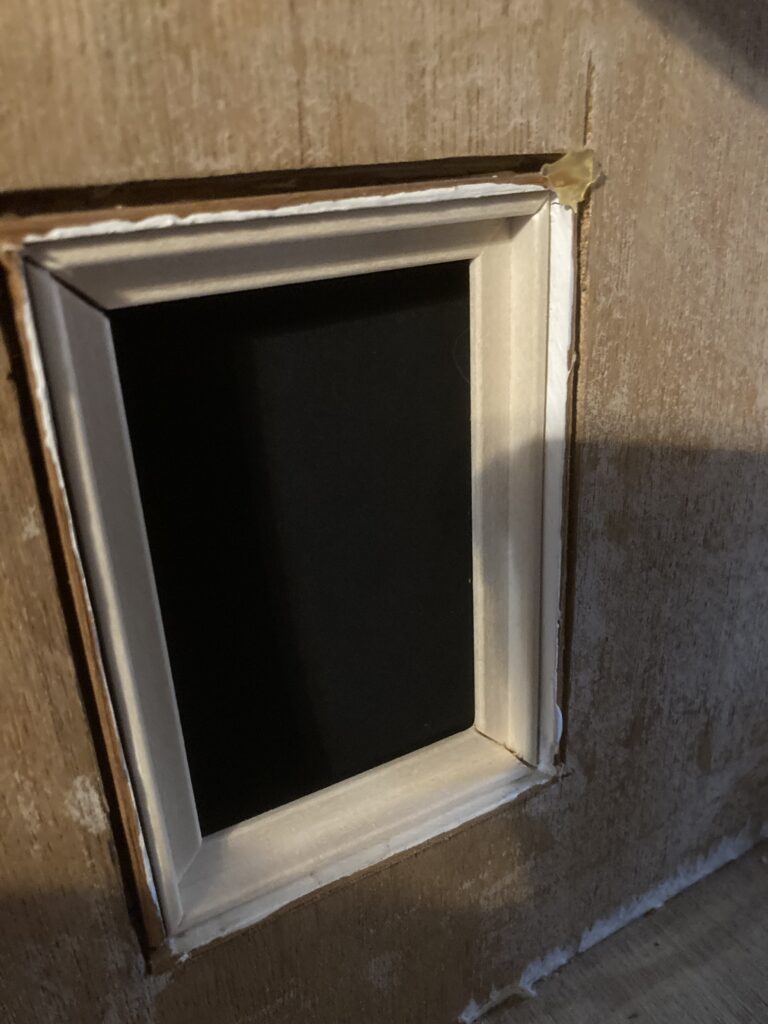
The outside section of the frame is flat against the side of the house.
The inside section of the frame has a lip all around it to help hold in the window workings.

After this inner window frame is in place and the glue is dry, I started on the window workings.

First I cut a piece of clear plastic to fit the top section of the inside of the window. I glue it in place at the top of the frame. Then, using wood coffee stirrers, I made a little wooden frame for the whole inside of the window. It covers the edges of the top section of plastic glass and stretches all the way to the bottom of the window frame.
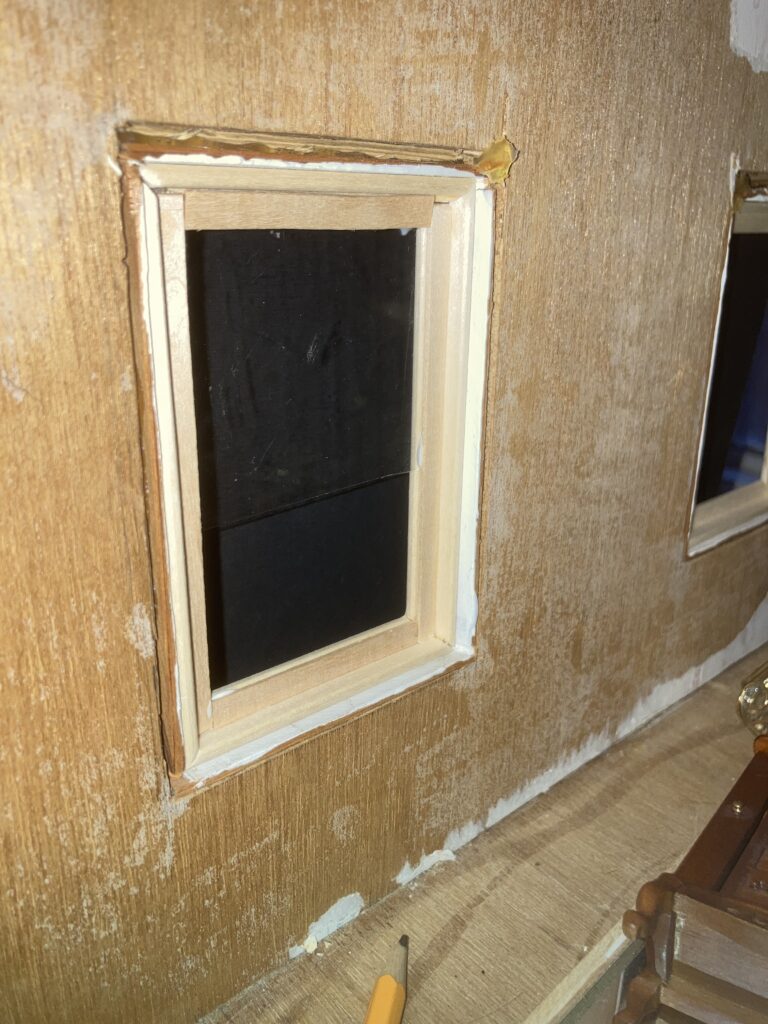
First section of plastic in place, with frame glued around it.

Next, I cut a piece of coffee stirrer to finish framing off the top half of the window.
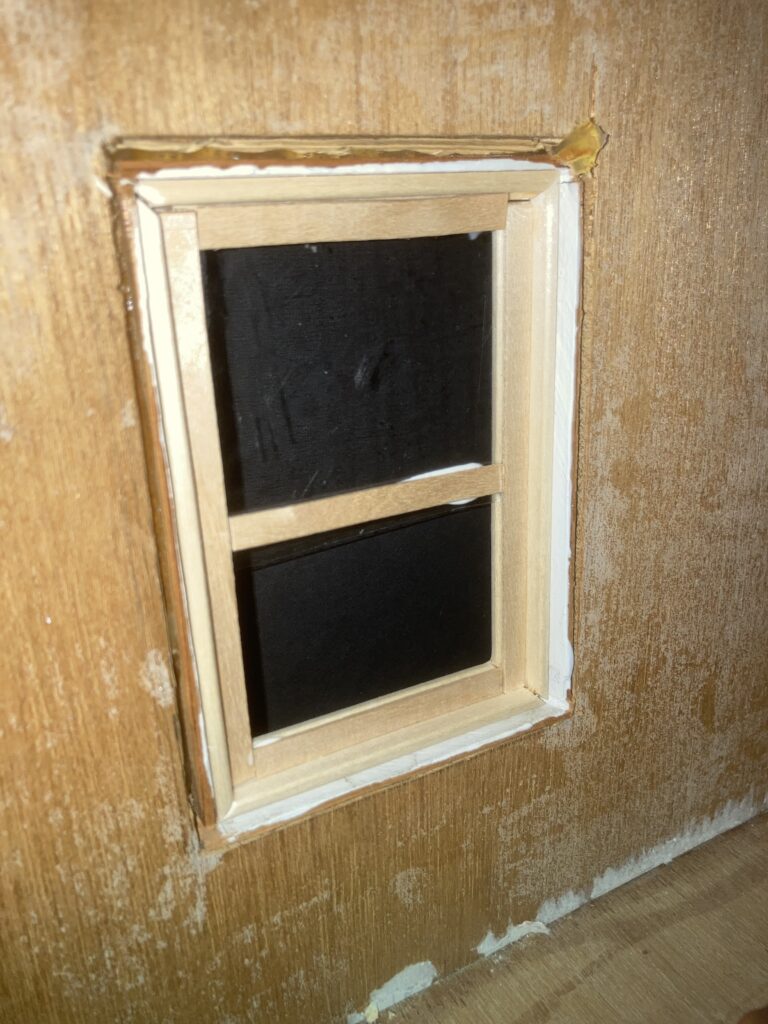
Top half is framed off. Note that I have to trim the plastic at the bottom as it was made a bit too long. I will do that with an exacto once the glue is all dry.

Next, I cut a section of clear plastic to fit the bottom half of the window. I cut this so its frame will overlap the the bottom of the top frame. This will keep the bottom half of the window from falling out to the outside.
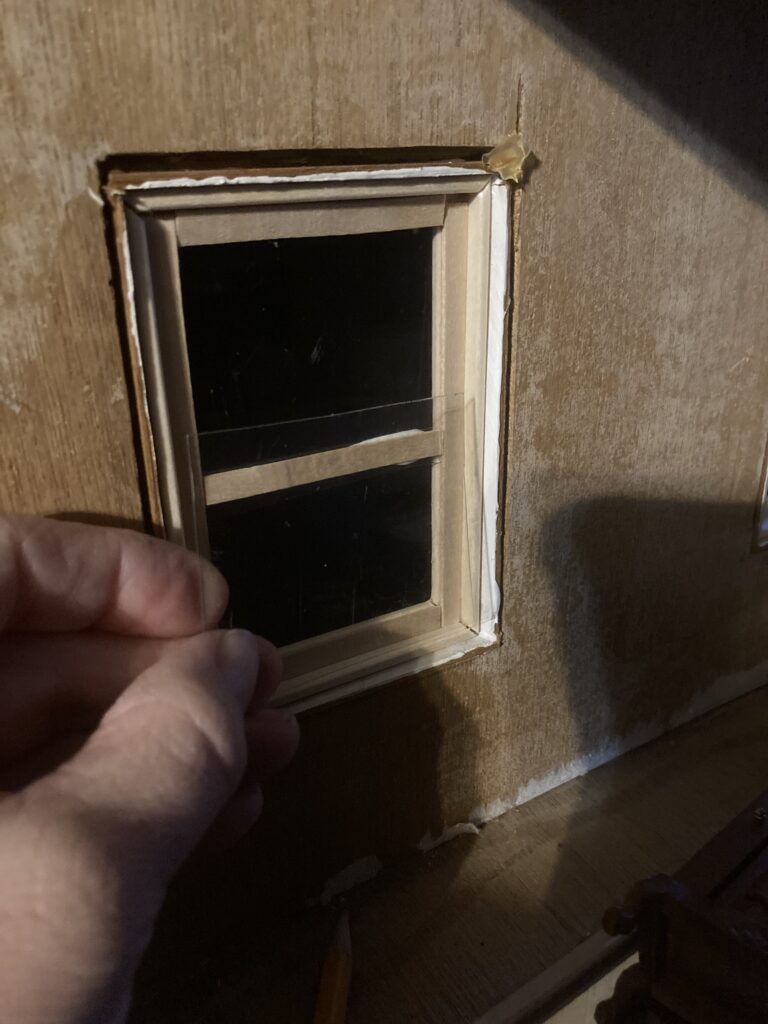
Lower window plastic is cut so it is tall enough that its frame will line up with the wood in the middle of the window.

Next, I made a little frame around this piece of glass out of the coffee stirrers. I make sure that it will fit inside the window ok.
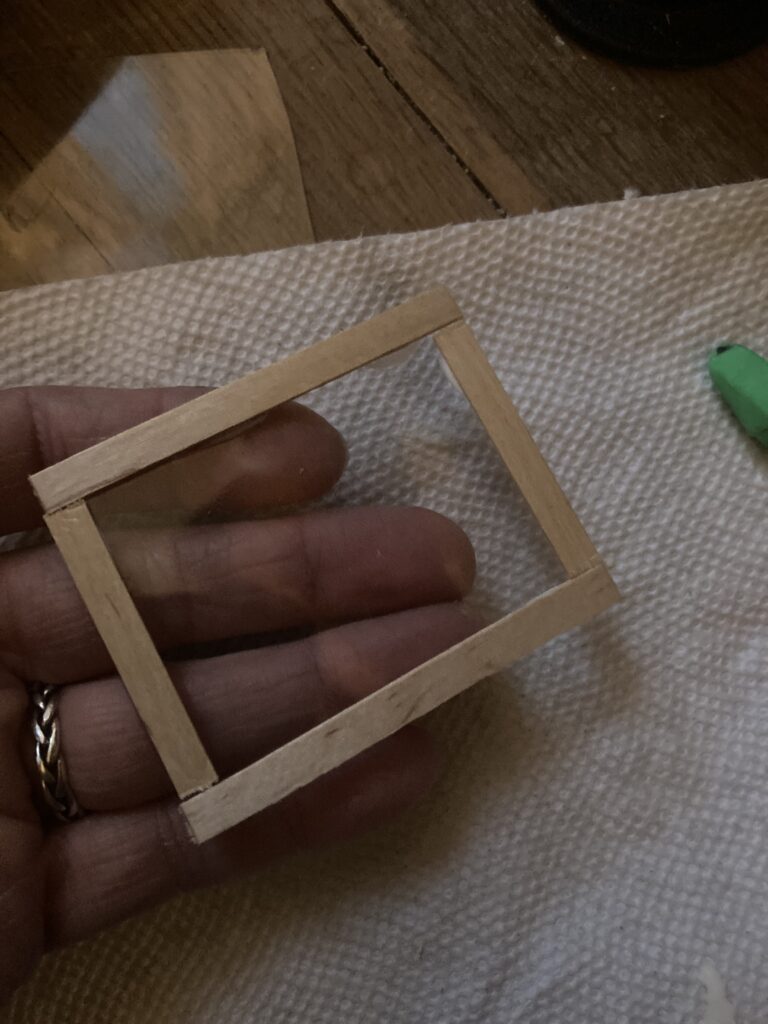
Frame built around the lower half of the window.

I set this lower window frame in place at the bottom of the window.
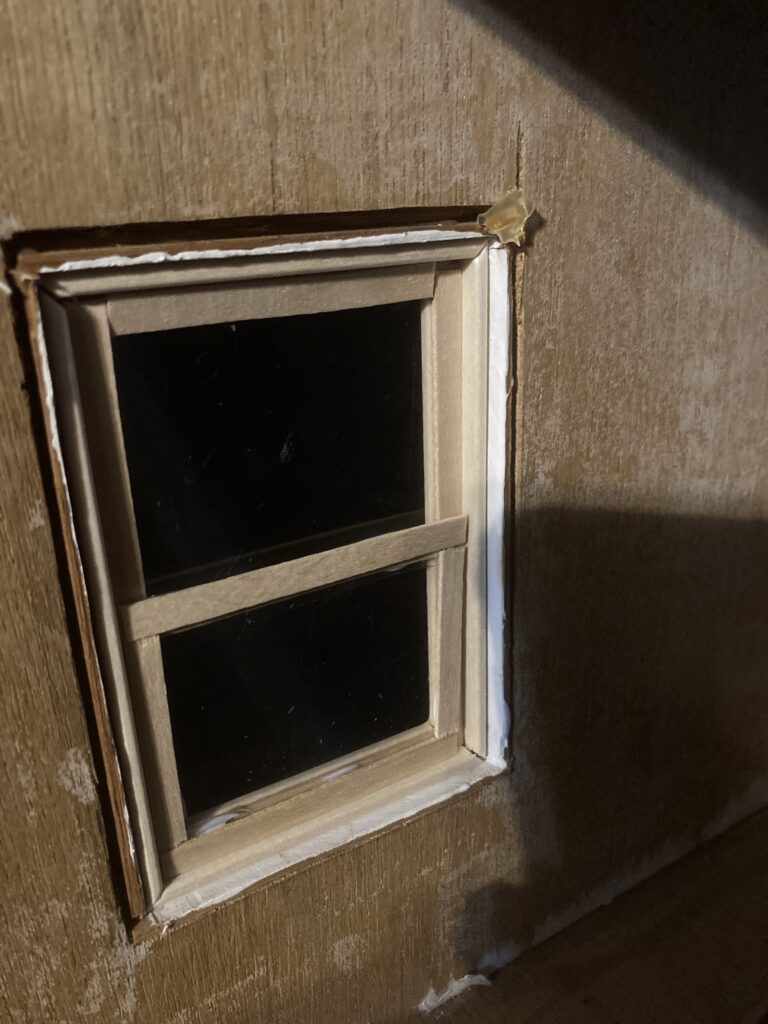
Lower half of window, the part that will move up and down, set in place.

Finally, I made a frame around the edges of the window frame. This wood will hold the lower part of the window in place so it won’t fall out of the window on the inside. Make sure you don’t get any glue on the moving, lower section of window, as it won’t be able to open if it is glued to the trim.
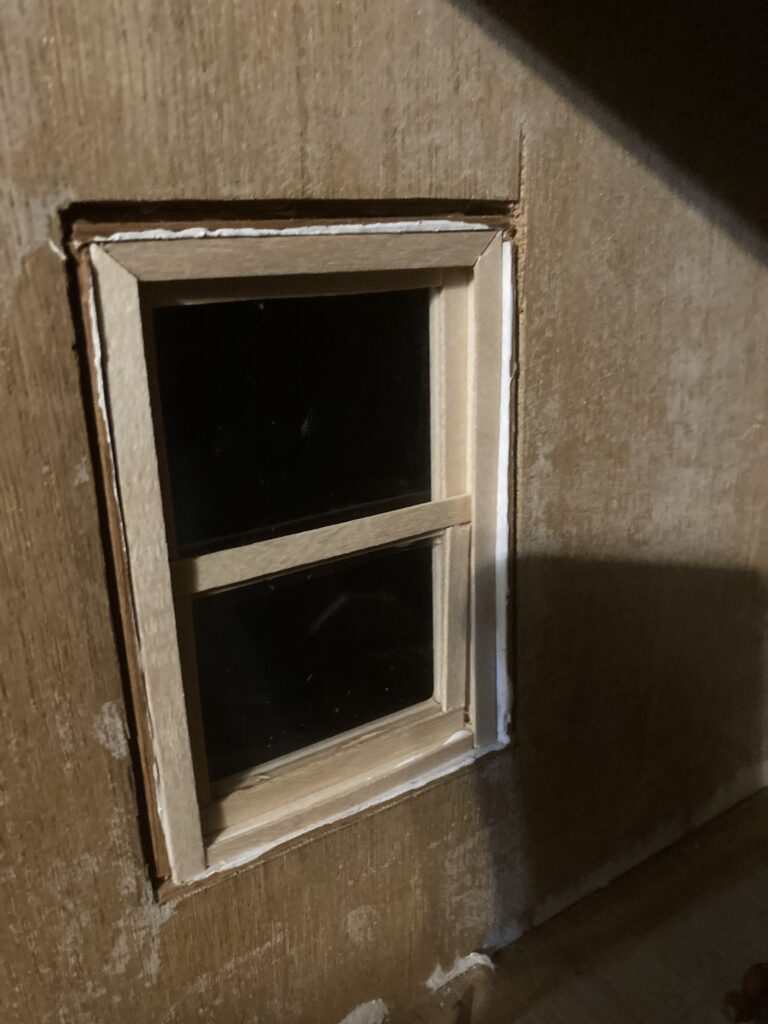
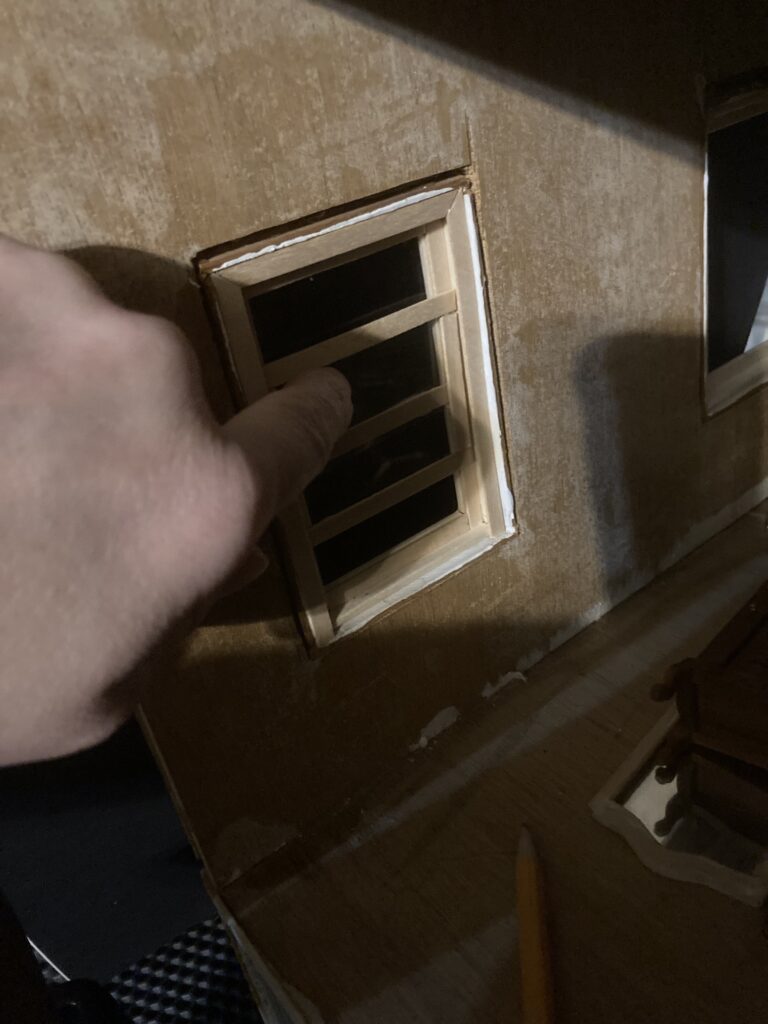
Trim glued in place to keep lower half of window from falling out.
When it is done, you should be able to easily move the lower half of the window up and down. It won’t stay open on its own, but you could cut a small dowel to prop it open.

Once the inside of the house is complete, I will finish it off with a nice bit of decorative trim around the whole window. I plan on making a small framed piece of screen to use as a window prop to hold the window open in some rooms. You could also use a section of dowel if you want the widow to remain open. Mine will probably stay closed to keep curious paws out.
How to Update a Breyer Horse Barn to be a Realistic Dollhouse Livery Stable

The livery stable

While I was working on a dollhouse saloon, my mother suggested (jokingly, I am sure) that I should do a livery stable next. I had bought an awesome horse action figure (McFarlane Toys Roach from the Witcher series season 2), and was planning on eventually tying it outside of the saloon at a hitching post. The idea of a livery stable kept growing on me, because I LOVE horses, and I love barns as well. I started searching Facebook Marketplace for a suitable candidate.

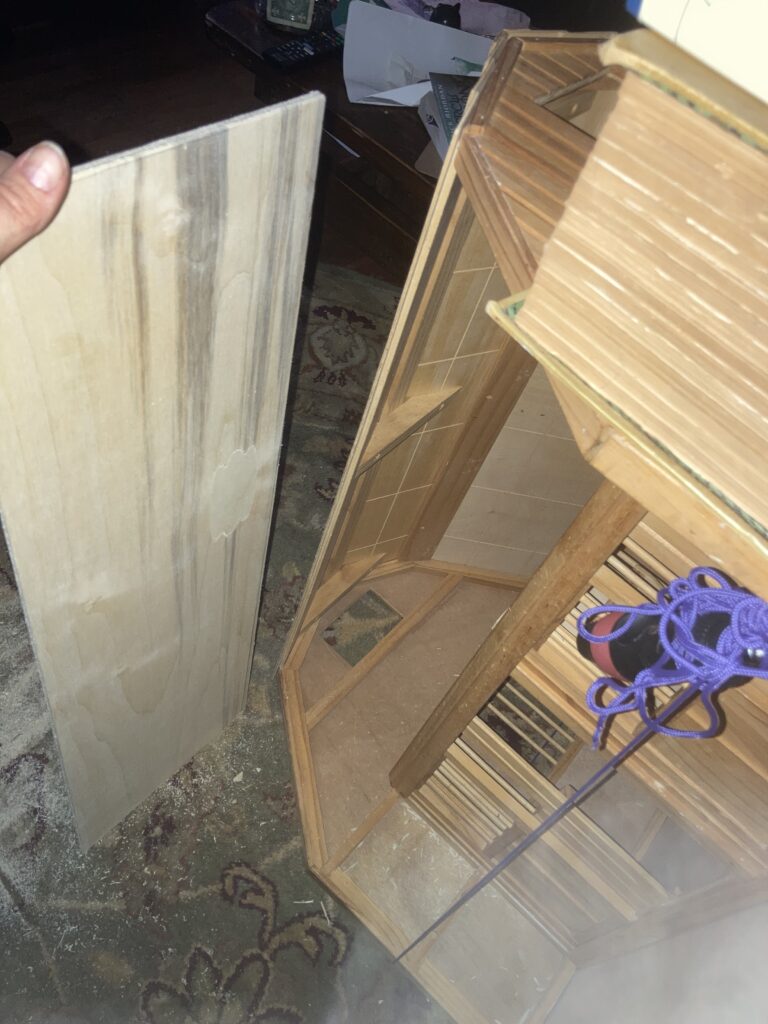
It’s not easy to see in this photo, but this is the barn I picked out. It is a vintage Breyer Horse barn. It had some minor structural damage that I was working on in this photo.

I chose a vintage Breyer Horse barn. There are 2 large stalls and a loft. Each stall has 2 doors–one in front and one in back. I loved these doors, as they slide like a real barn door. There is also a nice, wide aisle in front that I can use for staging photos.

I found several of these barns on Facebook Marketplace, and so had several to choose from. This particular one was nearby, came with some wooden fencing to use as a paddock, and needed a few minor structural repairs. The repairs didn’t scare me as they looked pretty easy to do, and the price was right, so I bought it. The above photo was as I was ‘clamping’ it so glue would dry properly. Unfortunately it is the closest ‘before’ photo I have of it.

I decided that I wanted to make a few changes to this stable so it is more realistic. I wanted to add a hinged section of roof to cover the front of the barn, as well as another section of flooring in the loft so it would be closed on top, making a second floor that I could fill with straw and horse tack.

I cut out a section of thin wood to use as a hinged roof.
Roof section fitted into place. I secured it using small brass hinges from the hardware store.

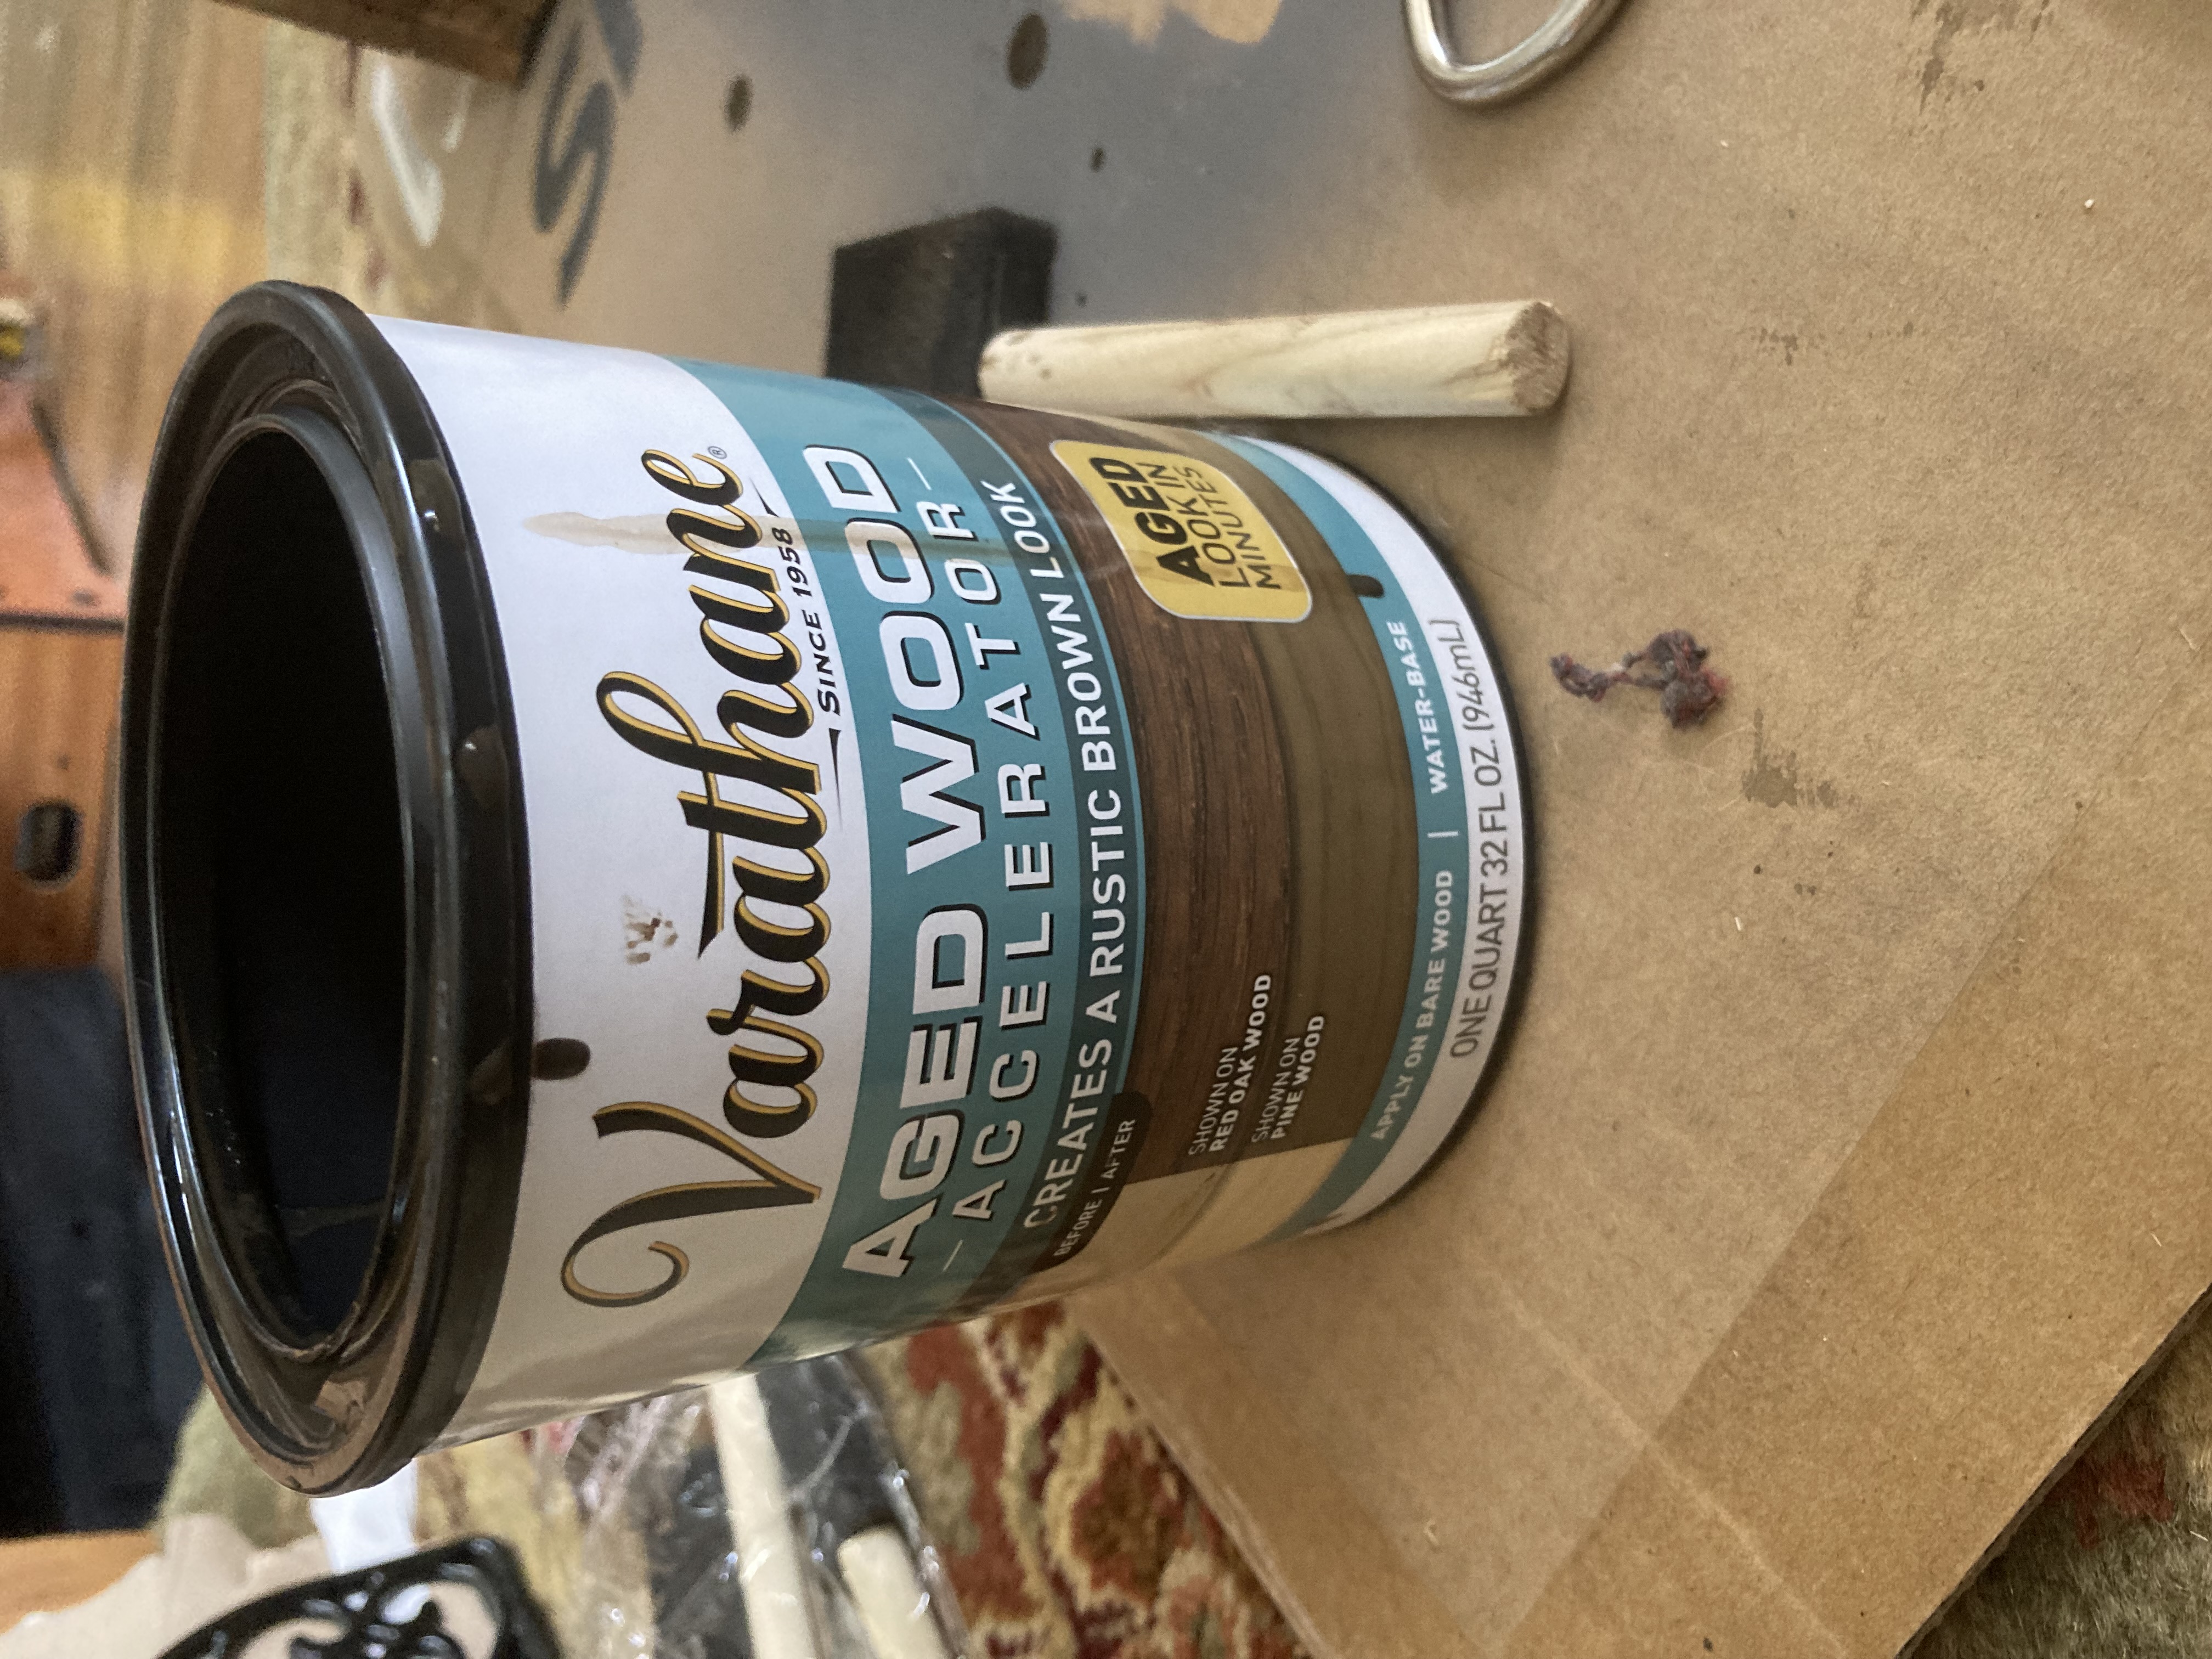
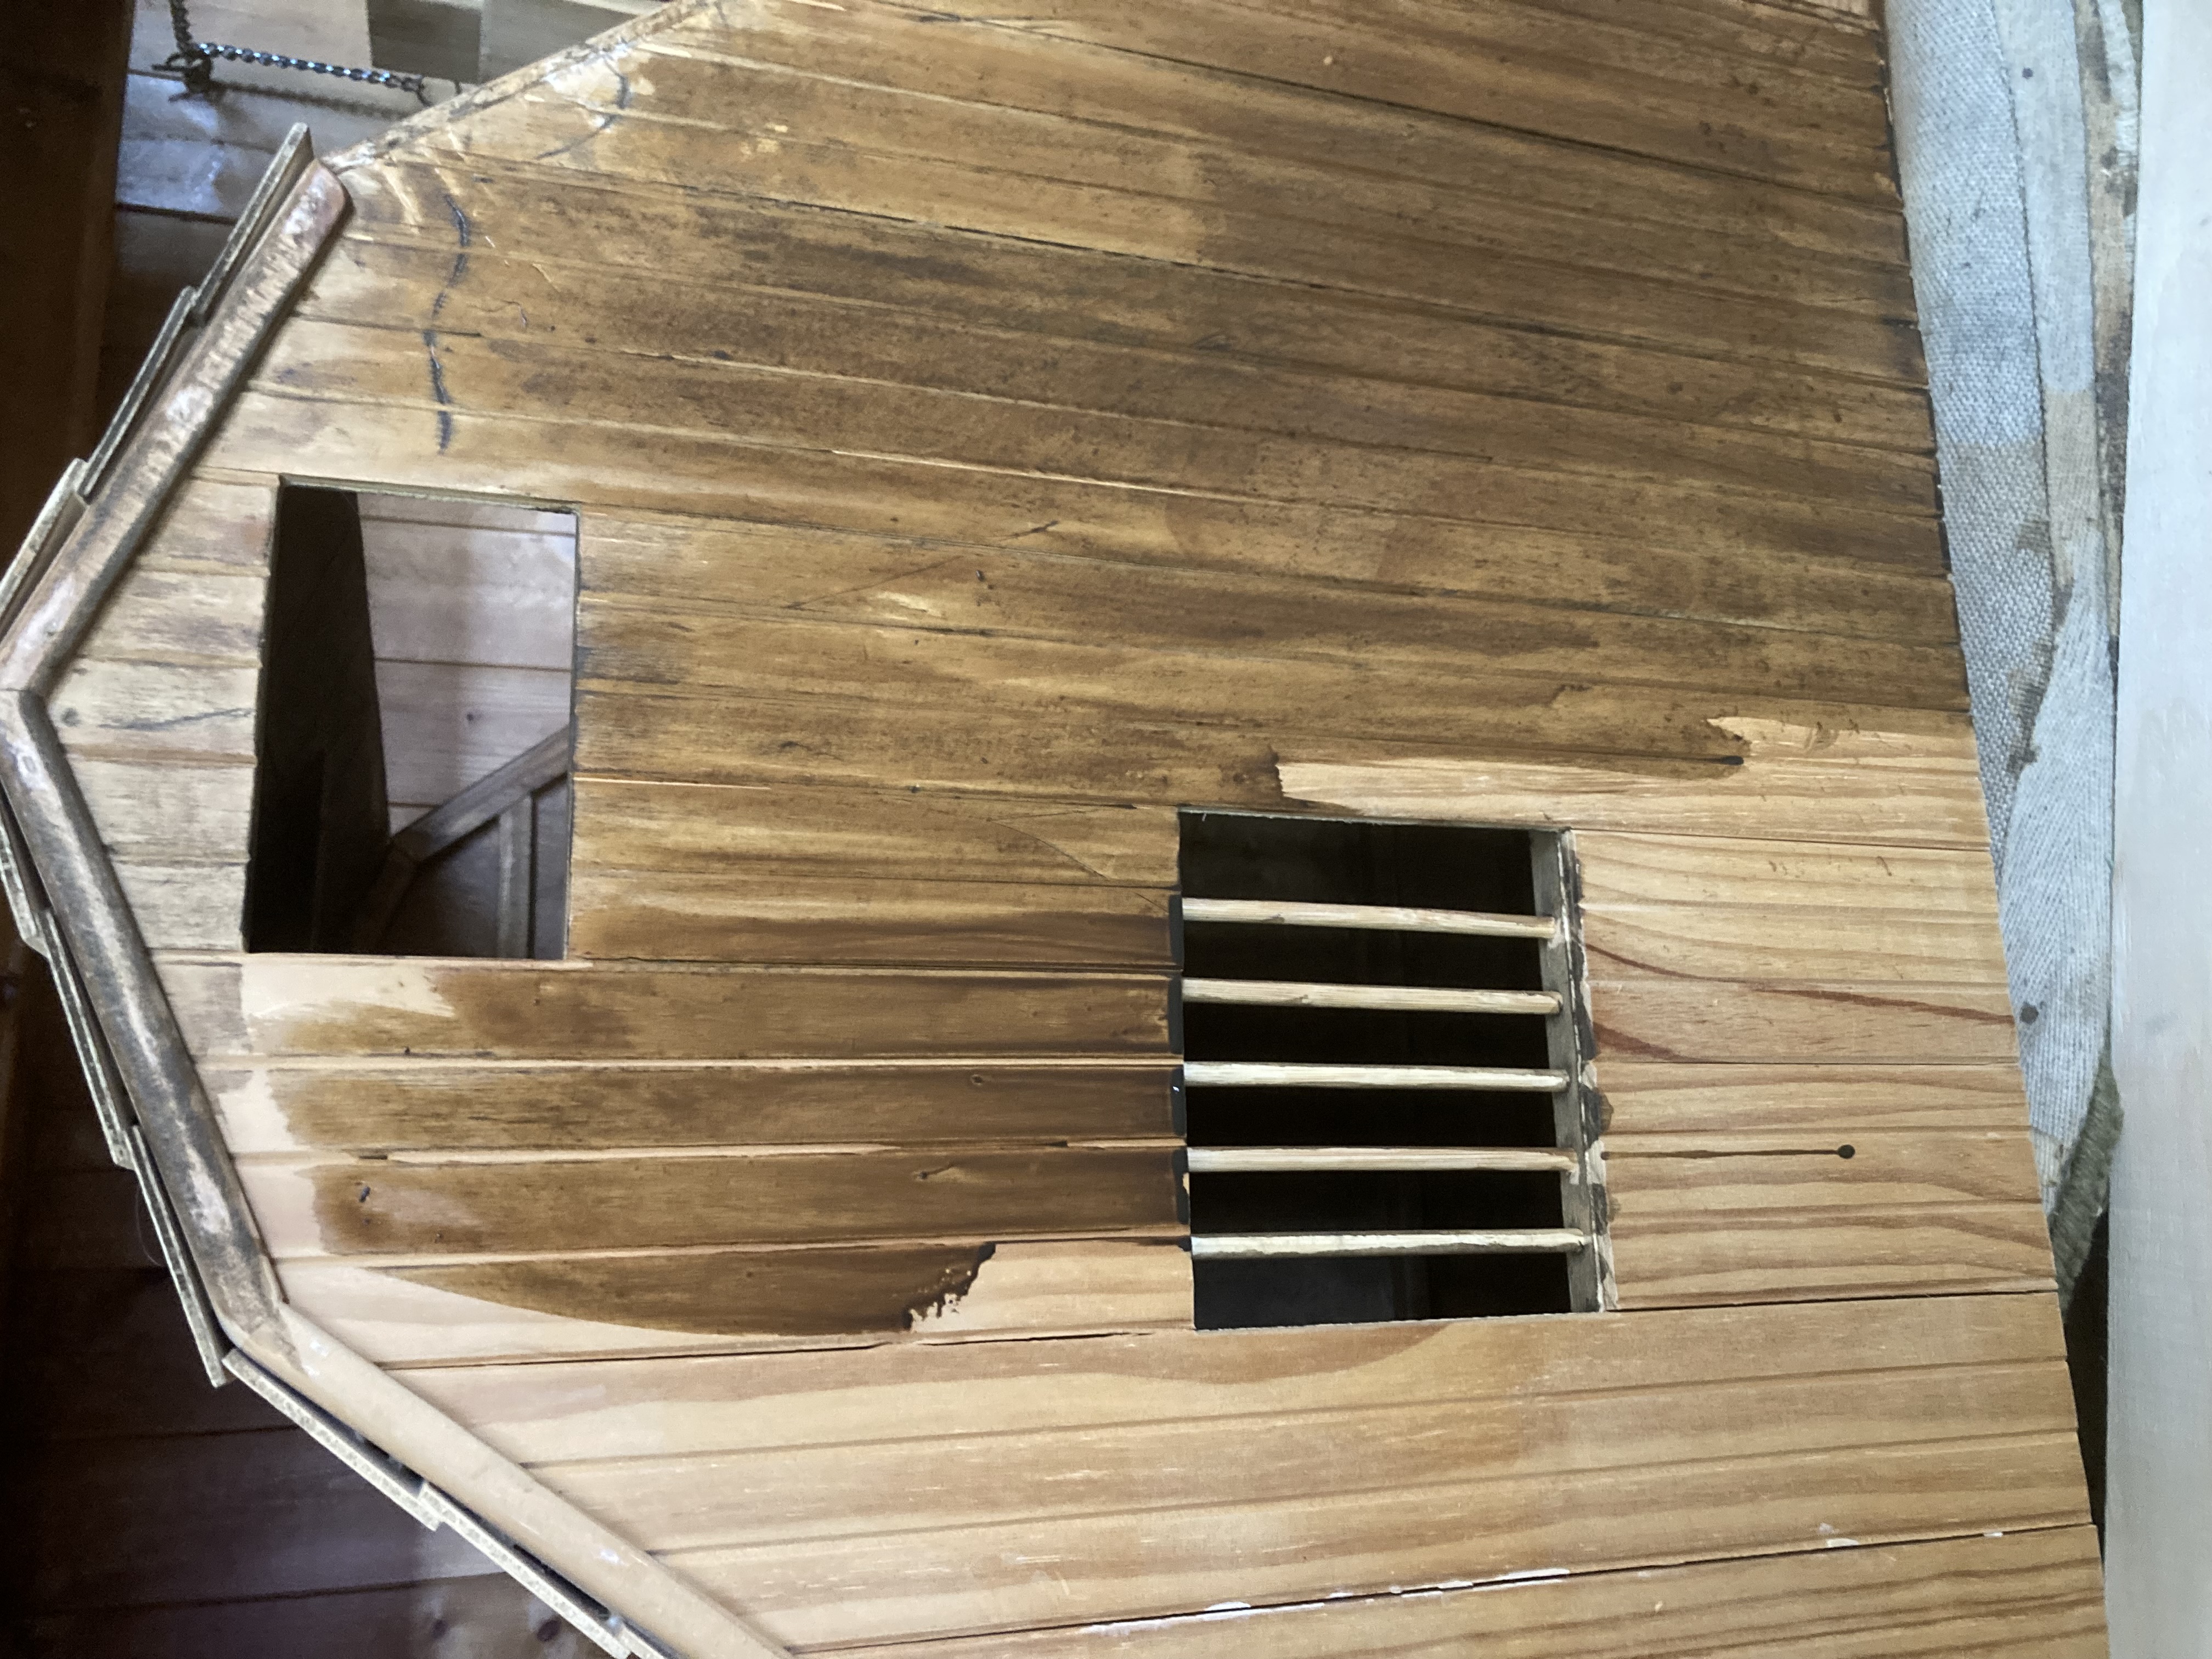
After these modifications were in place, I used Varathane aged wood accelerator stain to make the barn look aged. I brushed it on per the instructions.

This stuff is awesome, and has come in handy for several projects. I brushed it on with a foam brush and then used a paper towel to wipe off excess.
A ‘during’ photo so you can see the before and after.
Wiping off the excess. it helped make the individual ‘boards’ stand out.

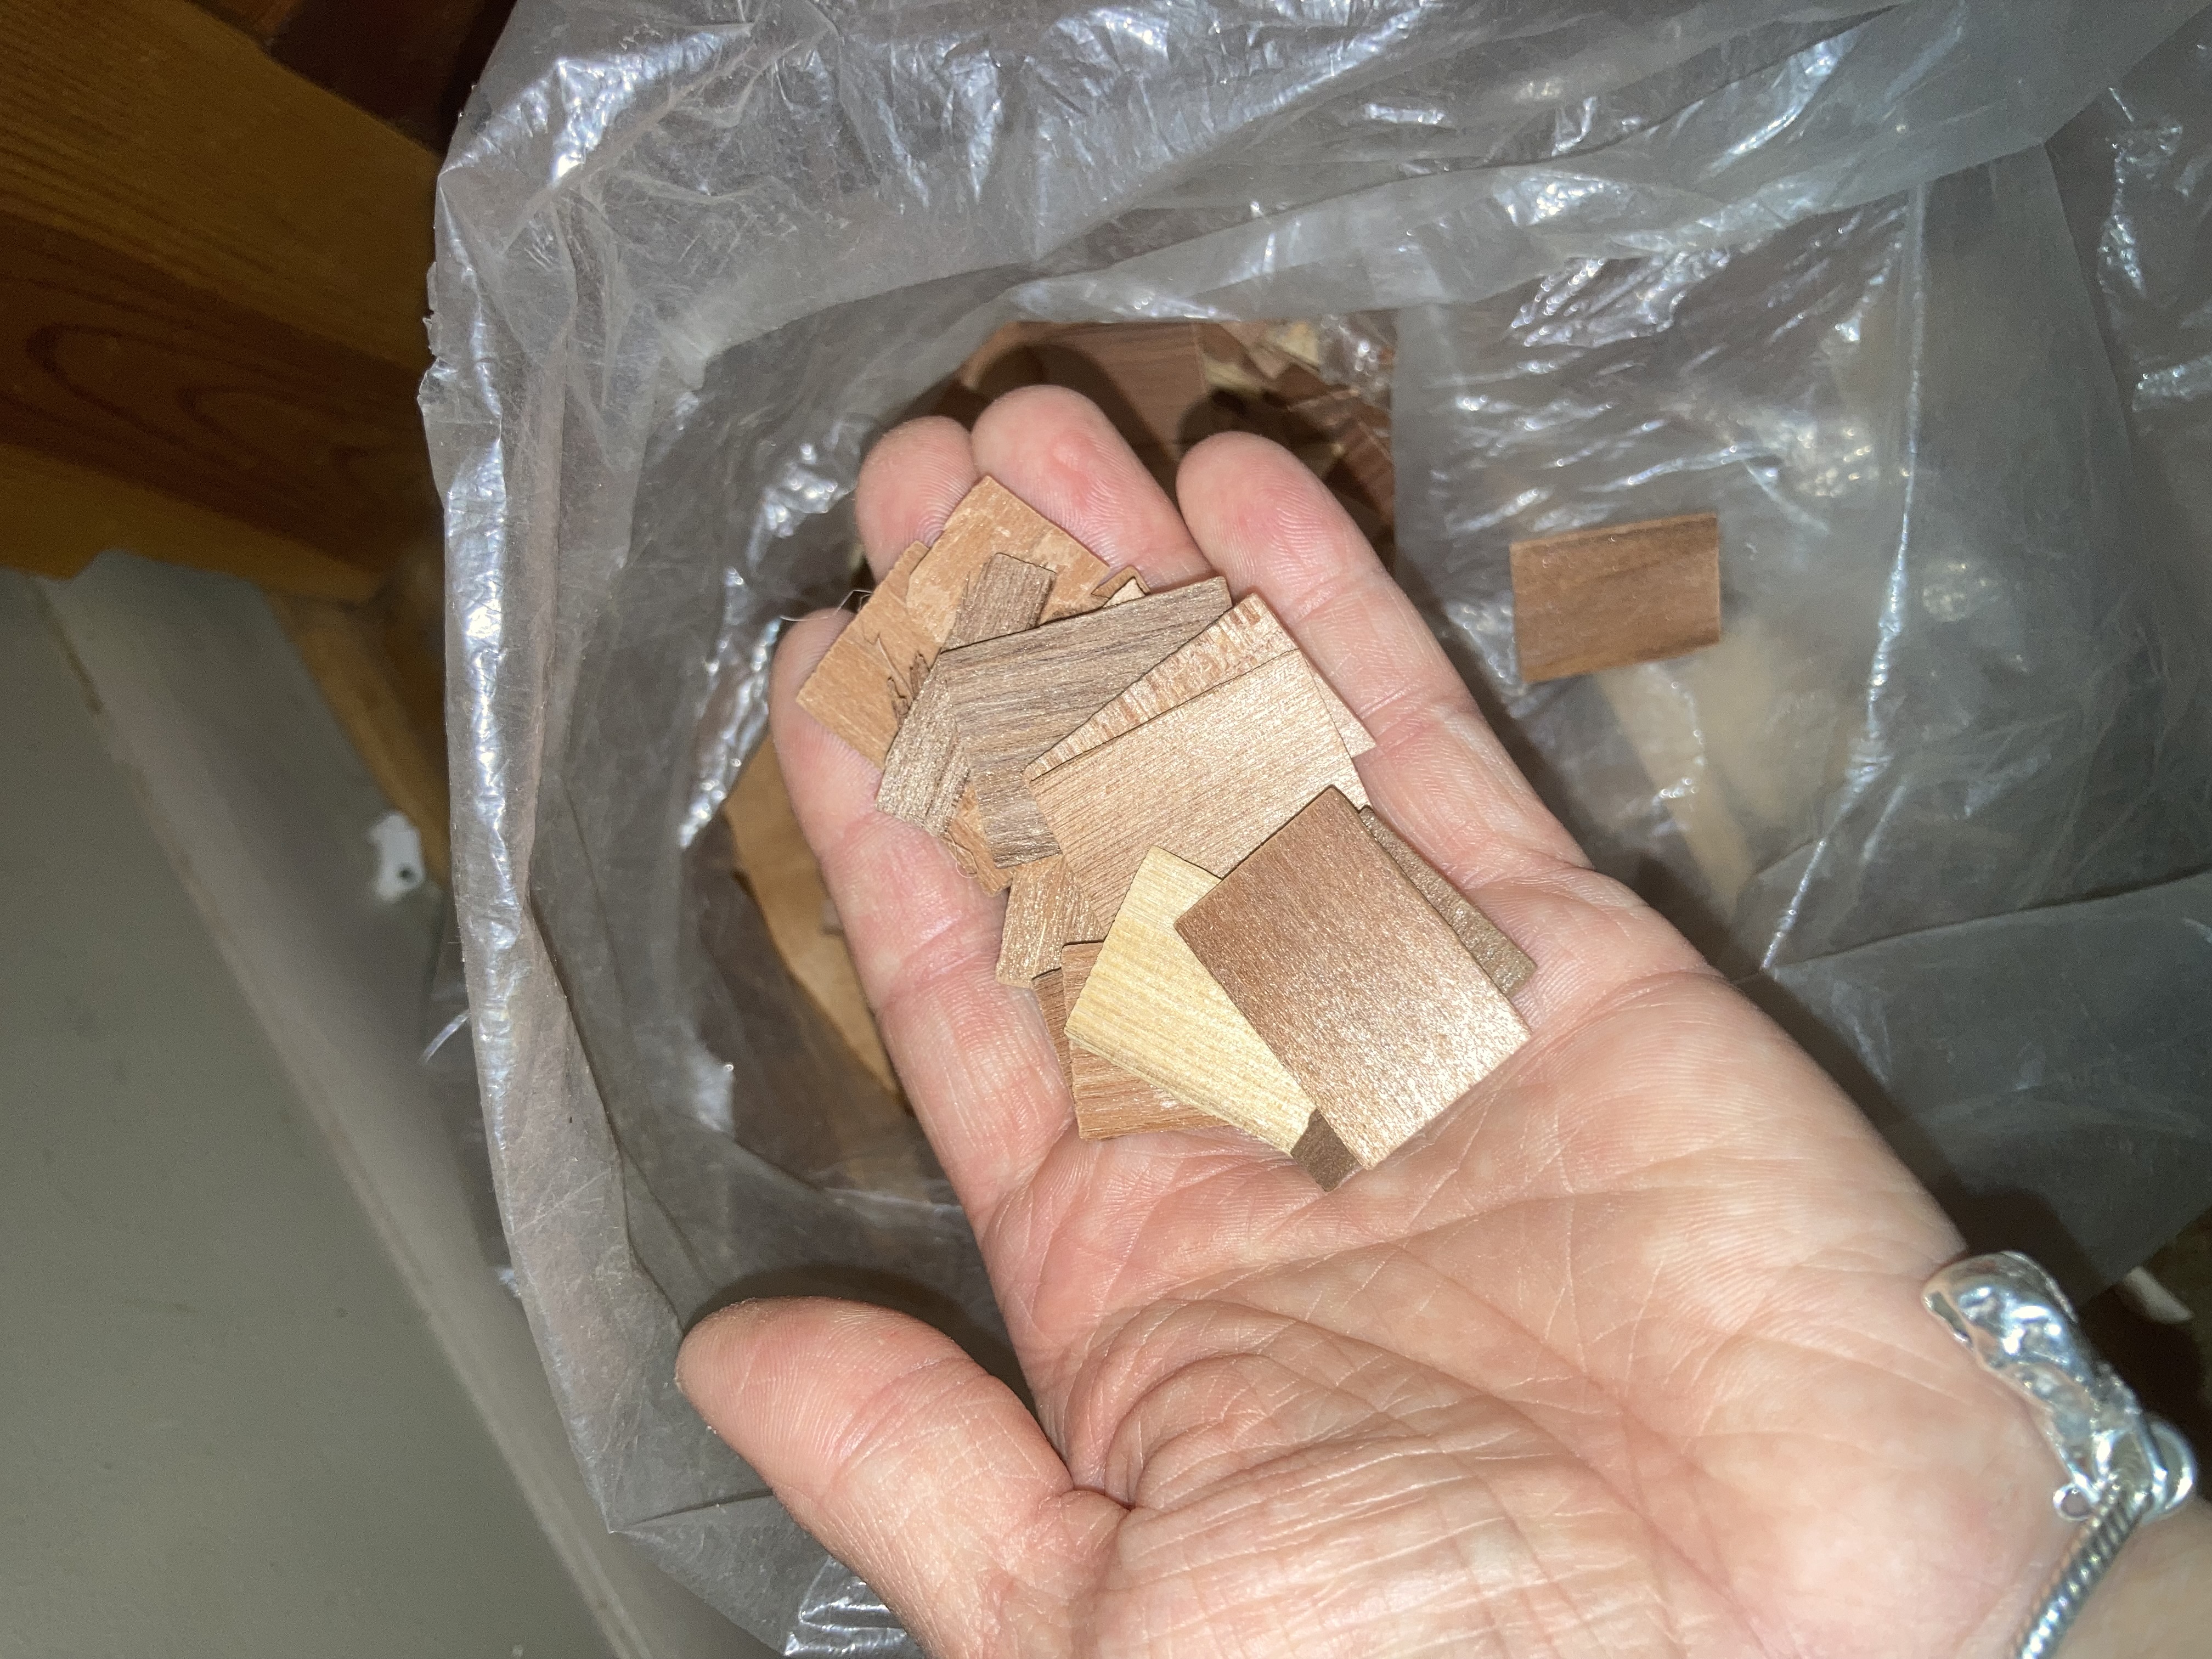
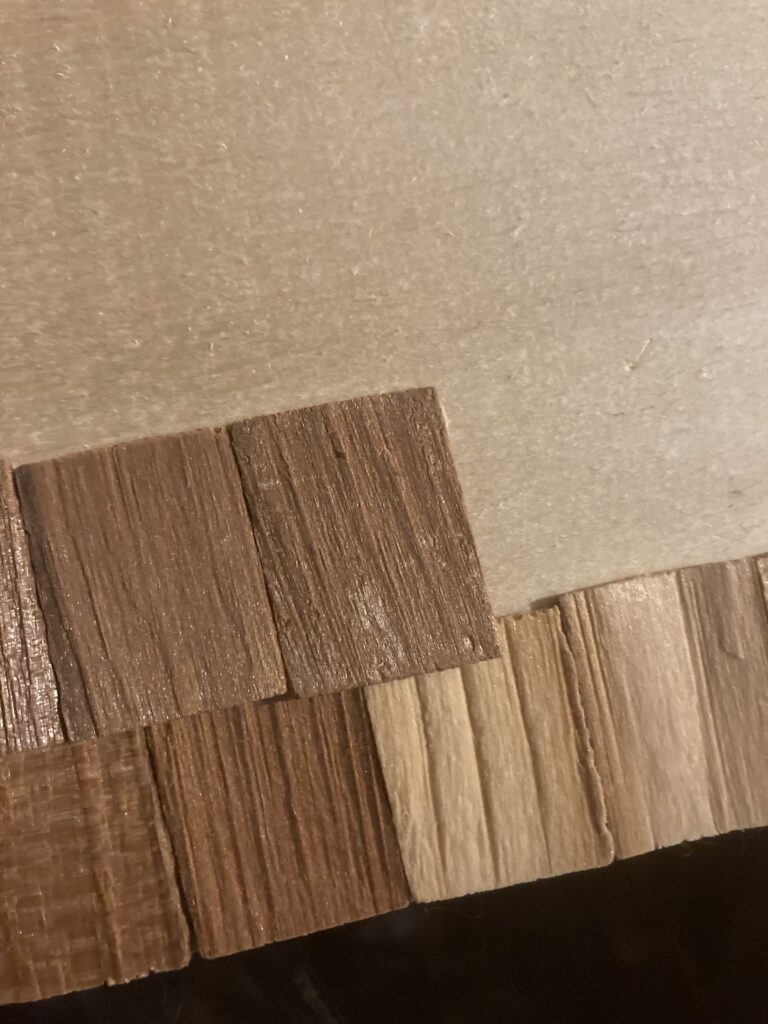
Next I wanted to add shingles, so I did.

Cedar dollhouse shingles.
Layer the shingles, starting from the bottom and going up. They overlap the previous later just a little bit. Stagger them so the cracks between don’t line up, just like on a real house. I use wood glue.
Shingles added. Note–this is the BACK of the barn.
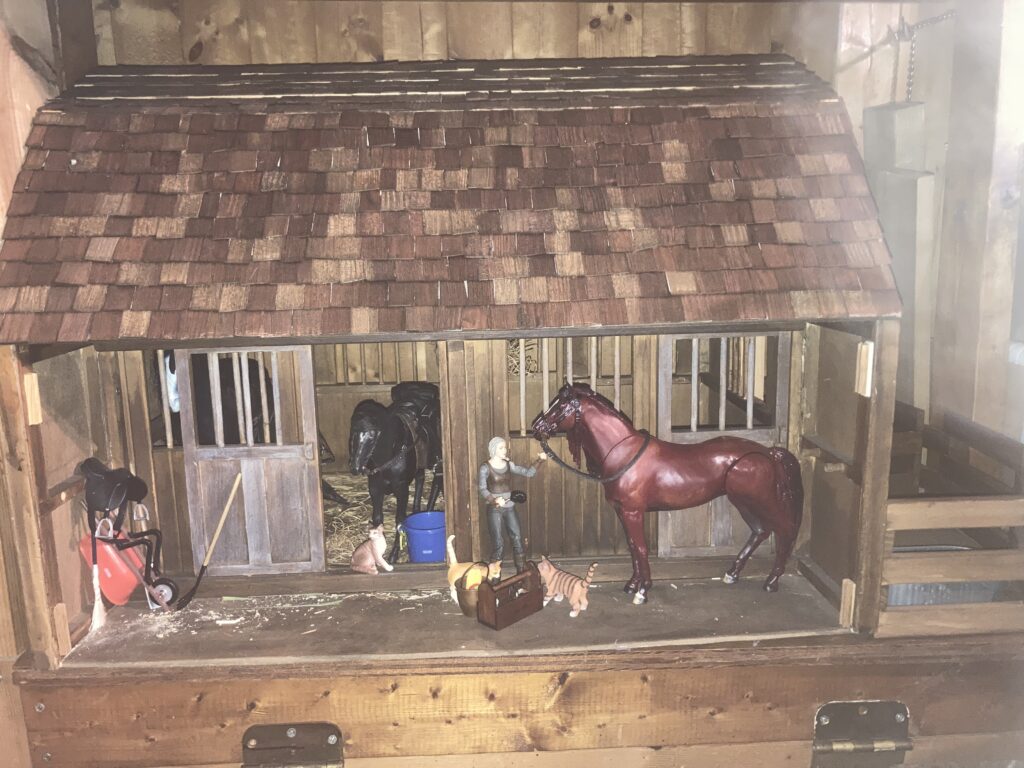
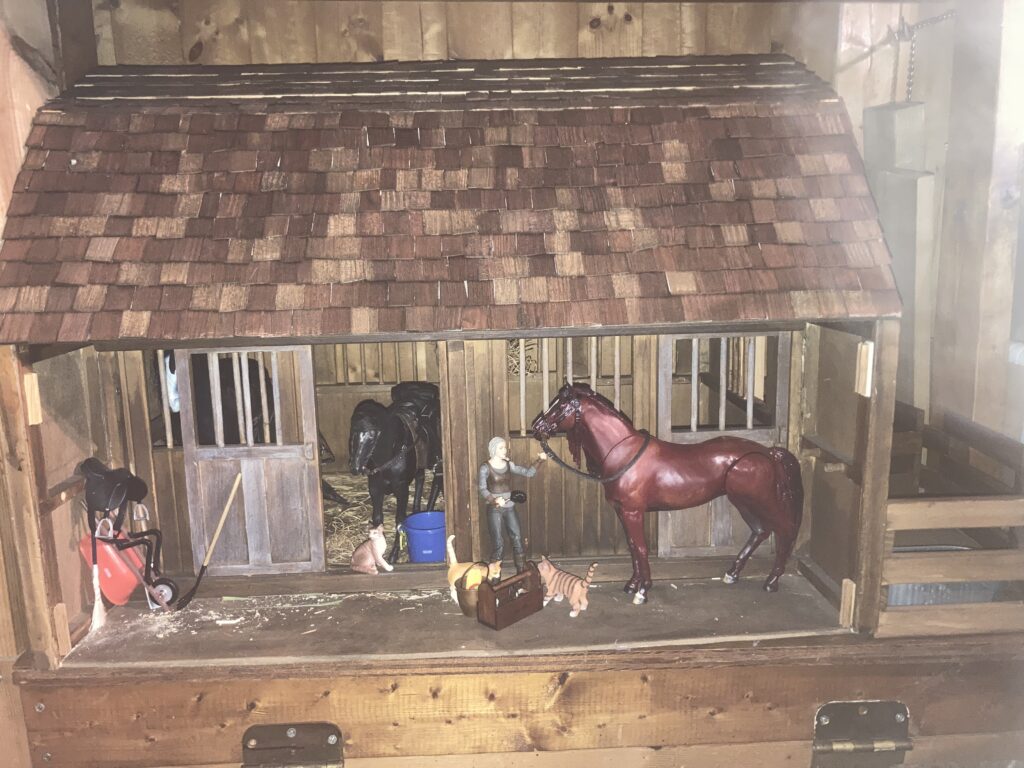
After shingles are stained. This is the front of the barn, staged with the original ‘Roach’ horse action figure (the black one in the stall) and a modified ‘Roach’ in the aisle. I painted this one to look like my childhood horse, Sugarn Spice. The girl figure is ‘Ciri’, also from the McFarlane Toys Witcher series. There are Breyer horse accessories and some cats that I found on Amazon.

I stained the shingles with the same aging stain that I used on the rest of the barn. I bought more McFarlane ‘Roach’ horses and even painted some! My plan is to explain my painting/modification process in a future blog.

Any questions or comments? Feel free to post them! Thank you for visiting!

How to Refurbish an old cat Scratching Post

This morning, as I watched my cats joyously scratching on their post, I realized that these posts were LONG overdue for refurbishing.

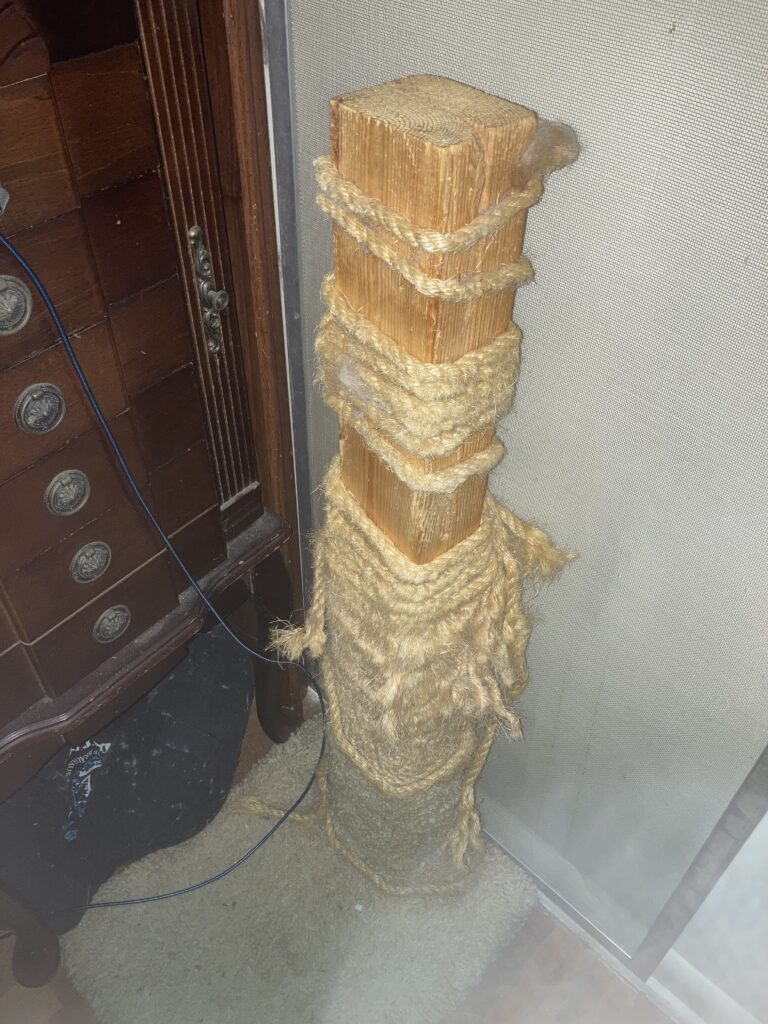
The first of the two- this post was refurbished about 10 or so years ago. Definitely needs the sisal replaced.

The smaller, more simpler of our scratching posts has been around through ages, surviving many cats. I replaced the sisal rope about 10 or so years ago, at least. It has absolutely seen better days. My cats absolutely destroyed it. But, alas, it has more life to give!

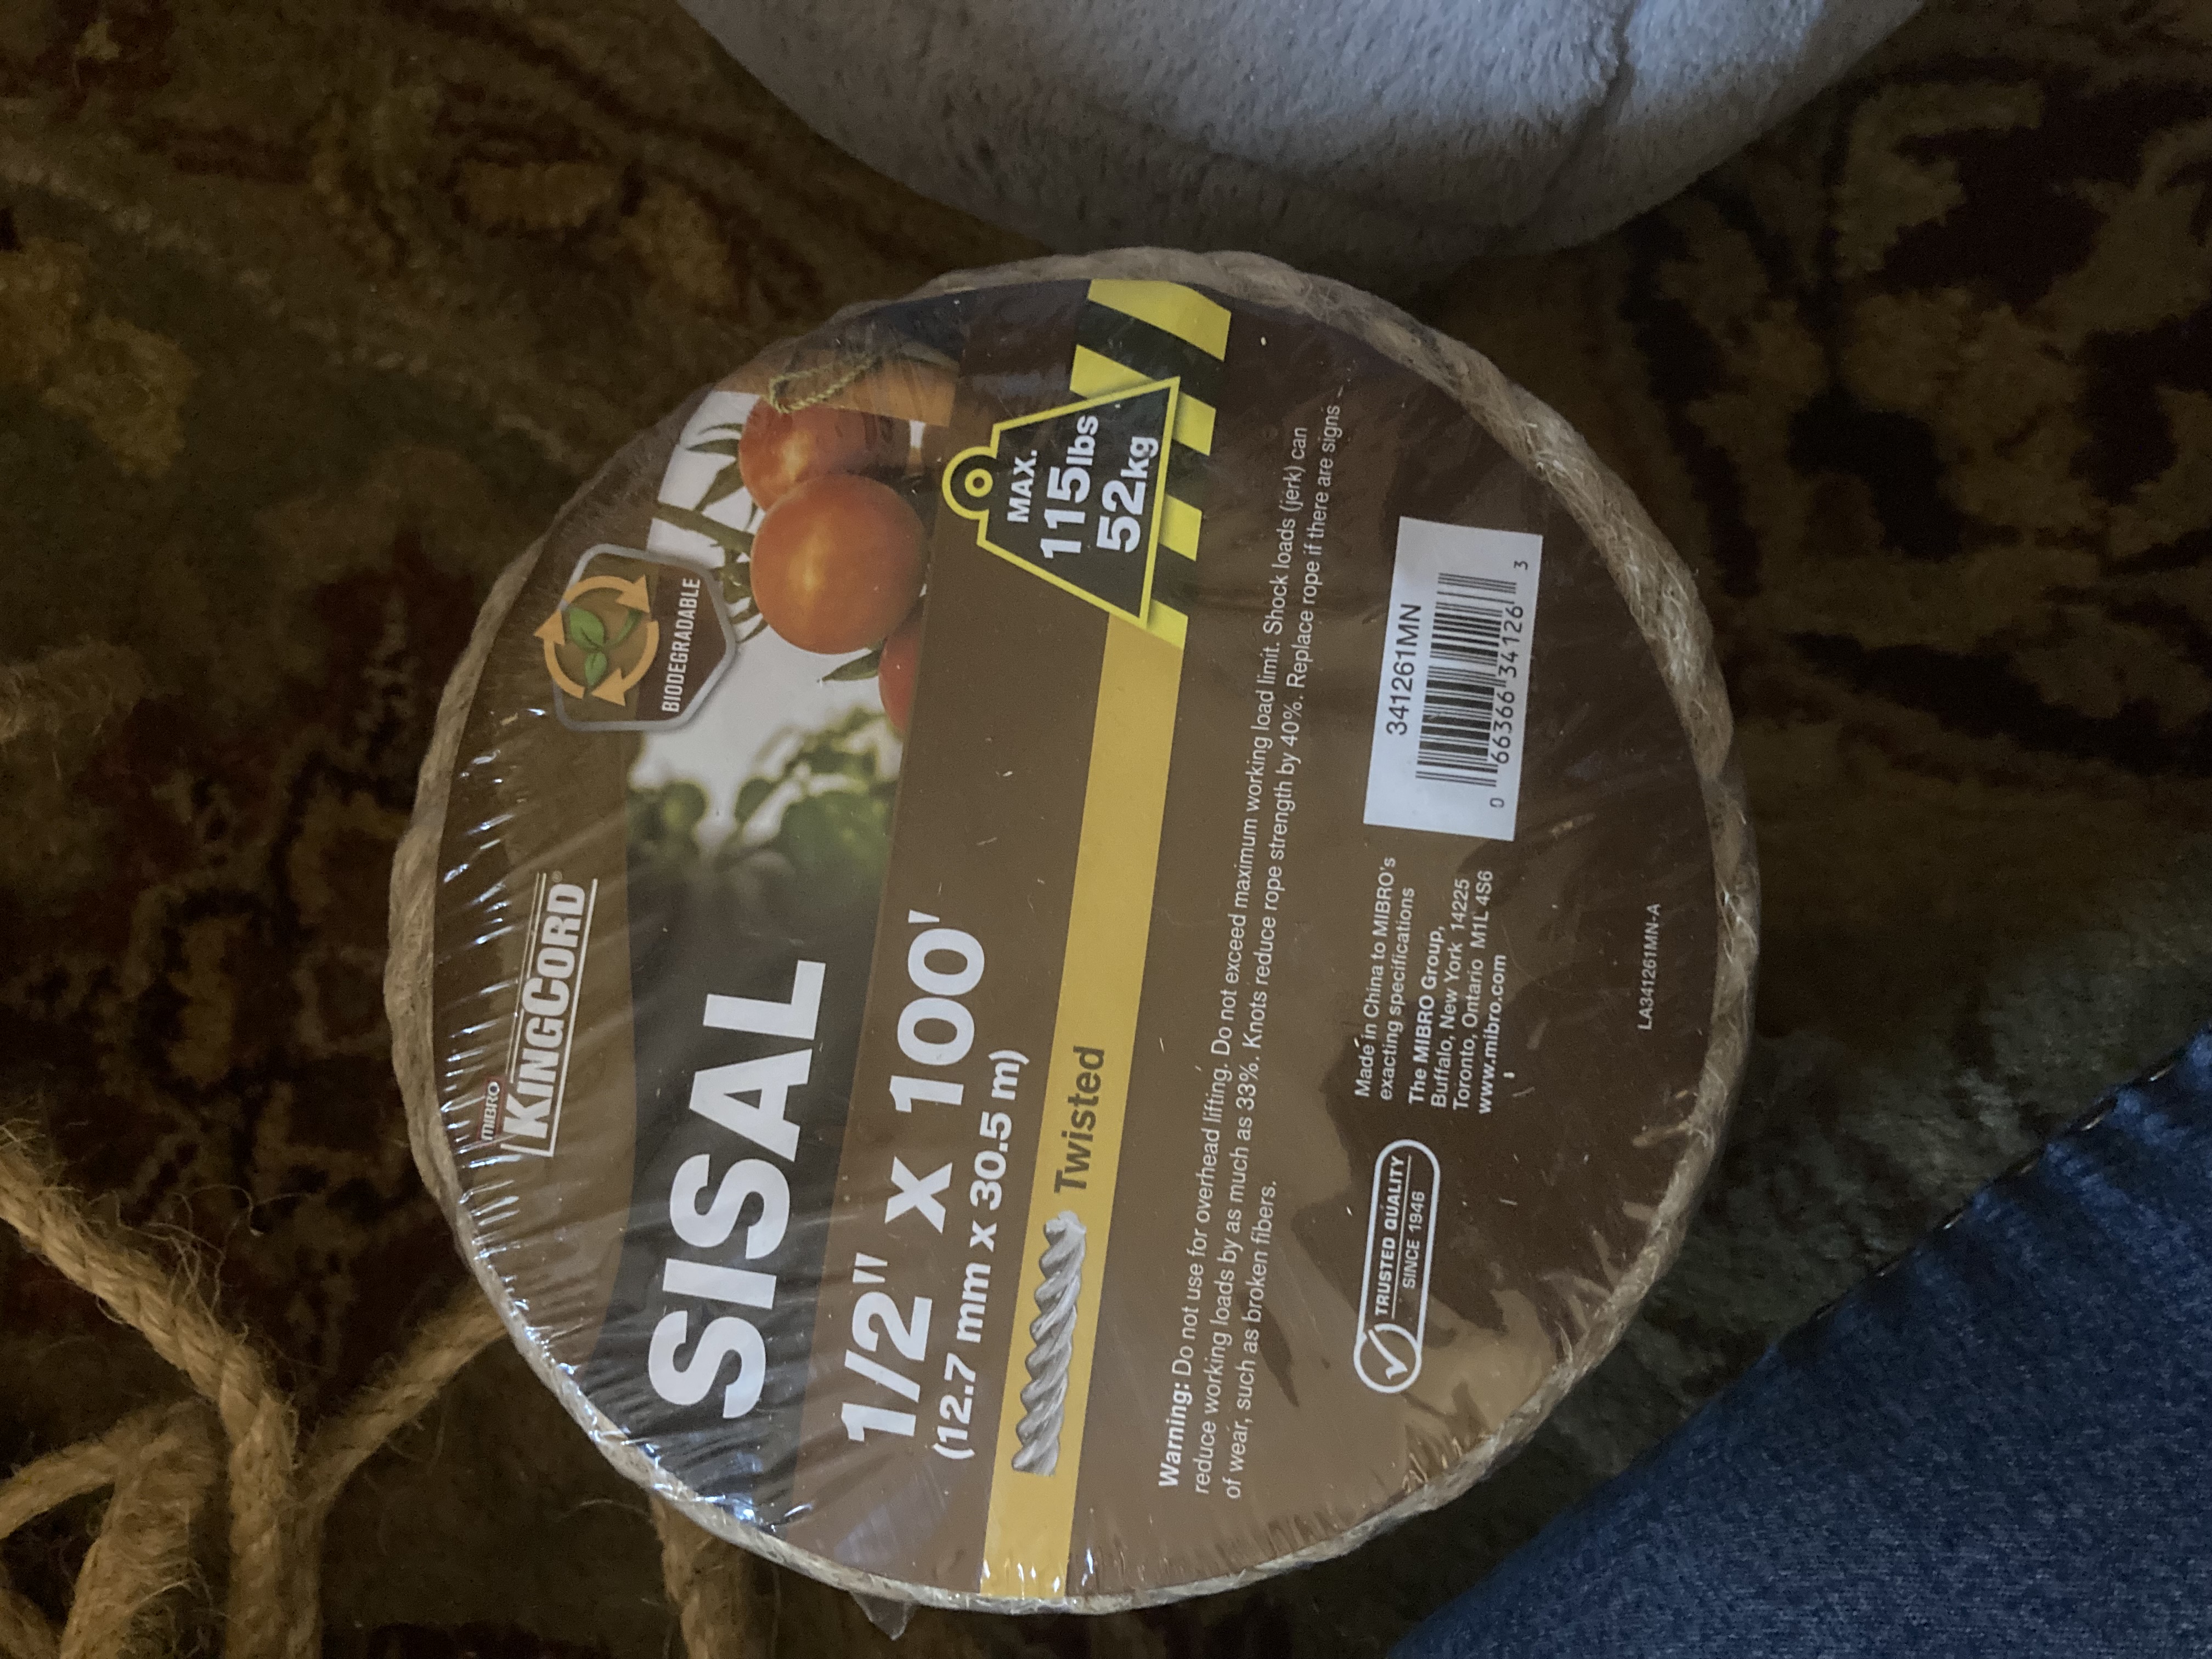
I started with a quick trip to Menards for replacement sisal. I bought 100 feet of the cheapest sisal rope I could find.I was careful not get anything too thin as it wouldn’t last long, nor too thick as it would be more difficult to work with.

This worked perfect.

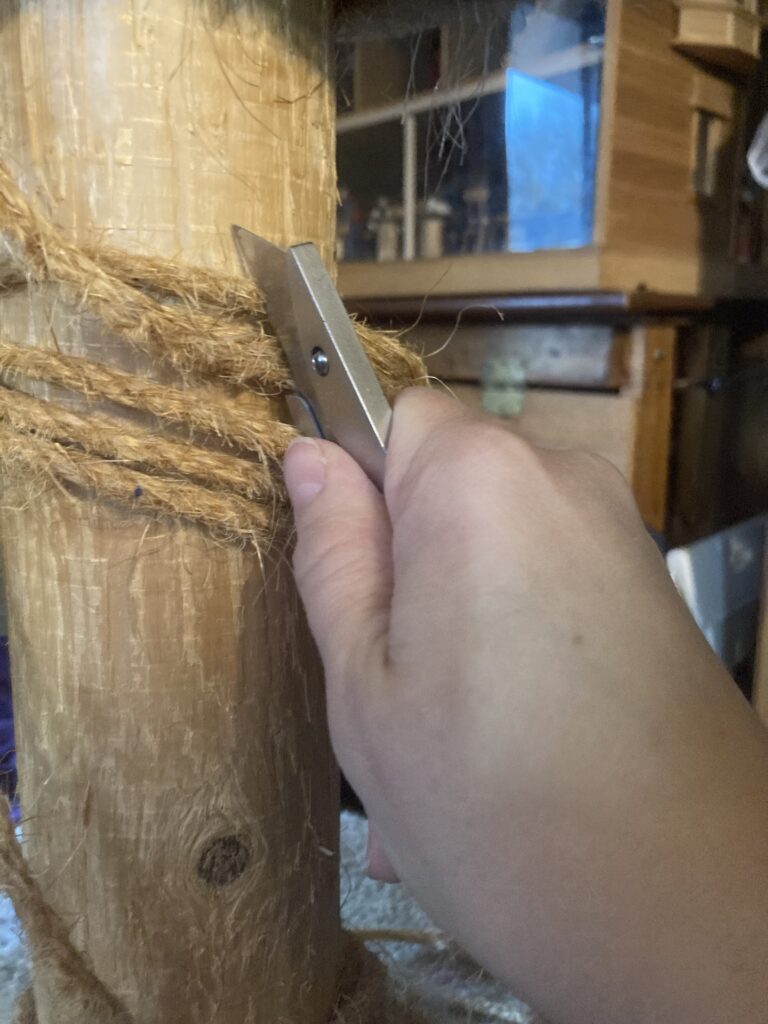
After selecting a good rope (1/2 inch thick x 100 feet, as I used it on 2 posts), I got to work removing the old wrapping. I used my handy-dandy box cutter to cut off all but the bottom few inches of rope, as that section was seldom used by my cats and still seemed in fair condition.

I tied the end of the new rope to the end of the existing rope that was still in good shape. If your old rope is all bad, just tie a knot in the end of the new rope, then use a fencing staple to nail it to the wood post. I will show examples of this later on in the post.

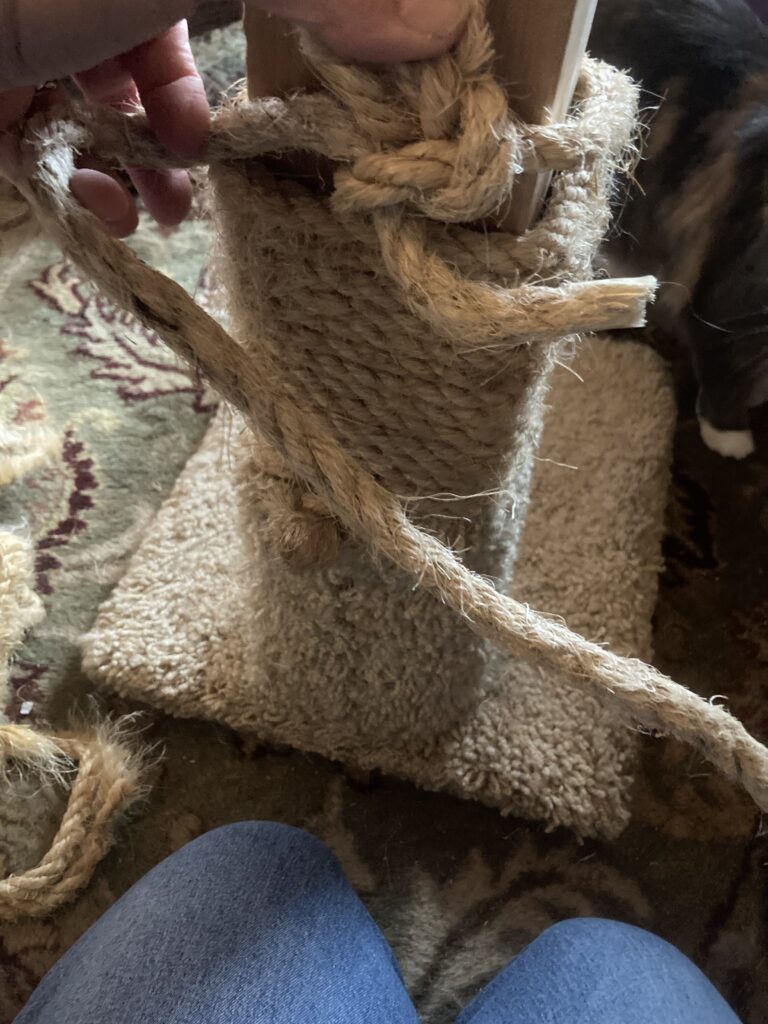
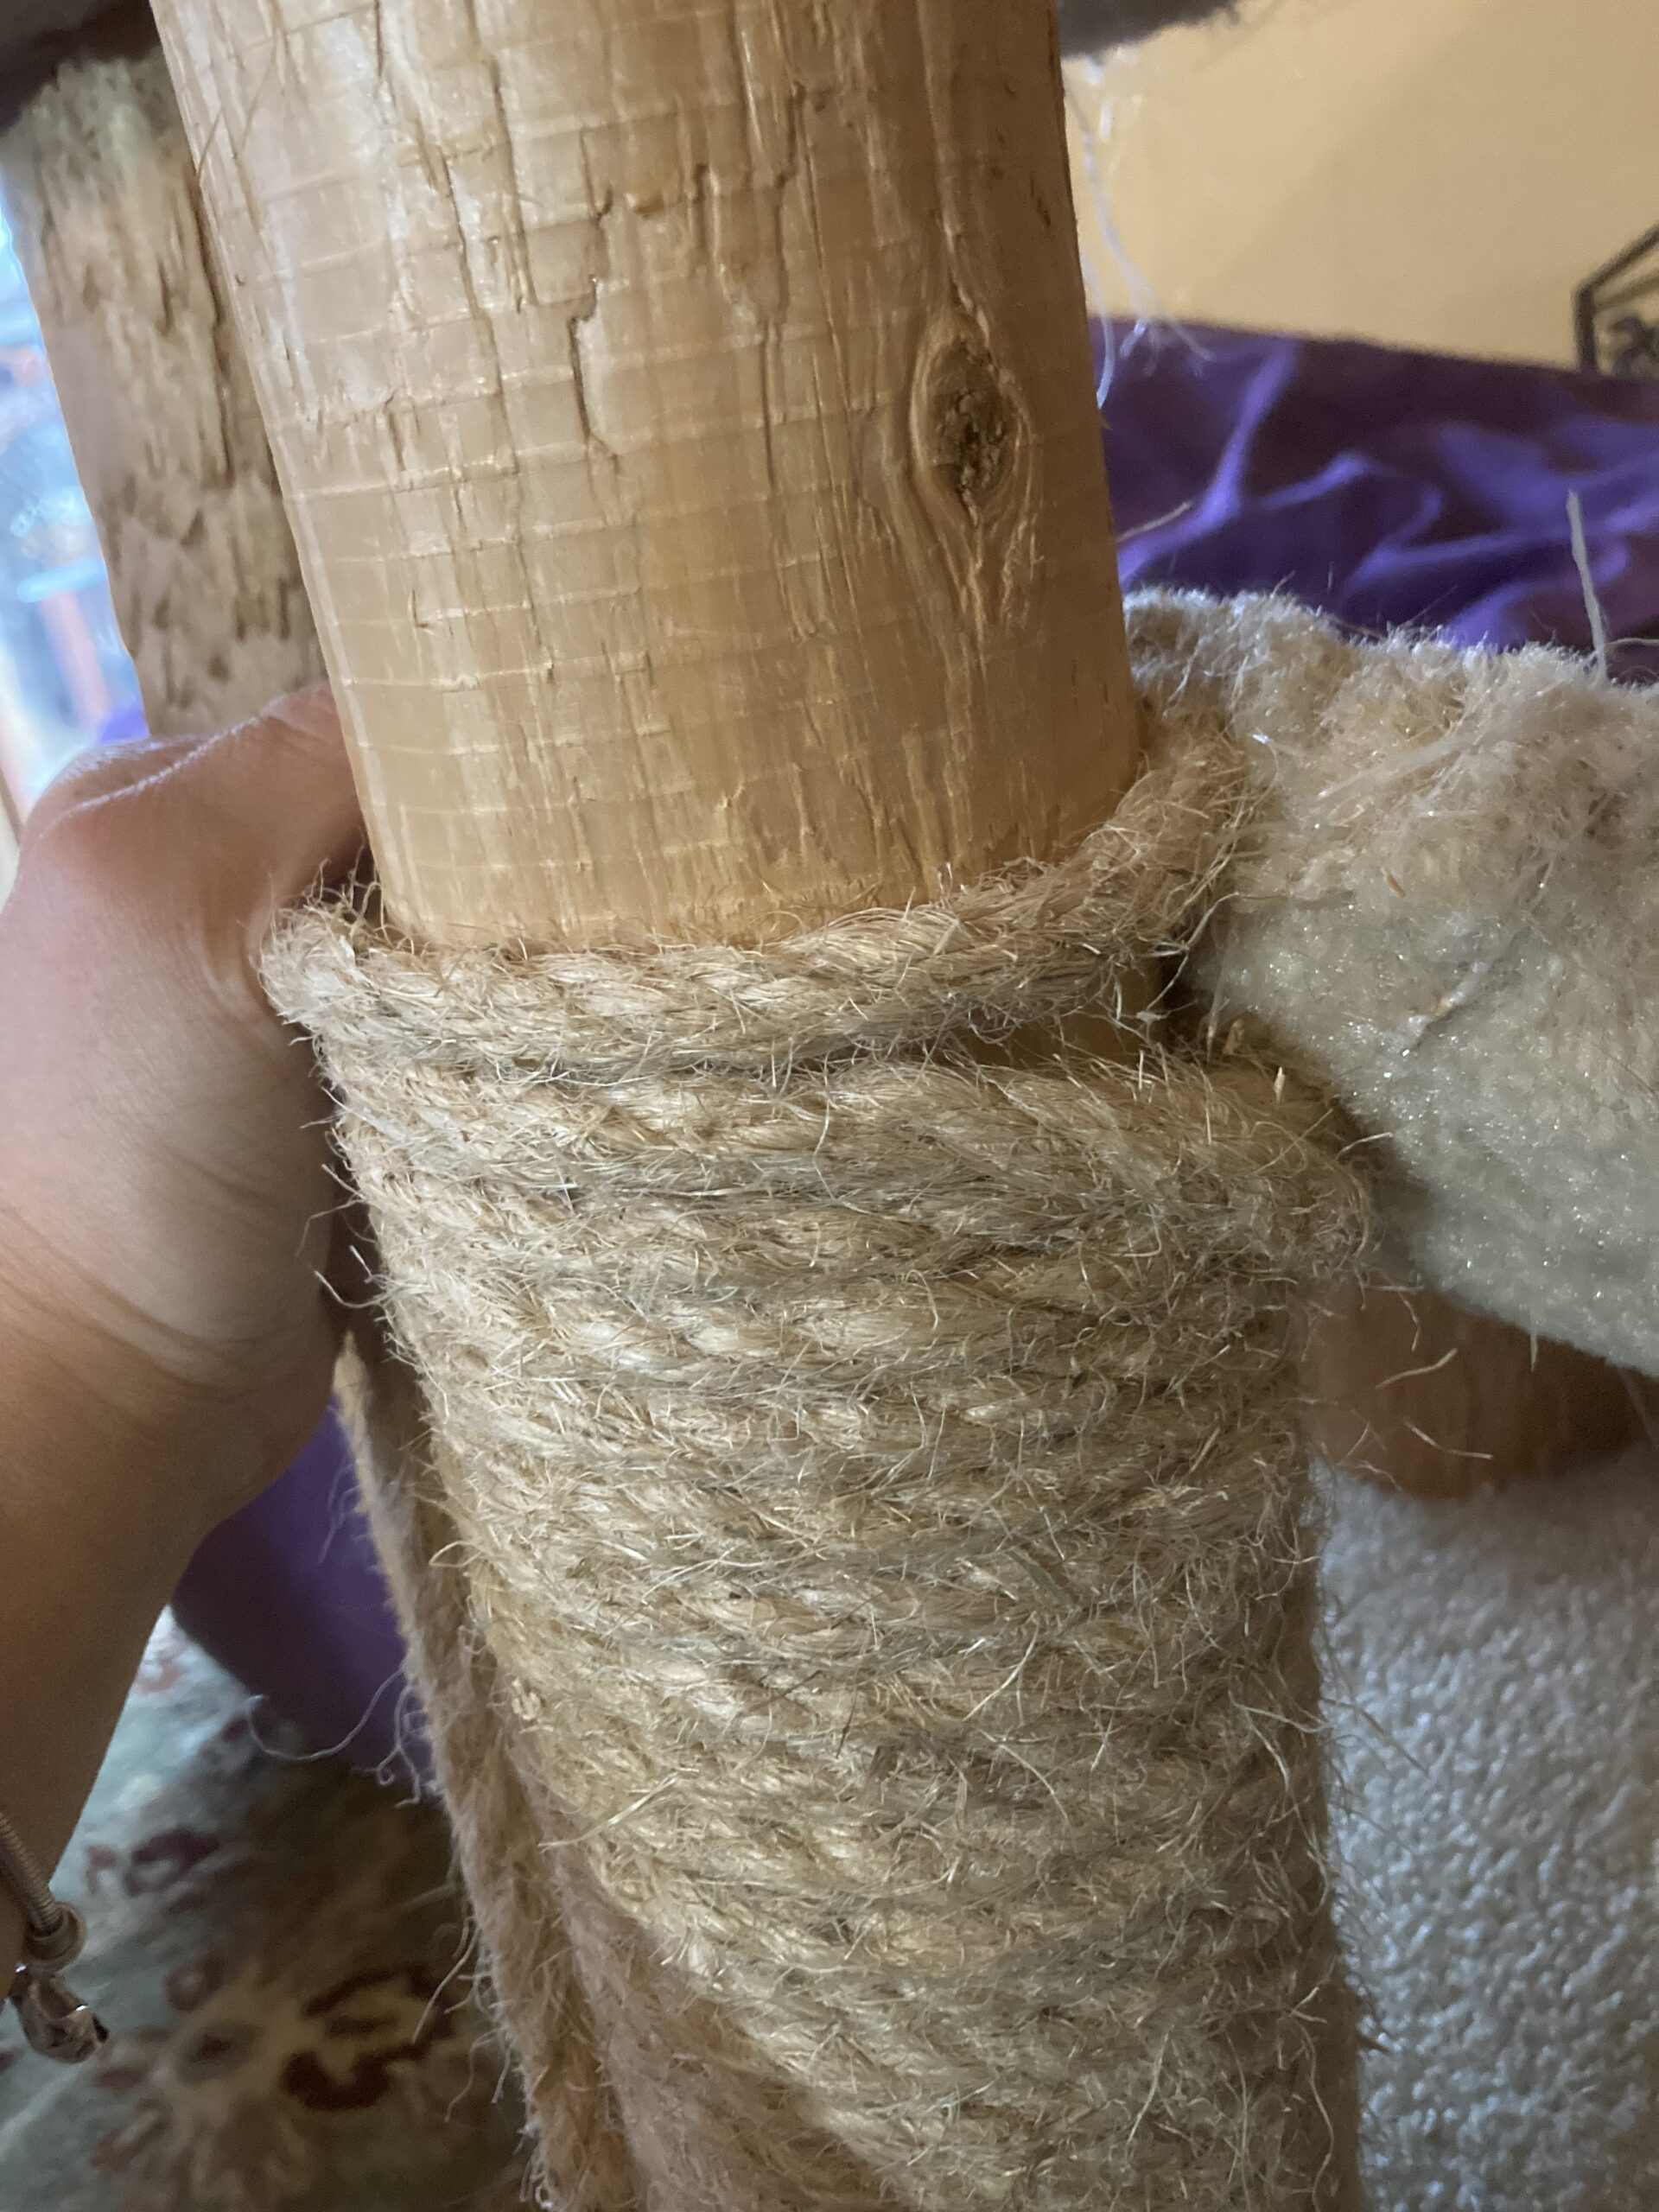
I tied the end of the new rope to the end of the good section of old, and then wound the rope around and around the post, keeping it nice and taught so the pieces don’t overlap each other. Keep the coils nice and tight, and push them against each other tightly so they make a nice mat for the cat to scratch on.

Keeping the coils tight to the wood, keep them pushed close together as you wind the rope all the way up the post.
These fence staples come in handy!

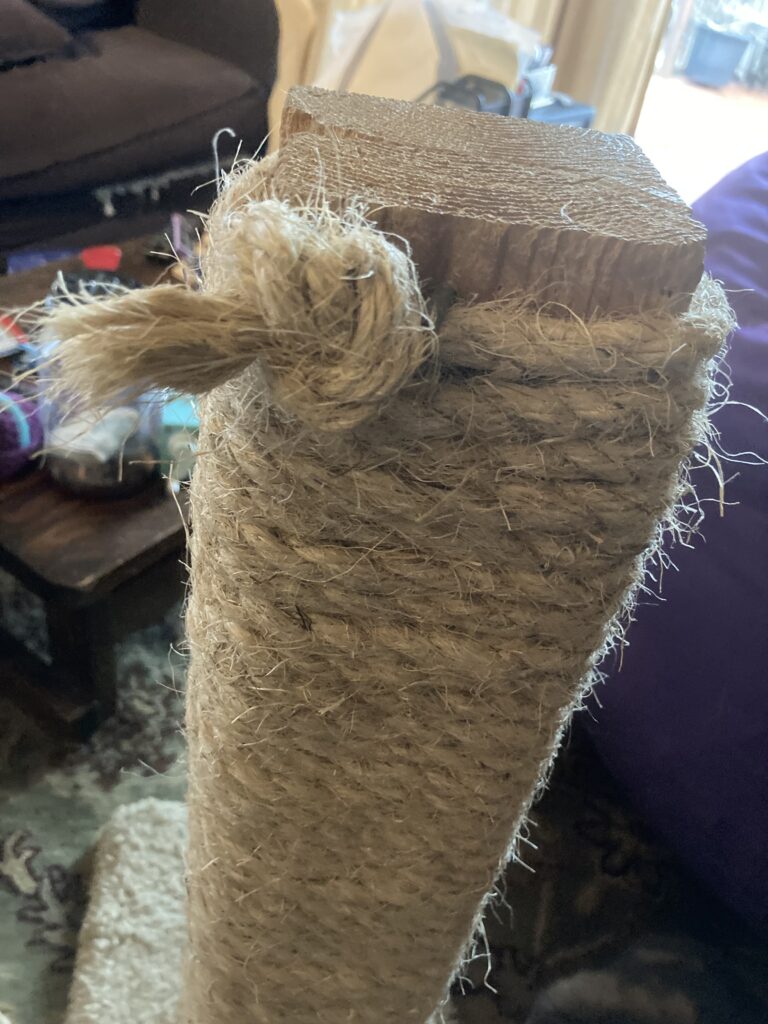
If you have a simple post like mine, don’t bring the rope coils totally flush with the top. I kept mine about an inch down to prevent my cats from pulling the topmost coil up over the top of the post and unraveling it all.

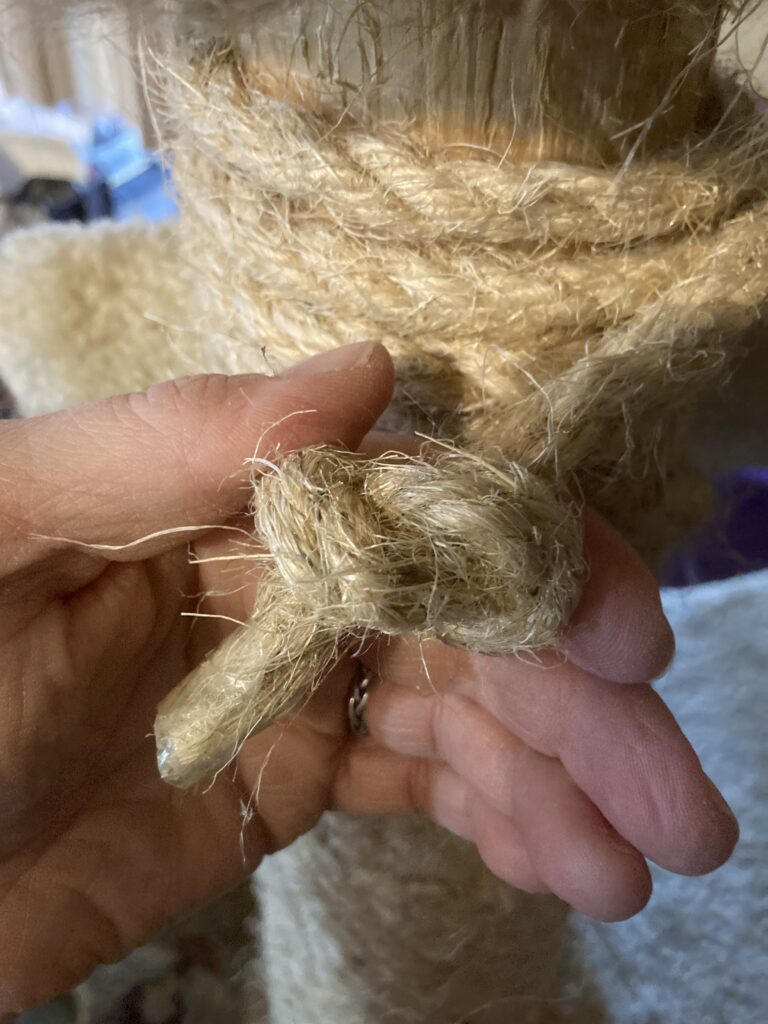
Keeping the rope tight, hammer in one of these awesome fence staples so it holds the rope tight to the post. Hammer it in good and secure so the cats can’t pull it out–give it a good tug to make sure it is really in there! After the nail is in, you can tie a knot in the rope on the other side of the nail and cut the loose end of the rope. The knot will help keep the end of the rope from sliding through the nail staple.

It should look like this (except hopefully a little neater). Notice the heavy duty staple on the other side of the knot, helping it keep the rope securely in place.

That’s one post done. The cats were scratching at it before I was even done wrapping the coils!

Here is the second tragedy–I mean post. They really did a number on this one! The rope has never been replaced on this 14-ish year old post.

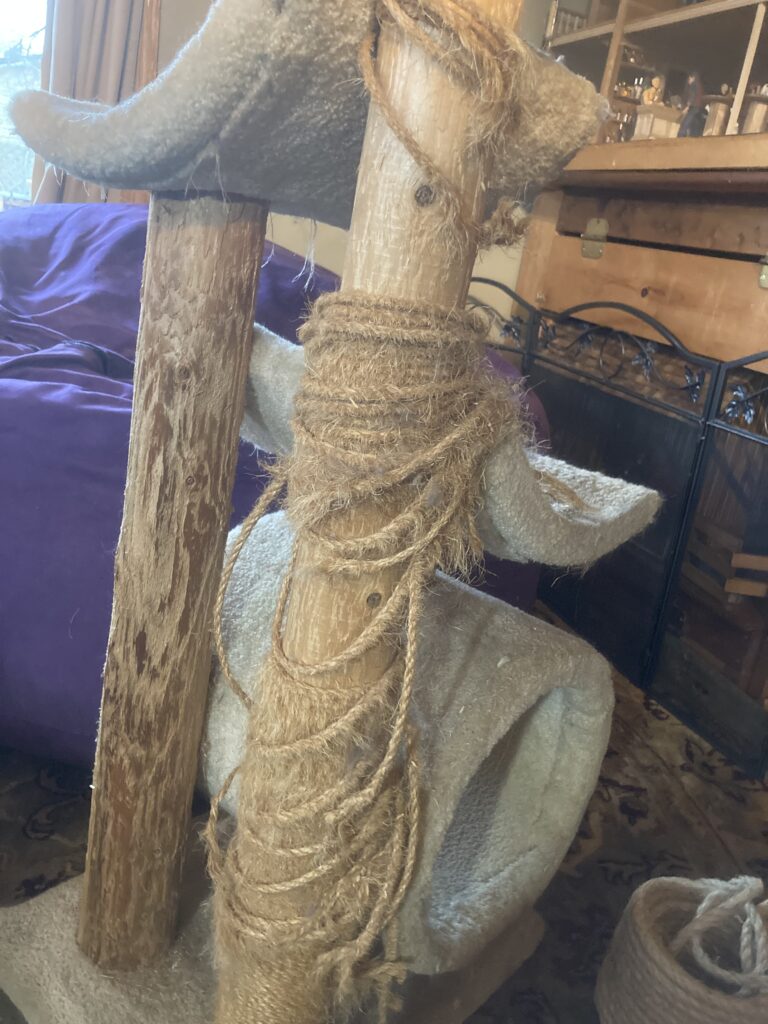
My second scratching post was just awful! I hadn’t realized all of the damage they had done to the rope, as it was turned away from view. First I had to remove the old rope, as before. I removed all but the bottom few inches. This post was trickier as it has the platforms to work around. I ended up cutting the old rope as close as I could to the platforms, but a few strands were stuck where the post and platform connect so I just cut them close to the post, as the new rope covered up the tiny fragments of old.

Cutting with my handy-dandy box cutter.
As before, I tied the old rope to the new and began to wind upwards.
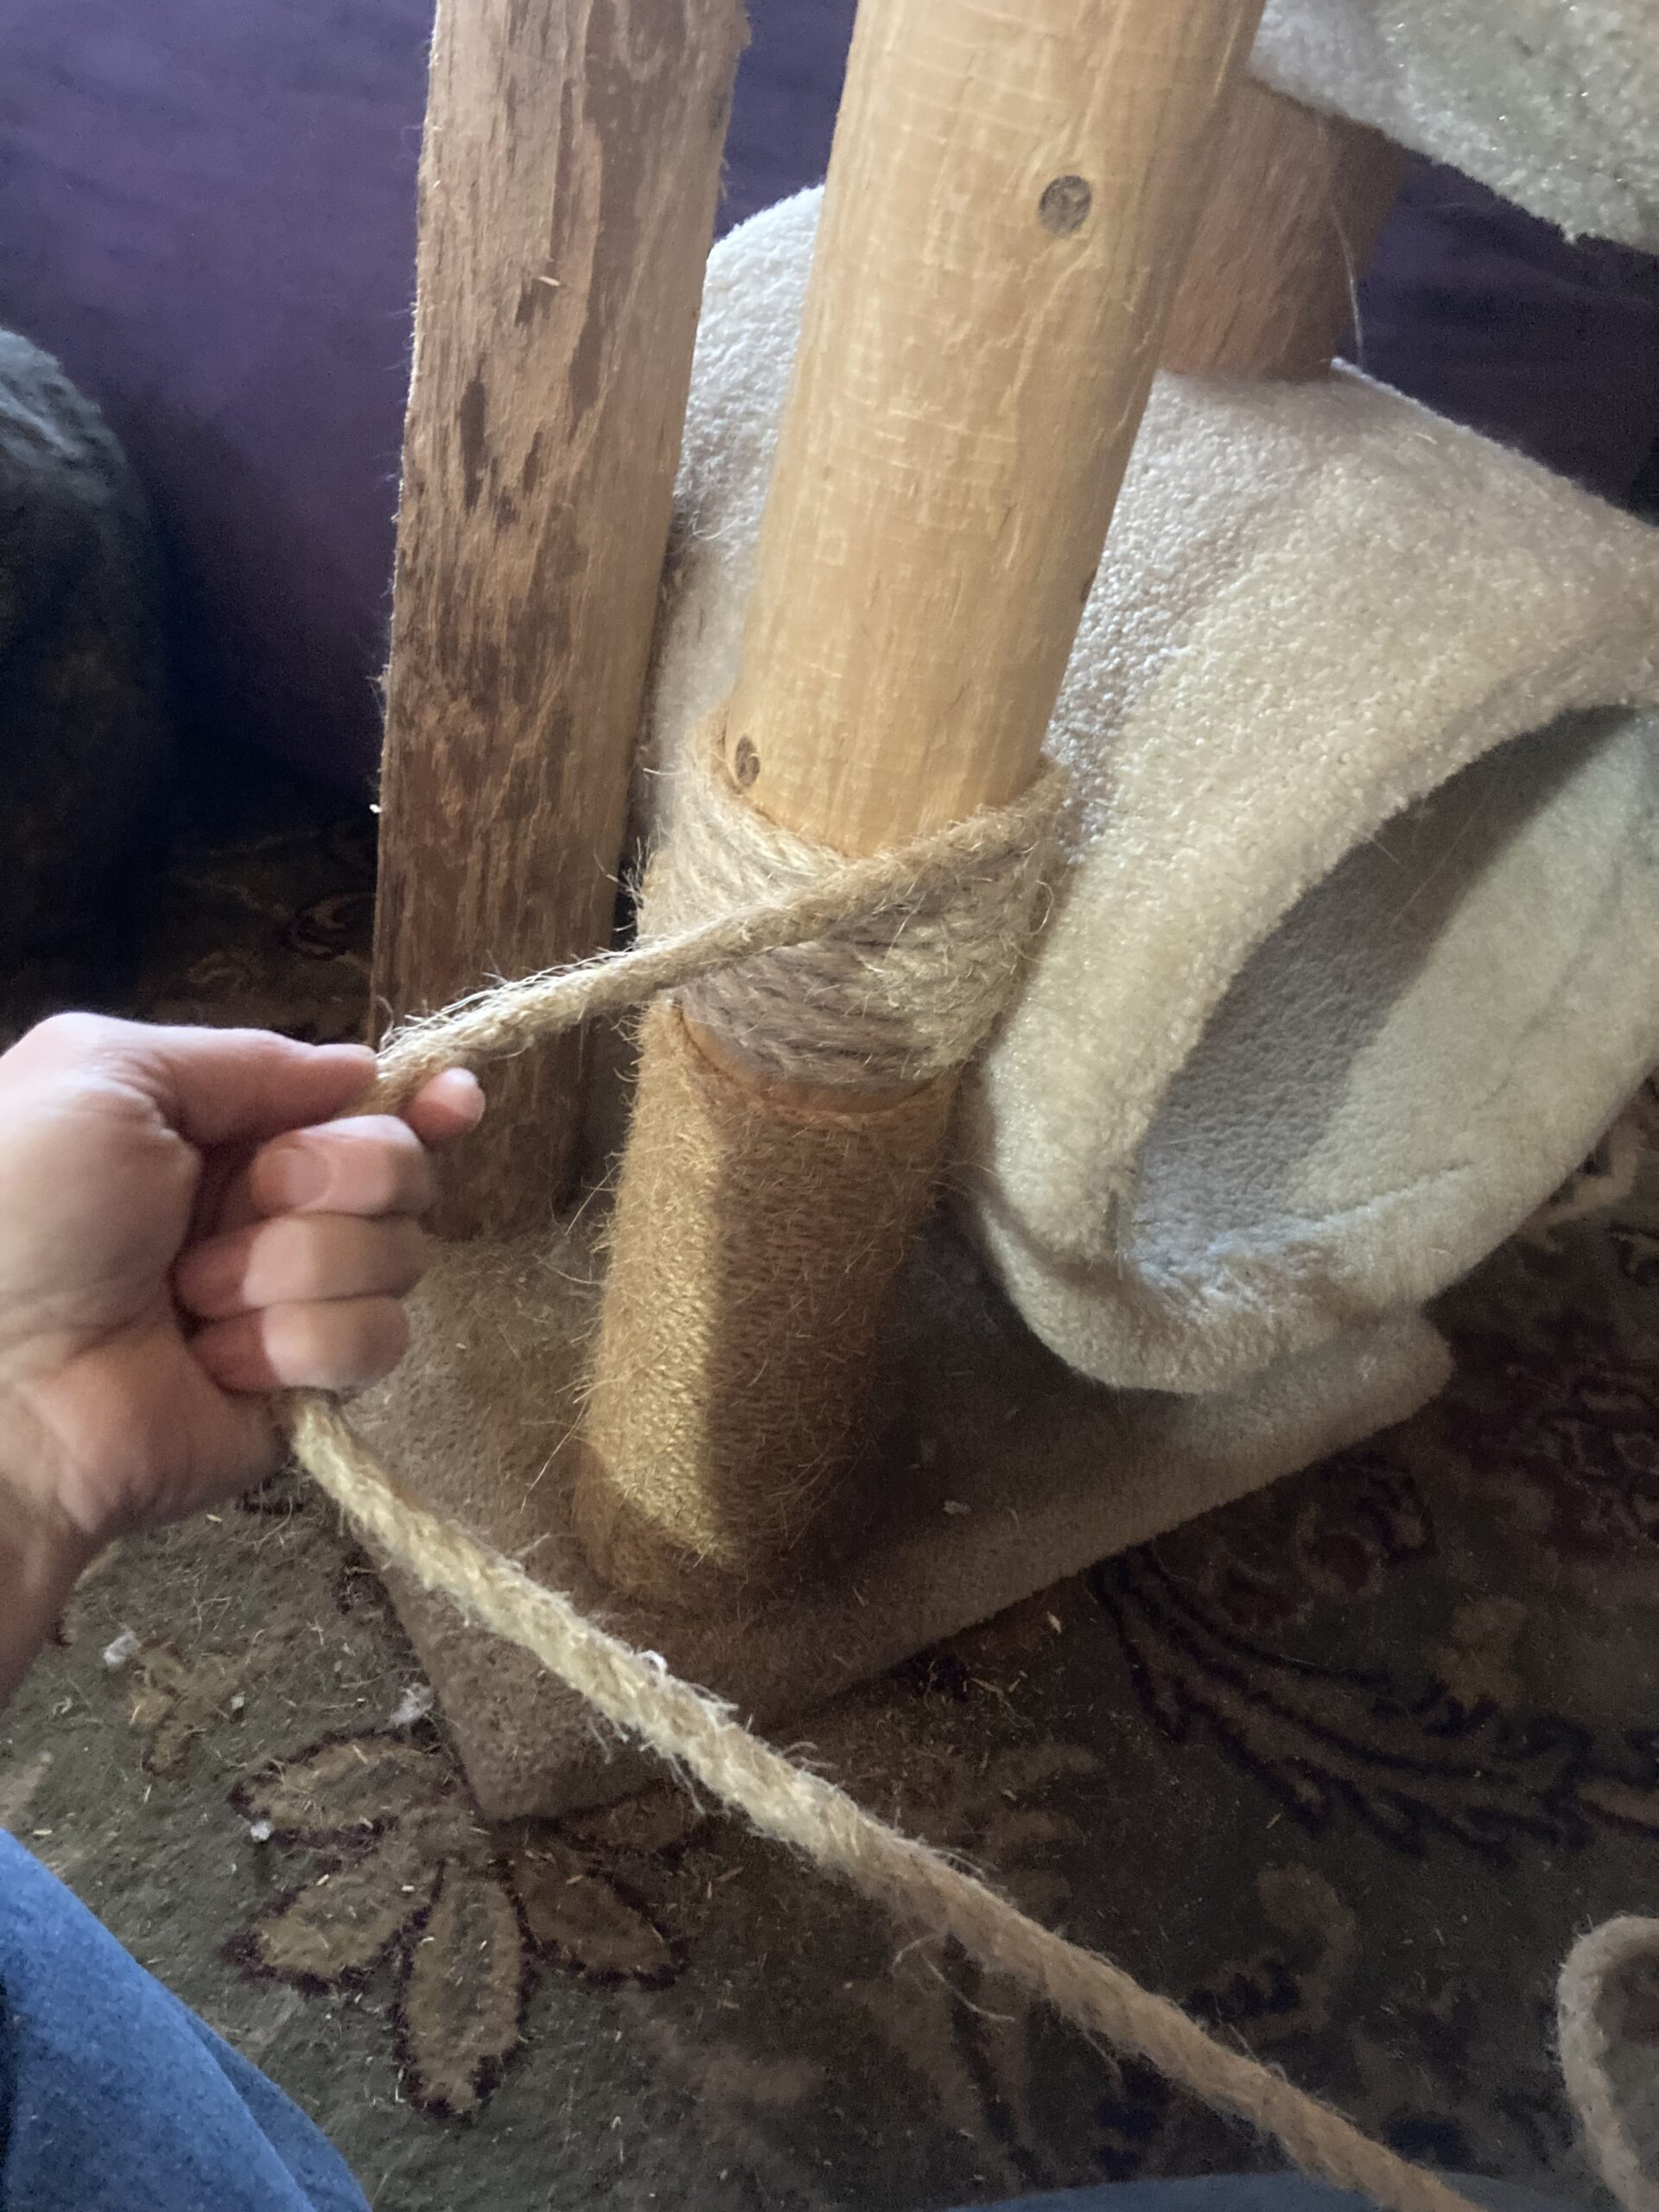
When I got to each platform, I ended up just winding the rope as close as I could to where the platform connected to the post and then continuing over the top of the platform, as pictured. I just focused on keeping the spacing of the coils as consistent as possible with the rest of the post.
I tied a knot in the end when I was at the top of the post, then used one of the fence staples to nail it in place on the post.
Placement of the fence staple.
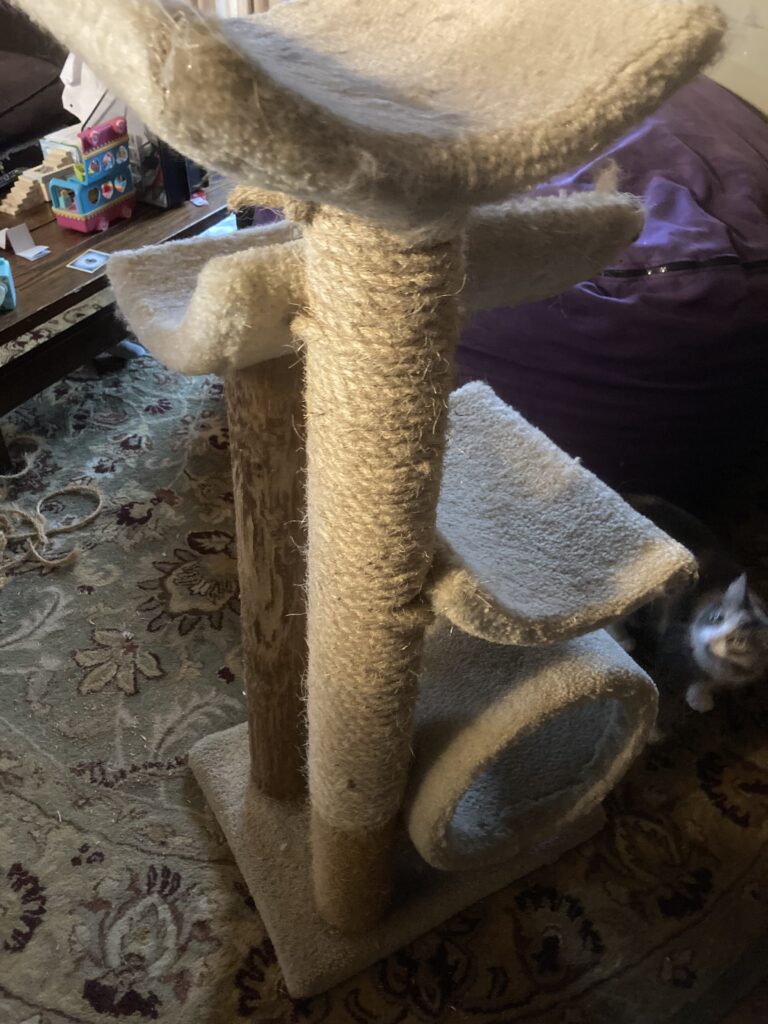
Finished post. The cats (I have 5) are already excited to use it!

I hope this article gives a better idea of how to recover different types of cat scratchers. My cats were very grateful and excited to have their posts repaired. Any questions or comments? Feel free to post in the comment section!