While I never did get good marks in History classes (I have to stop and think sometimes to remember important dates in my OWN life, much less others!), I do love seeing and learning about historical artifacts. As a child (and even as a teen) I always wanted to be an archaeologist, digging and discovering.
What I really love is when I find a horseshoe (or other antique) that comes with a story. It isn’t often that you find the history of a lowly horseshoe, but sometimes you will, and sometimes all you have to do is ask, as some sellers don’t think it’s important to say where they dug the shoe up, or how their grandfather was an award winning farrier back in the day and this was one last shoe he kept hanging above his garage door.
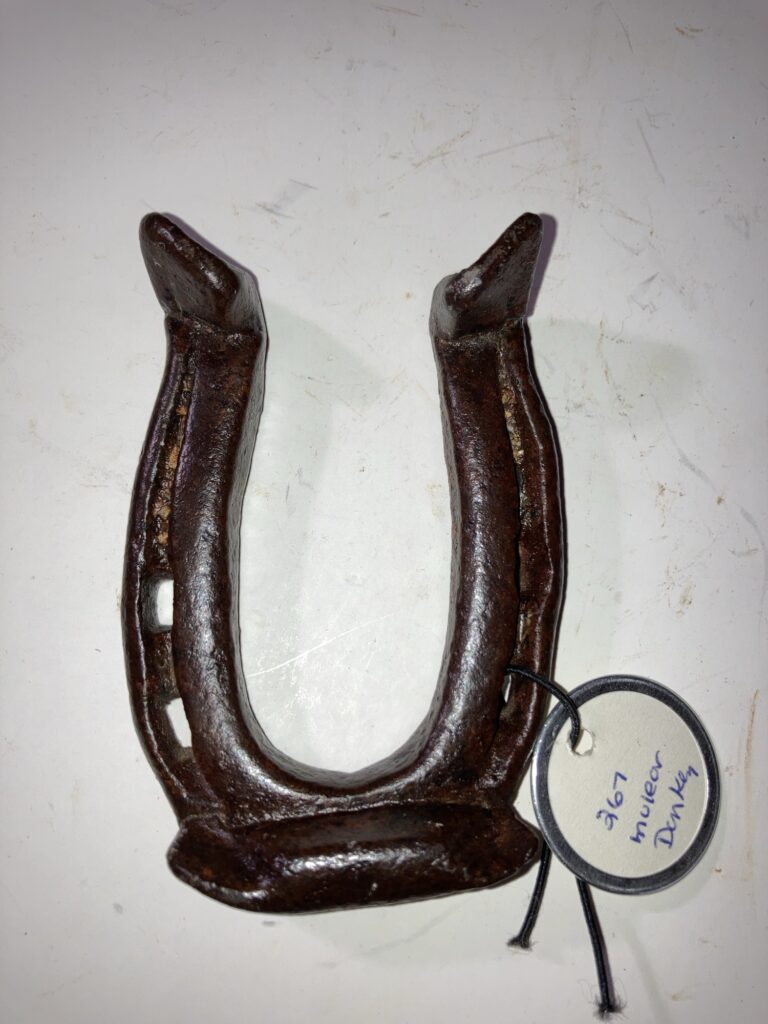
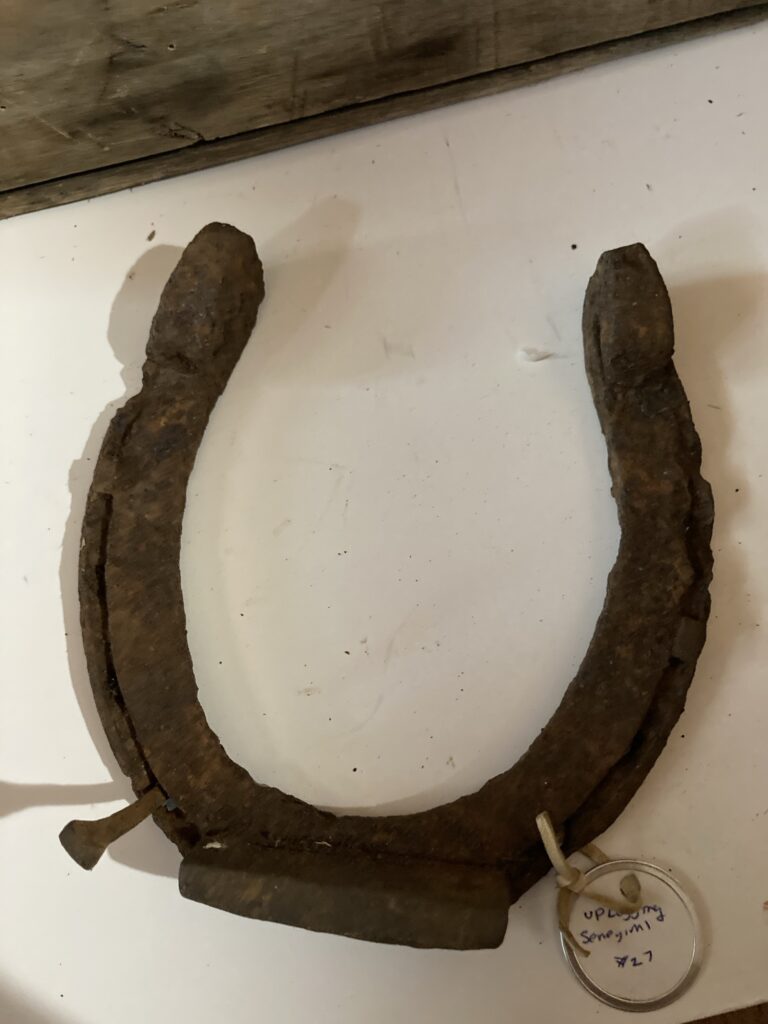
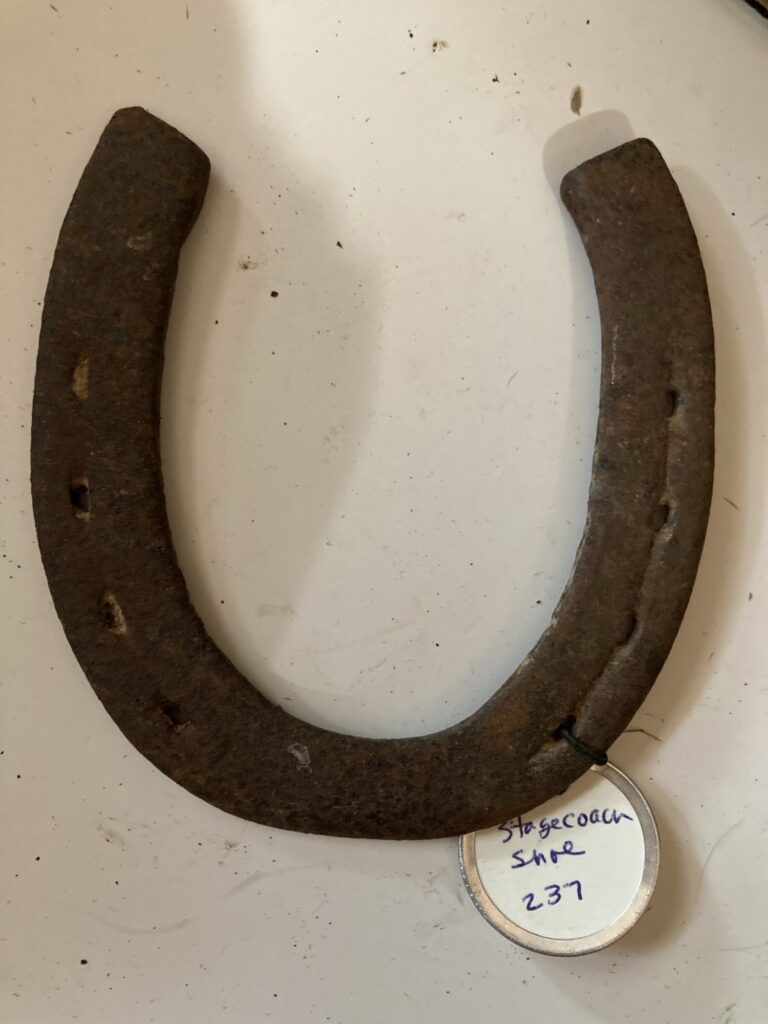
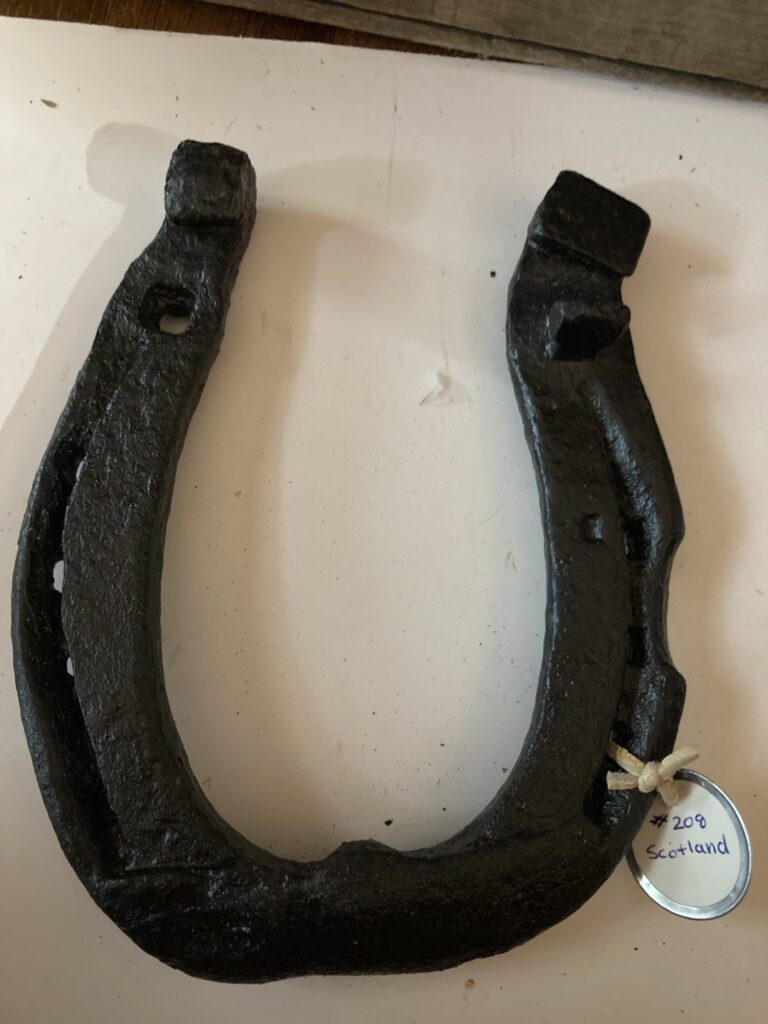
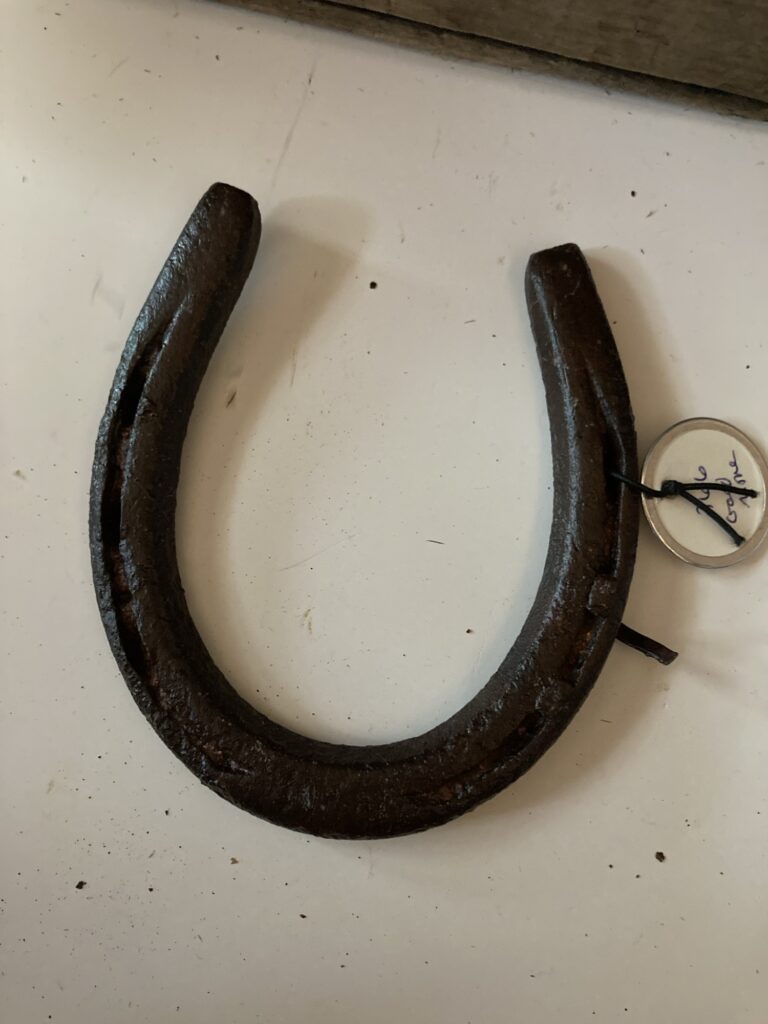
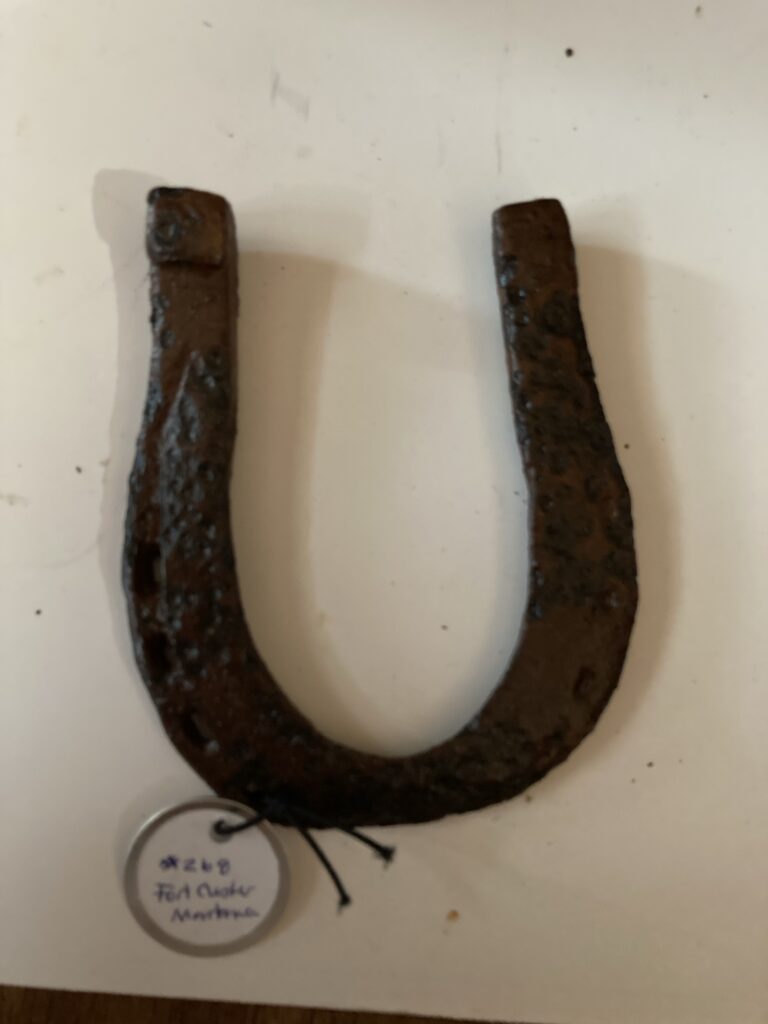
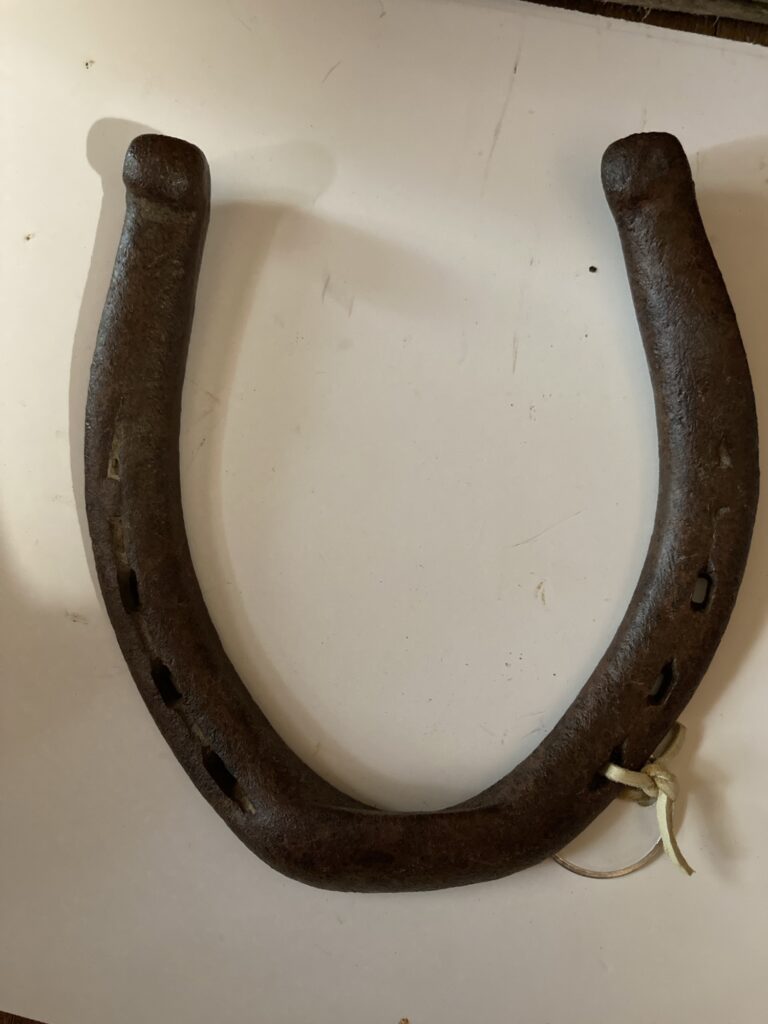
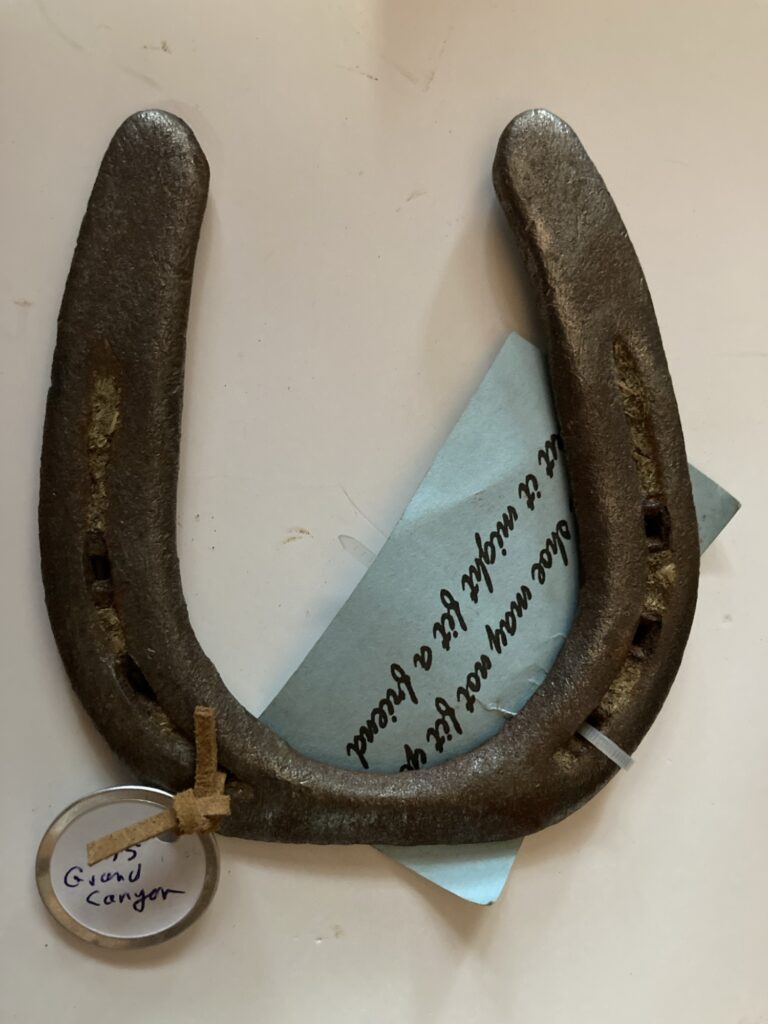
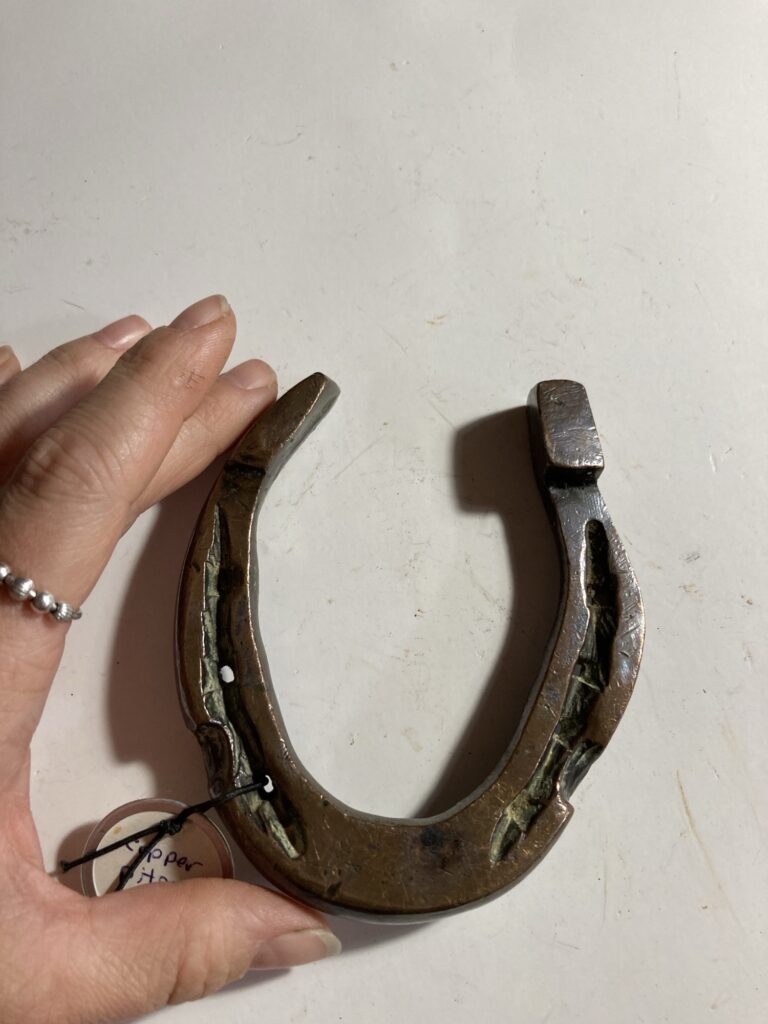
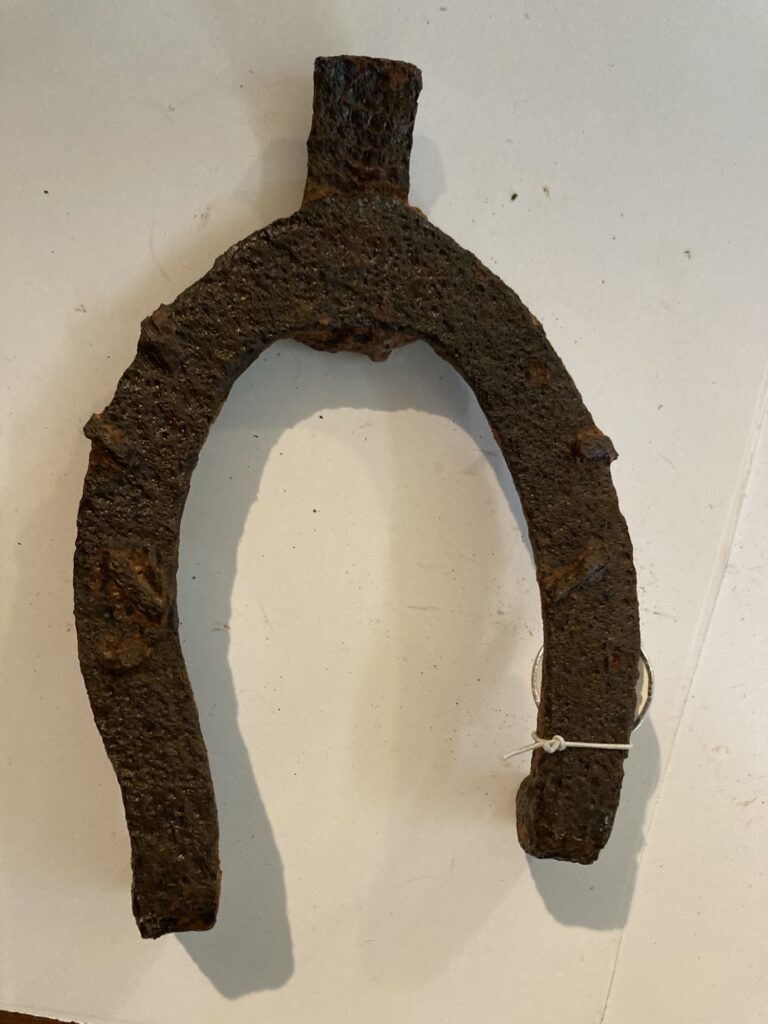
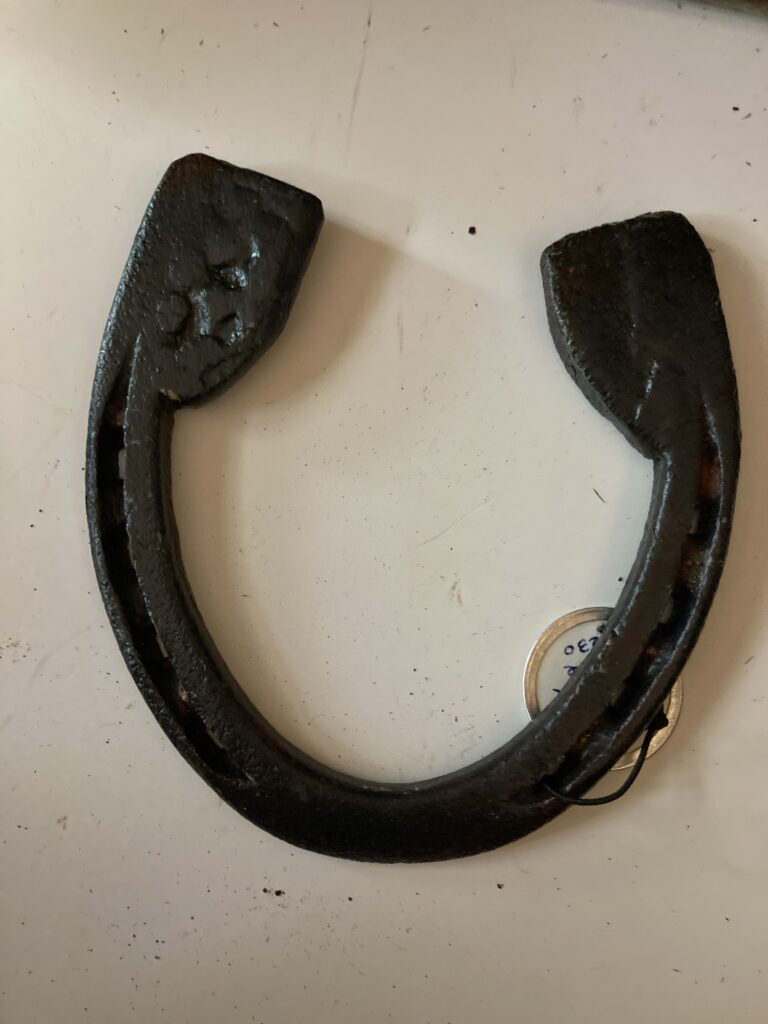
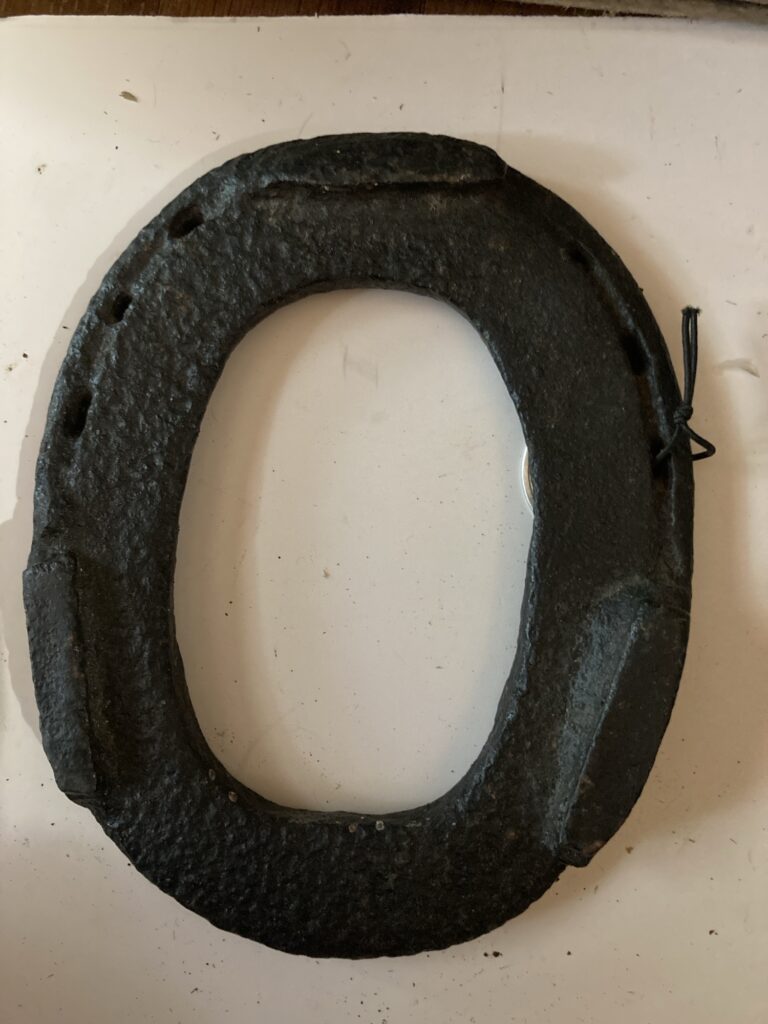
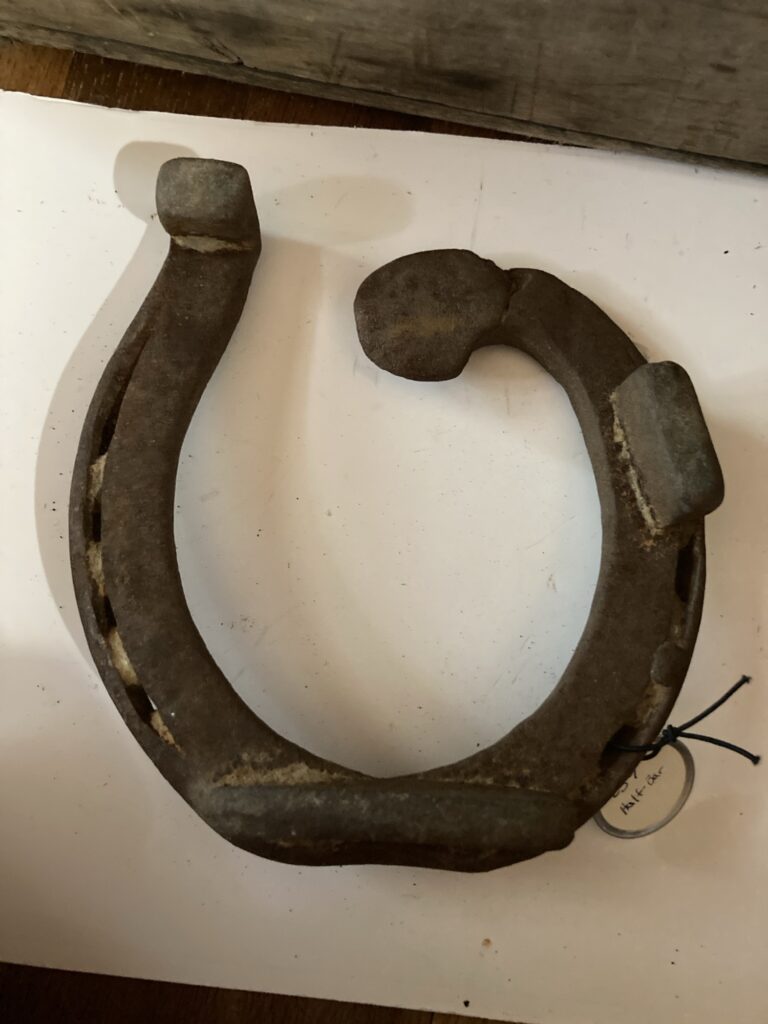
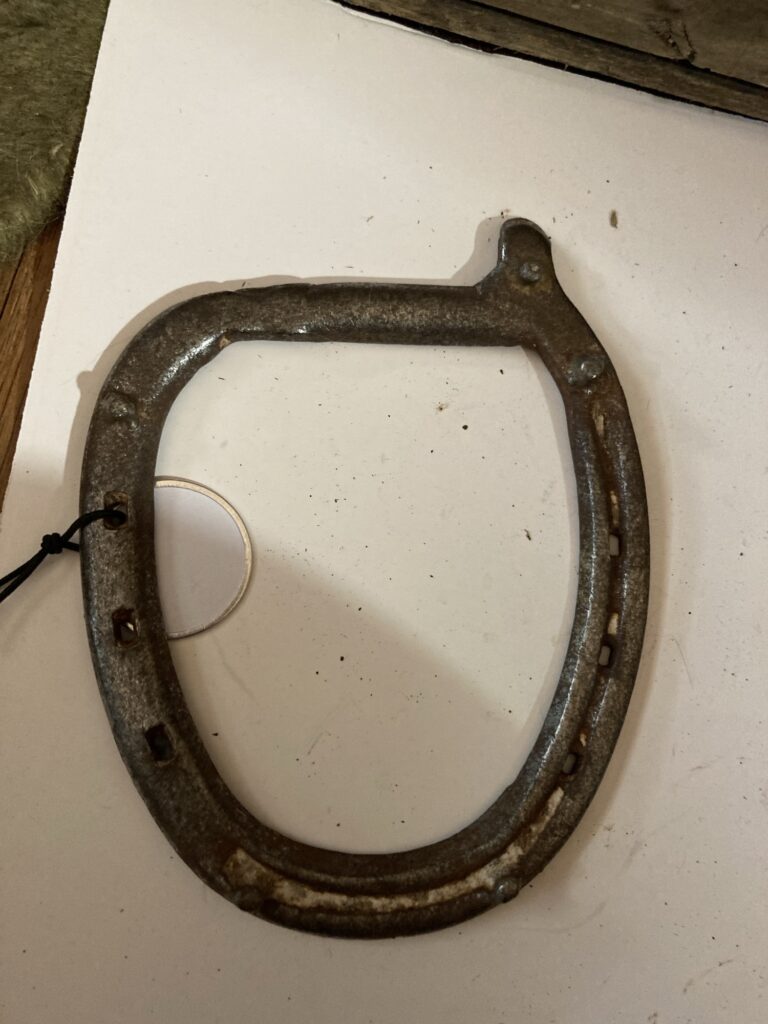
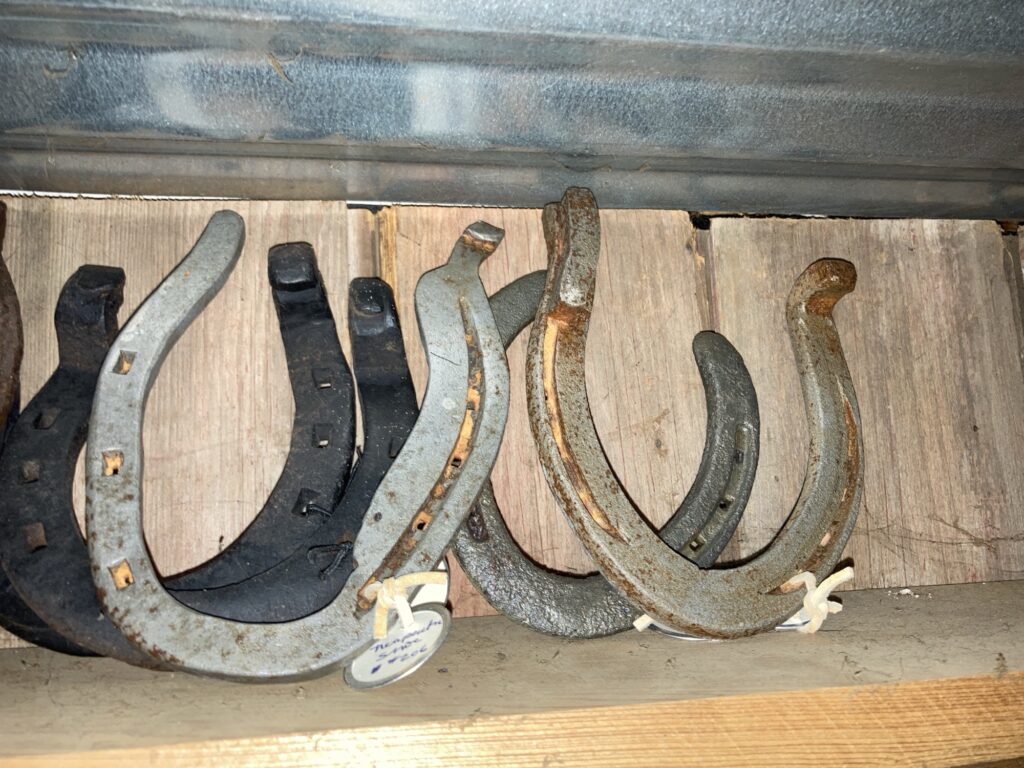
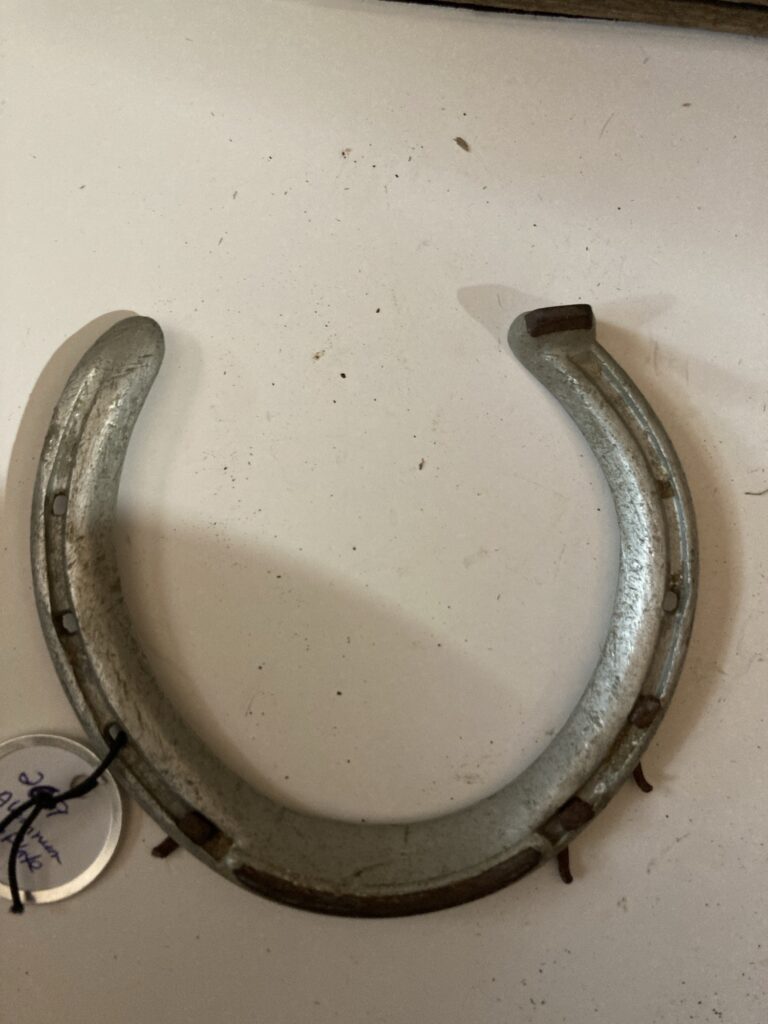
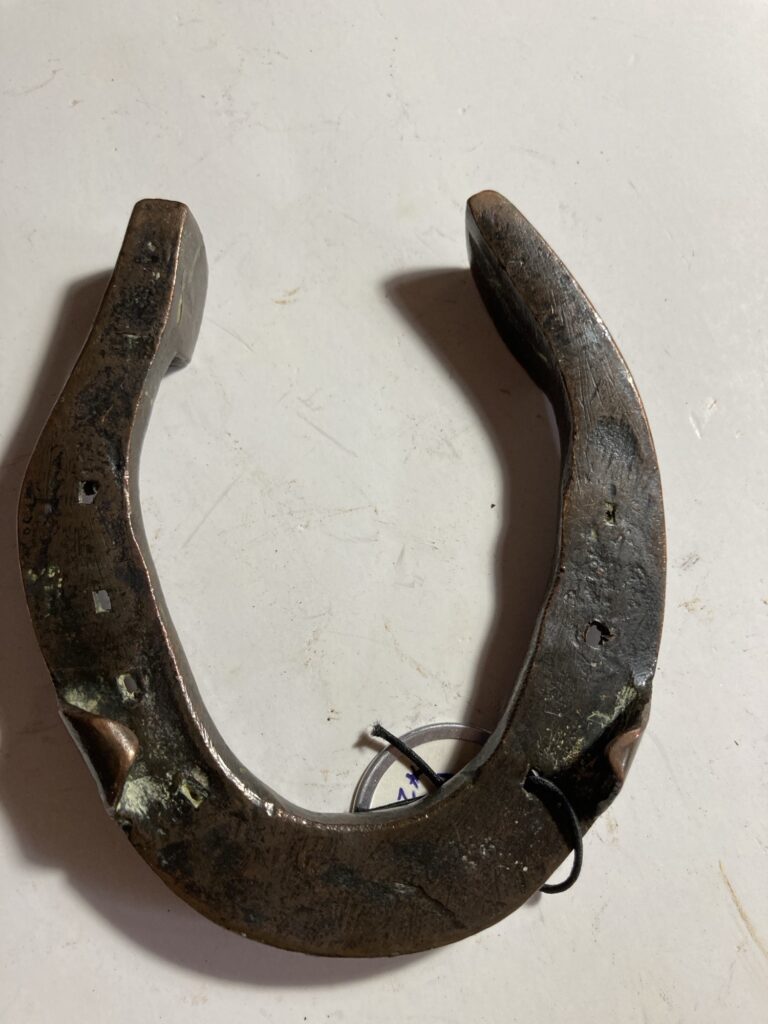
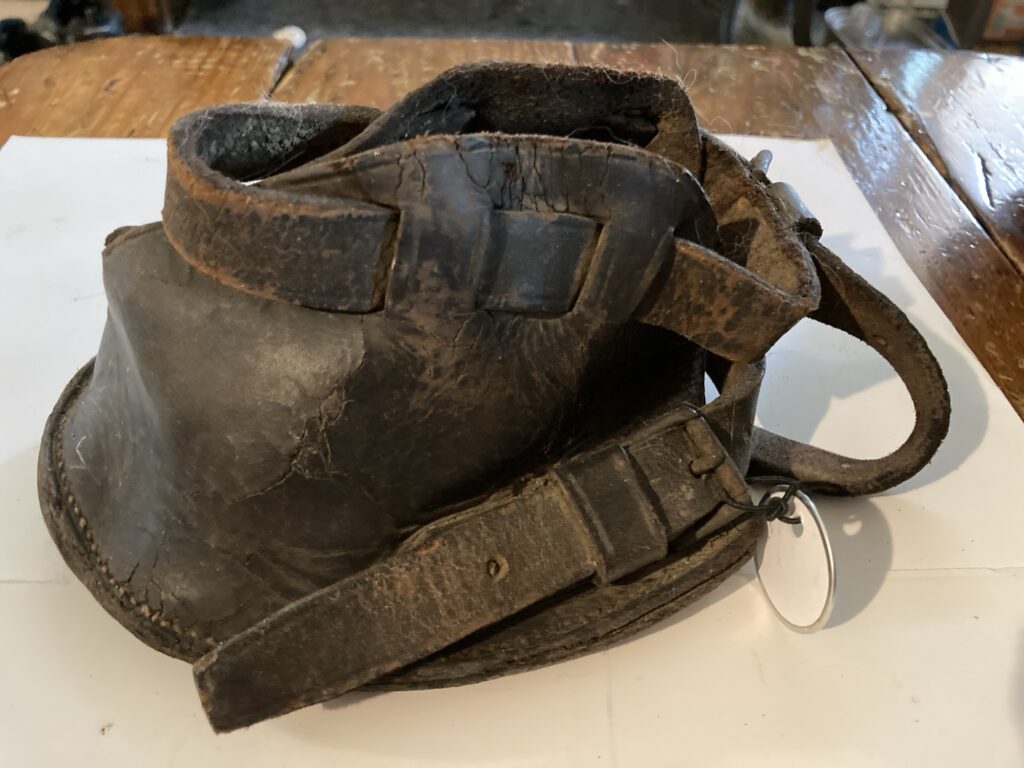
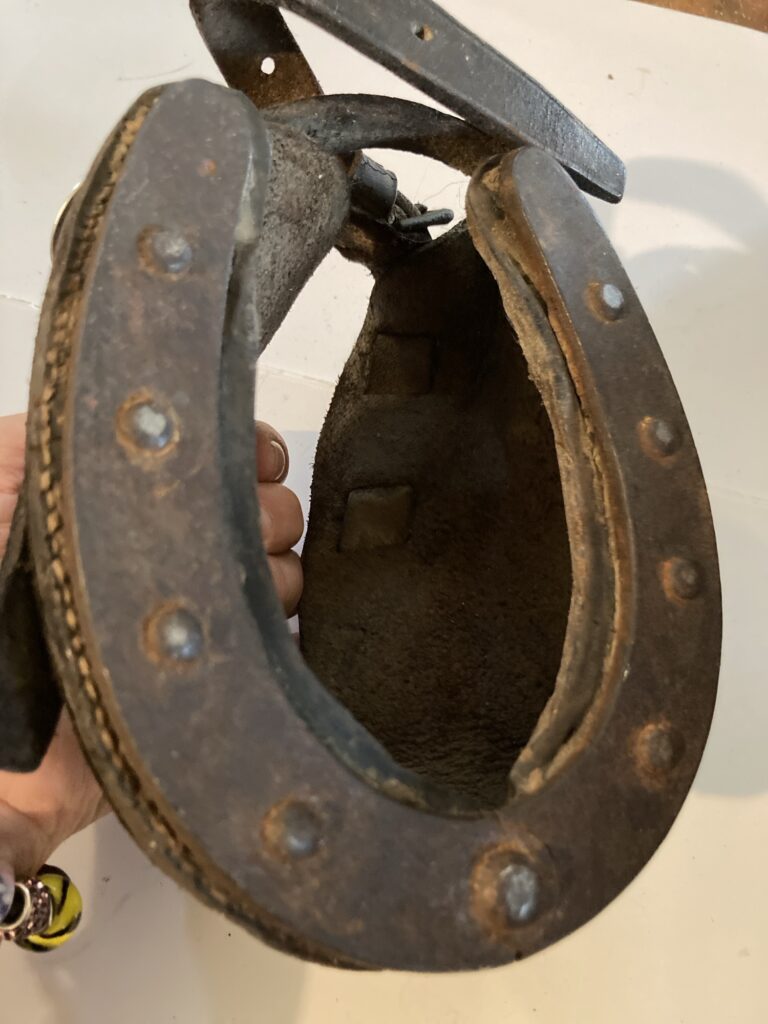
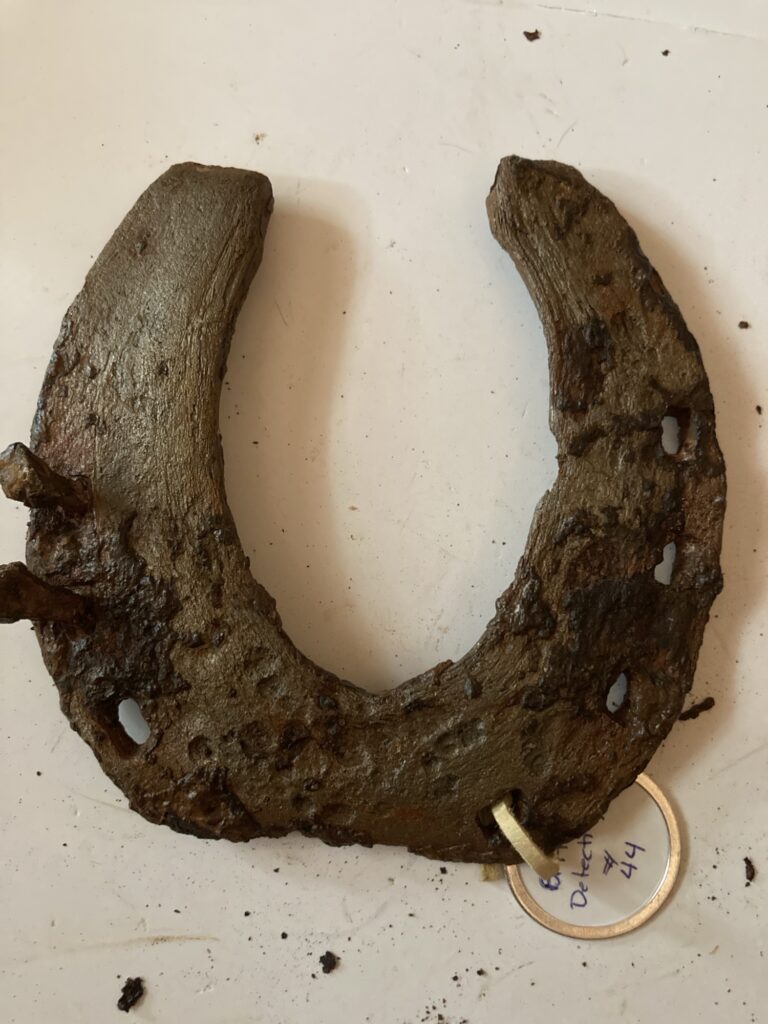
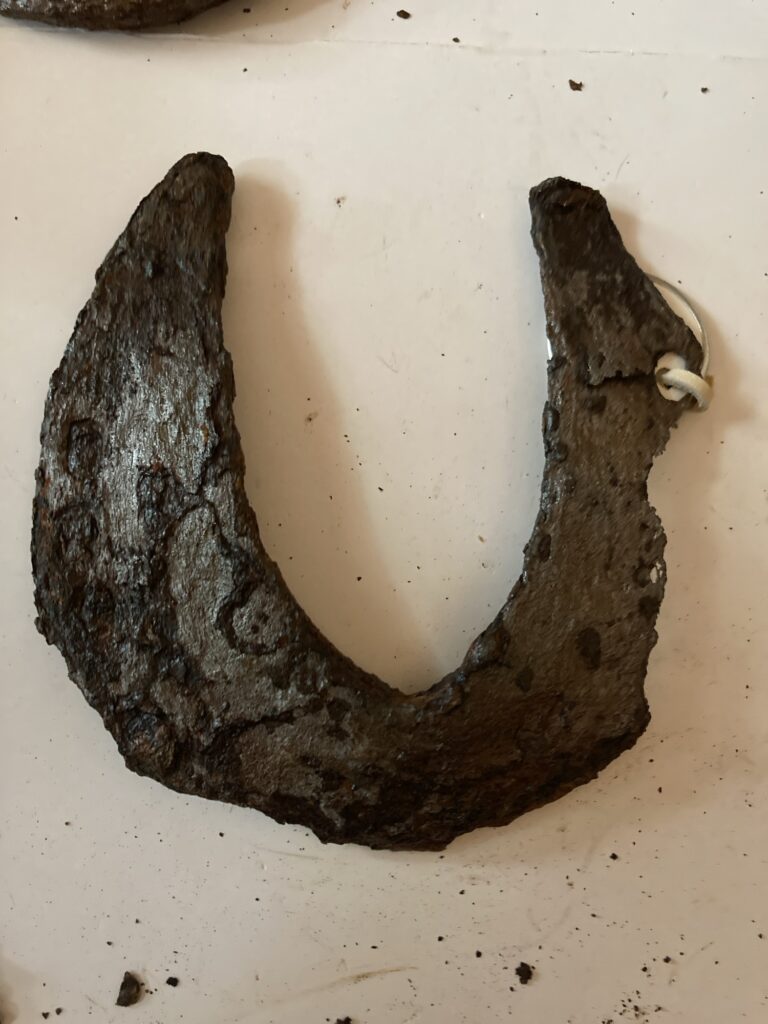
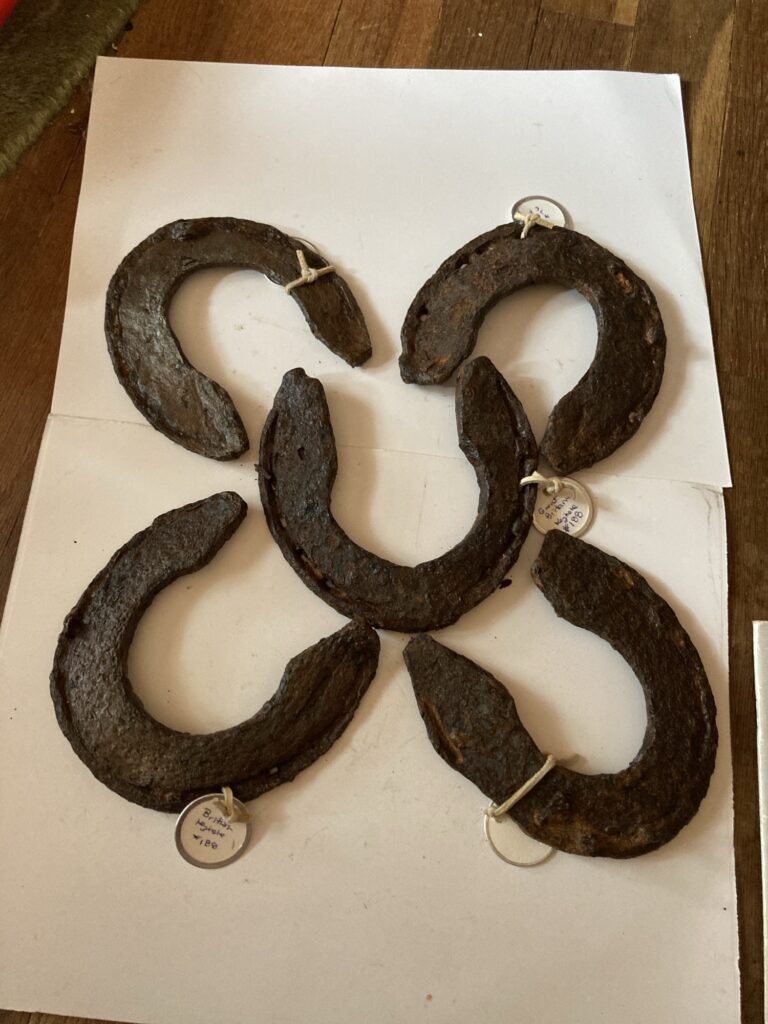
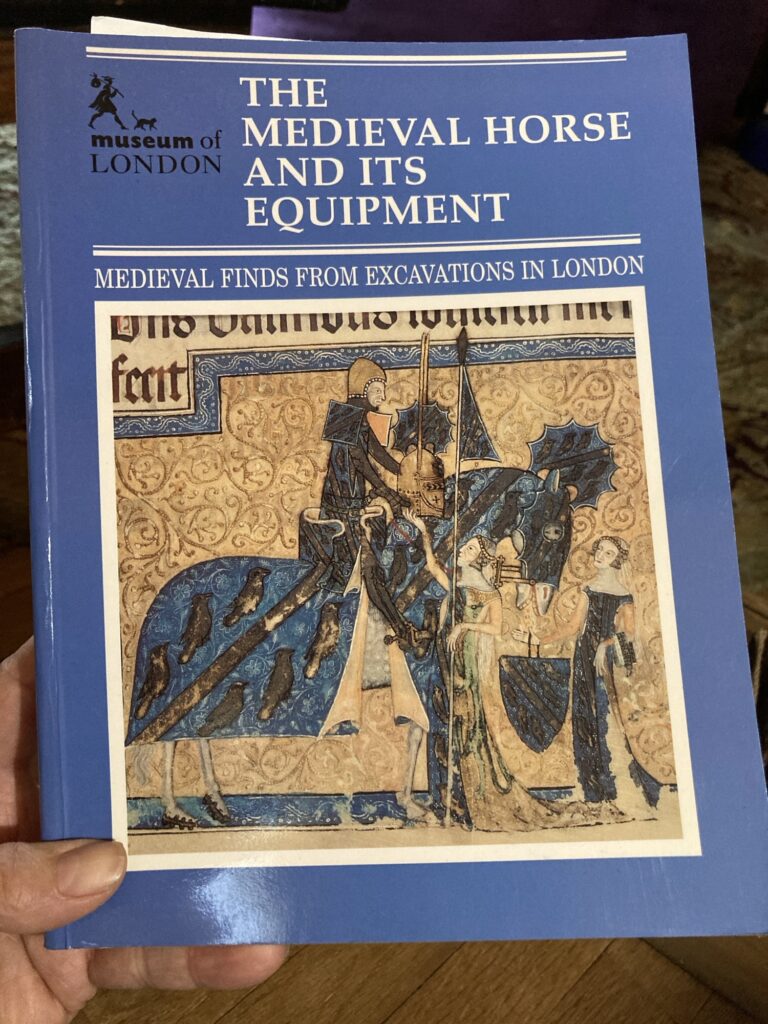
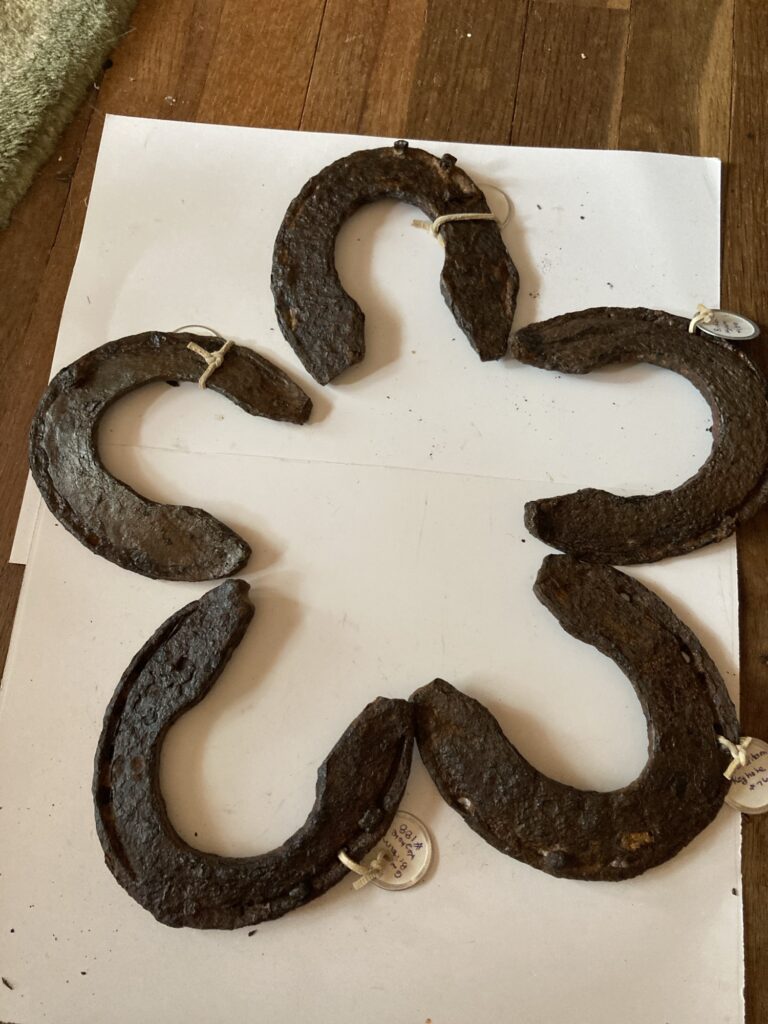
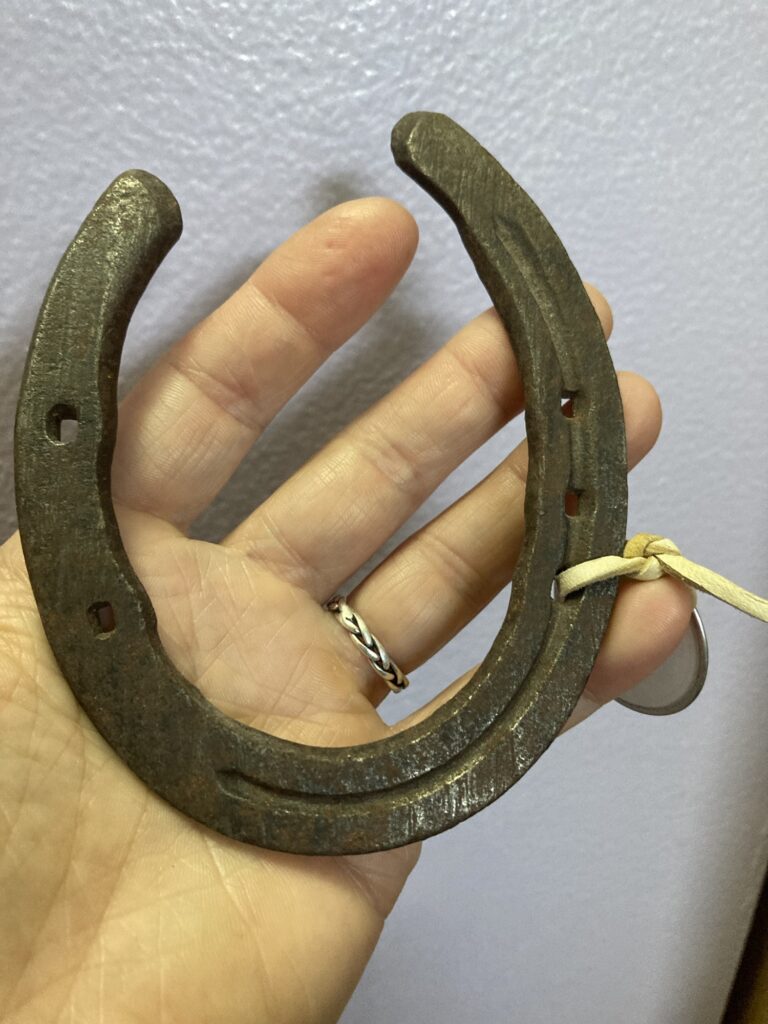
Isn’t it beautiful? The curved toe bar and angled heel caulks? This shoe, and several others that I ended up purchasing, was found by the seller’s uncle when he was younger. He was fascinated with old logging camps in Michigan’s Upper Peninsula, and spent much of his time searching them out through the woods. He picked up several old horseshoes in such locations, and nailed them all along his fences. Their age and condition testify to them probably being worn by the horses of lumberjacks to haul wood in the 1800’s-early 1900’s. Notice the extra bars at heel and toe, called caulkins, that were added for traction. I see this a LOT in old shoes in Michigan, where farming and logging were commonplace in our history.This shoe was found along an old stagecoach road in California. This enormous draft horse shoe was found near the old Smithy in Achafoila on the Aisle of Luing in Scotland. For some reason I can imagine a big old workhorse named Betty wearing it.This shoe was found along with a few others near an old gold mine.This mule shoe was found around Fort Custer, in Montana. Was it from the Indian Wars? This shoe was found metal detecting along the Oregon Trail in Wyoming. It has so much wear to it!This shoe was from a mule used in tours at the Grand Canyon.This solid copper shoe was from a pit pony in a coal mine in Wales.
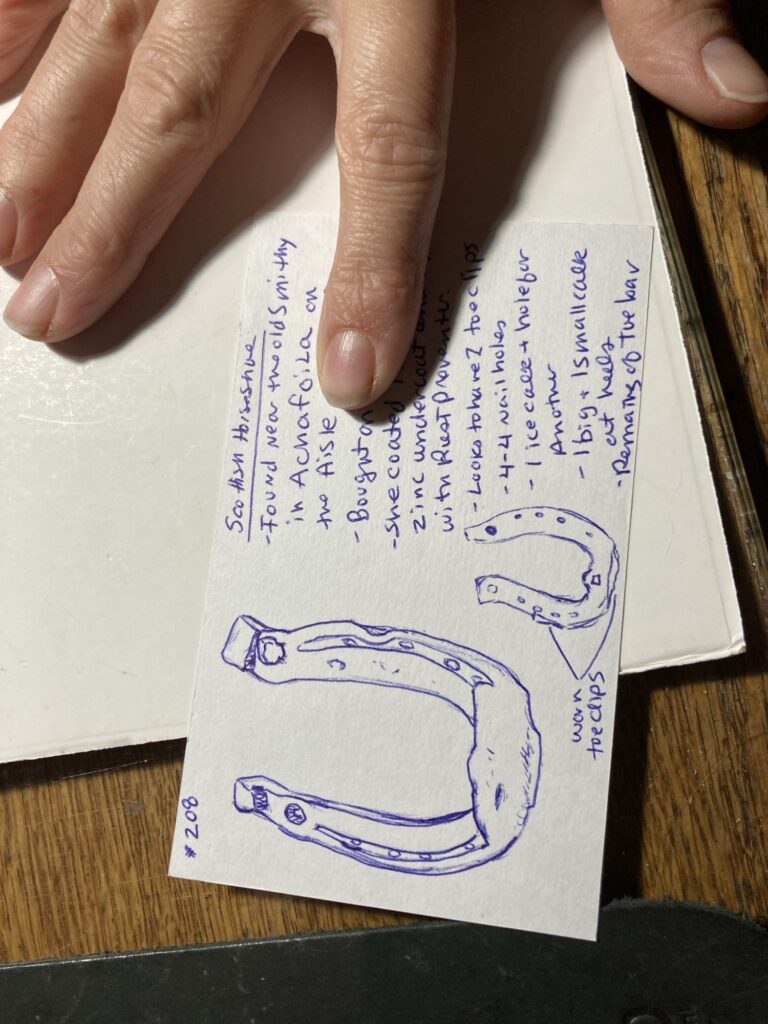
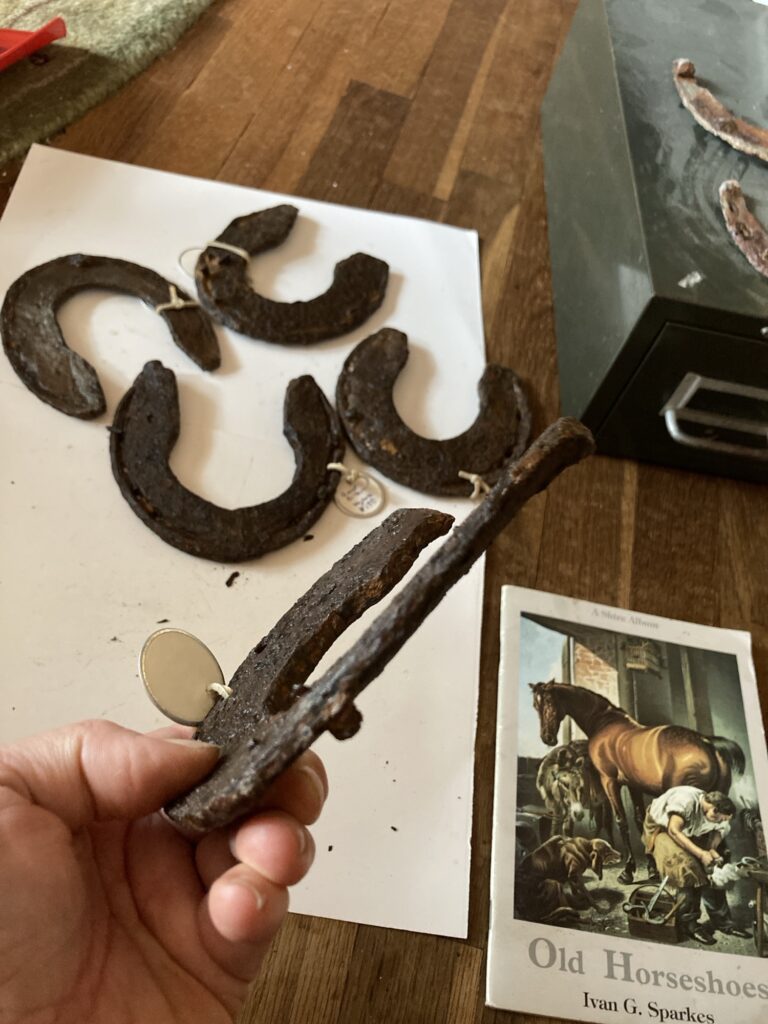
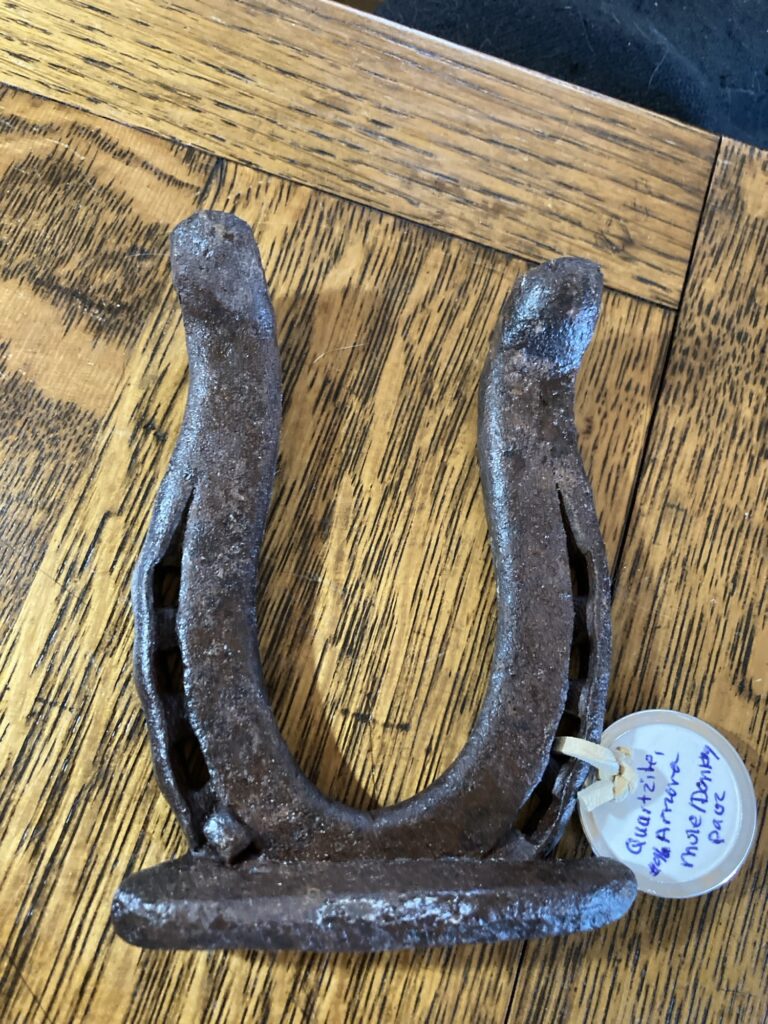
You may be wondering why all of my shoes have tags on them. I tag and number each individual shoe, and write a description of it on an index card so i know where i bought it, everything I know about it, how much I paid, etc. I also draw myself a little picture of it so it is easily recognized when I go to find the individual shoe. I keep the cards organized in a card index.
How I record important information about each shoe. The number on the card matches the numbered tag on the shoe.
I hope that with careful record keeping I can safeguard the history of each of my shoes. Unfortunately I didn’t do these things when I first started collecting as a child, but I remember a few details about my favorite shoes.
I have many, many more shoes in my collection (at the moment of writing this I own over 330 shoes). Record keeping helps keep their information organized and readily available. Now if I can just find an easy way to keep the shoes themselves organized 🤔.
If you collect horseshoes, you may come across some strange ones. There are quite a few variations that were created for different purposes, for hoof therapy, correcting a horse’s movement, or for aesthetic purposes. I am here to share a few from my collection.
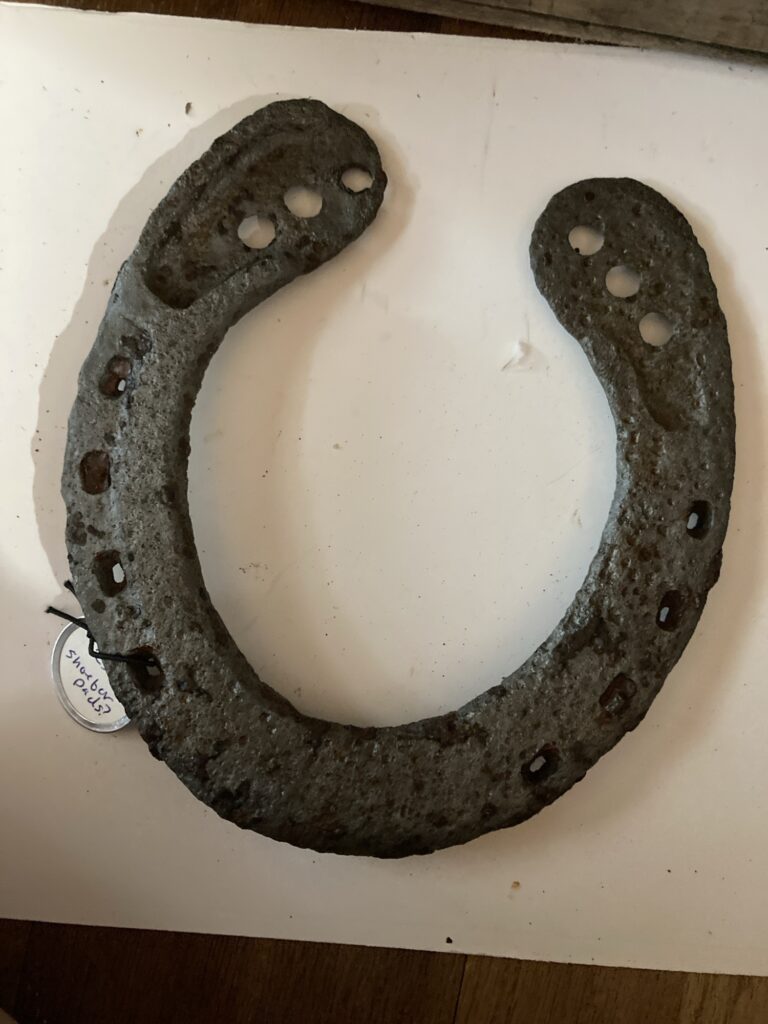
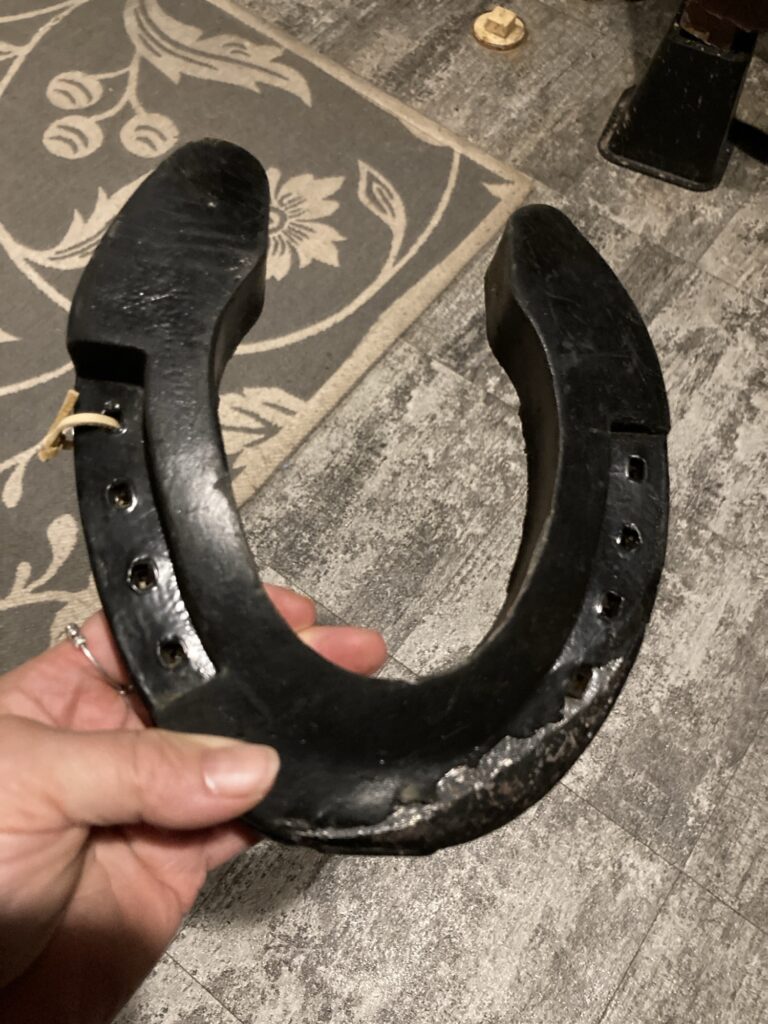
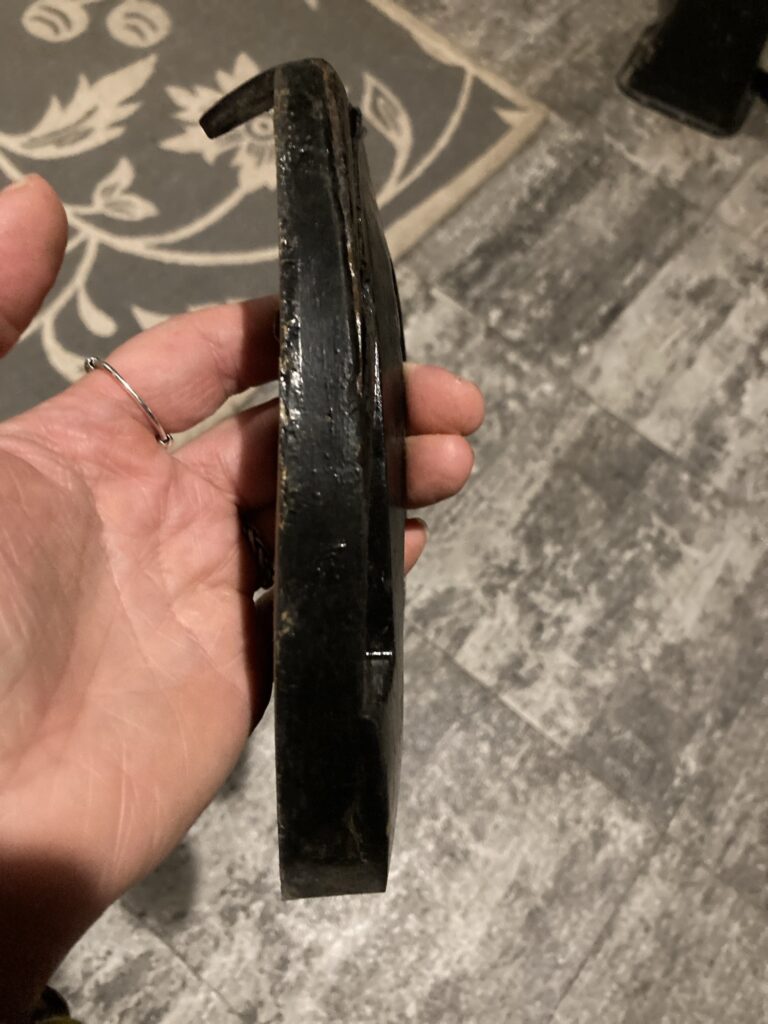
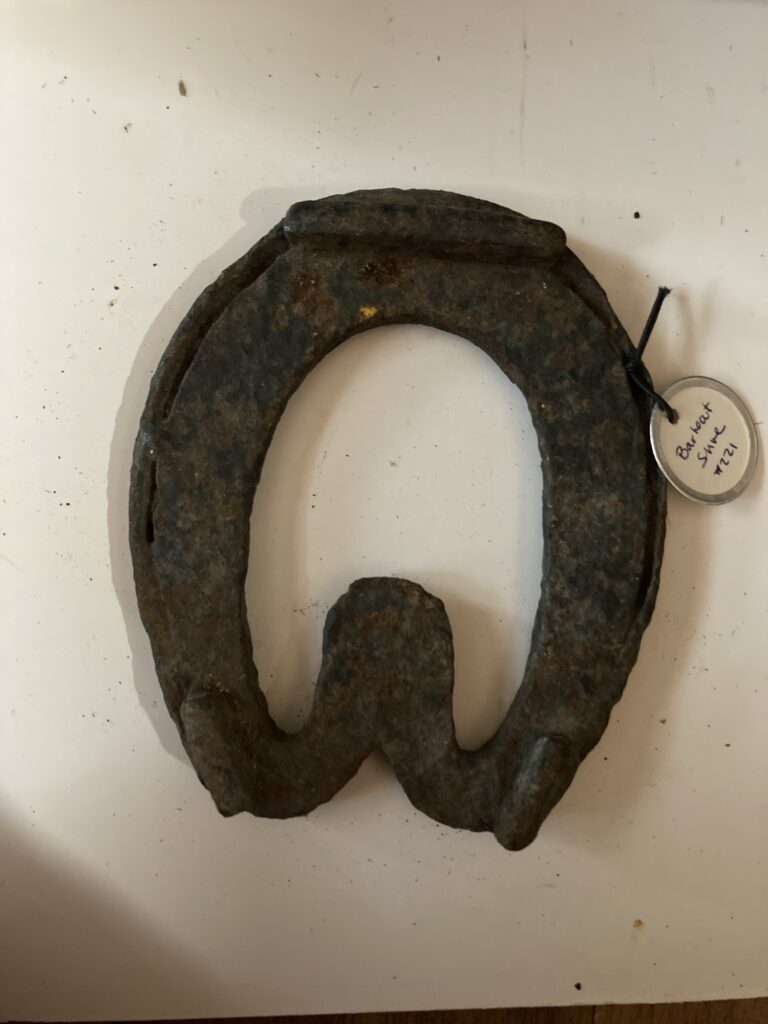
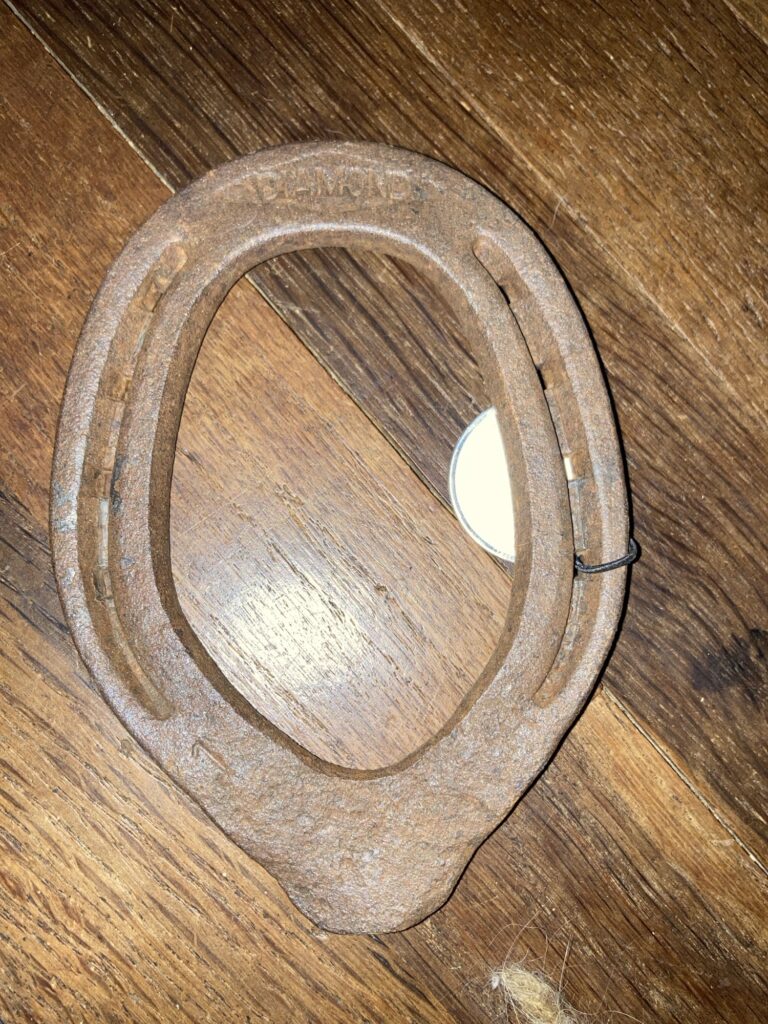
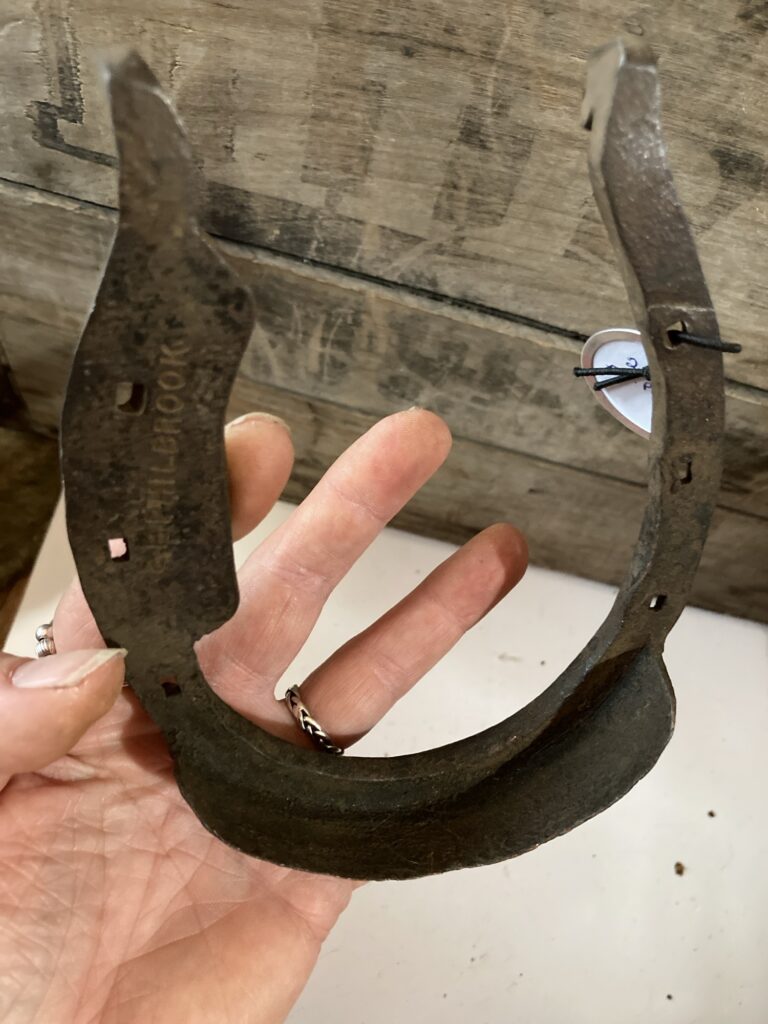
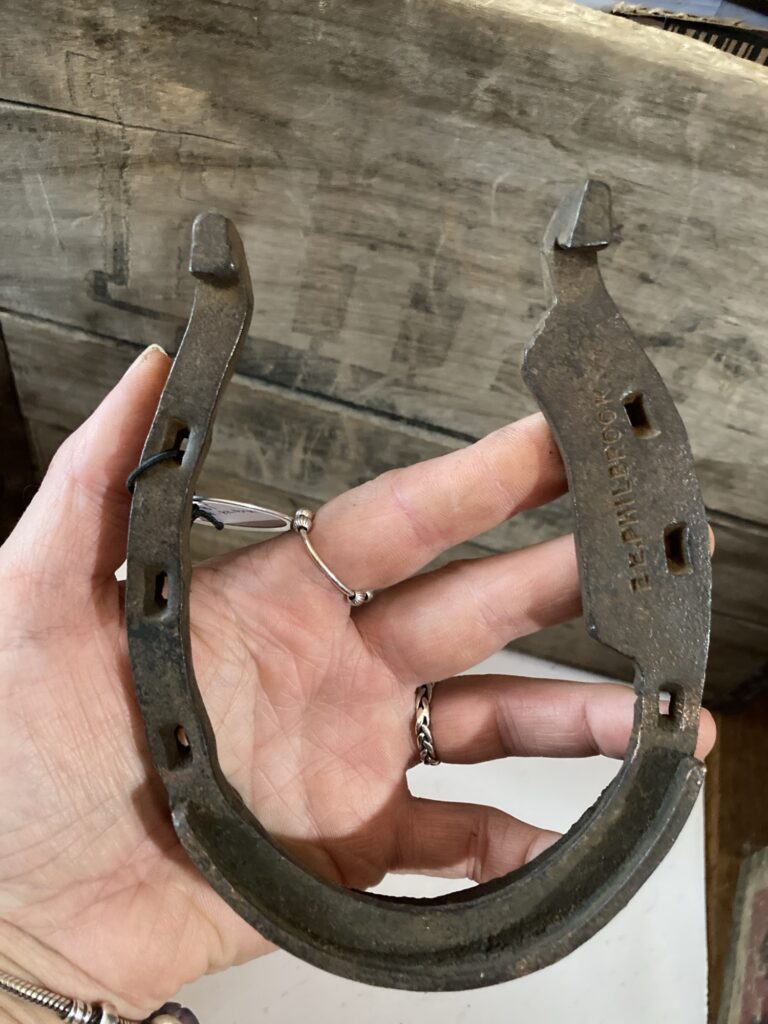
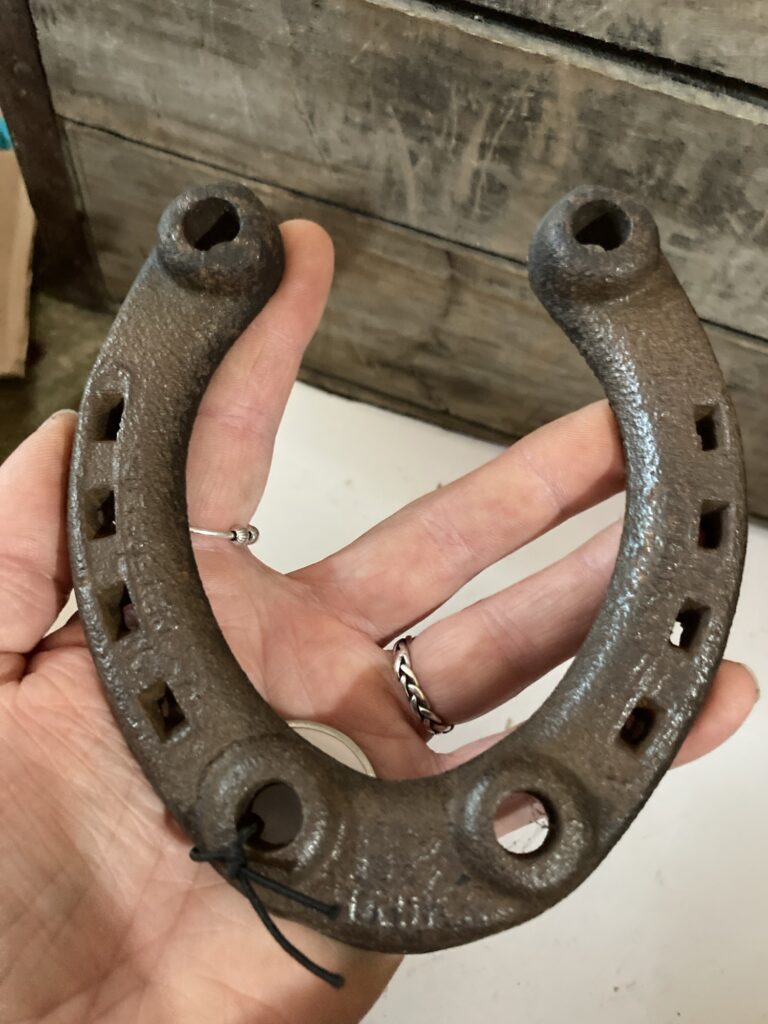
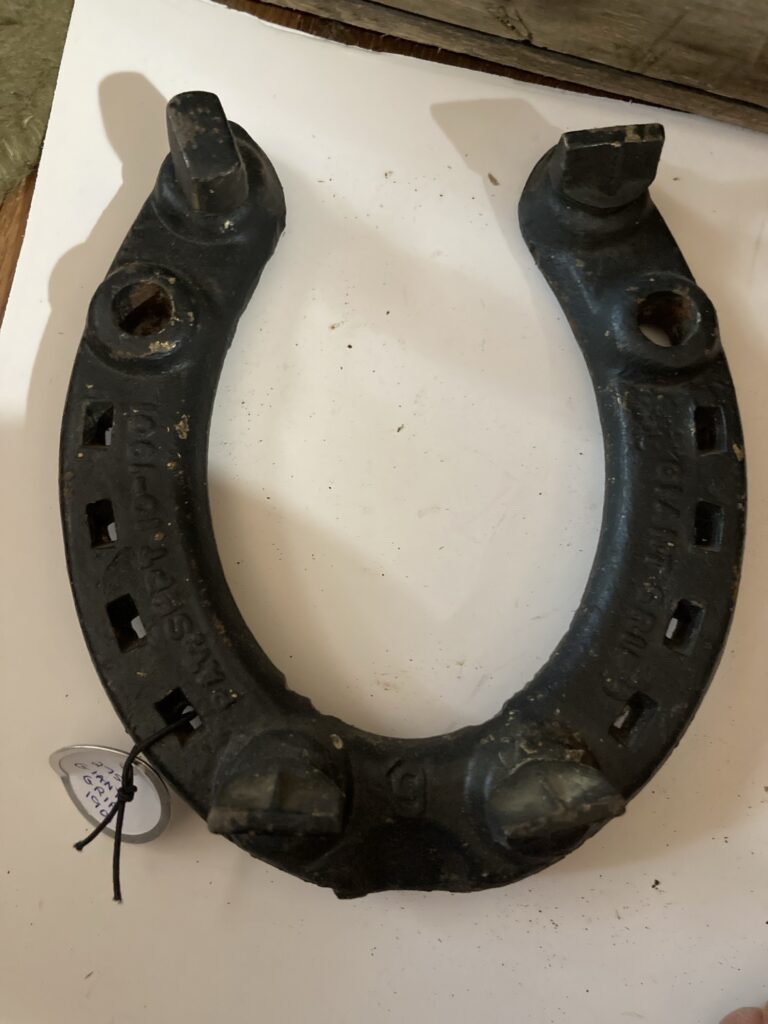
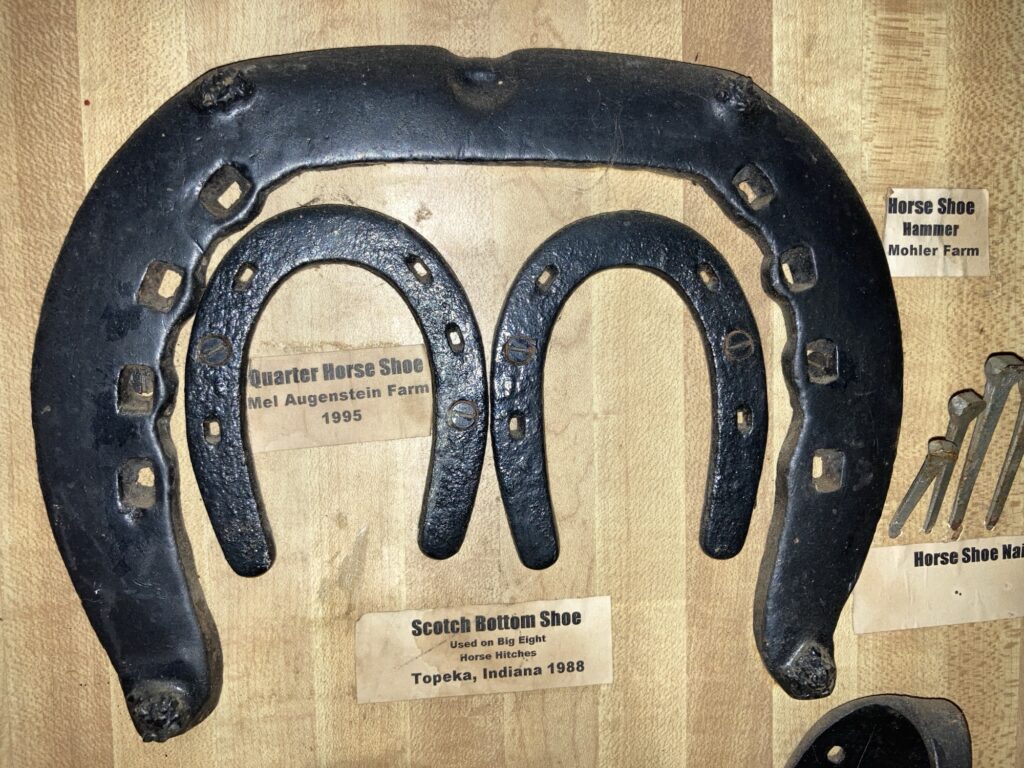
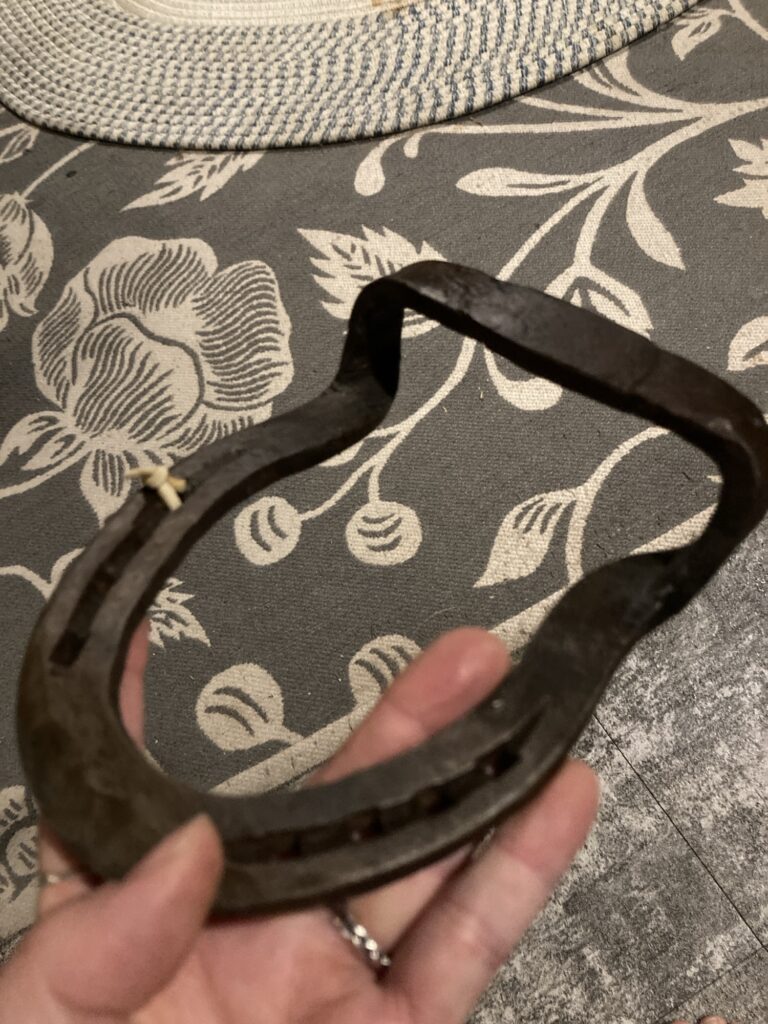
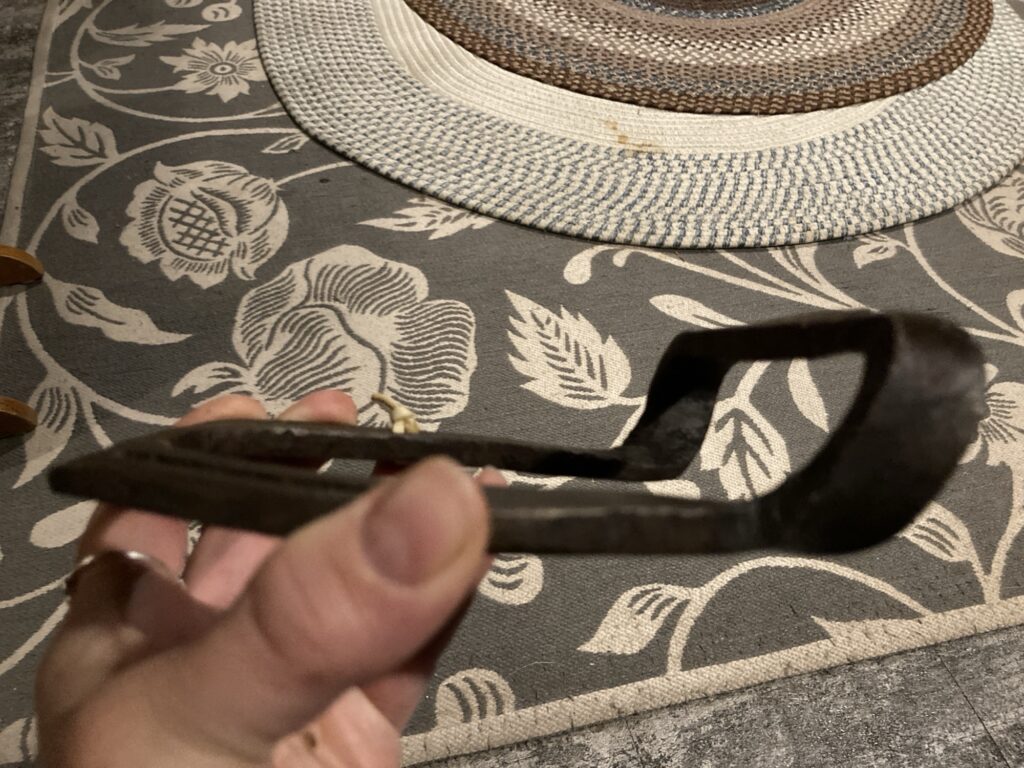
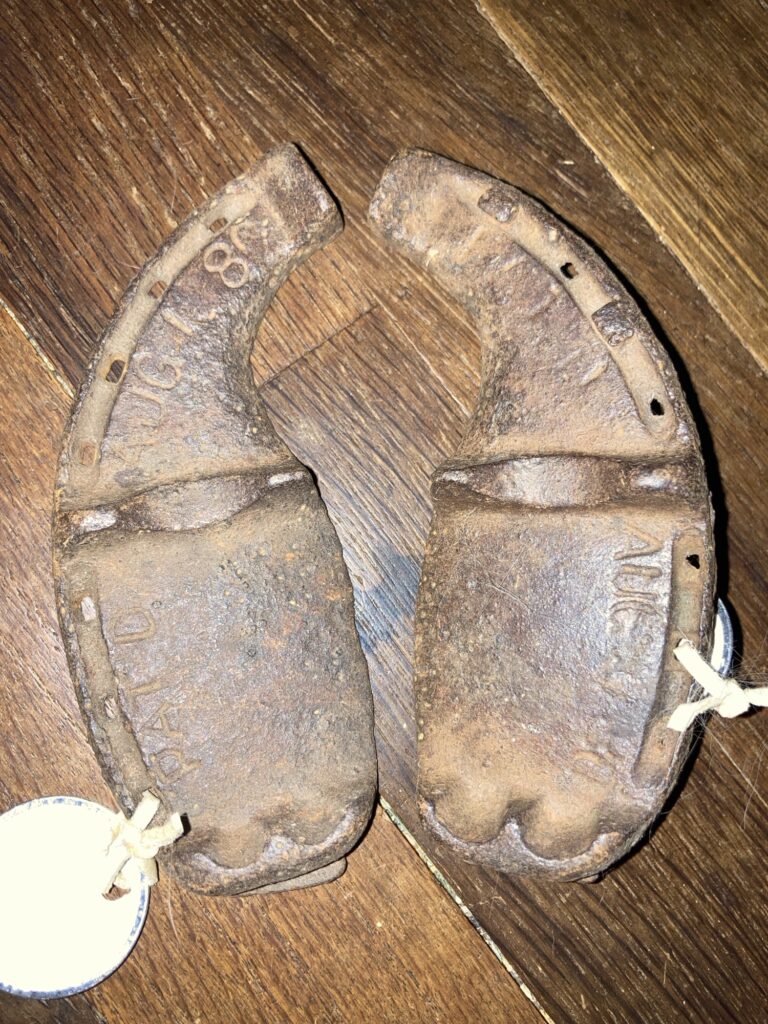
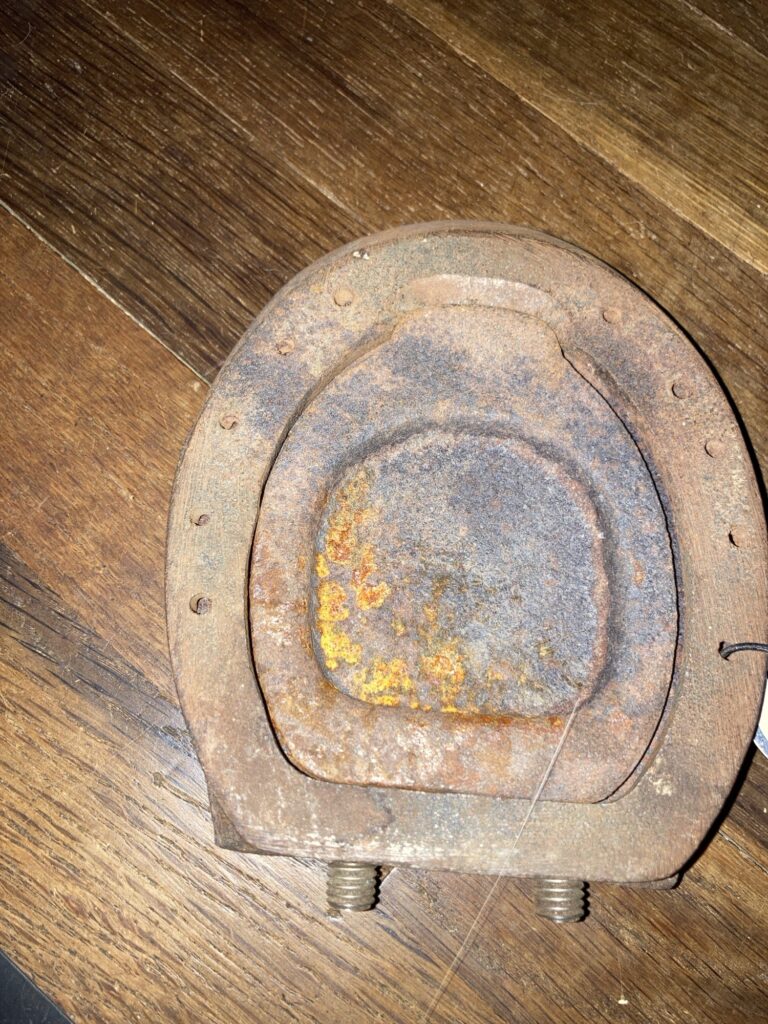
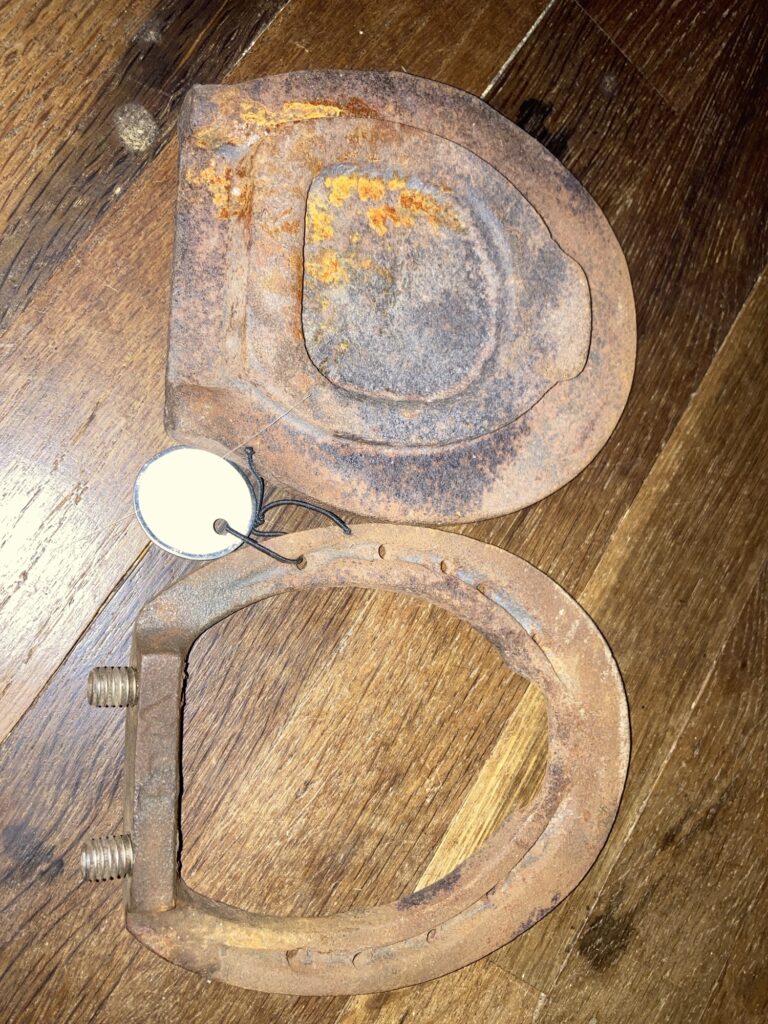
This shoe has an extended toe, which is usually used to treat different tendon issues in horses. This shoe, while looking quite strange, is actually the metal part of a rubber horseshoe. The rubber has been lost for some reason, and would have been used to cushion the foot like a sneaker, protecting the horse from impacts on hard surfaces such as paved roads.This is a runner horseshoe from a carriage horse in Frankenmuth, Michigan. The metal part is embedded in the thick rubber or the shoe. I also have another one that was collected by its previous owner in the 1940’s, so they can be older. A side view. Very thick rubber.This type of horseshoe, a heart bar shoe, is used to treat different lamenesses by relieving pressure on different areas of the hoof. Another odd therapy shoe with hand-made extensions at the heels. Here is another bar shoe. This one is very large—probably a draft horse, and has calkins added to provide traction. This shoe is very odd. It was probably used to treat several different problems on the hoof. Here is another therapeutic bar shoe.Another therapeutic bar shoe. This one has an extension on the heel.This is one of my favorites. There is a piece of metal almost like a long toe clip, plus a wide branch that might add more support to part of the hoof. It has a manufacturer name on it.The other side of the above shoe. it looks to be a ready-made shoe as opposed to handmade. This is a Phoenix Neverslip horseshoe. It was made by the Phoenix horseshoe company, which sold studs that screwed into the large round holes and provided traction in winter. They were popular from about 1880-1940This is a Giant Grip horseshoe. It is very similar, in fact almost identical to the Phoenix Neverslip, and takes identical studs that screw in. This shoe was patented in 1901, when the company started.This is an ENORMOUS Scotch bottom draft horse shoe. The smaller shoes displayed inside of it are pony sized (the label says quarter horses but i am guessing they must have been yearlings as they are smaller than normal). Scotch bottom shoes are slightly larger than the hoof, and are used to widen the support of the hoof, alter their gate, and absorb shock.A patten bar shoe. It is used to rest a limb after a tendon injury. A side view of the patten bar shoe. The raised part actually touches the ground, like the heel of a high heeled shoe, so i am holding it upside down. Two more therapy shoes. These are ox shoes. Each cow hoof gets 2 shoes, as they have cloven hooves. This particular pair was patented in 1880. Not a horseshoe, but still pretty cool.This is an odd shoe that I haven’t seen before. It is divided into to sections. That screw together.They are definitely horseshoes, but i am not sure on their purpose. The lighter section obviously gets nailed on the hoof like a regular shoe, and the other section, which is much heavier, easily screws onto it. My best guess is that they are used to weight the feet, possibly to overemphasize the horse’s gait (which I don’t agree with). Another fuess is that they could be used to medicate the hoof, but i doubt it as they a very heavy.This is an aluminum horseshoe, usually for racing.
As you can see there are many different shoes out there. Most farrier books on horseshoeing will have examples of different types of shoes and what they are used for. Also check the internet. I feel that i have only just scratched the surface of what is available.
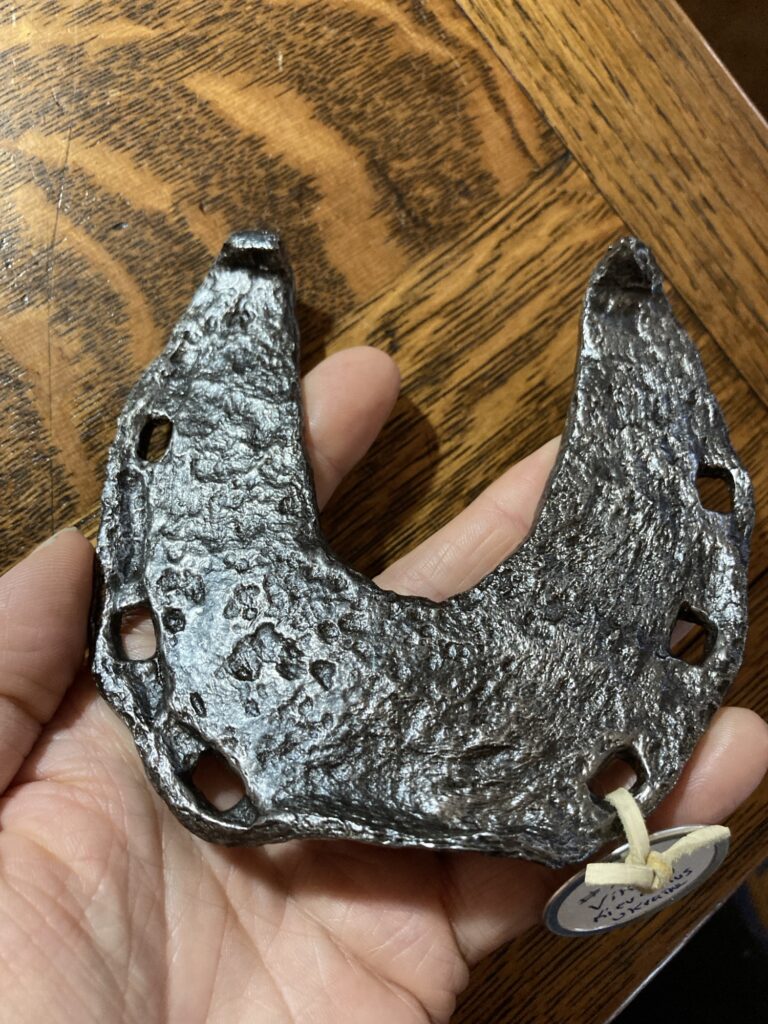
I purchased this horseshoe from someone based in the United Kingdom. Her father had been a coal mining enthusiast and collected many items as souvenirs, including this pony shoe. It was believed to have been from a mine in Wales.
Coal miners used to use ponies to haul loads of coal, as a larger horse would not have had enough head clearance in the tunnels. They had to have solid copper or brass shoes on the horses to prevent sparks that might cause fires what with all of the flammable coal present. This shoe, I believe, is copper. It is not magnetic.
There are two small toe clips present (the clips on this shoe have been bent slightly from handling, particularly since copper is softer than iron, which is what most shoes are made from). With toe clips present, it is safe to say that this particular shoe is dated anytime after 1850, since that is the time that toe clips were invented.
Absolutely one of my favorite finds! Remember, when looking for a pit pony shoe, always check to see if it is magnetic as there are shoes out there that have only been plated or painted with copper or brass for aesthetic purposes and are not actually pit pony shoes.
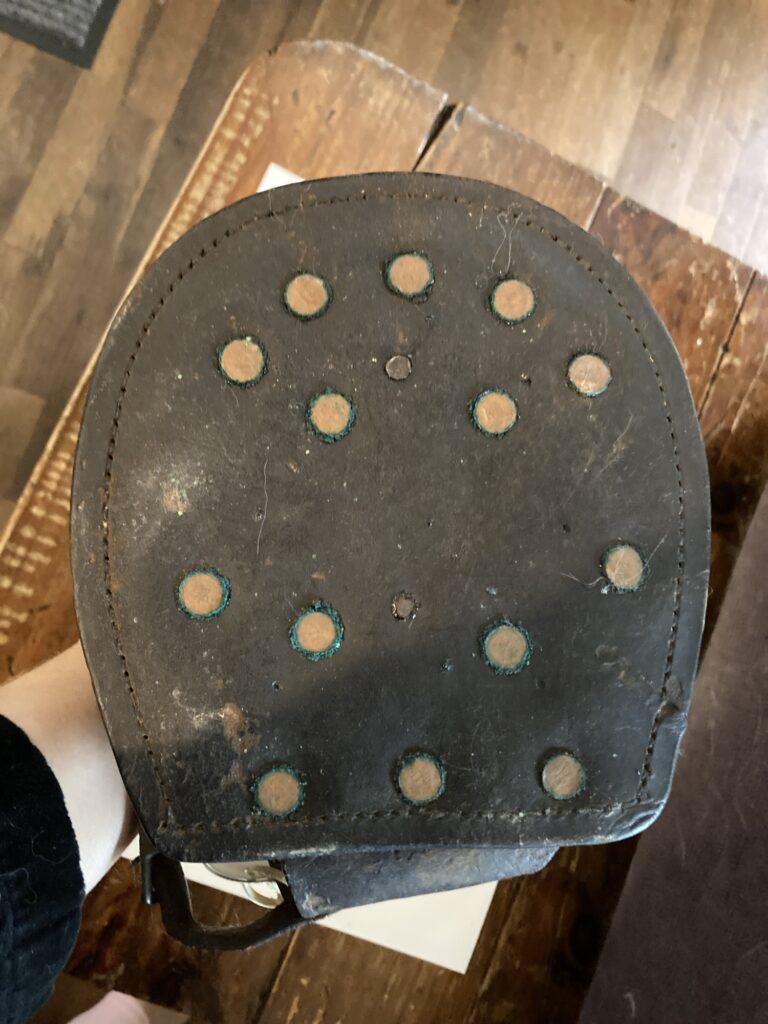
This shoe is a new find for my collection. I believe it is a spare shoe used for emergencies.
The leather is in poor condition, but it is a boot that buckles over the hoof. It is very similar to a lawn boot, and can easily be mistaken for one at first glance, except that the lawn boots were made with a flat, solid surface of leather to prevent clumps of sod from being scooped out as the horse walked. This spare boot has a horseshoe attached to the bottom and is hollow with no bottom except for the shoe.
Bottom of the spare shoe. There is a metal horseshoe attached, and the boot is basically hollow.Bottom of an antique lawn boot. The surface is flat with no hollowed out area that might scoop out sod and ruin the grass.
The spare shoe boot would probably have been carried along, perhaps in a carriage or wagon, in case a horse lost its shoe while working. It could easily be buckled in place so the horse would still be able to finish the day of work in comfort. Just like people, if you lost one of your shoes it would be difficult walking the rest of the day with one shoe missing.
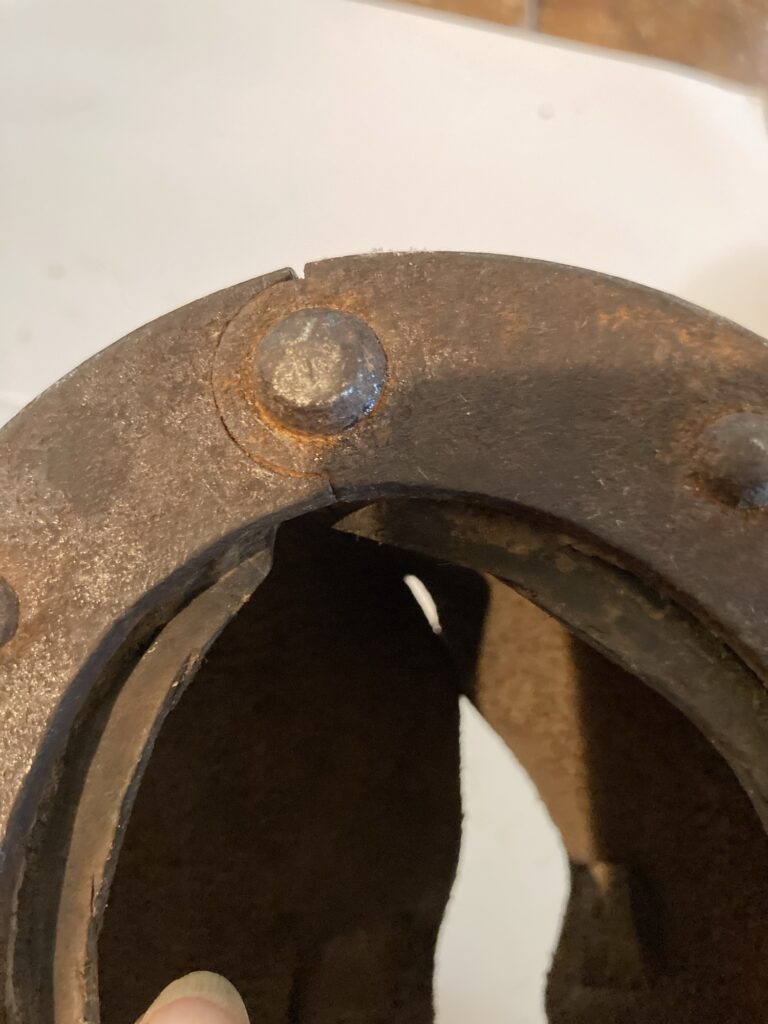
In the middle of the toe area, the metal shoe is hinged to allow fitting on different sized hooves.
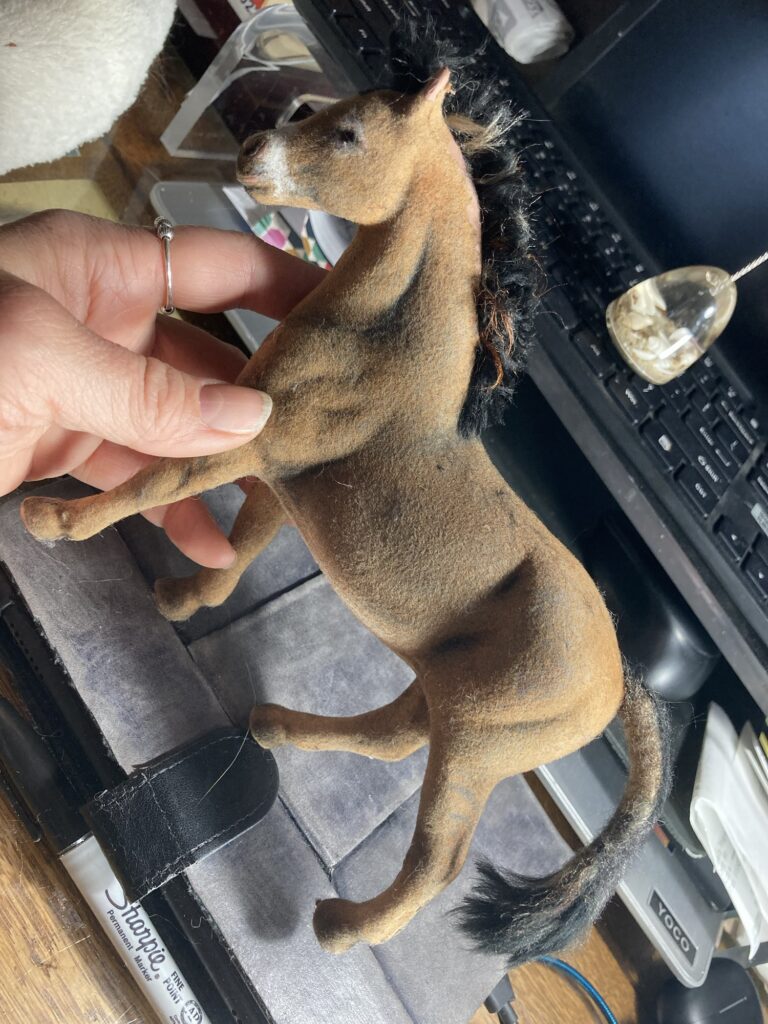
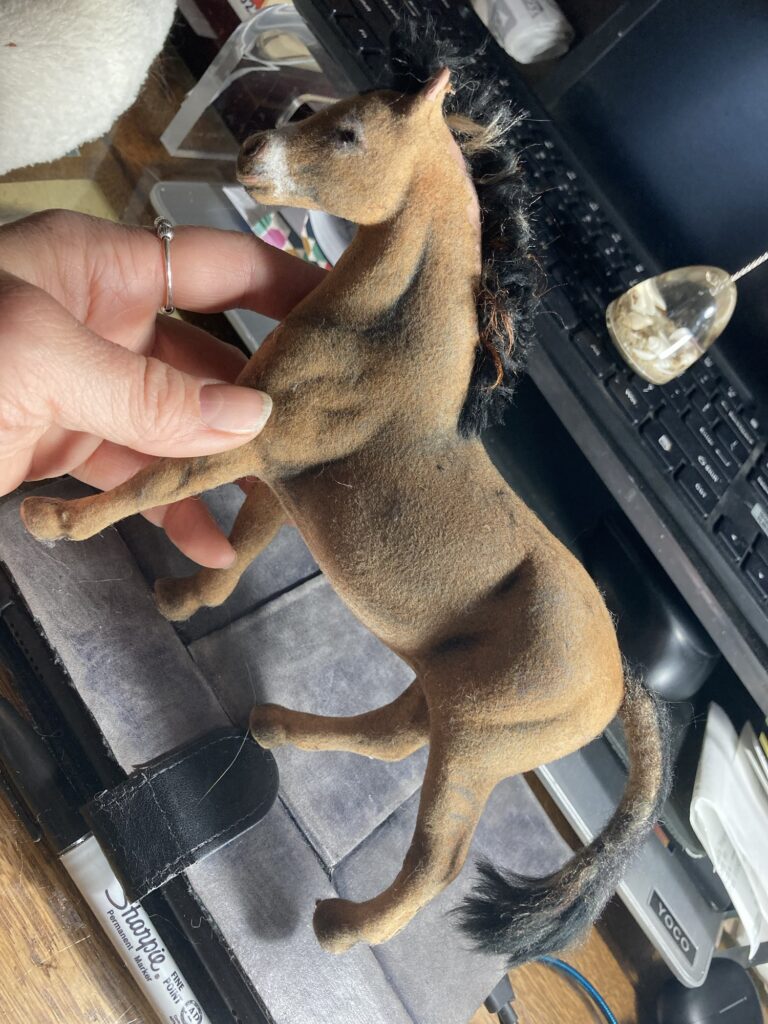
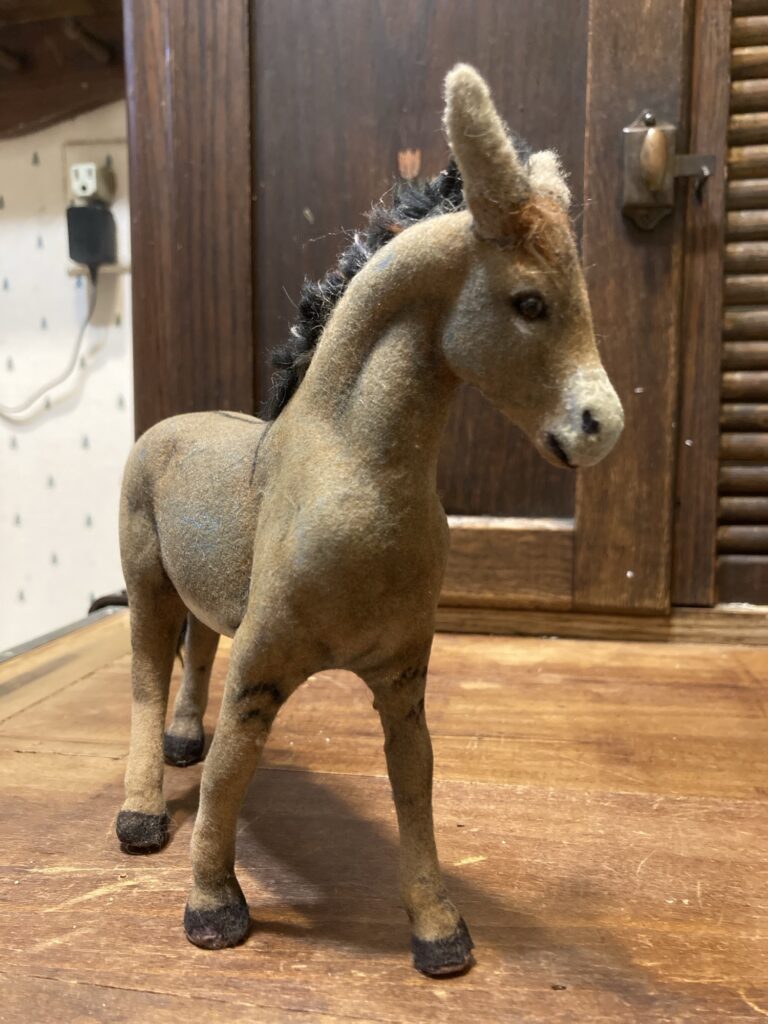
Altering an old flocked horse toy to add detail and make it look like a donkey.
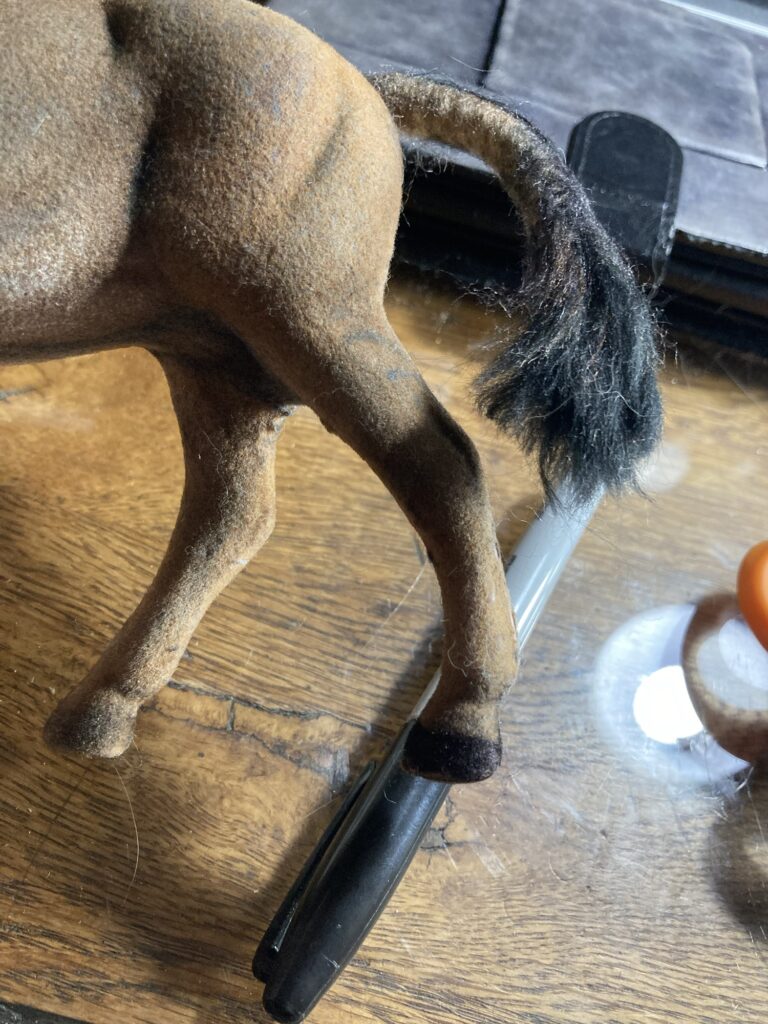
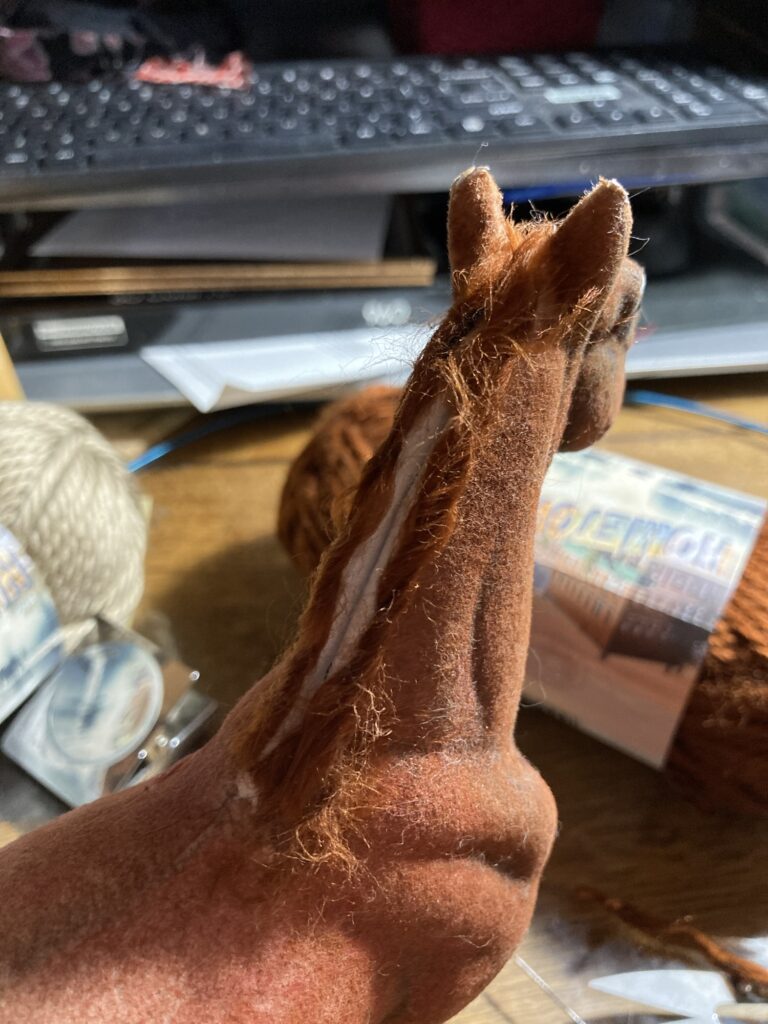
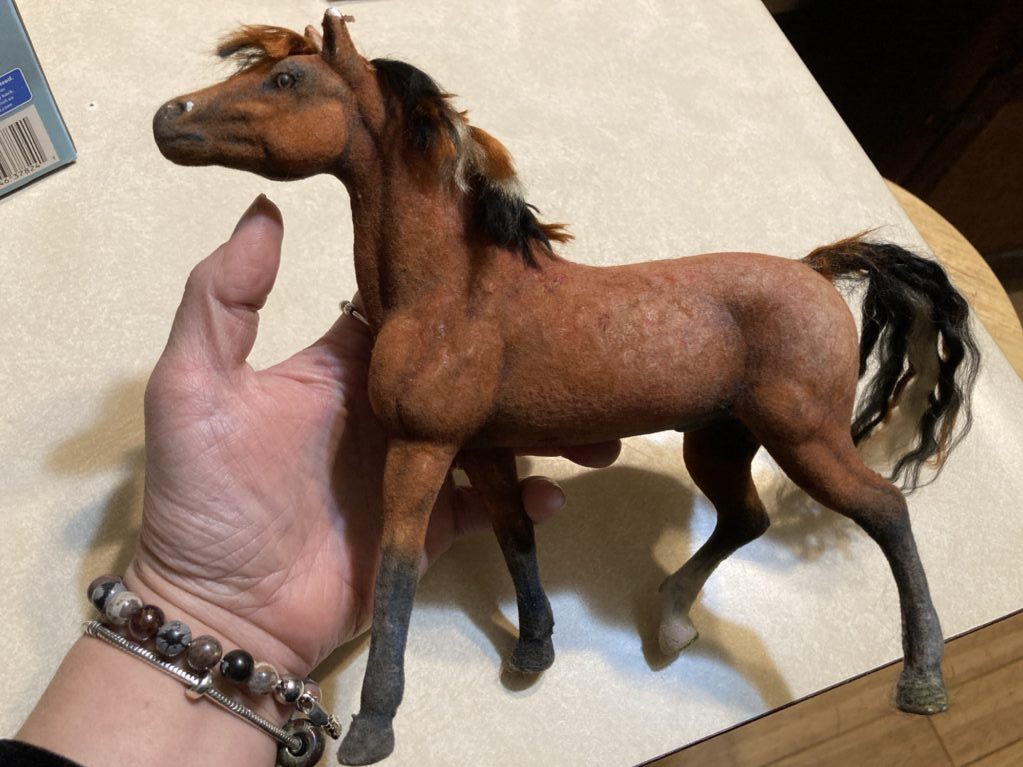
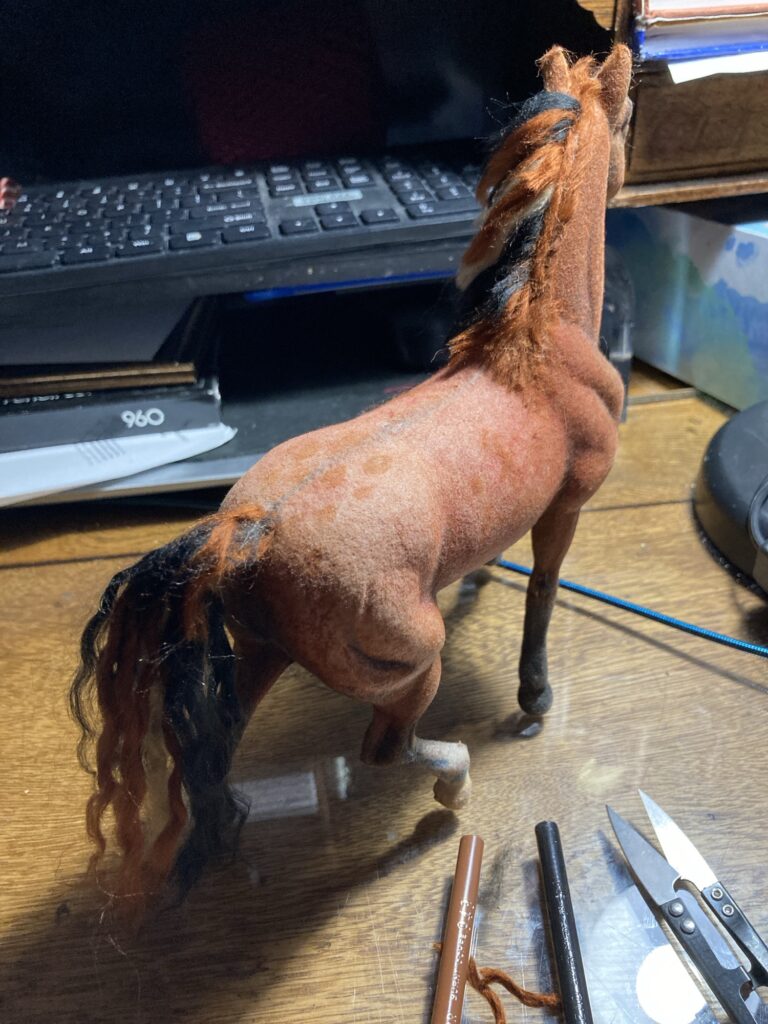
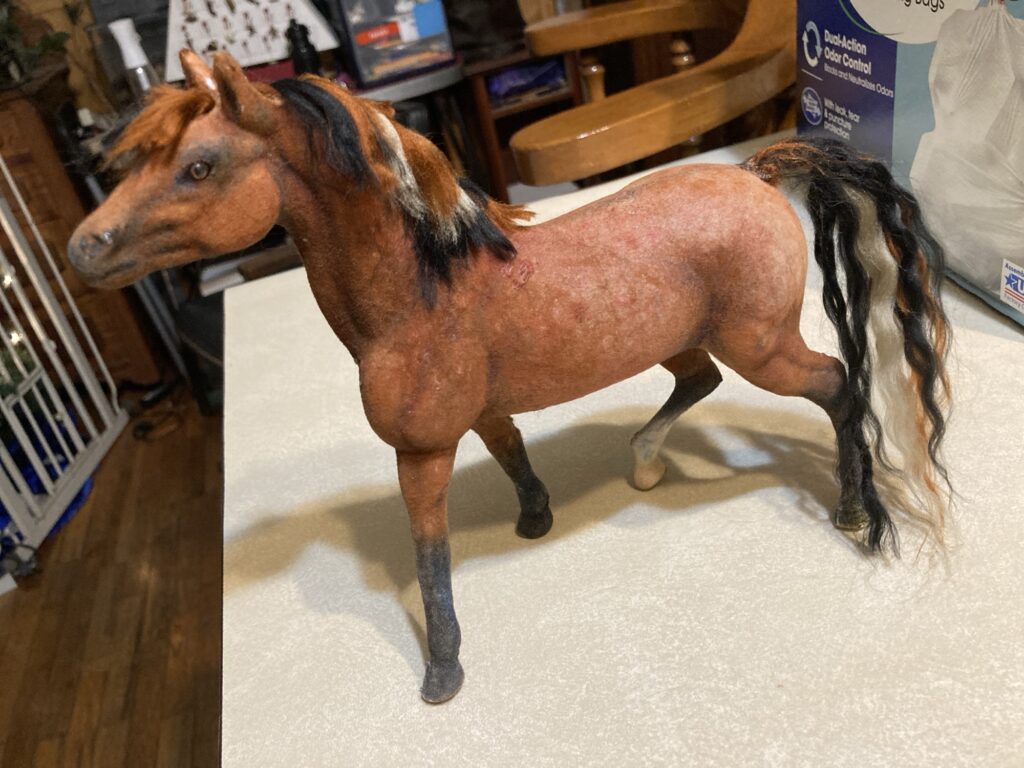
In my last article, I started working on taking an old flocked toy horse and altering it so it resembles a donkey. We already added mane and used colored pencils to add more detail and shading. In this article we will finish up by adding long ears, a tail, and missing body hair.
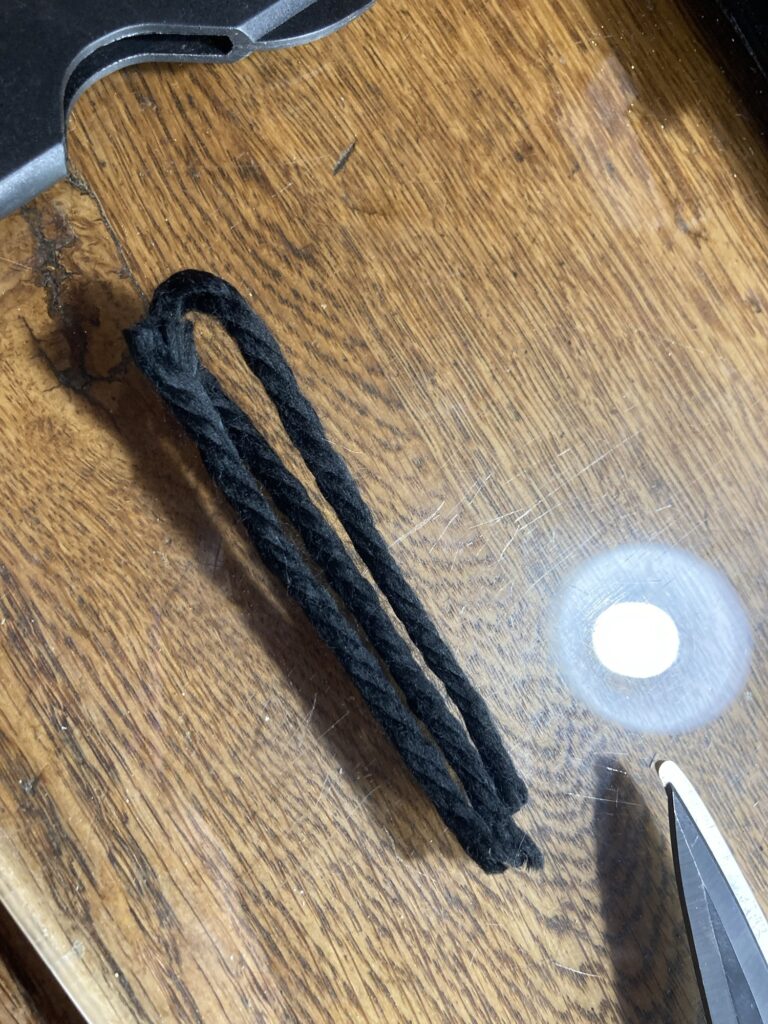
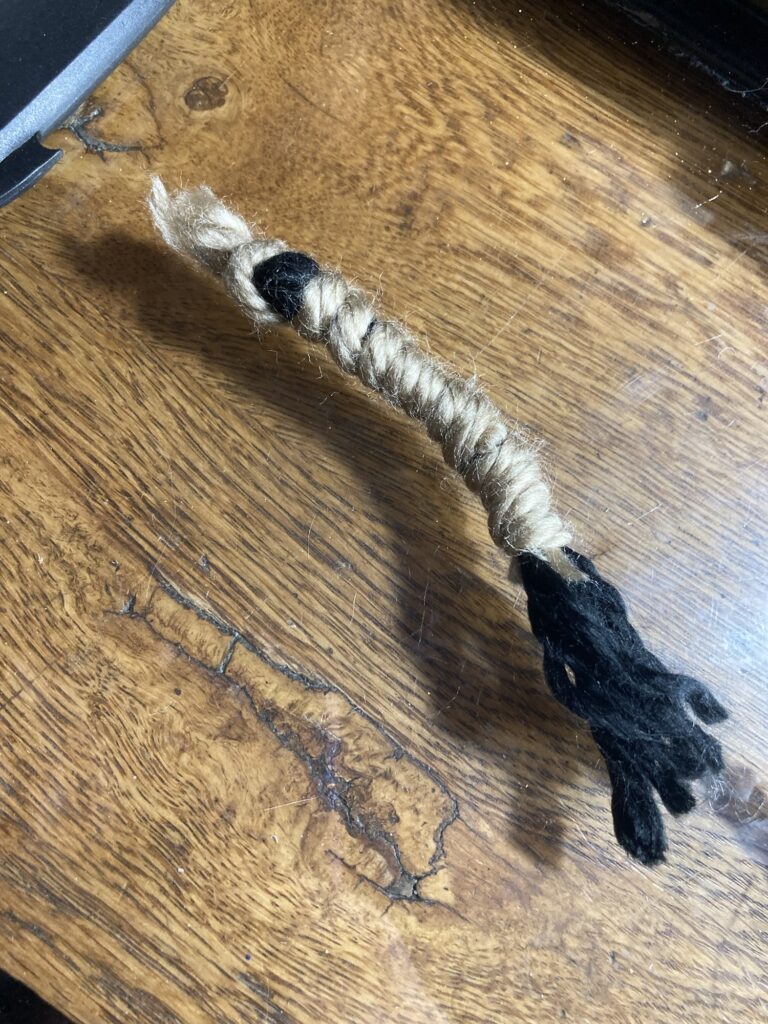
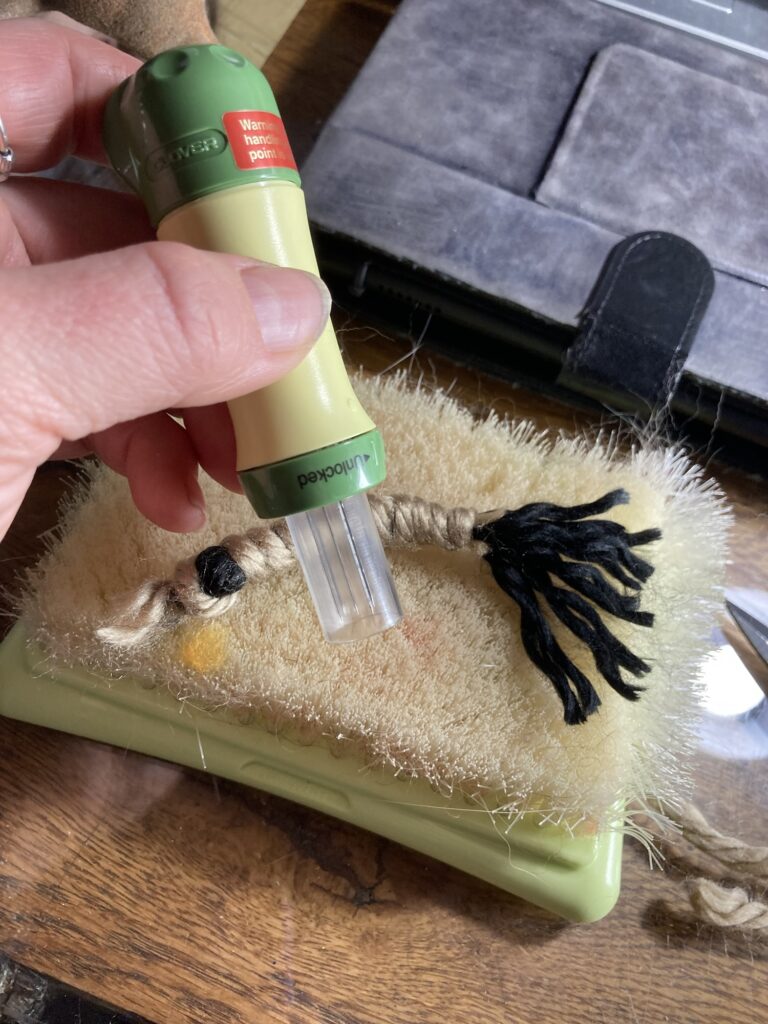
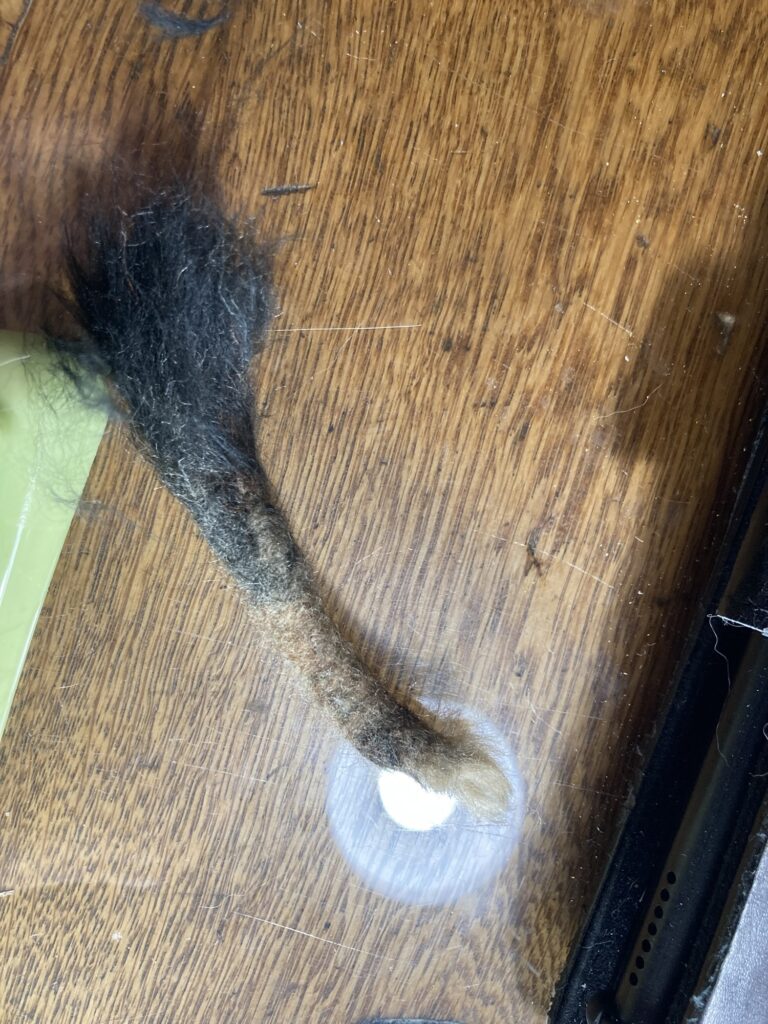
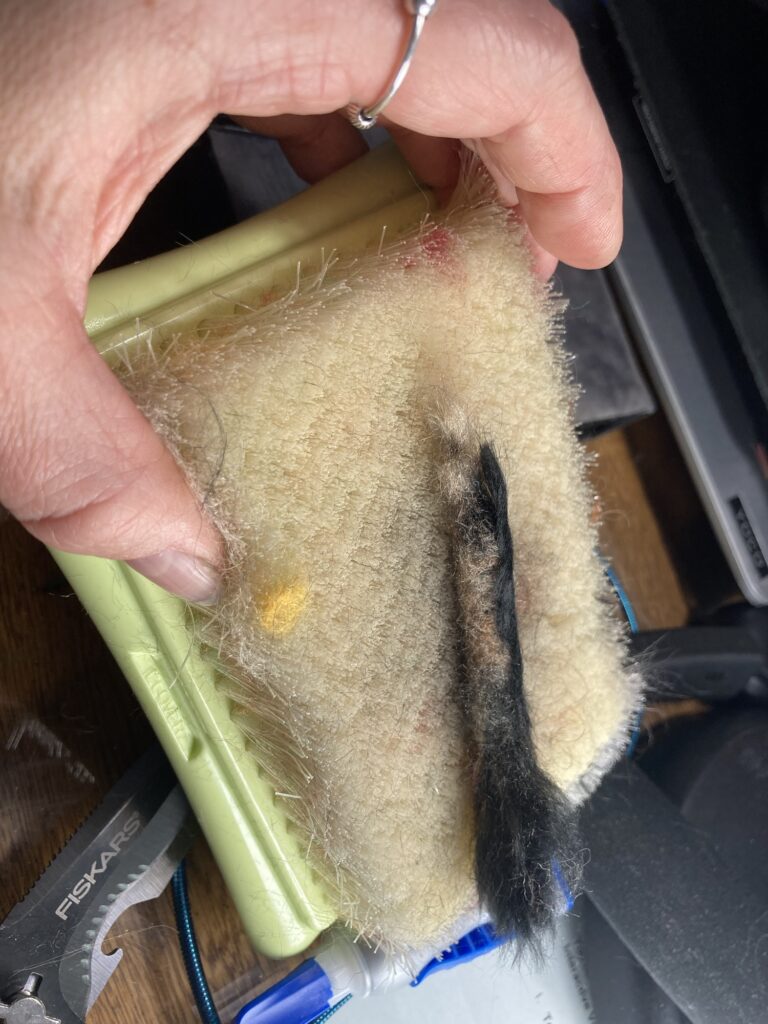
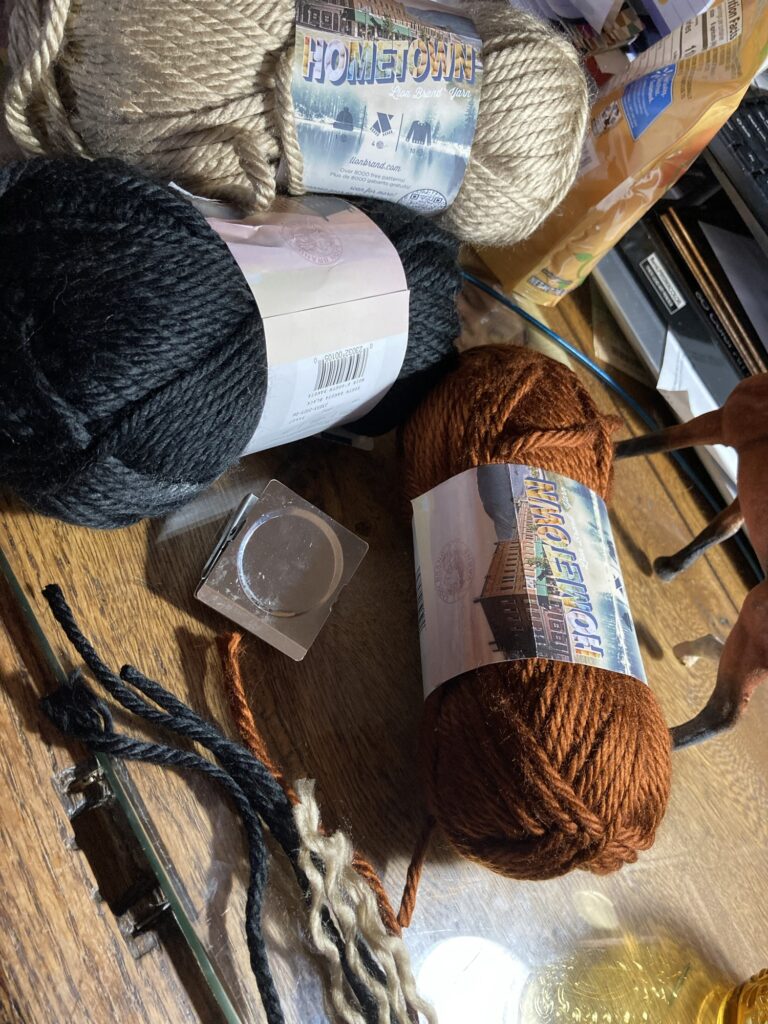
First I will start with the tail. i took some acrylic yarn and made a core for the tail by folding a piece over itself into a shape about as long as i want the tail to be.
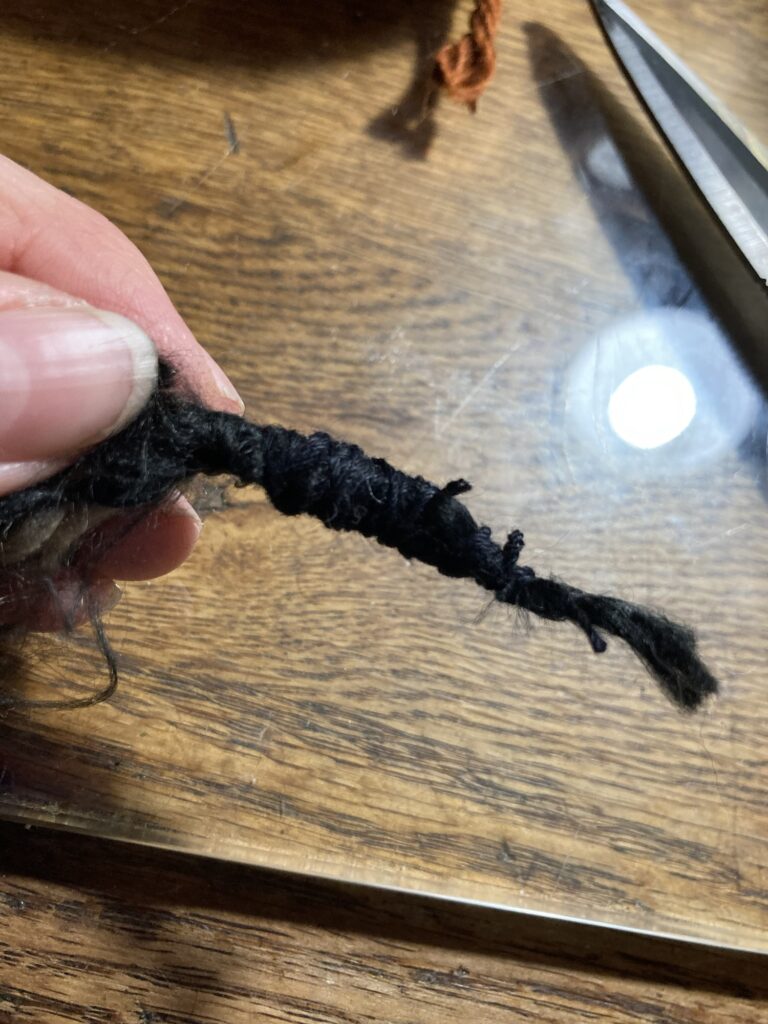
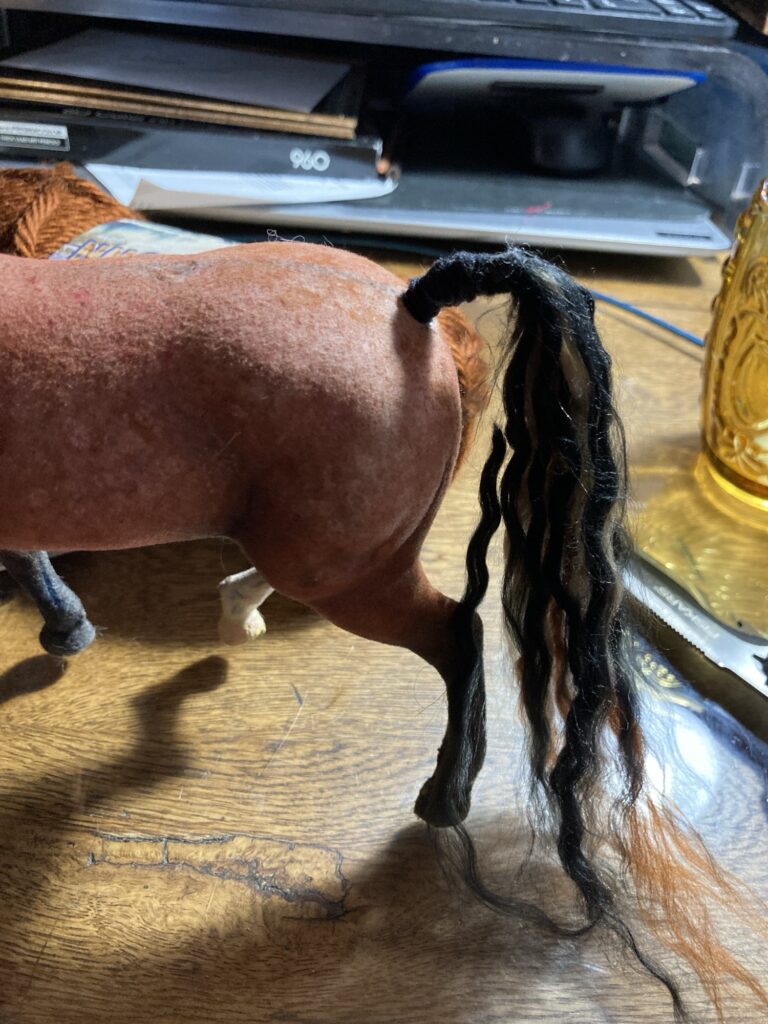
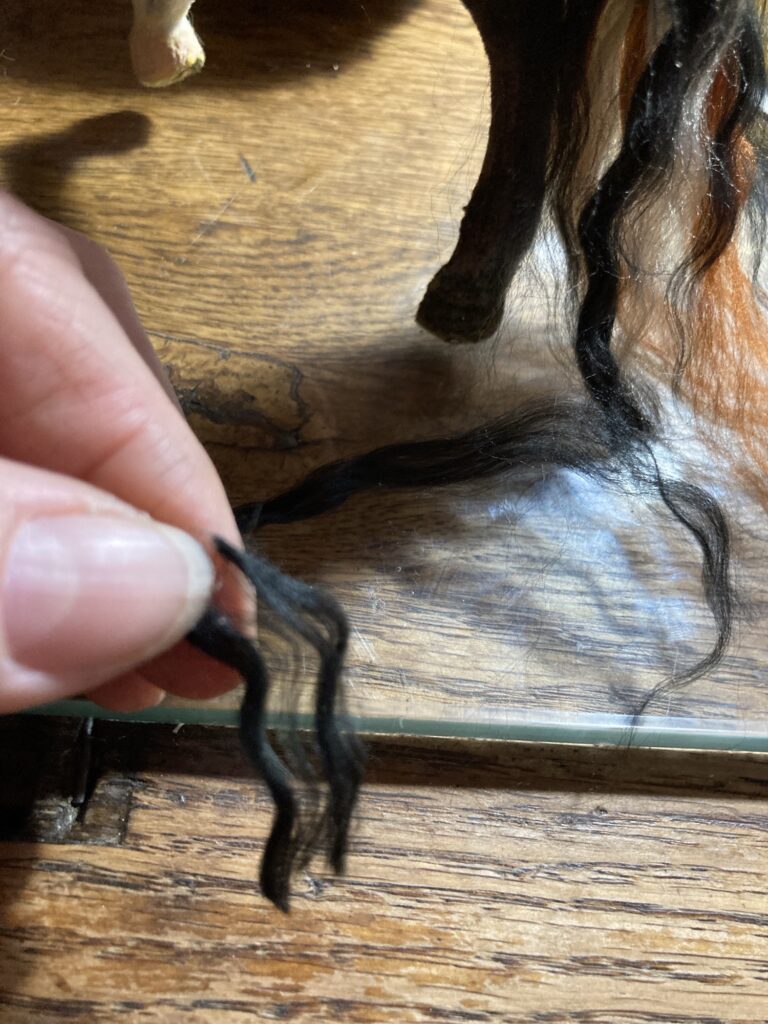
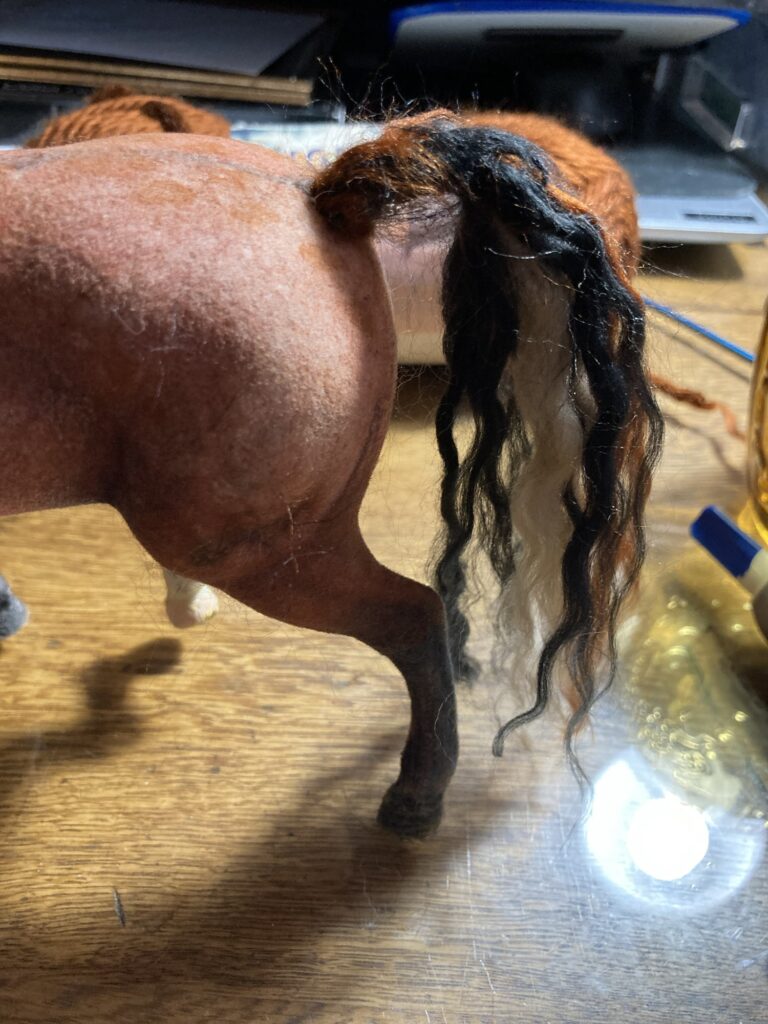
Next I wrapped the core of the tail with some brown yarn that closely matches the color of the donkey body.Then I took my felting needle tool and pummeled the tail to push the fibers together.Here i have the tail looking more like a tail, leaving the tip of it alone so it looks hairier.I added a black stripe down the back.Here is our donkey almost finished, with the tail glued in place.His tail is nice and wispy at the end.
Now i want to work on his ears.
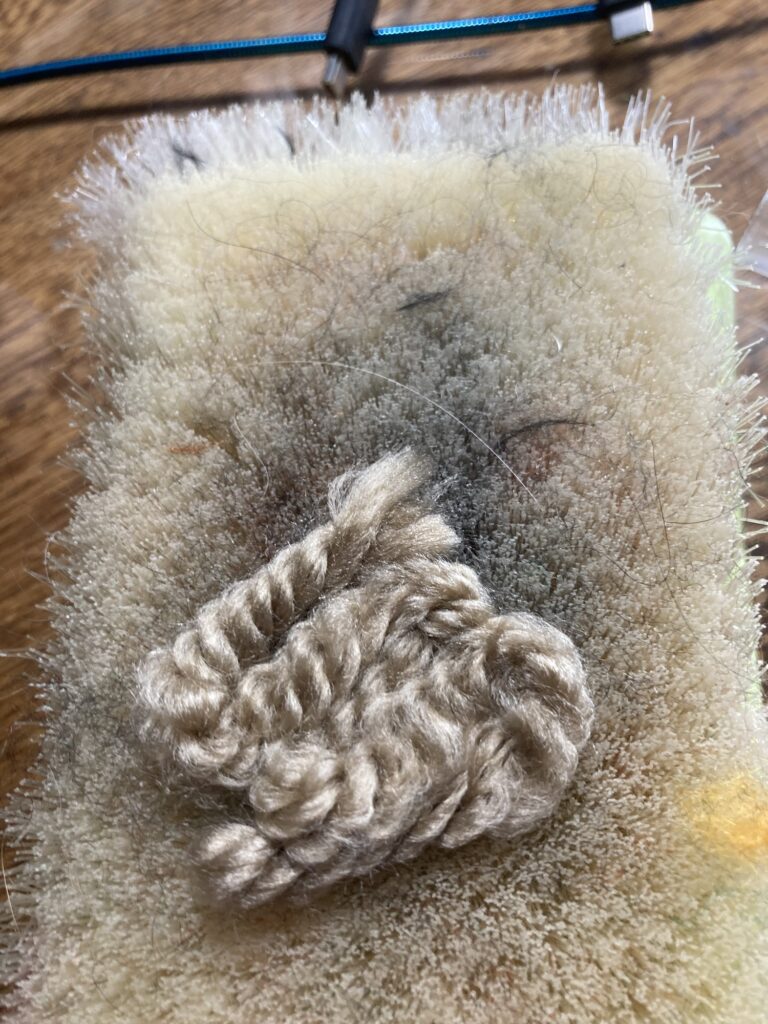
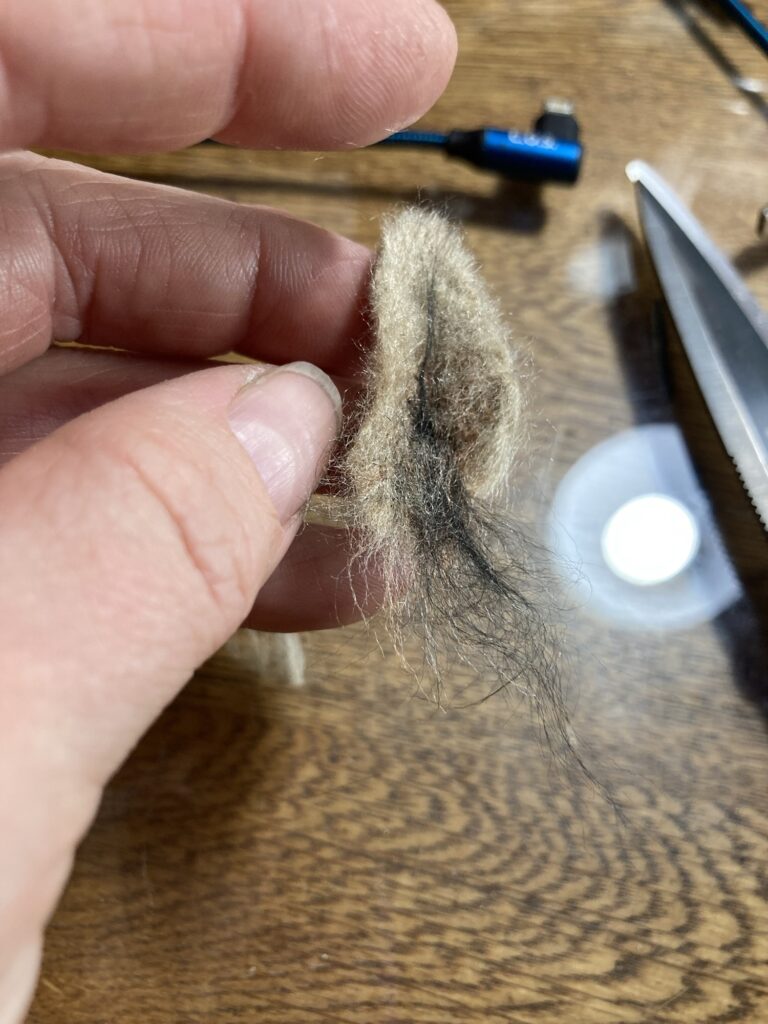
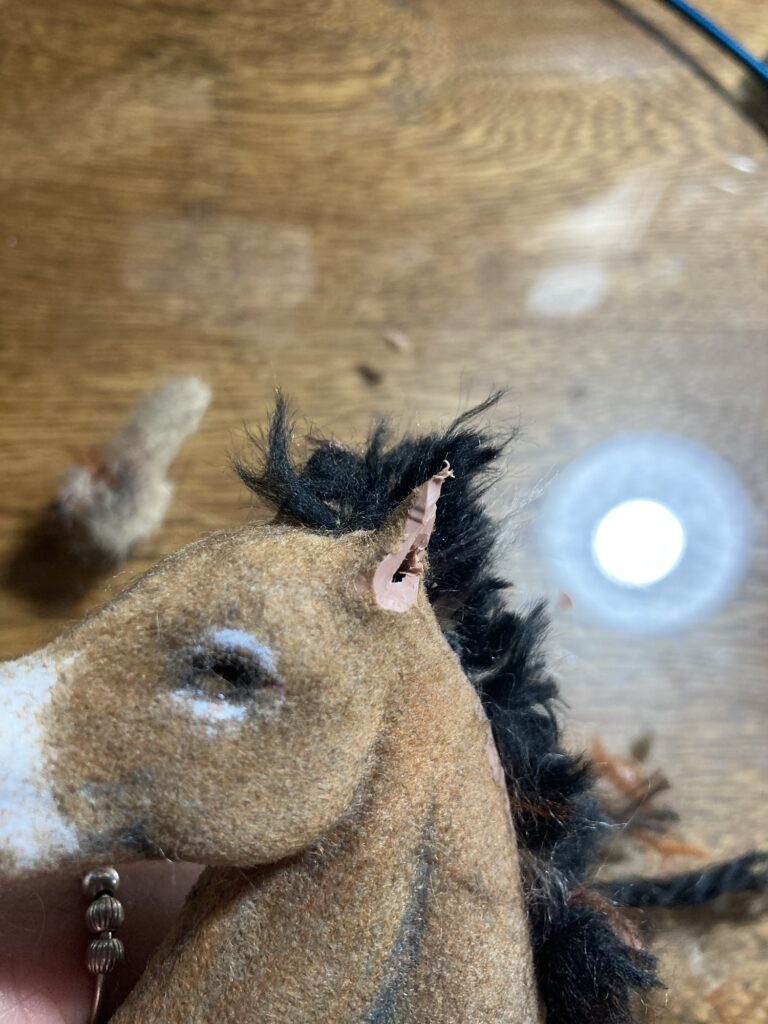
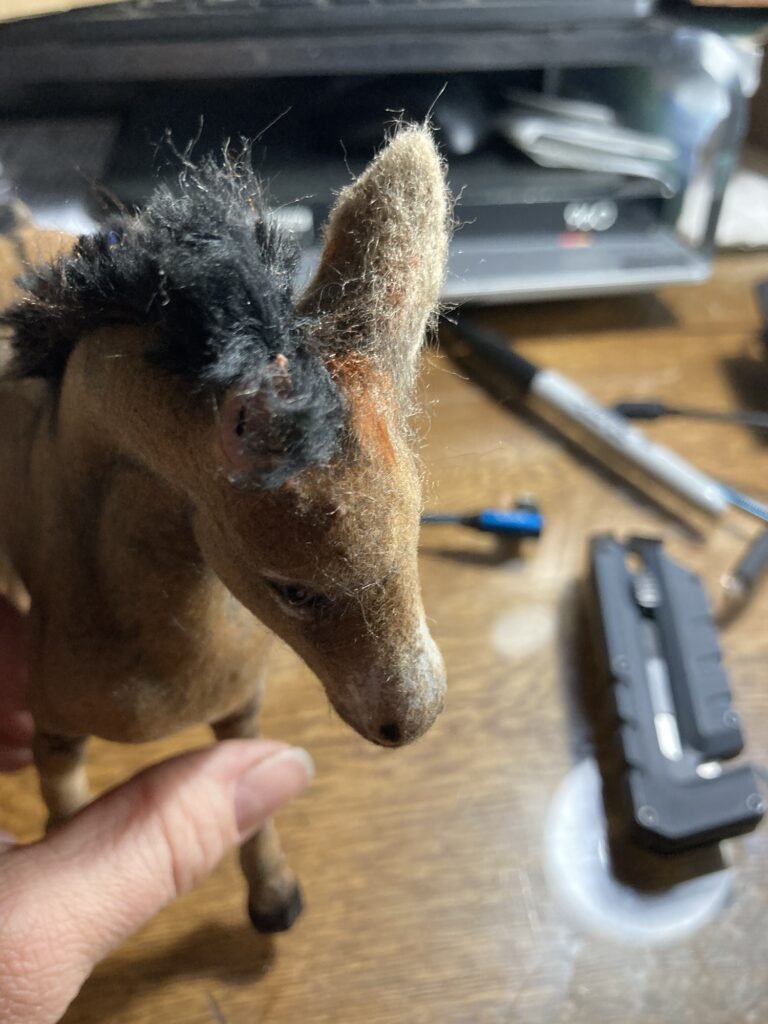
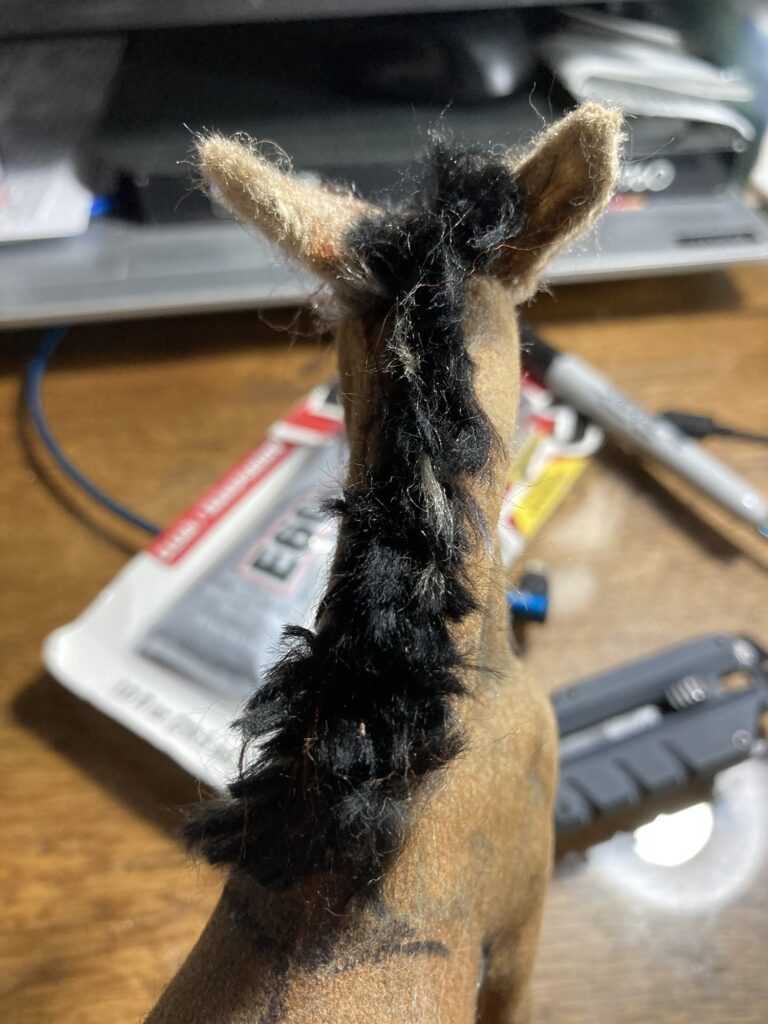
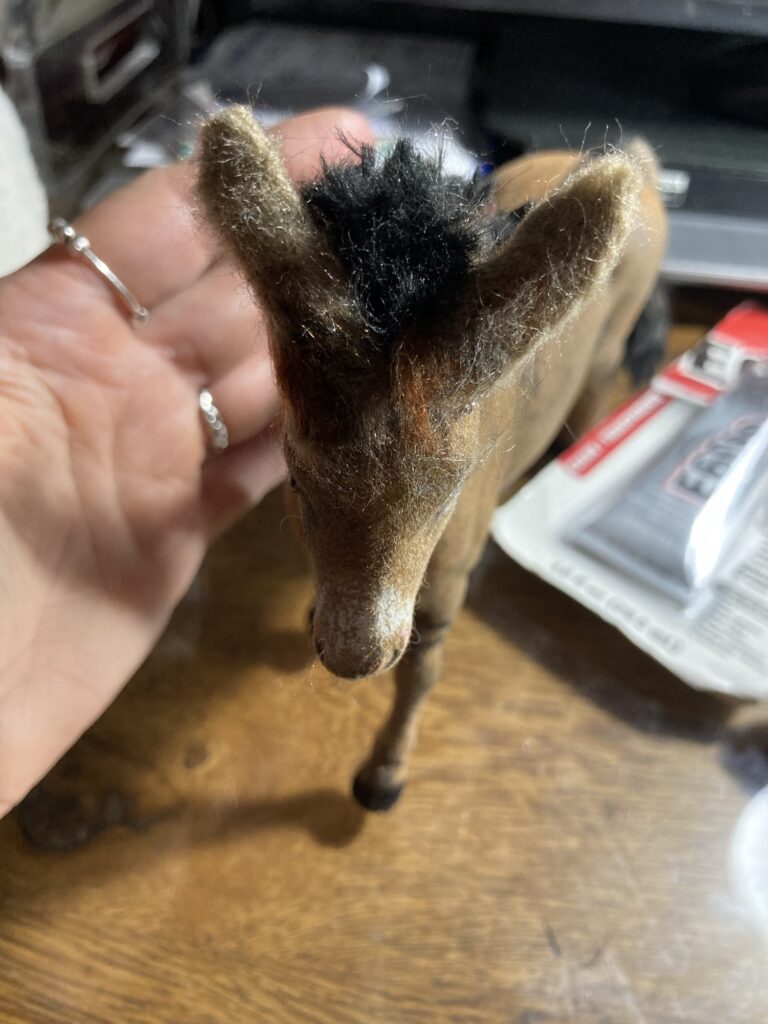
I took a length of yarn that closely matches his body color and snaked it so it is in a basic shape to start with. I just want a flat piece first, and then i can trim it to the shape i want.Here is the first ear. I used the felting needles to create a flat piece of material and then trimmed and folded it around to create an ear shape.I had to use an exacto knife to cut his original plastic ears so that I can make his new ears positioned the way I want, which is slightly backward like he is paying attention to what is behind him.One ear glued in place over the trimmed plastic ear.Both ears in place.
Next i cut some tiny pieces of the yarn that matches his body color and glued them to areas where some of his flocking has worn off.
Yarn glued to areas with missing flocking.I trimmed the hair with fine scissors so it more closely resembles the body hair he already had. Completed donkey.
In this post, I experimented with an old flocked or velveted horse toy and altered it to be more realistic by adding new mane and tail, changing the colors to be more realistic, and fixing minor blemishes in the flocking. My plan is to use him in a dollhouse setting.
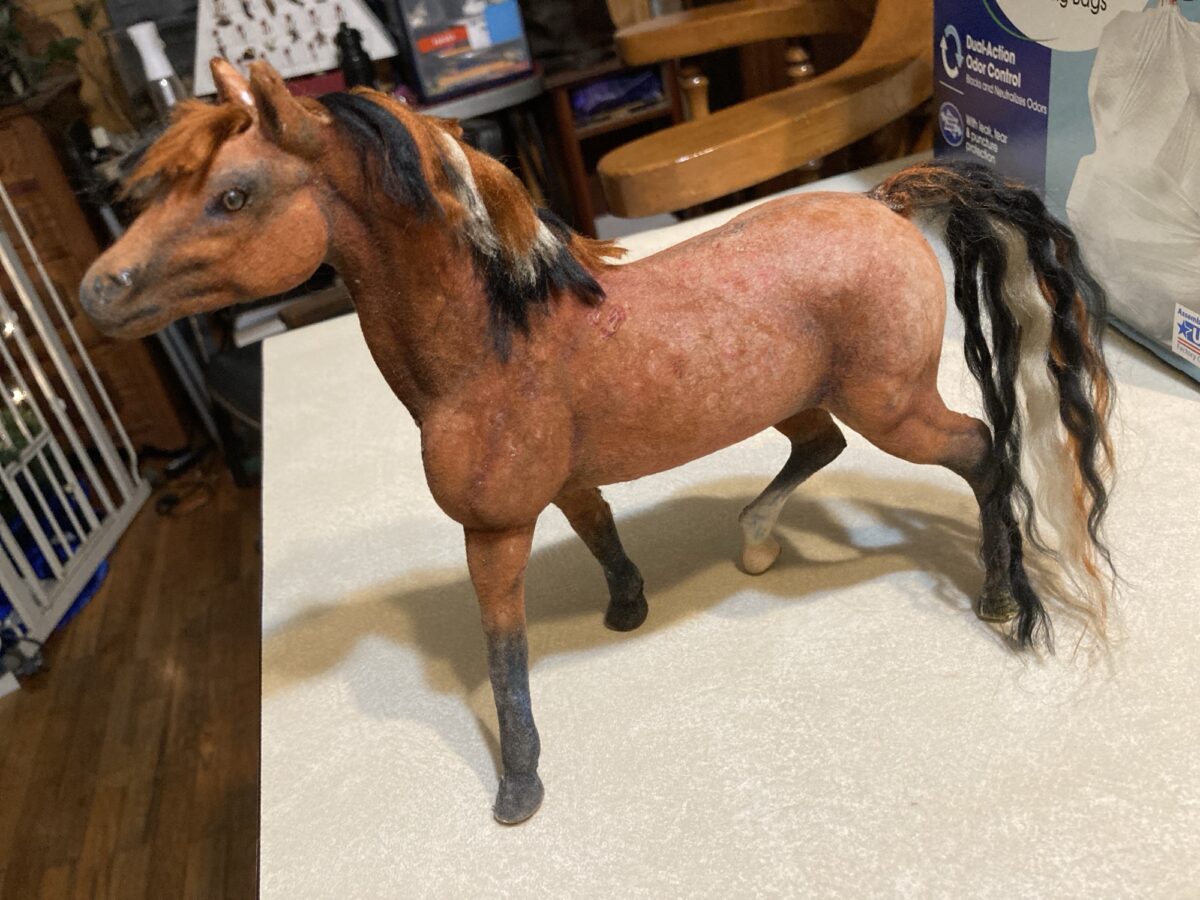
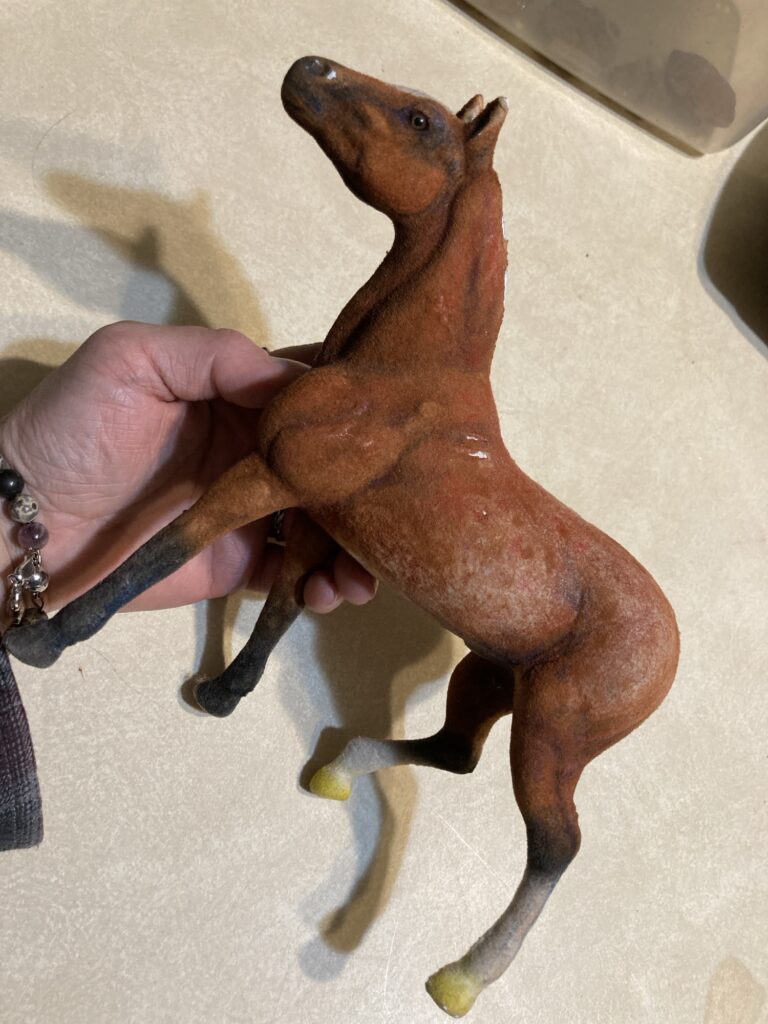
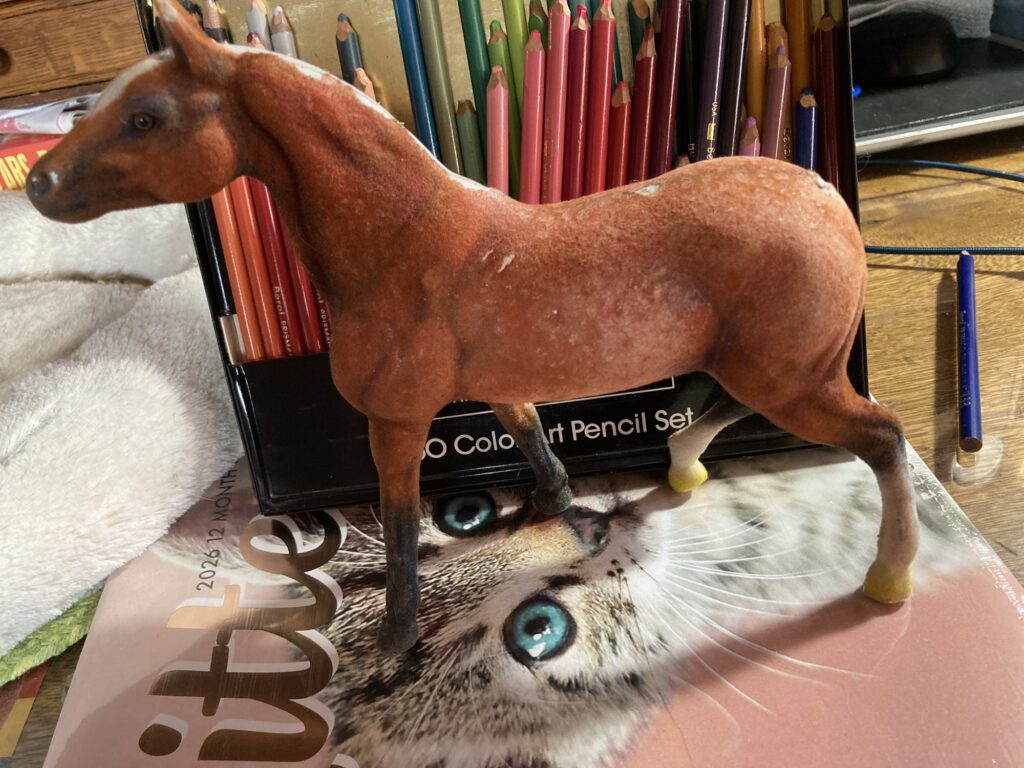
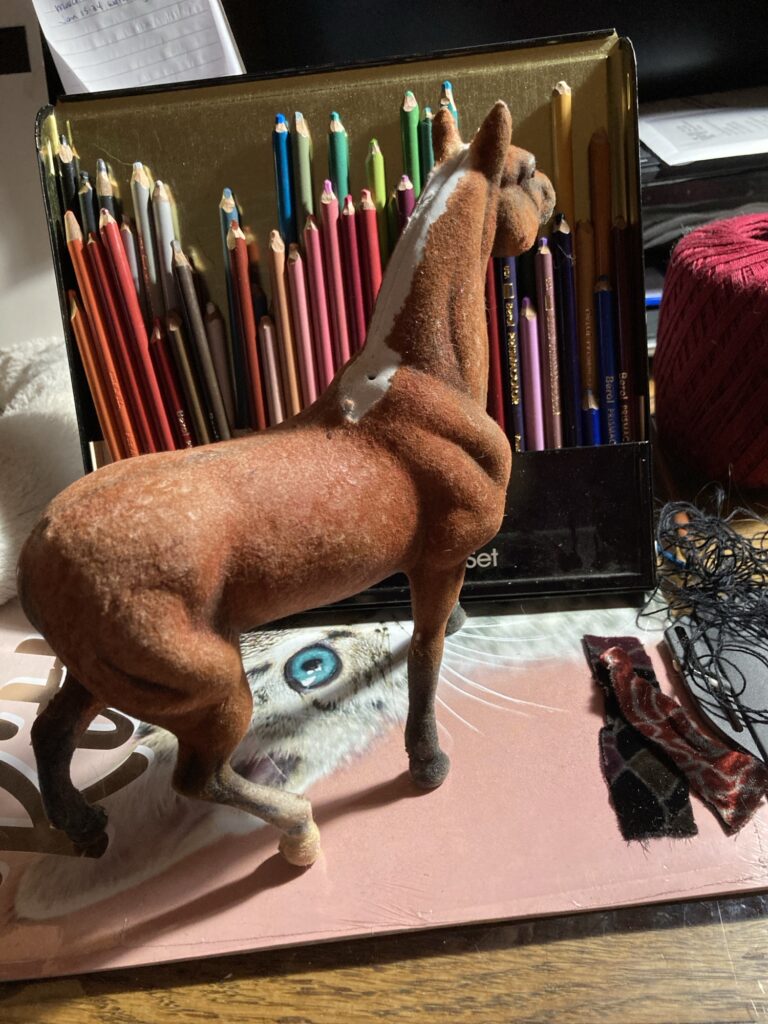
I recently acquired some inexpensive toy flocked horses, and decided to upgrade them for my dollhouse projects.
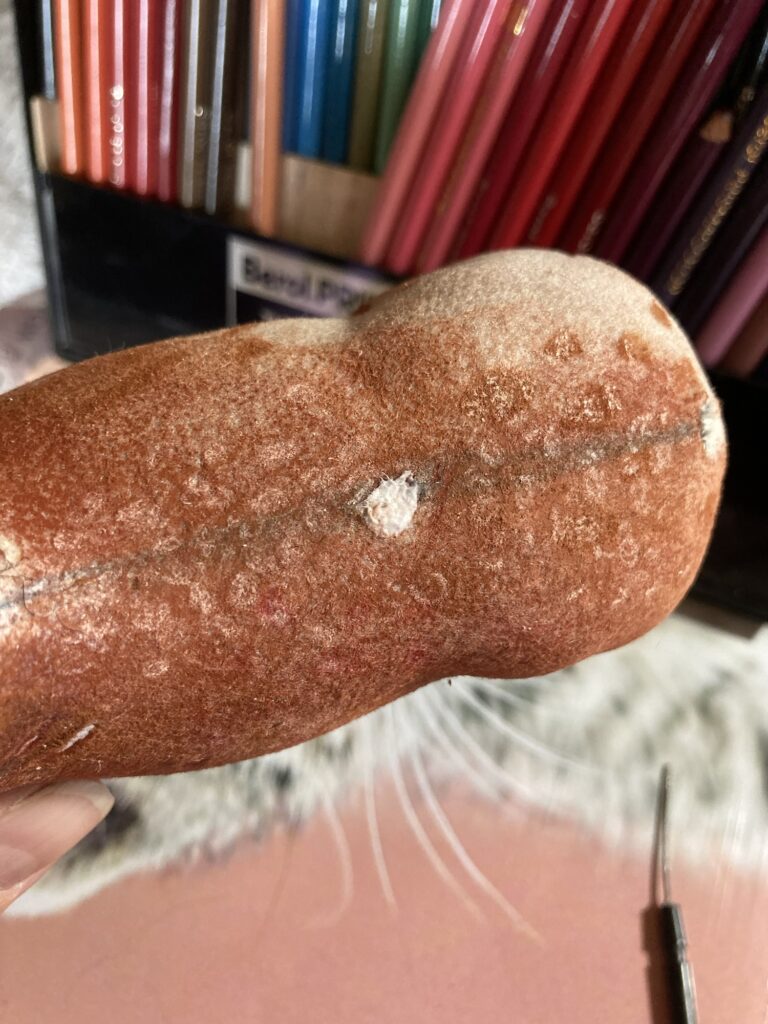
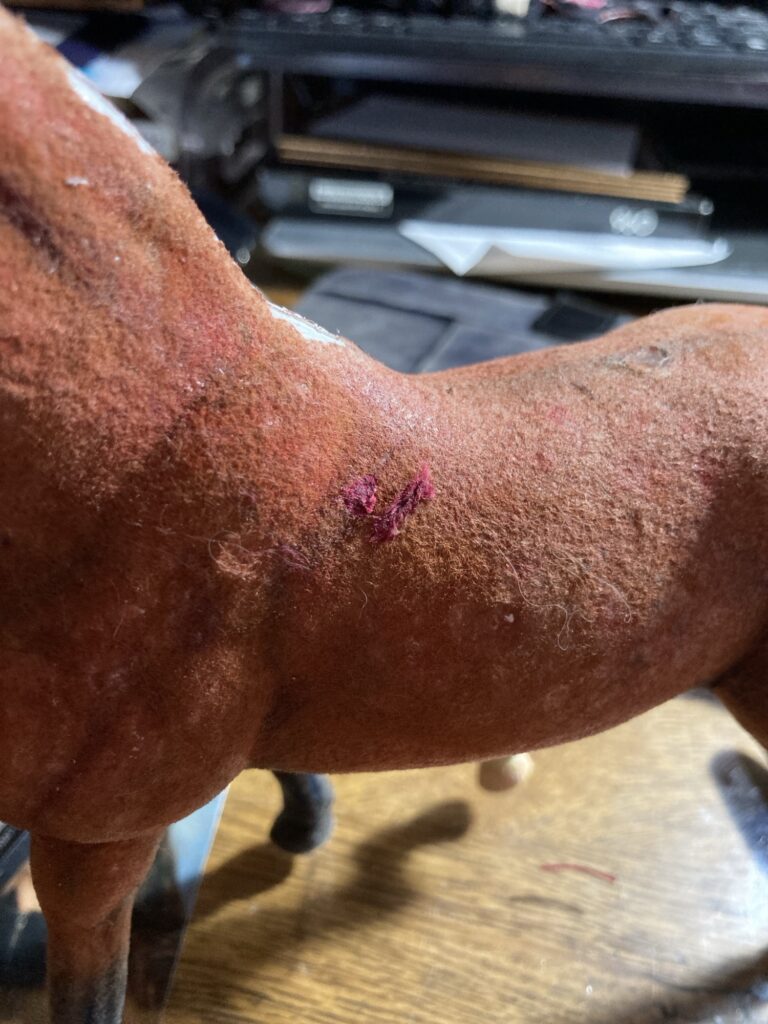
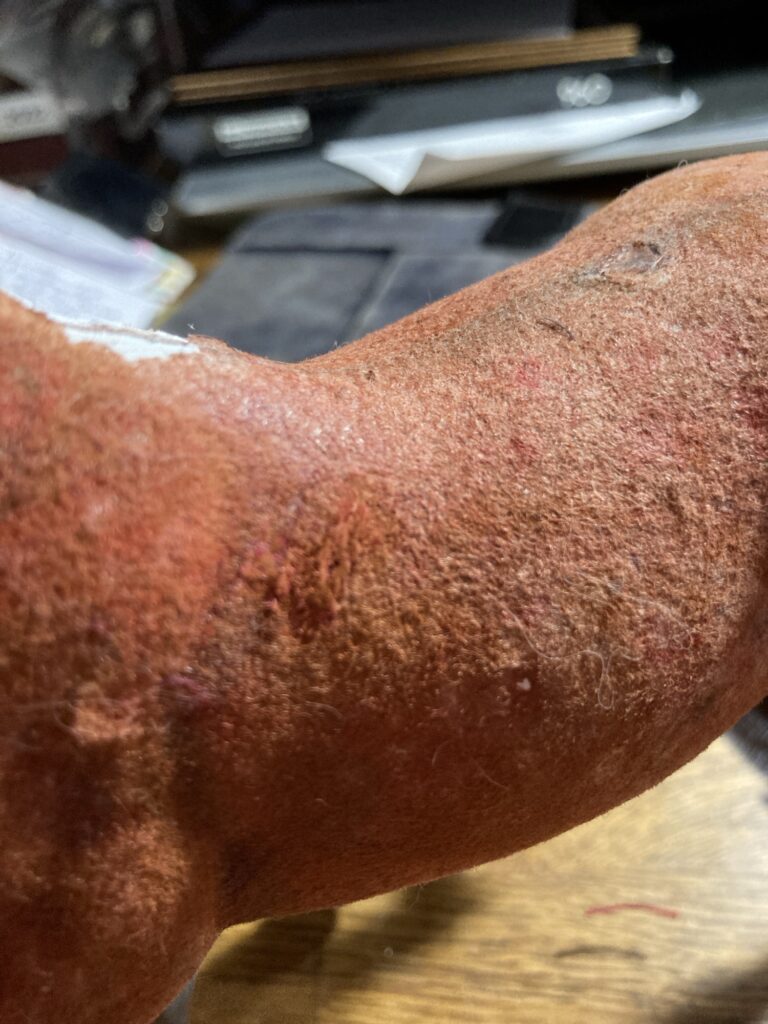
Flocked horses (or any other toy animal) are ones that have had a fuzzy velvet-like coating applied, so they look like they have real fur. I remember having some as a kid, and I also remember that the flocking can be easily damaged, so they need to be handled carefully. The ones I acquired are not in the best of shape, which is fine for me since I am doing this as an experiment, anyway.
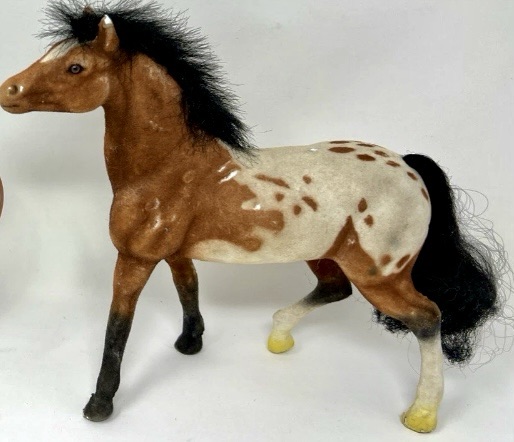
This is a photo from the listing of one of the horses i bought
The first thing I did was remove the mane and tail (i just carefully pulled it off, but discovered that, especially with the mane, you should be more careful as it is glued on and can pull off some flocking skin if you are not careful). I didn’t like the old hair and plan to replace it with something different, so decided that removing it would get it out of the way so I can work more easily.
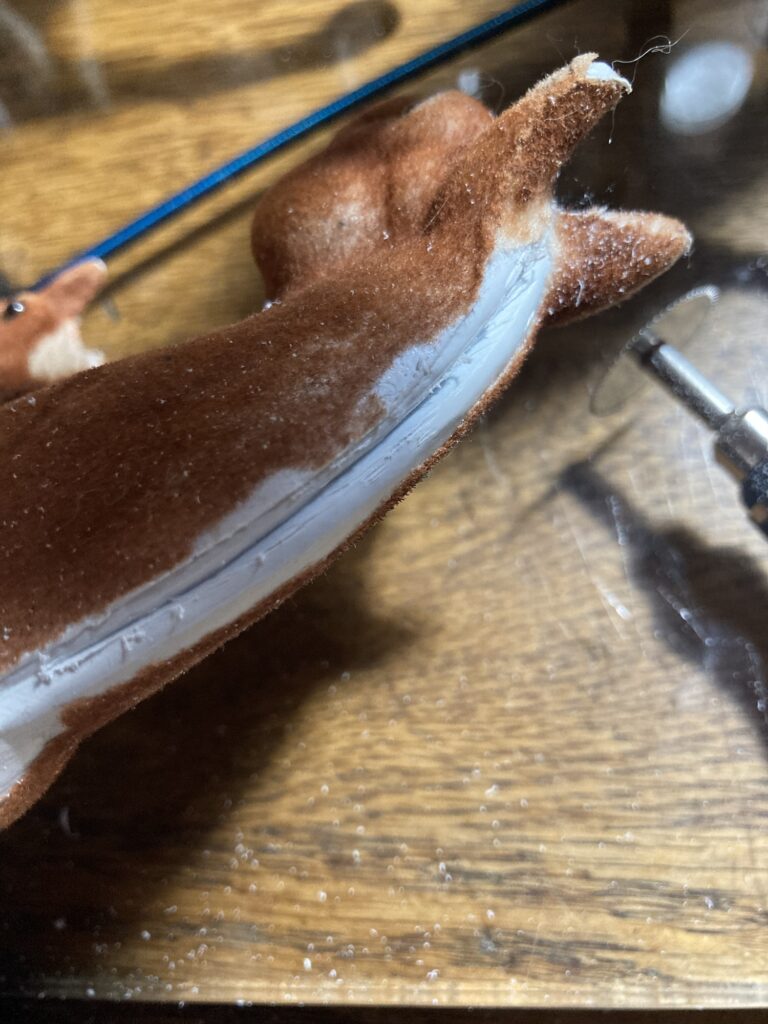
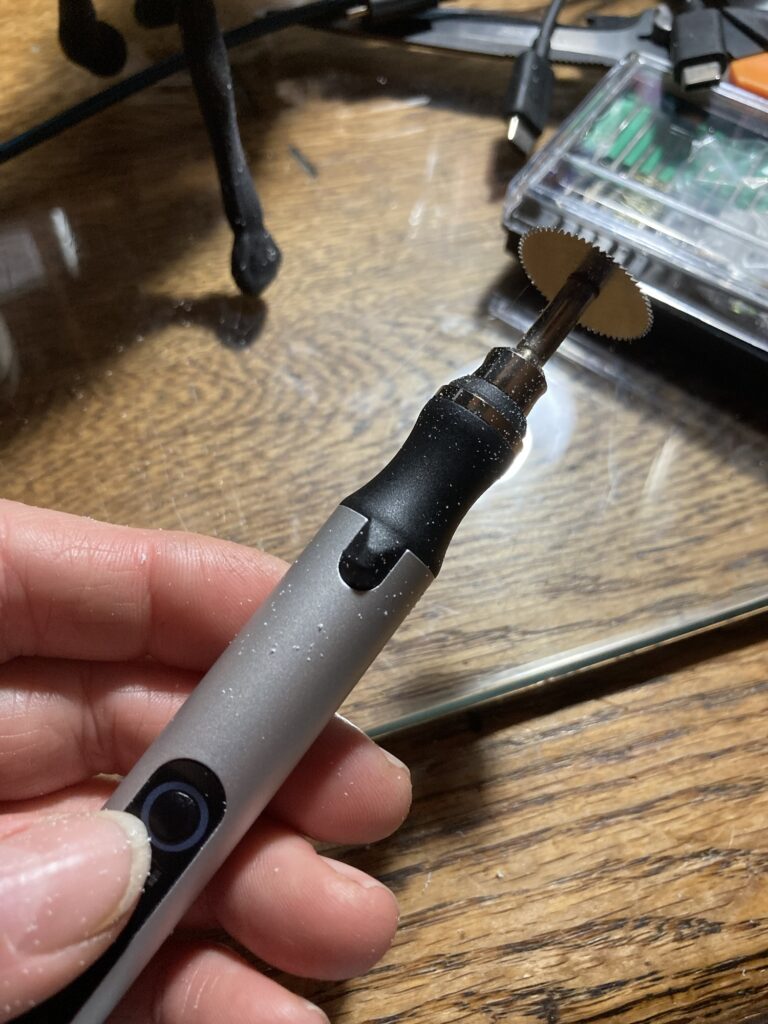
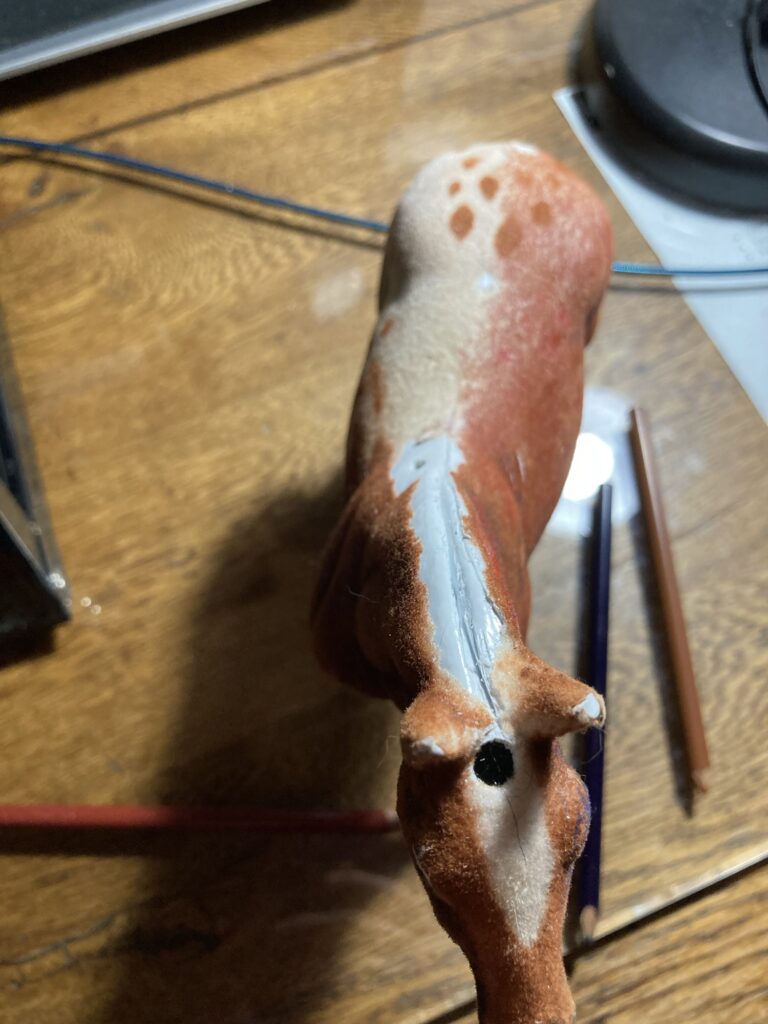
Next I took a small engraving tool with a saw attachment (a dremel type tool would work better, I am sure) and I sawed a small groove along the top of the horse’s neck where the mane will be.
The groove I made. I discovered as I went that it works best to cut right through the plastic into the hollowness beneath, which will help hold the hair better.My little engraving tool with saw attachment. You could even carefully carve it out with an exacto knife.
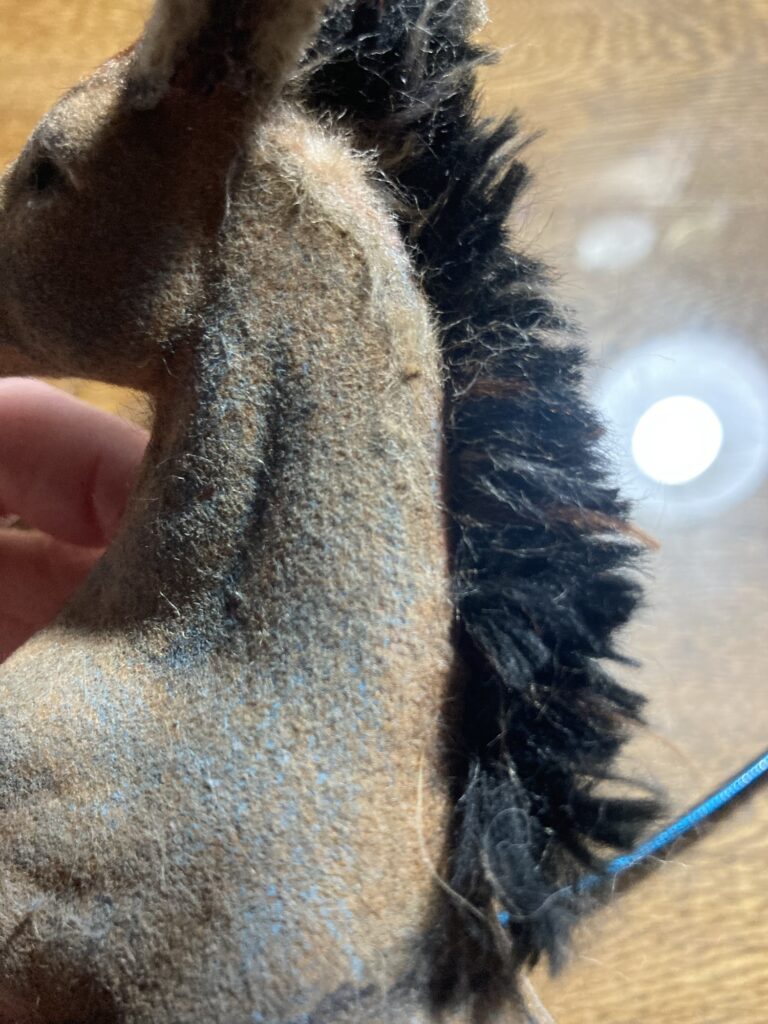
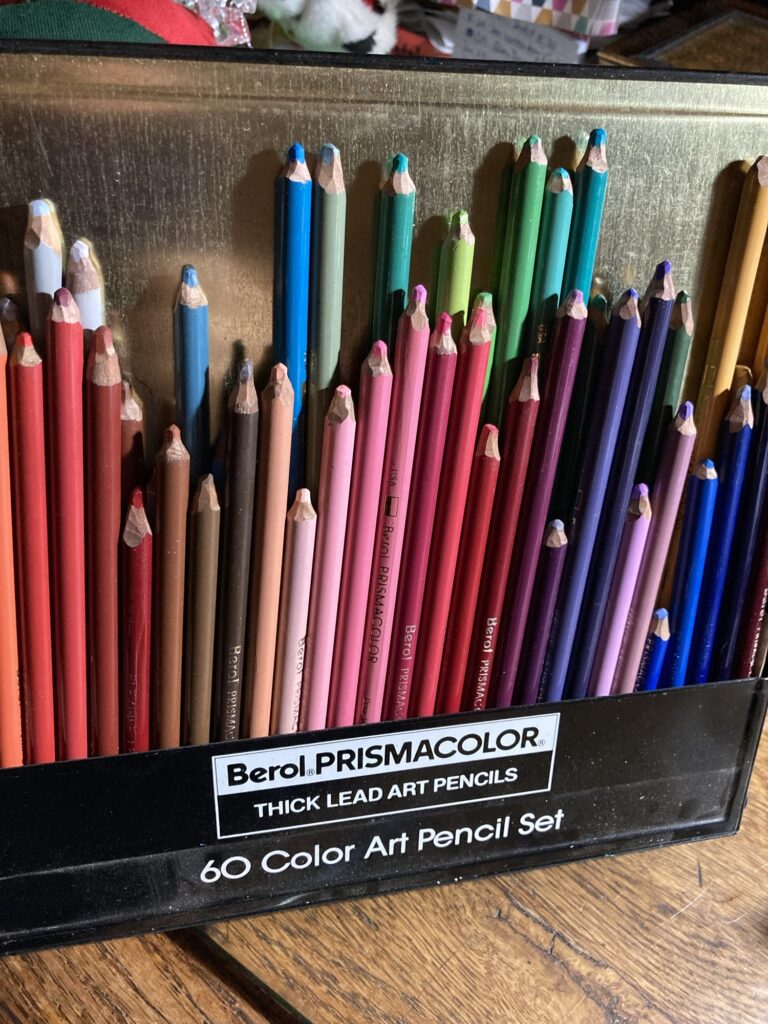
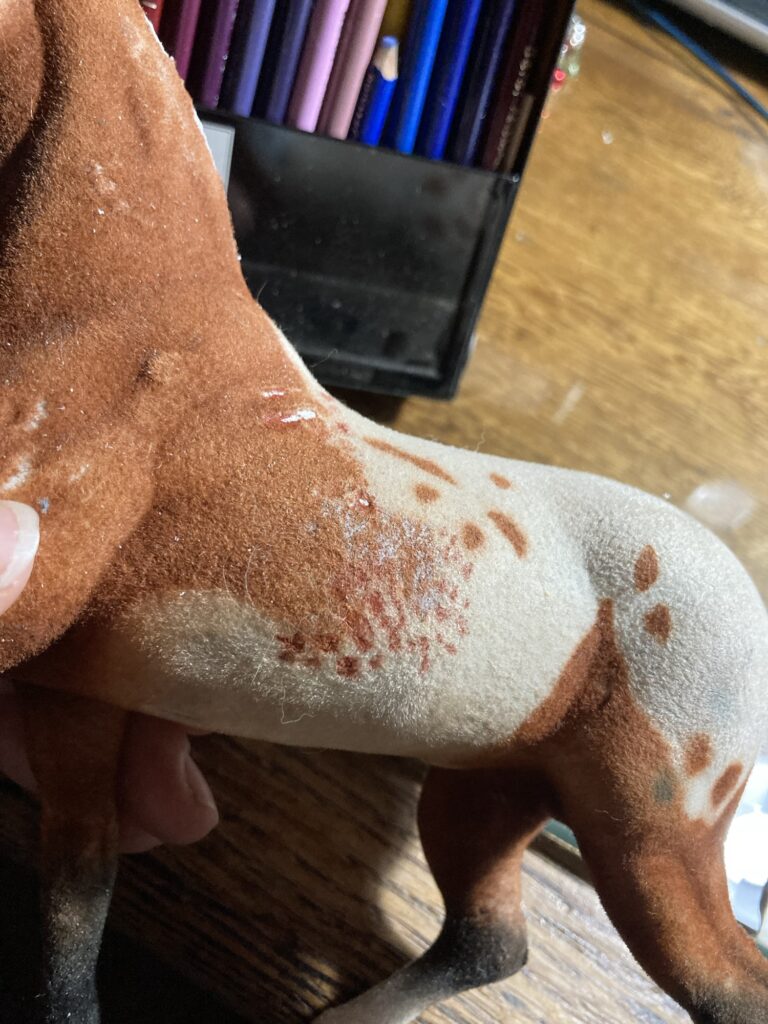
After making a groove, I moved on to experimenting with color. I decided to make this horse more of a roan color, and discovered that my colored pencils worked well. NOTE: I keep my colored pencils sharpened with a knife so that the tips are pretty blunt. I think that if a sharp pencil were used it might damage the fur on the horse. Also, don’t push too hard while coloring as it also may damage the finish. I am shading with light circular pencil strokes and it is working well for me.
These pencils are great! They are soft enough that they give off enough color without damaging the flocking.A few experimental marks turned out well
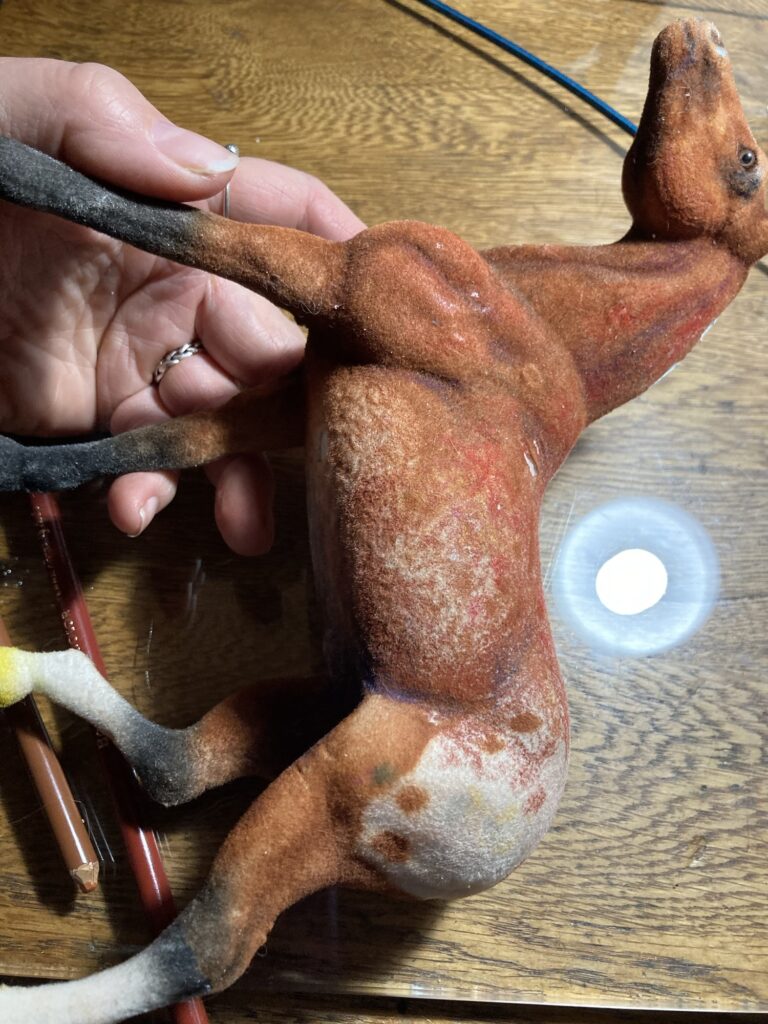
I quickly discovered a color that matched the brown of the main body pretty decently, and now can use that to blend the other colors in better. I found a dark grayish blue that works well for shading, to highlight the muscle tone, add dark patches around the mouth, eyes, undercarriage, ears, etc. There are still some areas that have scratches in the flocking. i have a few ideas in mind for simple repairs. I know that Amazon (and probably some hobby stores) sell flocking kits that could be used to repair my horses, but I think I can make do. We’ll see.
Here he is after a bit of work. I am using several shades of brown, a little blue, some red, and even bits of purple. A top view
I am trying to use shading to bring out or even draw in more of his better details, and also to hide some of the more terrible ones 😆. I tried to find some of the better looking flocked toys that were still inexpensive. Unfortunately they do have some wonky confirmation but it isn’t too bad. Ultimately it would be fun to get some Breyer horses and try flocking and coloring THEM, but it is safer right now to start on the cheap stuff. Also kind of fun!
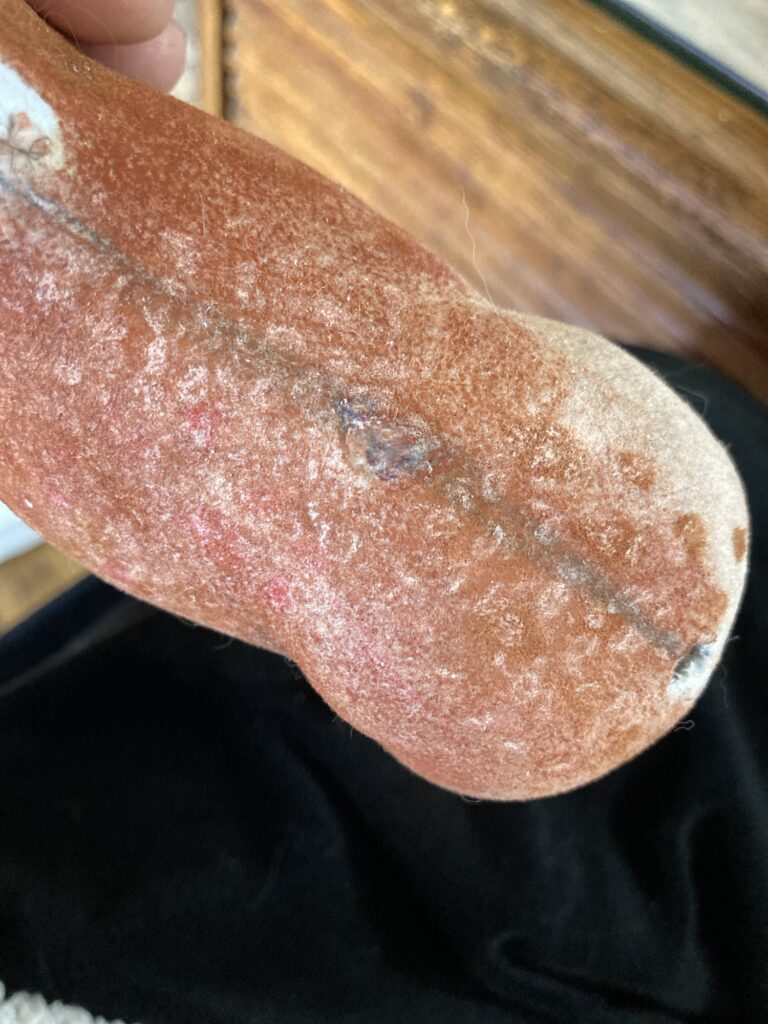
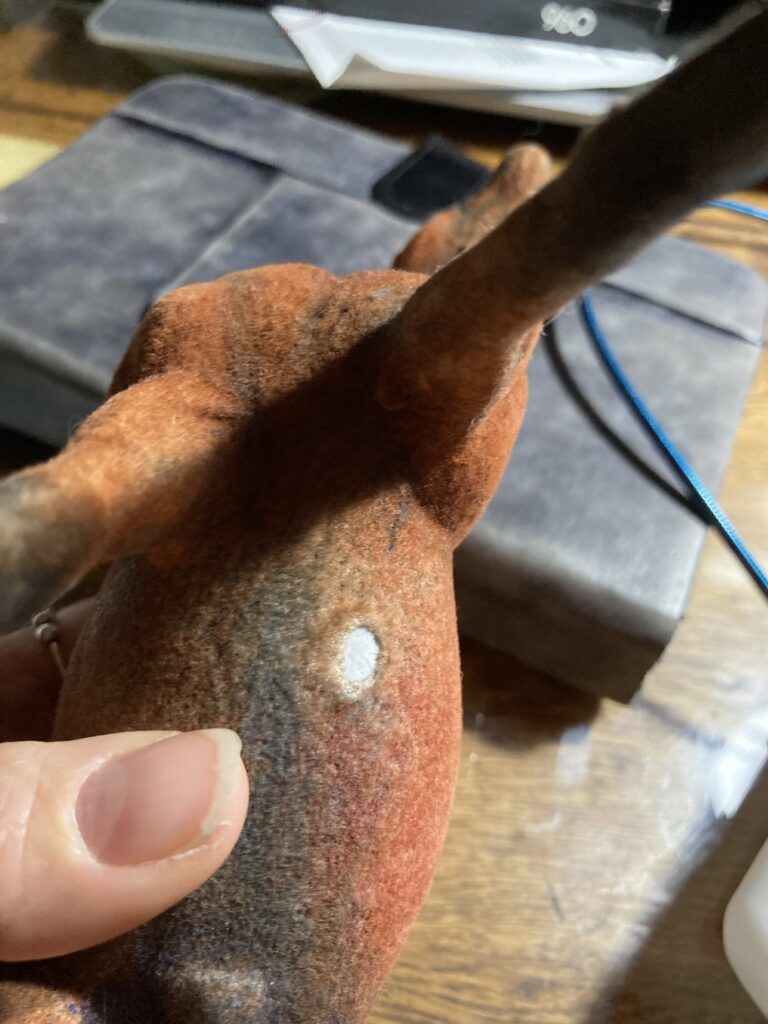
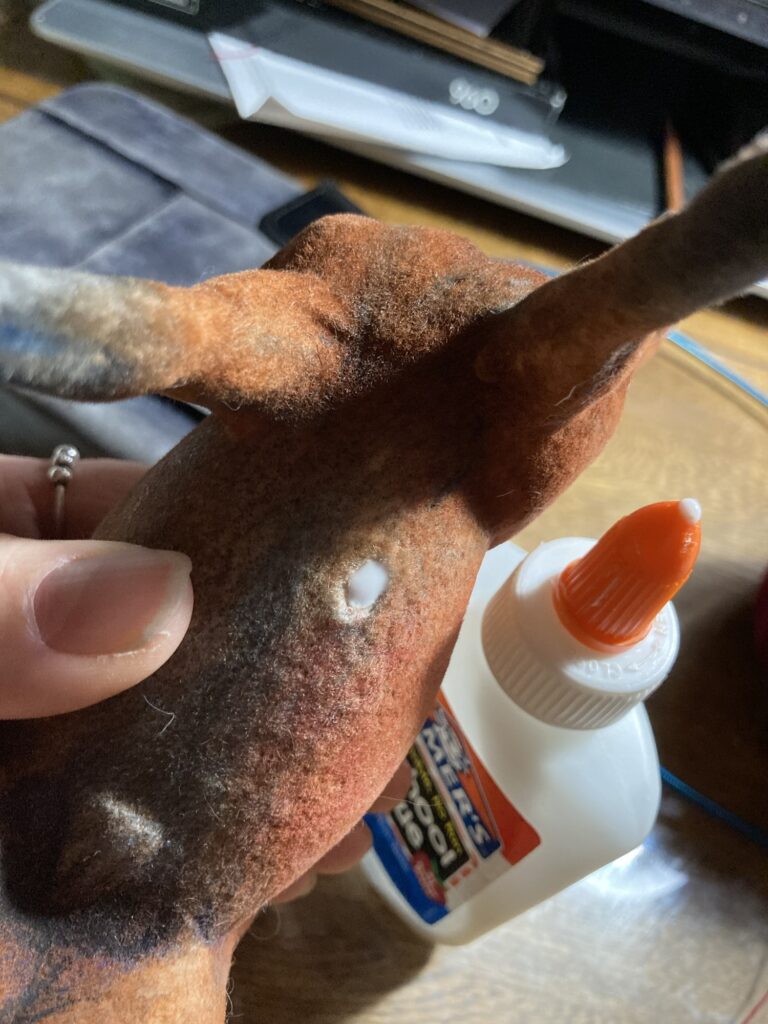
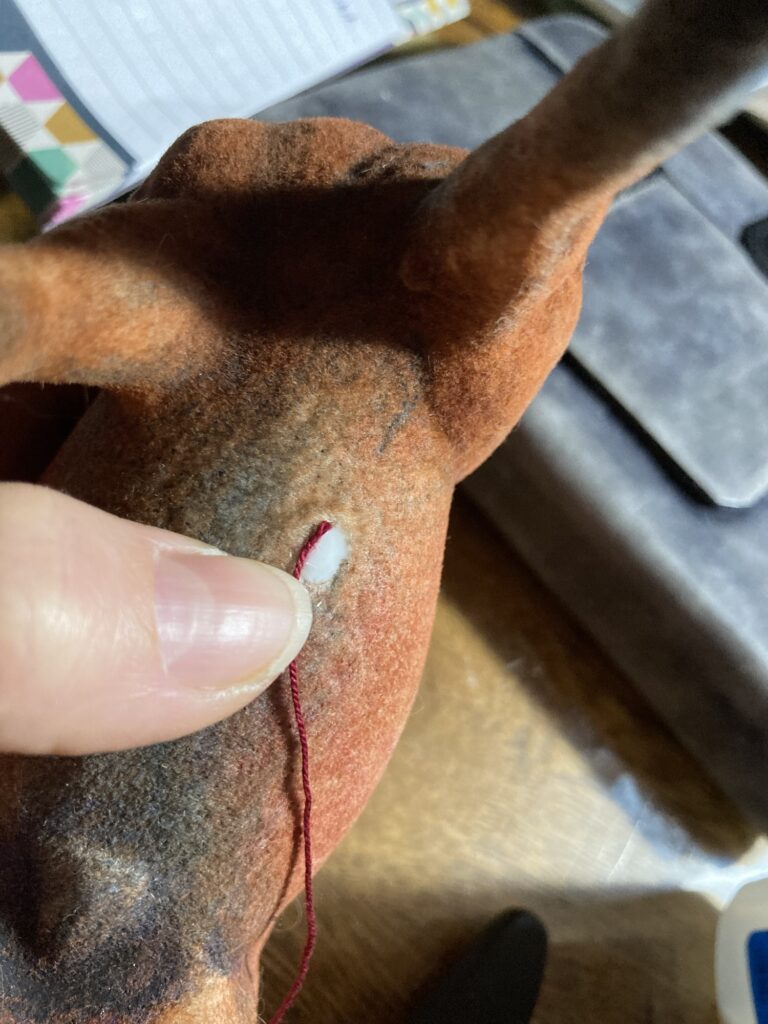
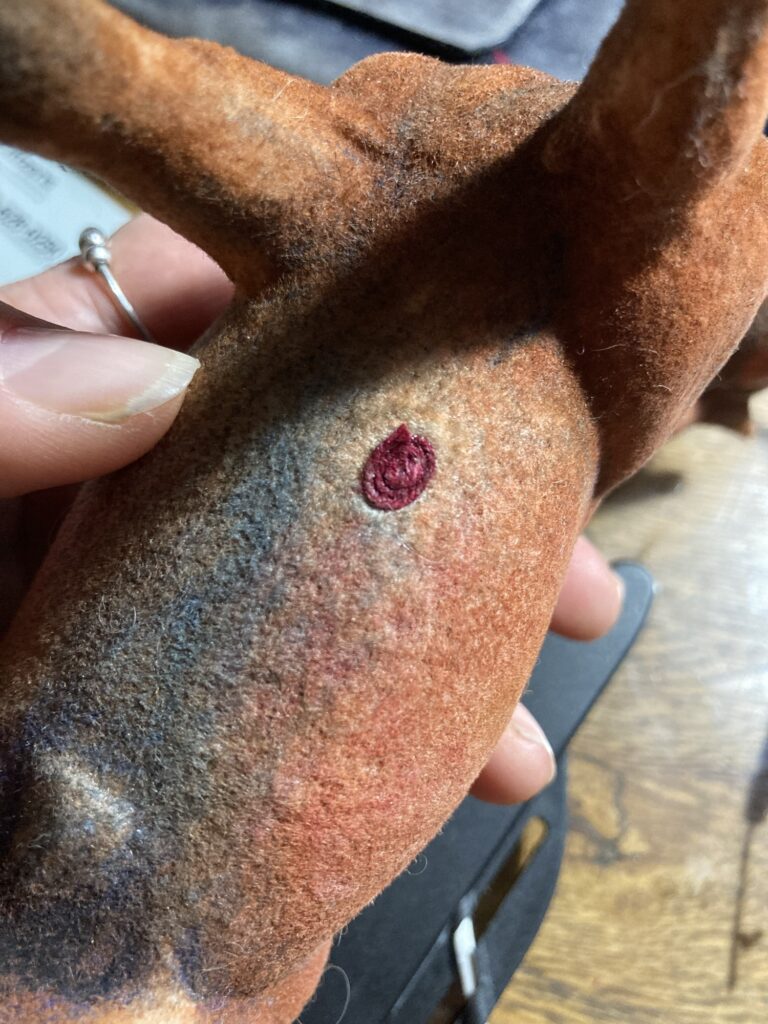
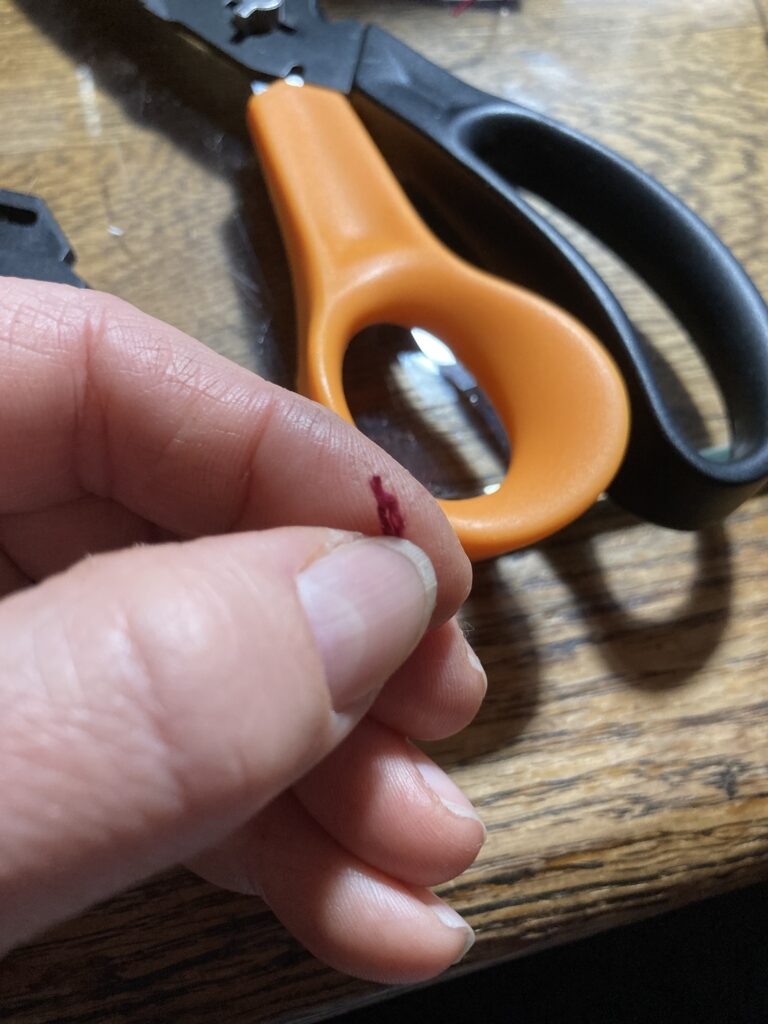
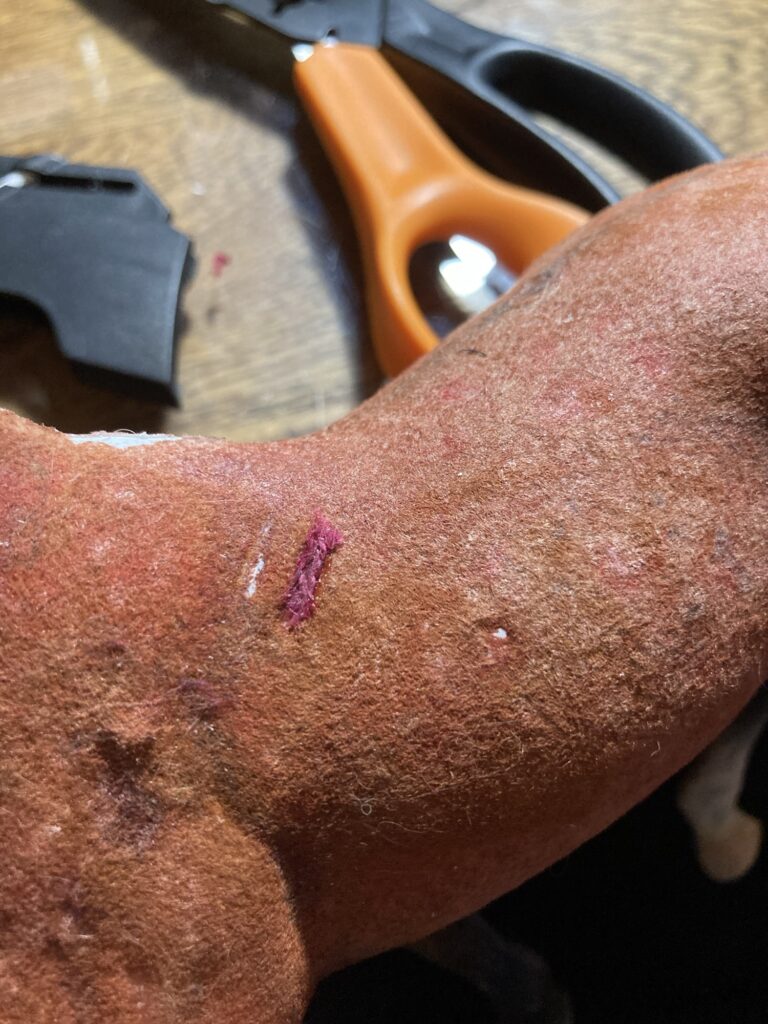
For one of the areas of damaged flocking, i tore off a little piece of paper towel, wet it thoroughly with elmer’s glue, and patted it into the damaged area. While far from perfect, once dried it holds the colored pencil markings enough to not be as noticeable. I have the feeling that too much glue might interfere though. I will probably try small pieces of fabric next.Next I need to fix his scratches and add some hair.Time to focus on this boo-boo. I decided to try string for this fix (it IS an experiment, after all). I filled it with glue. I started out with elmers, but decided that the glue wasn’t strong enough, as the string kept coming back out. I then switched to SUPER GLUE.Still in the process of adding hair.I used crochet string to wind a spiral to fill the hole.Here it is, super-glued in place. Still not sure how this will look, as it is a bit more textured than I thought it might be. Perhaps, if I try this one again, I might break up the fibers of the string a bit before attaching it to the horse. For the next small repair, i took a tiny length of string and pulled the fibers apart a bit before attaching.String glued in place to repair a small scratch in the flocking. I used super glue to attach it, and pushed it down with the butt end of a tool.A few more fibers added to the tiny bare patch above it. Once I color it with my pencils I think the texture will even out more.The same patches colored over with pencil. Not bad!
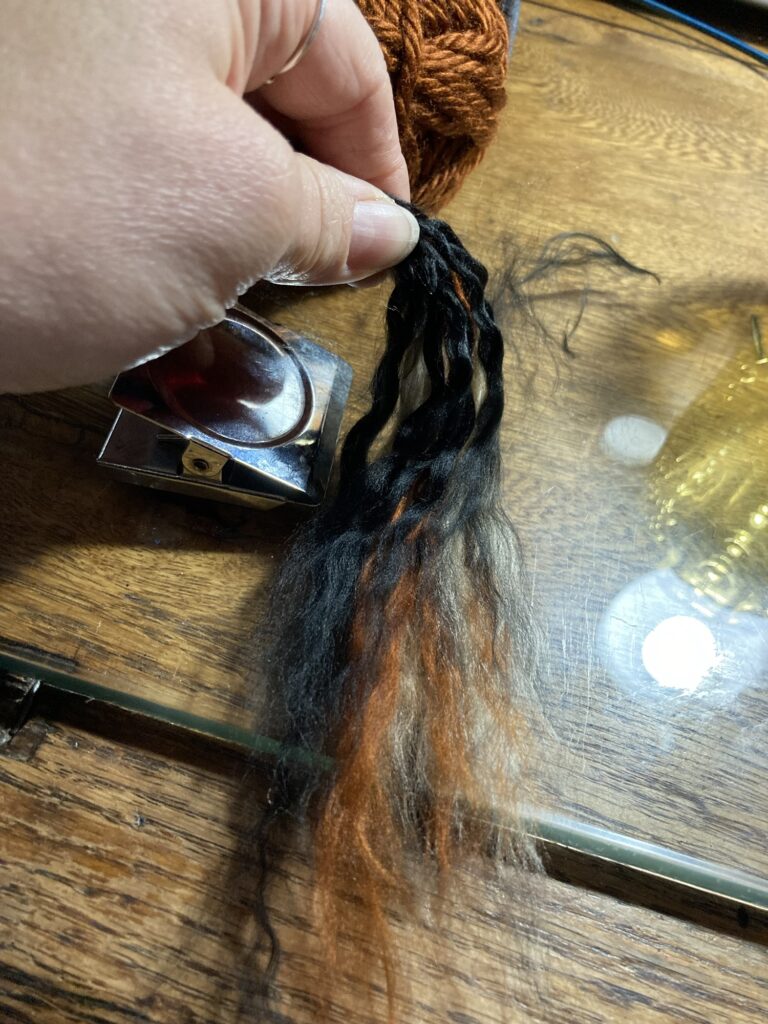
For a tail i decided to use a fluffy acrylic yarn.
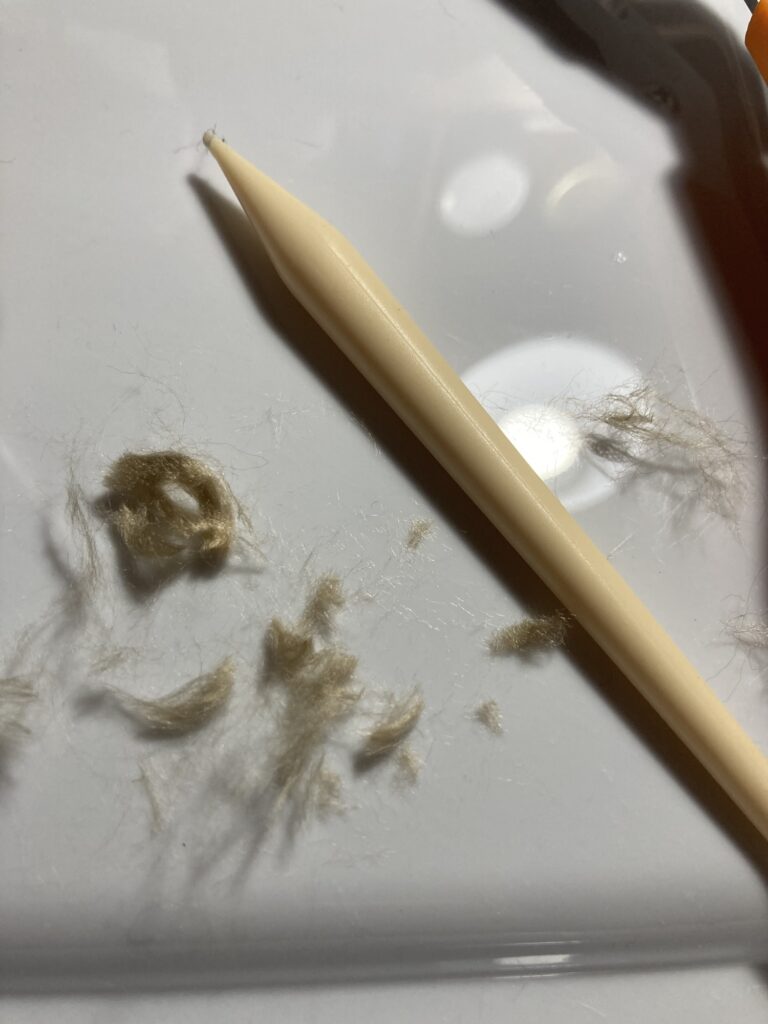
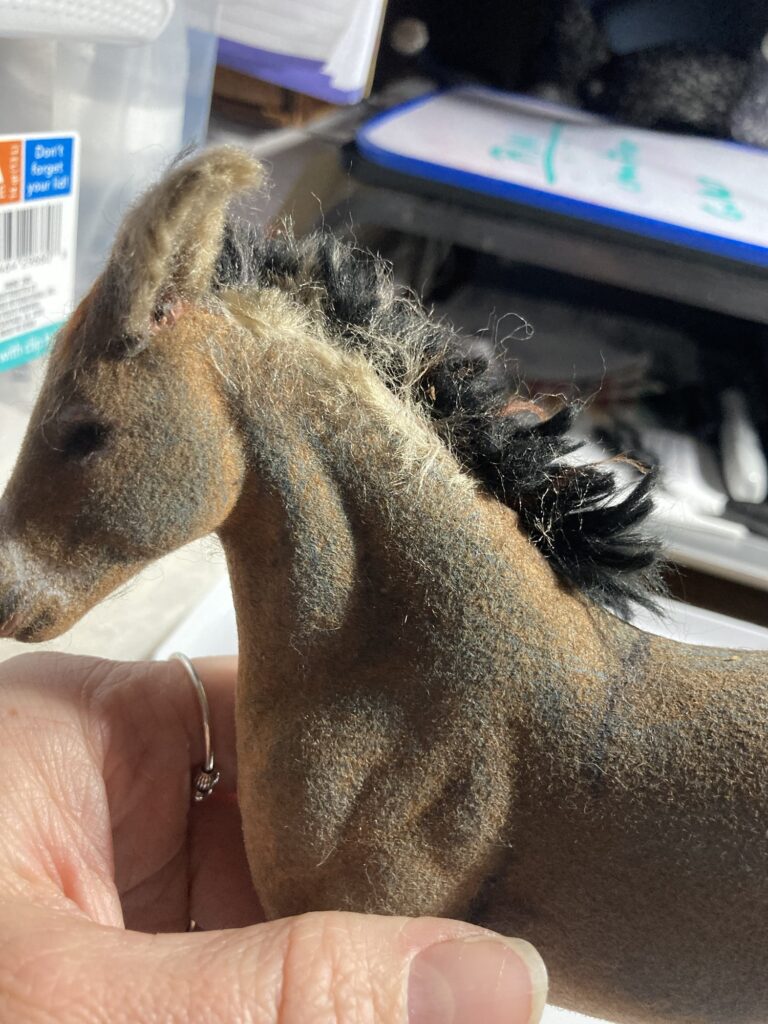
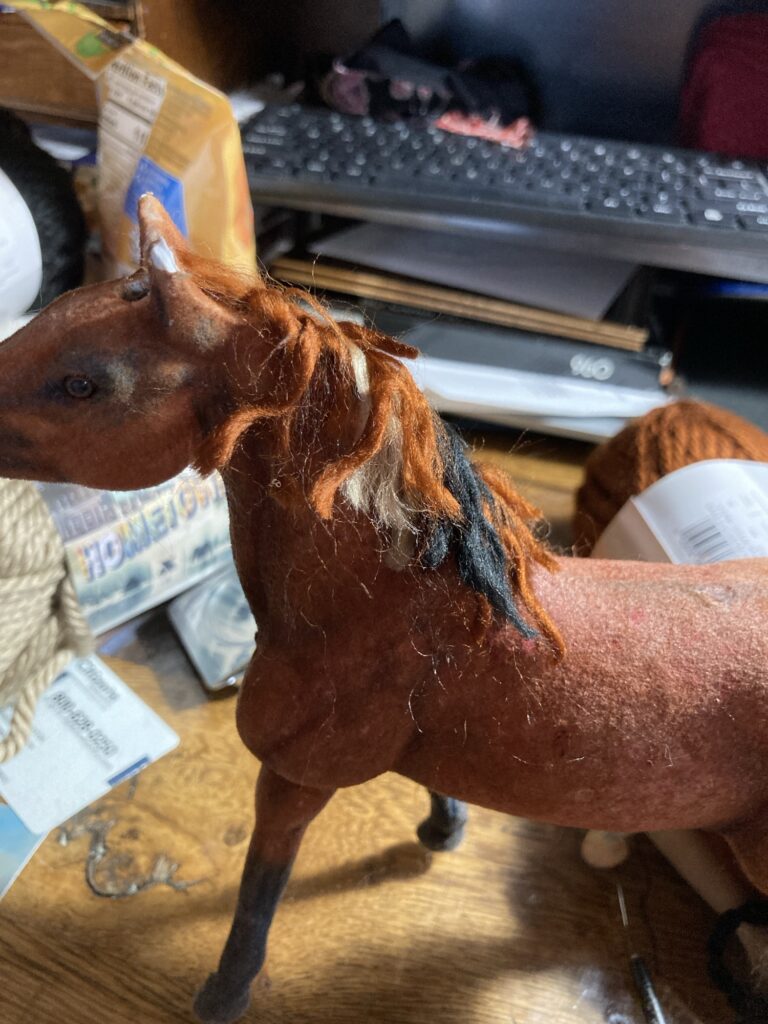
I cut a few strands of different colors that I thought might look well together, and then separated the strands.After giving them a quick little brush out. Don’t overbrush, as it will pull the yarn apart. I wrapped thread around the base of the tail and glued it down to hold. Most of this is going to be inserted into the horse’s body.I used a felting needle to push the tail base into the hole, but I left a bit of the stiff area protruding to give the tail some spine like a real horse’s tail.Next I cut a few shorter fibers for the top of the tail base. I discovered that my felting needle worked well for attaching these fibers to the base of the tail.For the bald areas where the mane was pulled off, I cut and unraveled lengths of yarn that is close to the body color and glued them in place alongside the neck. The body hair alongside the mane is usually a bit longer, anyway, and maybe i can blend it in with colored pencil afterwards.
I cut a bunch of yarn fibers and unraveled them, and made a line of superglue along the trench I cut along the top of the neck. Now I am going to use the back of a knife to push the yarn into the trench.
Now he just has a few more areas of flocking to repair. I discovered that in areas where it isn’t as important to have fuzziness, like around the eyes and nostrils, I can dab a tiny bit of super glue, allow it to dry, and color right over it with colored pencil. It seems to give it just enough texture for the color to stick.While far from perfect, he does look a lot better than when I started, and I am learning different techniques to fix the flocking and make hair that I can use on the next ones.
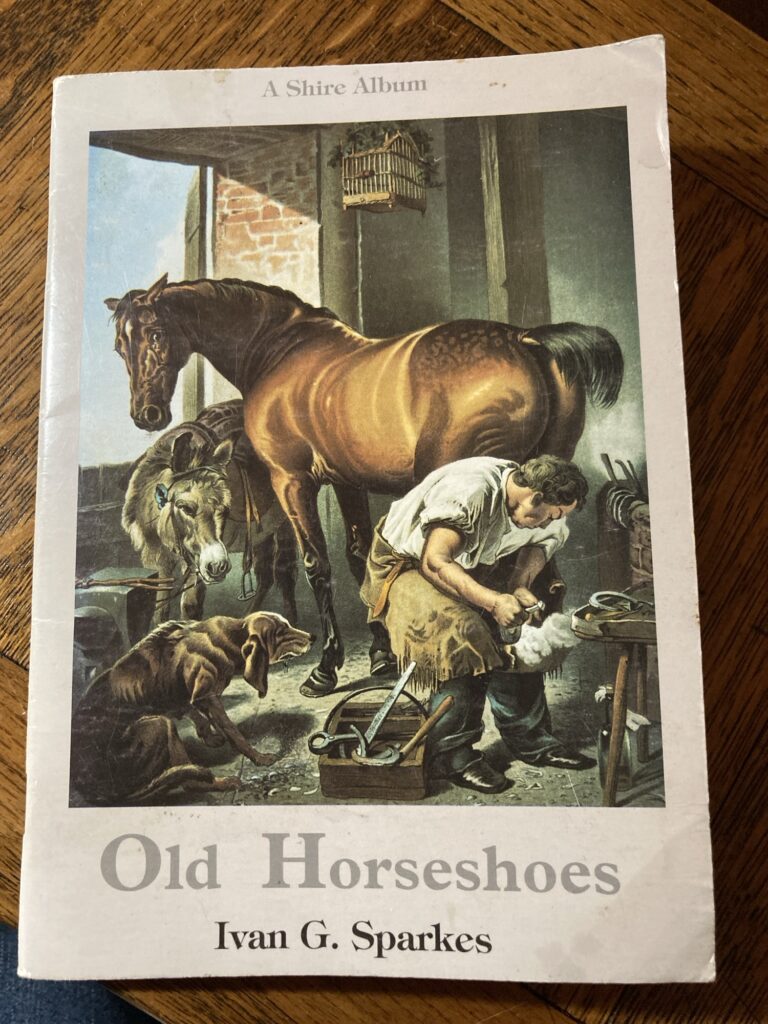
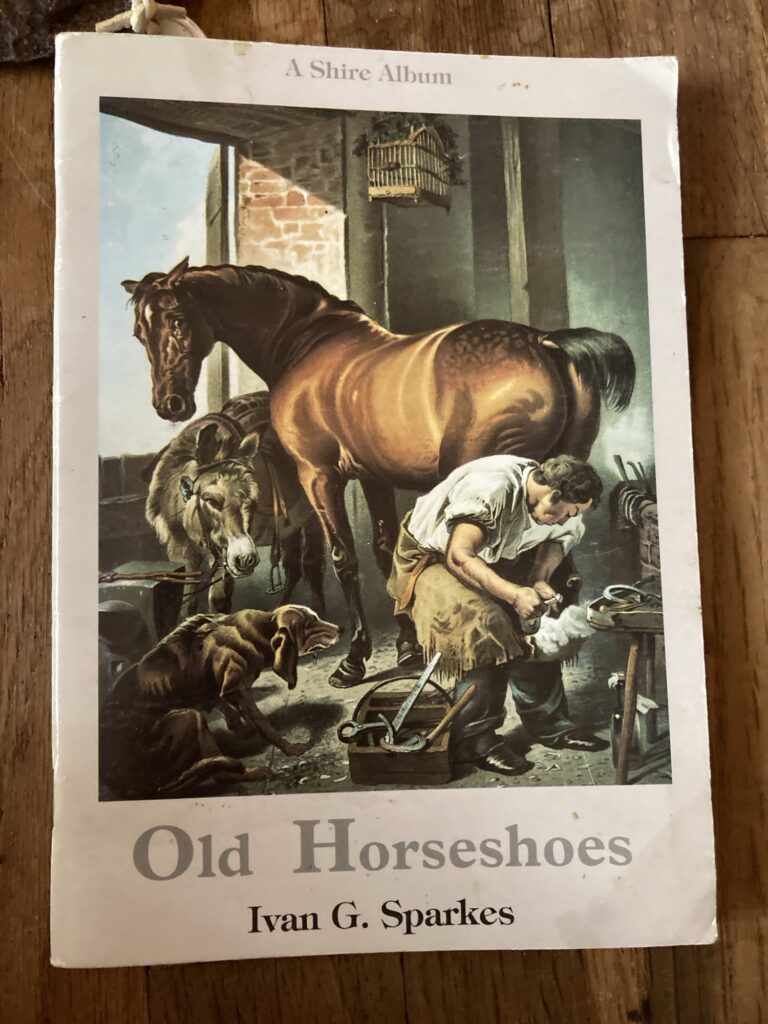
I have been collecting horseshoes all of my life, and have a decent amount from Great Britain. The shoes from this area are much easier to date for me, as there is more written documentation about shoeing practices, much more research has been done, and I have a couple of excellent research books on them. One of the books that I have found is ‘Old Horseshoes’ by Ivan G. Sparks.
This is a great book! It is small but filled with good information!
Another excellent book is ‘The Medieval Horse and its Equipment’ by the Museum of London. The Editor, John Clark, categorizes the different types of shoes a little differently than Ivan Sparks, but gives them roughly the same time periods. Today I am going to focus on the Guildhall shoe (according to Ivan Sparks) or Type 4 (according to John Clark).
Another great source is the Museum of London’s website. They have many photos of medieval shoes and their approximate dates. I often quiz myself on trying to date them according to what I have read in books, and use their shoes to help identify some of my own more puzzling examples.
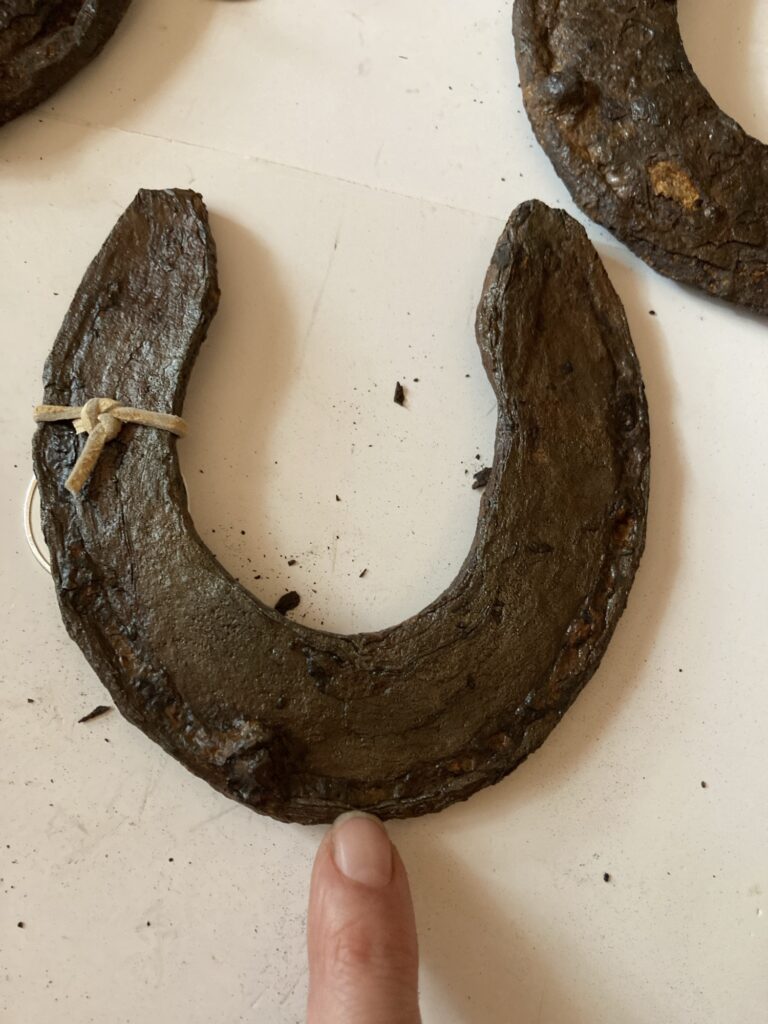
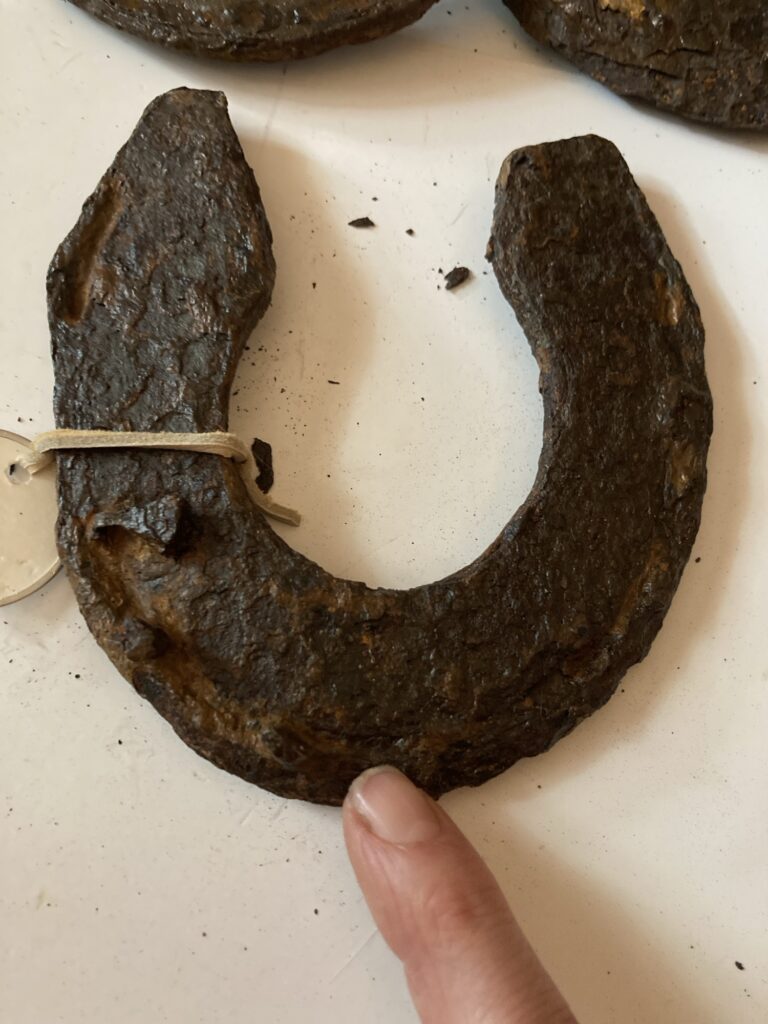
The Guildhall shoe, according to Ivan Sparks, has a rounded outer edge and an arched inner edge. This shoe is a good example:
These shoes gained popularity around 1350 AD to accommodate the larger breeds of horses being imported to the area. They gradually were replaced by keyhole shoes by around the 1600’s. According to John Clark, they were often found in the 14-15th centuries (around 13-1400’s).
They tended to have just one calkin, but they could have two as well. They sometimes had 6 nailholes, and sometimes 7 (3 on one side and 4 on the other). The shoes are fairly small, maybe about the size of today’s average riding horse. Certainly not as large as today’s drafts!
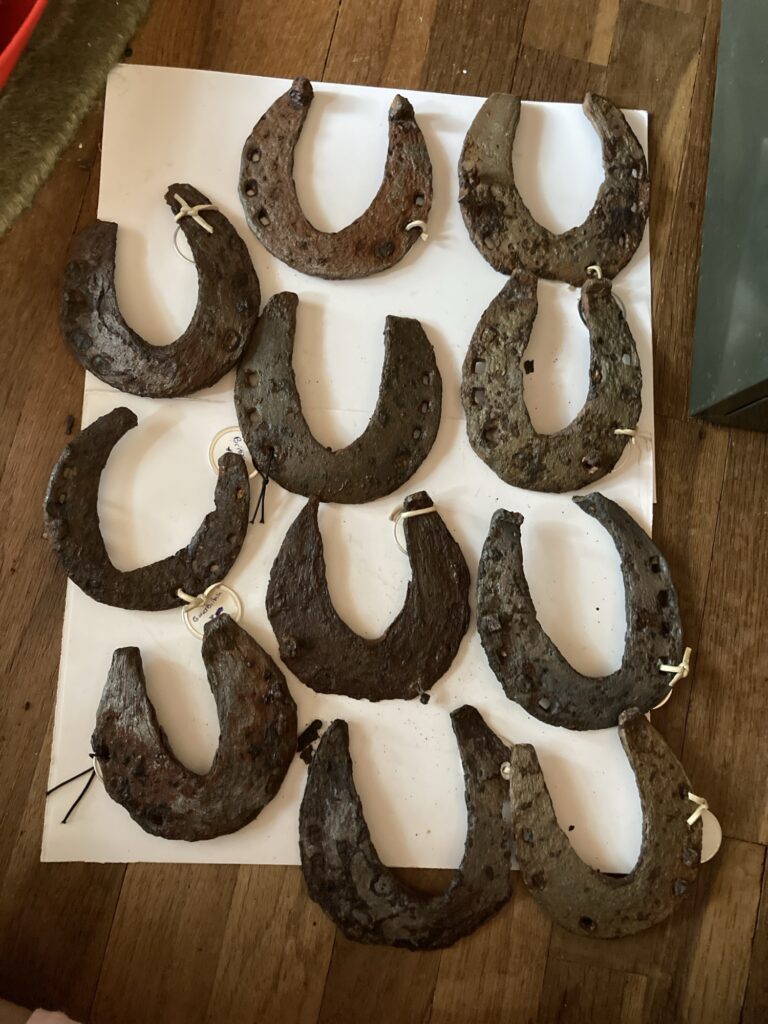
Below are some samples from my own collection. They have been cleaned so I can more easily identify the number of nailholes, special features, etc.
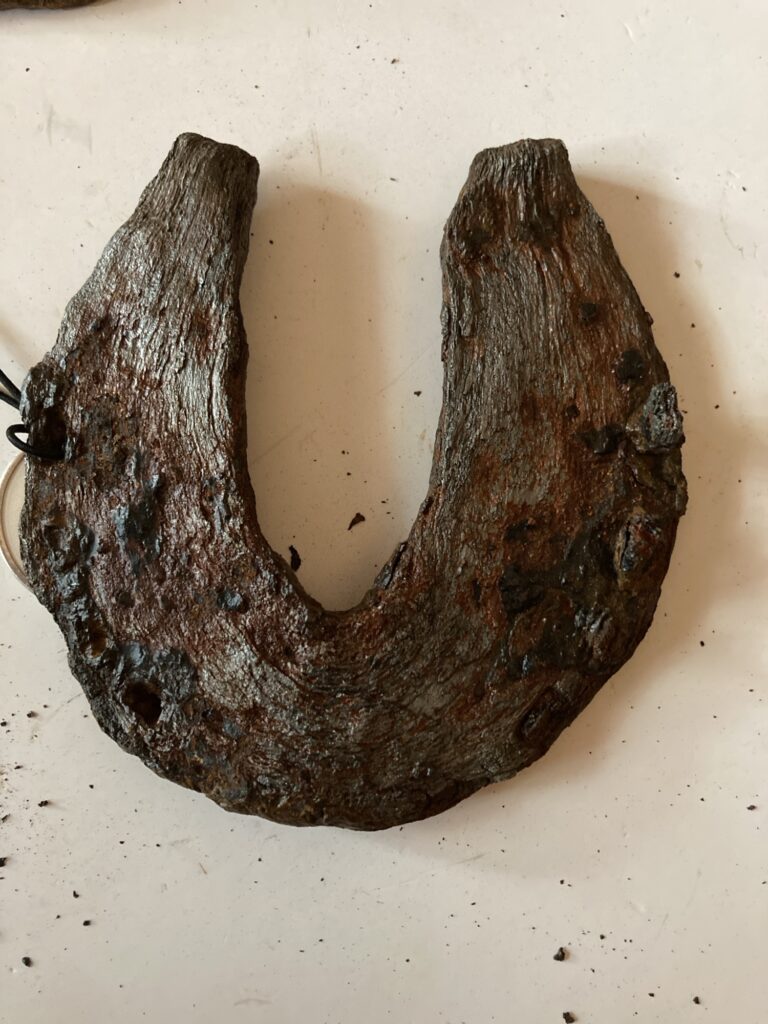
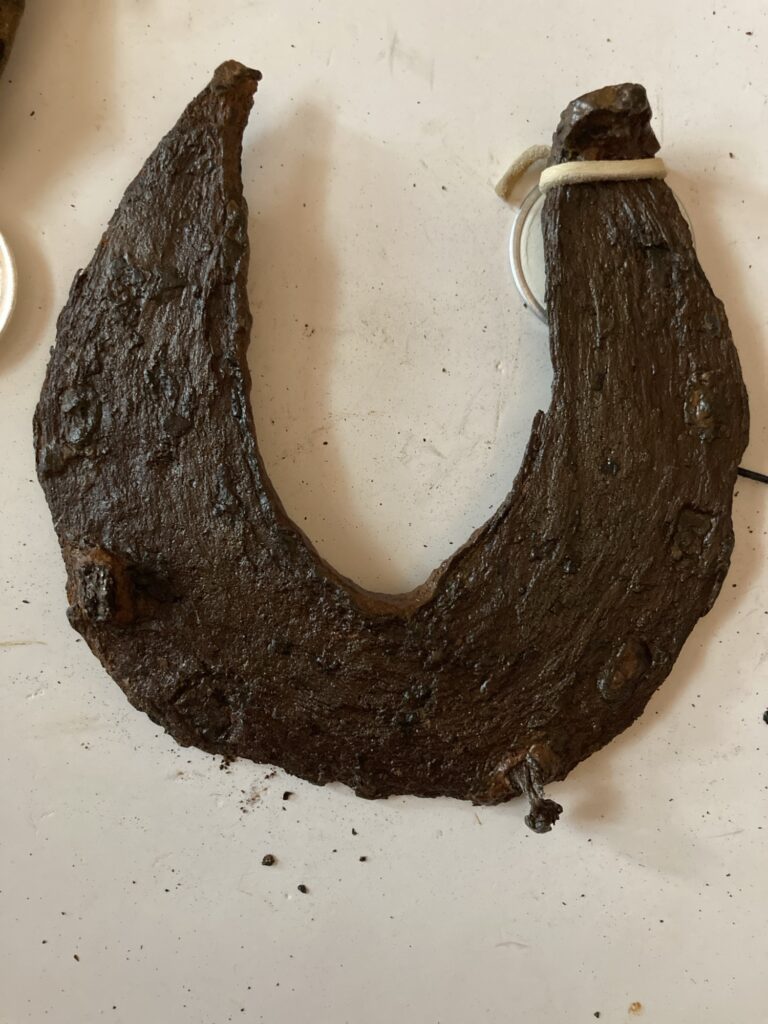
As you can see, most of these shoes are pretty small.This shoe is quite thick and heavy! I left a rusty patina on it, but they are all coated with clear Rustoleum paint to stop further rustingAnother photo of the shoe above, to show just how thick it is!I believe this is a later shoe, possibly getting a little closer to the keyhole variety. It is a bit larger than the others, and the squared off heel on the left seems to remind me of the keyhole heels.This shoe has a great angular inner profile! It is a bit larger than the others. It also has a lot of damage to the right side.
Wouldn’t it be wonderful if these shoes could talk? To hear all of the stories of the horses that once were, what their lives were like, and all that occurred in the hundreds of years that these shoes were under ground!
As a passive collector of horseshoes, I decided one day to attempt to discern the ages of several shoes that I felt were older. I live in the United States. Most shoes in my area aren’t much more than 150-200 years old, with anything older than that a fine treasure, indeed! Ironically, good information about aging the shoes of horses in the United States is very hard to come by. I did, however, find some good articles and even books on horseshoes from Great Britain.
It seems that nail-on horseshoes have been around for centuries—almost a thousand years, even. During that time, changes in shoe-making evolved according to new discoveries in farriery and blacksmithing. It seems that every century or so saw a new style of horseshoe become popular for different reasons, such as altering the shape of the shoe to allow the frog of the hoof to make contact with the ground, adding more nail holes, alterations for traction, or adding an extra piece of metal to the hoof-side to keep the shoe from slipping and falling off. What is wonderful about all of this is that these discoveries and changes were usually documented in advertisements and journals.
I have discovered three great sources, so far, on dating English horseshoes. One is the Museum Of London, who has a website. They took photos of many old shoes and listed them online, along with their estimated dates. It has been enormously useful in testing myself on dating, and to discover possible dates for unusual shoes in my own collection.
Another good source is a book called ‘The Medieval Horse and its Equipment’ from The Museum of London, edited by John Clark
This book has excellent material on dating and categorizing the older shoes that were found in London.
A third excellent source is the Shire Album ‘Old Horseshoes’ by Ivan G. Sparks.
Studying these sources I have learned a little about ancient horseshoes, at least in Great Britain.
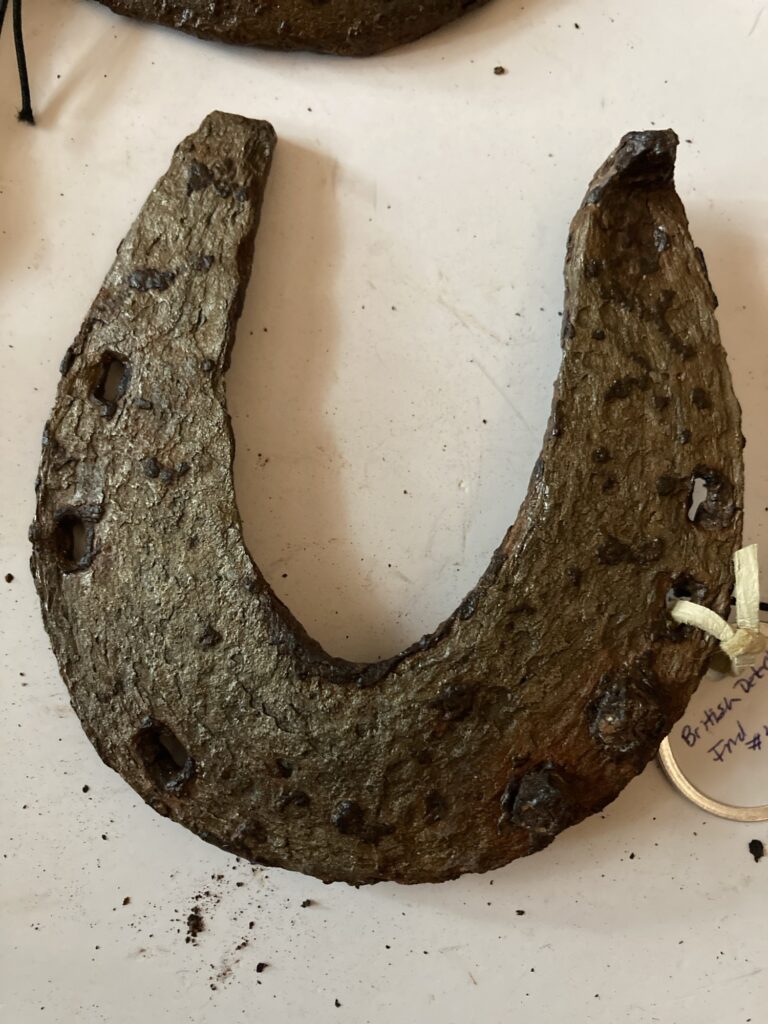
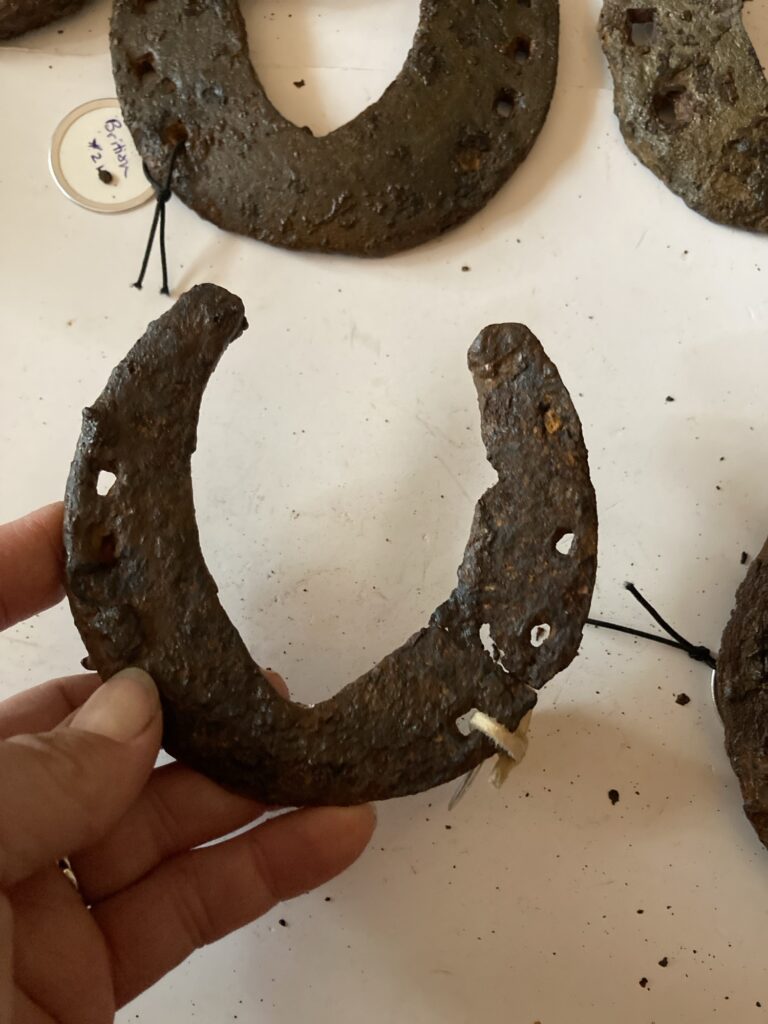
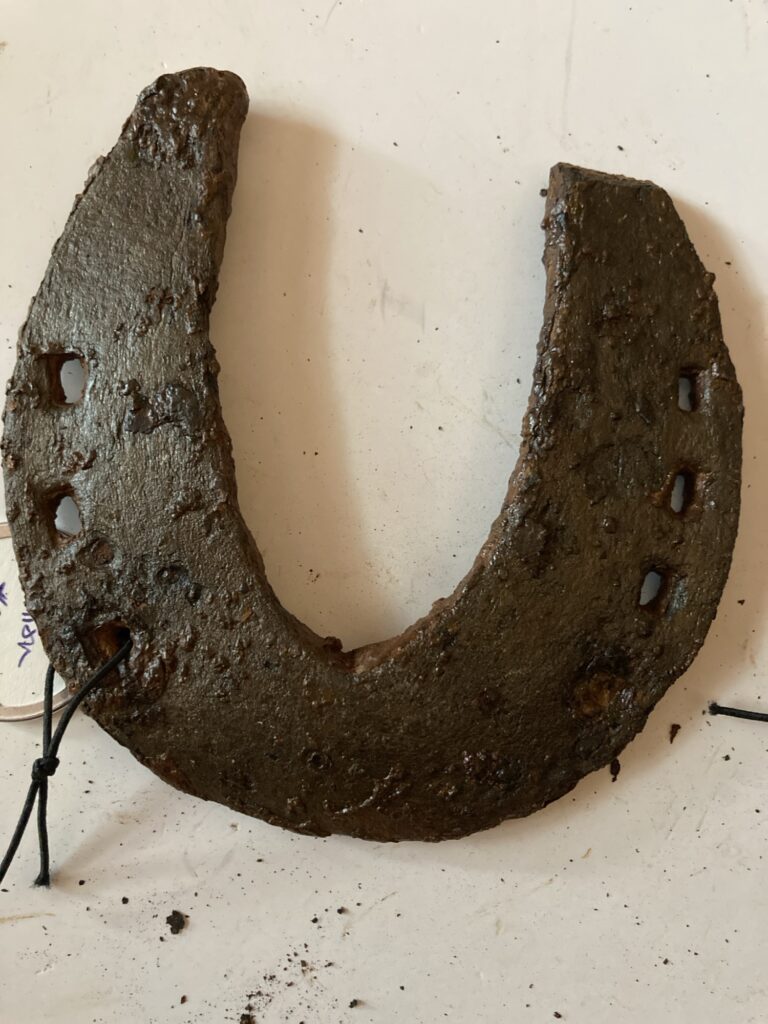
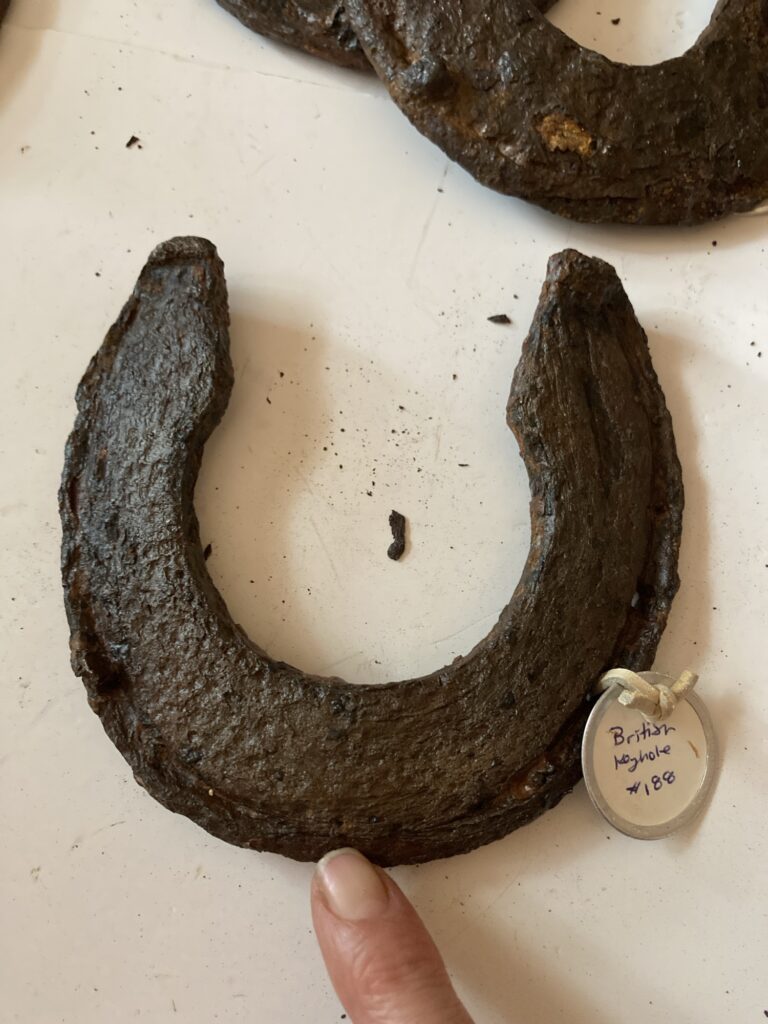
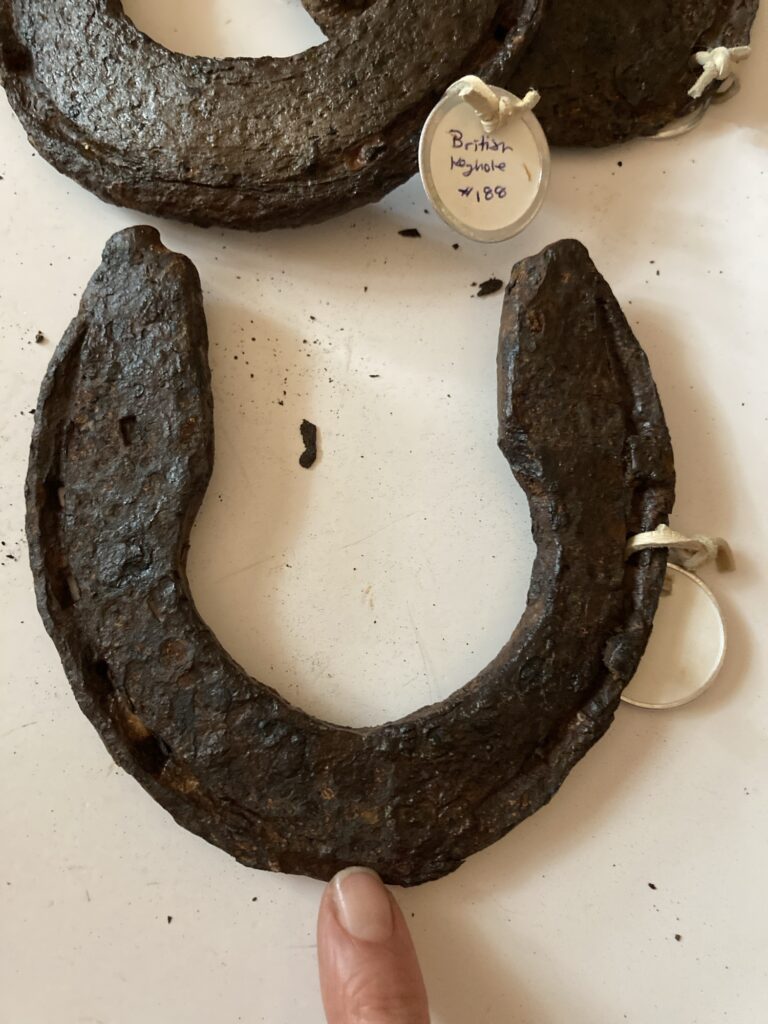
With this article, using these sources, I will show off some of the keyhole horseshoes I have in my collection. These shoes were bought from a metal detectorist in Great Britain.
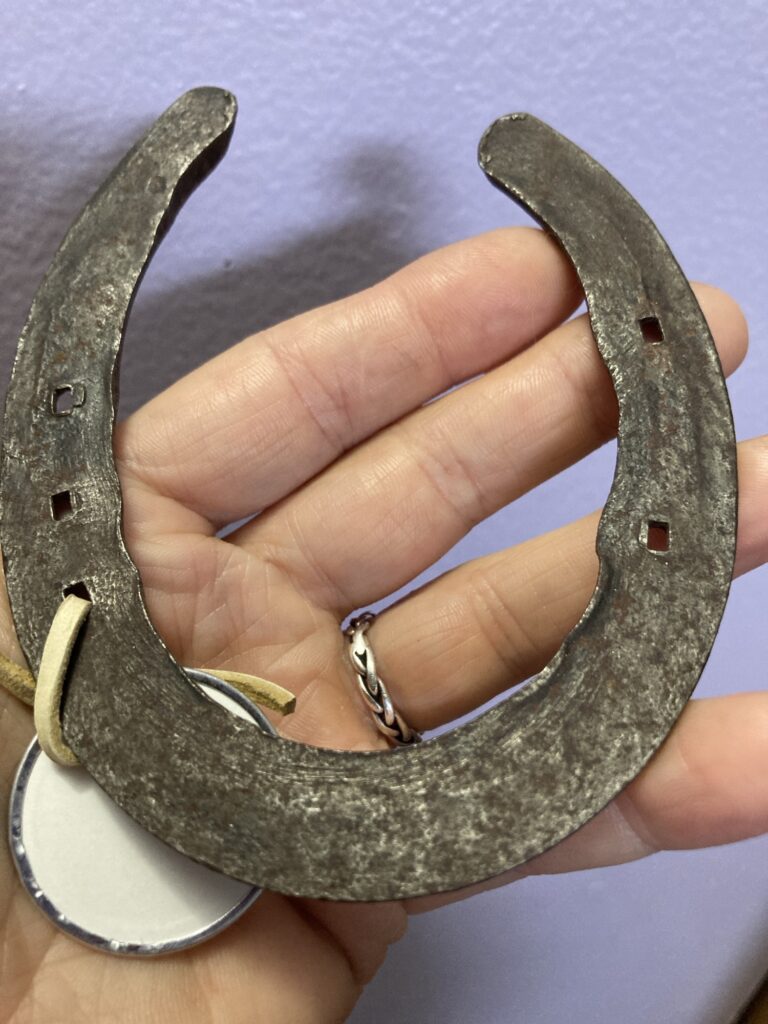
The keyhole shoe tends to be larger and heavier than its predecessors, and the thick branches and heavy heels form sort of a keyhole shape in the center, thus its name. It was mainly used on draft horses. Because the shoe is heavier, it tends to have more nail holes than previous shoes (older shoes tend to have 6 holes, 3 on each branch). Of the 5 keyhole shoes that I have, all of them have 8 holes (4 on each branch).
Notice the concavity. Some blacksmiths tried to shape the shoe to allow the frog of the hoof to have more contact with the ground.As in the shoe above, apparently the calkins on keyhole shoes are a slight turning downwards of the heel. This is to add more grip on the ground surface.
Keyhole shoes also tend to have a concave foot surface. Some have calkins on the heels as well, and some have a fuller (a groove that extends along the branches that the nail holes are in). Mine all have fullers, although some of the fullers are more pronounced than others. Apparently the keyhole shoes from 1700 and onward have a fuller that extends along the whole shoe, heel to toe, while older ones tended to only be fullered along the holes on each branch.
This shoe is fullered all the way around the shoe, so it may be 1700’s or later.
This shoe has a fuller all the way around, and may be from 1700 or later.
This shoe is fullered all the way around, and is probably from 1700 or later.
This shoe’s fuller groove ends at the toe. It does not go all the way around the shoe, which dates it to possibly between 1650-1700
The keyhole shoes were more popular from the mid 1600’s to the 1800’s.
I think one of the reasons I like these shoes so much is because they are so easily recognized by their distinctive shape, which is in sharp contrast to most of the shoes you see today.
I am an avid horseshoe collector, and often find myself in possession of a particularly rusty specimen that has been buried for years, if not centuries. I have tried several methods, with varying results, to remove excess rust so that any distinguishing characteristics are more easily recognized, such as the nails and any maker’s marks. These are a few methods that I have tried so far.
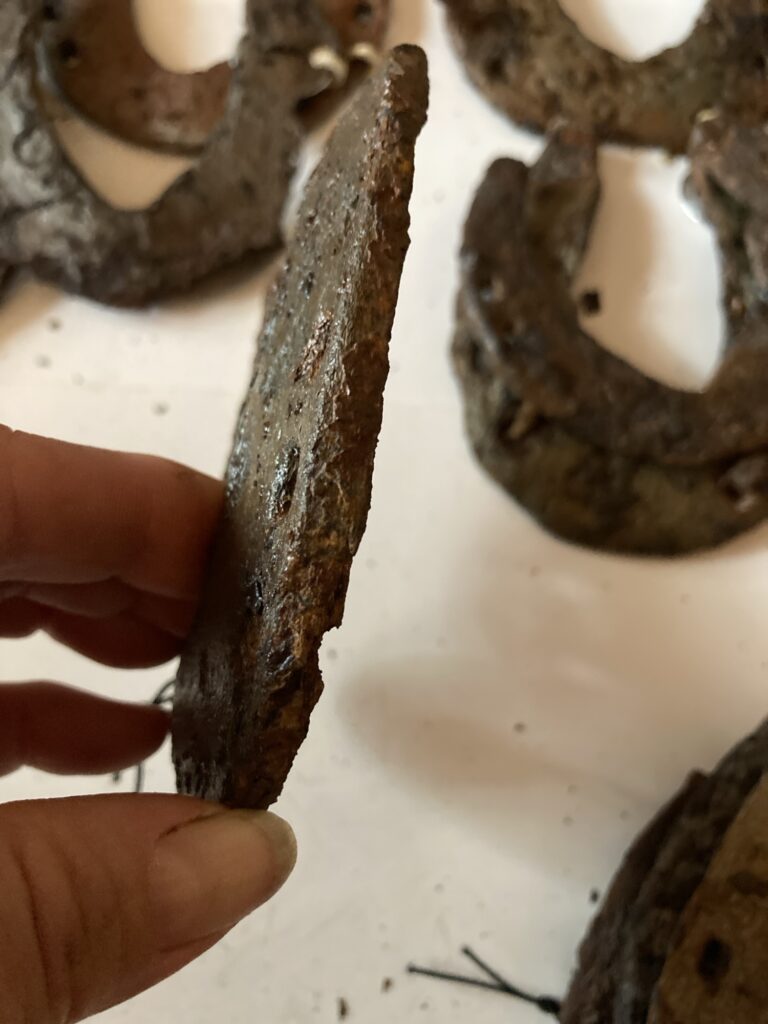
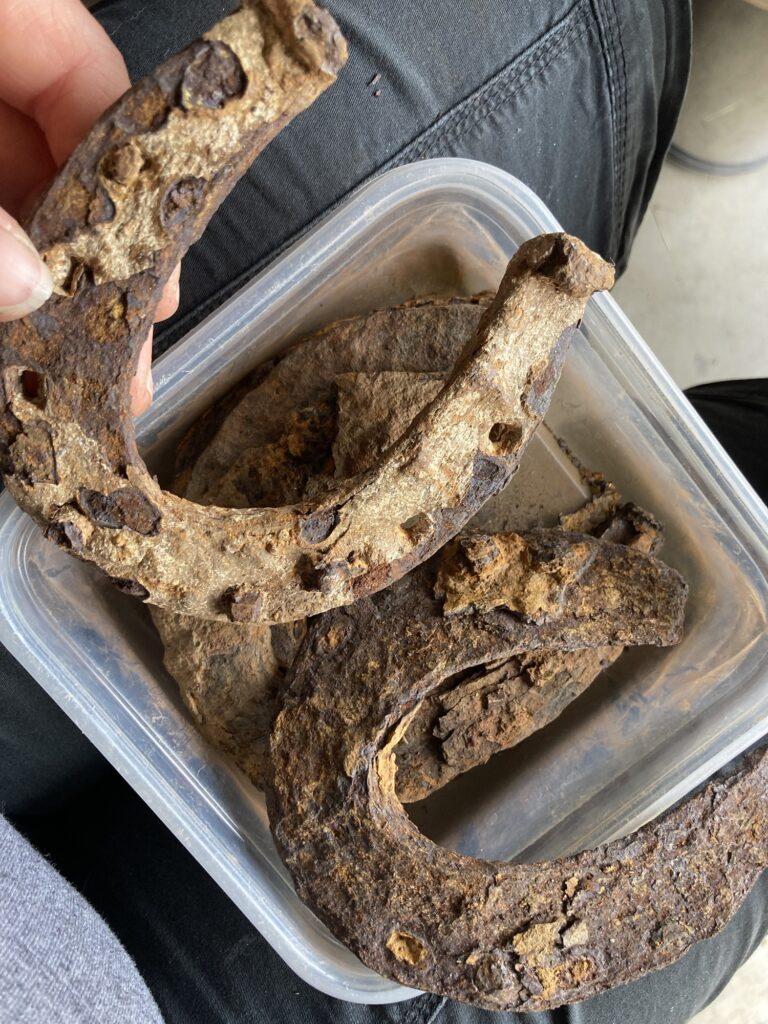
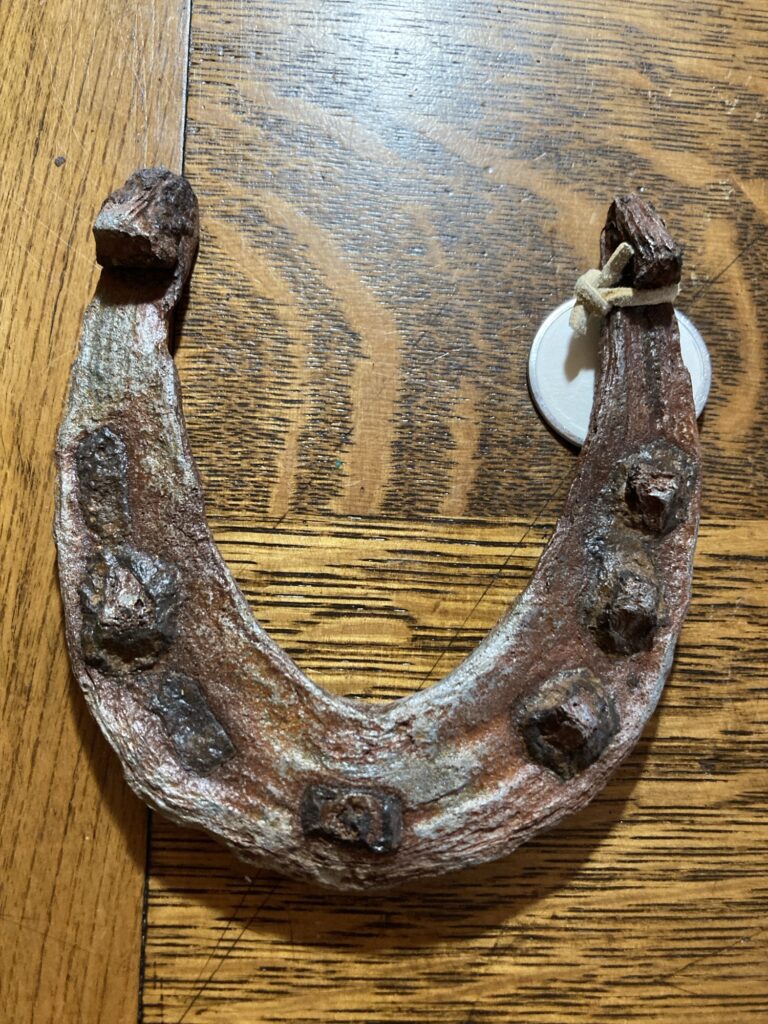
Very old British horseshoes before cleaning. I had to scrape off a LOT of flaky rust and dirt. If I hadn’t, they would shed a lot of grime with just handling them, as some of them had been buried for hundreds of years. Also, rust can be ongoing even after removing them from the ground, and I want to preserve them the best that I can.
Evapo-Rust. This product can be purchased at different hardware stores or auto supply stores. It’s a chemical that you can soak rusty parts in to get them clean. I have used this on my horseshoes and, while I did really like the results, I ended up soaking the shoes for far longer than the directions recommended. I had to soak them for a few hours, scrub them with a hard-bristled steel brush, and soak them again, over and over to achieve the desired results. Granted, if the shoes didn’t have a thick deposit of rust on them the job went very quickly, but for shoes with heavy accumulations of caked-on rust and grime, it was a very tedious process, and the chemical cost me about $25 a gallon. It only takes off so much rust before it needs to be disposed of and replaced, so for a lot of shoes it can be expensive.
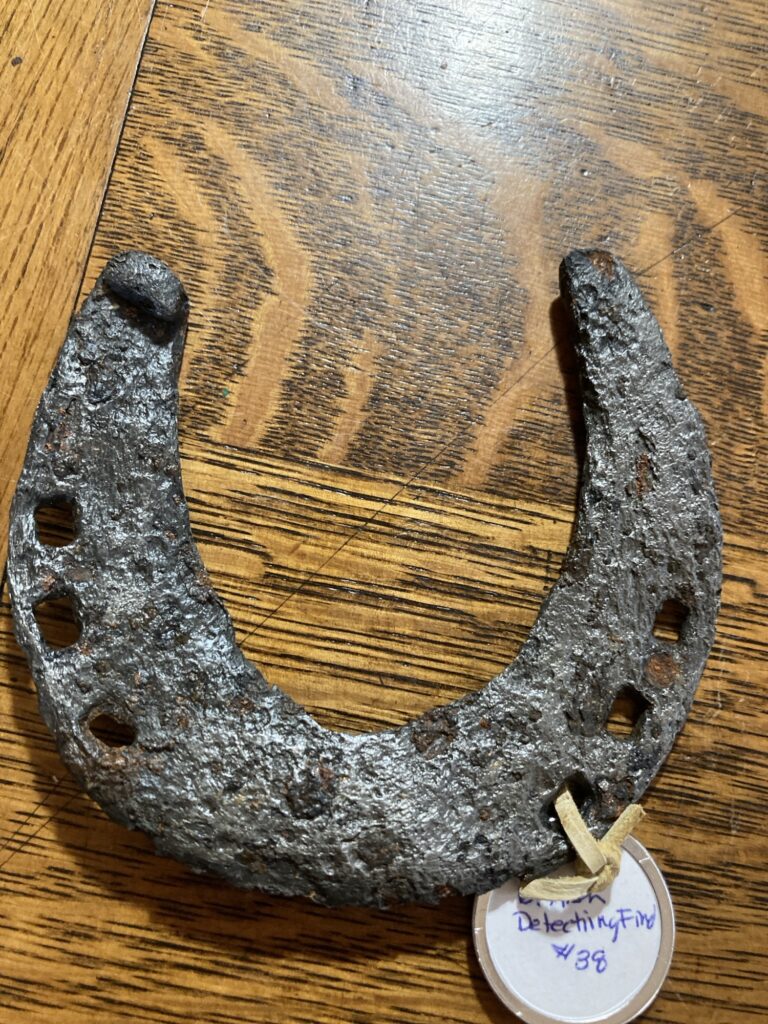
This shoe was cleaned with Evapo-Rust. It looks about the same as one with Vinegar. There are a few flakes of fresh rust (the reddish brown. Dark brown is treated) where my Rustoleum didn’t cover well, or where I picked off a tiny chunk of treated rust afterwards, exposing untreated metal. It is important to spray SEVERAL COATS of paint on front and back, and the thin sides as well, to prevent further rust from forming and further damaging your shoe. I will have to put another coat on this one.
White Vinegar. This is my go-to method at the moment. I simply soak the shoes for about 20 minutes or so, scrub them with a steel-bristled brush to remove rust, and soak them some more until they look the way i want. Afterwards I soak them for a short time in water with baking soda in it to neutralize the acids from the vinegar. Be careful not to soak your items for too long in the vinegar, as it will eventually eat away at the metal. I vaguely recall trying this method when i was a child and being very disappointed when my shoes were very, very pitted after having been forgotten for, say, a month or so. It’s ok to soak them for that long if you keep checking on them and scrubbing to help the process, but if you throw them in the vinegar and forget about them forever, the chemical will eat into the metal.
I suspect that this shoe was one that I carelessly soaked in vinegar and forgot about as a child. Notice the excessive pitting and how some of the nail holes are eaten through at the edges. In my area, this shoe isn’t much older than 100-150ish years old. While being buried in different environments might cause this damage, the lack of rust makes me suspect it is from the vinegar accident of my childhood.
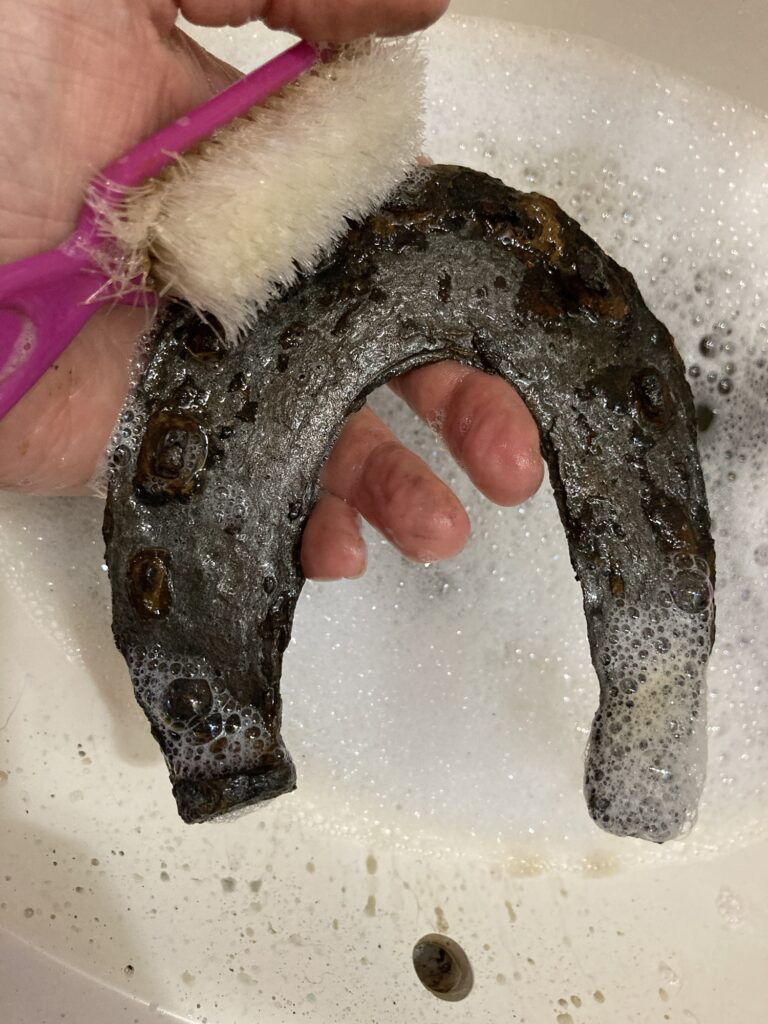
Vinegar is cheap and easily obtained. I keep an old covered tote with a gallon of vinegar to soak my shoes in. Afterwards I soak them in water with a little baking soda in it for a few days, to neutralize the vinegar. Then I wash them with soap and water, using a soft scrub brush. I use hot water so they dry quickly, then finish off with a few coats of clear Rustoleum spray paint, which prevents new rust from forming.
A soap water scrub after removing most of the rust.
Whichever method you decide to use, you will want to remove as much dirt and flaky rust as possible beforehand. If the rust is really thick and flaky, I use a thin scraper of some sort to gently pry between the layers. Always wear safety goggles and be careful not to stab yourself with whatever you use. Only pry a tiny bit, as whatever you are trying to pry might be a part of the original metal, and you don’t want to ruin the piece. I merely pick at it and see what flakes off easily. After you have removed some of this surface rust, the chemicals will more easily get to the metal beneath.
Other methods. There are other methods that can be used, such as electrolysis or a grinding wheel. I have not used these methods, but i have shoes that were cleaned using them.
Electrolysis involves soaking the shoes and using electricity. It appears to work extremely well, but involves special equipment.
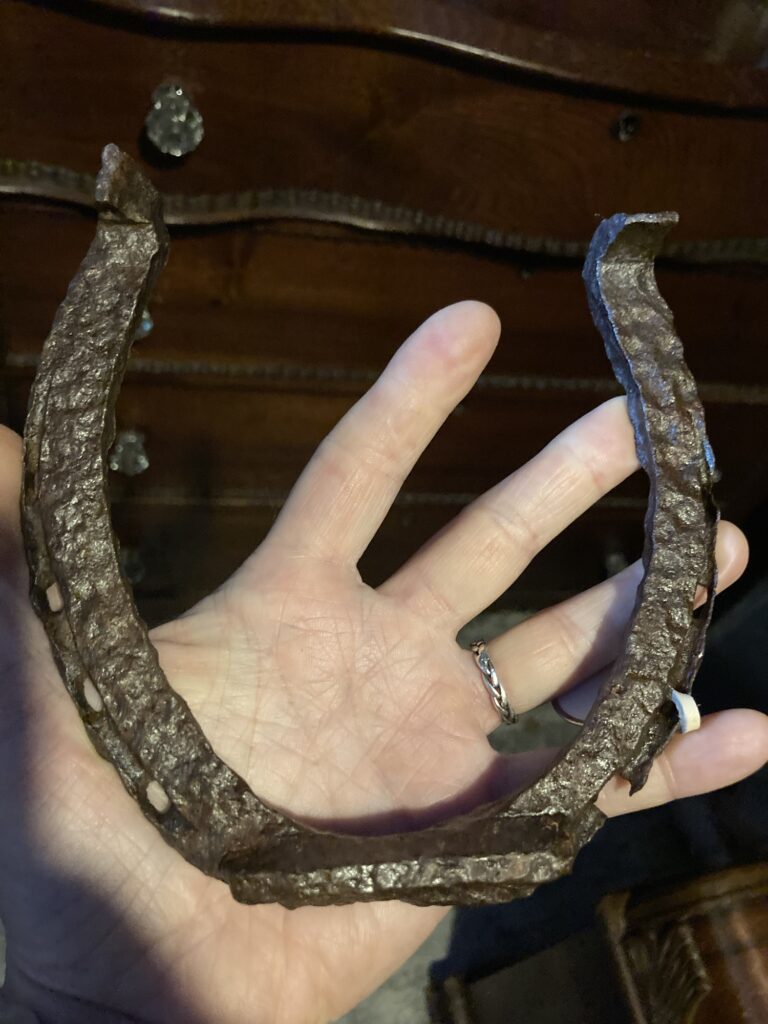
This shoe was cleaned using electrolysis. I bought it this way. Every bit of rust is gone, and if treated properly with rust-preventive chemicals like Rustoleum, wax, or etc., it will hopefully stay that way.
If using a grinding wheel, you can attach a wire wheel and use that to remove rust. There are also other attachments that can be used to buff the metal. My dad did this with one of my first horseshoes as a child. I worry that this method might damage the surface of the shoe, but on the backside of it I can make out a lot of detail from its original forging, so the scrape marks on the front could be original.
BacksideFront side. This shoe was cleaned with a grinding wheel.
Other Chemicals. You can use Coca Cola or lemon juice in the same way as the vinegar. I haven’t used these methods in years but they do work. Just don’t forget them in the solution!
Bear in mind that whatever method you use to remove the rust, if not treated properly and according to instructions, the rust will come back, sometimes even within minutes of being removed. I honestly don’t mind a little bit of rusty patina and have experimented with giving some of my freshly cleaned shoes a spritz of water and letting them sit for a day or so to get a little of the color before spraying them with clear Rustoleum to stop the process and preserve them. My main goal of cleaning them is to remove the thick rust that obscures detail.
This is an ancient shoe from Great Britain that I created a rusty patina on. It was cleaned with vinegar. Notice that it is very difficult to clean around nails and in nail holes, but cleaning the shoes will expose them enough to identify them better.
I also have a lot of more recent horseshoes that I did not remove the rust from, as it wasn’t as thick and obscuring. I simply clean them well with a wire brush if necessary, and then spray them with several coats of Rustoleum clear paint (the one that specifically stops rust). They still look good and stay protected.
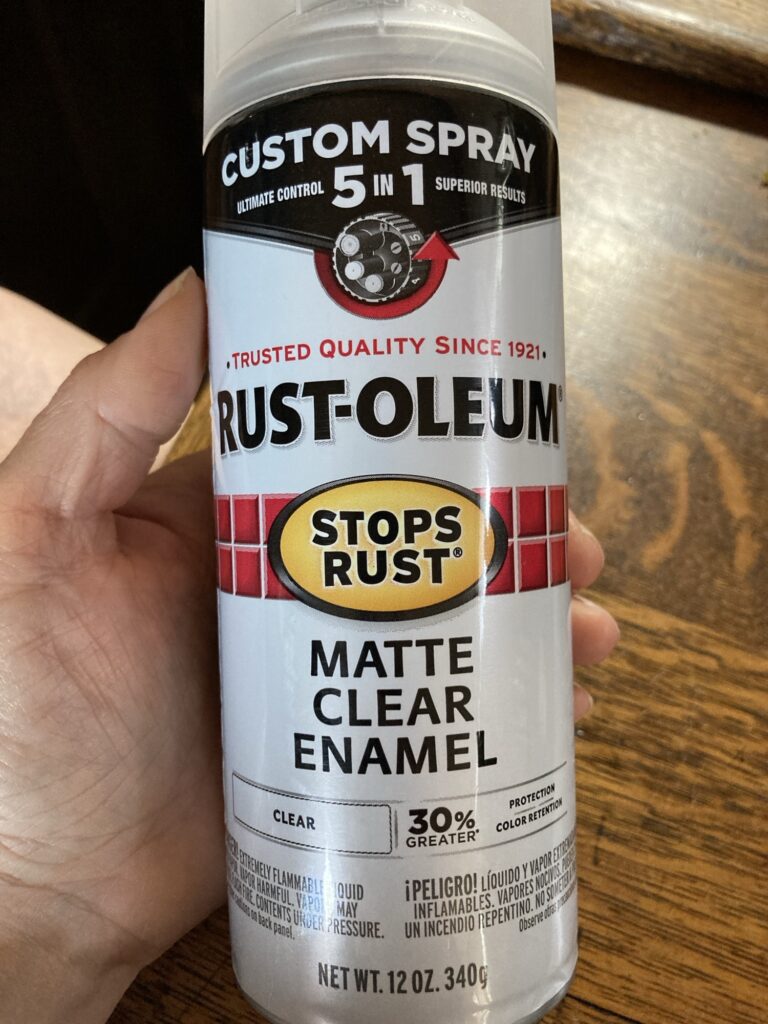
This is the clear spray I use. Be sure to get the one that says ‘STOPS RUST’This donkey (or small mule) shoe didn’t have a thick coat of rust, so I simply treated it with preserving clear paint.
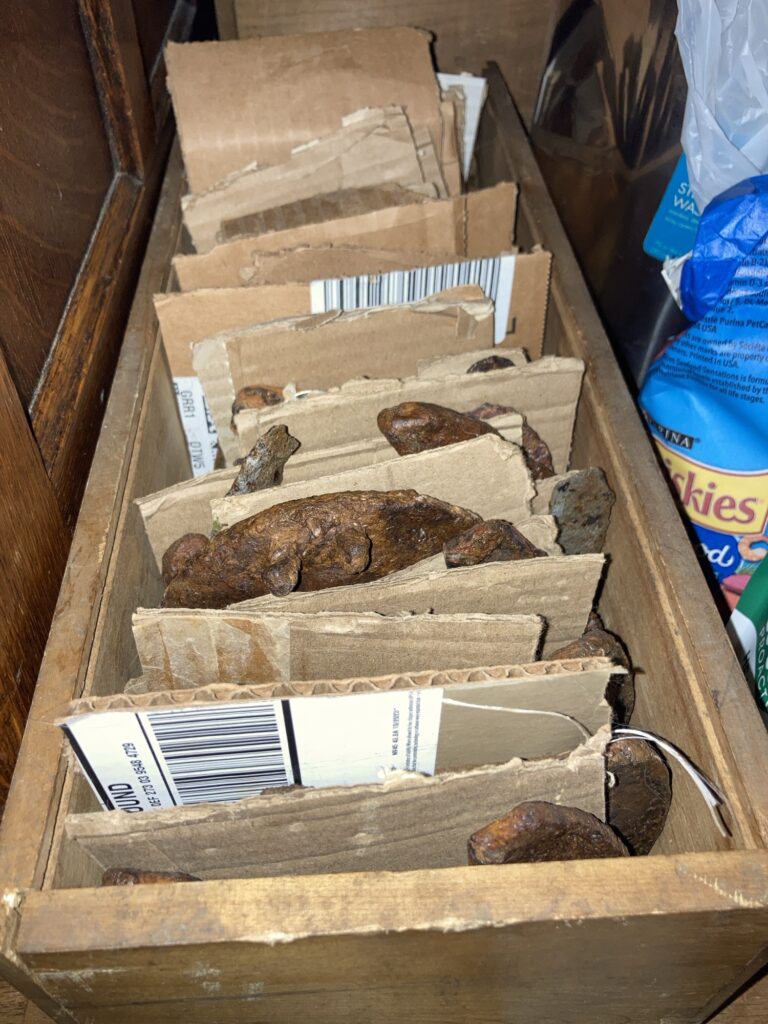
In the end, the most important thing is preservation. Rust eats away at the metal of the shoe, and if not treated properly, it will continue to eat away at them after you find them. Make sure you don’t destroy them by soaking too long, and make sure you prevent further rust corrosion by treating them afterwards. After treating them it is important to store them in a dry environment to make sure the treatment works. I keep my prizes filed in narrow boxes with cardboard in between them, like a file cabinet.
While not very pretty, this storage works for me at the moment until i can find something that suits my tastes better. It has to be strong enough to support the weight of all of my shoes.
Hopefully, with proper care, these shoes will last for generations to come. (You’re welcome, kids! Have fun!)
While I was working on a dollhouse saloon, my mother suggested (jokingly, I am sure) that I should do a livery stable next. I had bought an awesome horse action figure (McFarlane Toys Roach from the Witcher series season 2), and was planning on eventually tying it outside of the saloon at a hitching post. The idea of a livery stable kept growing on me, because I LOVE horses, and I love barns as well. I started searching Facebook Marketplace for a suitable candidate.
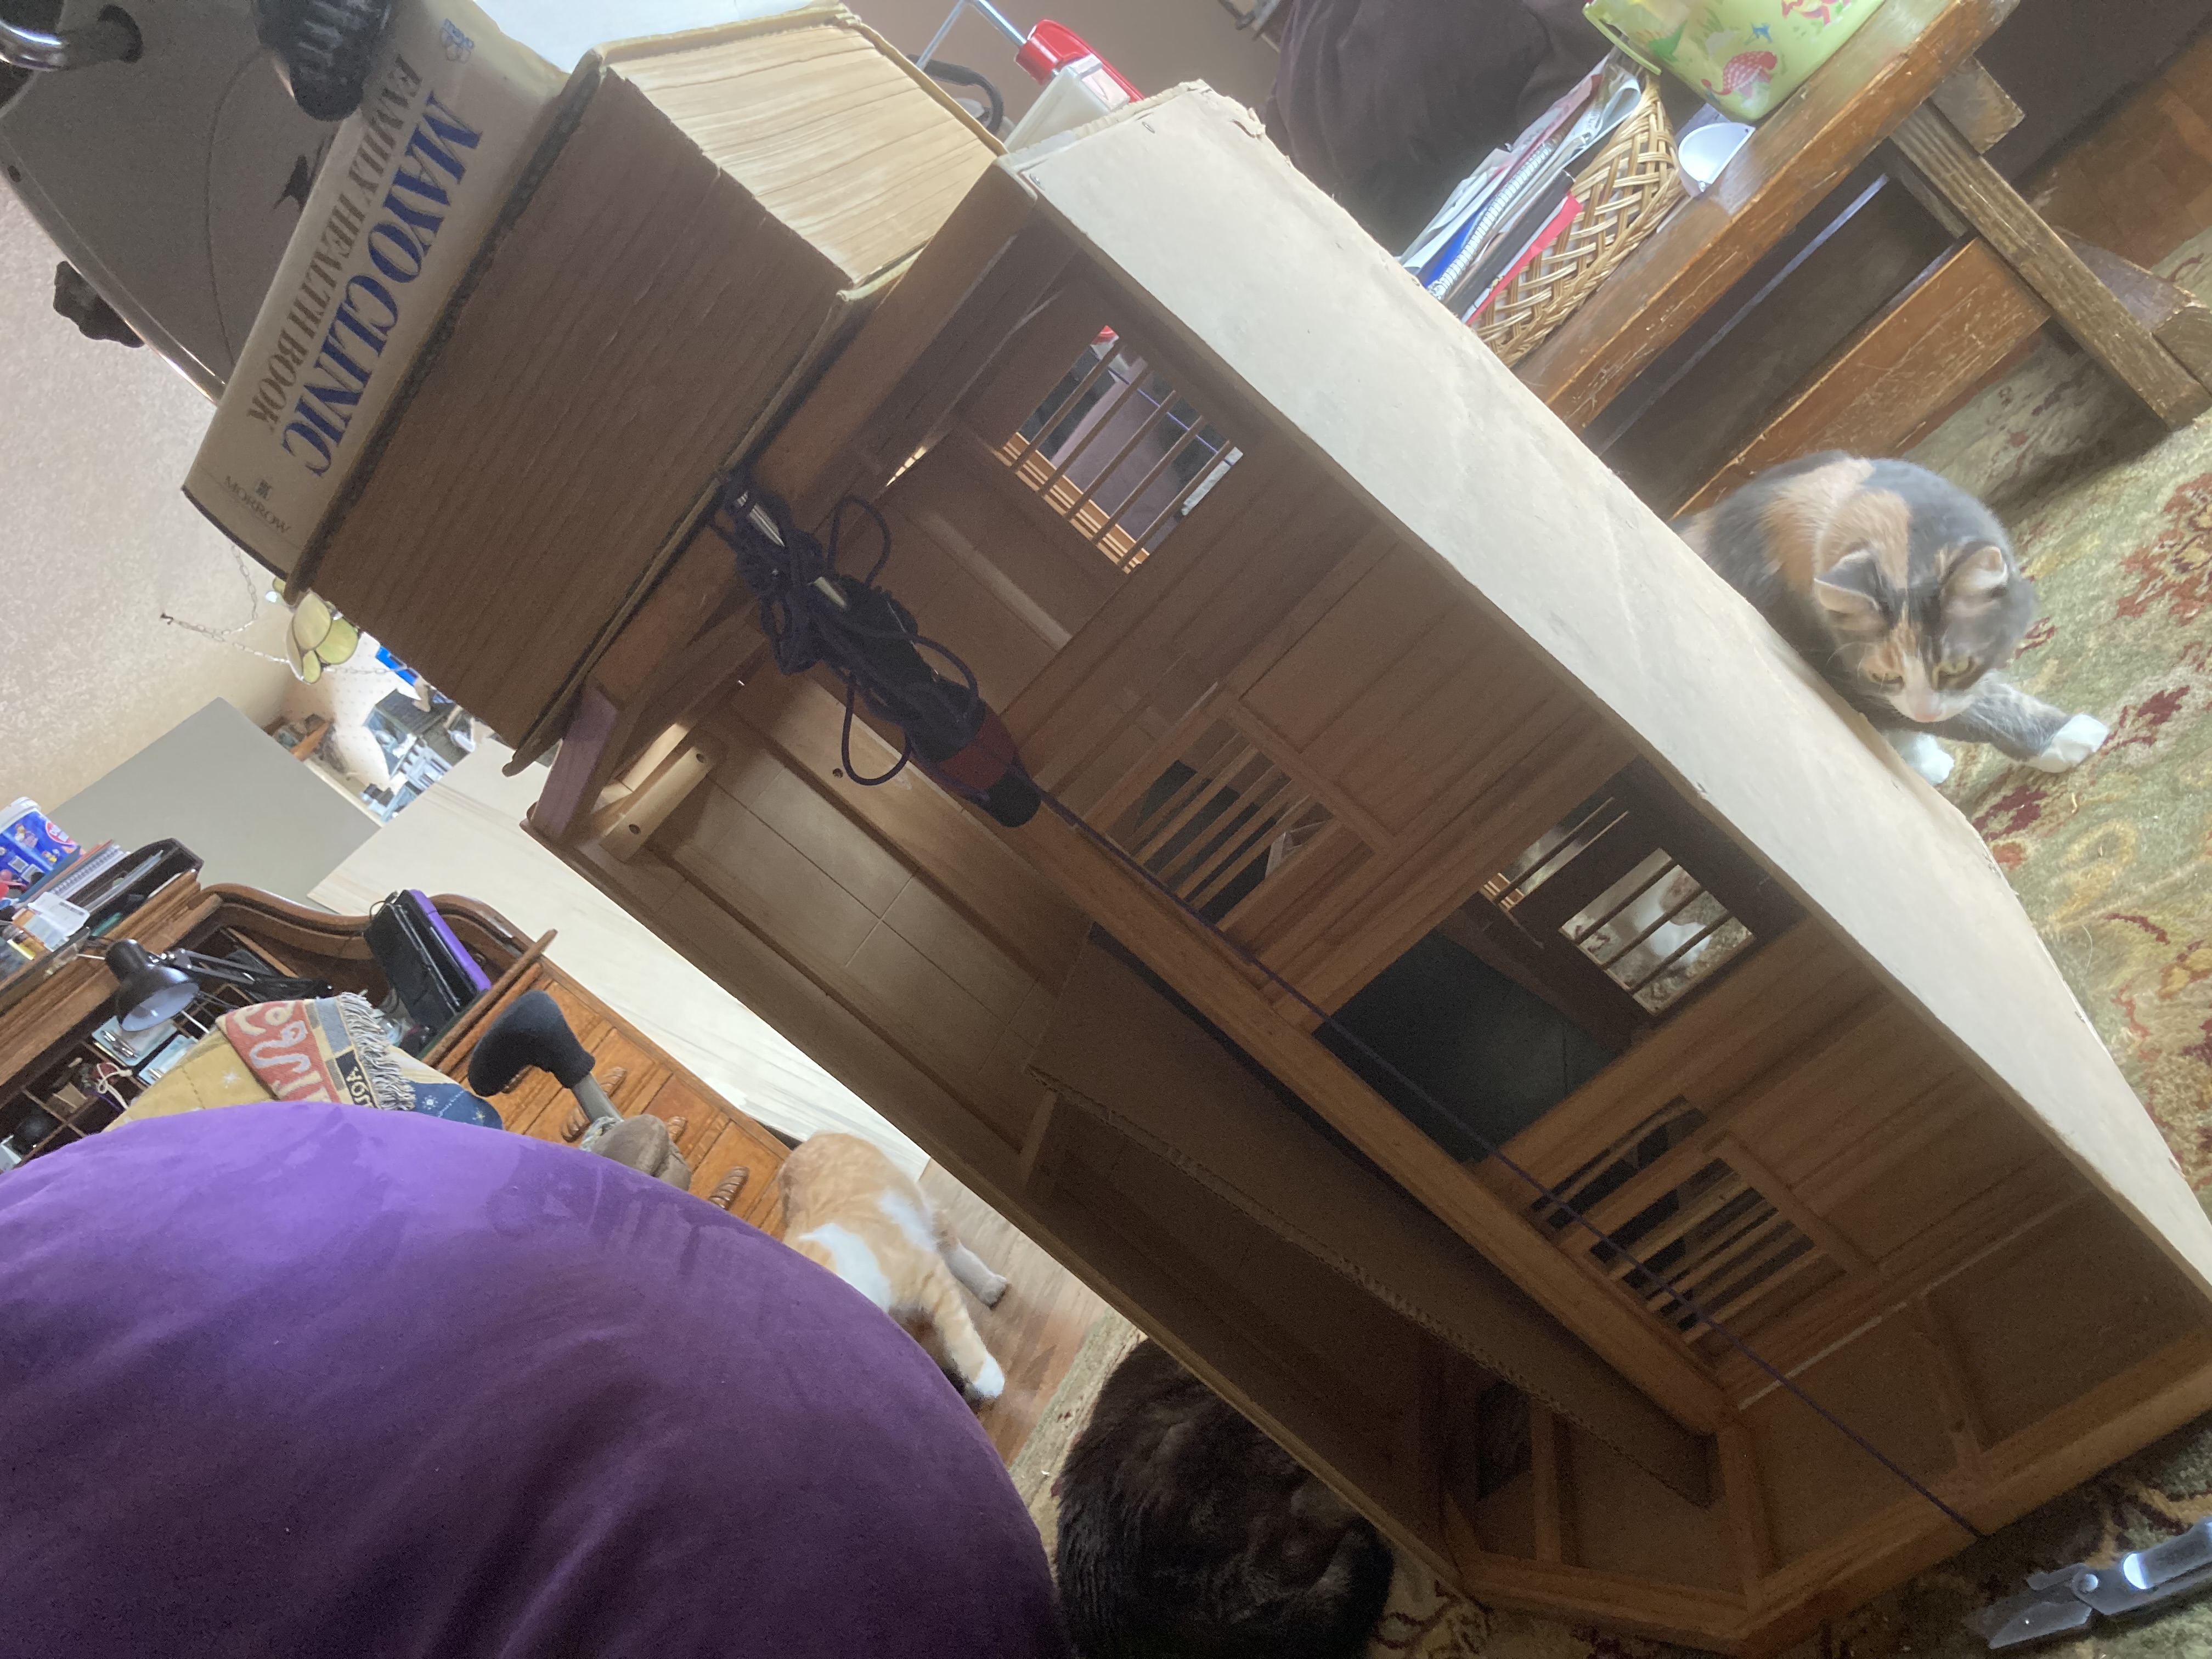
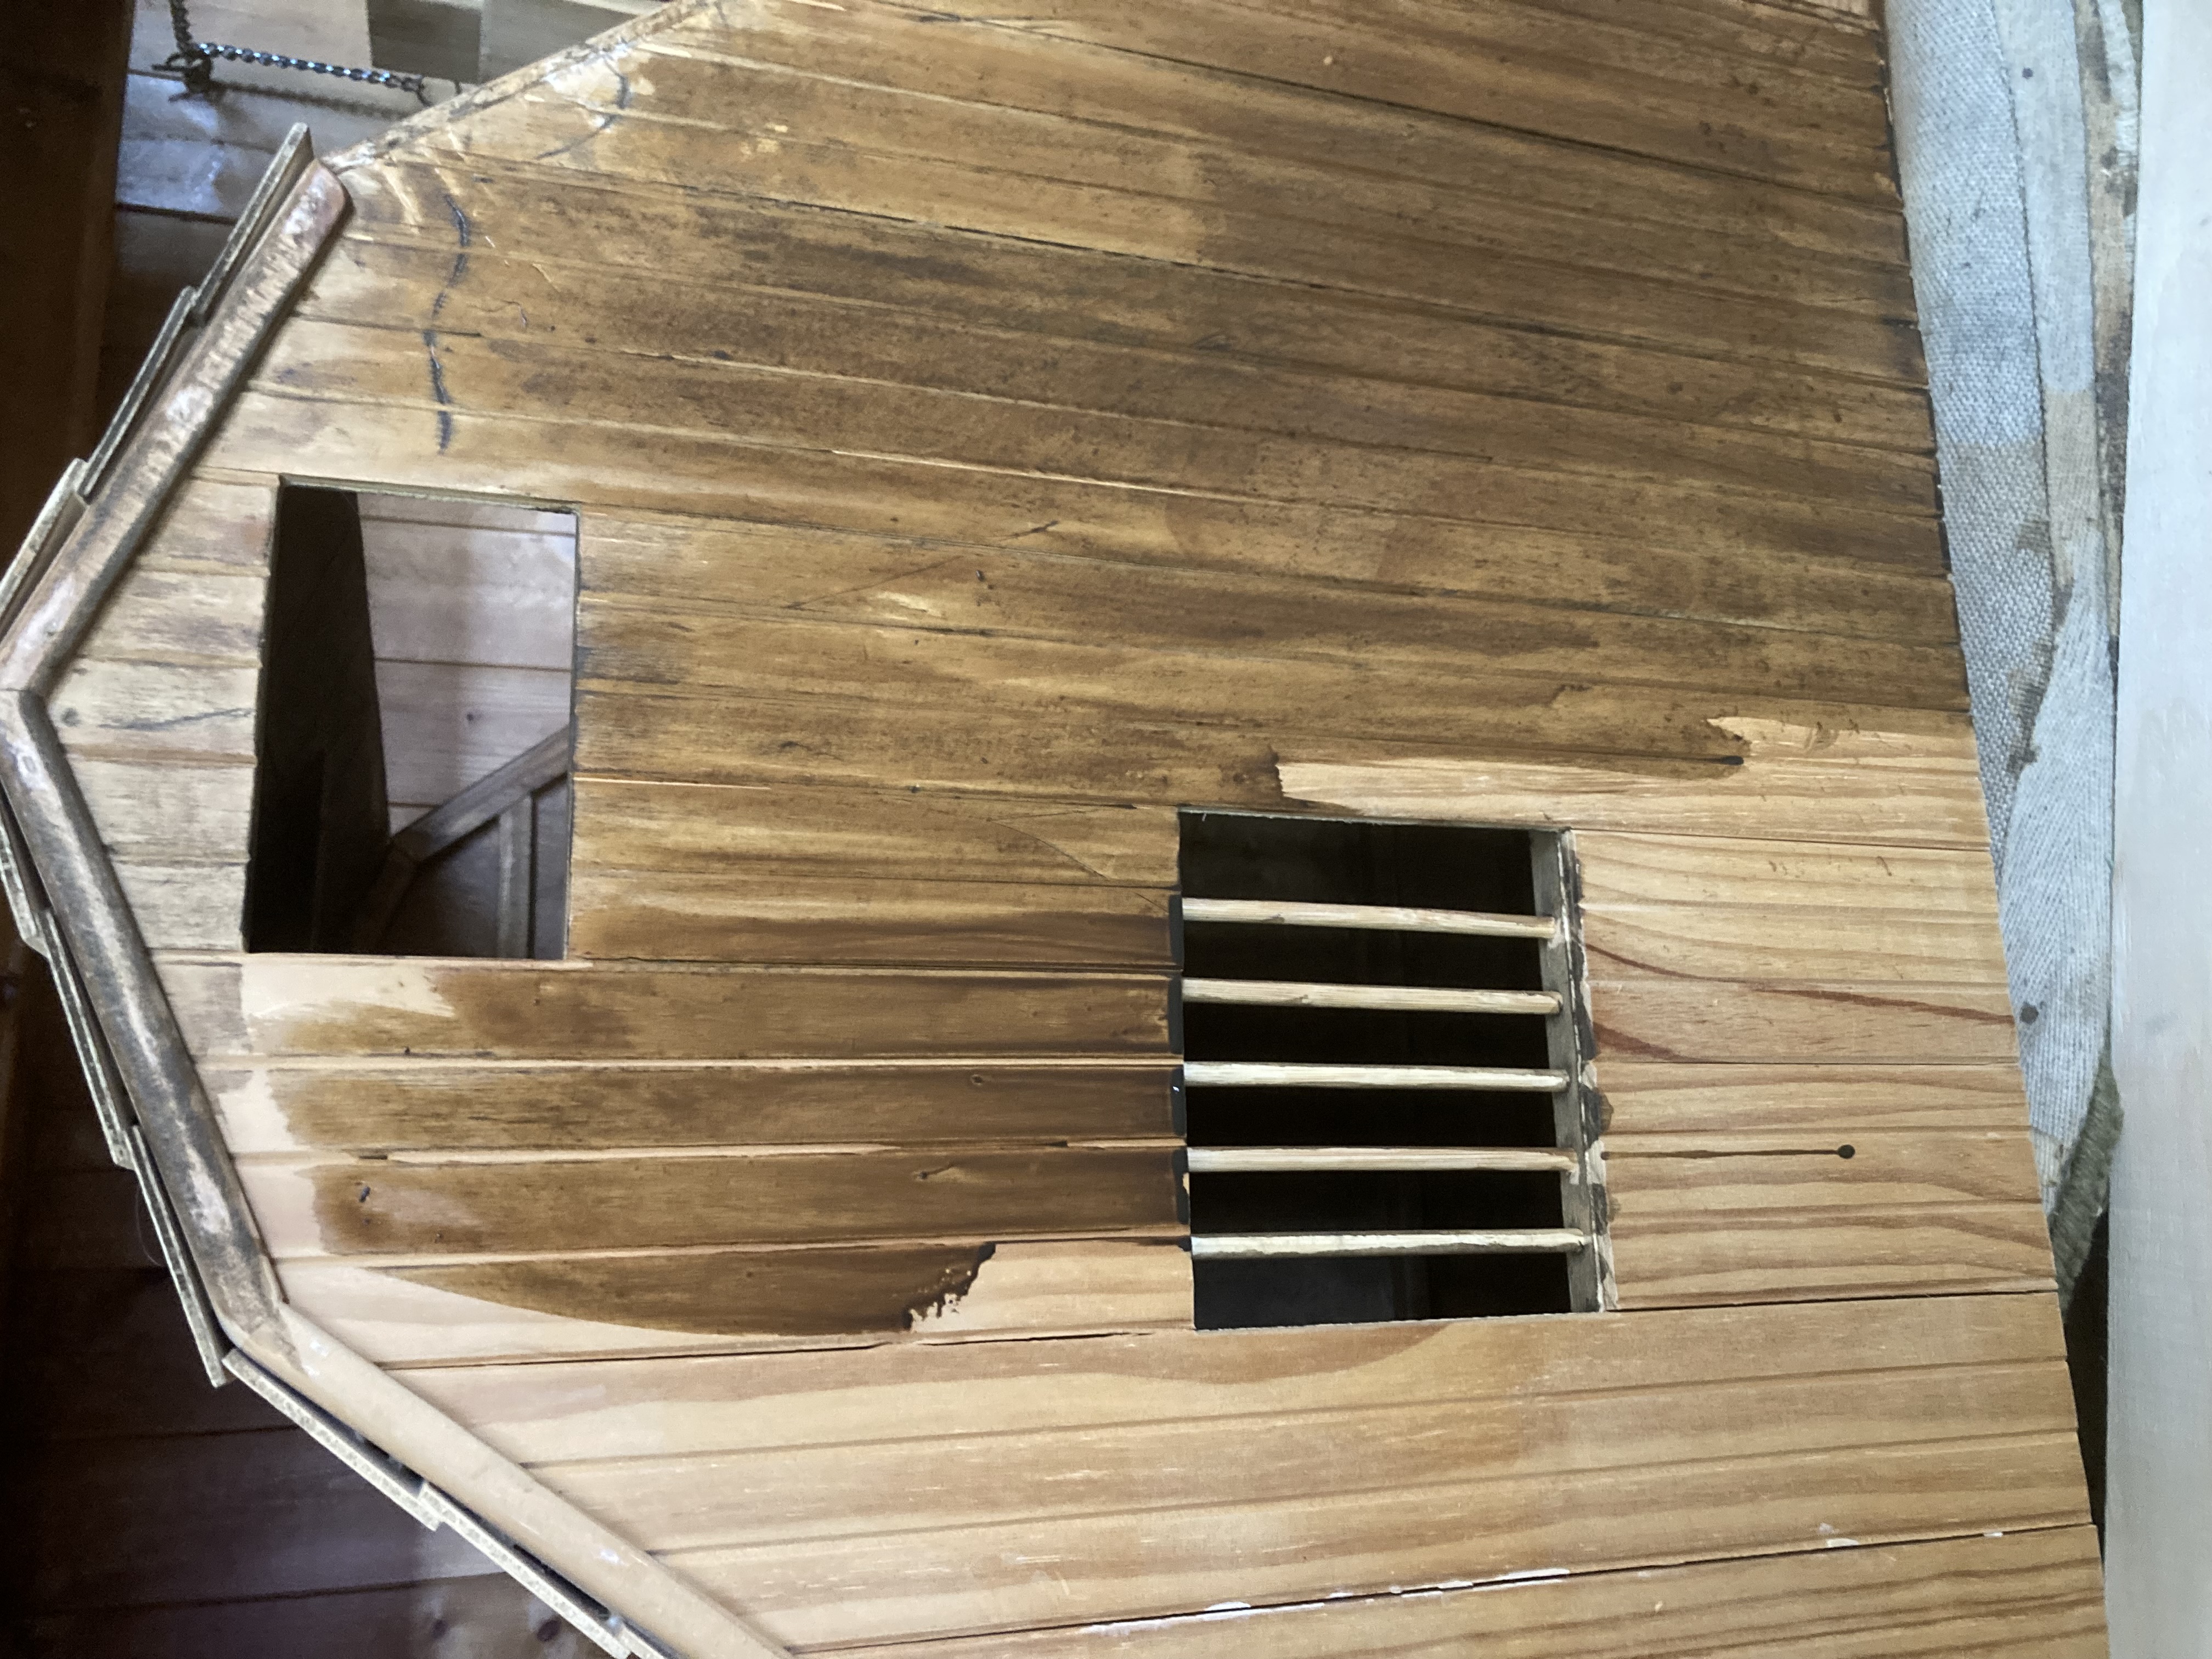
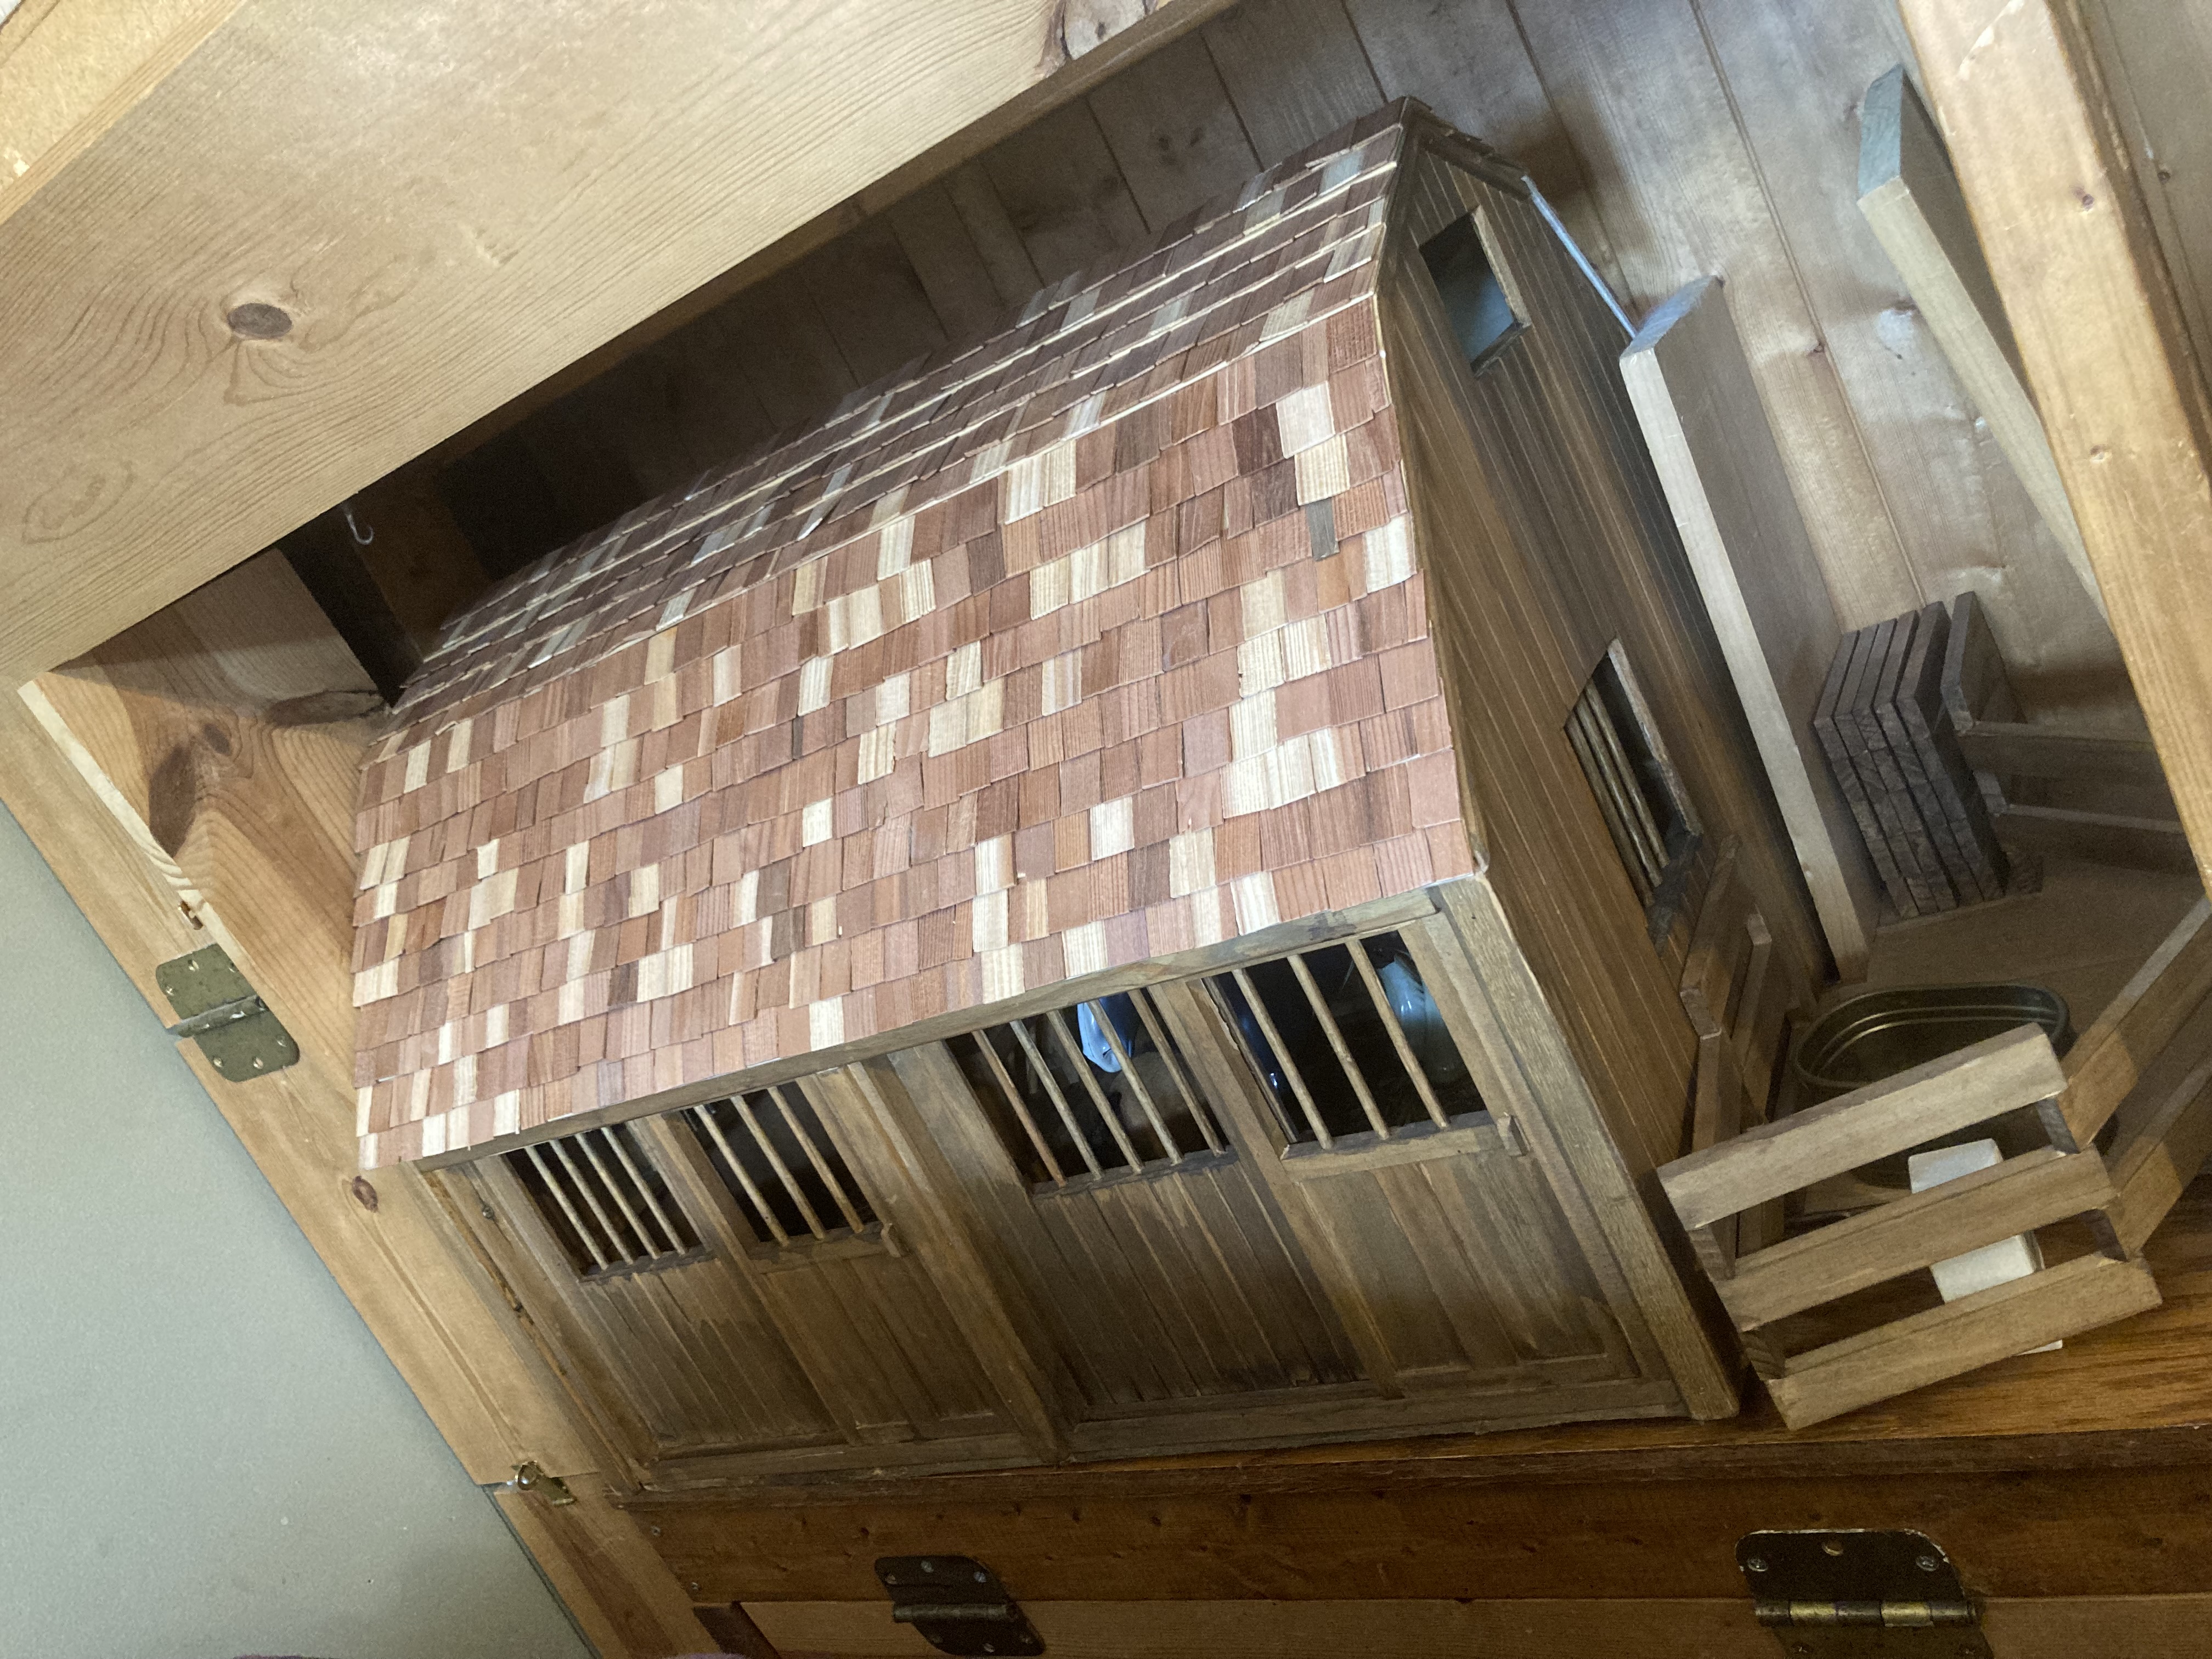
It’s not easy to see in this photo, but this is the barn I picked out. It is a vintage Breyer Horse barn. It had some minor structural damage that I was working on in this photo.
I chose a vintage Breyer Horse barn. There are 2 large stalls and a loft. Each stall has 2 doors–one in front and one in back. I loved these doors, as they slide like a real barn door. There is also a nice, wide aisle in front that I can use for staging photos.
I found several of these barns on Facebook Marketplace, and so had several to choose from. This particular one was nearby, came with some wooden fencing to use as a paddock, and needed a few minor structural repairs. The repairs didn’t scare me as they looked pretty easy to do, and the price was right, so I bought it. The above photo was as I was ‘clamping’ it so glue would dry properly. Unfortunately it is the closest ‘before’ photo I have of it.
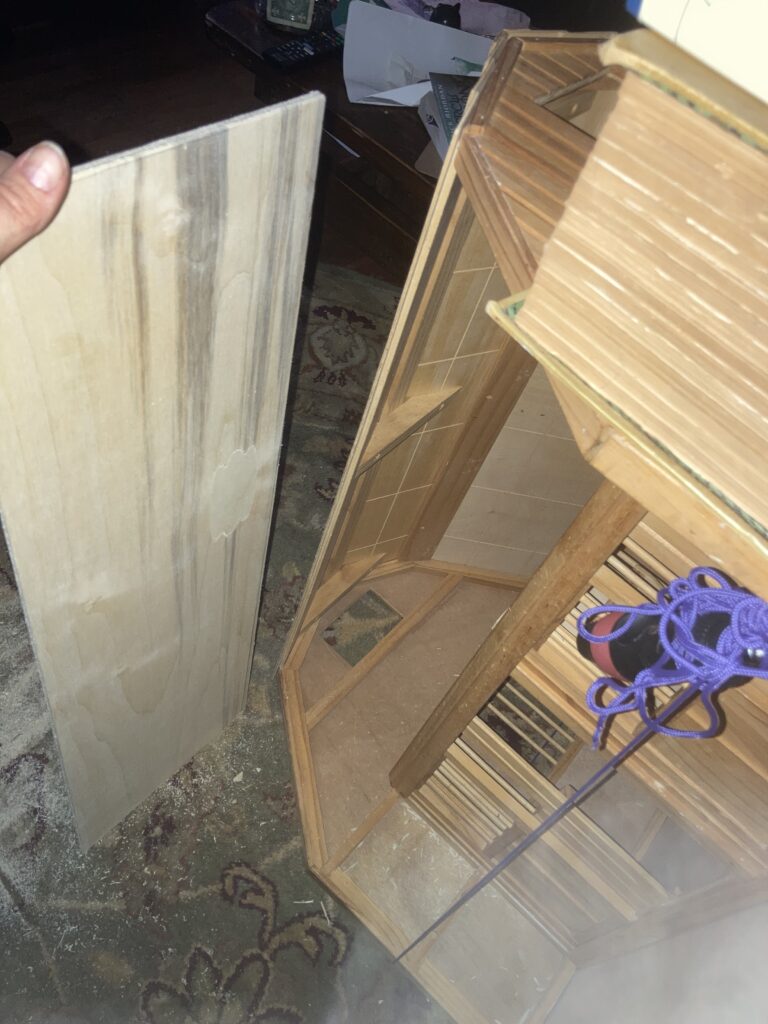
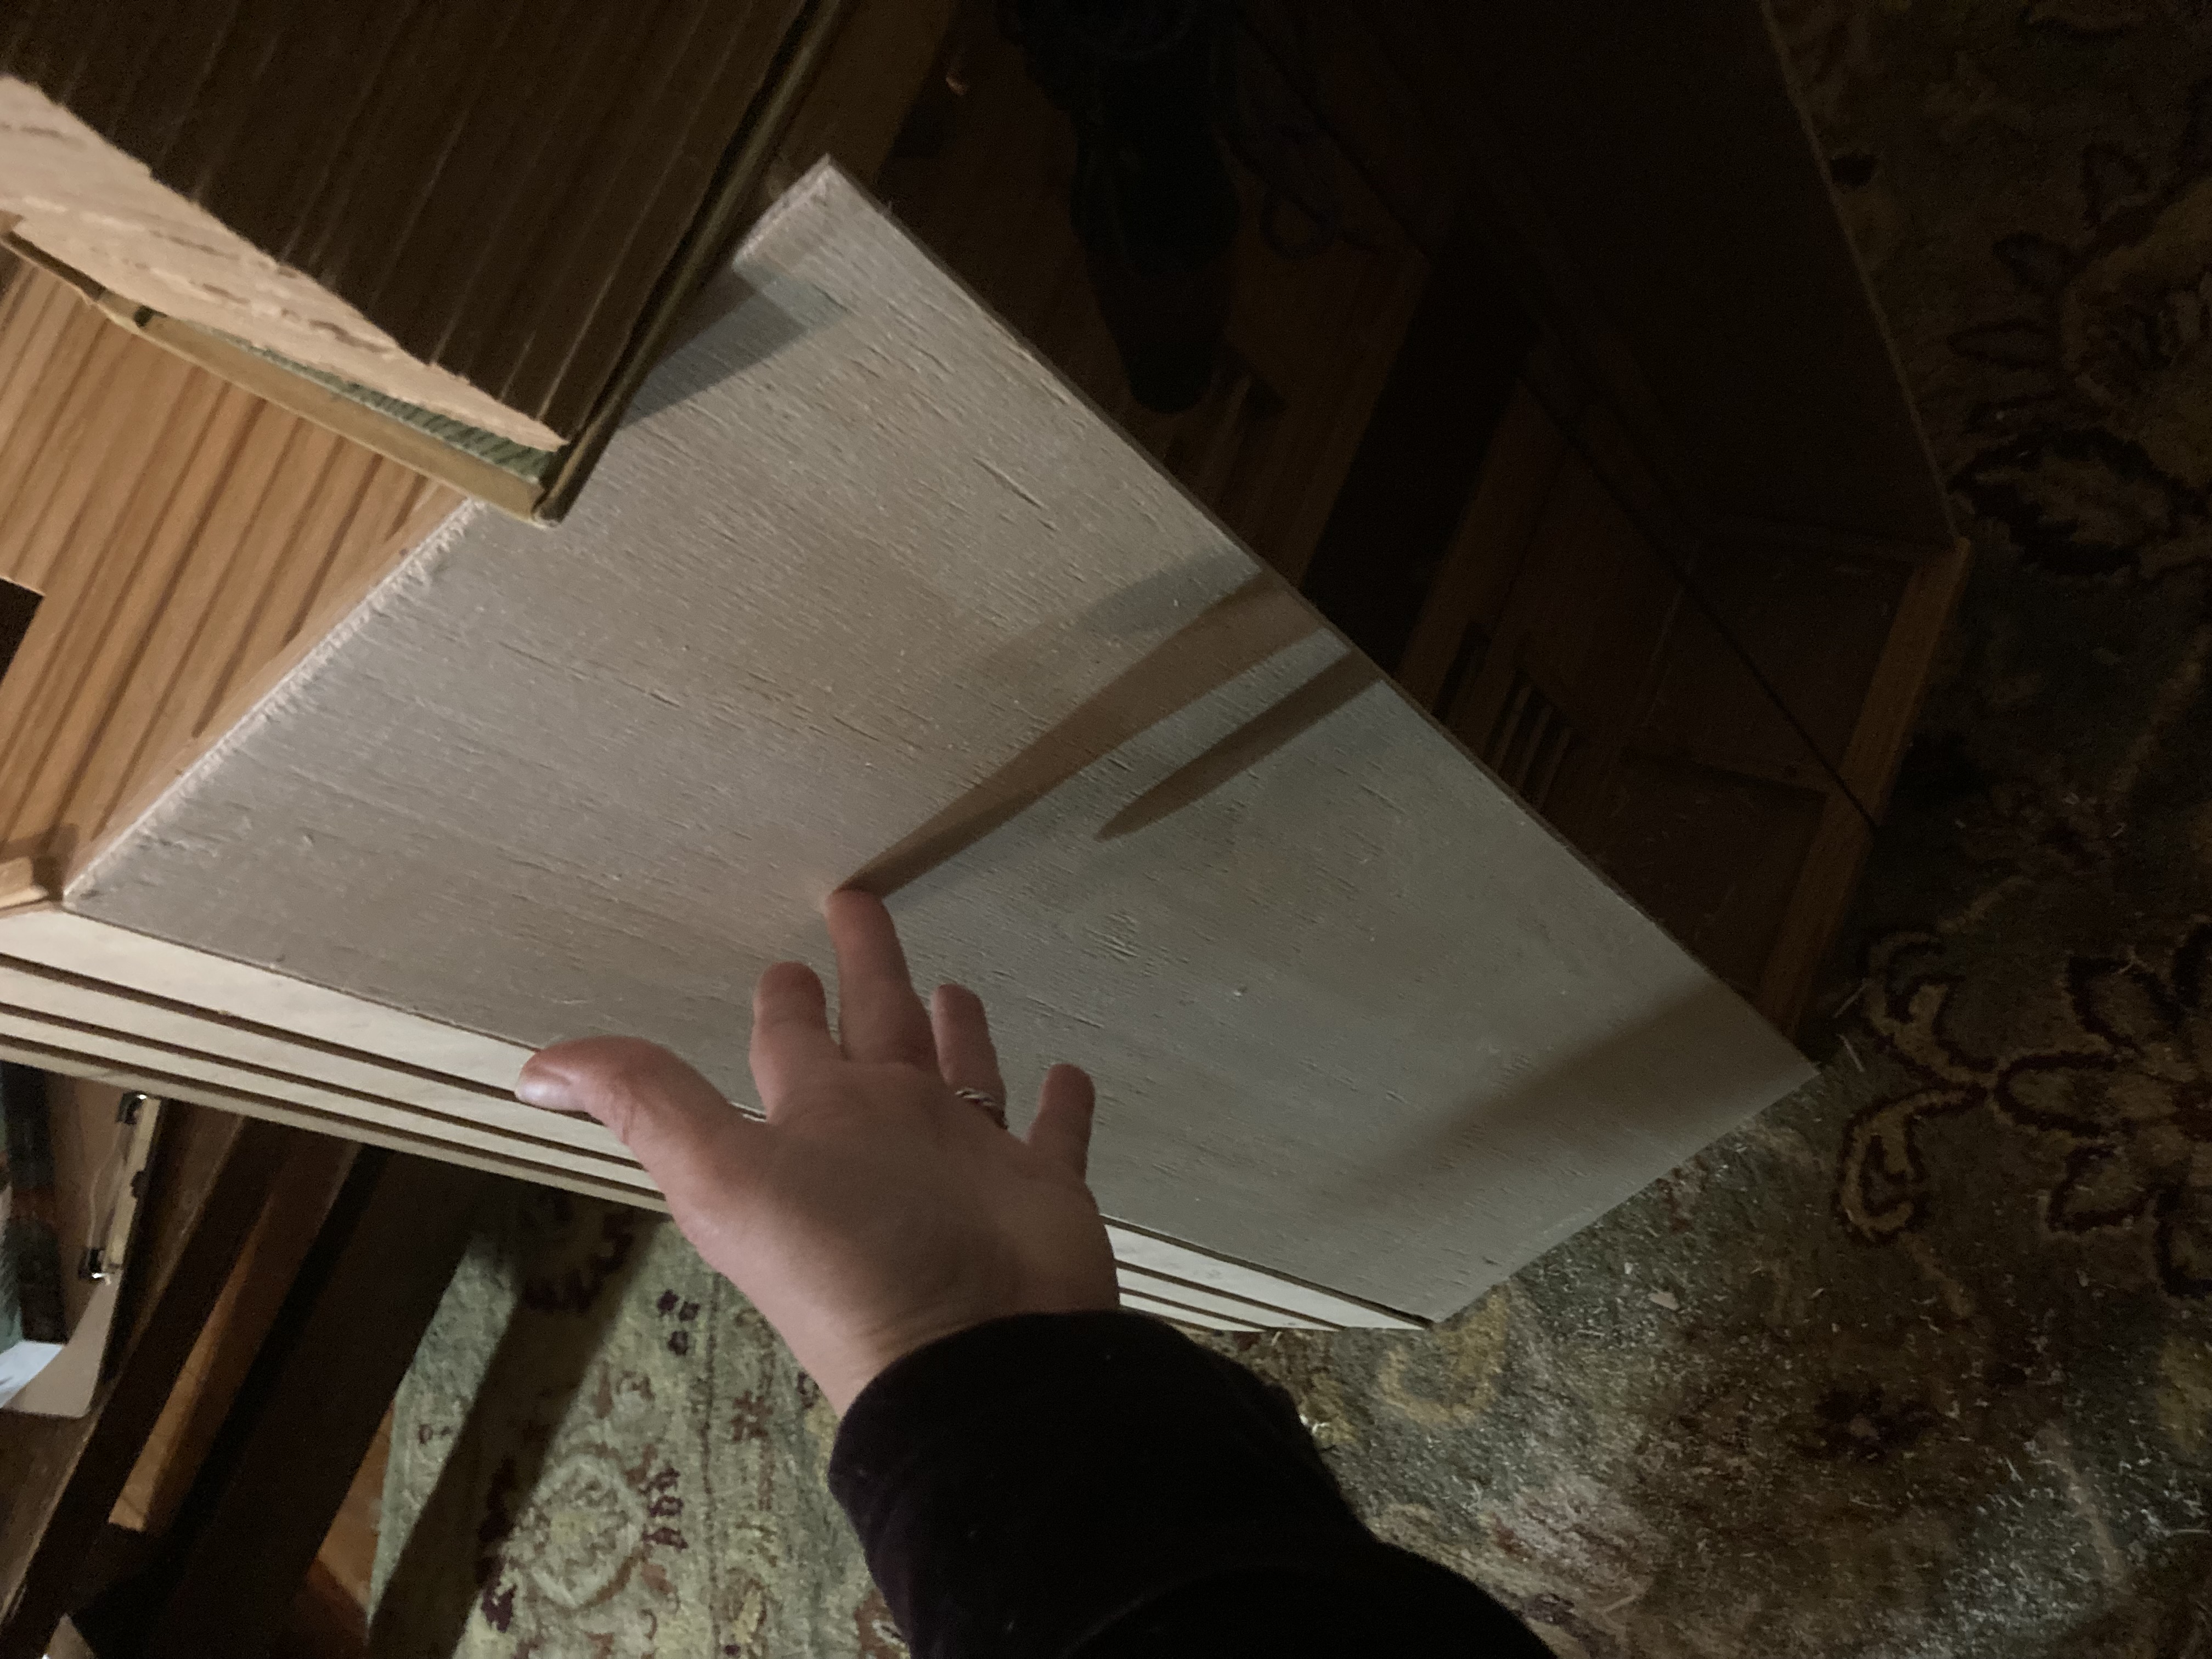
I decided that I wanted to make a few changes to this stable so it is more realistic. I wanted to add a hinged section of roof to cover the front of the barn, as well as another section of flooring in the loft so it would be closed on top, making a second floor that I could fill with straw and horse tack.
I cut out a section of thin wood to use as a hinged roof.Roof section fitted into place. I secured it using small brass hinges from the hardware store.
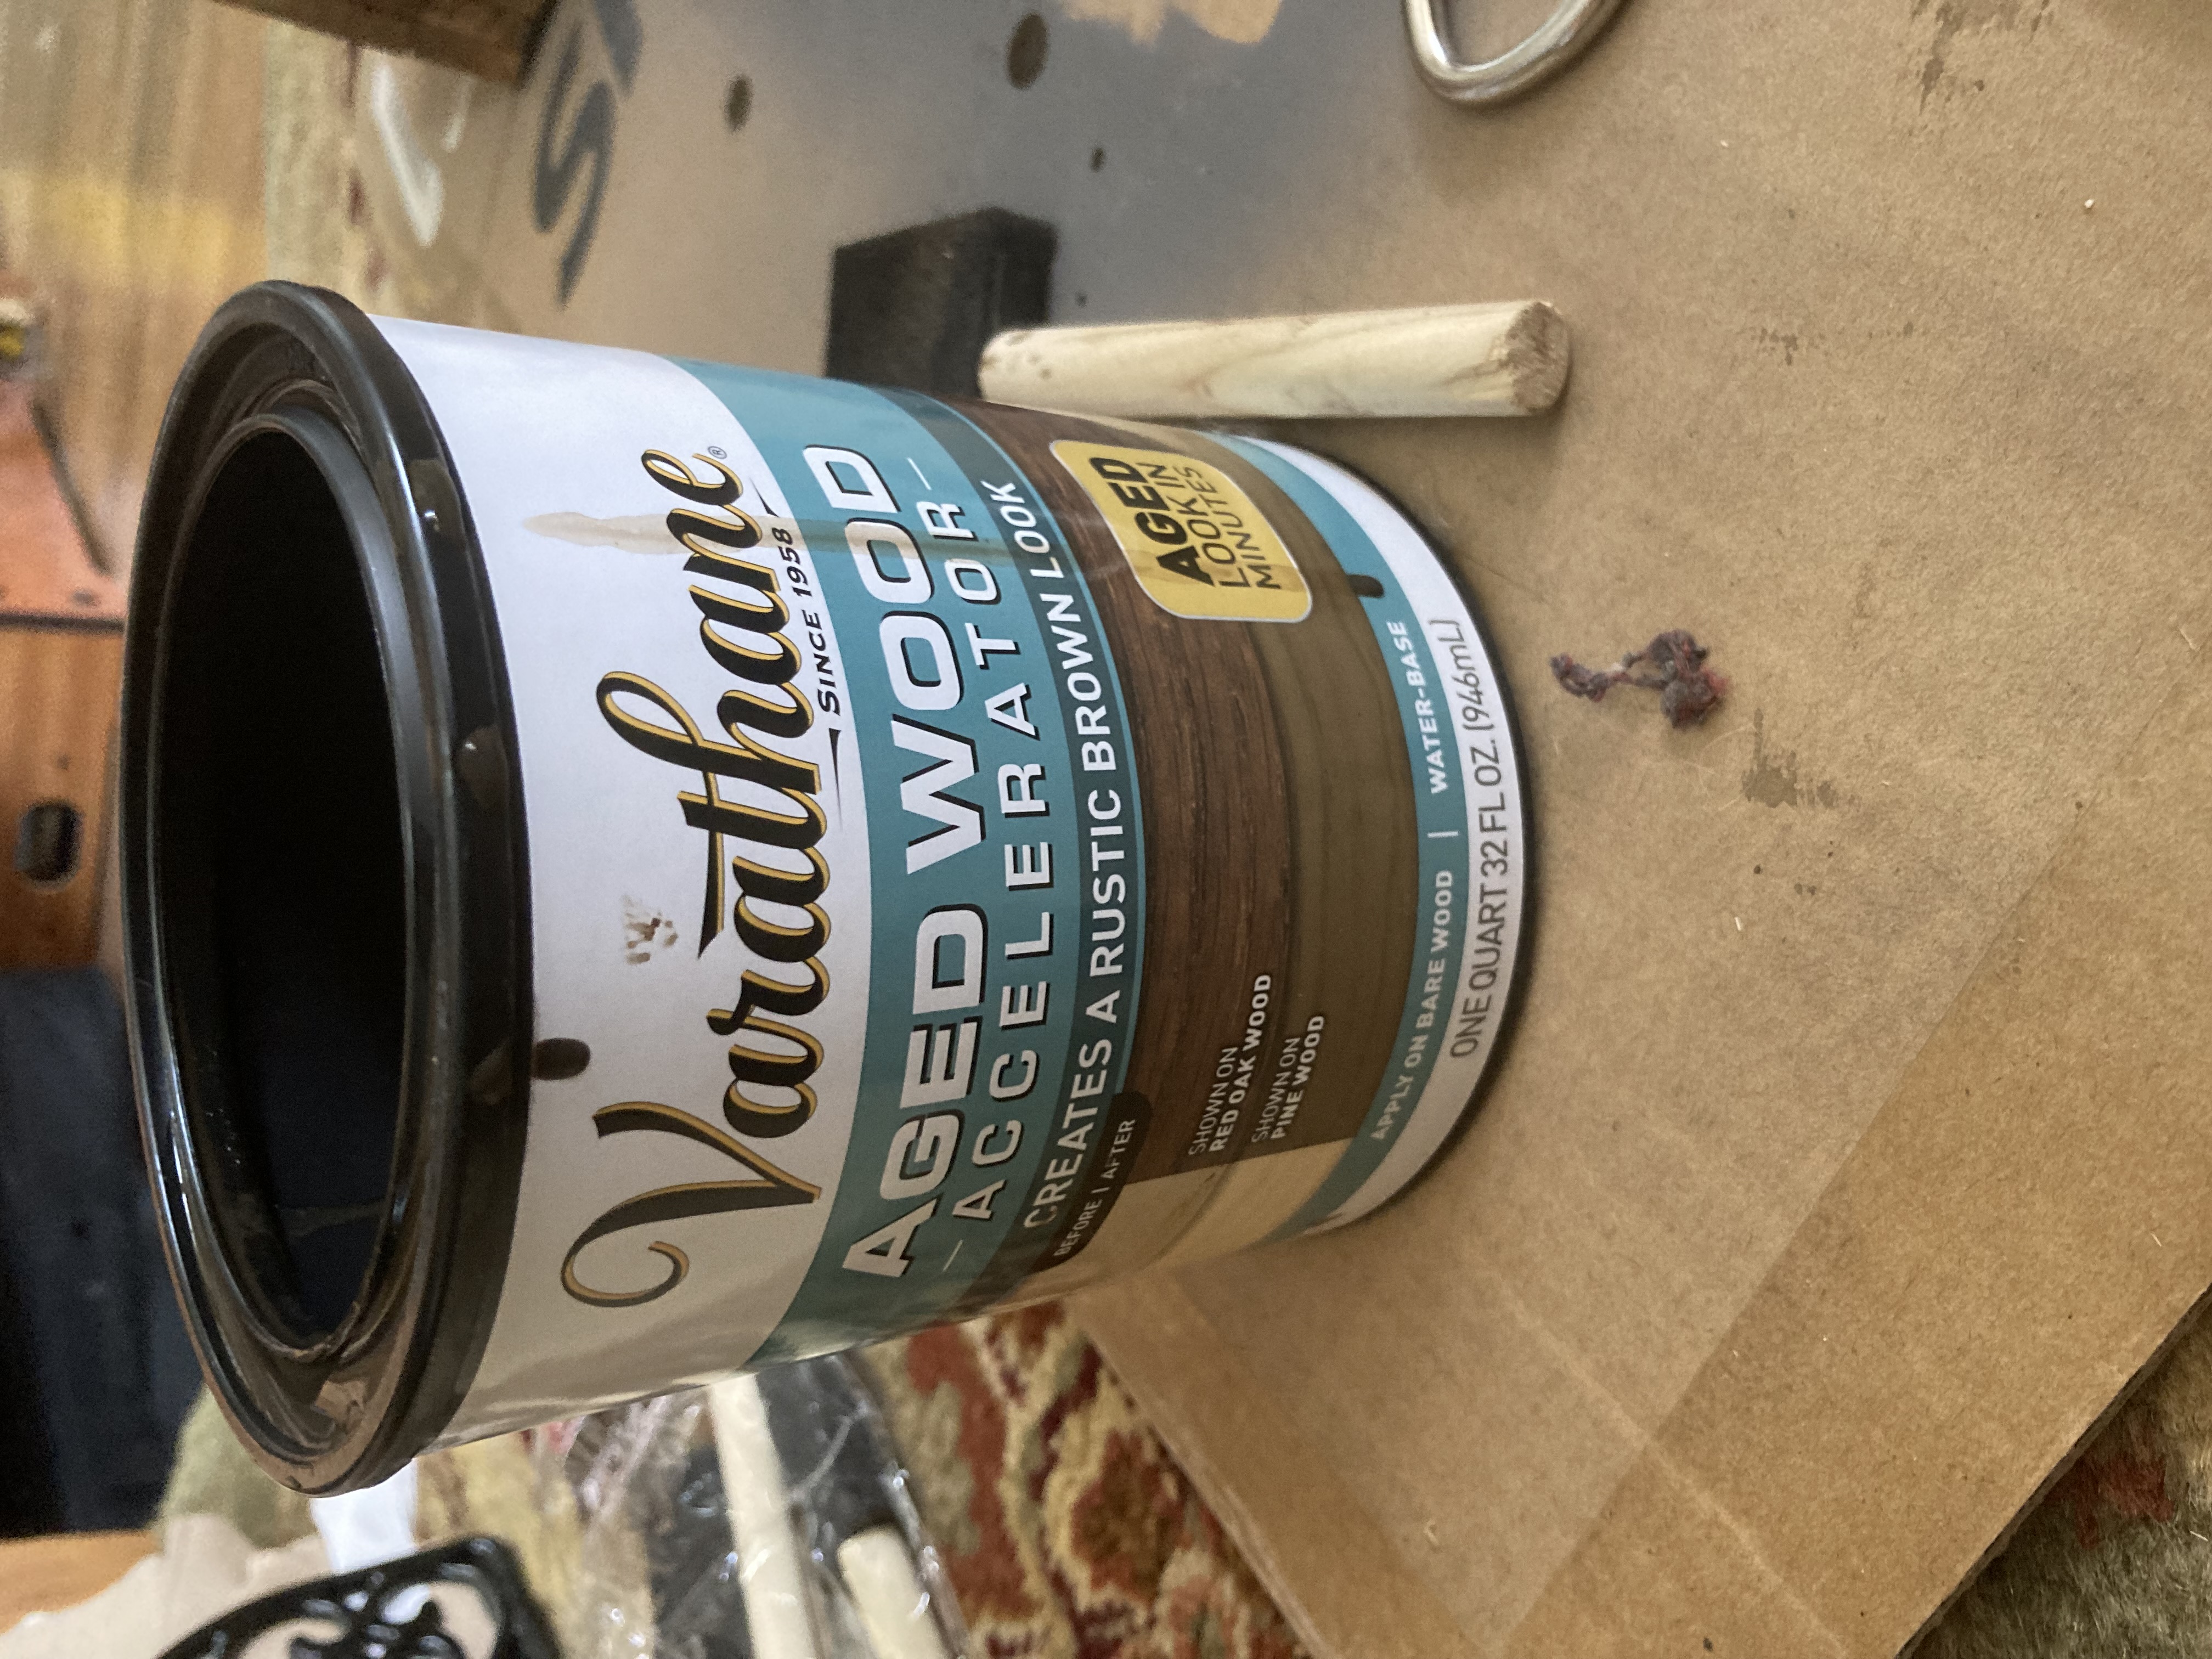
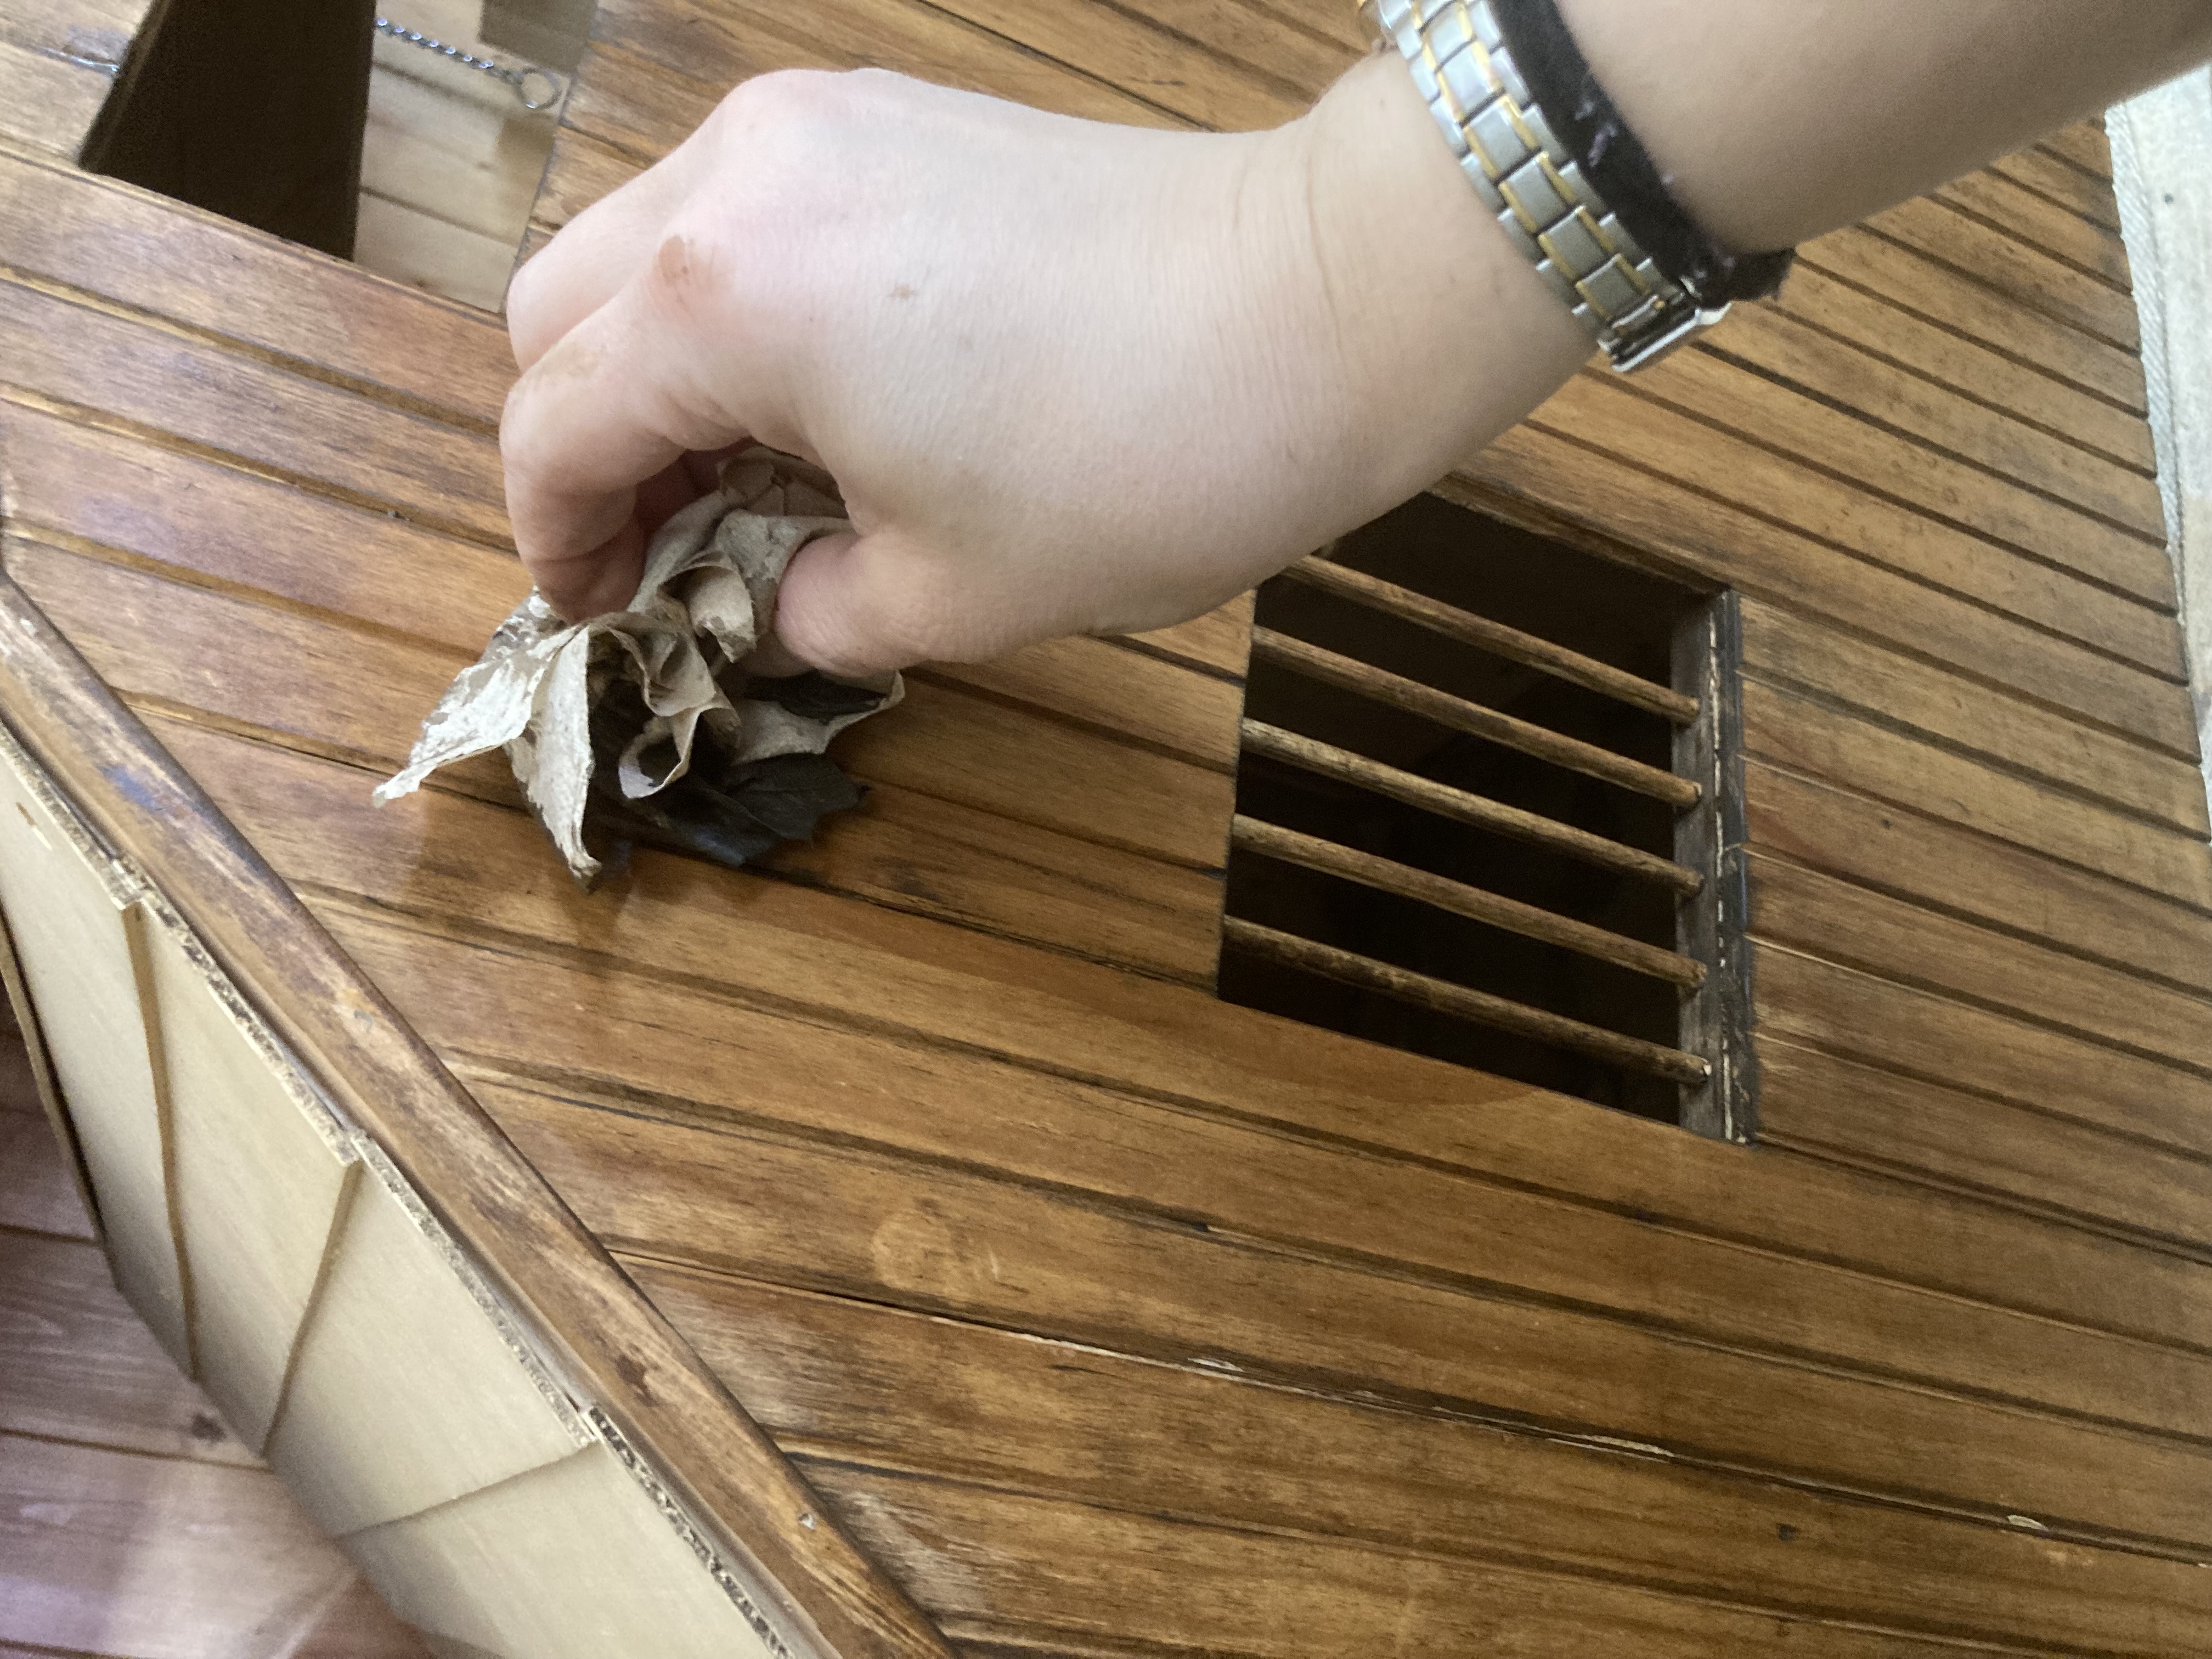
After these modifications were in place, I used Varathane aged wood accelerator stain to make the barn look aged. I brushed it on per the instructions.
This stuff is awesome, and has come in handy for several projects. I brushed it on with a foam brush and then used a paper towel to wipe off excess.A ‘during’ photo so you can see the before and after. Wiping off the excess. it helped make the individual ‘boards’ stand out.
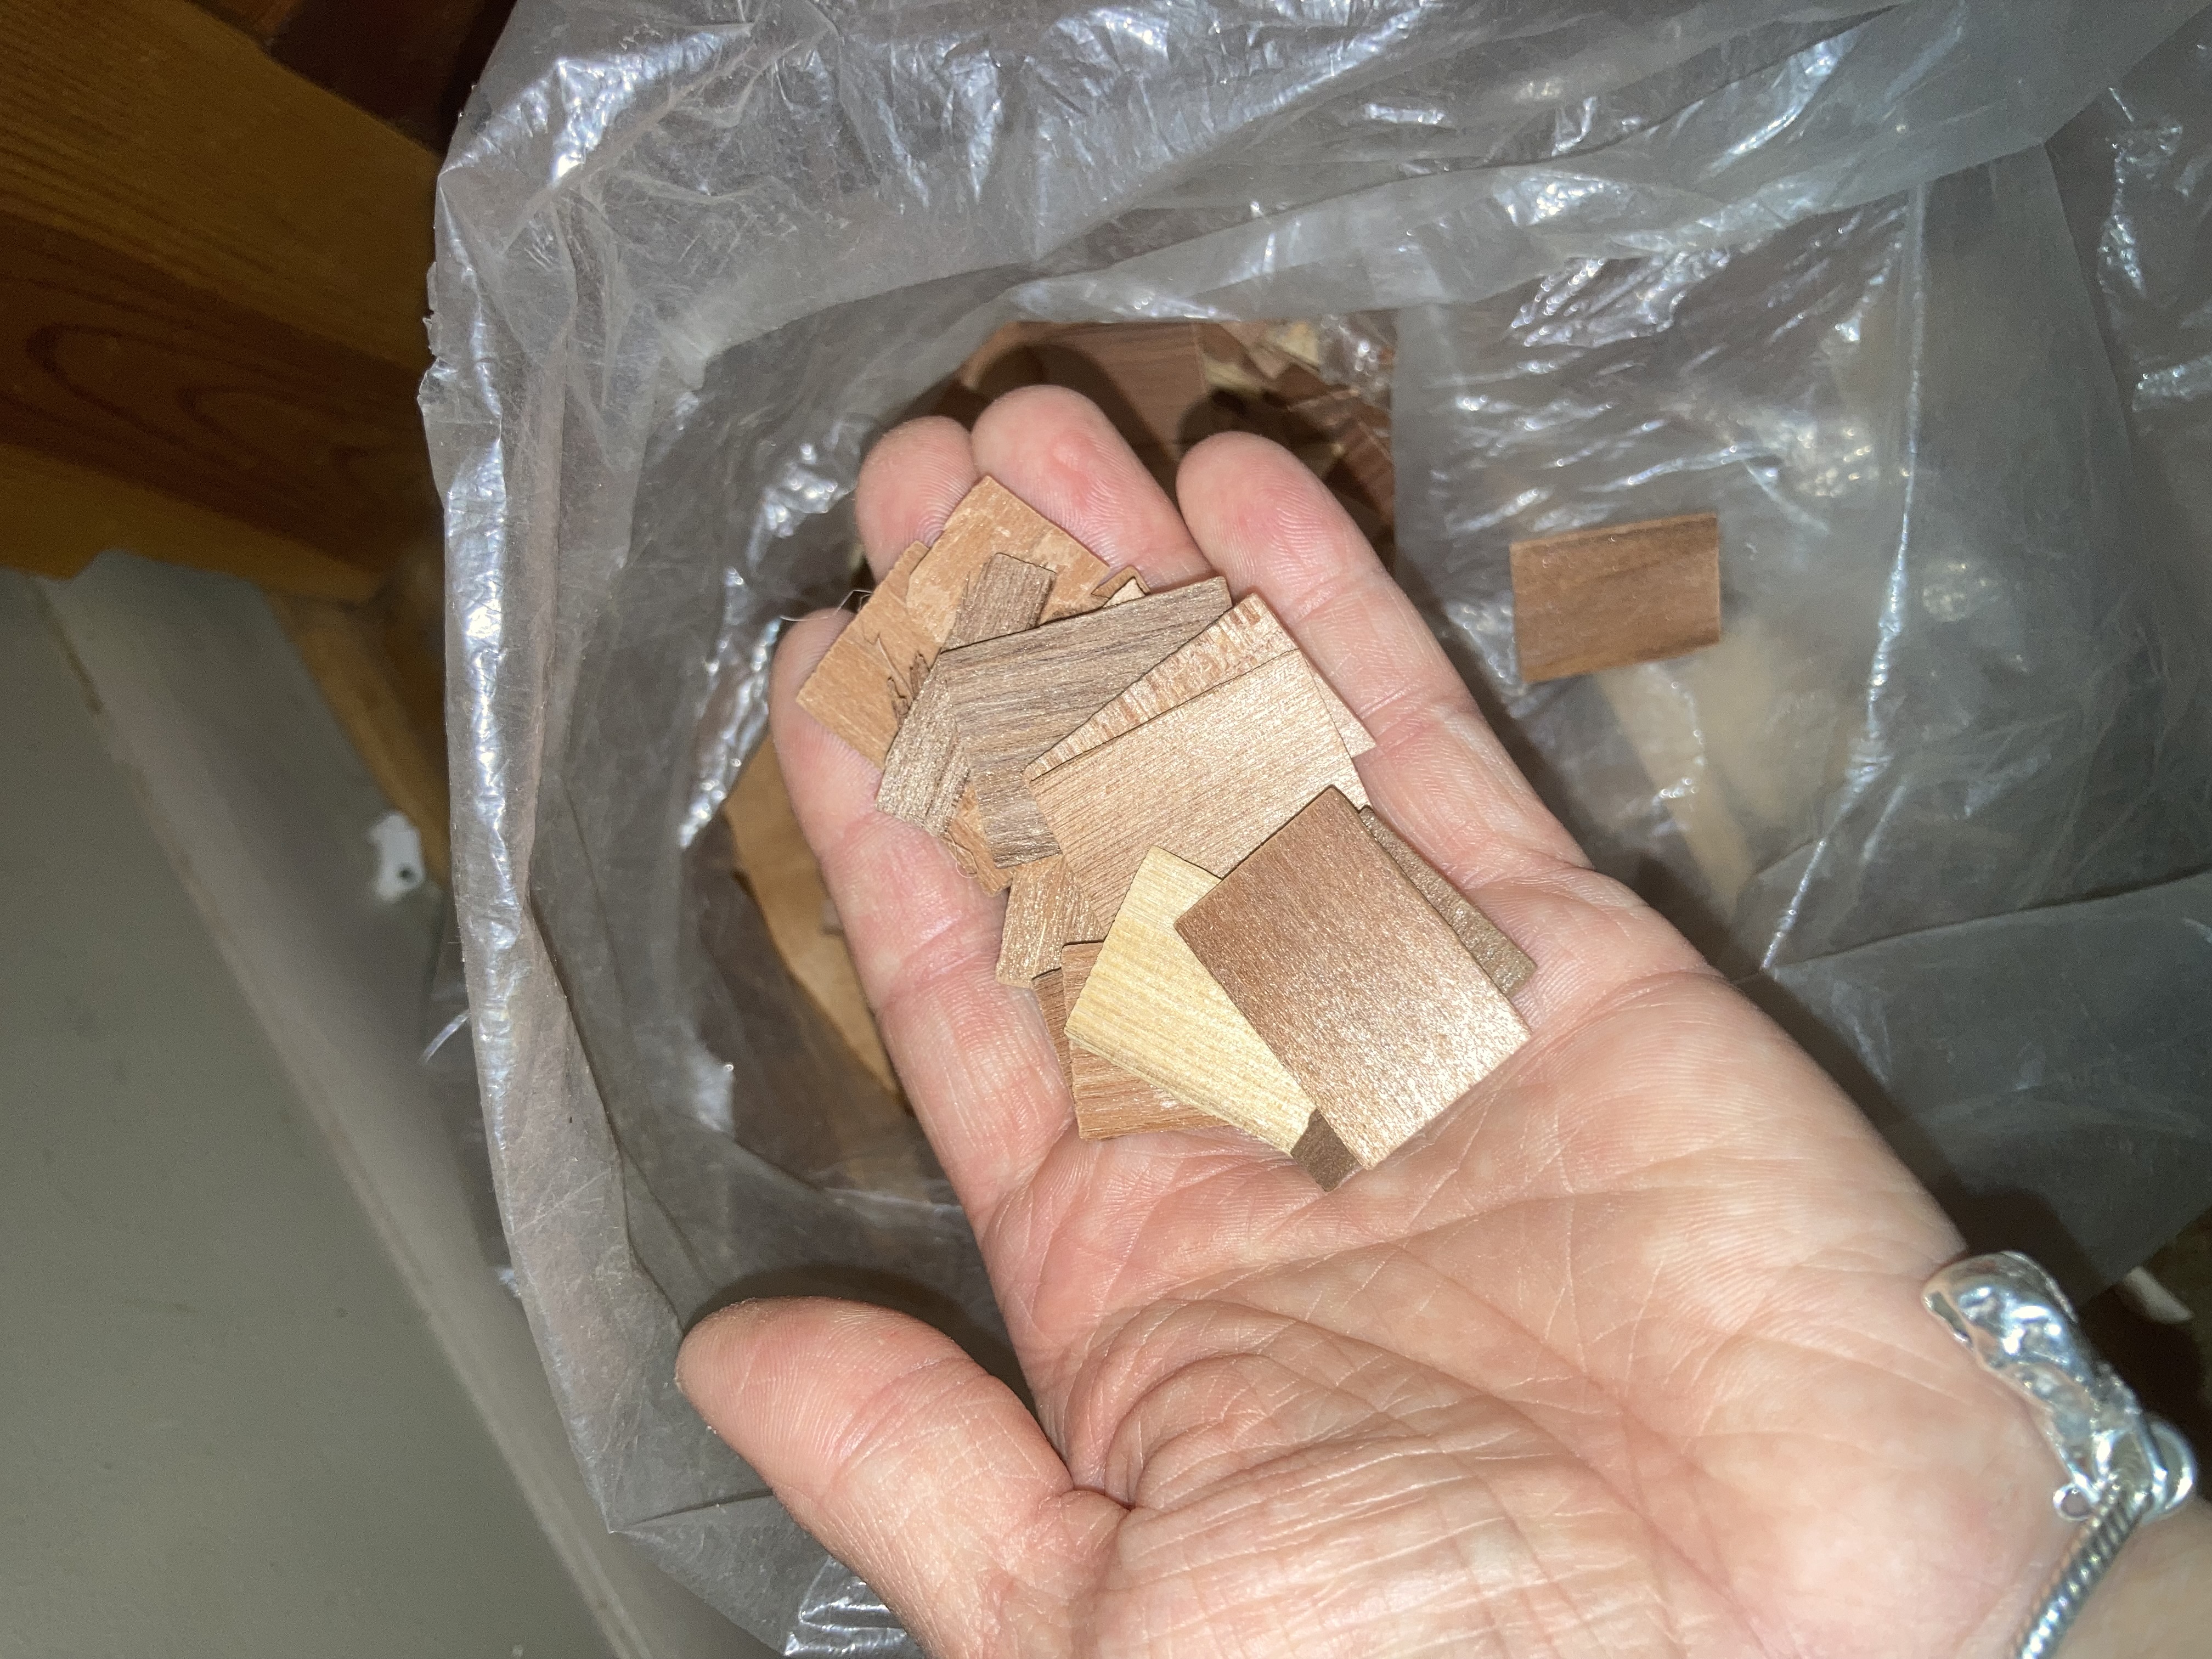
Next I wanted to add shingles, so I did.
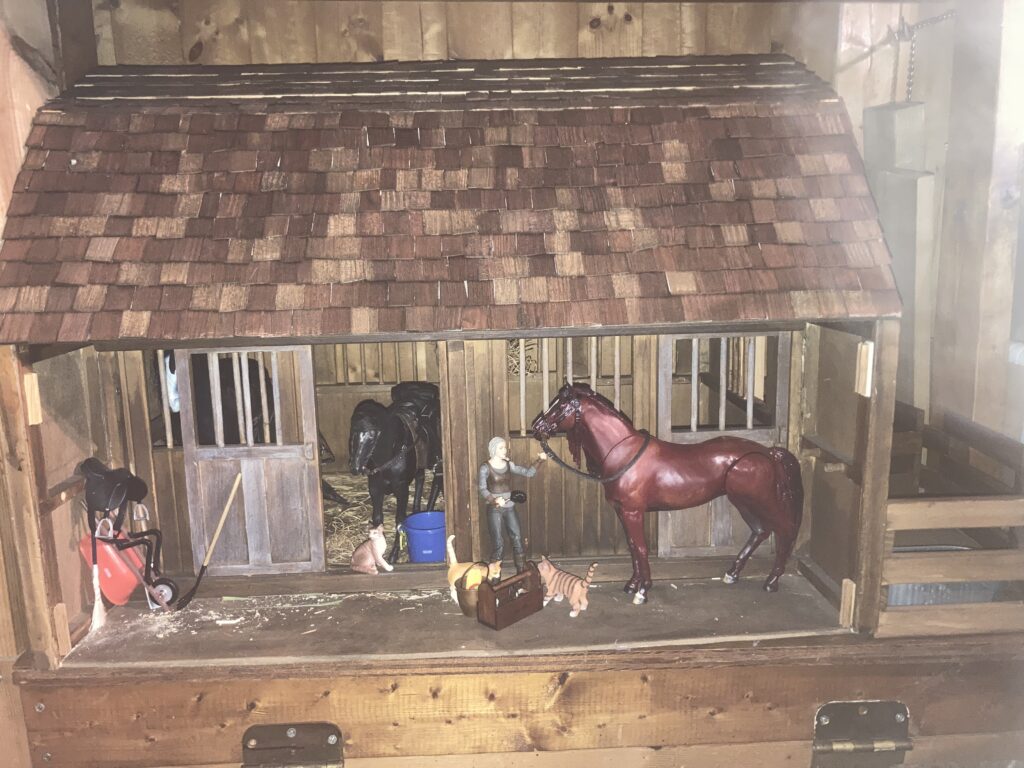
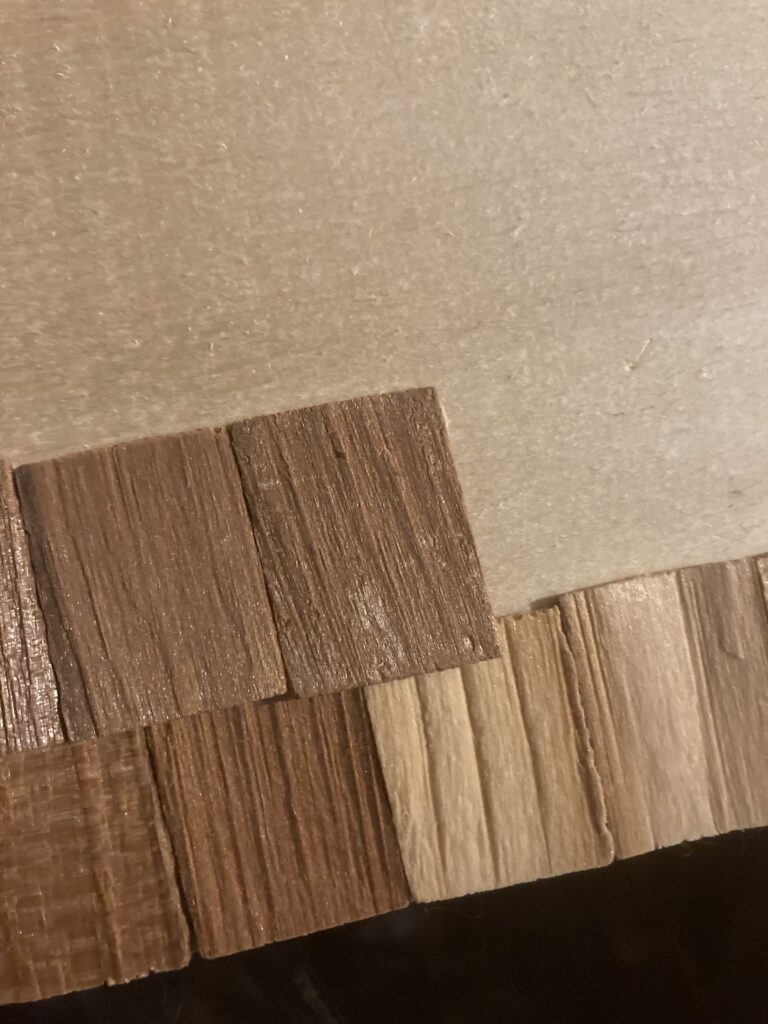
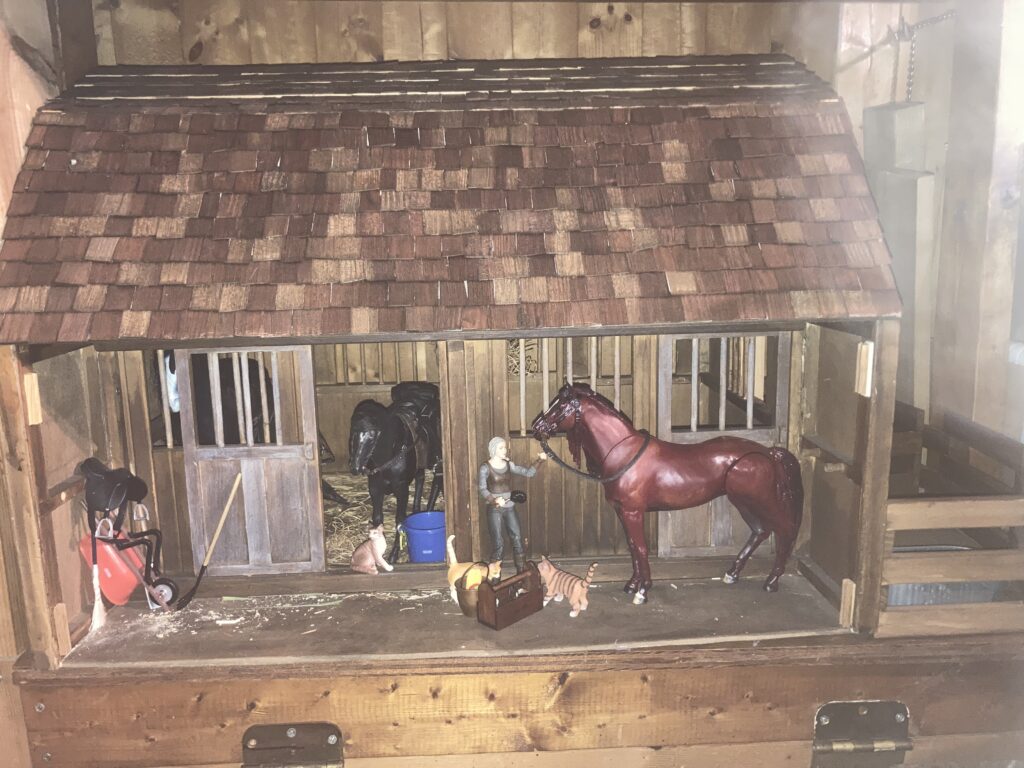
Cedar dollhouse shingles.Layer the shingles, starting from the bottom and going up. They overlap the previous later just a little bit. Stagger them so the cracks between don’t line up, just like on a real house. I use wood glue.Shingles added. Note–this is the BACK of the barn. After shingles are stained. This is the front of the barn, staged with the original ‘Roach’ horse action figure (the black one in the stall) and a modified ‘Roach’ in the aisle. I painted this one to look like my childhood horse, Sugarn Spice. The girl figure is ‘Ciri’, also from the McFarlane Toys Witcher series. There are Breyer horse accessories and some cats that I found on Amazon.
I stained the shingles with the same aging stain that I used on the rest of the barn. I bought more McFarlane ‘Roach’ horses and even painted some! My plan is to explain my painting/modification process in a future blog.
Any questions or comments? Feel free to post them! Thank you for visiting!