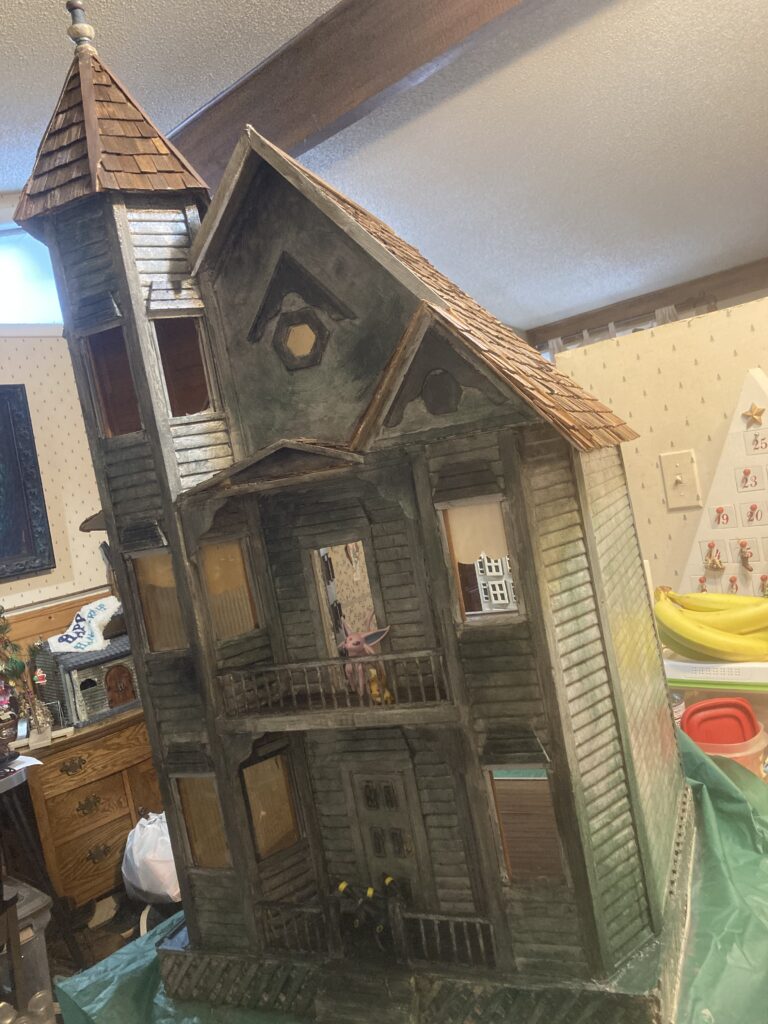
How to paint the San Franciscan Doll House to Look Haunted or Abandoned

The San Franciscan

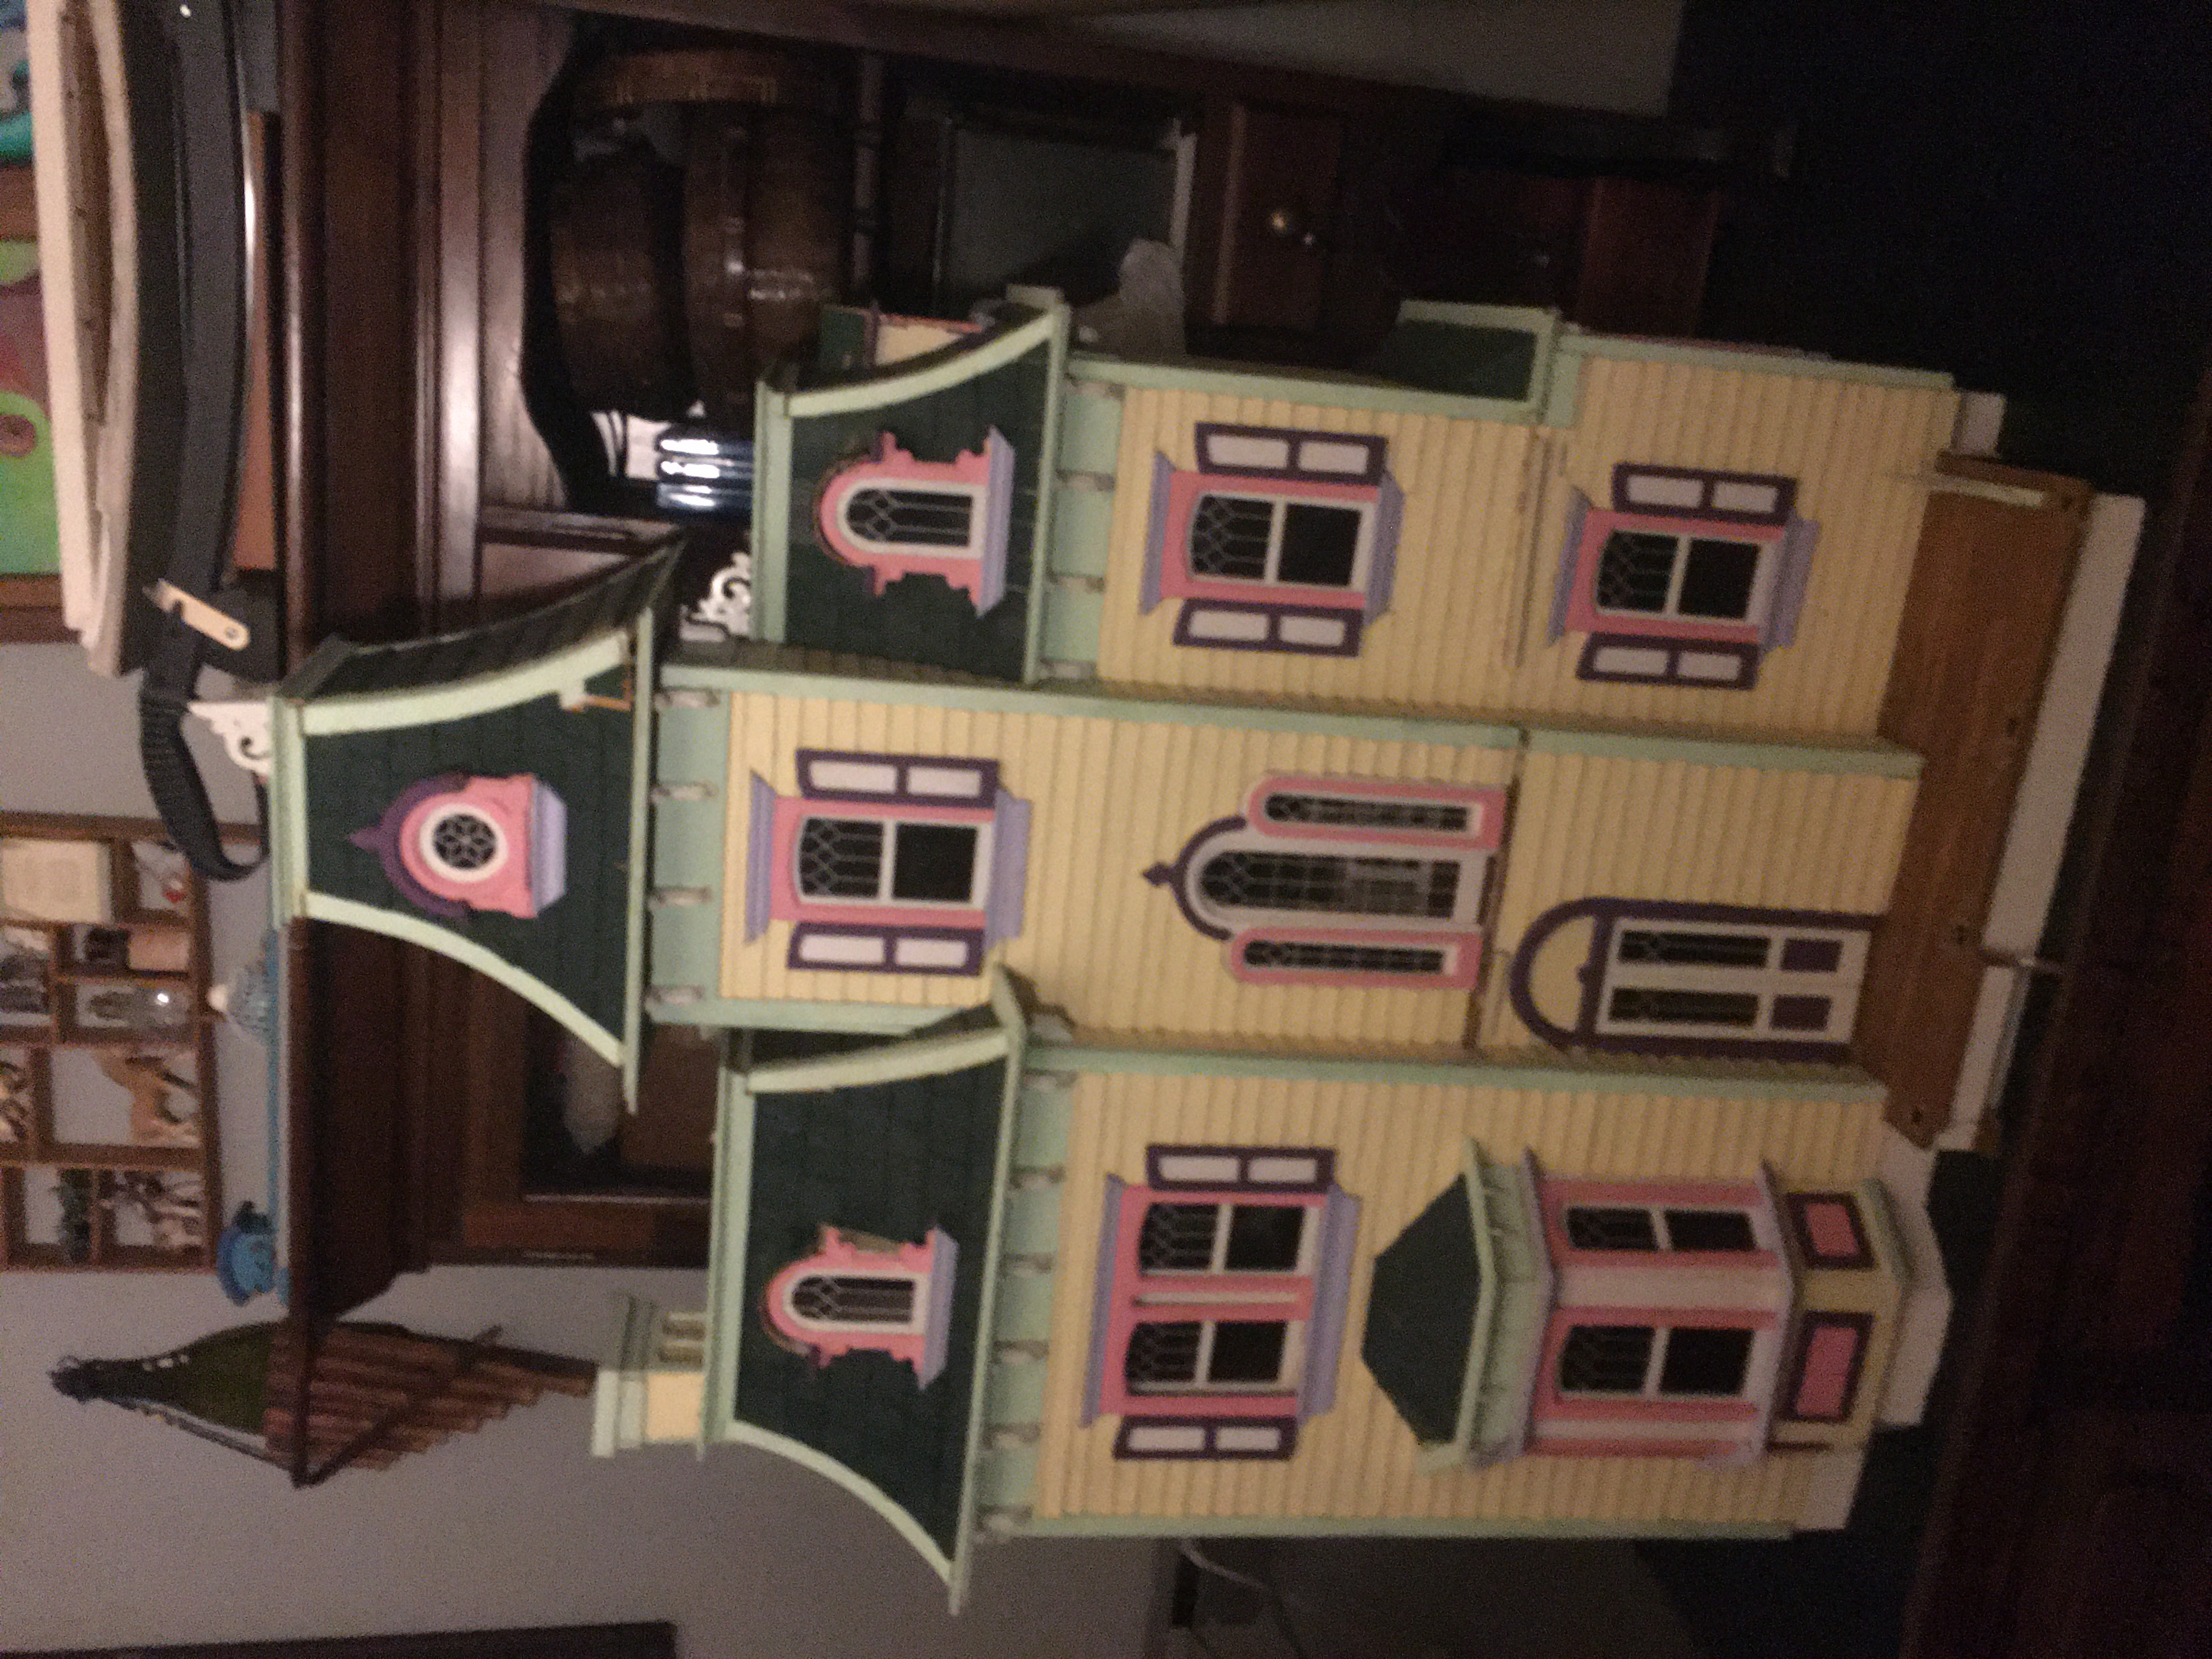
Recently, I was at the local Goodwill store with my 10 year old daughter, and we came upon a very dilapidated San Franciscan dollhouse for only $15. I wasn’t very interested in it, myself, because I already have a very nice Victorian mansion (the Beacon Hill, see other posts), and the San Franciscan didn’t really interest me much. My daughter, however, fell in love. She told me she would trade my Bayberry Cottage house back to me if I got her this one. I decided to go for it.
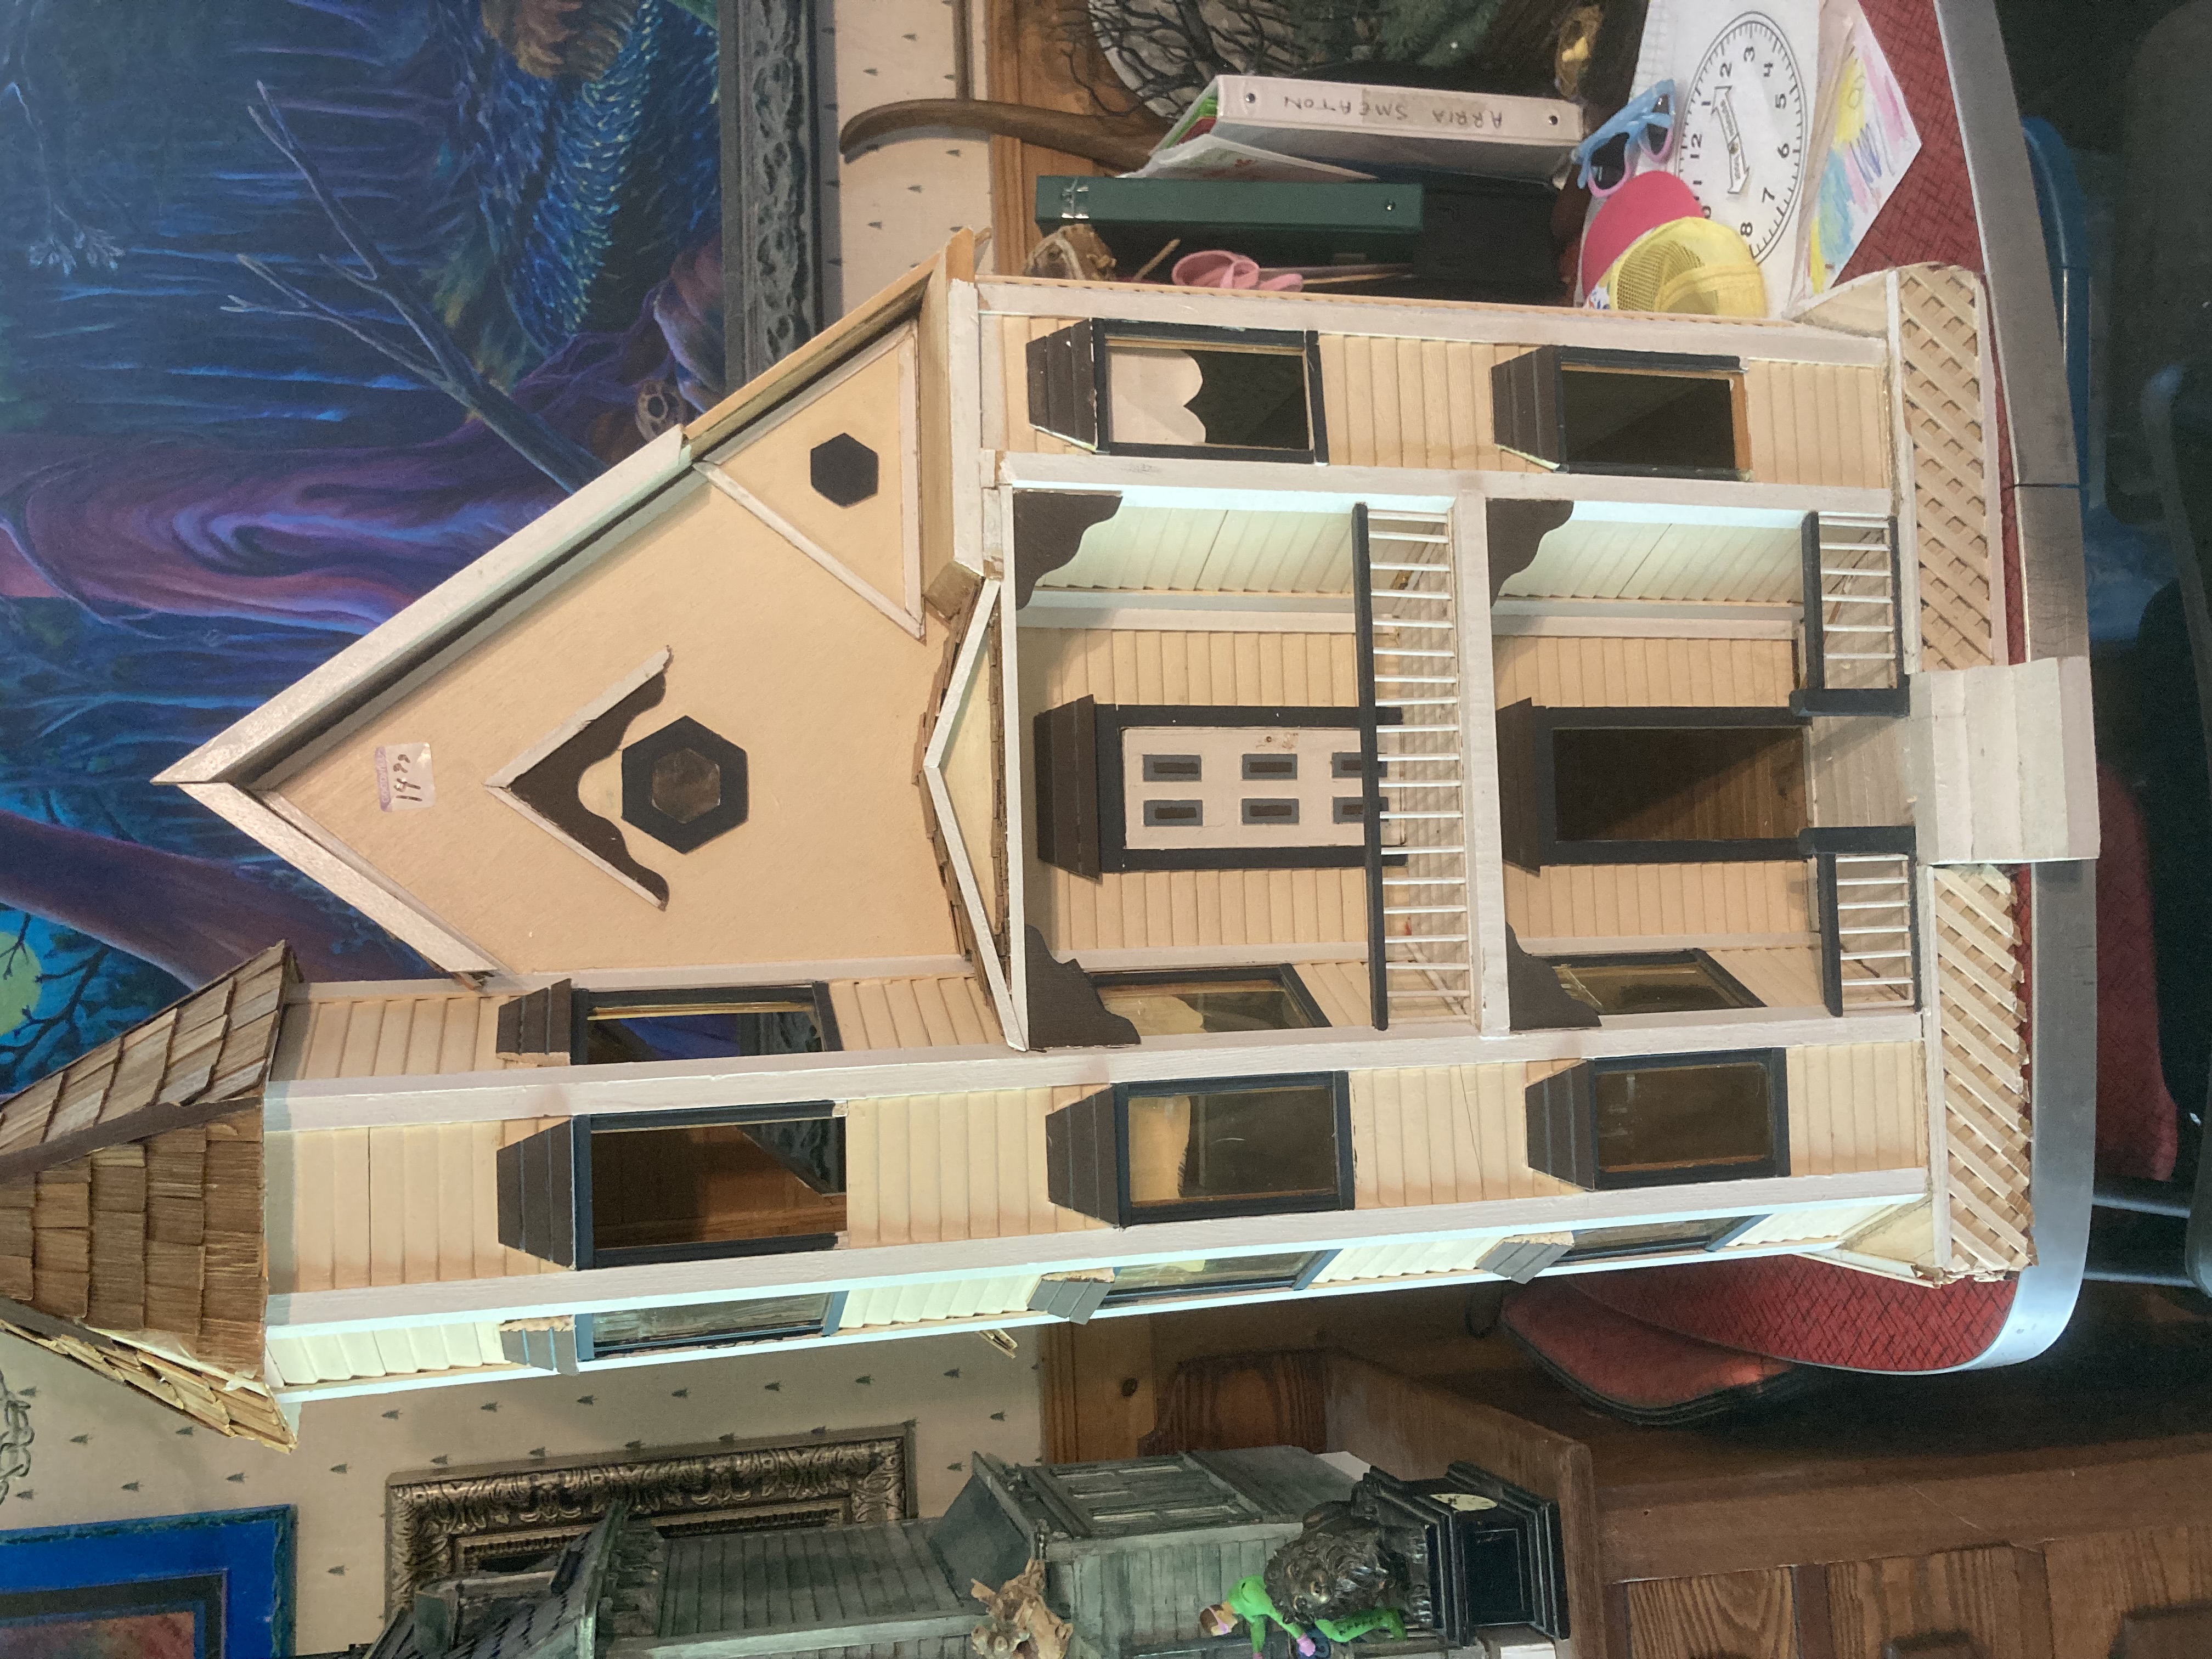
As we bought it. It needed a LOT of work. Part of the roof needed mending, parts of it weren’t attached correctly, interior walls are missing, etc. Luckily a lot of the parts were there and just needed to be reattached.

My daughter is a big fan of my haunted Beacon Hill dollhouse, and plays in it often. She has been bugging me to repaint her San Franciscan to look haunted like my Beacon Hill. I LOVED painting my Beacon Hill to look abandoned, and relished the opportunity to try it again on a different house.
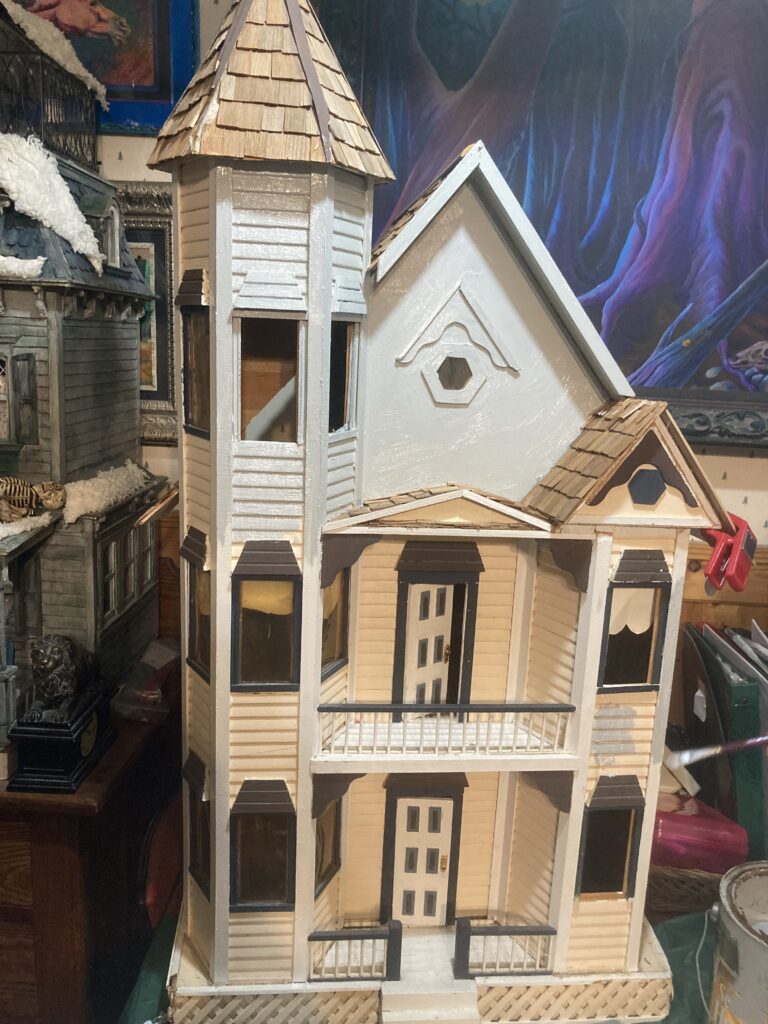
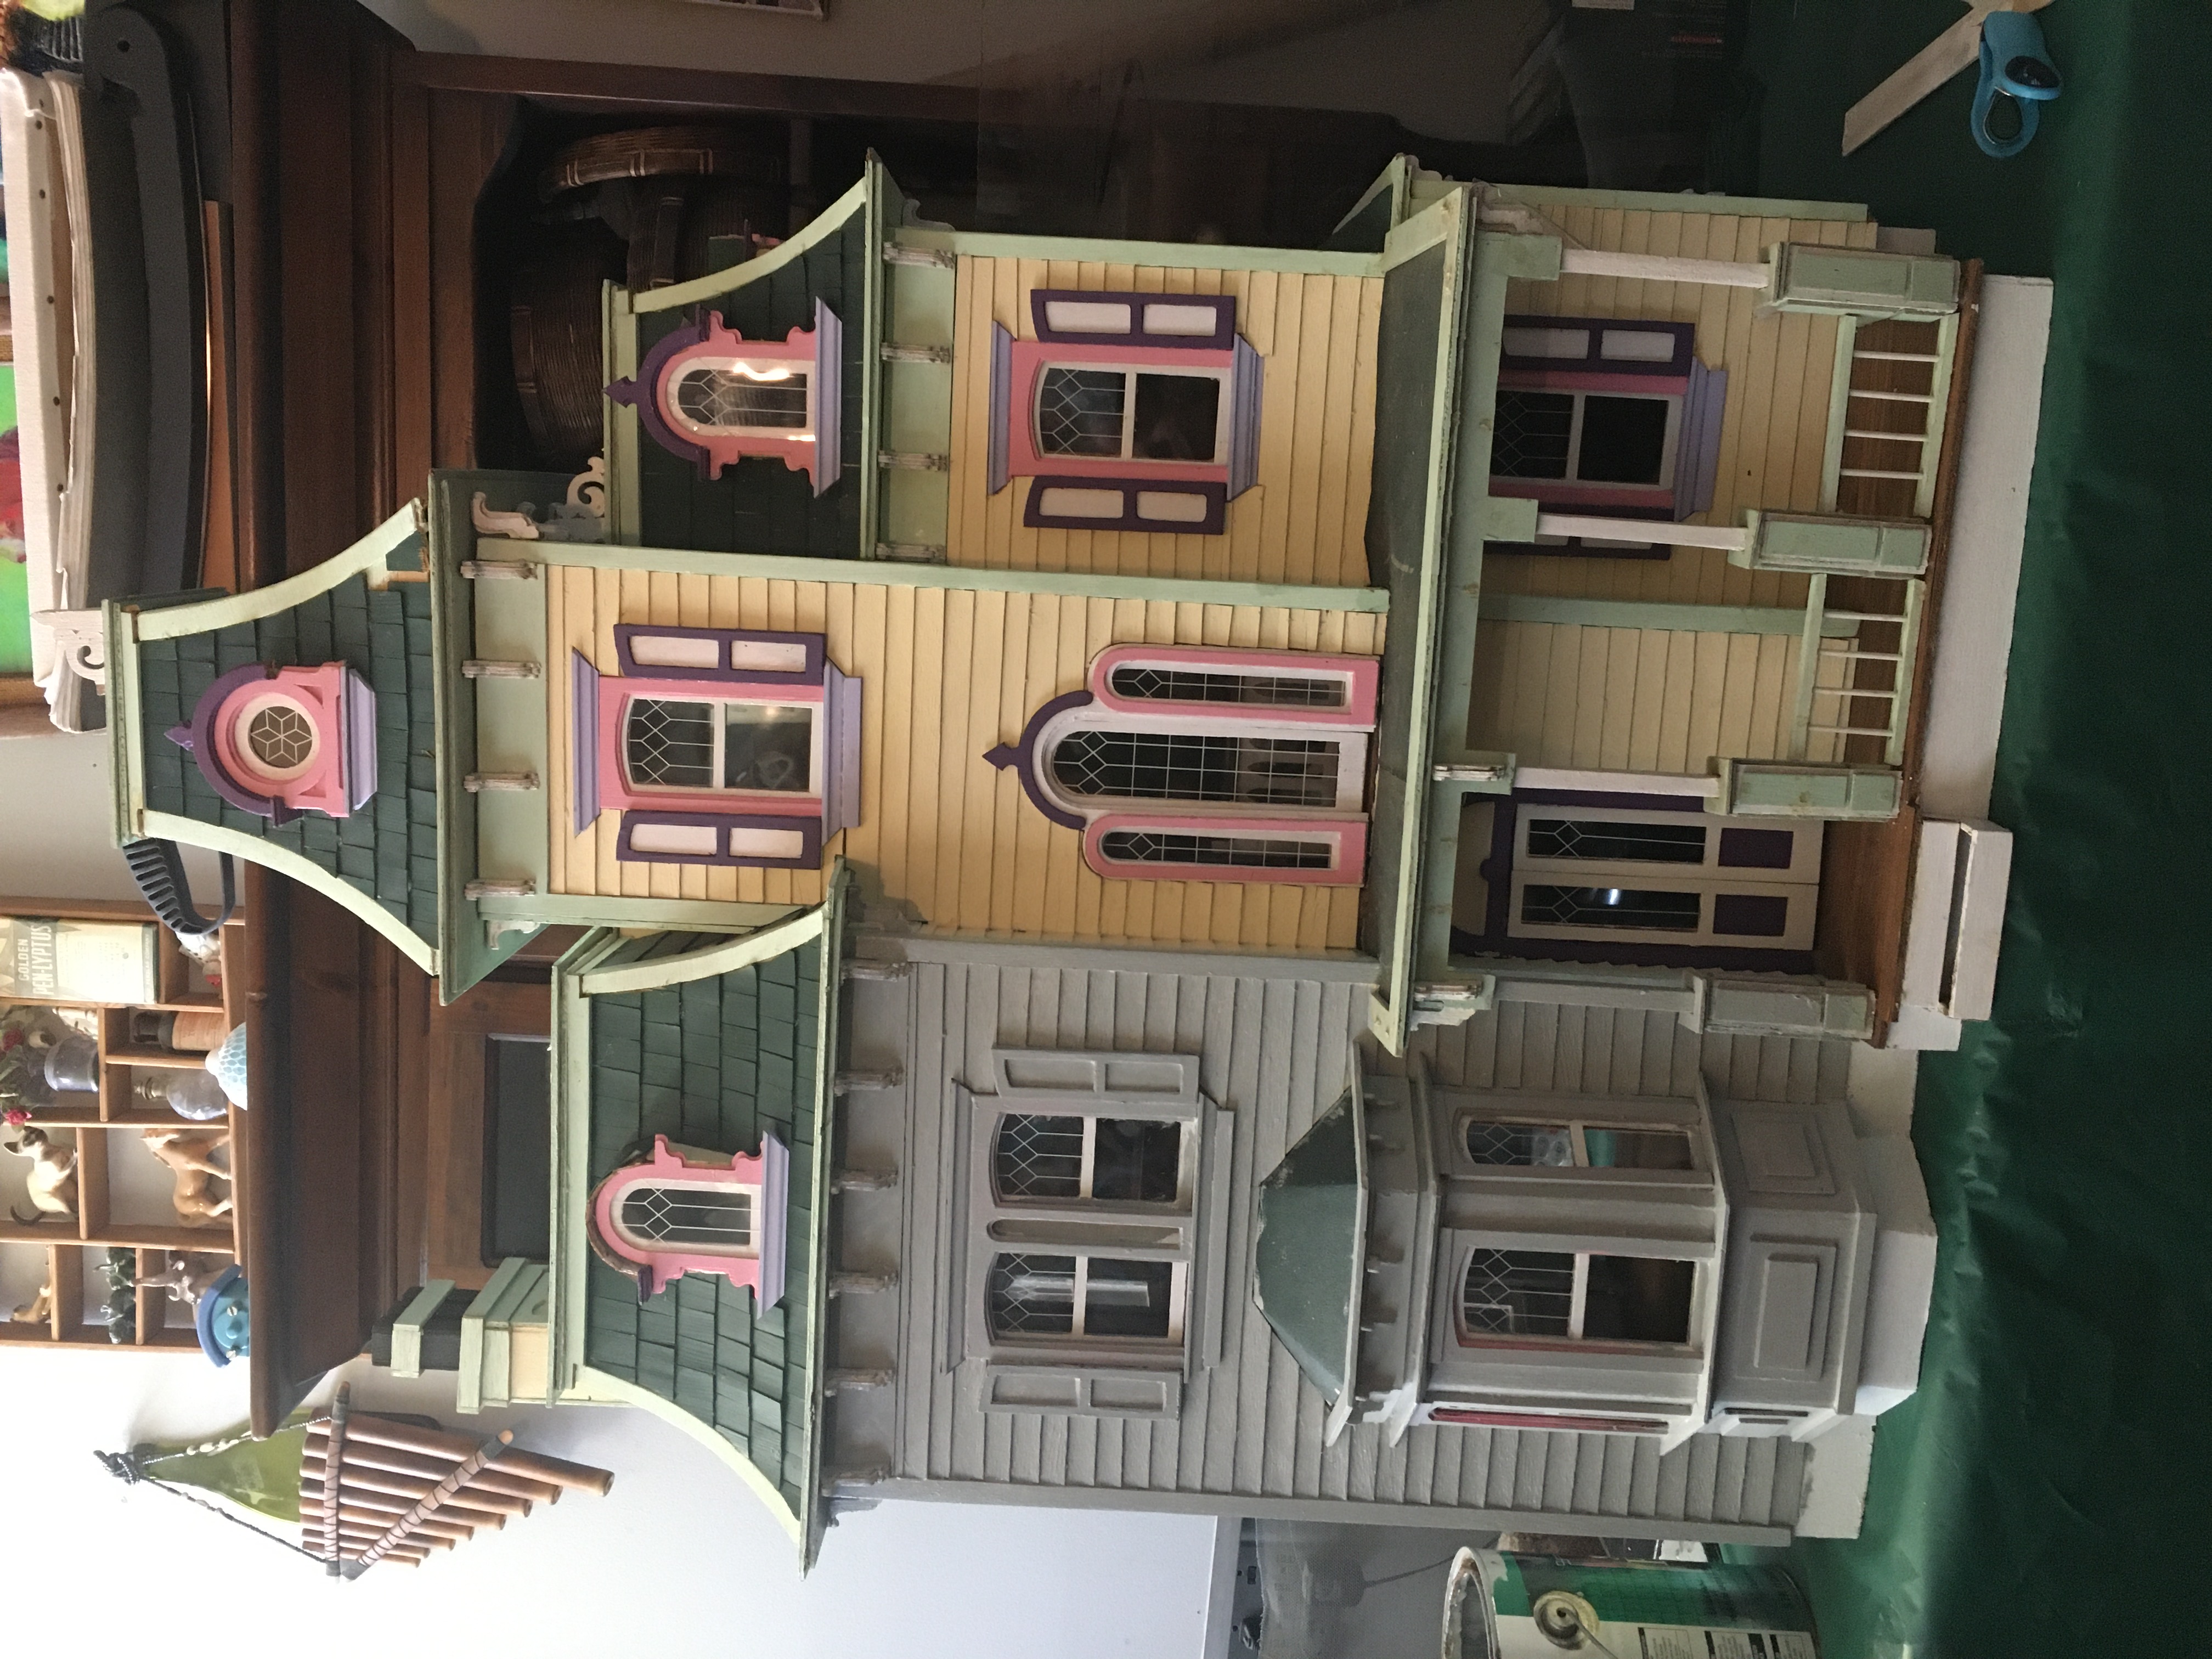
After a lot of mending was done, i started putting on the first coat of paint. This is the beginning of the base coat of light gray.

First thing, I had to make a few structural repairs to the outside. I was lucky in that a lot of the missing pieces of this house were in a ziplock bag that came with it. I also had to take off and reattach a few pieces that weren’t put on correctly by a previous owner. After these initial repairs were done, we started painting.

I started with a base coat of light gray exterior paint that I had left over from previous projects. We worked it into all of the nooks and crannies of the siding, on all of the railings, and pretty much anywhere that we wanted to look aged.
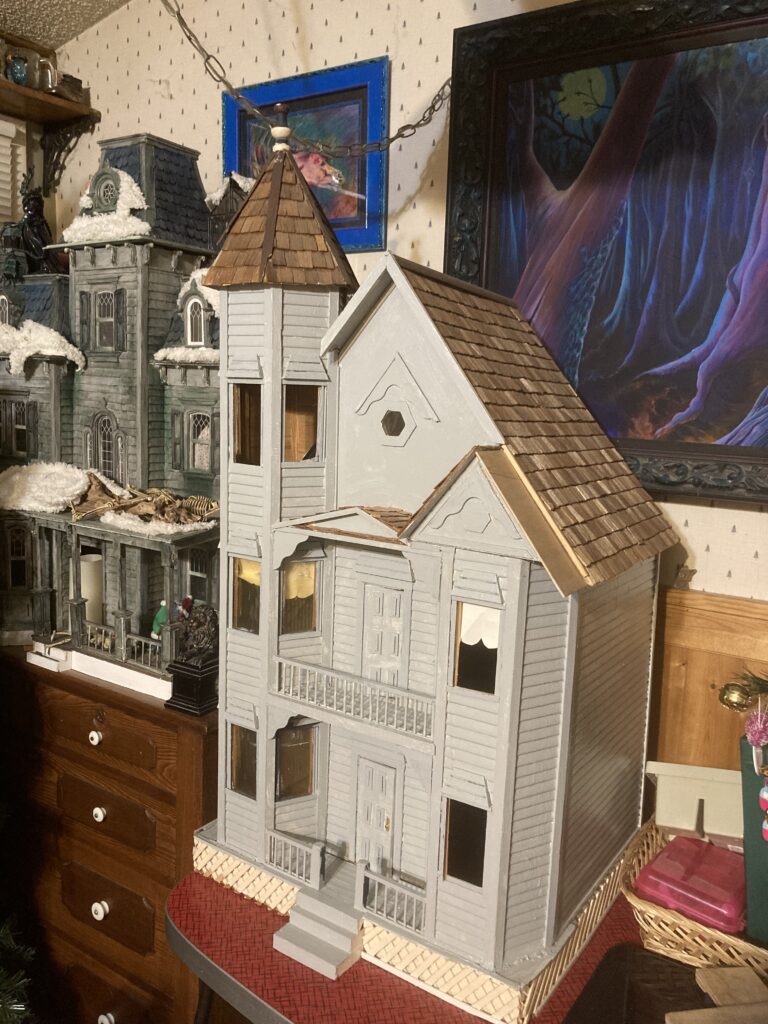
After the base coat. In the background you can see the Beacon Hill decorated for Christmas. While my paints were out I was finally able to get that bright white trim at the bottom of it darkened to match the rest of the house lol!

After the gray coat is on, I let the paint dry thoroughly before moving on to the next step.
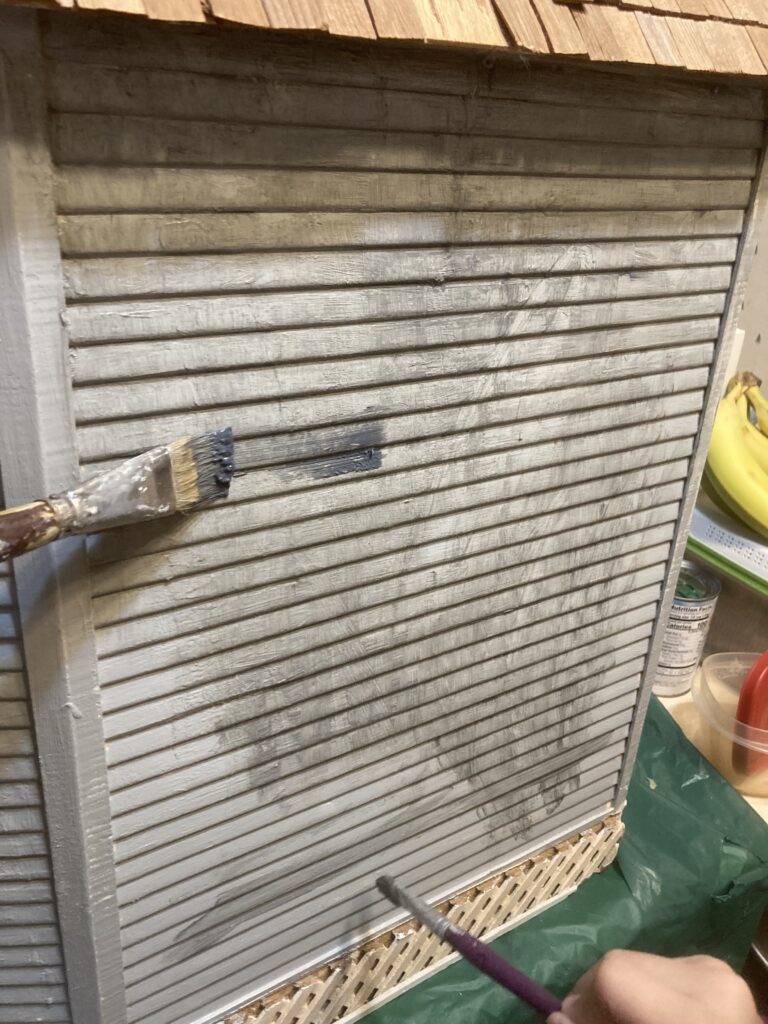
Applying the darker gray ‘dirt.’

For the next step, I found it easier to use two brushes. I used one brush to apply a small amount of a dark gray paint. I wet the second brush with water (but not sopping wet), and then brushed it over the wet dark paint. My wet brush had stiff, coarse bristles that I used to scrub the ‘dirt’ into the crevices of the siding. I scrubbed the pigment up and down, back and forth, and all around until I was satisfied with its grungy appearance.
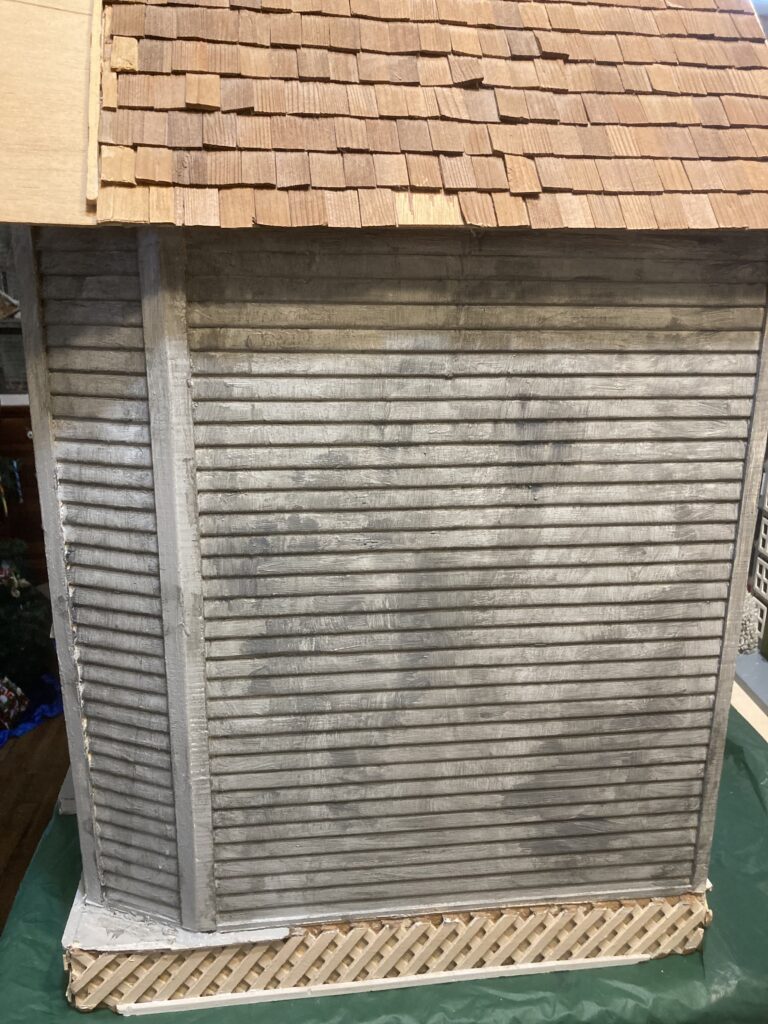
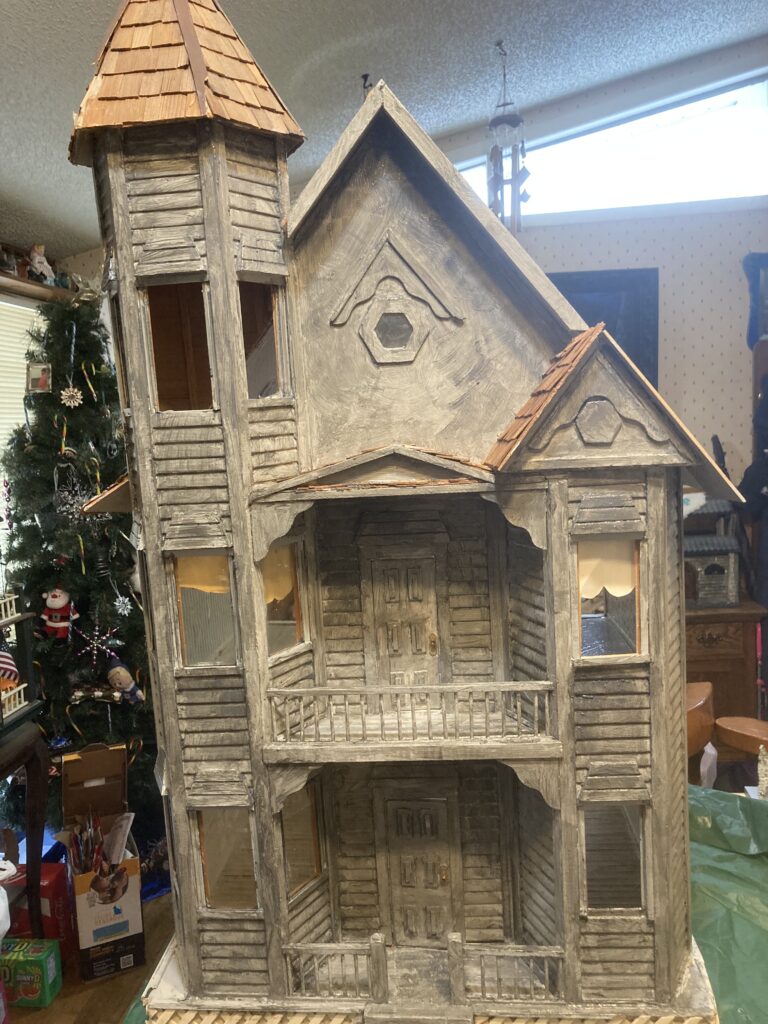
More grunge. It’s a little thick in this photo–I think I softened it up more later.
I continued the dark gray ‘grunge’ over the whole house until I was satisfied.

After the dark gray looked satisfactory, I moved on to the next color. I wanted more contrast, so I added JUST A BIT of black. Black is a very overpowering color and I did not want to overdo it. I applied it in just a few areas, particularly the porch rails, the trim above the windows, and a little on the porch floor where I felt there might be more dirt and rot accumulated.
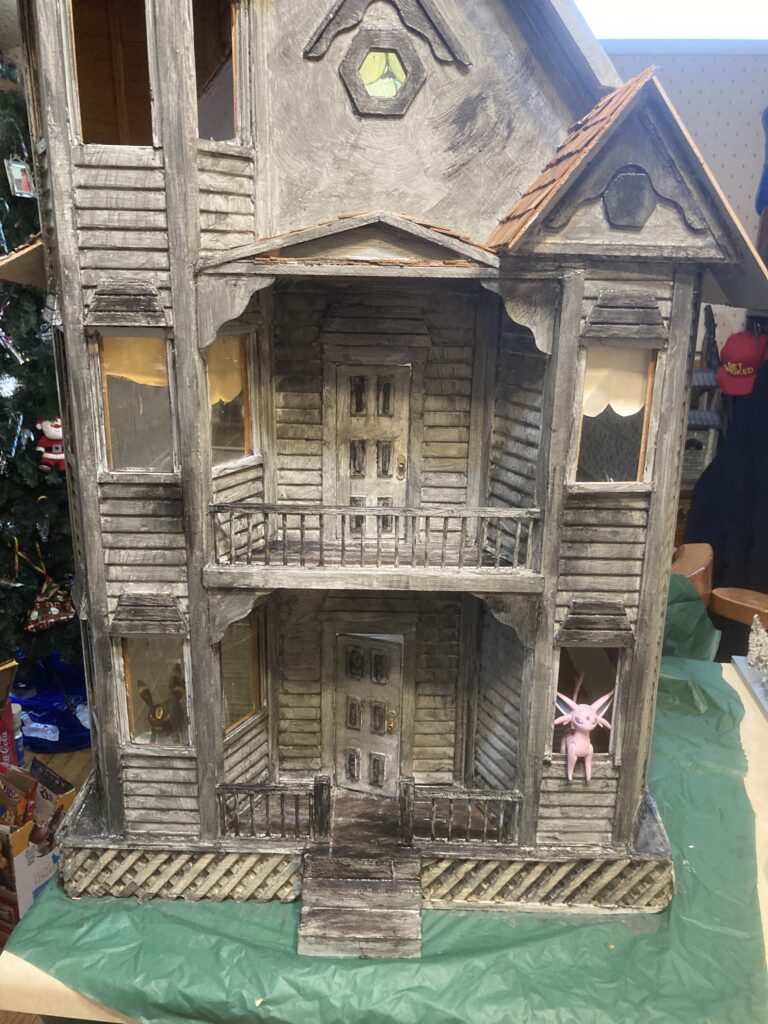
With a small amount of black highlights. The black is also scrubbed in (using the same method as the dark gray) to keep it more weathered looking. (My daughter has her Pokemons in it already lol).

After black, I wanted a little green as wood can get a thin film of mold on it over time. I kept the green paint watered down a LOT because it didn’t want it very strong. Just a very thin hint of it is enough.
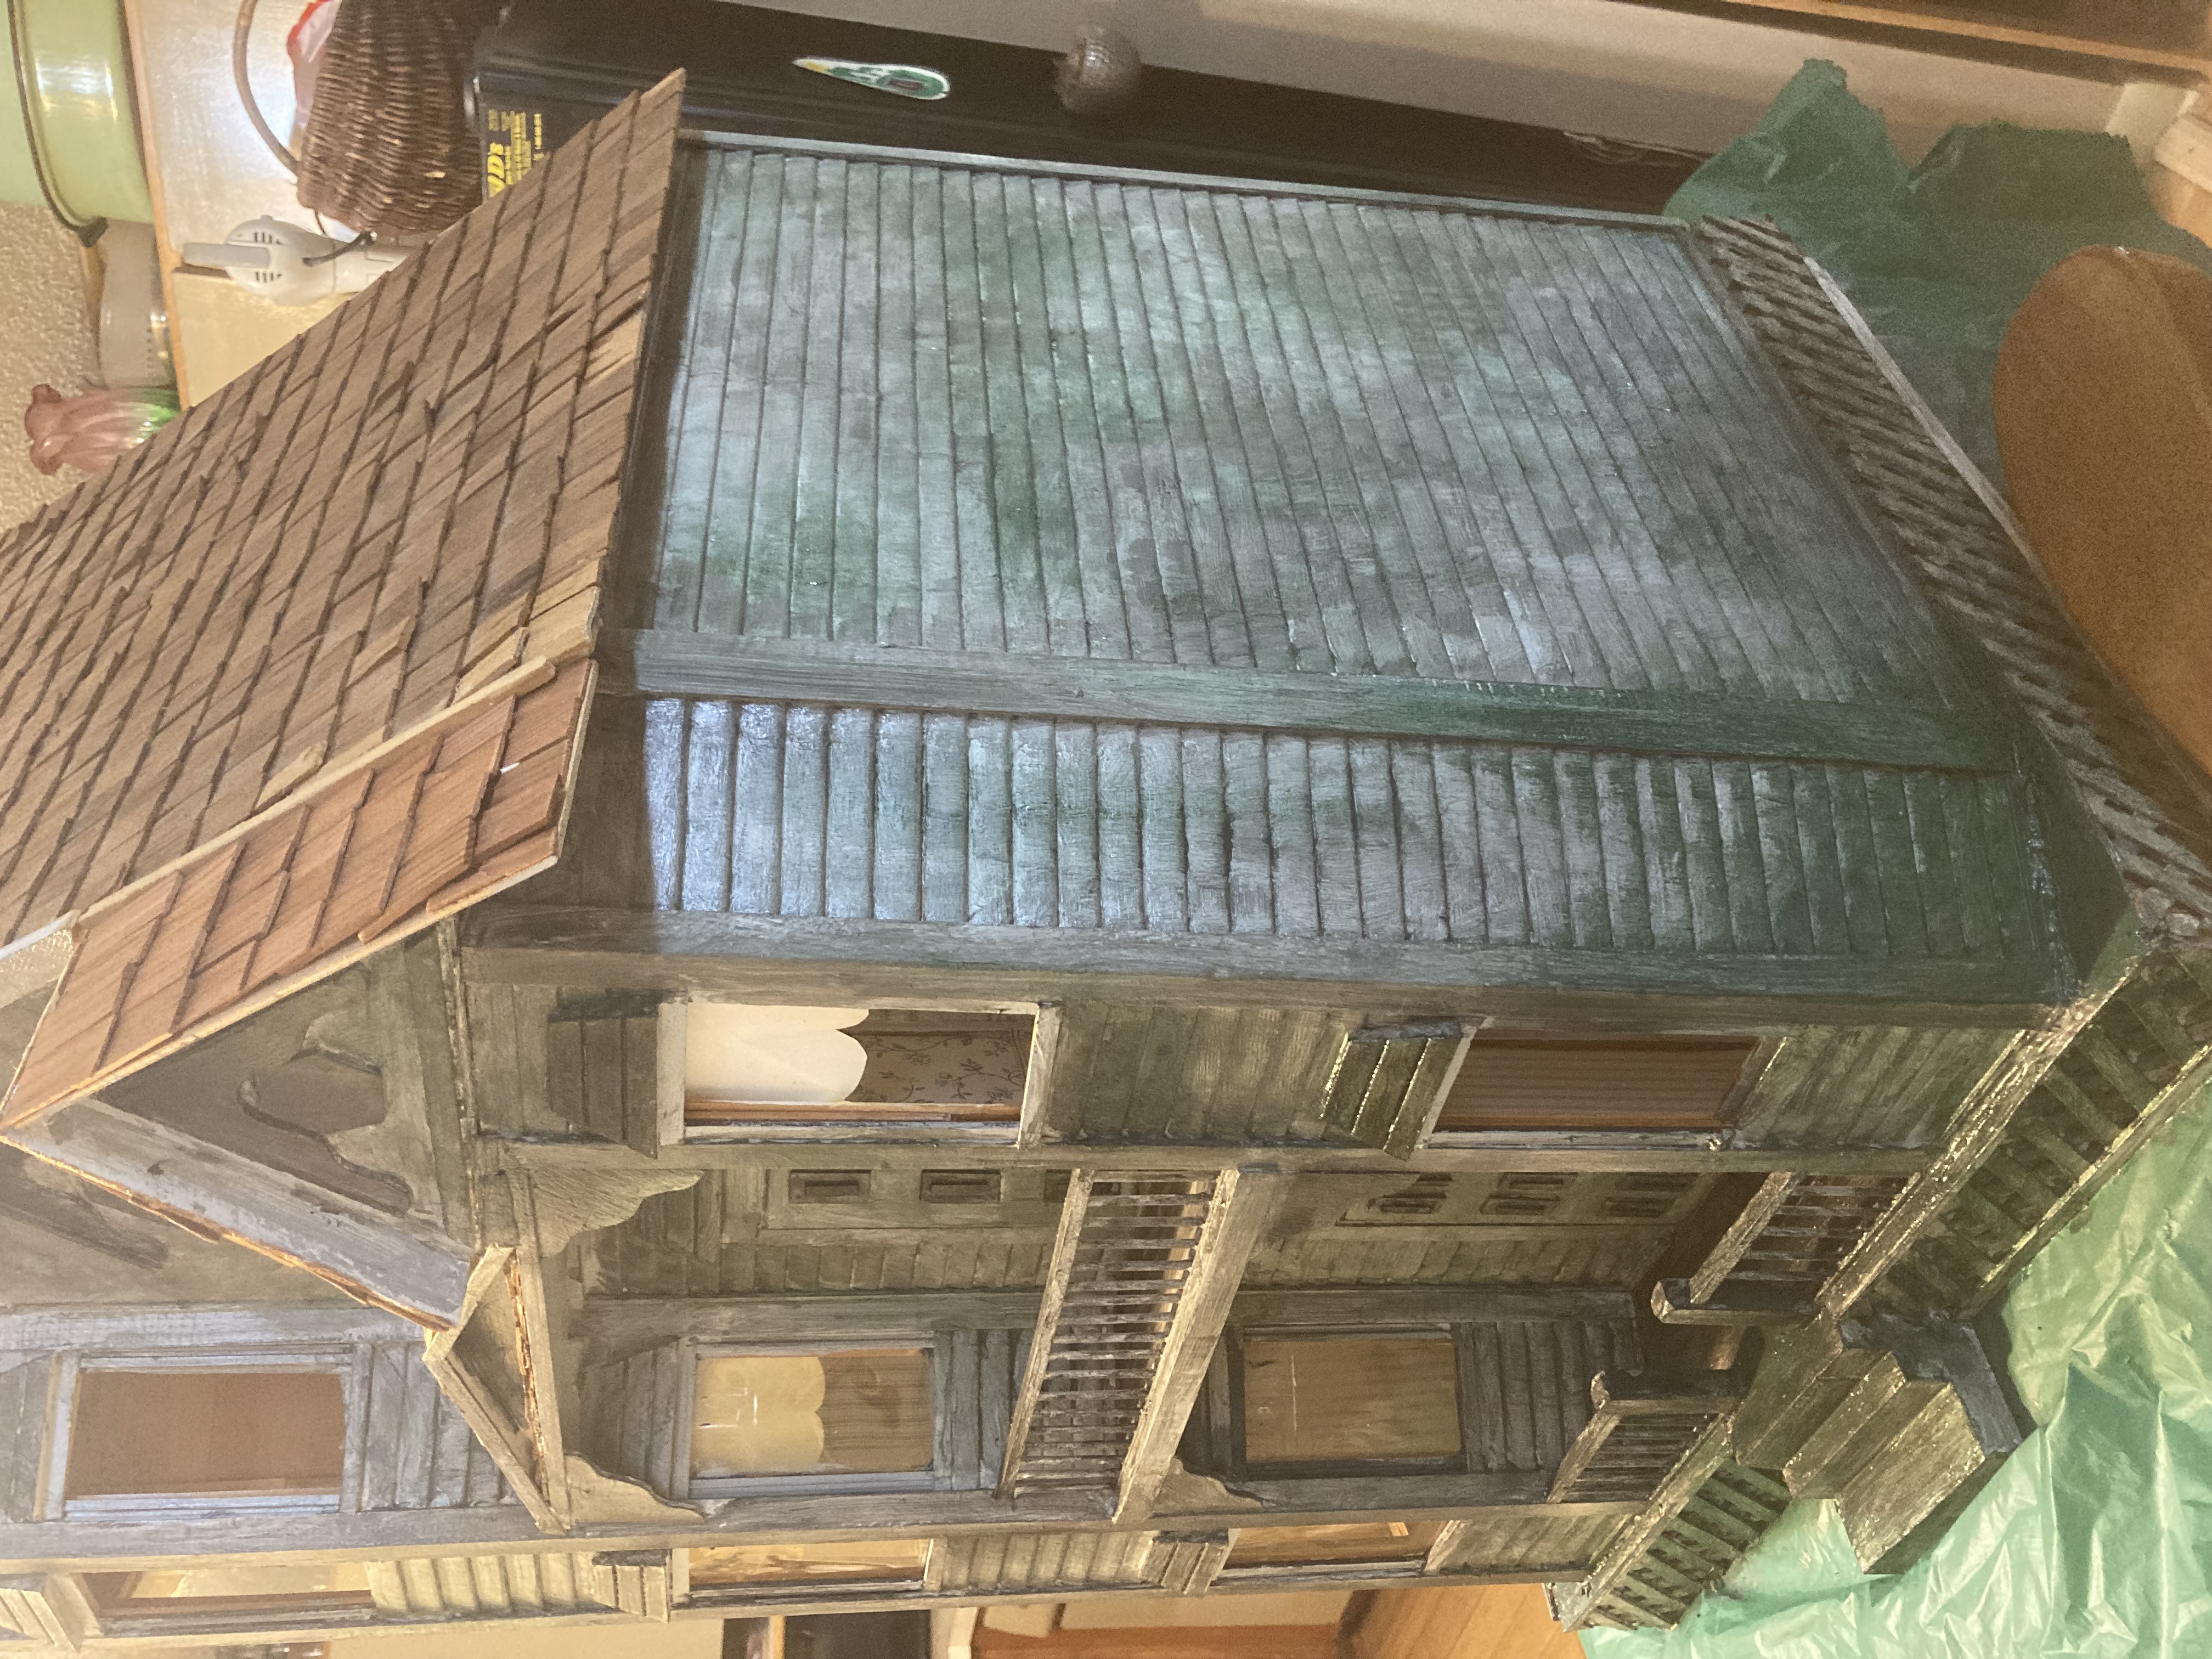
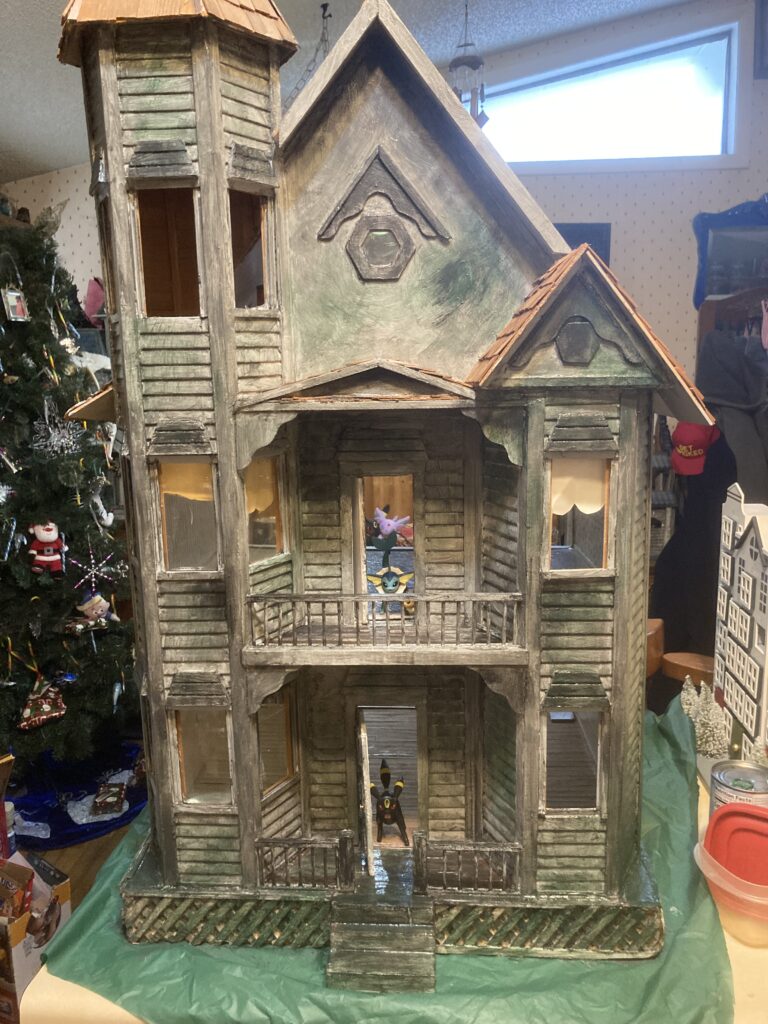
With some green added for mold. It is very watered down. I made it stronger in some areas for interest.
Front view after the green wash was applied.

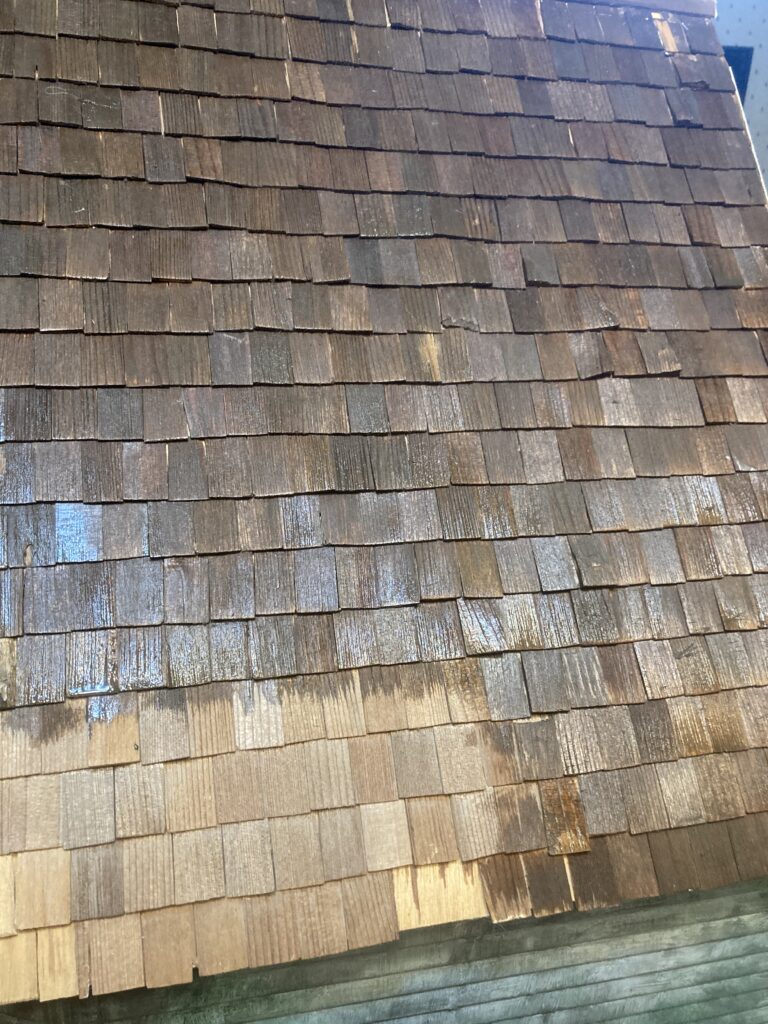
Feeling fairly satisfied with the paint, I moved on to the shingles. As they were, they looked way too new for an abandoned building, so I needed to age them somehow. Luckily, I have this handy-dandy Aged Wood Accelerator from Varathane. This was purchased in the wood stain department at Menards. So far this product has come in handy for several of my dollhouse projects.
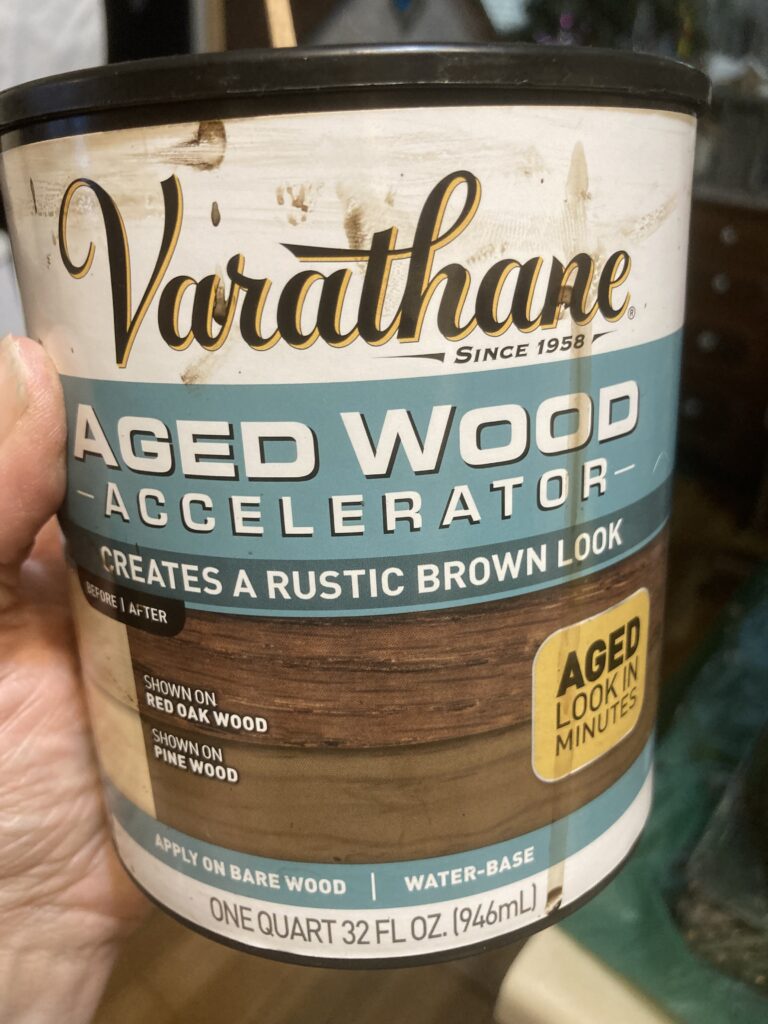
Handy-dandy!
Here is a color comparison of the original shingles (bottom left) opposed to having them stained. A word of note- any areas of glue will not stain. If that bothers you, you could go back over those sections with a bit of matching paint. I wasn’t bothered so I just left them, as they weren’t very noticeable to me.
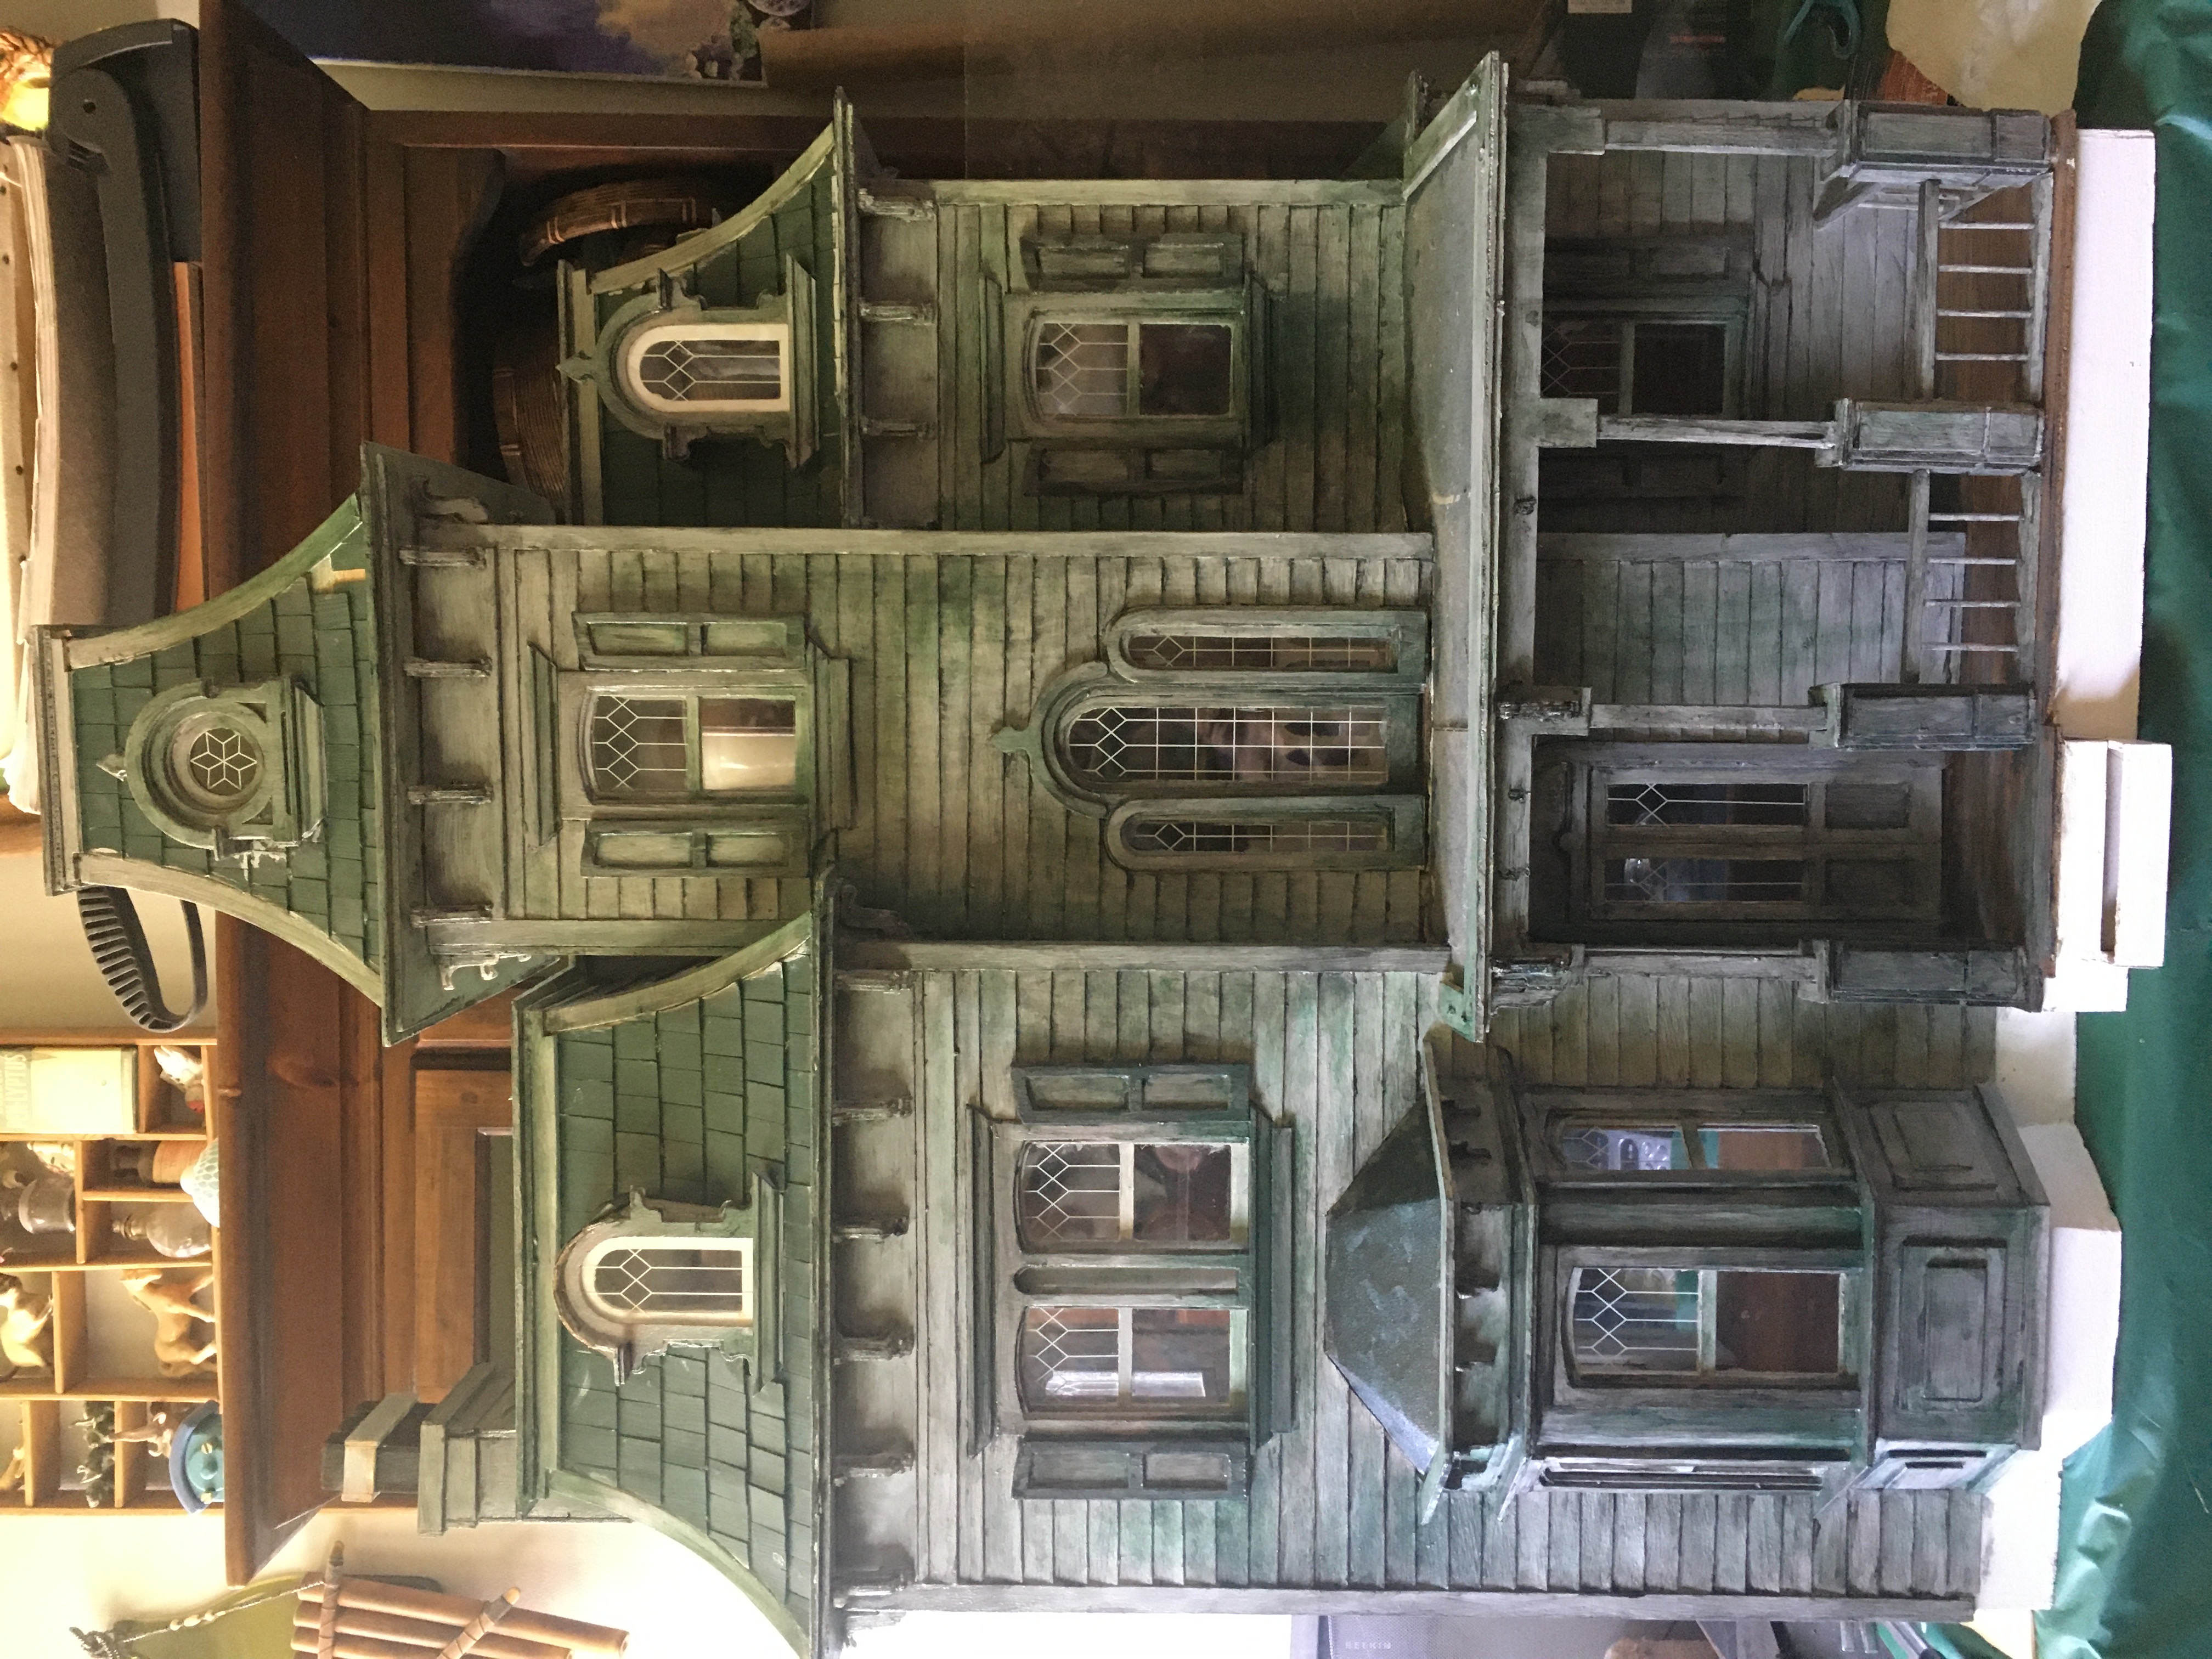
Final product.

We were both pretty pleased with how this project turned out. Eventually we might move on to the interior, but for now it is a blank slate for my child to decorate as she pleases. Let me know if you have any questions or comments!
How to Make Ghosts for Haunted Dollhouses and Halloween Decorations out of Glass Figurines

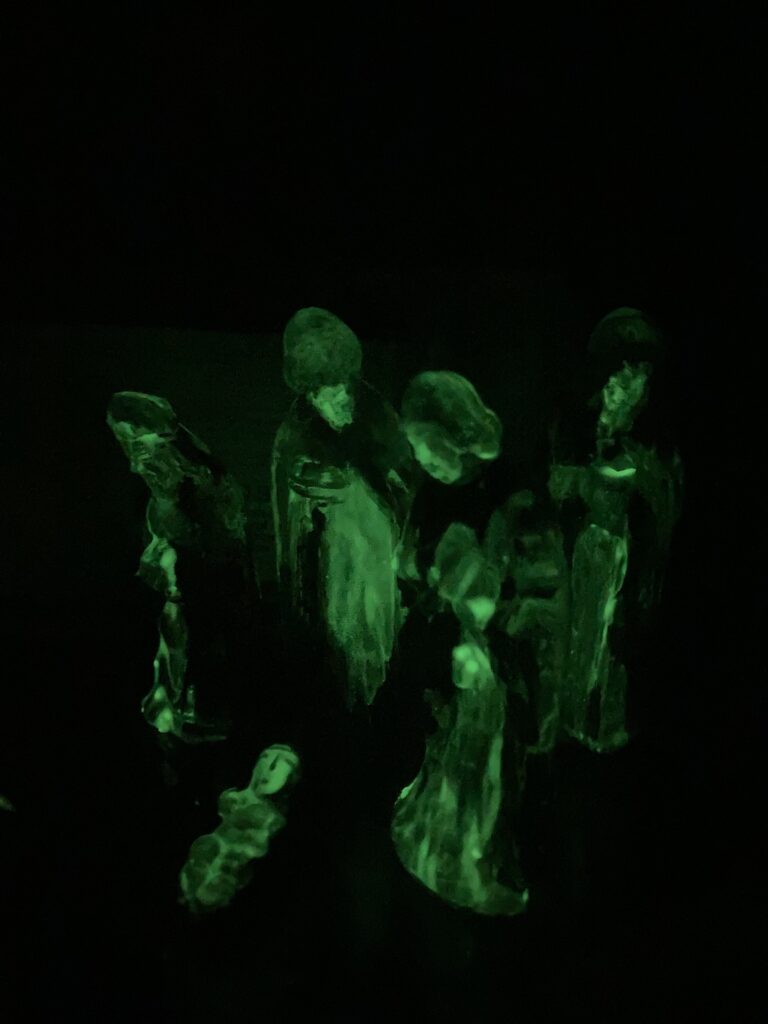
Finished ghosts with glow-in-the-dark paint on them.

I have been wanting to make some ghosts for a while to inhabit my antique church. My church is a little on the rough side, so making it a bit haunted seems reasonable (without, of course, altering or damaging my church in any way). Anyway, this is a solution I really like.

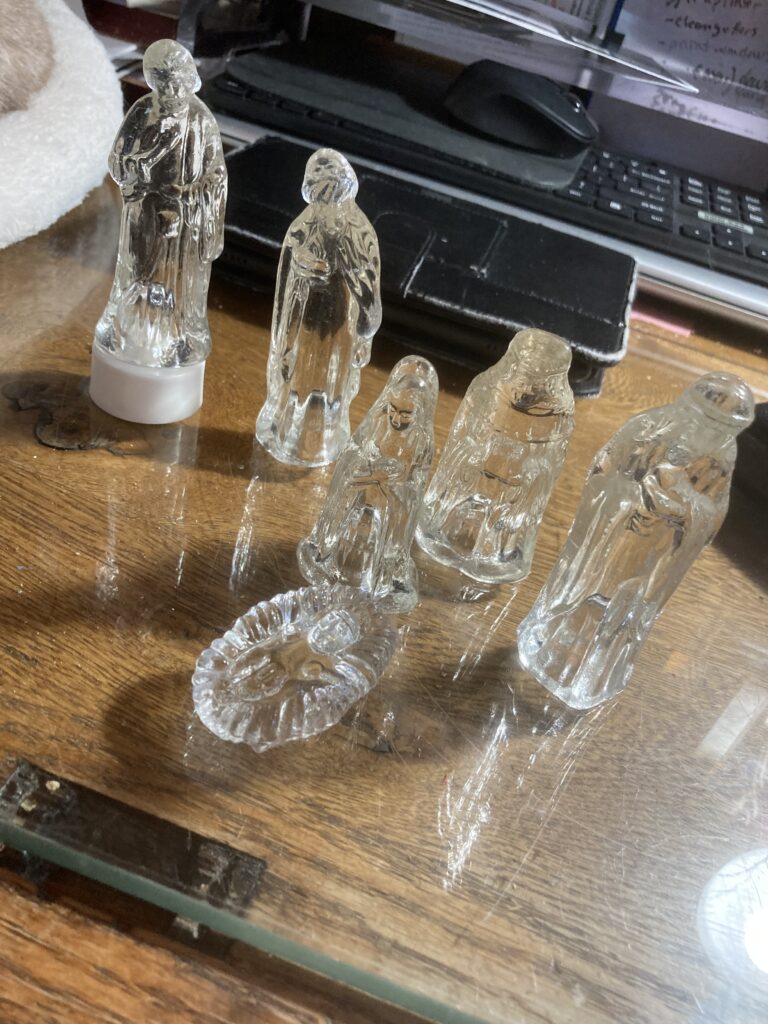
I started looking for clear glass figurines, and finally settled on a nativity set.

These figures worked out perfect! The base is a bit hollow, so a battery operated votive candle can be used, if desired, to light it up (the figure in the upper left corner is standing on a votive candle.)

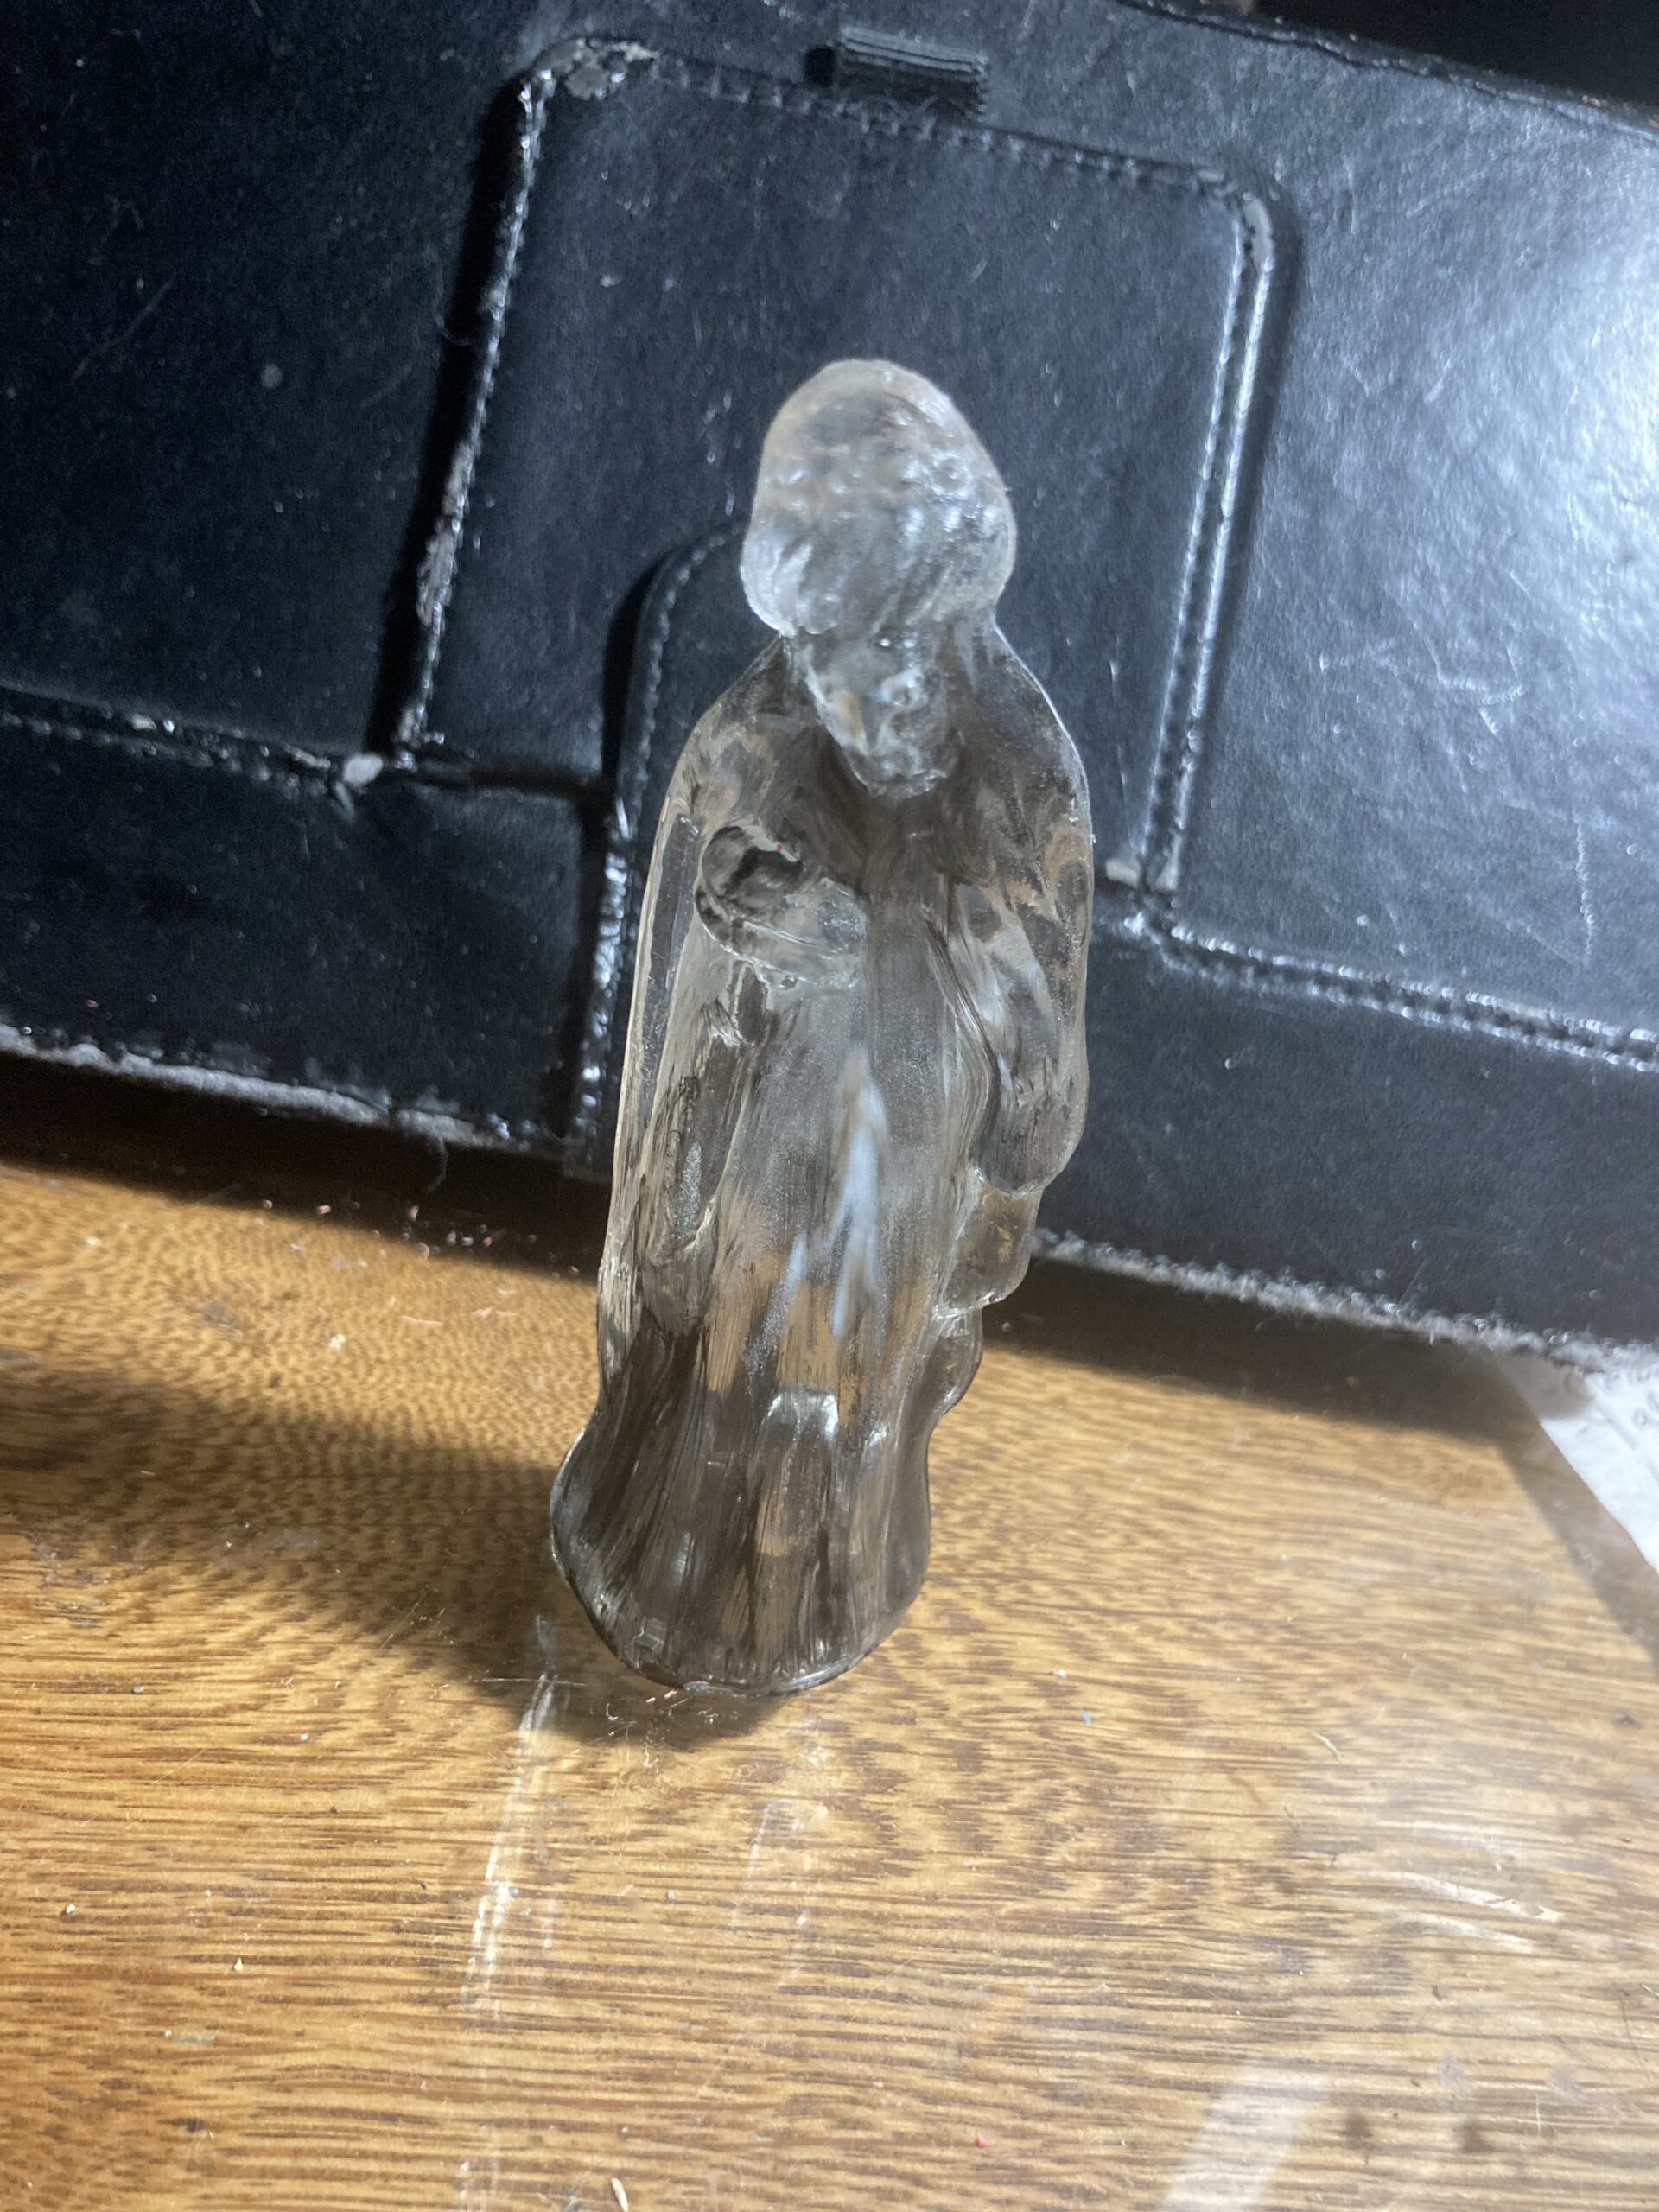
These figures will fit well in my church, as they are about the right scale for the building, and also they look holy. I decided that, for my purposes, I wanted them to glow by themselves instead of having them elevated by sitting on candles. The candles would work fine if I had them in different settings, but I like using glow-in-the-dark paint.

The glow-in-the-dark paint I use is just a run of the mill crafting paint that can be found in the paint aisle of many craft supply stores. There are different brands and probably any brand will work. I bought mine from Walmart. I also used a darker paint for shadows; I believe I used payne’s gray acrylic.

I watered down the payne’s gray and put layers of paint in areas I want to be shaded, just to add more definition to the form, because otherwise the clear glass makes it hard to make out details. After the shadows, I put on thicker layers of the glowing paint in the raised areas like the head and hands, shoulders, sleeves, etc.

After painting the shadows and glowing highlights.

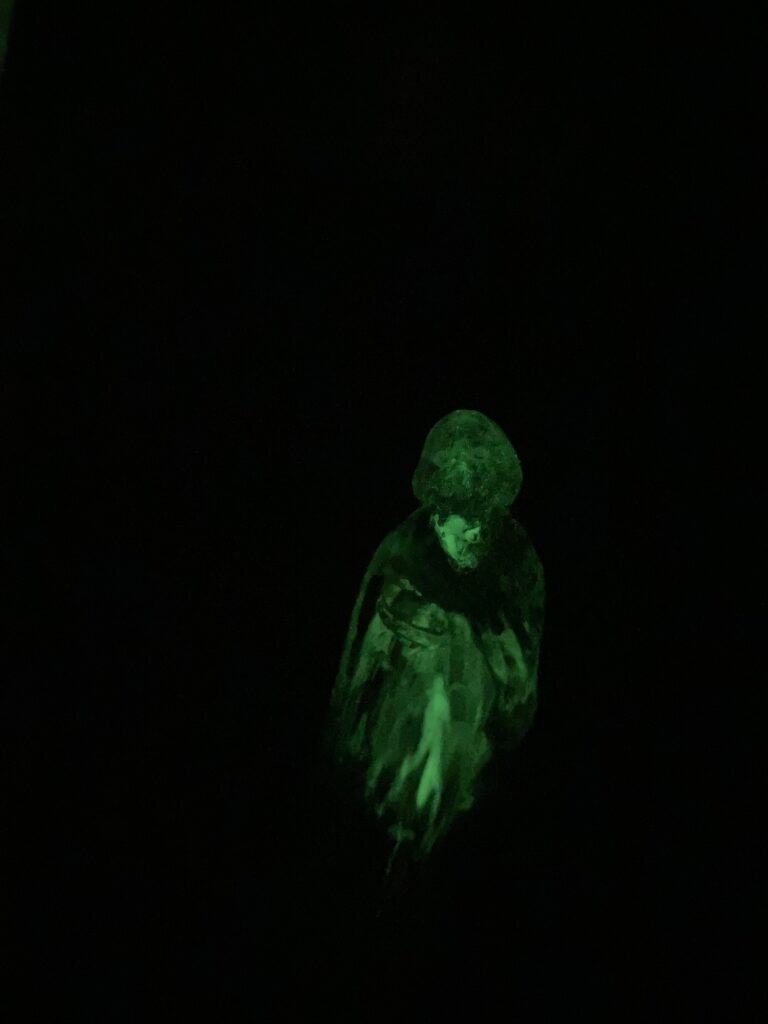
In order to make the figure glow, you need to hold it under a light, shine a flashlight on it, or just keep it in a well-lit place for a while to ‘charge’ it. The glow won’t last for very long before it needs recharging with a light source, but it is still fun.

Charged and glowing.
The same figure standing on the battery operated candle. It still looks spooky.
As viewed through the broken window of my antique church. This church is featured in another of my posts if you would like to view it in more detail.

What my Haunted Beacon Hill Dollhouse Looks like on the Inside

This is my haunted/abandoned Beacon Hill dollhouse. Its main resident is Ash from the Evil Dead, who is visible on the front porch, enjoying a smoke and a beer with his zombie friend (hey, it’s make believe, darn it!)

This is my Beacon Hill, which has been featured in past posts. It is, of course, a work in progress, much like my other houses/structures. I work on different projects sporadically as my time, interests, and supplies allow. I thought today that you might enjoy seeing the insides and some of the modifications I have made to it. At the moment it is decorated for the winter, with snow on the roof. The snow, by the way, is just a fuzzy fleece sweatshirt that was cut into pieces and laid on the surfaces.

Ash (a Neca action figure from the Evil Dead series) with a glass of beer and cigarette that were purchased on ebay. His friend is a zombie that I am guessing could be from the Walking Dead but I really don’t know. Their metal lawn chairs were from Dollar General, in the Fairie Garden section.
So, for the life of me, I cannot get this image to upload in the correct orientation. It is tilted sideways for now until I can figure it out. Anyway, this is a full view of the back. I keep it covered (at least the bottom couple of floors) with a piece of plexiglass that is velcroed to the back of the house. It helps keep out dust and cats.
A closeup of the kitchen. I have a metal Roper range (and love it so much!), a Dee’s Delights wringer washer, a (I believe) Reuter’s kitchen sink, a wooden chopping block, and a Peripera makeup refrigerator. (I might paint that sometime so it looks more like a realistic vintage fridge. ) One of my ‘broken’ windows fell out and I didn’t catch it before taking the photo.
Dining room. I cut a small storage under the stairs. I still need to make a door for it. The front doors of the house still need to be re-attached, but for now they look fine as being caved in, as though it was broken into.
Here is the living room. I have a denim-covered couch that I love, a leg lamp (it is actually a night-light version of the famous Christmas Story lamp), and a few other pieces of furniture. The white chairs are my version of old fashioned table chairs. They aren’t finished yet.
Upstairs sitting room. It is occupied by my child’s toy kitties lol!
Bathroom. It is also occupied by pets. I used watered-down paints to dirty up the appliances a bit, and also the floor. I am still working at painting the trim brown. It was all white when I bought it, and, while it looked very nice, it just didn’t give me the ‘old house’ feel that dark wood has.
The back of the roof tower. It didn’t originally have a door, so I cut and added one. I might add a ghost in there eventually. I made the shingles out of jumbo crafting sticks, by cutting the rounded ends off and overlapping them.
This was originally decorated as a nursery, but I am converting it to a secret room. I made a shallow book case to block the entrance (will eventually add hinges to it), and then managed to find a vintage METAL spiral staircase kit on ebay! This is, perhaps, my favorite feature of this house, so far. I painted it black, and then used some brown paint to add a little ‘rust’. I used a rotary tool to cut the hole in the ceiling for the stair opening, and then patched around it with cloth and glue. i plan to paint over it when I eventually repaint the room, and make the loose cloth look like falling plaster.
The spiral staircase leads to a tiny greenhouse on the roof. I made the greenhouse out of a fancy metal cage that once held scented potpourri. I covered it with clear plastic that I salvaged from plastic food containers. The fence in front of it is a work in progress that I am still figuring out. Eventually I hope to make it encircle the rooftop.
The upstairs hallway. The ceiling needs to be patched where there was a gaping hole leading to the tower. Since I made the tower an actual room, I need to put a floor there for it. I bought the bookshelf on ebay, and now I need to stain it and add books and decorations.
Ash’s bedroom, top right room, with a skeleton friend.
Pennywise in the guest bedroom (middle floor, right side). Pennywise is a Neca figure. He has balloon dog christmas tree ornaments as props, and a giant praying mantis as a dinner guest. I like to position him in fun areas, like in the closet, peeking out a window, etc. Behind him is a small glass display case that I am currently pretending is a large fish tank, with ‘Safari’ brand deep sea fish in it.

This is the progress I have made on this house so far. There are still projects left to do before it is ‘done,’ but, in reality, I will probably always find more things to do with it. It would be fun to add artwork sometime, or black-and-white photos, and I would REALLY like to make a basement that I can set the whole house on top of, with a stairway that leads outside, like some of the really old houses have. Then I could make a boiler and laundry room, and make it damp-ish looking and creepy–an ideal place for Pennywise to hide. Hmm…

My One of a kind Antique Church Model Dollhouse

This is above the door.
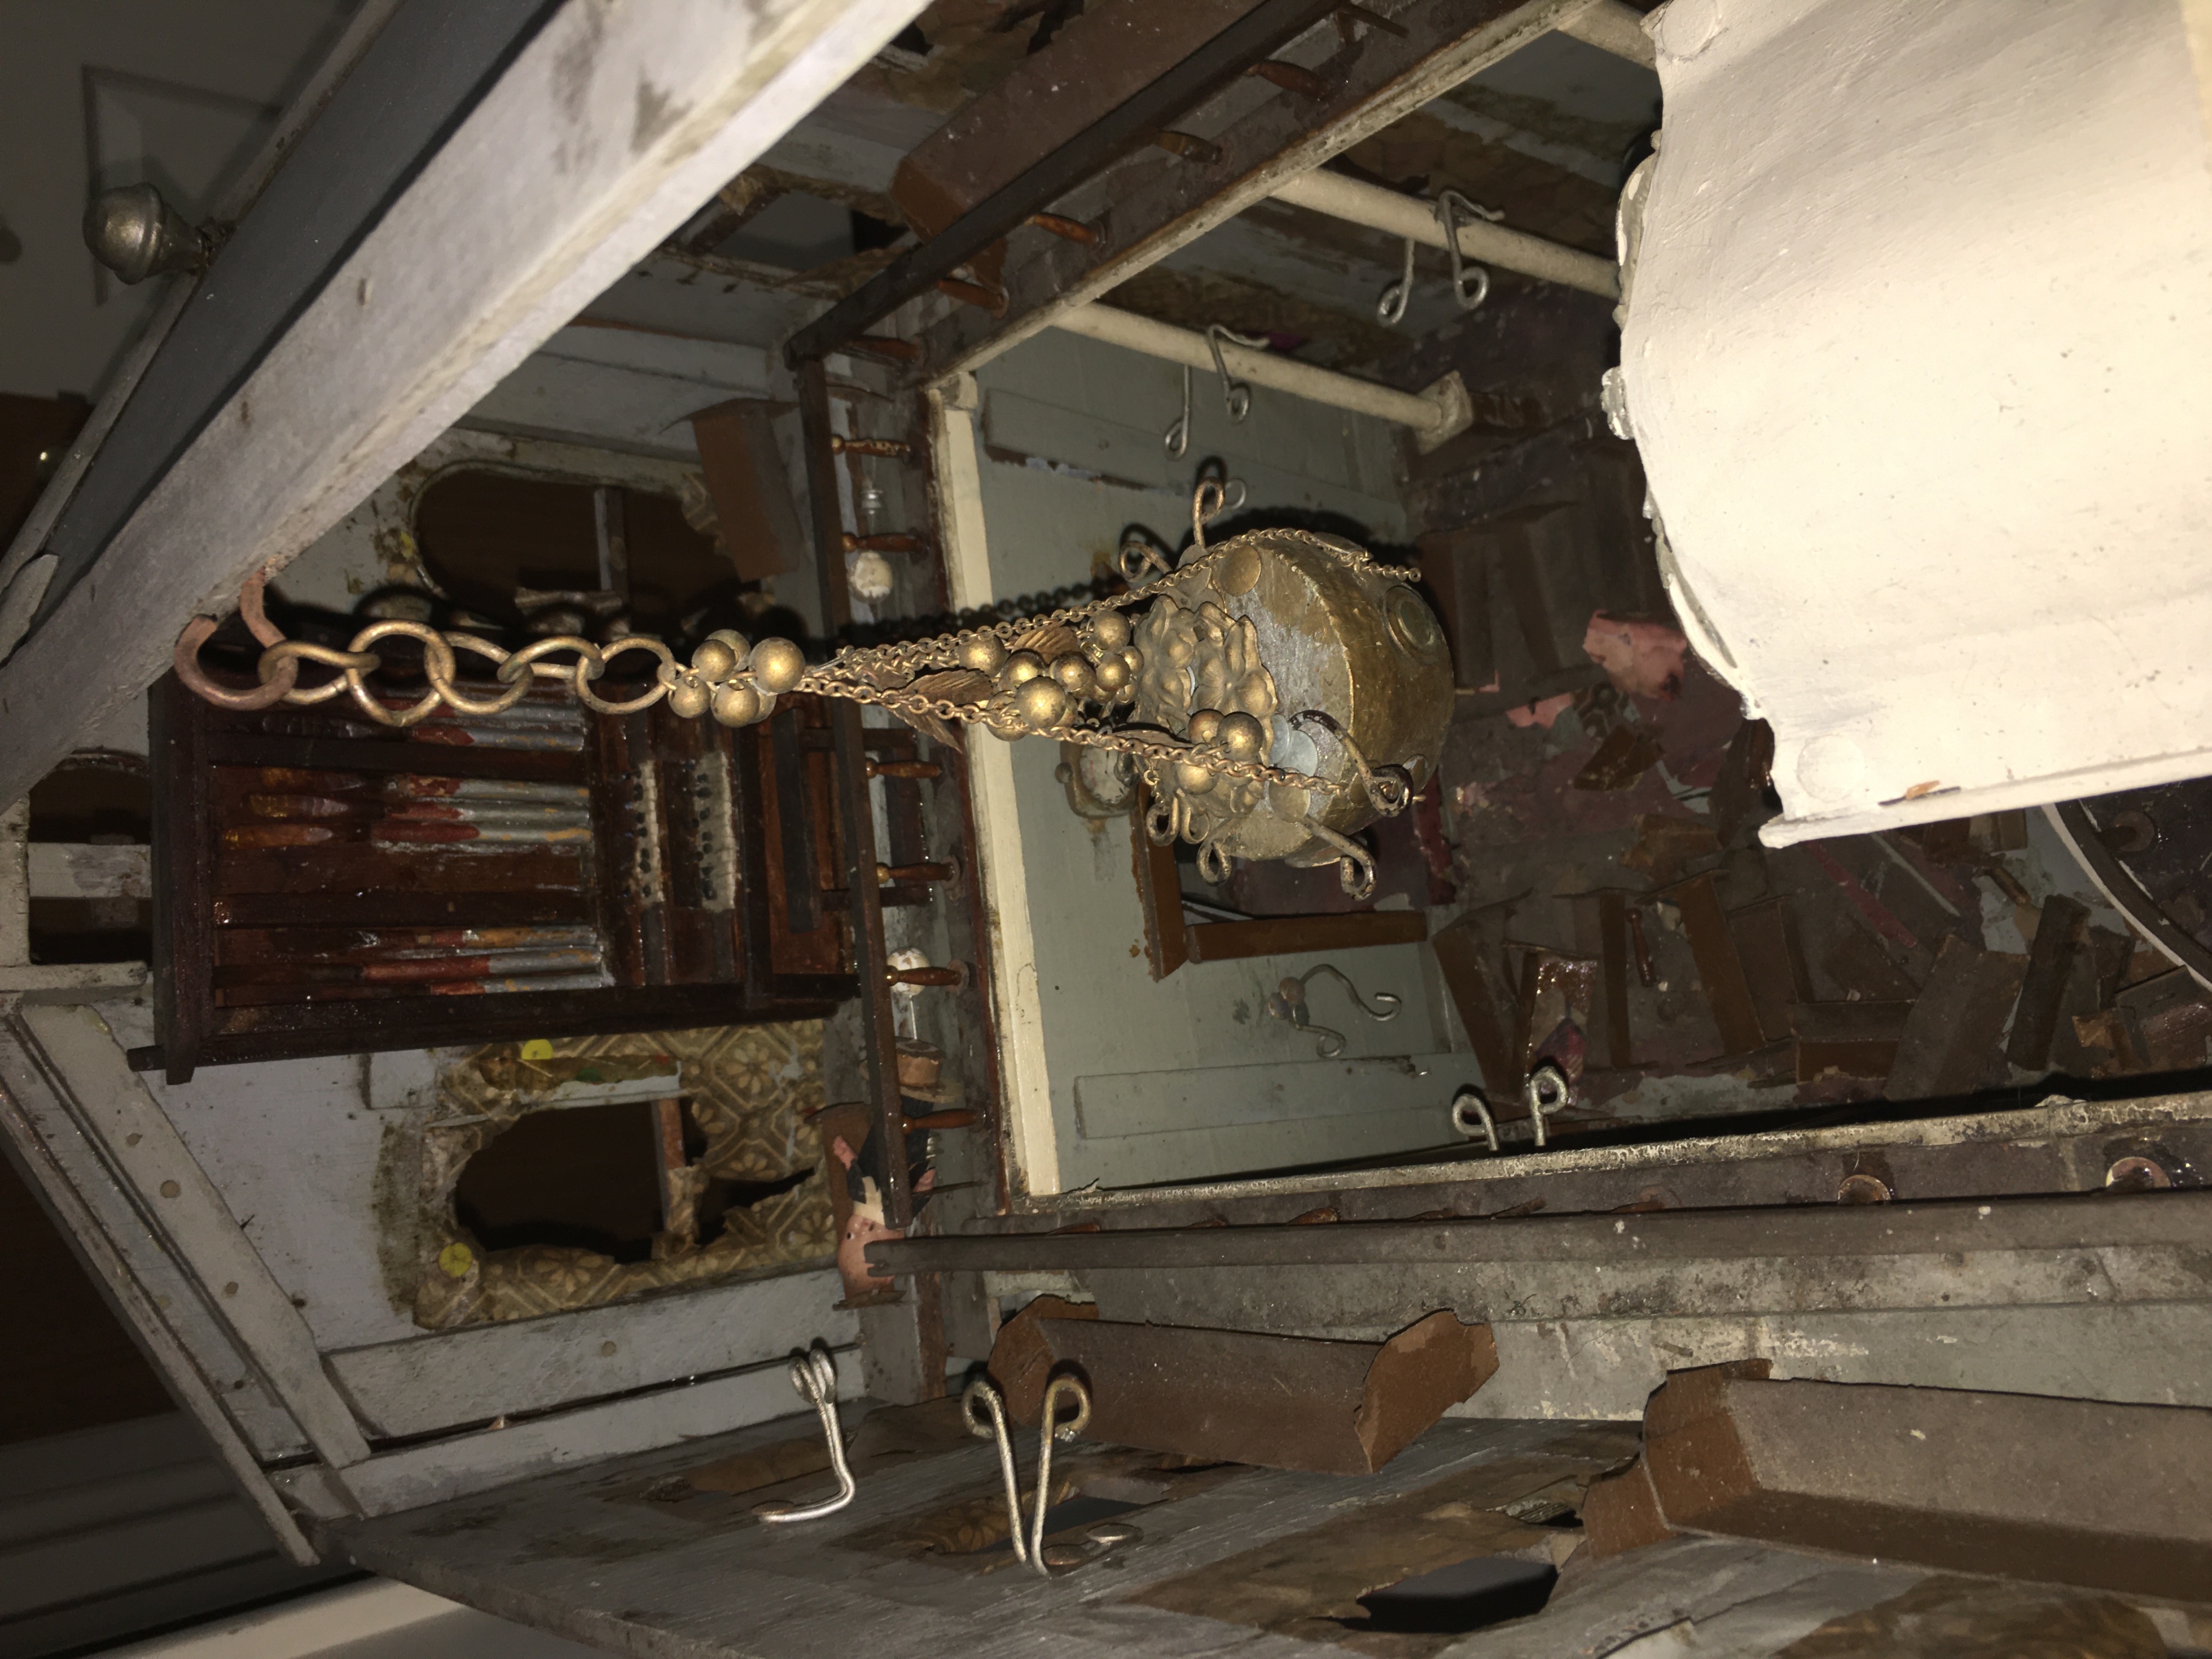
It even has a little wooden church organ!
Lots of damage on this side. Most of the tissue paper windows are gone.

This structure is actually an old model of a long-gone church. It was reportedly made by an early boyscout troupe. The couple I bought it from says that they purchased it online through an auction, and that it was damaged during shipping. They didn’t remember what state they bought it from– possibly Wyoming or Wisconsin. They had made a few repairs, but this is what it is, now.

The stained glass windows are actually made of old tissue paper, that might be original, as it is brittle and discolored, and has remnants of some of the (I think) original paint on it. I also have discovered some tissue paper pasted to the floors in designs. There are small pews made of varnished cardboard, and a ‘priest’ made from a small Kewpie doll :).

I don’t plan to alter this piece. My ideas include placing clear plastic sheets on the floor to preserve the papers (they are flaking off and look very messy). I also would like to make a few clay pigeons to perch around inside and out, to give it an abandoned feel. I may add a tiny paper wasp nest and an owl.

I made a cardboard base that is covered with fake turf, and have been working on a tiny graveyard for the background. I will post pictures when it starts coming together.

How to Easily Make Broken Dollhouse Windows Without Breaking them

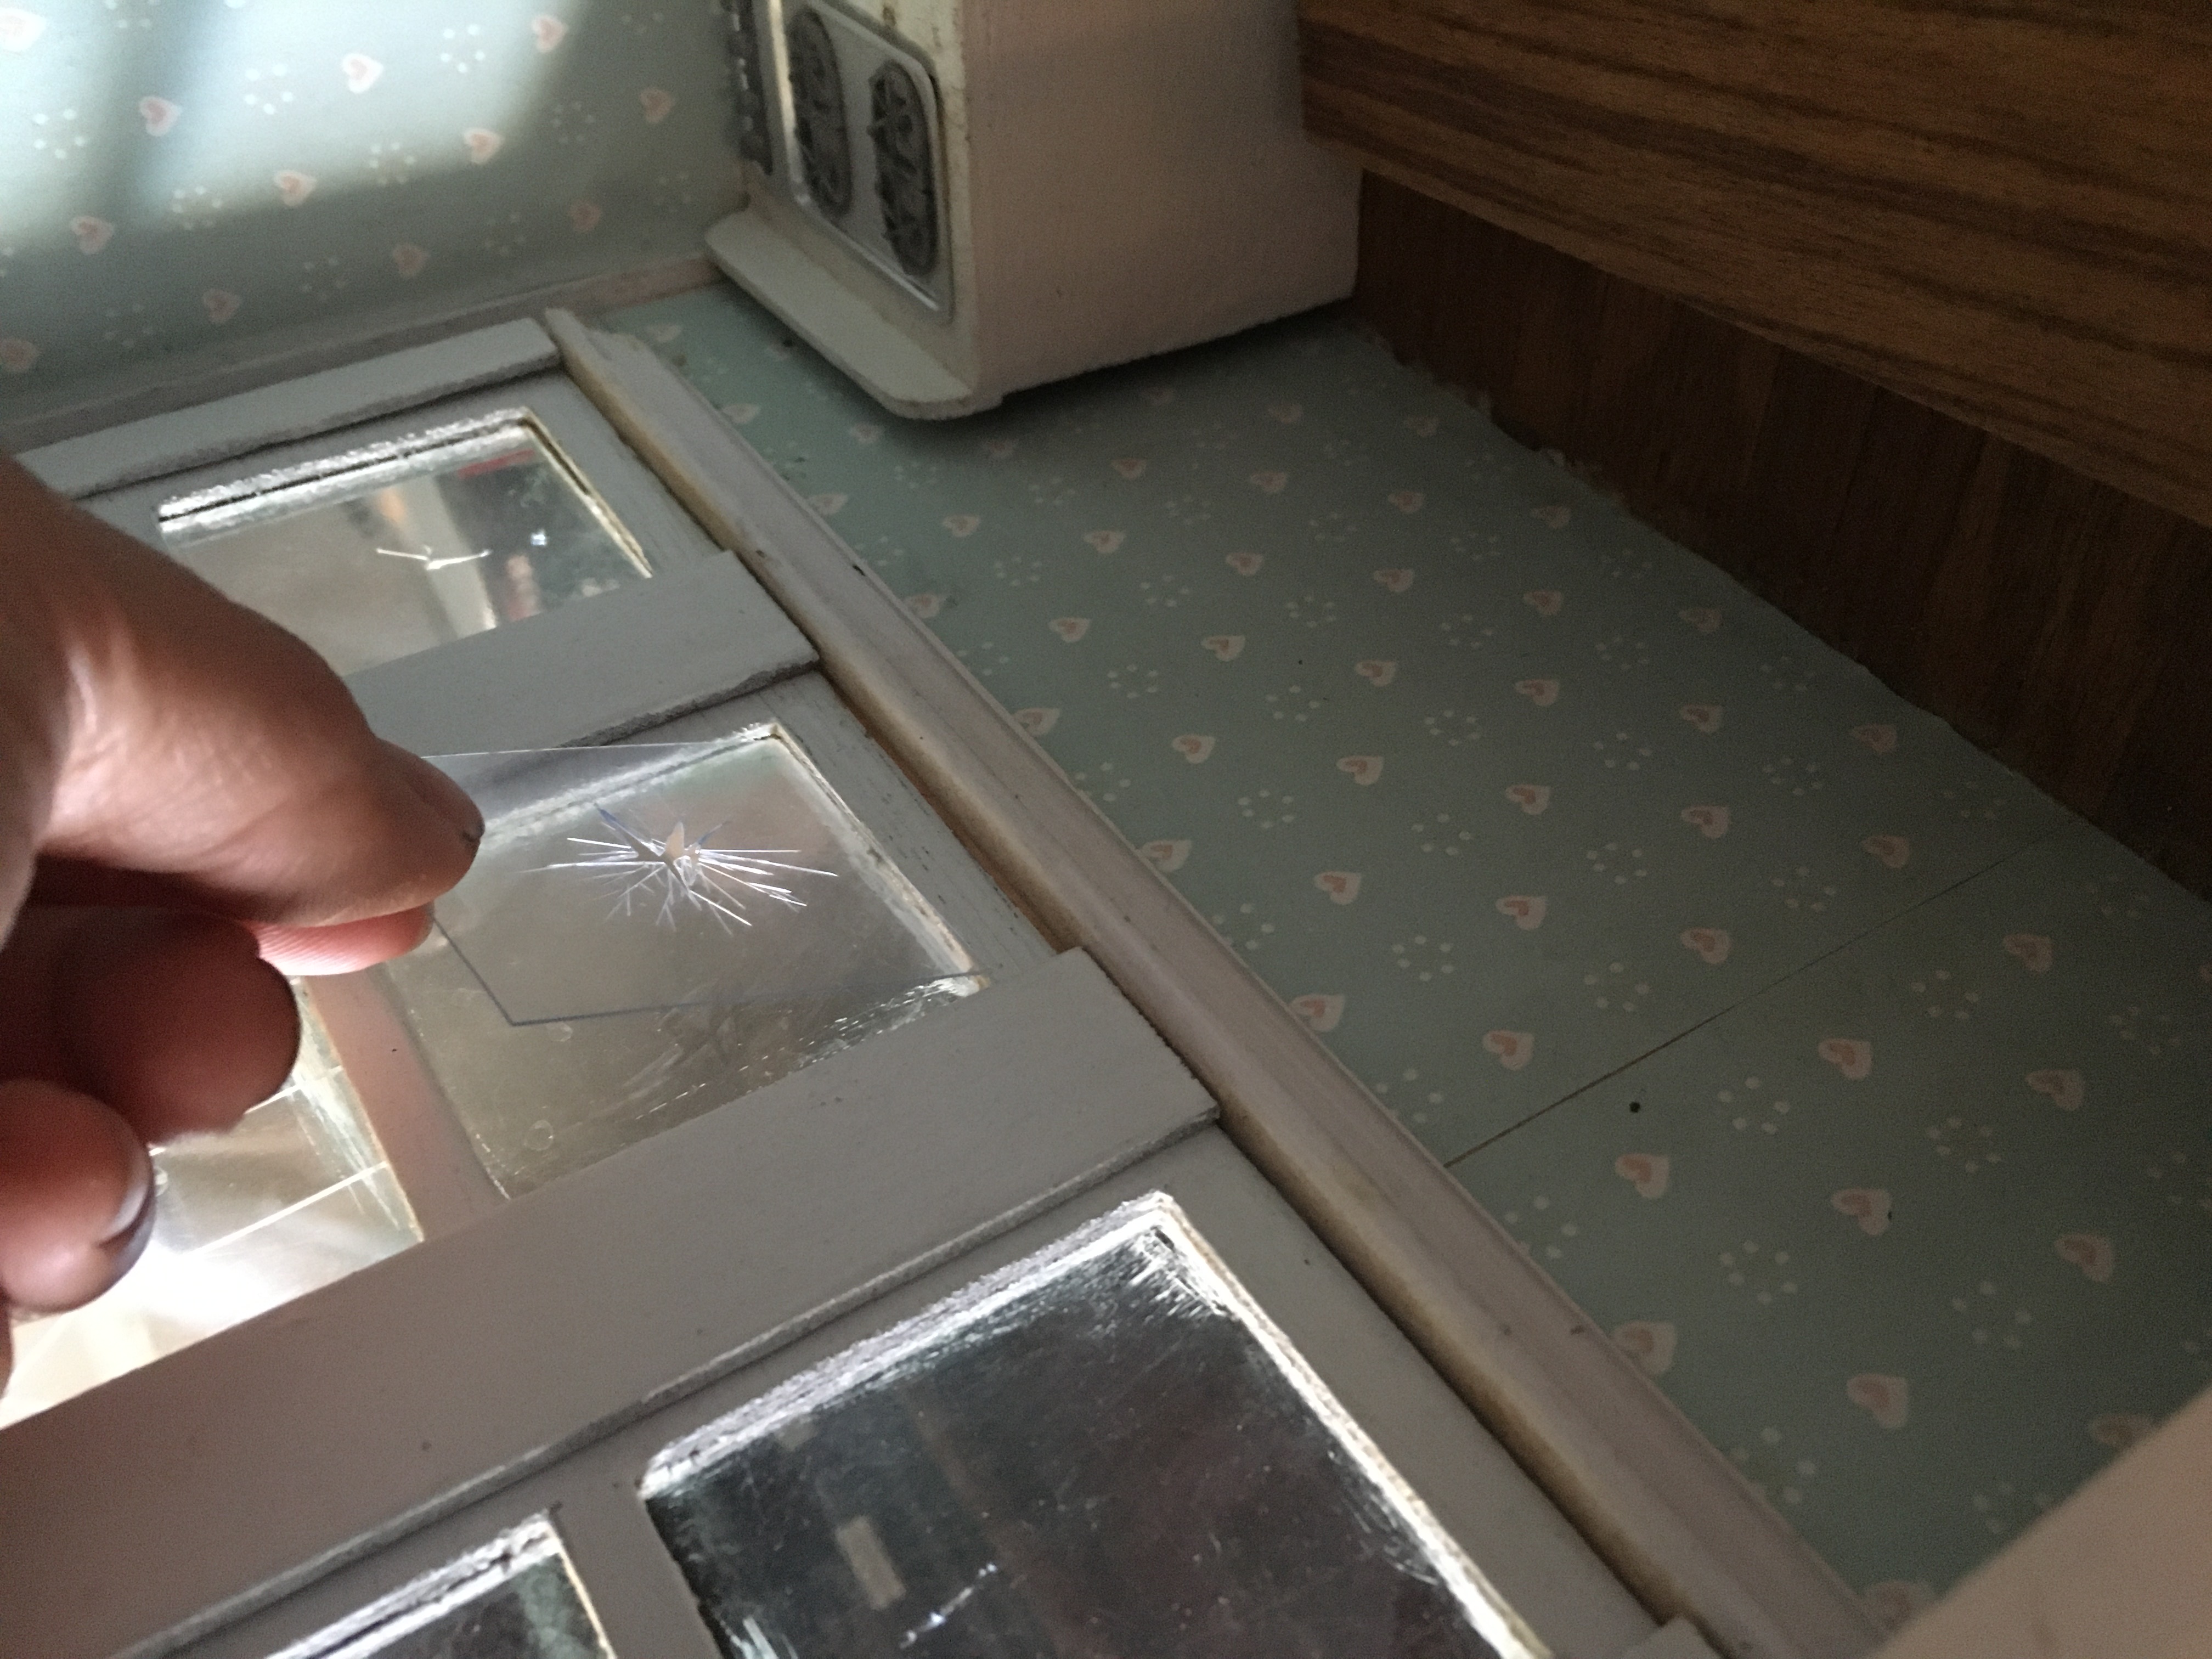
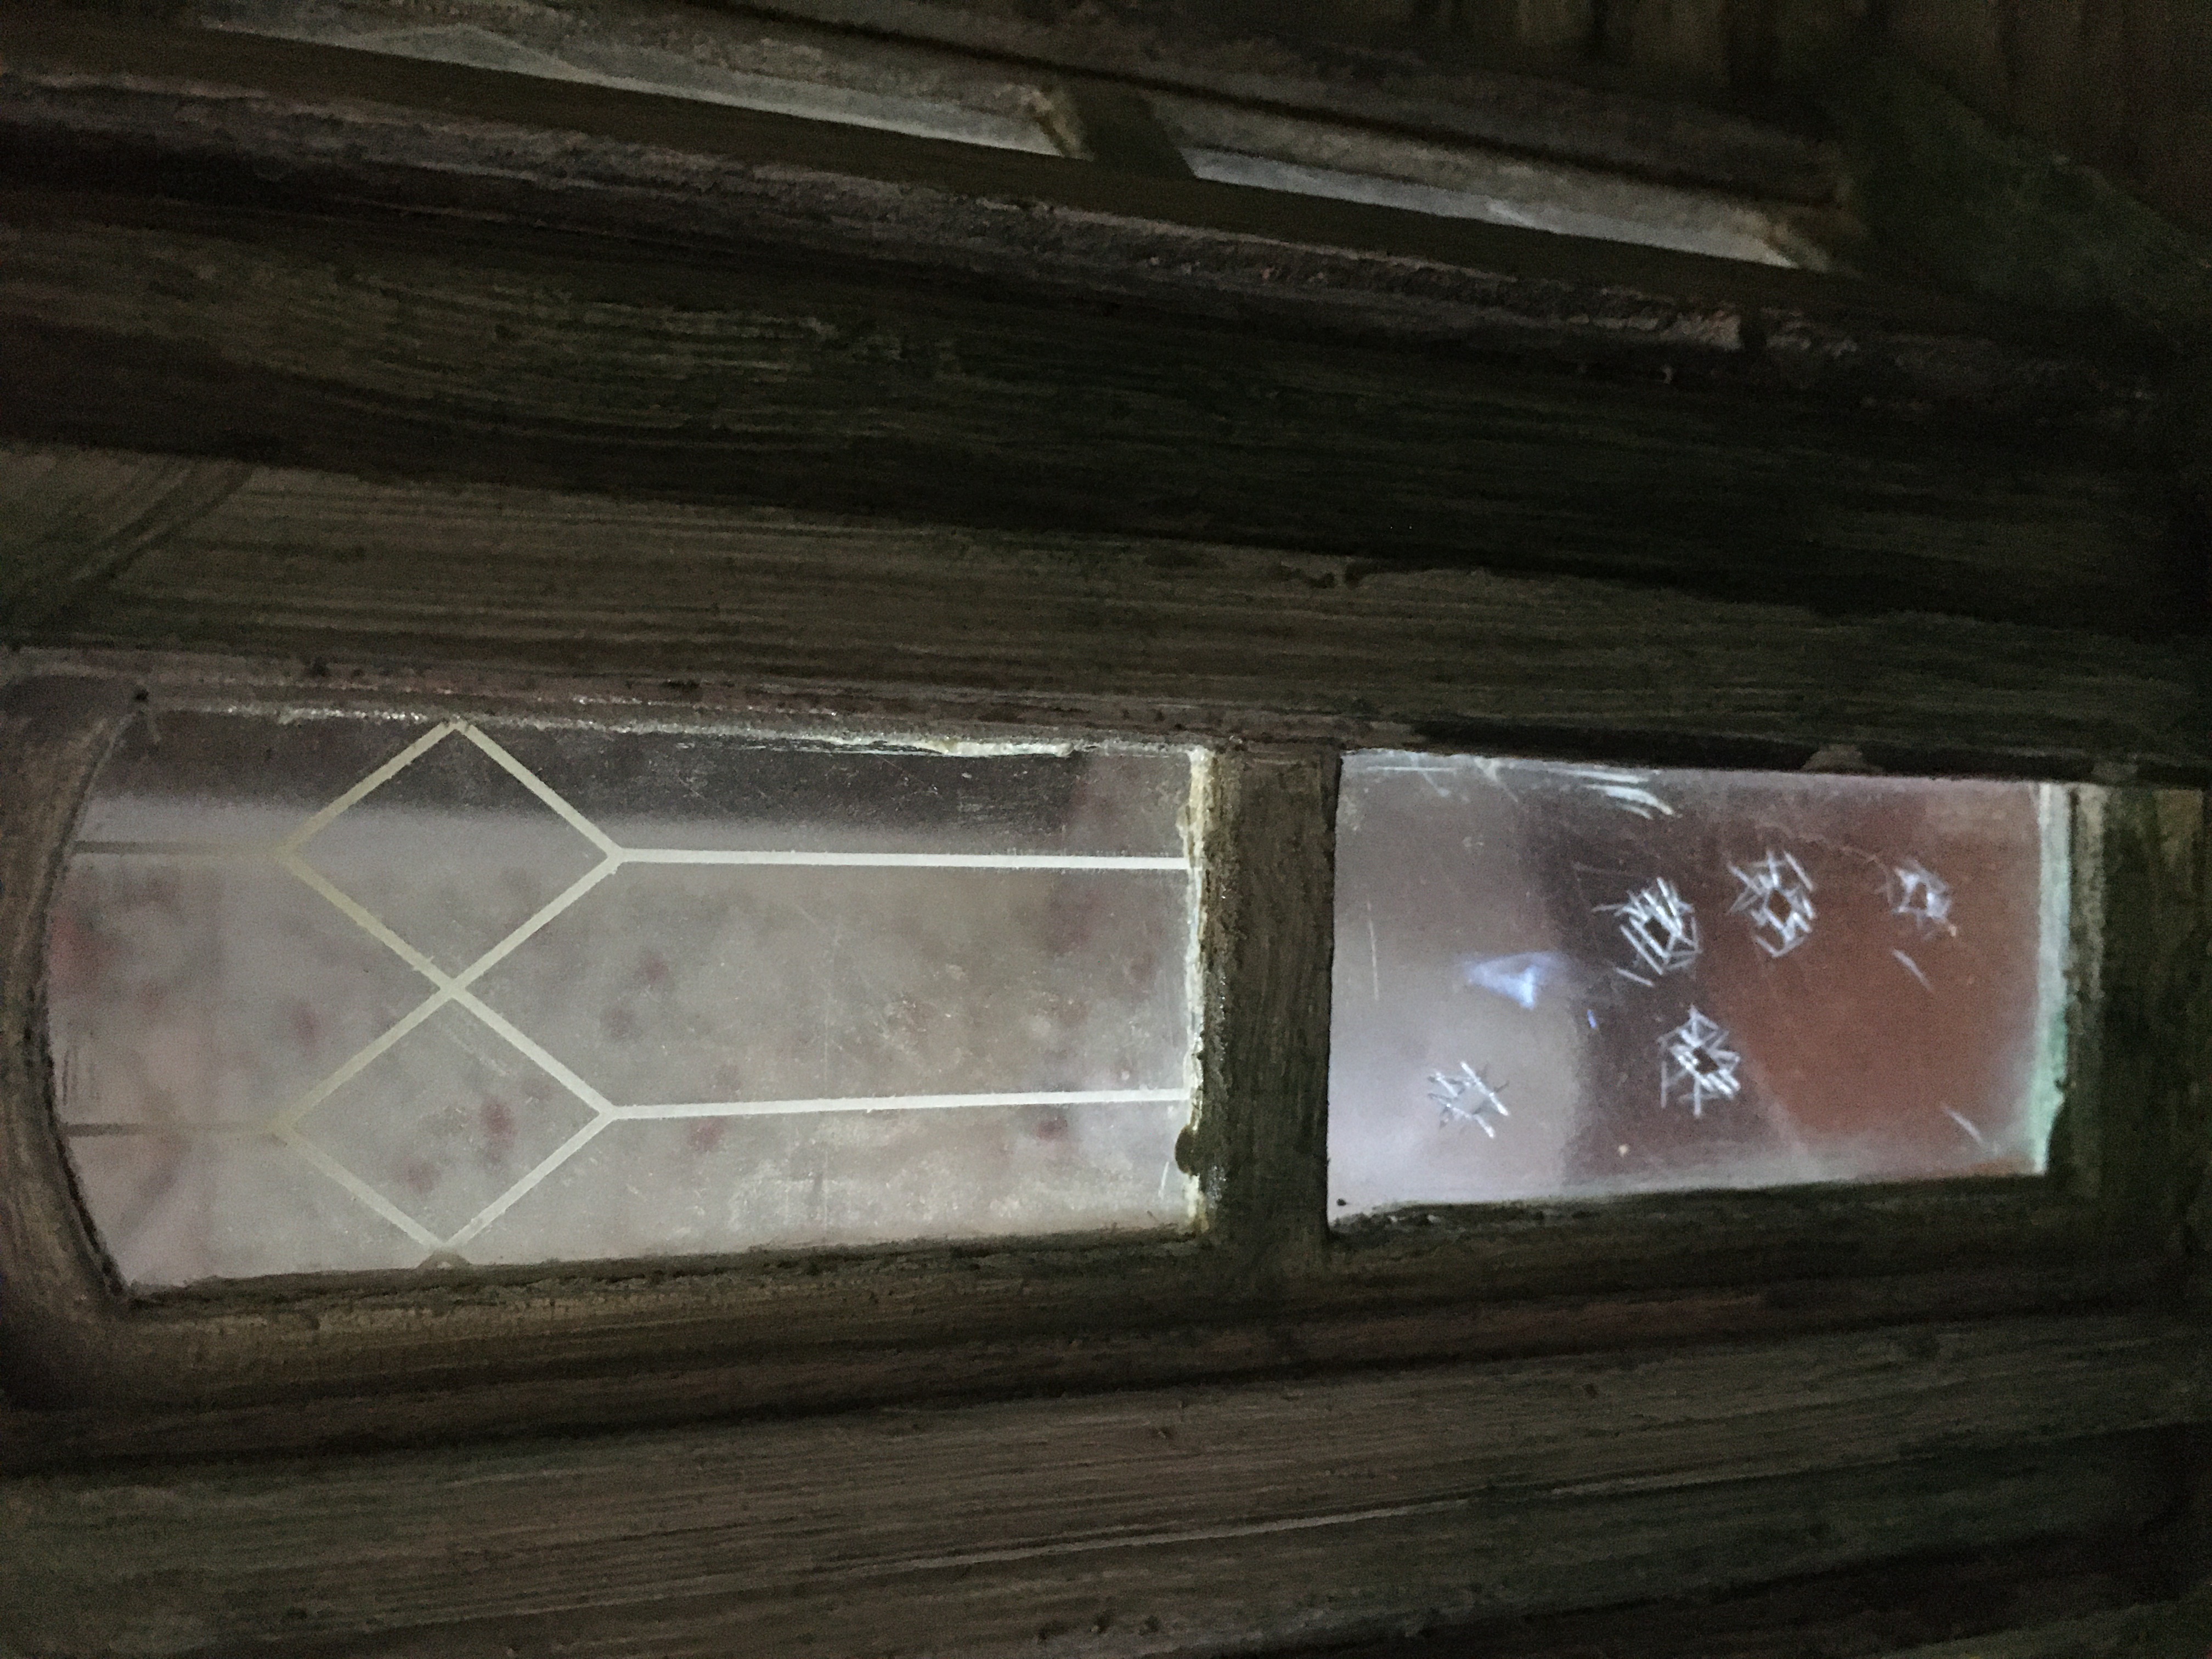
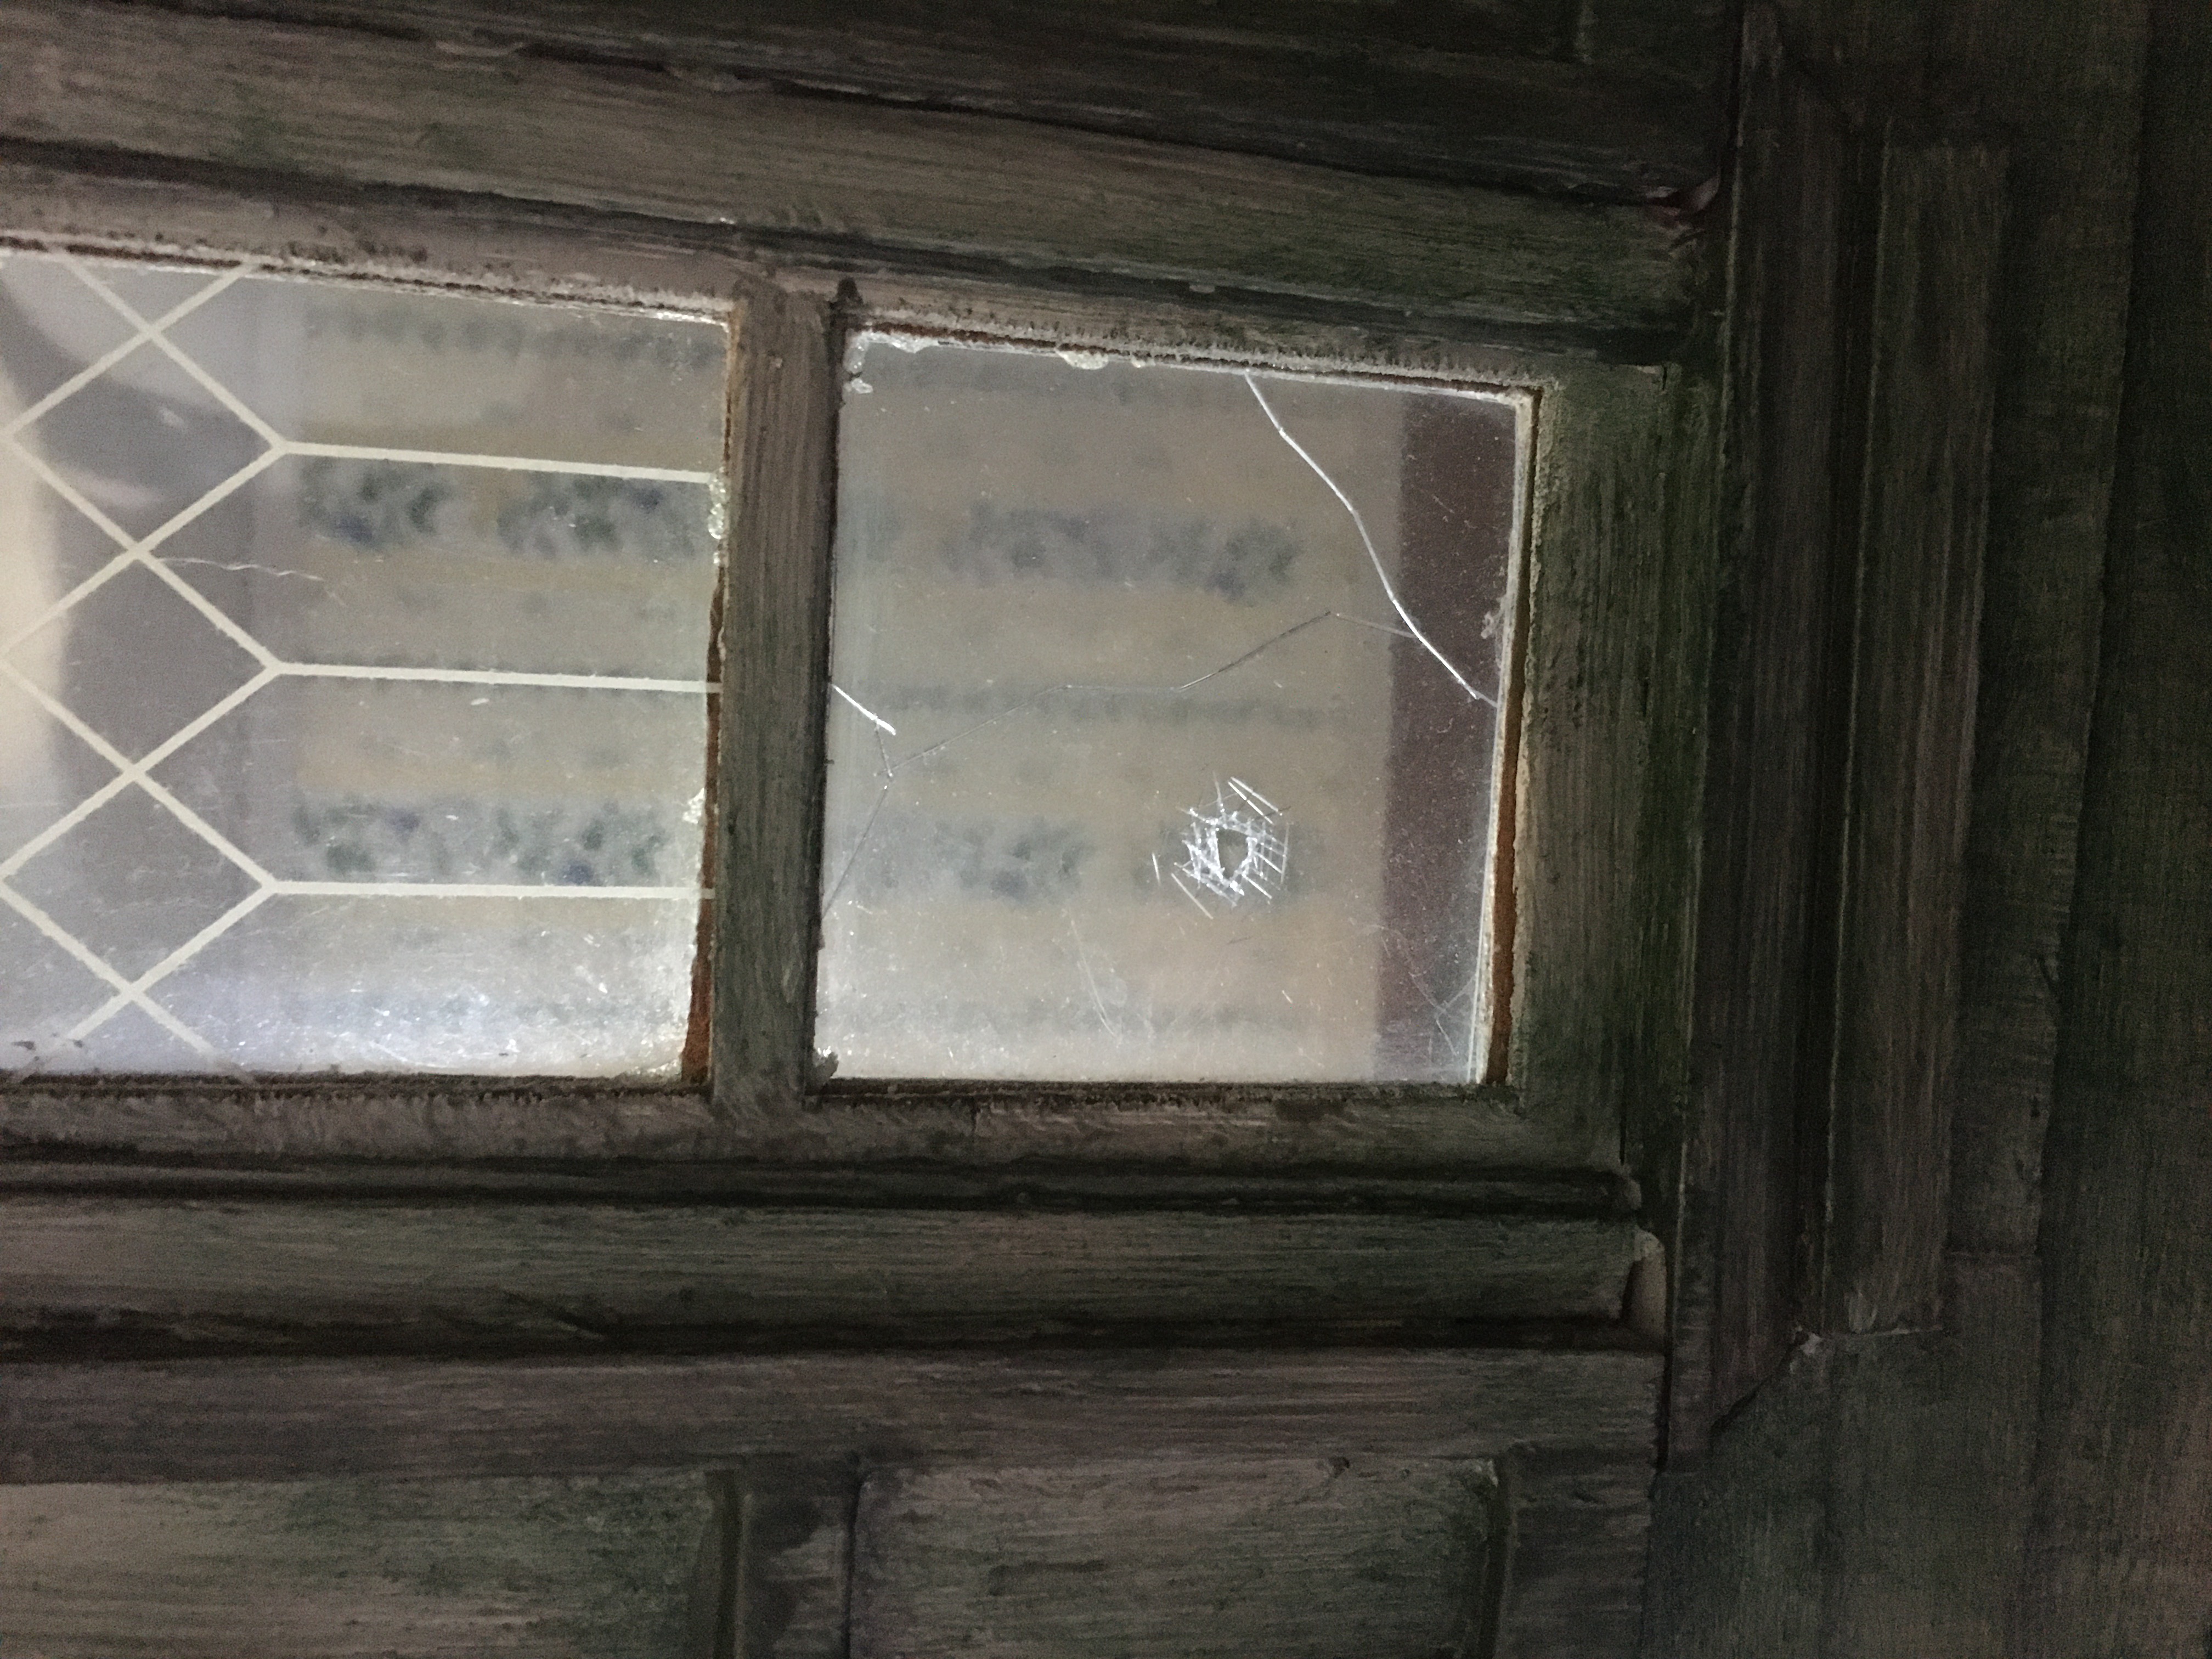
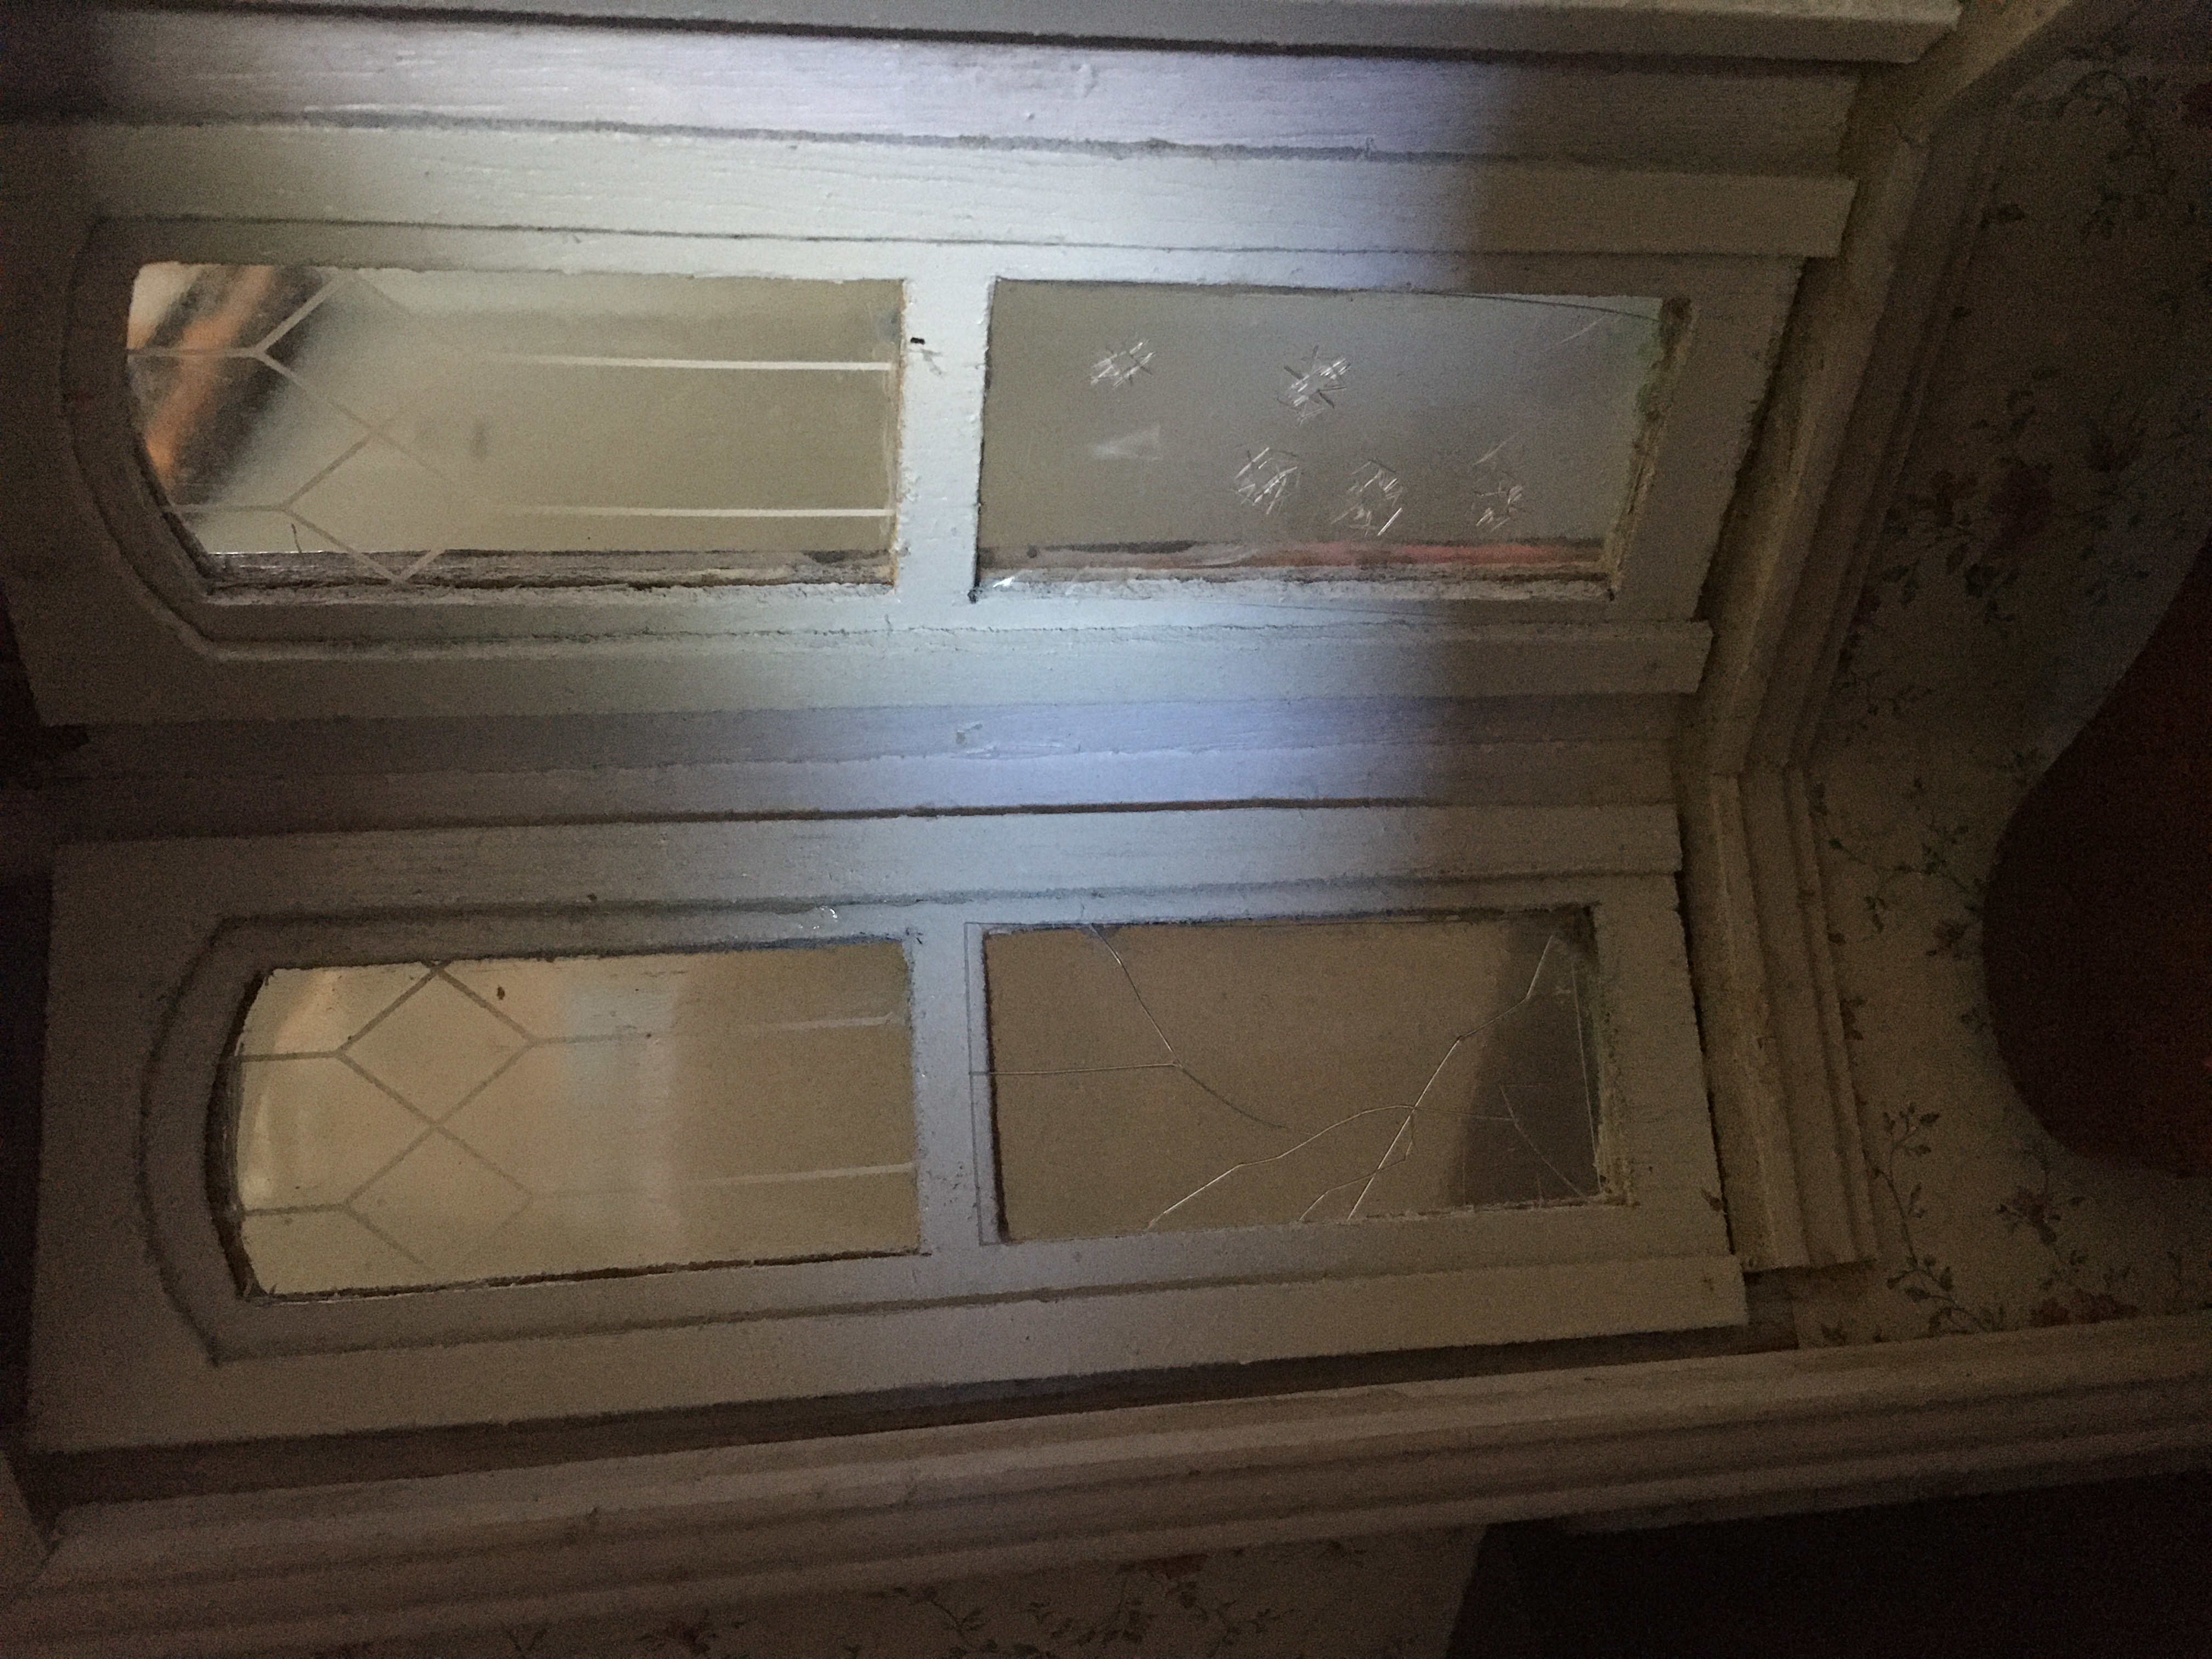
For my Beacon Hill project, I decided that, as the house is in disrepair, I wanted to add broken windows. However, as I really don’t enjoy breaking things, I decided to try something to make them LOOK broken.

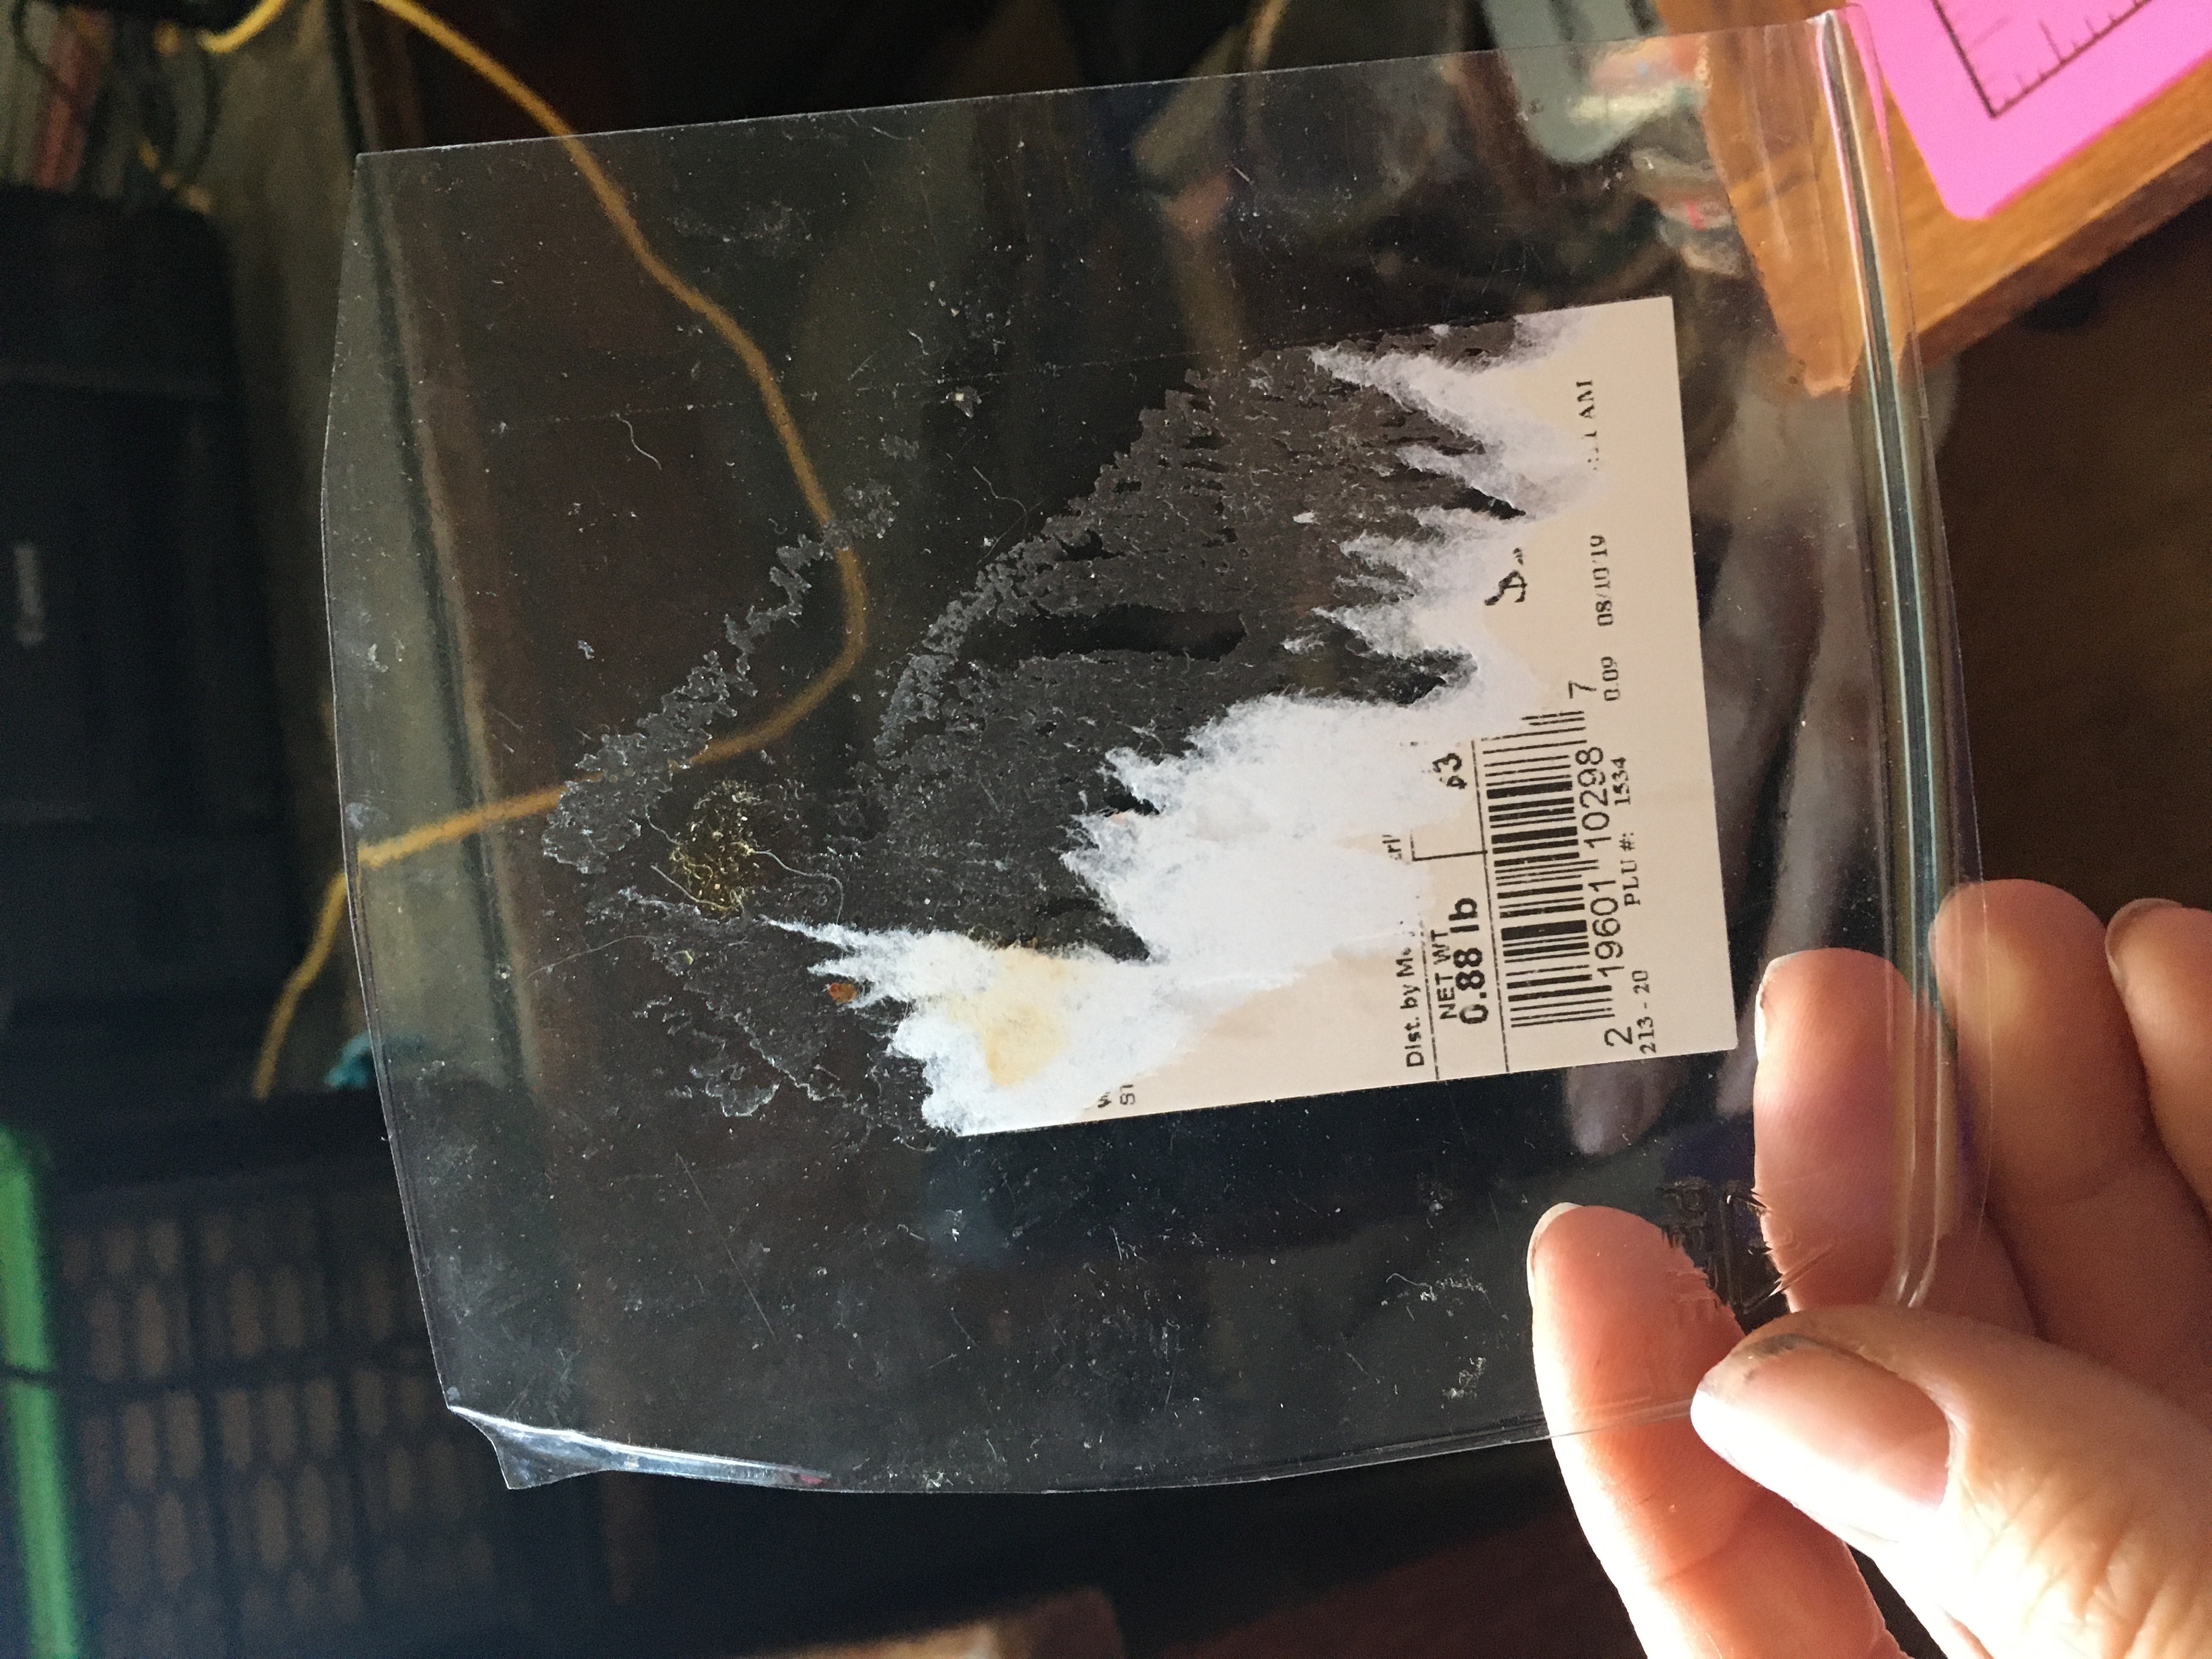
I started out with a piece of clear plastic from a vegetable container from the store.

I am just showing this piece as an example. Obviously, it is much easier to use a piece that doesn’t have a large sticker on it!

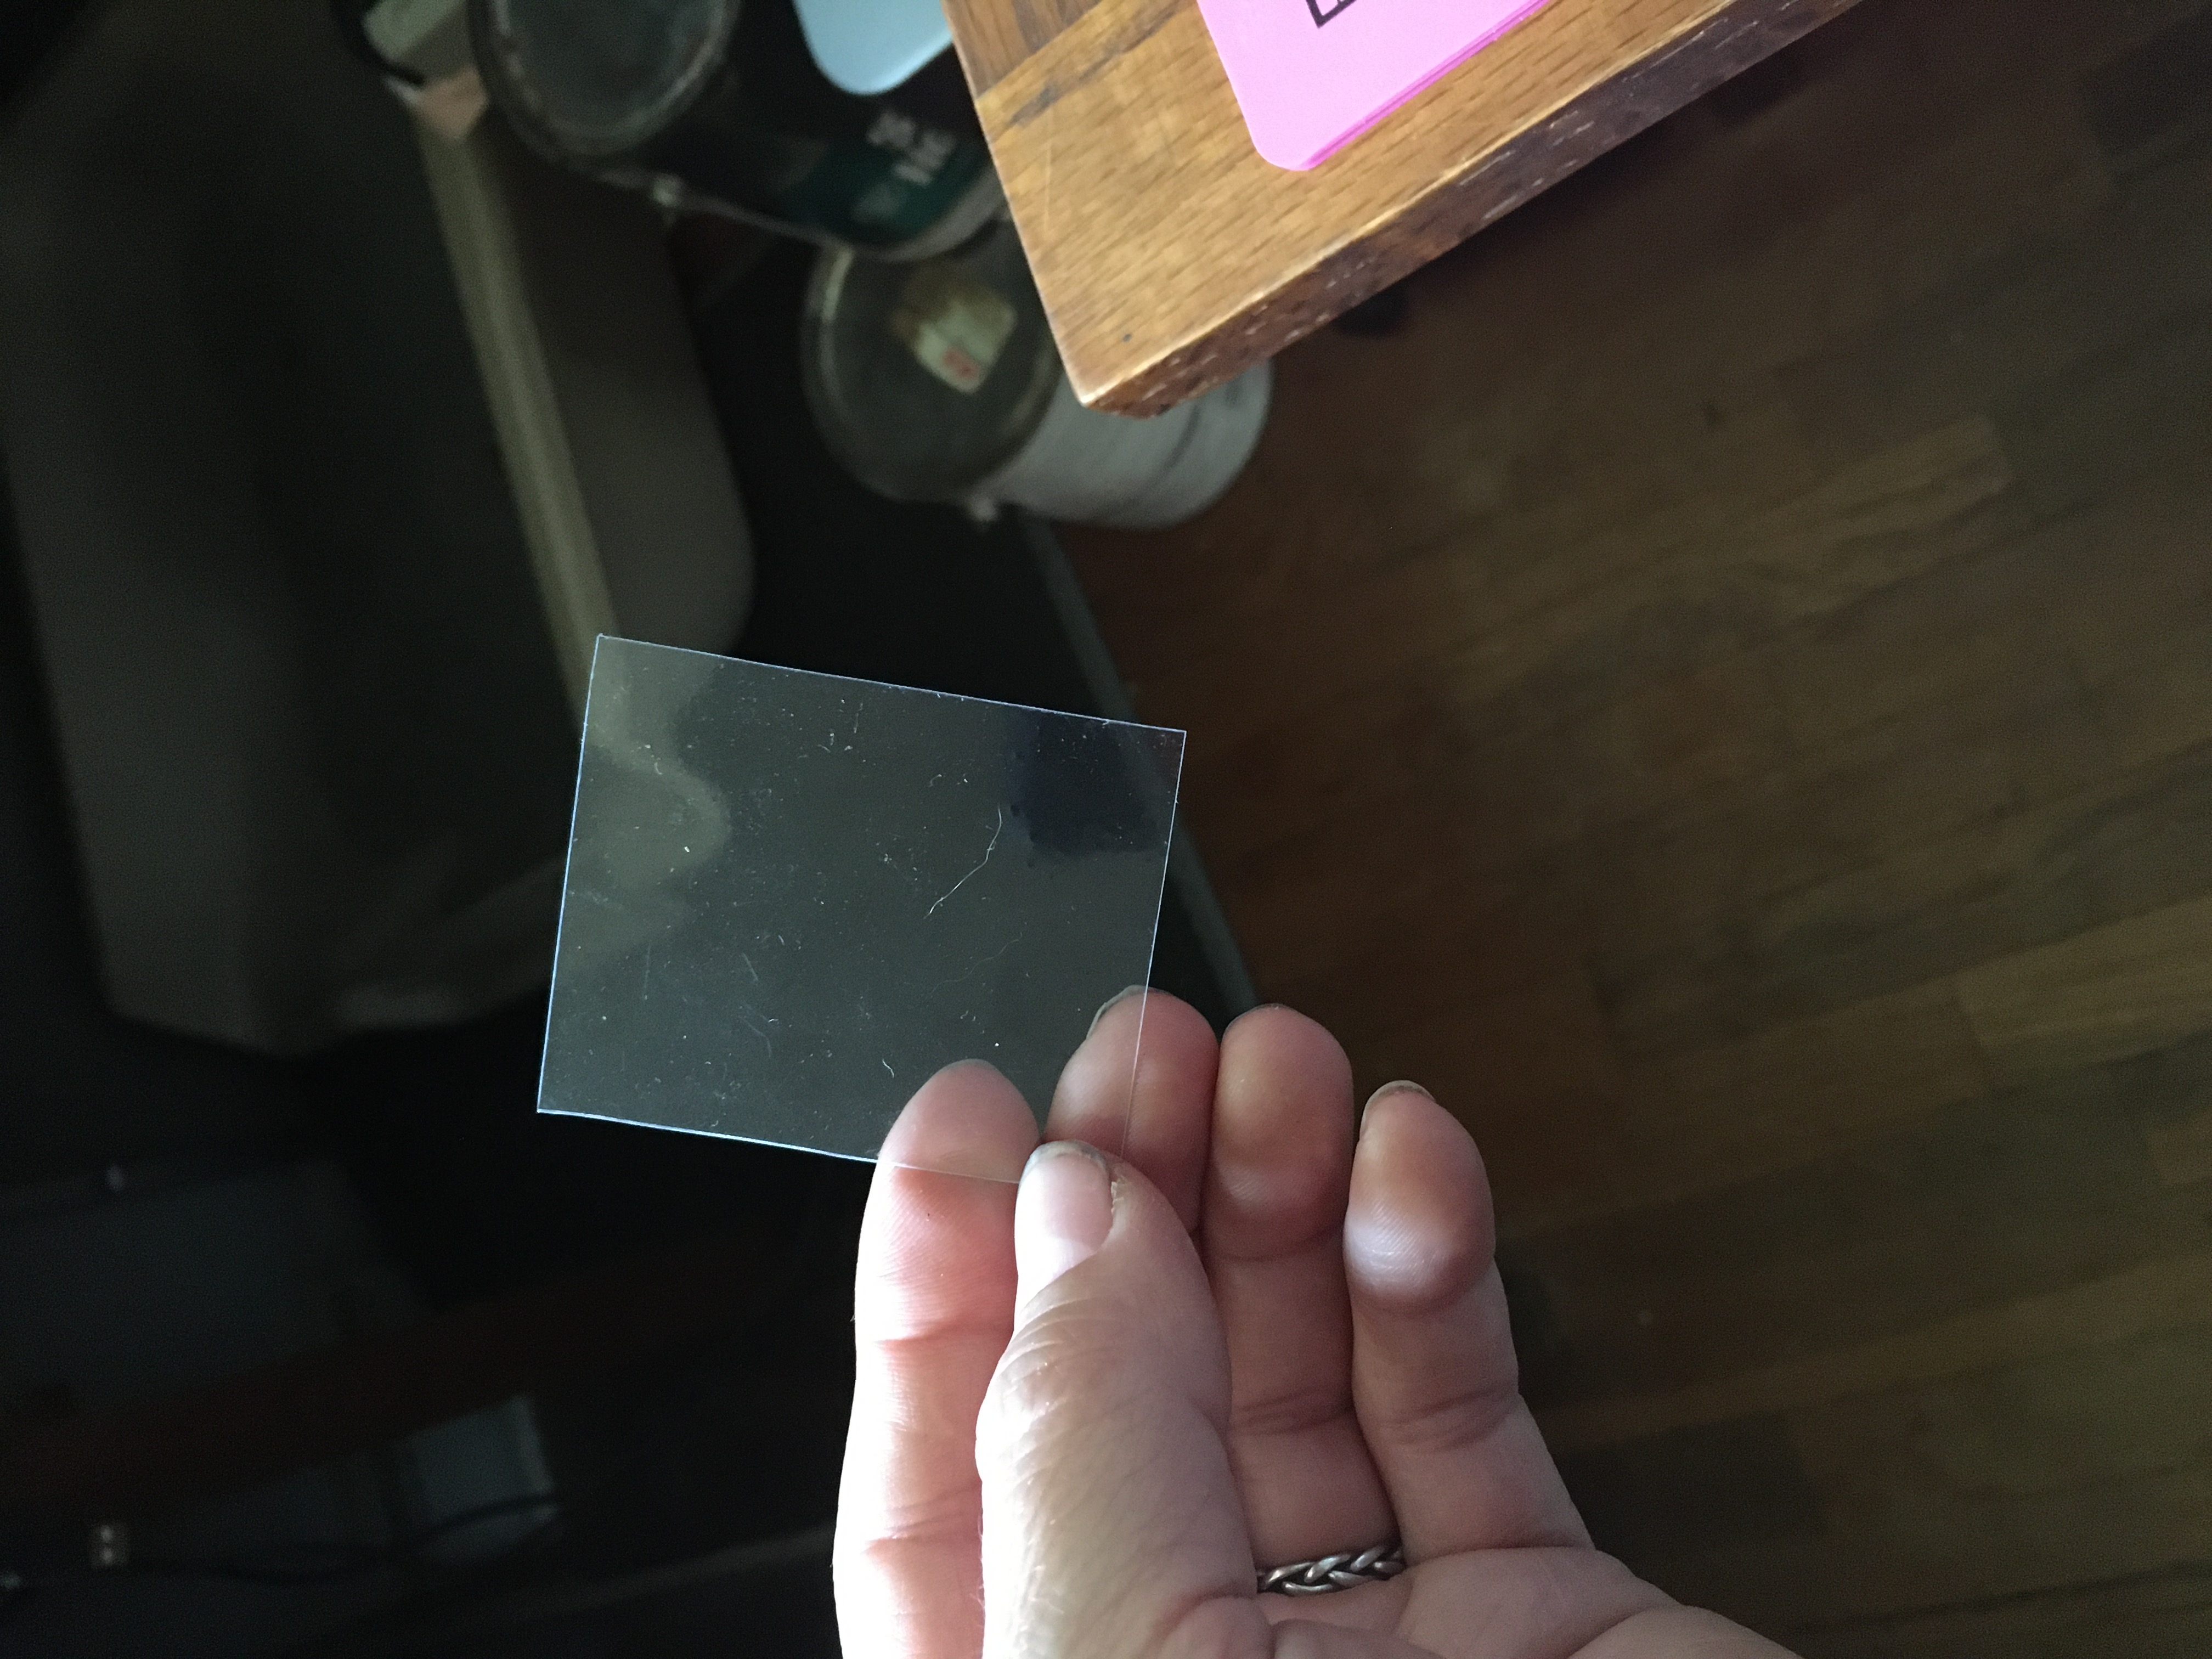
After picking out your piece of clear plastic, cut it so that it can slide into the existing window, over top of the existing plastic or glass. I made mine just a hair larger so that it could be popped into place and hopefully stay put!

Cut to size

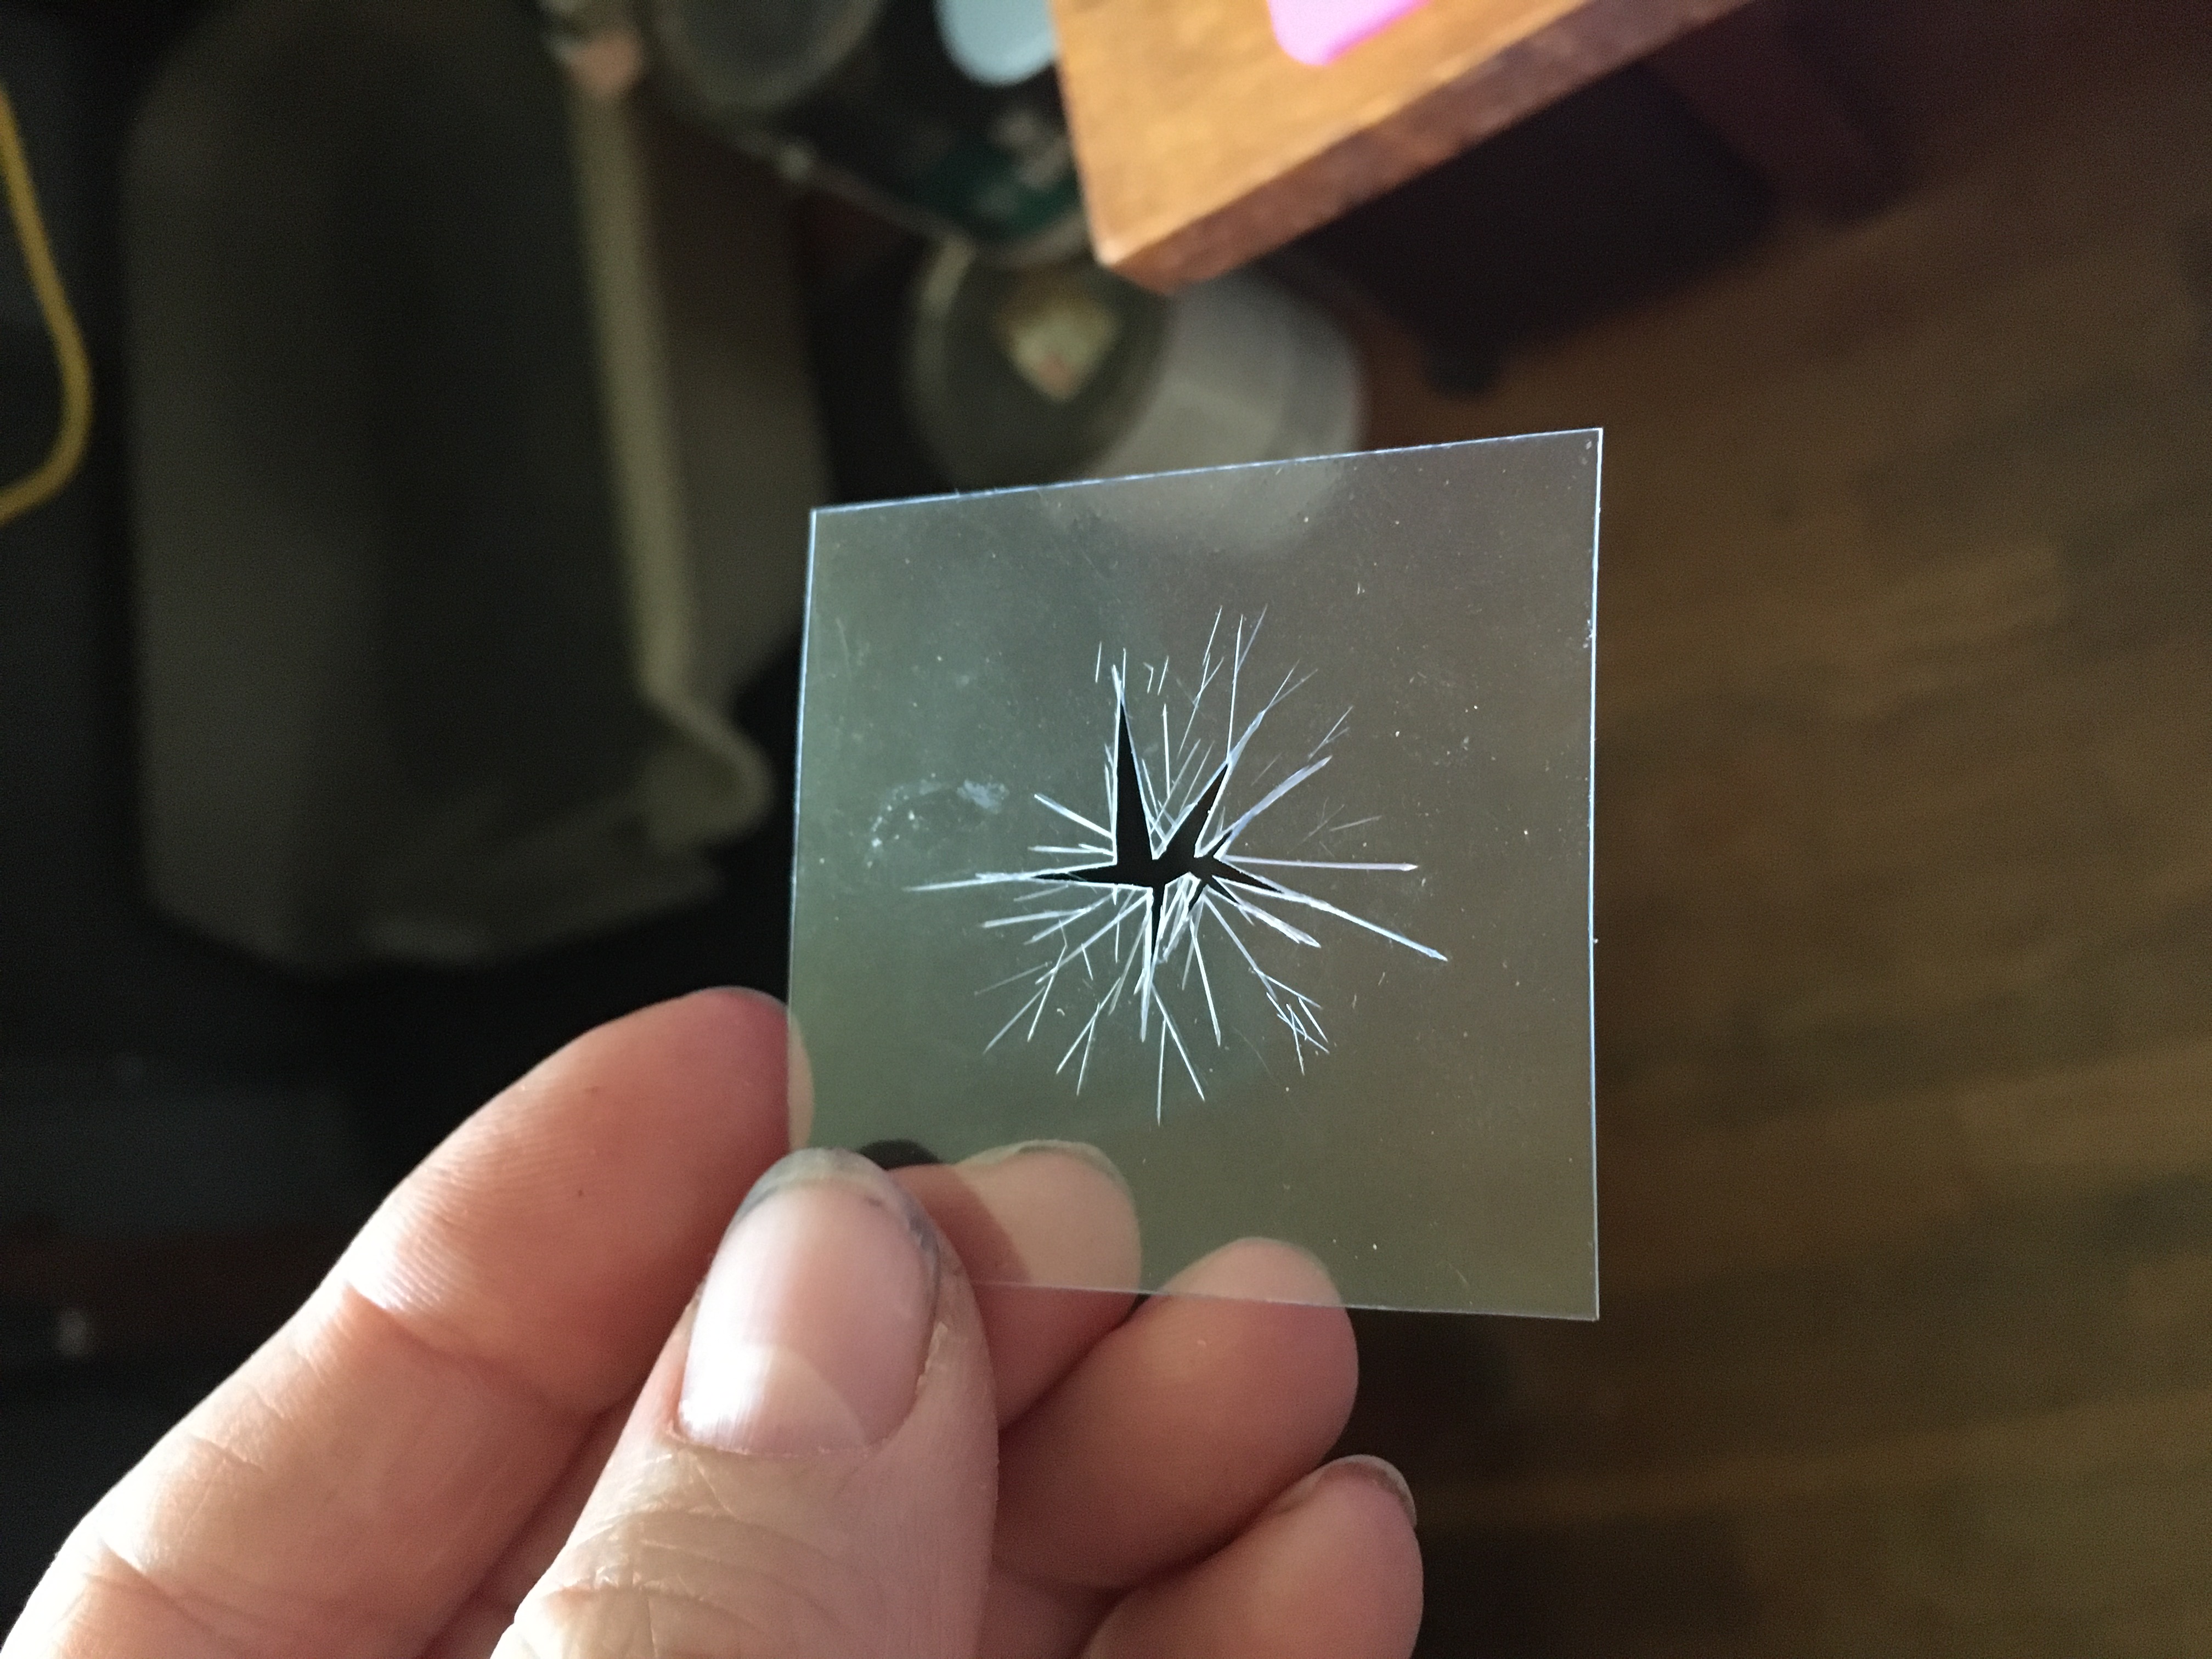
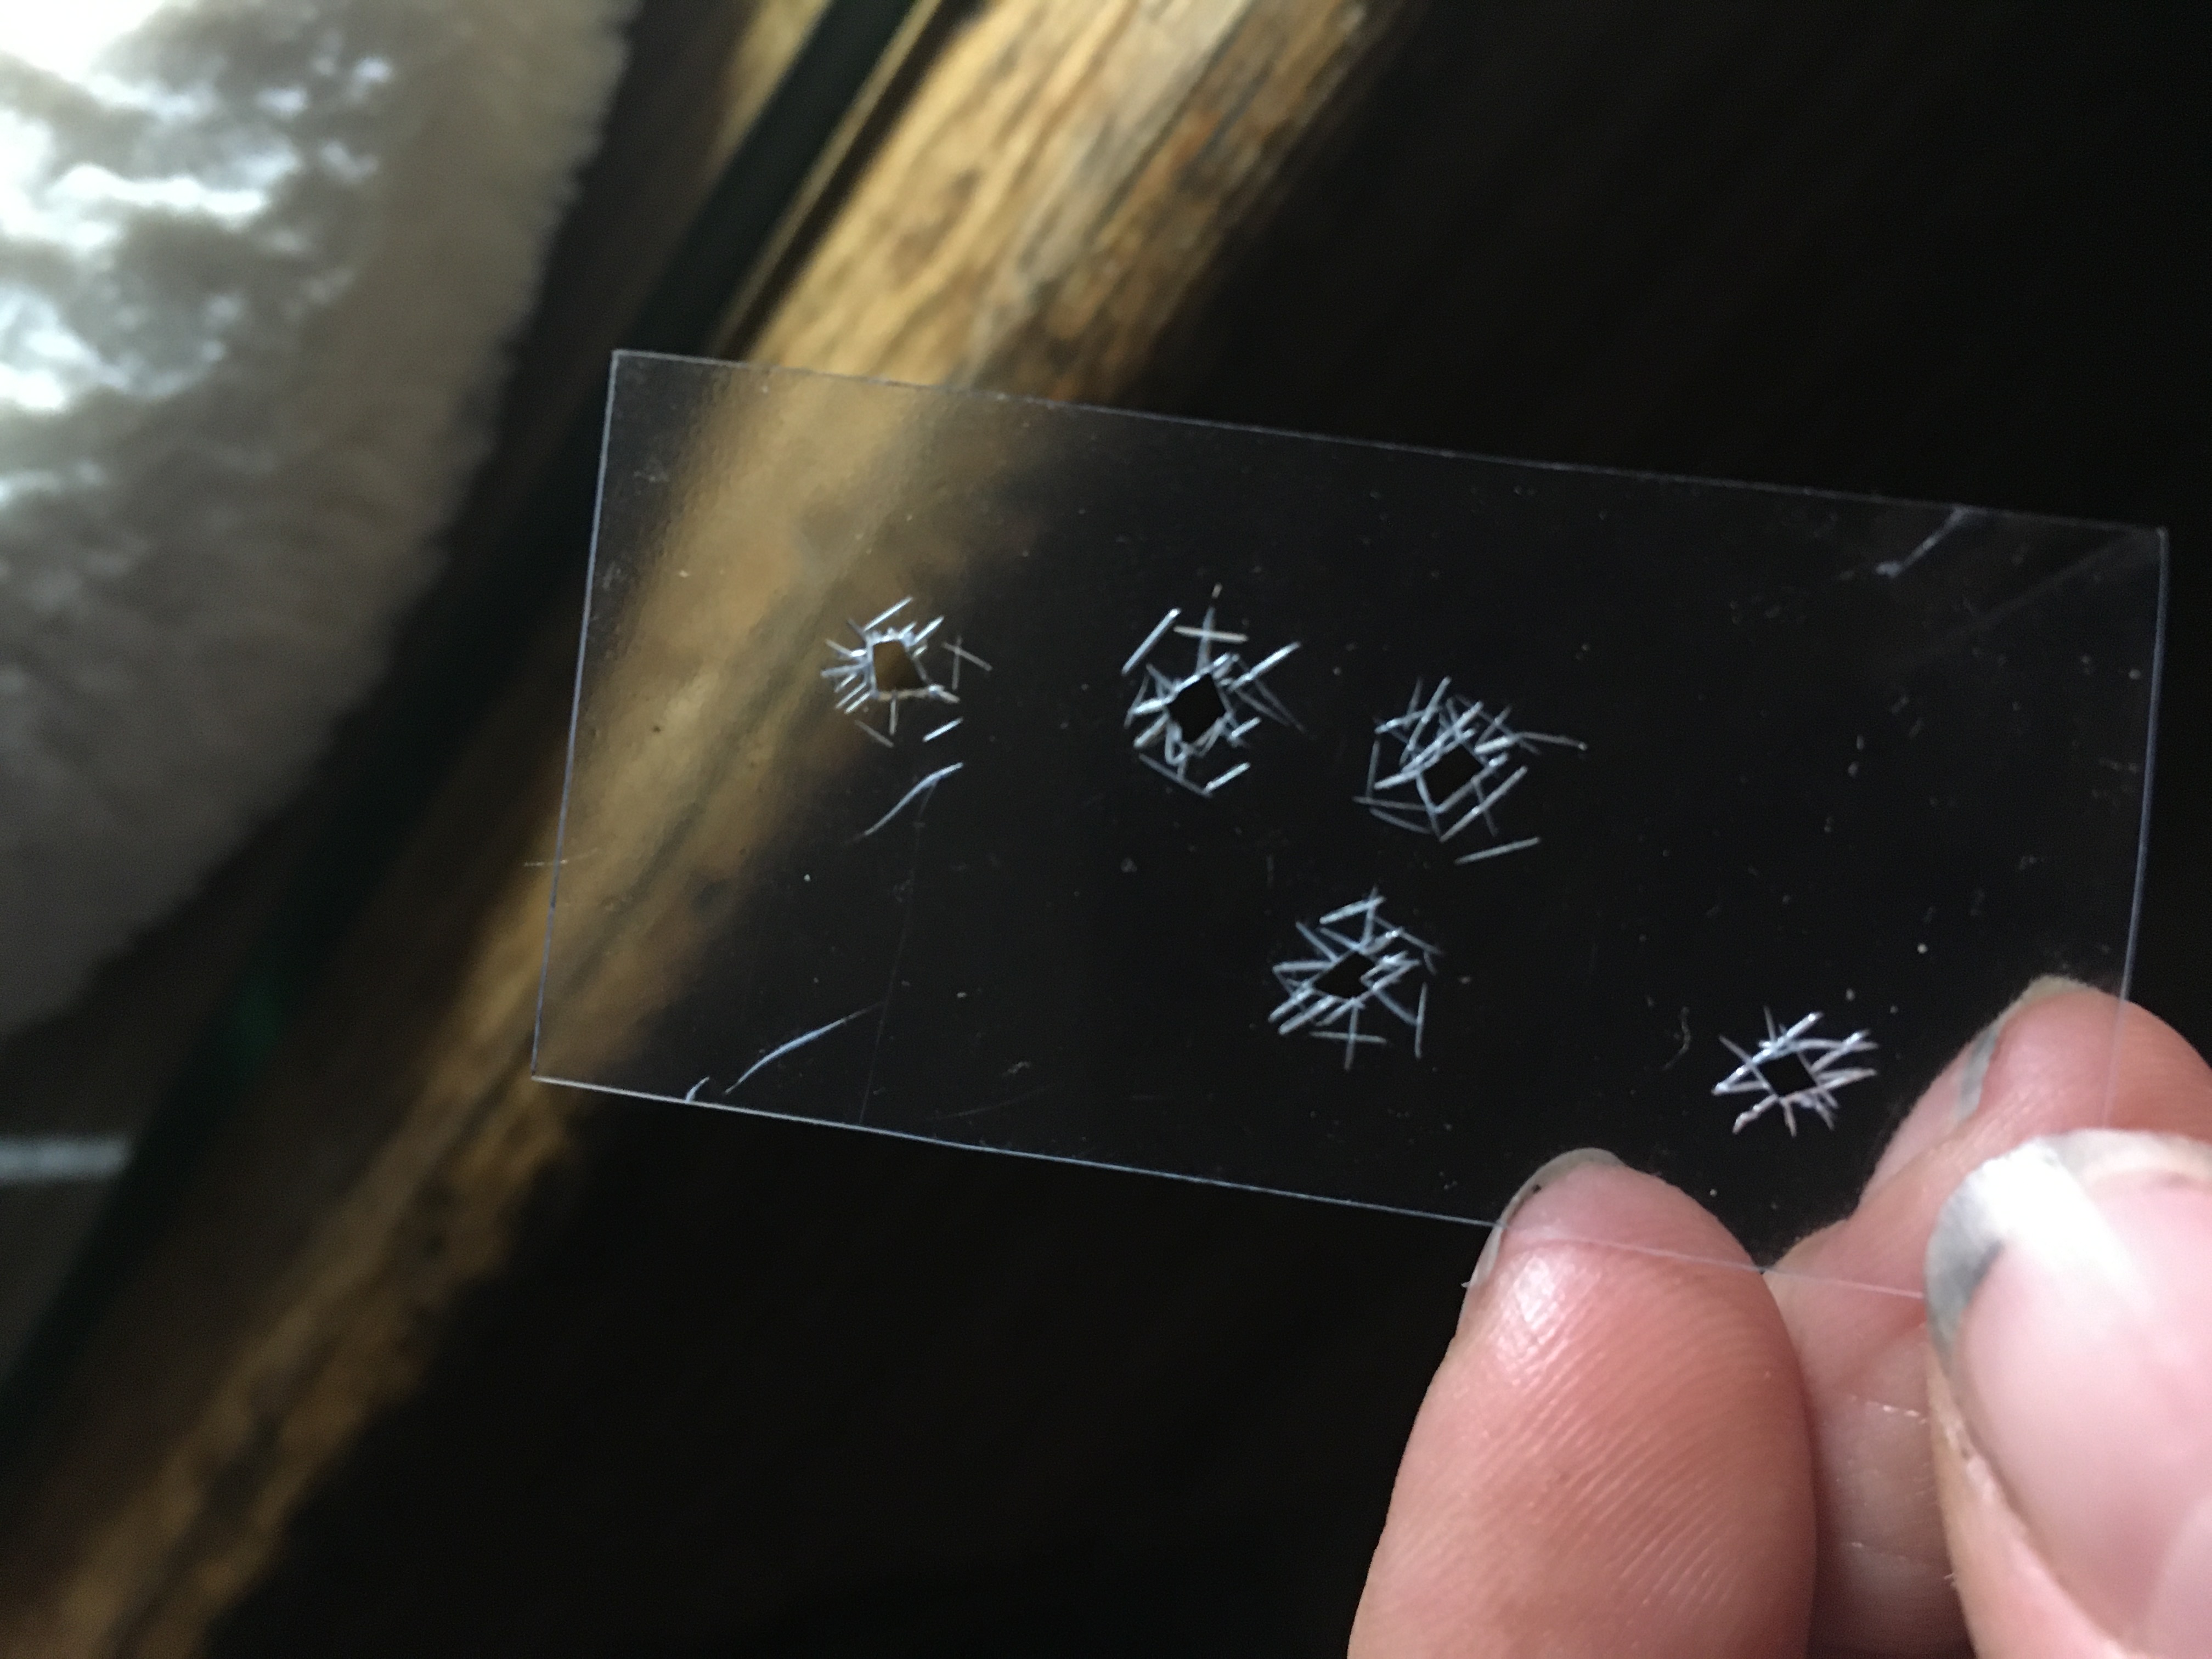
After the plastic is cut to the desired size, I used an xacto knife to carve cracks, holes, bullet holes, etc into them. Here are some examples:

Spider-webbed, with a hole.
Bullet holes. Notice that a lot of bullet-ridden glass has smaller spider-webs around the holes, as the bullet passes through with so much force.

After you have your broken windows prepared, gently insert them over your old windows, popping them into place. I placed my windows on the INSIDE of the house, so that they aren’t bumped as often, as they might fall out if jostled.

Inserting the new window over the old.

You can also keep some of the ‘shards’ left after making your holes, and drop them on the floor of your dollhouse, as broken glass.

You could leave slivers of broken glass around the edges of the pane, so it looks like a giant hole. You could make the whole window spider-webbed. The possibilities are endless!
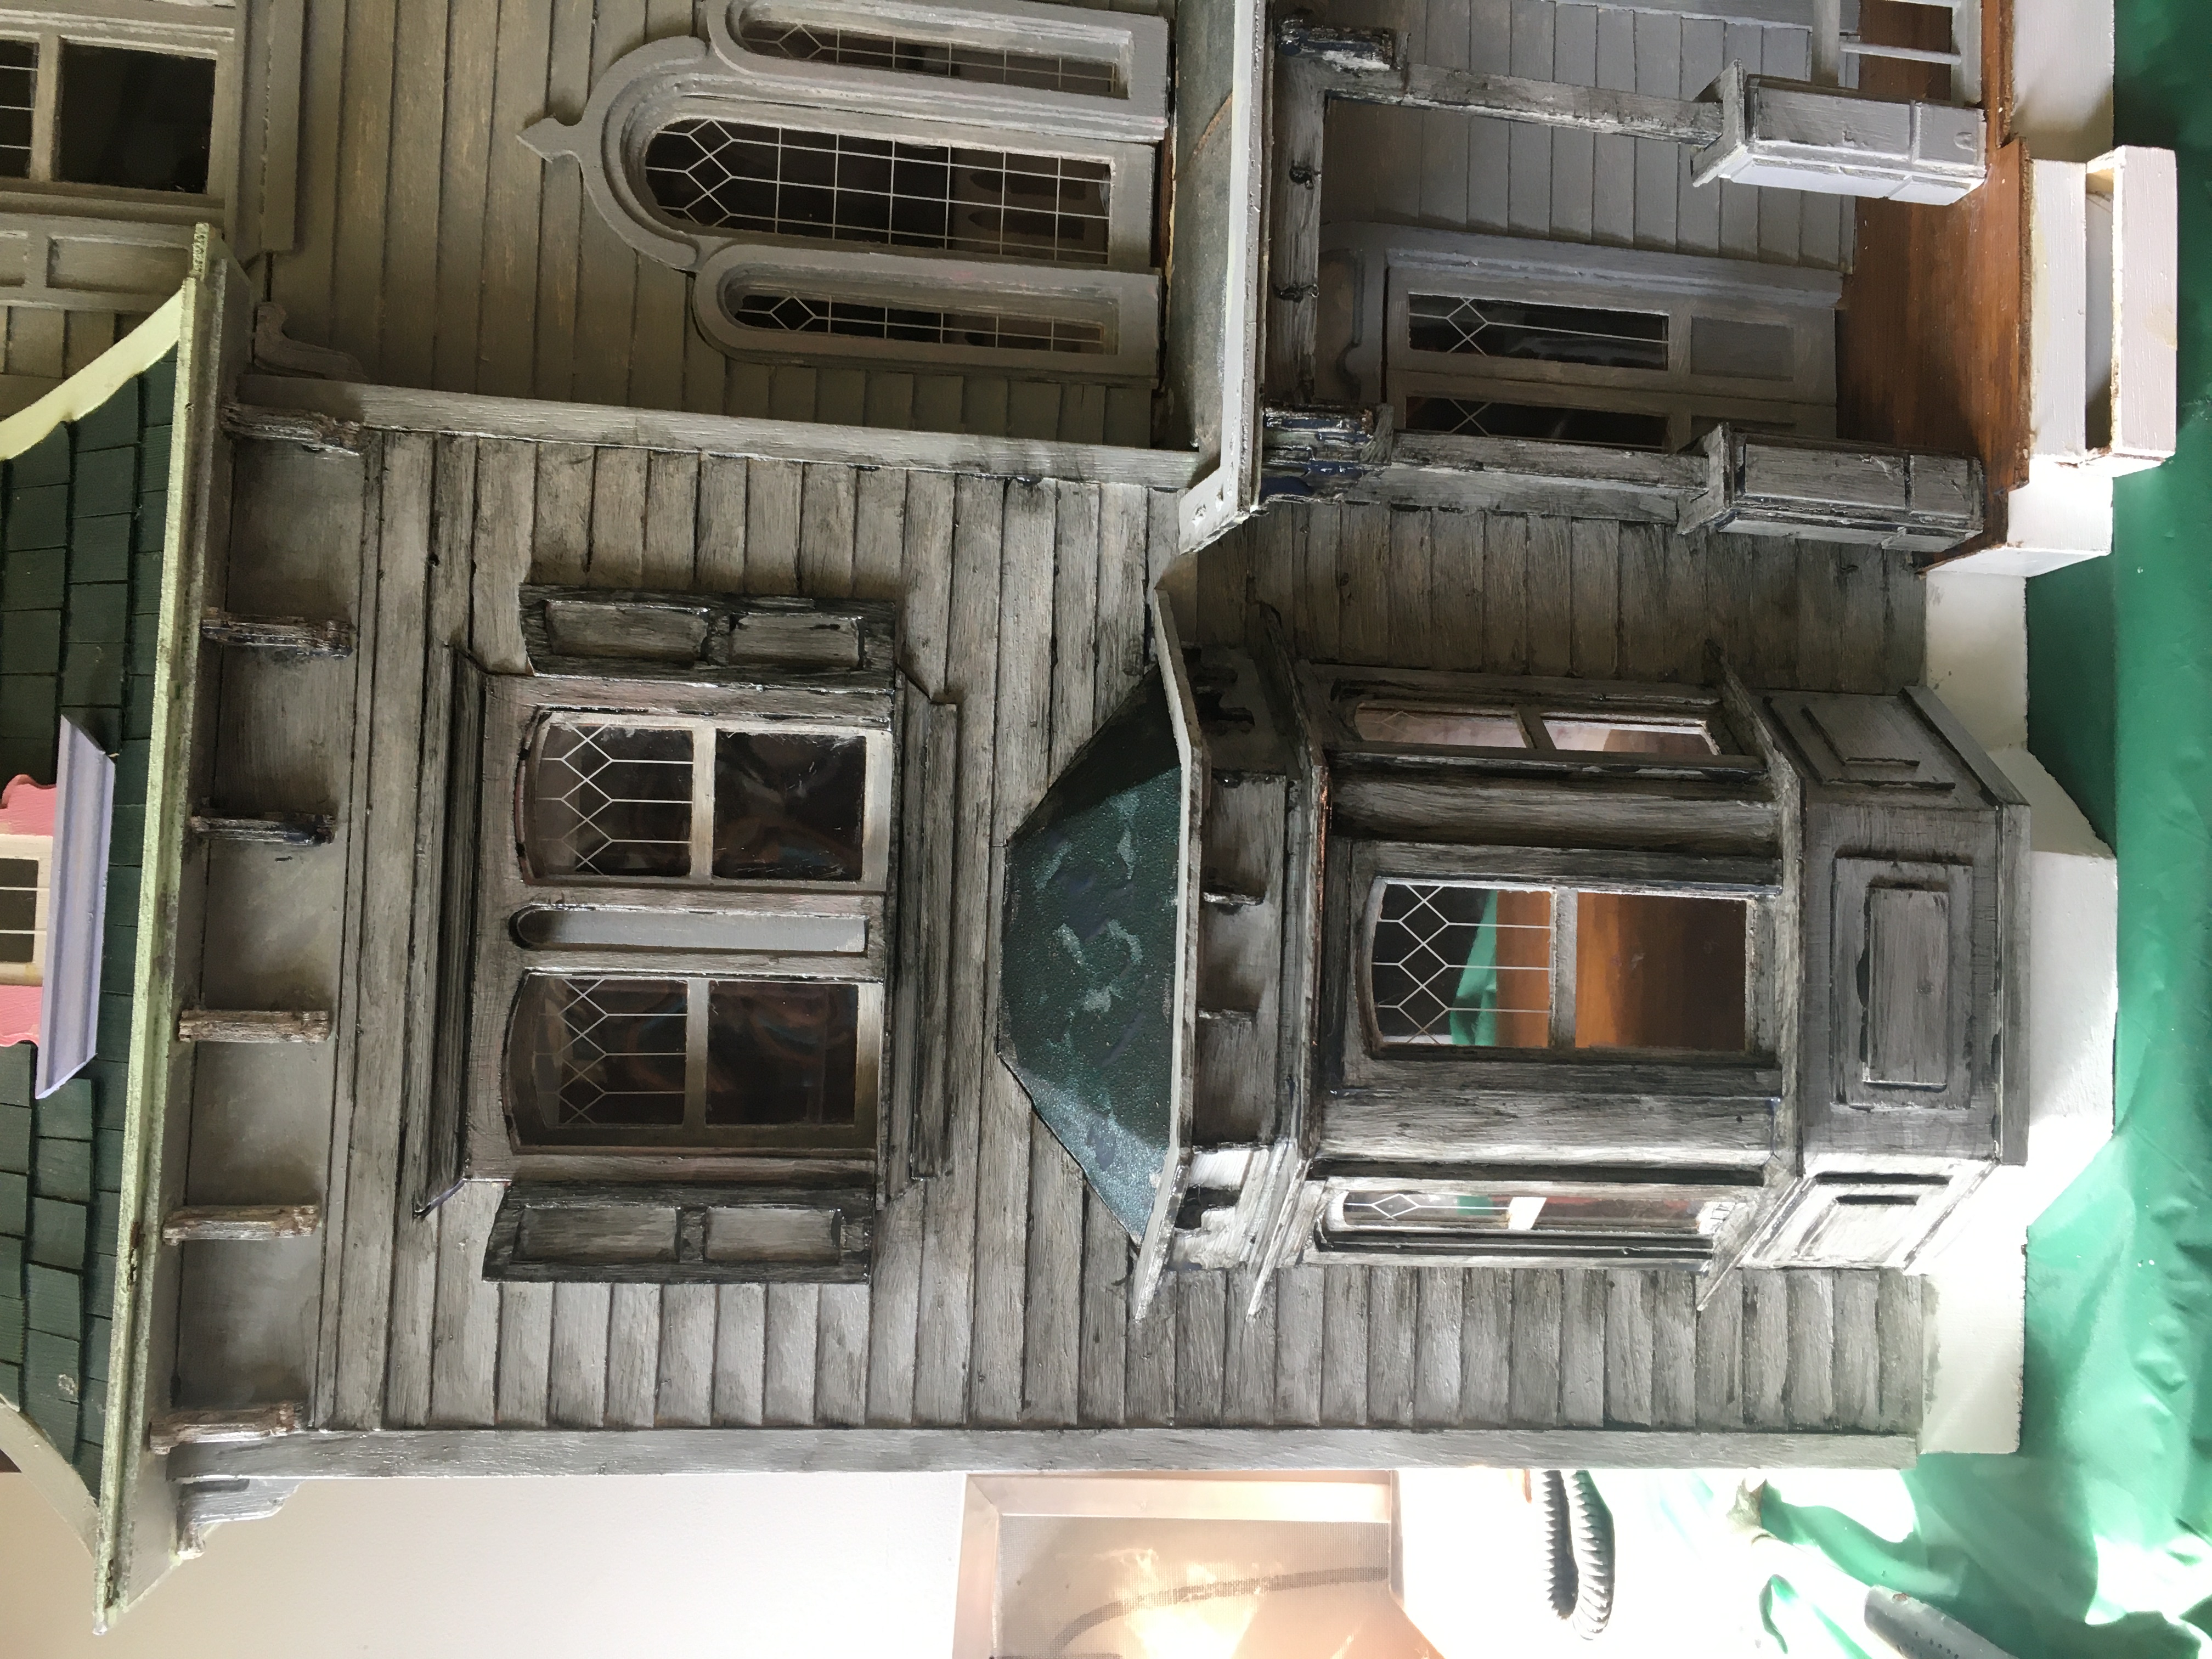
How to Paint a Beacon Hill Dollhouse so it looks Abandoned or Haunted

So, during lockdown in 2020, I was lucky enough to find a reasonably priced Beacon Hill Victorian mansion for sale on marketplace. I purchased it, made some repairs, and decided to redecorate it as an aged house, fallen into disrepair.

This is my Beacon Hill on the day I purchased it. The porch had become detached and it really needed new paint on the exterior. A few minor pieces were missing but nothing I was concerned about, as I planned to make it a neglected house.

First things first, I needed to reattach the porch, which, luckily, was included with the house. I used wood glue and painstakingly pieced it all back together.

This photo shows the reattached porch, plus the beginning of the first layer of new paint.

Next step was a layer of light gray paint. I used some leftover house paint that I had laying around.

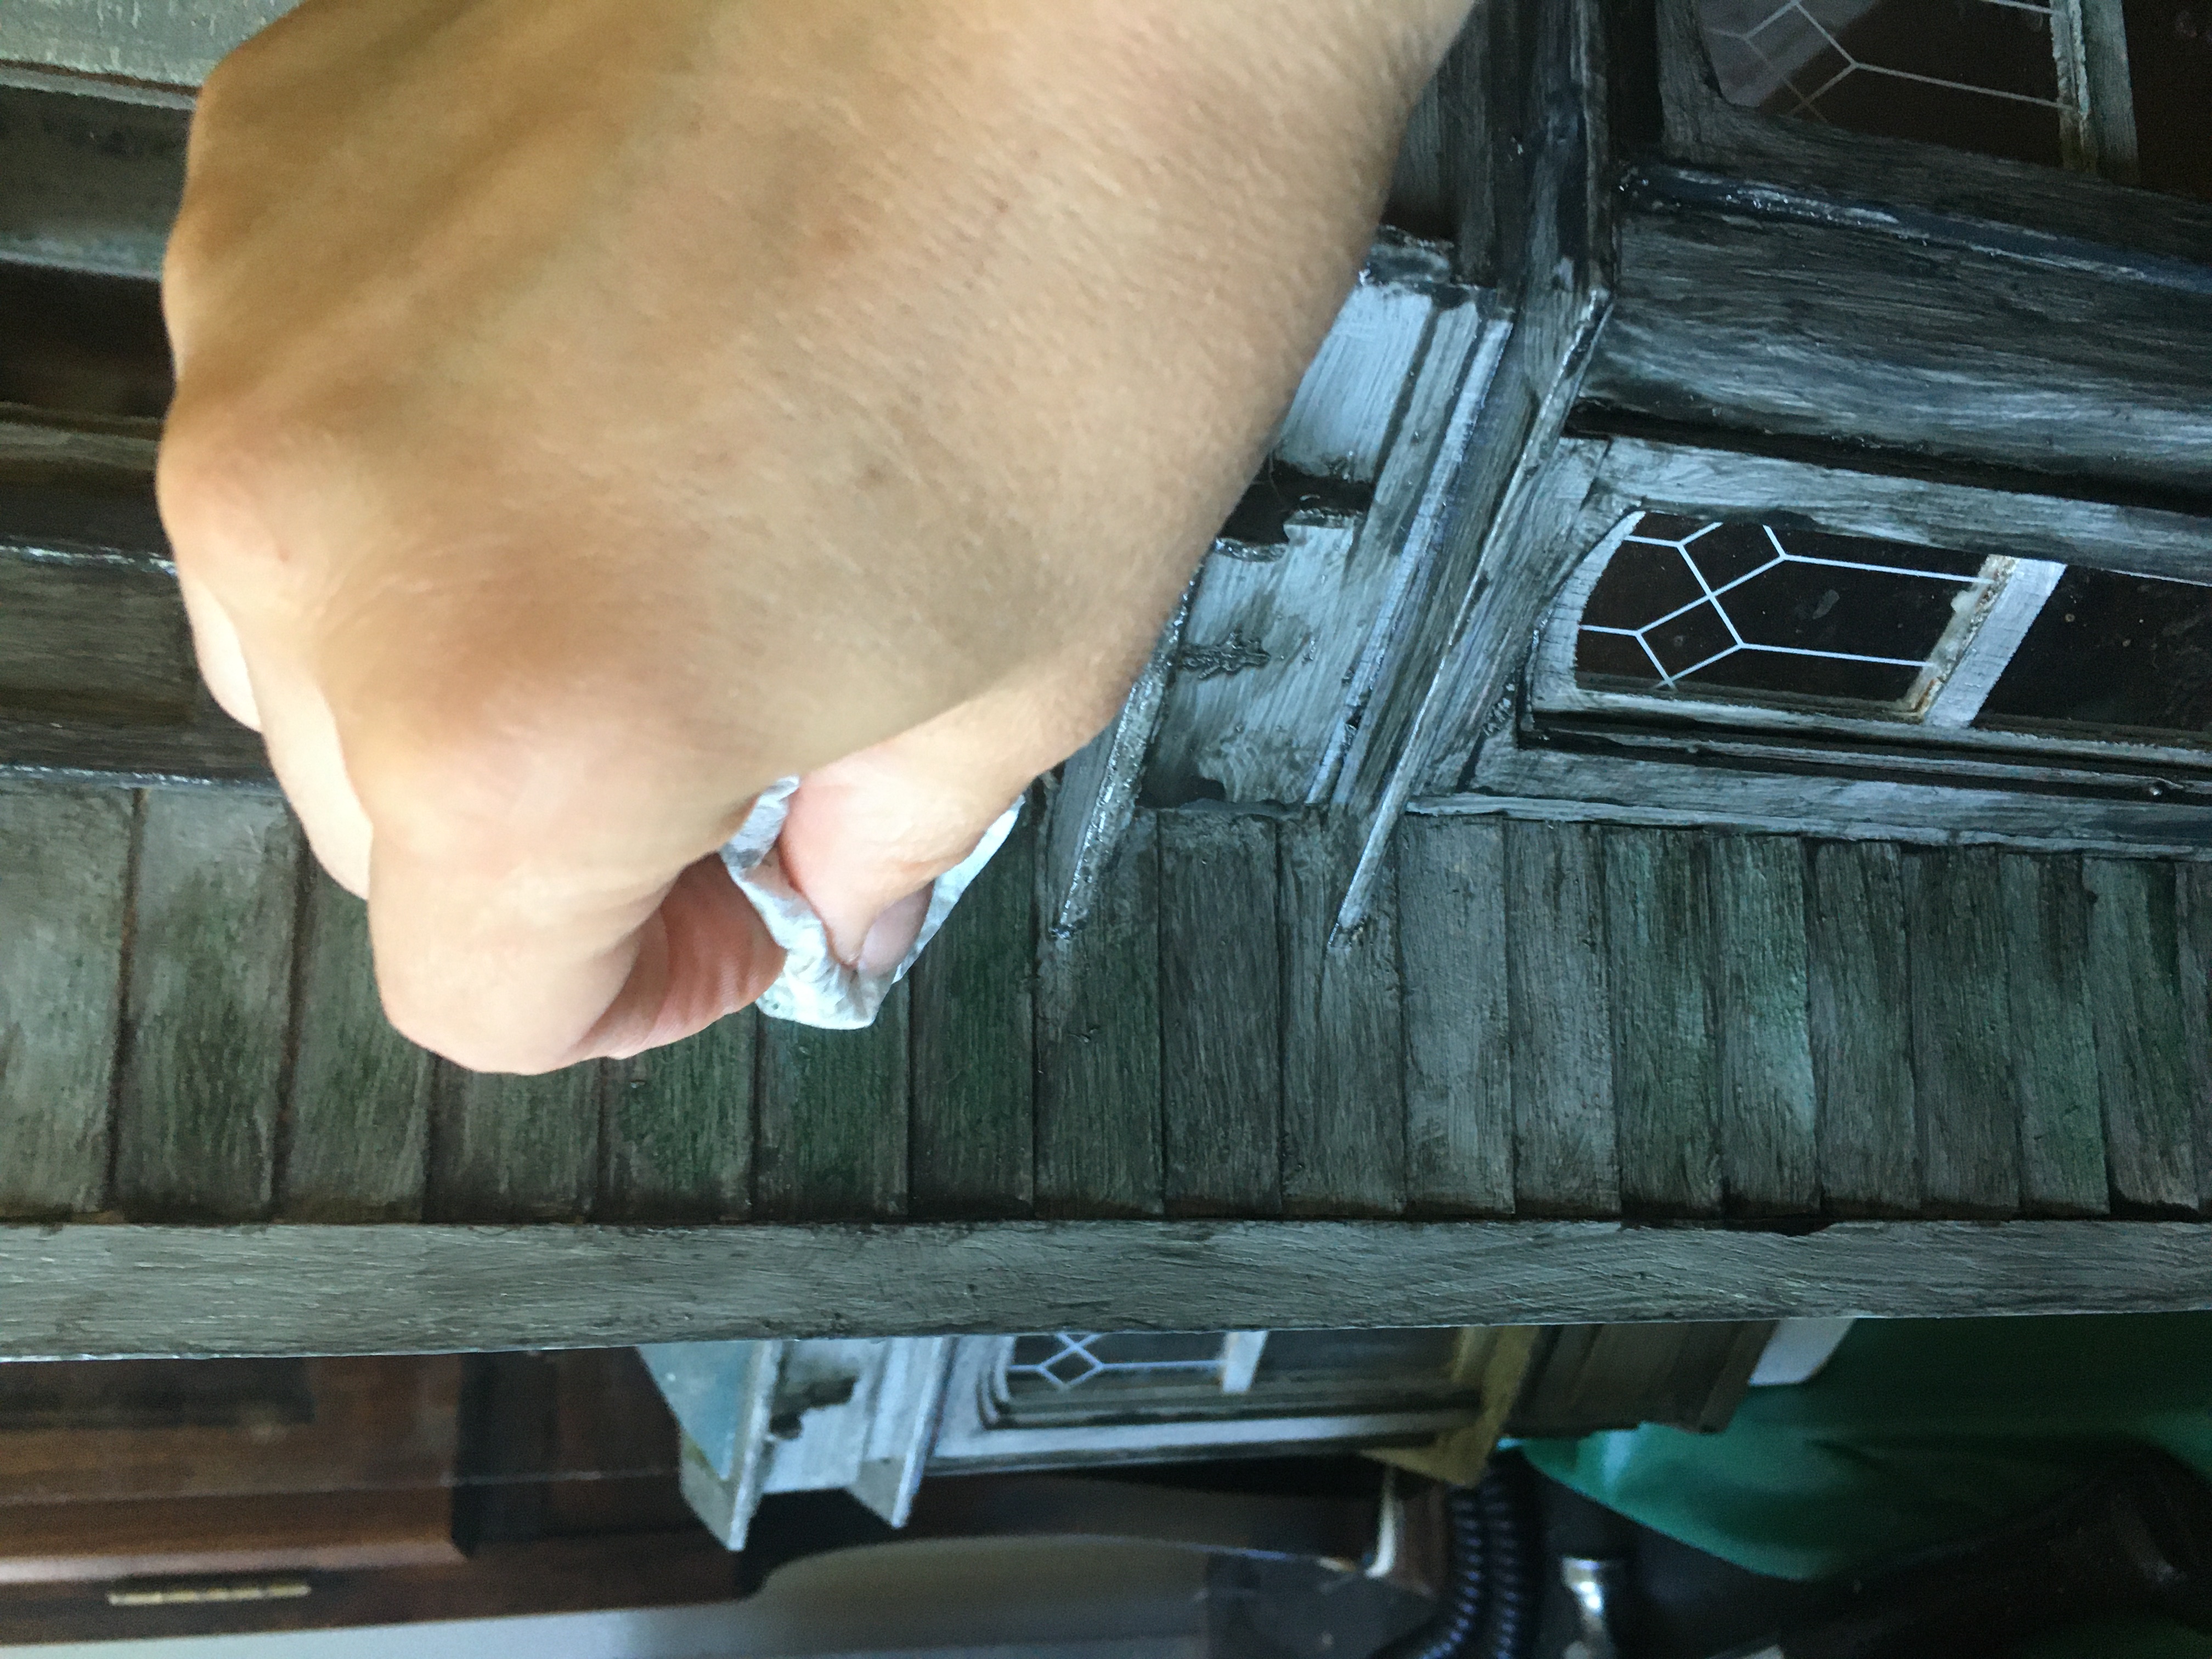
For the next step, I found some dark gray paint, and, using a stiff-bristled brush, I scrubbed this paint into the cracks and crevices to look like weathering and dirt. I scrubbed the brush up and down and side to side, wiping away excess paint, until i had achieved the look I wanted. I continued to do this over the whole exterior of the house.

Adding some green.

After the dark gray was looking the way I wanted, the next step was to add a bit of dark green. I wanted it to be very faint, so i brushed it on with my stiff brush and then wiped it off. The trick to this was to make it not uniform. I tried to make it more pronounced in areas that I felt might have more water runoff, for instance, and on areas of the boards that might be more exposed to the sun. In real life I have a white house, and have had to clean my own siding, so I have observed this to an extent.

I still need to paint the base, but I haven’t decided how I want to make the base look, yet. I may go with a cinder block foundation, which would require a different look, so, for now, I chose to leave it.

I plan on changing the shingles to a fishscale look, so I didn’t touch them at this time. It does look fine with the shingles that are on it, but I really wanted the fishscales, and will add them at a later time.

How to Paint a Plastic Dollhouse to look Haunted

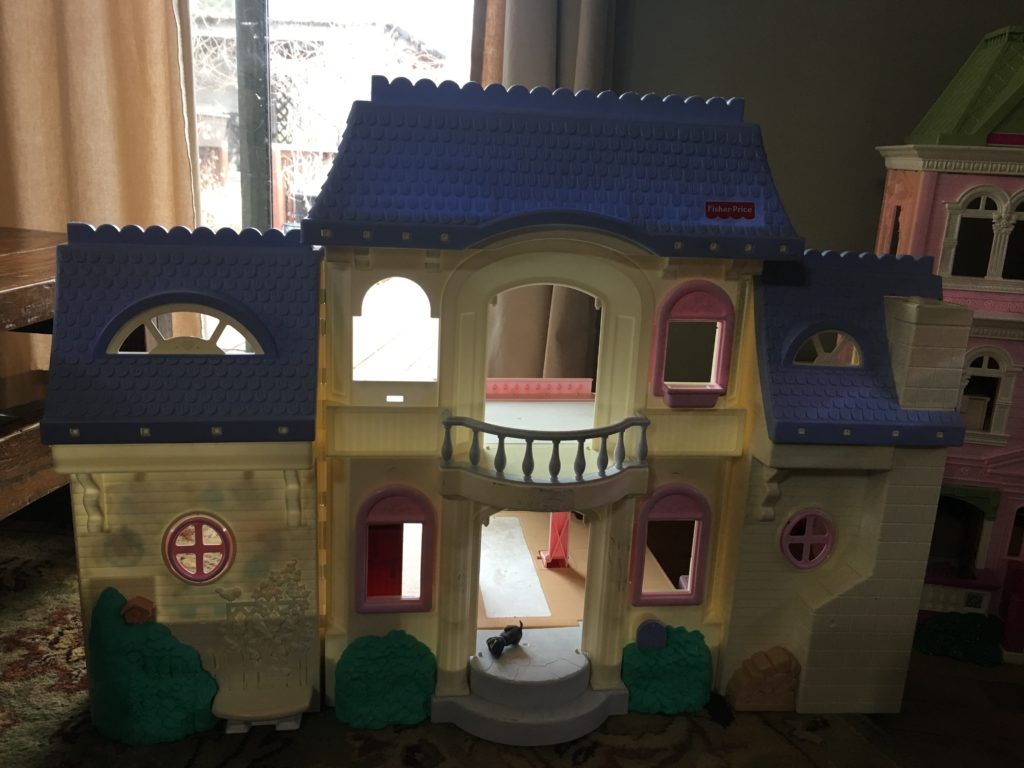
Plastic Victorian dollhouse from Goodwill.

For my first dollhouse project, I found this plastic dollhouse at the local Goodwill store. I like the Victorian style and thought it might make a nice haunted mansion for Halloween.

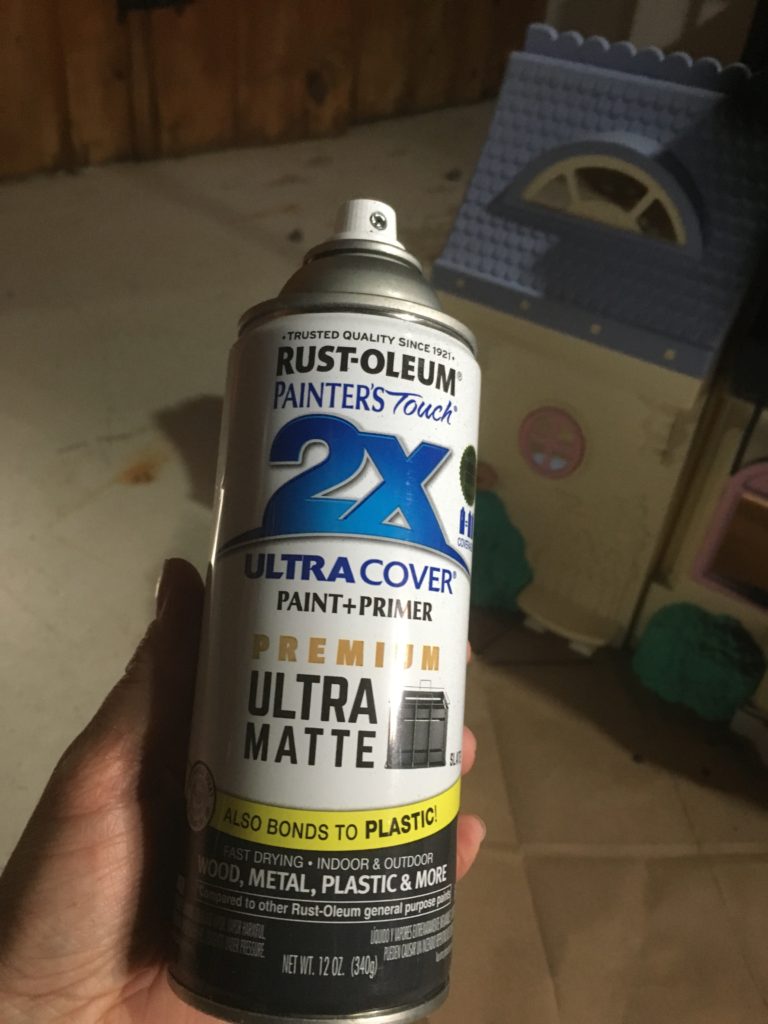
First off, I peeled off all of the stickers. Then I chose a paint that would work for a good base coat. I chose Rust-Oleum’s 2x ultra matte, in a dark gray. Their 2x paints are formatted to bond to plastics, as well as many other materials. I followed the instructions on the can.

Rust-Oleum’s 2x paints will bond with plastic and many other materials. I chose a nice dark gray.

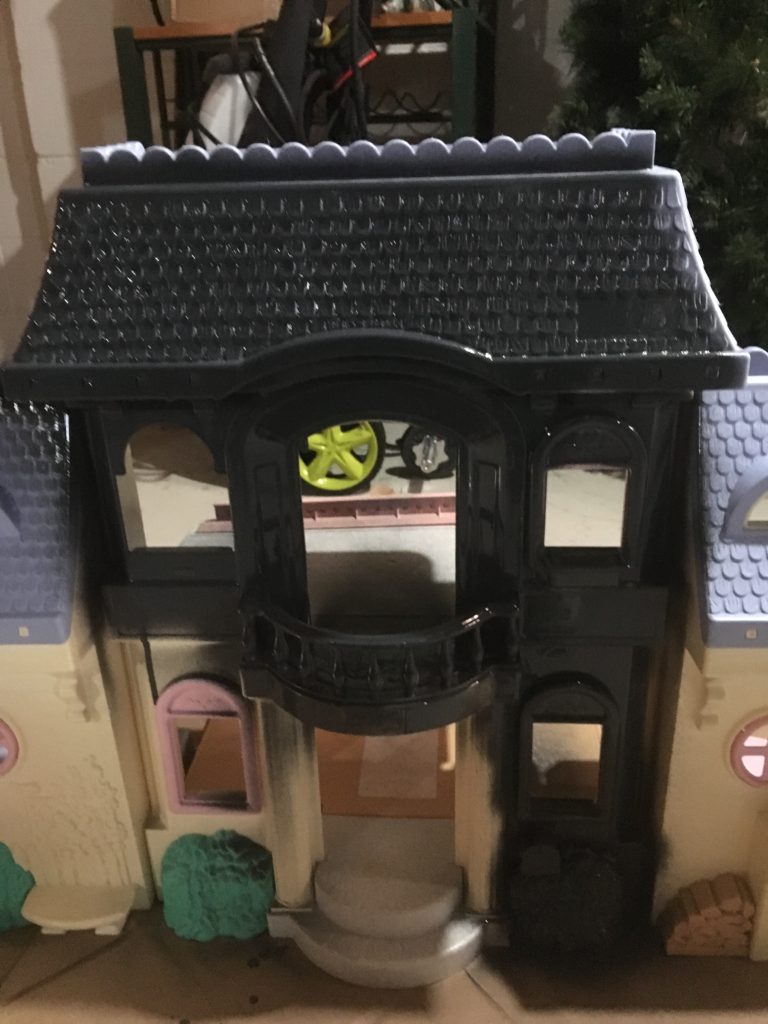
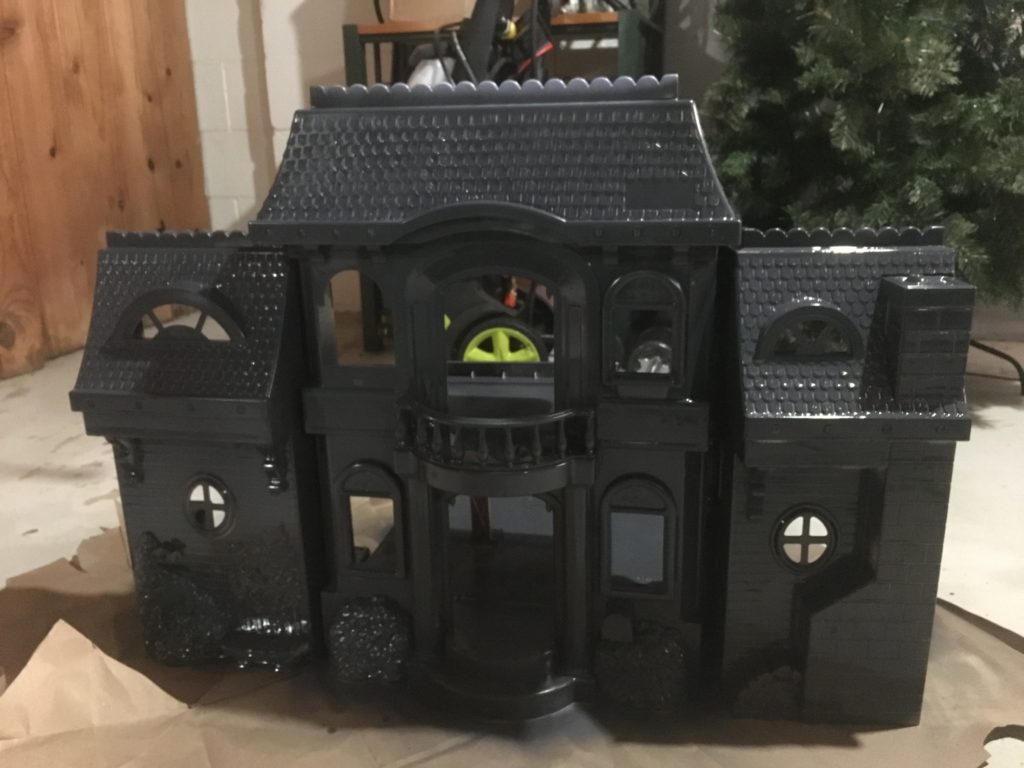
I put on a good base coat.

First coat in progress. The matte paint will lose its gloss as it dries.
Looking a little spooky already!
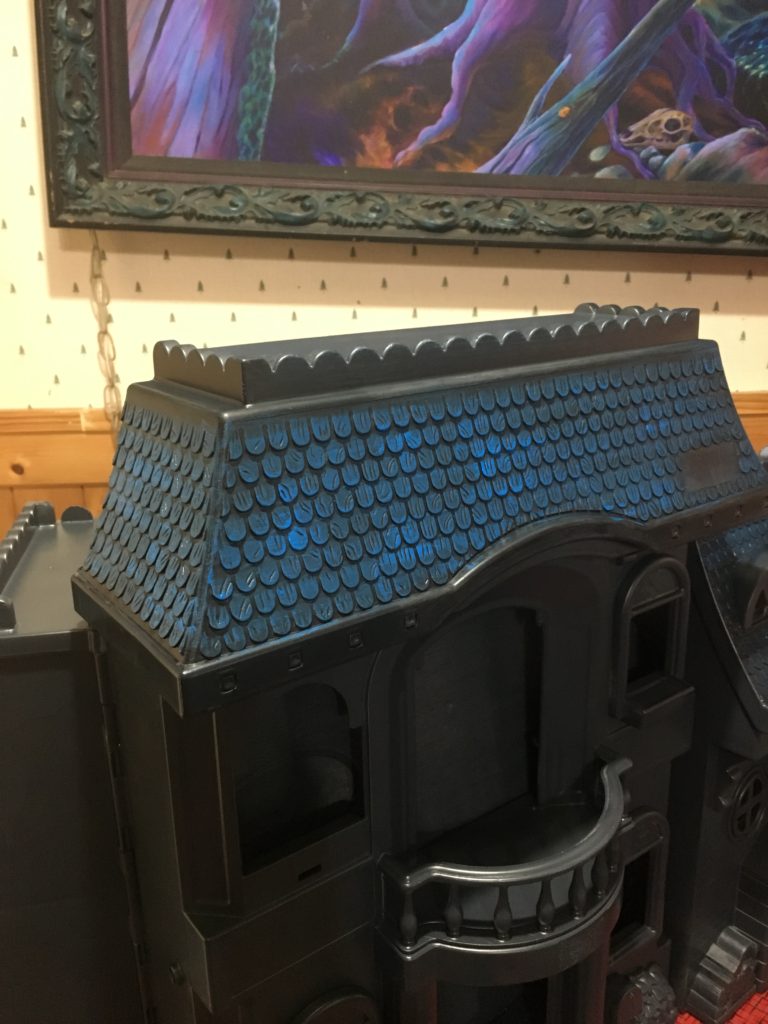
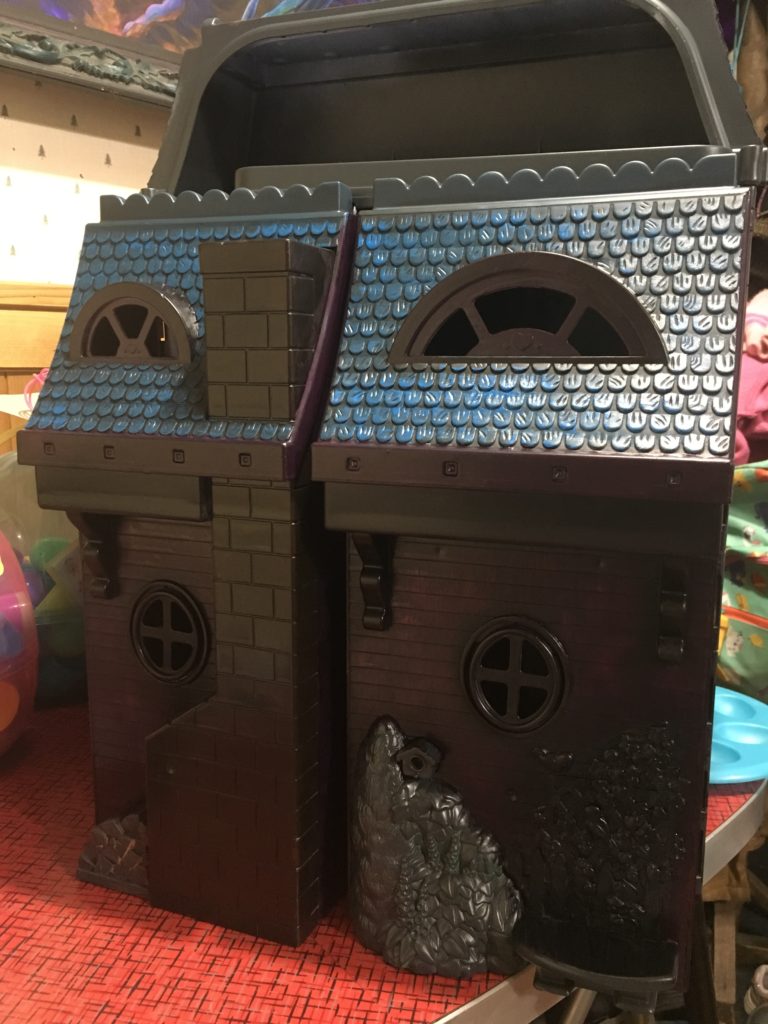
Next, after the paint has dried overnight, I dug into my acrylics. I chose a mixture of Cerulean blue and Mars Black for the shingles. I eventually switched to Payne’s Gray instead of the black. I used the black (or payne’s gray, which is a very dark gray) in a more watery mixture to paint in the cracks of the shingles. Then I used the cerulean blue on a drier brush to brush over the raised portions, in a way that left the dark areas in the cracks undisturbed. This layering made the shingles stand out more.

A mixture of Cerulean Blue and Payne’s Gray (and some black) was brushed on the shingles to bring out more of the texture.

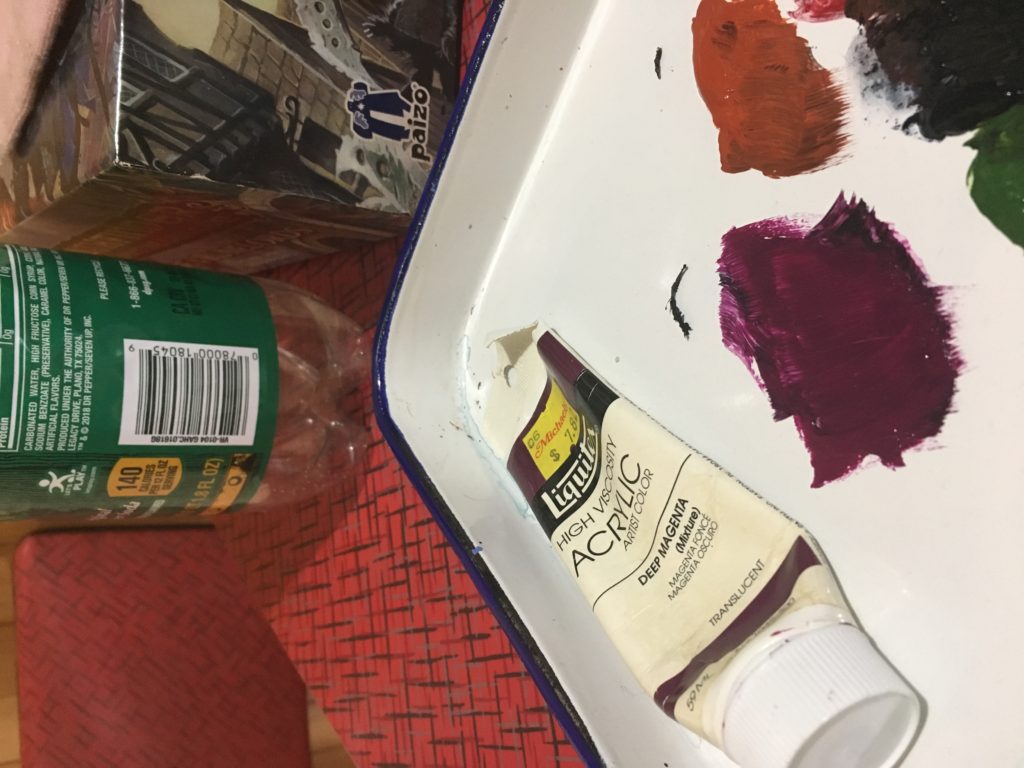
Next, I took a mixture of Deep Magenta and Payne’s gray to work on the siding.

Deep Magenta and Payne’s Gray were used for the siding.

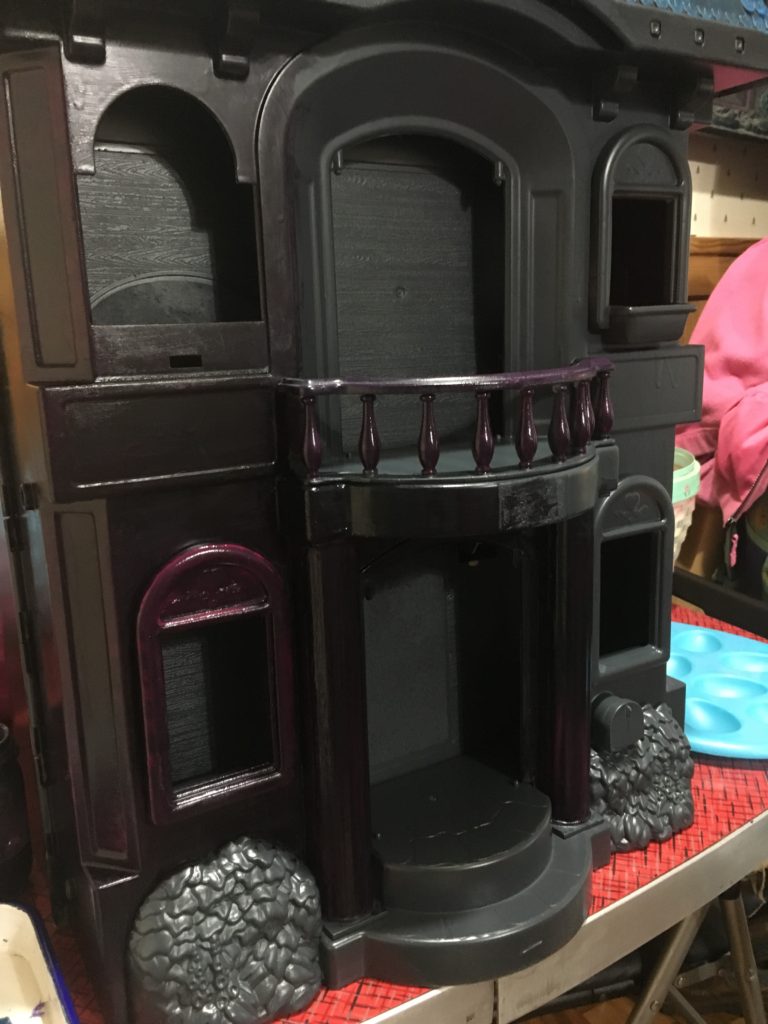
I brushed them on much like I did with the shingles, using a more watery brush for the payne’s gray on the siding first, to fill in the cracks, then going over it again with the magenta, using a drier brush so it wouldn’t reach into the cracks.

The siding is very dark, with hints of magenta, to give it a weathered appearance.
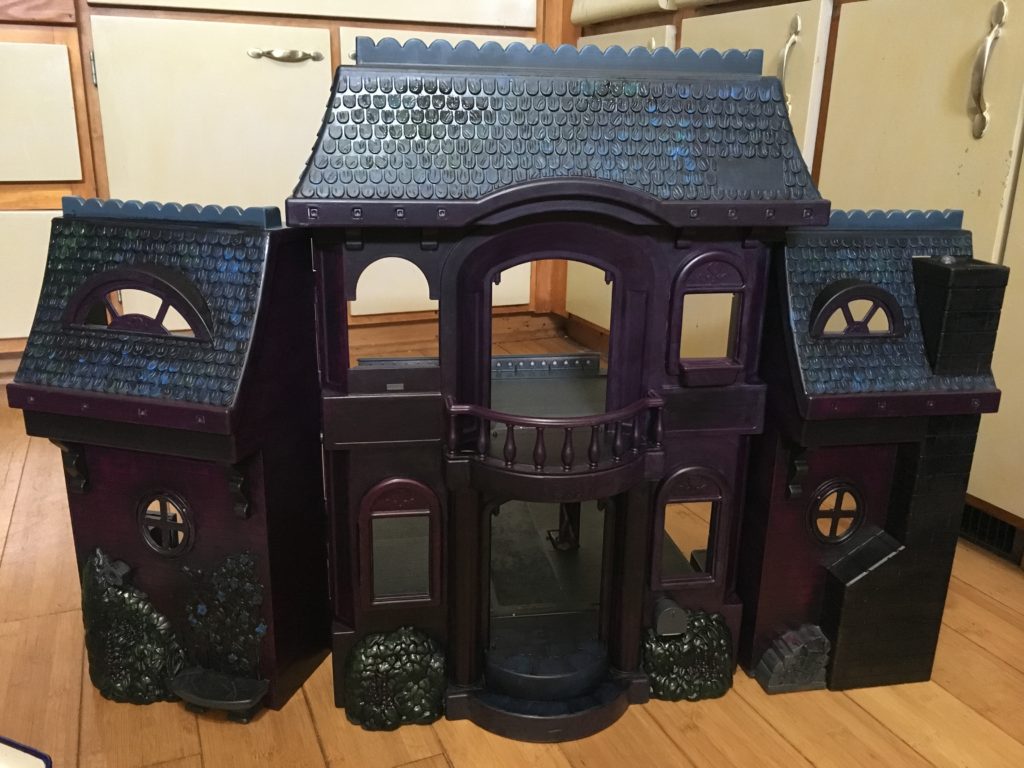
I added a little dark green to the bushes and a few of the shingles, to make it appear mossy. I also added a little cerulean blue to the flowers on the side of the house. Any colors you want will do, but to keep the appearance haunted-ish, I would recommend keeping the colors muted with dark gray or black.

I’m rather pleased with the results thus far. I will probably get some sort of clear coat to spray over the paint when I am finished with it, to protect against scratches. I will post more on this project as I go! Enjoy!