How to Make Realistic Barrels for a Dollhouse Saloon


A few barrels in the storage room of my saloon dollhouse. The pallets they are resting on are from the local Dollar Tree.

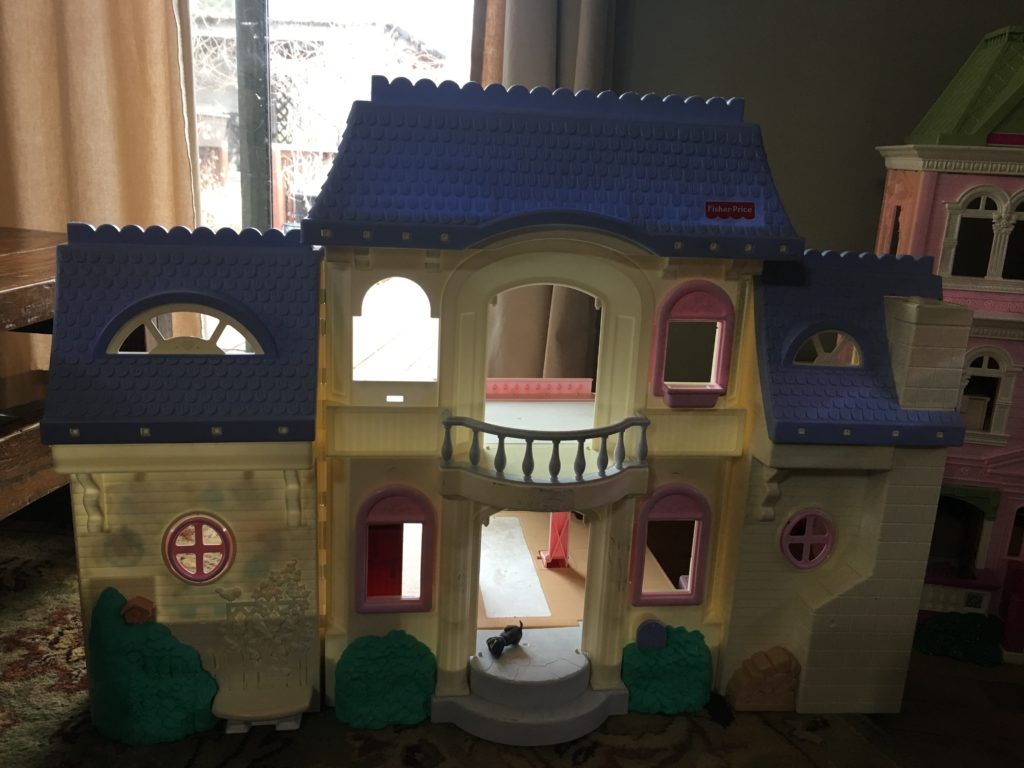
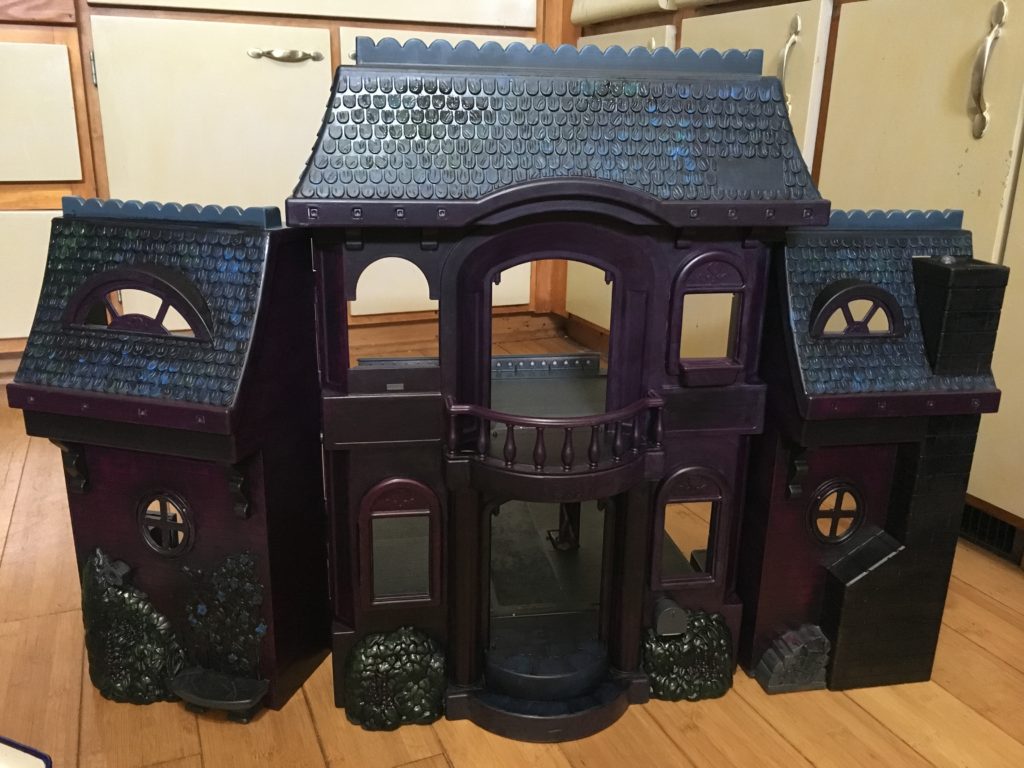
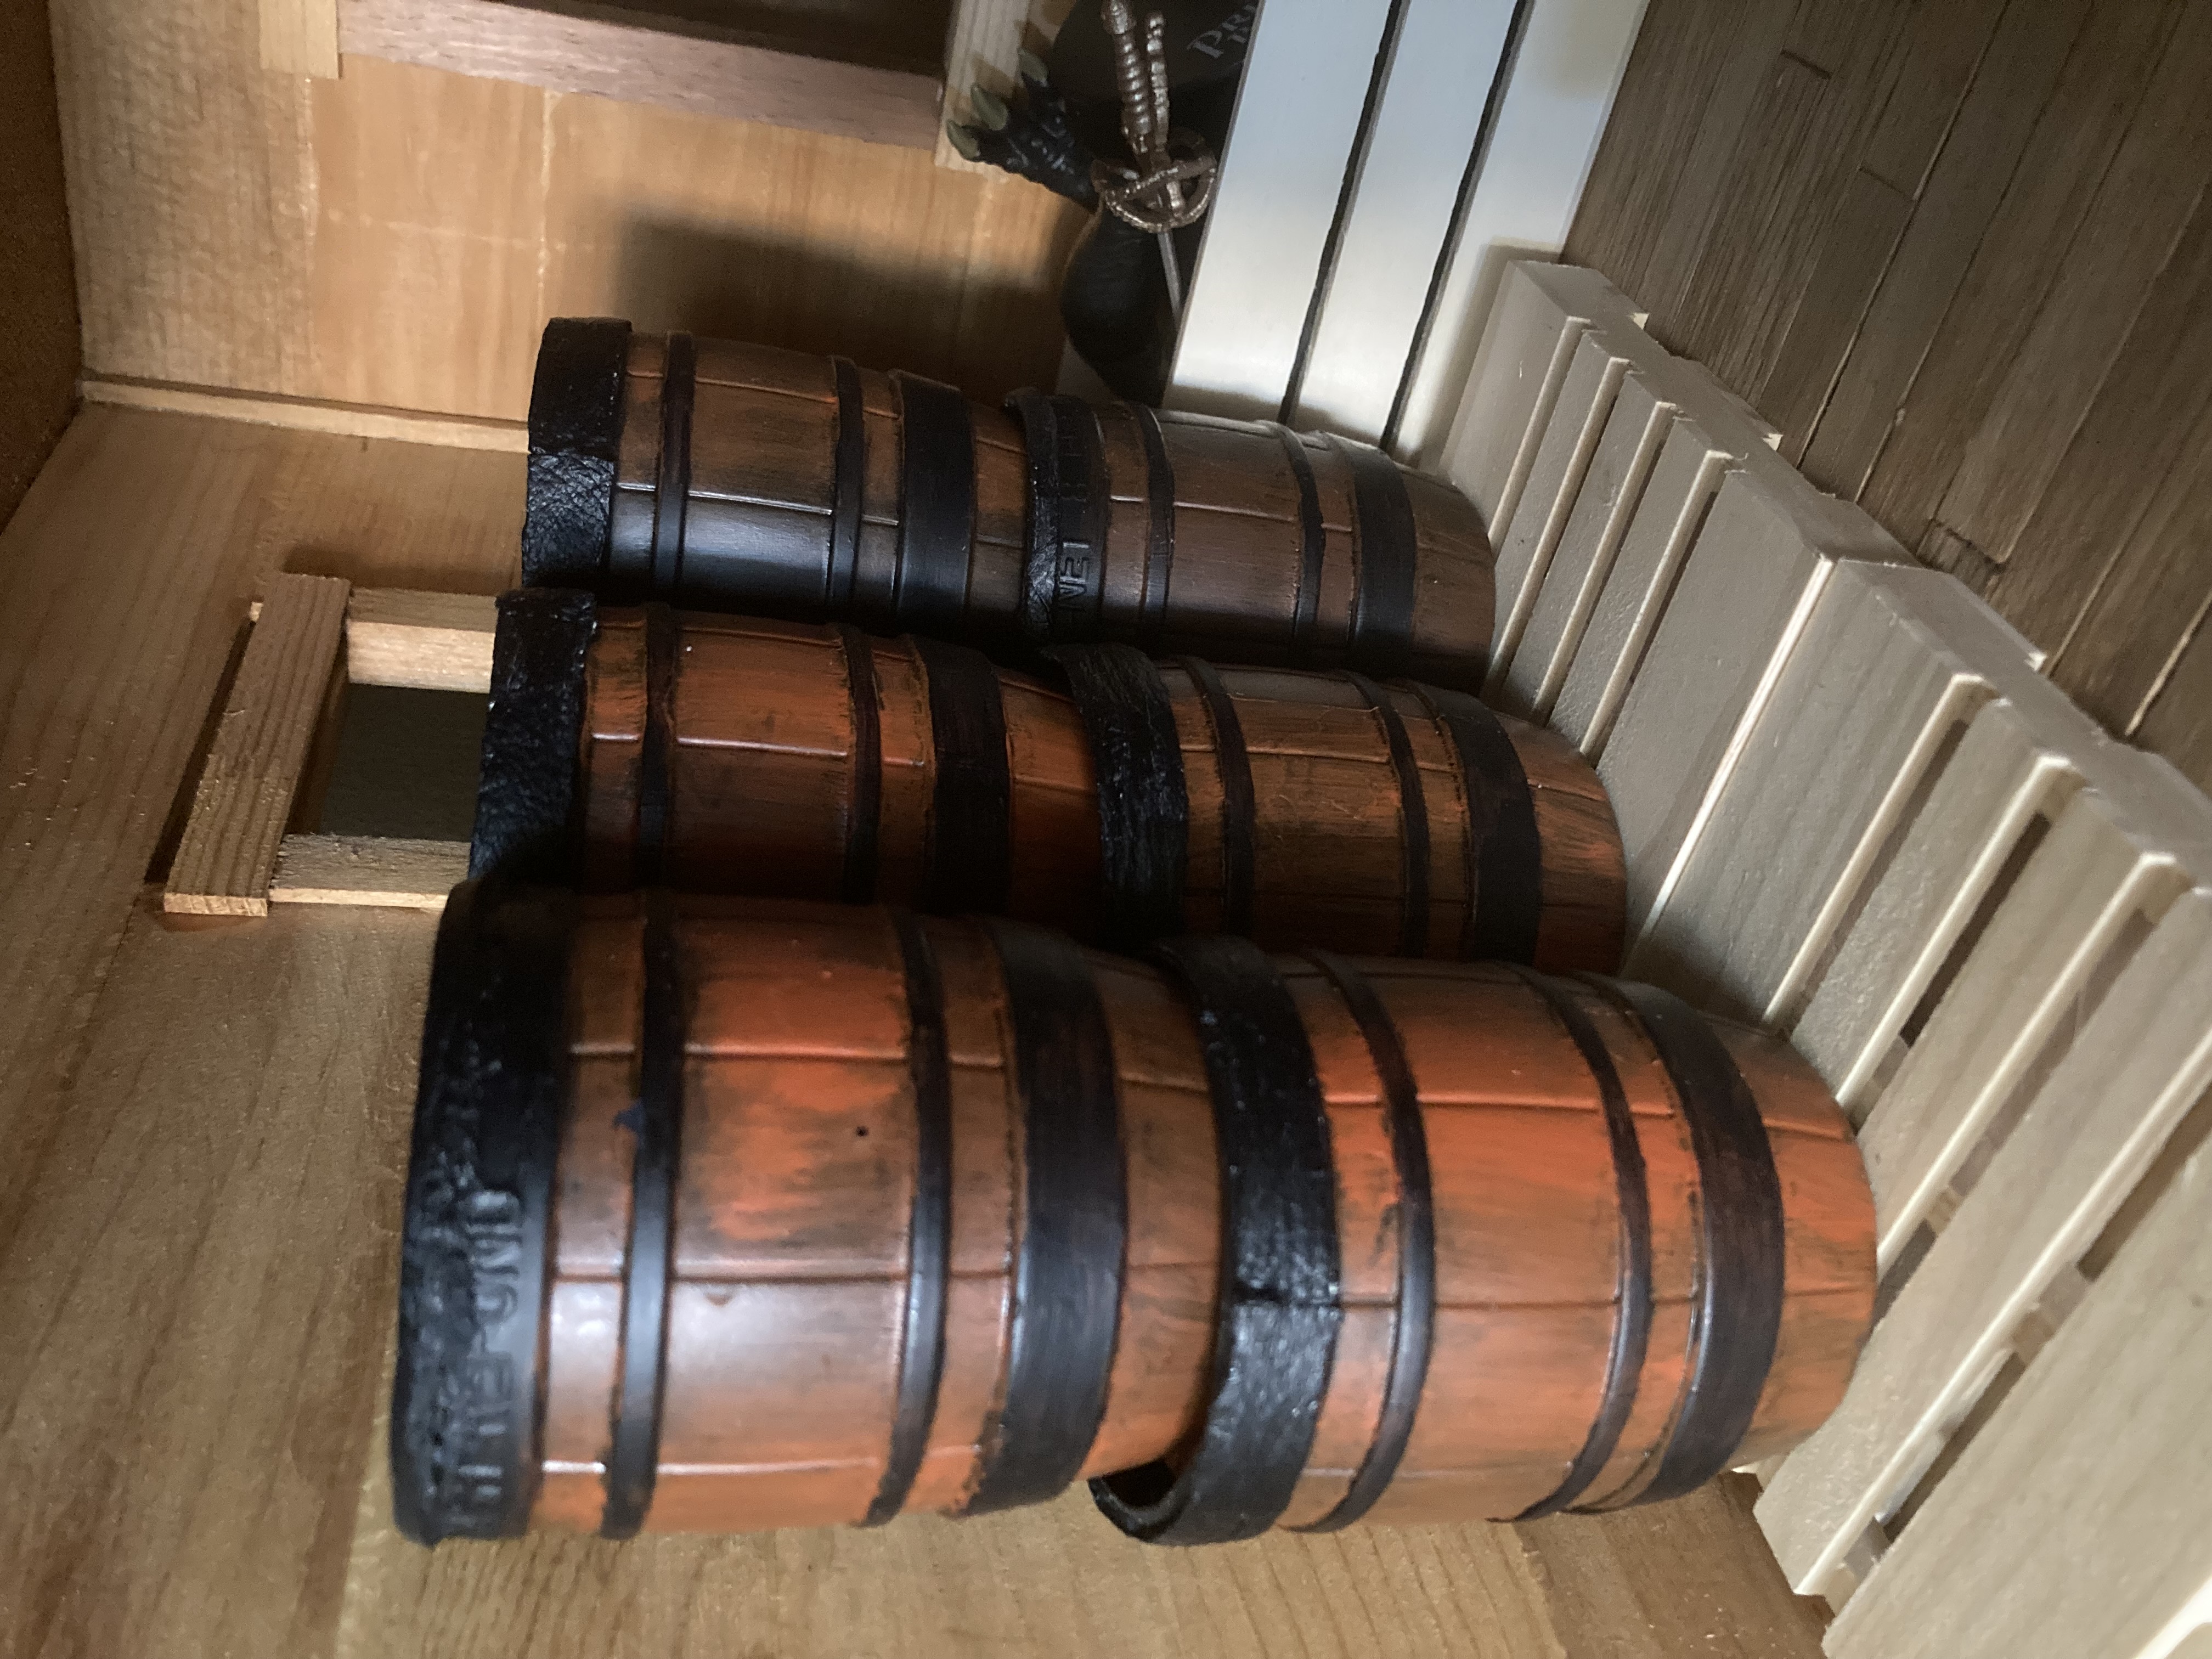
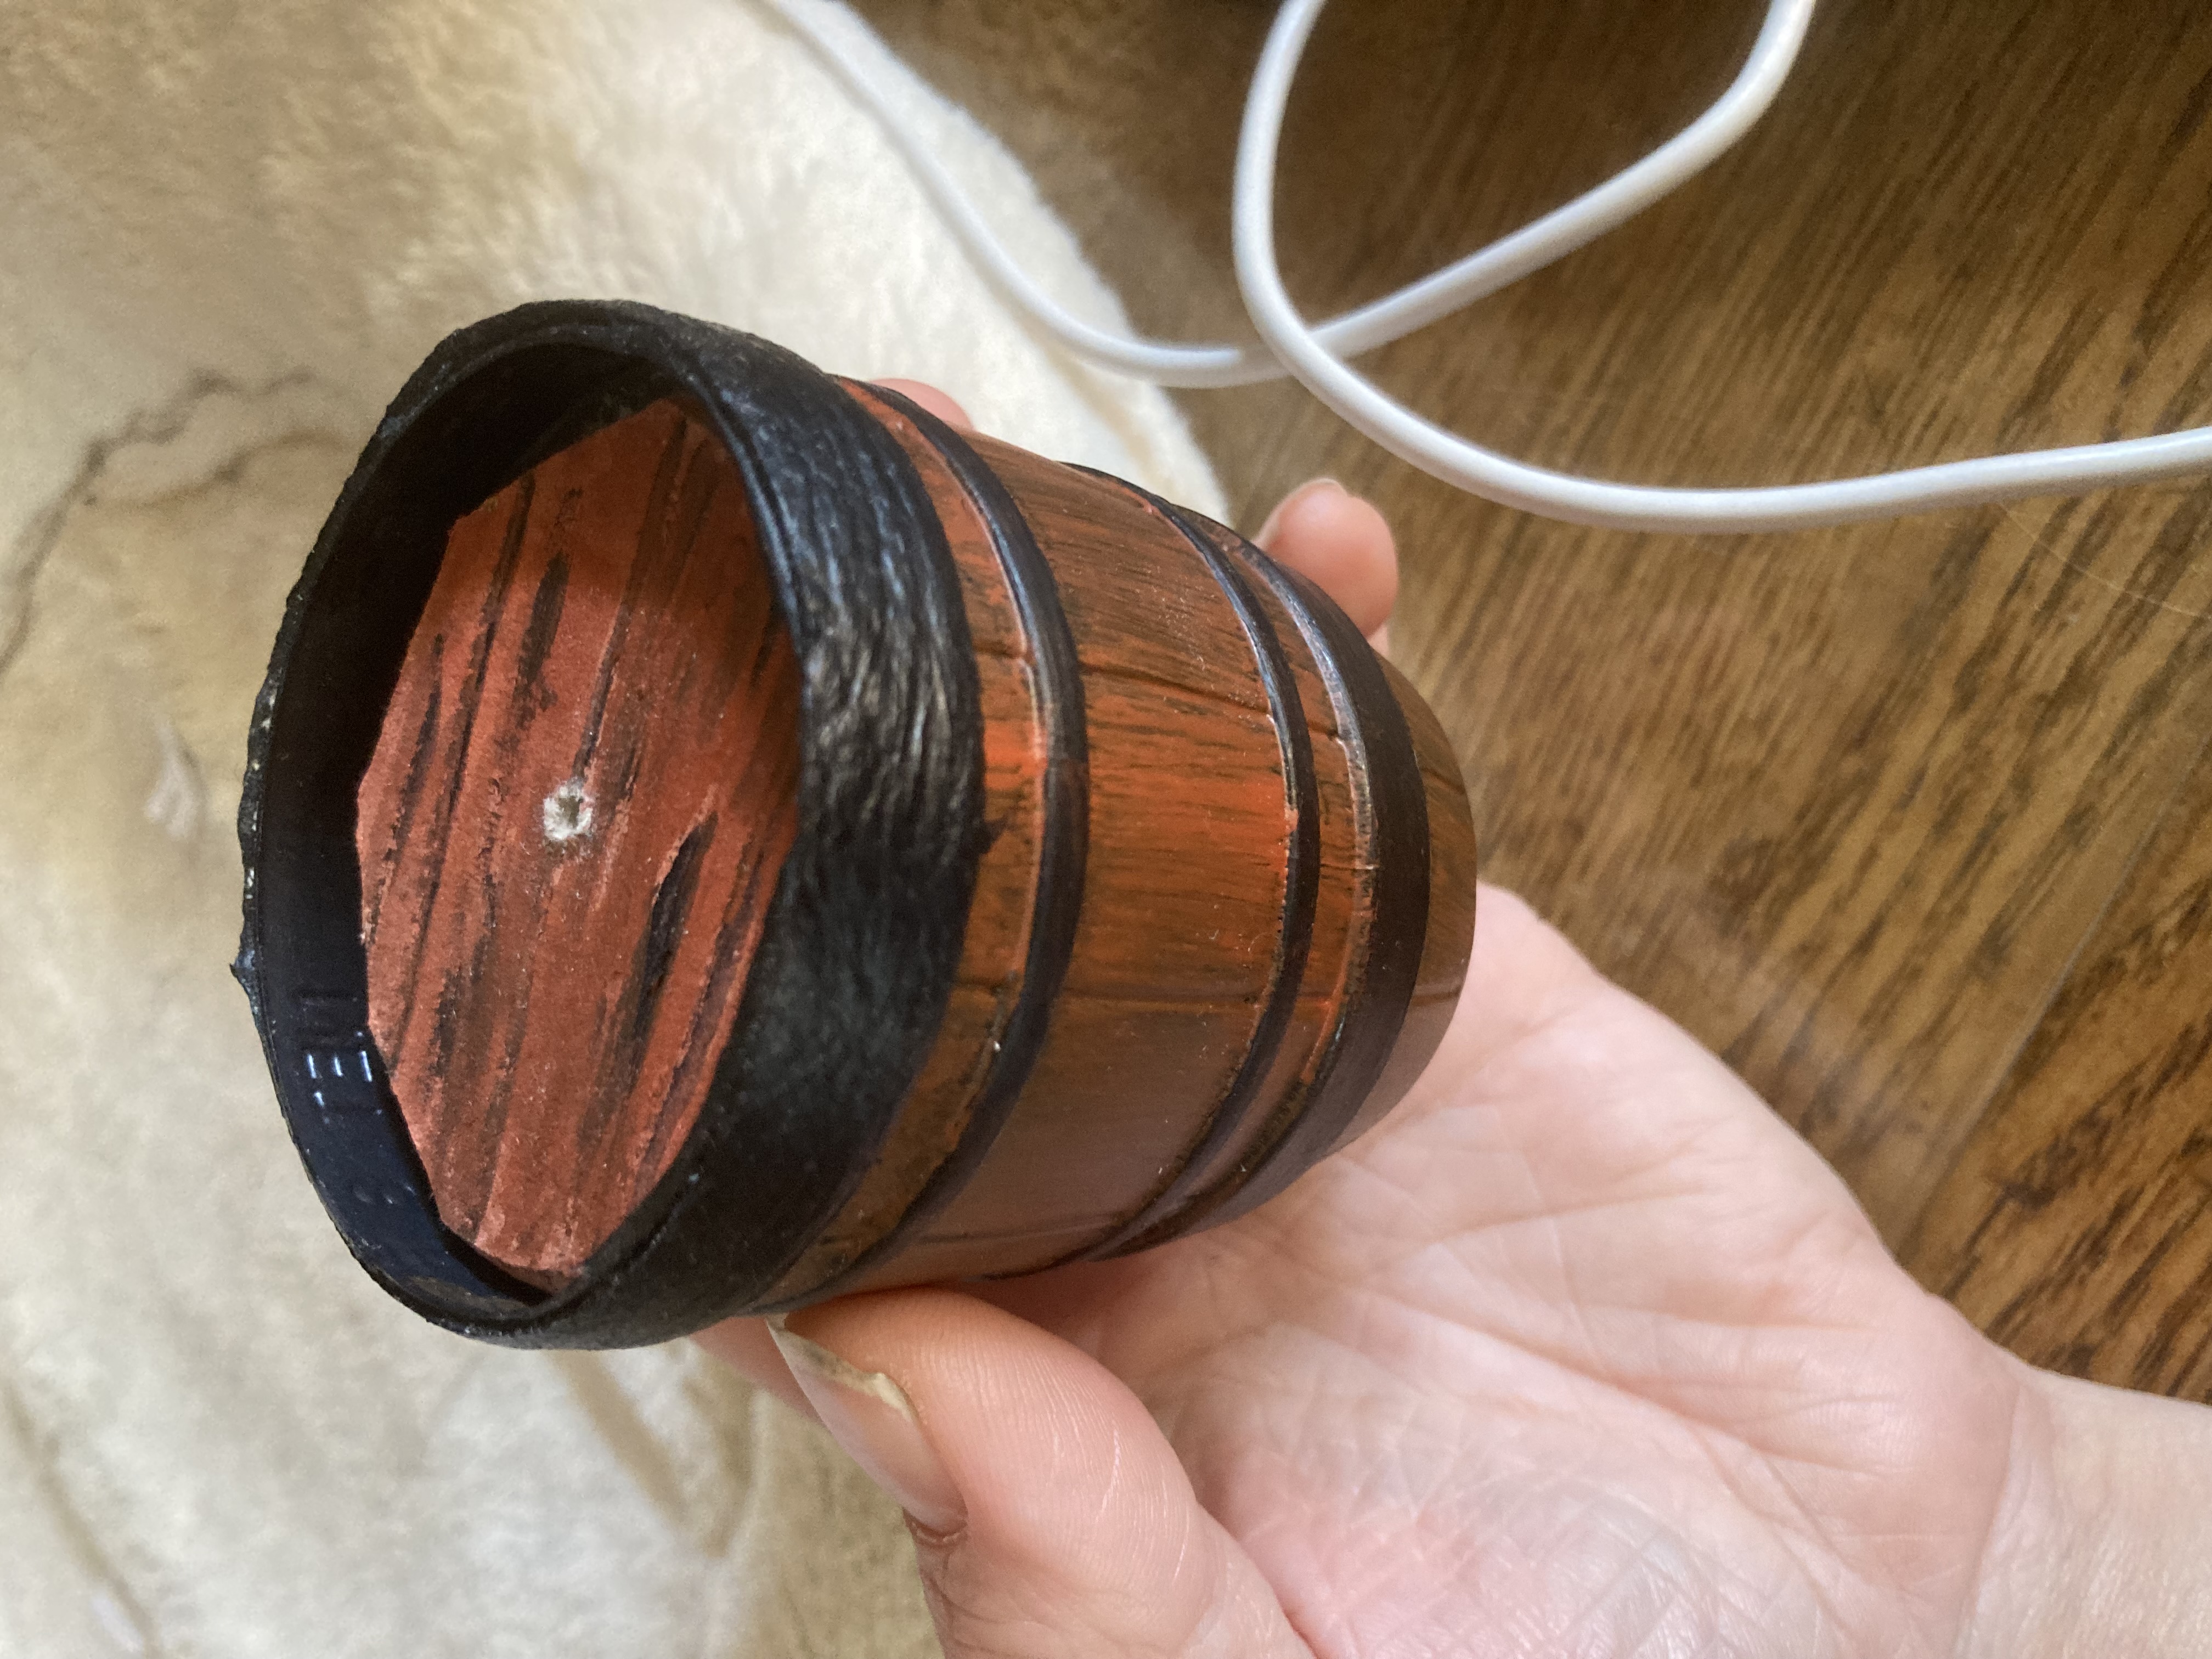
While working on my saloon dollhouse, I decided that it needed some barrels in its storage room. I wanted a few, and I wanted them to be open inside so I could use them to store extra accessories for the action figures that I am using to populate my saloon (I mean, do the Ghostbusters actually need to have their ghost fighting equipment while playing checkers?). I discovered that my requirements would not be easy (or cheap) to find, so I would try to make them. While I was pondering this challenge, I happened to glance at what my child was drinking, and the solution presented itself.

Little Hug Fruit Barrels! The empty containers look just like little barrels!
Looks just like a barrel!

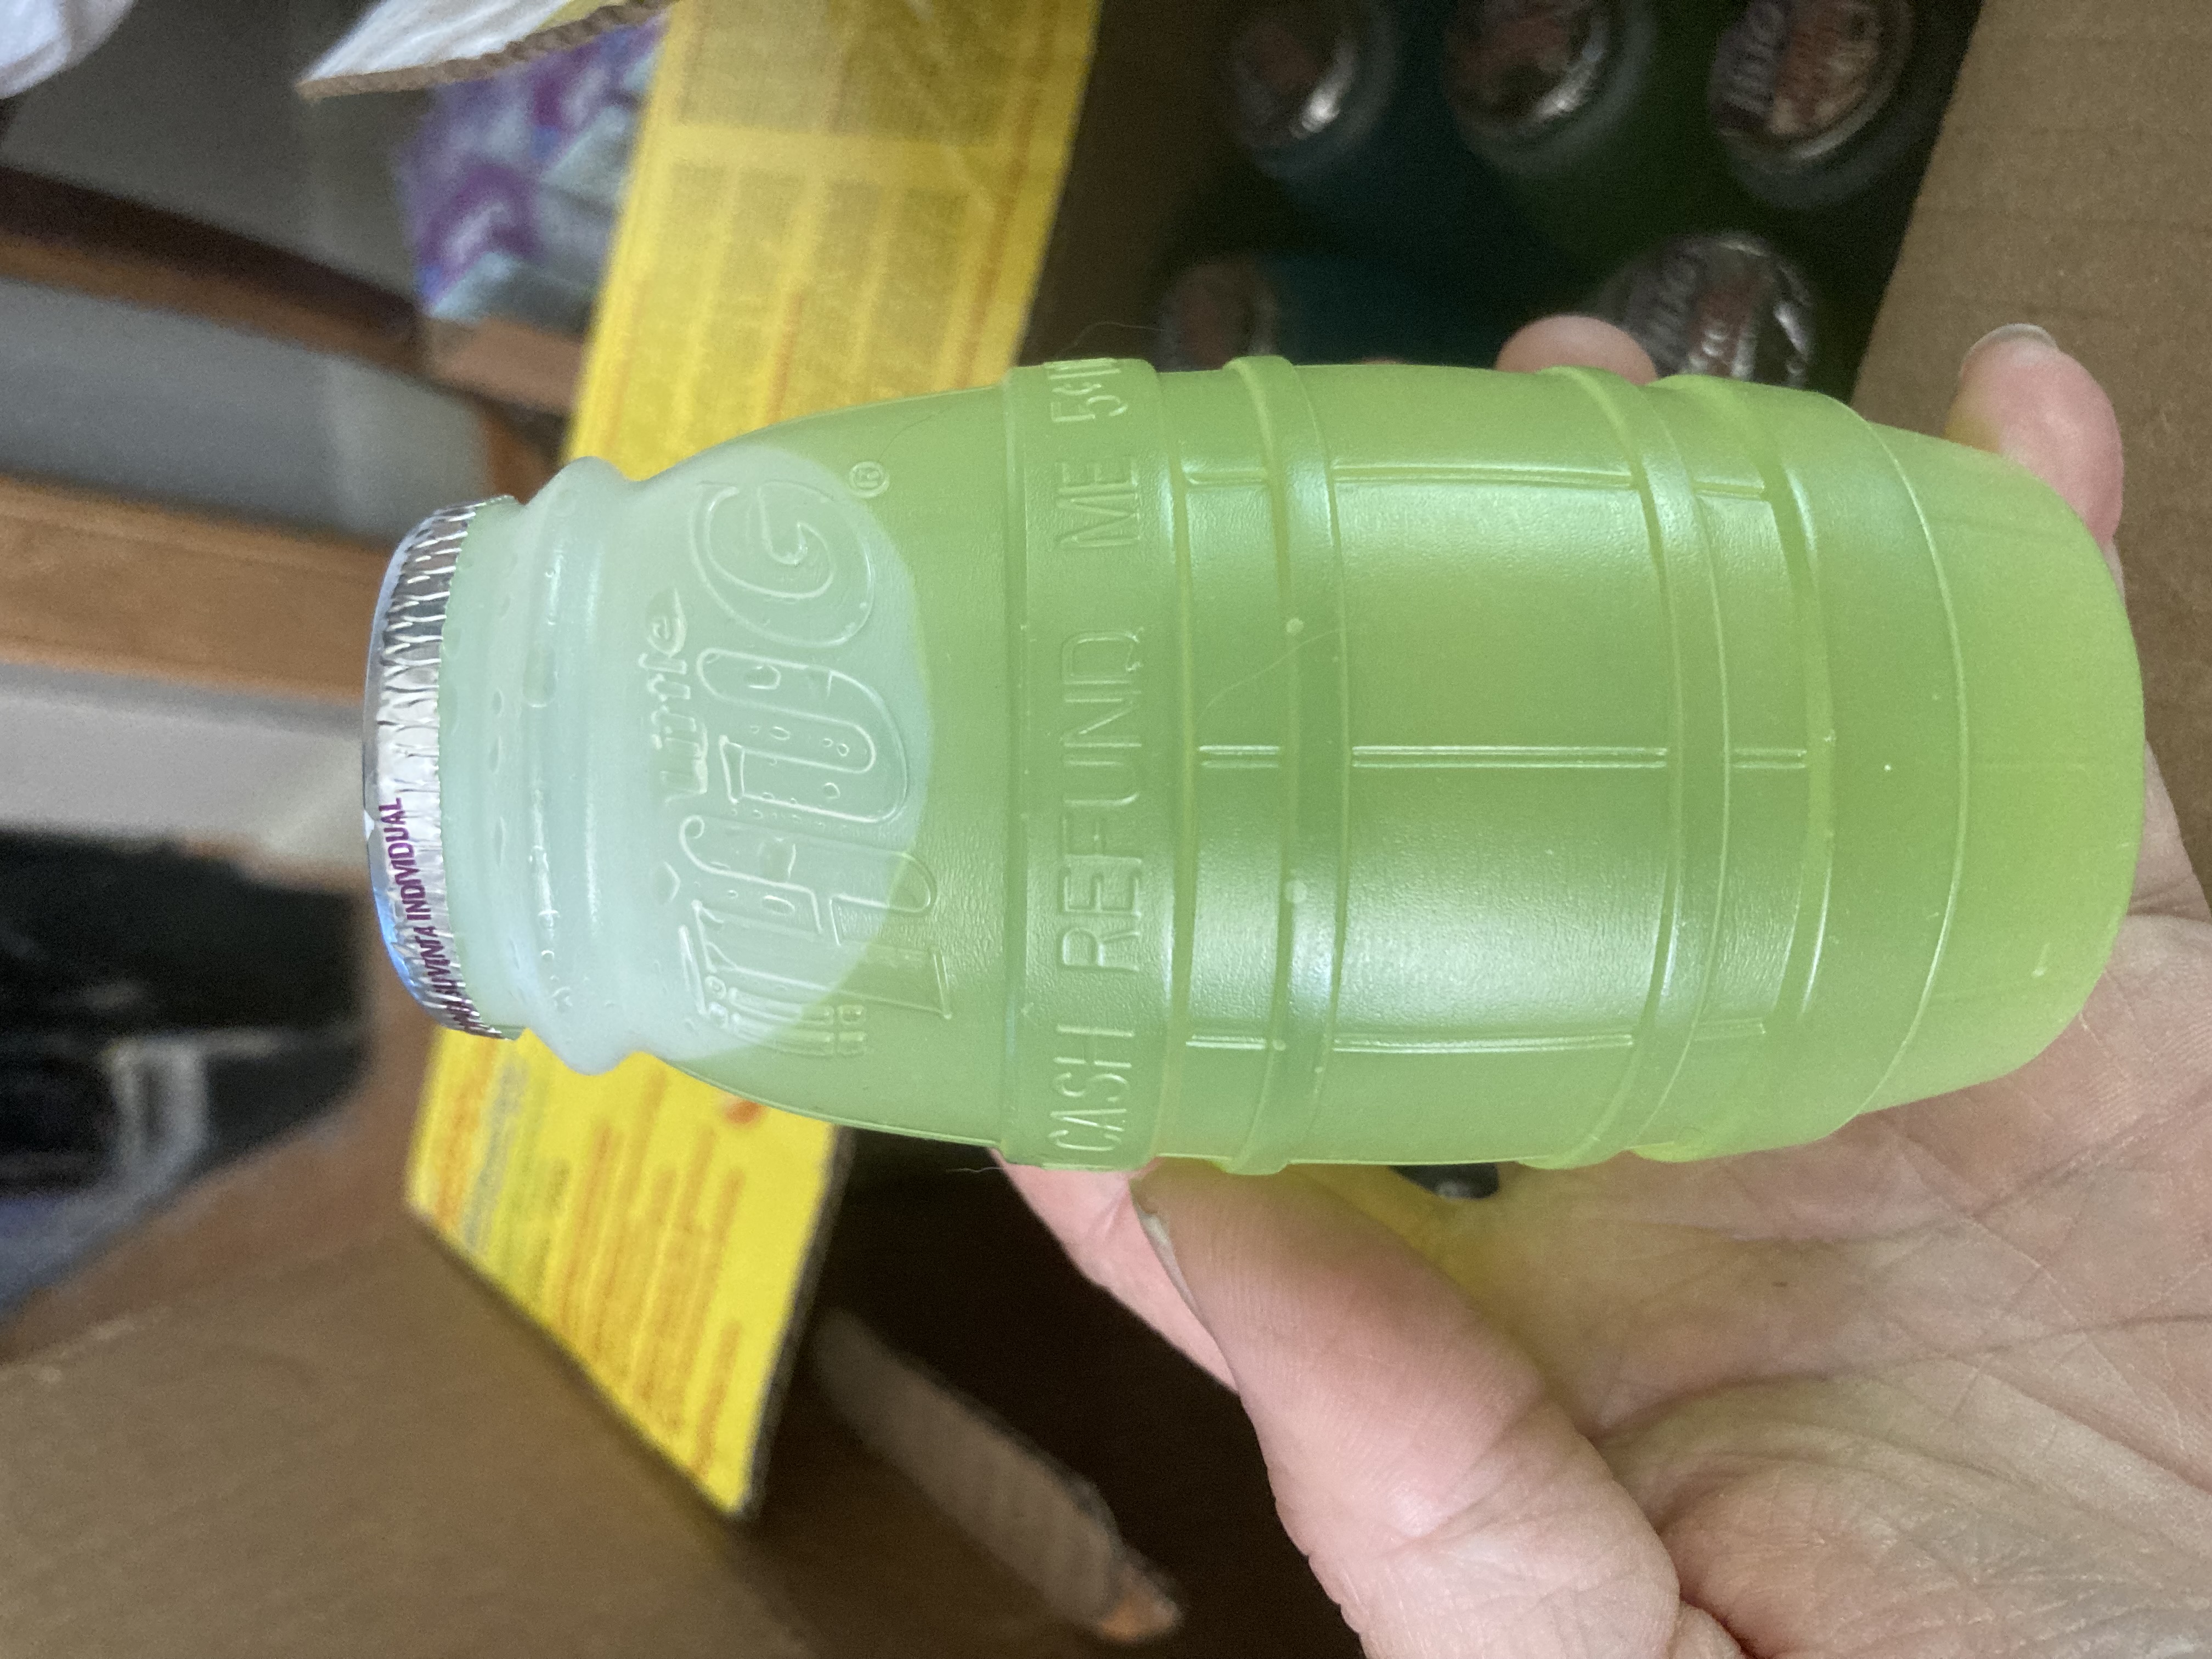
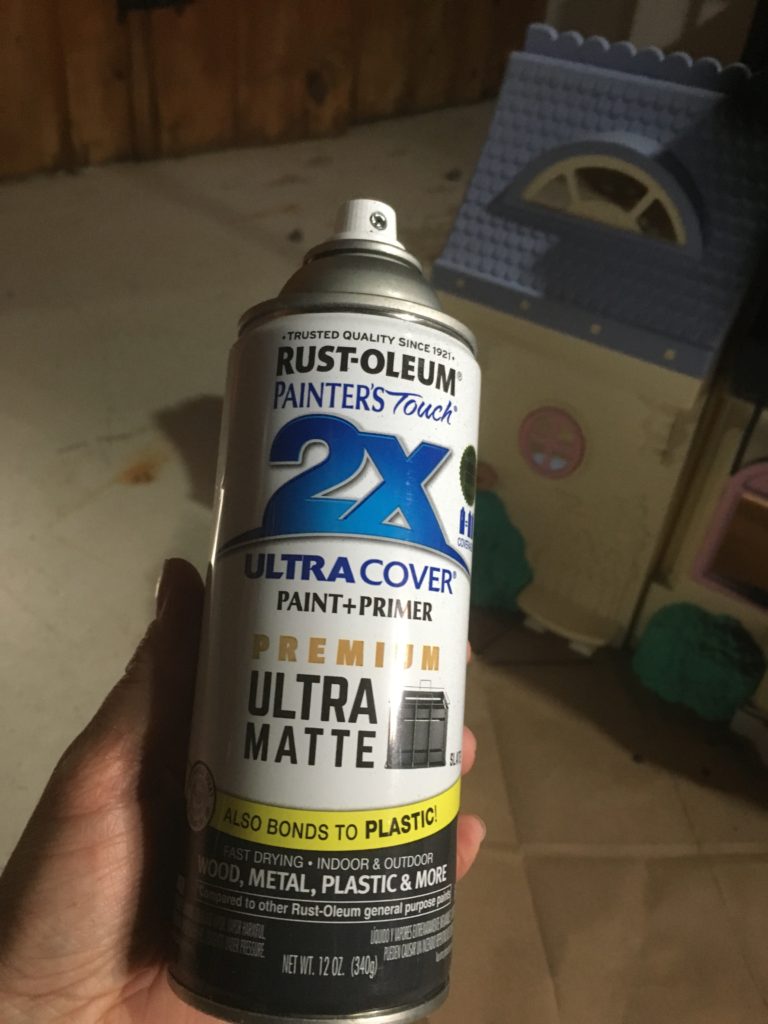
I took an empty container and cut off the top, just above the ring that says Cash Refund information. Next, I sprayed it with Rustoleum #2 spray paint, which contains a primer for painting on plastics, and holds up pretty well.

Top portion cut off and primed with Rustoleum #2 spray paint.

I painted both the inside and outside of the barrel with the spray paint, then waited for it to dry completely.

Acrylic paints on top of the Rustoleum.

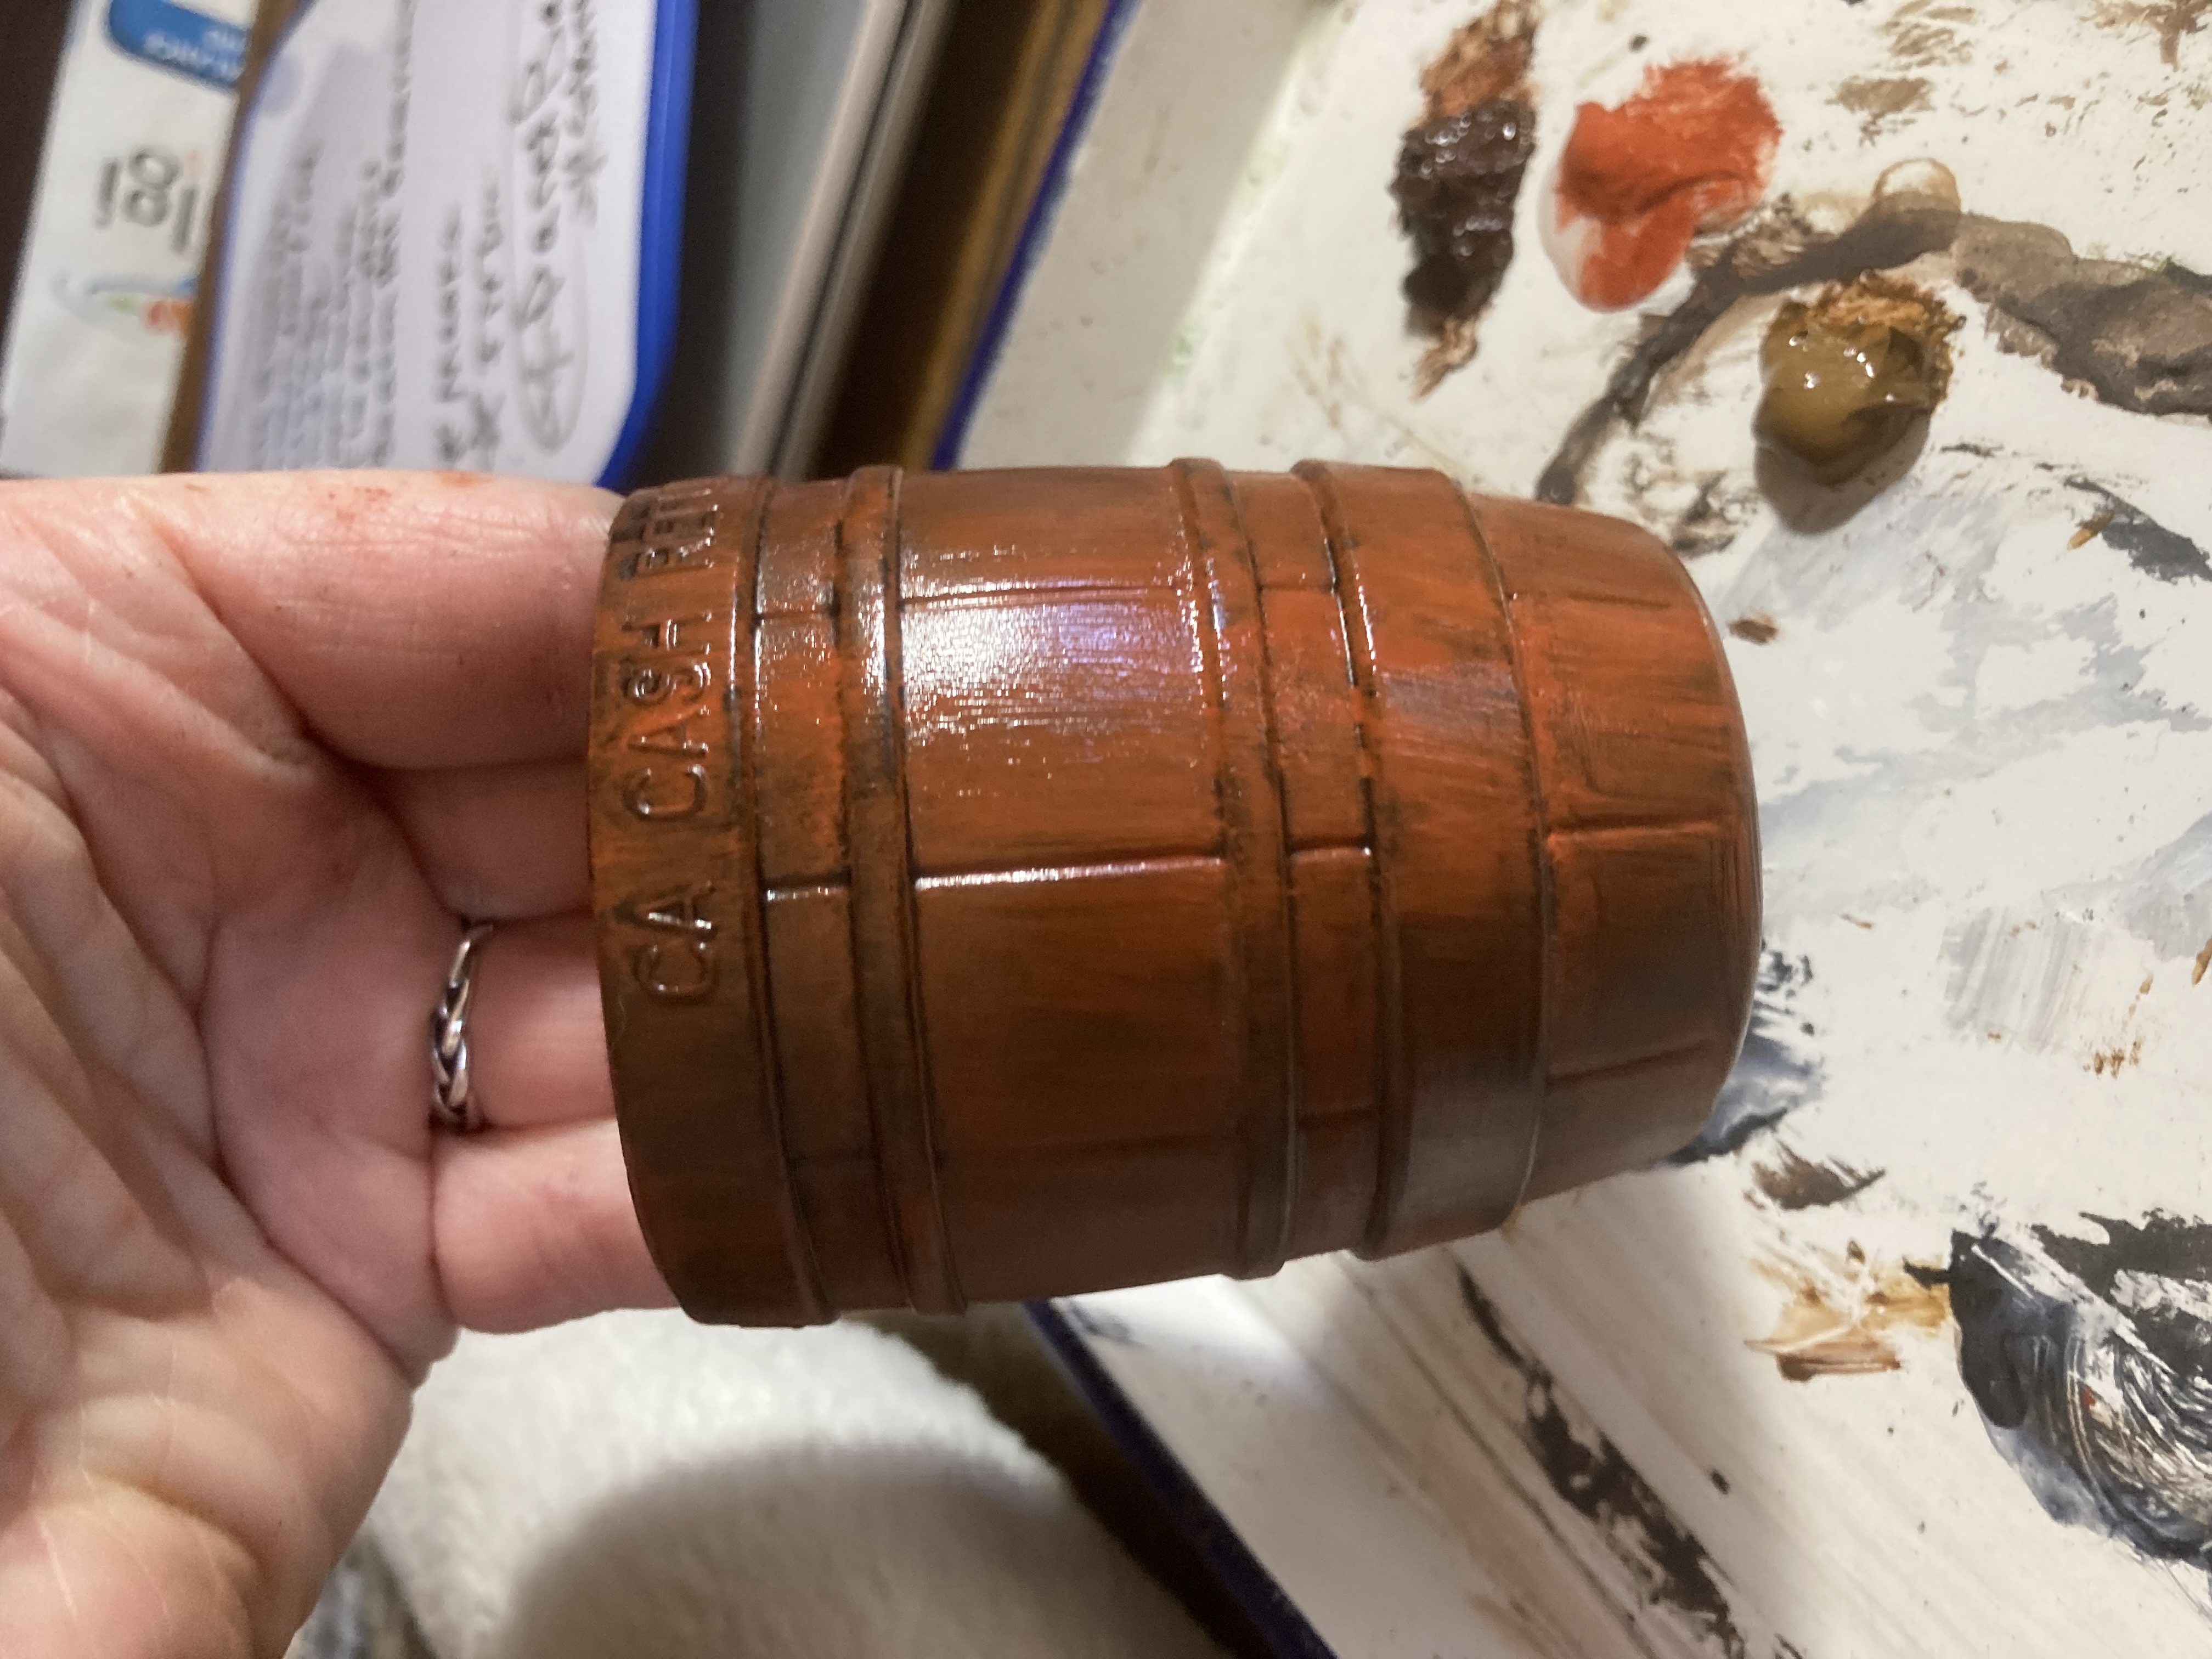
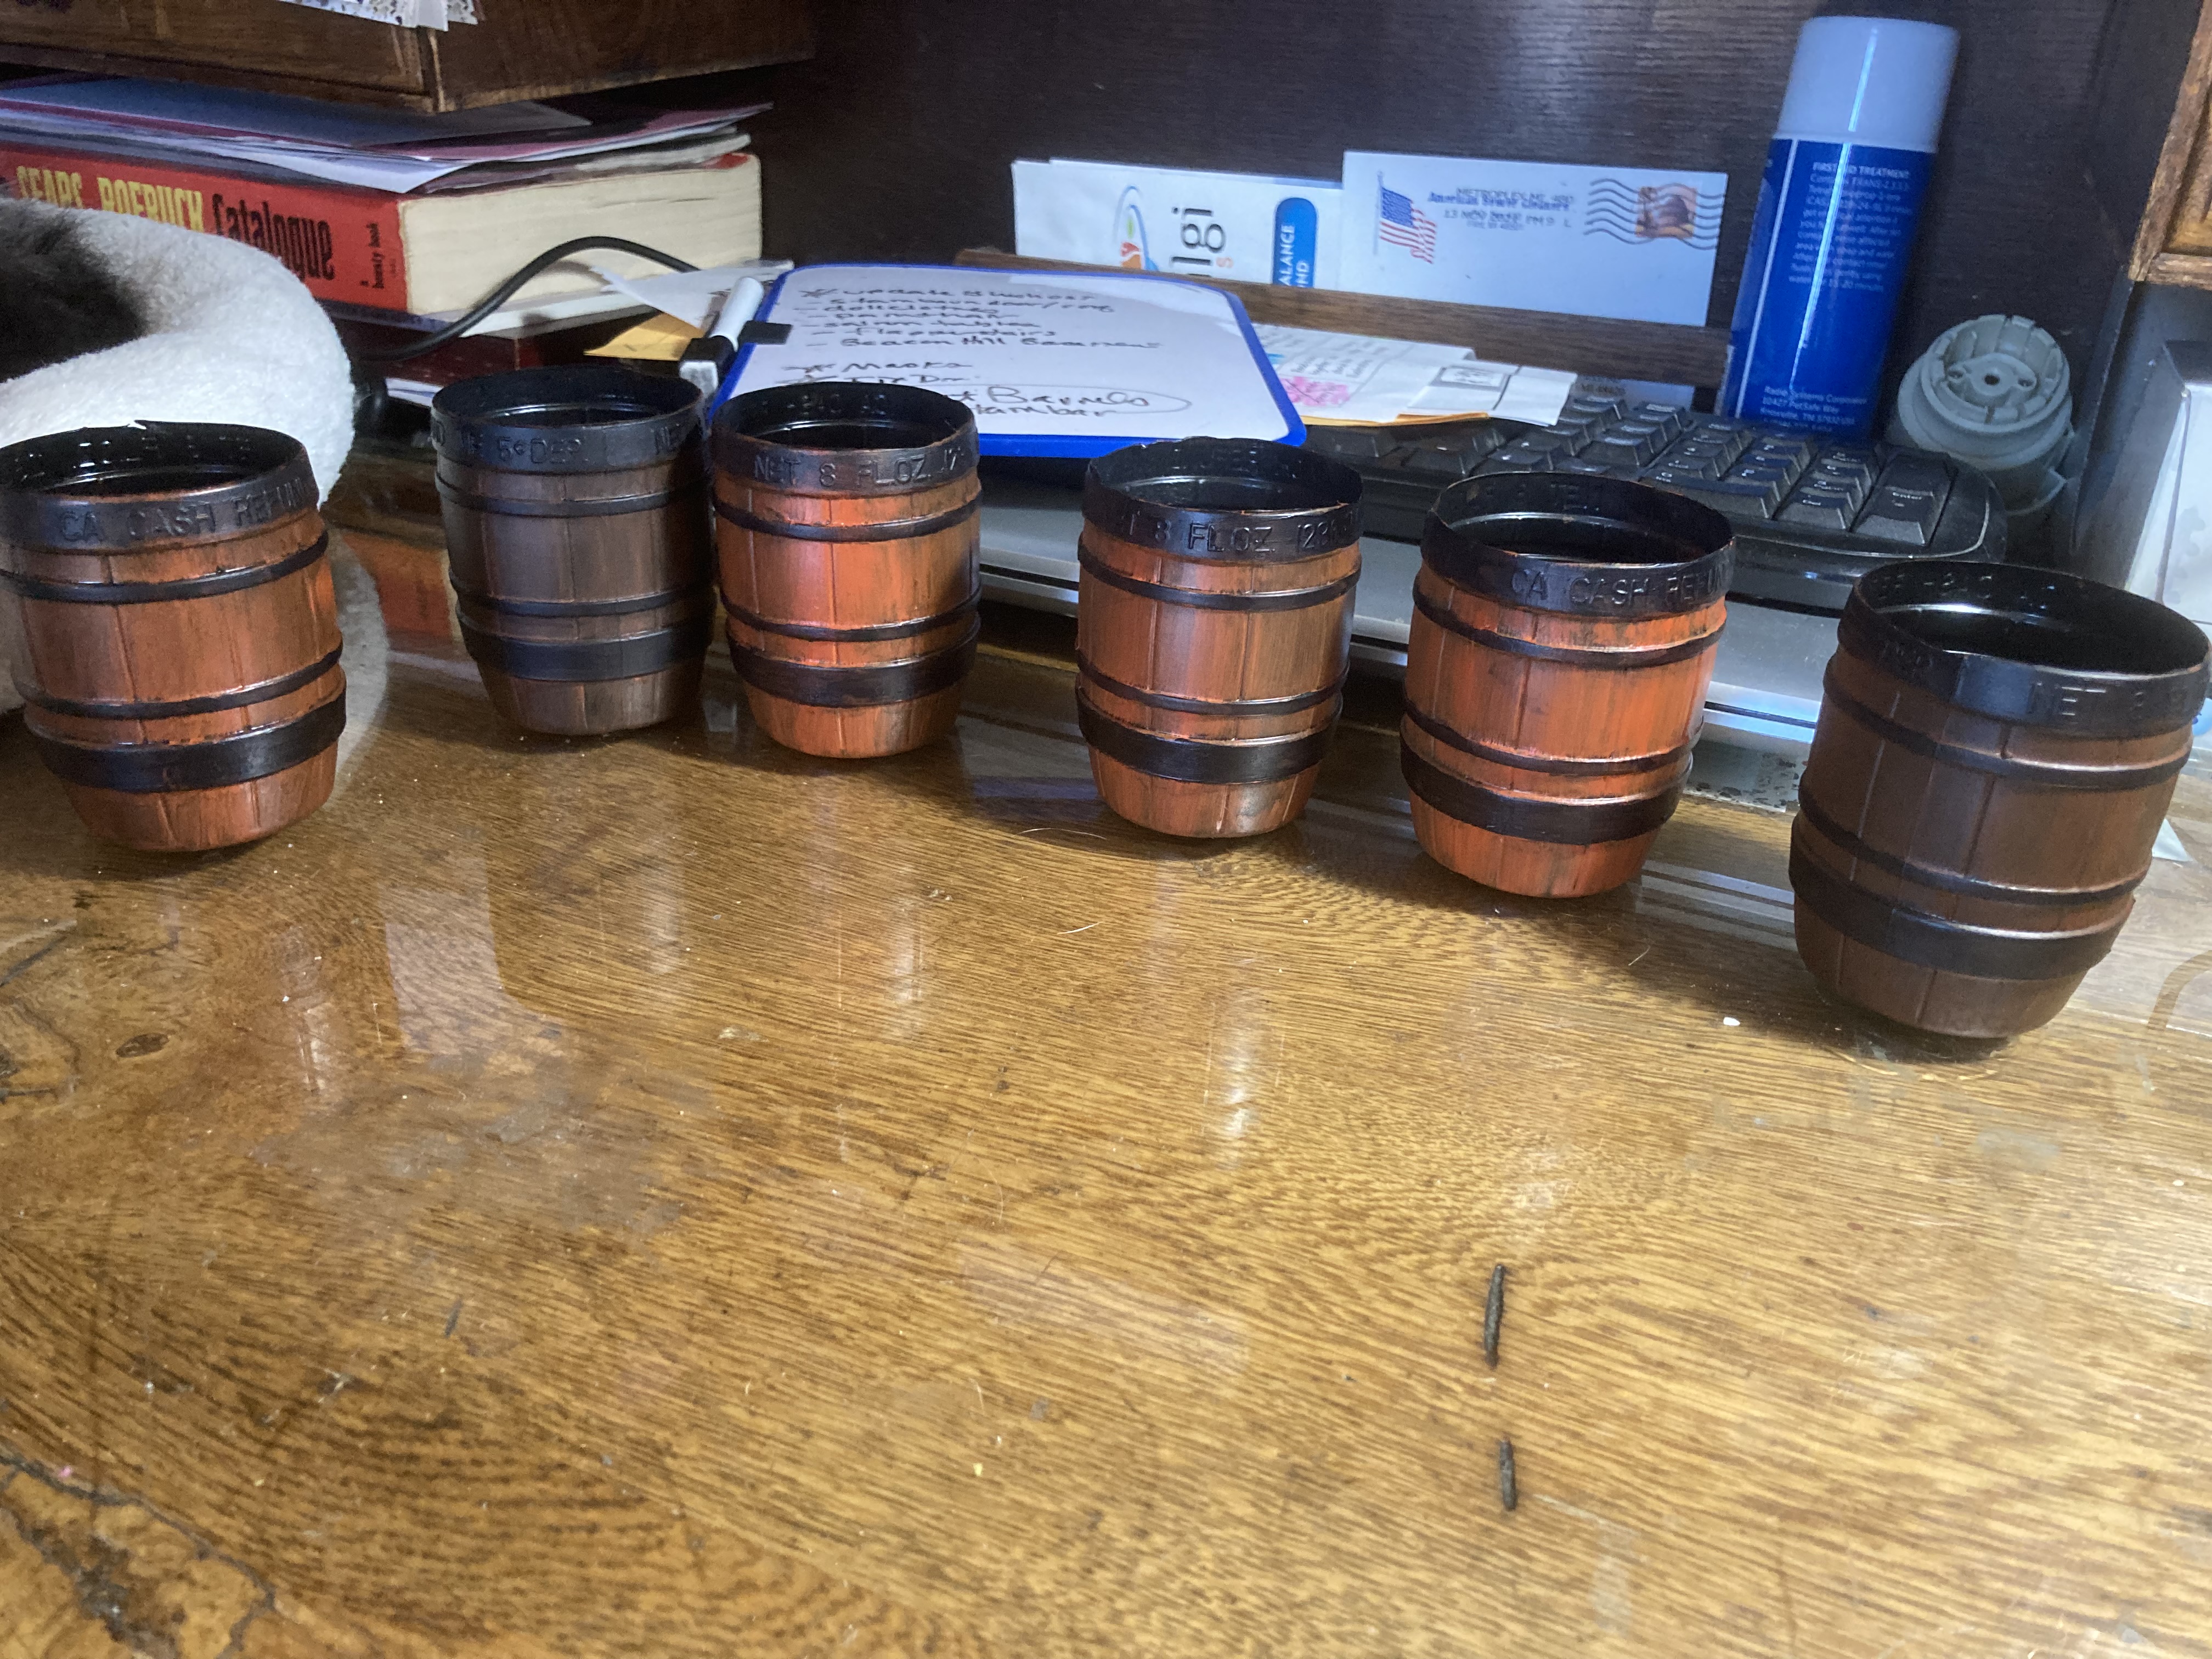
Next I dug out my acrylic paints to paint on top of the Rustoleum. I use the Rustoleum as a base-coat primer to help other paints adhere to the plastic surface. If I had just painted the acrylics straight onto the plastic, the paint would easily rub off, but the primer helps prevent this. I used a mixture of different browns and blacks for the wood and bands.

Painting nearly done.

After the paint was applied, I decided that I didn’t care for the writing along the top, so I chose to cover it up with a band of thin leather I had as scrap. You could also use cloth, or even cardstock.

Thin strip of leather wrapped around the top to cover the raised lettering. It also helped to reinforce the top lip. I then painted the leather to match the other bands.
Several barrels being made.

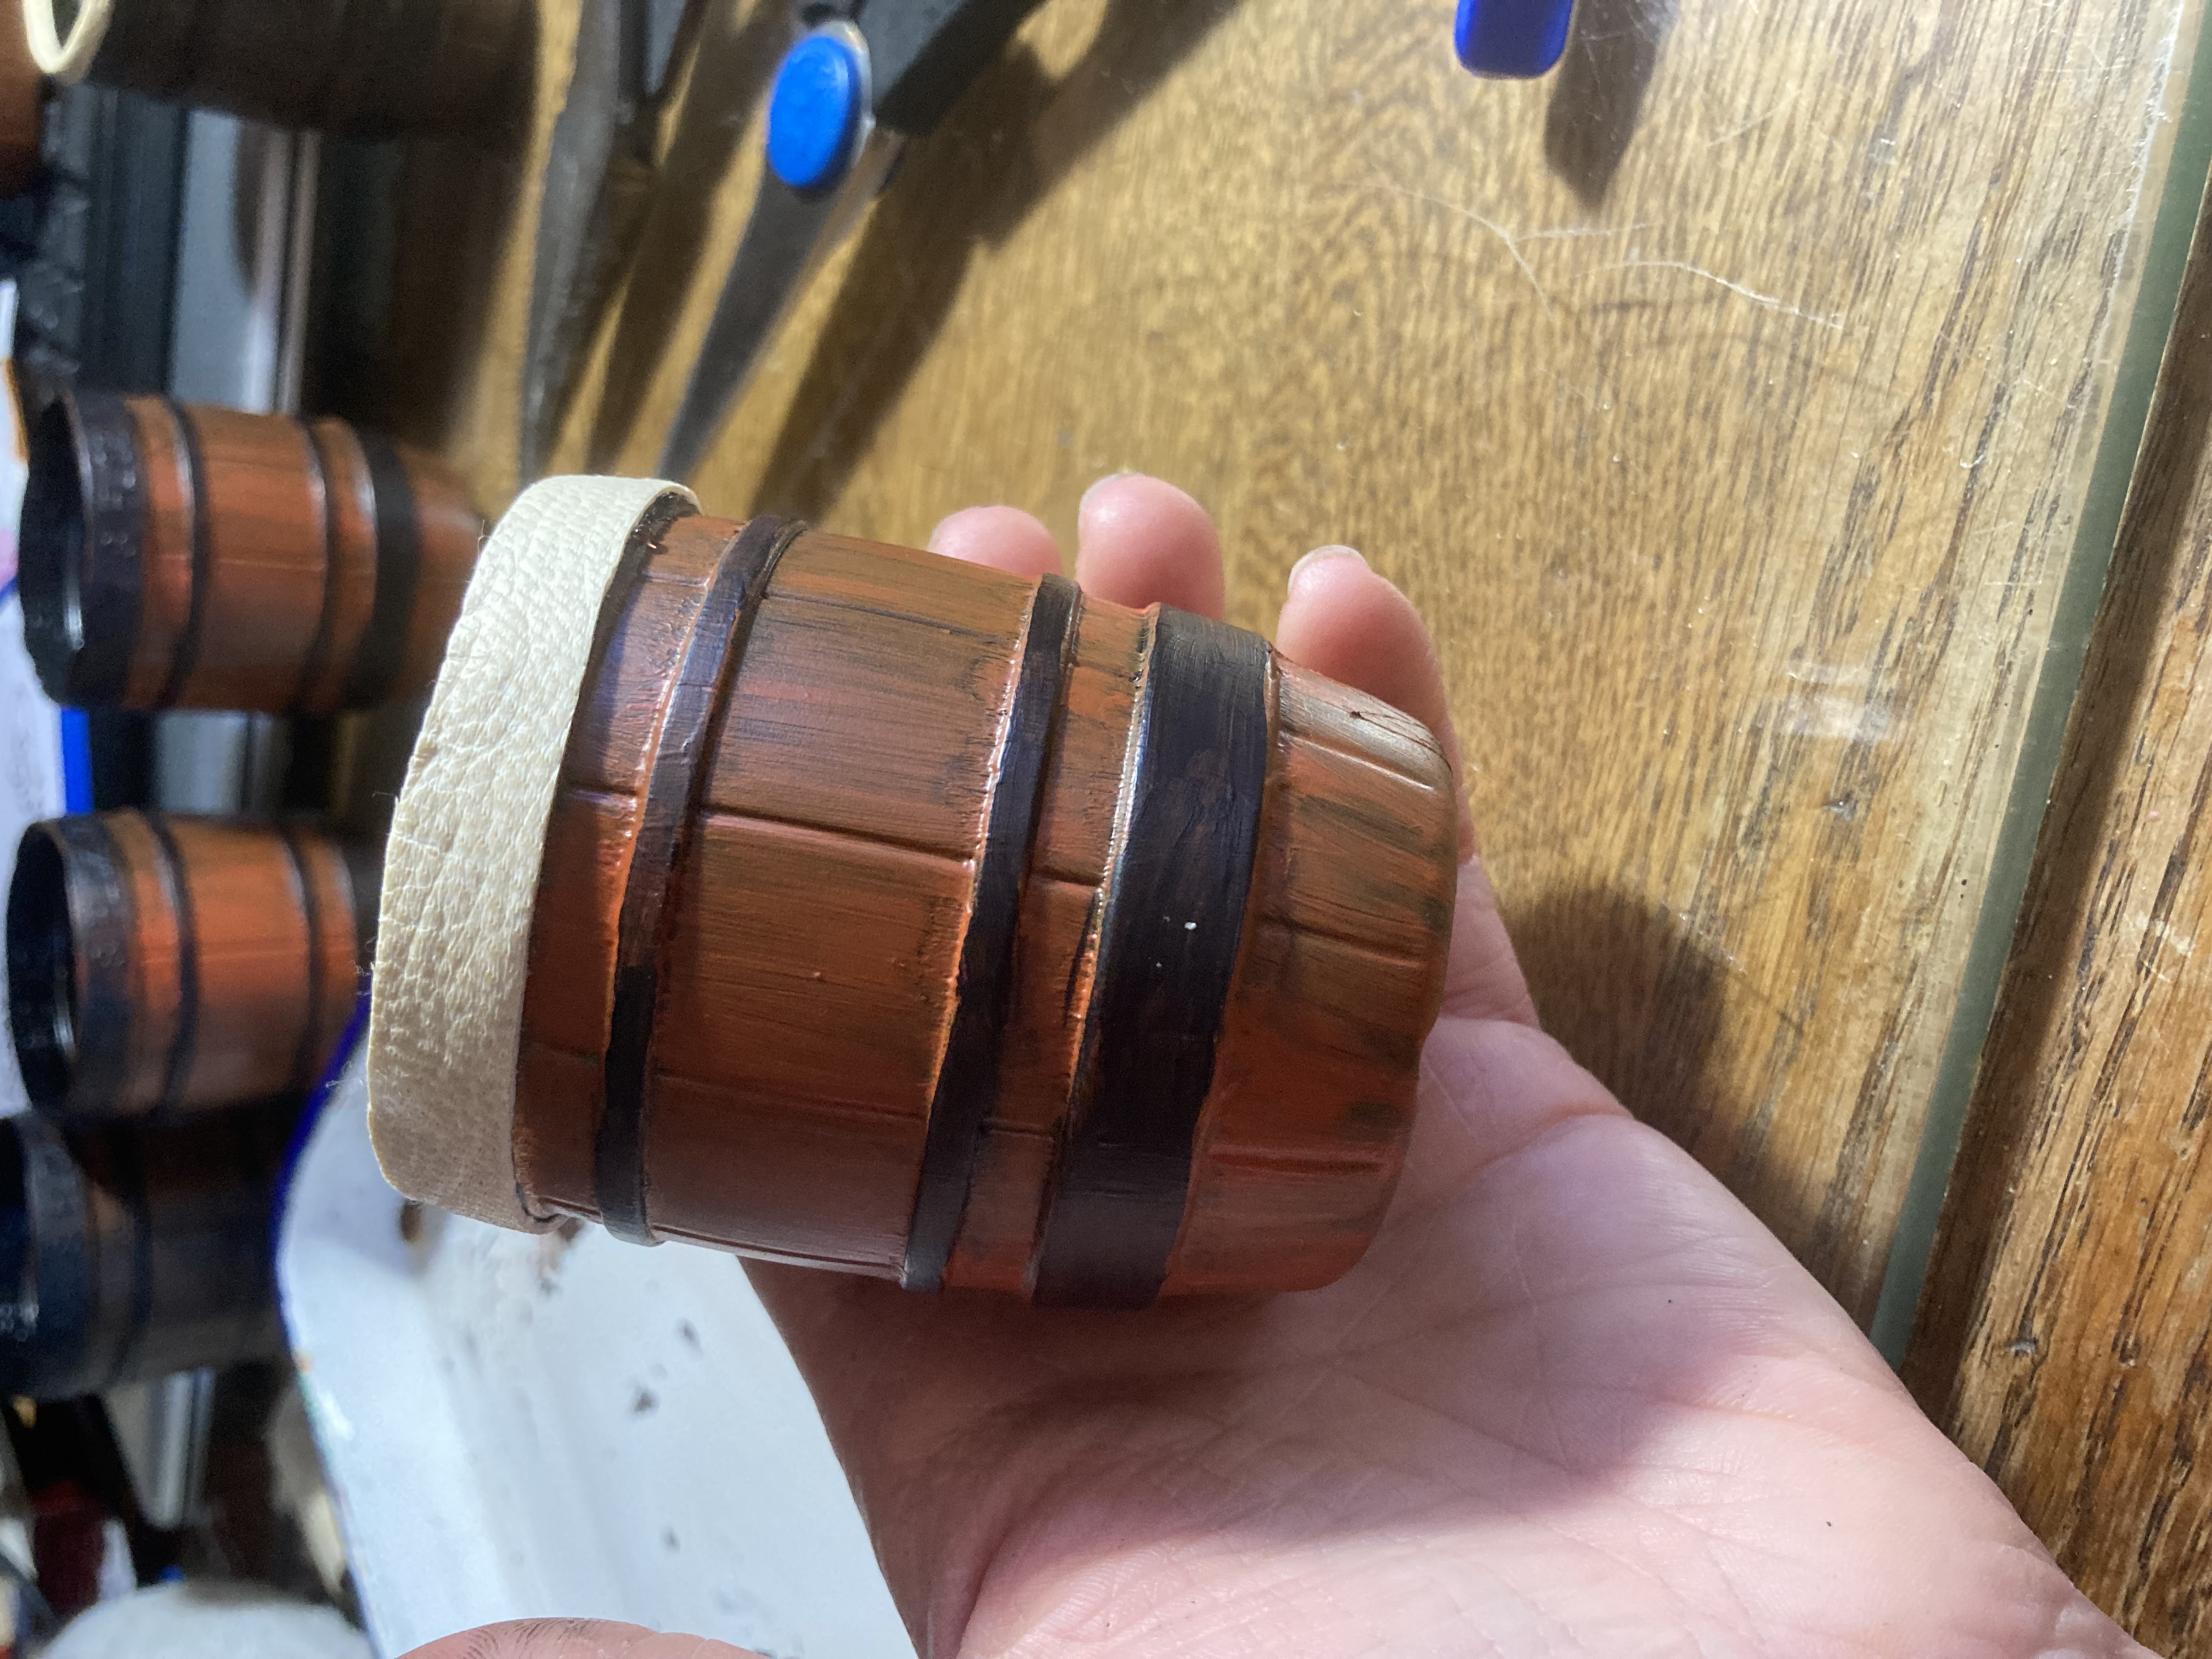
Next I wanted a lid for the barrel.

Inner lip made of a scrap of string.

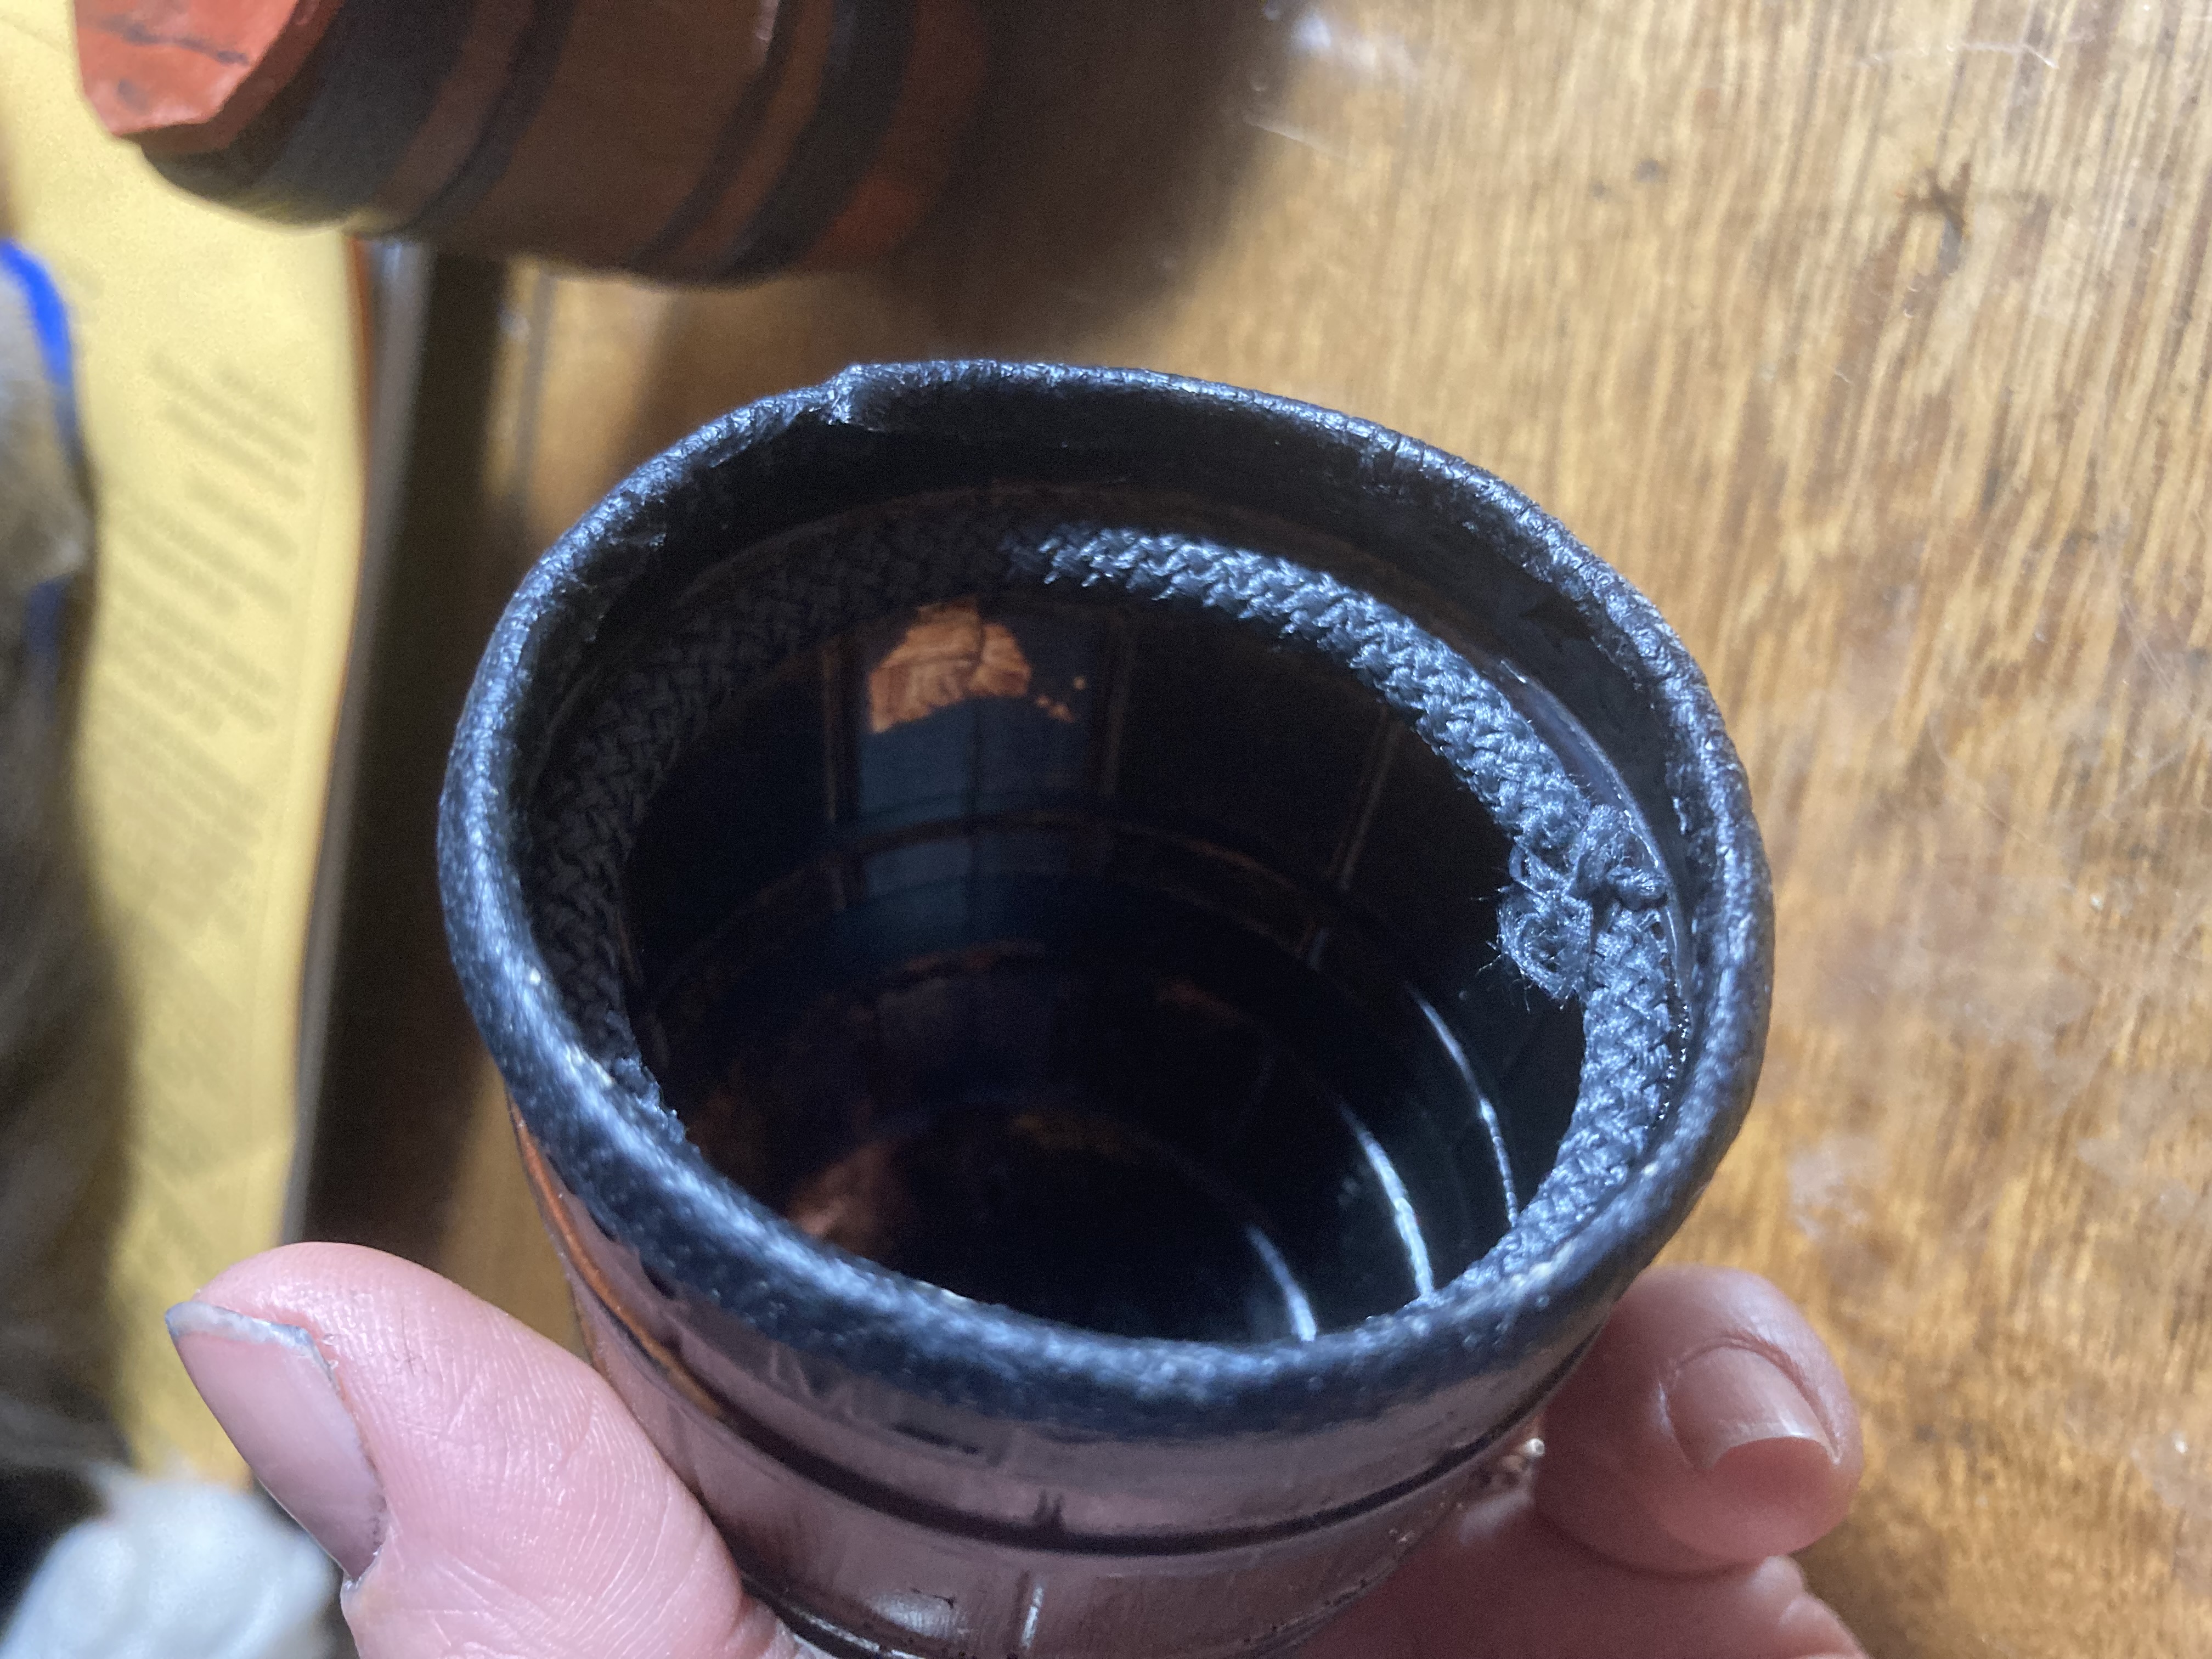
I cut and glued a piece of thick string as a lip along the inside of the barrel, about a quarter inch below the opening. This will give the lid something to rest on so it doesn’t keep falling into the barrel.

Lid cut from thick cardboard. I put a small hole in top, so that I might eventually make a metal hook tool to help remove the lids.

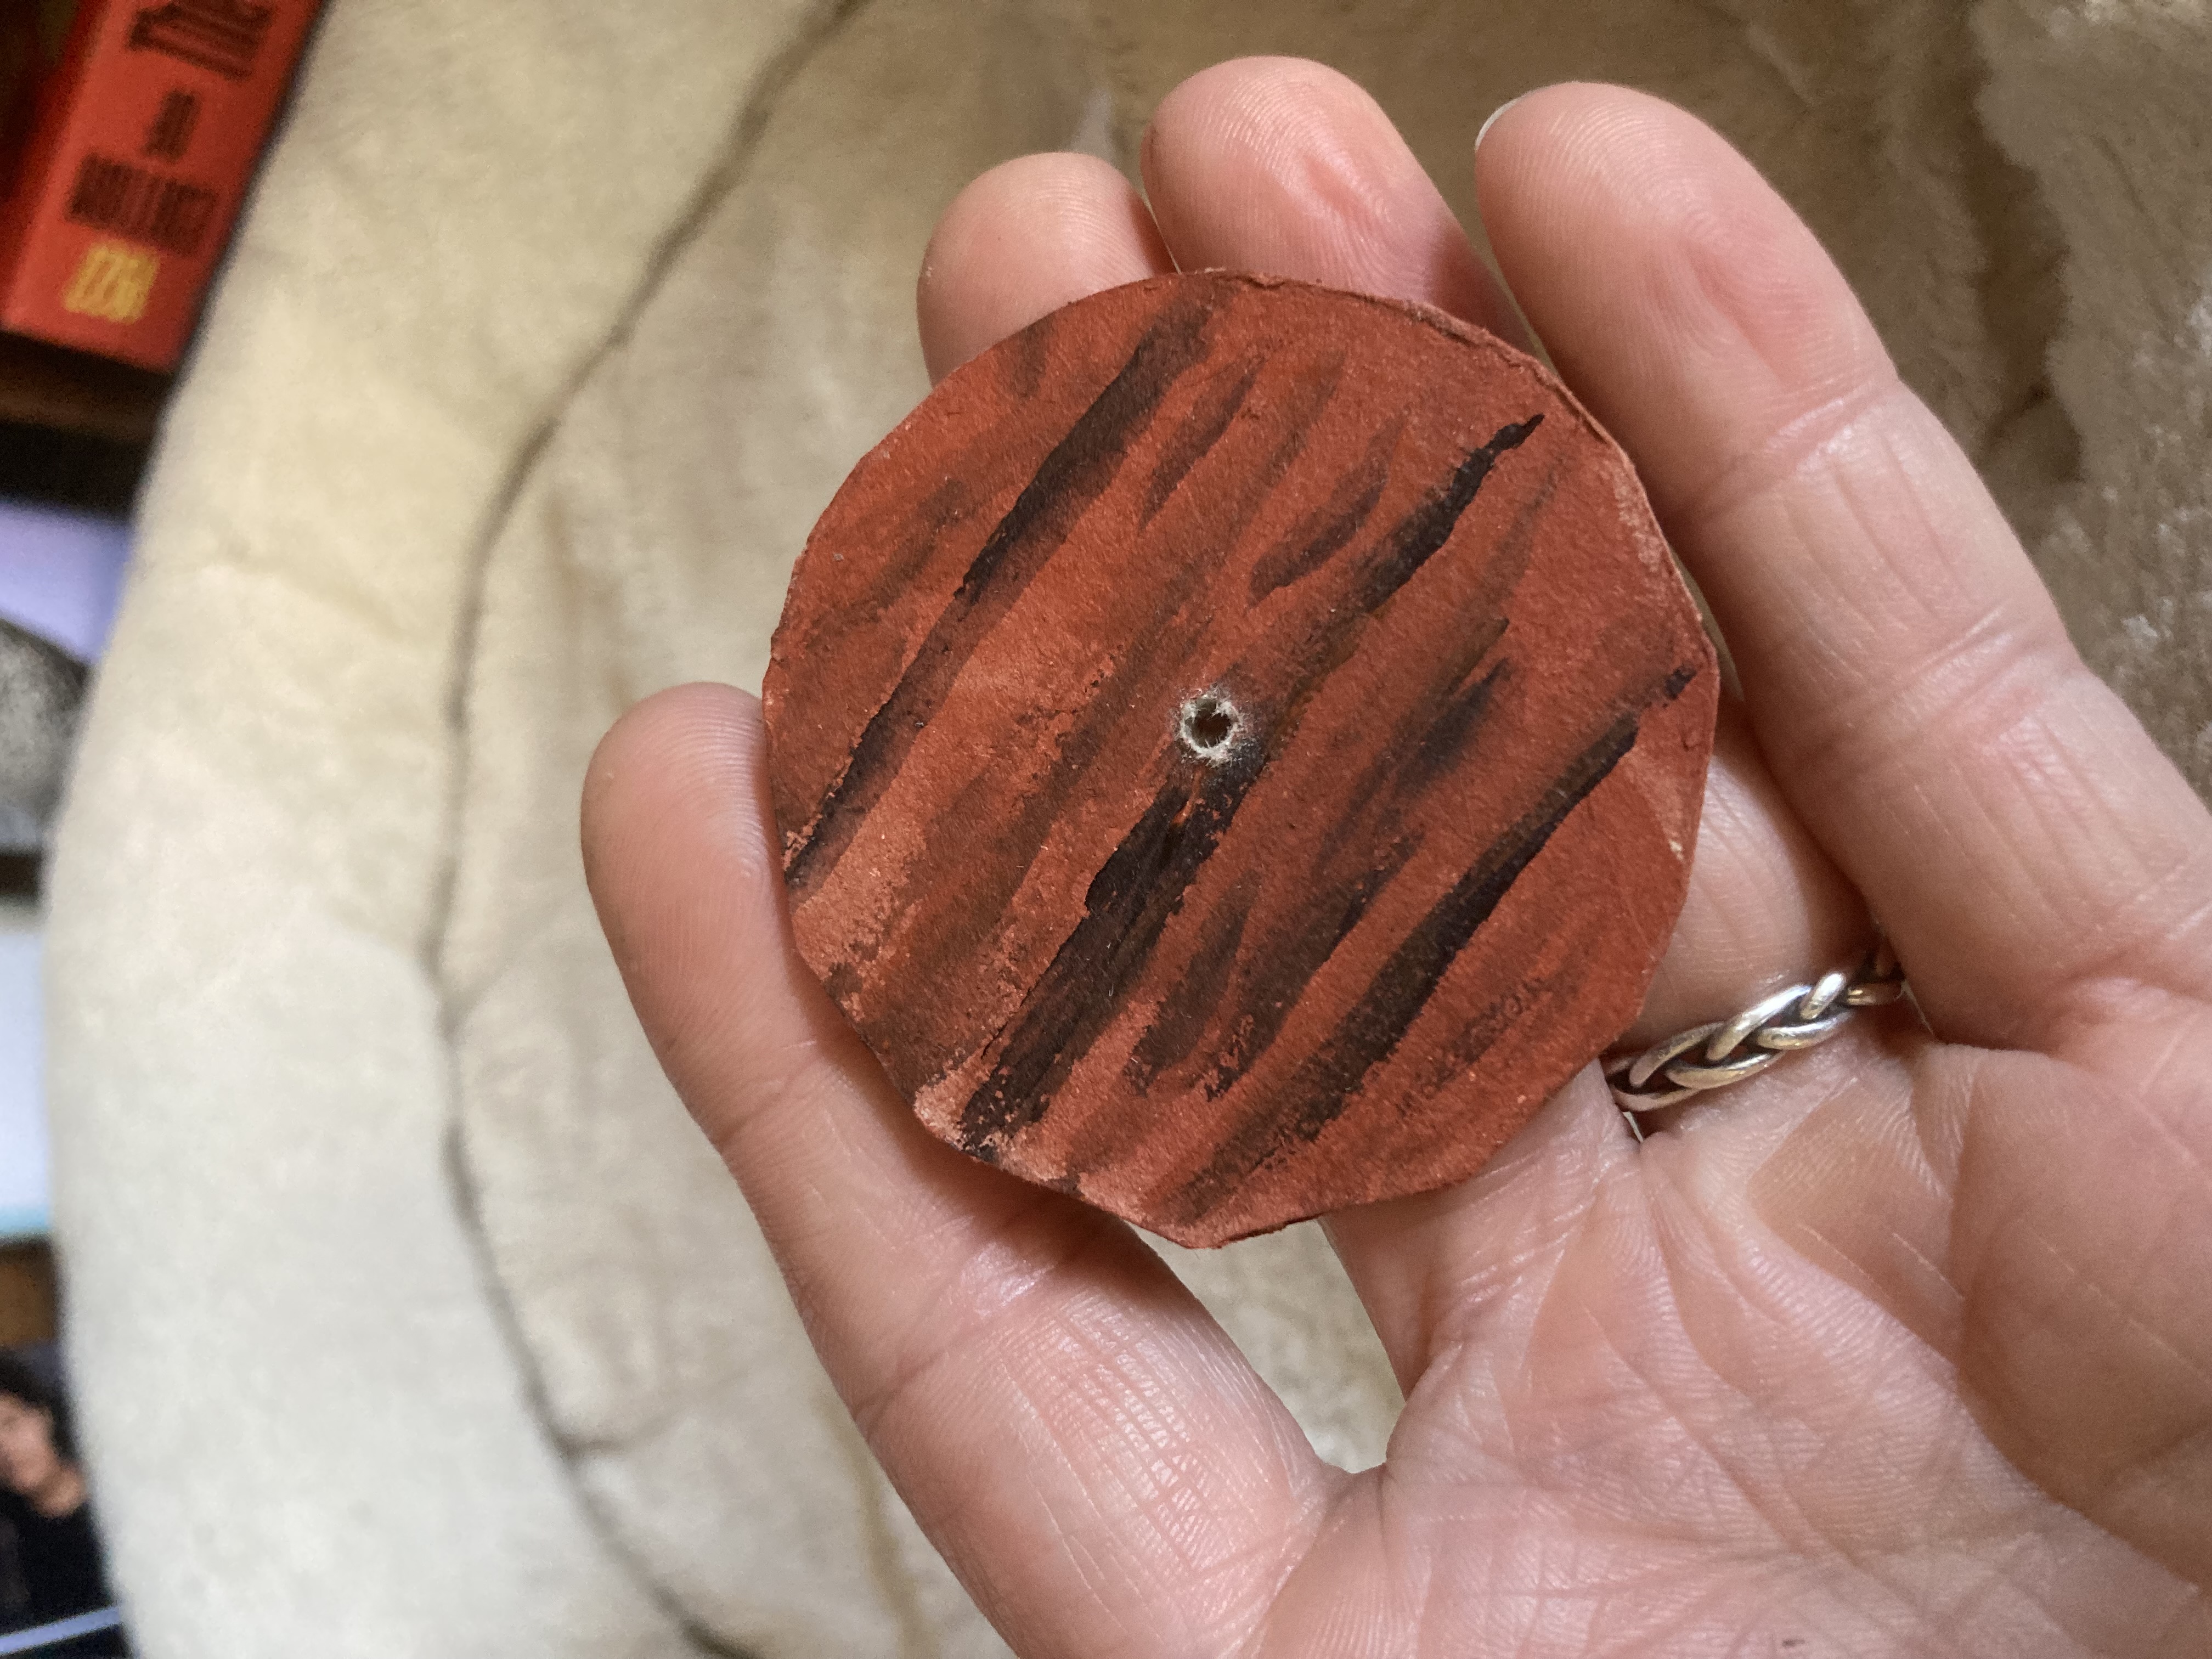
I happened to have some very thick cardboard material left over from something, and decided it would make a nice sturdy lid. I cut out the shape I needed and then trimmed it to fit easily inside the top of the barrel, but not past the inner lip I had created with the string.

Finished barrel.

There are other possibilities–I could add a beer tap, or maybe a rack for the barrel to rest on. Thanks for looking! Feel free to comment or ask questions.

How to Paint a Plastic Dollhouse to look Haunted

Plastic Victorian dollhouse from Goodwill.

For my first dollhouse project, I found this plastic dollhouse at the local Goodwill store. I like the Victorian style and thought it might make a nice haunted mansion for Halloween.

First off, I peeled off all of the stickers. Then I chose a paint that would work for a good base coat. I chose Rust-Oleum’s 2x ultra matte, in a dark gray. Their 2x paints are formatted to bond to plastics, as well as many other materials. I followed the instructions on the can.

Rust-Oleum’s 2x paints will bond with plastic and many other materials. I chose a nice dark gray.

I put on a good base coat.

First coat in progress. The matte paint will lose its gloss as it dries.
Looking a little spooky already!

Next, after the paint has dried overnight, I dug into my acrylics. I chose a mixture of Cerulean blue and Mars Black for the shingles. I eventually switched to Payne’s Gray instead of the black. I used the black (or payne’s gray, which is a very dark gray) in a more watery mixture to paint in the cracks of the shingles. Then I used the cerulean blue on a drier brush to brush over the raised portions, in a way that left the dark areas in the cracks undisturbed. This layering made the shingles stand out more.

A mixture of Cerulean Blue and Payne’s Gray (and some black) was brushed on the shingles to bring out more of the texture.

Next, I took a mixture of Deep Magenta and Payne’s gray to work on the siding.

Deep Magenta and Payne’s Gray were used for the siding.

I brushed them on much like I did with the shingles, using a more watery brush for the payne’s gray on the siding first, to fill in the cracks, then going over it again with the magenta, using a drier brush so it wouldn’t reach into the cracks.

The siding is very dark, with hints of magenta, to give it a weathered appearance.
I added a little dark green to the bushes and a few of the shingles, to make it appear mossy. I also added a little cerulean blue to the flowers on the side of the house. Any colors you want will do, but to keep the appearance haunted-ish, I would recommend keeping the colors muted with dark gray or black.

I’m rather pleased with the results thus far. I will probably get some sort of clear coat to spray over the paint when I am finished with it, to protect against scratches. I will post more on this project as I go! Enjoy!