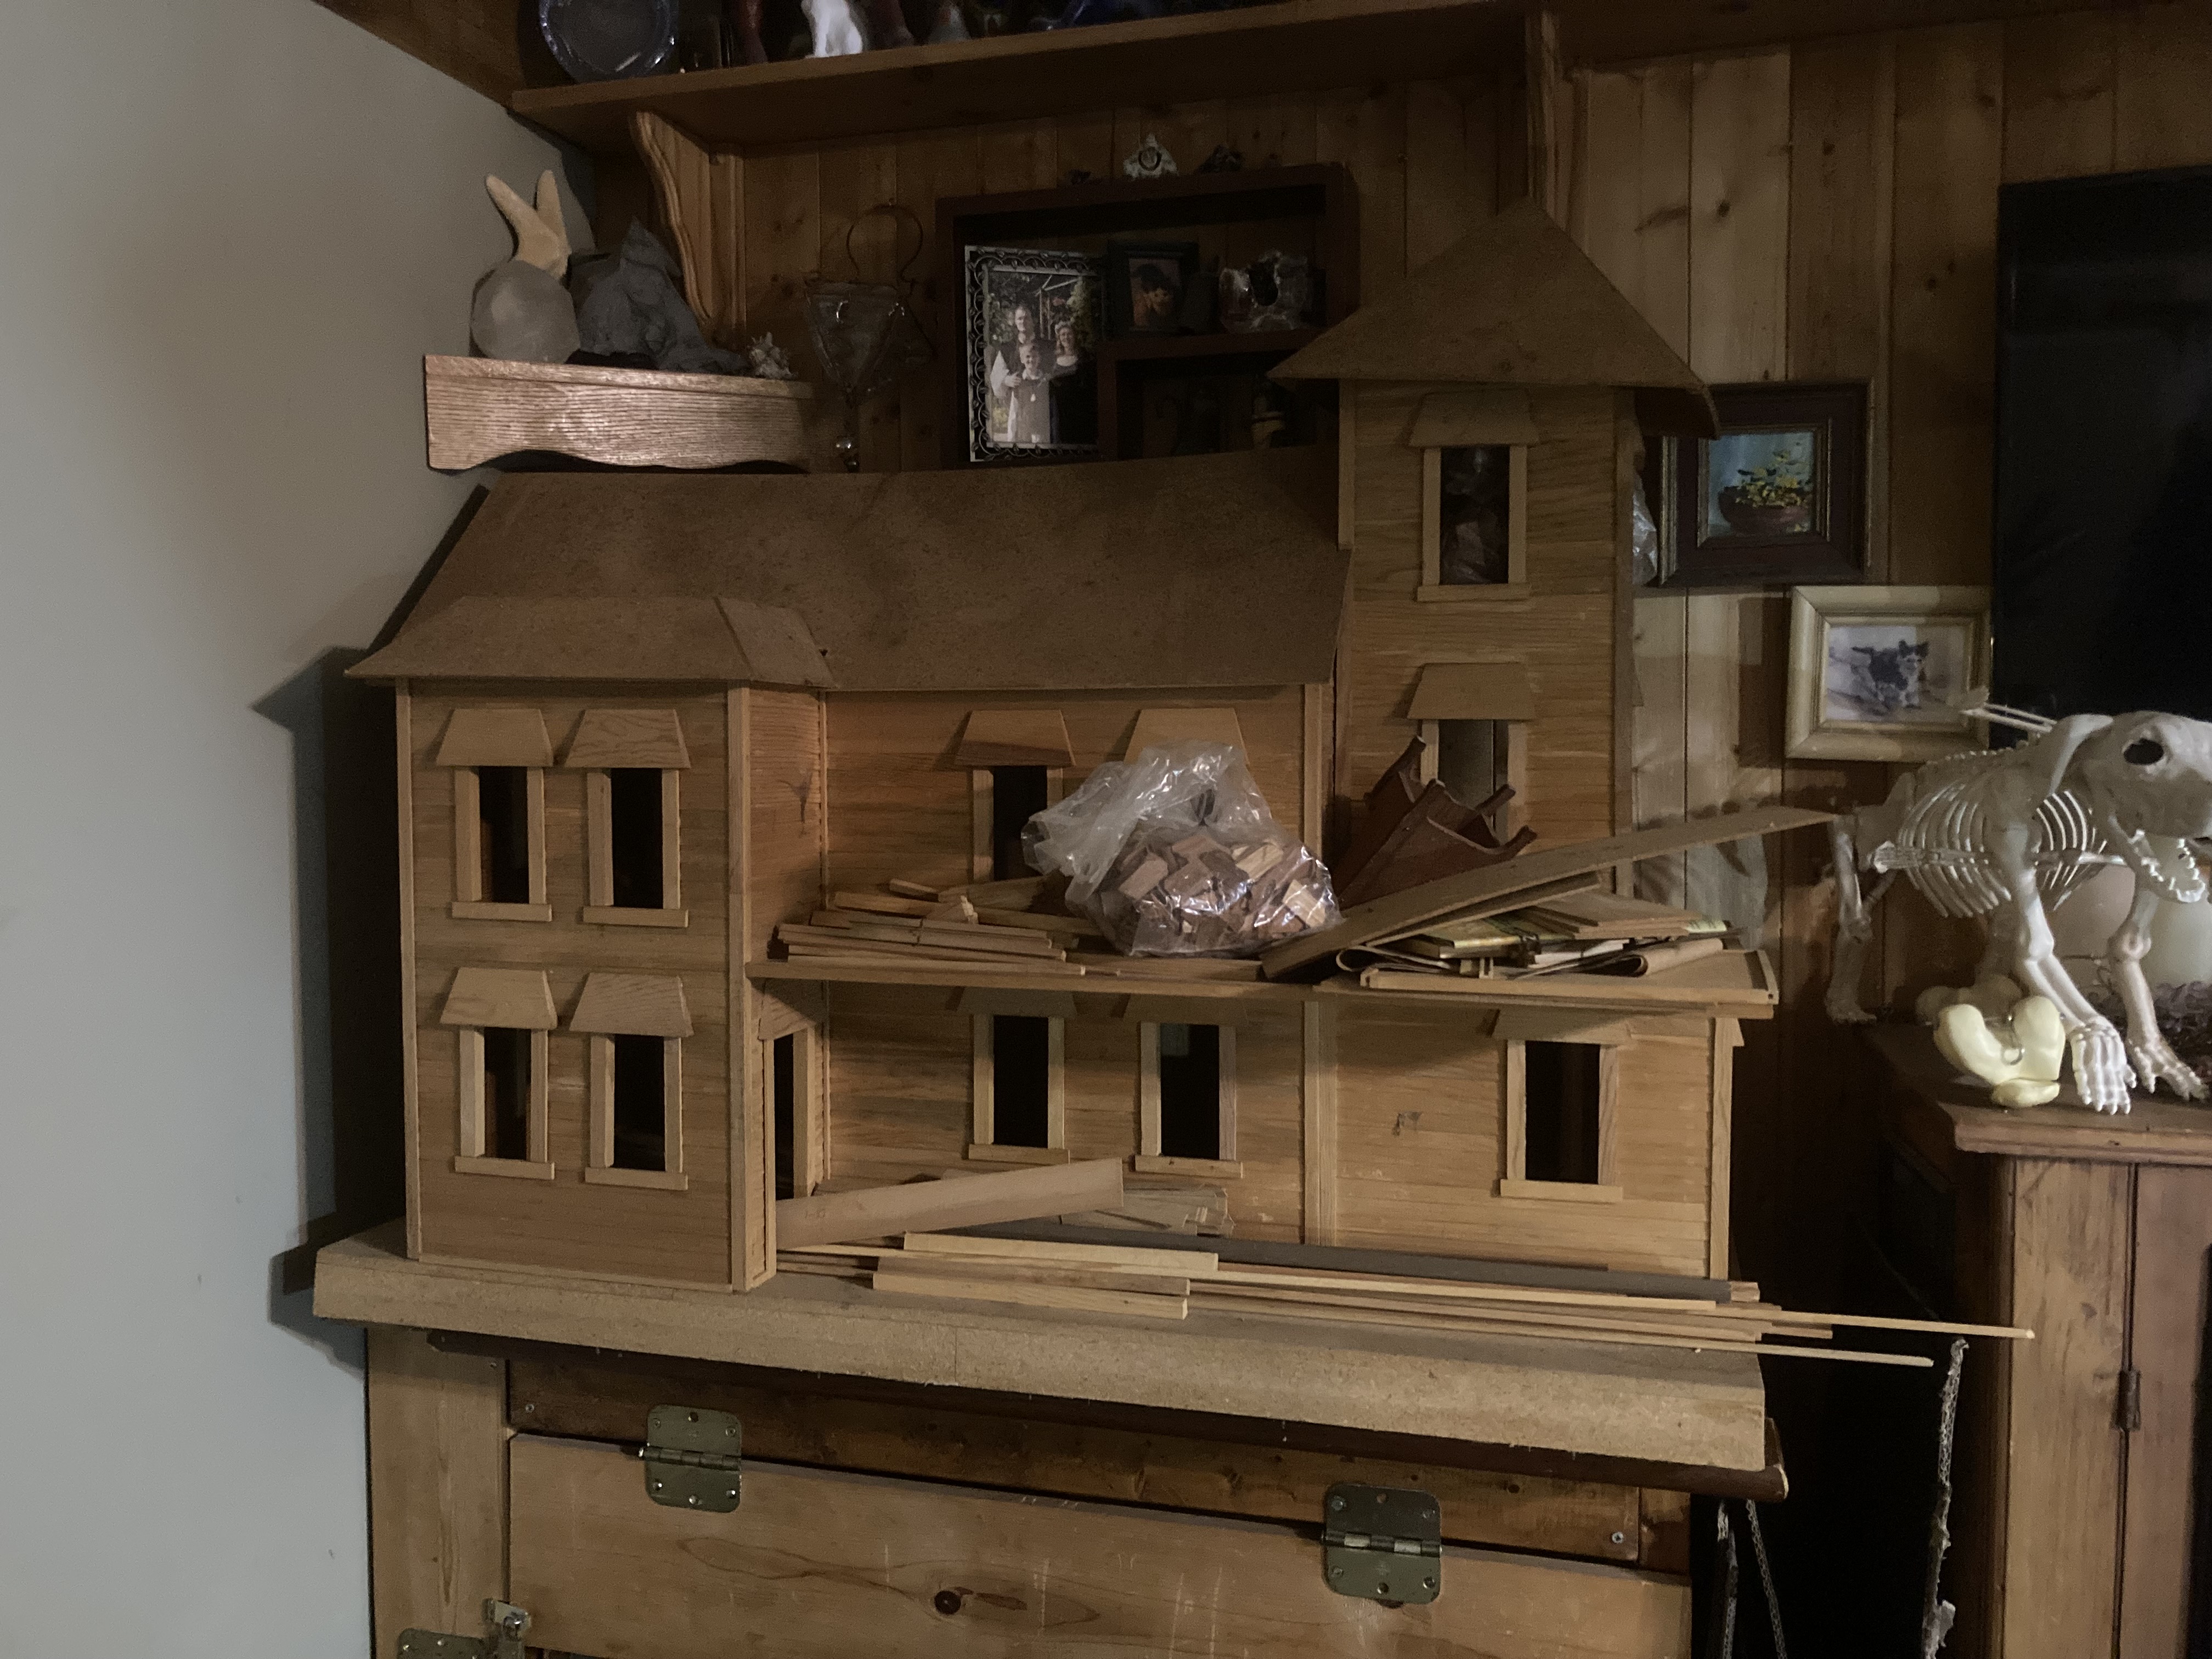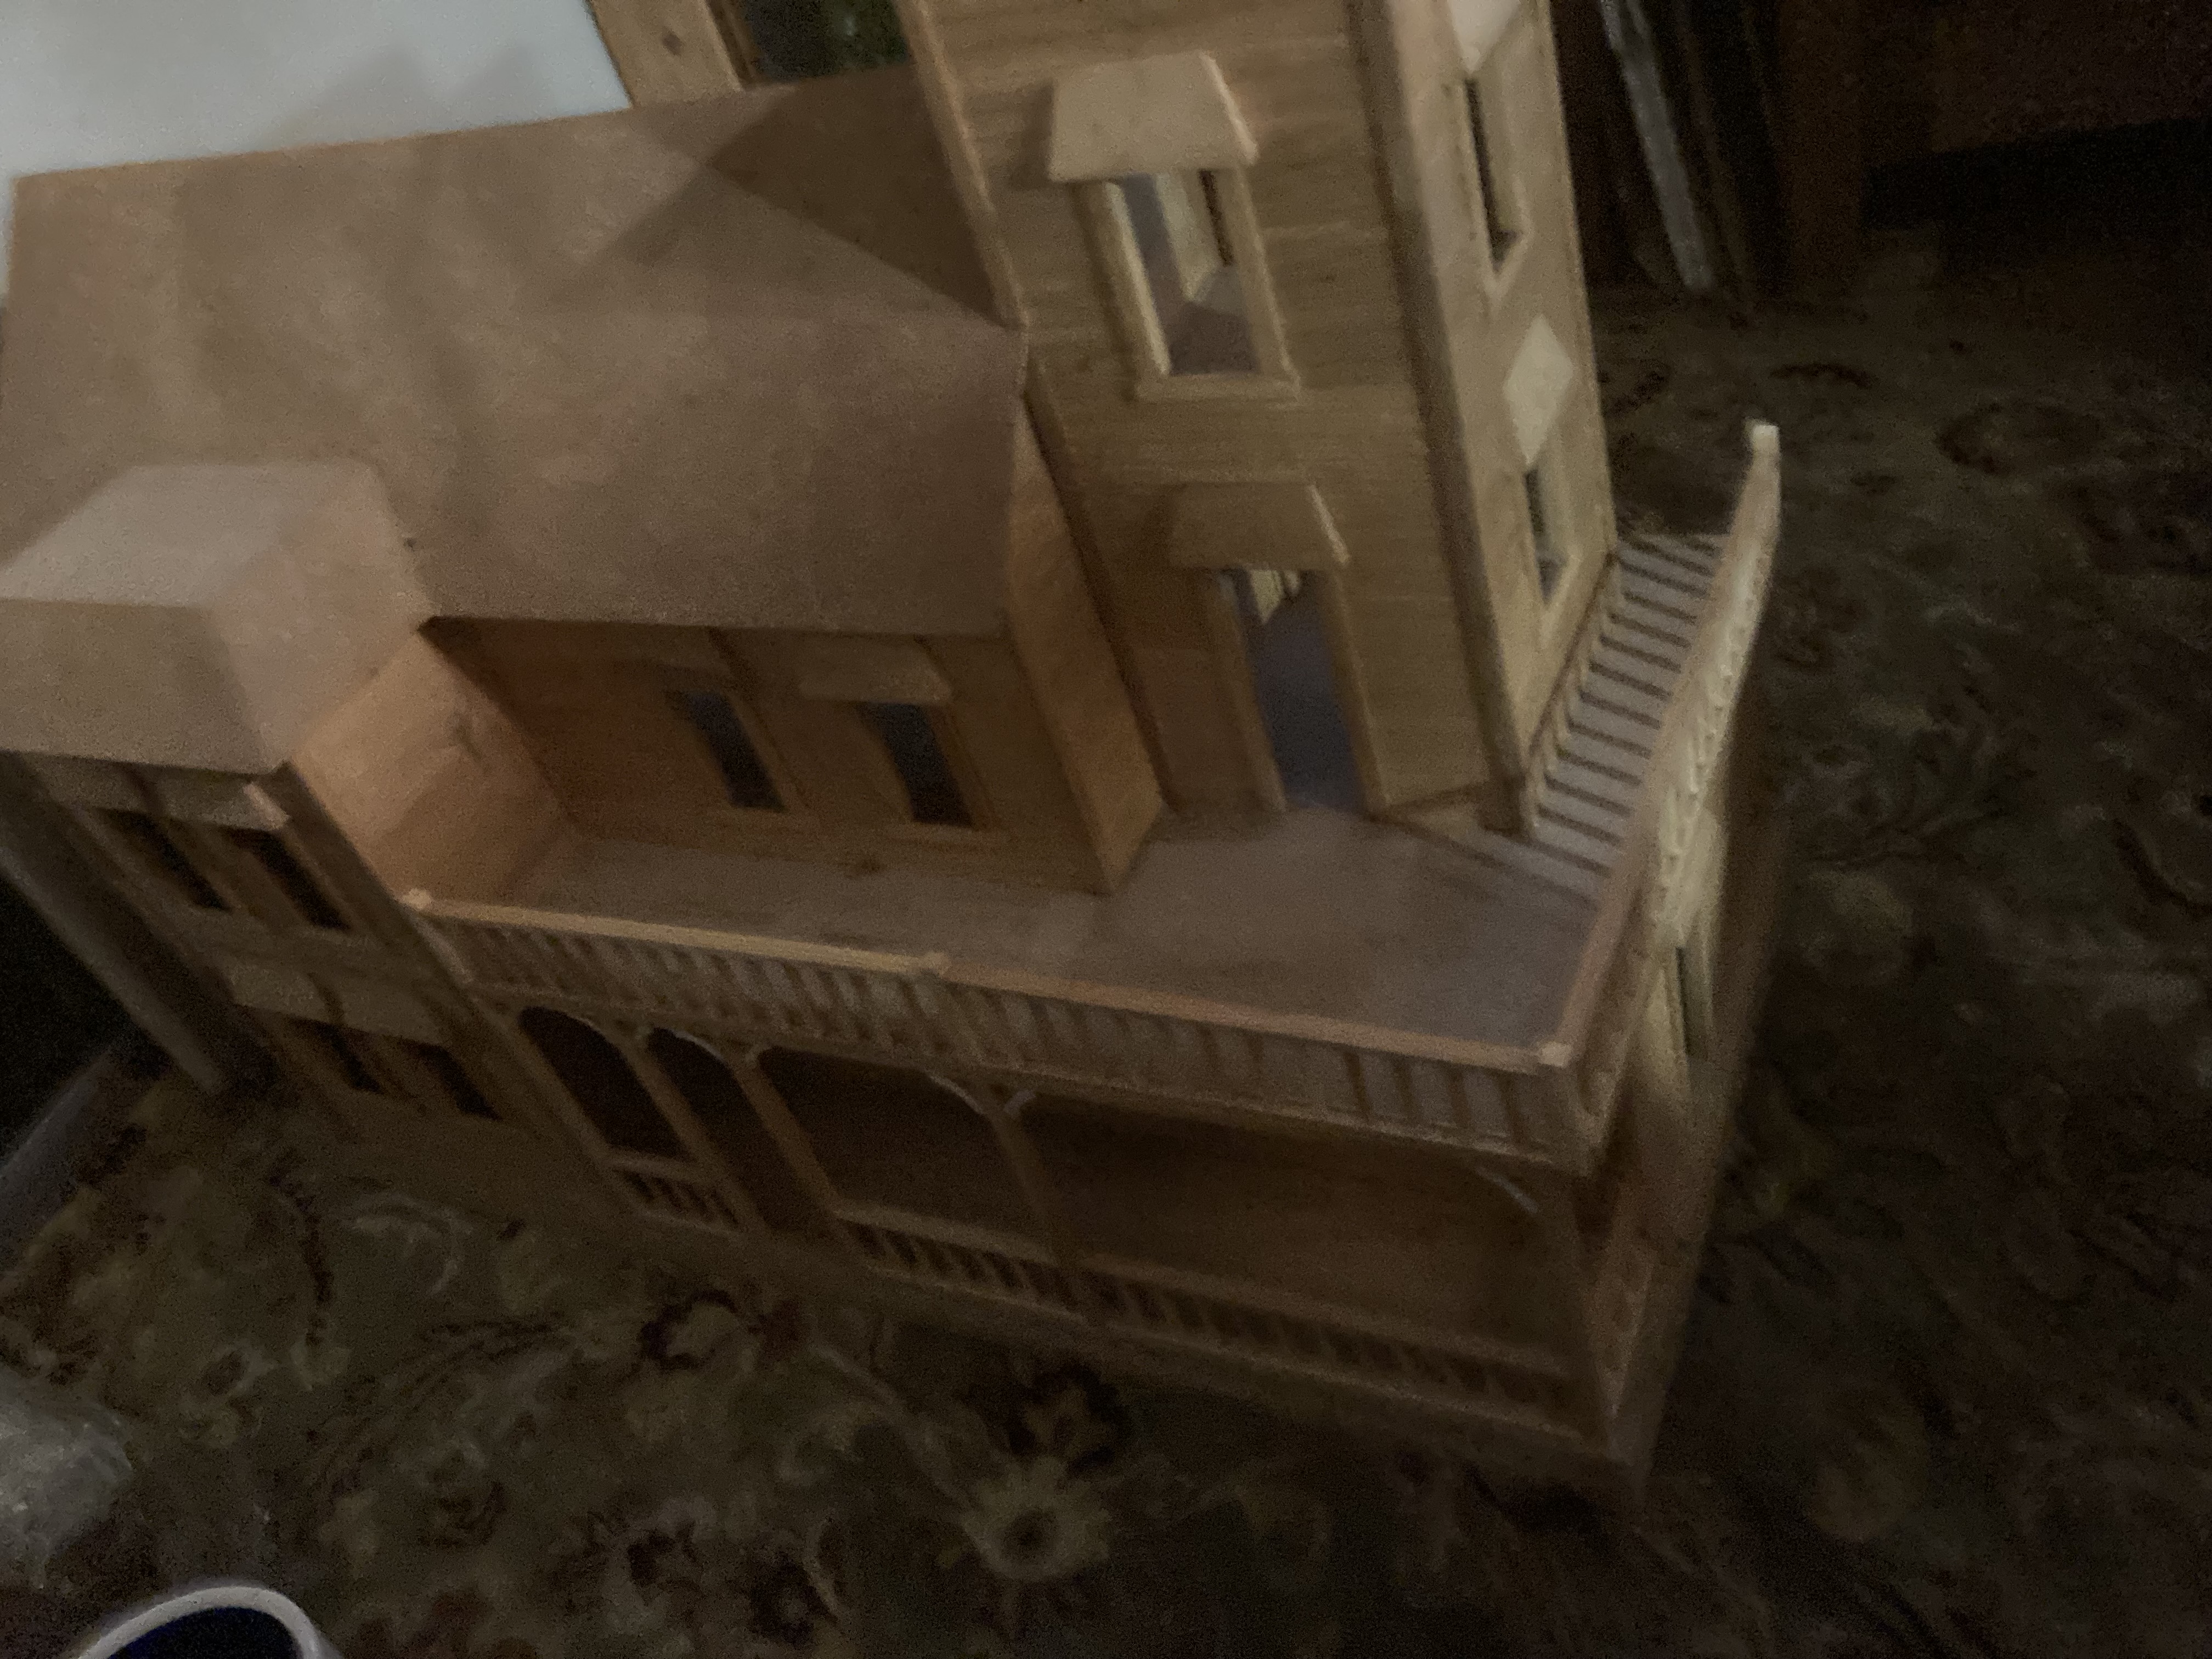
Immediately after I brought it home.
This house was an unfinished kit that I bought on Facebook Marketplace. It still had the instruction manual, plus an old sales catalog from Frank’s Nursery dated 1982, with this kit circled. I am guessing that was when it was purchased, and it had never been finished. It has a lot of dust on it.
Something about this dollhouse makes me think of a large saloon and brothel in an old west town. We just finished watching the old ‘Deadwood’ series (HBO) and I can’t help envisioning Al sitting on the upper porch drinking his coffee. When I found this house available within easy driving distance, at an affordable price, especially in its unpainted state, I dove for it!

The first thing I did was finish the porch railings. The kit hadn’t been completed, and fortunately they included the instructions and the unfinished parts. It was easy to follow the instructions and install the porch rails.
Once the railing was installed, I turned the house around to focus on the inside. None of the inside walls had been installed, so the inside was a blank slate, which is great for me and my saloon intentions. However, without the support of the inside walls, the floors had sagged with time. I think someone probably used it like a shelf, which would have added to the problem. I decided that it needed some support, but I didn’t want any extra walls to break up that glorious open space on the bottom floor, so what to do?

I bought some fancy decorative wooden trim from Menards and glued it along the front edges of the floors, where it sagged the most. I clamped it until the glue was dry. I used pieces of wood to brace it up as it dried to it wouldn’t sag anymore. This would work temporarily, but I knew that it would be weak over time if it didn’t have some better support. Before I could add any extra support, however, I would need to get the floors done on the bottom floor.


The kit came with flooring strips (YAY) so I worked at cutting and gluing them down. I kept the lengths staggered so there is no pattern to the wood that would draw the eye, just like a real wood floor. The pieces were so thin that the wood glue I used made them curl up in some areas. I weighed them down with heavy glass cup holders until they were dry.

Next I need a bar.


This is where I’m at right now. I plan to get more dolls. I want some bored dancing girls, some patrons playing cards, rooms upstairs, and a storage room behind the bar. Stay tuned!
