
I decided this year to make some gravestones that we will set out in our yard for trick or treaters. I wanted something easy and inexpensive that I could do with my child.
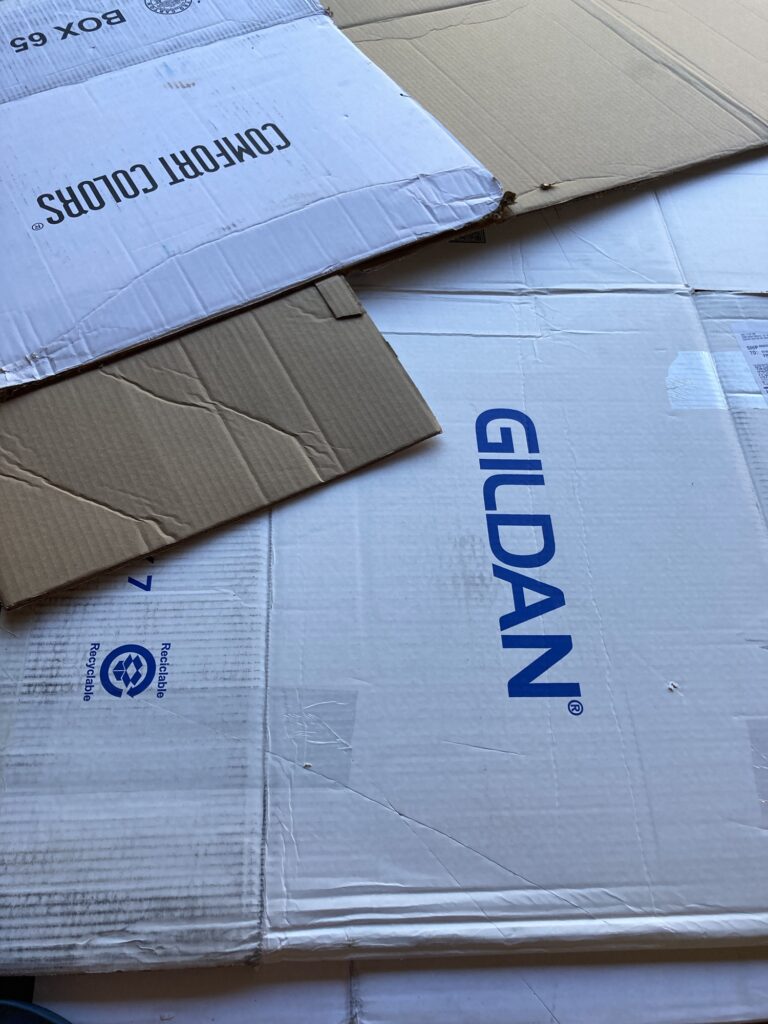
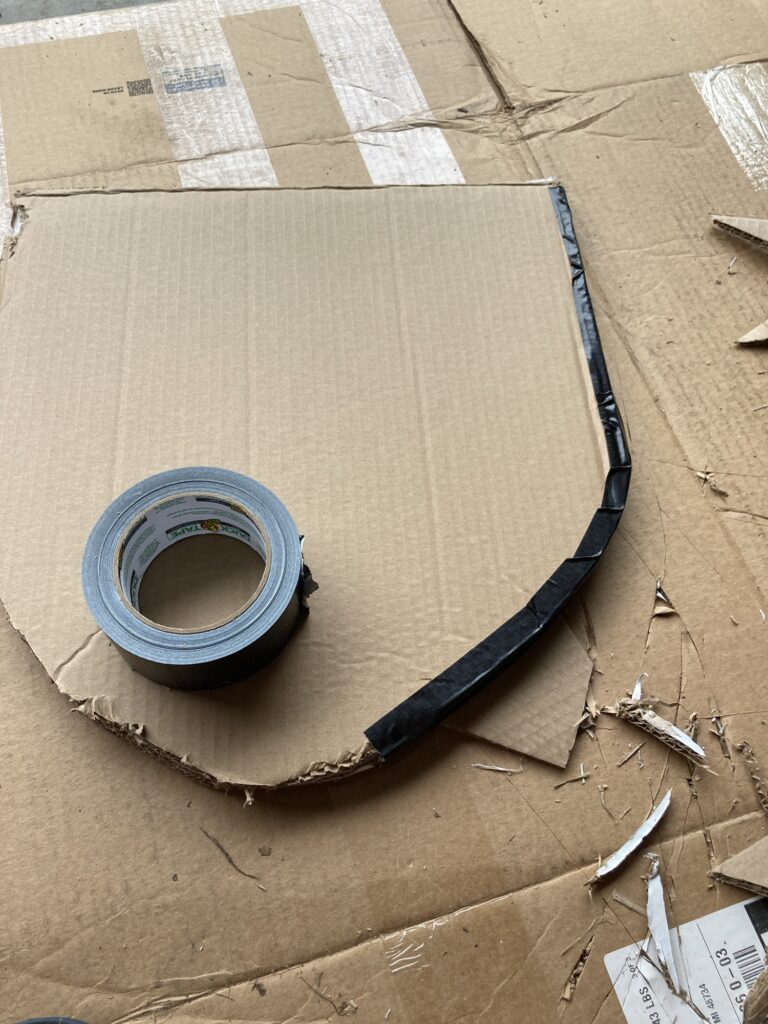
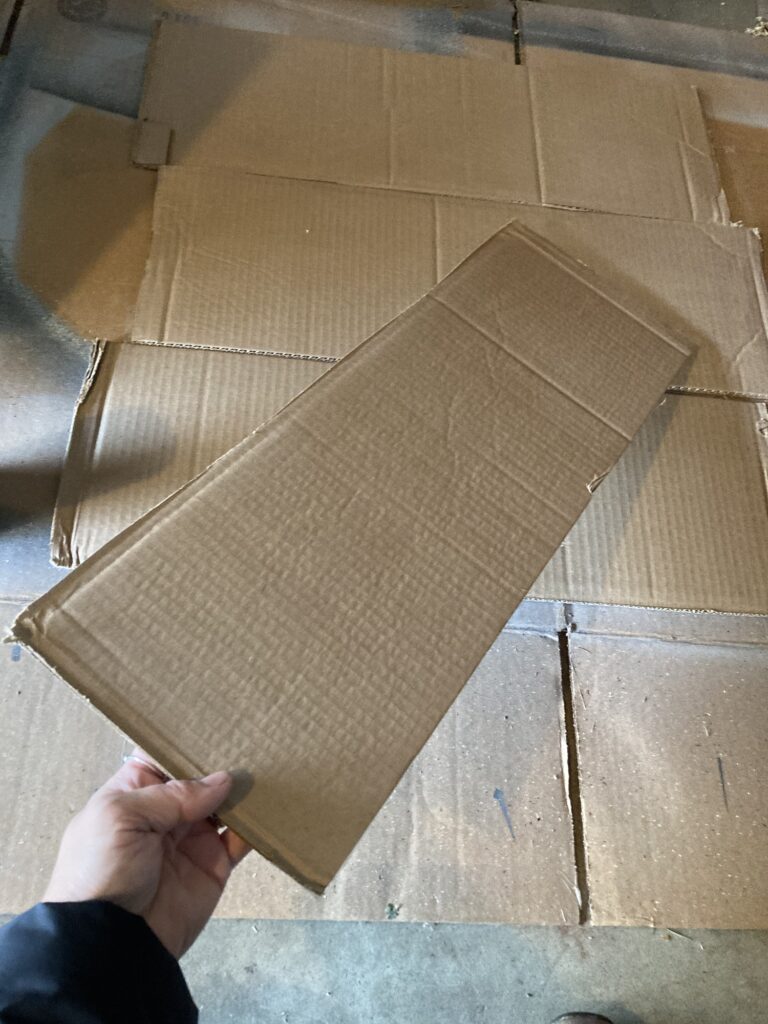
We started out with big pieces of cardboard cut from old boxes.
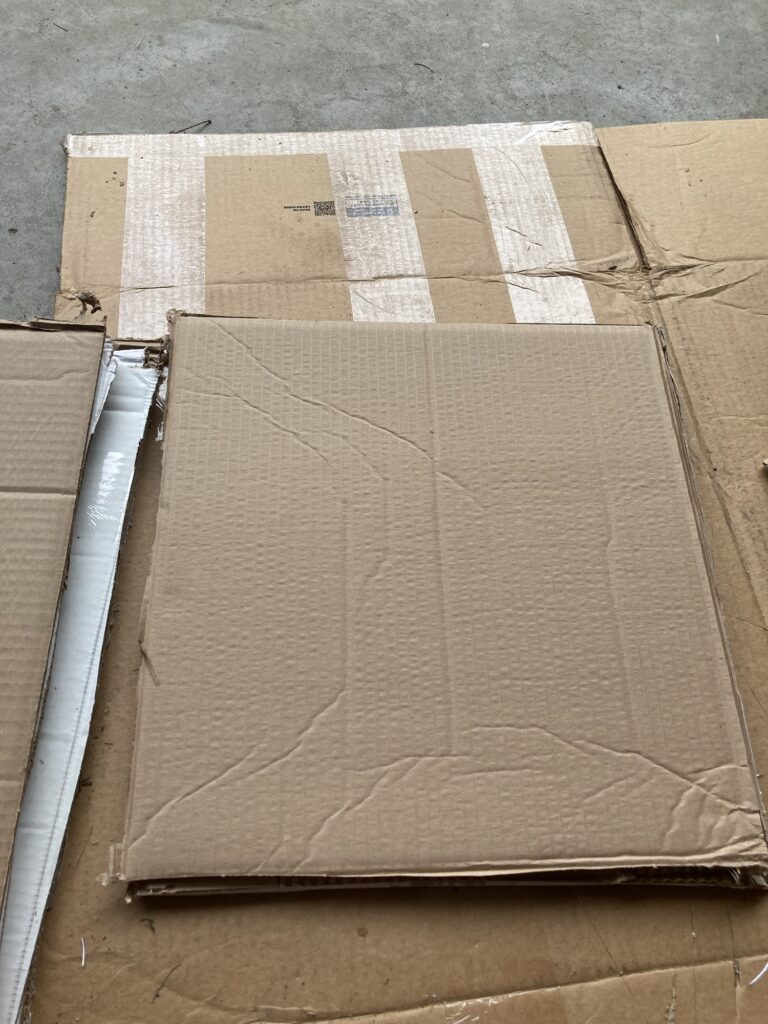
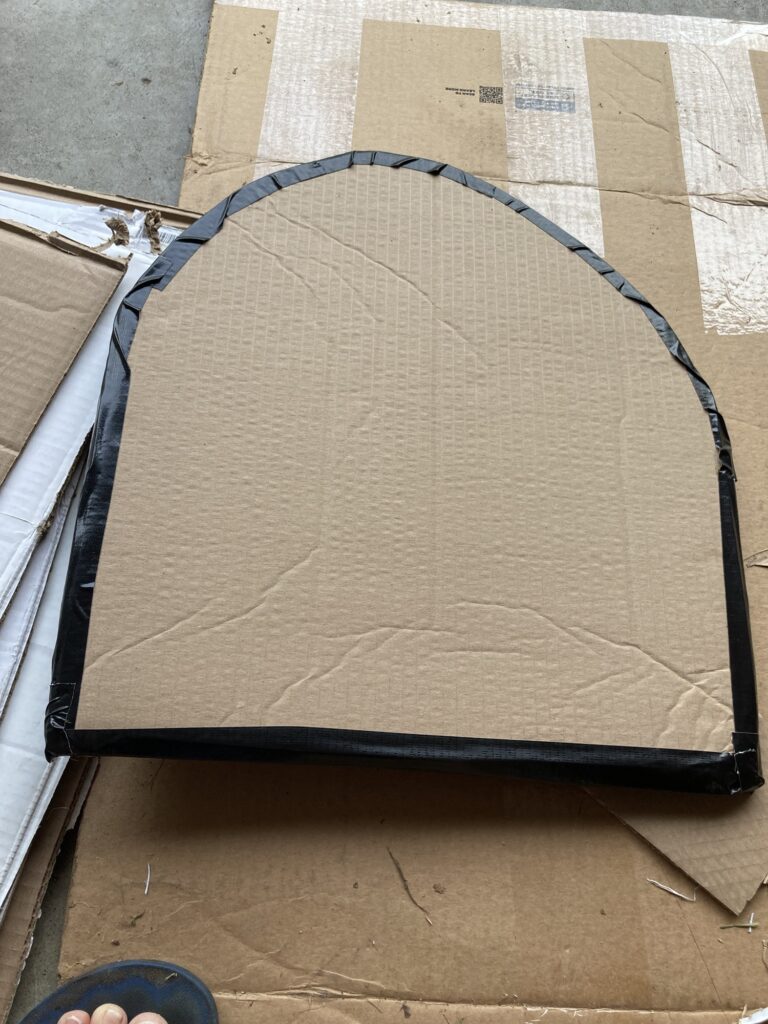
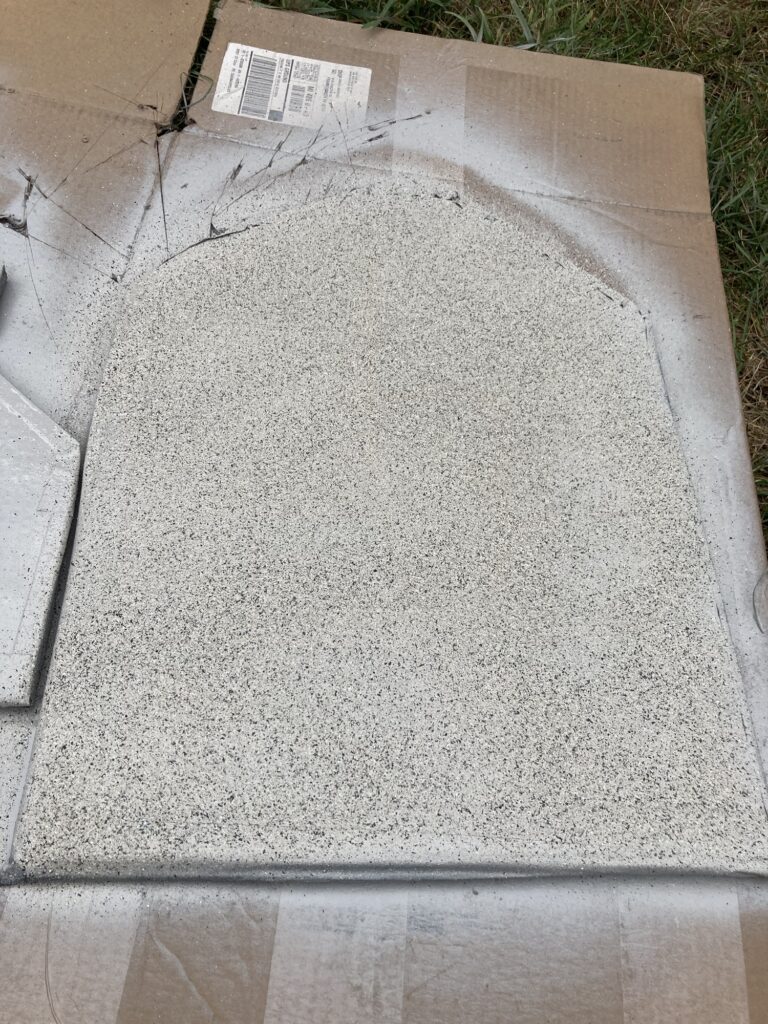
I cut out the shapes I wanted with a box cutter, cutting 3 duplicate pieces per headstone, so I can make them thicker.
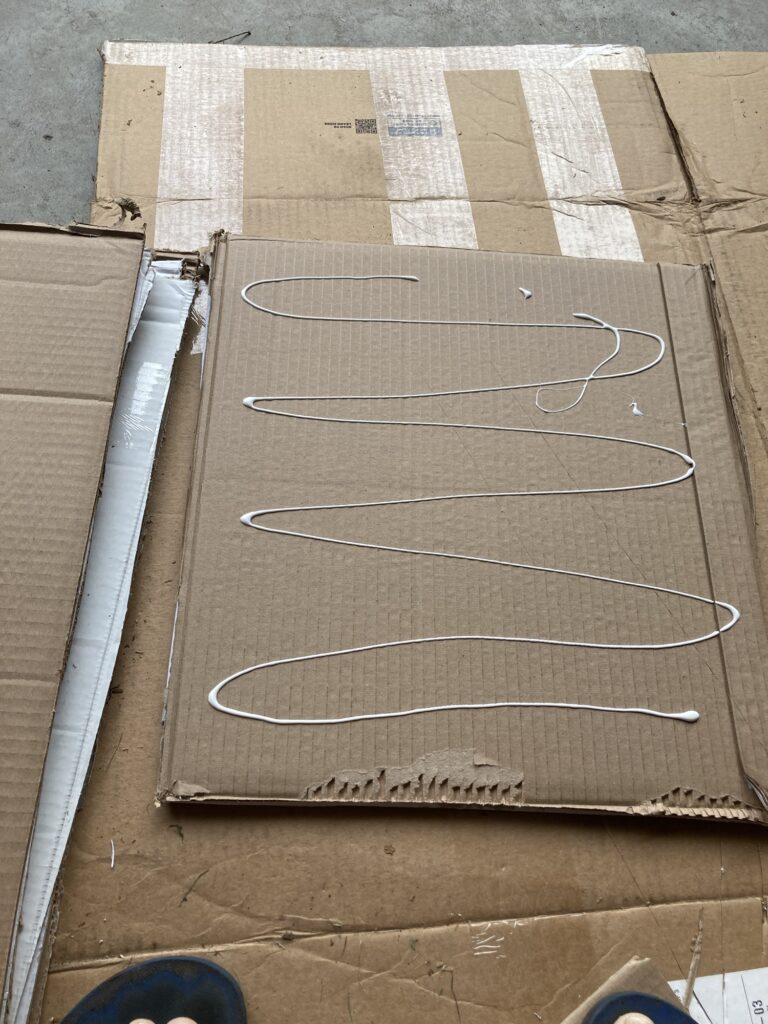
Next i glued the 3 pieces together. Then I used duct tape to seal off the edges of each stone, as I would like for them to last a while without falling apart or getting bugs inside.
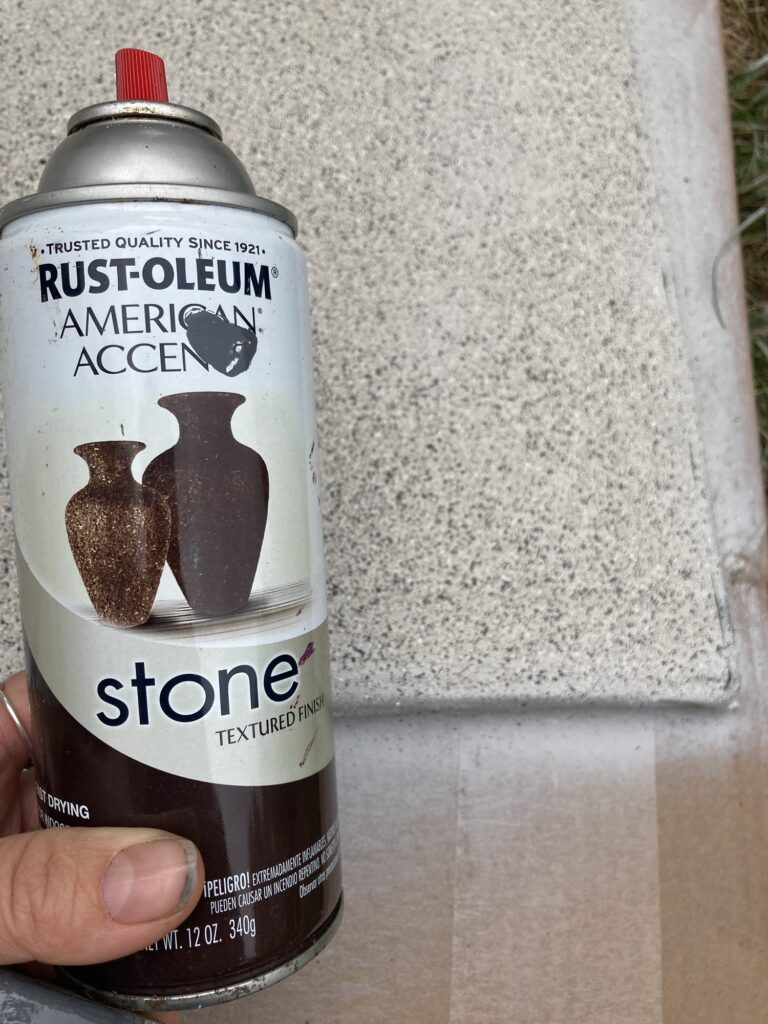
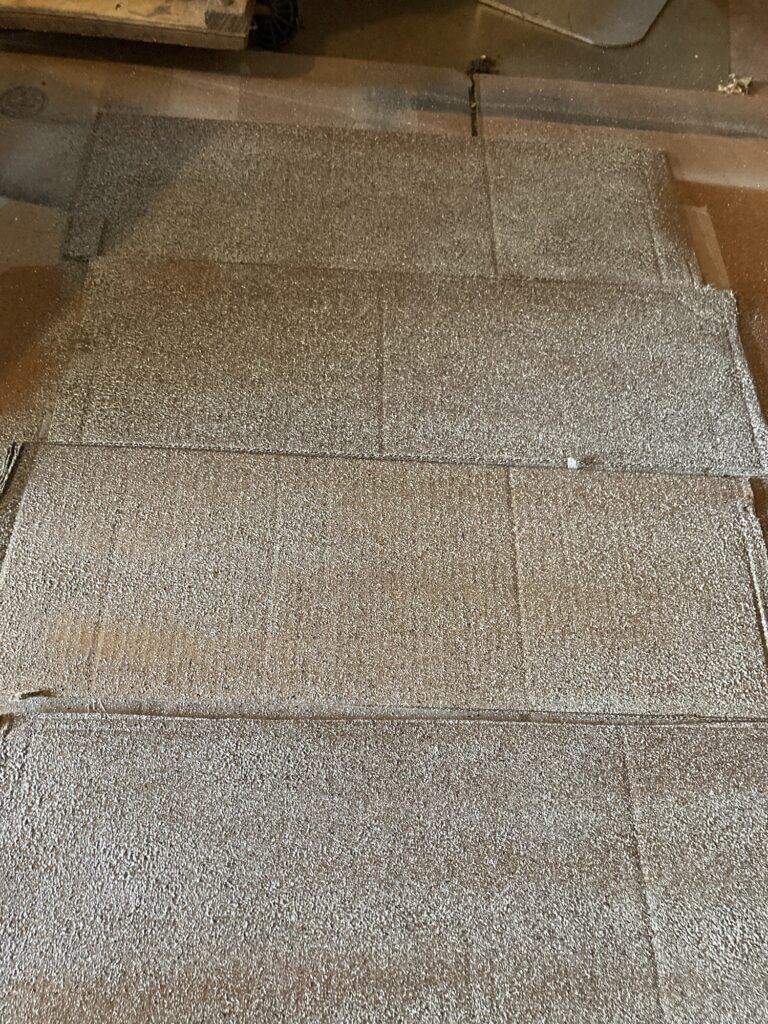
After all of my stones are prepared, I need to paint them. I used Rustleum paints.

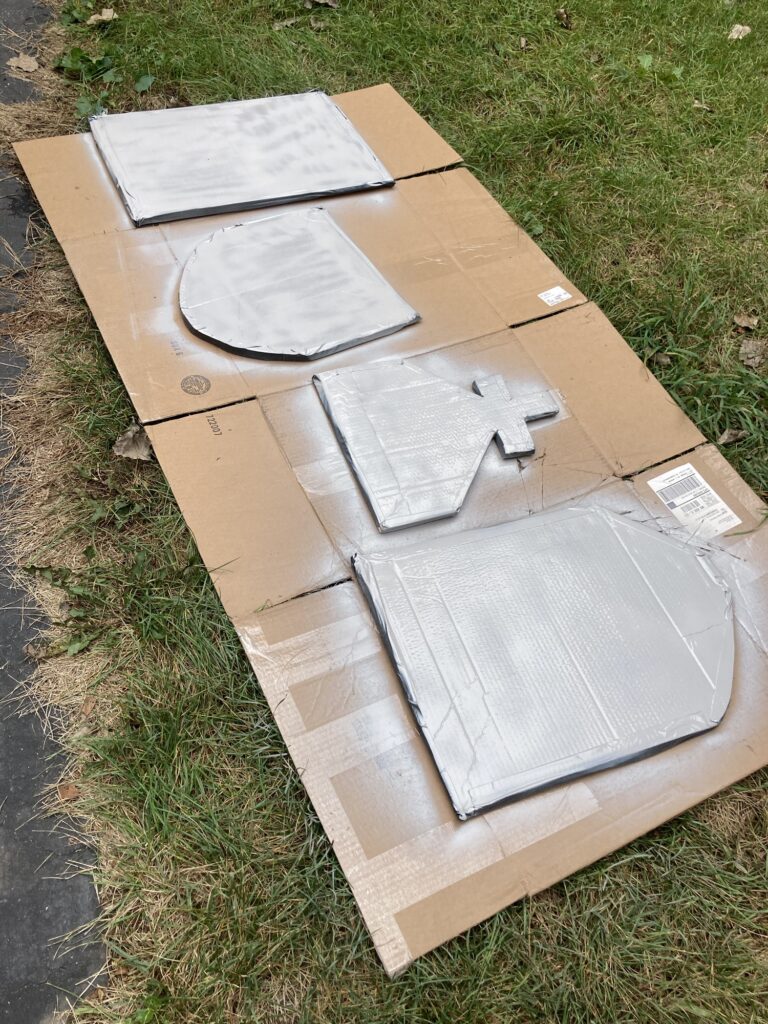
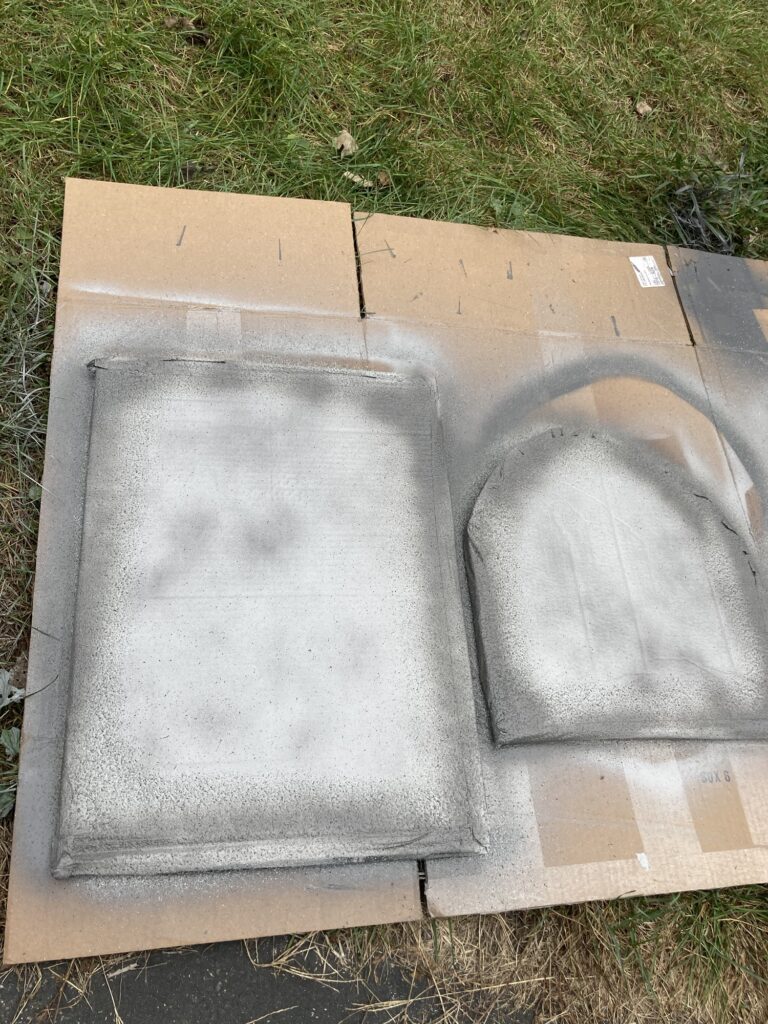
Next I used a stone texture paint.
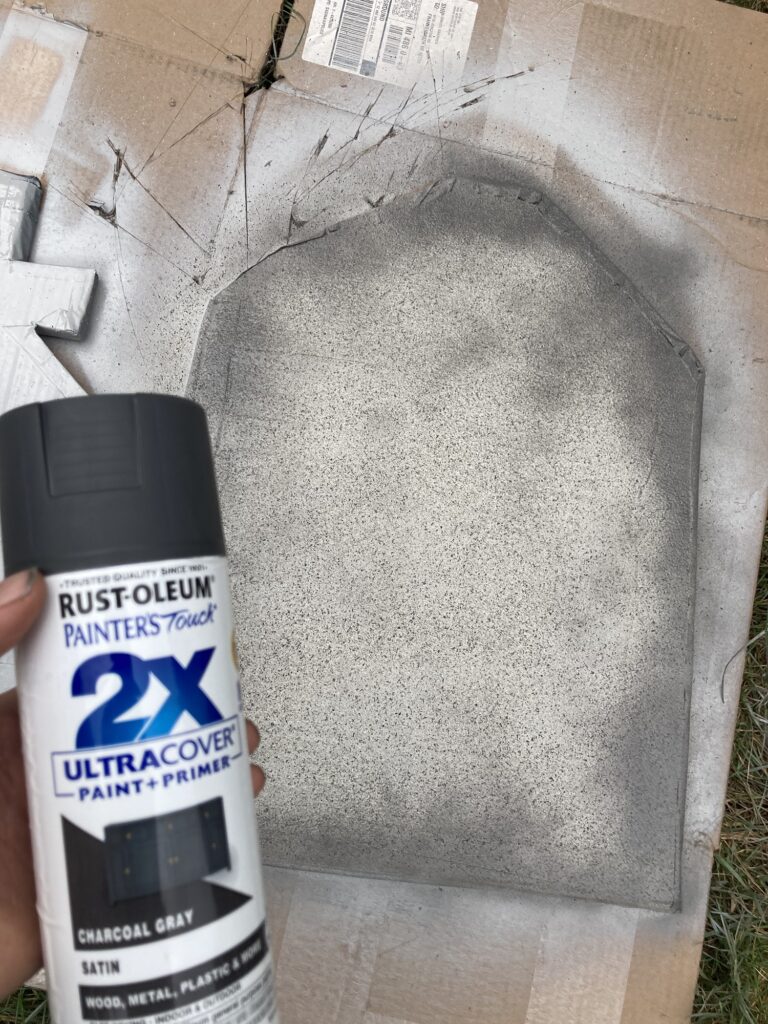
I added a darker gray to the edges of the back so it looks more spooky and aged.
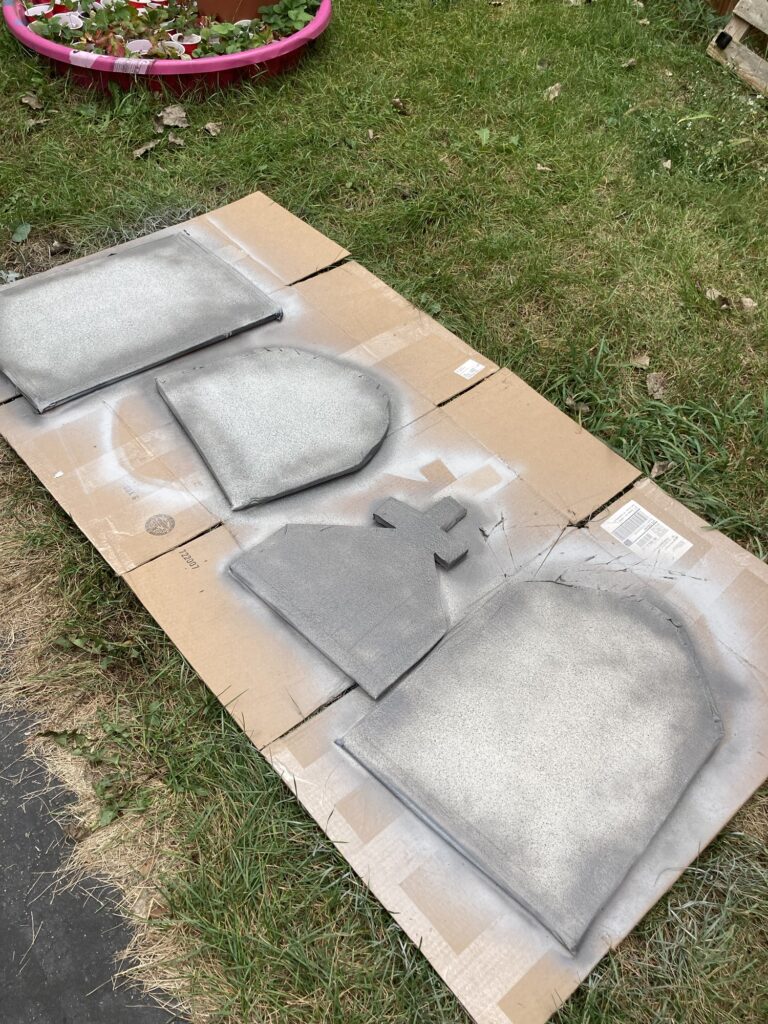
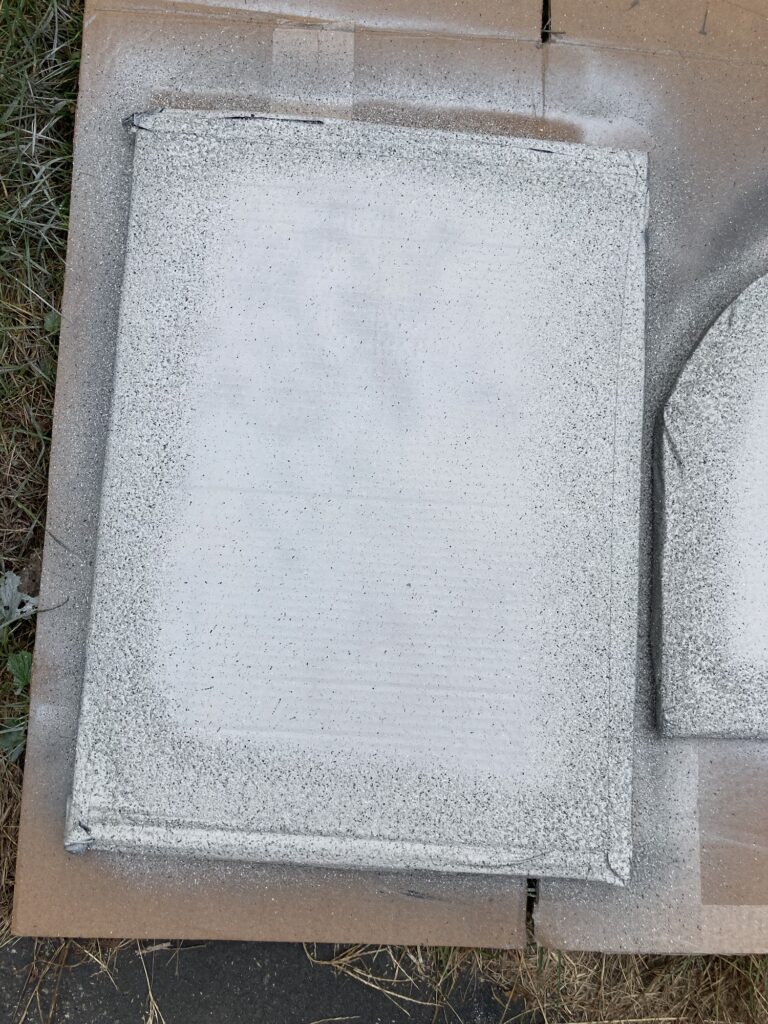
For the fronts I painted just the edges with textured paint so it is easier to write our words on.
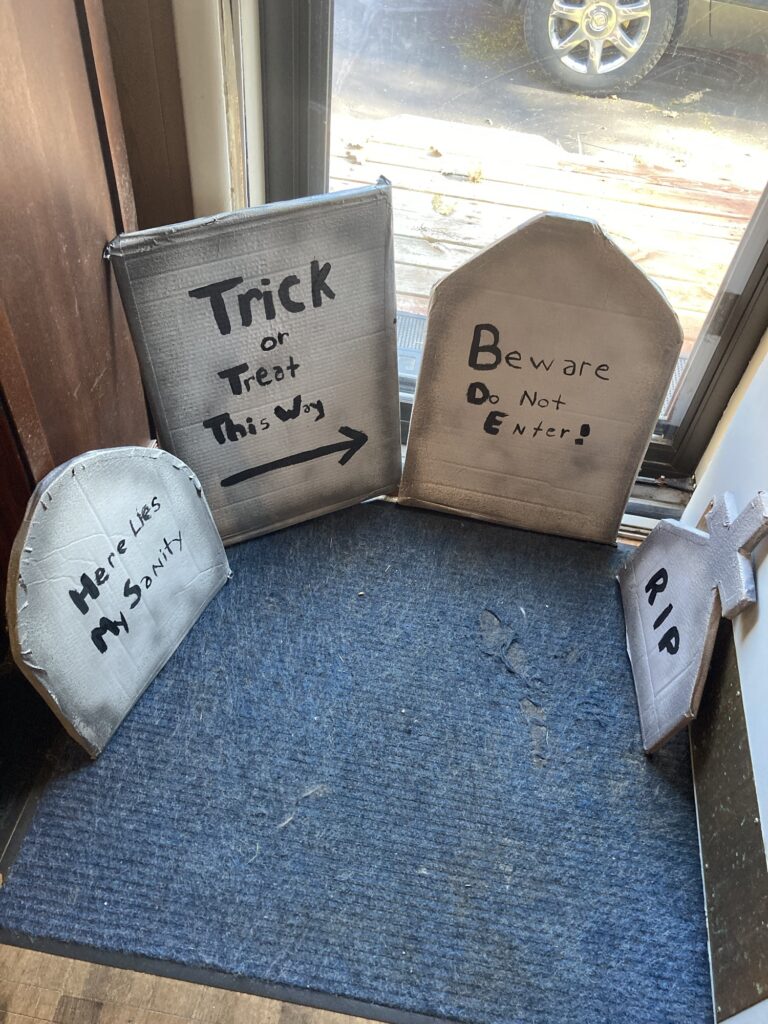
After the front is completely dry it is time to add words. I chose to let my child paint the words on as a fun project. I wrote the words and she painted over them.
In order to make these gravestones stand up, I decided to make a base for them.
I took the folded flaps of the boxes I cut up.
I gave them a quick coat of paint. You can be more elaborate if you want, but I just put some stone texture on them so they look a bit like dirt.
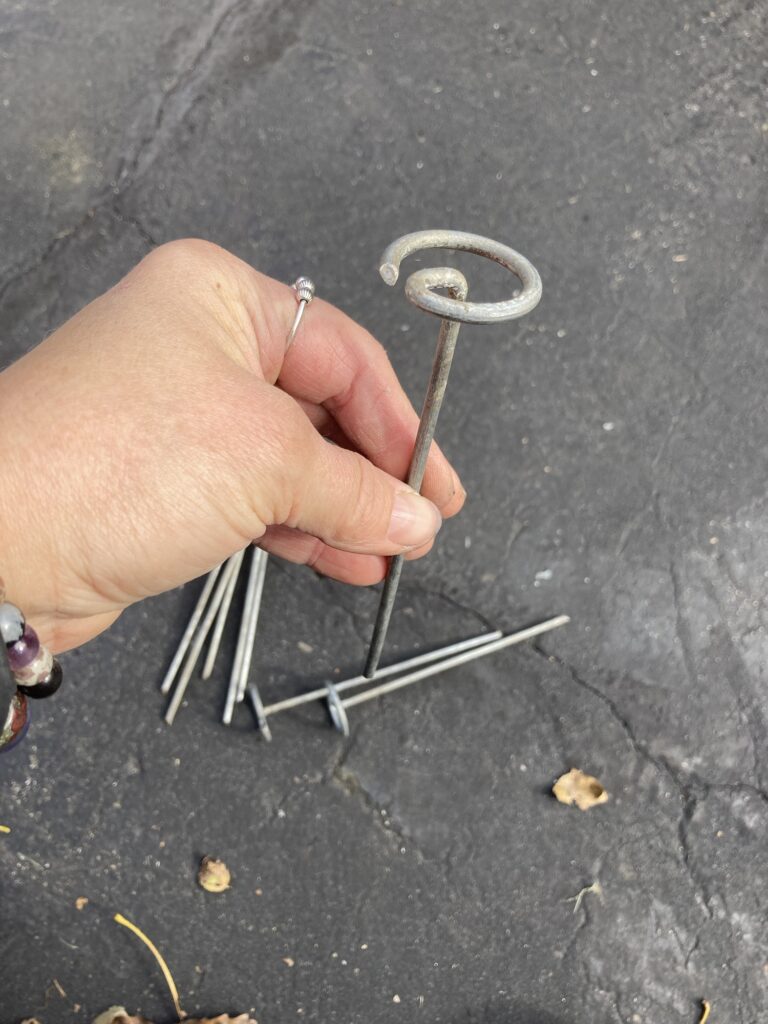
I found some landscape staples that I had for my garden. These are really nice staples but you could use any kind.
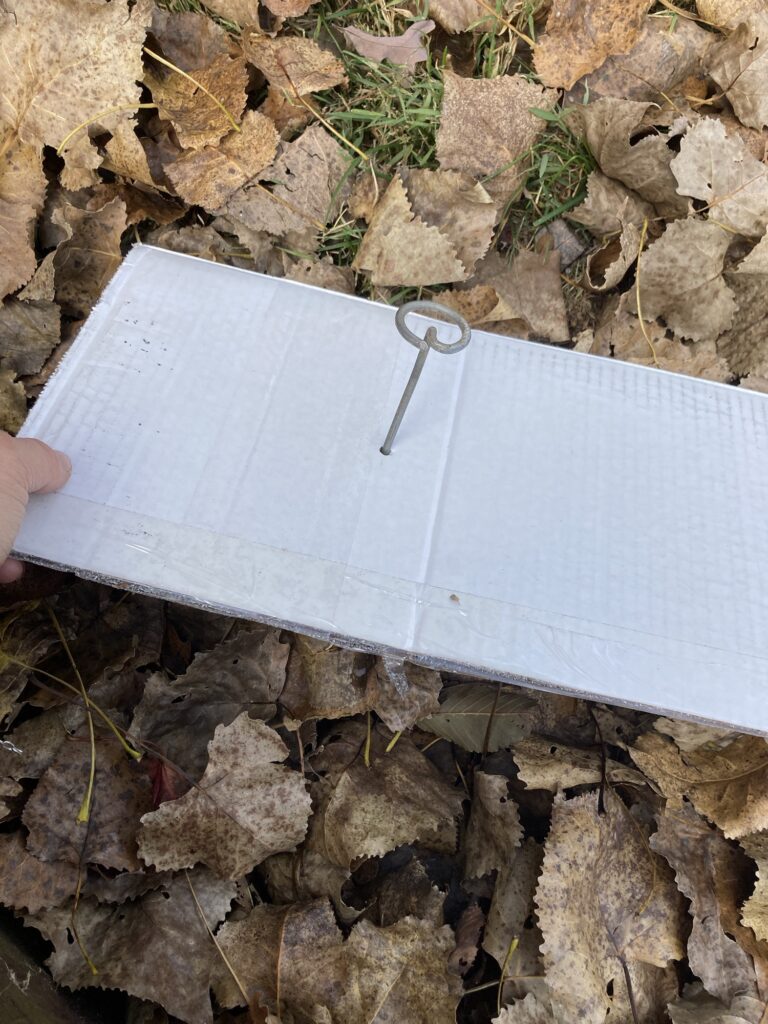
I inserted the staple into the UNDERSIDE of the base, so that the pointed part is going to be coming up on top.
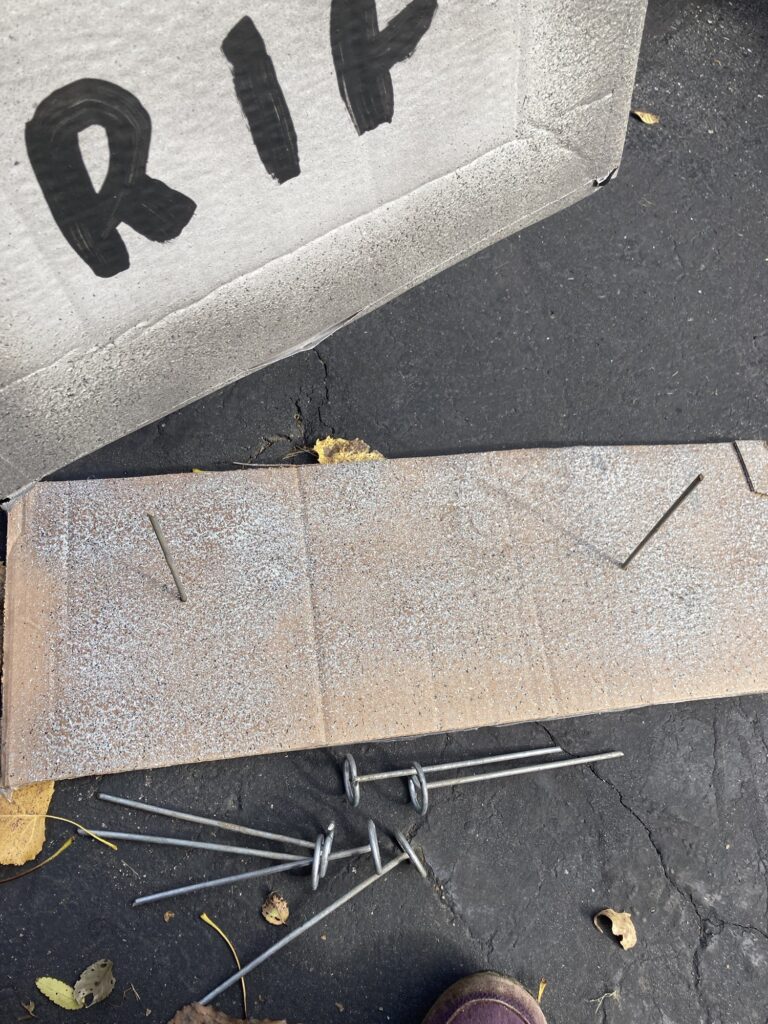
I inserted two staples on either side, so that the gravestone can be carefully pushed onto the staple. Keep a hard surface underneath so that the staple stays in place.

I gently pushed the gravestone so that the staple points go into the middle of the cardboard.
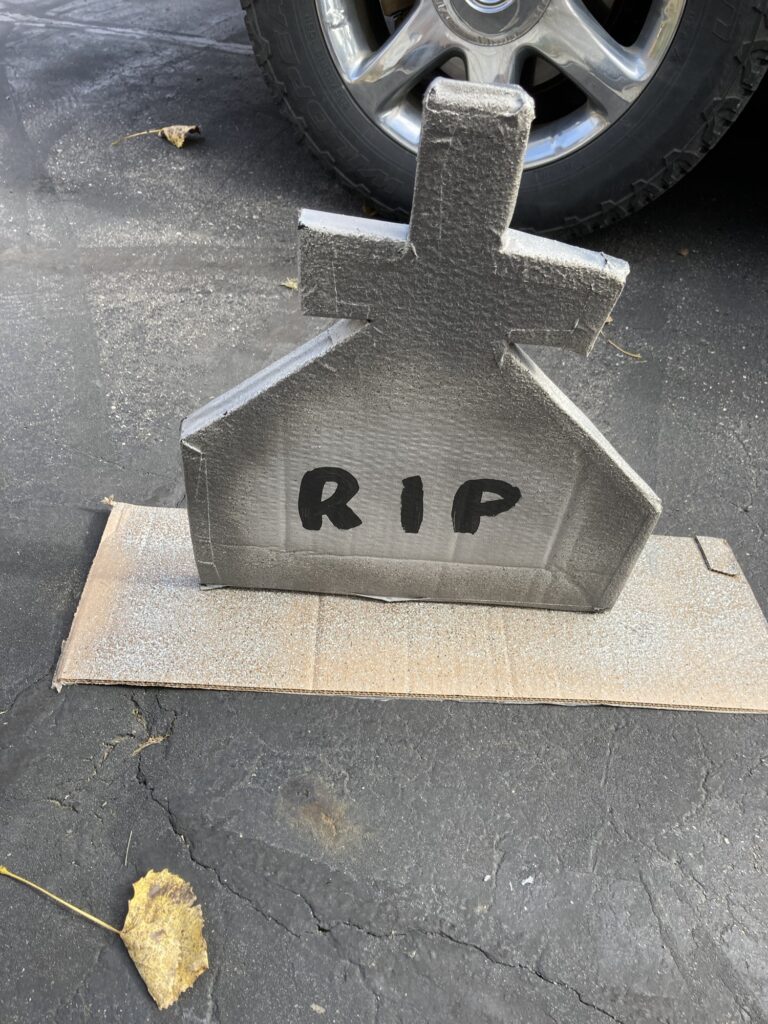
Now I have a more stable base to hold the stones upright! If it gets windy on Halloween, I can set a heavy stone on the base to hold the gravestone in place, or I can put some landscaping staples into the base to pin it to the ground.