How to add a stud in the wall to sturdy a towel bar

So this is an unexpected post. I had a guest use my shower recently and they apparently yanked the towel off of our towel bar, pulling one end of the bar, drywall anchor and all, out of the wall. Suffice it to say, I am not pleased. While I don’t have a photo of the towel bar in situ, this is what I am working with.
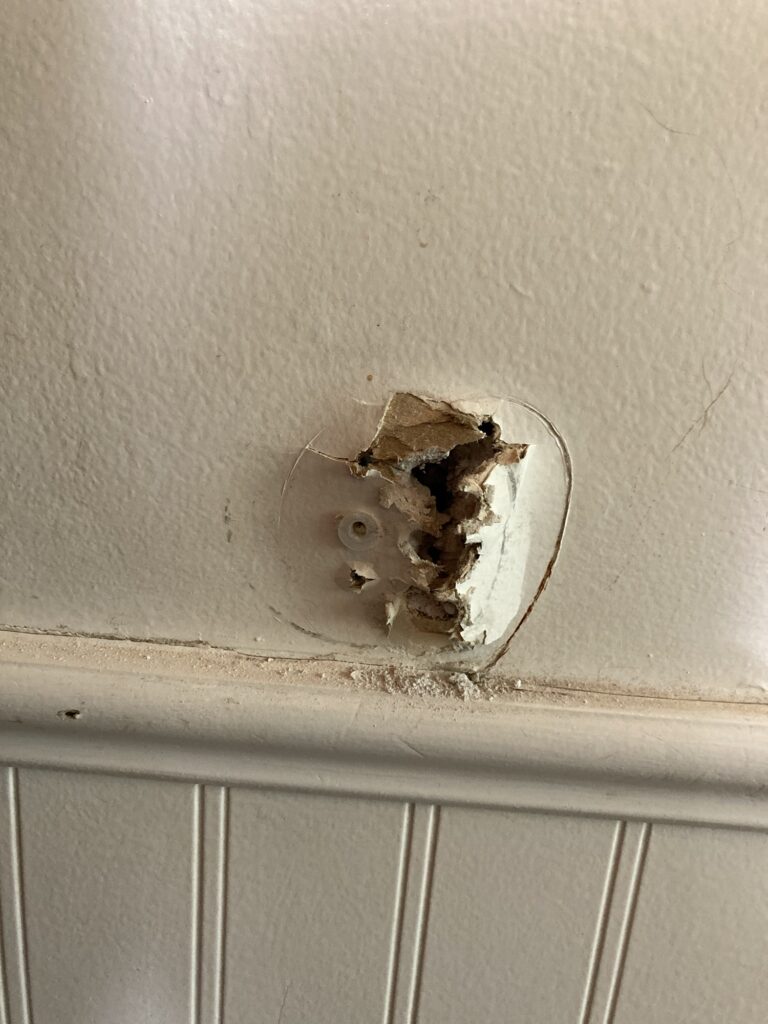
Not a pretty sight.

After some youtube reviewing, I have decided to cut a hole in the drywall to expose the studs on either side of the towel bar and insert a 2×4 to use a new stud to anchor the towel bar to. Then I will have to patch the drywall and put the towel bar back on, screwing it into the new stud so this doesn’t happen again.
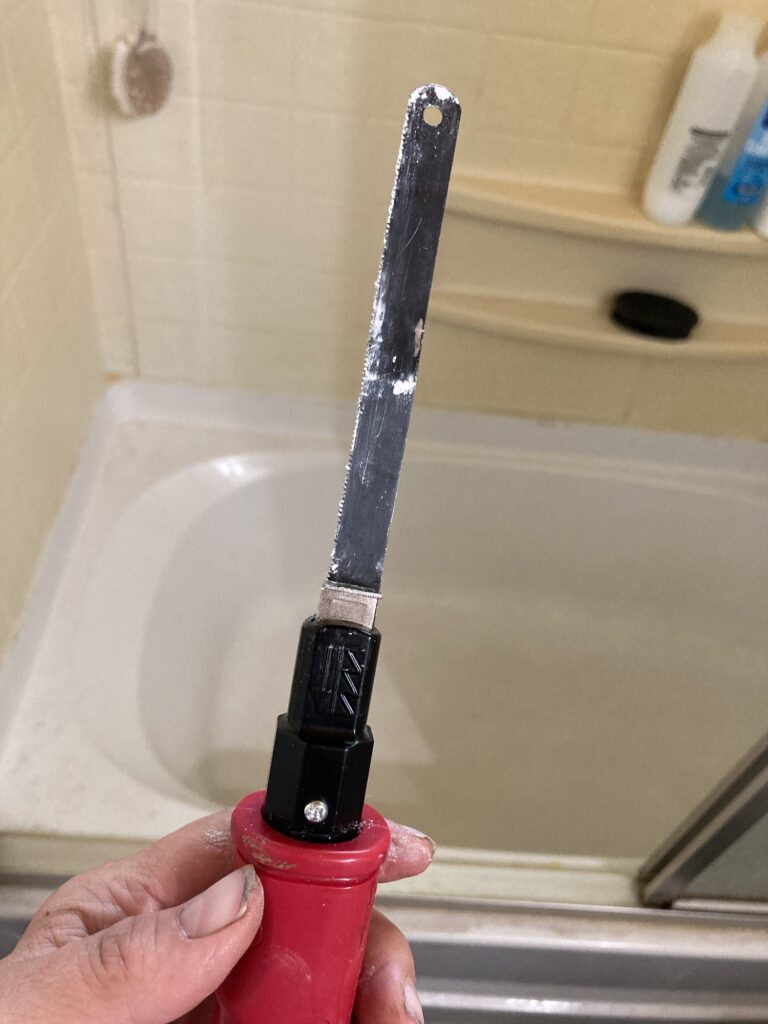
This is a handled device that holds a saw blade so you can use it as a one-sided saw. It is working for now but i have to be careful to cut slowly and not cut in long strokes or the blade will bend. I am using a hacksaw blade because that is what I had on hand, but they do make saws specifically for drywall and I am sure they work better than this one.

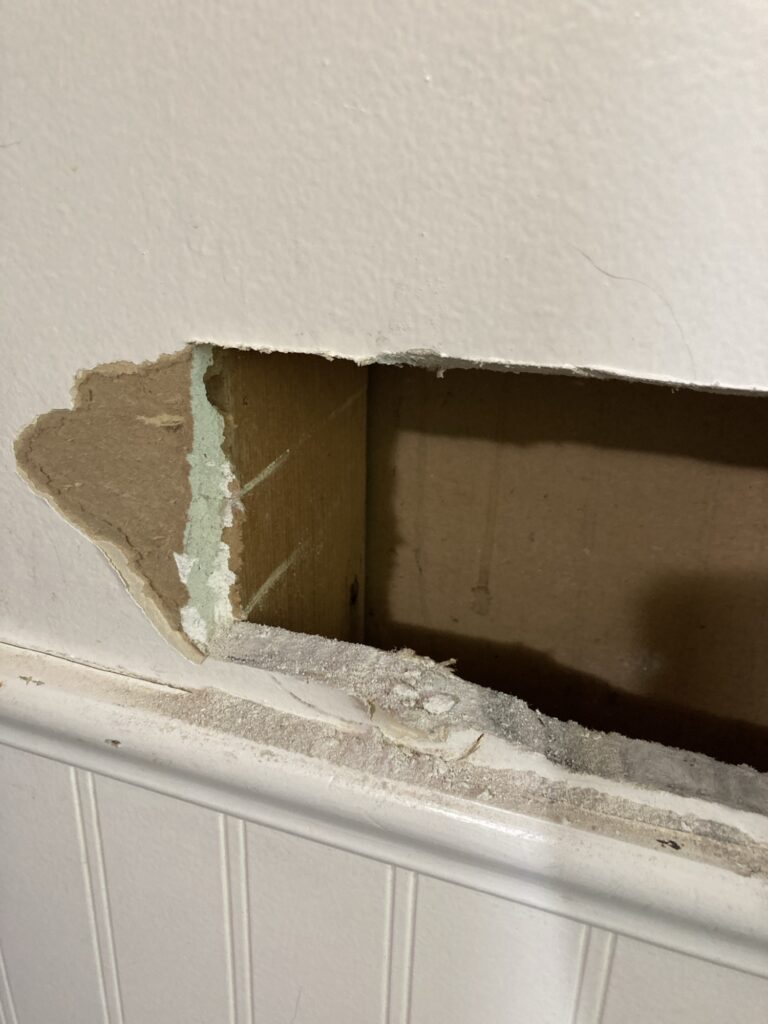
To start out, I tapped around on my wall to discern where the existing vertical studs are. This isn’t a very scientific approach, but I don’t have a stud finder. Then I inserted my little saw into the big hole left over from the towel bar and slowly cut a hole between the two vertical studs in the area I need the towel bar to be. I am trying to cut the drywall at an angle so I might be able to pop it back into place when I am finished, like a big patch, although this little saw is difficult to control without bending the blade.

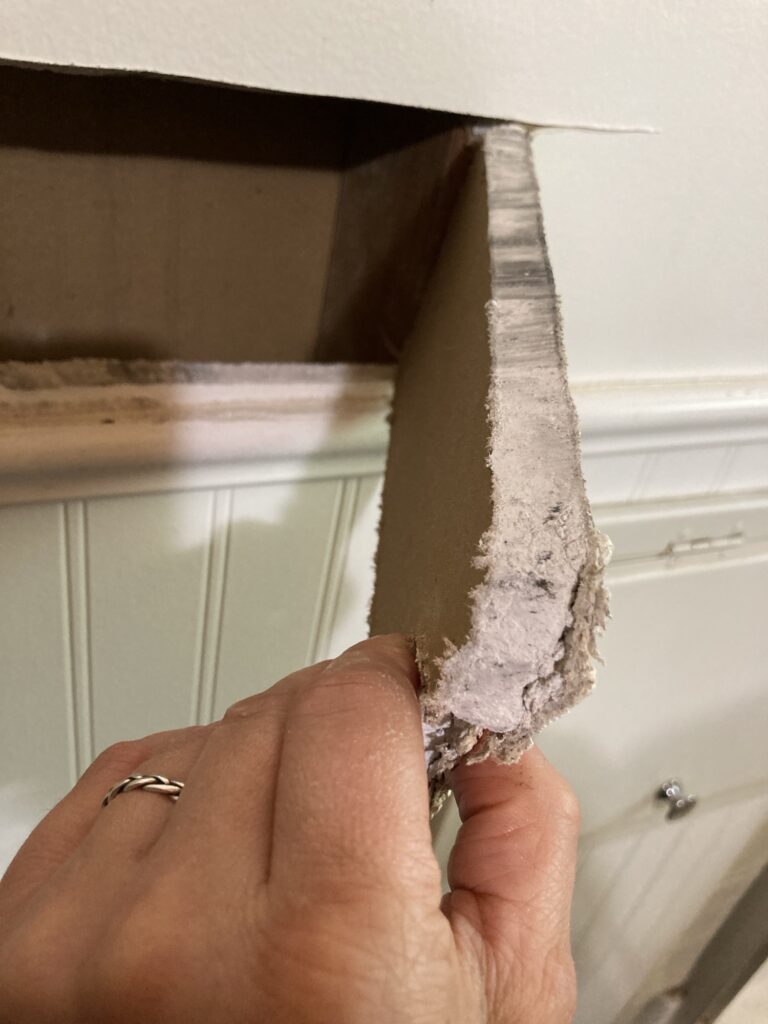
Once I had sawn to the edge of the vertical stud, I gently pulled on the drywall until it popped up.
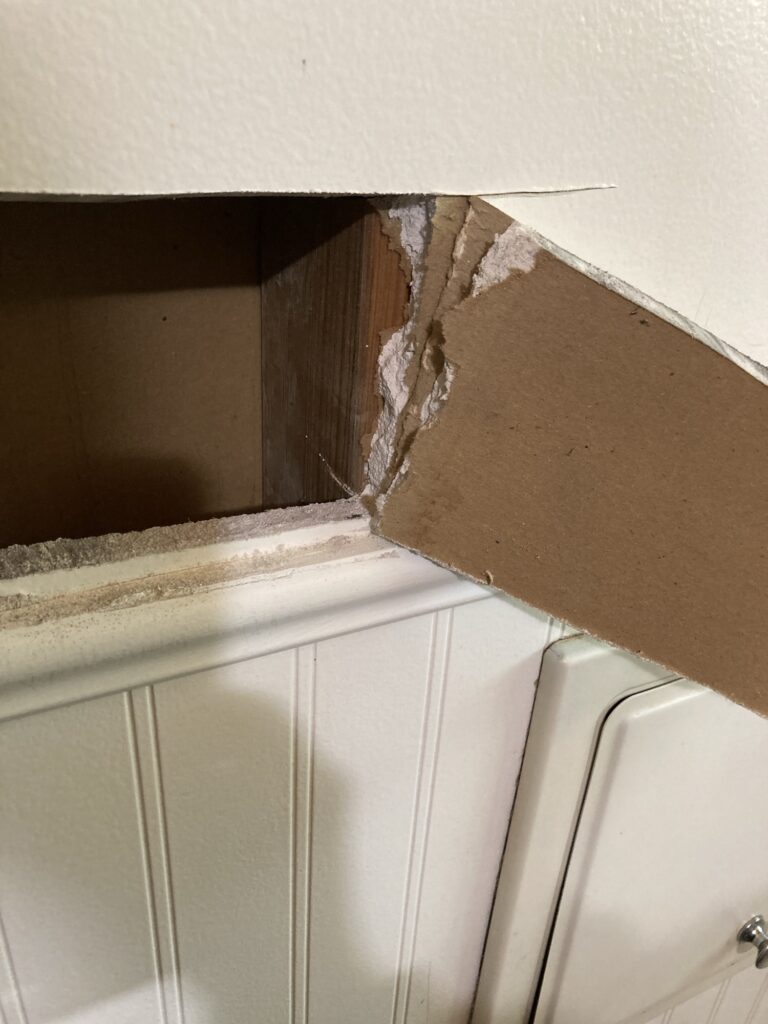
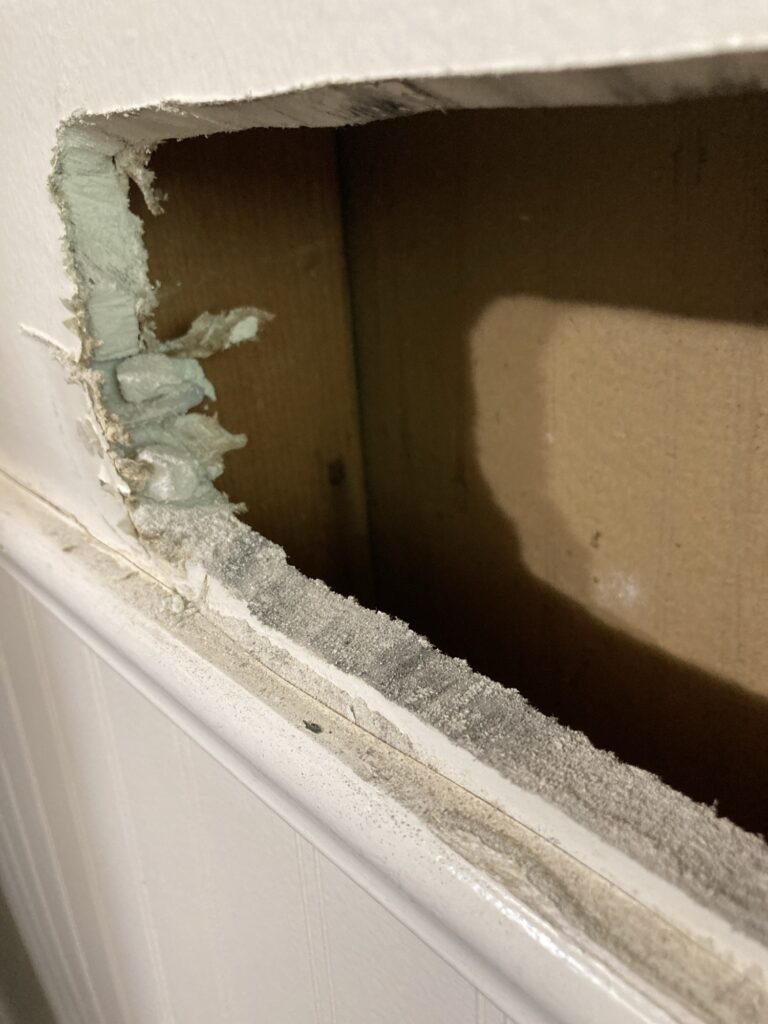
This stud is in the middle of my towel bar area.
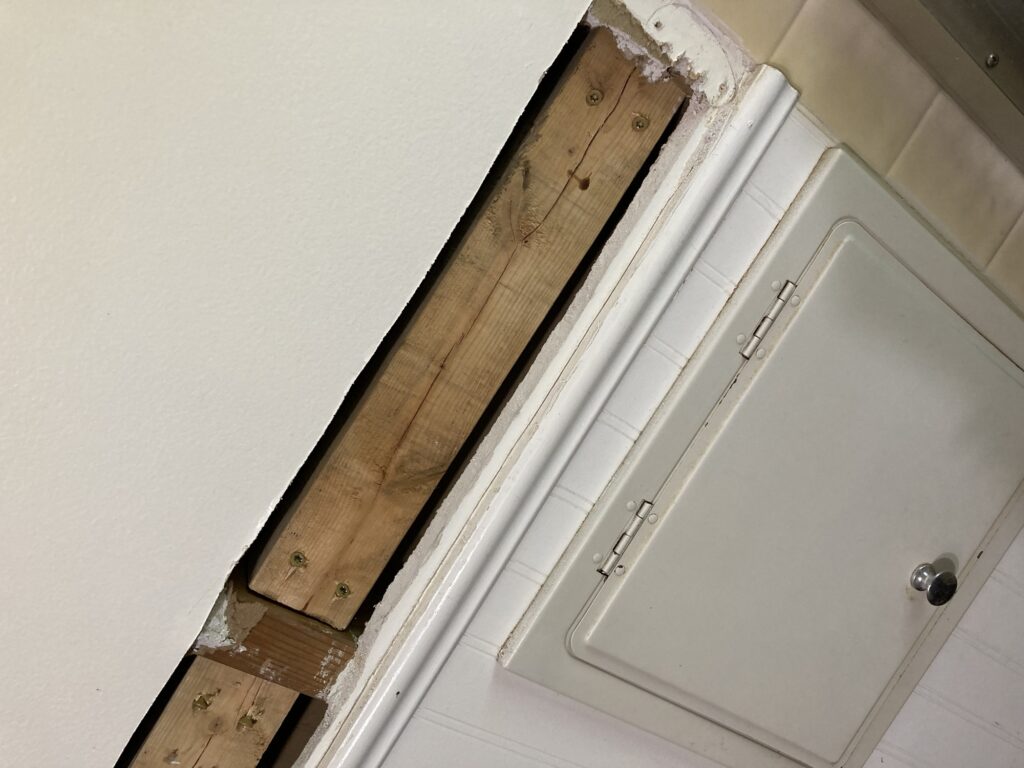
The stud to the left. I will have to cut farther than my hole on that side.

Other stud exposed.

Next, after both vertical studs are exposed, I have to measure the space between them so I can cut a piece of wood to fit across.
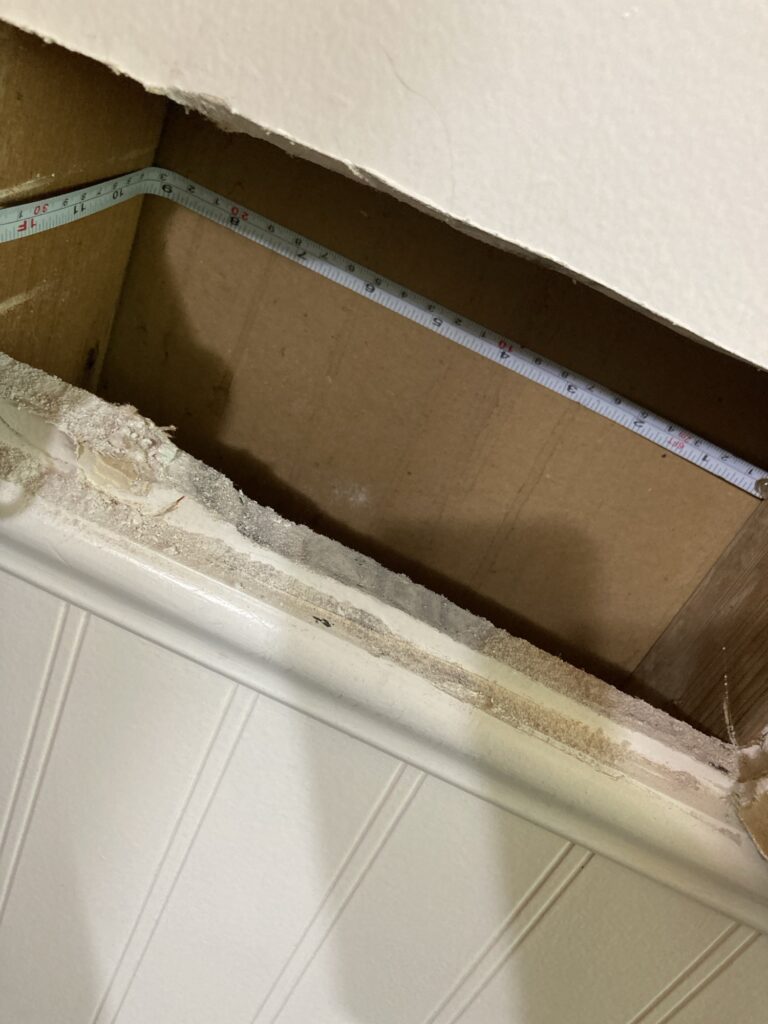
Measuring the space between the studs.

Next I cut a piece of wood to fit the space. It’s not quite a 2×4 but should work.
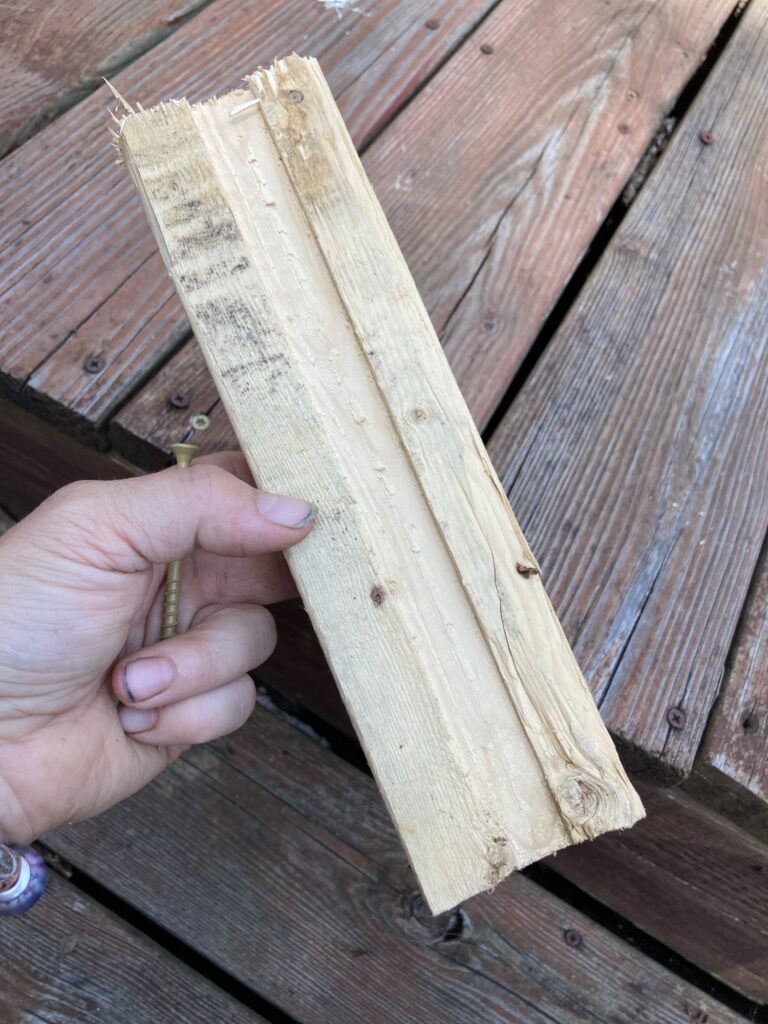
Then I found some long screws that I had available and pre-screwed them into the ends of the board, unscrewing it just enough that they don’t protrude on the ends.
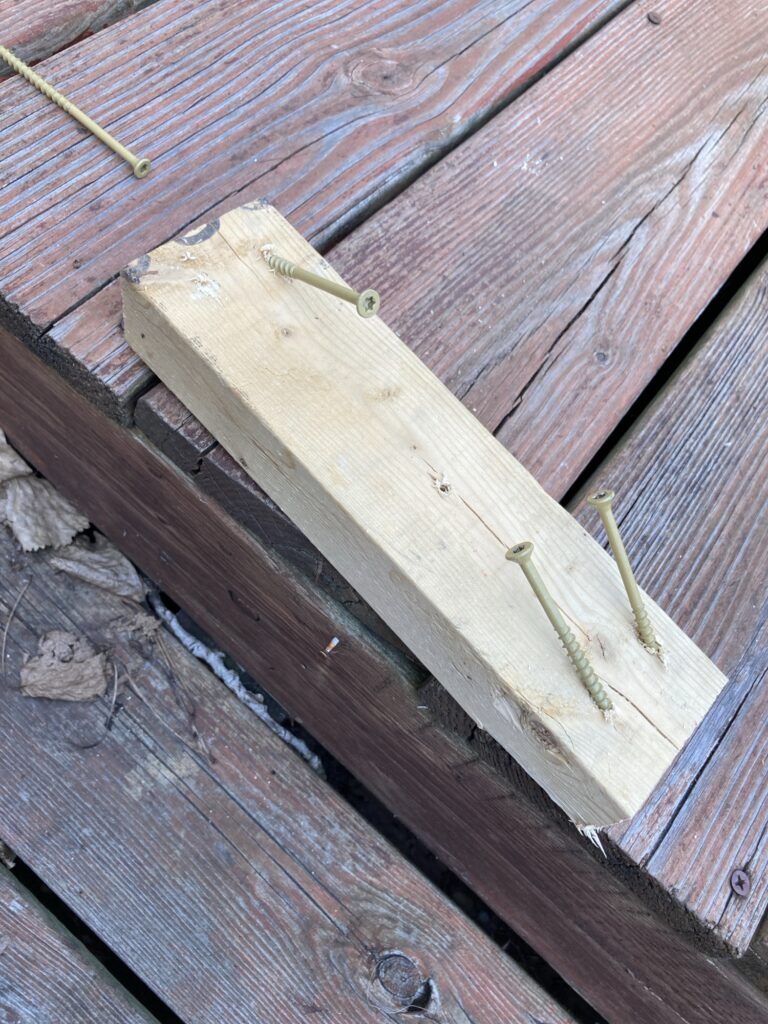
Predrilling screws to make it easier to install.

Then, very carefully so as not to drop our hard earned wood into the wall, I shoved it into the wall space and screwed it in. I was careful to leave enough space between the edge of my new stud and the inside edge of the drywall to allow for the edges of my screws, which will stick out slightly from the board’s surface.
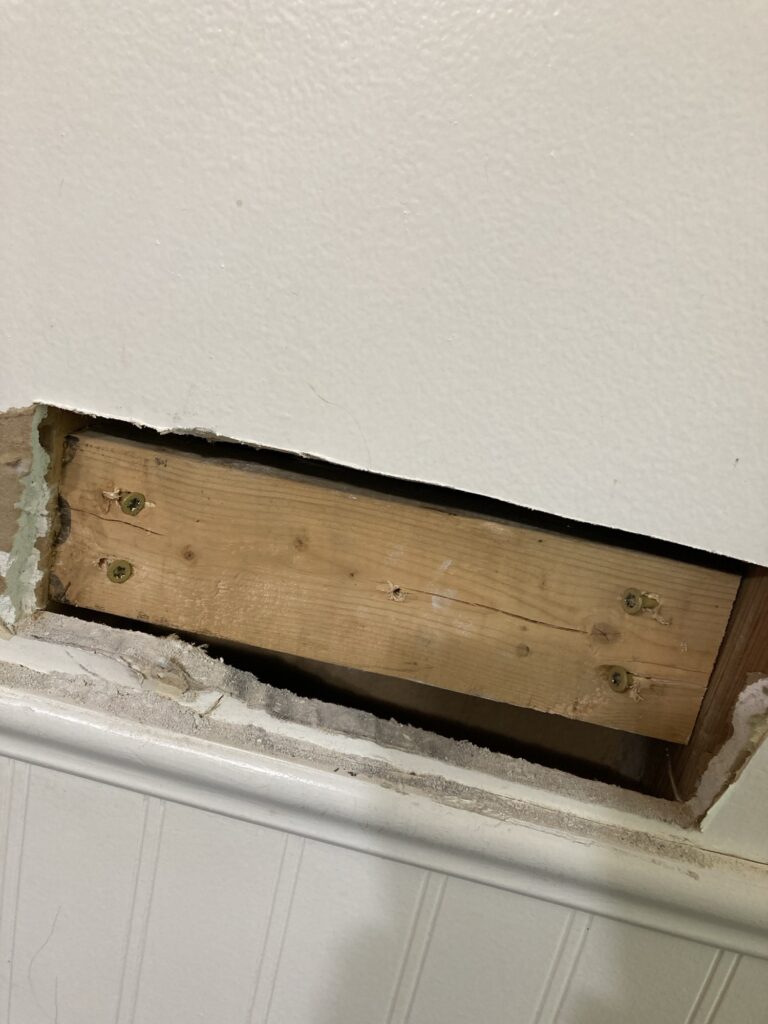
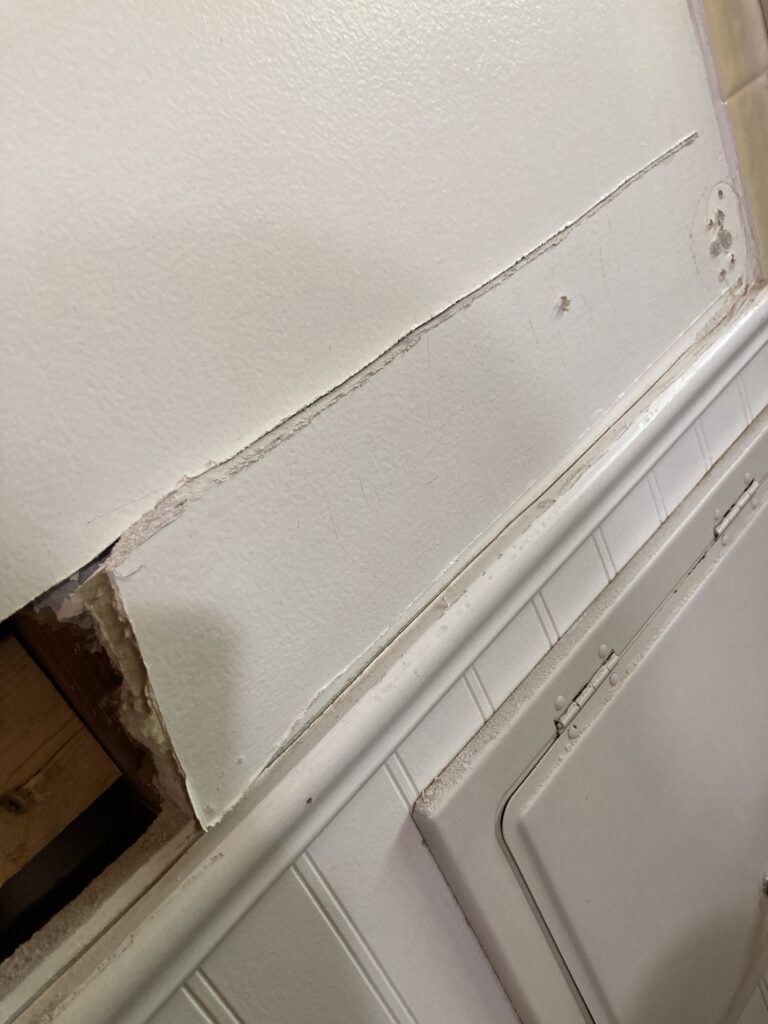
It’s not pretty, but it should hold the towel rack as long as I use long enough screws on the towel rack. I will also have to be careful not to over tighten the screws on the towel rack, as I don’t want my drywall to crack because of the gap between drywall and wood.
Cutting for the second section
Second stud installed.

Now that both studs are installed, it is time to clean up and prepare for patching the drywall.
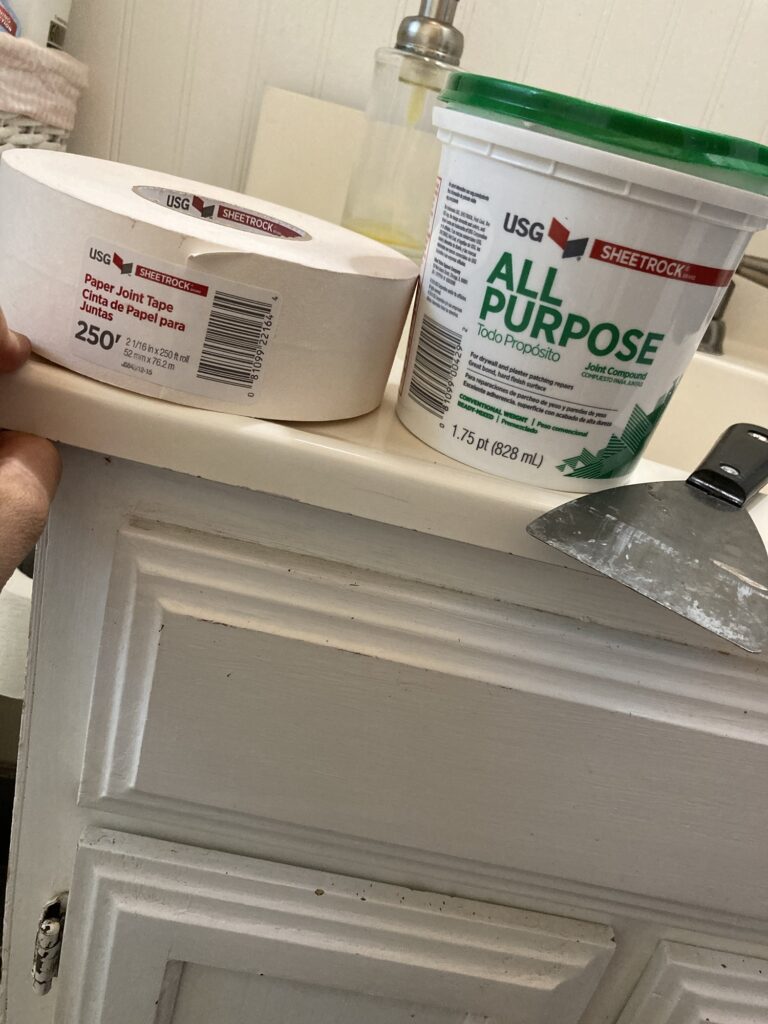
This is what I plan to use for my patch job, along with the pieces of drywall that I cut out.

First, I used the all purpose compound to mud the edges of the hole. I figure this will act as a glue.
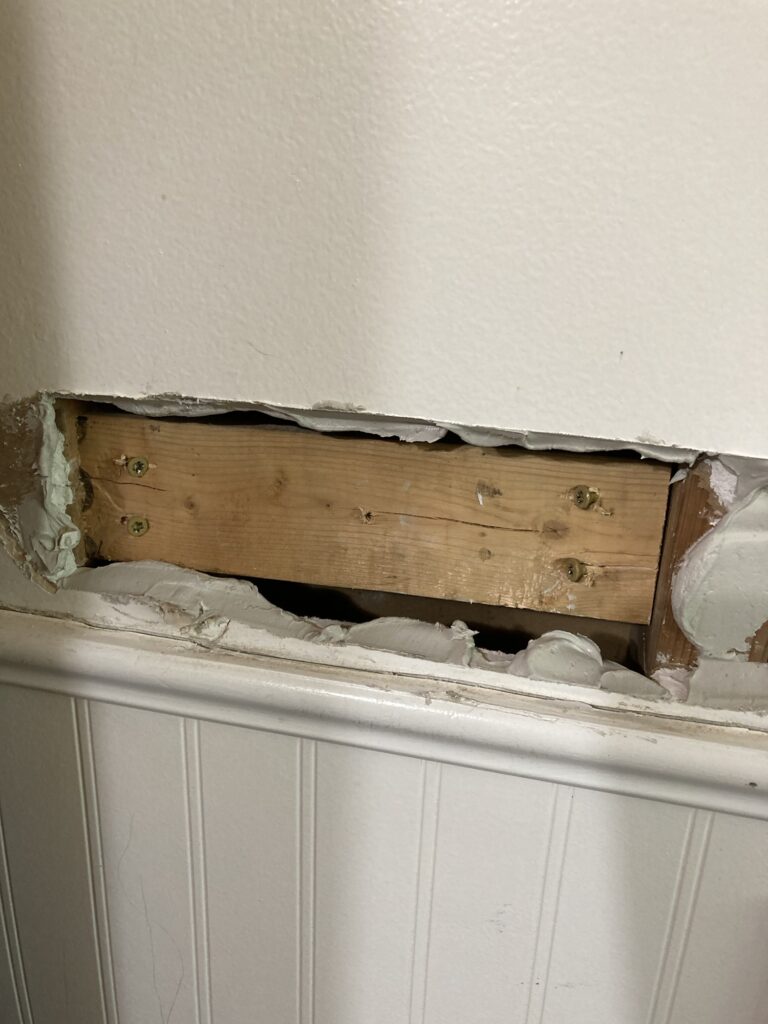
Then i shoved the pieces of drywall back in place, carefully piecing them into the same locations, making sure not to push them too far into the hole.
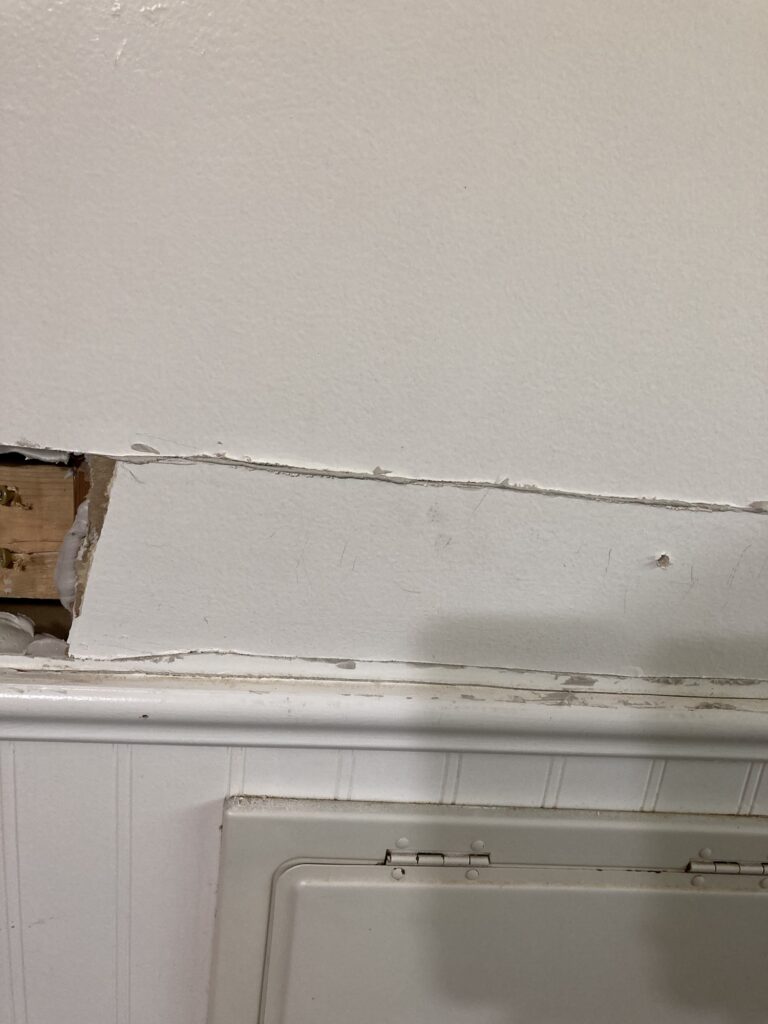
Next i used the mudding spatula to put a thin layer of mud around the edges of the cuts.
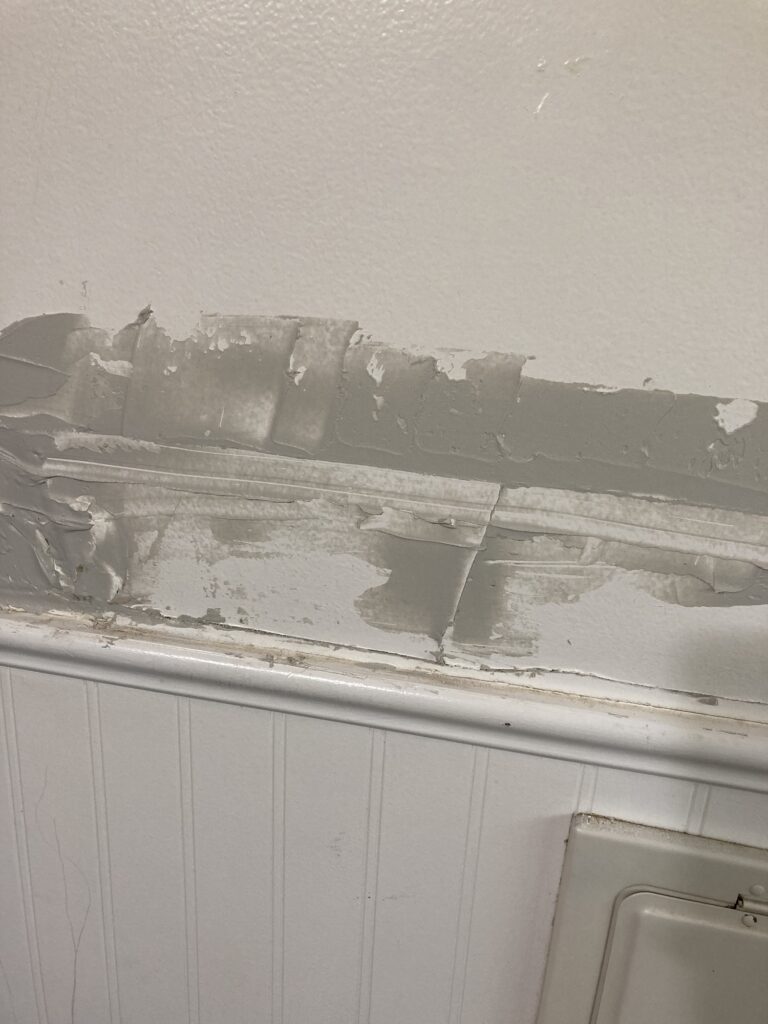
Then i cut off pieces of the mudding tape to push into the mud so they are glued in place. I taped them over the cracks so the cracks won’t be as noticeable.
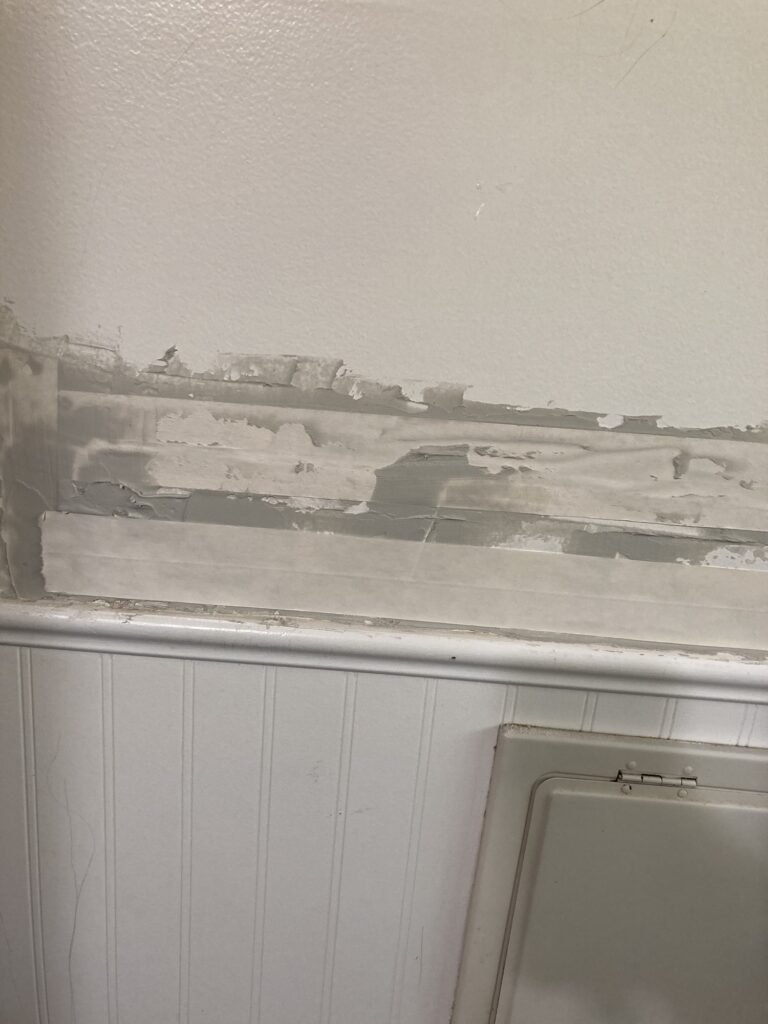
With a few pieces of tape over the cracks.

Once the tape is where i want it, I put another thin layer of mud over the tape to hide it. Then I used the spatula to make the compound mixture as flat and smooth as I can. I will sand it once it is dried, but it will be helpful not to have mounds of uneven compound to sand off.
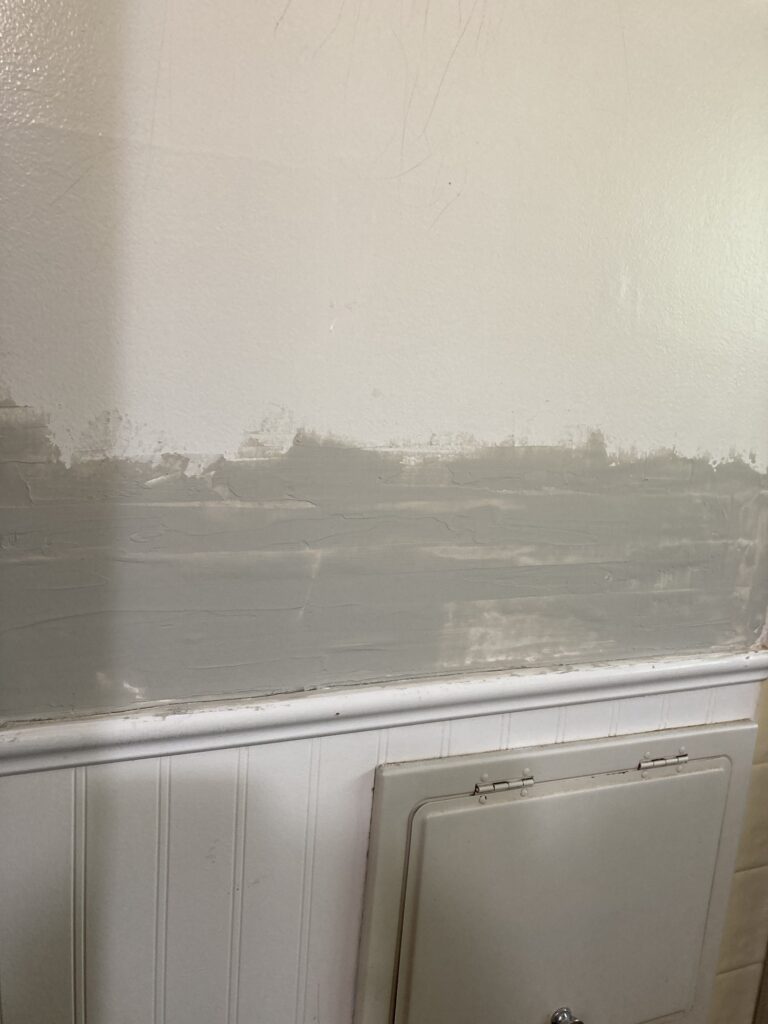
With all of the tape on, plastered over with the mudding.

Now I let it dry for at least 24 hours, per the compound instructions.
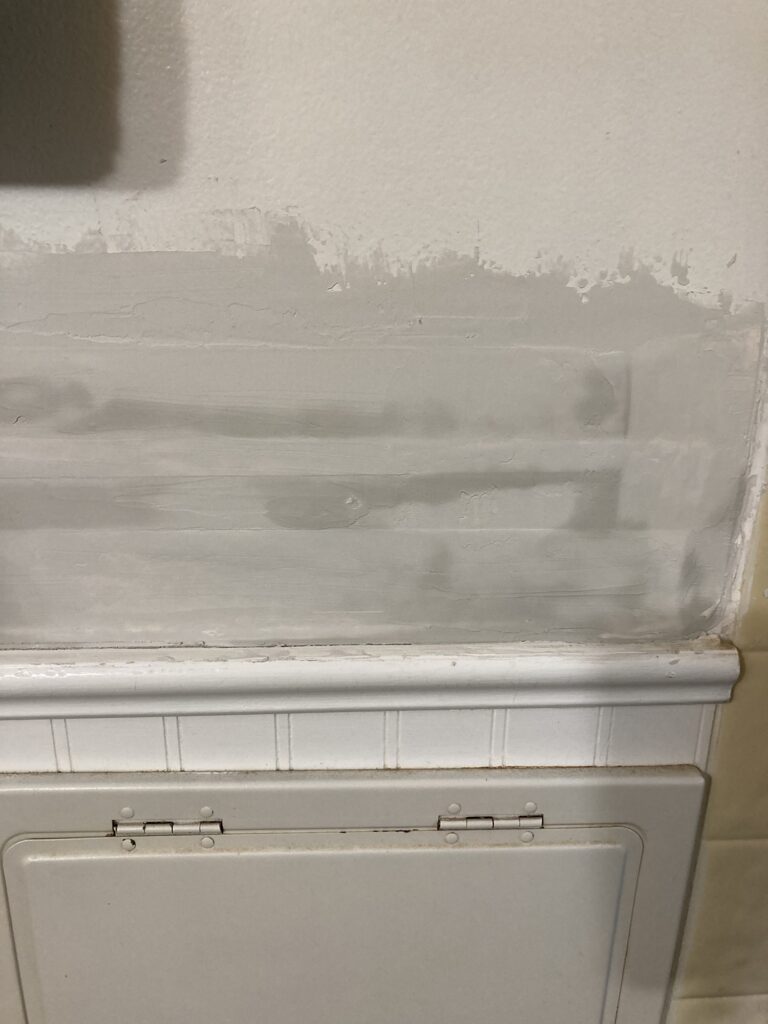
It is lightening as it dries.

After the patch dried completely, I found a few shallow areas where it shrank into a hole. I skimmed another thin coat of plaster patch over those areas.
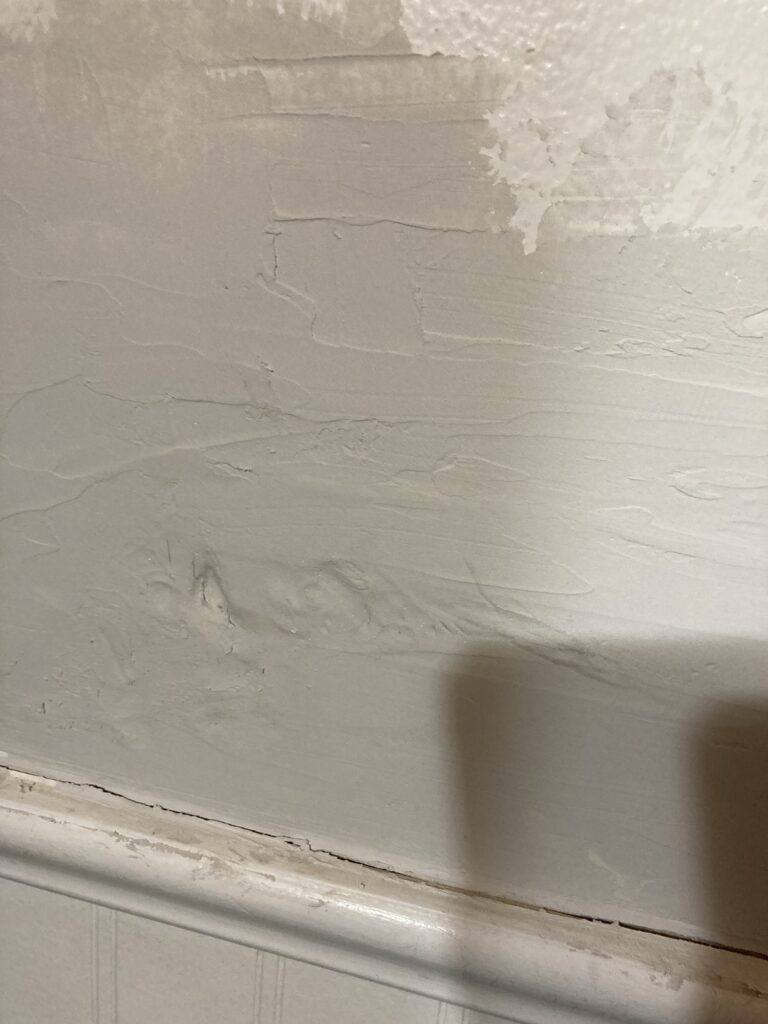
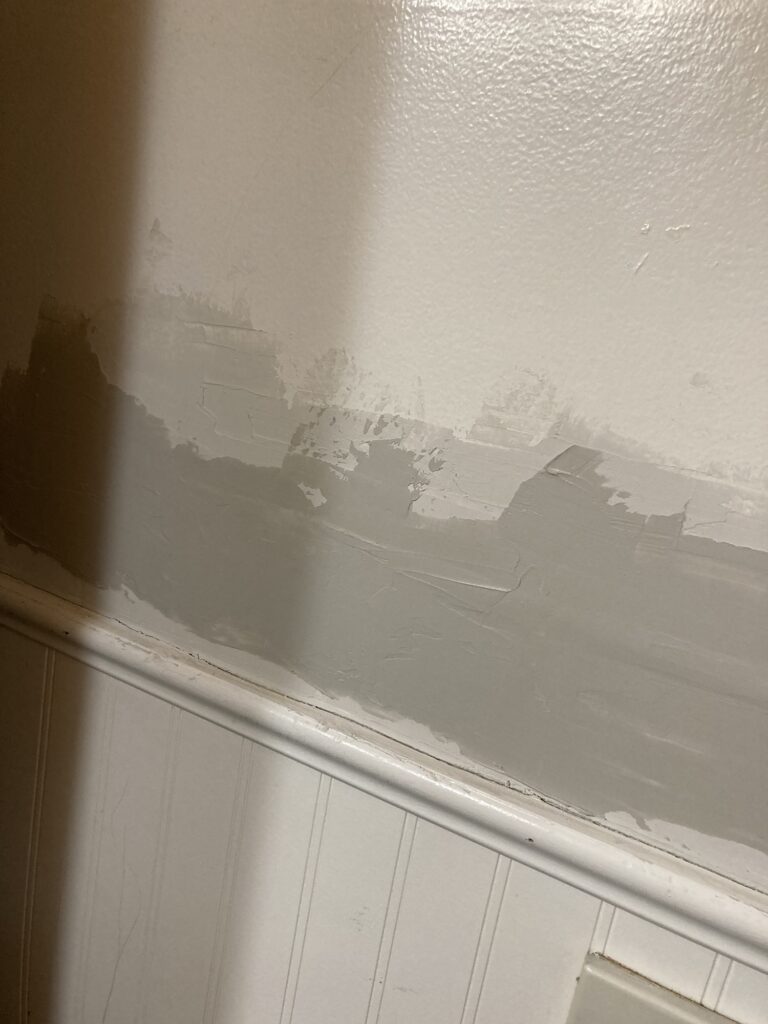
A small depression where the patch shrank into the hole.
A fresh coat skimmed over the depression and smoothed out.

After the plaster is smoothed to your liking and has completely dried out, it is time to sand. I used an electric sander because I have one handy, but it was messy and also sanded some areas more than I would have liked.
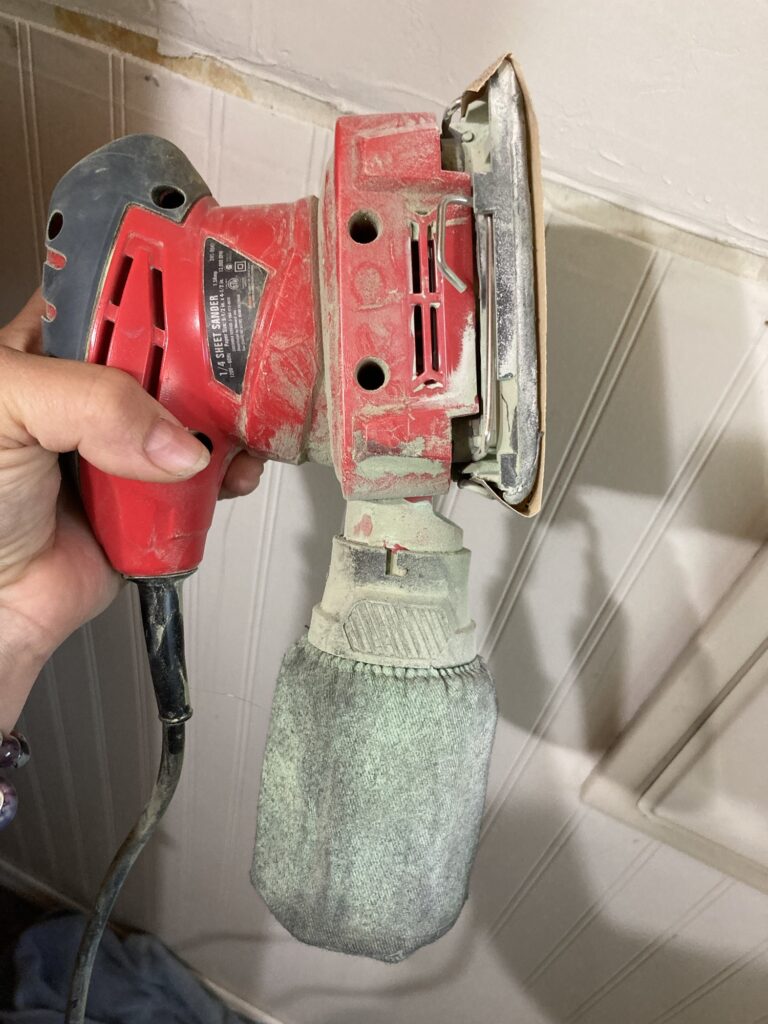
This electric sander got dust all over my bathroom and over sanded some areas because it isn’t as easy to control as a hand sander.

Ideally I should have used a hand sanding block or a sanding sponge. Anyway, this is the result.

Oversanded. There are a few areas where the paper tape is showing.

After sanding, I vacuumed off the dust, and then wiped it down with a damp cloth. As far as the exposed tape is concerned, I am hoping that my paint will cover most of it.

It may take a couple of coats of paint to cover the dried plaster, but once it is done you can proceed to rehanging your towel bar.
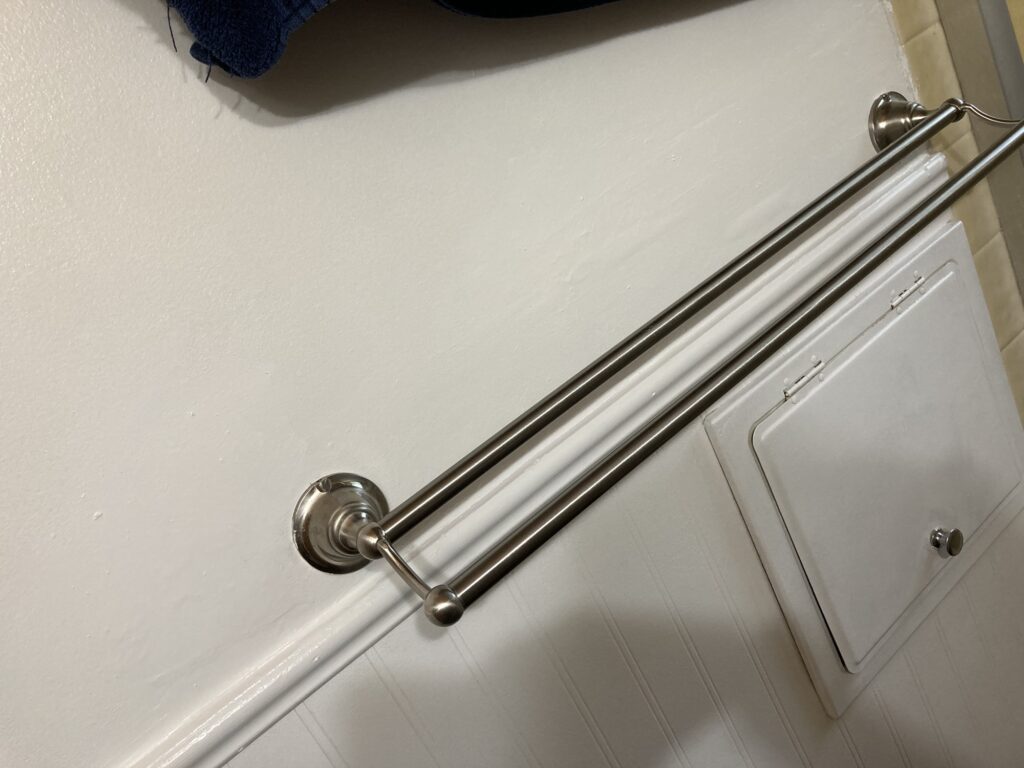
My paint job isn’t as beautiful as it could have been, but it is so much better than it was!

In retrospect I should have put another skim of the plaster patch on after sanding to properly cover the tape, as there is now a small bubble under the paint where the tape is. I can live with it, however, as I have always been more about function as far as these things are concerned, as long as it doesn’t draw my eye (I am only noticing the bubble now in the photos as it isn’t that obvious otherwise).

Anyway, I hope this helps!
How to clean Antique Horseshoes

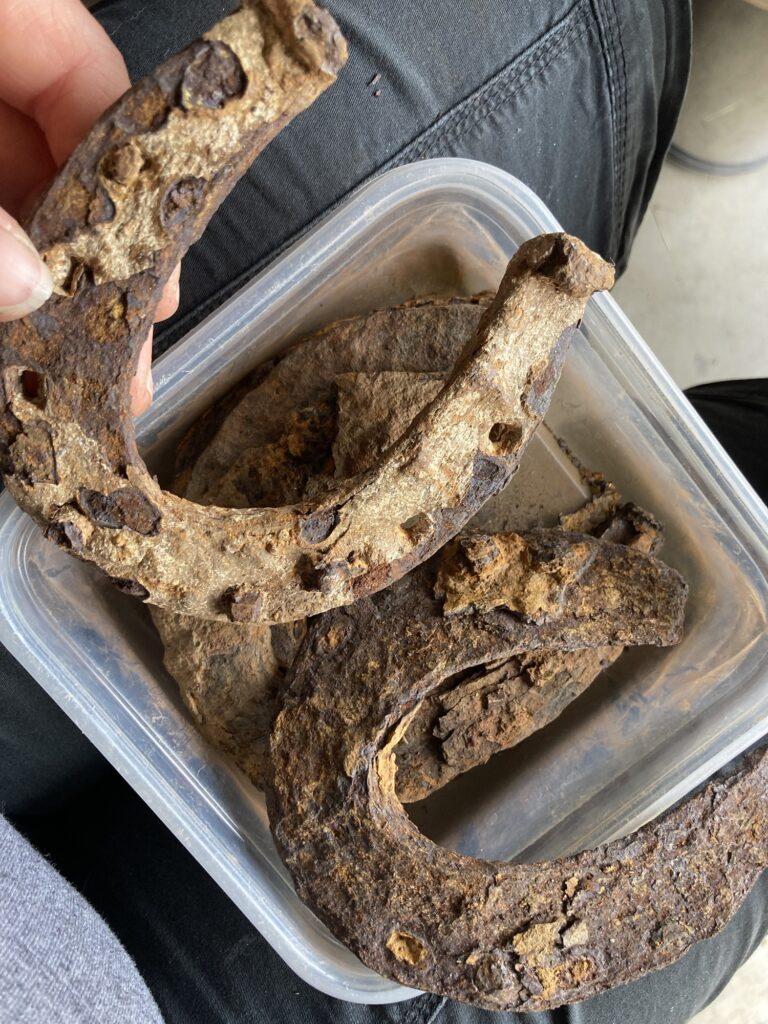
I am an avid horseshoe collector, and often find myself in possession of a particularly rusty specimen that has been buried for years, if not centuries. I have tried several methods, with varying results, to remove excess rust so that any distinguishing characteristics are more easily recognized, such as the nails and any maker’s marks. These are a few methods that I have tried so far.

Very old British horseshoes before cleaning. I had to scrape off a LOT of flaky rust and dirt. If I hadn’t, they would shed a lot of grime with just handling them, as some of them had been buried for hundreds of years. Also, rust can be ongoing even after removing them from the ground, and I want to preserve them the best that I can.

Evapo-Rust. This product can be purchased at different hardware stores or auto supply stores. It’s a chemical that you can soak rusty parts in to get them clean. I have used this on my horseshoes and, while I did really like the results, I ended up soaking the shoes for far longer than the directions recommended. I had to soak them for a few hours, scrub them with a hard-bristled steel brush, and soak them again, over and over to achieve the desired results. Granted, if the shoes didn’t have a thick deposit of rust on them the job went very quickly, but for shoes with heavy accumulations of caked-on rust and grime, it was a very tedious process, and the chemical cost me about $25 a gallon. It only takes off so much rust before it needs to be disposed of and replaced, so for a lot of shoes it can be expensive.

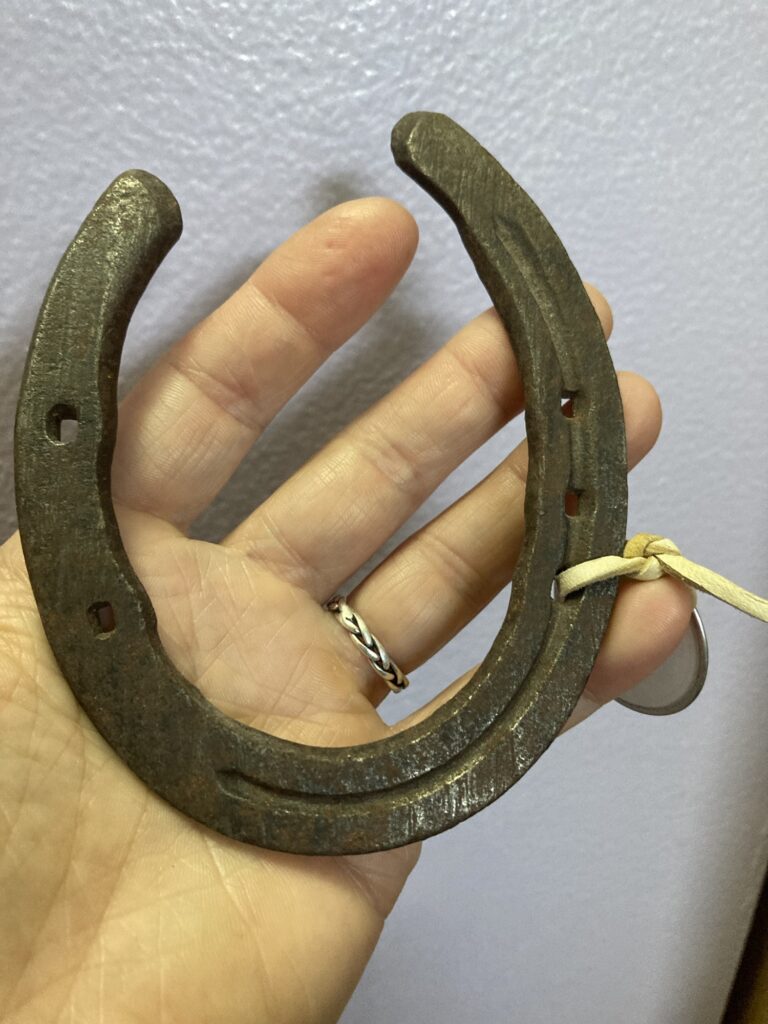
This shoe was cleaned with Evapo-Rust. It looks about the same as one with Vinegar. There are a few flakes of fresh rust (the reddish brown. Dark brown is treated) where my Rustoleum didn’t cover well, or where I picked off a tiny chunk of treated rust afterwards, exposing untreated metal. It is important to spray SEVERAL COATS of paint on front and back, and the thin sides as well, to prevent further rust from forming and further damaging your shoe. I will have to put another coat on this one.

White Vinegar. This is my go-to method at the moment. I simply soak the shoes for about 20 minutes or so, scrub them with a steel-bristled brush to remove rust, and soak them some more until they look the way i want. Afterwards I soak them for a short time in water with baking soda in it to neutralize the acids from the vinegar. Be careful not to soak your items for too long in the vinegar, as it will eventually eat away at the metal. I vaguely recall trying this method when i was a child and being very disappointed when my shoes were very, very pitted after having been forgotten for, say, a month or so. It’s ok to soak them for that long if you keep checking on them and scrubbing to help the process, but if you throw them in the vinegar and forget about them forever, the chemical will eat into the metal.

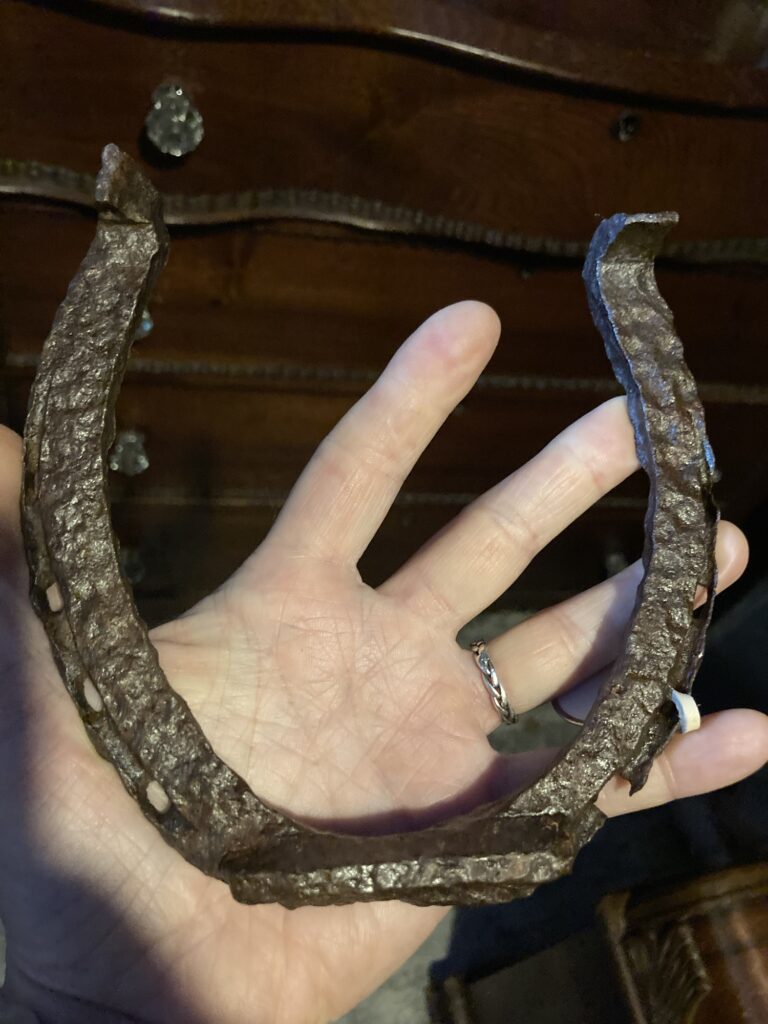
I suspect that this shoe was one that I carelessly soaked in vinegar and forgot about as a child. Notice the excessive pitting and how some of the nail holes are eaten through at the edges. In my area, this shoe isn’t much older than 100-150ish years old. While being buried in different environments might cause this damage, the lack of rust makes me suspect it is from the vinegar accident of my childhood.

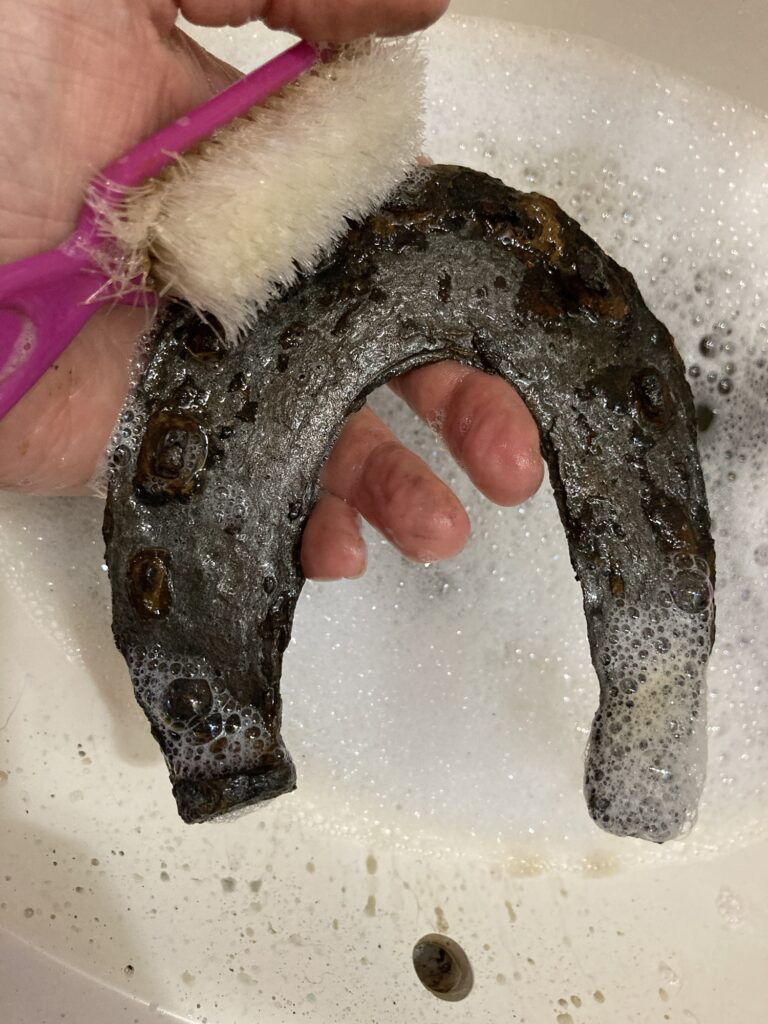
Vinegar is cheap and easily obtained. I keep an old covered tote with a gallon of vinegar to soak my shoes in. Afterwards I wash them with soap and water, using a soft scrub brush. I use hot water so they dry quickly, then finish off with a few coats of clear Rustoleum spray paint, which prevents new rust from forming.

A soap water scrub after removing most of the rust.

Whichever method you decide to use, you will want to remove as much dirt and flaky rust as possible beforehand. If the rust is really thick and flaky, I use a thin scraper of some sort to gently pry between the layers. Always wear safety goggles and be careful not to stab yourself with whatever you use. Only pry a tiny bit, as whatever you are trying to pry might be a part of the original metal, and you don’t want to ruin the piece. I merely pick at it and see what flakes off easily. After you have removed some of this surface rust, the chemicals will more easily get to the metal beneath.

Other methods. There are other methods that can be used, such as electrolysis or a grinding wheel. I have not used these methods, but i have shoes that were cleaned using them.

Electrolysis involves soaking the shoes and using electricity. It appears to work extremely well, but involves special equipment.

This shoe was cleaned using electrolysis. I bought it this way. Every bit of rust is gone, and if treated properly with rust-preventive chemicals like Rustoleum, wax, or etc., it will hopefully stay that way.

If using a grinding wheel, you can attach a wire wheel and use that to remove rust. There are also other attachments that can be used to buff the metal. My dad did this with one of my first horseshoes as a child. I worry that this method might damage the surface of the shoe, but on the backside of it I can make out a lot of detail from its original forging, so the scrape marks on the front could be original.

Backside
Front side. This shoe was cleaned with a grinding wheel.

Other Chemicals. You can use Coca Cola or lemon juice in the same way as the vinegar. I haven’t used these methods in years but they do work. Just don’t forget them in the solution!

Bear in mind that whatever method you use to remove the rust, if not treated properly and according to instructions, the rust will come back, sometimes even within minutes of being removed. I honestly don’t mind a little bit of rusty patina and have experimented with giving some of my freshly cleaned shoes a spritz of water and letting them sit for a day or so to get a little of the color before spraying them with clear Rustoleum to stop the process and preserve them. My main goal of cleaning them is to remove the thick rust that obscures detail.

This is an ancient shoe from Great Britain that I created a rusty patina on. It was cleaned with vinegar. Notice that it is very difficult to clean around nails and in nail holes, but cleaning the shoes will expose them enough to identify them better.

I also have a lot of more recent horseshoes that I did not remove the rust from, as it wasn’t as thick and obscuring. I simply clean them well with a wire brush if necessary, and then spray them with several coats of Rustoleum clear paint (the one that specifically stops rust). They still look good and stay protected.

This is the clear spray I use. Be sure to get the one that says ‘STOPS RUST’
This donkey (or small mule) shoe didn’t have a thick coat of rust, so I simply treated it with preserving clear paint.

In the end, the most important thing is preservation. Rust eats away at the metal of the shoe, and if not treated properly, it will continue to eat away at them after you find them. Make sure you don’t destroy them by soaking too long, and make sure you prevent further rust corrosion by treating them afterwards. After treating them it is important to store them in a dry environment to make sure the treatment works. I keep my prizes filed in narrow boxes with cardboard in between them, like a file cabinet.

While not very pretty, this storage works for me at the moment until i can find something that suits my tastes better. It has to be strong enough to support the weight of all of my shoes.

Hopefully, with proper care, these shoes will last for generations to come. (You’re welcome, kids! Have fun!)

How to Refurbish an old cat Scratching Post

This morning, as I watched my cats joyously scratching on their post, I realized that these posts were LONG overdue for refurbishing.

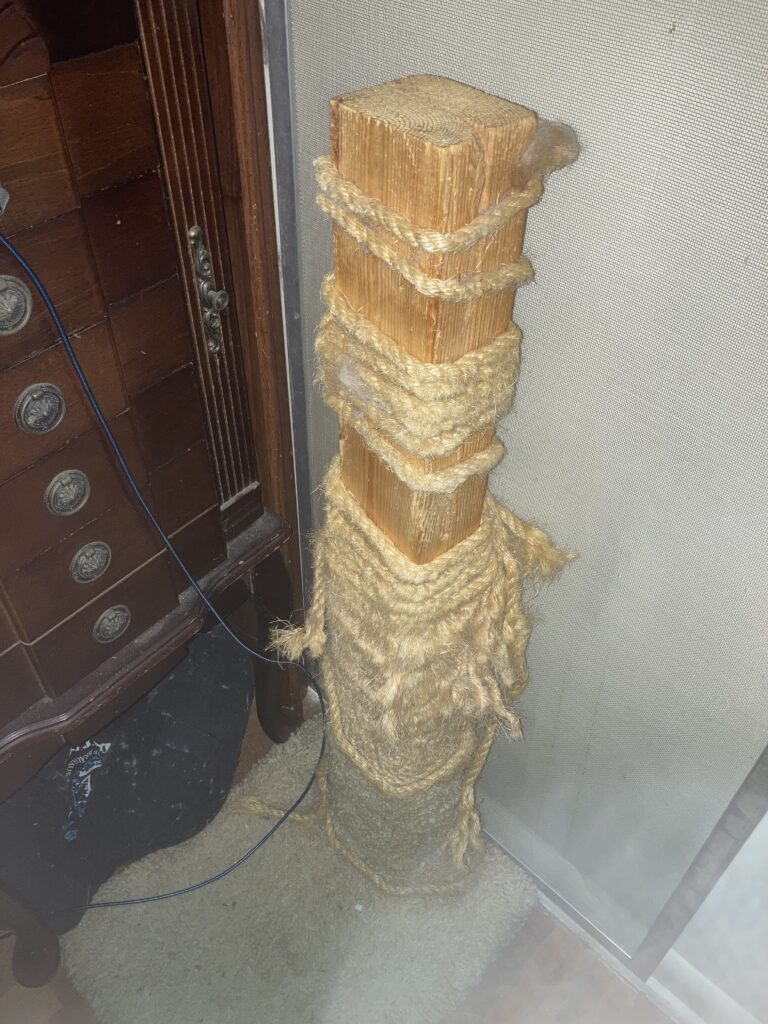
The first of the two- this post was refurbished about 10 or so years ago. Definitely needs the sisal replaced.

The smaller, more simpler of our scratching posts has been around through ages, surviving many cats. I replaced the sisal rope about 10 or so years ago, at least. It has absolutely seen better days. My cats absolutely destroyed it. But, alas, it has more life to give!

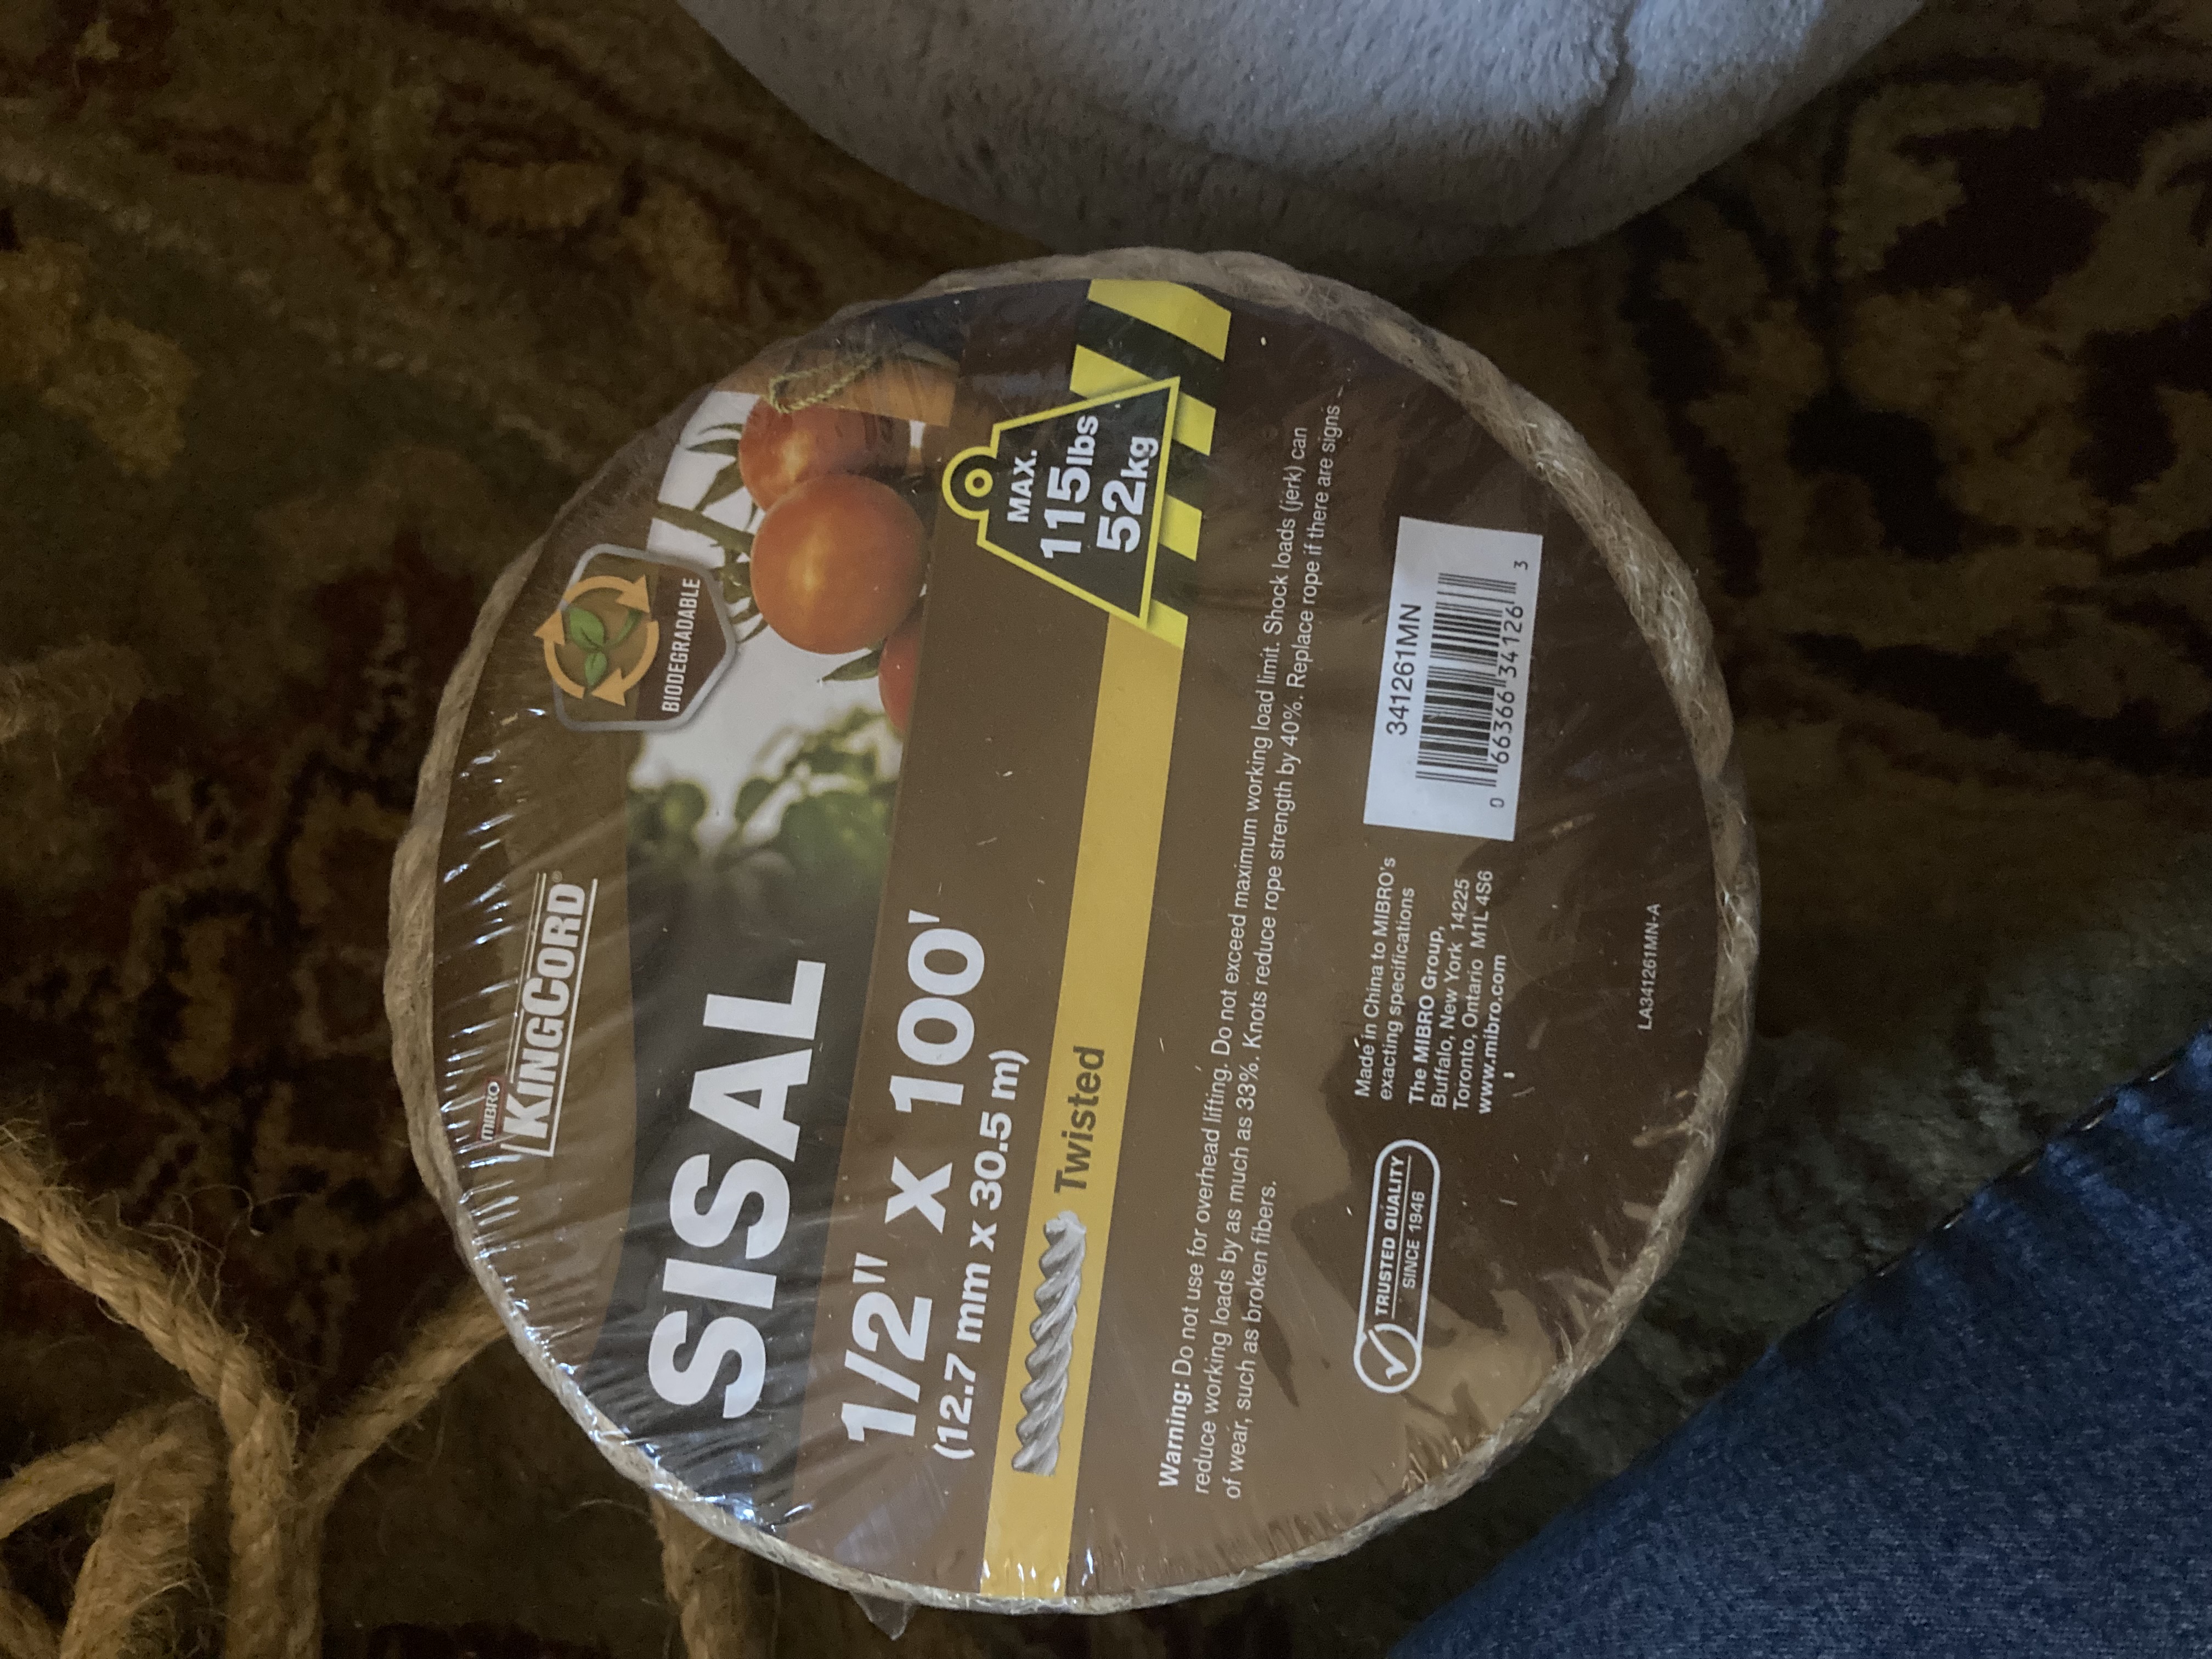
I started with a quick trip to Menards for replacement sisal. I bought 100 feet of the cheapest sisal rope I could find.I was careful not get anything too thin as it wouldn’t last long, nor too thick as it would be more difficult to work with.

This worked perfect.

After selecting a good rope (1/2 inch thick x 100 feet, as I used it on 2 posts), I got to work removing the old wrapping. I used my handy-dandy box cutter to cut off all but the bottom few inches of rope, as that section was seldom used by my cats and still seemed in fair condition.

I tied the end of the new rope to the end of the existing rope that was still in good shape. If your old rope is all bad, just tie a knot in the end of the new rope, then use a fencing staple to nail it to the wood post. I will show examples of this later on in the post.

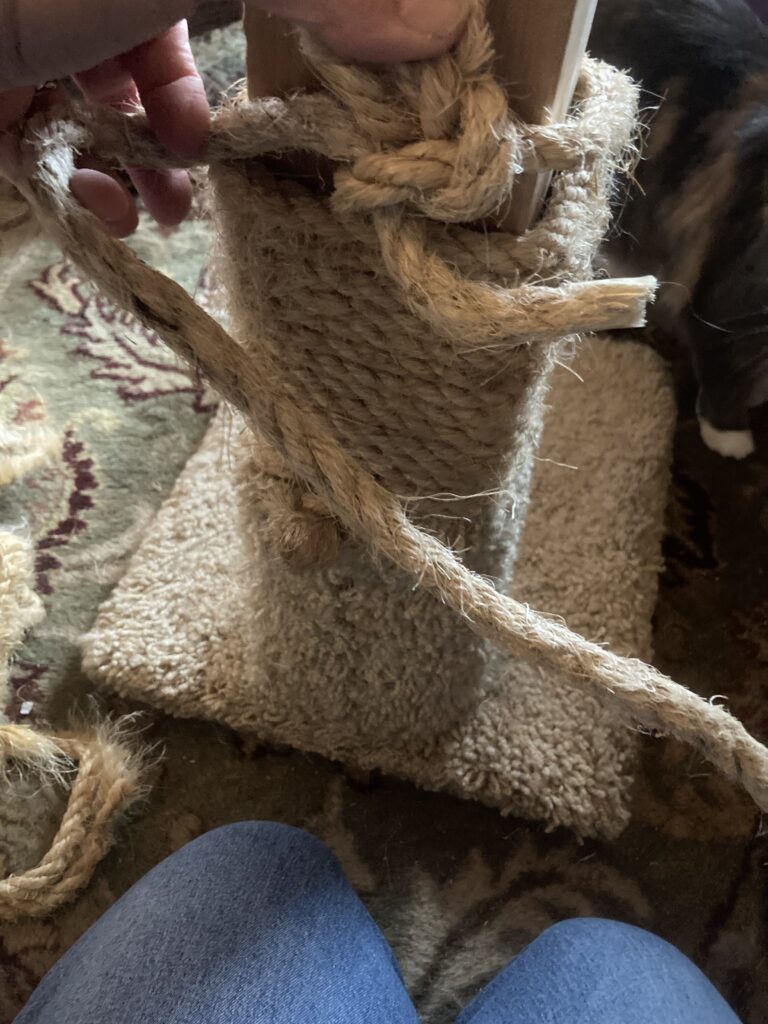
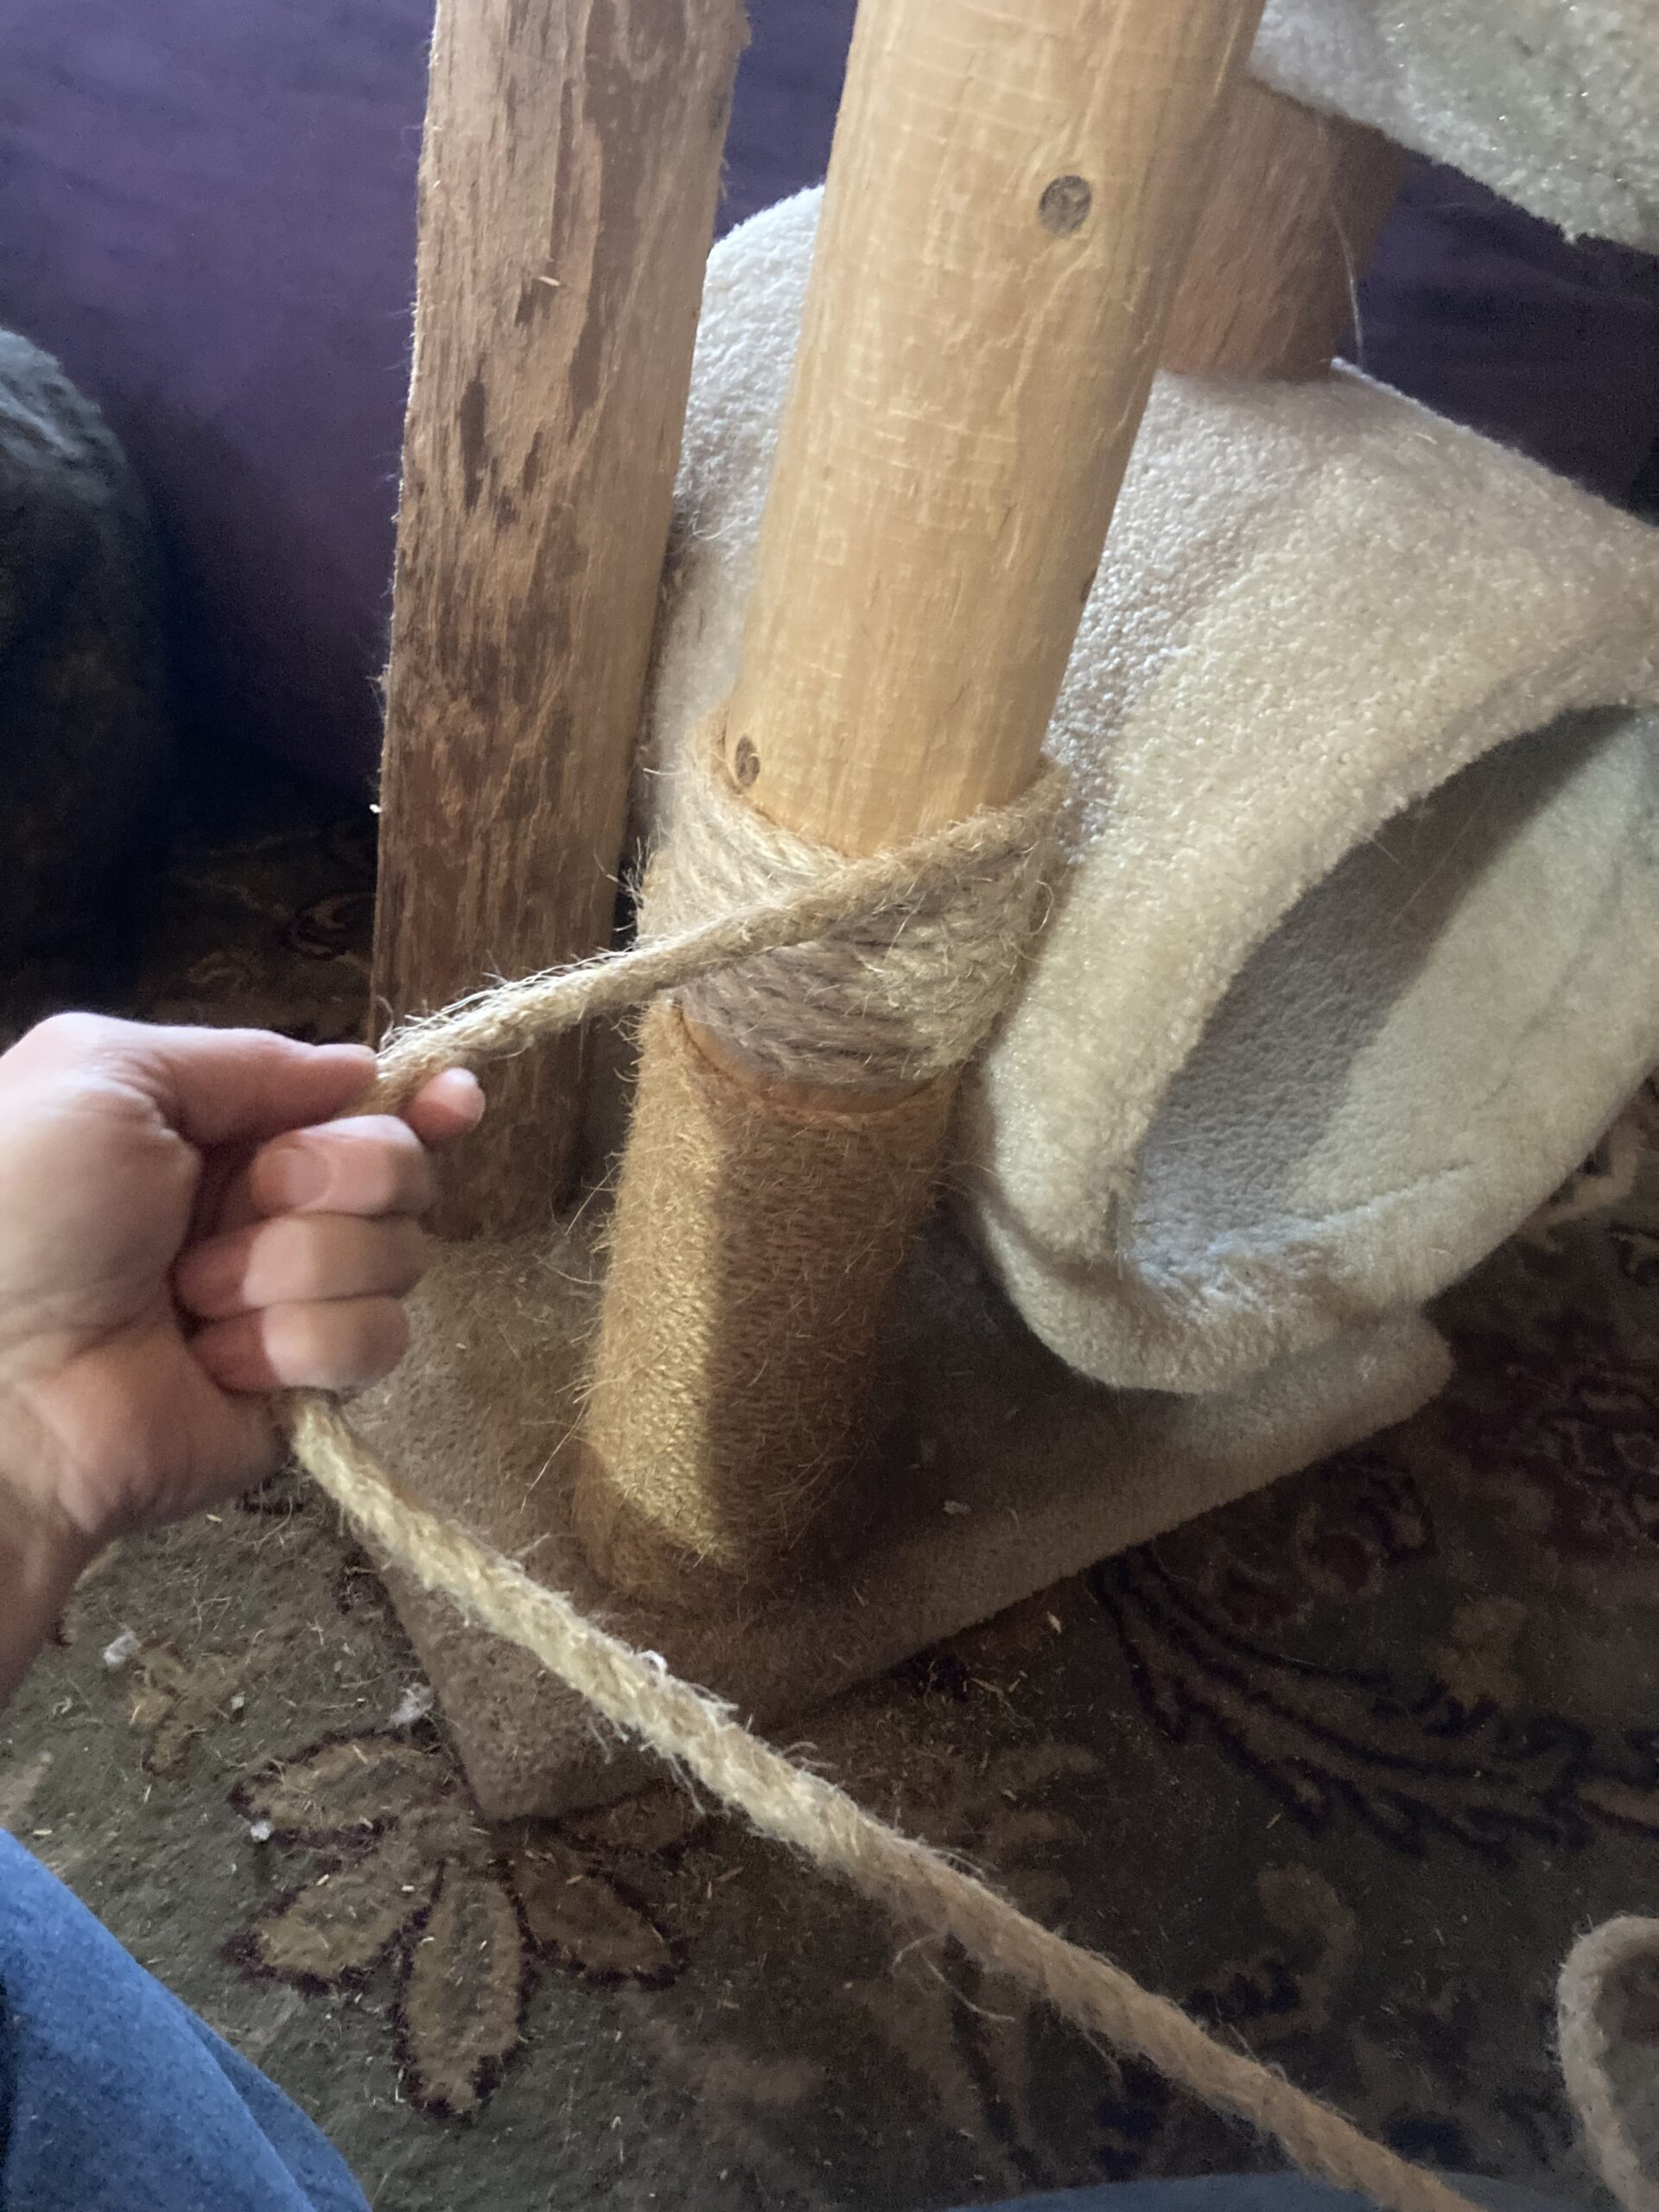
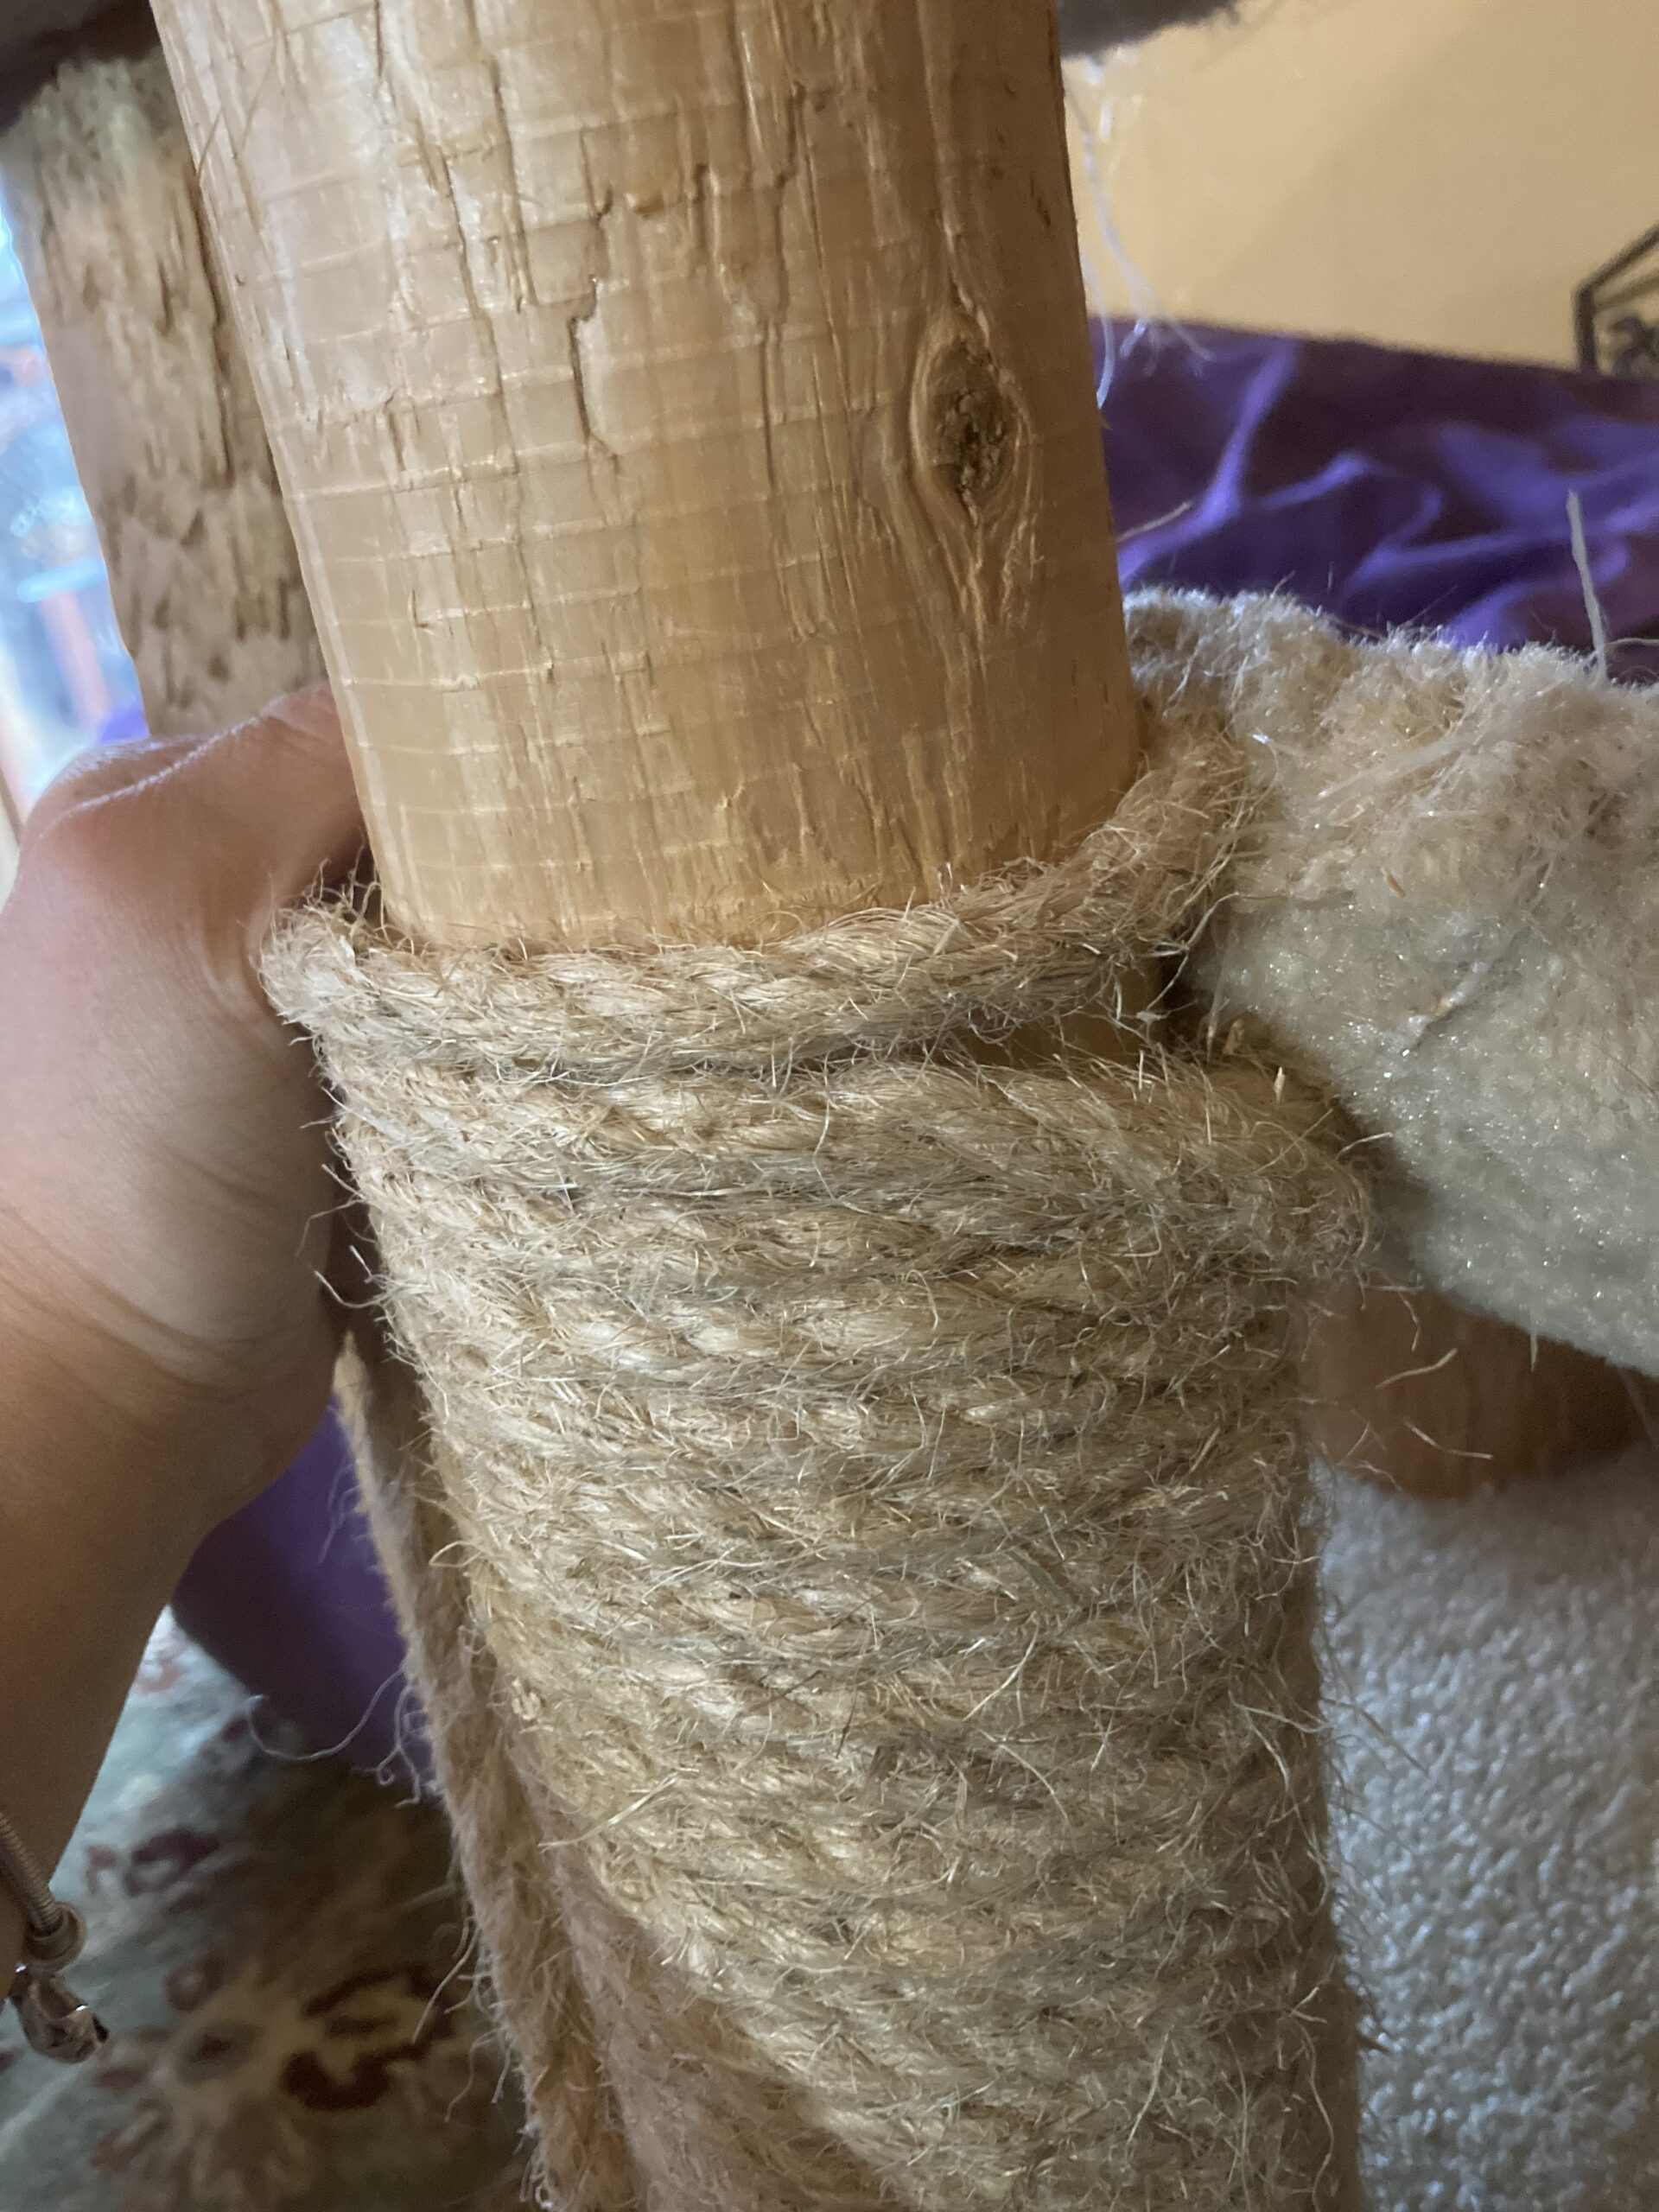
I tied the end of the new rope to the end of the good section of old, and then wound the rope around and around the post, keeping it nice and taught so the pieces don’t overlap each other. Keep the coils nice and tight, and push them against each other tightly so they make a nice mat for the cat to scratch on.

Keeping the coils tight to the wood, keep them pushed close together as you wind the rope all the way up the post.
These fence staples come in handy!

If you have a simple post like mine, don’t bring the rope coils totally flush with the top. I kept mine about an inch down to prevent my cats from pulling the topmost coil up over the top of the post and unraveling it all.

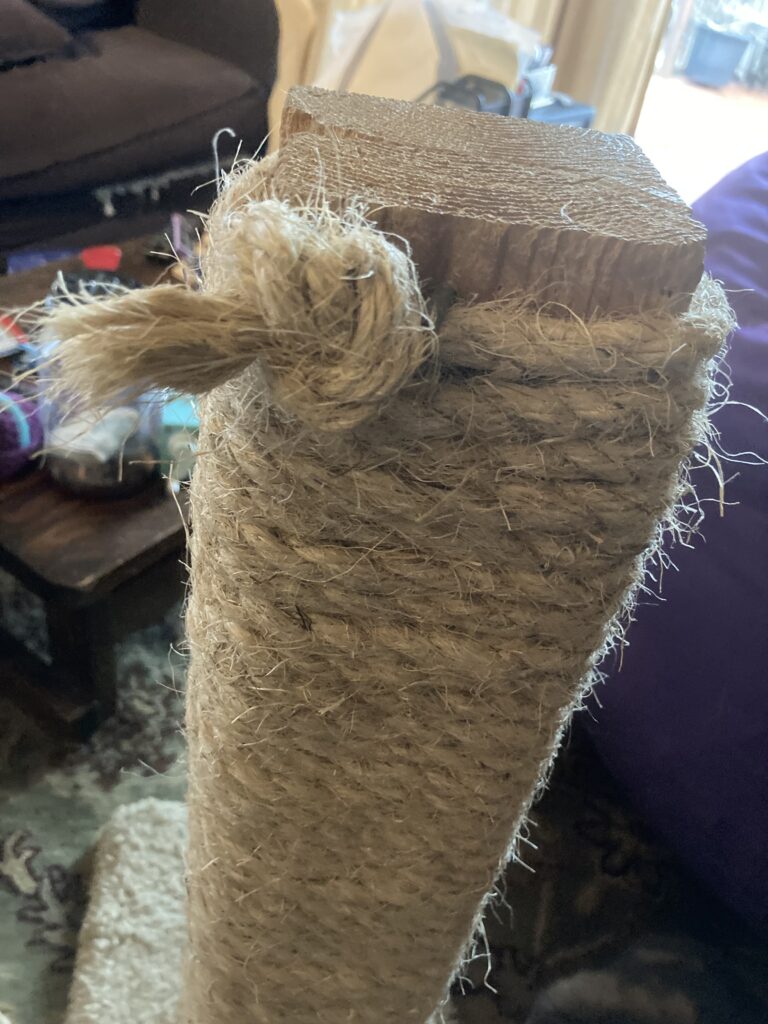
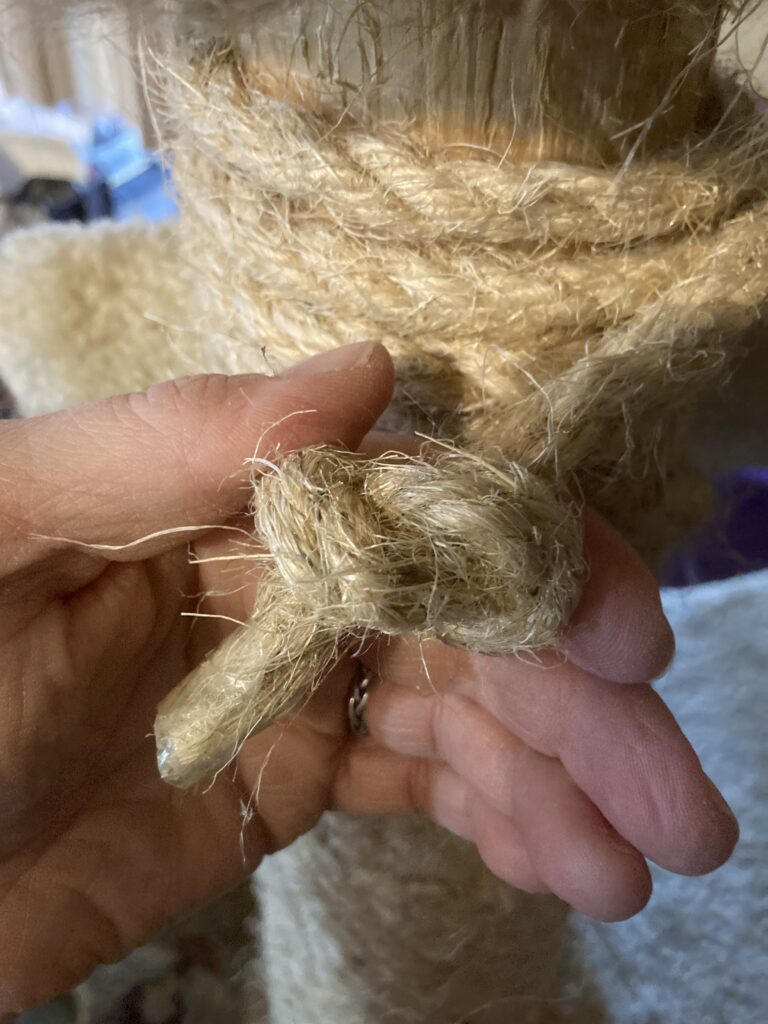
Keeping the rope tight, hammer in one of these awesome fence staples so it holds the rope tight to the post. Hammer it in good and secure so the cats can’t pull it out–give it a good tug to make sure it is really in there! After the nail is in, you can tie a knot in the rope on the other side of the nail and cut the loose end of the rope. The knot will help keep the end of the rope from sliding through the nail staple.

It should look like this (except hopefully a little neater). Notice the heavy duty staple on the other side of the knot, helping it keep the rope securely in place.

That’s one post done. The cats were scratching at it before I was even done wrapping the coils!

Here is the second tragedy–I mean post. They really did a number on this one! The rope has never been replaced on this 14-ish year old post.

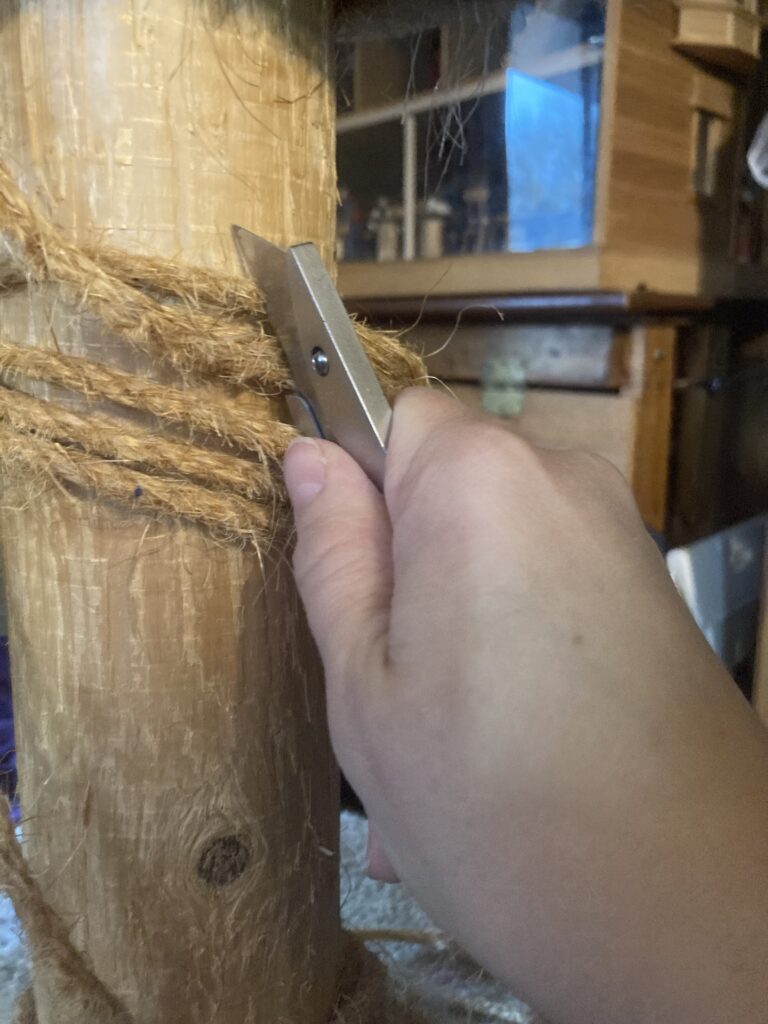
My second scratching post was just awful! I hadn’t realized all of the damage they had done to the rope, as it was turned away from view. First I had to remove the old rope, as before. I removed all but the bottom few inches. This post was trickier as it has the platforms to work around. I ended up cutting the old rope as close as I could to the platforms, but a few strands were stuck where the post and platform connect so I just cut them close to the post, as the new rope covered up the tiny fragments of old.

Cutting with my handy-dandy box cutter.
As before, I tied the old rope to the new and began to wind upwards.
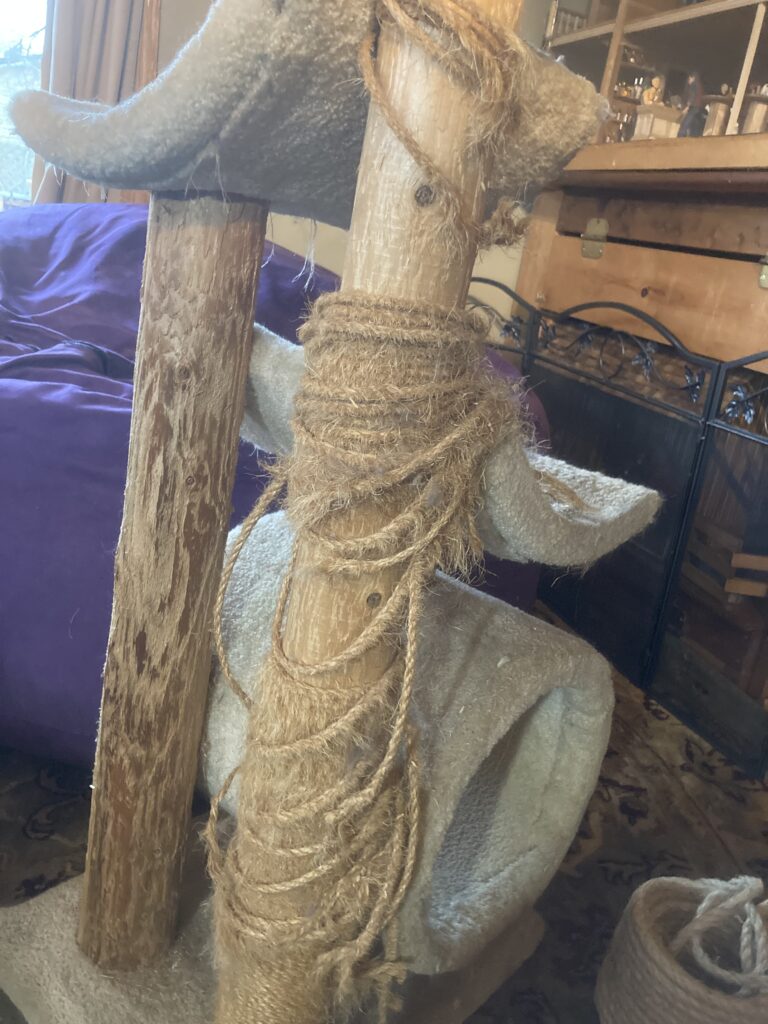
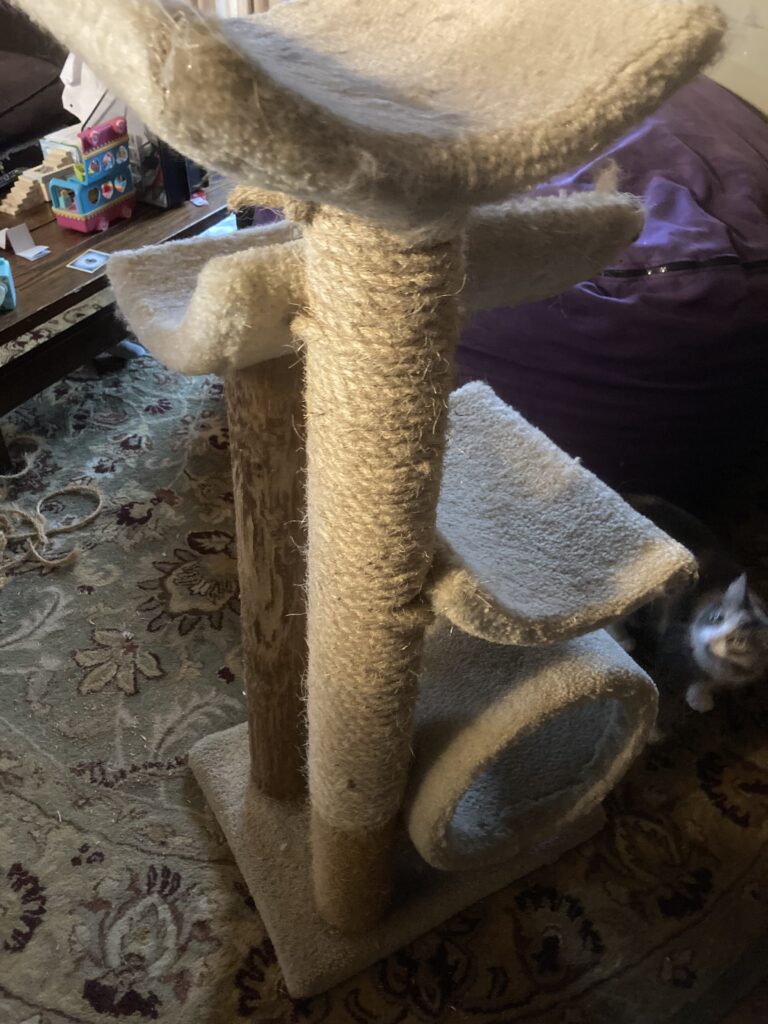
When I got to each platform, I ended up just winding the rope as close as I could to where the platform connected to the post and then continuing over the top of the platform, as pictured. I just focused on keeping the spacing of the coils as consistent as possible with the rest of the post.
I tied a knot in the end when I was at the top of the post, then used one of the fence staples to nail it in place on the post.
Placement of the fence staple.
Finished post. The cats (I have 5) are already excited to use it!

I hope this article gives a better idea of how to recover different types of cat scratchers. My cats were very grateful and excited to have their posts repaired. Any questions or comments? Feel free to post in the comment section!