As a passive collector of horseshoes, I decided one day to attempt to discern the ages of several shoes that I felt were older. I live in the United States. Most shoes in my area aren’t much more than 150-200 years old, with anything older than that a fine treasure, indeed! Ironically, good information about aging the shoes of horses in the United States is very hard to come by. I did, however, find some good articles and even books on horseshoes from Great Britain.
It seems that nail-on horseshoes have been around for centuries—almost a thousand years, even. During that time, changes in shoe-making evolved according to new discoveries in farriery and blacksmithing. It seems that every century or so saw a new style of horseshoe become popular for different reasons, such as altering the shape of the shoe to allow the frog of the hoof to make contact with the ground, adding more nail holes, alterations for traction, or adding an extra piece of metal to the hoof-side to keep the shoe from slipping and falling off. What is wonderful about all of this is that these discoveries and changes were usually documented in advertisements and journals.
I have discovered three great sources, so far, on dating English horseshoes. One is the Museum Of London, who has a website. They took photos of many old shoes and listed them online, along with their estimated dates. It has been enormously useful in testing myself on dating, and to discover possible dates for unusual shoes in my own collection.
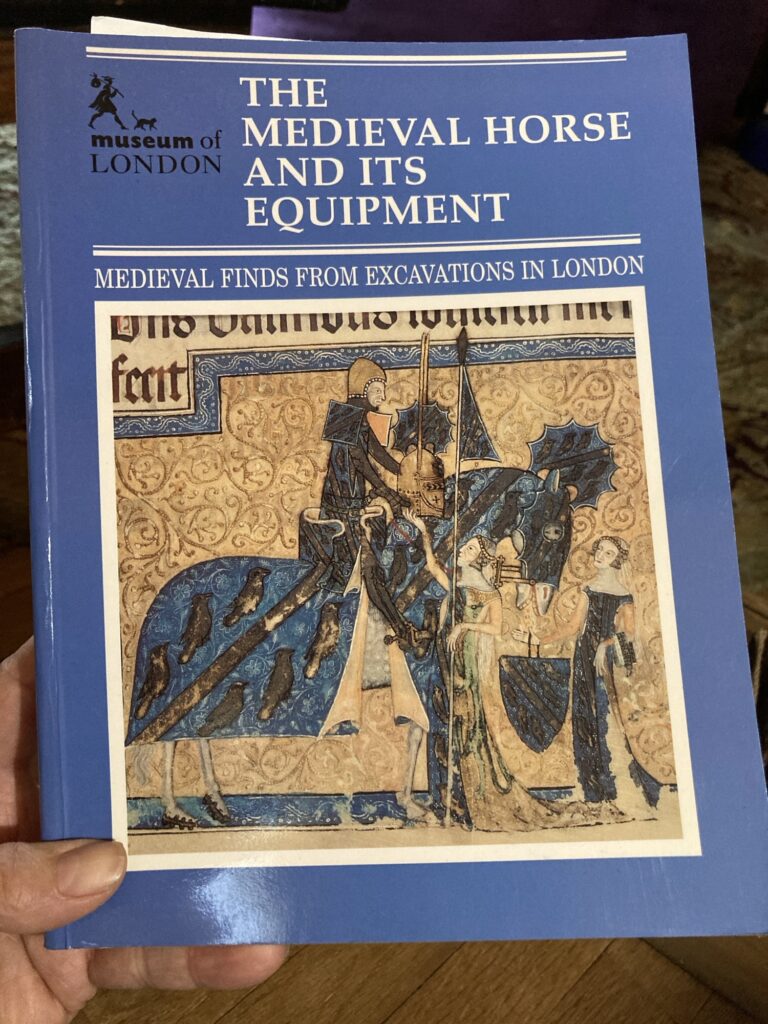
Another good source is a book called ‘The Medieval Horse and its Equipment’ from The Museum of London, edited by John Clark
This book has excellent material on dating and categorizing the older shoes that were found in London.
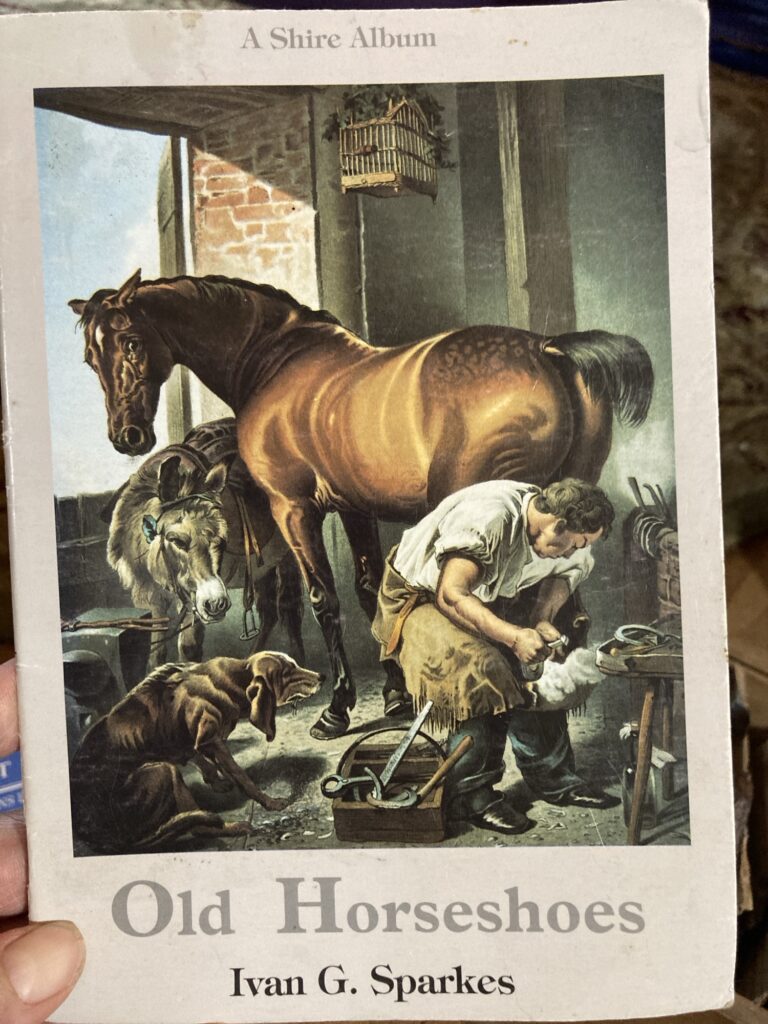
A third excellent source is the Shire Album ‘Old Horseshoes’ by Ivan G. Sparks.
This book has a nice history of shoes found in England. The author categorizes them slightly differently than the Museum of London book, but I believe the dates that he uses are pretty much the same. This book also lists shoes that are post-medieval, which is nice.
Studying these sources I have learned a little about ancient horseshoes, at least in Great Britain.
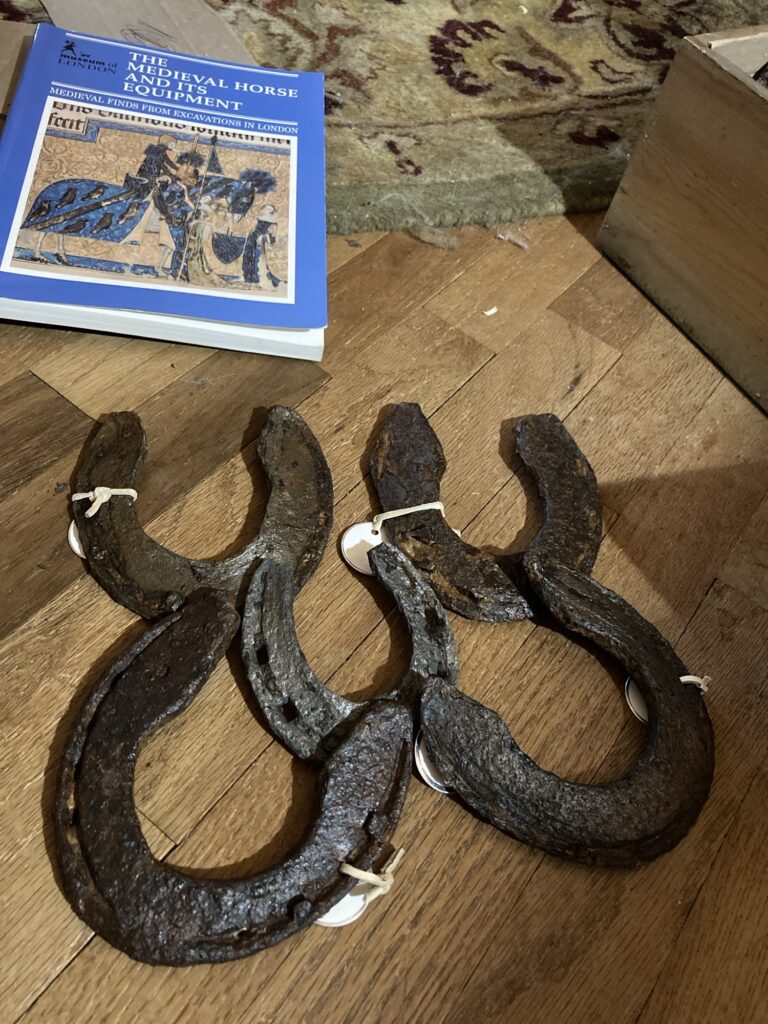
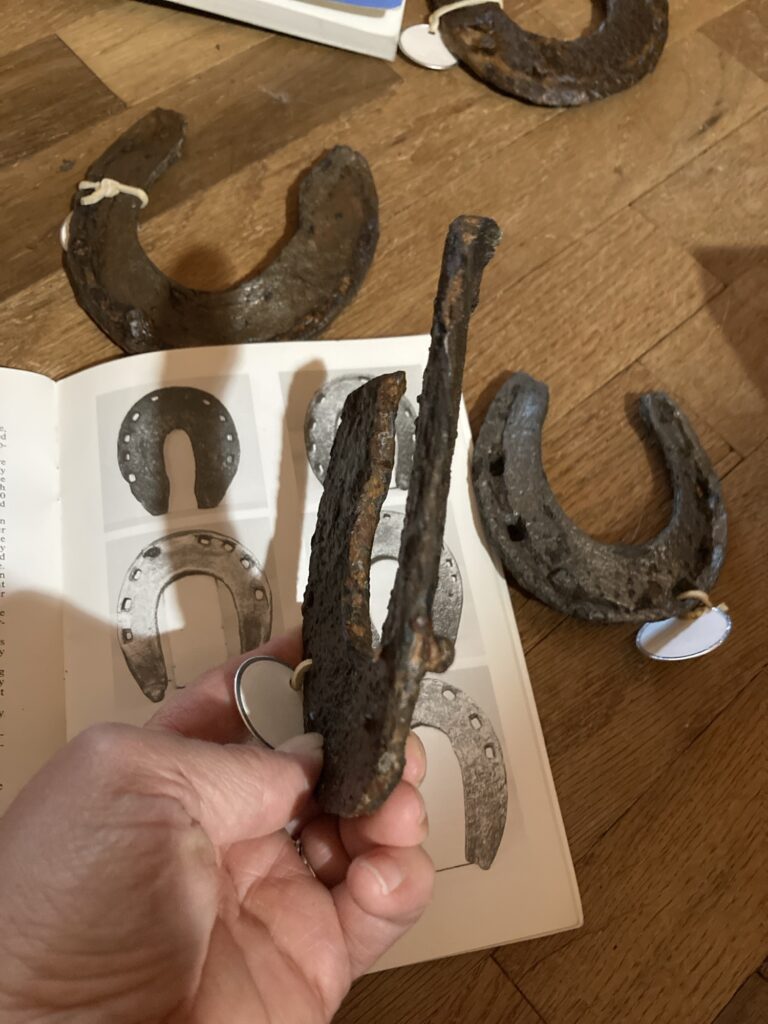
With this article, using these sources, I will show off some of the keyhole horseshoes I have in my collection. These shoes were bought from a metal detectorist in Great Britain.
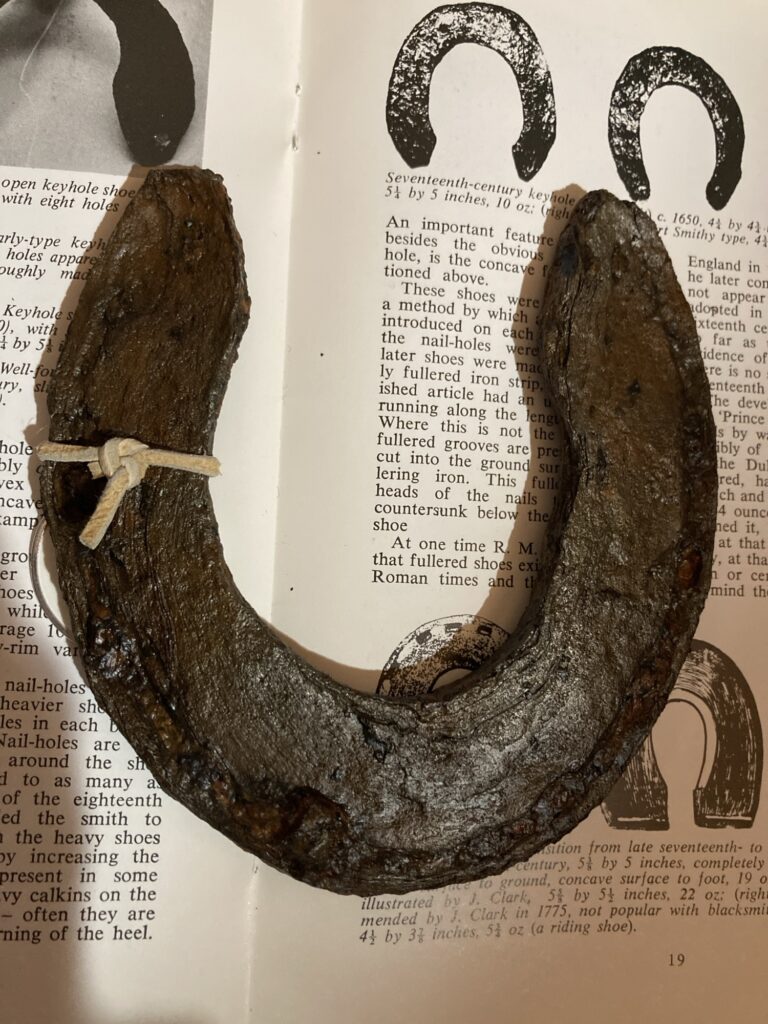
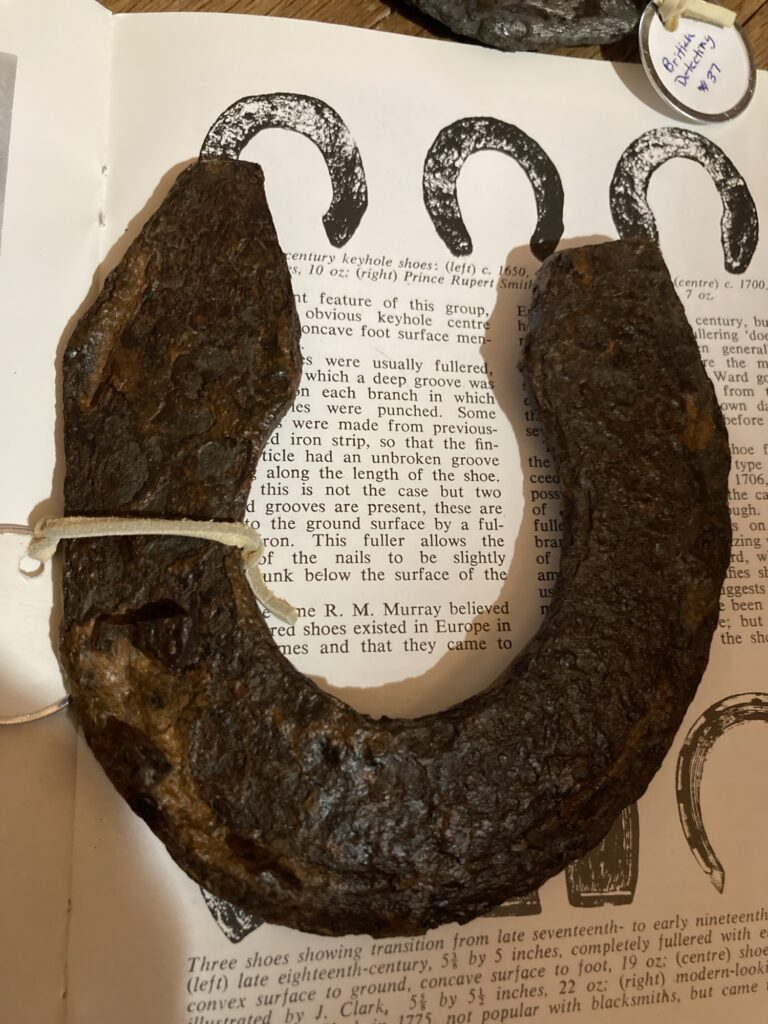
One of my favorite examples of a keyhole shoe. The fuller doesn’t extend all the way around the shoe so it may be older.
The keyhole shoe tends to be larger and heavier than its predecessors, and the thick branches and heavy heels form sort of a keyhole shape in the center, thus its name. It was mainly used on draft horses. Because the shoe is heavier, it tends to have more nail holes than previous shoes (older shoes tend to have 6 holes, 3 on each branch). Of the 5 keyhole shoes that I have, 3 of them have 8 holes (4 on each branch), 1 has at least 10 holes, and the smallest (which is pony sized) has only 6 holes (because it is a smaller shoe).
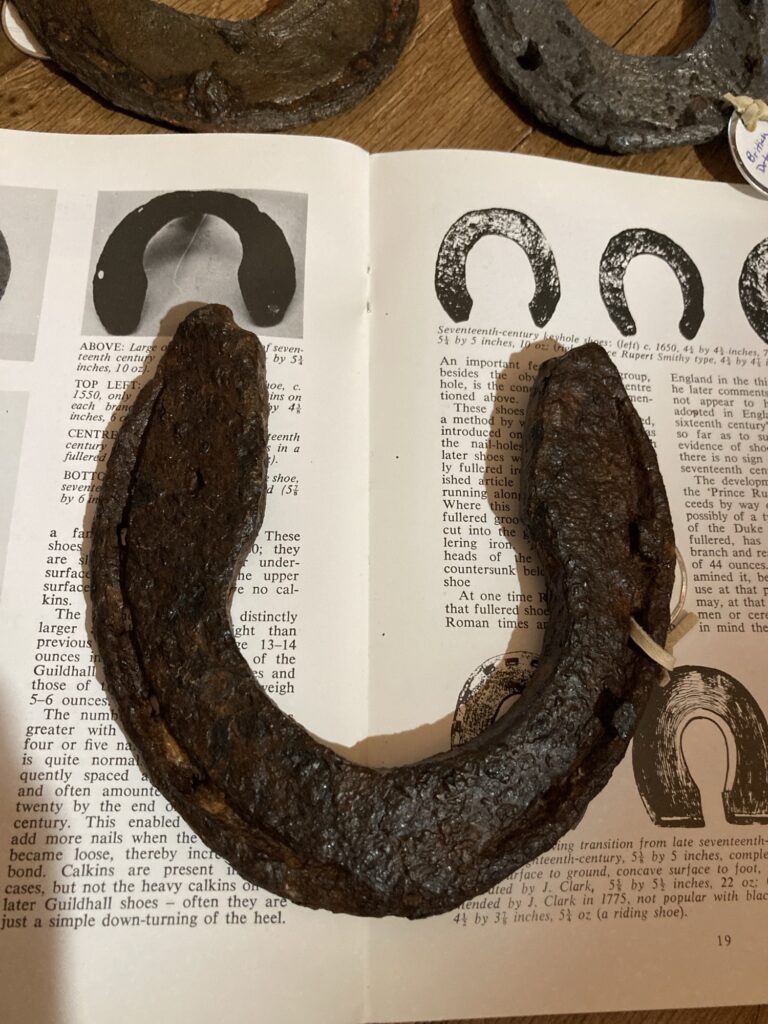
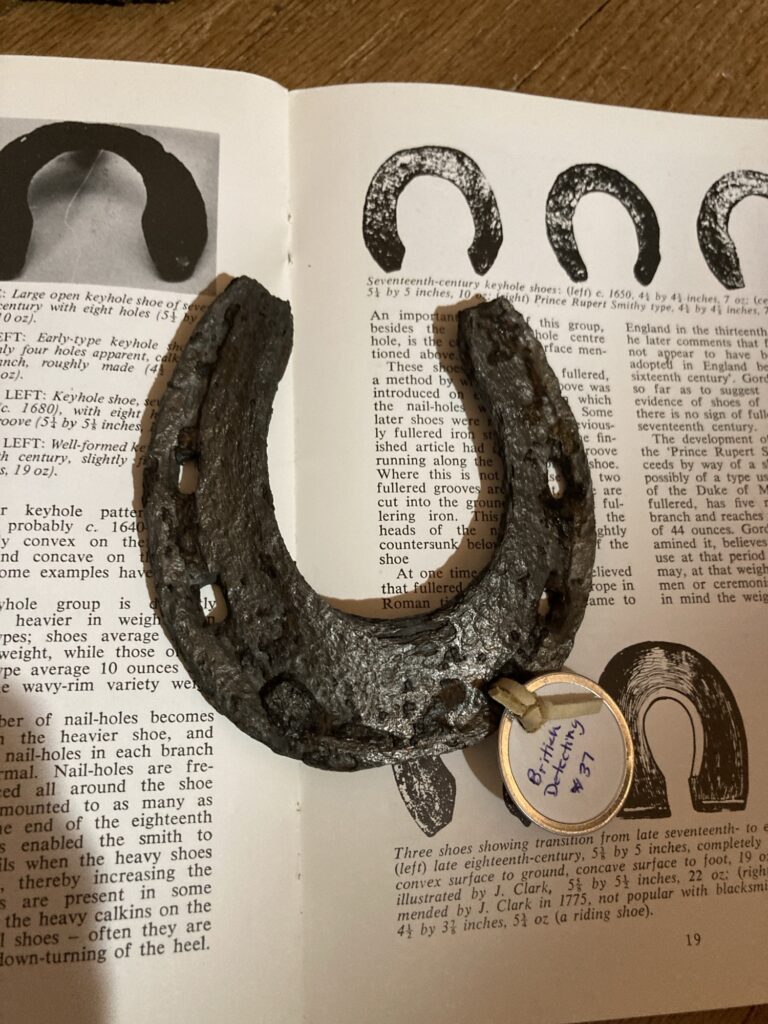
Notice the concavity. Also how thick this shoe is!As in the shoe above, apparently the calkins on keyhole shoes are a slight turning downwards of the heel. This is to add more grip on the ground surface.
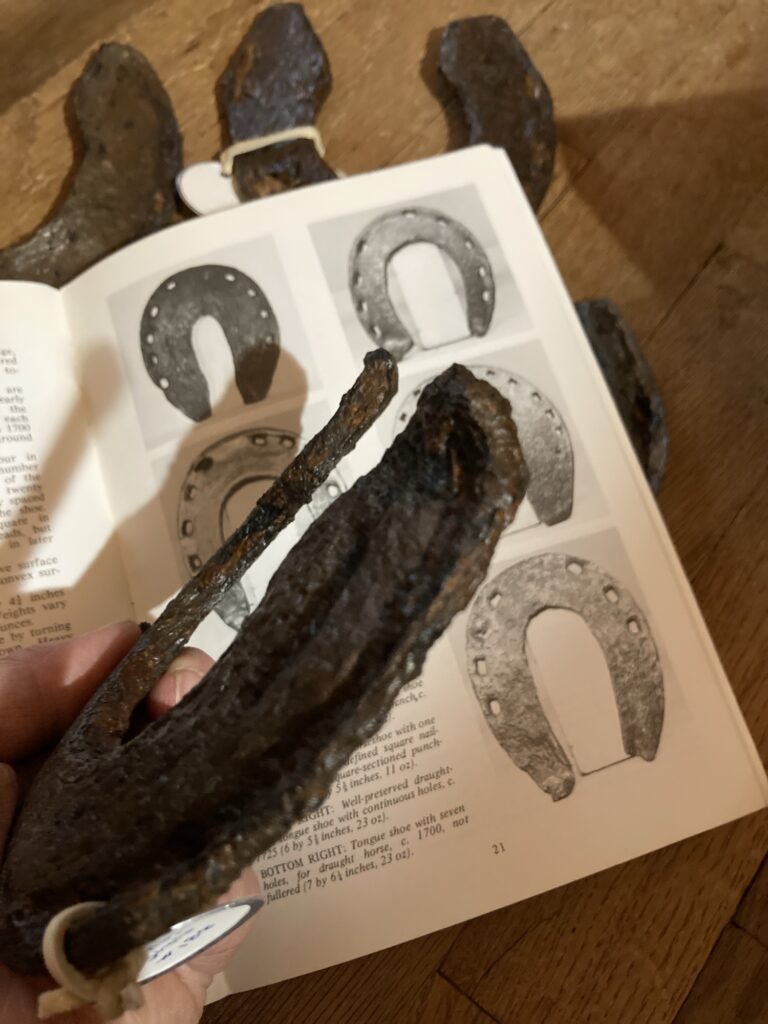
Keyhole shoes also tend to have a concave foot surface. Some have calkins on the heels as well, and some have a fuller (a groove that extends along the branches that the nail holes are in). Mine all have fullers, although some of the fullers are more pronounced than others. Apparently the keyhole shoes from 1700 and onward have a fuller that extends along the whole shoe, heel to toe, while older ones tended to only be fullered along the holes on each branch.
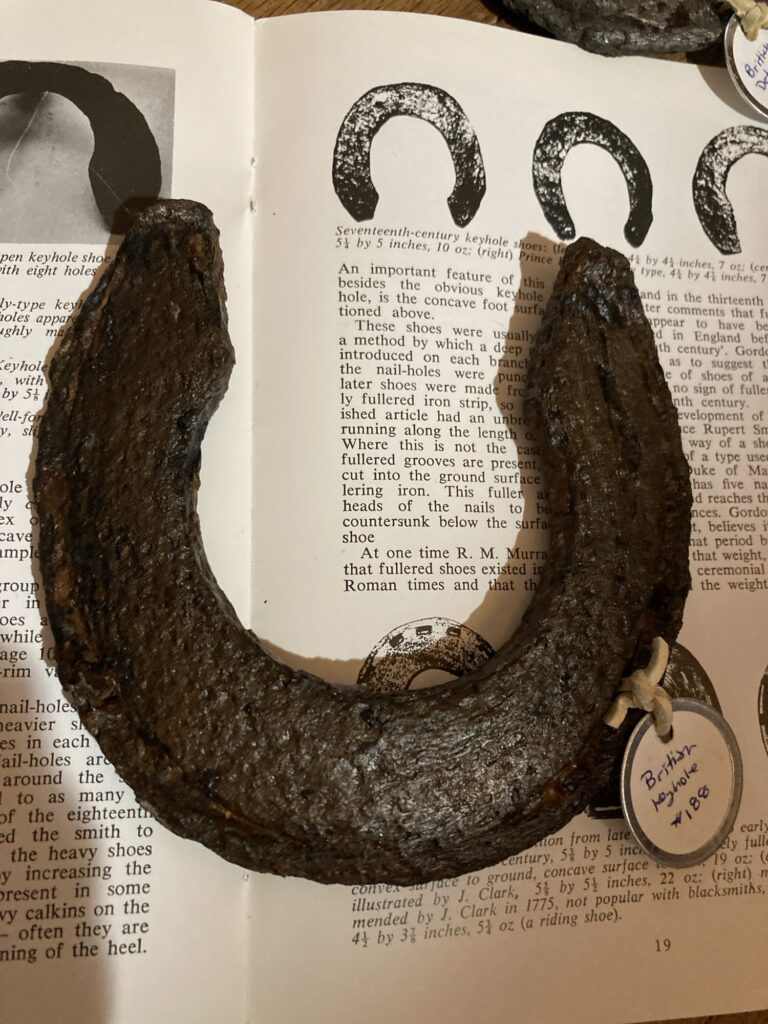
This shoe is fullered all the way around the shoe, so it may be 1700’s or later.
This shoe has a fuller all the way around, and may be from 1700 or later.
This shoe is fullered all the way around, and is probably from 1700 or later.
This one is pony-sized. Isn’t it cute??
The keyhole shoes were more popular from the mid 1600’s to the 1800’s.
I think one of the reasons I like these shoes so much is because they are so easily recognized by their distinctive shape, which is in sharp contrast to most of the shoes you see today.
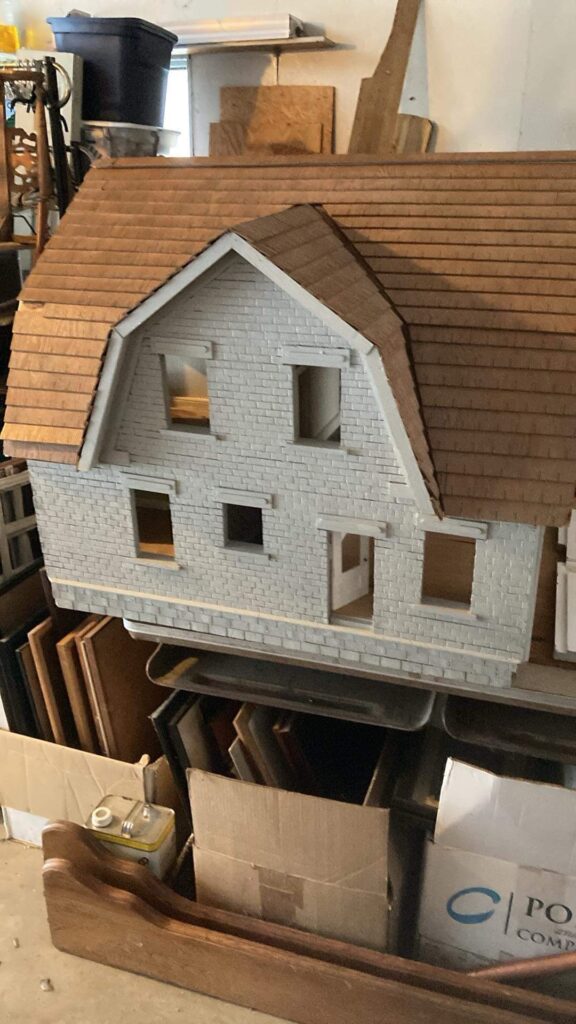
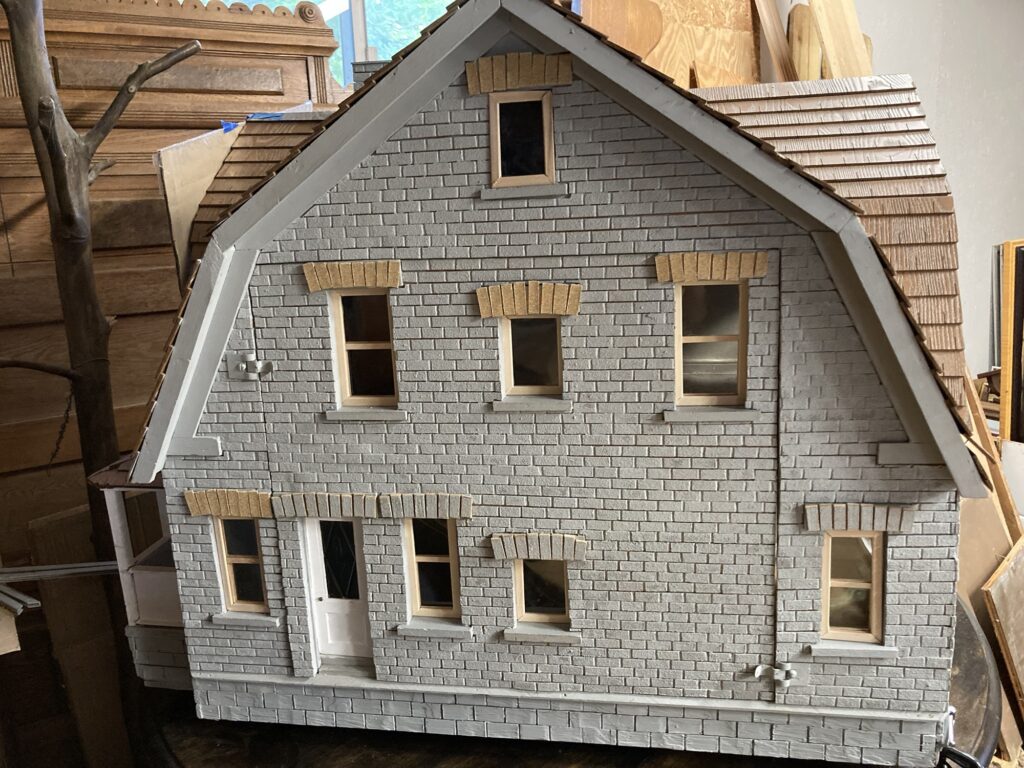
My newest acquisition. I was told that this dollhouse has been passed down through generations, and that it was made to resemble a family home. The previous owners decided that they didn’t have room for it and there was no longer an interest in keeping it, and so I purchased it.
Unfortunately my family recently lost the beloved real home of my grandparents, so this dollhouse came at a good time for me. It lost its family, and I lost a house. Maybe together we can find a little closure.
My ultimate plan is to turn this into my own family heirloom, as it slightly resembles my great-great-aunt’s house, which I have loved since childhood. It will only require new paint to emphasize the bricks, the addition of some small architectural details such as decorations in the roof peaks and some fancy brickwork, and replicas of a few family heirlooms.
Shortly after it arrived.
This house doesn’t fit in my real house-it’s about 3 feet square. As a consequence it resides in my garage until I can get a bigger house, or make the door bigger! It’s fine, though, as I spend a lot of time in my garage. Anyway…
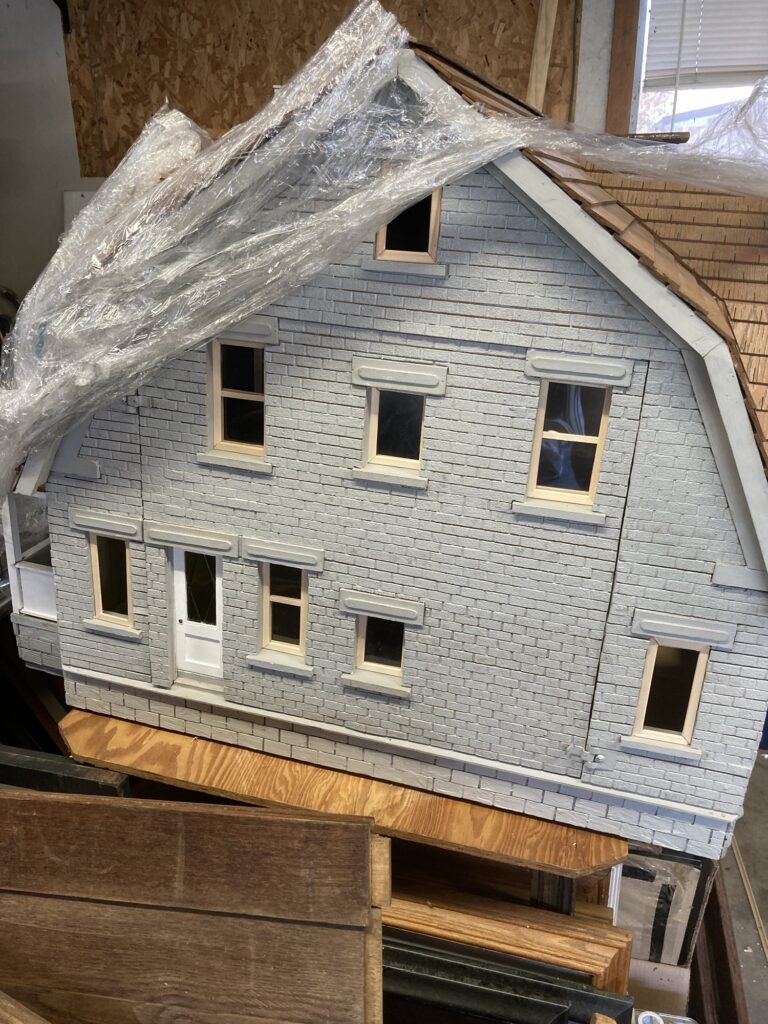
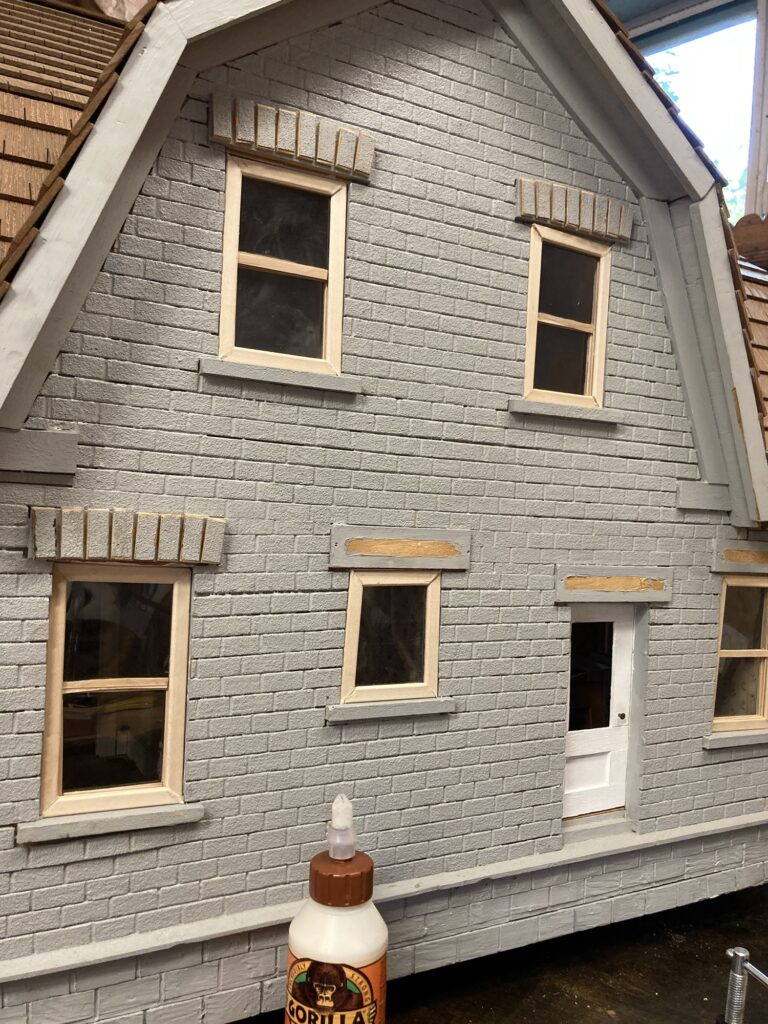
First things first, I decided that I need to get functional windows made and put in, to keep out any mice or insects.
I wrapped it in seran wrap over the winter to discourage pests. This is one wall of windows completed.
Using instructions posted in another article on this blog, I made all of the windows. Yay! Next, I wanted to make brick designs that go over the windows, to more closely resemble those found on my great-great-aunt’s house.
The bricks I added aren’t exactly the same as those on my aunt’s house, but I think with some creative painting I might pull off some similarity.
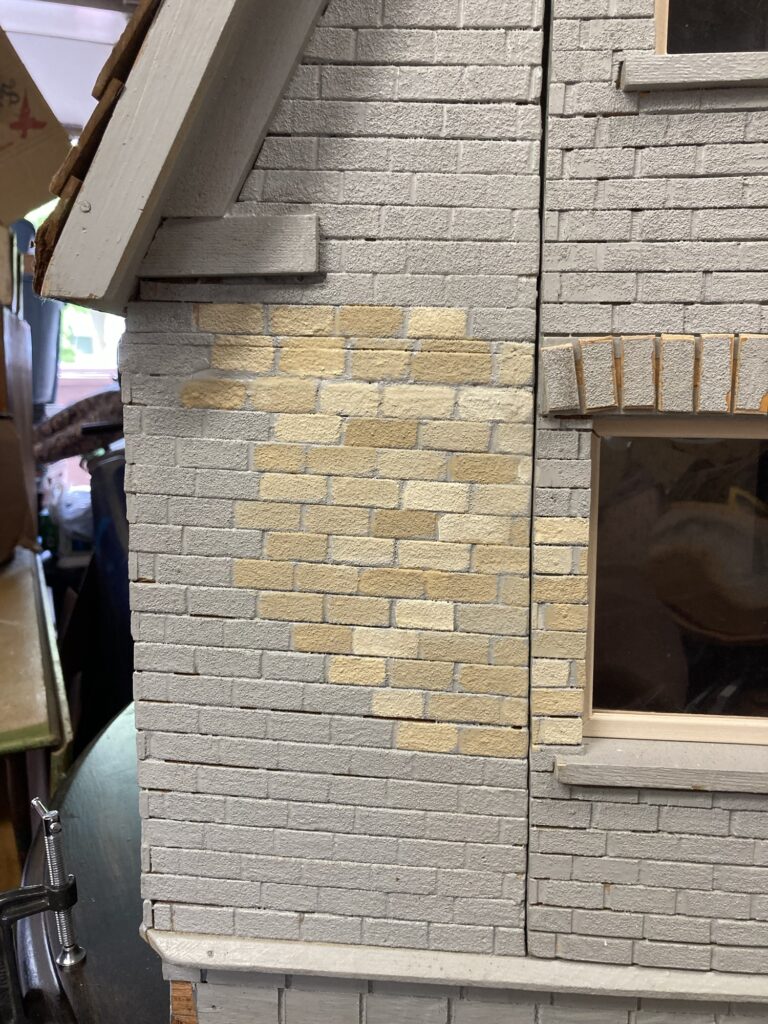
Fortunately for me, the house came with a few strips of wood with ‘bricks’ left over from the siding. It wasn’t quite enough to do the whole job, so I made more by gluing sandpaper to popsicle sticks, and then cut the sticks into brick-sized pieces.
Some of the old bricks and some of my ‘new’ ones made with popsicle sticks and sandpaper. They were virtually the same.
Now on to paint!
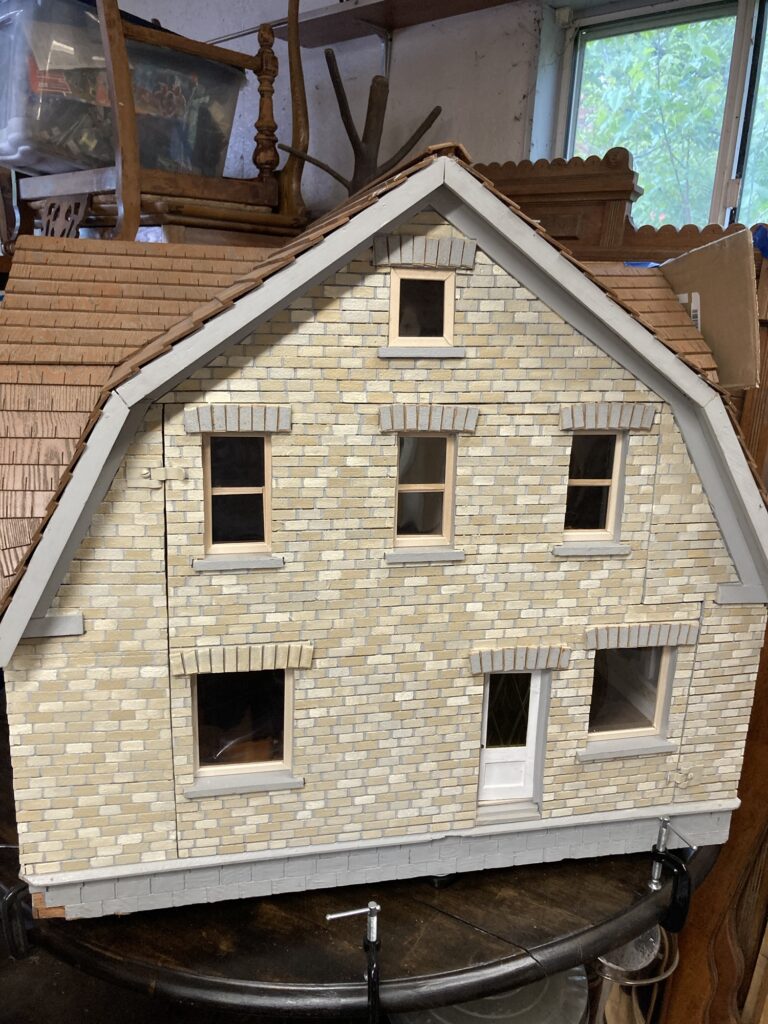
The paints I used. I used the paints right out of the bottle, plus mixed them together on a pallet to make new colors that are similar shades. I wanted them all to look like similar bricks but not all the same color.I wanted them all to look similar yet different. One side done. I will go back to the window bricks when the sides are all painted, and then, eventually, I will paint all of the trim.
When I am done with all sides plus the windows, my plan is to put a watered-down gray wash over the whole thing to add some weathering.
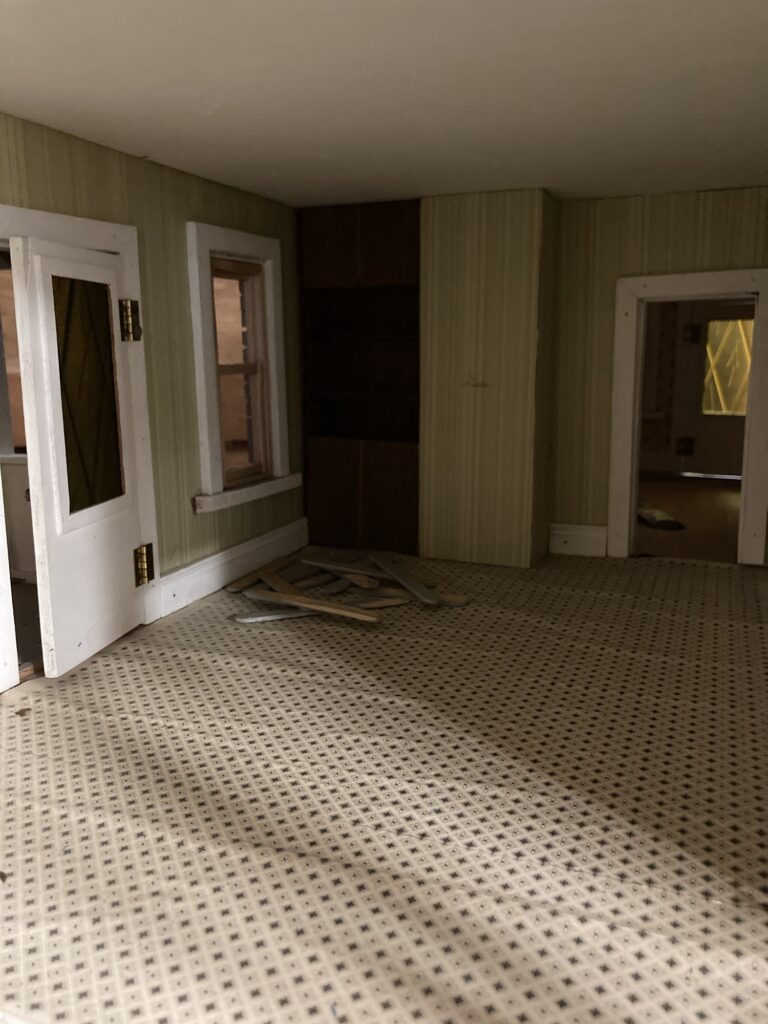
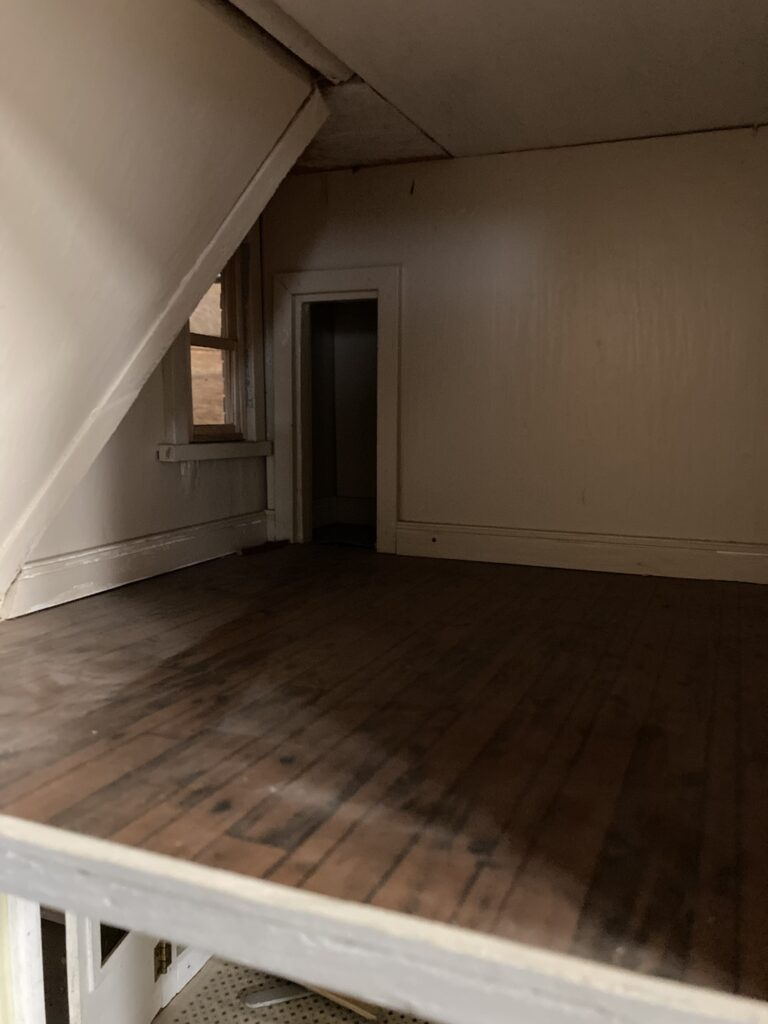
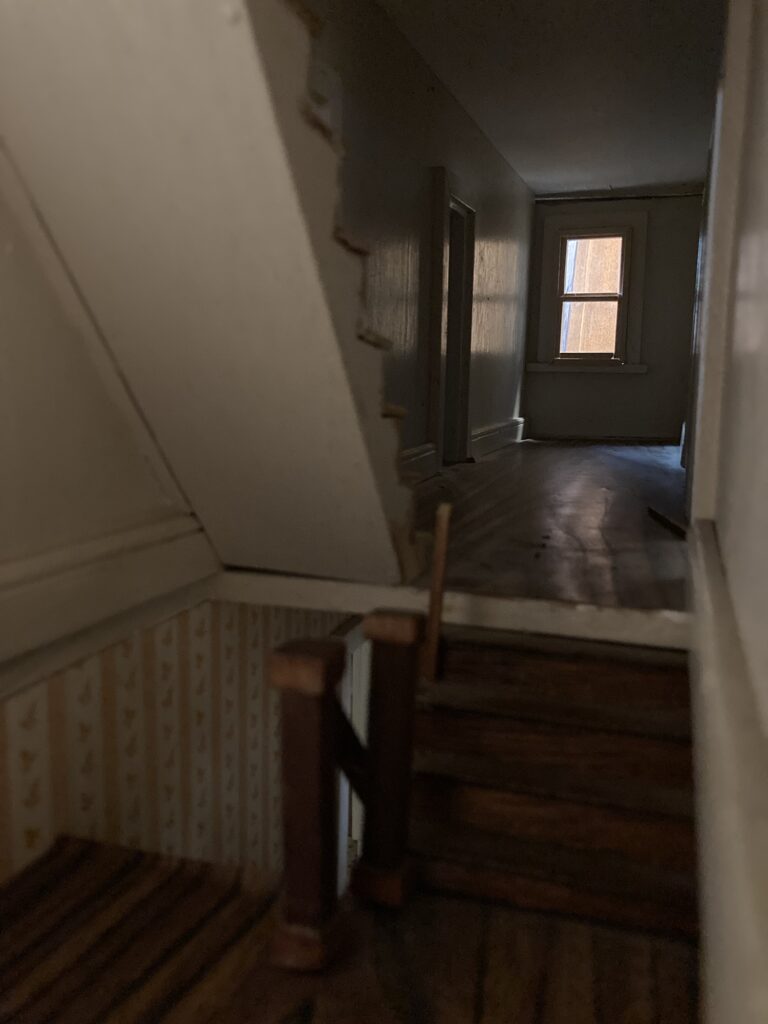
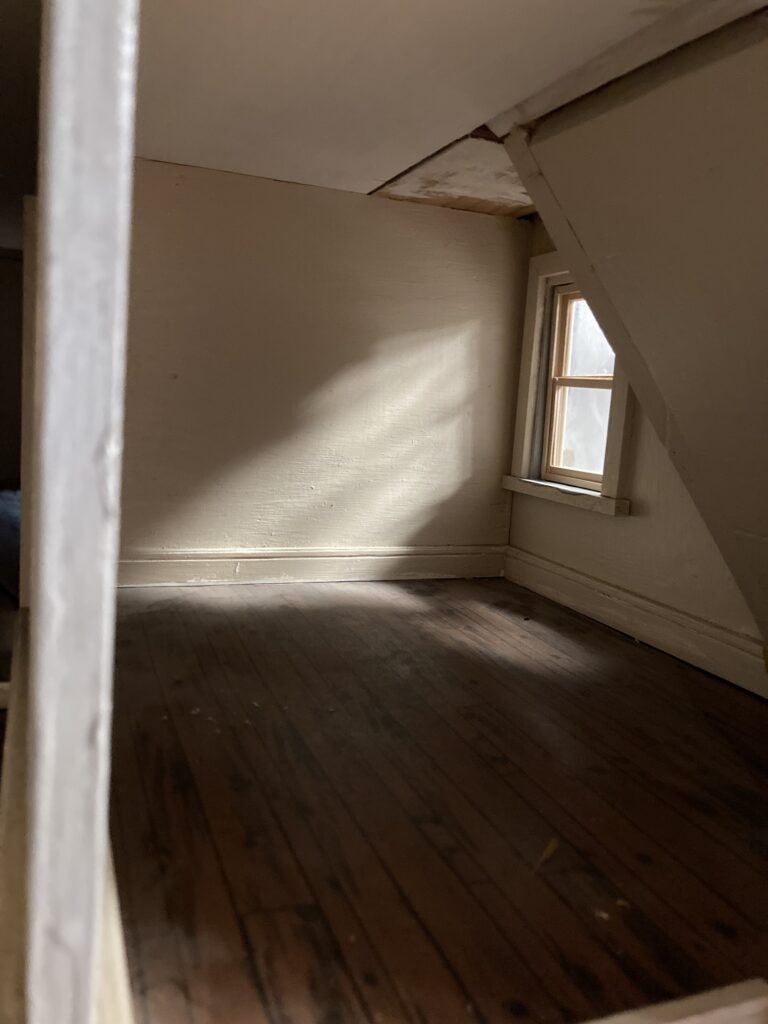
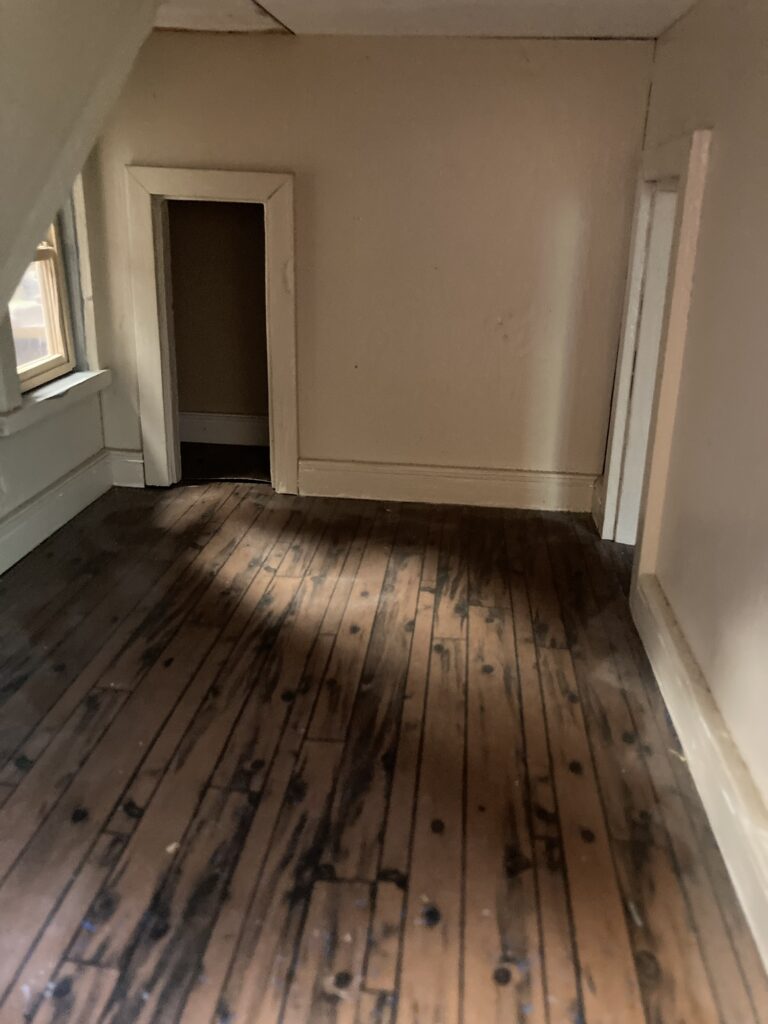
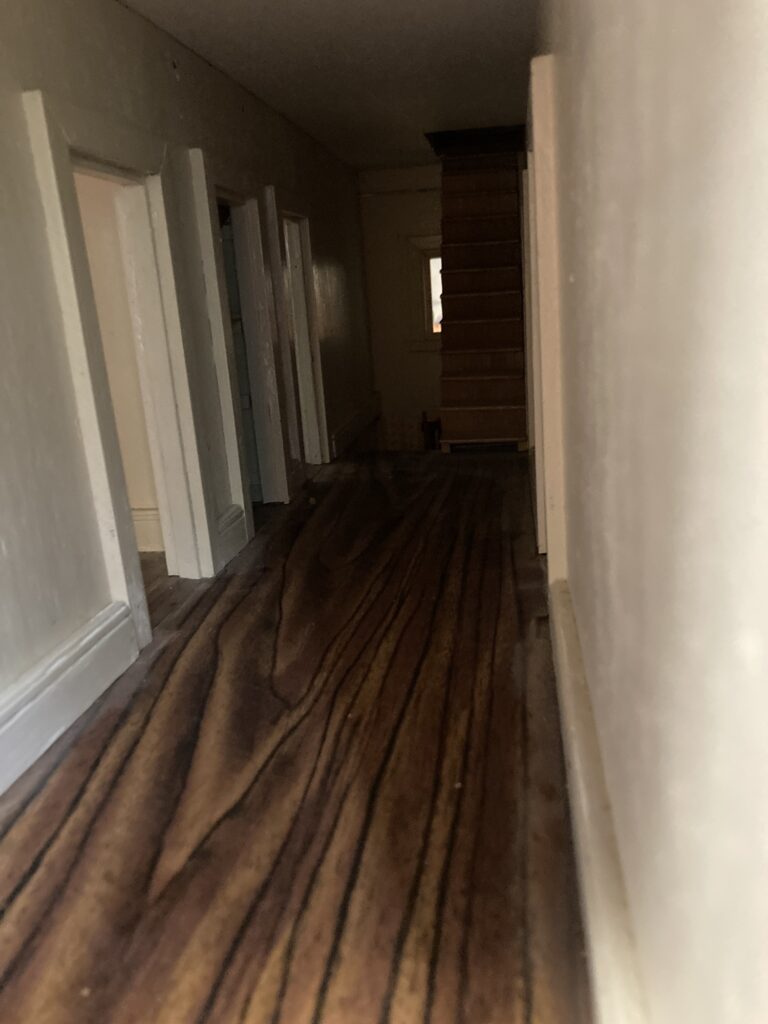
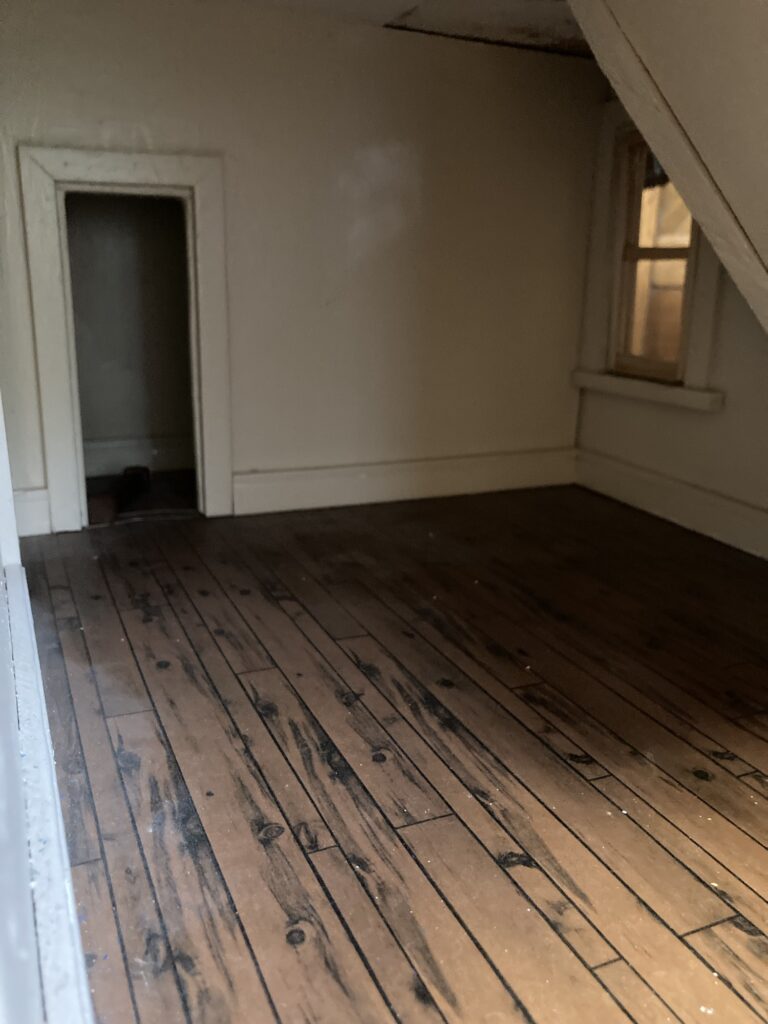
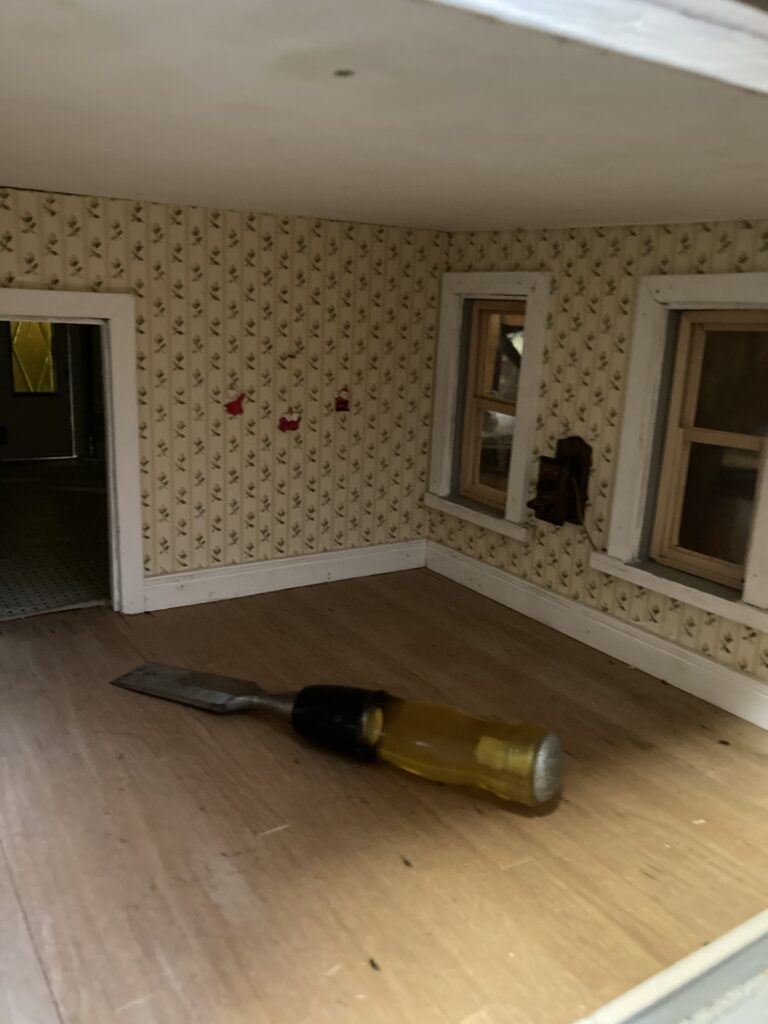
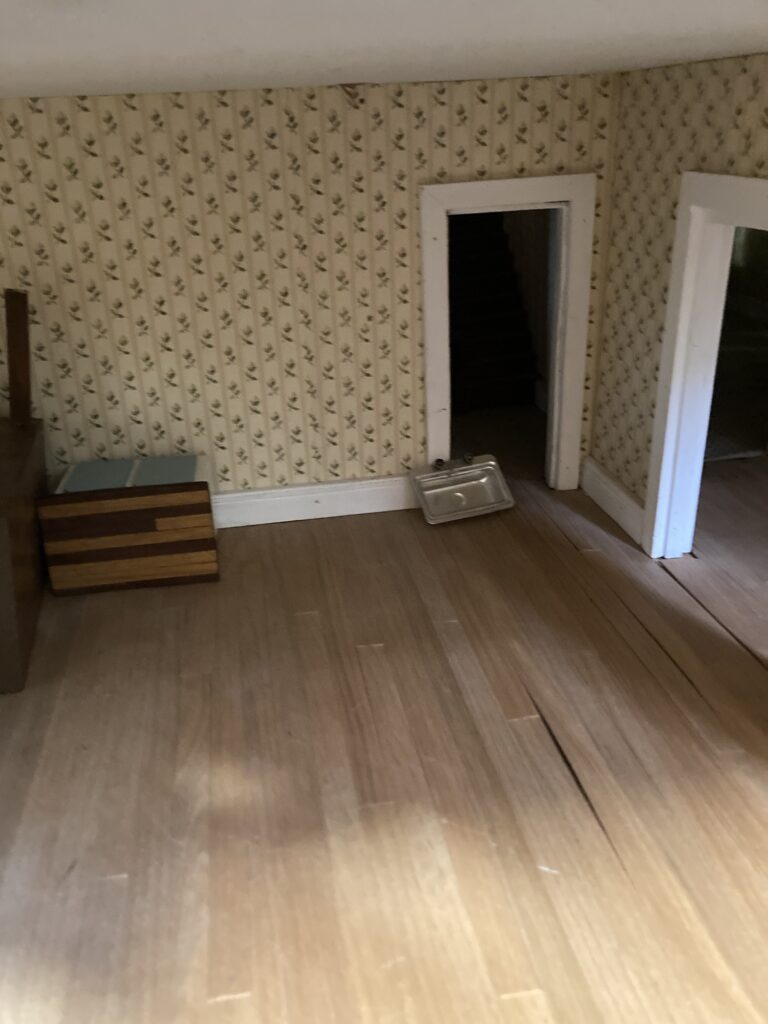
Here are some photos of the inside, which has not been touched (or unfortunately cleaned) yet.
A parlor or living room?A bedroomThe stairwayAnother bedroom. Love all of those angular ceilings!Another bedroom. It even has closets!!Upstairs hallway, with stairs to the attic.Another bedroomThe kitchenDining room
This house has lots of nice details, like closets and some built-ins, and the rooms are very big! The attic is only accessible by small windows. It does need some minor repairs, but it will be fun!
I am not sure how old this house is. When they say ‘generations’ it may just be made by grandma and given to grandchild. There is no real telling as I can see some updated items, and nothing points to this being an actual antique. It could be older, though, under its newer paint and flooring, as some houses are updated through the generations. I can say fairly confidently that it is one of a kind.
I can’t wait to get more done on this! This is my 13th dollhouse/structure. It’s nice because most of my houses have little projects that can be done on them, so I can pick and choose what I feel like working on on any given day. After the initial outside work, this house will be mostly a furniture-project house, as the inside is mostly decorated nicely already. Stay tuned for more updates!
I am an avid horseshoe collector, and often find myself in possession of a particularly rusty specimen that has been buried for years, if not centuries. I have tried several methods, with varying results, to remove excess rust so that any distinguishing characteristics are more easily recognized, such as the nails and any maker’s marks. These are a few methods that I have tried so far.
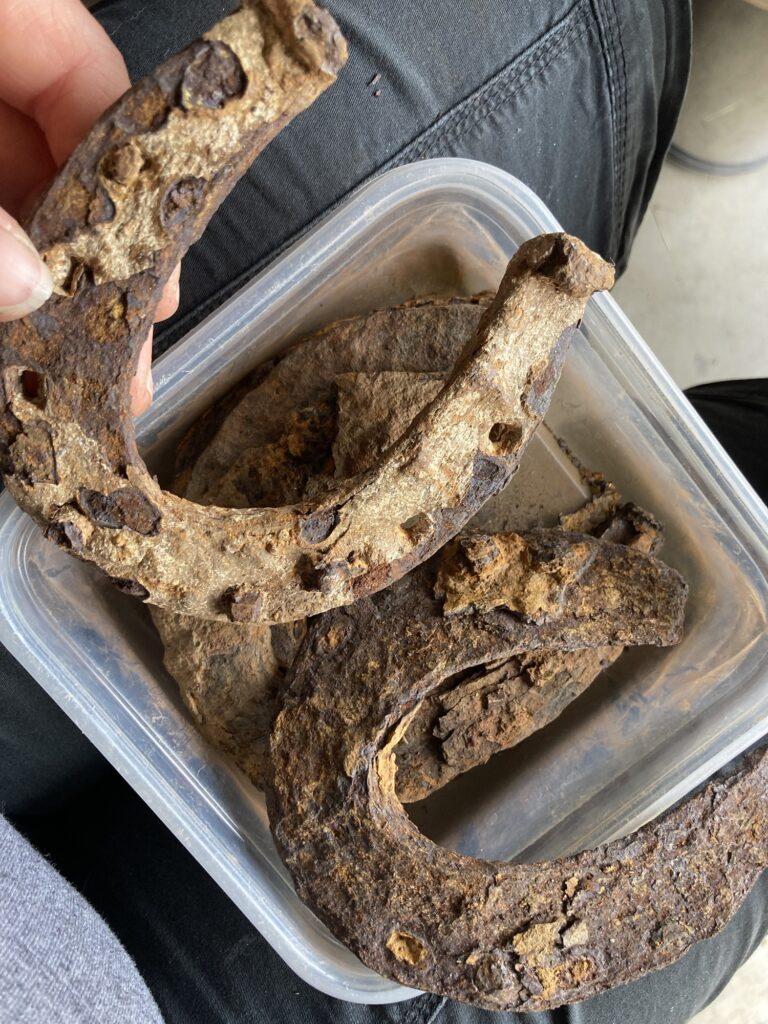
Very old British horseshoes before cleaning. I had to scrape off a LOT of flaky rust and dirt. If I hadn’t, they would shed a lot of grime with just handling them, as some of them had been buried for hundreds of years. Also, rust can be ongoing even after removing them from the ground, and I want to preserve them the best that I can.
Evapo-Rust. This product can be purchased at different hardware stores or auto supply stores. It’s a chemical that you can soak rusty parts in to get them clean. I have used this on my horseshoes and, while I did really like the results, I ended up soaking the shoes for far longer than the directions recommended. I had to soak them for a few hours, scrub them with a hard-bristled steel brush, and soak them again, over and over to achieve the desired results. Granted, if the shoes didn’t have a thick deposit of rust on them the job went very quickly, but for shoes with heavy accumulations of caked-on rust and grime, it was a very tedious process, and the chemical cost me about $25 a gallon. It only takes off so much rust before it needs to be disposed of and replaced, so for a lot of shoes it can be expensive.
This shoe was cleaned with Evapo-Rust. It looks about the same as one with Vinegar. There are a few flakes of fresh rust (the reddish brown. Dark brown is treated) where my Rustoleum didn’t cover well, or where I picked off a tiny chunk of treated rust afterwards, exposing untreated metal. It is important to spray SEVERAL COATS of paint on front and back, and the thin sides as well, to prevent further rust from forming and further damaging your shoe. I will have to put another coat on this one.
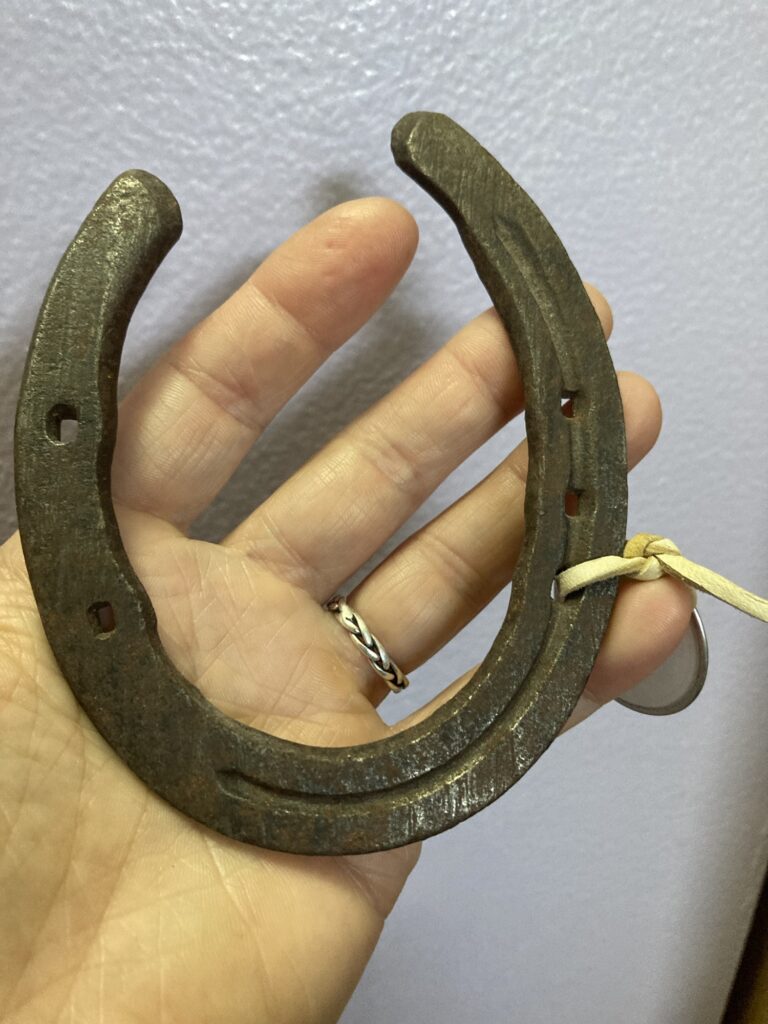
White Vinegar. This is my go-to method at the moment. I simply soak the shoes for about 20 minutes or so, scrub them with a steel-bristled brush to remove rust, and soak them some more until they look the way i want. Afterwards I soak them for a short time in water with baking soda in it to neutralize the acids from the vinegar. Be careful not to soak your items for too long in the vinegar, as it will eventually eat away at the metal. I vaguely recall trying this method when i was a child and being very disappointed when my shoes were very, very pitted after having been forgotten for, say, a month or so. It’s ok to soak them for that long if you keep checking on them and scrubbing to help the process, but if you throw them in the vinegar and forget about them forever, the chemical will eat into the metal.
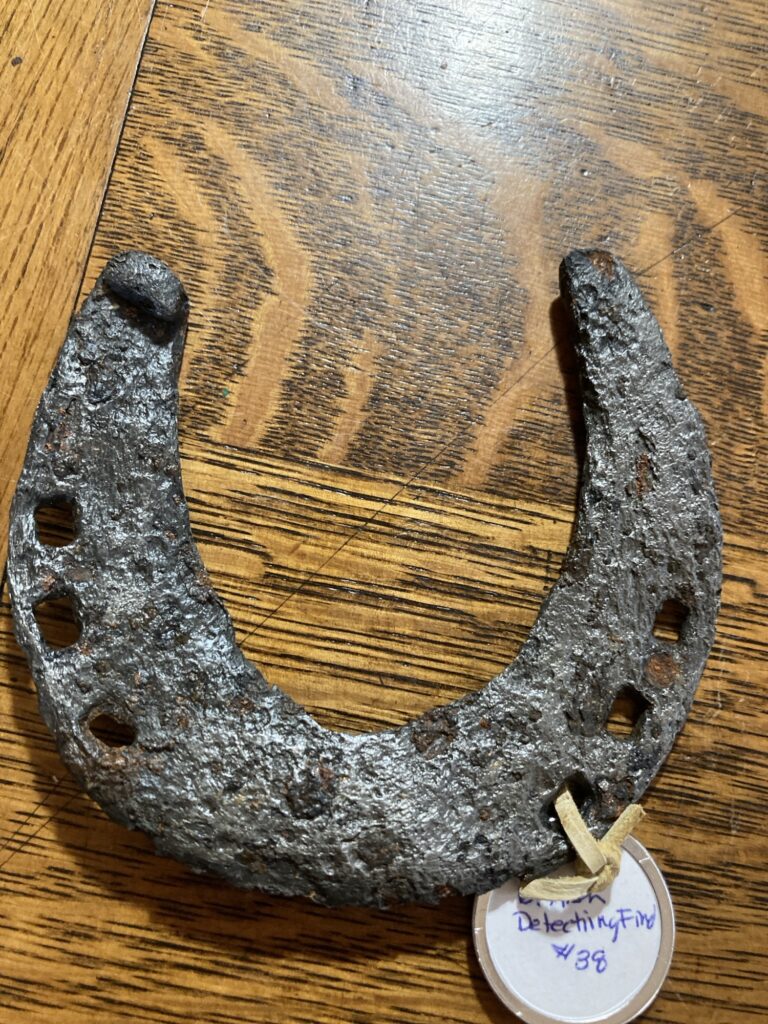
I suspect that this shoe was one that I carelessly soaked in vinegar and forgot about as a child. Notice the excessive pitting and how some of the nail holes are eaten through at the edges. In my area, this shoe isn’t much older than 100-150ish years old. While being buried in different environments might cause this damage, the lack of rust makes me suspect it is from the vinegar accident of my childhood.
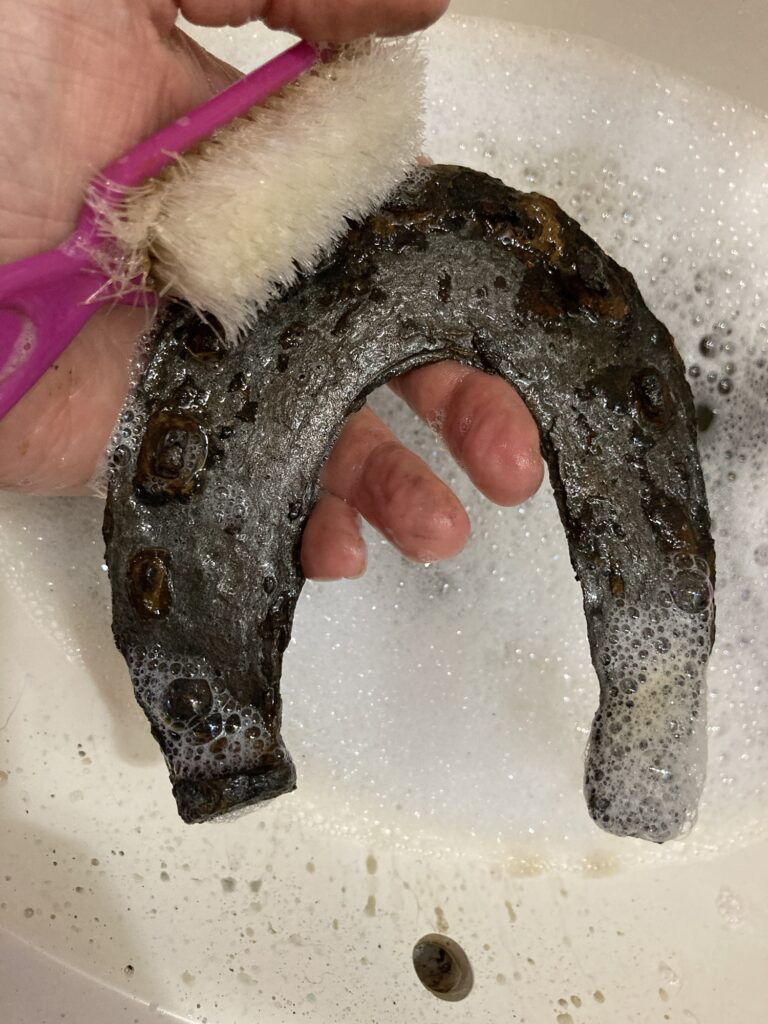
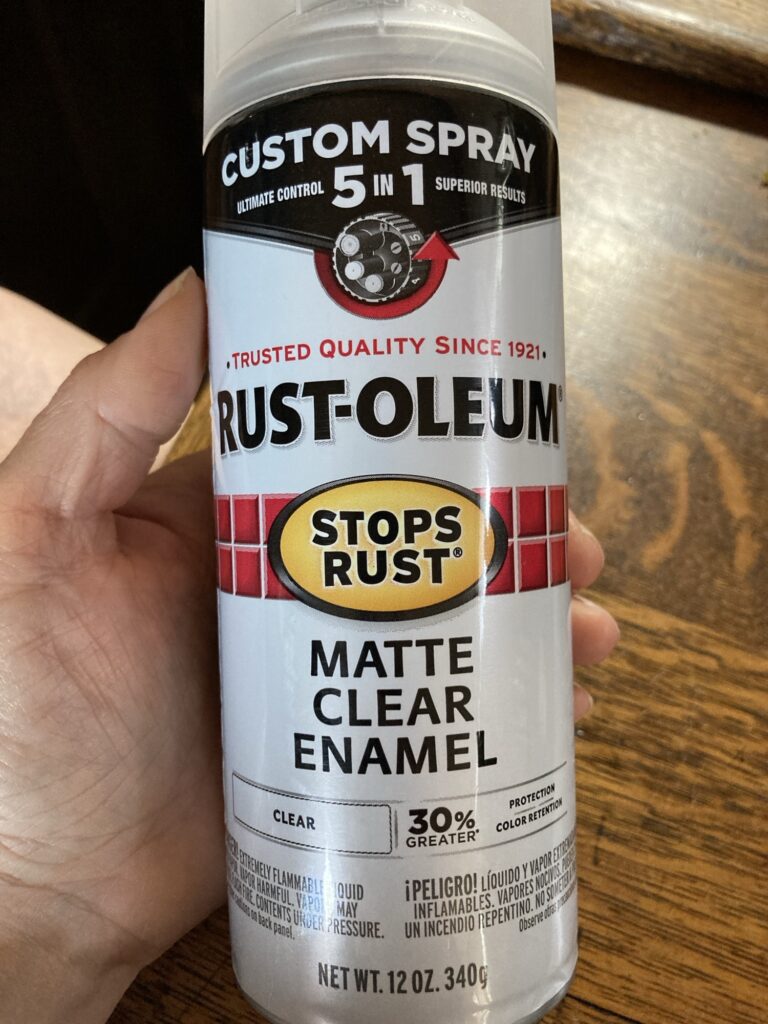
Vinegar is cheap and easily obtained. I keep an old covered tote with a gallon of vinegar to soak my shoes in. Afterwards I wash them with soap and water, using a soft scrub brush. I use hot water so they dry quickly, then finish off with a few coats of clear Rustoleum spray paint, which prevents new rust from forming.
A soap water scrub after removing most of the rust.
Whichever method you decide to use, you will want to remove as much dirt and flaky rust as possible beforehand. If the rust is really thick and flaky, I use a thin scraper of some sort to gently pry between the layers. Always wear safety goggles and be careful not to stab yourself with whatever you use. Only pry a tiny bit, as whatever you are trying to pry might be a part of the original metal, and you don’t want to ruin the piece. I merely pick at it and see what flakes off easily. After you have removed some of this surface rust, the chemicals will more easily get to the metal beneath.
Other methods. There are other methods that can be used, such as electrolysis or a grinding wheel. I have not used these methods, but i have shoes that were cleaned using them.
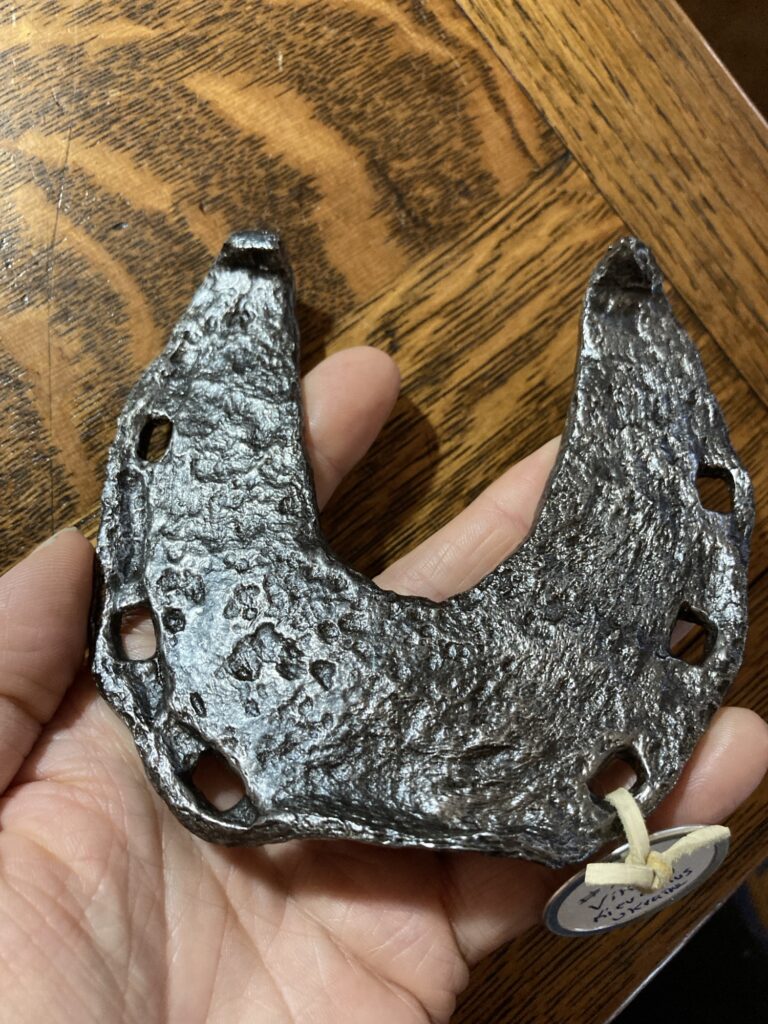
Electrolysis involves soaking the shoes and using electricity. It appears to work extremely well, but involves special equipment.
This shoe was cleaned using electrolysis. I bought it this way. Every bit of rust is gone, and if treated properly with rust-preventive chemicals like Rustoleum, wax, or etc., it will hopefully stay that way.
If using a grinding wheel, you can attach a wire wheel and use that to remove rust. There are also other attachments that can be used to buff the metal. My dad did this with one of my first horseshoes as a child. I worry that this method might damage the surface of the shoe, but on the backside of it I can make out a lot of detail from its original forging, so the scrape marks on the front could be original.
BacksideFront side. This shoe was cleaned with a grinding wheel.
Other Chemicals. You can use Coca Cola or lemon juice in the same way as the vinegar. I haven’t used these methods in years but they do work. Just don’t forget them in the solution!
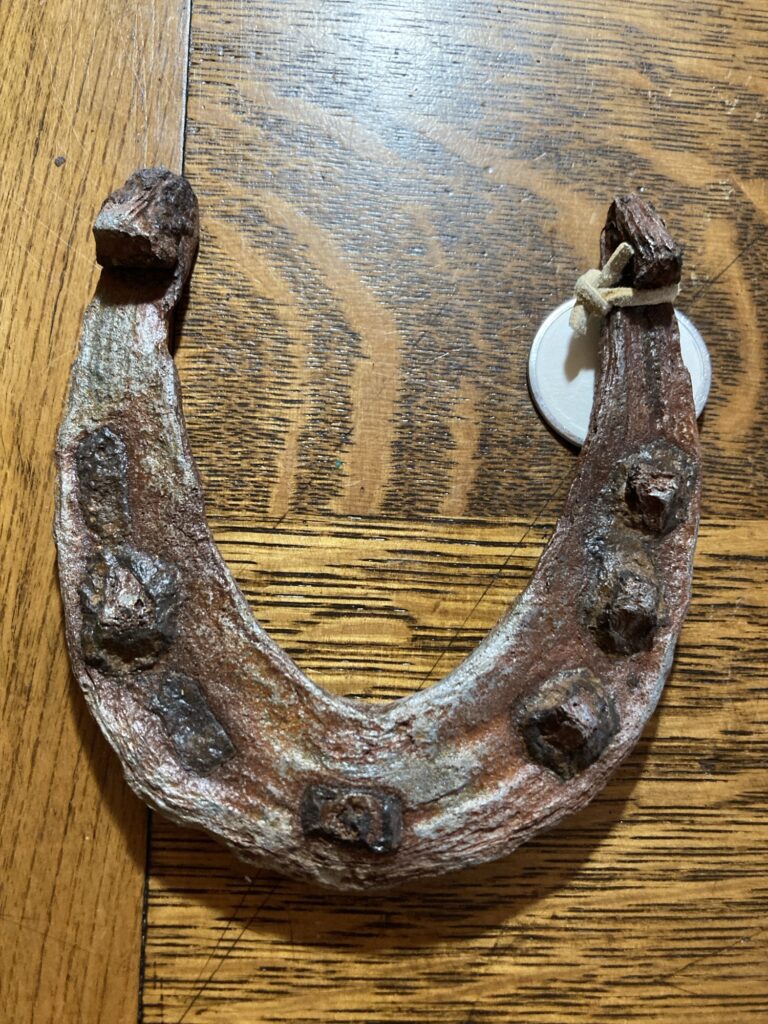
Bear in mind that whatever method you use to remove the rust, if not treated properly and according to instructions, the rust will come back, sometimes even within minutes of being removed. I honestly don’t mind a little bit of rusty patina and have experimented with giving some of my freshly cleaned shoes a spritz of water and letting them sit for a day or so to get a little of the color before spraying them with clear Rustoleum to stop the process and preserve them. My main goal of cleaning them is to remove the thick rust that obscures detail.
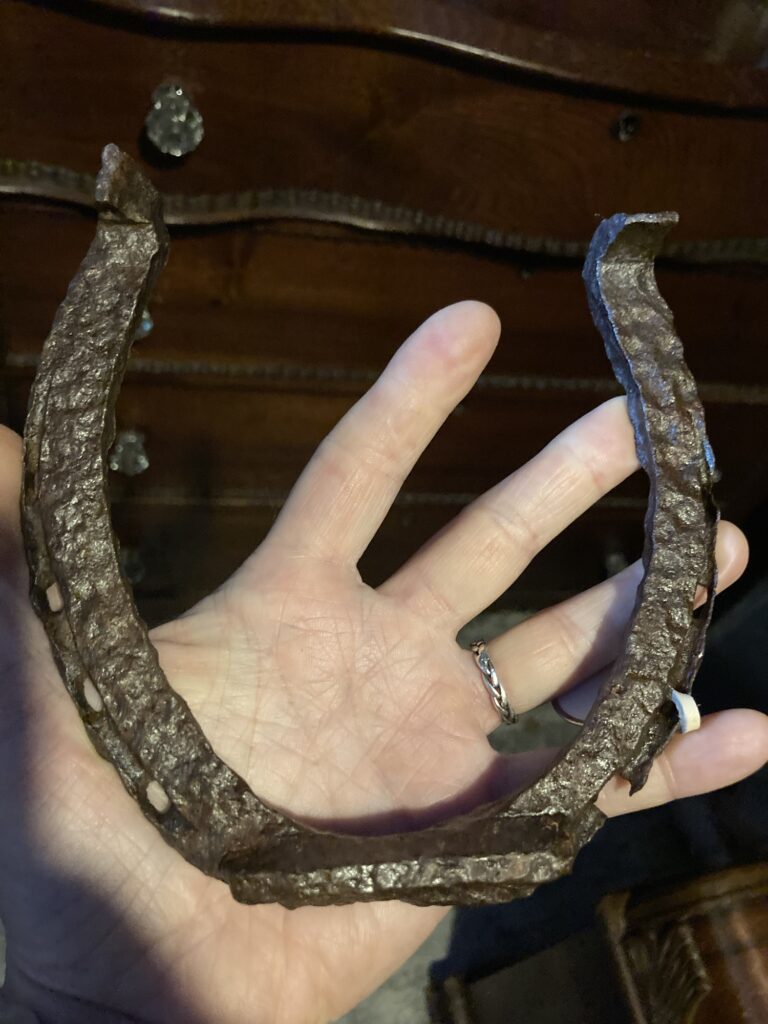
This is an ancient shoe from Great Britain that I created a rusty patina on. It was cleaned with vinegar. Notice that it is very difficult to clean around nails and in nail holes, but cleaning the shoes will expose them enough to identify them better.
I also have a lot of more recent horseshoes that I did not remove the rust from, as it wasn’t as thick and obscuring. I simply clean them well with a wire brush if necessary, and then spray them with several coats of Rustoleum clear paint (the one that specifically stops rust). They still look good and stay protected.
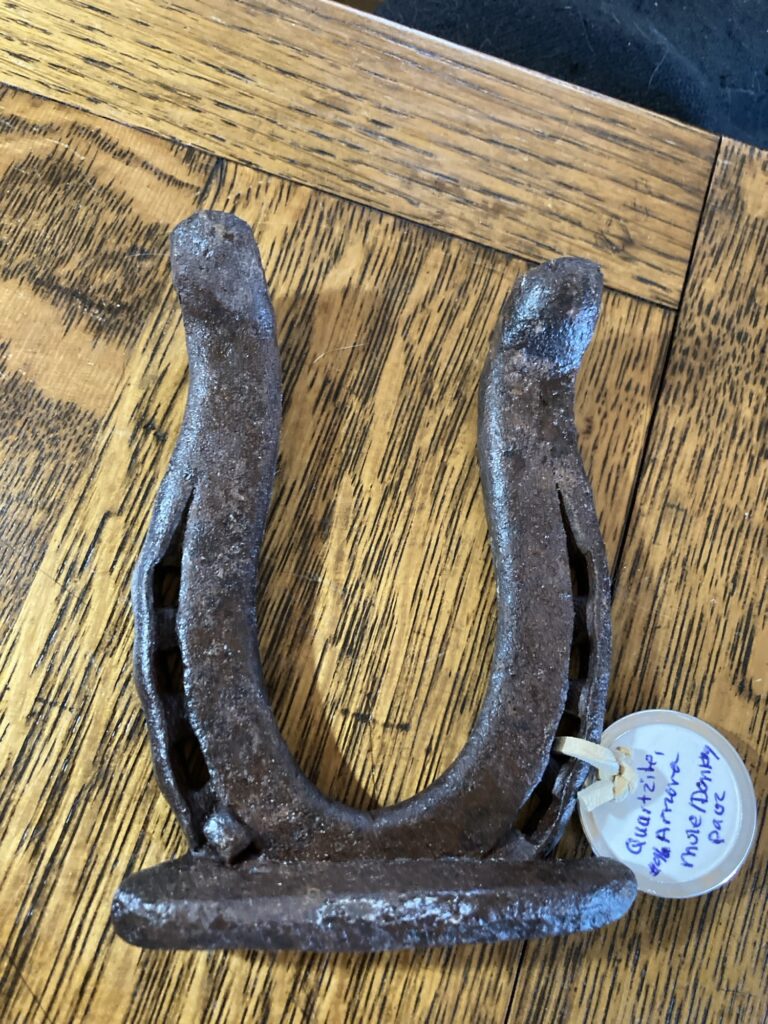
This is the clear spray I use. Be sure to get the one that says ‘STOPS RUST’This donkey (or small mule) shoe didn’t have a thick coat of rust, so I simply treated it with preserving clear paint.
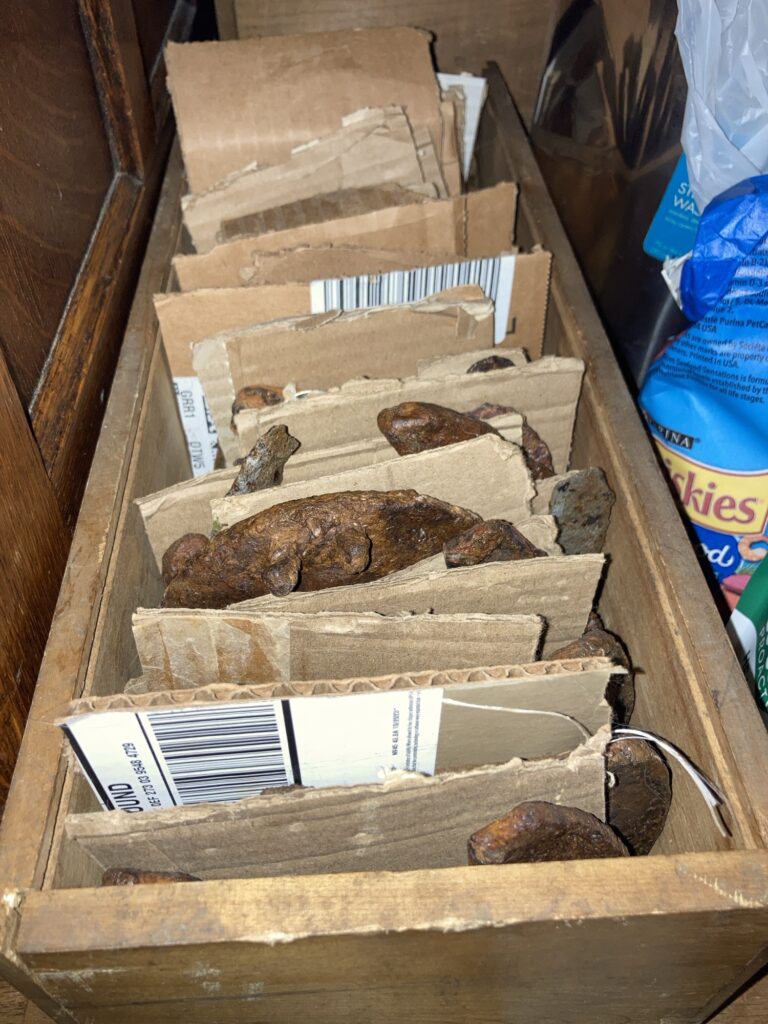
In the end, the most important thing is preservation. Rust eats away at the metal of the shoe, and if not treated properly, it will continue to eat away at them after you find them. Make sure you don’t destroy them by soaking too long, and make sure you prevent further rust corrosion by treating them afterwards. After treating them it is important to store them in a dry environment to make sure the treatment works. I keep my prizes filed in narrow boxes with cardboard in between them, like a file cabinet.
While not very pretty, this storage works for me at the moment until i can find something that suits my tastes better. It has to be strong enough to support the weight of all of my shoes.
Hopefully, with proper care, these shoes will last for generations to come. (You’re welcome, kids! Have fun!)