
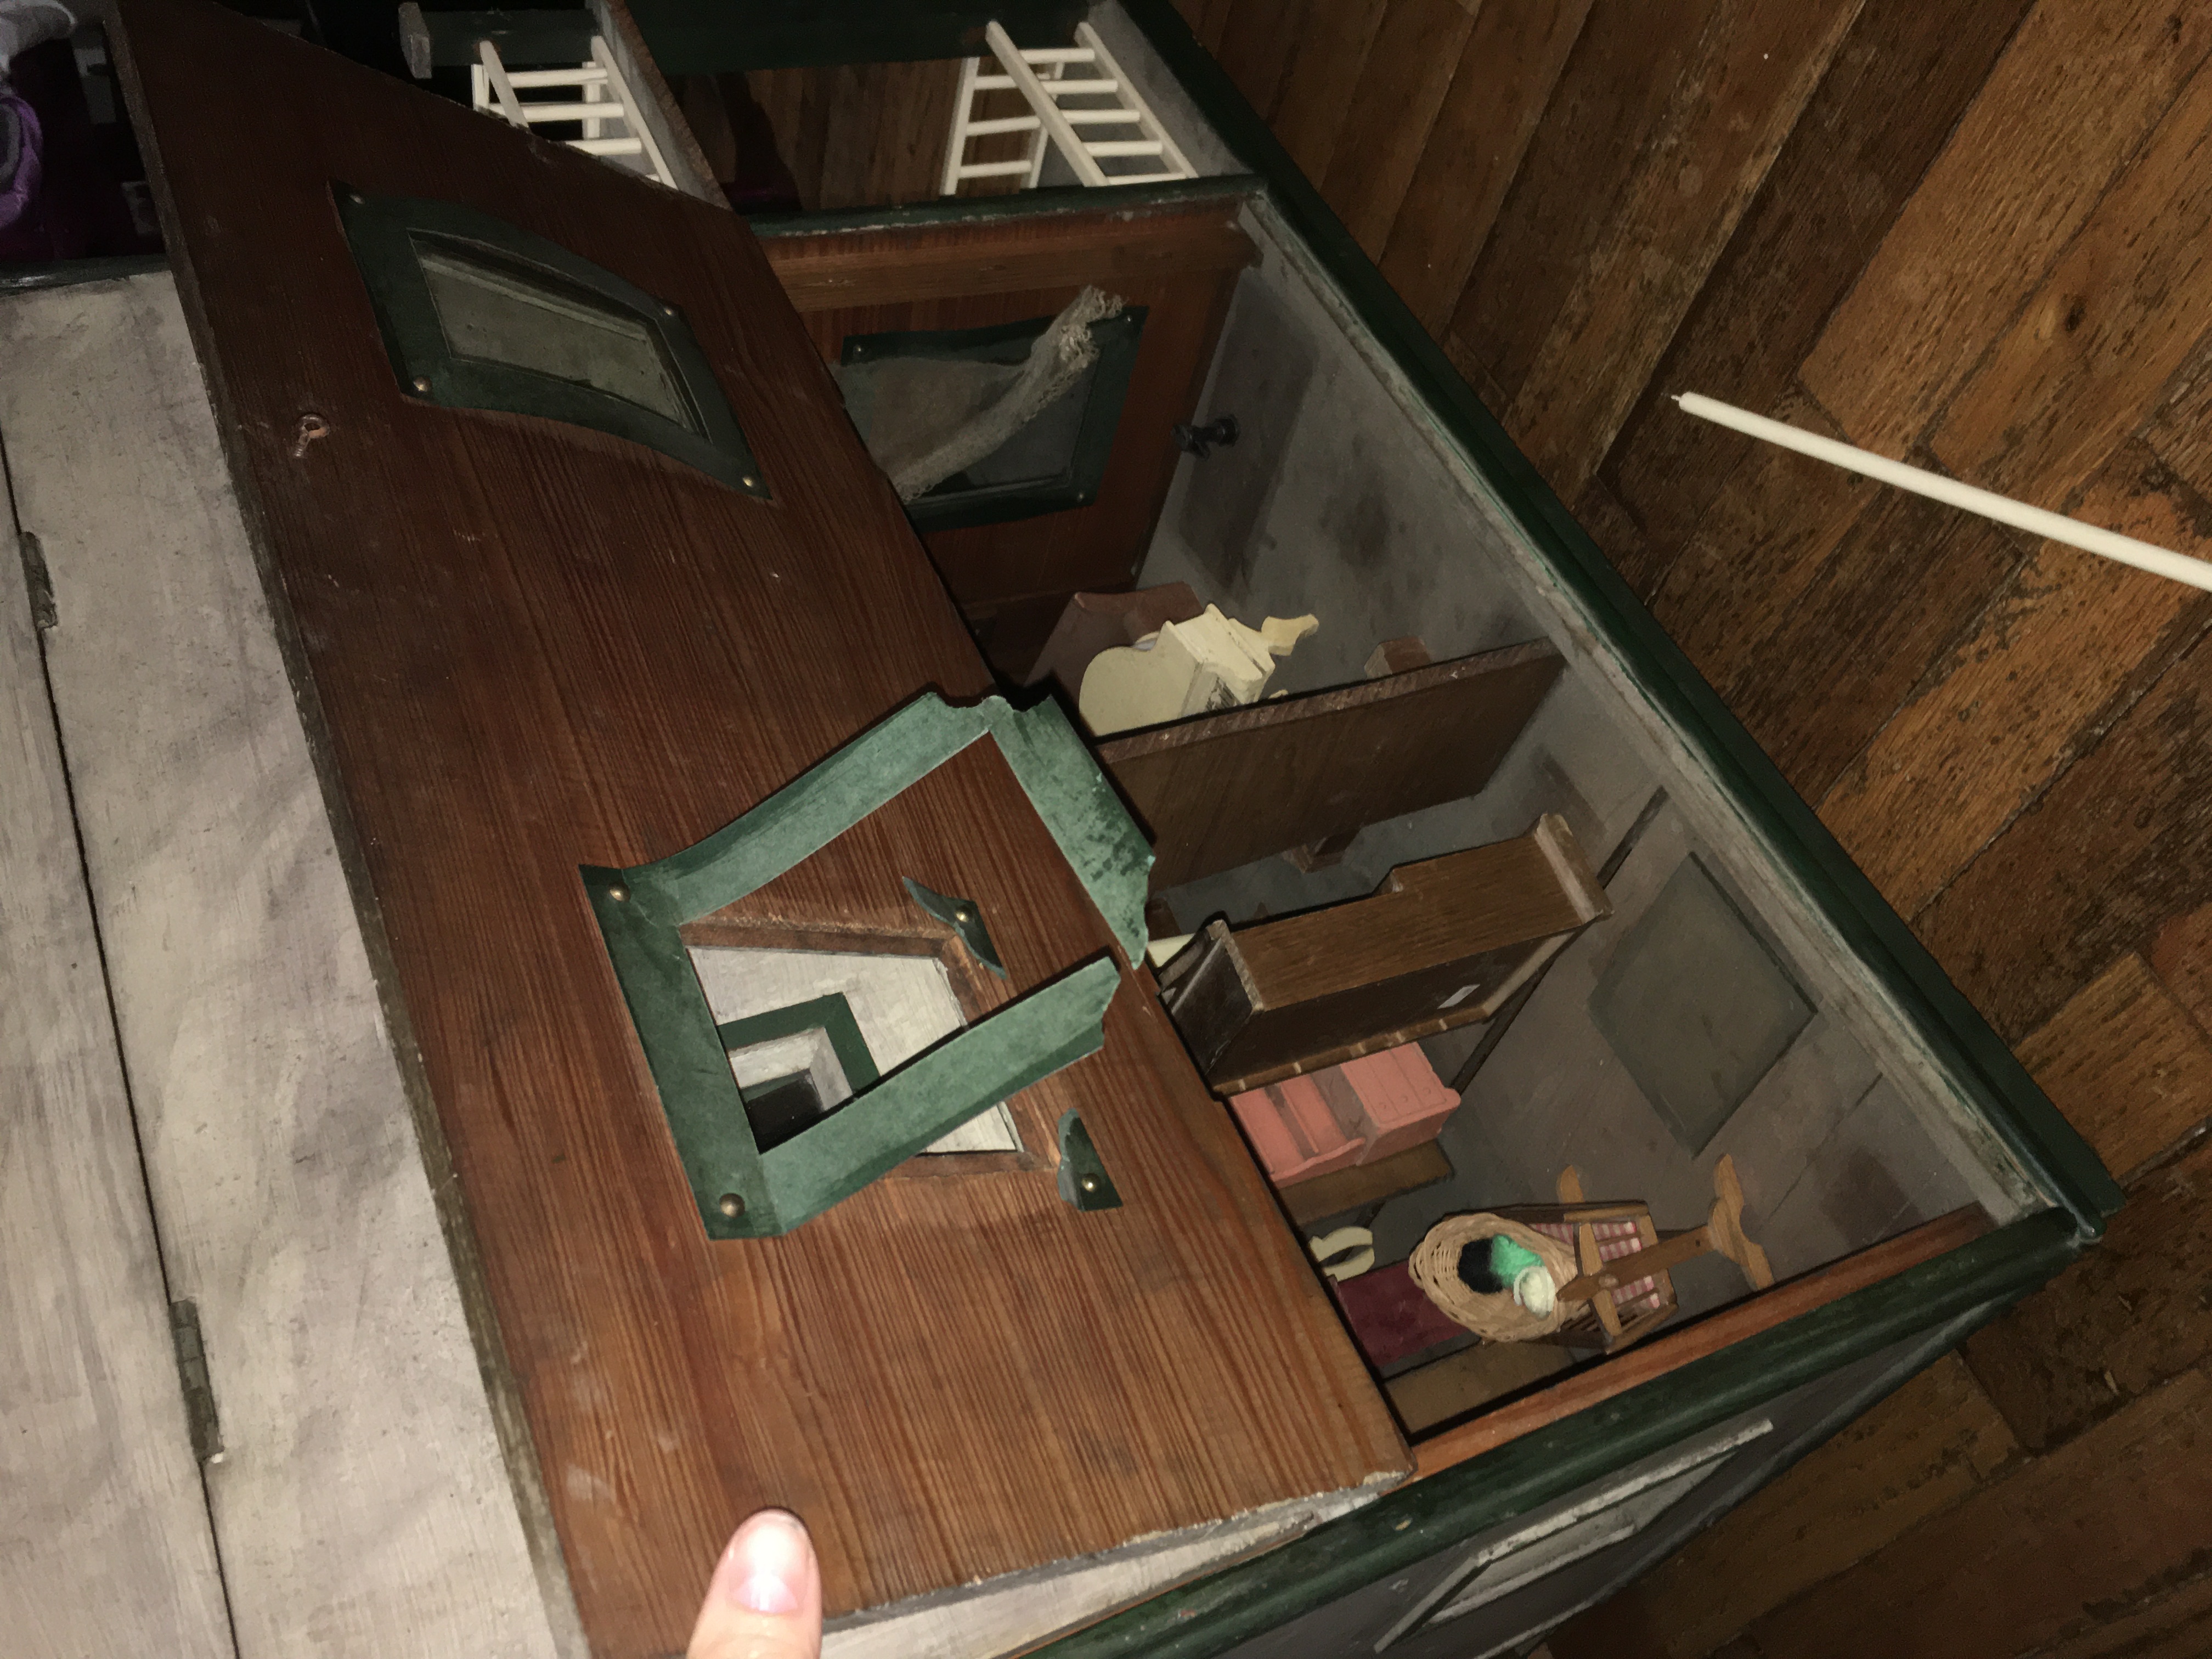
As you can see, this window needs some restoration. I eventually used Museum Wax to stick the glass back under the thick paper frame.
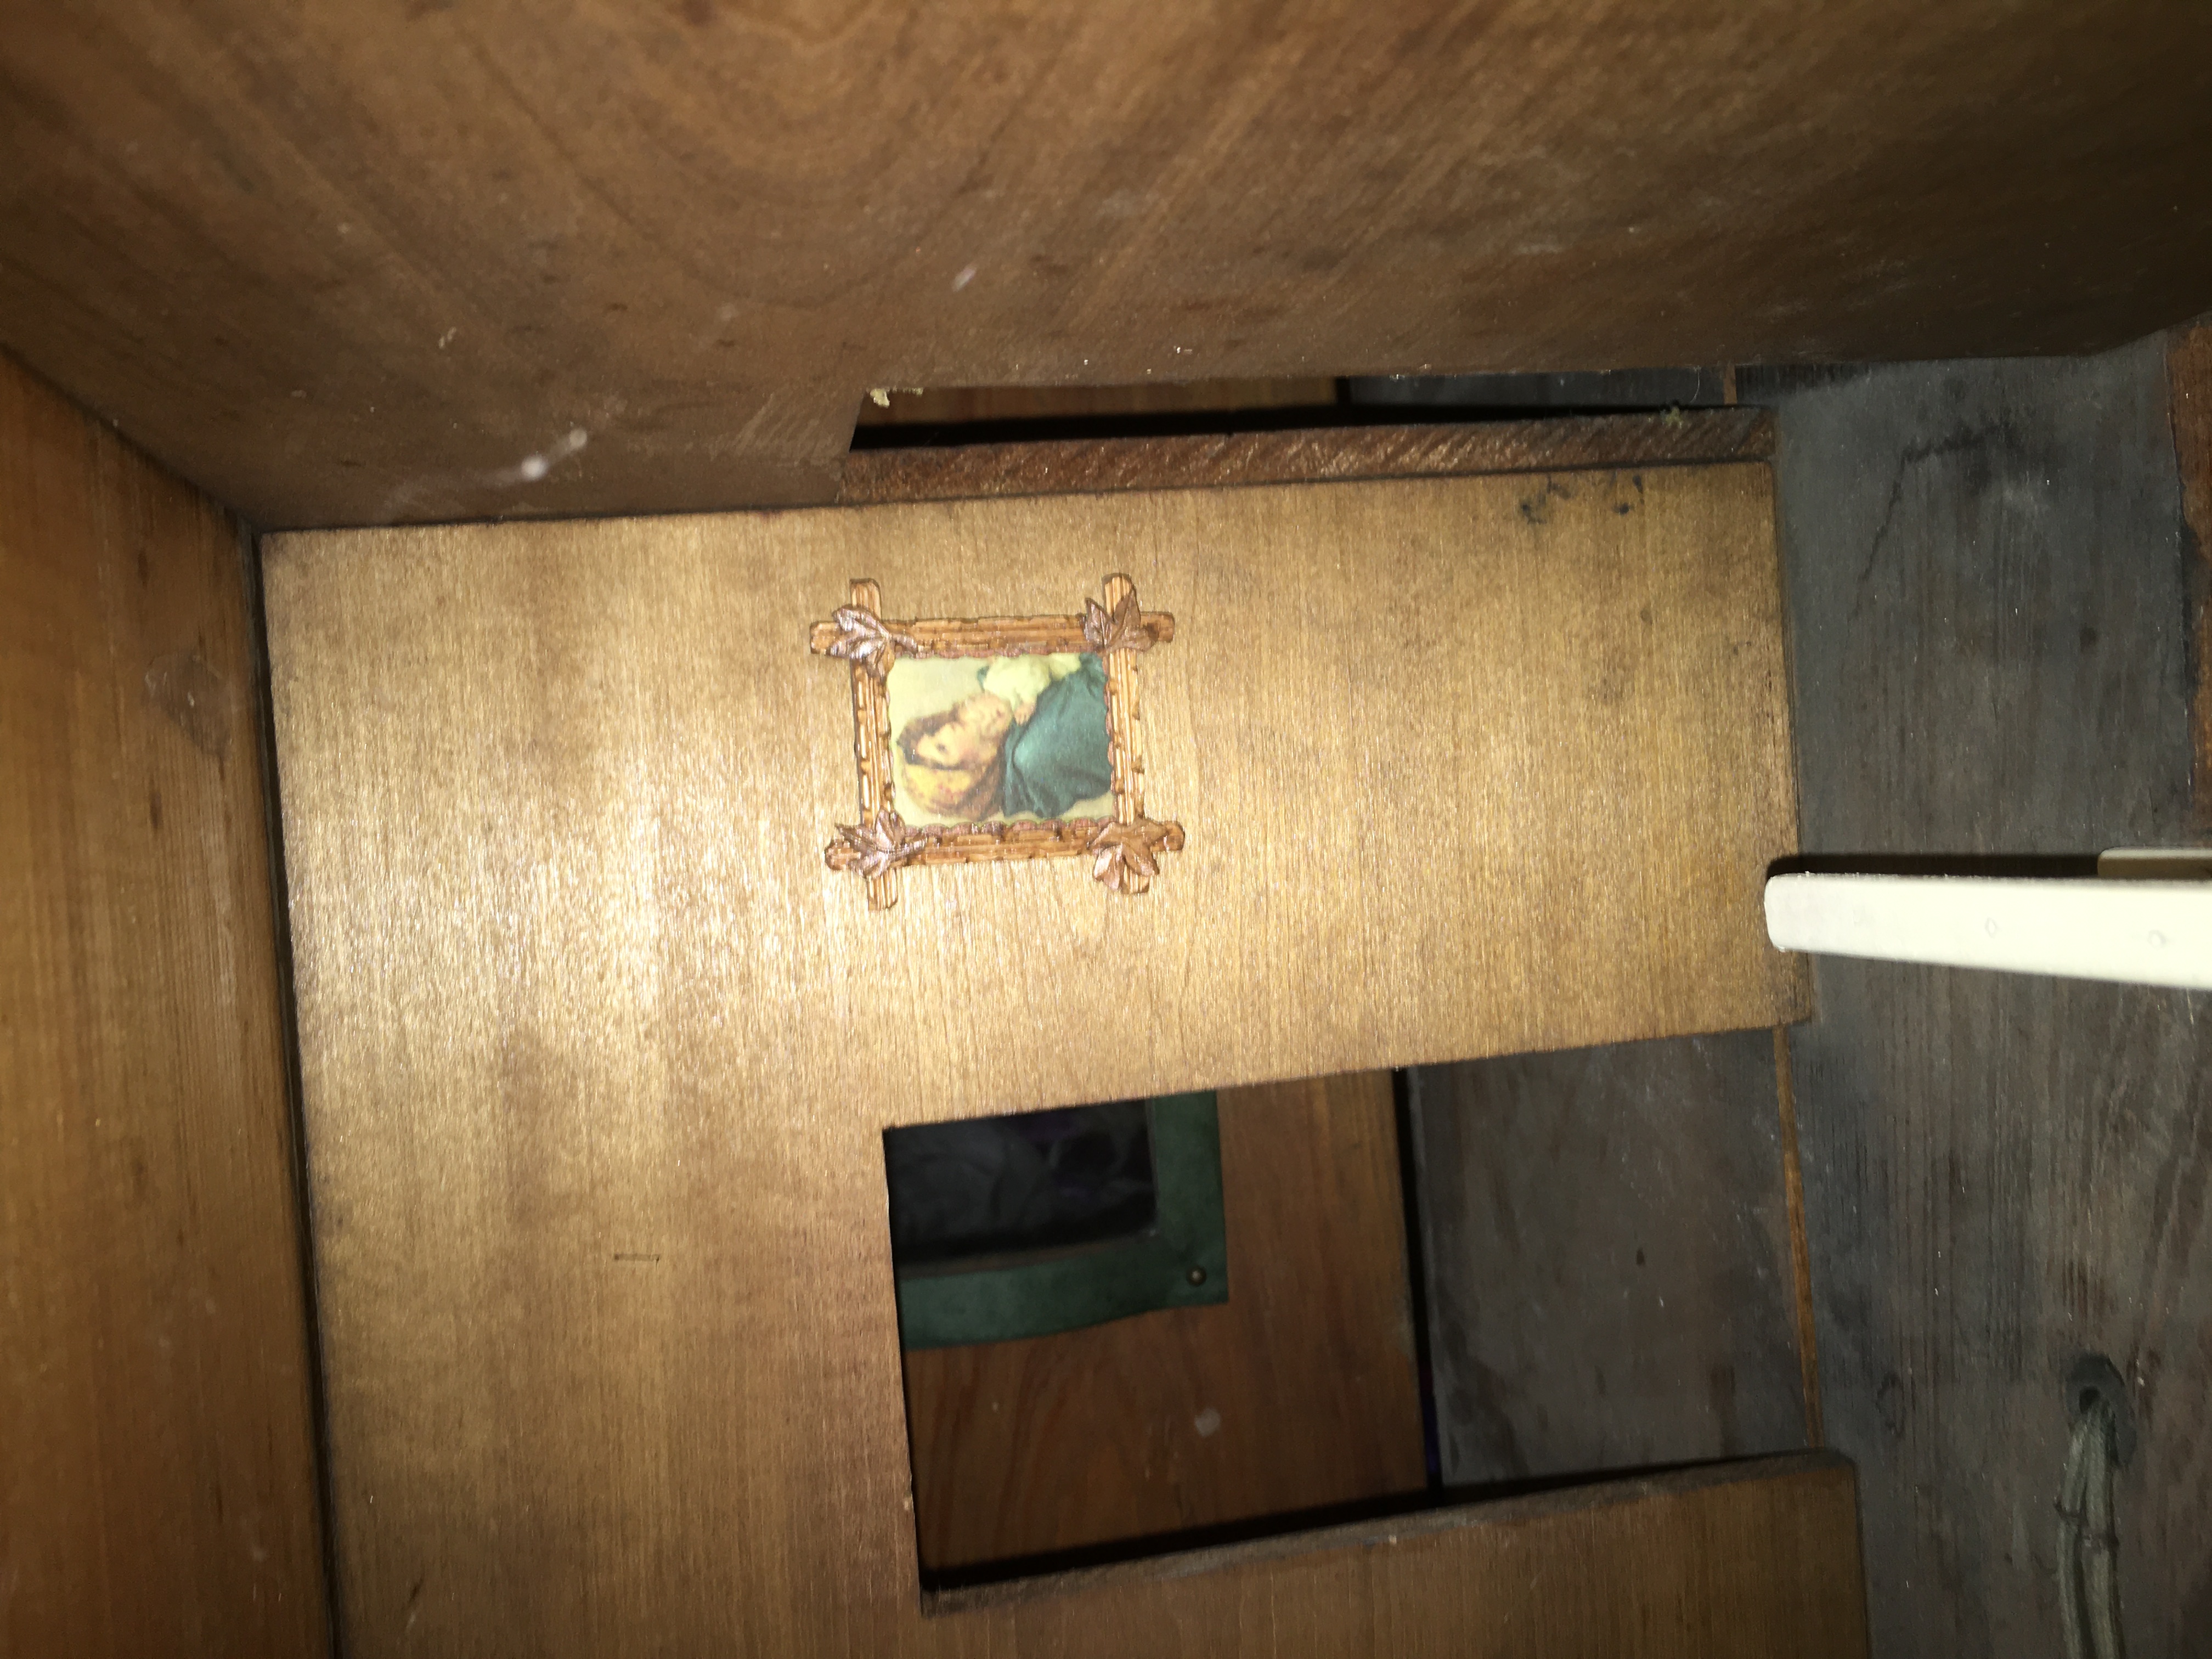
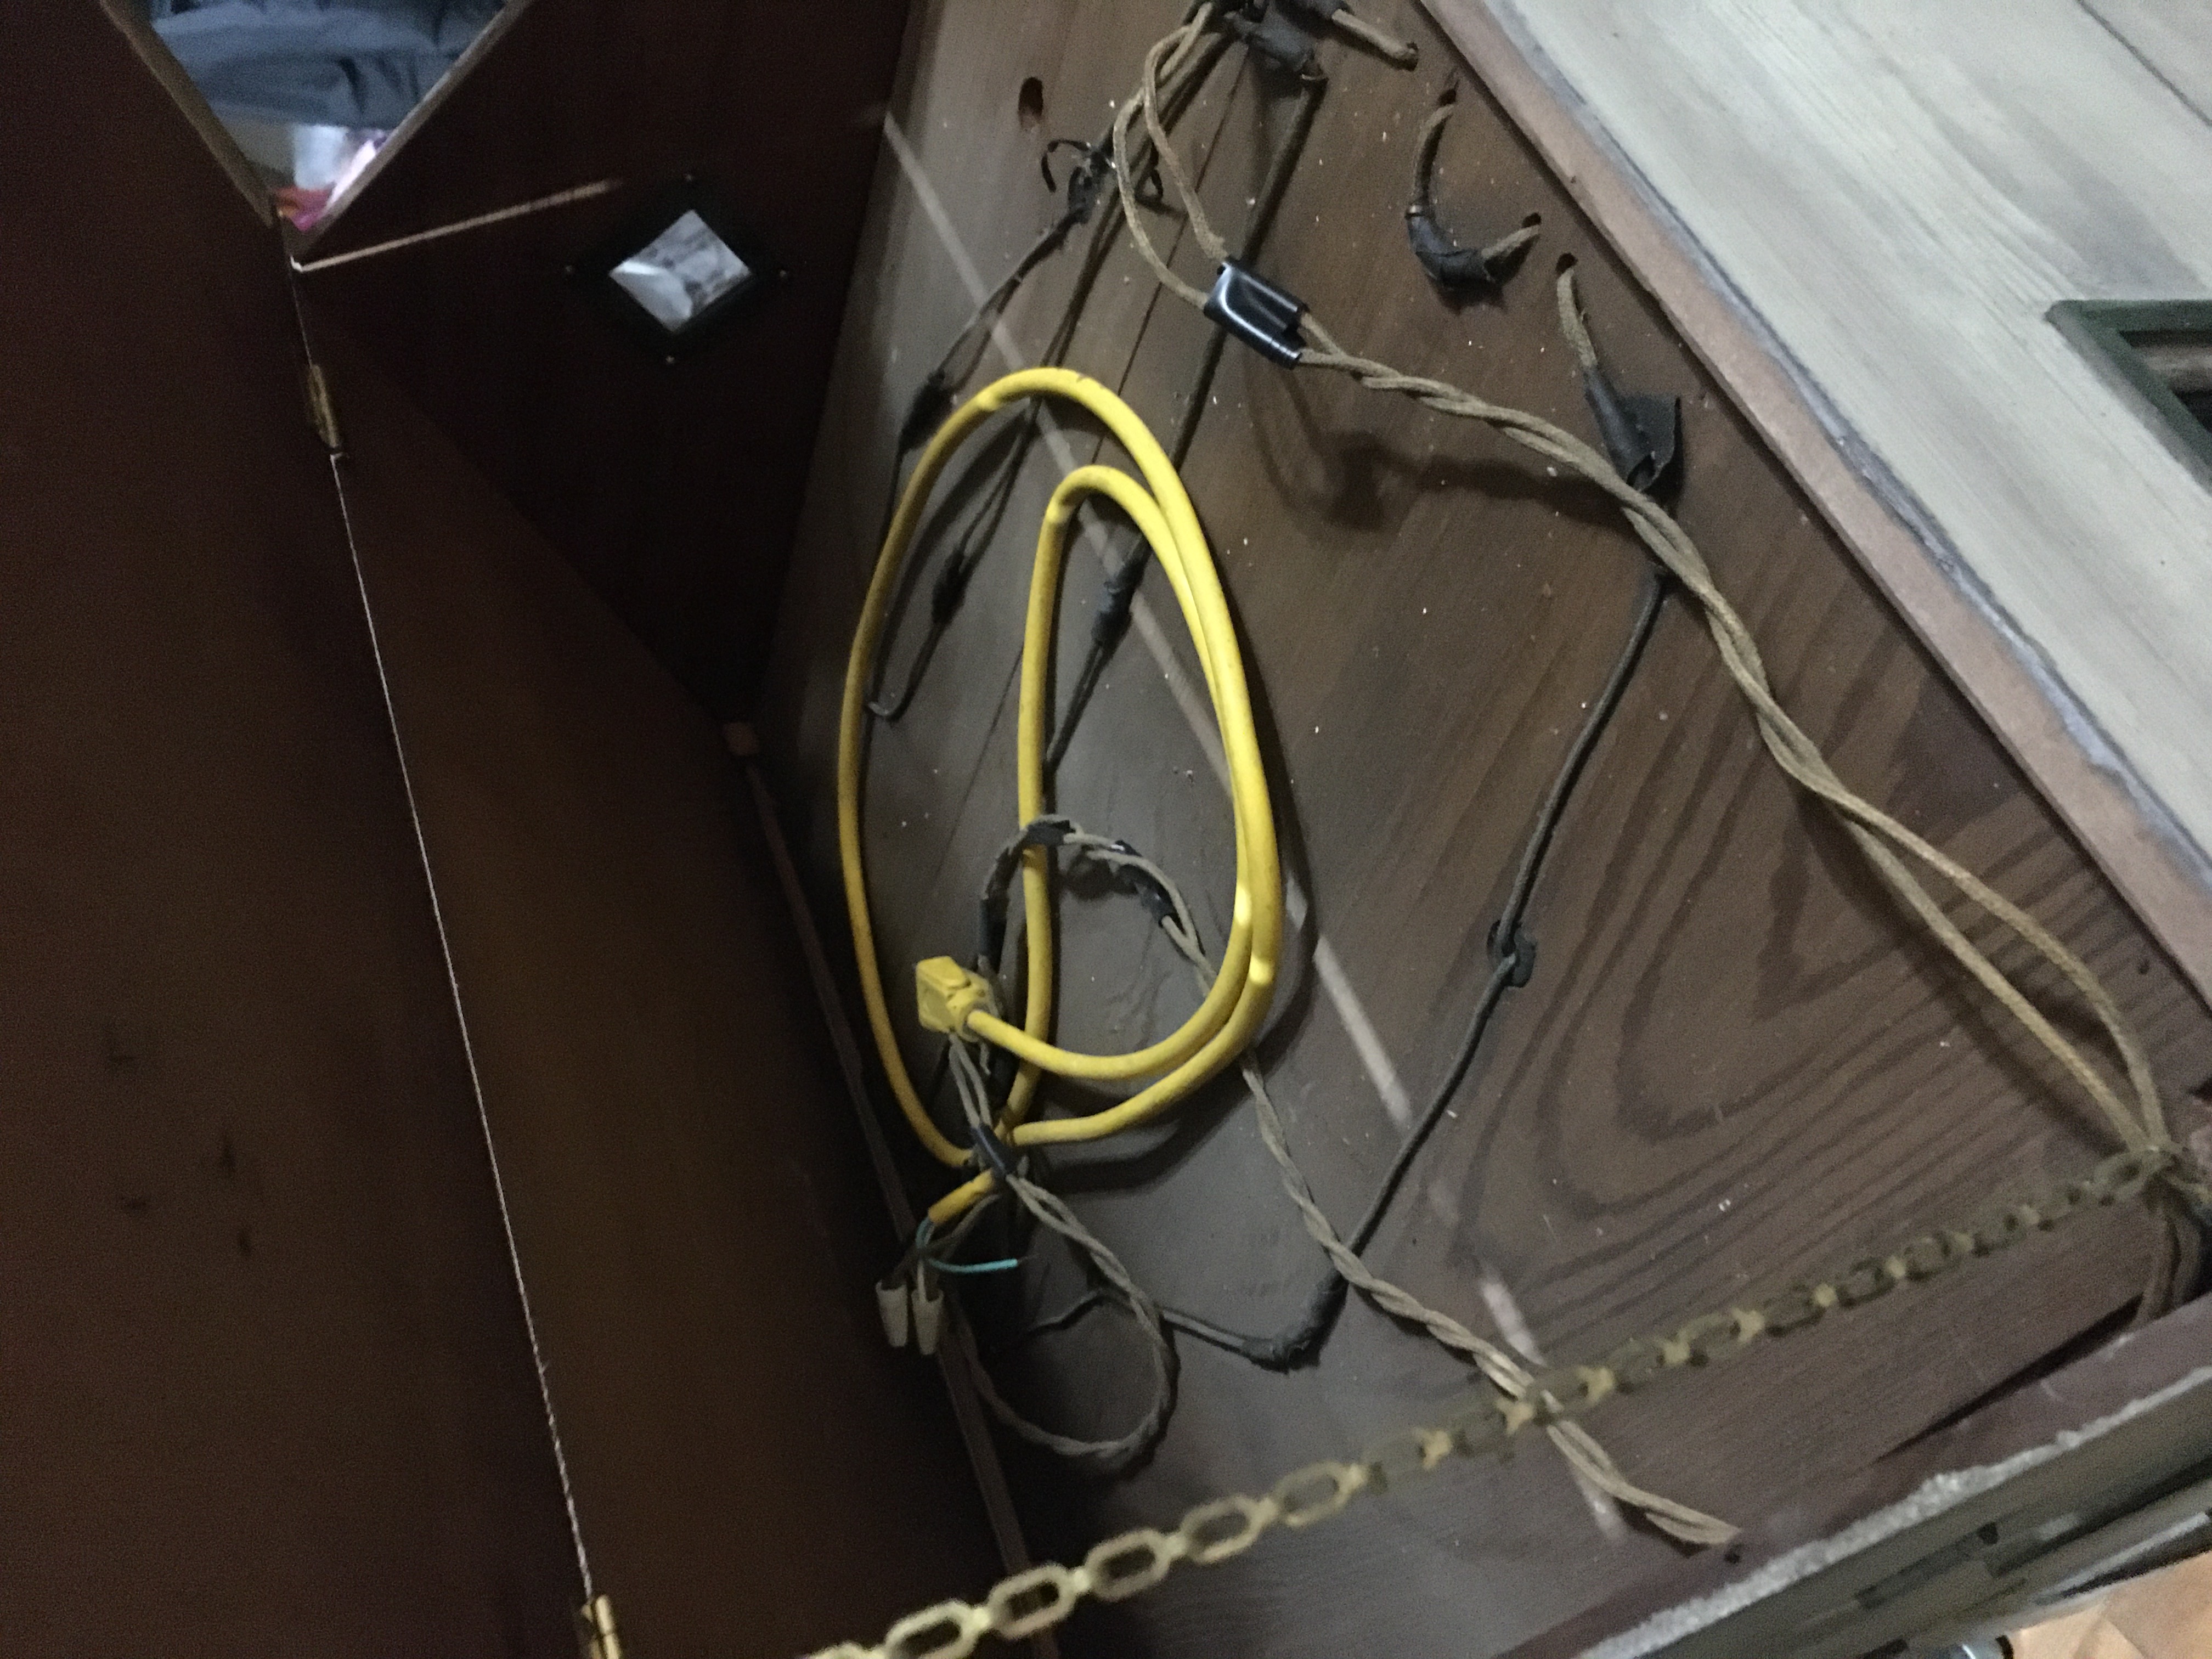
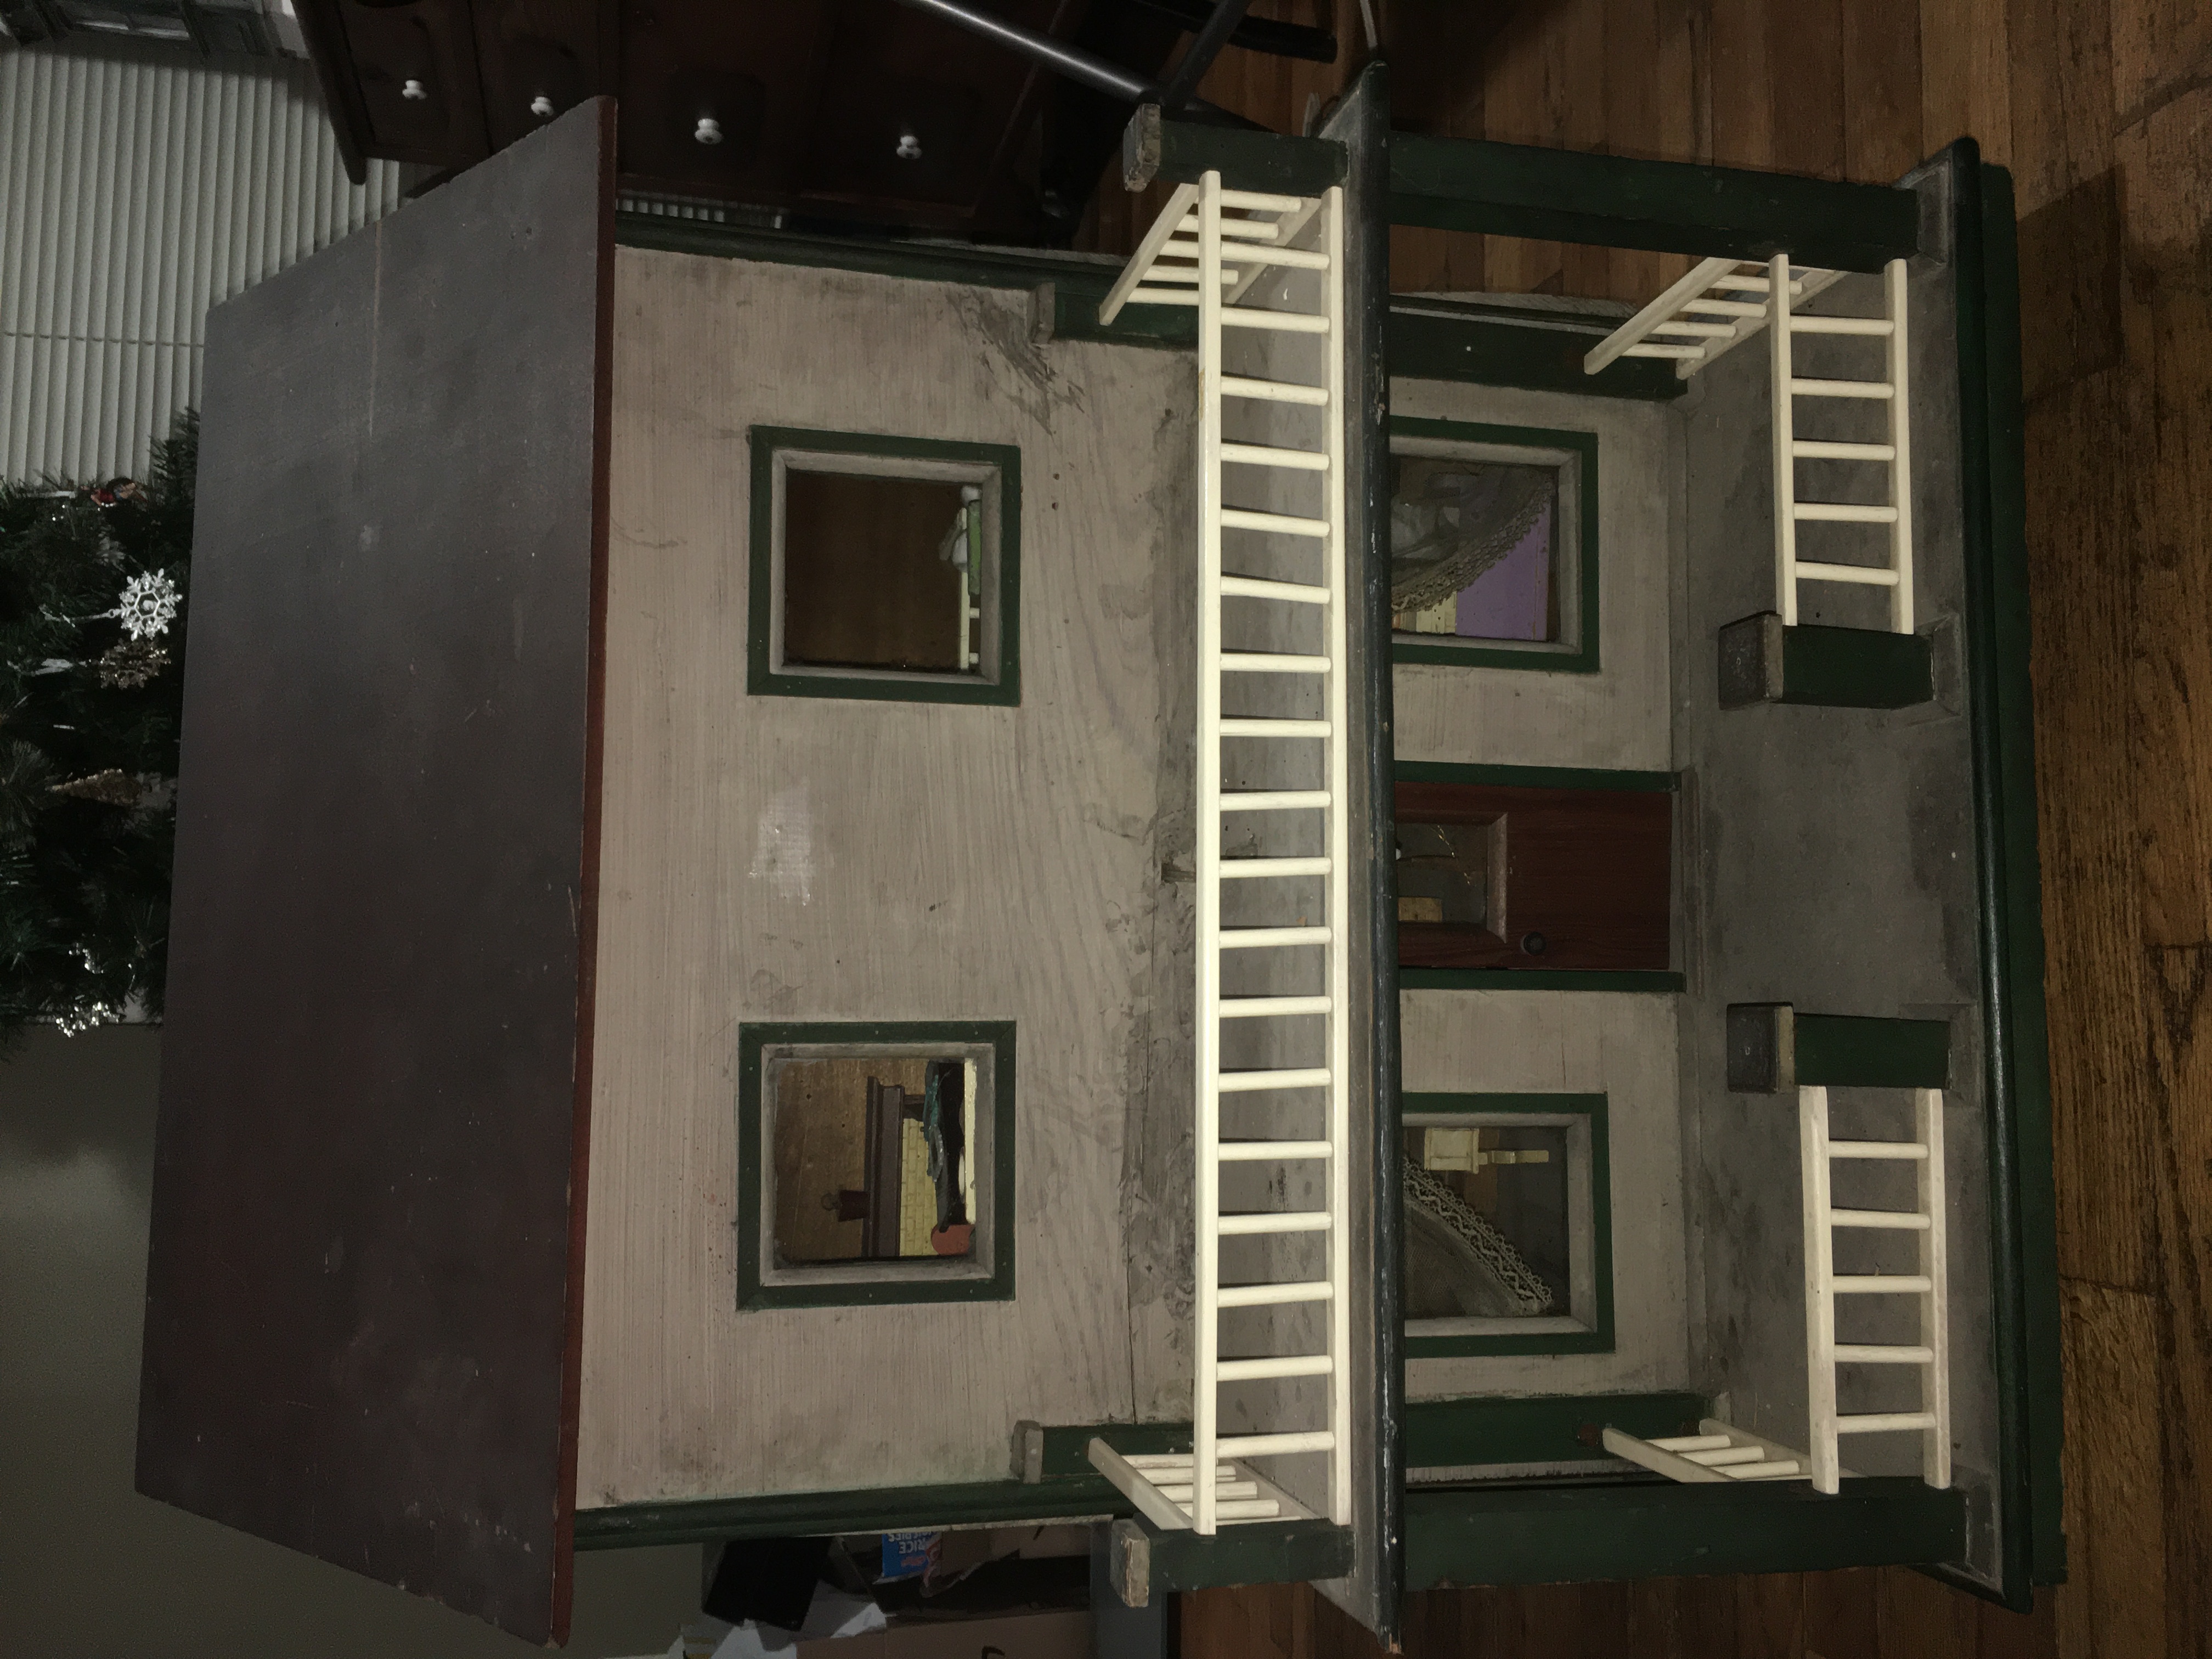
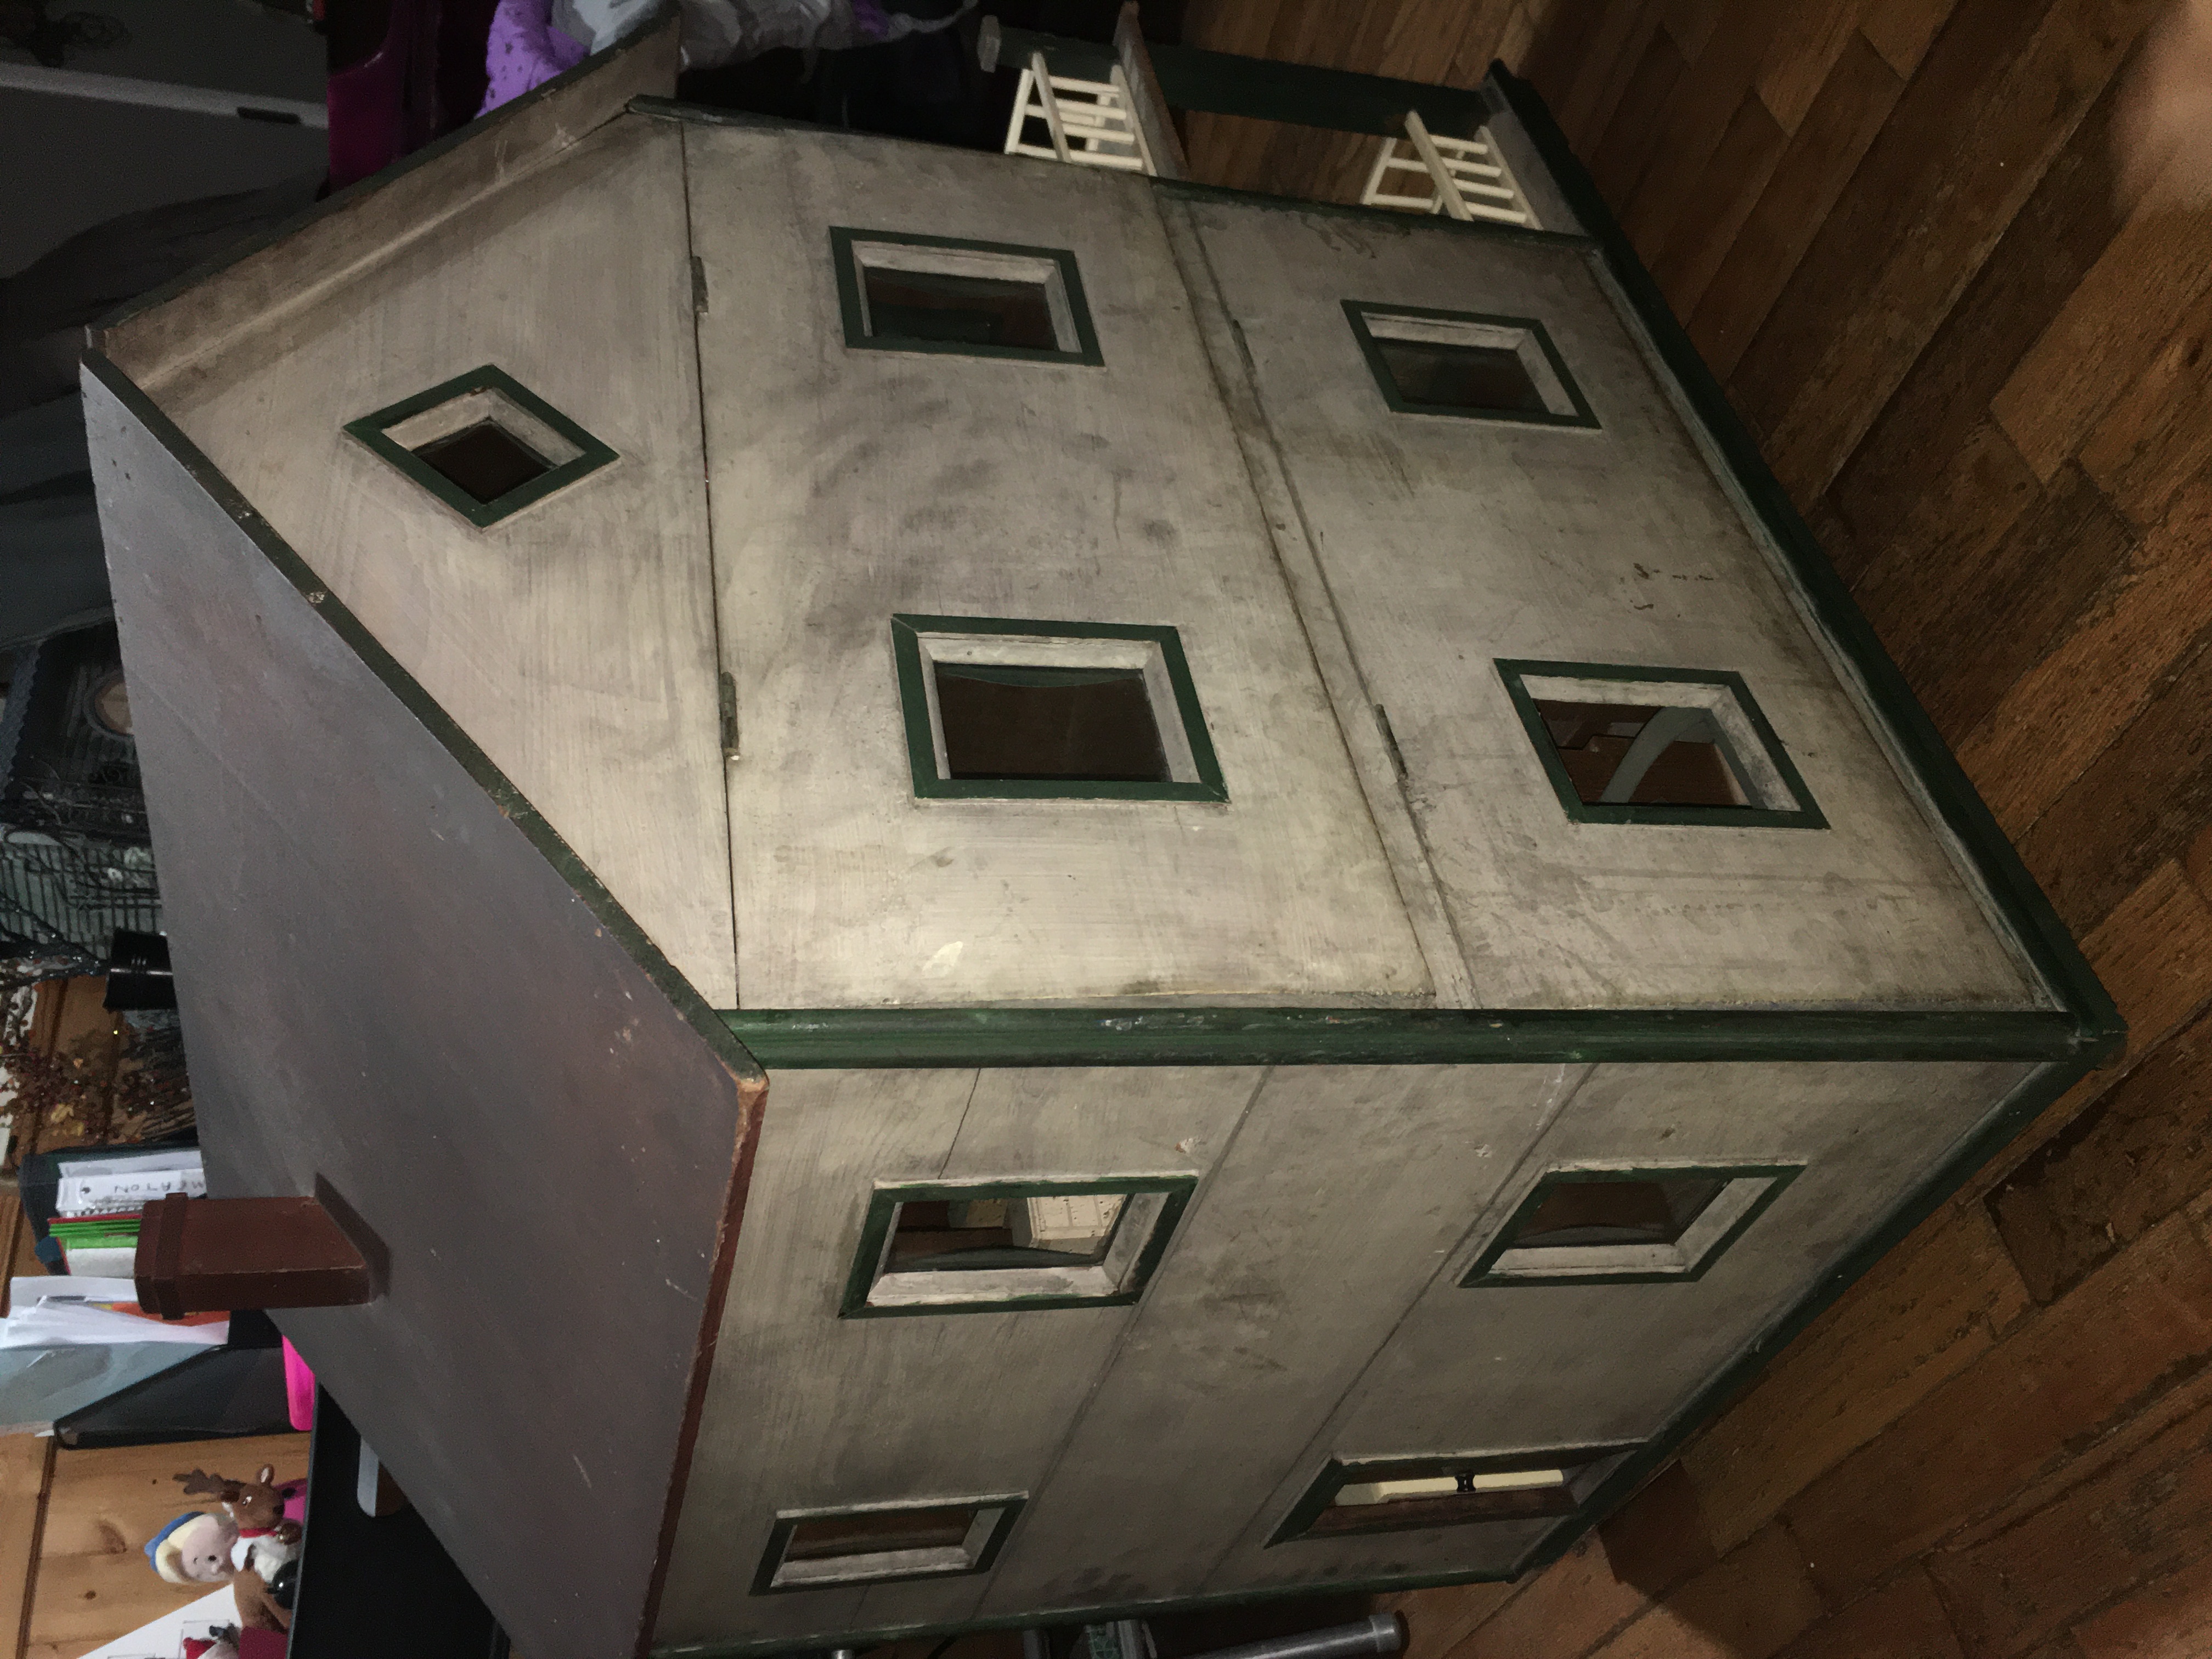
This is another marketplace find. The couple I bought this house from had found it in an antique shop many years ago. Apparently it was built in 1887, by a doctor, to give to his daughter. I confirmed with members of my antique dollhouse group on Facebook that this is probably authentic, as the glass is thick and imperfect, the wood looks to be from old-growth trees, and it was popular at that time to make houses out of crates. This house also appears to have been modified slightly through the generations, as someone added electricity via antique Christmas lighting.
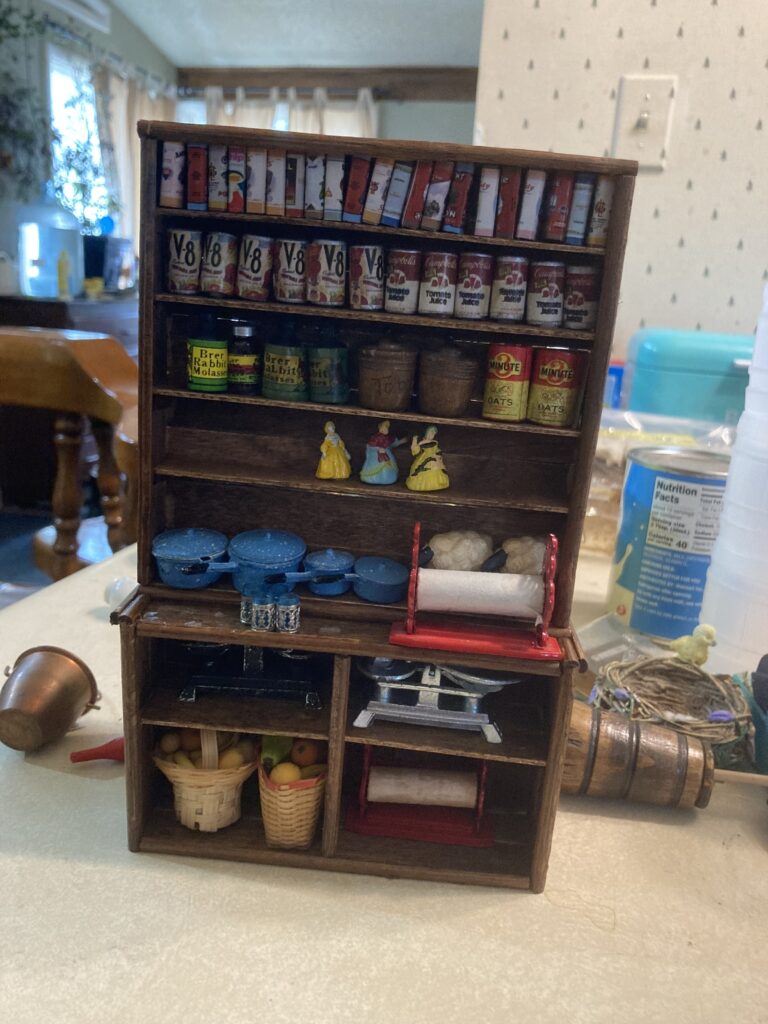
It came furnished with a variety of Strombecker furniture, plus a pair of Erna Meyer dolls. I have decided to decorate the downstairs as a small general store (1800’s style), with the store keeper and his wife residing in the upper level.
When I was younger we had the opportunity to walk through a General Store that had been closed up, with all goods intact, for many decades. It was a magical moment to step into the past like that, and I would like to try to recreate that feeling (at least to a degree) in this dollhouse. The old store had a post office inside, goods on shelves and hanging from the ceiling, lots of old displays, and all sorts of stuff.
I don’t plan on altering the house itself in any way that can’t be undone. I have decided that any beams that I add for hanging goods will be held in place with museum wax so they can be easily removed.
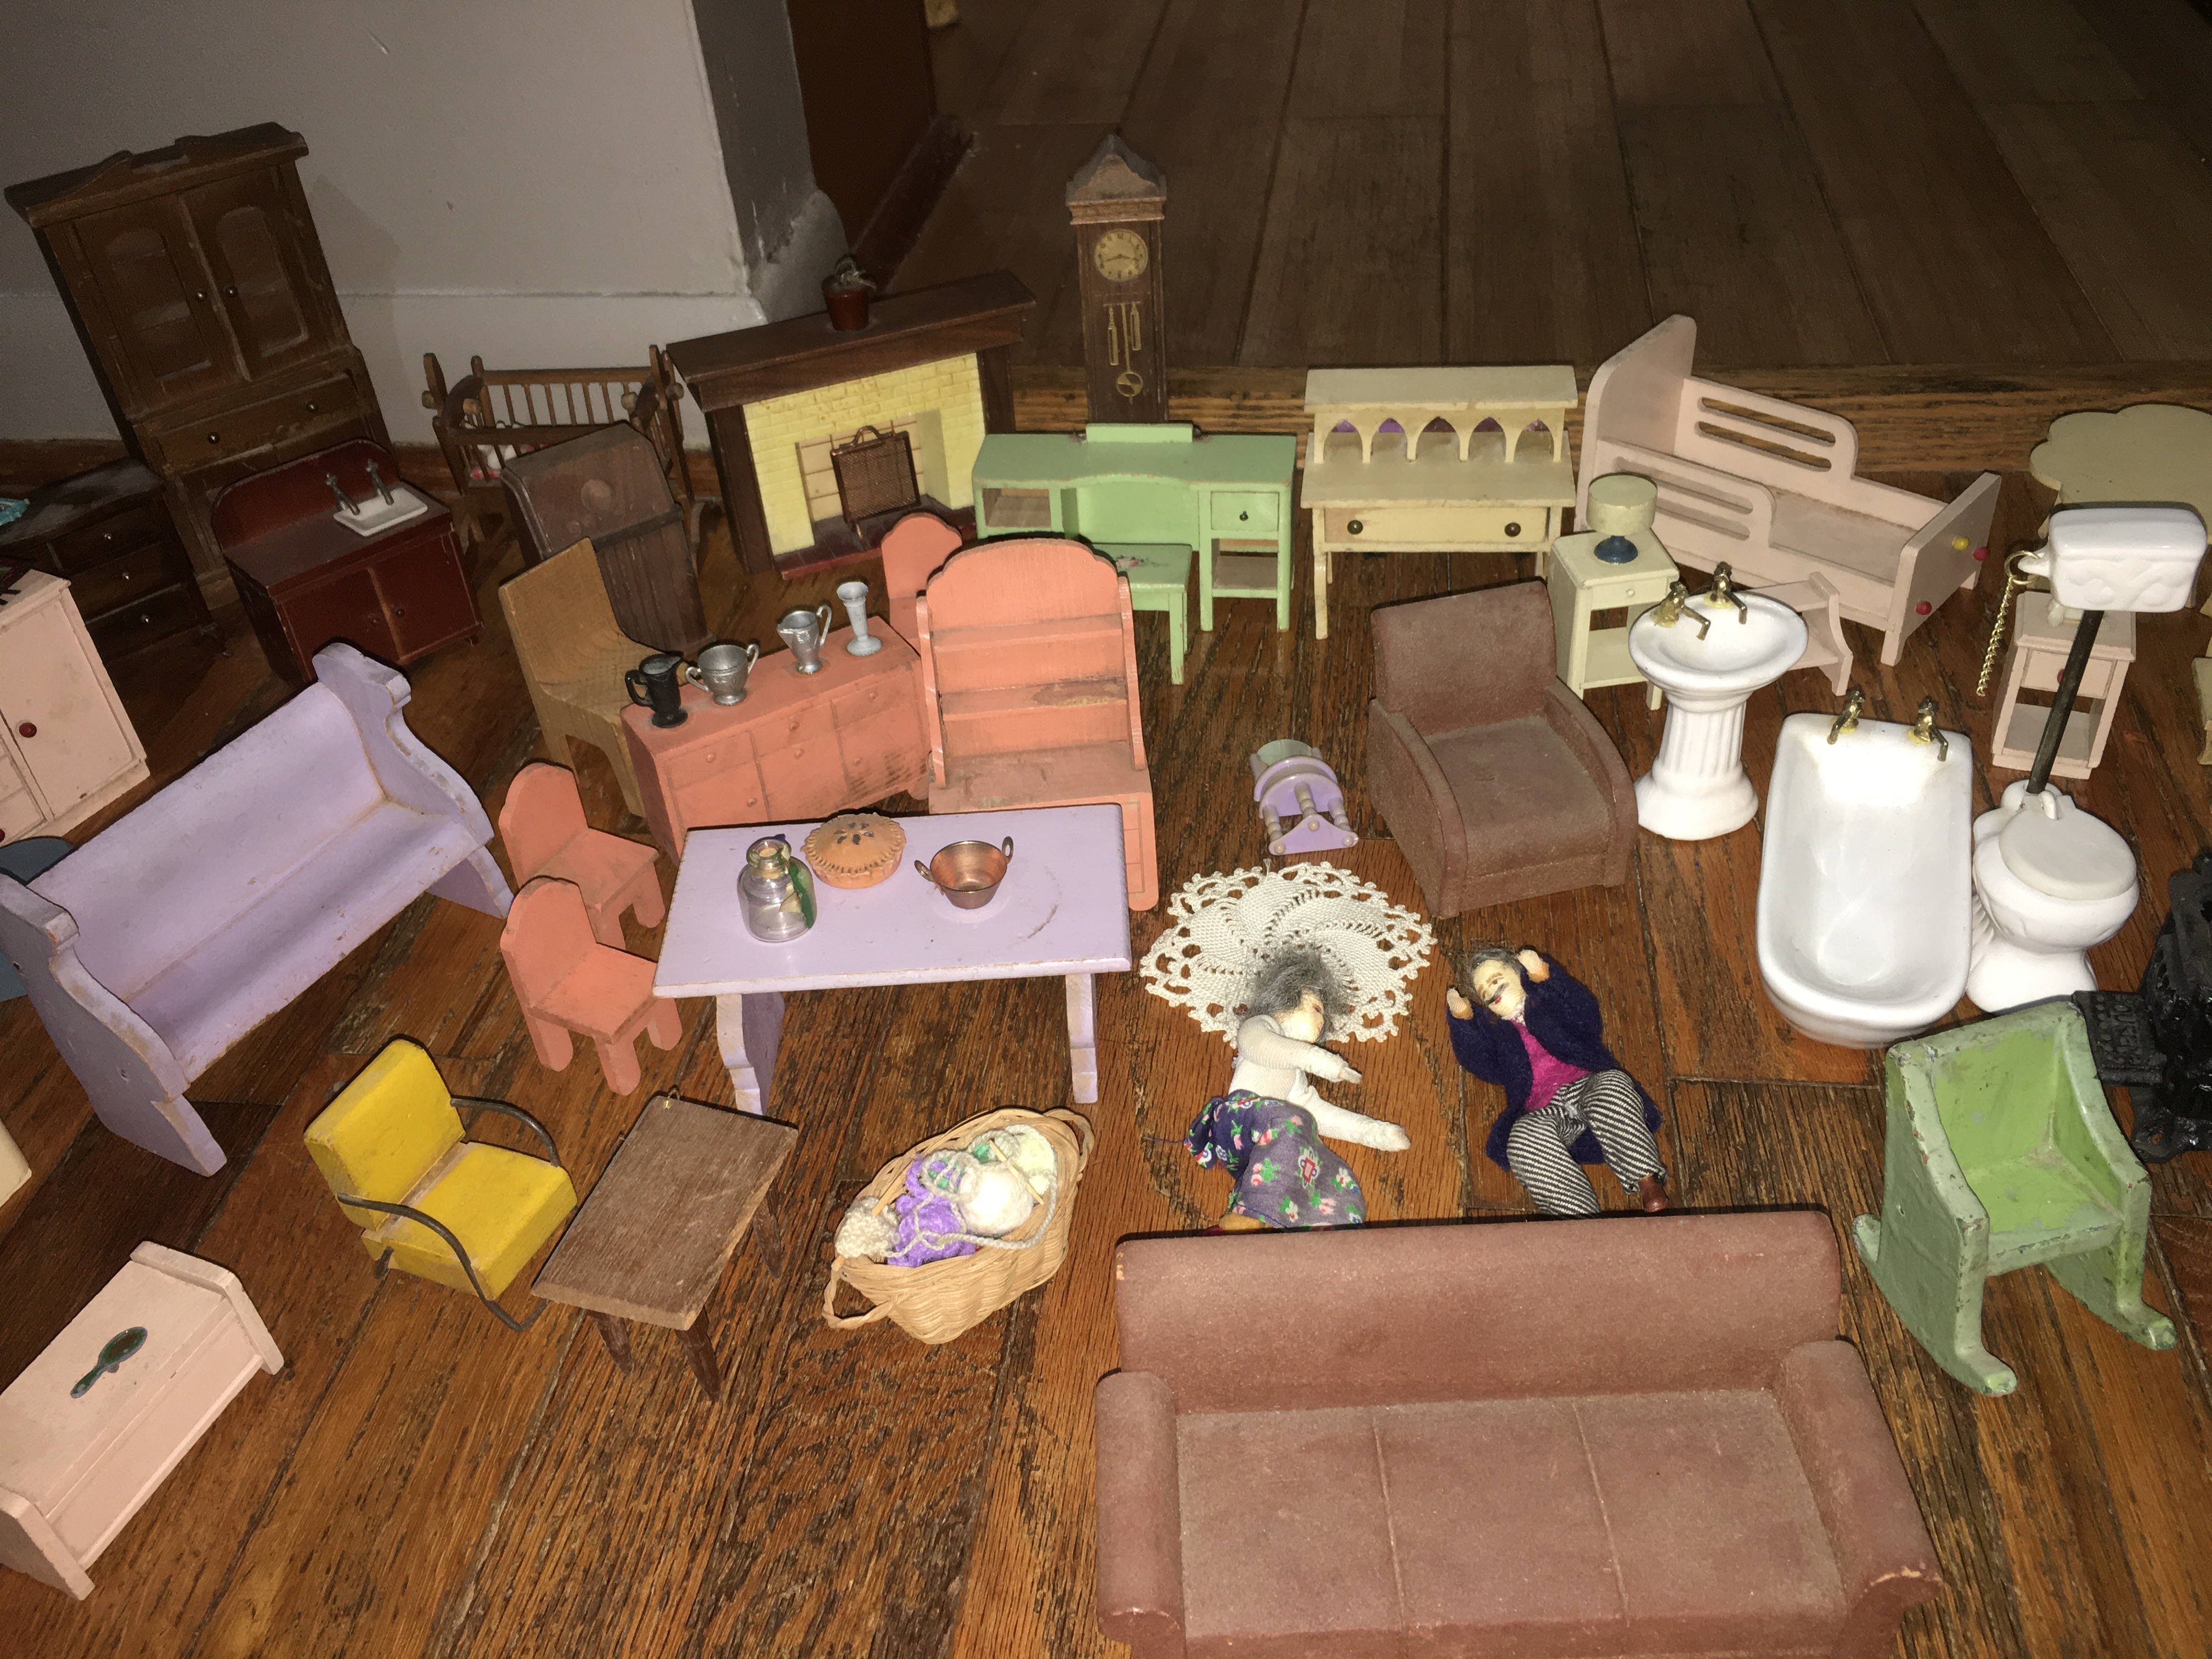
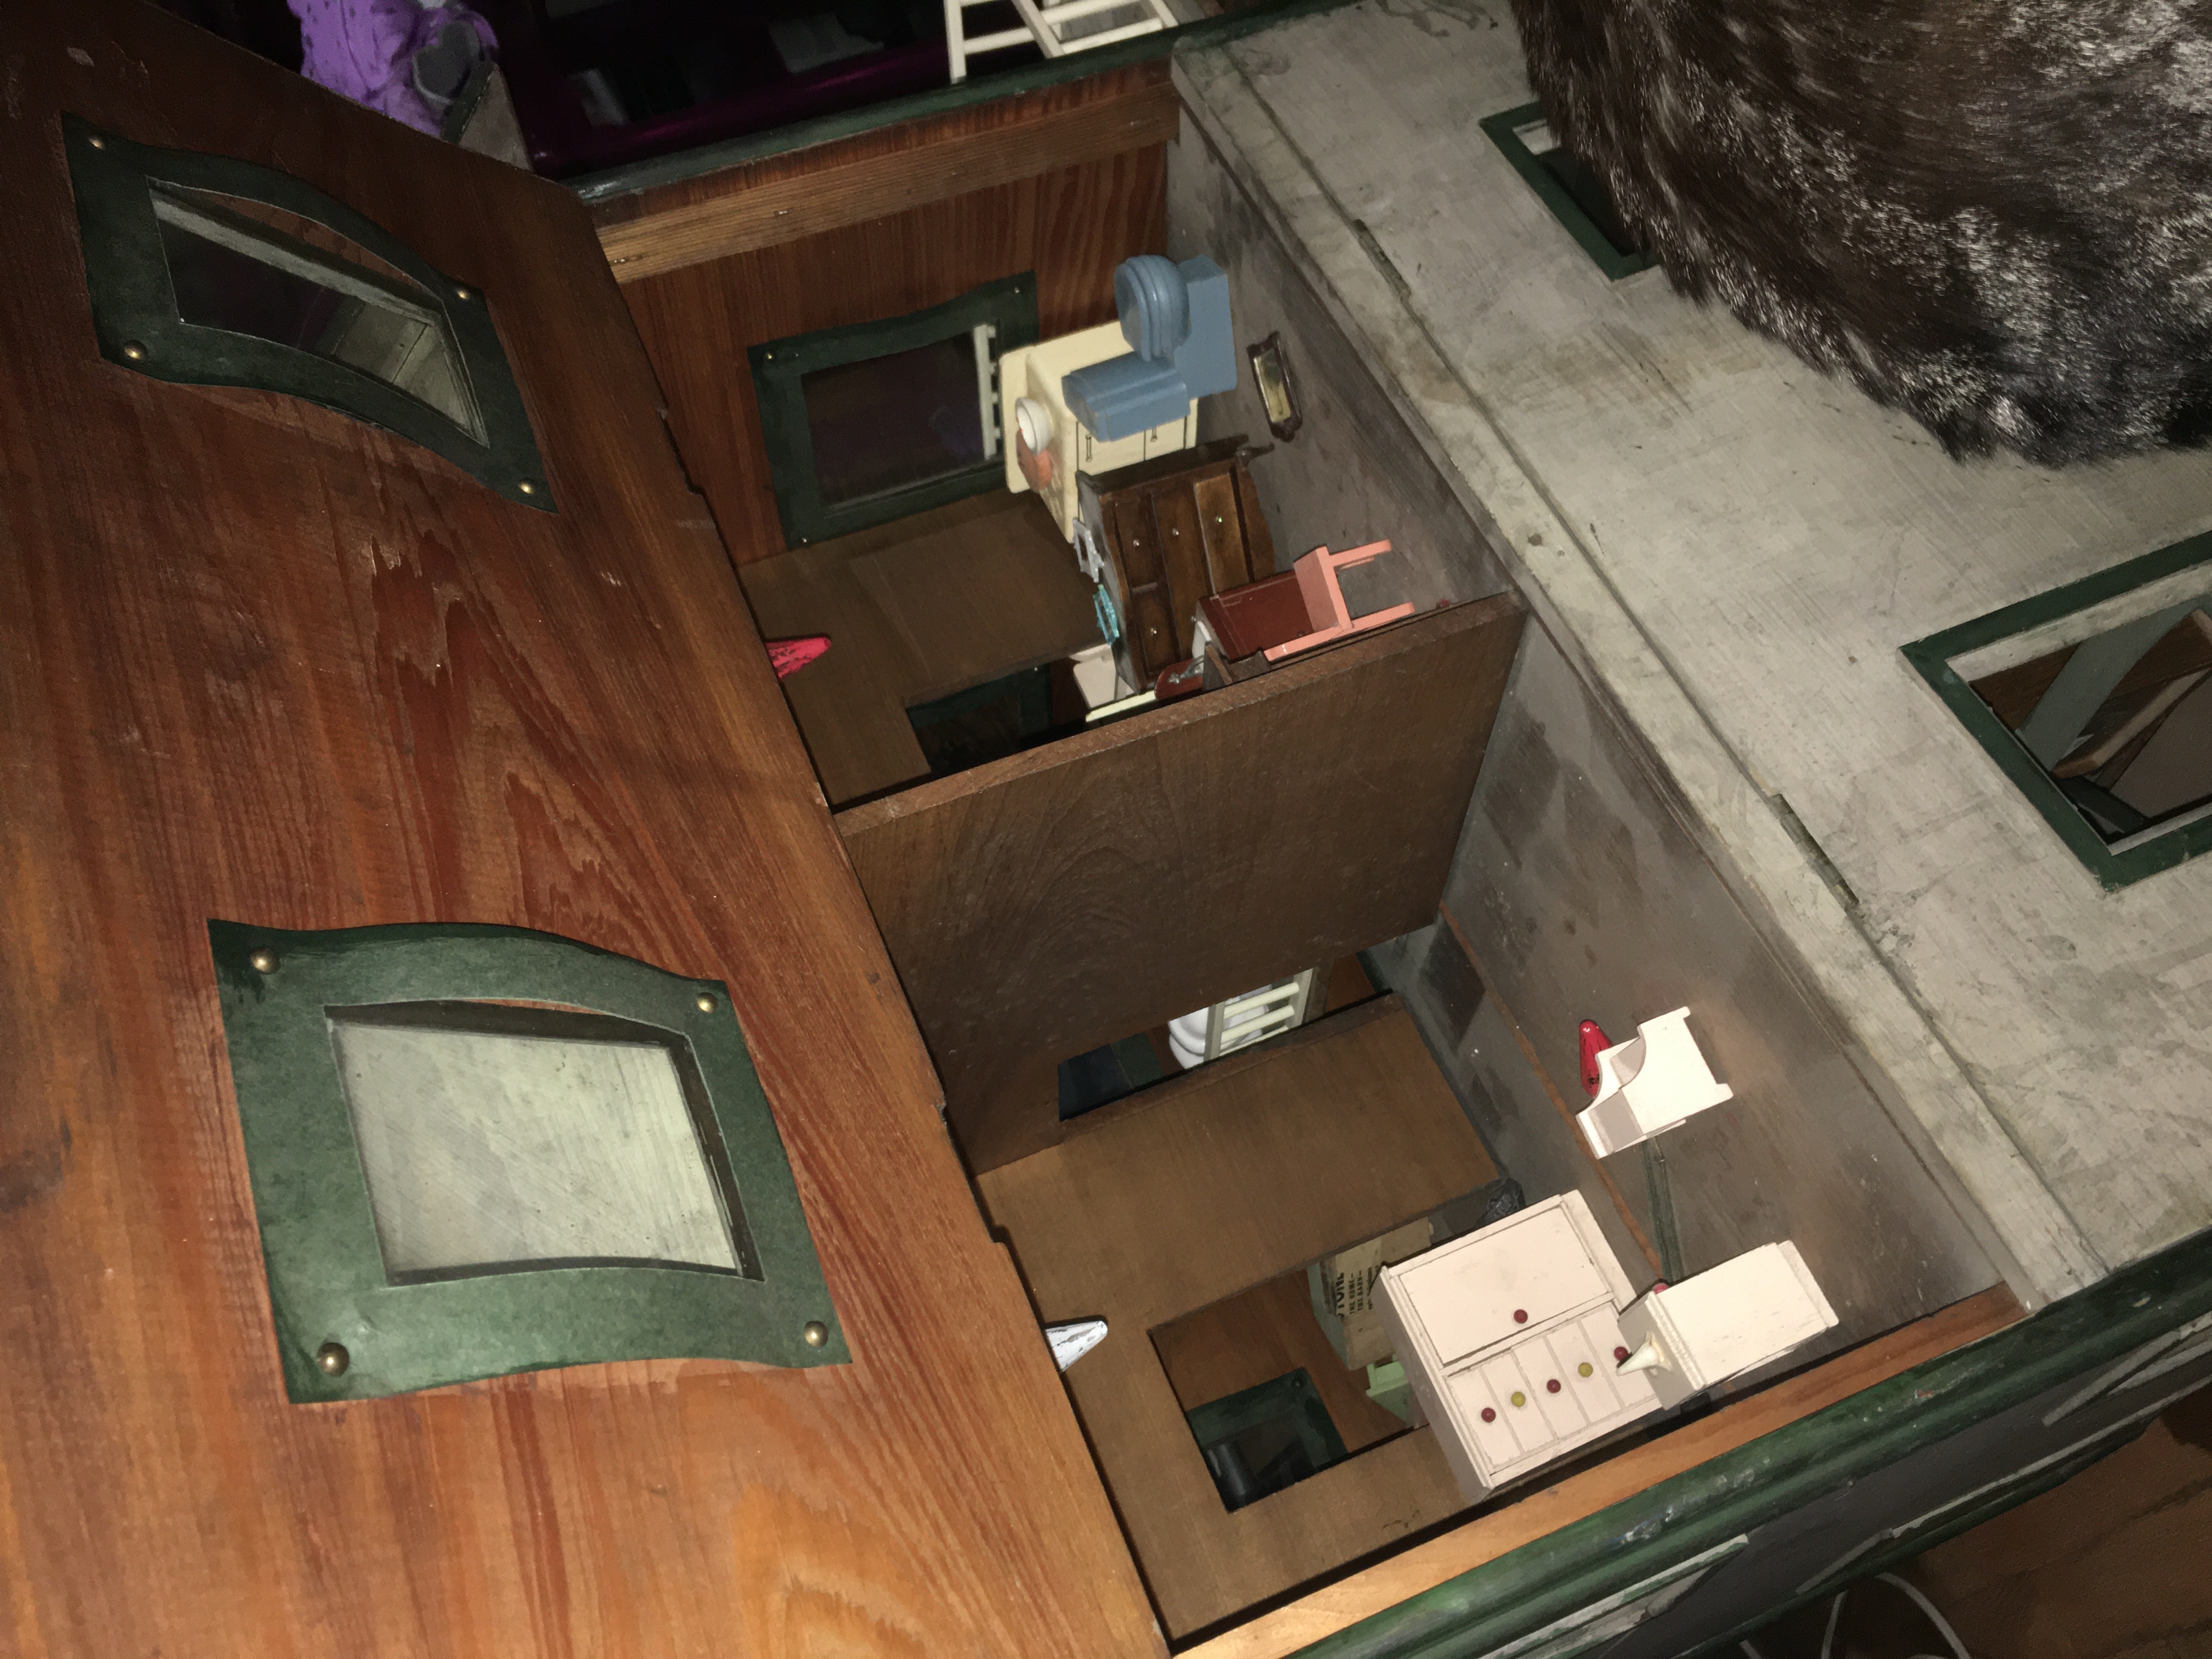
I moved all of the ‘living’ furniture into the upper floors of the house, and any that didn’t quite fit in were stored in the dollhouse’s attic. Next step will be getting store furnishings, and making goods to sell!
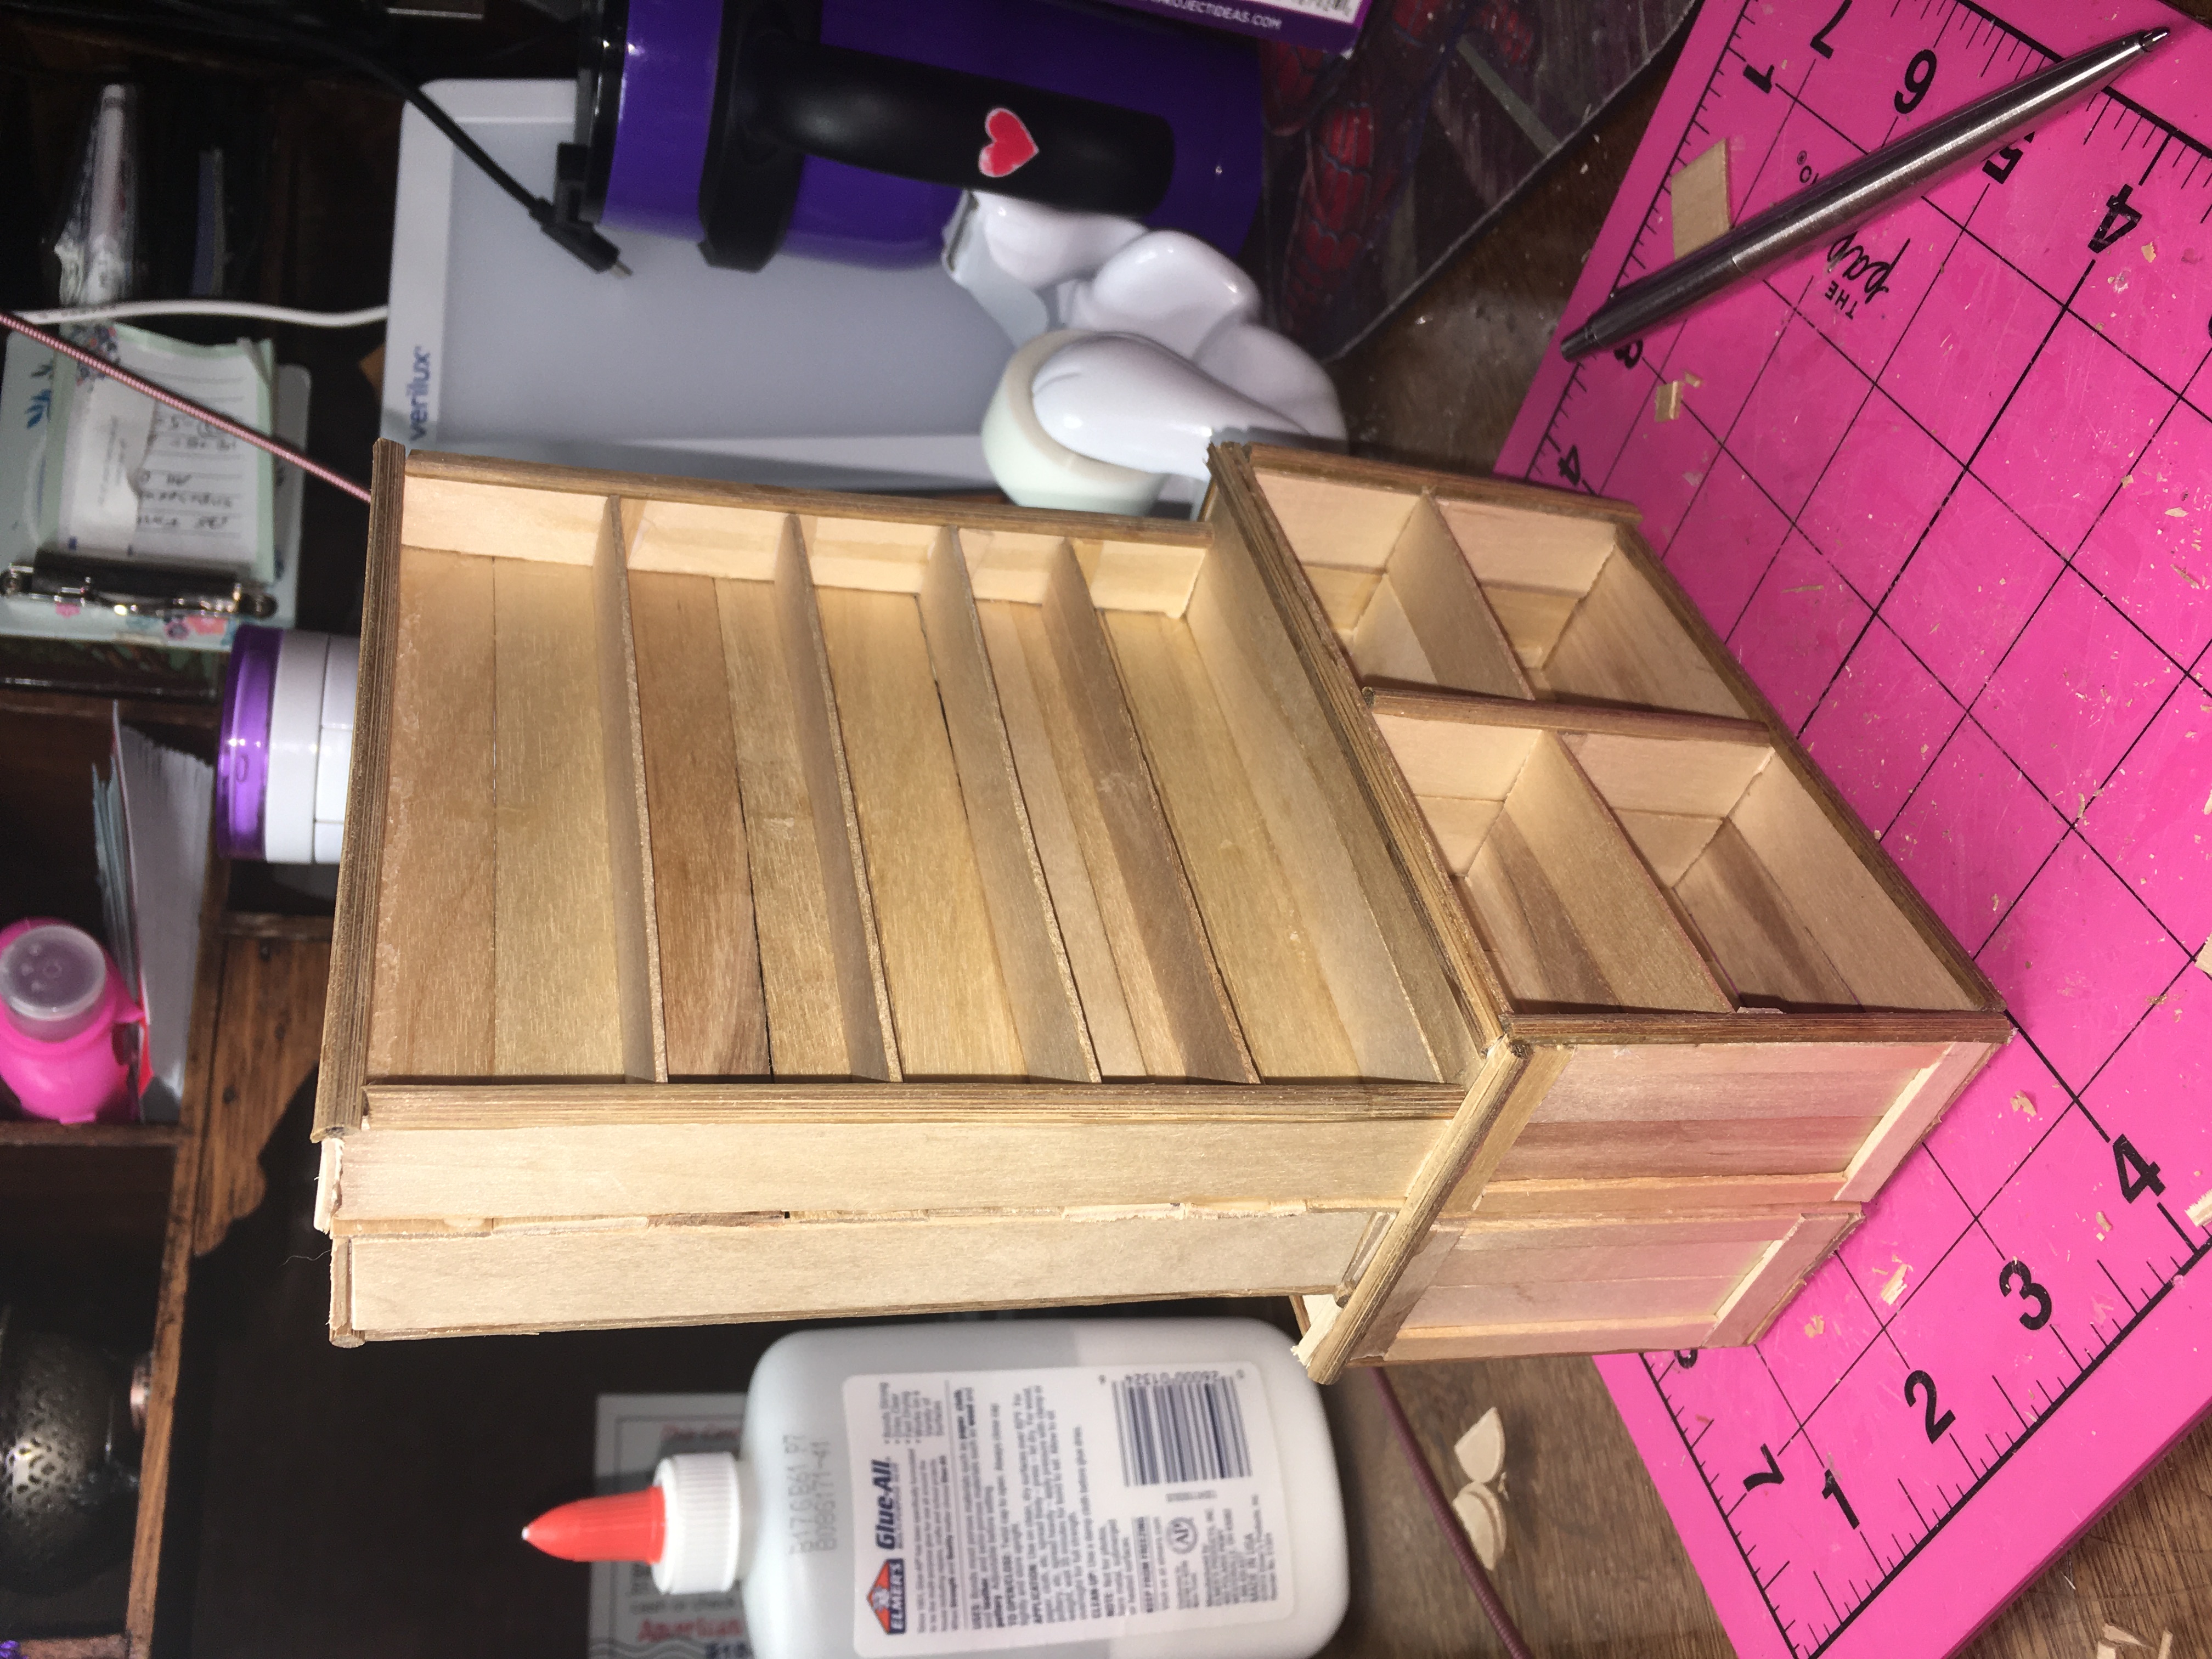
First I made this 2 sided display out of craft sticks. I figured that it would work well in one of the windows as a display. I stained it and loaded the shelves with extra dollhouse items I had lying around.
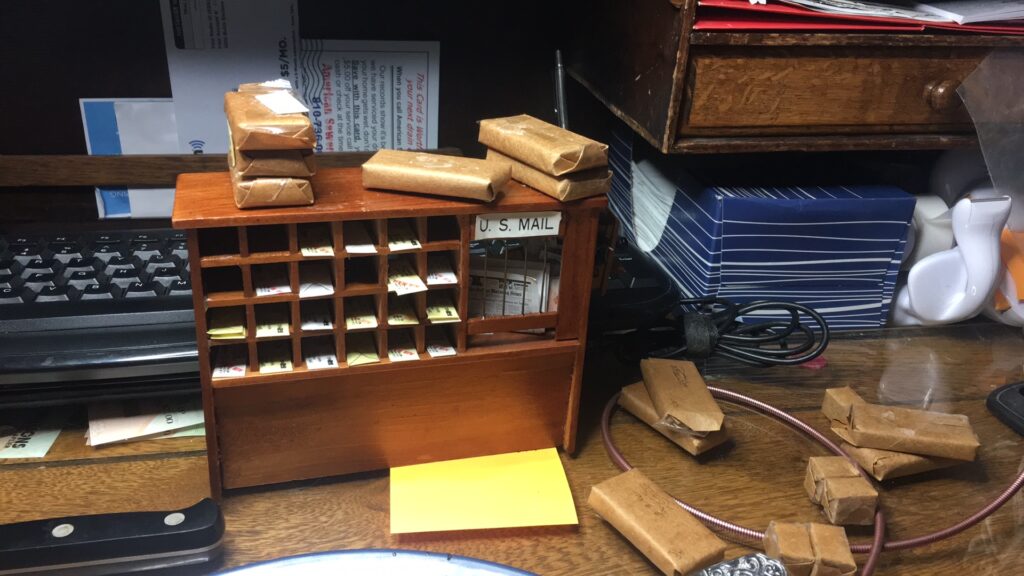
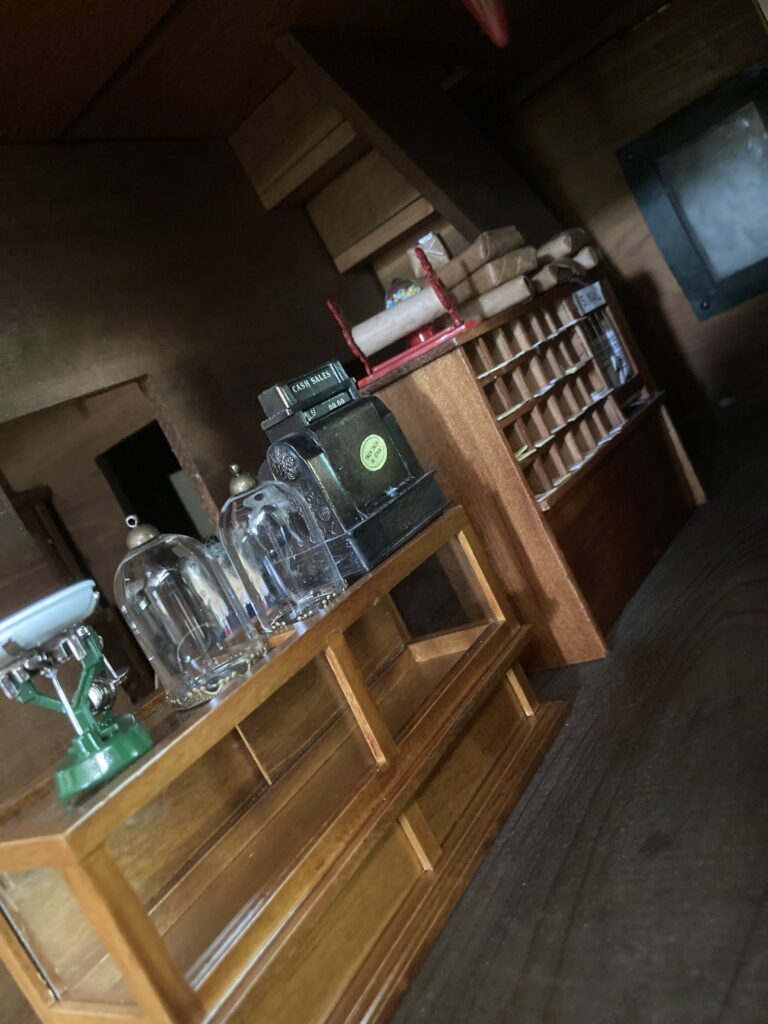
Next, I found a cool post office display and bought it off ebay.
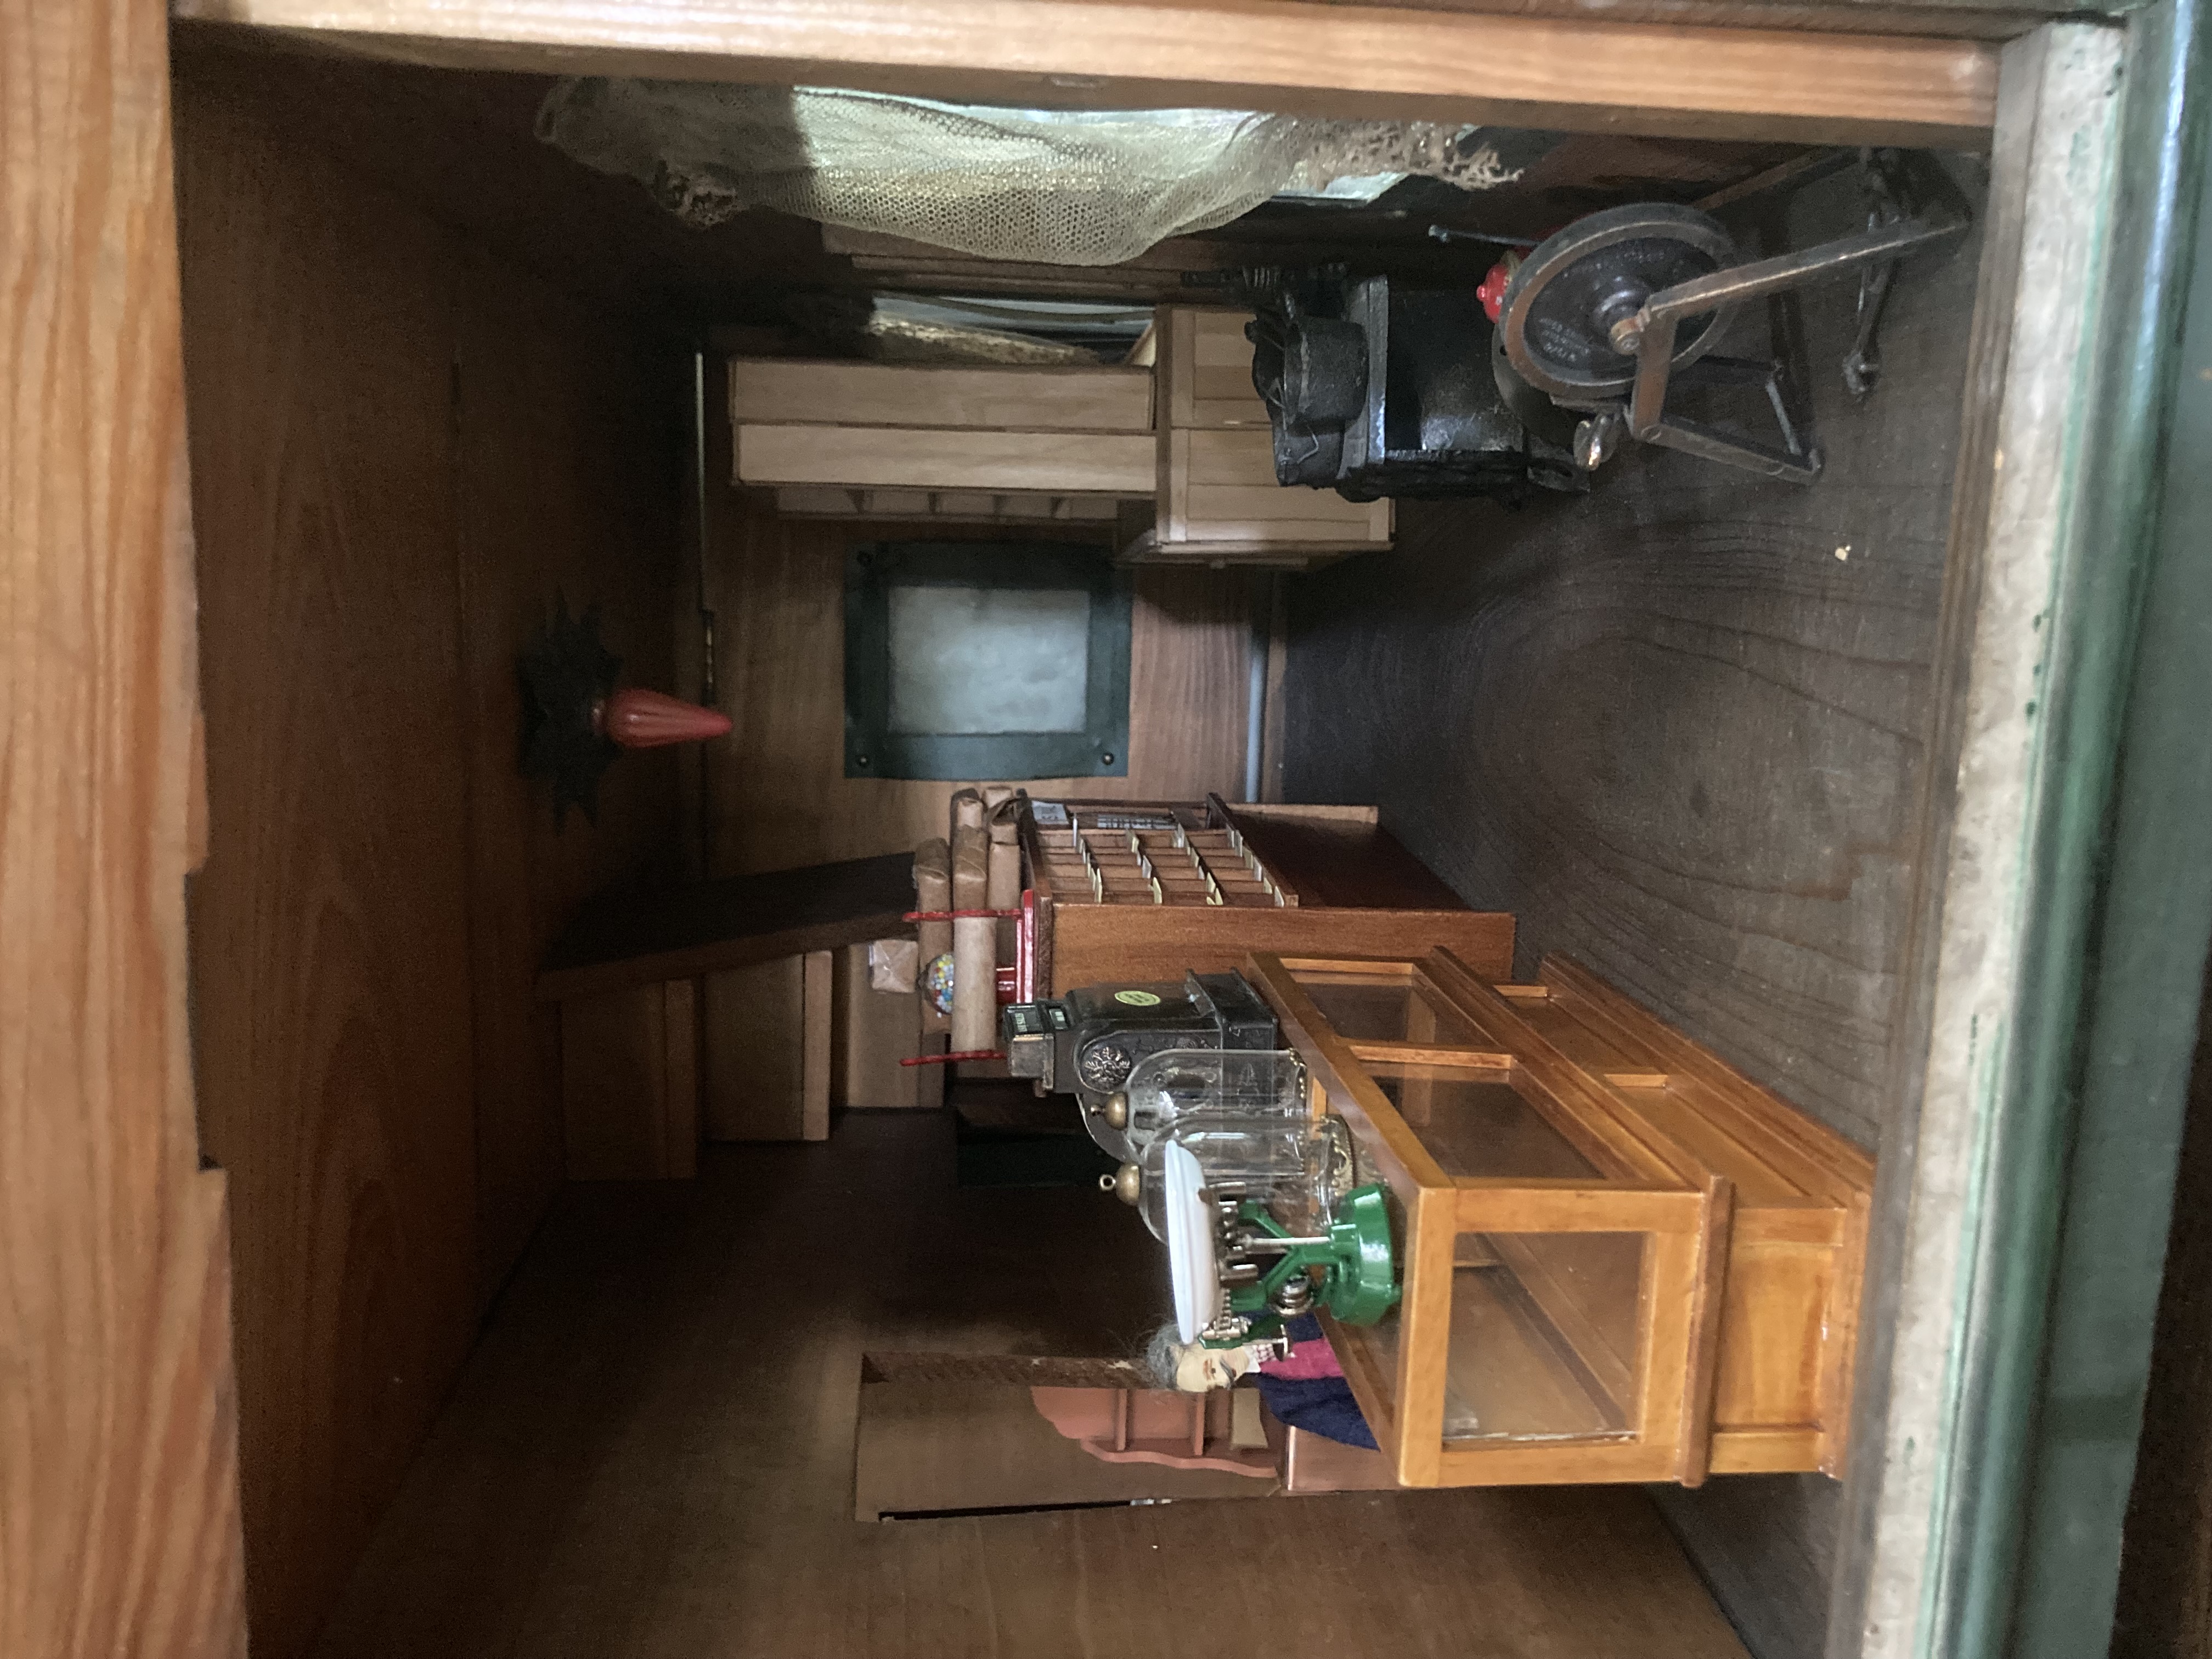
I also acquired a glass display counter and a few more goods for the store. Here is how it currently looks:
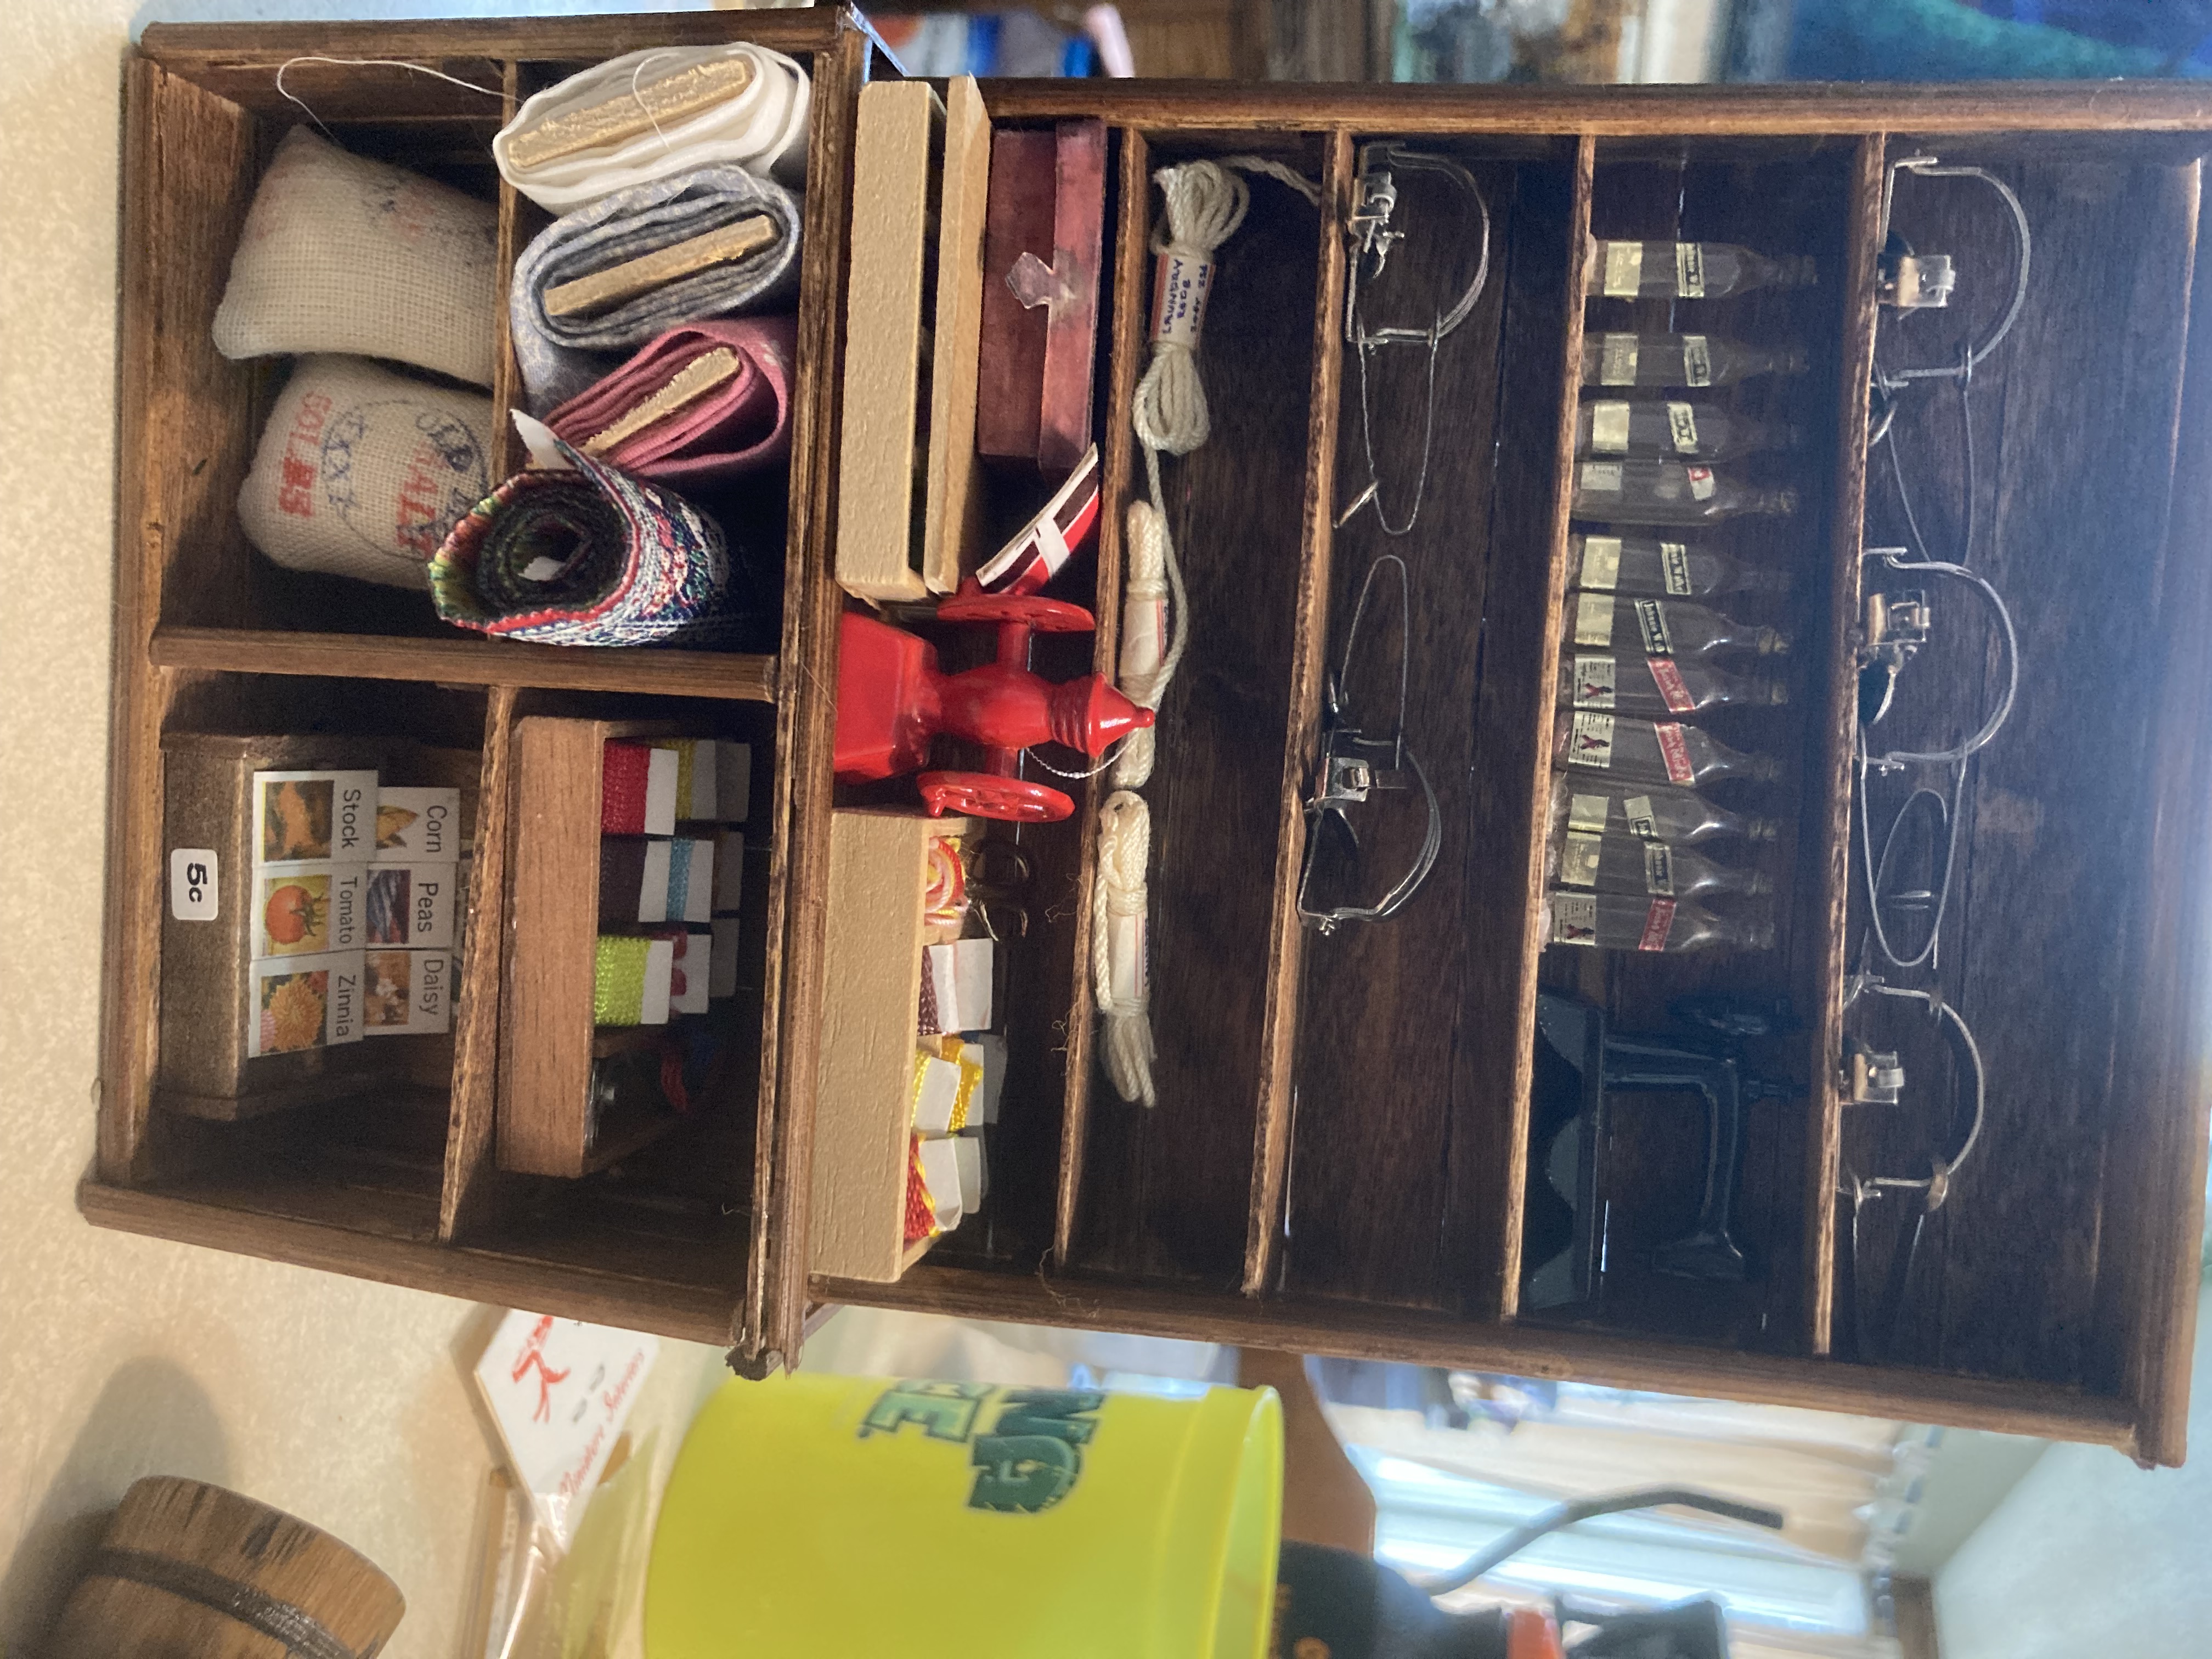
Obviously there is much more work to be done. I would like to make some horse harness and tack to put on display, as well as removable beams across the ceiling to hang goods from, like candles and baskets. At some point, I would also like to figure out how to make antique-looking medicine bottles (I collect them in real life) that can be displayed on shelves or even in the glass display case. One of the fun things about doll houses is that you can always come up with fun ideas for future projects.