Identifying Ancient Horseshoes–keyhole horseshoes of Great Britain

These were found in Great Britain.

As a passive collector of horseshoes, I decided one day to attempt to discern the ages of several shoes that I felt were older. I live in the United States. Most shoes in my area aren’t much more than 150-200 years old, with anything older than that a fine treasure, indeed! Ironically, good information about aging the shoes of horses in the United States is very hard to come by. I did, however, find some good articles and even books on horseshoes from Great Britain.

It seems that nail-on horseshoes have been around for centuries—almost a thousand years, even. During that time, changes in shoe-making evolved according to new discoveries in farriery and blacksmithing. It seems that every century or so saw a new style of horseshoe become popular for different reasons, such as altering the shape of the shoe to allow the frog of the hoof to make contact with the ground, adding more nail holes, alterations for traction, or adding an extra piece of metal to the hoof-side to keep the shoe from slipping and falling off. What is wonderful about all of this is that these discoveries and changes were usually documented in advertisements and journals.

I have discovered three great sources, so far, on dating English horseshoes. One is the Museum Of London, who has a website. They took photos of many old shoes and listed them online, along with their estimated dates. It has been enormously useful in testing myself on dating, and to discover possible dates for unusual shoes in my own collection.

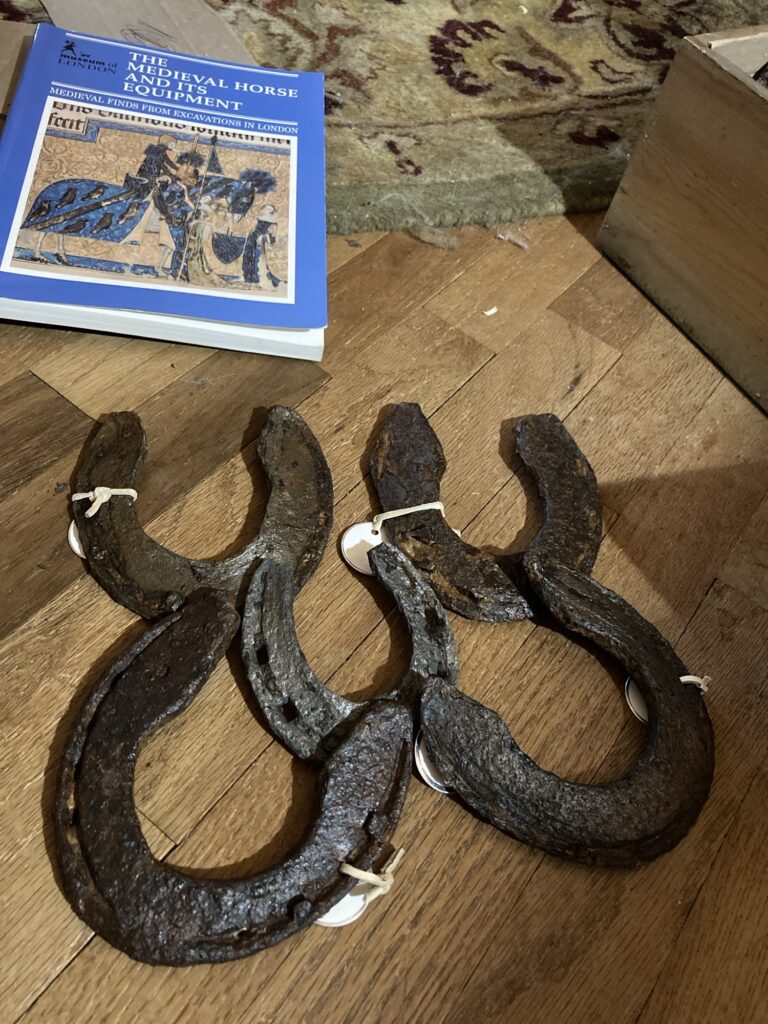
Another good source is a book called ‘The Medieval Horse and its Equipment’ from The Museum of London, edited by John Clark

This book has excellent material on dating and categorizing the older shoes that were found in London.

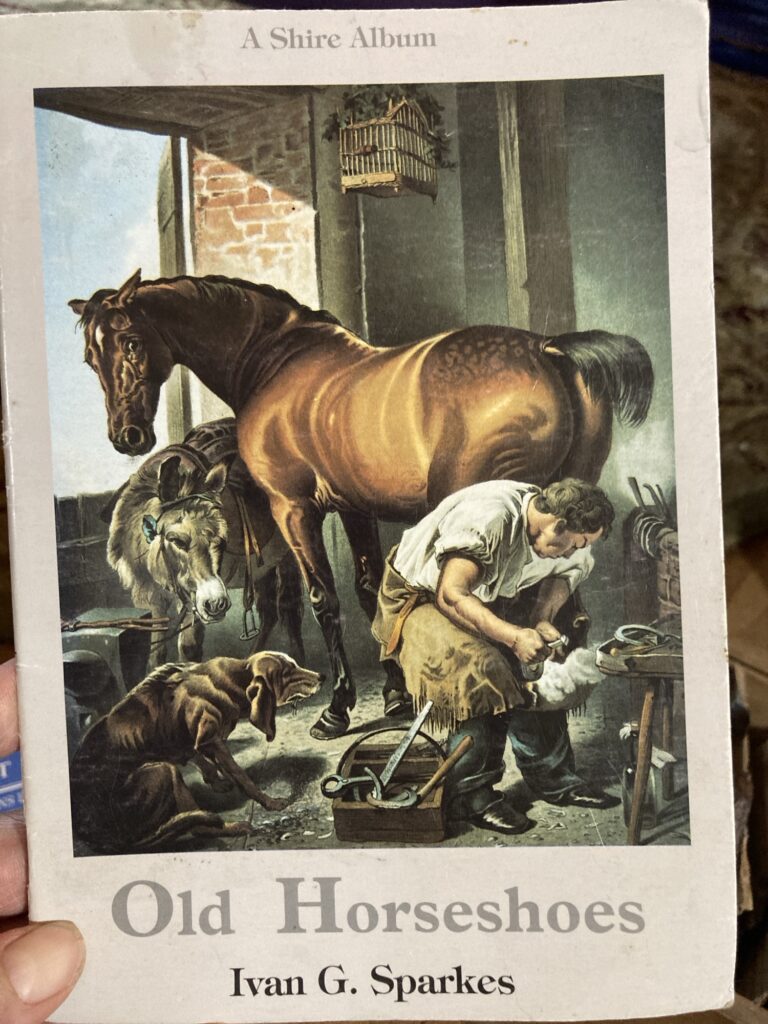
A third excellent source is the Shire Album ‘Old Horseshoes’ by Ivan G. Sparks.

This book has a nice history of shoes found in England. The author categorizes them slightly differently than the Museum of London book, but I believe the dates that he uses are pretty much the same. This book also lists shoes that are post-medieval, which is nice.

Studying these sources I have learned a little about ancient horseshoes, at least in Great Britain.

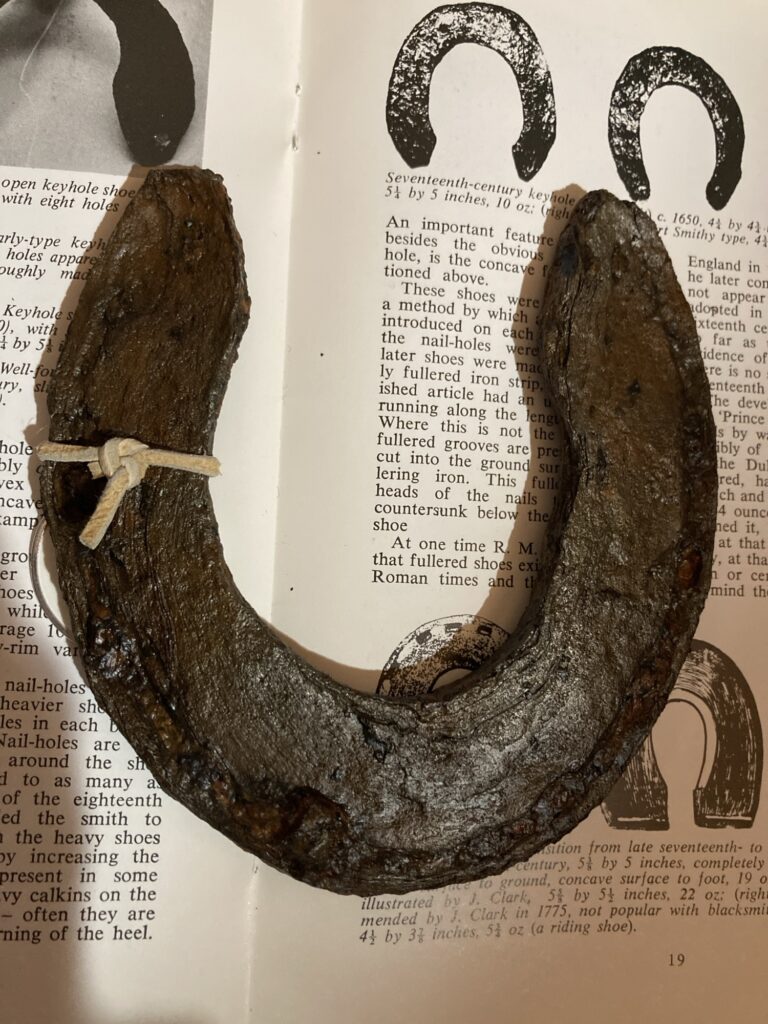
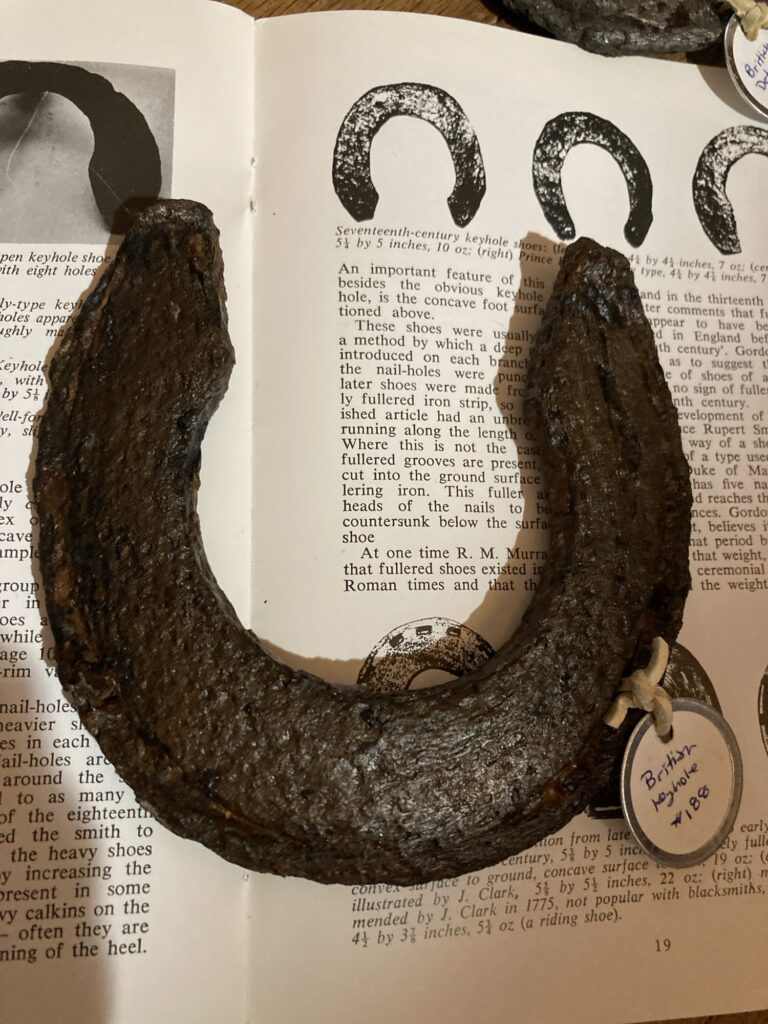
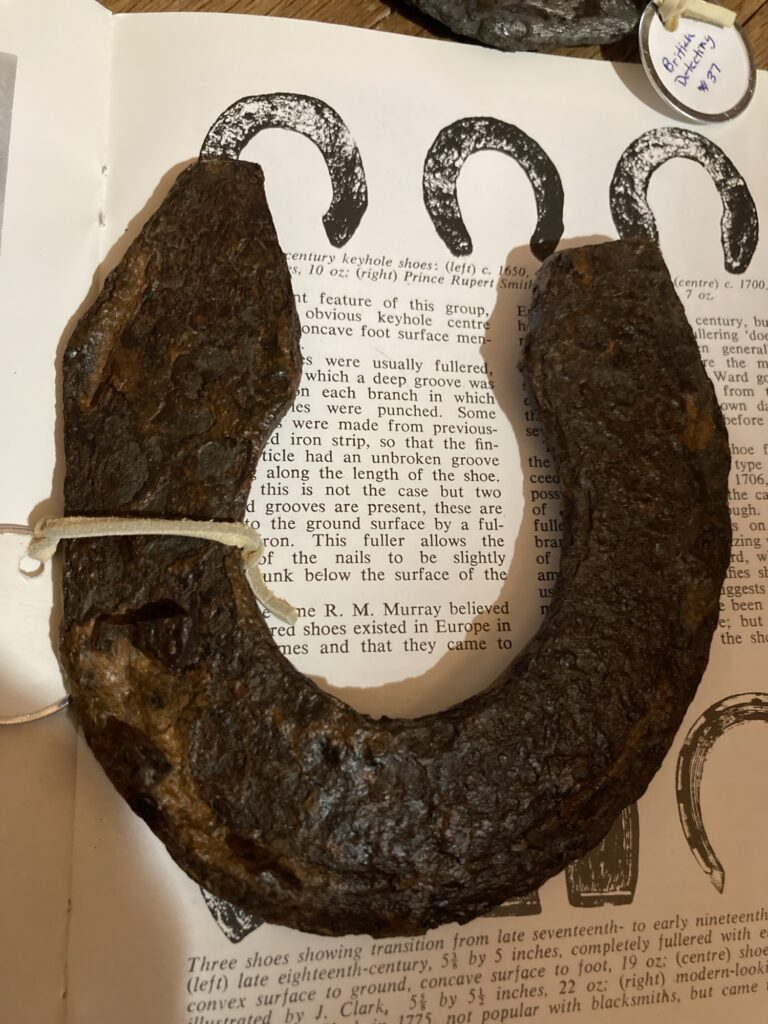
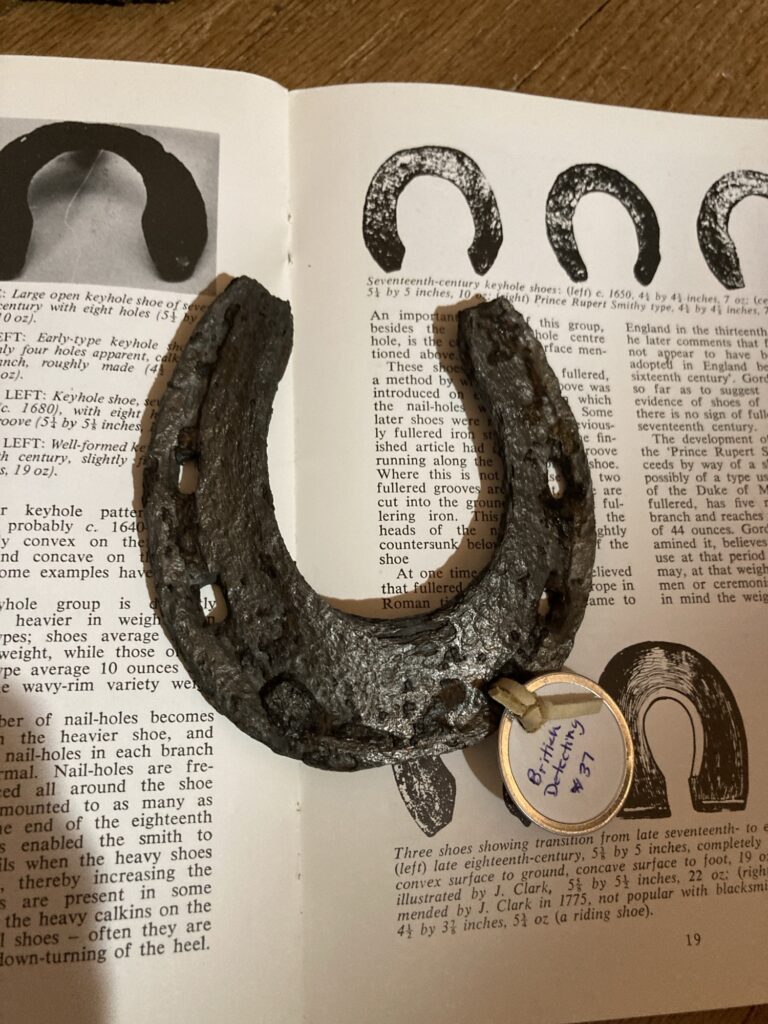
With this article, using these sources, I will show off some of the keyhole horseshoes I have in my collection. These shoes were bought from a metal detectorist in Great Britain.

One of my favorite examples of a keyhole shoe. The fuller doesn’t extend all the way around the shoe so it may be older.

The keyhole shoe tends to be larger and heavier than its predecessors, and the thick branches and heavy heels form sort of a keyhole shape in the center, thus its name. It was mainly used on draft horses. Because the shoe is heavier, it tends to have more nail holes than previous shoes (older shoes tend to have 6 holes, 3 on each branch). Of the 5 keyhole shoes that I have, 3 of them have 8 holes (4 on each branch), 1 has at least 10 holes, and the smallest (which is pony sized) has only 6 holes (because it is a smaller shoe).

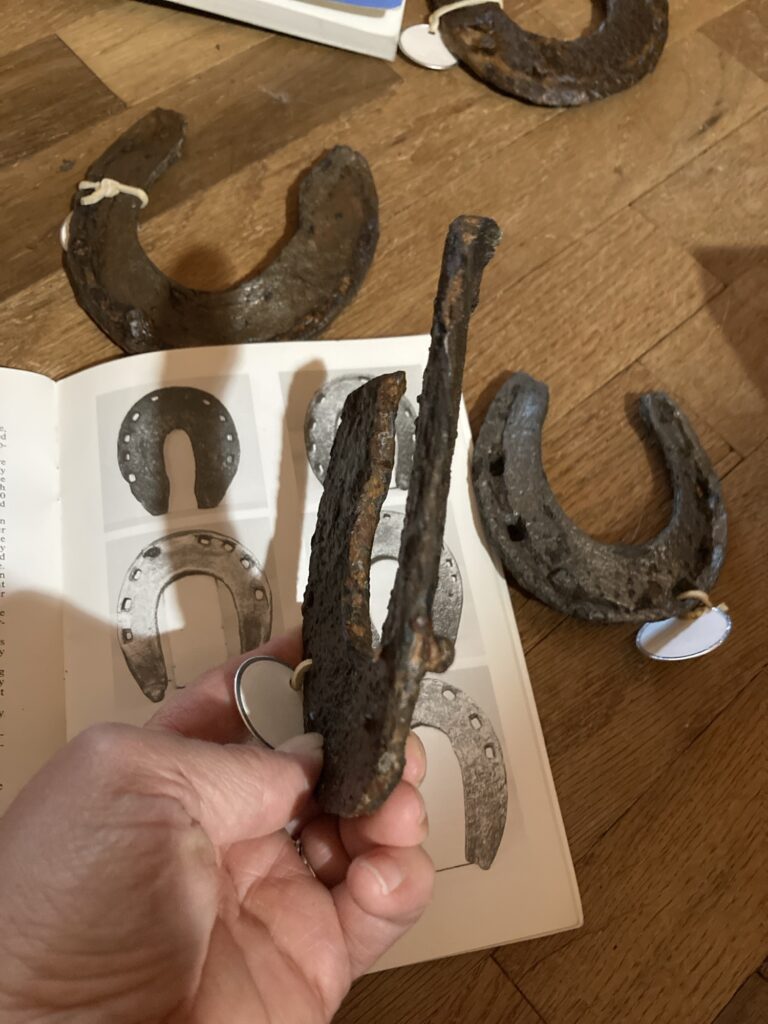
Notice the concavity. Also how thick this shoe is!
As in the shoe above, apparently the calkins on keyhole shoes are a slight turning downwards of the heel. This is to add more grip on the ground surface.

Keyhole shoes also tend to have a concave foot surface. Some have calkins on the heels as well, and some have a fuller (a groove that extends along the branches that the nail holes are in). Mine all have fullers, although some of the fullers are more pronounced than others. Apparently the keyhole shoes from 1700 and onward have a fuller that extends along the whole shoe, heel to toe, while older ones tended to only be fullered along the holes on each branch.

This shoe is fullered all the way around the shoe, so it may be 1700’s or later.

This shoe has a fuller all the way around, and may be from 1700 or later.

This shoe is fullered all the way around, and is probably from 1700 or later.

This one is pony-sized. Isn’t it cute??

The keyhole shoes were more popular from the mid 1600’s to the 1800’s.

I think one of the reasons I like these shoes so much is because they are so easily recognized by their distinctive shape, which is in sharp contrast to most of the shoes you see today.

How to Update a Breyer Horse Barn to be a Realistic Dollhouse Livery Stable

The livery stable

While I was working on a dollhouse saloon, my mother suggested (jokingly, I am sure) that I should do a livery stable next. I had bought an awesome horse action figure (McFarlane Toys Roach from the Witcher series season 2), and was planning on eventually tying it outside of the saloon at a hitching post. The idea of a livery stable kept growing on me, because I LOVE horses, and I love barns as well. I started searching Facebook Marketplace for a suitable candidate.

It’s not easy to see in this photo, but this is the barn I picked out. It is a vintage Breyer Horse barn. It had some minor structural damage that I was working on in this photo.

I chose a vintage Breyer Horse barn. There are 2 large stalls and a loft. Each stall has 2 doors–one in front and one in back. I loved these doors, as they slide like a real barn door. There is also a nice, wide aisle in front that I can use for staging photos.

I found several of these barns on Facebook Marketplace, and so had several to choose from. This particular one was nearby, came with some wooden fencing to use as a paddock, and needed a few minor structural repairs. The repairs didn’t scare me as they looked pretty easy to do, and the price was right, so I bought it. The above photo was as I was ‘clamping’ it so glue would dry properly. Unfortunately it is the closest ‘before’ photo I have of it.

I decided that I wanted to make a few changes to this stable so it is more realistic. I wanted to add a hinged section of roof to cover the front of the barn, as well as another section of flooring in the loft so it would be closed on top, making a second floor that I could fill with straw and horse tack.

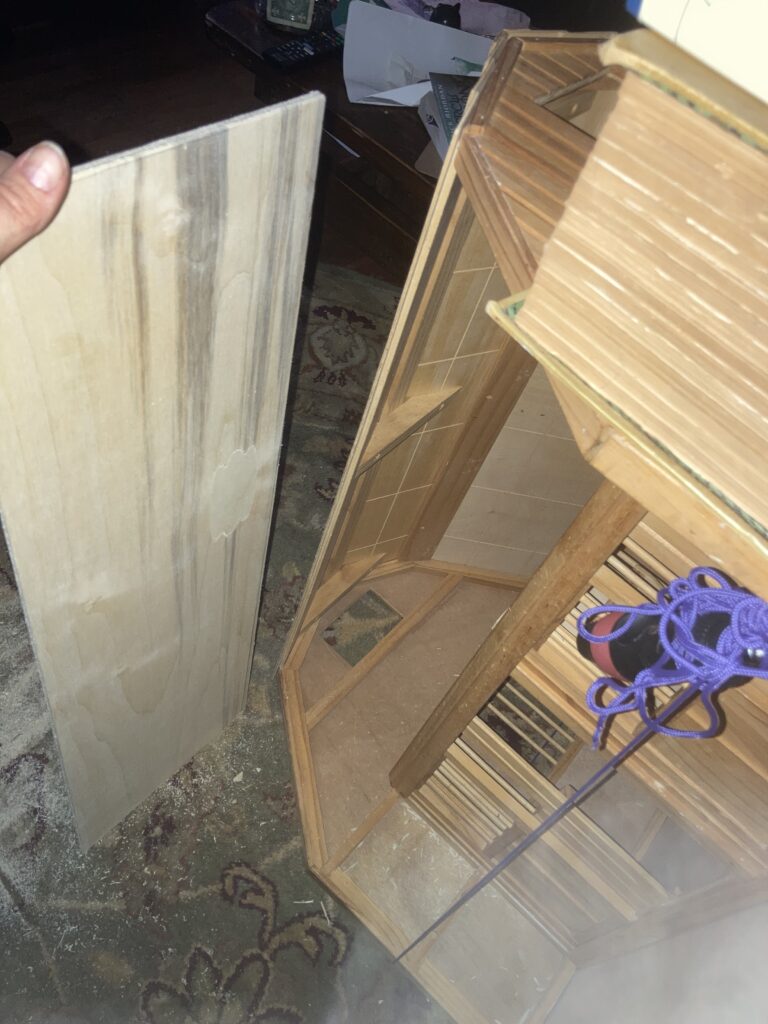
I cut out a section of thin wood to use as a hinged roof.
Roof section fitted into place. I secured it using small brass hinges from the hardware store.

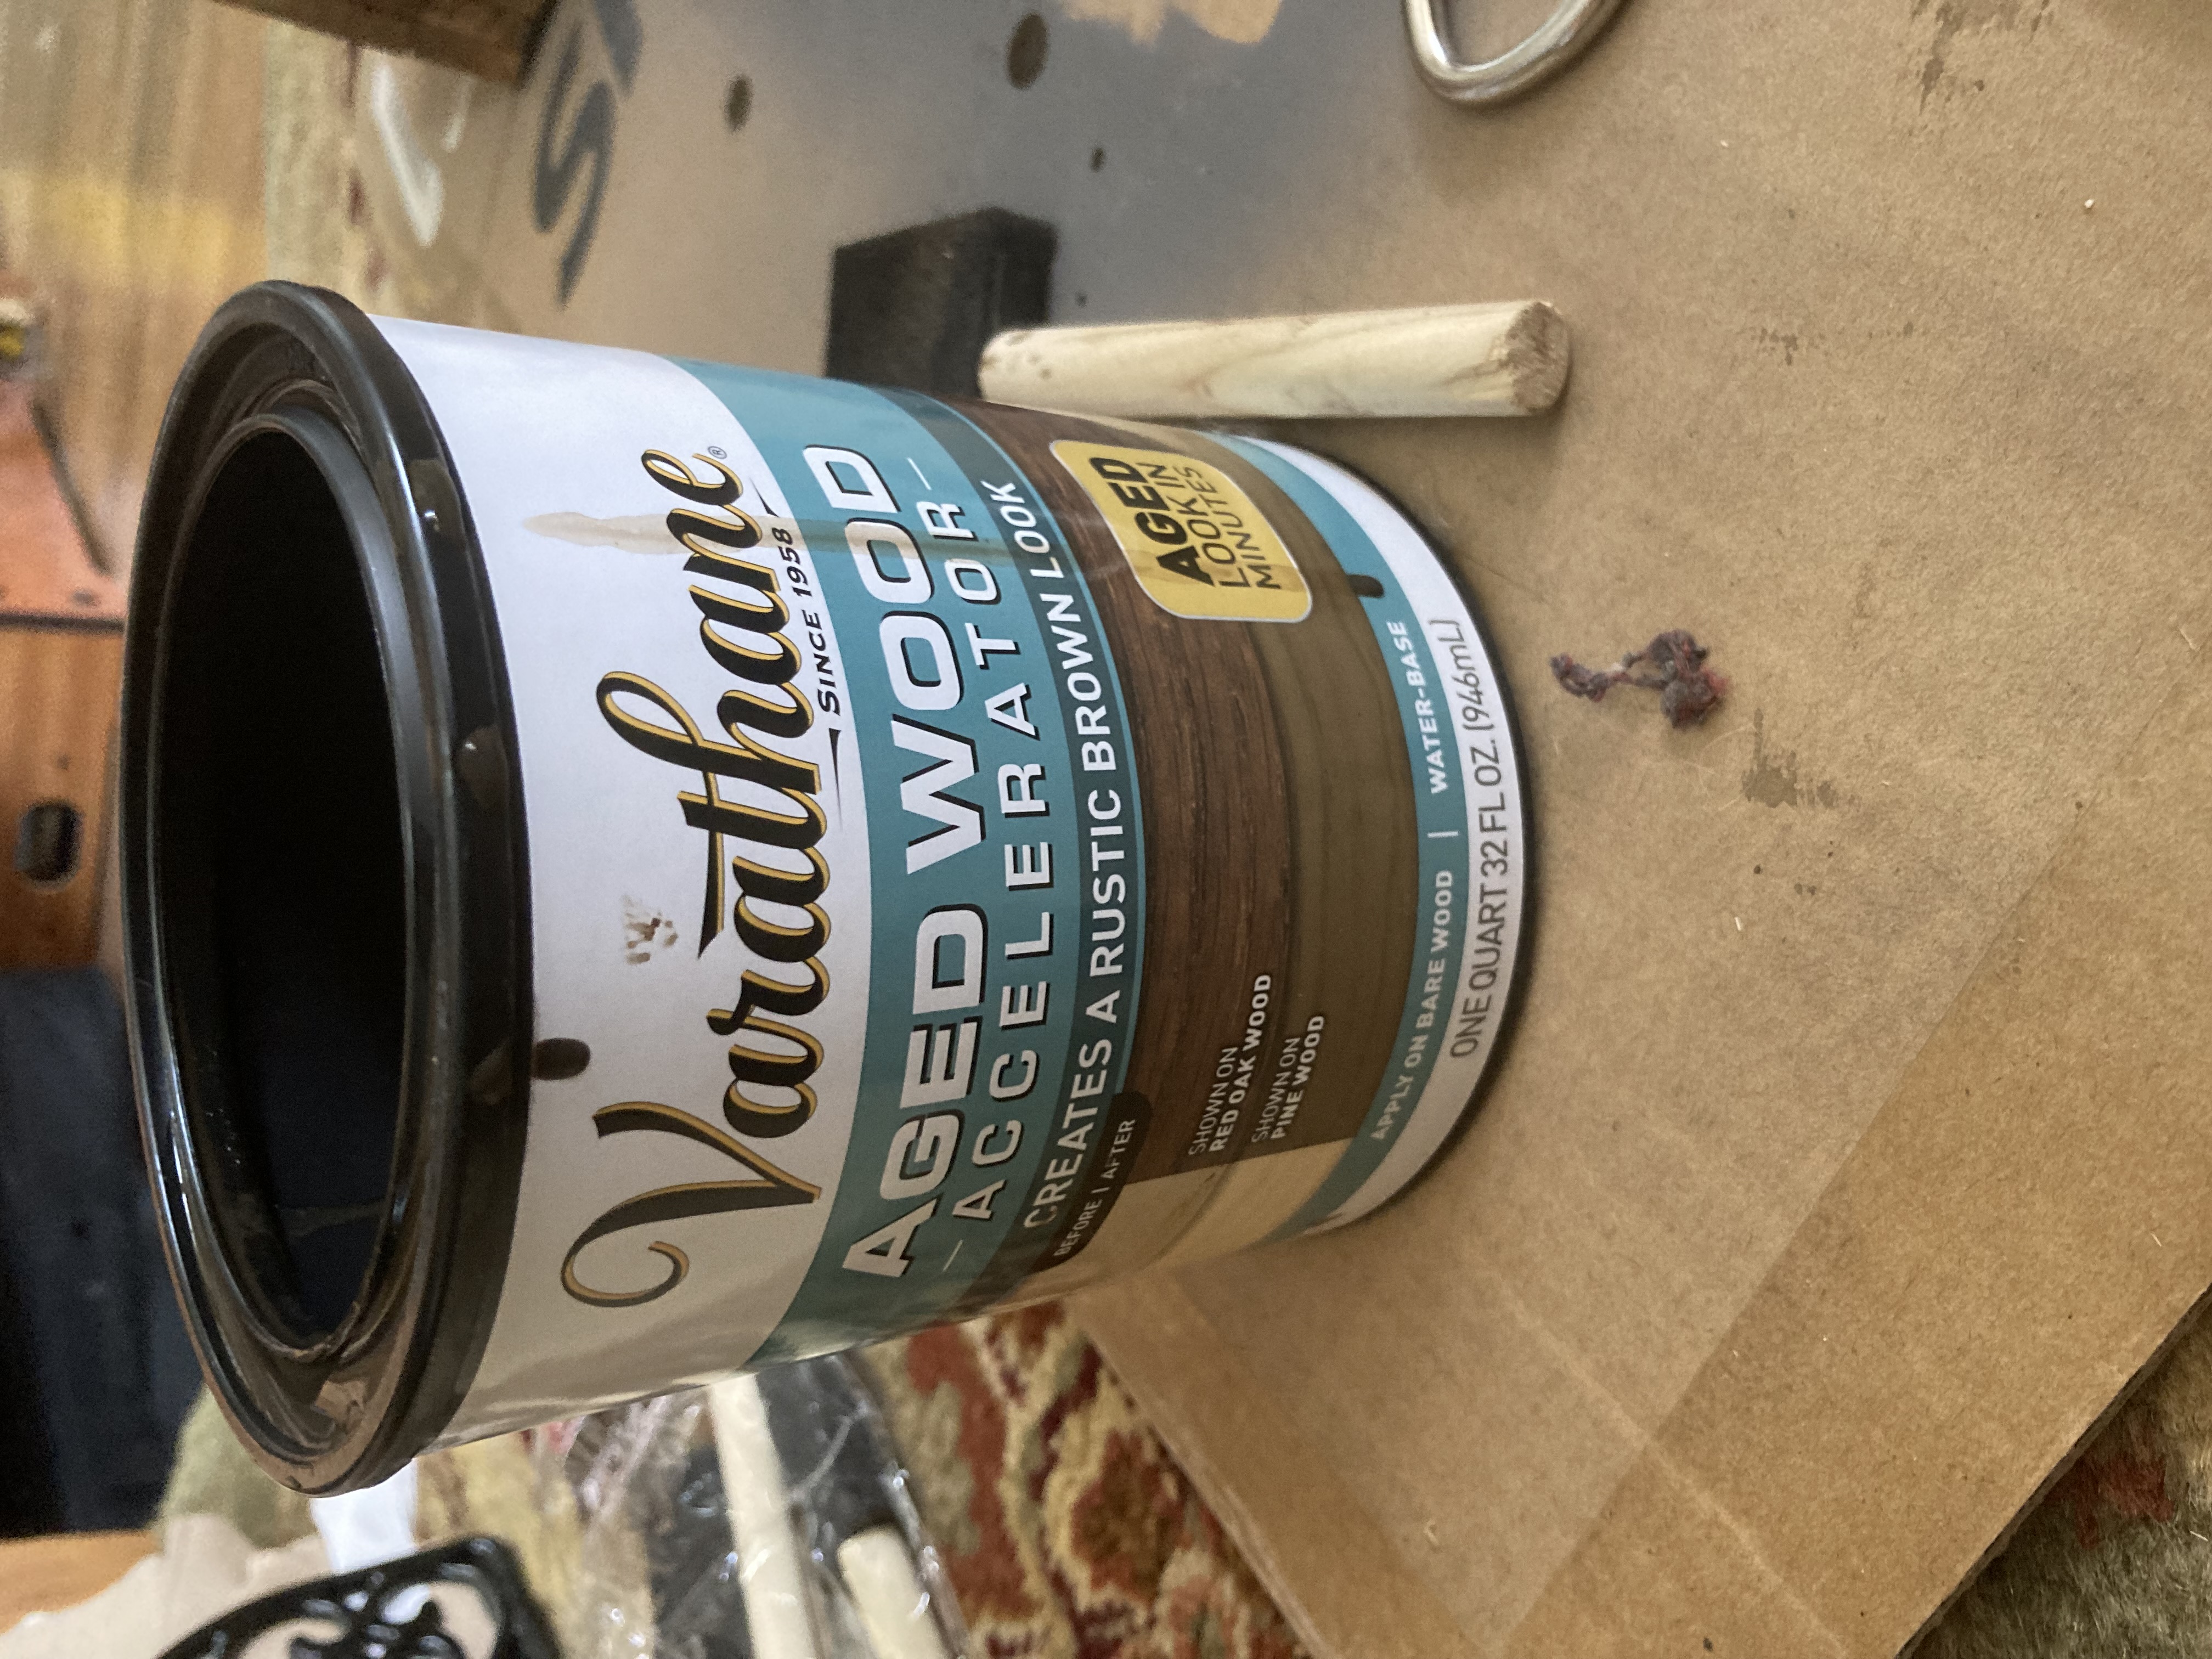
After these modifications were in place, I used Varathane aged wood accelerator stain to make the barn look aged. I brushed it on per the instructions.

This stuff is awesome, and has come in handy for several projects. I brushed it on with a foam brush and then used a paper towel to wipe off excess.
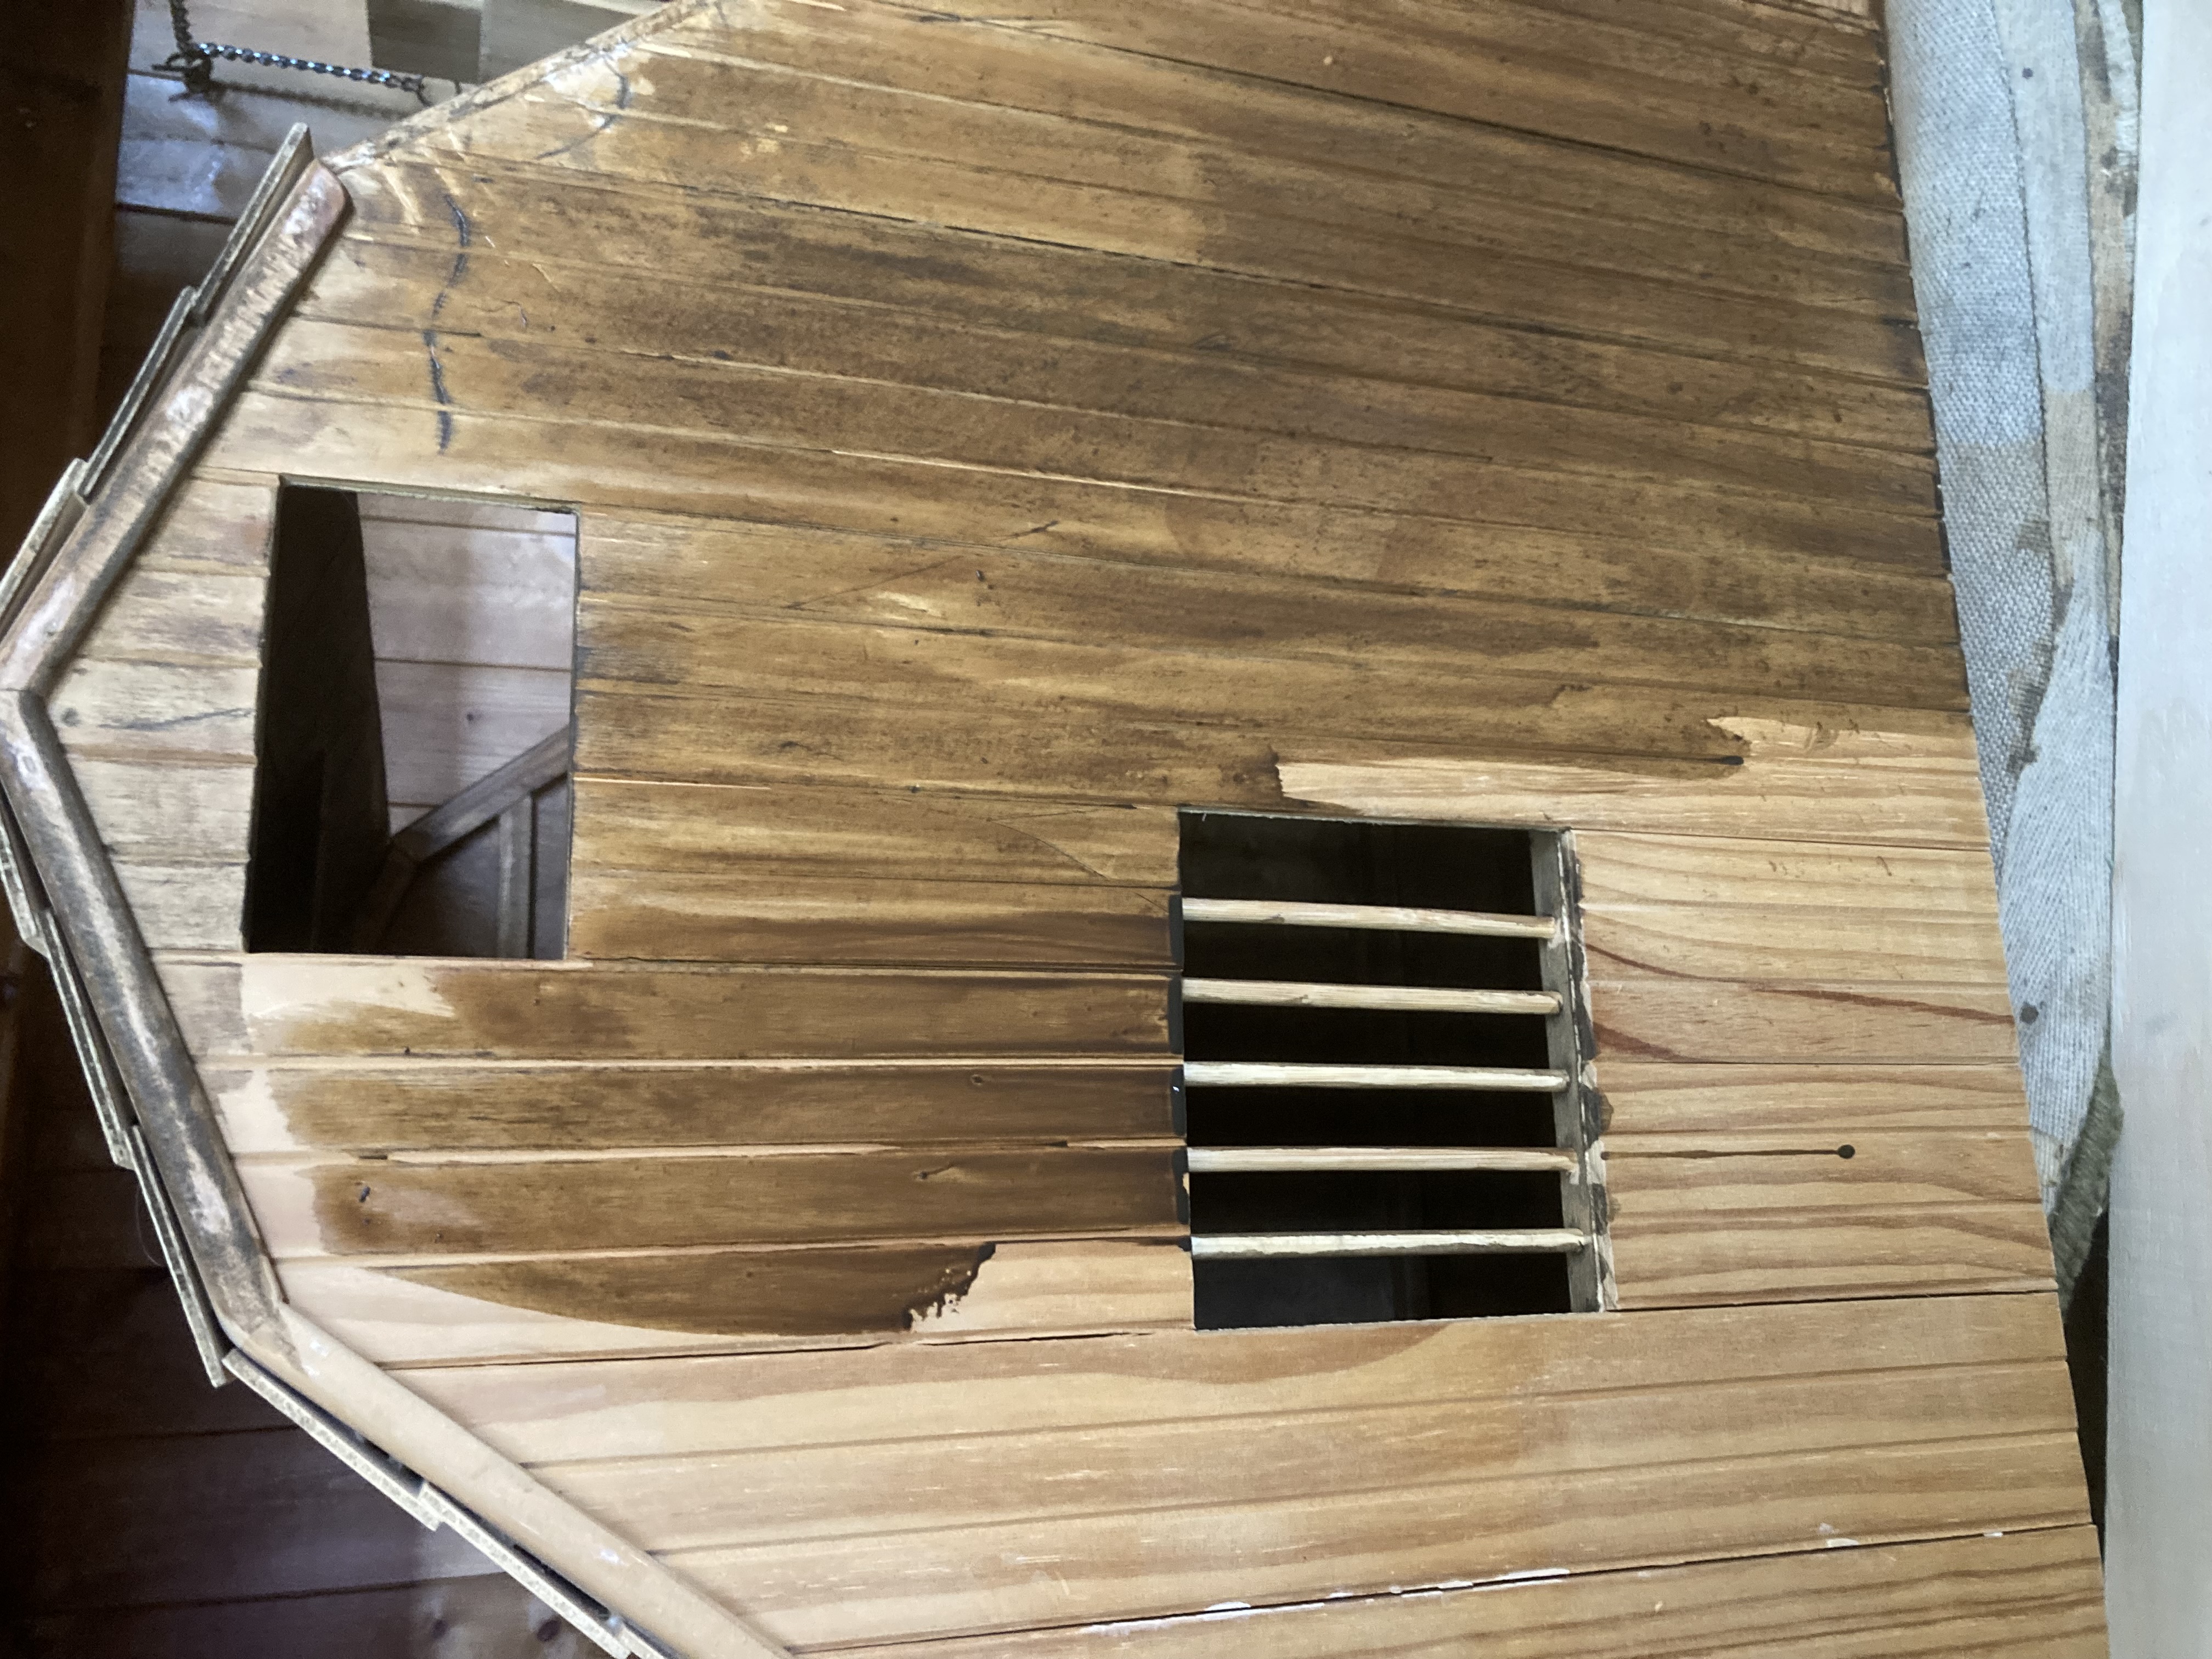
A ‘during’ photo so you can see the before and after.
Wiping off the excess. it helped make the individual ‘boards’ stand out.

Next I wanted to add shingles, so I did.

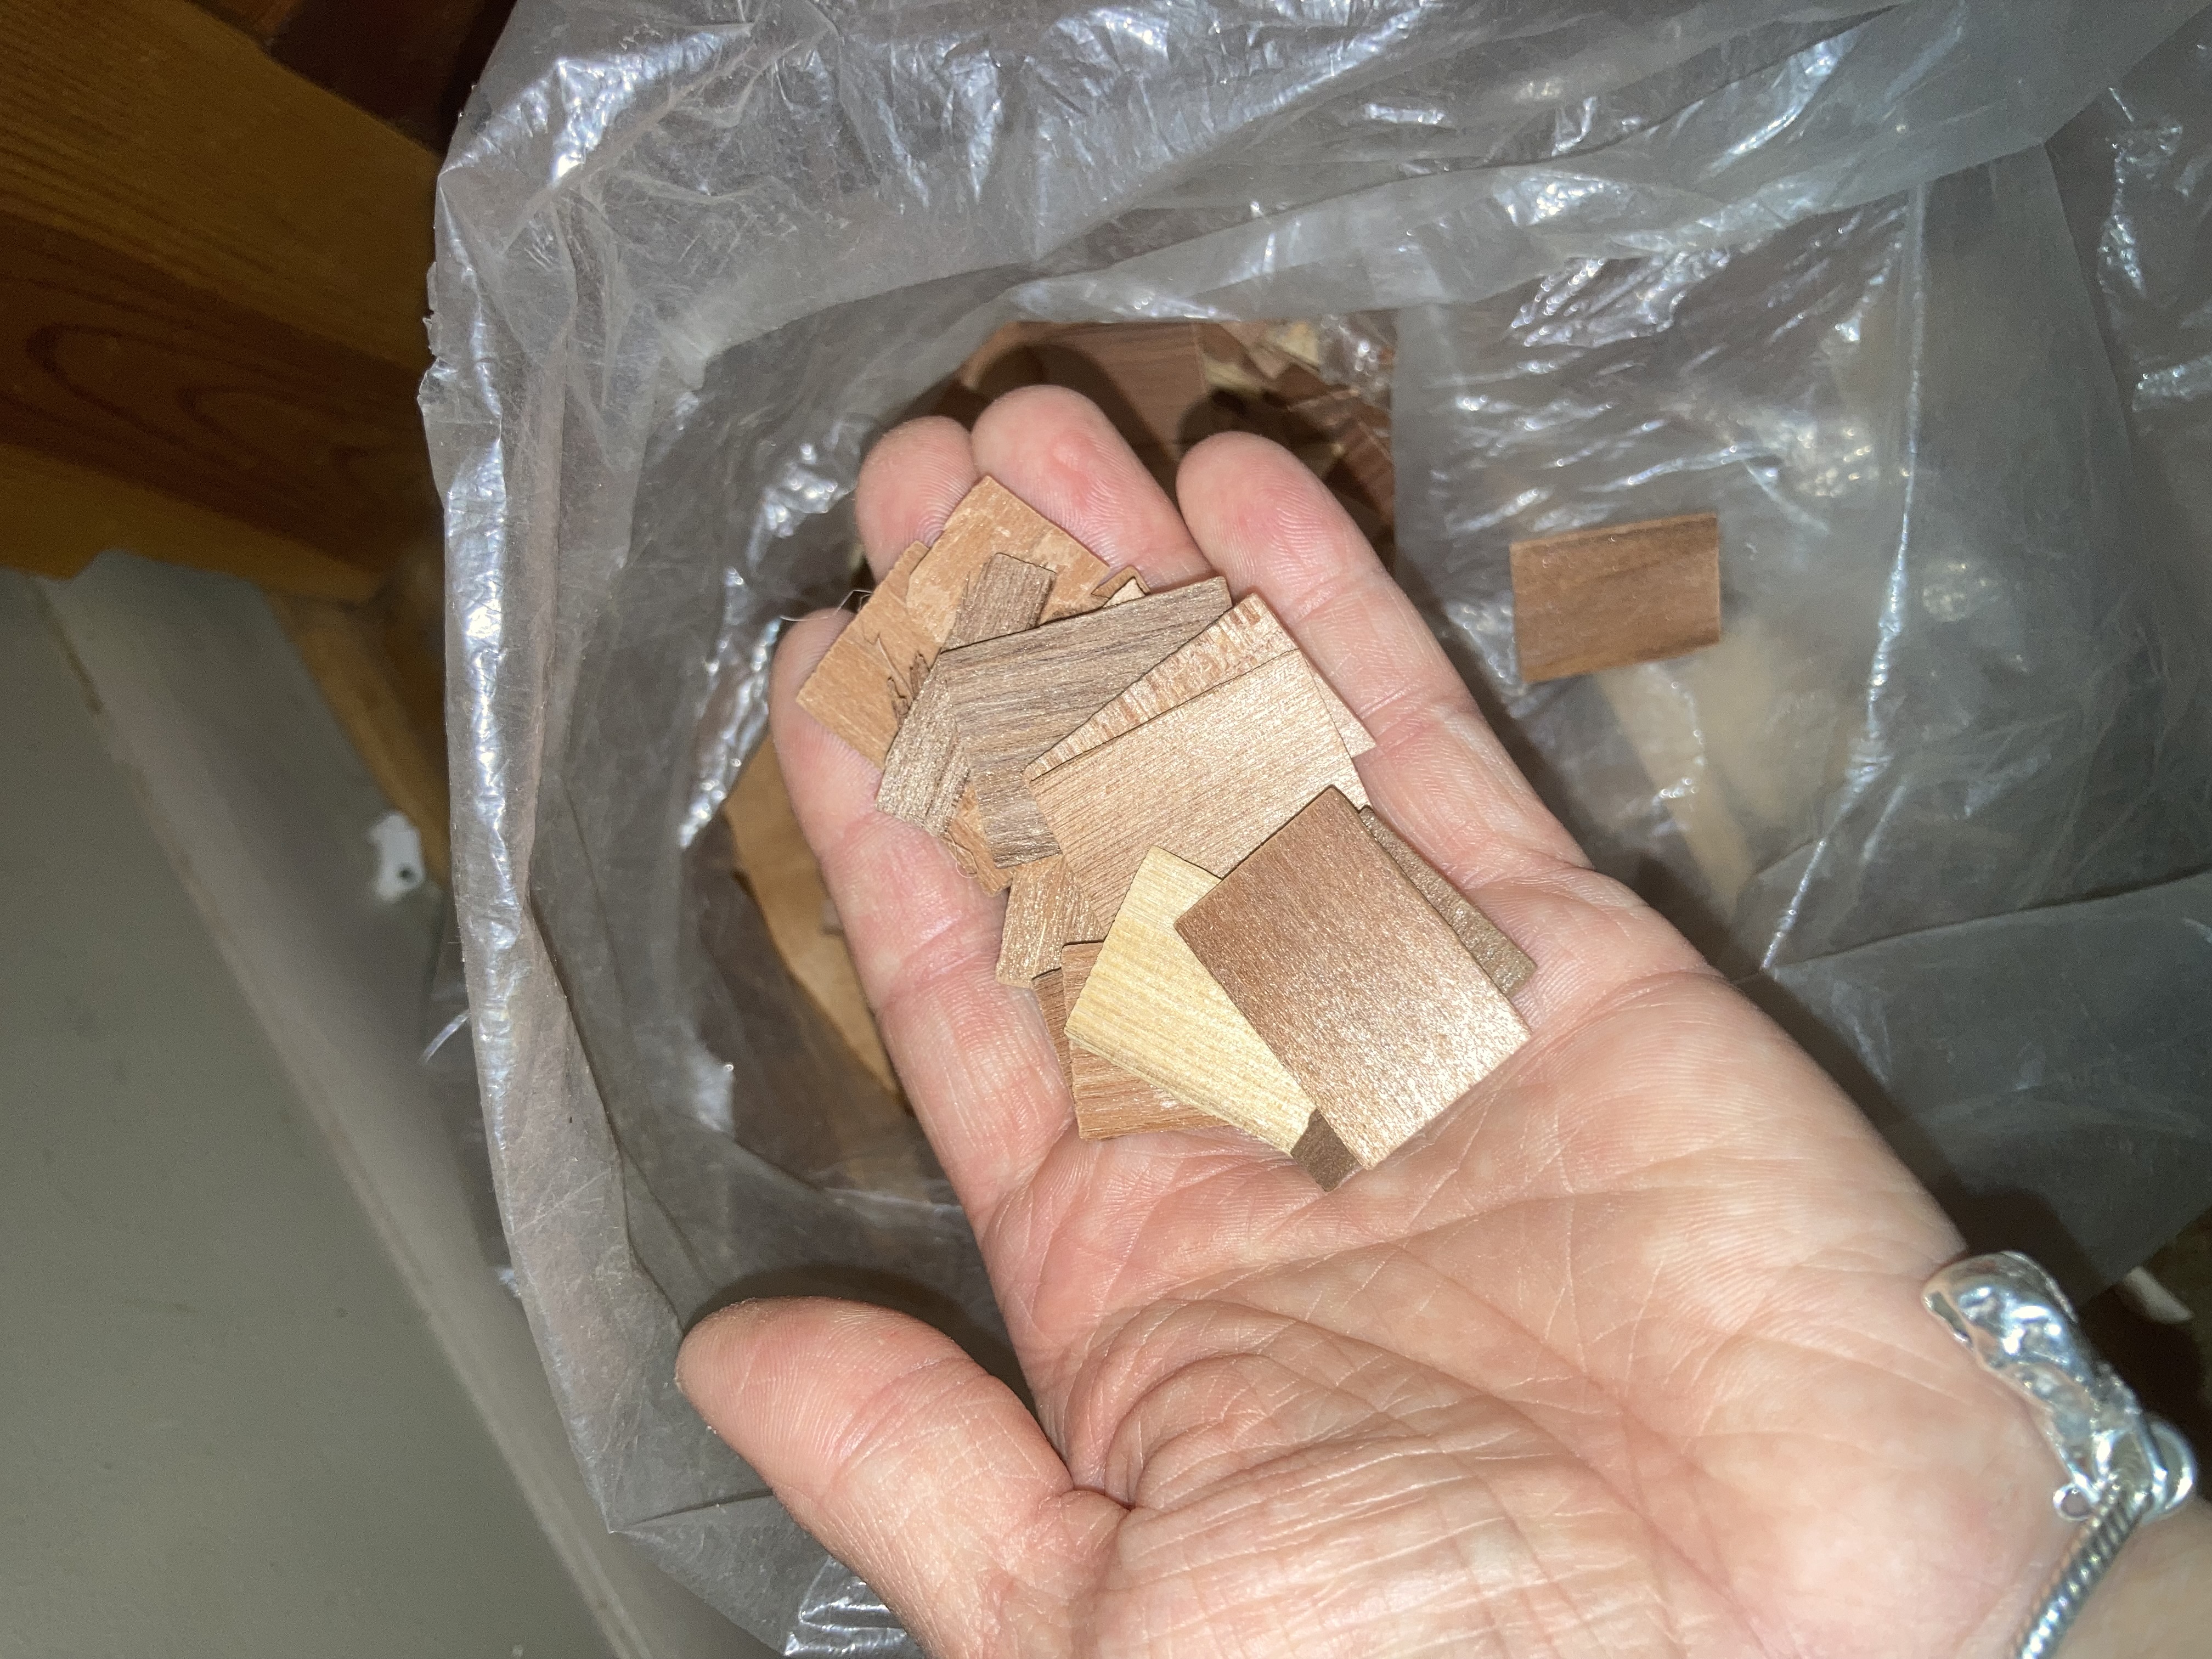
Cedar dollhouse shingles.
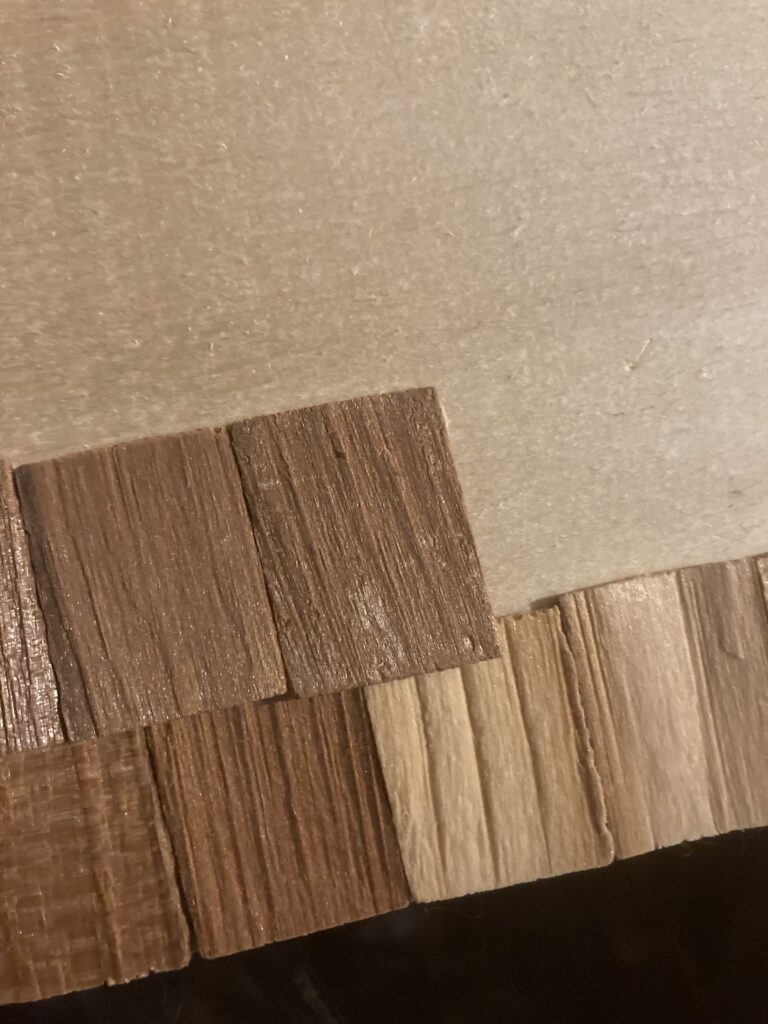
Layer the shingles, starting from the bottom and going up. They overlap the previous later just a little bit. Stagger them so the cracks between don’t line up, just like on a real house. I use wood glue.
Shingles added. Note–this is the BACK of the barn.
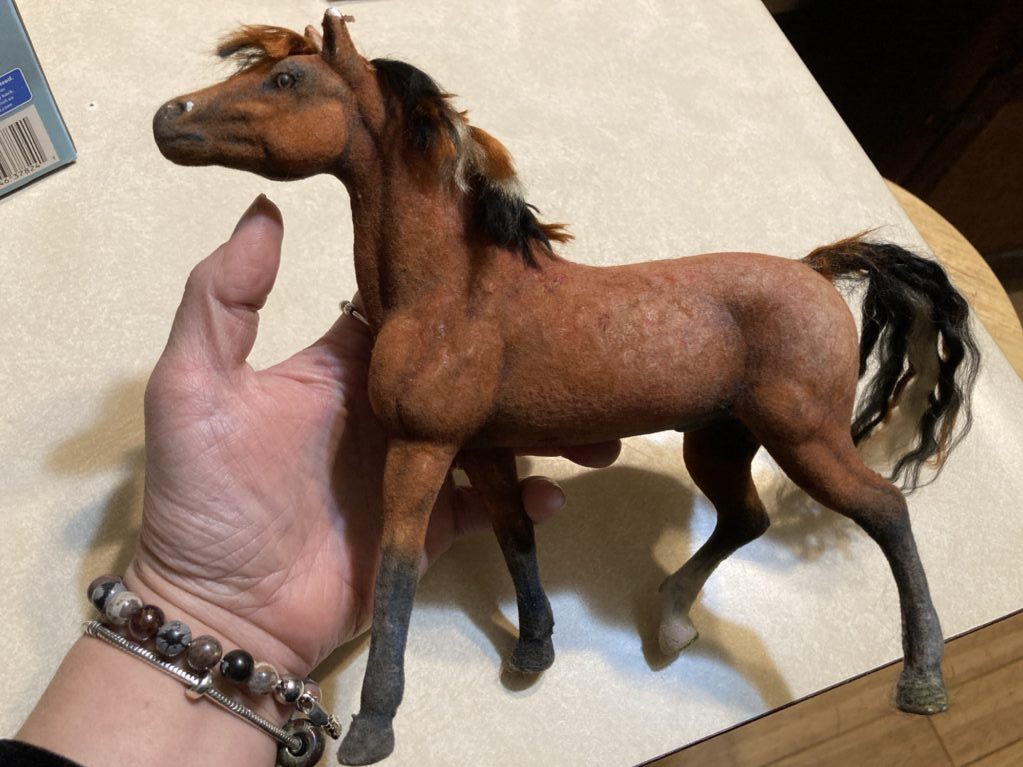
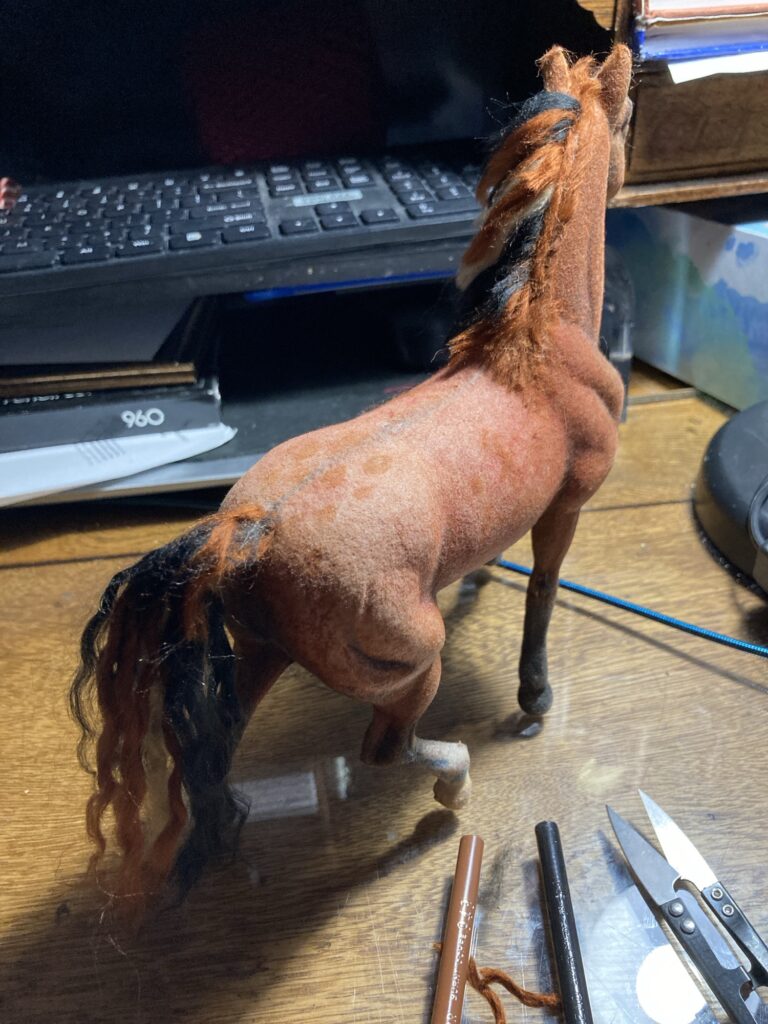
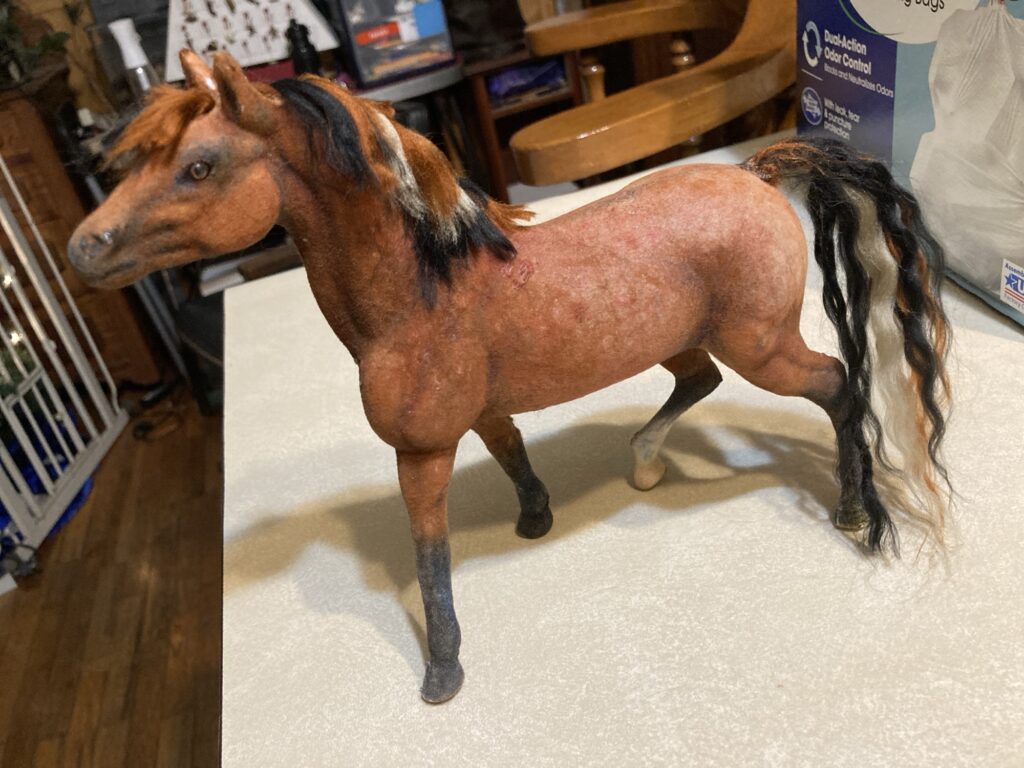
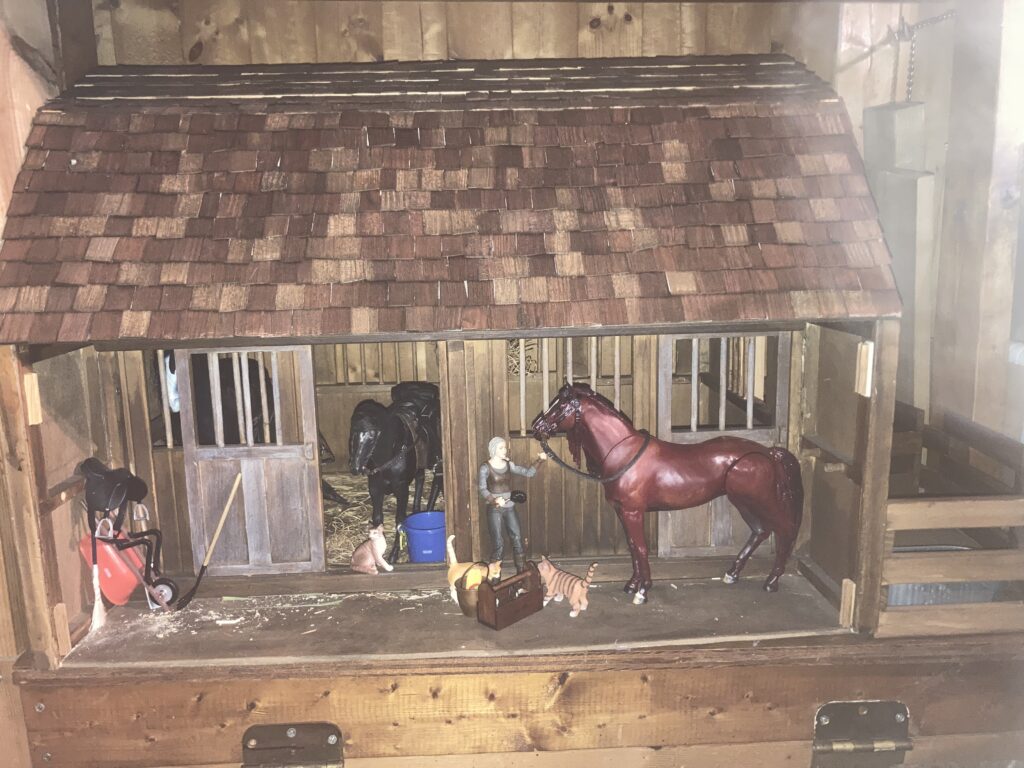
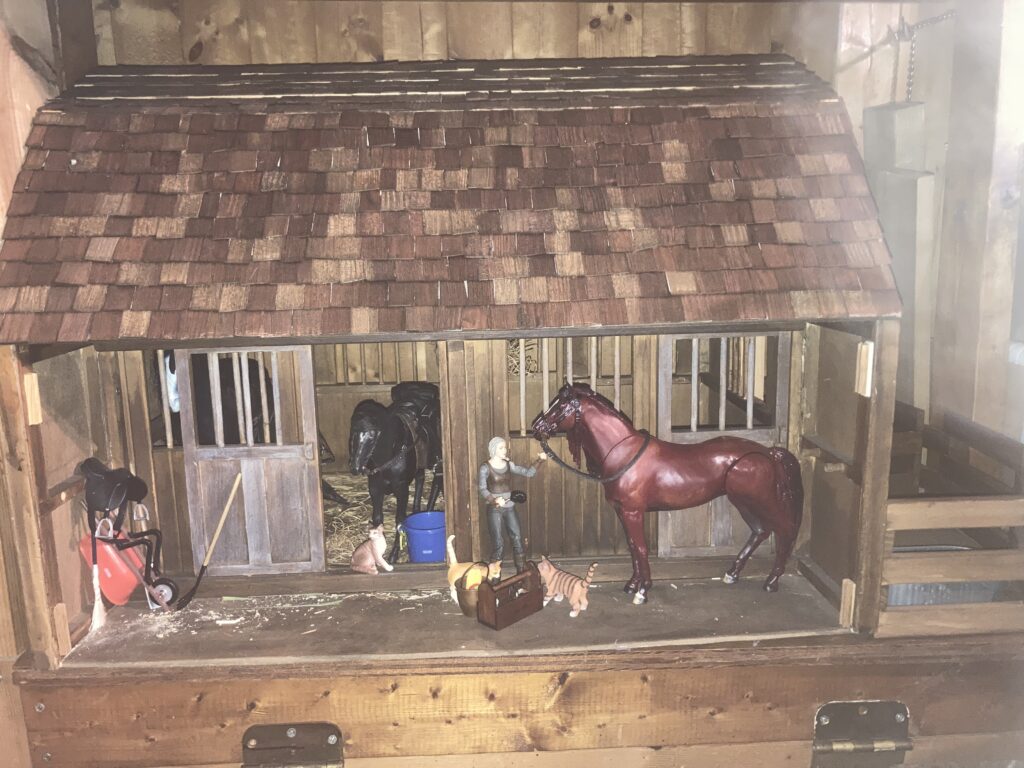
After shingles are stained. This is the front of the barn, staged with the original ‘Roach’ horse action figure (the black one in the stall) and a modified ‘Roach’ in the aisle. I painted this one to look like my childhood horse, Sugarn Spice. The girl figure is ‘Ciri’, also from the McFarlane Toys Witcher series. There are Breyer horse accessories and some cats that I found on Amazon.

I stained the shingles with the same aging stain that I used on the rest of the barn. I bought more McFarlane ‘Roach’ horses and even painted some! My plan is to explain my painting/modification process in a future blog.

Any questions or comments? Feel free to post them! Thank you for visiting!