

While I was working on a dollhouse saloon, my mother suggested (jokingly, I am sure) that I should do a livery stable next. I had bought an awesome horse action figure (McFarlane Toys Roach from the Witcher series season 2), and was planning on eventually tying it outside of the saloon at a hitching post. The idea of a livery stable kept growing on me, because I LOVE horses, and I love barns as well. I started searching Facebook Marketplace for a suitable candidate.
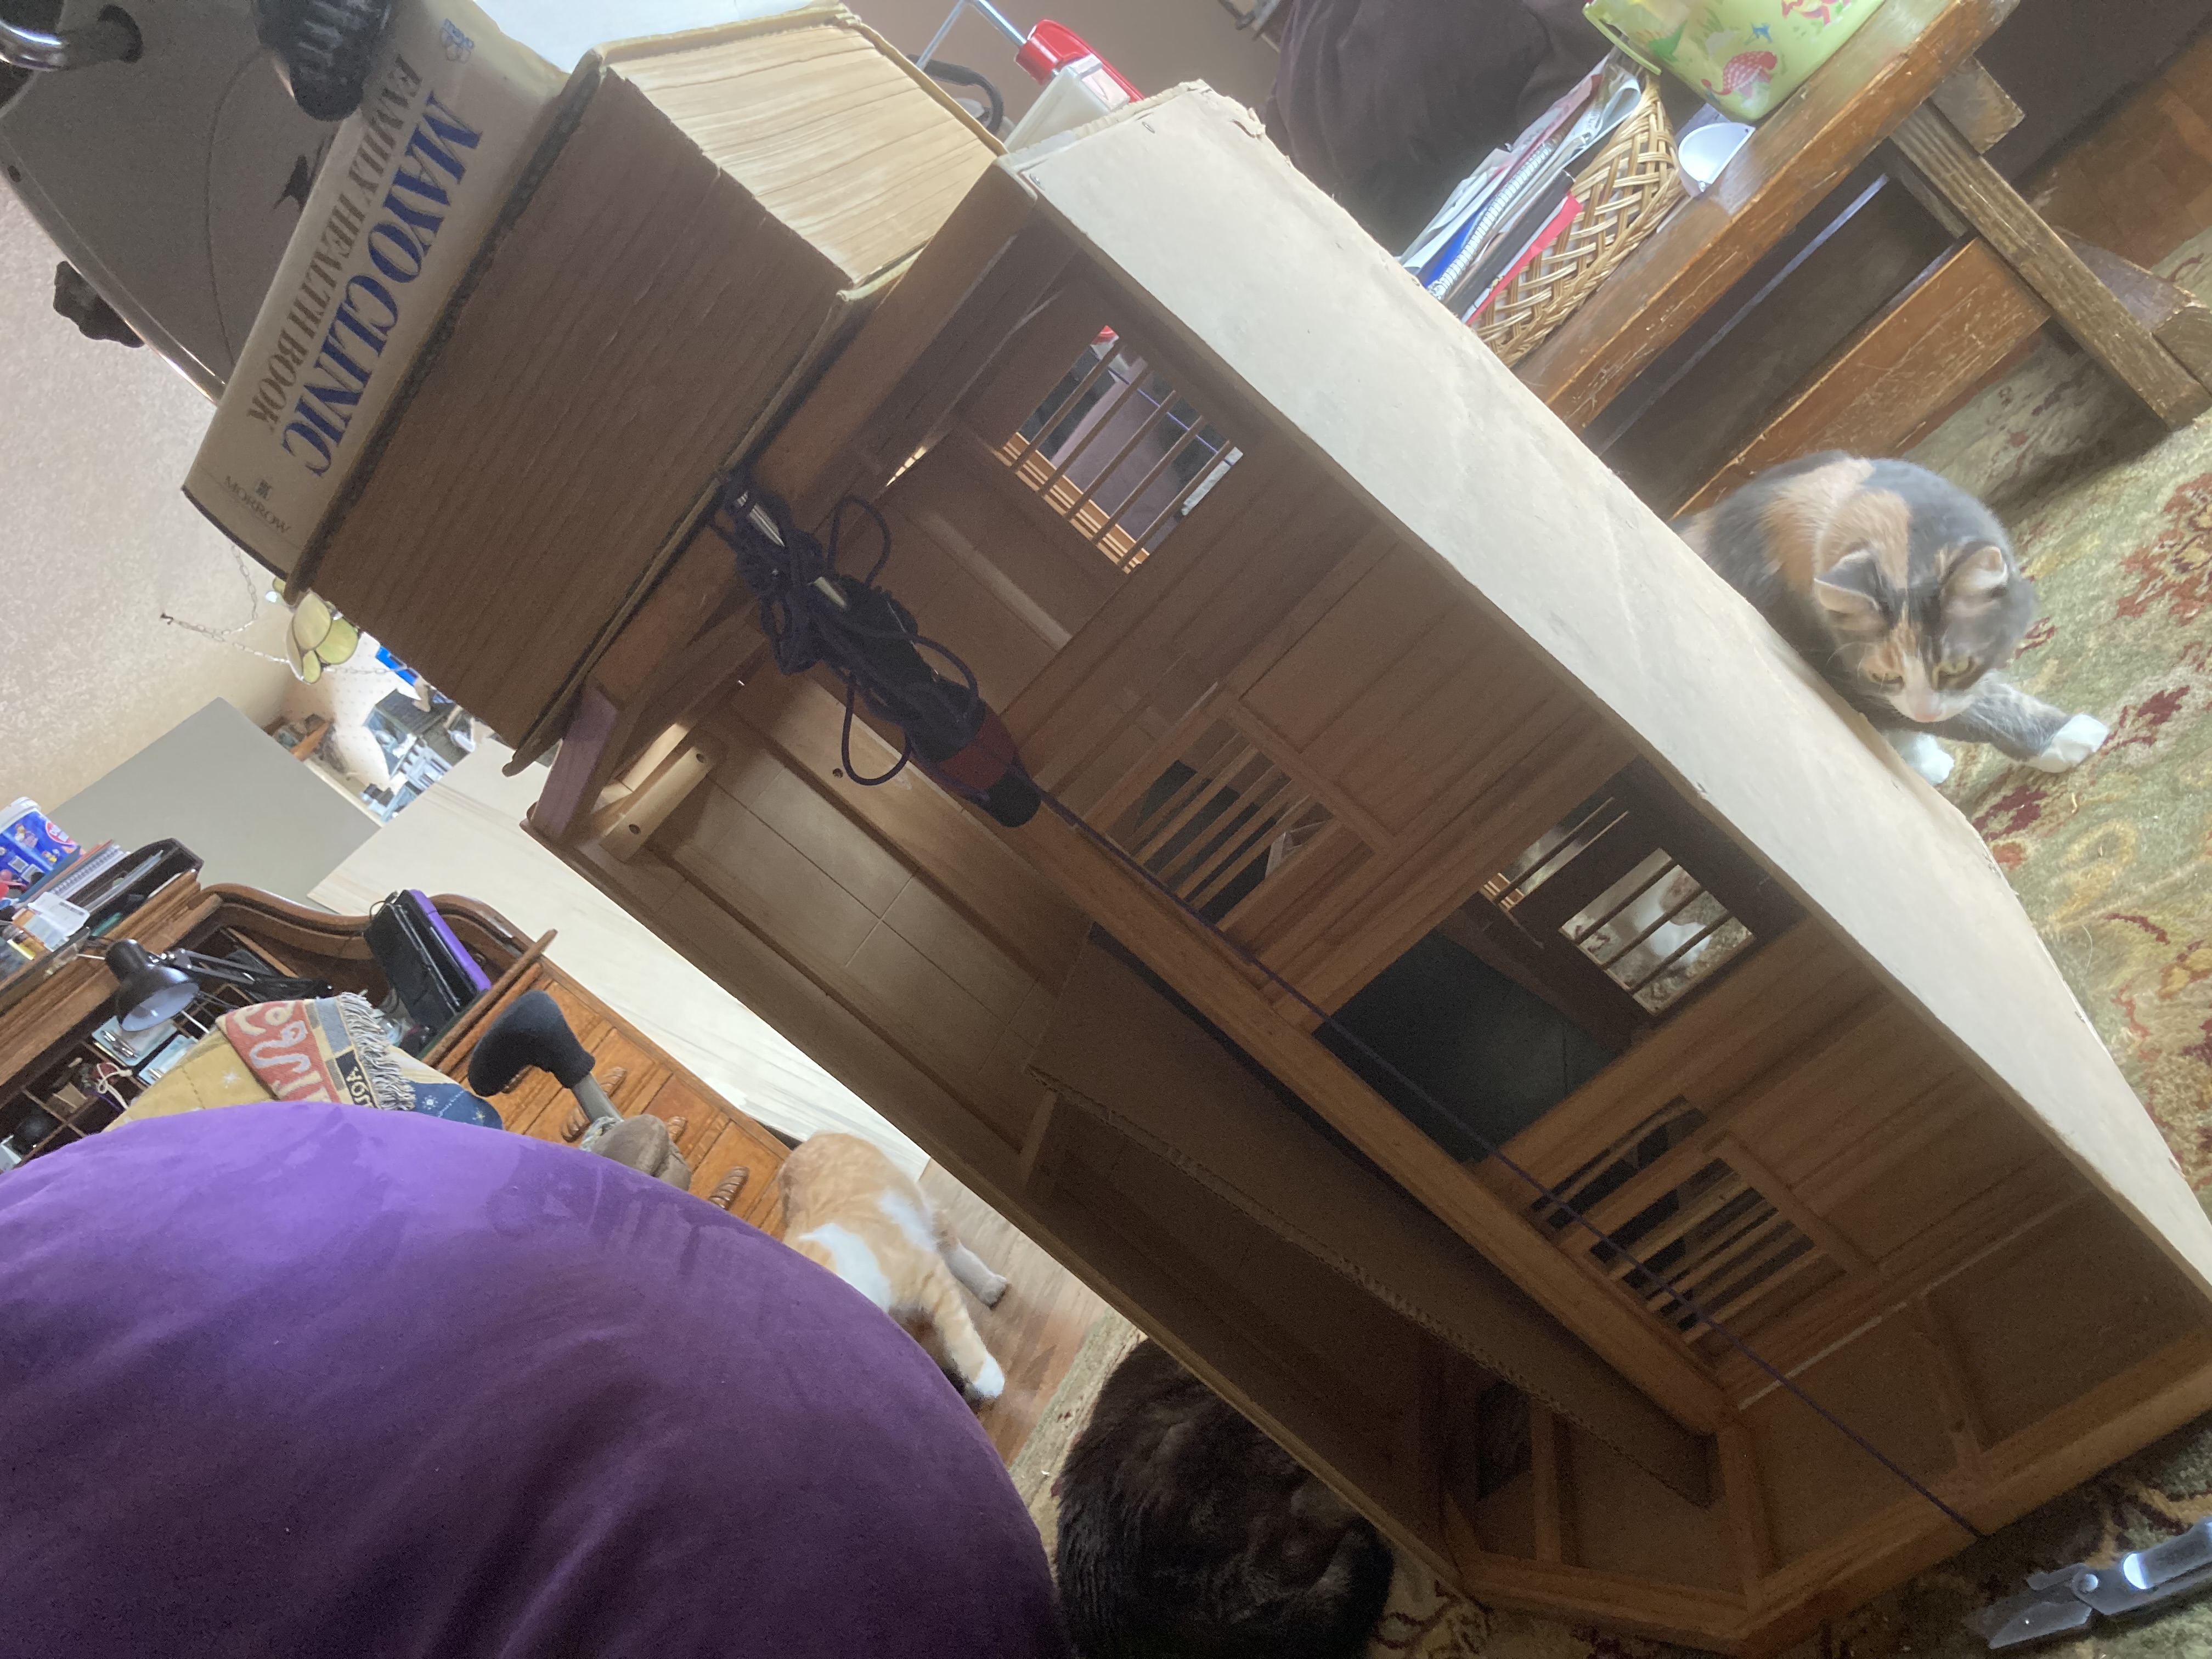
I chose a vintage Breyer Horse barn. There are 2 large stalls and a loft. Each stall has 2 doors–one in front and one in back. I loved these doors, as they slide like a real barn door. There is also a nice, wide aisle in front that I can use for staging photos.
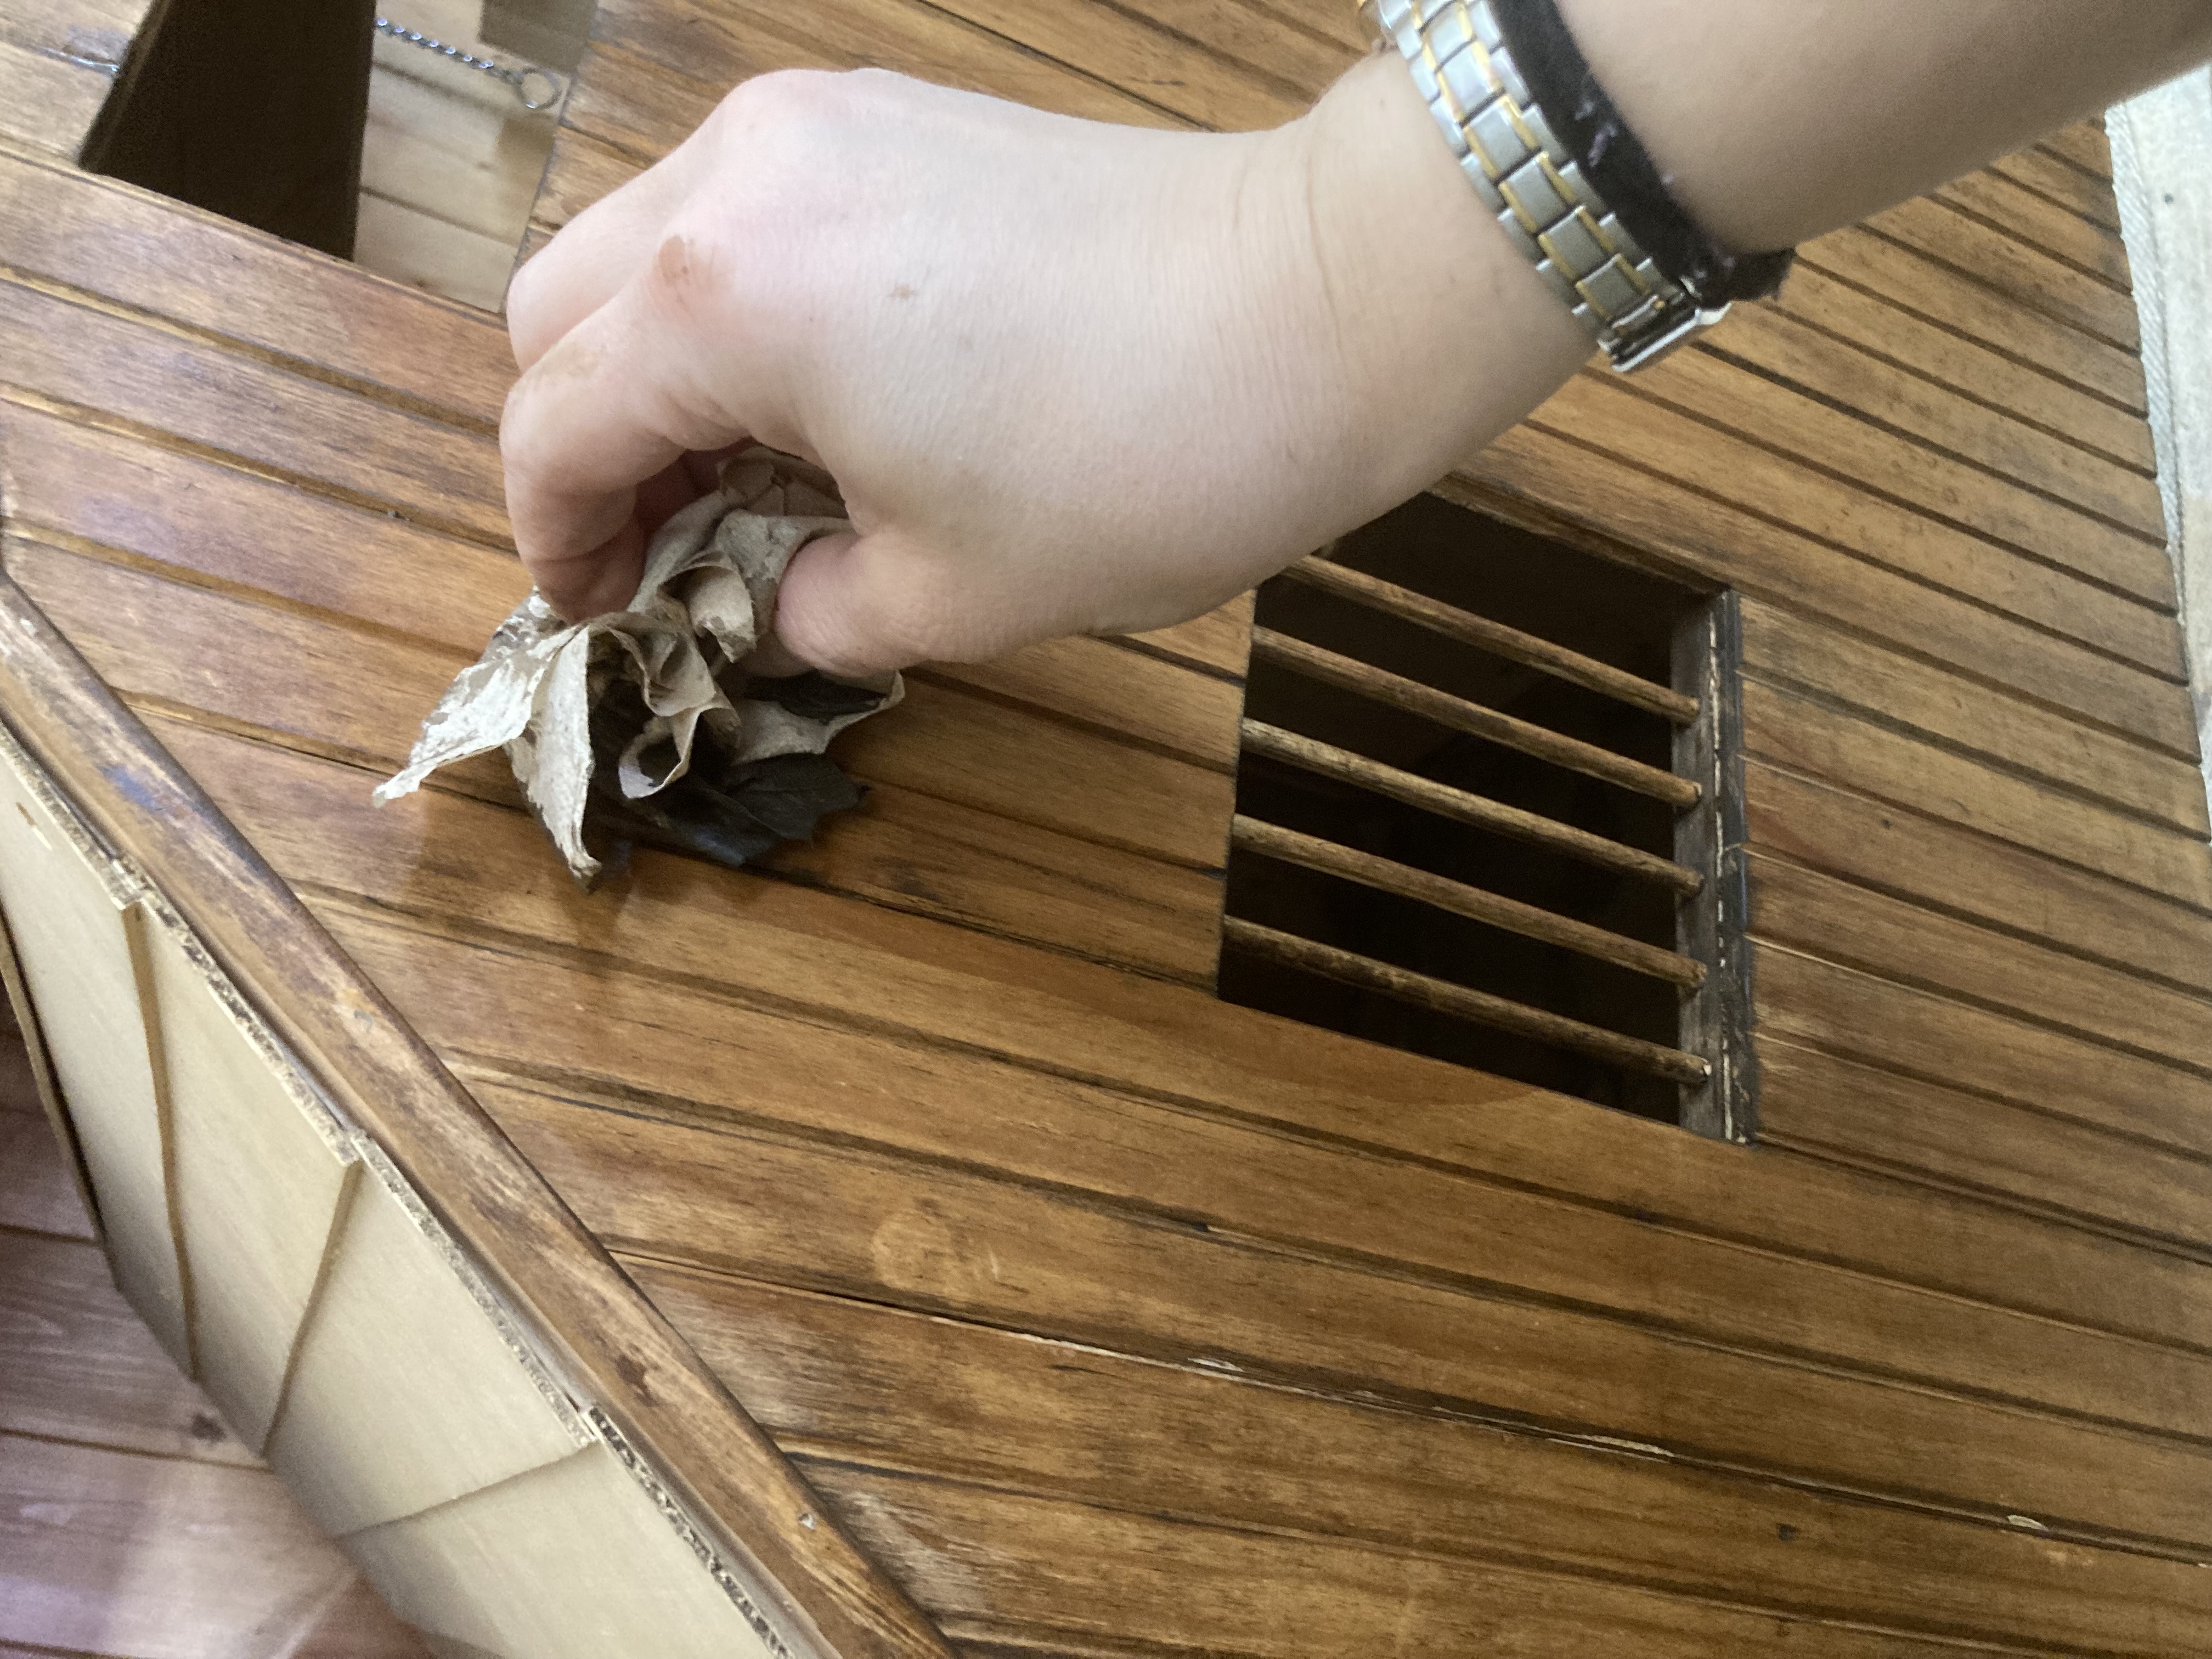
I found several of these barns on Facebook Marketplace, and so had several to choose from. This particular one was nearby, came with some wooden fencing to use as a paddock, and needed a few minor structural repairs. The repairs didn’t scare me as they looked pretty easy to do, and the price was right, so I bought it. The above photo was as I was ‘clamping’ it so glue would dry properly. Unfortunately it is the closest ‘before’ photo I have of it.
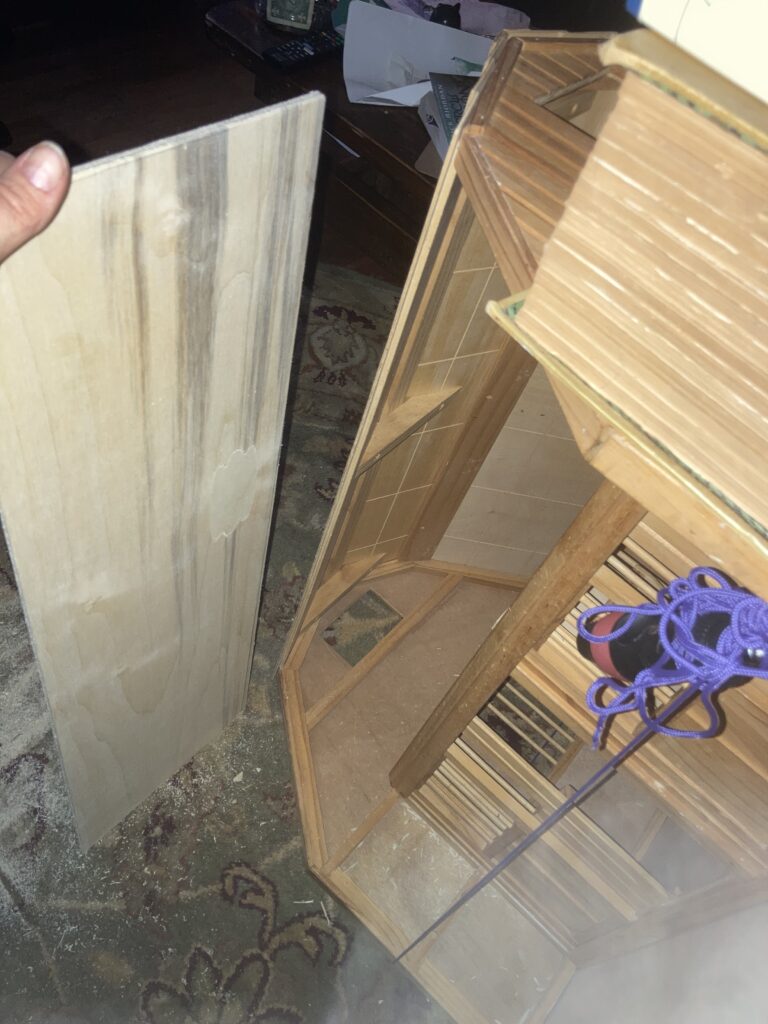
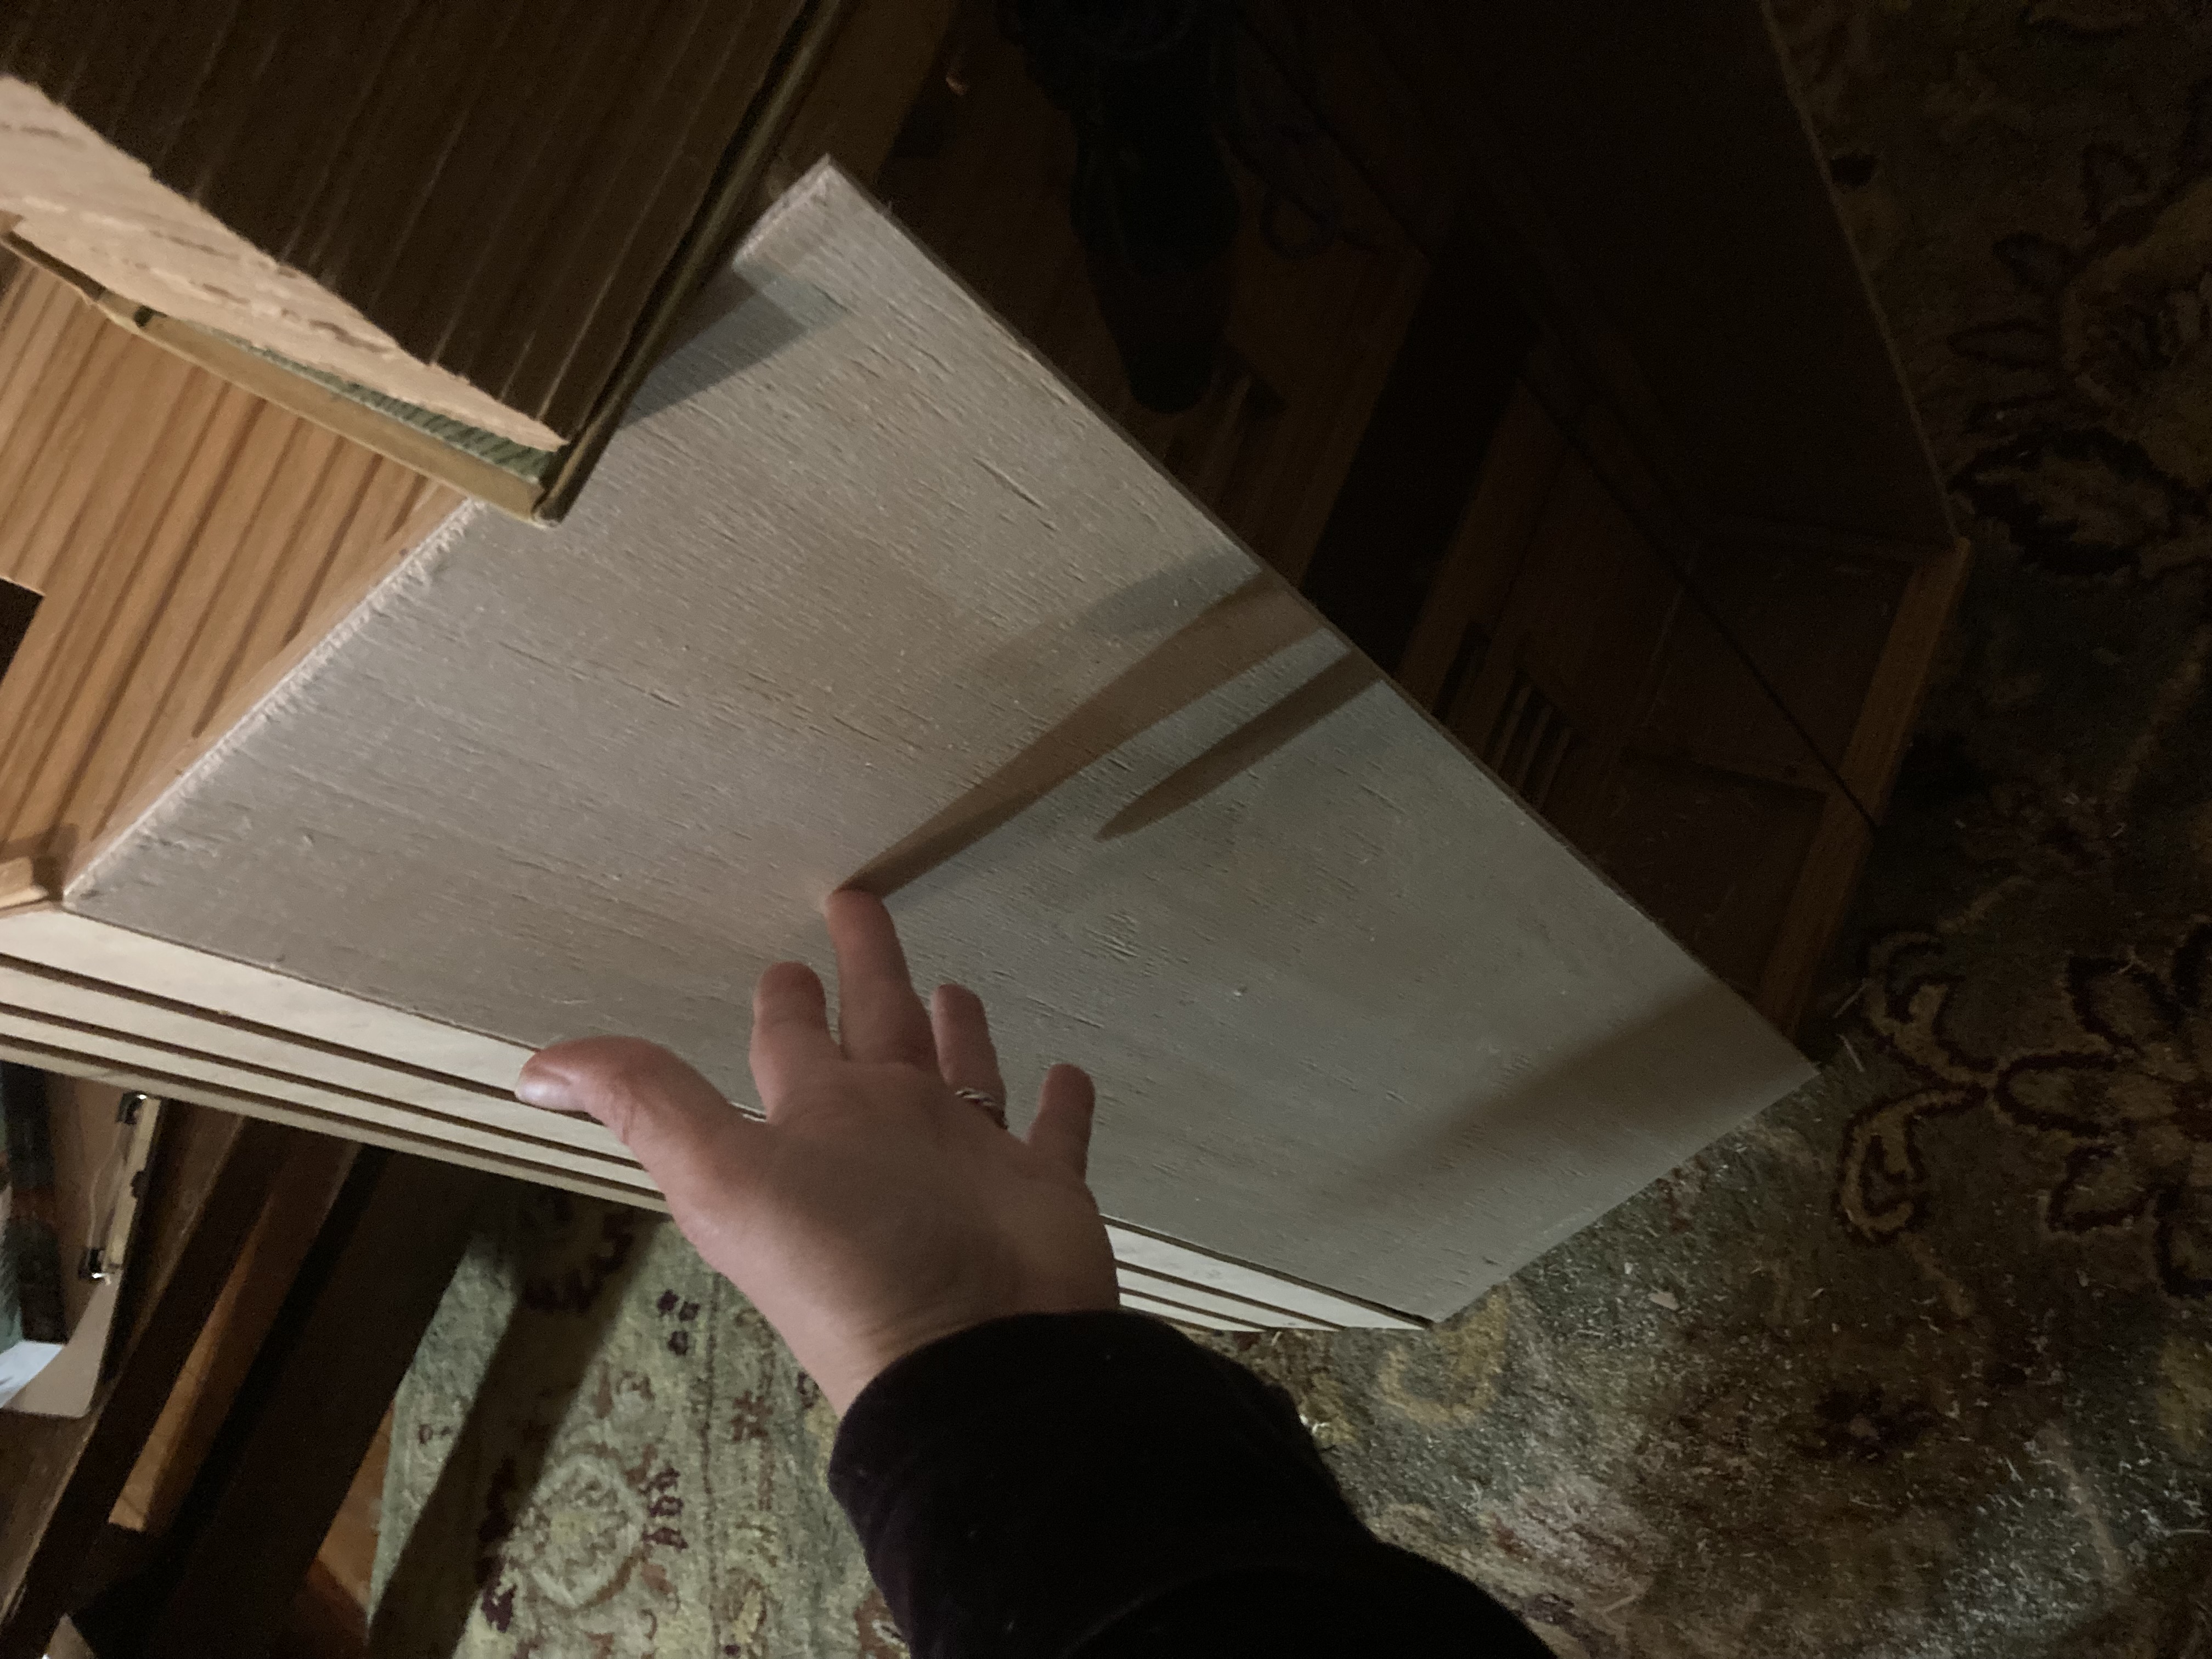
I decided that I wanted to make a few changes to this stable so it is more realistic. I wanted to add a hinged section of roof to cover the front of the barn, as well as another section of flooring in the loft so it would be closed on top, making a second floor that I could fill with straw and horse tack.
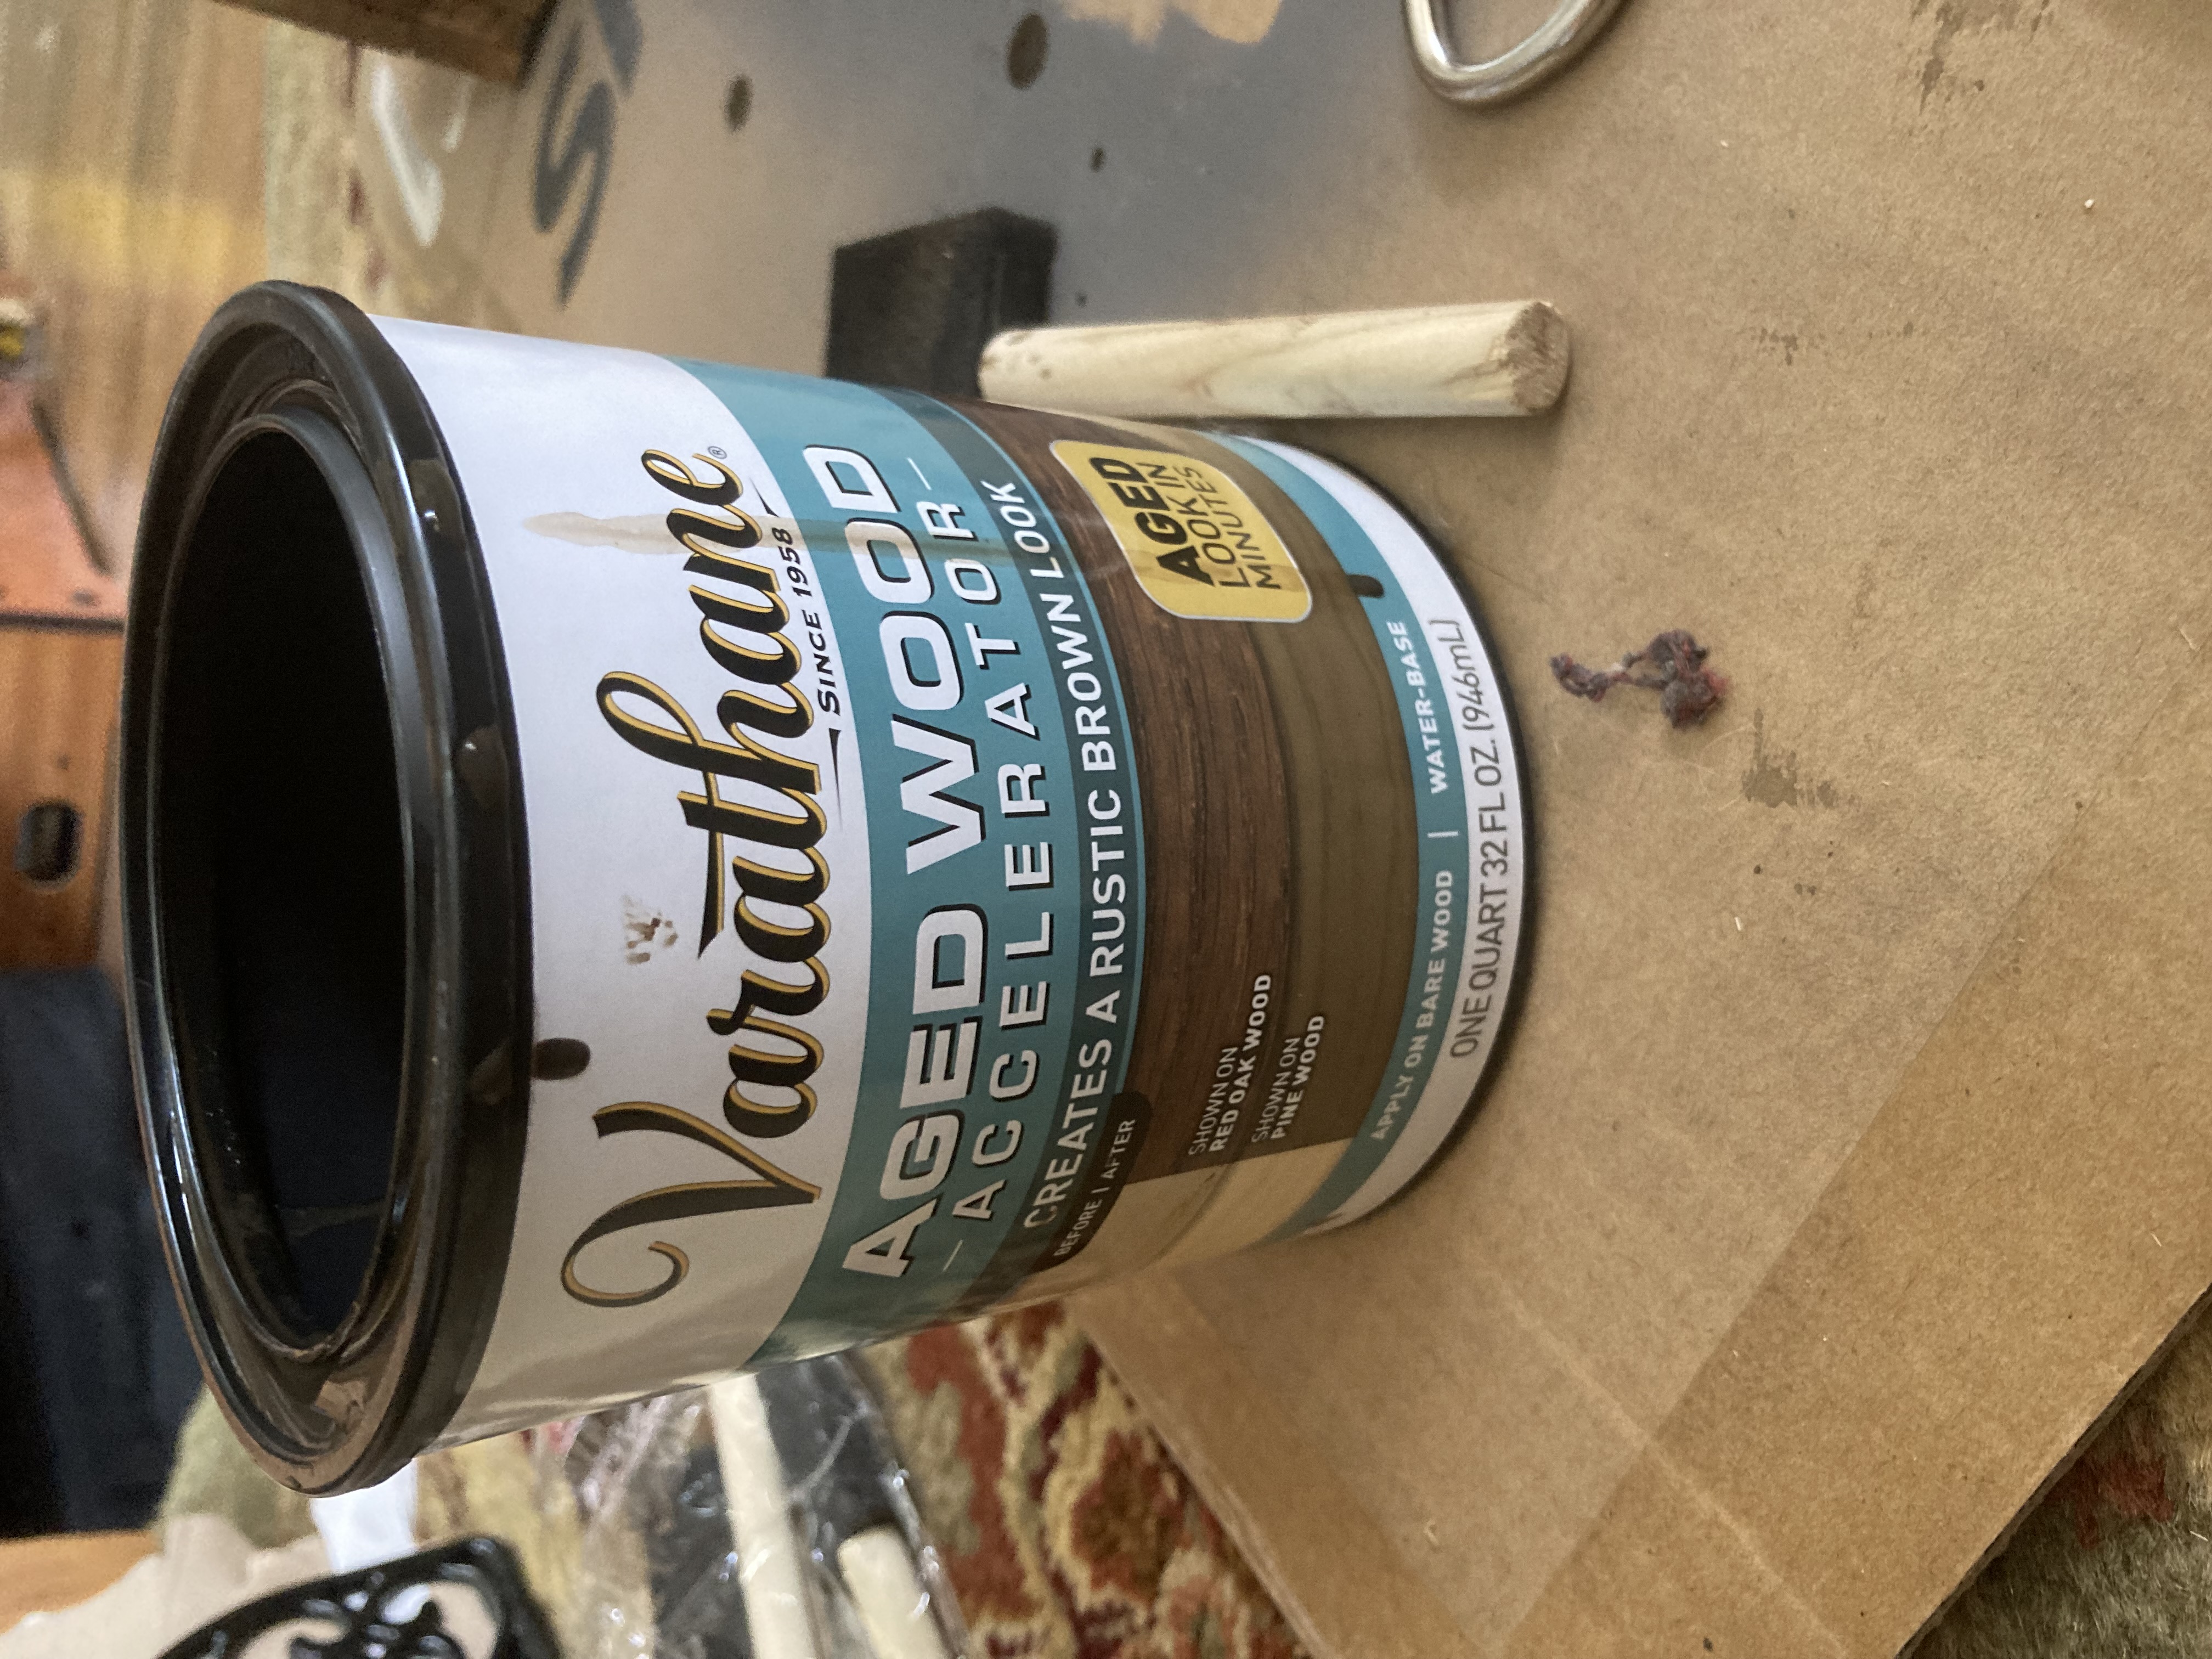
After these modifications were in place, I used Varathane aged wood accelerator stain to make the barn look aged. I brushed it on per the instructions.

Next I wanted to add shingles, so I did.

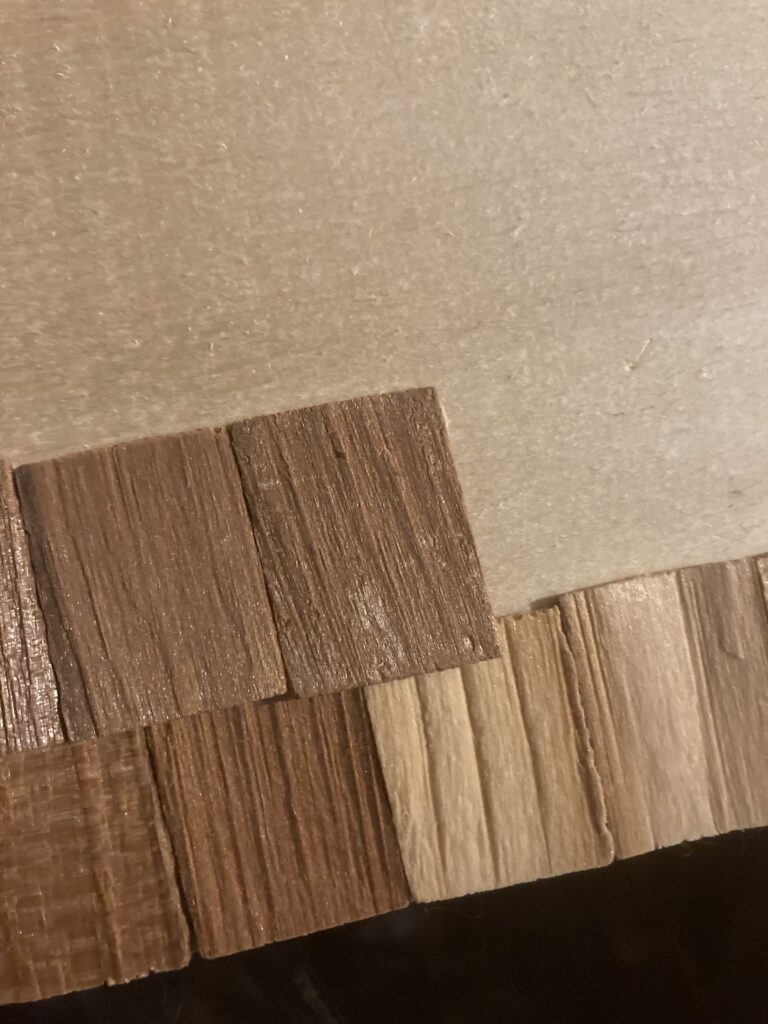
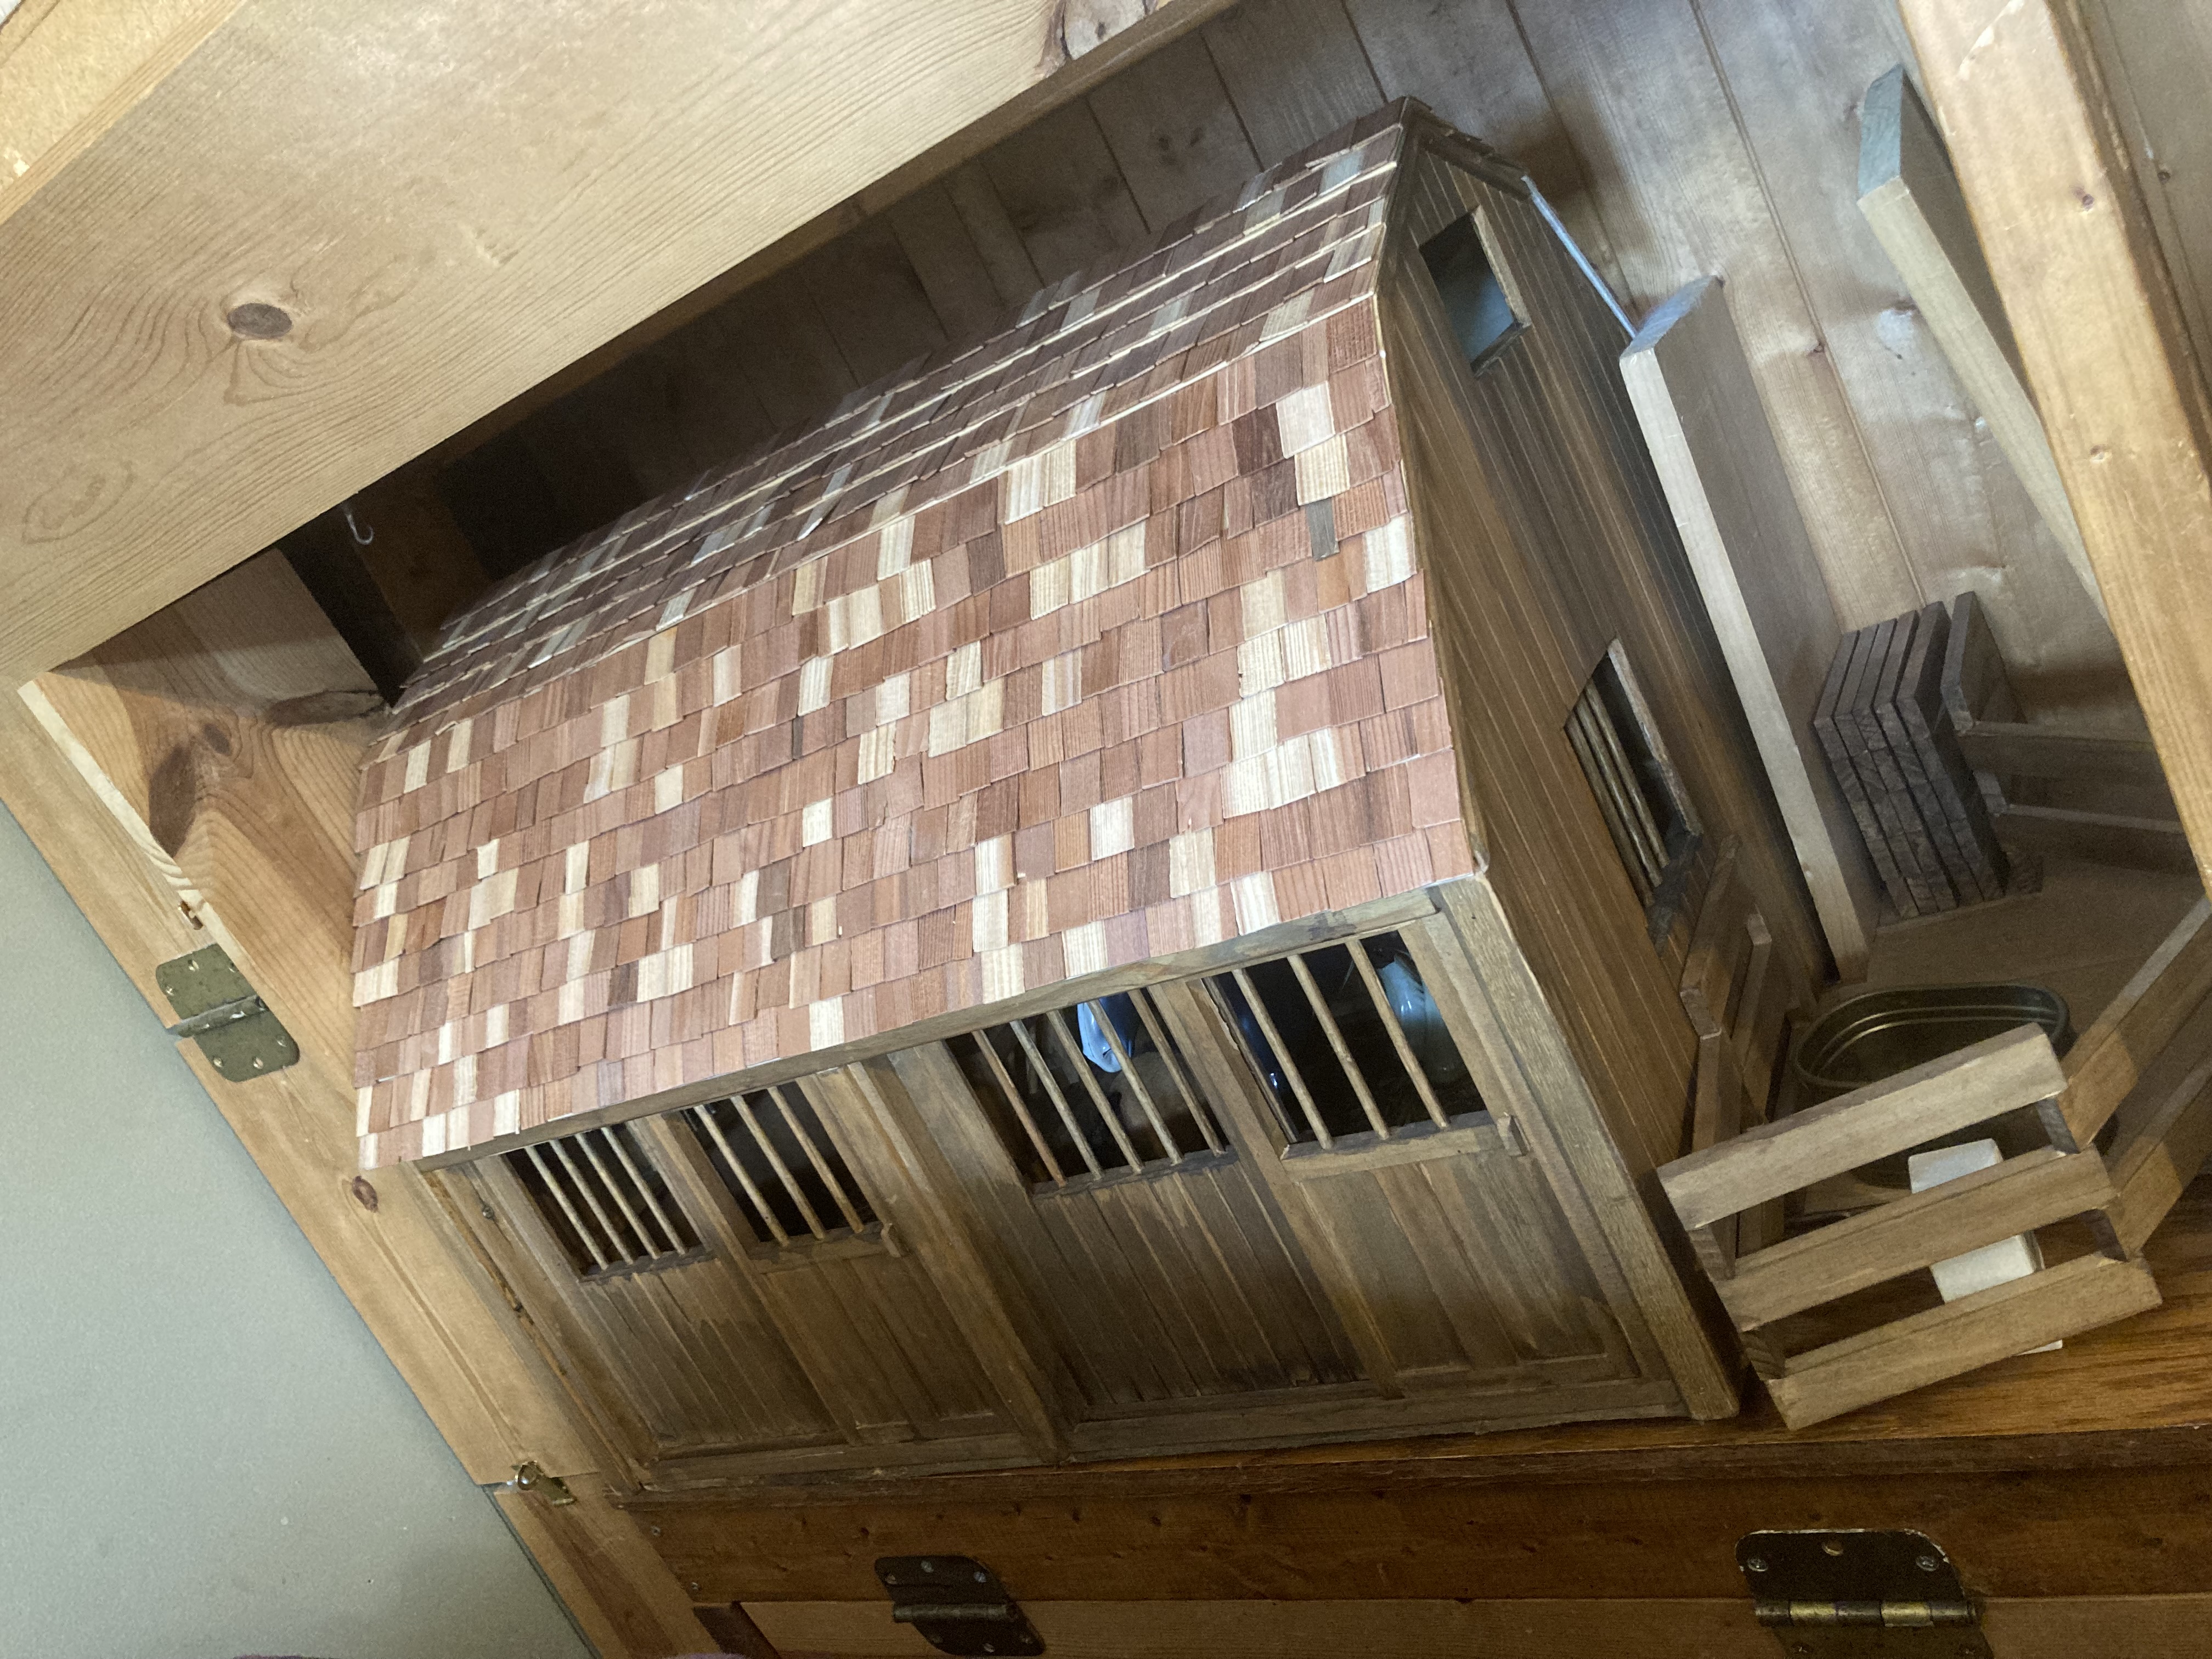
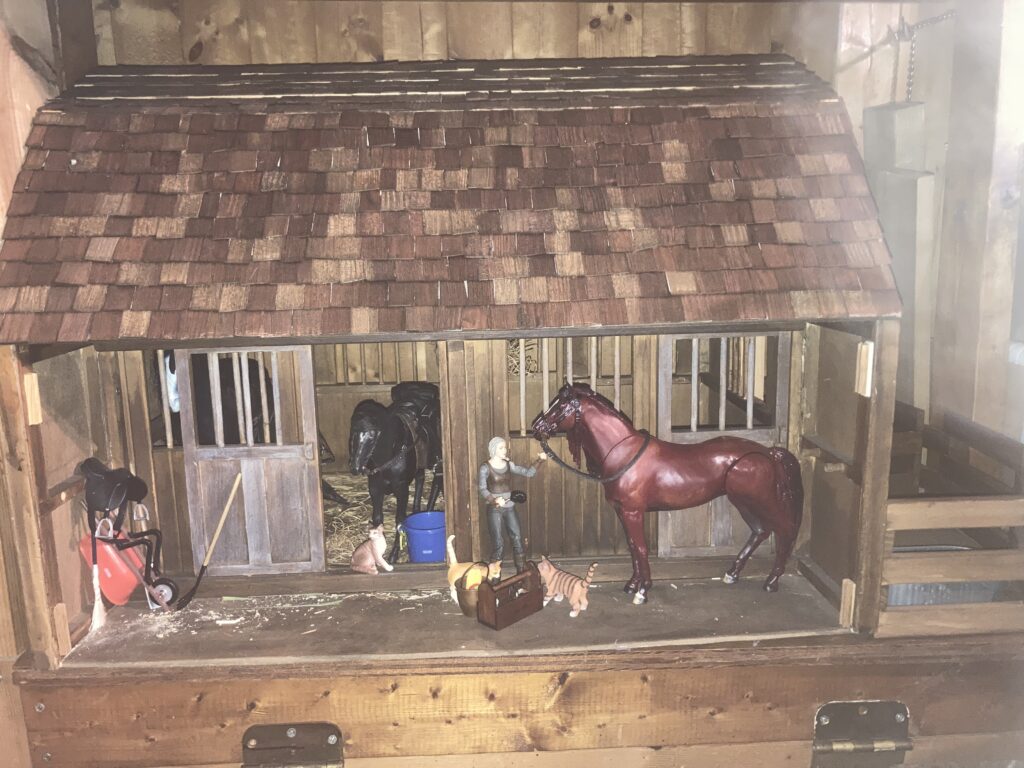
I stained the shingles with the same aging stain that I used on the rest of the barn. I bought more McFarlane ‘Roach’ horses and even painted some! My plan is to explain my painting/modification process in a future blog.
Any questions or comments? Feel free to post them! Thank you for visiting!