
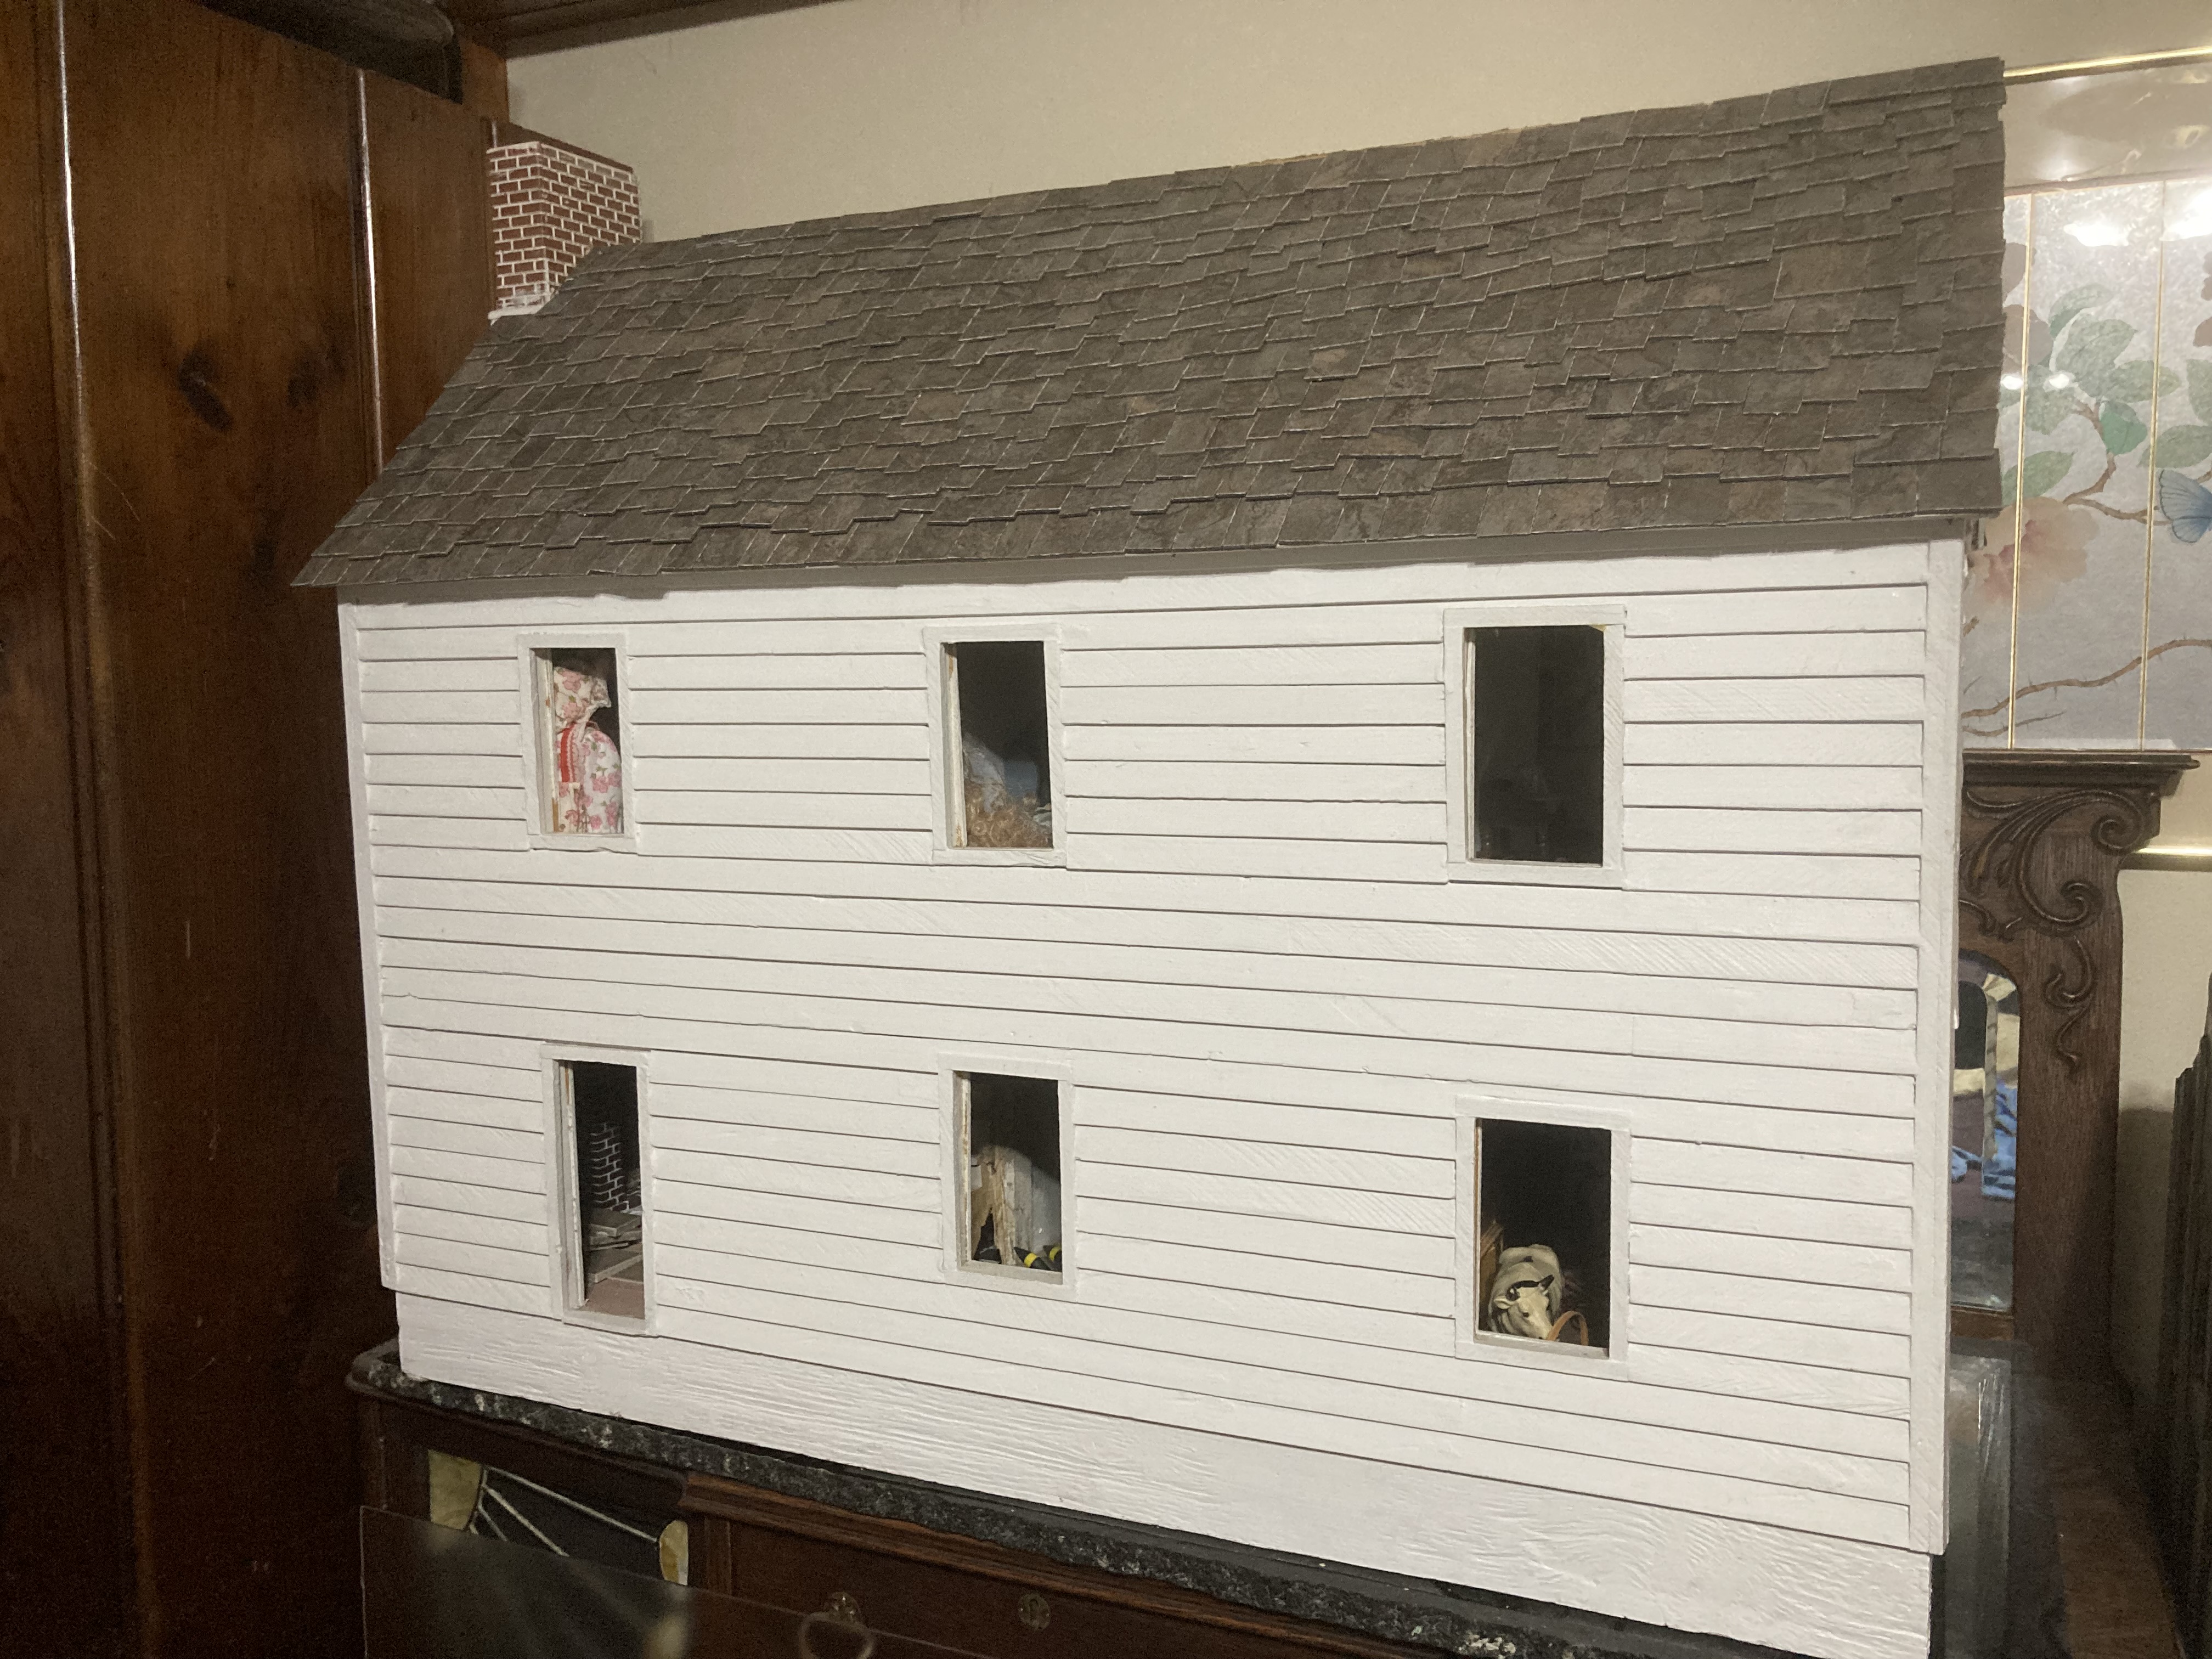
First Period Style house with completed shingles.
For my white First Period Colonial style house, I had removed the old shingles (see original post) and hadn’t decided what type of shingle I wanted to put on it. I had always kicked around the idea of slate shingles, but wasn’t sure how to proceed with that. For one thing, real slate shingles for a dollhouse would be very expensive, not to mention hard to find. Also, they would add a significant amount of weight to the house and would be difficult to attach. Finally, after a bathroom flooring project, I came up with the perfect, cost effective idea. I would make my own ‘slate’ shingles out of bathroom floor tiles.
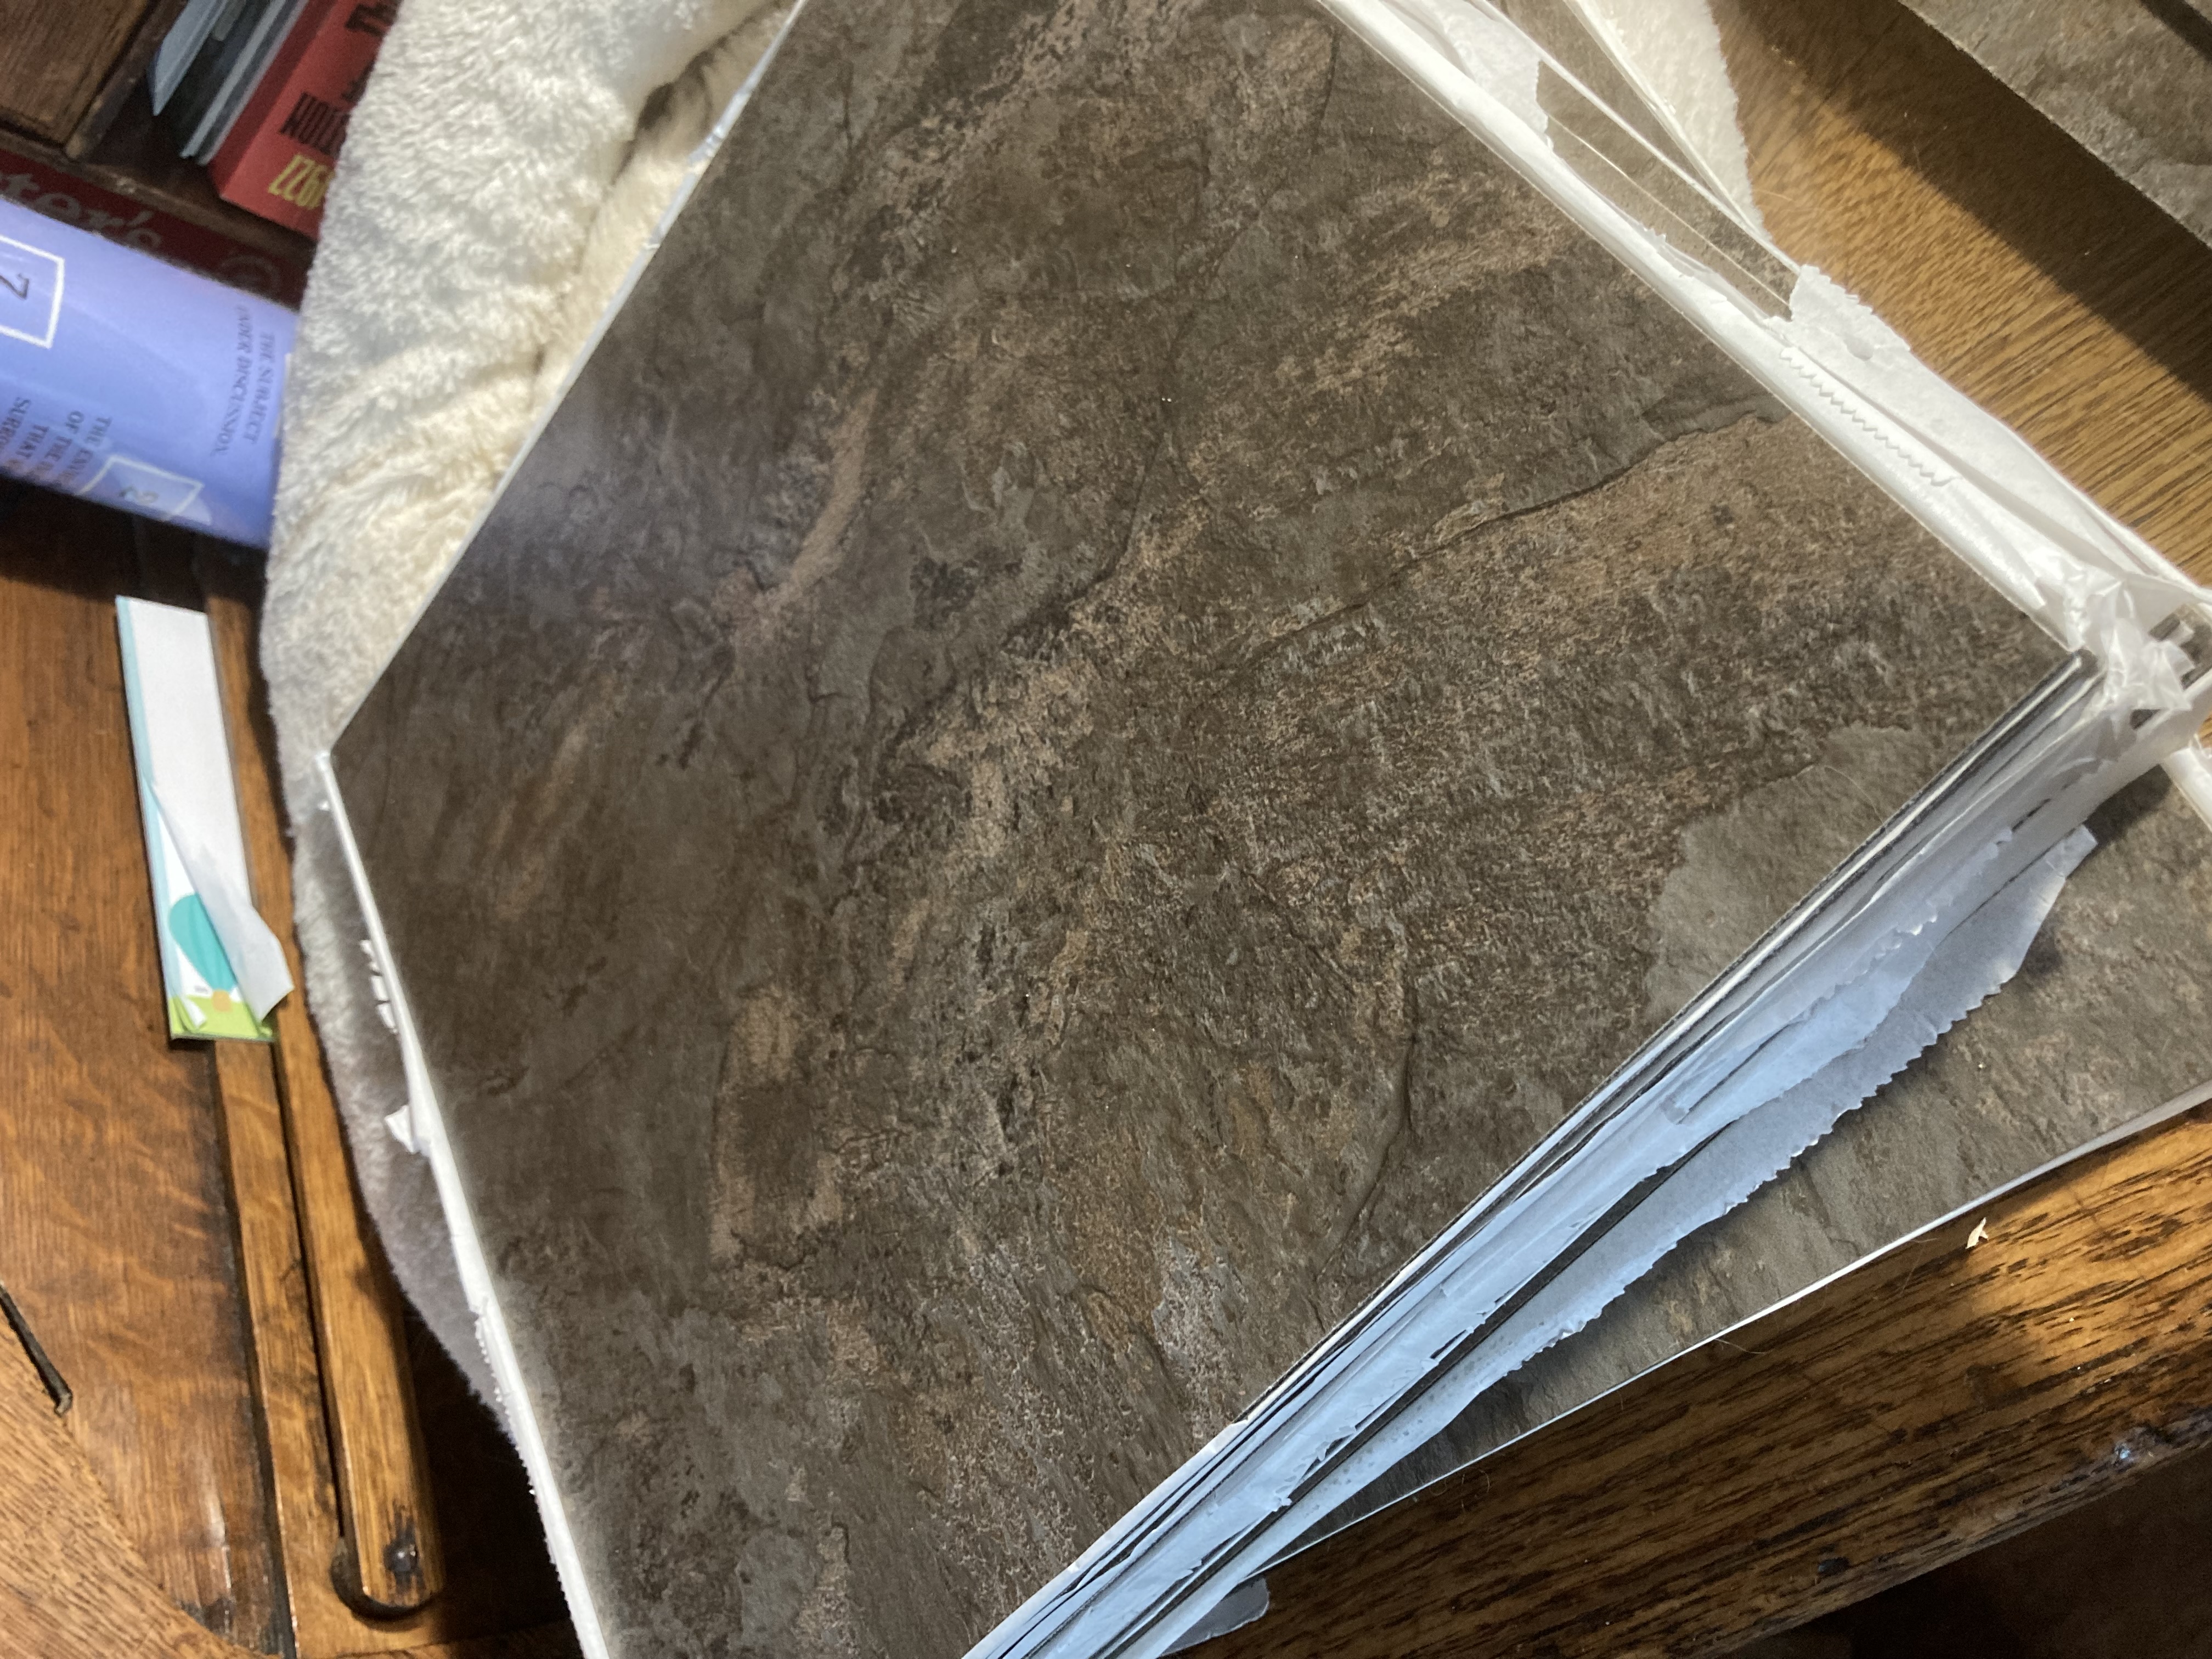
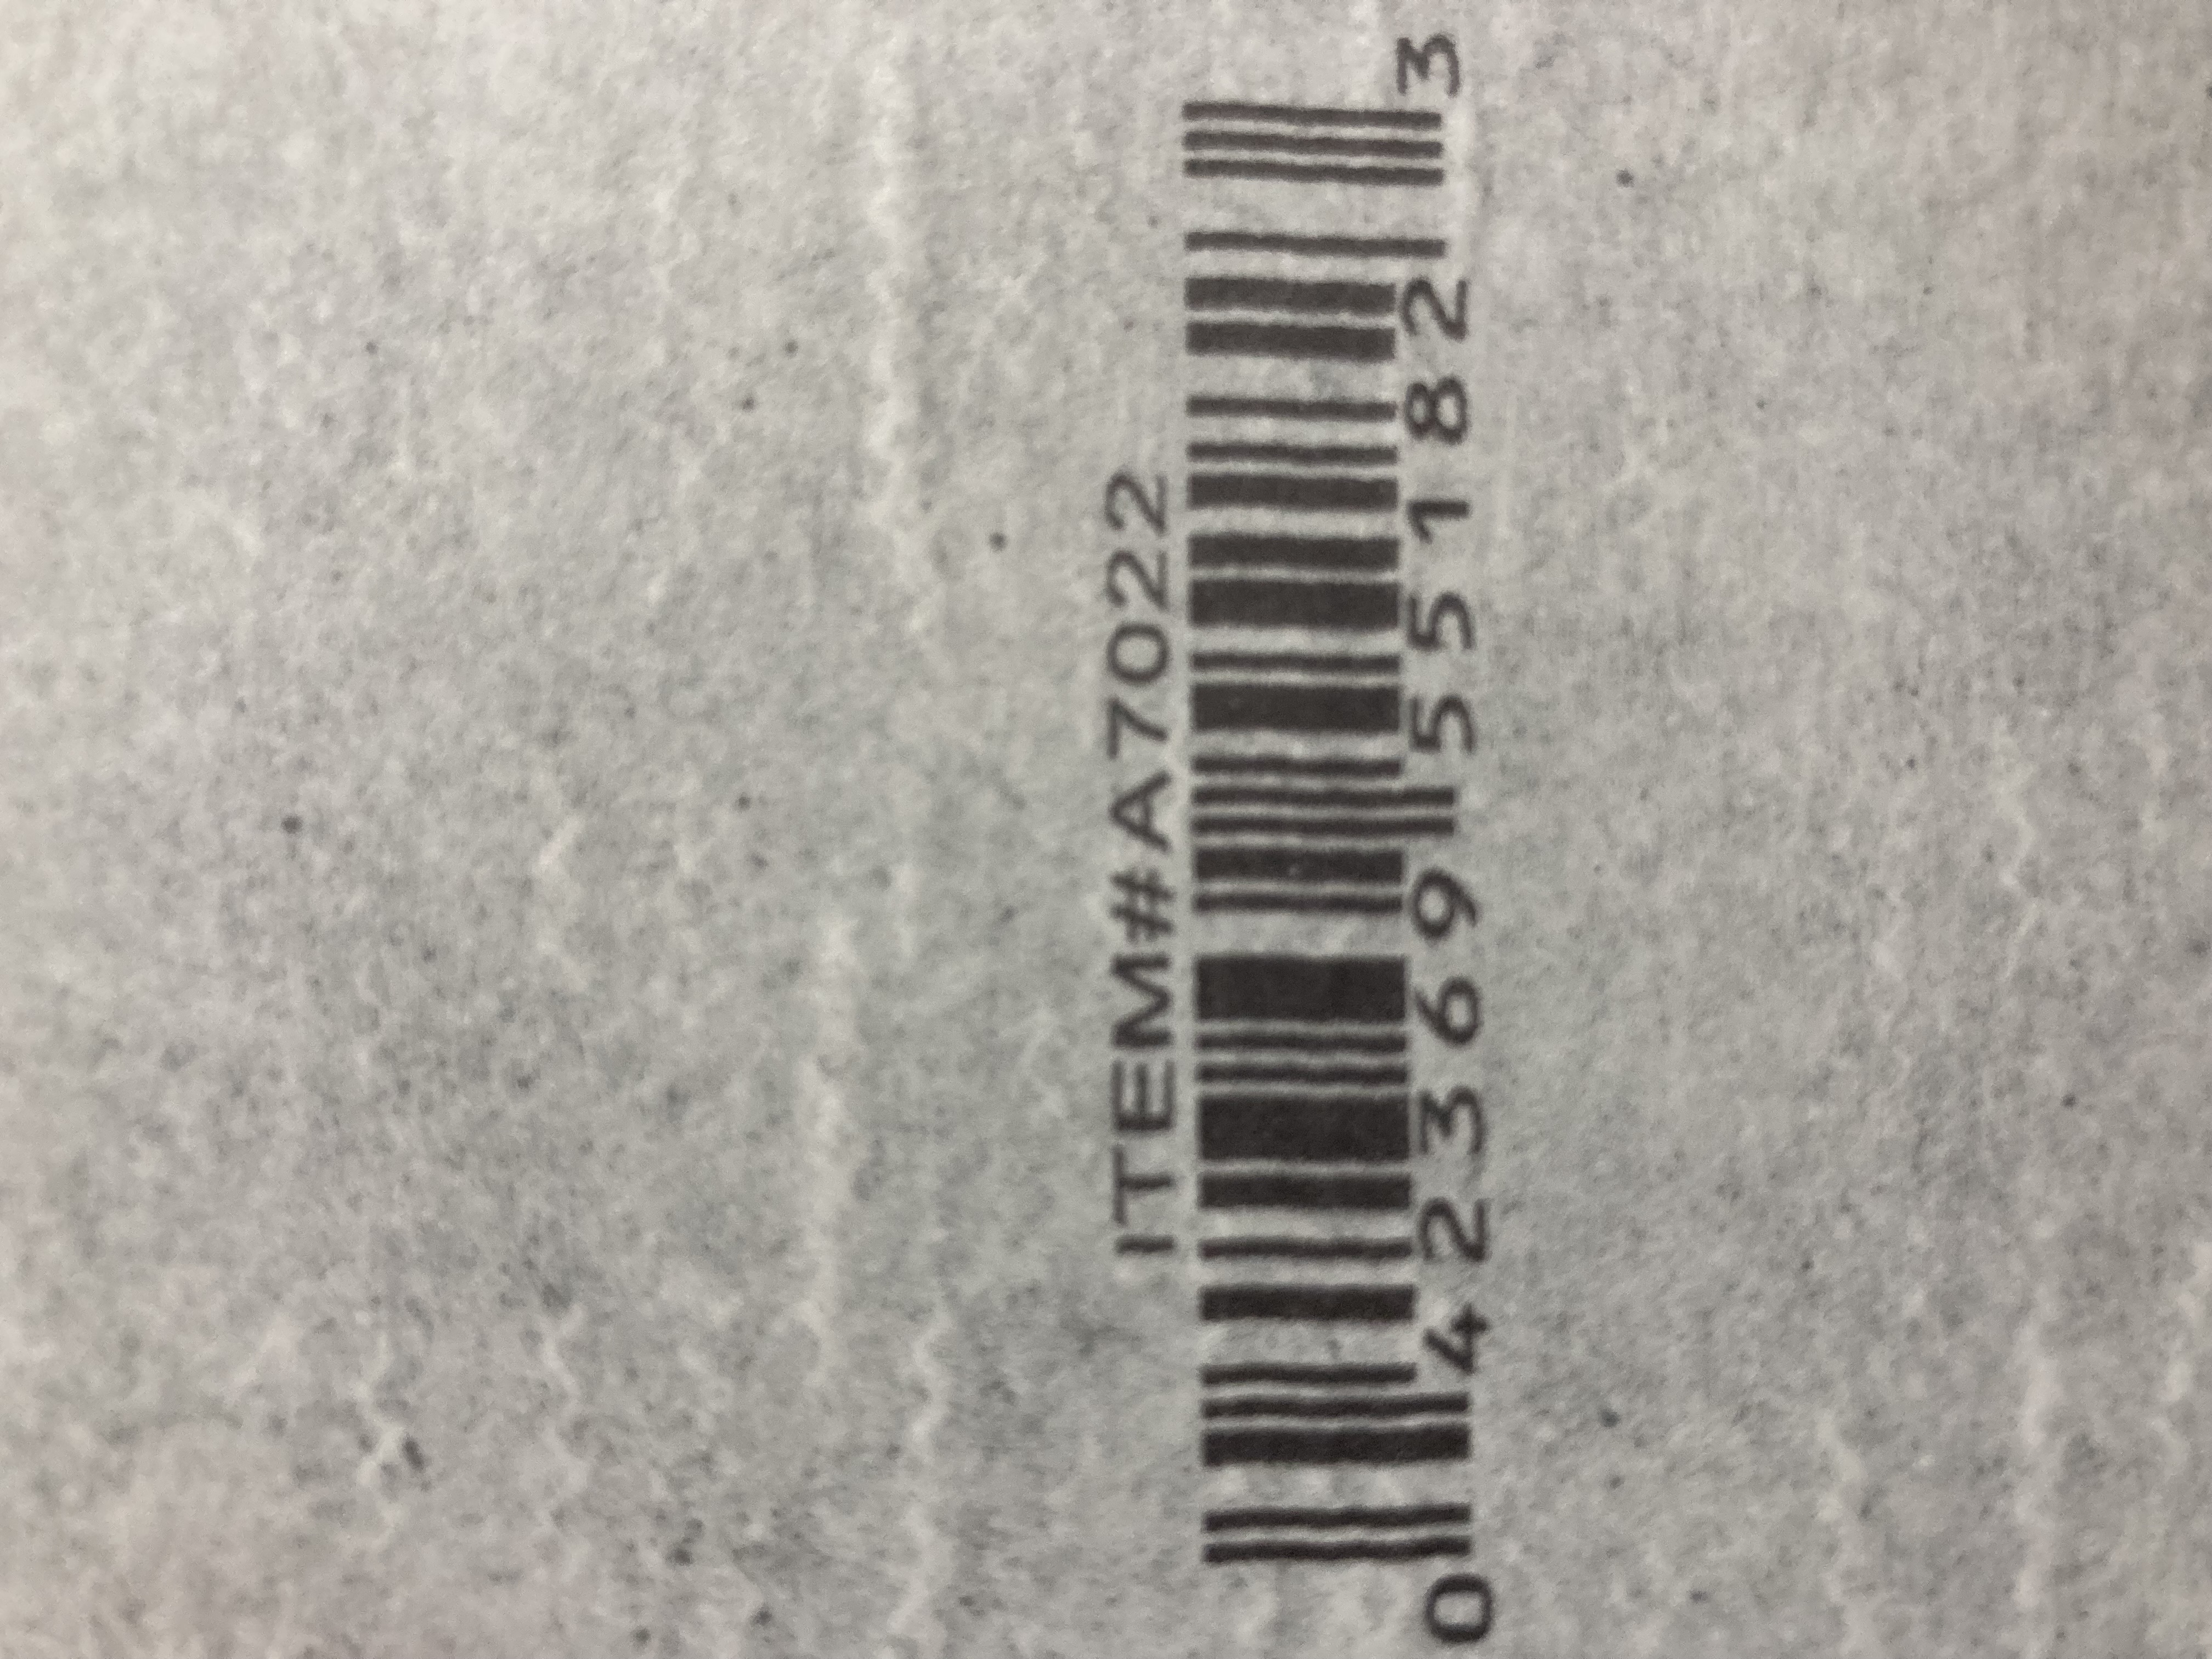
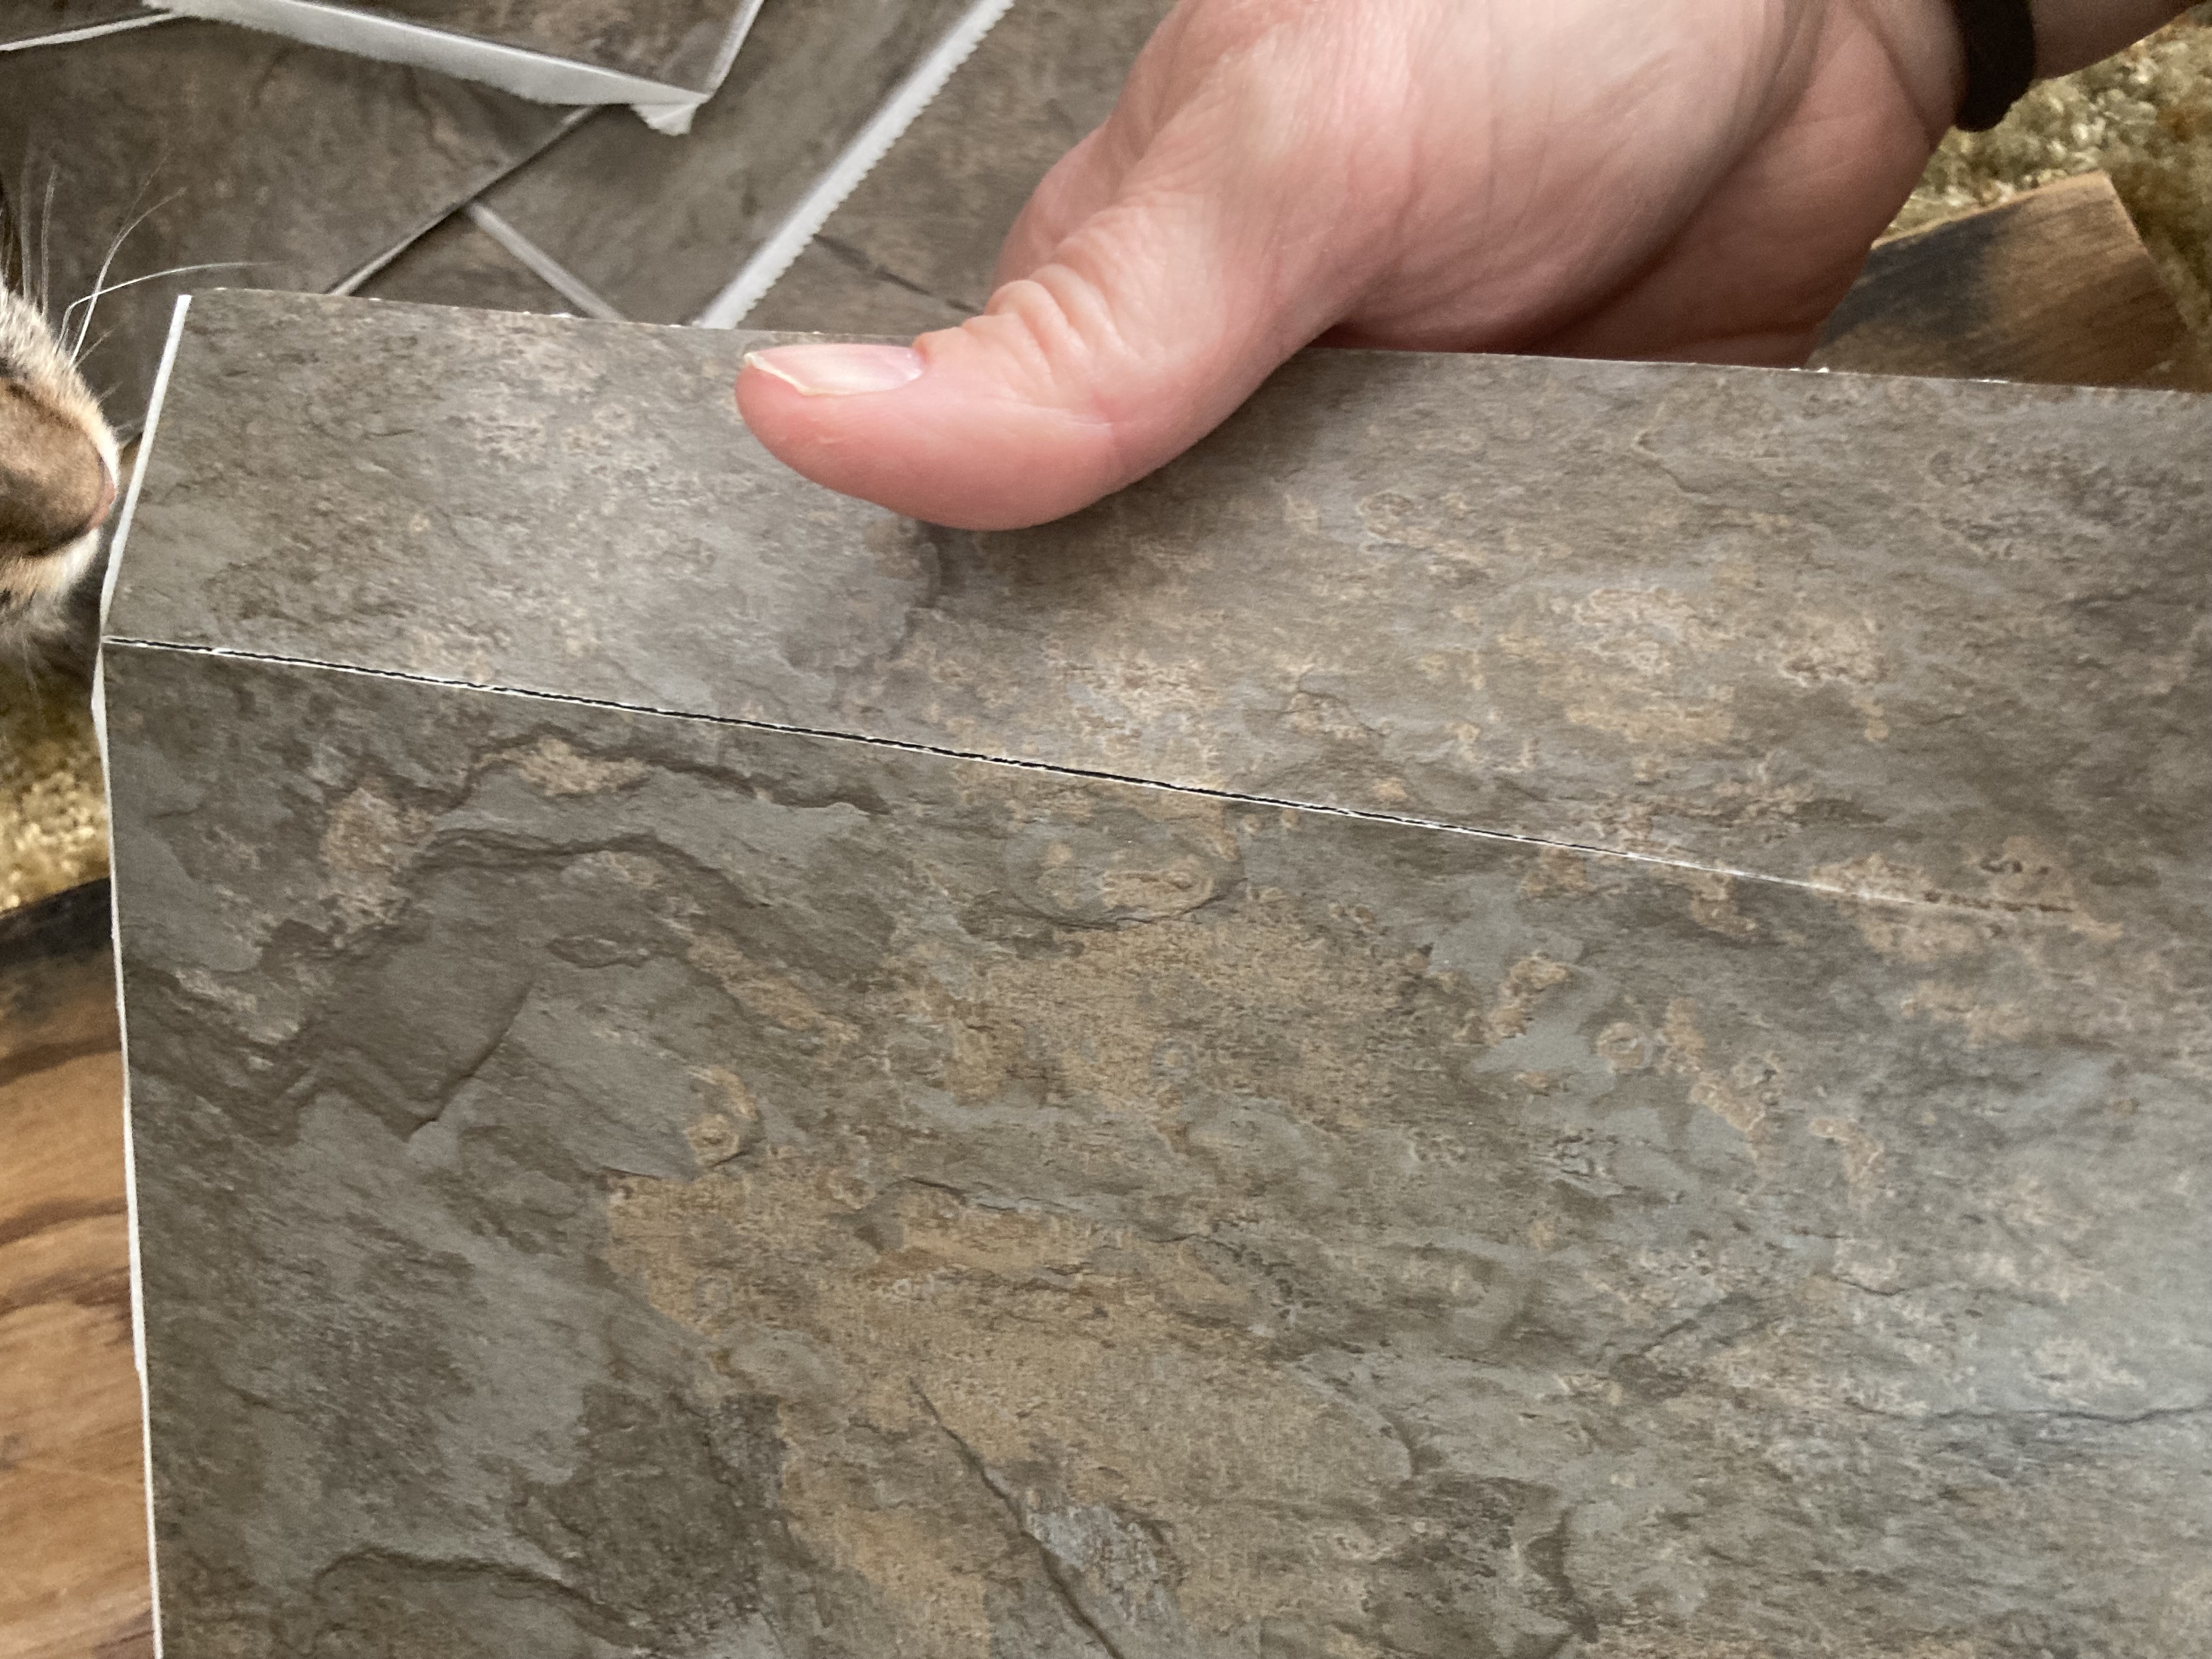
The tiles I chose are from Menards, and are very thick linoleum. They are textured and colored to look very similar to slate.
After selecting the tiles, I had to cut them into squares. I wanted them to be random widths to they would add some interest to the project, so I didn’t use any real measurements when I cut them. I used a scrap piece of wood as a cutting board so I wouldn’t damage any surfaces.
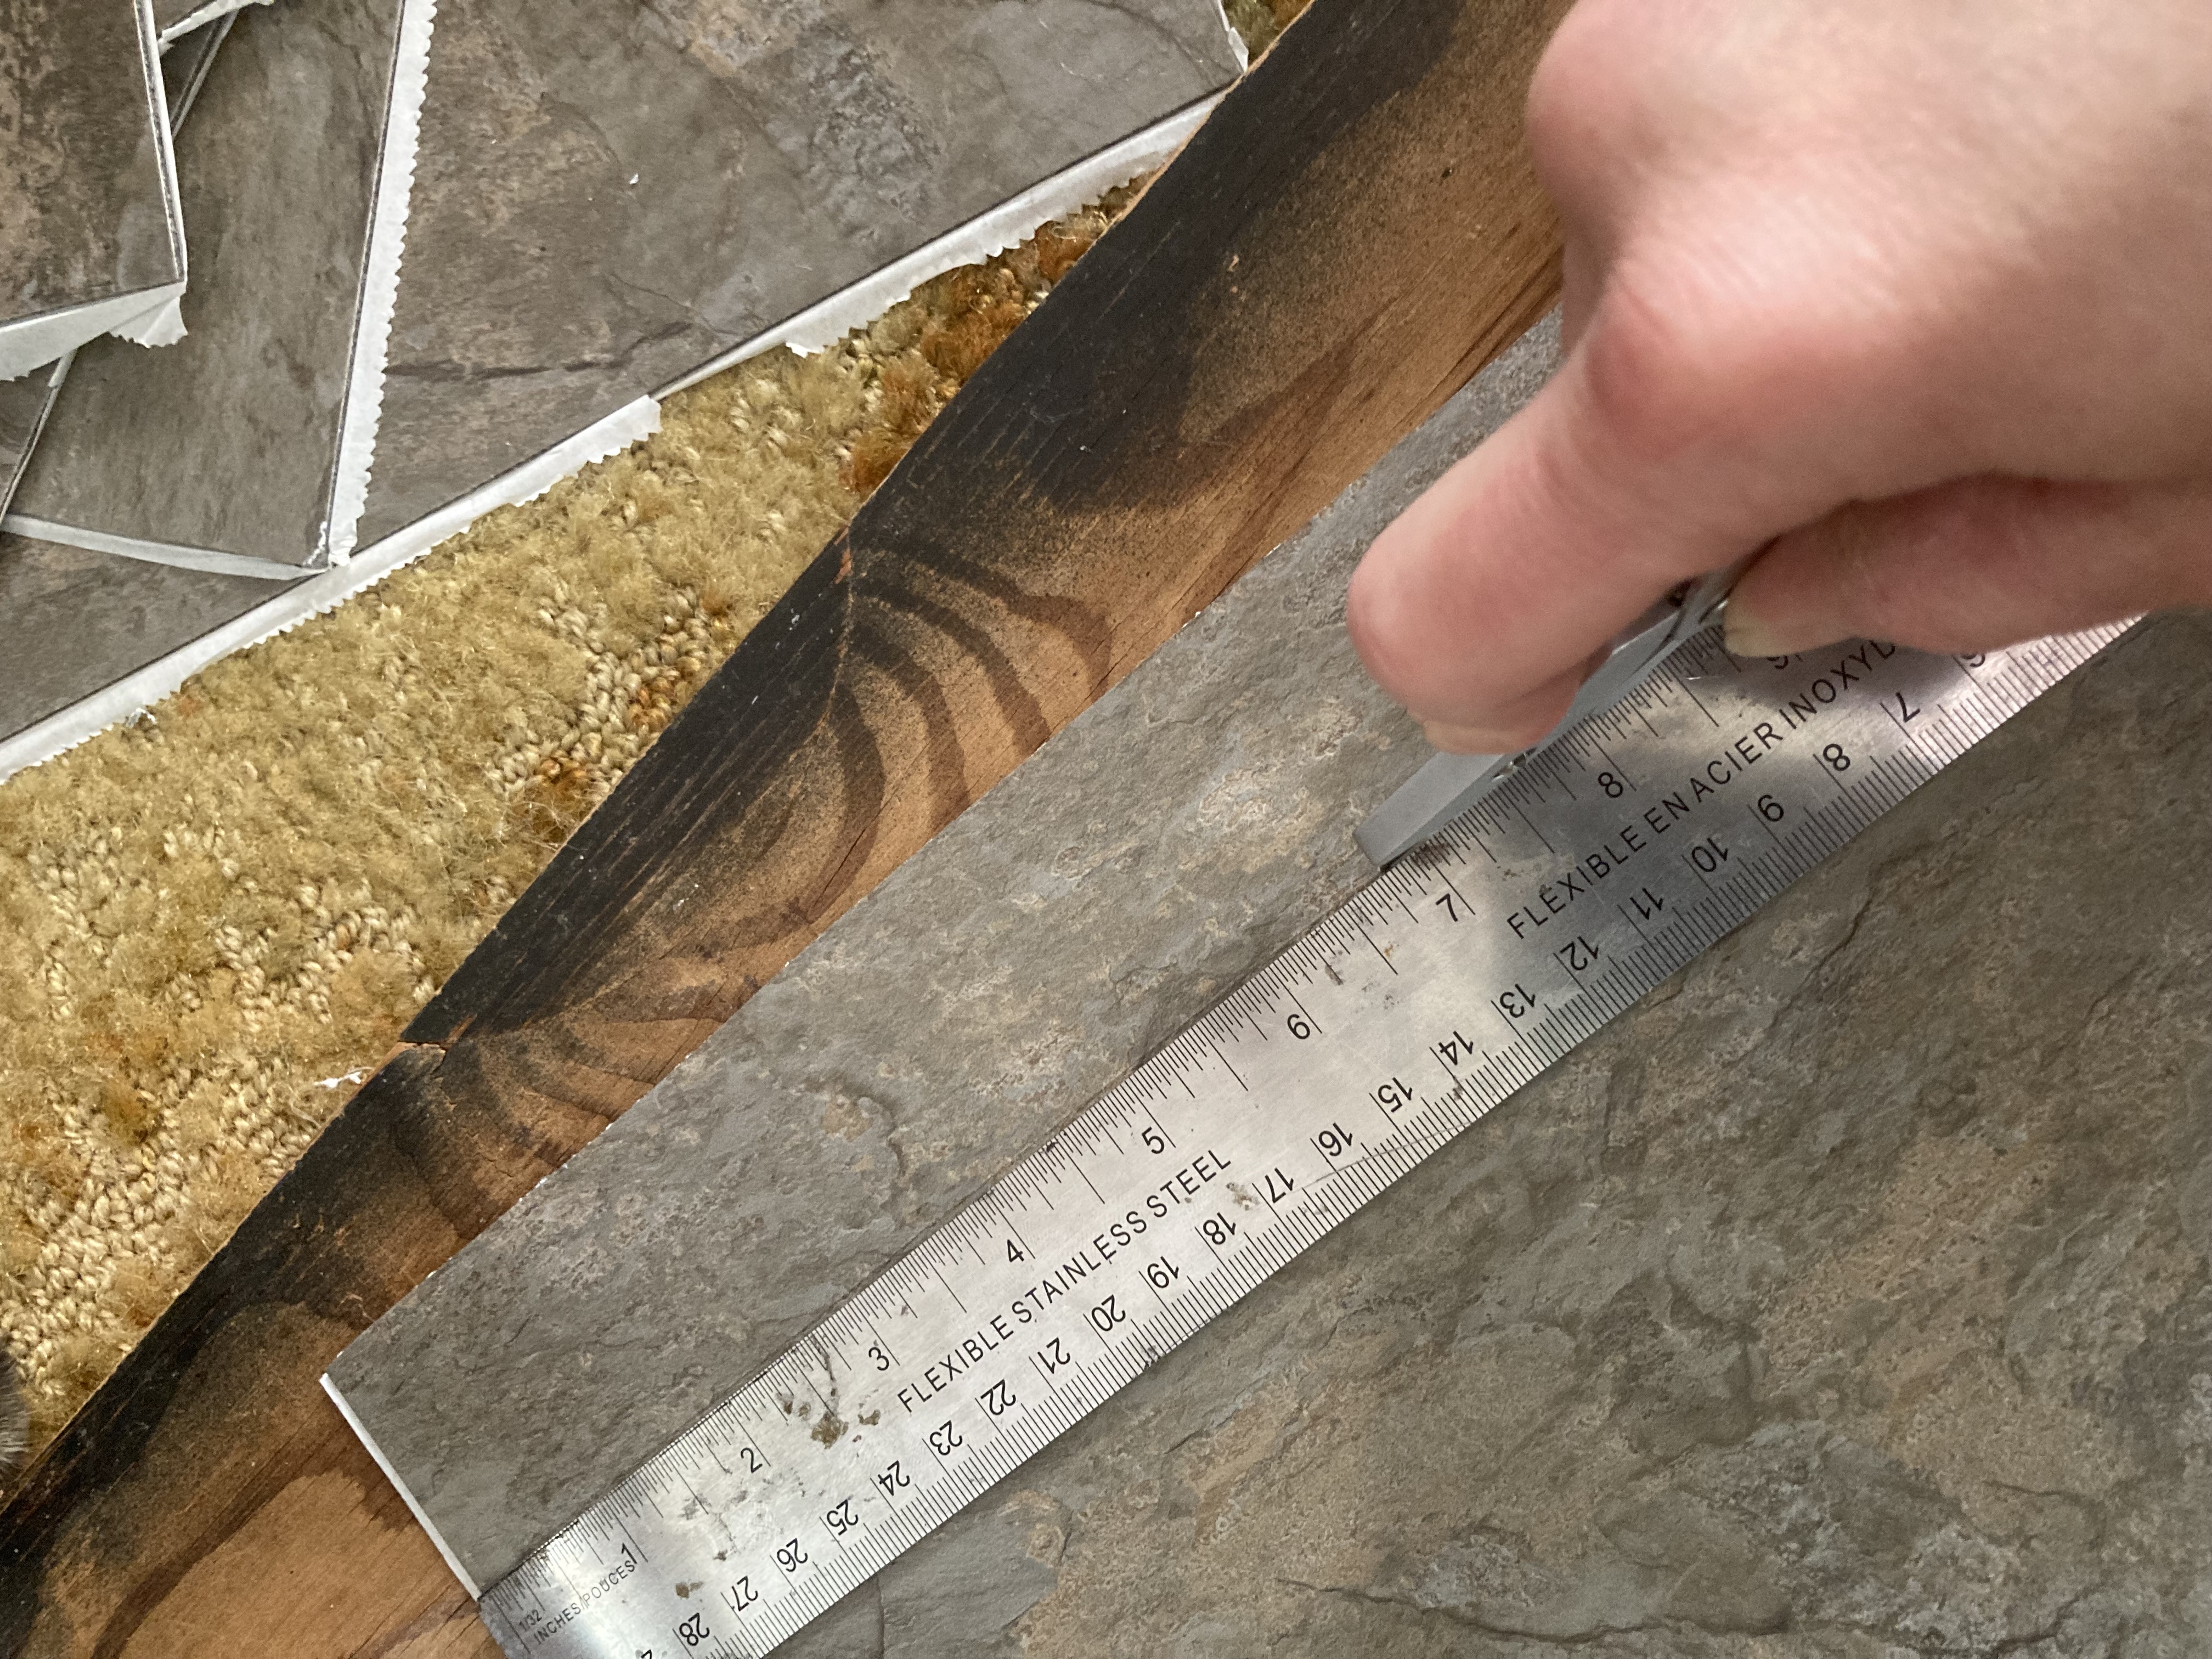
Scoring with a box cutter, using a ruler as a straightedge.
To cut these tiles, I held a ruler as a straightedge and used my box cutter to score a shallow mark along the top of the tile, in the area I wanted to cut. The knife does not need to cut all the way through the tile. It is important to note that you need to score it from the DECORATED SURFACE of the tile, so that when you break it you will have a nice, clean line. If you score the back and break the front, the cut will be jagged and might peel off part of the decoration.
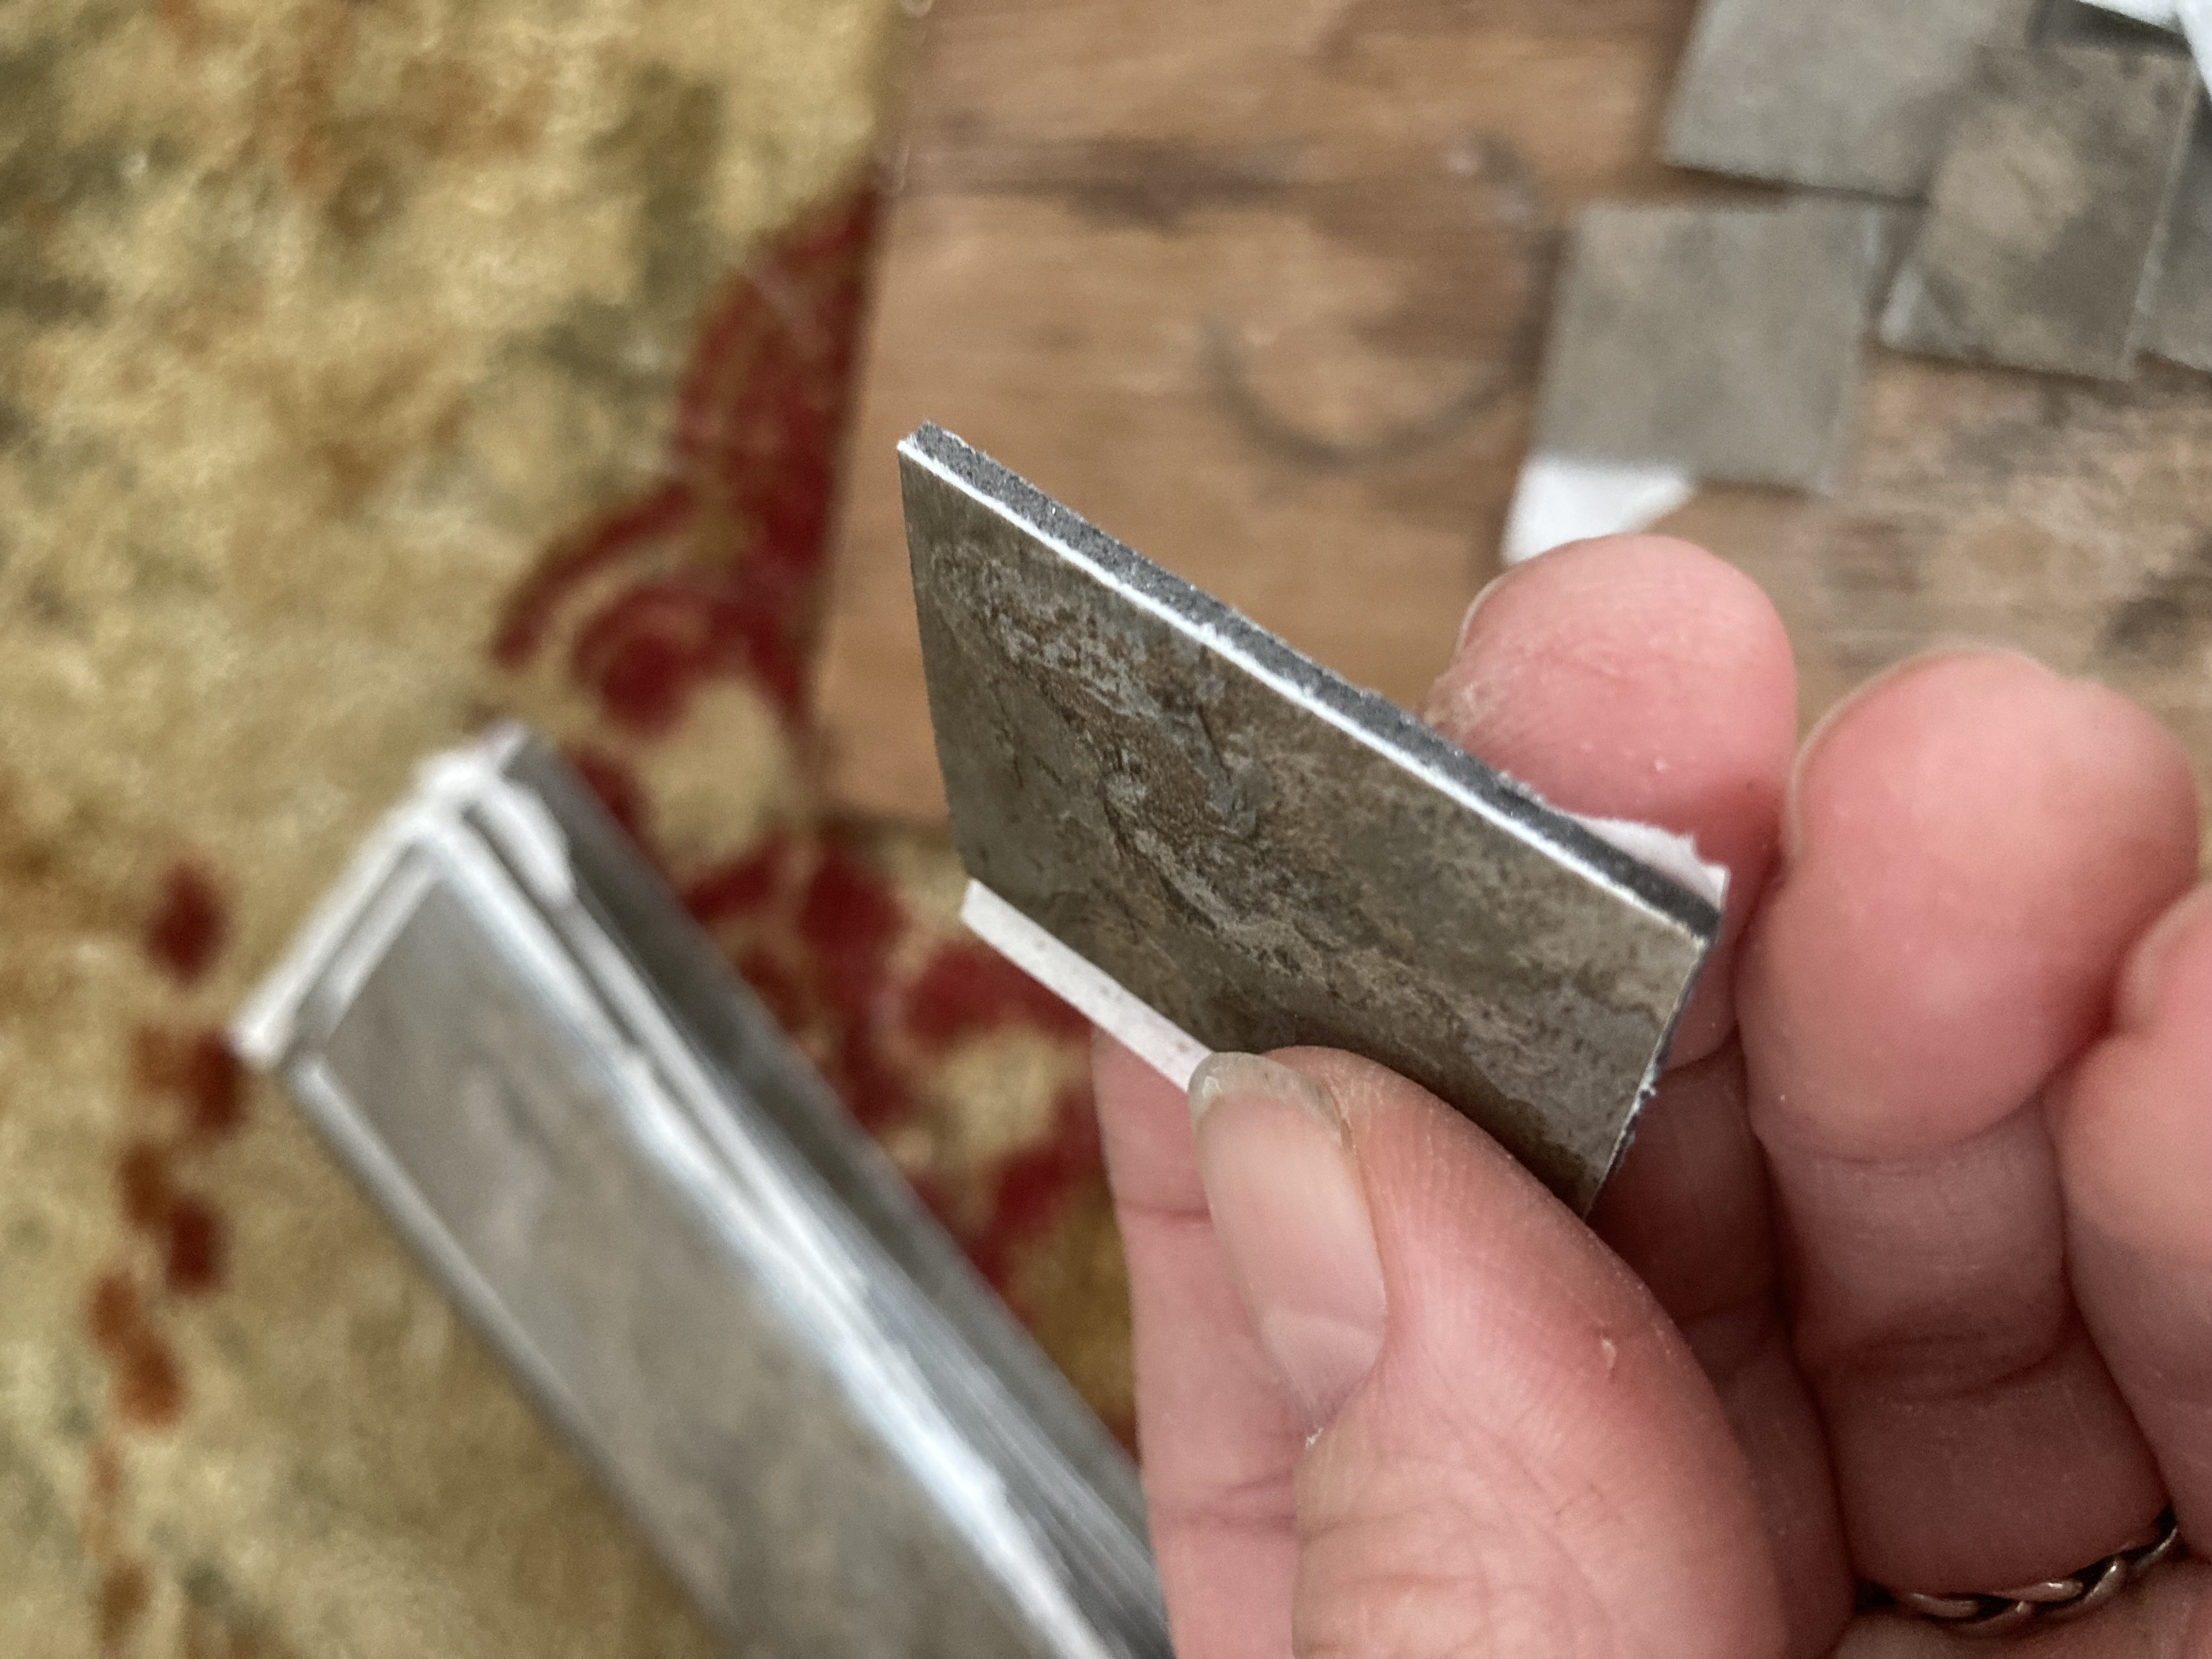
After you score the front with the knife, hold the tile in your hand, decorated side up, and use your fingers to snap it along the cut, from the back side. It should break pretty easily.
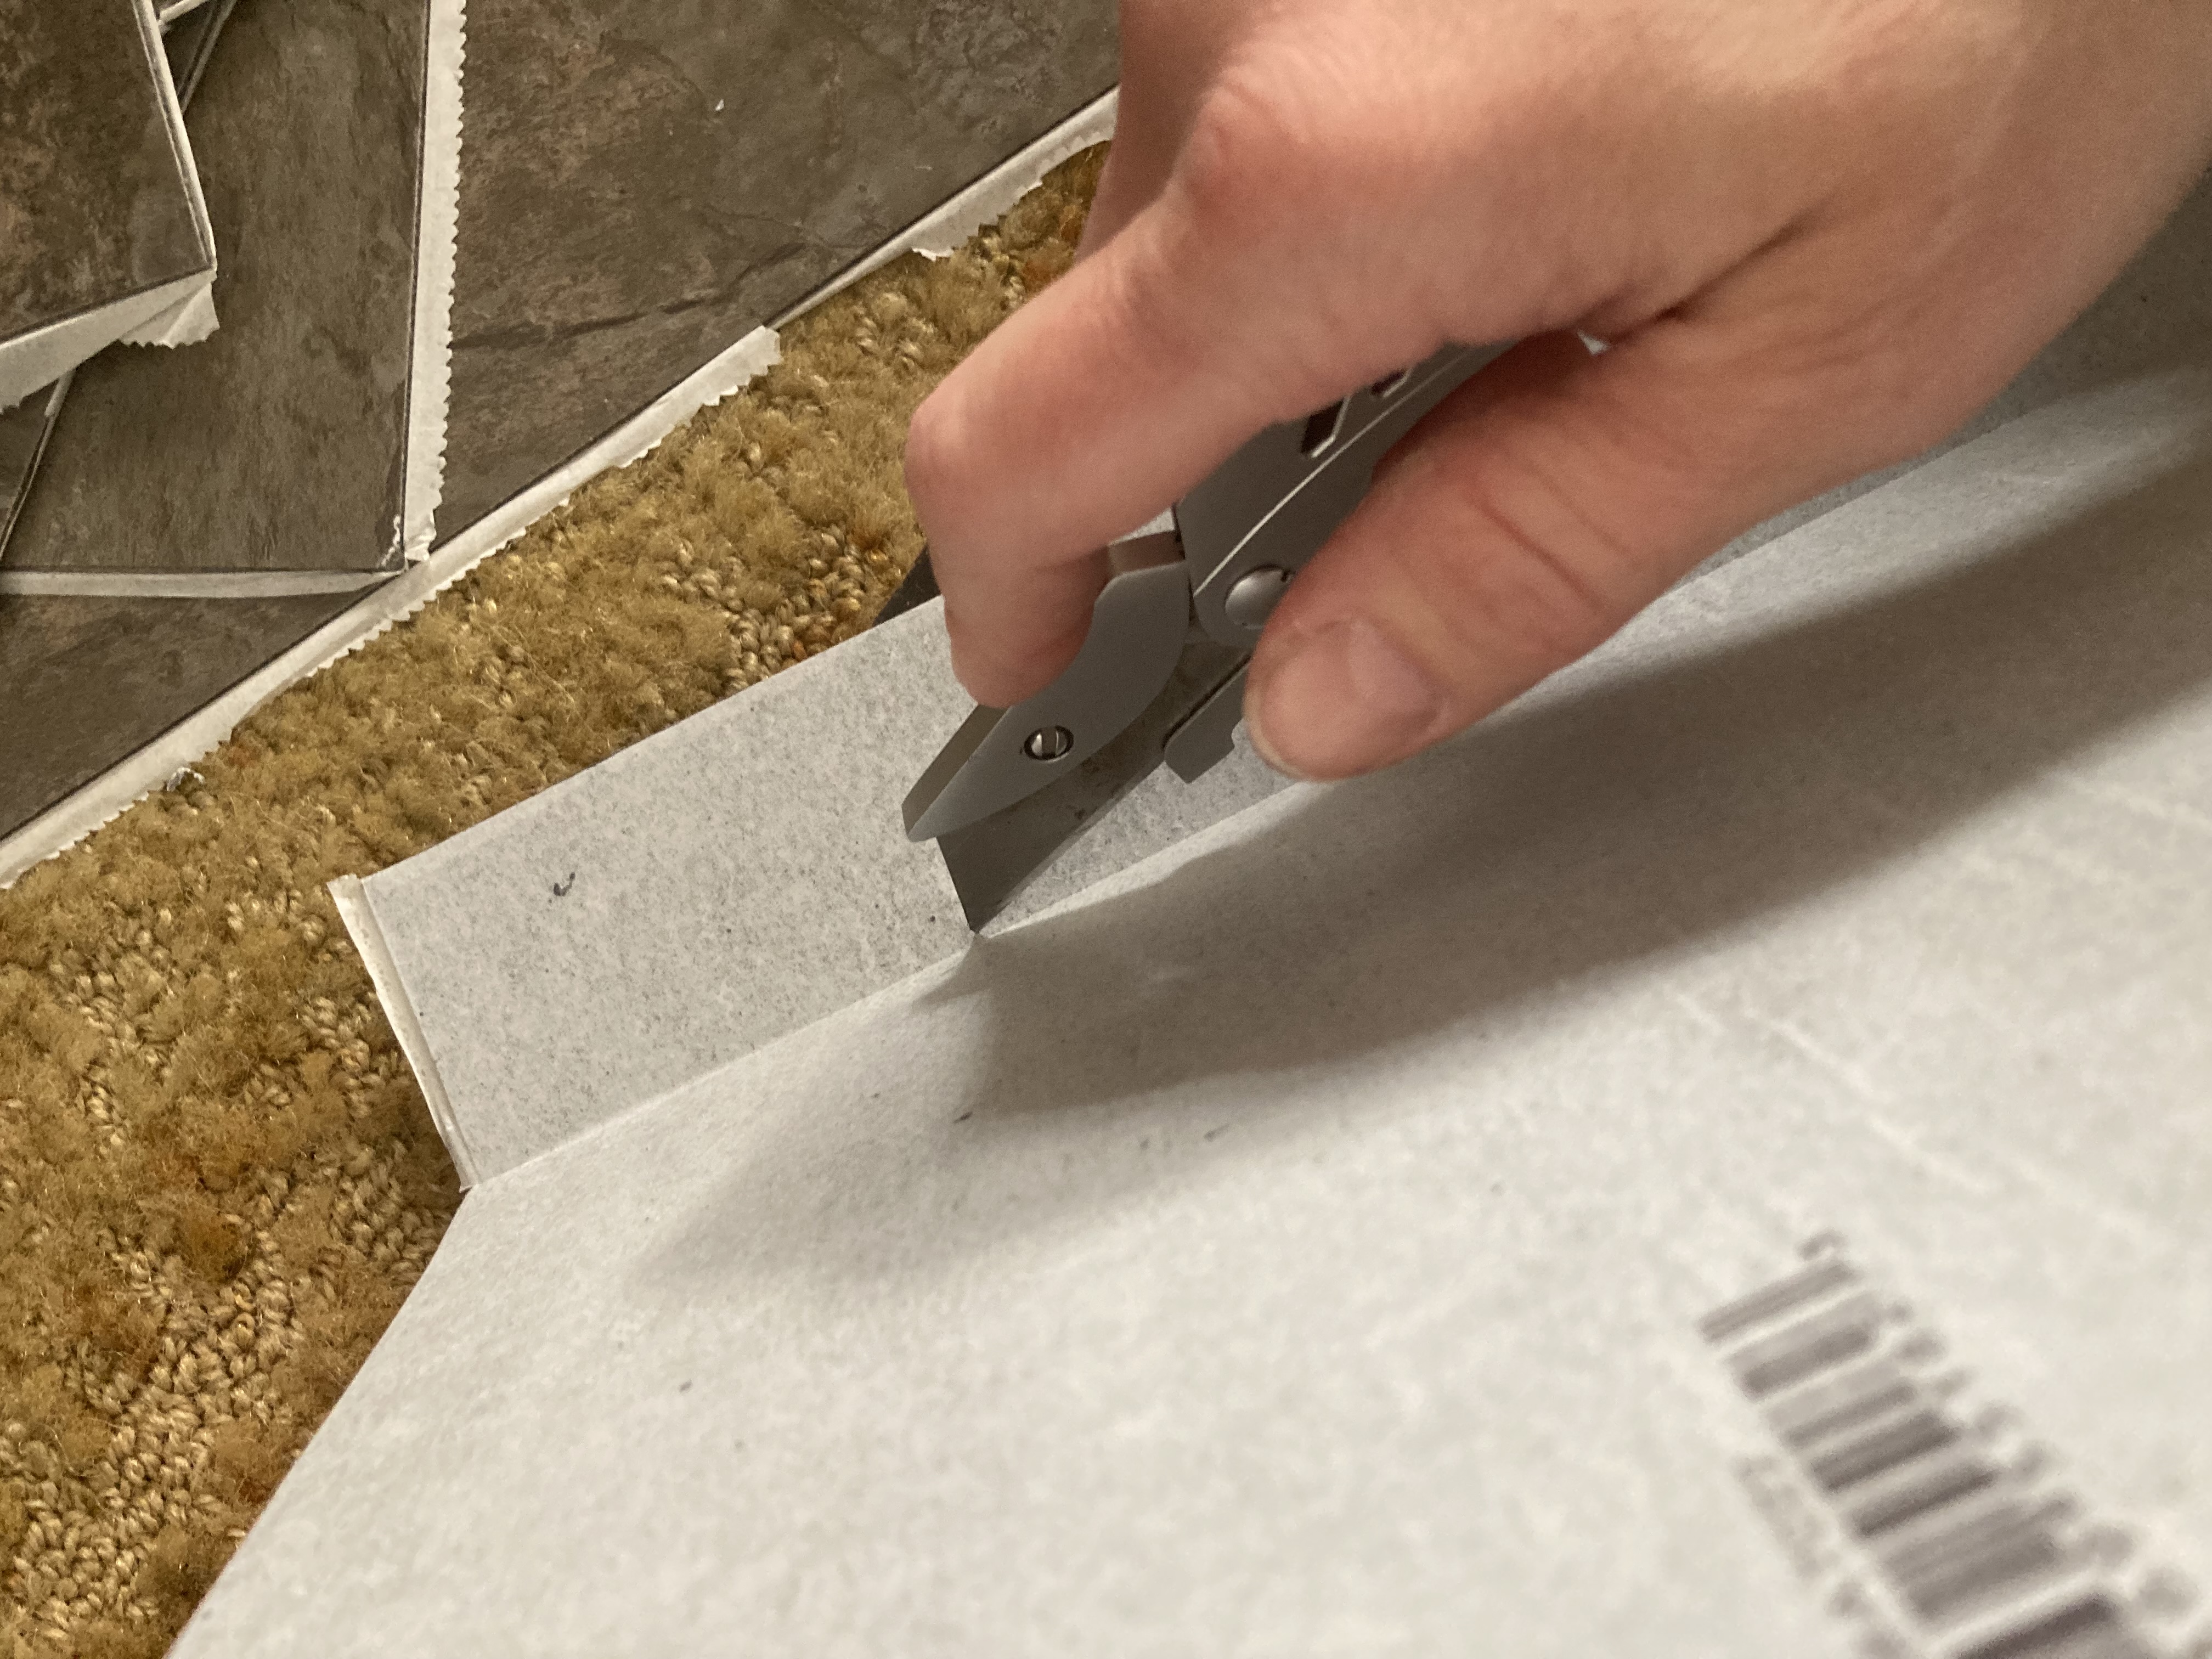
I chose to keep the paper backing on the tiles as I went, at least until I was done cutting them. Otherwise (I used self-adhesive tiles) the sticky backing will make them stick to the cutting board and cause some difficulty. Anyway, because I kept this paper backing on, I had to make an additional slice on the back of the tile to cut the paper after I had snapped the tile.
I cut the tiles into long strips, about 1.5 inches wide.
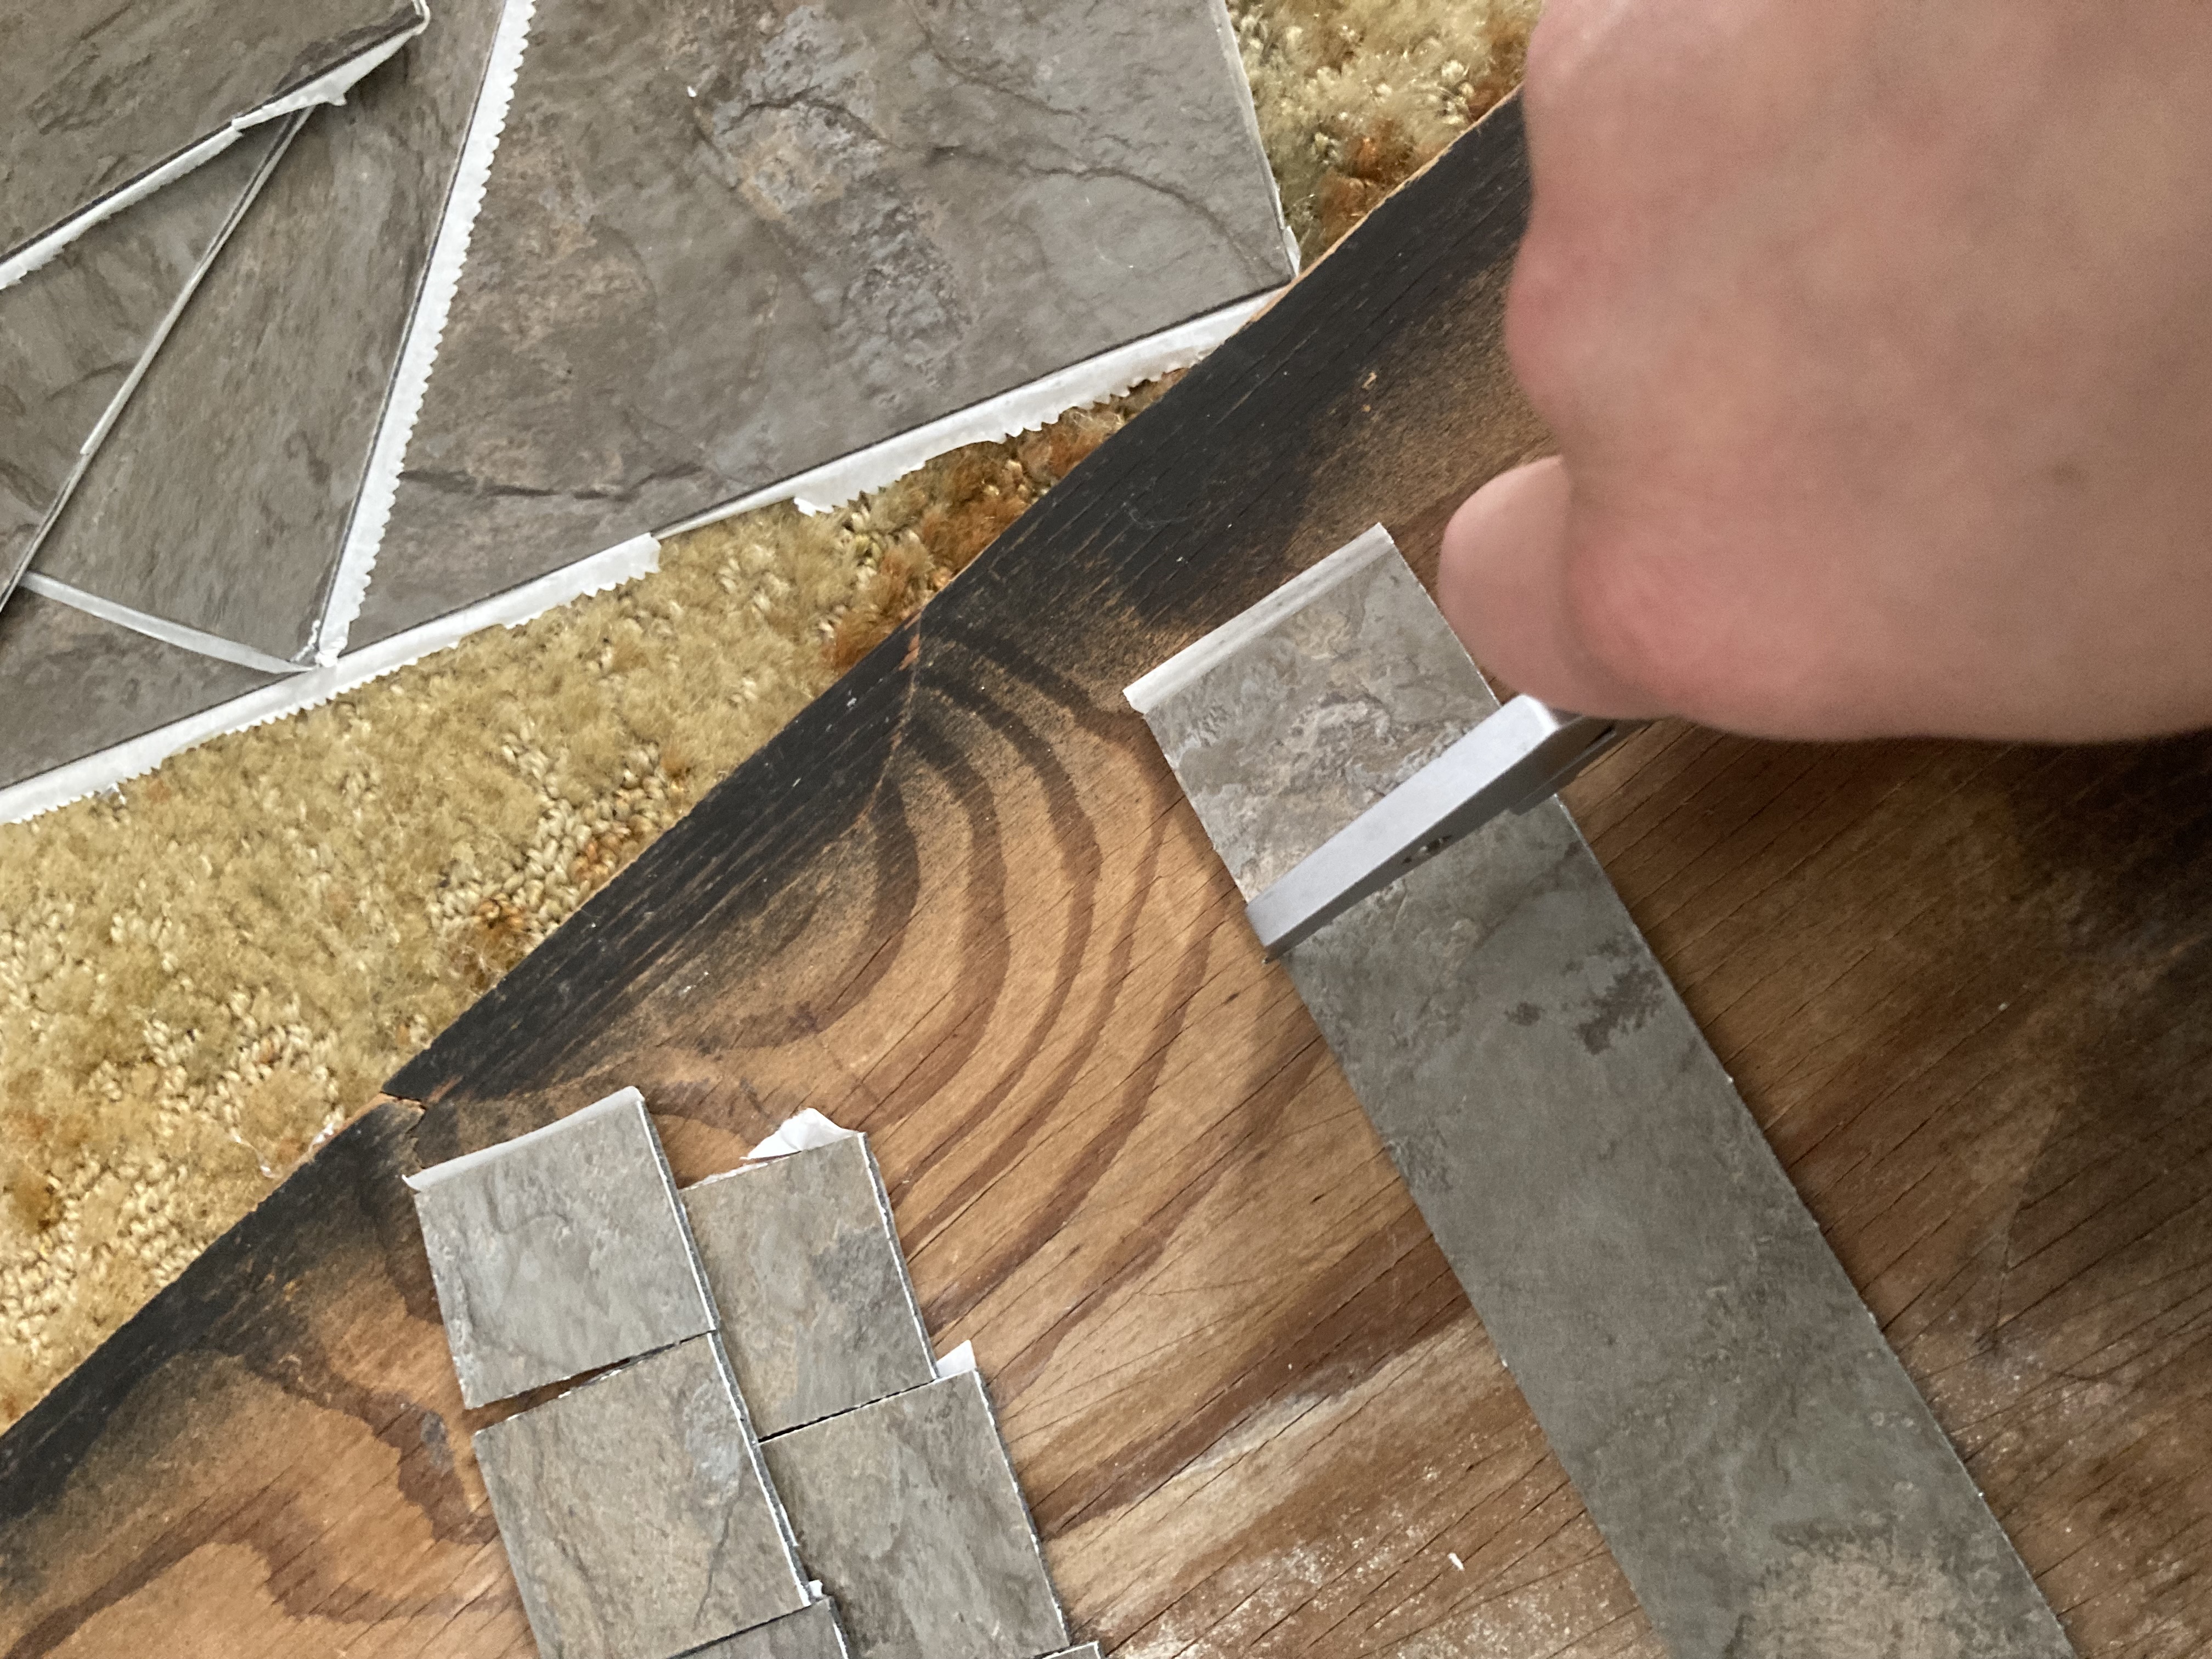
After my strips were cut, I cut them into smaller sized shingles. I used the same method, scoring with the knife (except for this cut I didn’t use the ruler as a guide as the cuts were so short and it was pretty easy to keep them straight), and then snapping them into small squares. I started out leaving the paper on the backs of these smaller pieces, but after a while I found it went faster to just peel the paper off after they were cut.
Next comes the fun part.
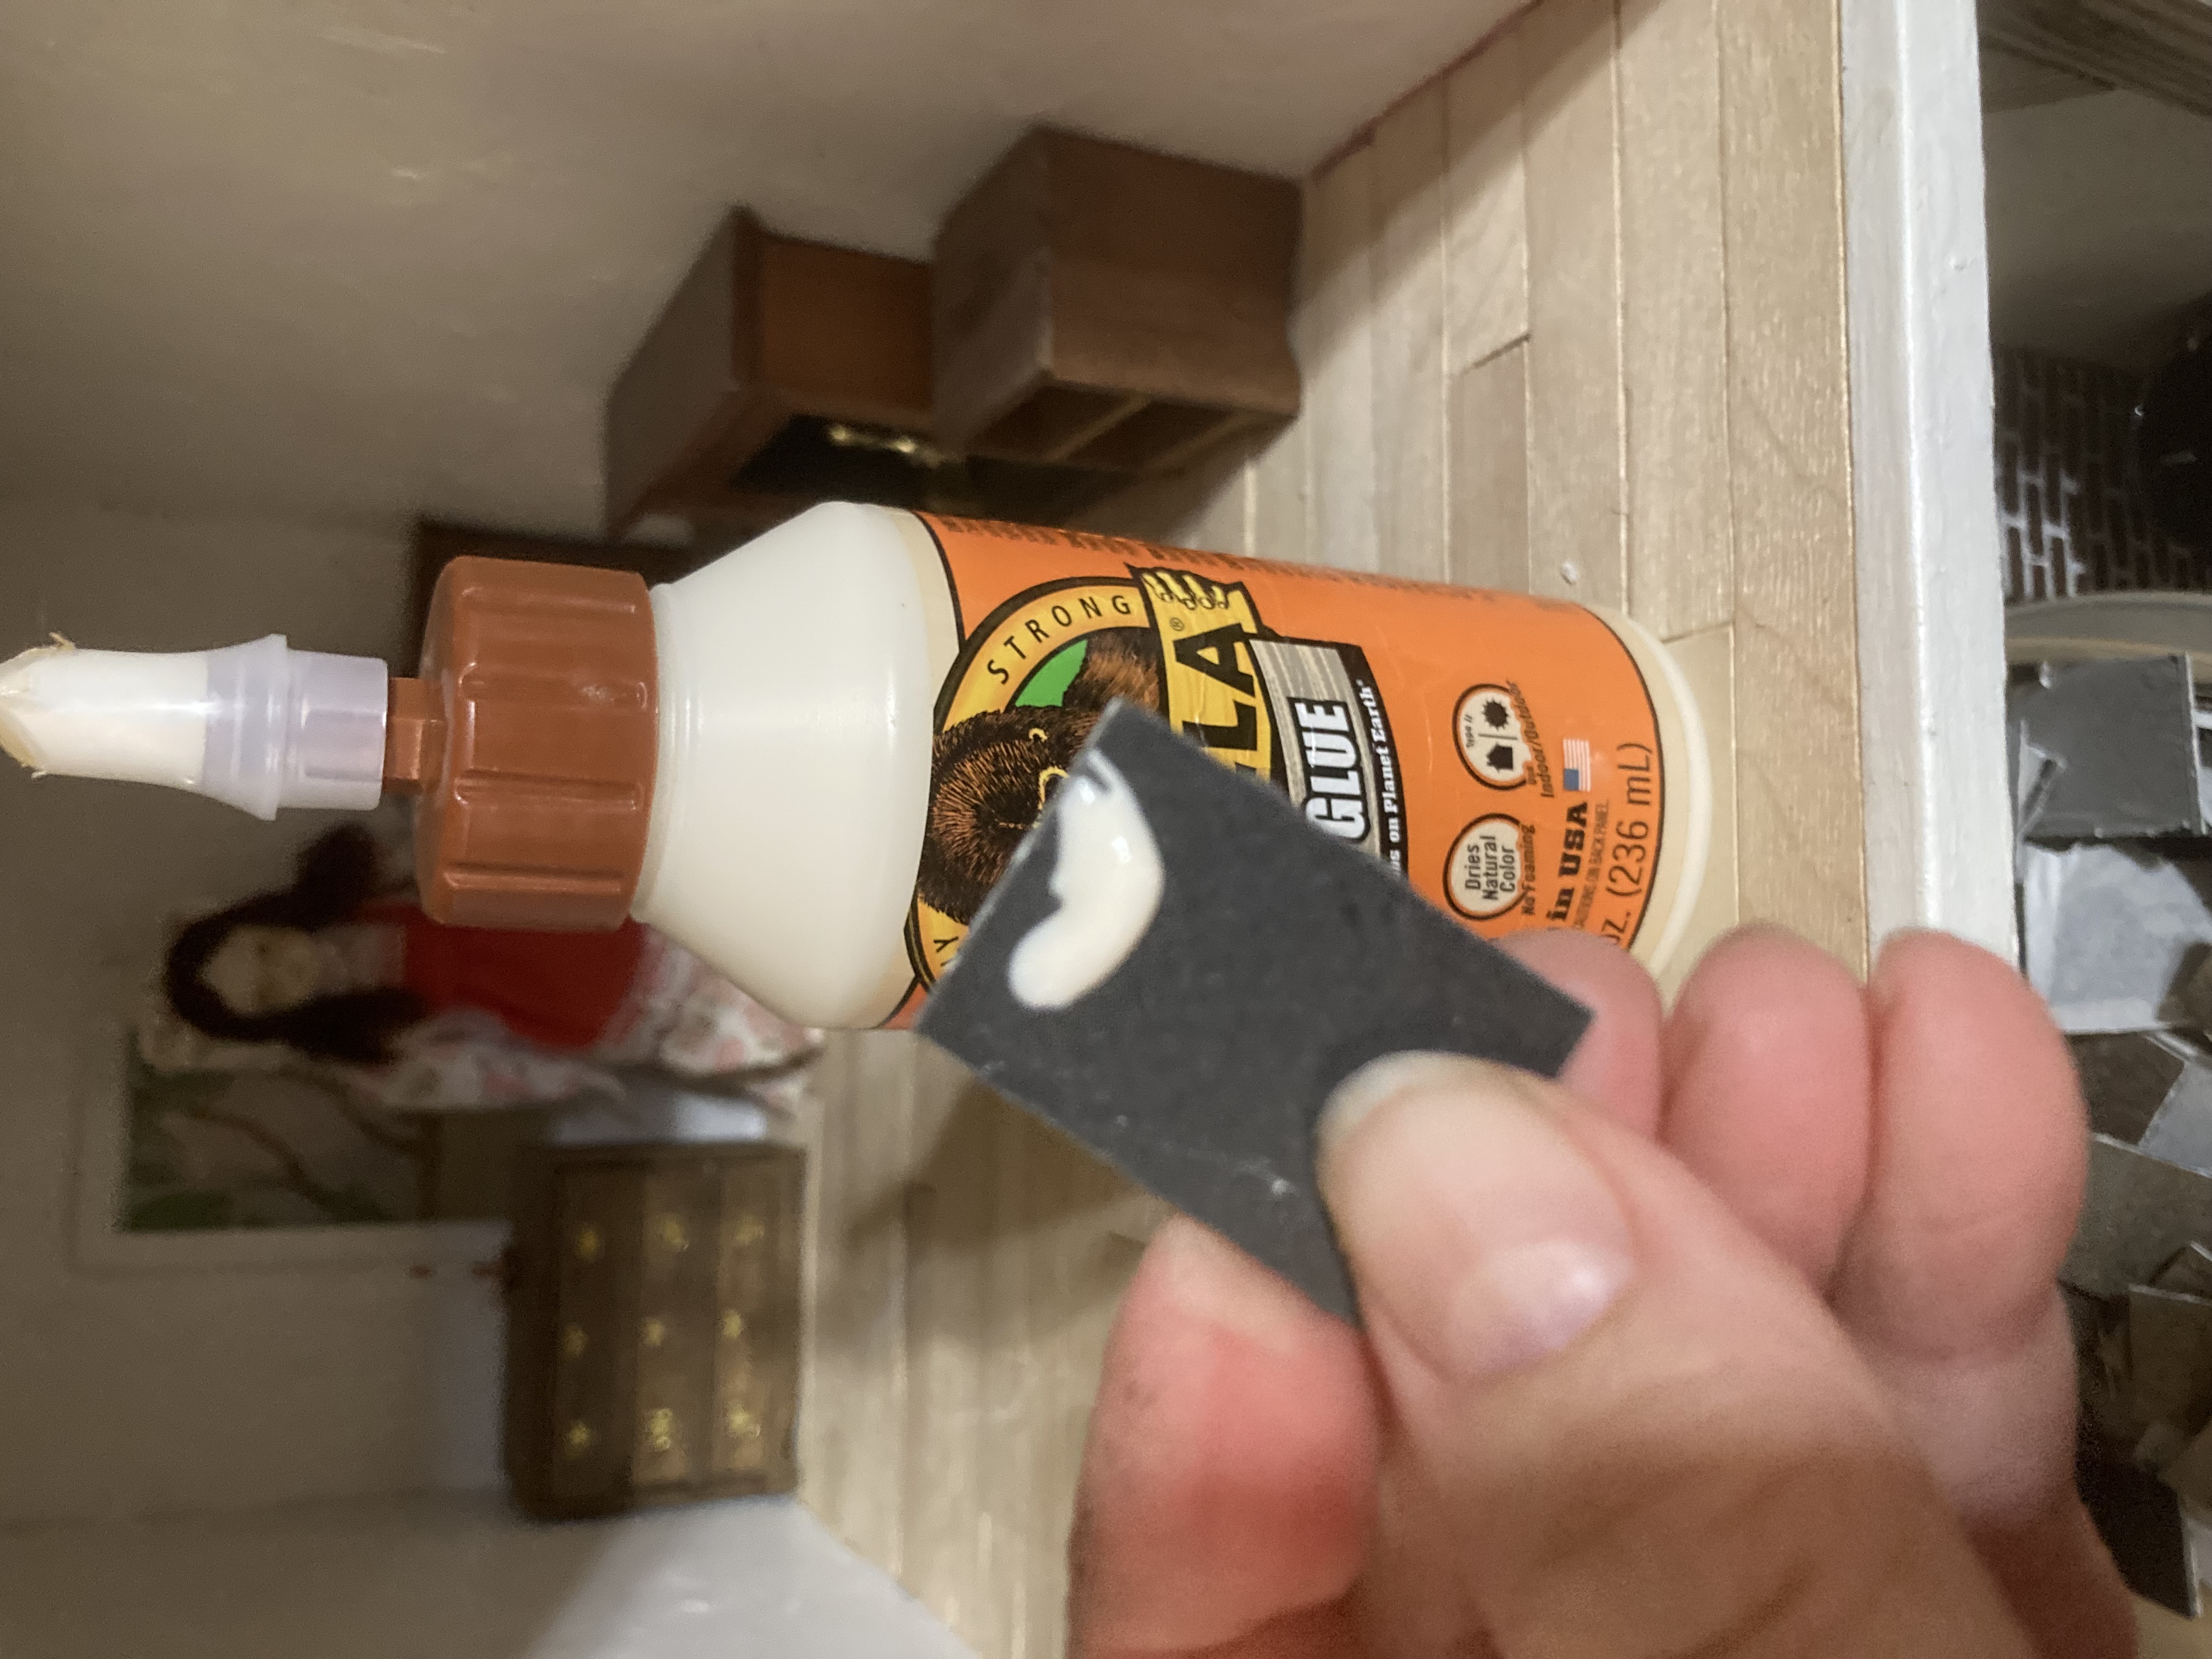
Gluing the shingles. The glued edge will be laid pointing towards the roof’s top, so that it makes contact with the wood part of the roof. The bottom edge that isn’t glued will be overlapping the shingles below it. If I glued the whole shingle it has more chance of dripping glue onto the shingle below it.
After my shingles are cut, and the paper backing is removed, I dabbed a little glue on one end (because the sticky backing isn’t as sticky as I would like it to be, and I don’t want my shingles falling off), and started installing them on my roof.
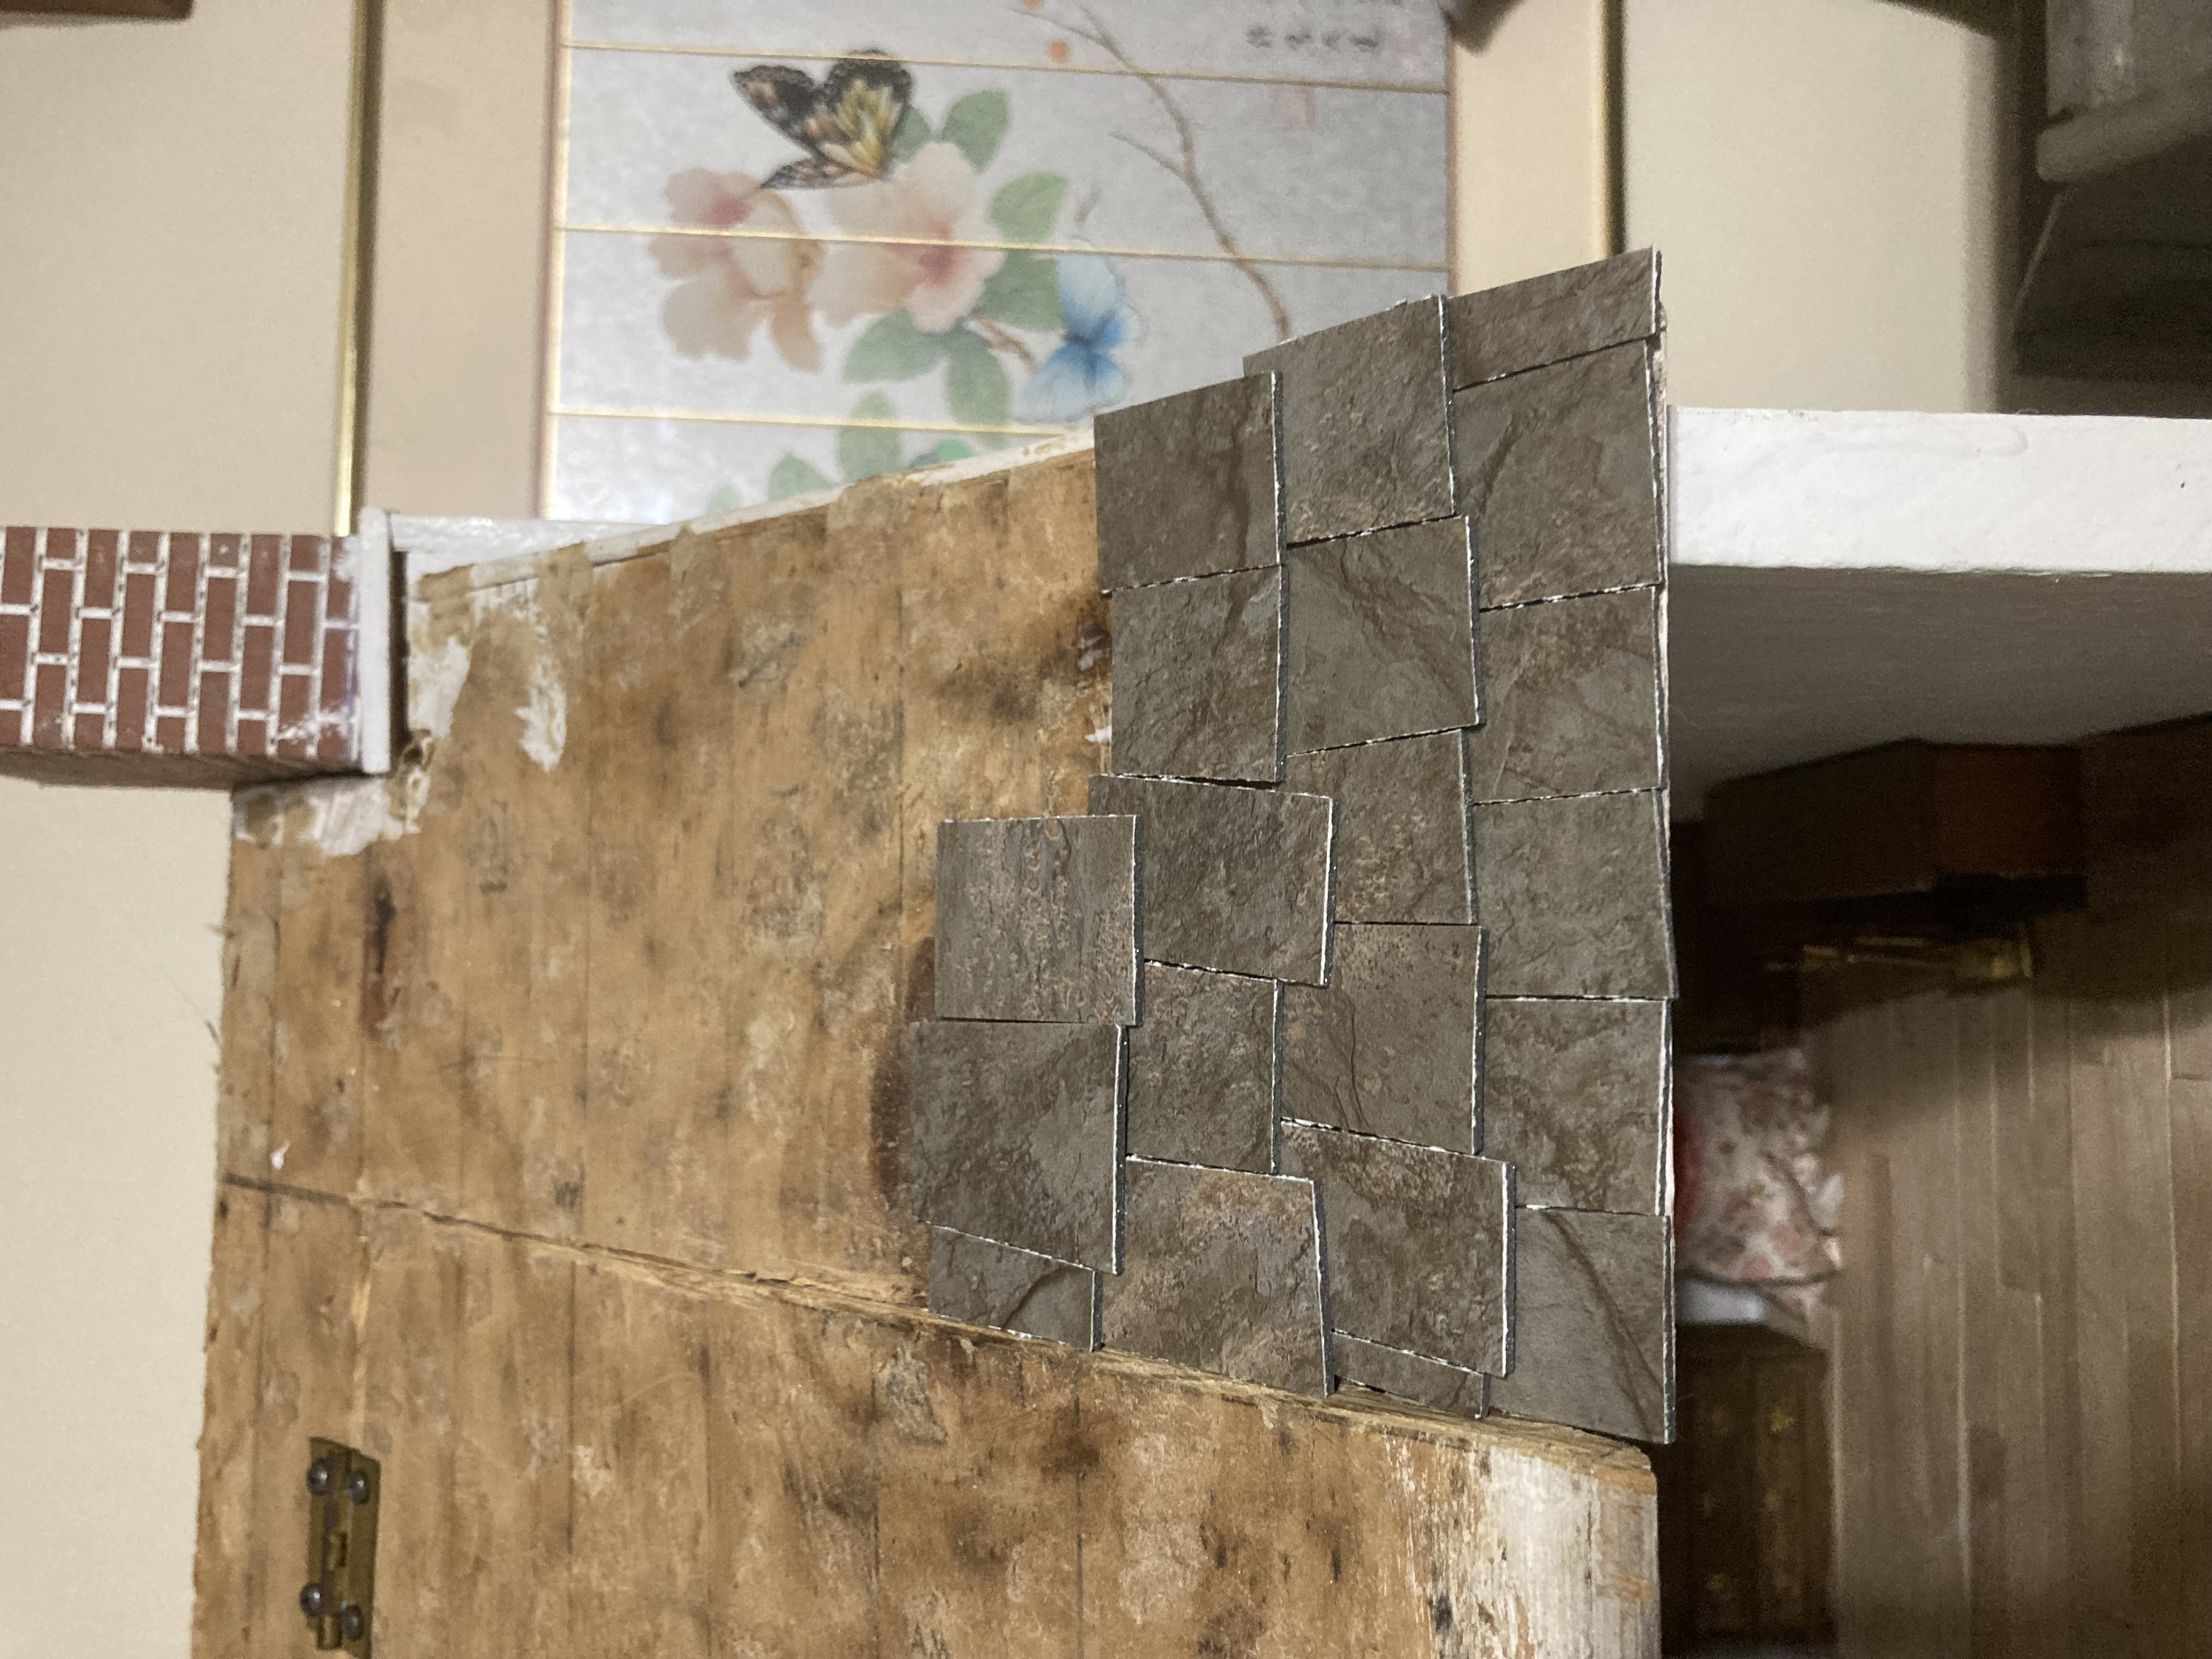
When installing the shingles, start from the bottom and work your way up. Overlap them a little bit, so that the next row is hanging over the one below it slightly. In real life, the cracks between the shingles won’t line up, to help prevent water from leaking into your house, so keep them staggered. My shingles are not straight as I wanted a more primitive look.
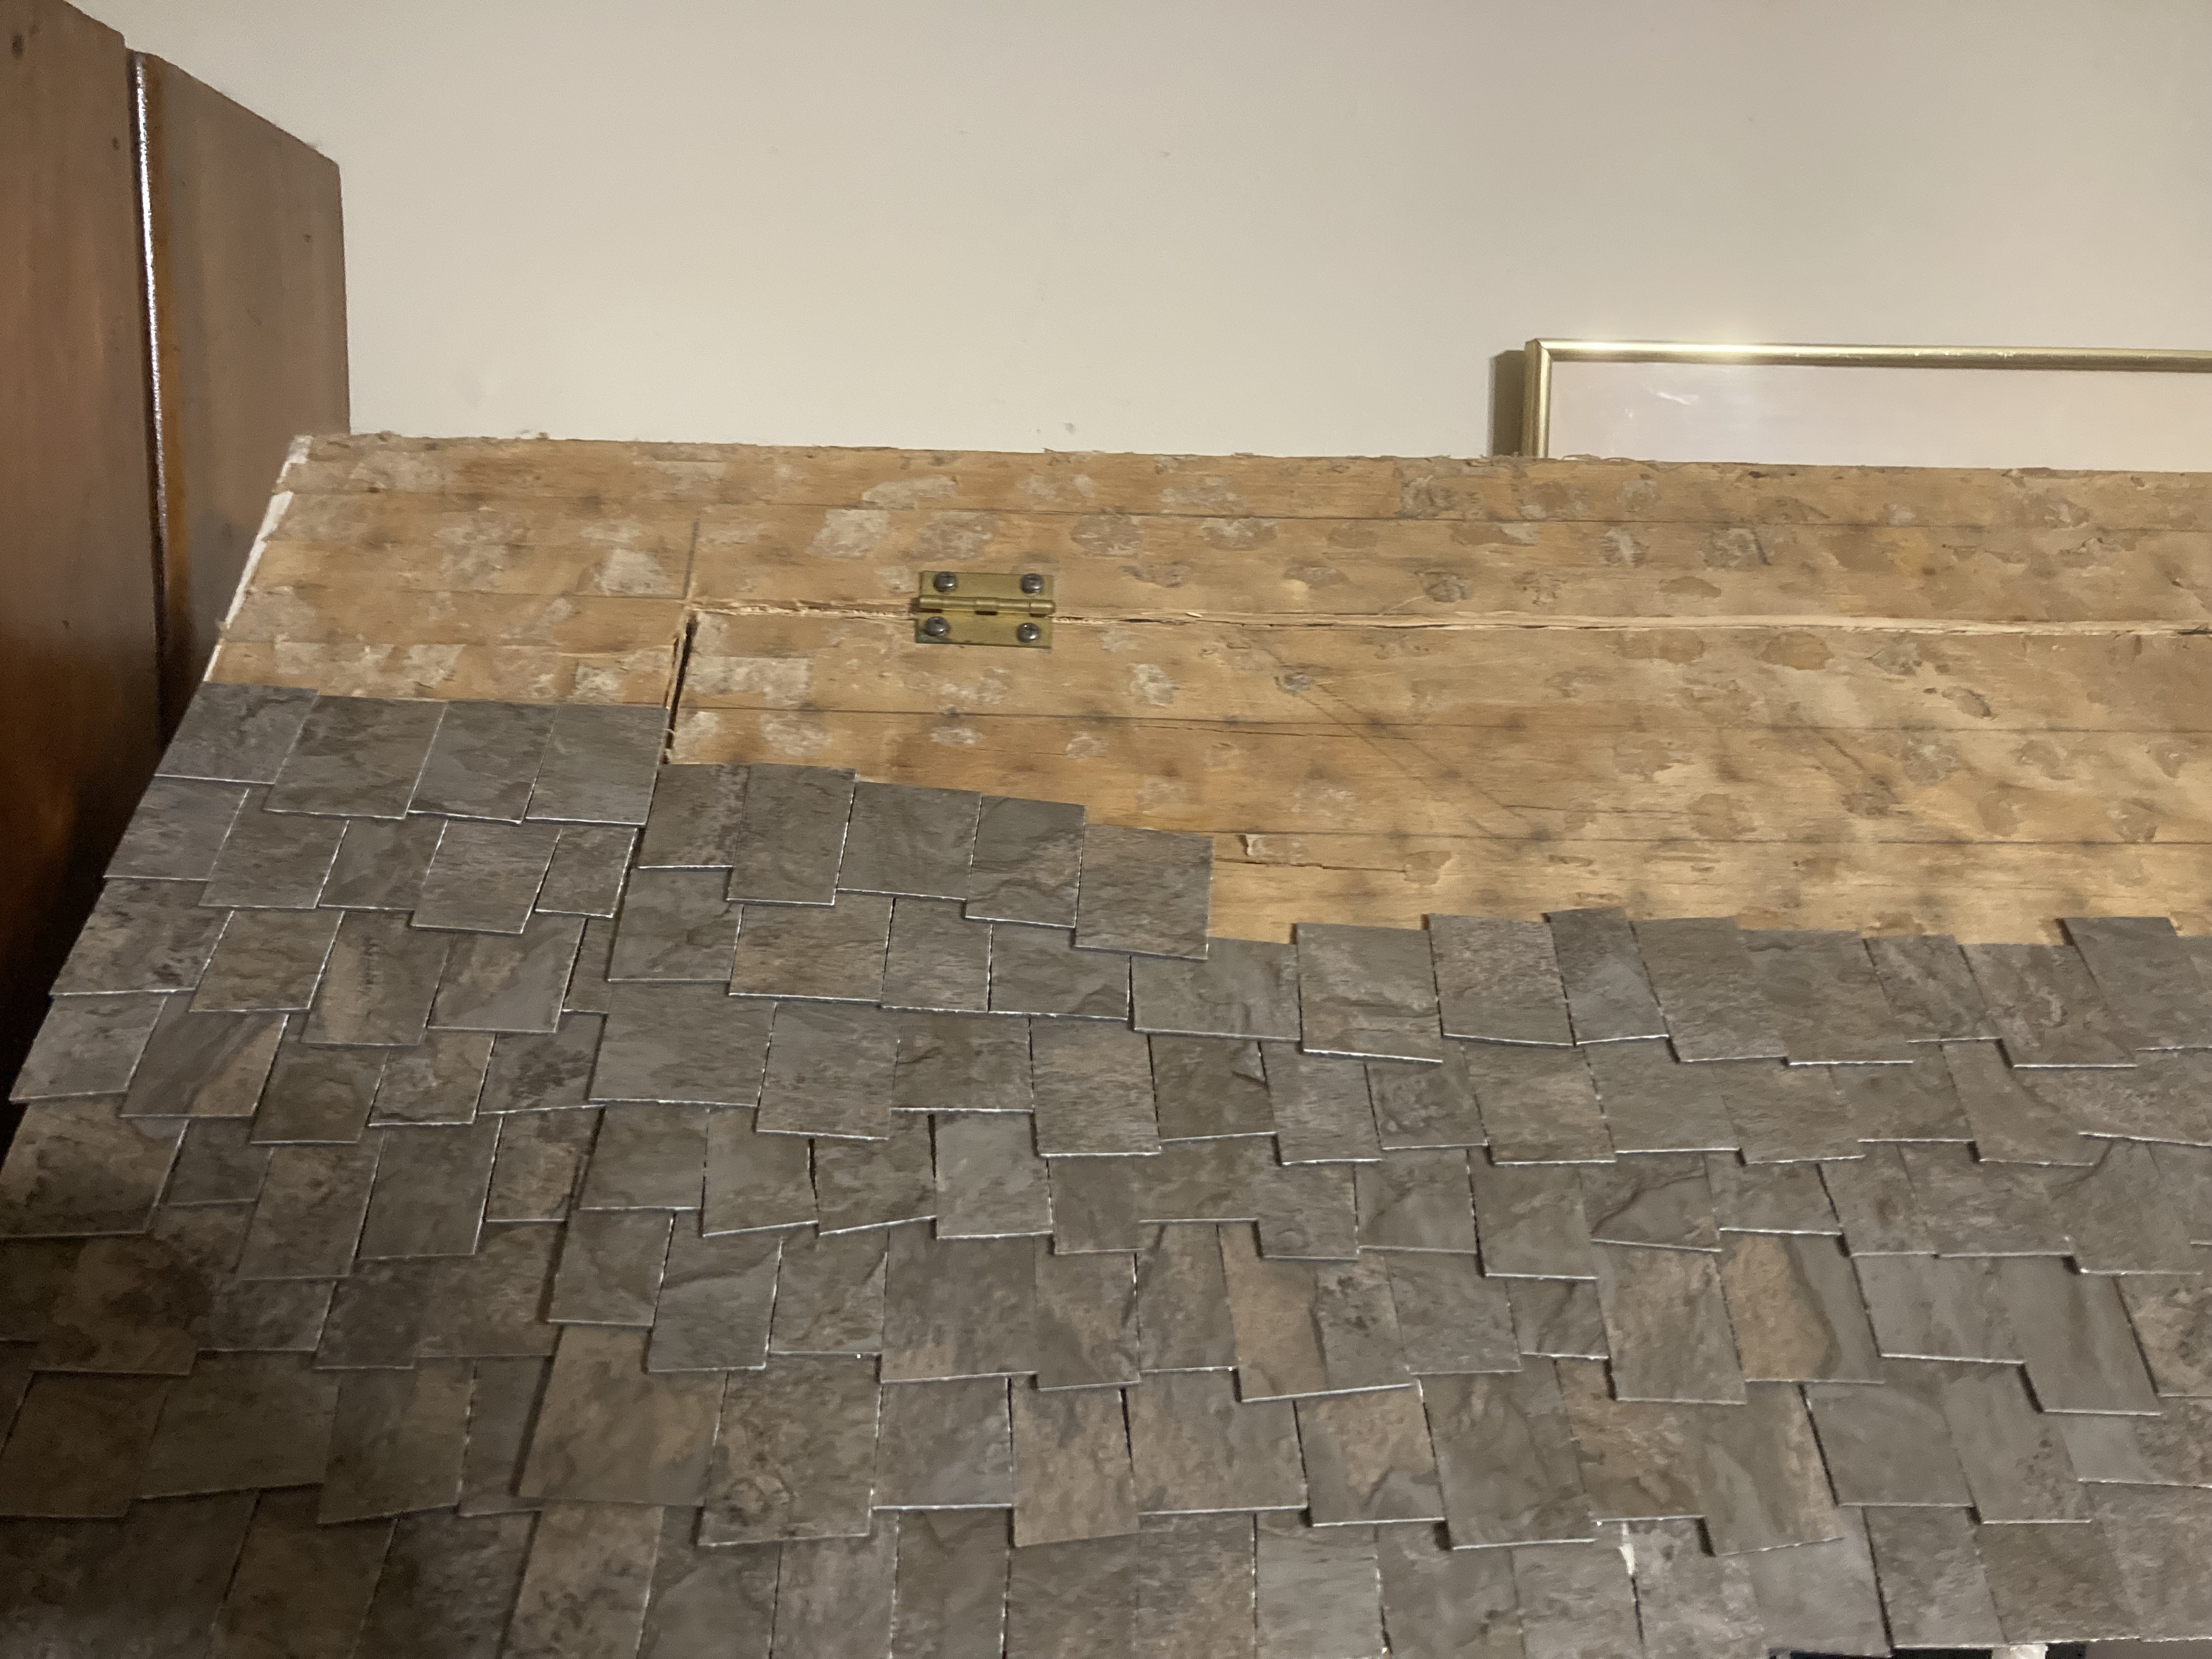
Just keep going until you cover the whole roof. In the sections where my attic ‘door’ is, I made sure to keep the shingles around the door out of the way so that it will still open. Then on the door itself, I let the shingles overlap the flap just enough to blend into the shingles on the rest of the roof, which helps camouflage the door but without hindering its functionality.
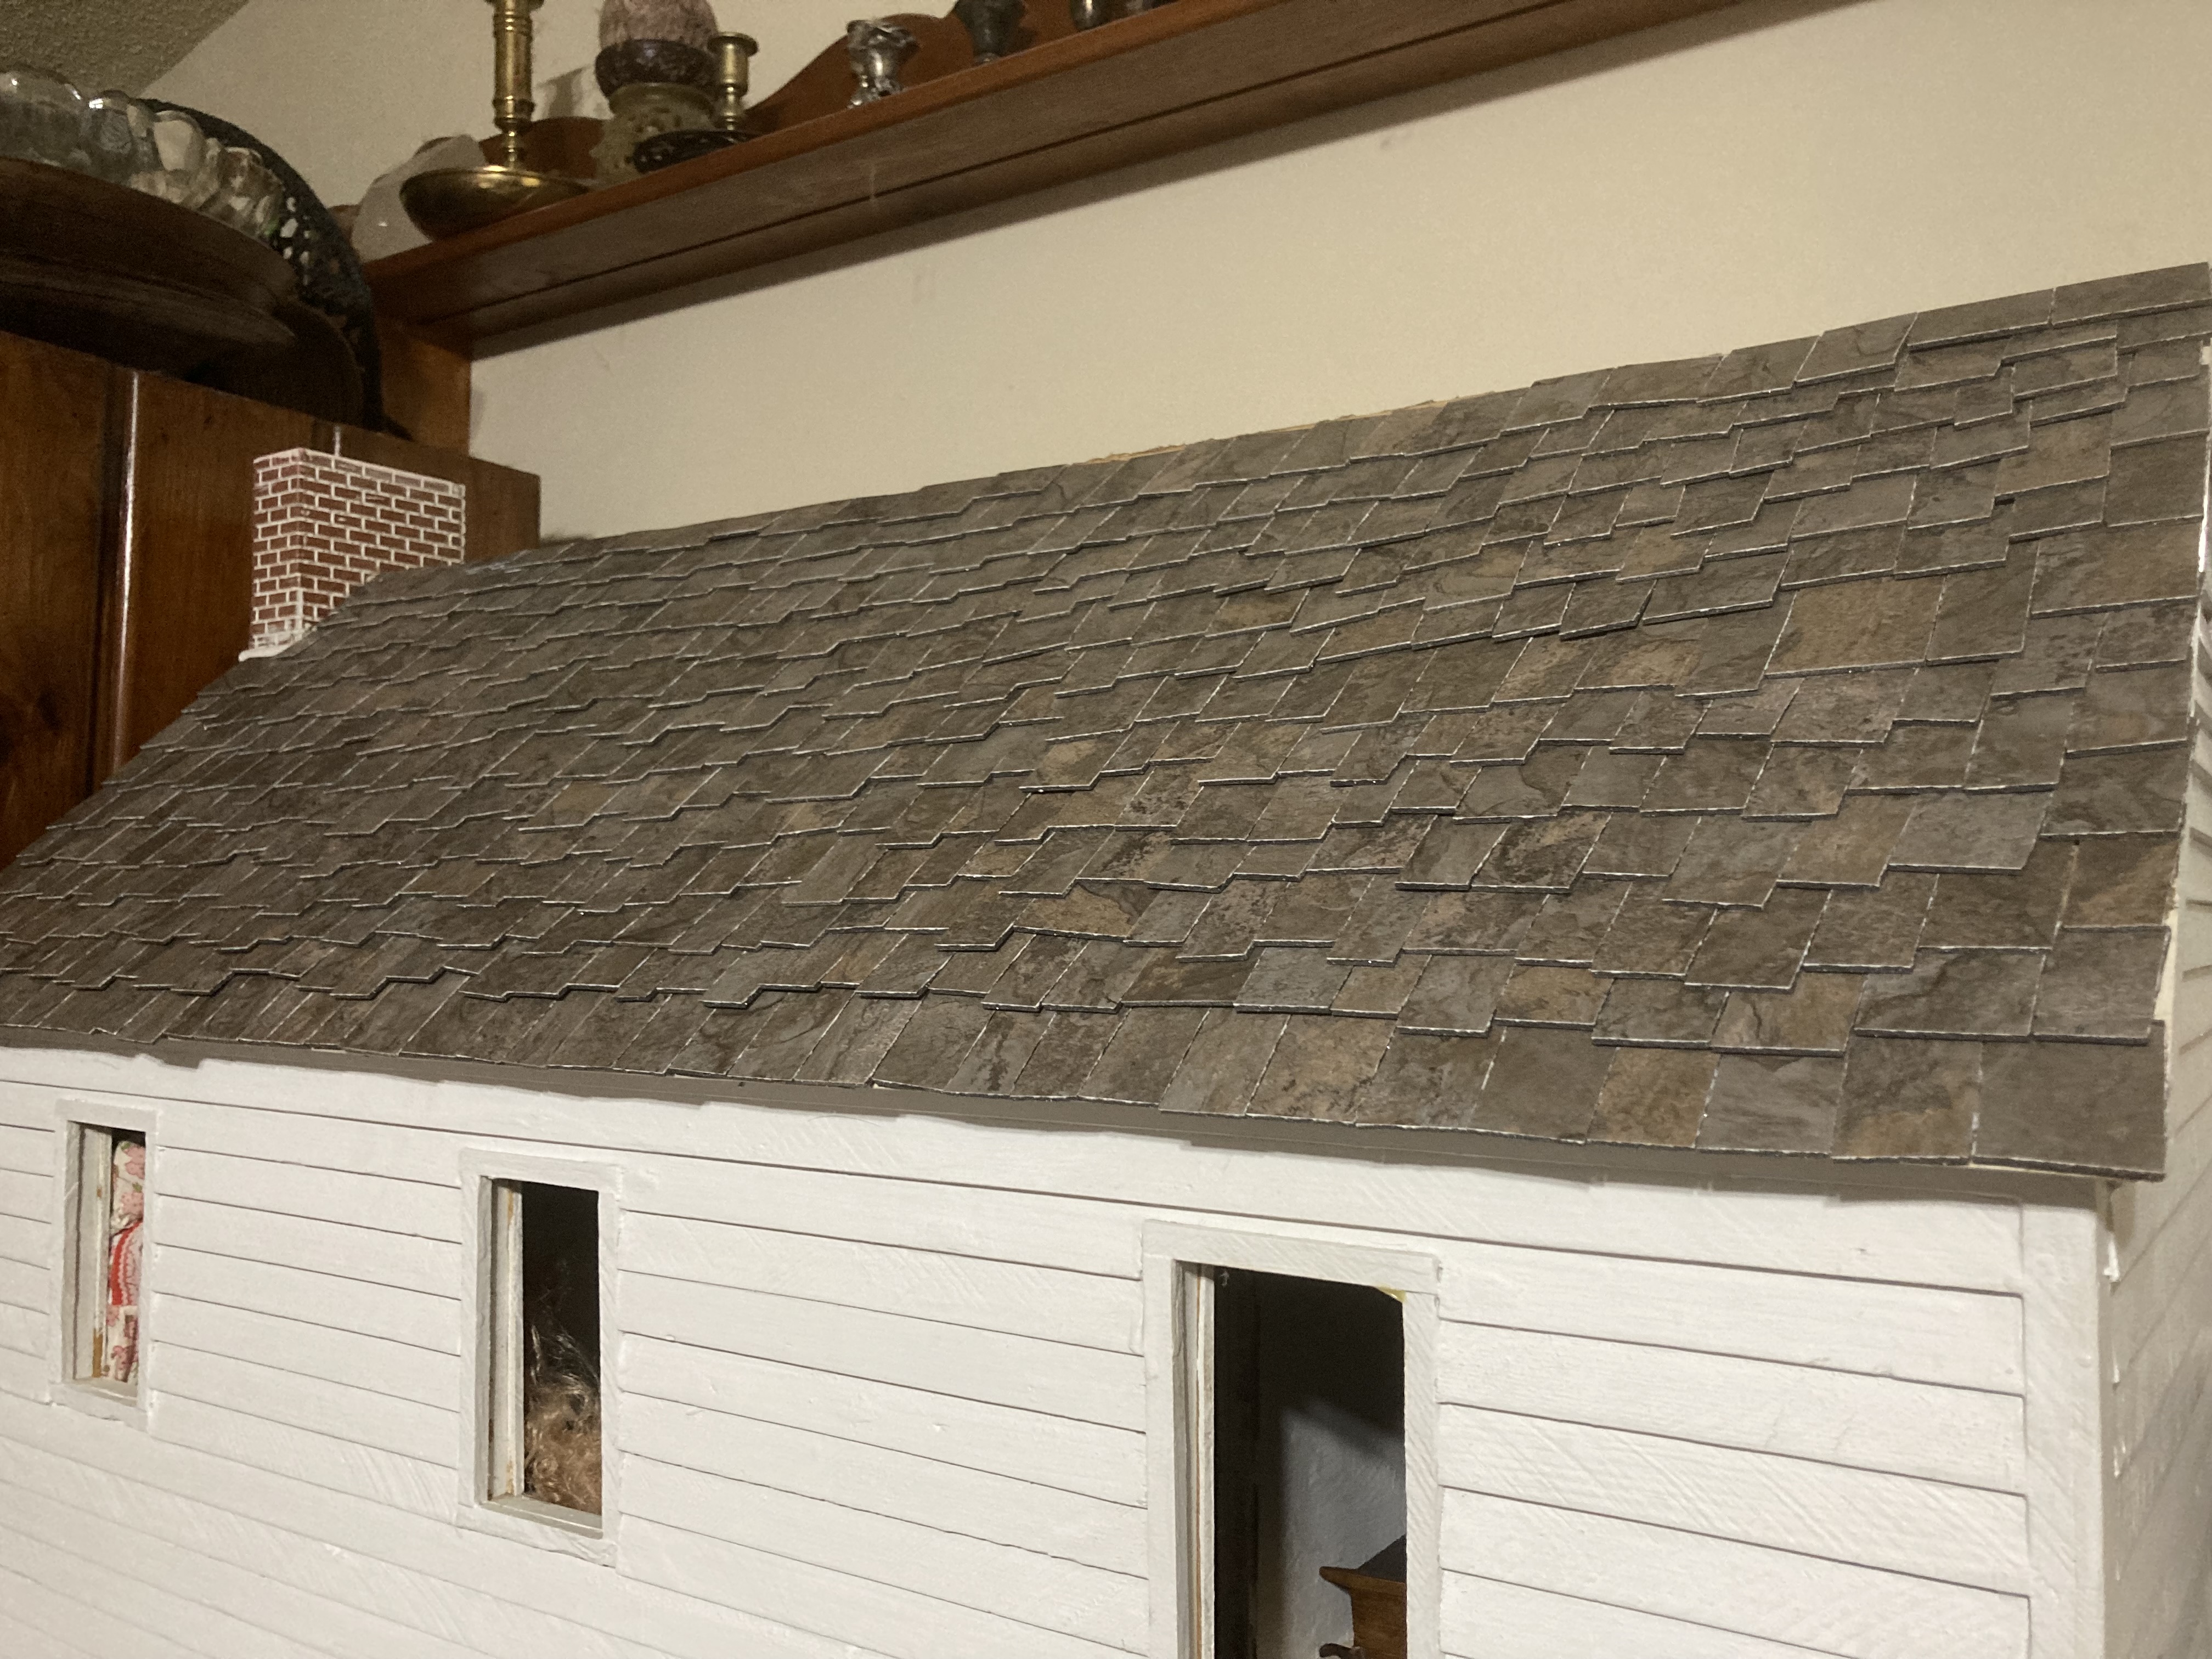
Once I was done, I cut tiny strips of shingle and glued them along the top to hide gaps where the shingles of either side meet. (Not pictured). I had initially planned on painting the edges of the shingles to get rid of the white edge, but I feel pretty good about how they look as-is. These tiles were heavy, so they do add a bit of weight to the house, but they sure do look good, and I am sure they are lighter than real slate would be. Feel free to comment with any questions or suggestions!