Decorating the living room of a 1970’s style dollhouse

My 1970’s themed dollhouse-in-progress

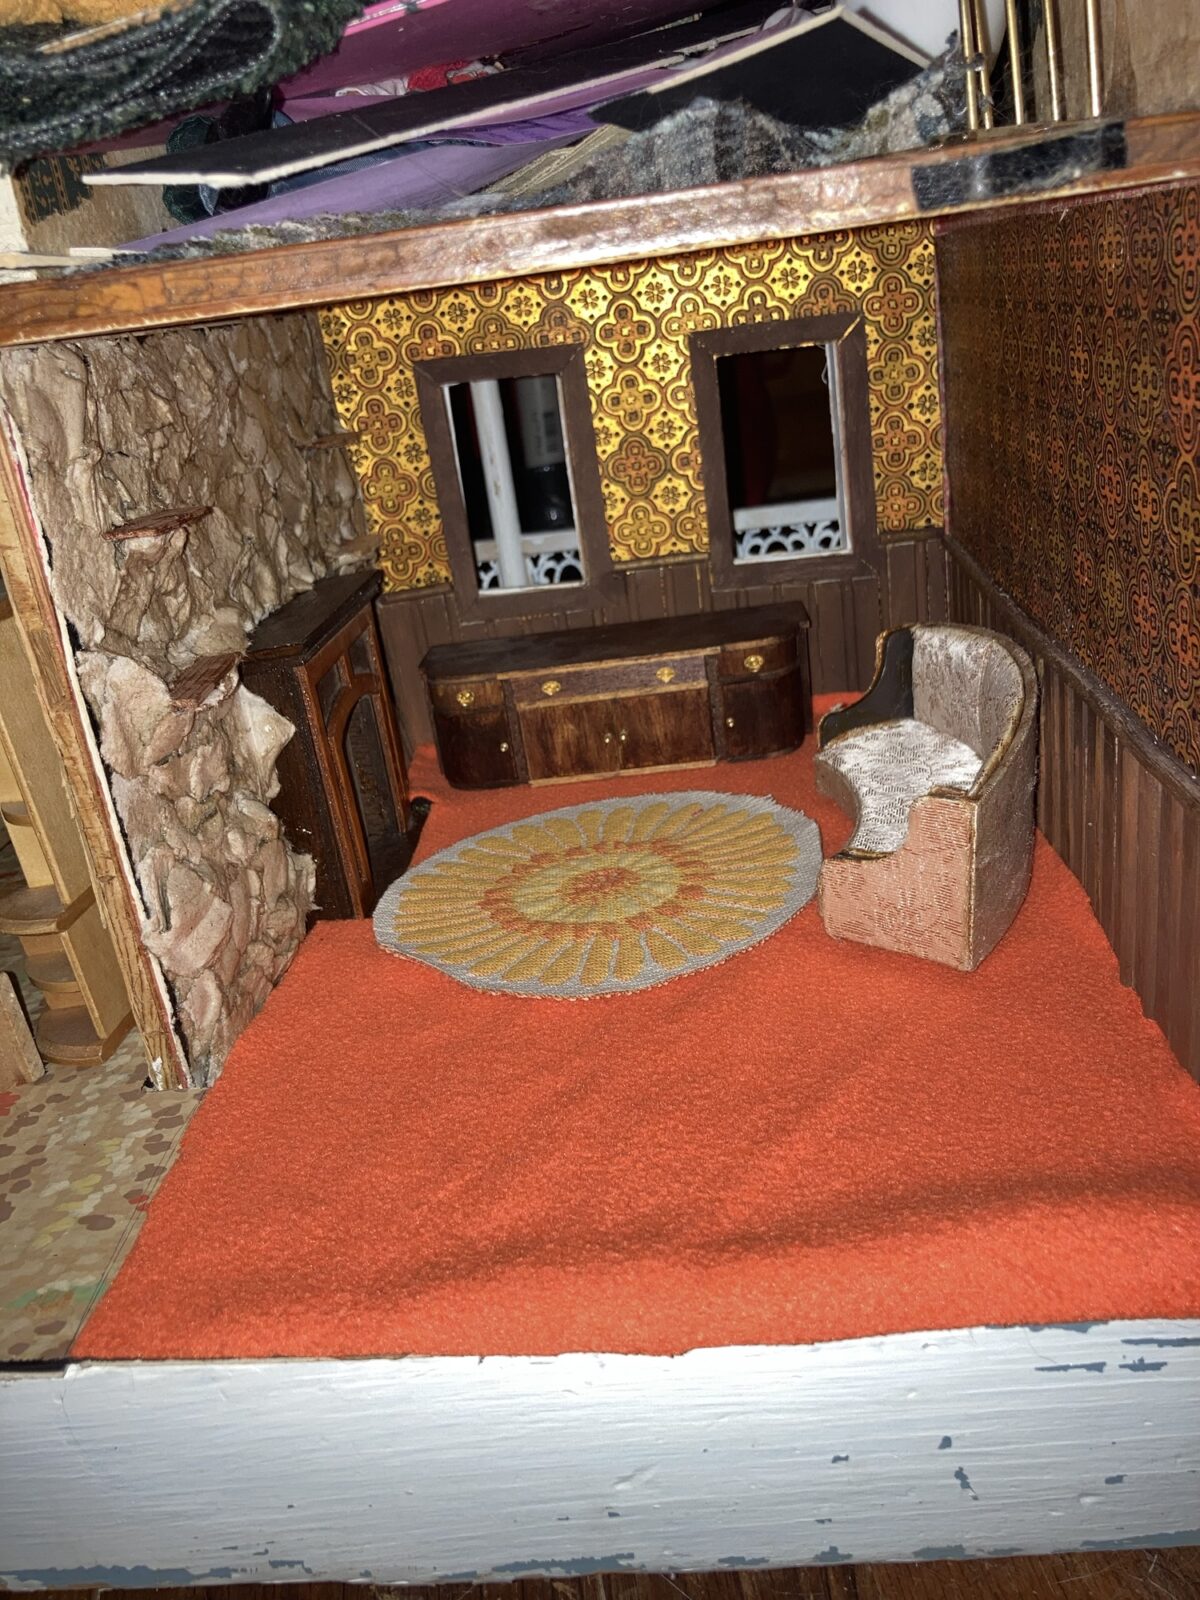
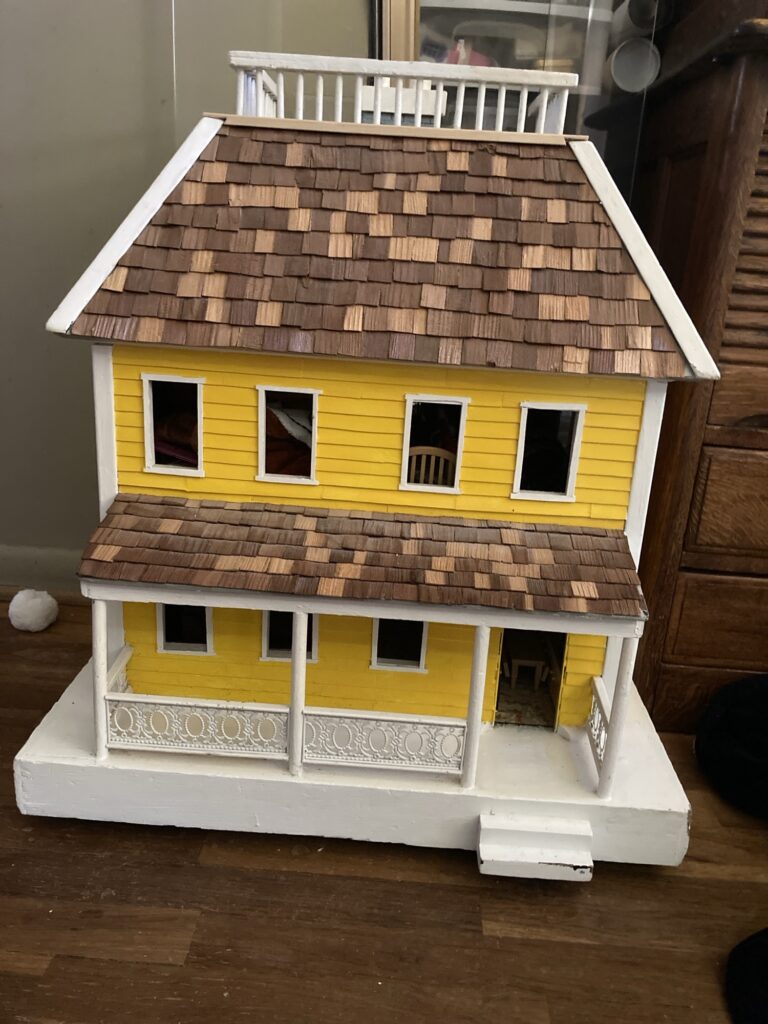
I decided to work on the living room of my 1970’s themed dollhouse. This house was basically gutted when I got it, so I am starting from scratch. I started out with a list of things I wanted in my 1970’s themed house, narrowed that list to what was actually do-able, and then decided on what projects for the house would be going in what rooms.

For the living room, i wanted a stone wall with a fireplace, wainscoting, and some authentic vintage wallpaper that we salvaged from my grandparents’ house before it was unfortunately torn down.

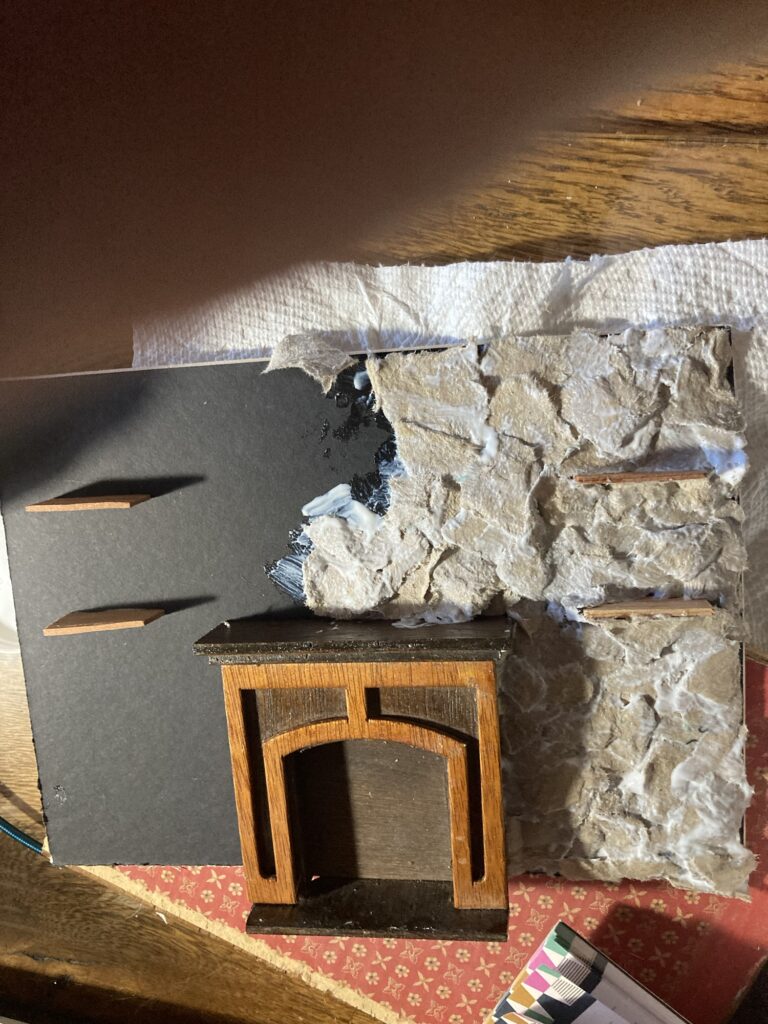
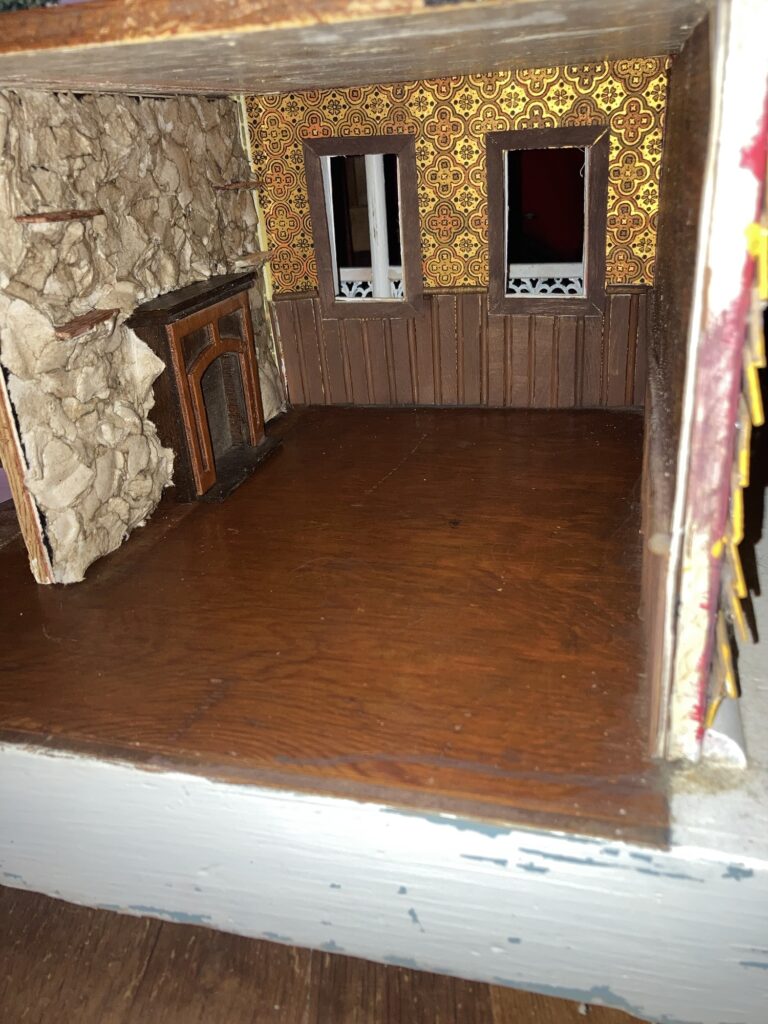
For the stone wall and fireplace, I first cut a piece of sturdy mat board to fit the wall it was going on. After double checking the fit, i attached the ready made fireplace that I chose for it.

I used mod podge to flue the egg carton

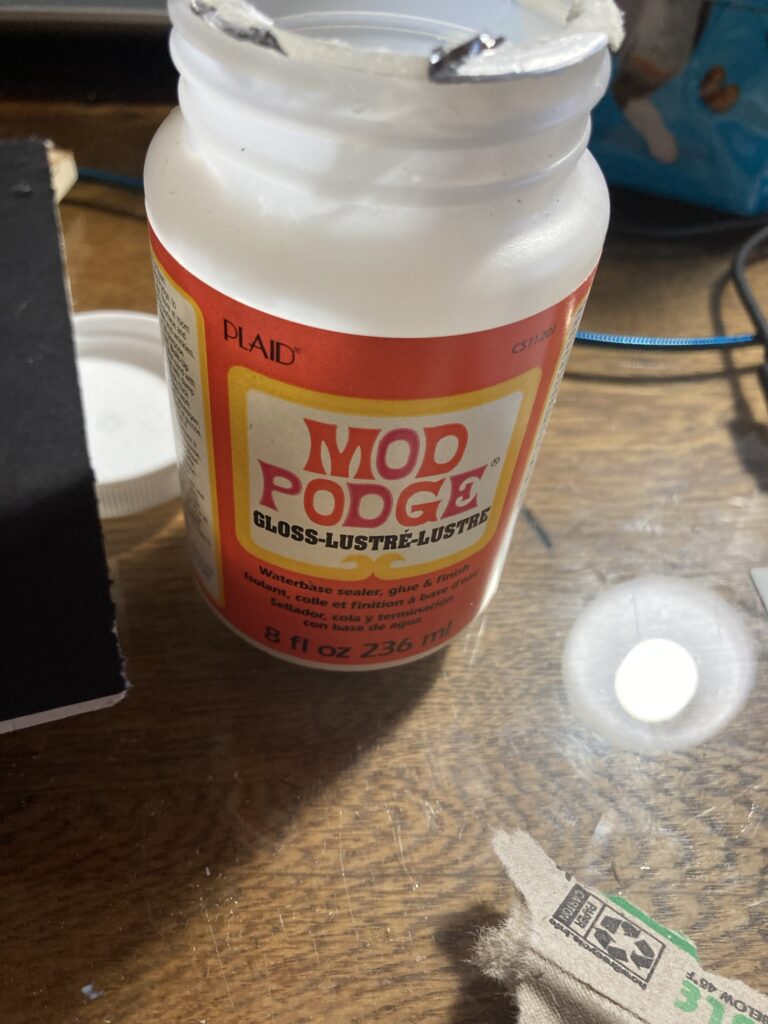
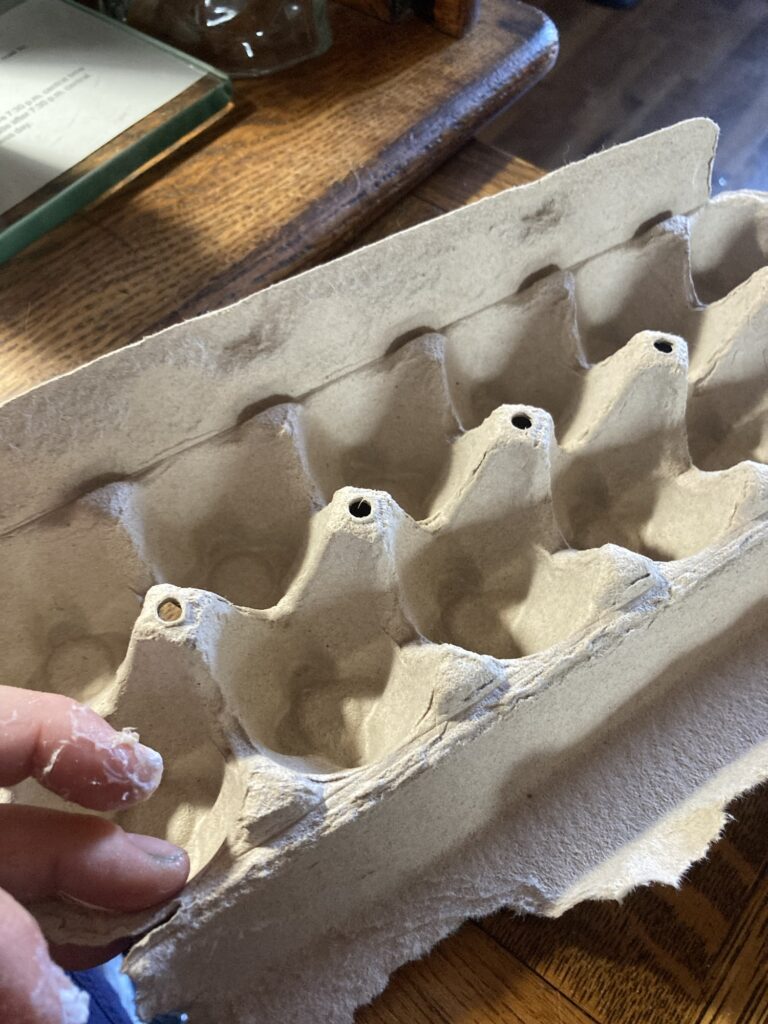
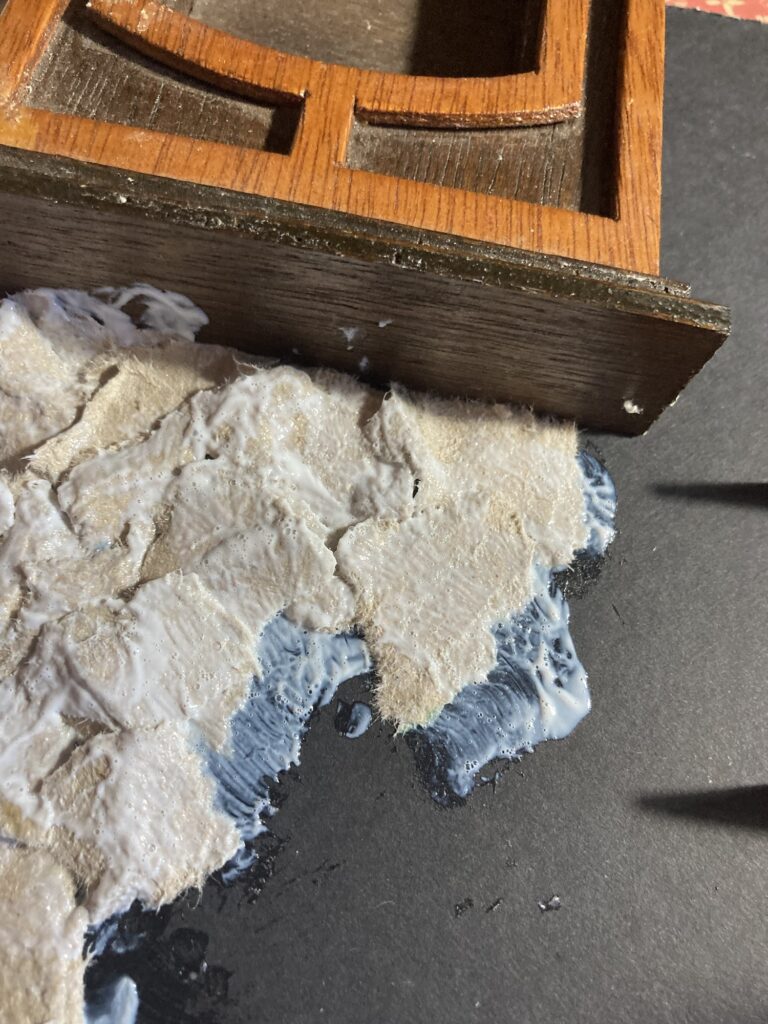
Next I used mod podge to glue little pieces of torn off egg carton (the cardboard type) onto the wall, layering it to form a stone texture. Note- keep the printed side pointed against the wall so it won’t have to be painted over later).

Tear off pieces of cardboard egg carton to use for the stone texture
Layer the cardboard to form rough, rock-like texture, glueing it down and coating it with mod podge.
I glued little pieces of craft stick on the wall to form shelves before placing the egg cardboard.

What it looked like as it was drying.

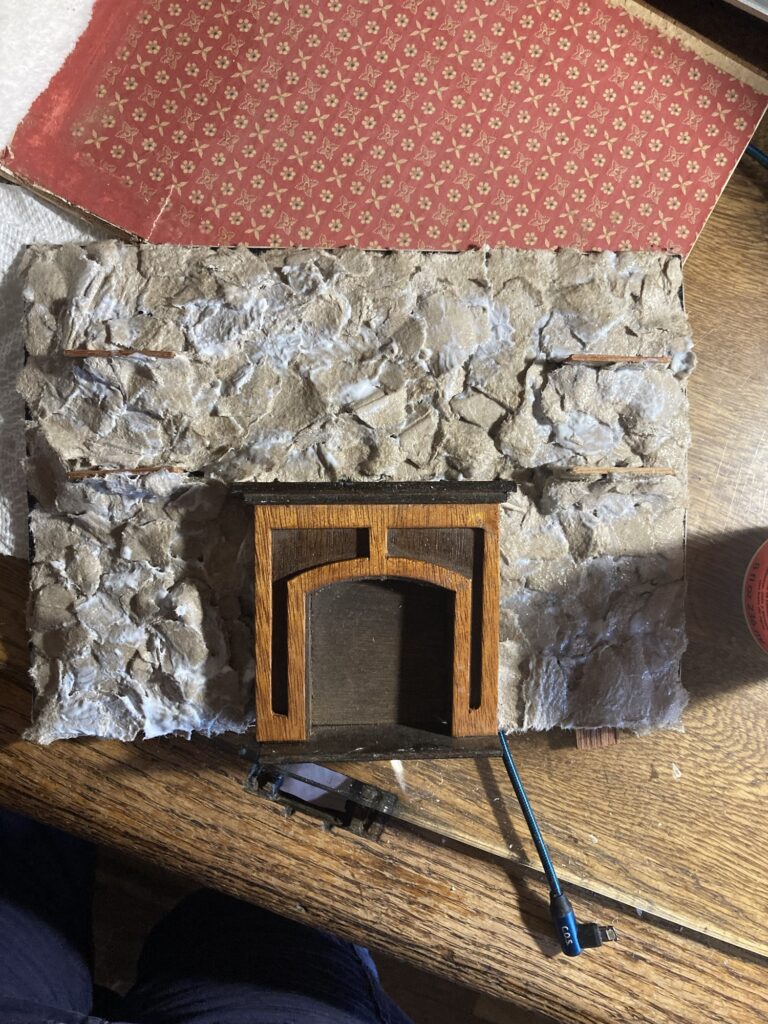
When it was dry, I slid it into place on the wall of the dollhouse, made sure all fitted as it should and looked the way i wanted, and then glued it in place with just a dab of glue.

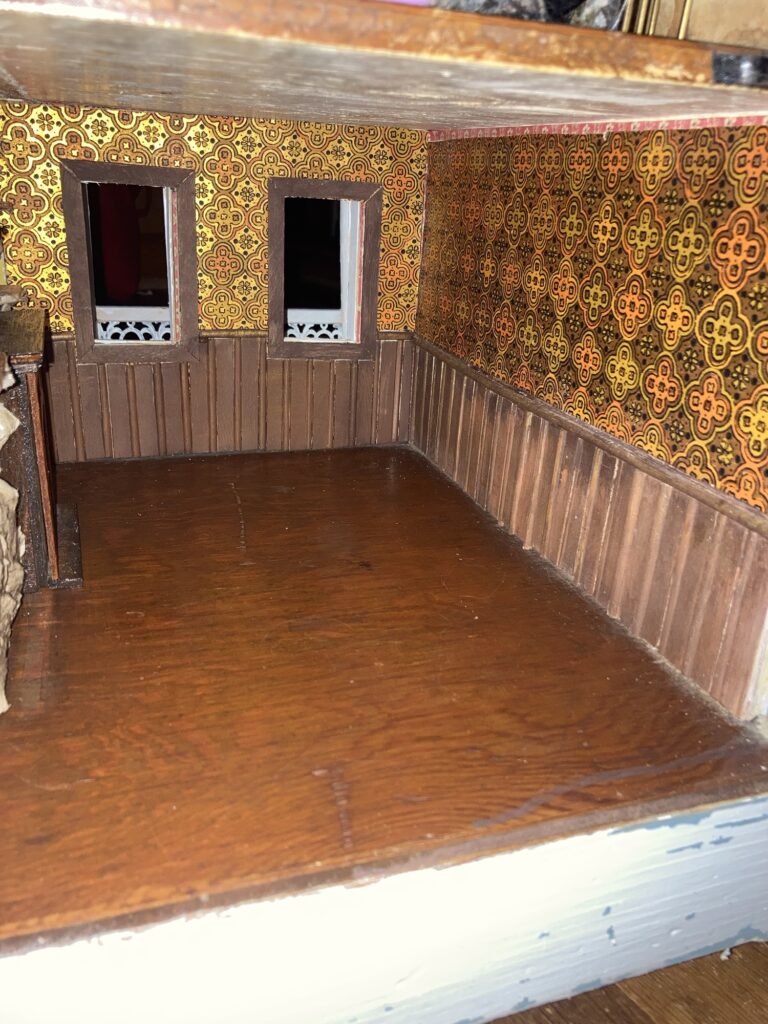
Next I cut another piece of mat board to fit another wall, and glued on a piece of my wallpaper. I cut pieces of popsicle stick and split dowels to create a pattern of wood for the bottom section of the wall, to form wainscoting.

I tinted the wood with thinned out paint so it looked like stain, and made a rail with a long split dowel.

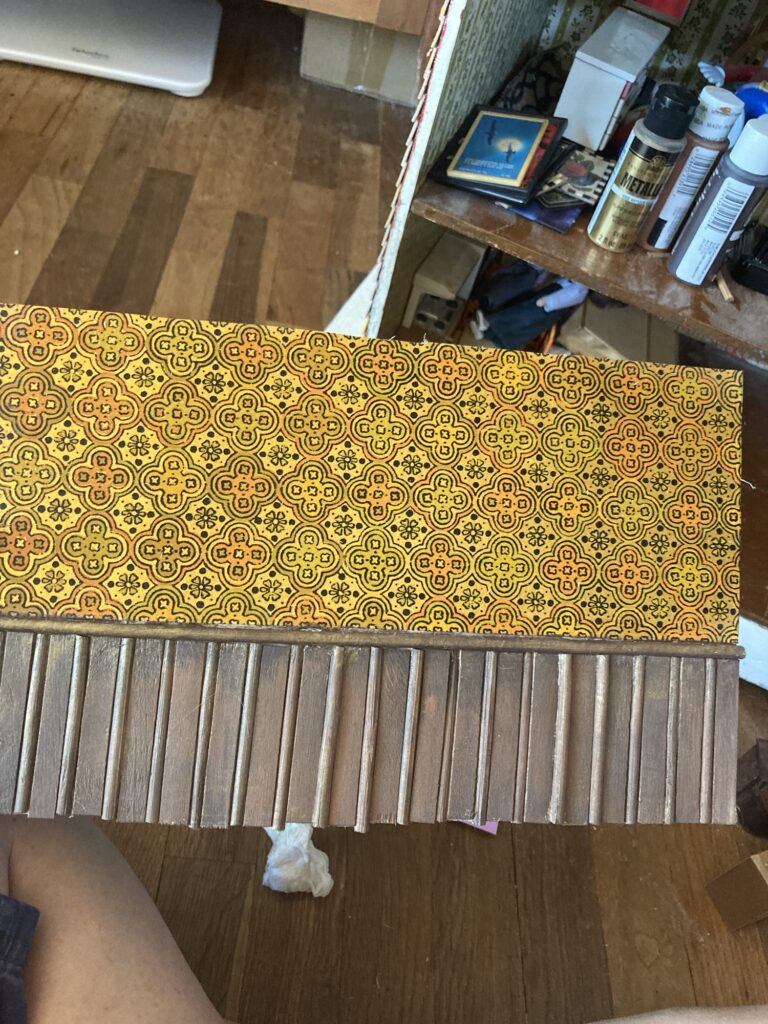
I made sure it fit where i wanted and then glued it to the wall, then did the same for the other wall.

Eventually there will be trim along the ceiling, which will cover the little piece of old wallpaper peeking through.
Another view

I haven’t been able to decide on a floor color, so I have tried several different colors of “carpet.”

Brown shag. I was hoping this would be a similar shade to the wood of the floor, as I like the rich warm hues, but it seems a little washed out to me now. (This is part of an autumn themed fuzzy pillow from a thrift store)
Orange fuzzy (it’s the inside of an old sweatshirt, so it has that worn fuzzy carpet look to it 😆)
Green (this is an old carpet sample)

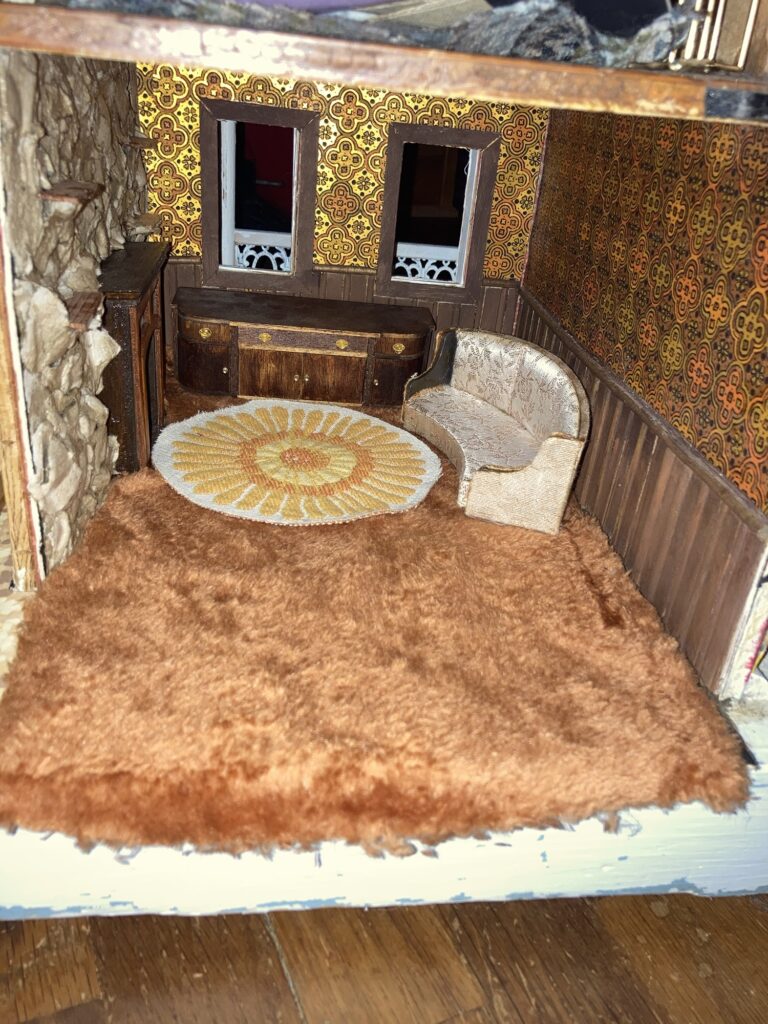
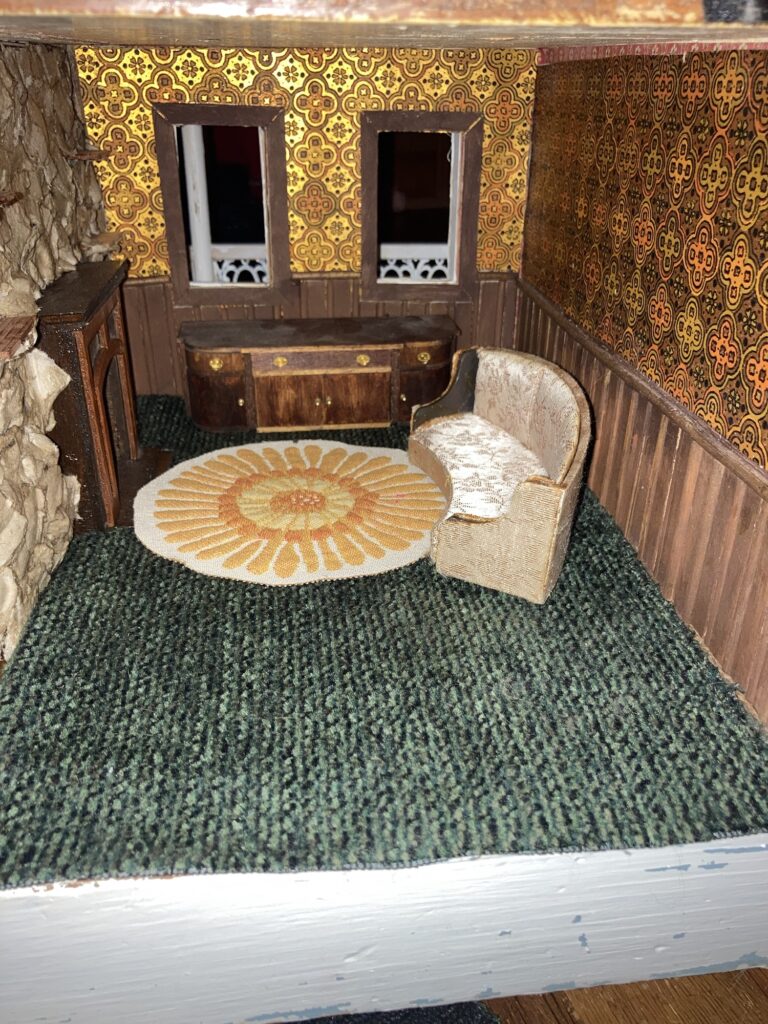
I also tried a puke yellow but it definitely didn’t look good with the wallpaper. I am thinking of sewing an orange trim around my flower rug, and i would love to reupholster my couch to something like the orange flower velvet I used to see all the time, but haven’t found a good material for that, yet. Any thoughts? Which carpet do YOU think would look best? Leave a comment with your thoughts!

How to Make Realistic Barrels for a Dollhouse Saloon


A few barrels in the storage room of my saloon dollhouse. The pallets they are resting on are from the local Dollar Tree.

While working on my saloon dollhouse, I decided that it needed some barrels in its storage room. I wanted a few, and I wanted them to be open inside so I could use them to store extra accessories for the action figures that I am using to populate my saloon (I mean, do the Ghostbusters actually need to have their ghost fighting equipment while playing checkers?). I discovered that my requirements would not be easy (or cheap) to find, so I would try to make them. While I was pondering this challenge, I happened to glance at what my child was drinking, and the solution presented itself.

Little Hug Fruit Barrels! The empty containers look just like little barrels!
Looks just like a barrel!

I took an empty container and cut off the top, just above the ring that says Cash Refund information. Next, I sprayed it with Rustoleum #2 spray paint, which contains a primer for painting on plastics, and holds up pretty well.

Top portion cut off and primed with Rustoleum #2 spray paint.

I painted both the inside and outside of the barrel with the spray paint, then waited for it to dry completely.

Acrylic paints on top of the Rustoleum.

Next I dug out my acrylic paints to paint on top of the Rustoleum. I use the Rustoleum as a base-coat primer to help other paints adhere to the plastic surface. If I had just painted the acrylics straight onto the plastic, the paint would easily rub off, but the primer helps prevent this. I used a mixture of different browns and blacks for the wood and bands.

Painting nearly done.

After the paint was applied, I decided that I didn’t care for the writing along the top, so I chose to cover it up with a band of thin leather I had as scrap. You could also use cloth, or even cardstock.

Thin strip of leather wrapped around the top to cover the raised lettering. It also helped to reinforce the top lip. I then painted the leather to match the other bands.
Several barrels being made.

Next I wanted a lid for the barrel.

Inner lip made of a scrap of string.

I cut and glued a piece of thick string as a lip along the inside of the barrel, about a quarter inch below the opening. This will give the lid something to rest on so it doesn’t keep falling into the barrel.

Lid cut from thick cardboard. I put a small hole in top, so that I might eventually make a metal hook tool to help remove the lids.

I happened to have some very thick cardboard material left over from something, and decided it would make a nice sturdy lid. I cut out the shape I needed and then trimmed it to fit easily inside the top of the barrel, but not past the inner lip I had created with the string.

Finished barrel.

There are other possibilities–I could add a beer tap, or maybe a rack for the barrel to rest on. Thanks for looking! Feel free to comment or ask questions.