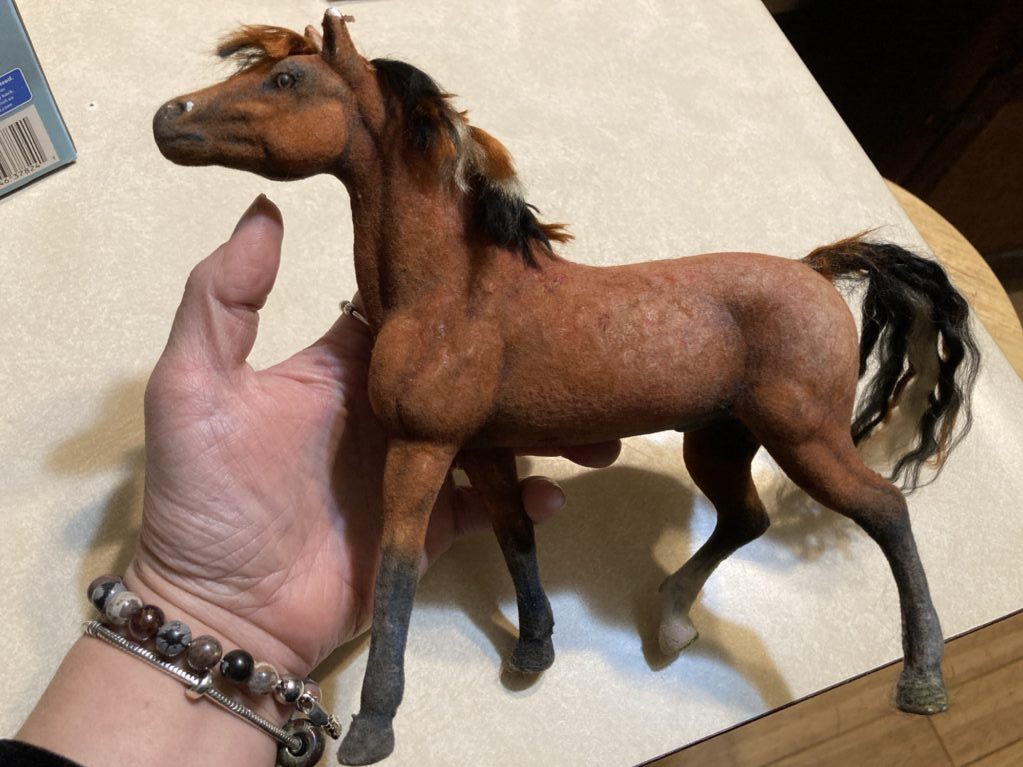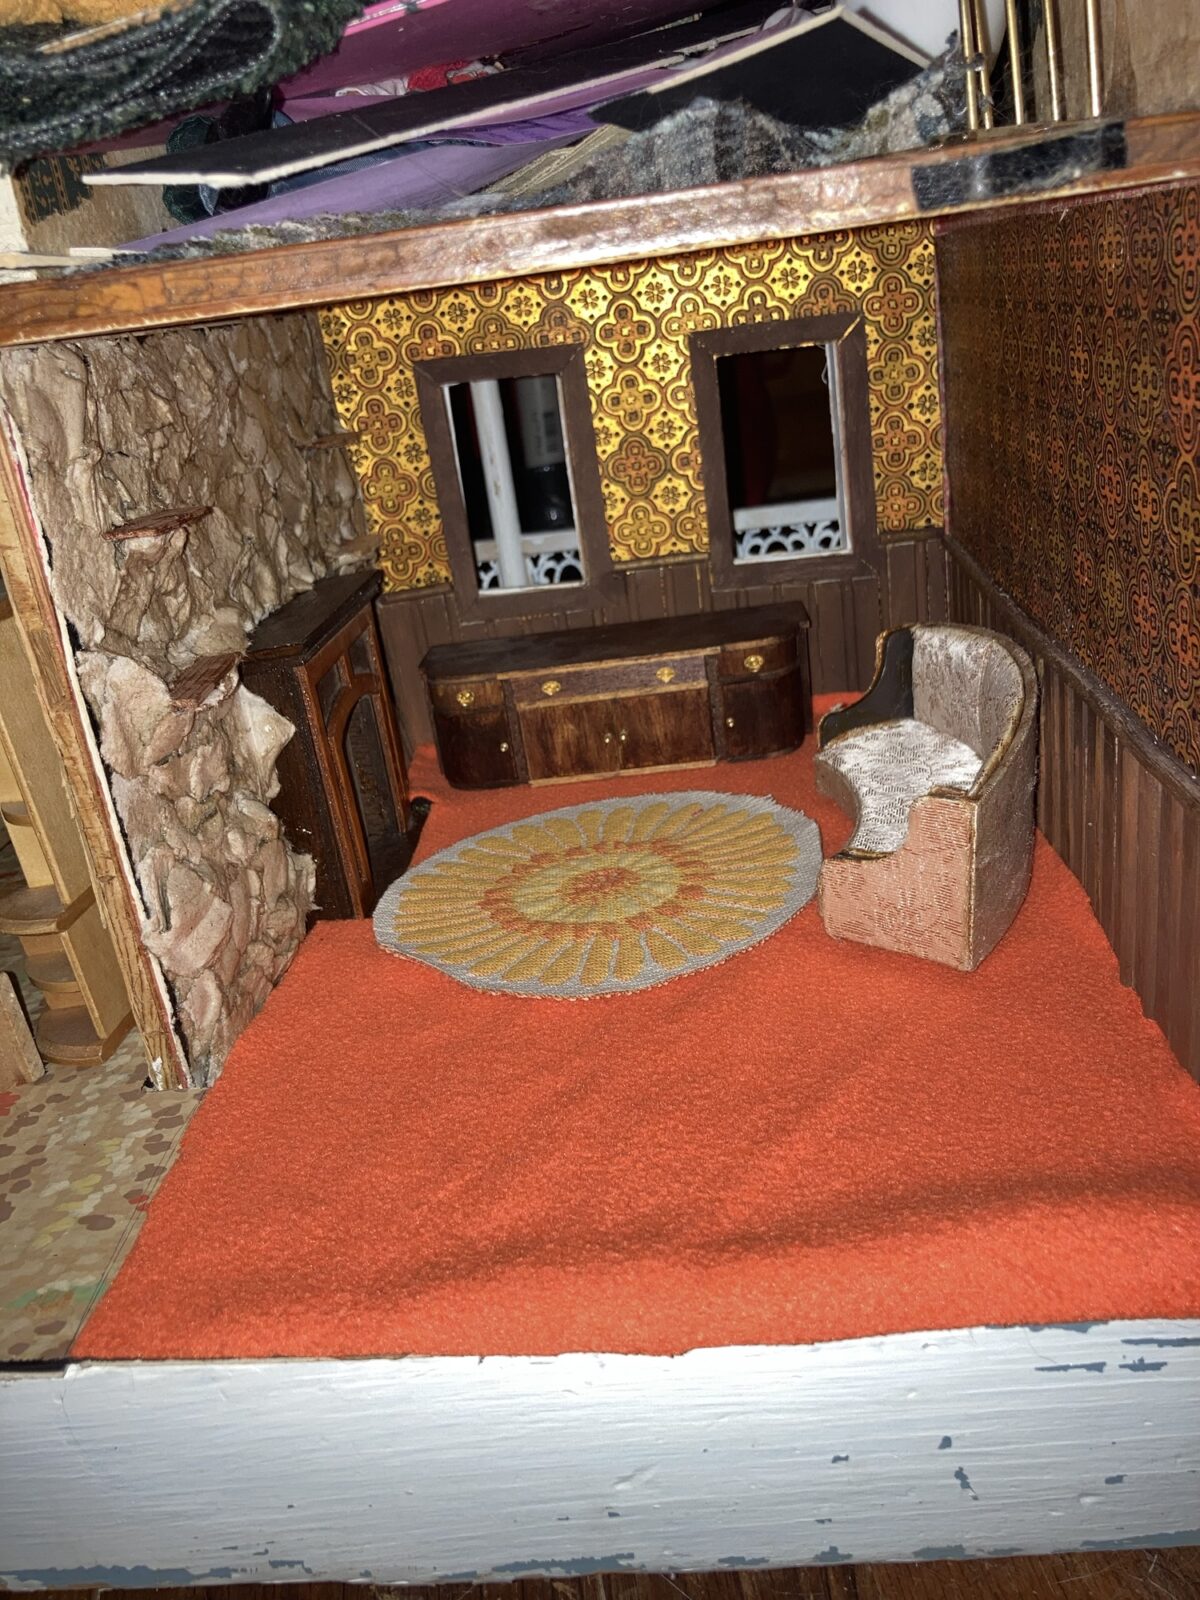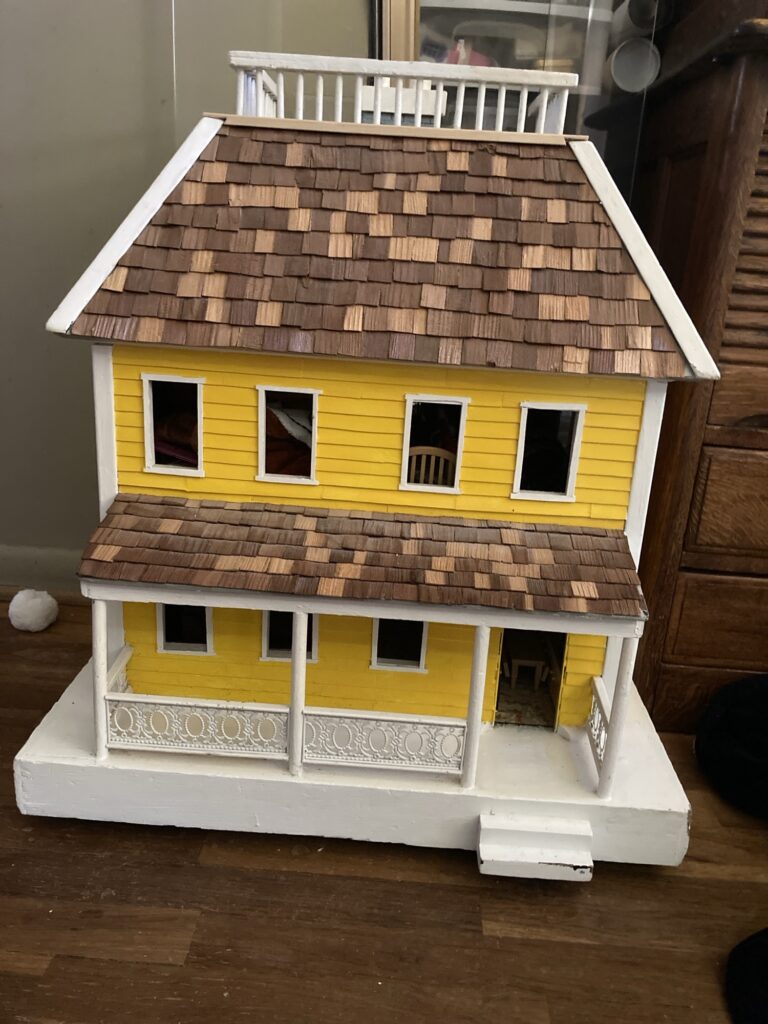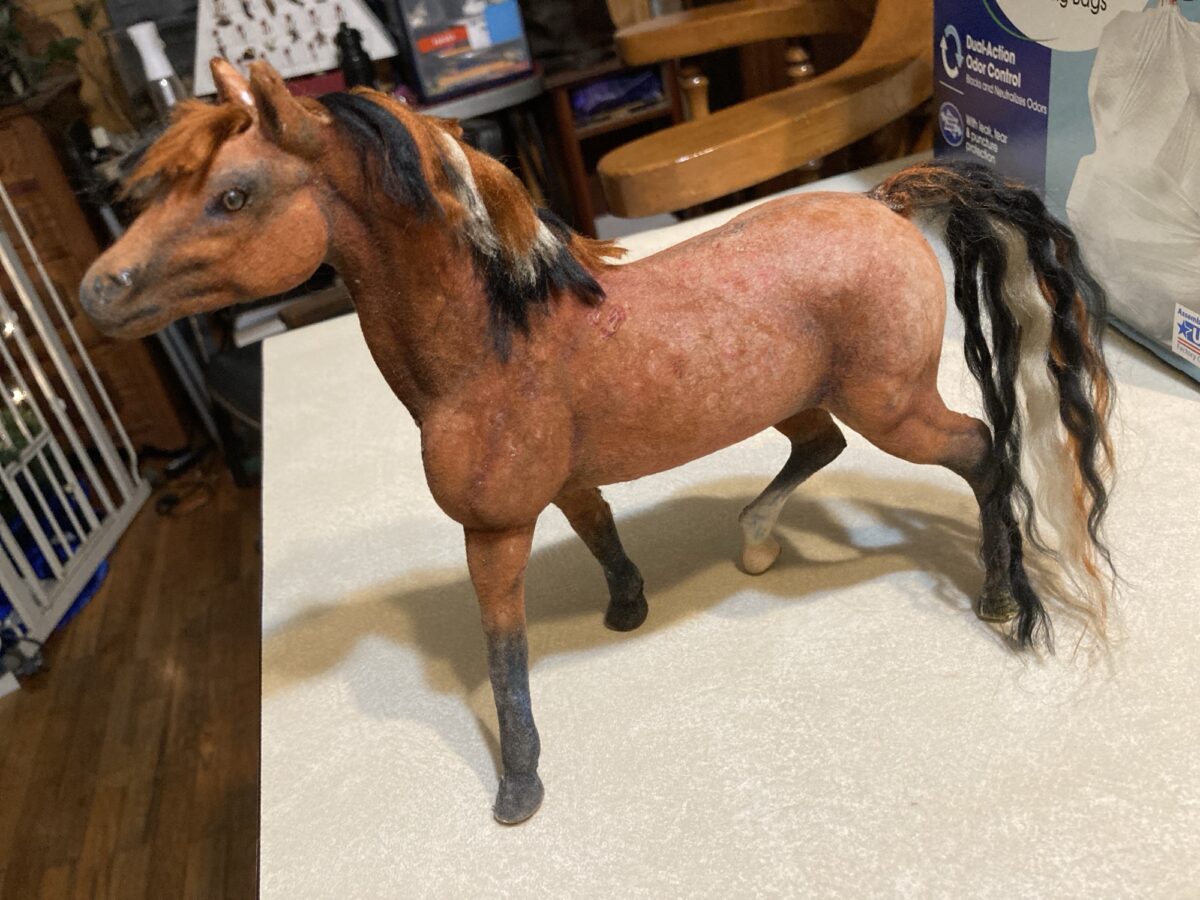
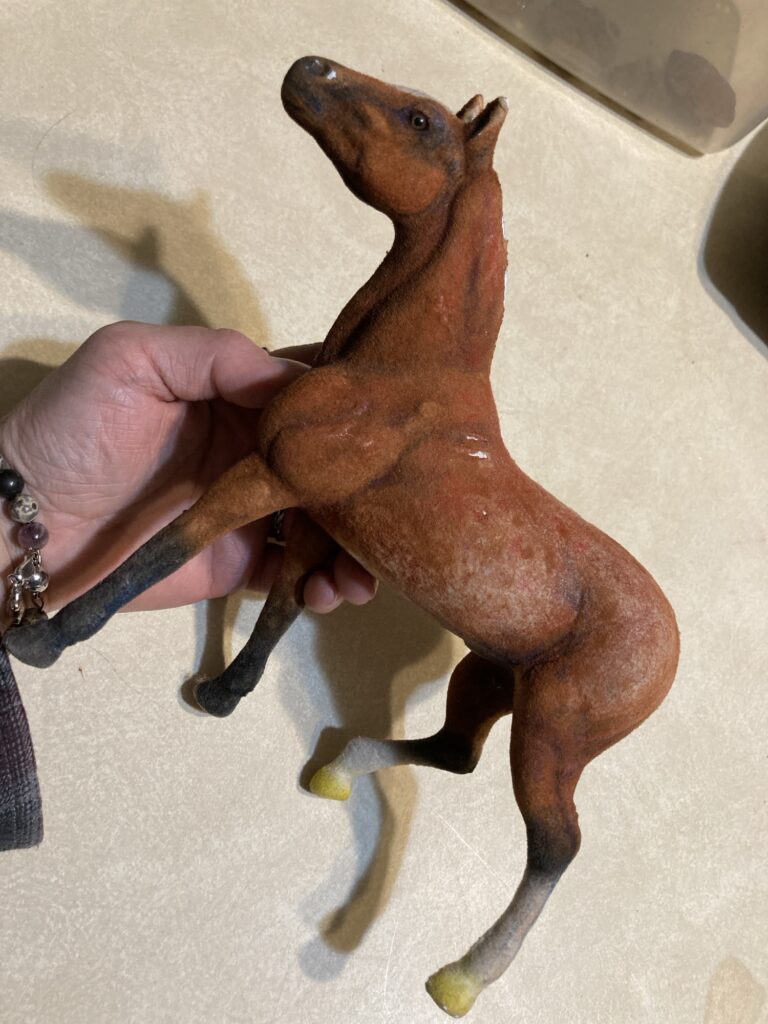
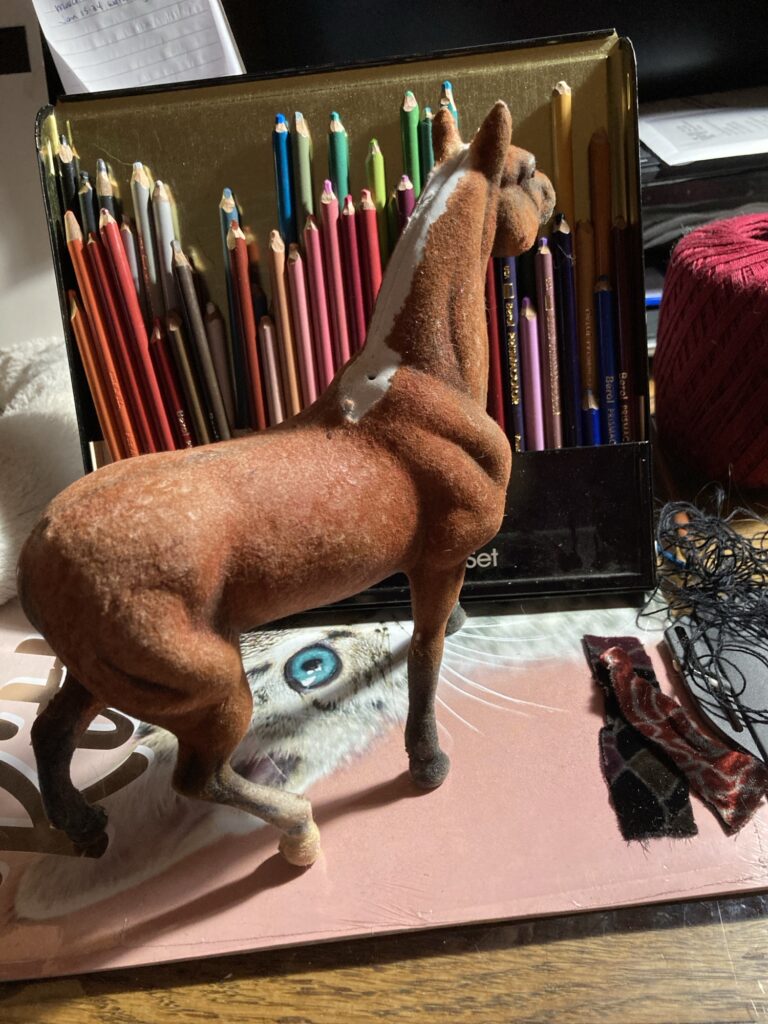
I recently acquired some inexpensive toy flocked horses, and decided to upgrade them for my dollhouse projects.
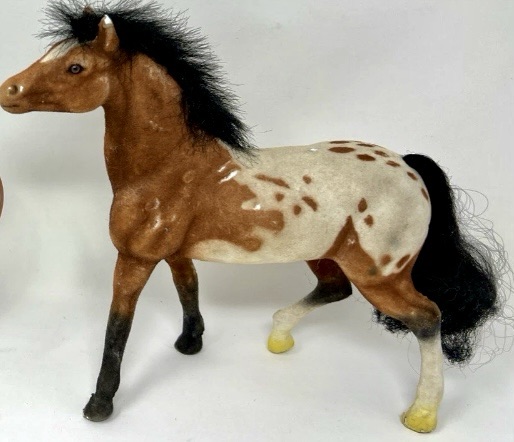
Flocked horses (or any other toy animal) are ones that have had a fuzzy velvet-like coating applied, so they look like they have real fur. I remember having some as a kid, and I also remember that the flocking can be easily damaged, so they need to be handled carefully. The ones I acquired are not in the best of shape, which is fine for me since I am doing this as an experiment, anyway.
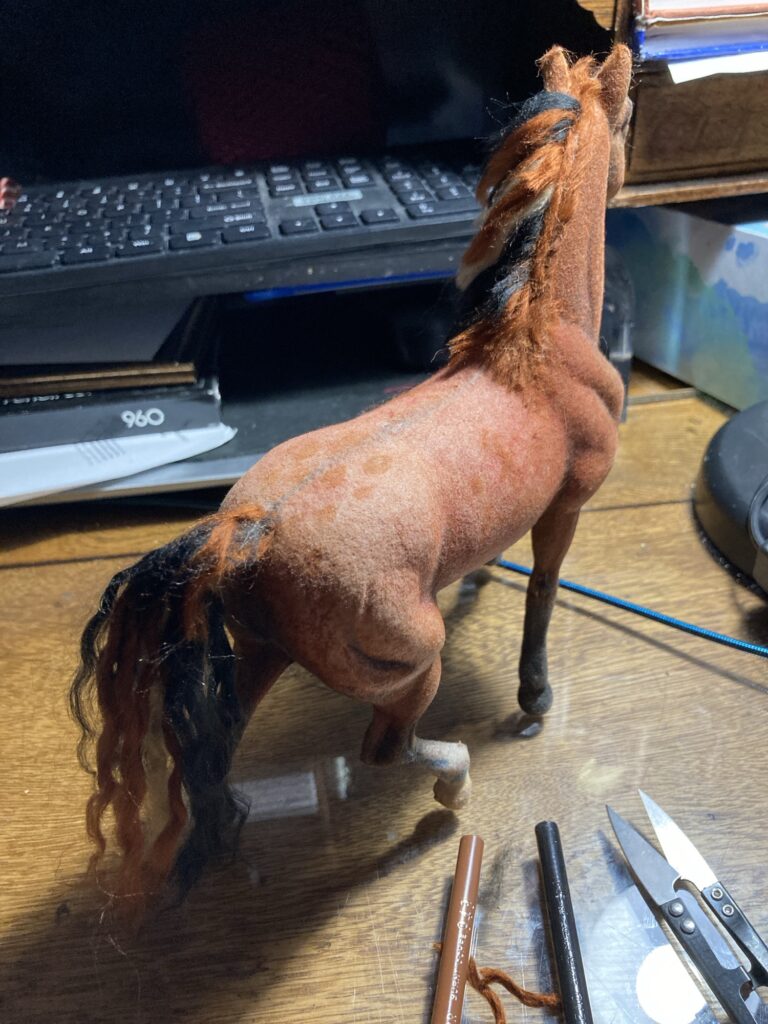
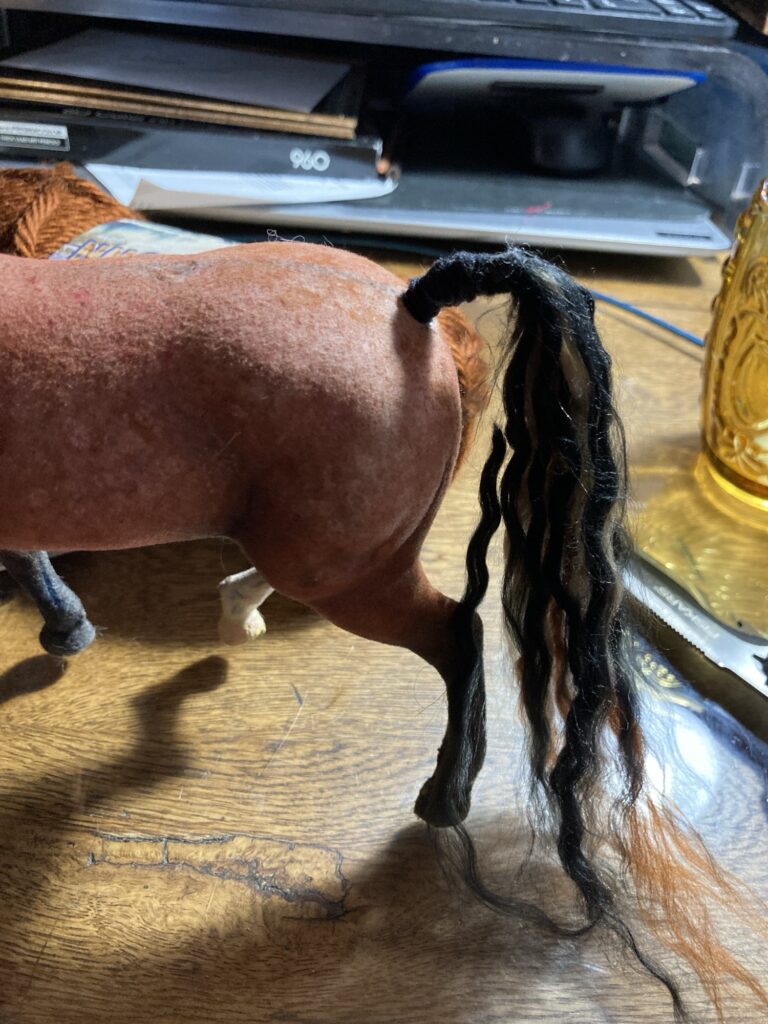
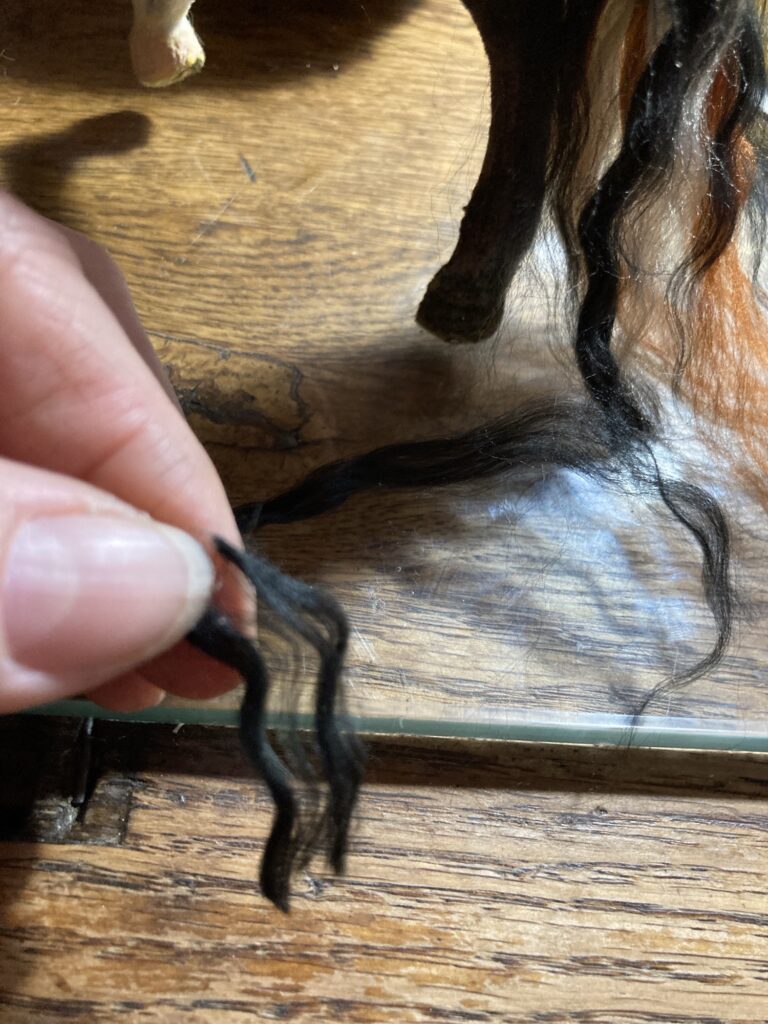
The first thing I did was remove the mane and tail (i just carefully pulled it off, but discovered that, especially with the mane, you should be more careful as it is glued on and can pull off some flocking skin if you are not careful). I didn’t like the old hair and plan to replace it with something different, so decided that removing it would get it out of the way so I can work more easily.
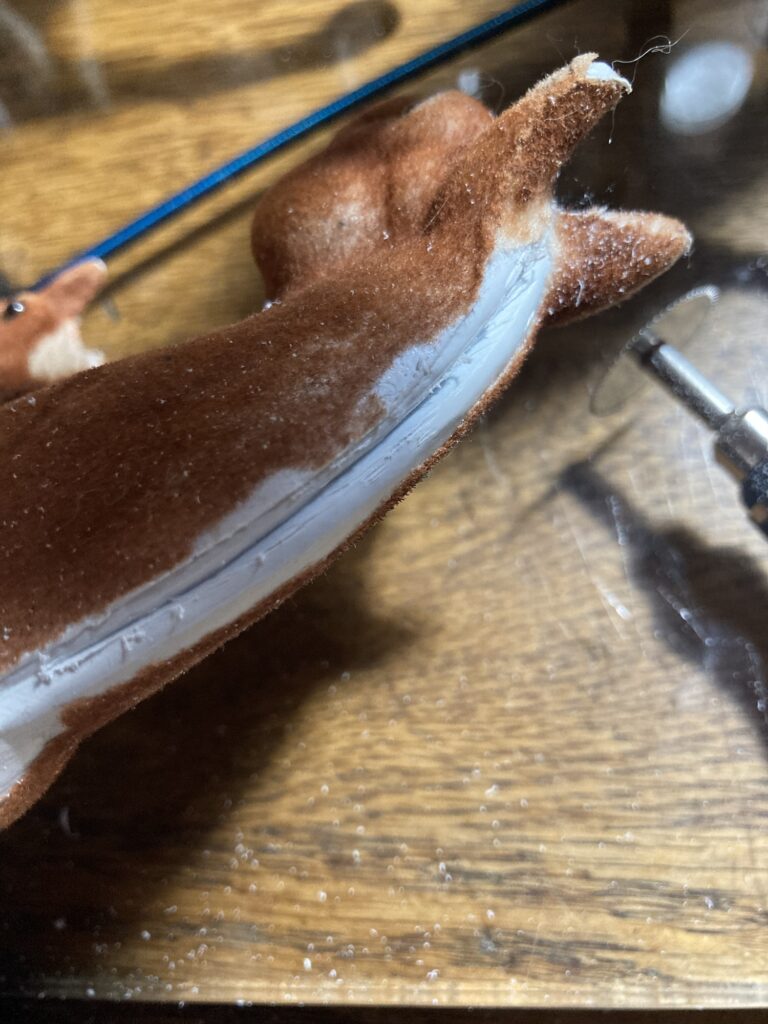
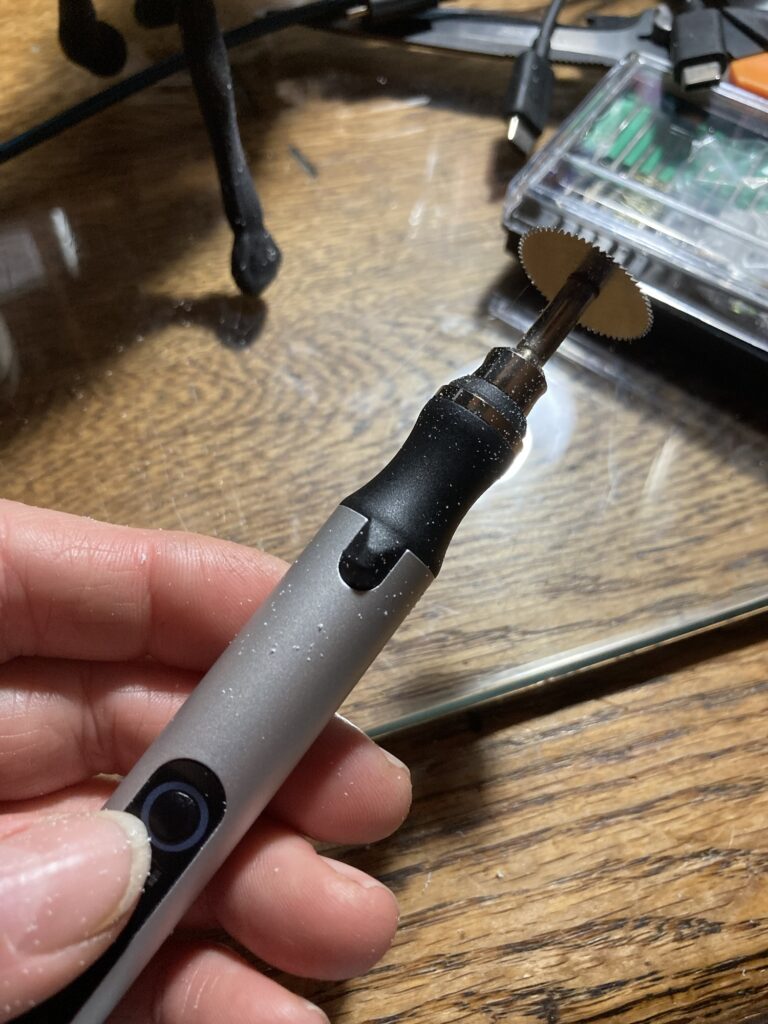
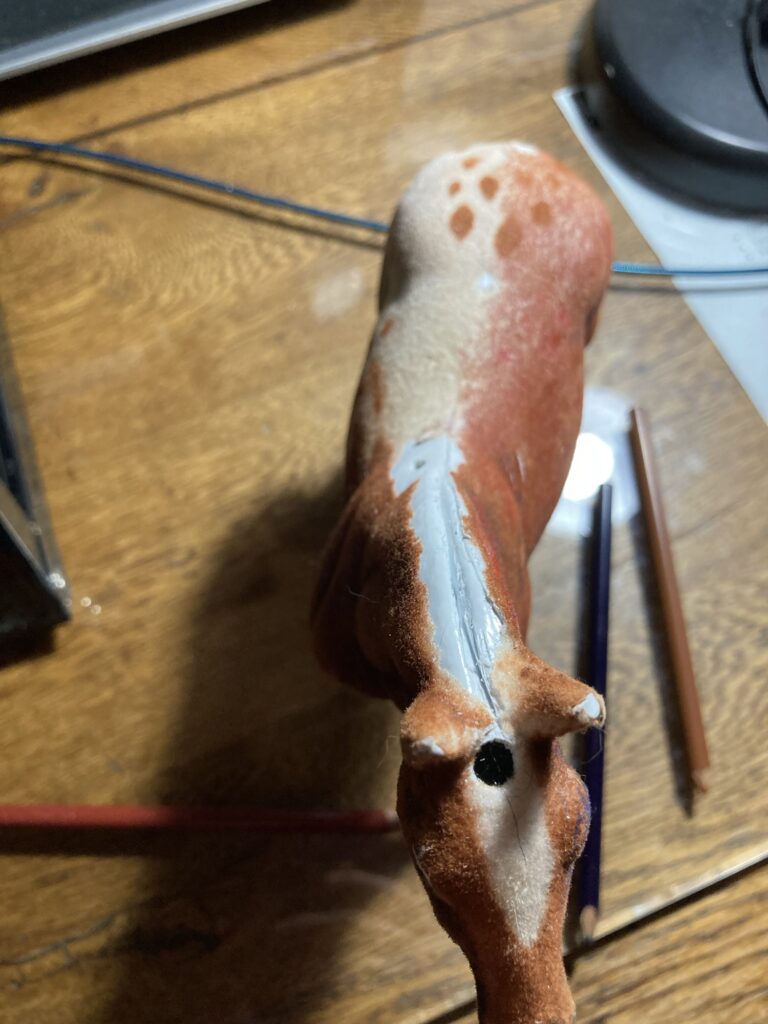
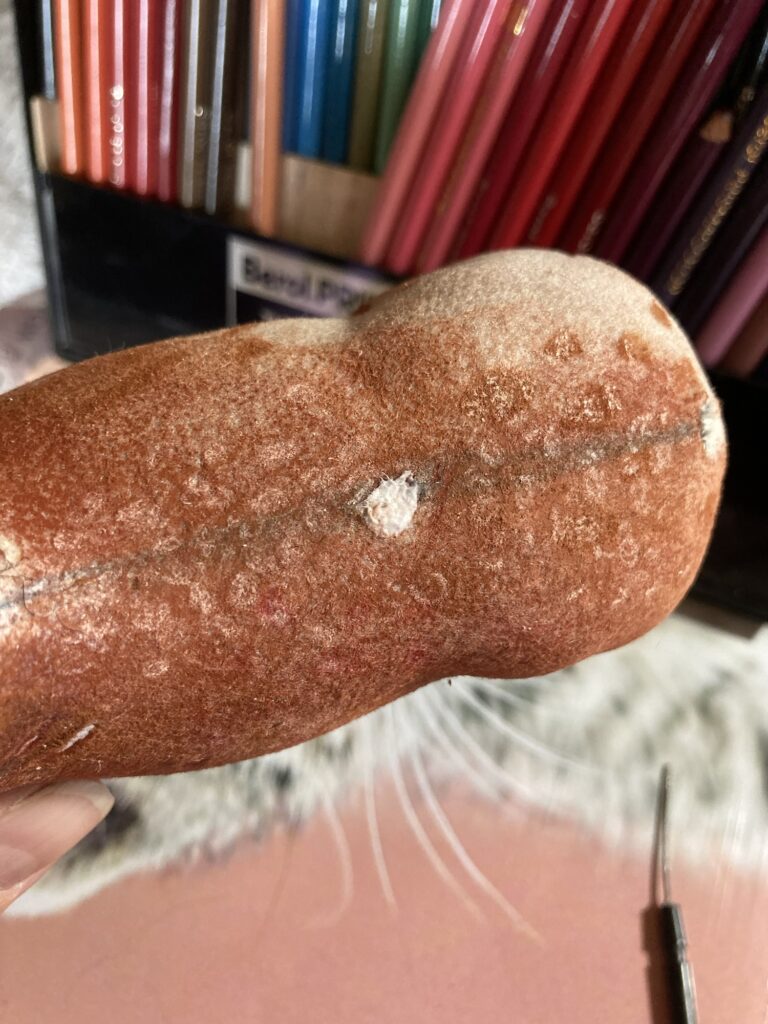
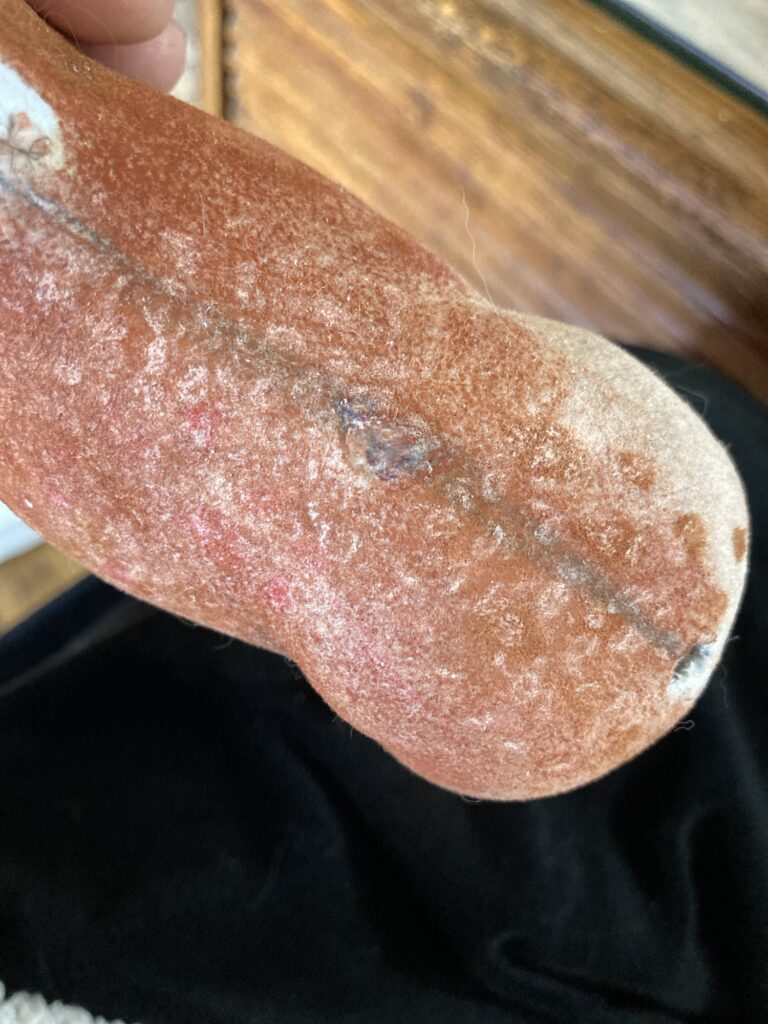
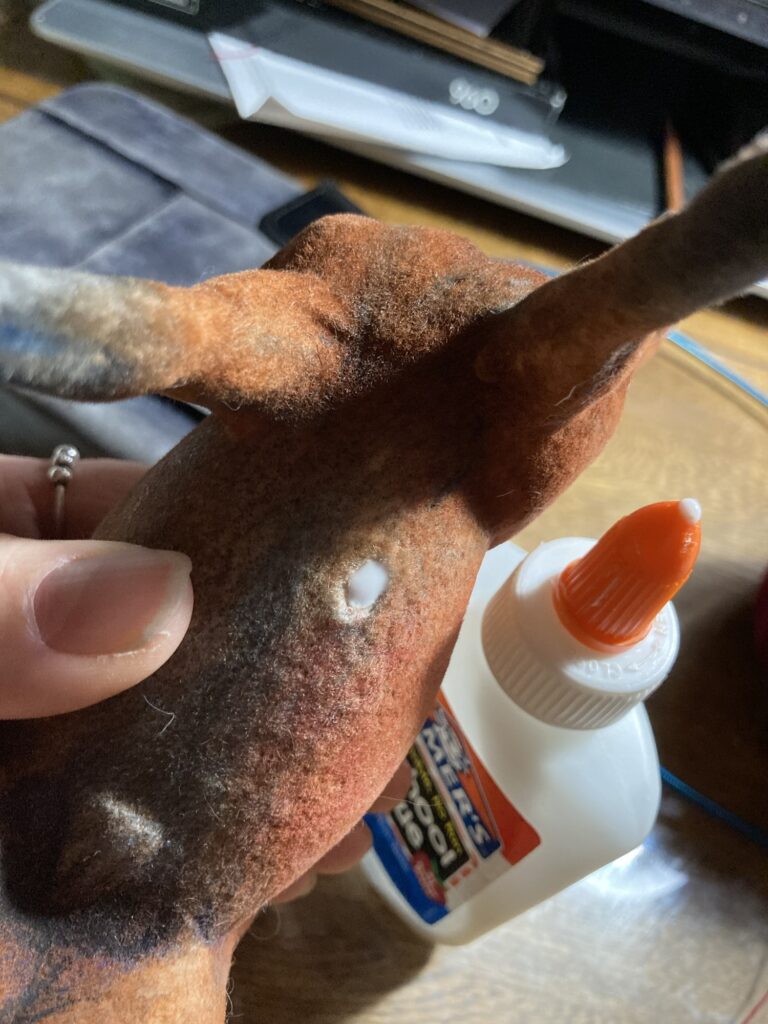
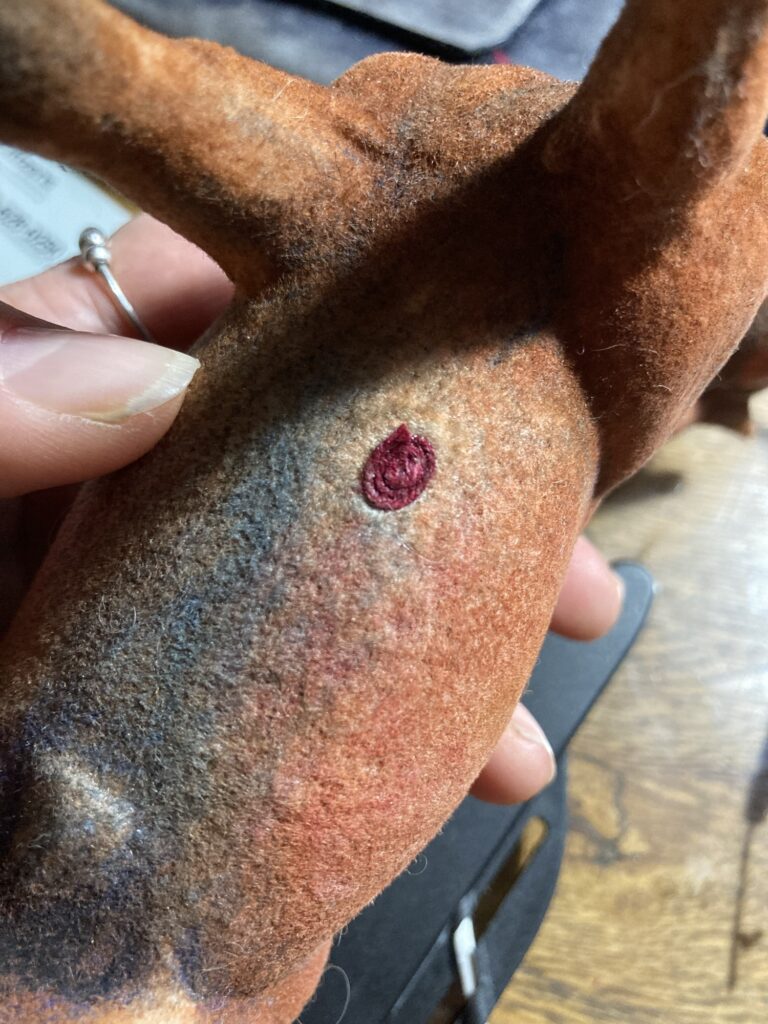
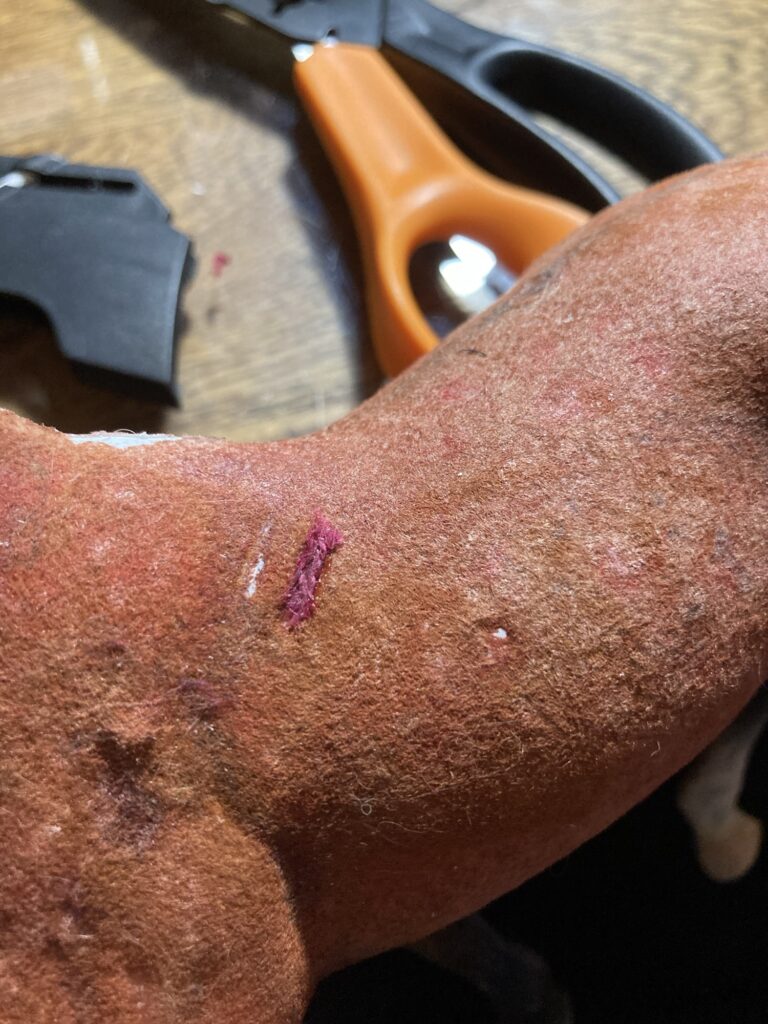
Next I took a small engraving tool with a saw attachment (a dremel type tool would work better, I am sure) and I sawed a small groove along the top of the horse’s neck where the mane will be.
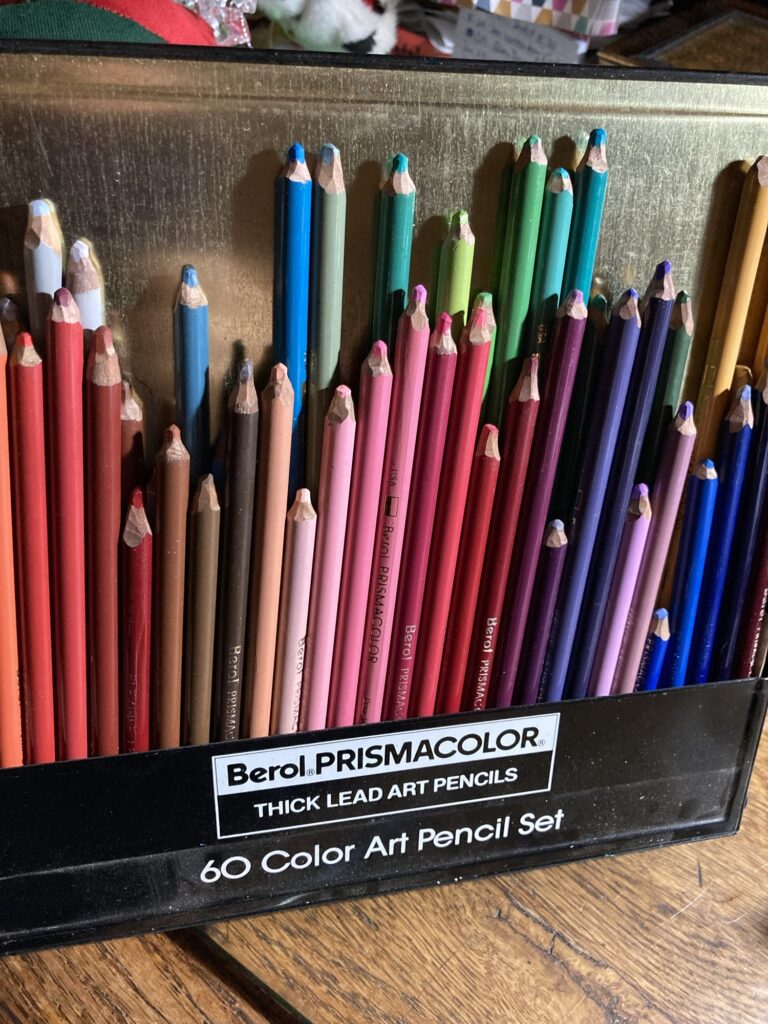
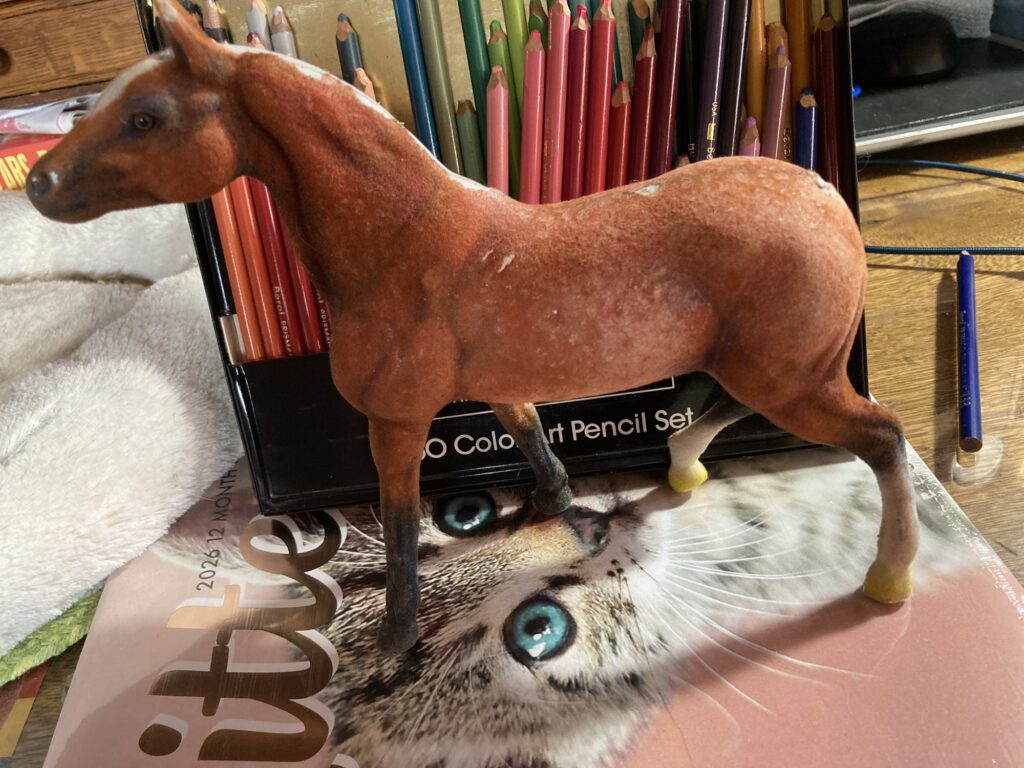
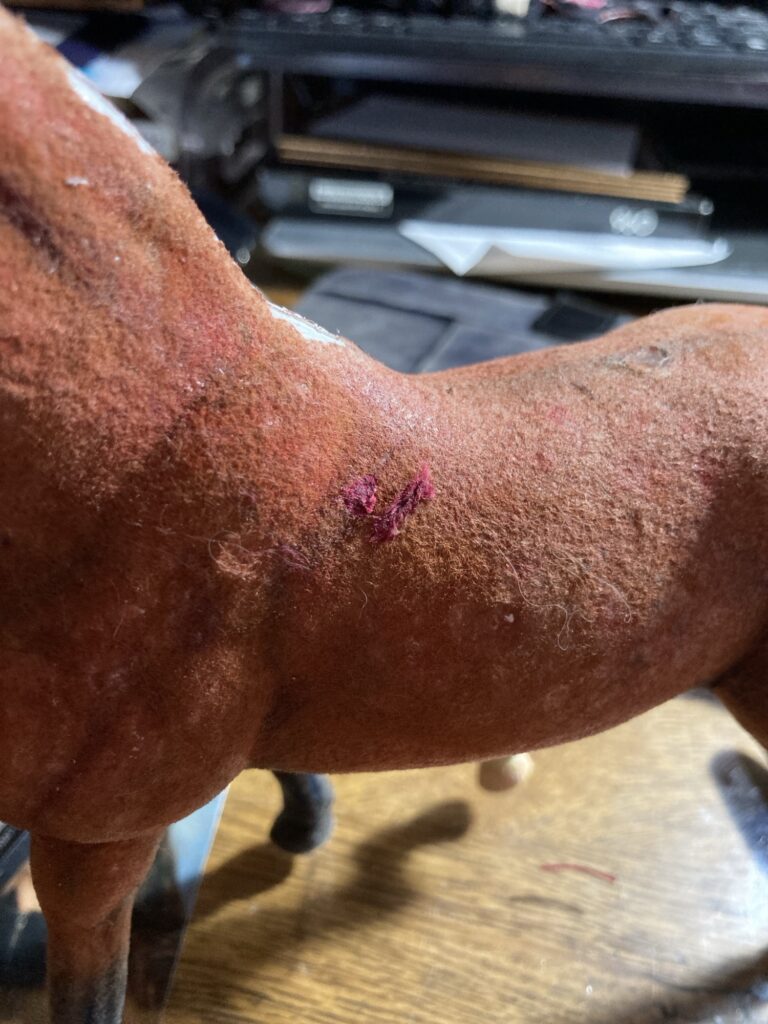
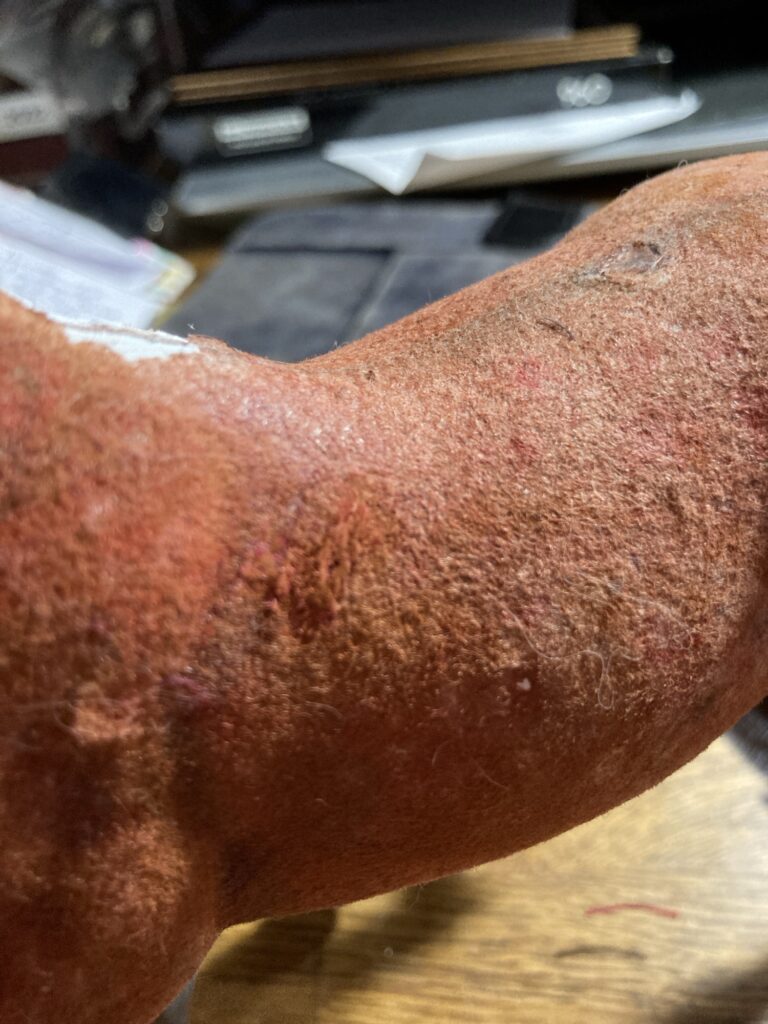
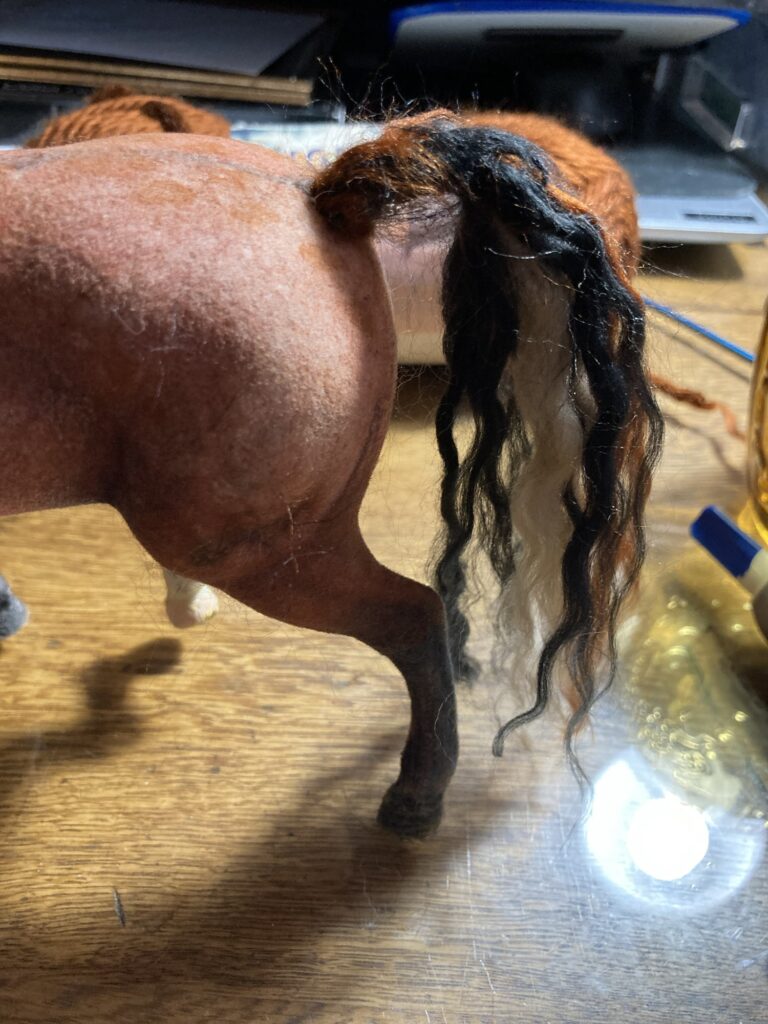
After making a groove, I moved on to experimenting with color. I decided to make this horse more of a roan color, and discovered that my colored pencils worked well. NOTE: I keep my colored pencils sharpened with a knife so that the tips are pretty blunt. I think that if a sharp pencil were used it might damage the fur on the horse. Also, don’t push too hard while coloring as it also may damage the finish. I am shading with light circular pencil strokes and it is working well for me.
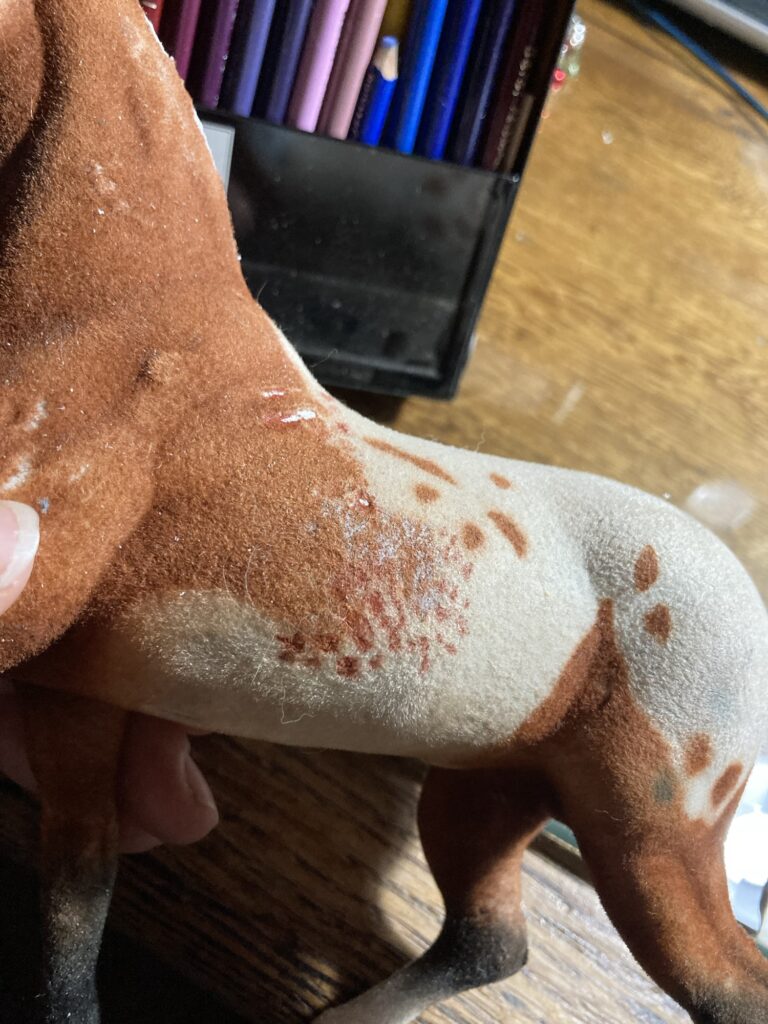
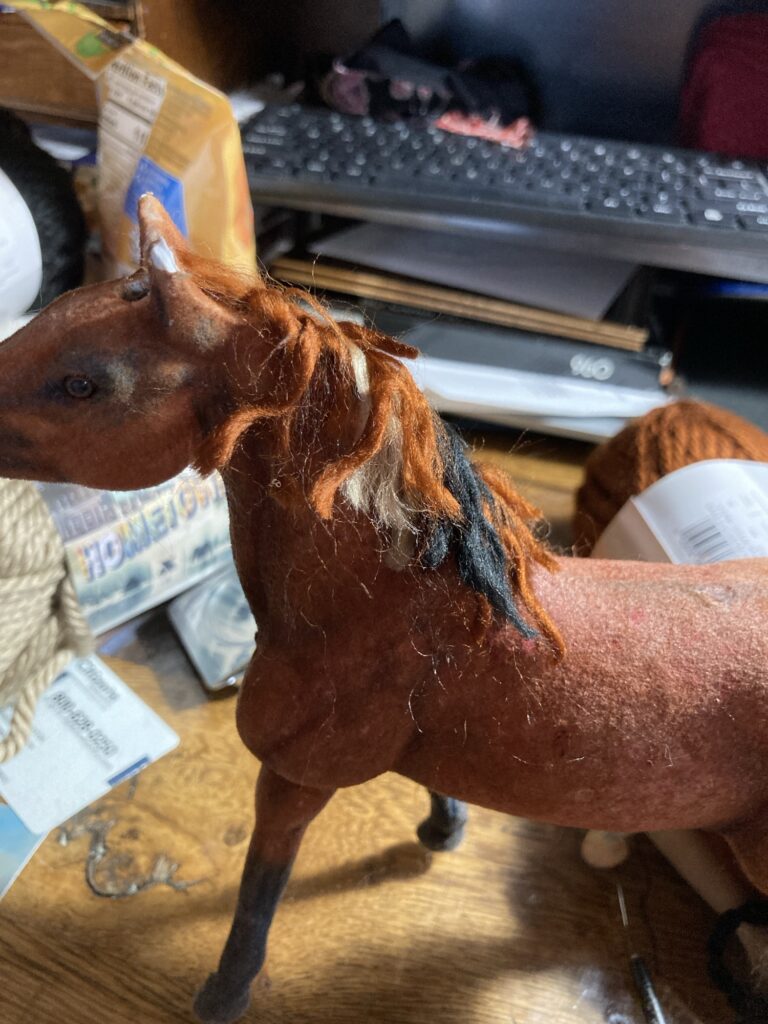
I quickly discovered a color that matched the brown of the main body pretty decently, and now can use that to blend the other colors in better. I found a dark grayish blue that works well for shading, to highlight the muscle tone, add dark patches around the mouth, eyes, undercarriage, ears, etc. There are still some areas that have scratches in the flocking. i have a few ideas in mind for simple repairs. I know that Amazon (and probably some hobby stores) sell flocking kits that could be used to repair my horses, but I think I can make do. We’ll see.
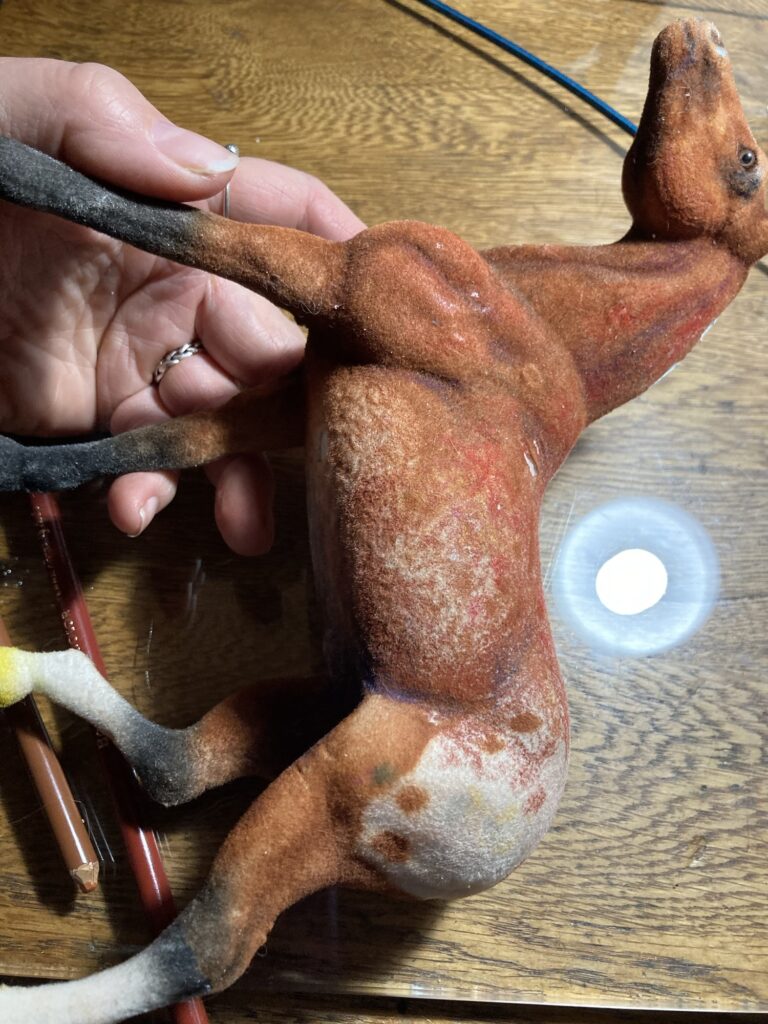
I am trying to use shading to bring out or even draw in more of his better details, and also to hide some of the more terrible ones 😆. I tried to find some of the better looking flocked toys that were still inexpensive. Unfortunately they do have some wonky confirmation but it isn’t too bad. Ultimately it would be fun to get some Breyer horses and try flocking and coloring THEM, but it is safer right now to start on the cheap stuff. Also kind of fun!

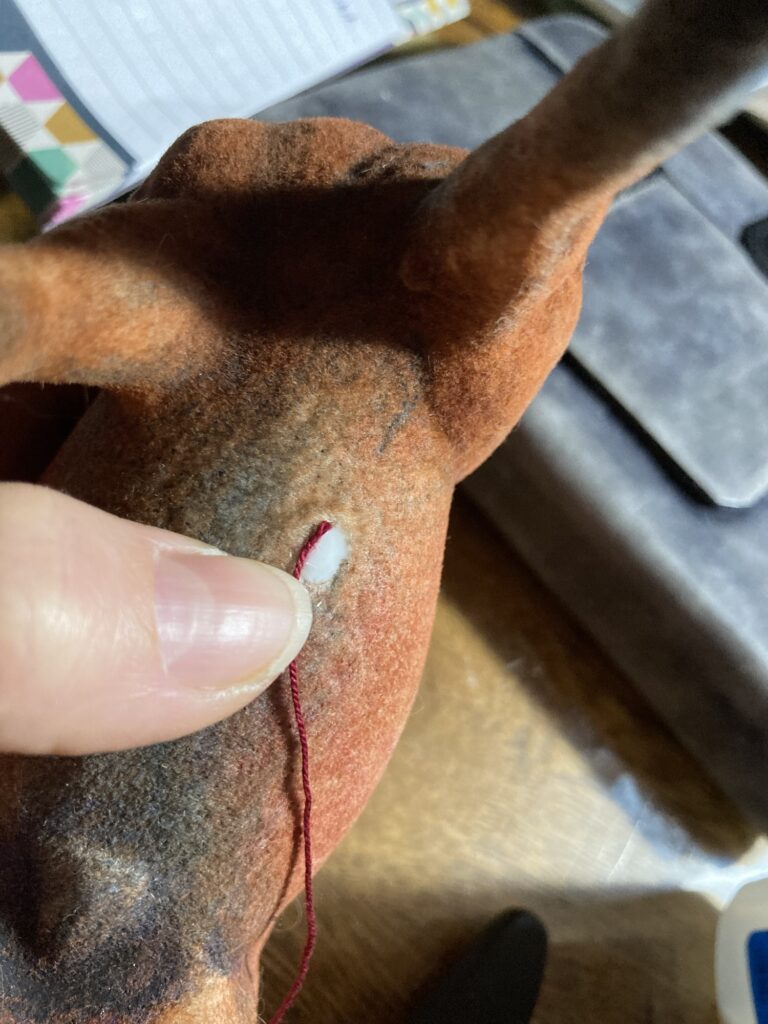
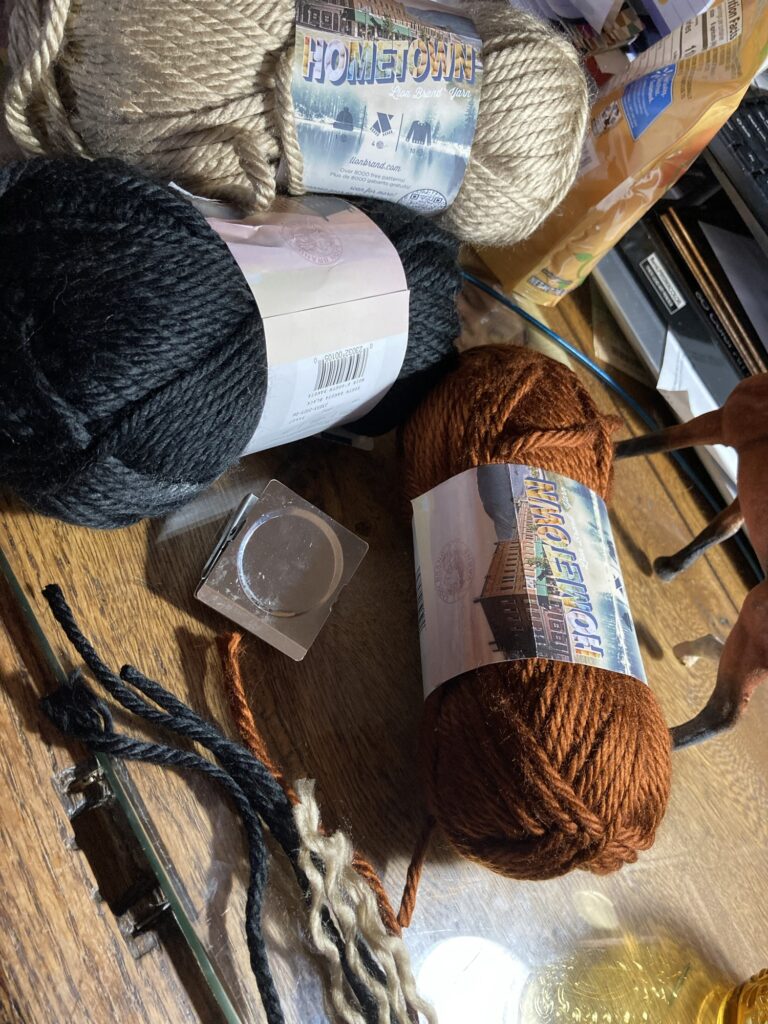
For a tail i decided to use a fluffy acrylic yarn.
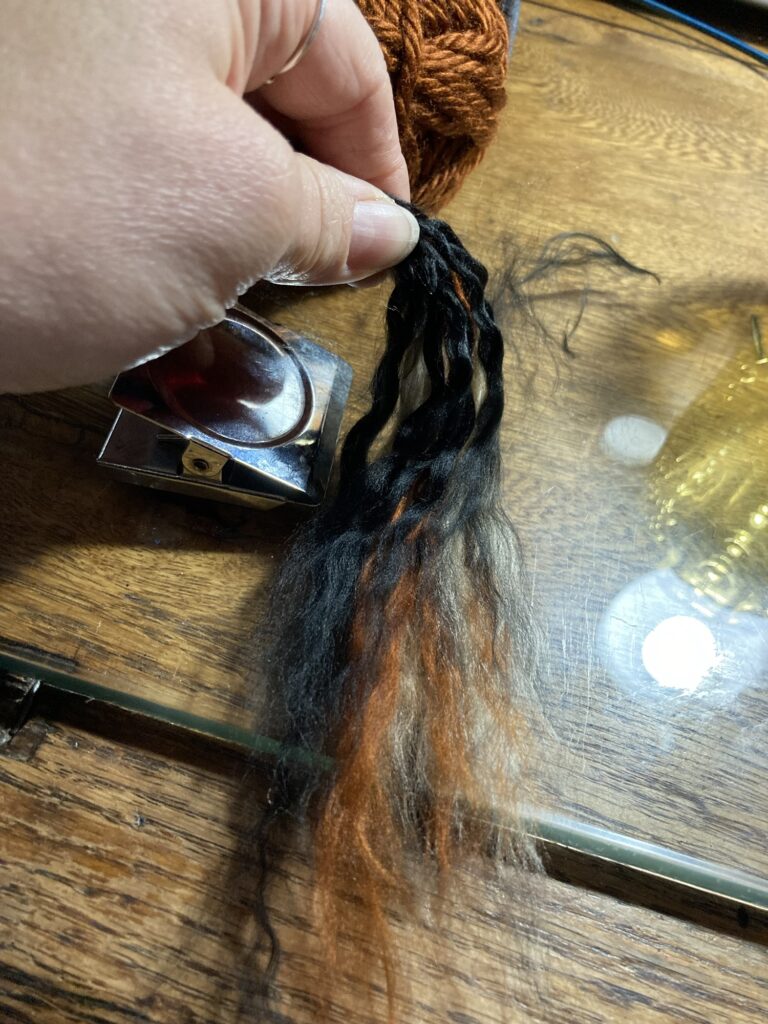
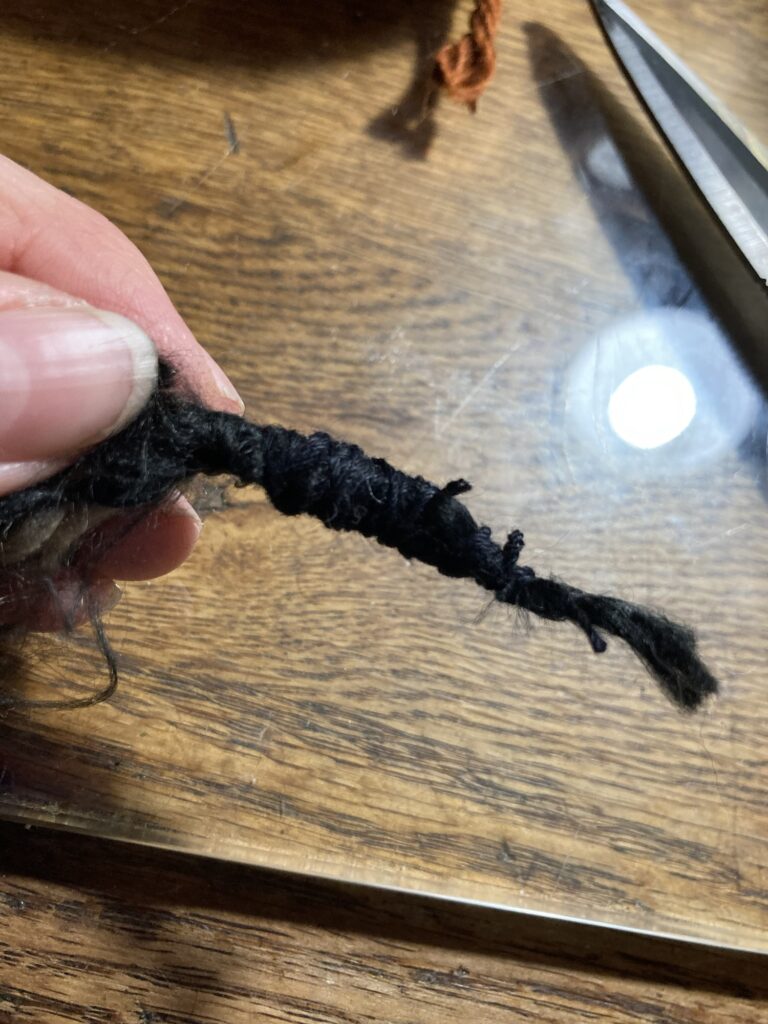
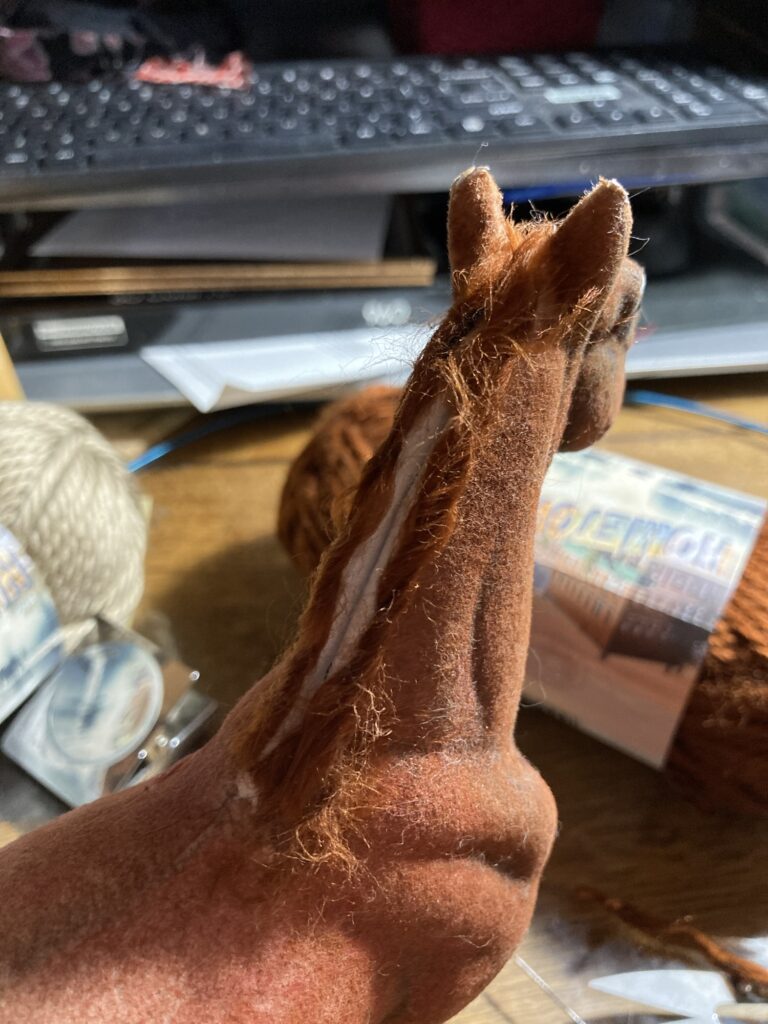
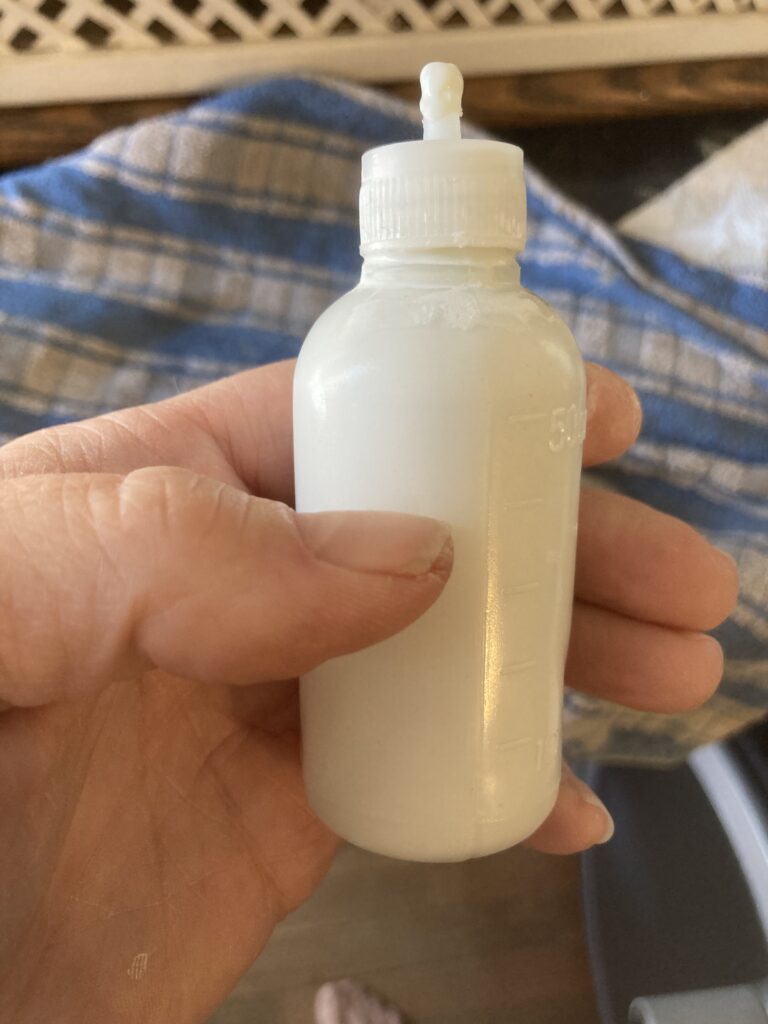
I cut a bunch of yarn fibers and unraveled them, and made a line of superglue along the trench I cut along the top of the neck. Now I am going to use the back of a knife to push the yarn into the trench.