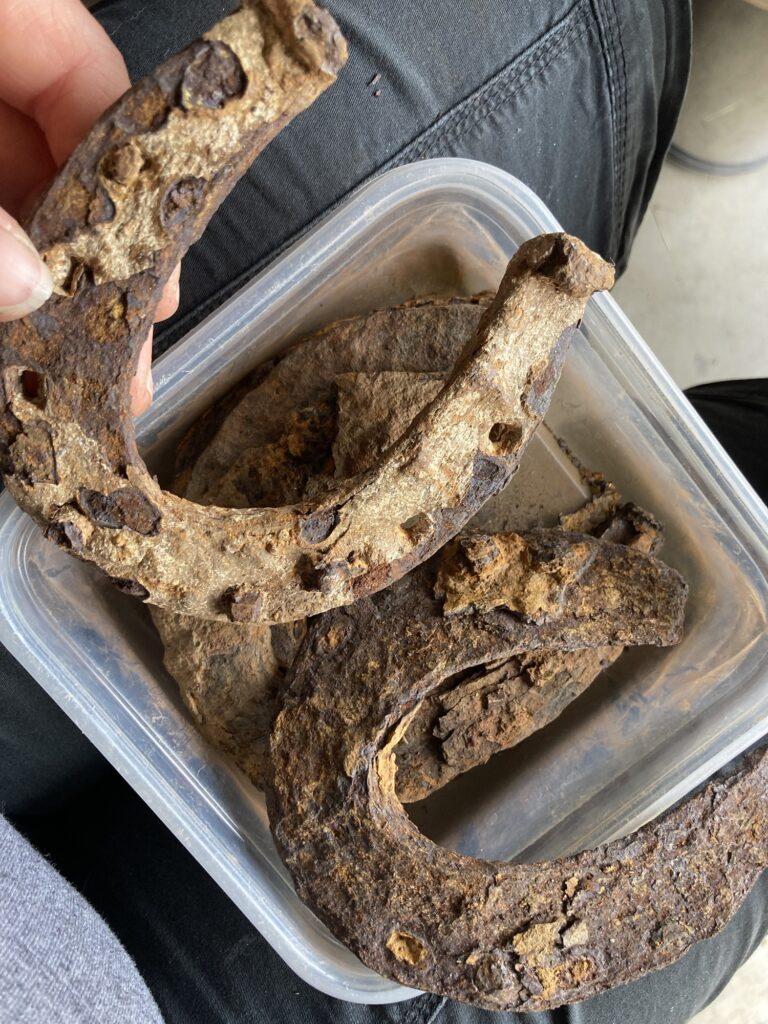
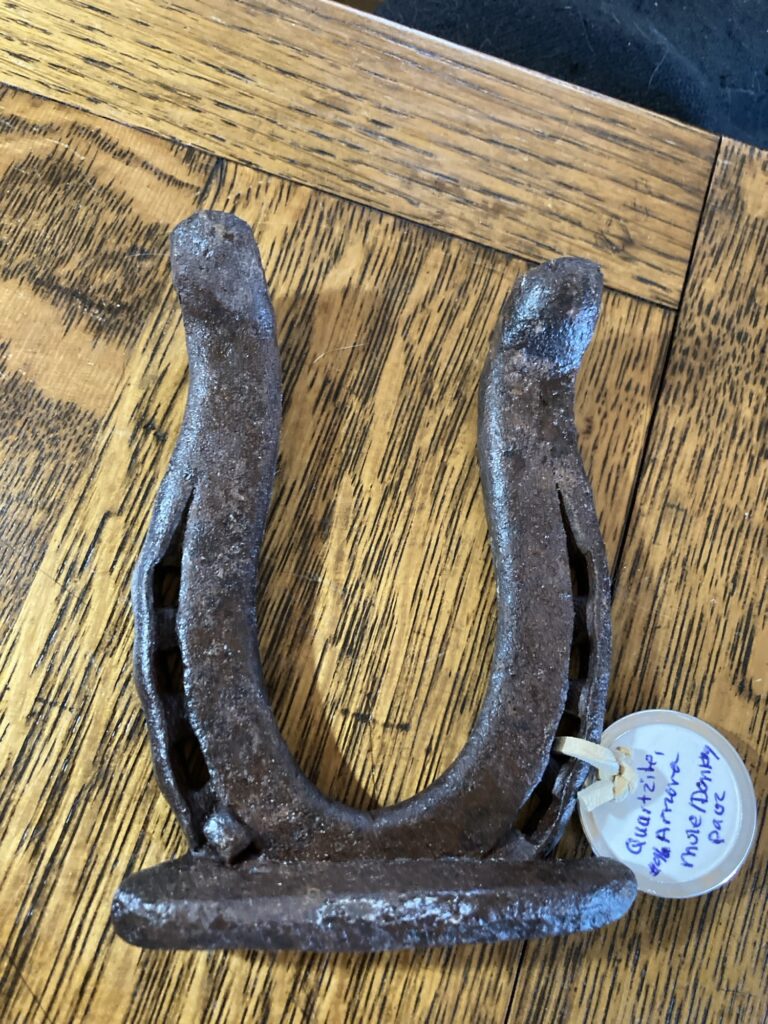
I am an avid horseshoe collector, and often find myself in possession of a particularly rusty specimen that has been buried for years, if not centuries. I have tried several methods, with varying results, to remove excess rust so that any distinguishing characteristics are more easily recognized, such as the nails and any maker’s marks. These are a few methods that I have tried so far.
Evapo-Rust. This product can be purchased at different hardware stores or auto supply stores. It’s a chemical that you can soak rusty parts in to get them clean. I have used this on my horseshoes and, while I did really like the results, I ended up soaking the shoes for far longer than the directions recommended. I had to soak them for a few hours, scrub them with a hard-bristled steel brush, and soak them again, over and over to achieve the desired results. Granted, if the shoes didn’t have a thick deposit of rust on them the job went very quickly, but for shoes with heavy accumulations of caked-on rust and grime, it was a very tedious process, and the chemical cost me about $25 a gallon. It only takes off so much rust before it needs to be disposed of and replaced, so for a lot of shoes it can be expensive.
White Vinegar. This is my go-to method at the moment. I simply soak the shoes for about 20 minutes or so, scrub them with a steel-bristled brush to remove rust, and soak them some more until they look the way i want. Afterwards I soak them for a short time in water with baking soda in it to neutralize the acids from the vinegar. Be careful not to soak your items for too long in the vinegar, as it will eventually eat away at the metal. I vaguely recall trying this method when i was a child and being very disappointed when my shoes were very, very pitted after having been forgotten for, say, a month or so. It’s ok to soak them for that long if you keep checking on them and scrubbing to help the process, but if you throw them in the vinegar and forget about them forever, the chemical will eat into the metal.
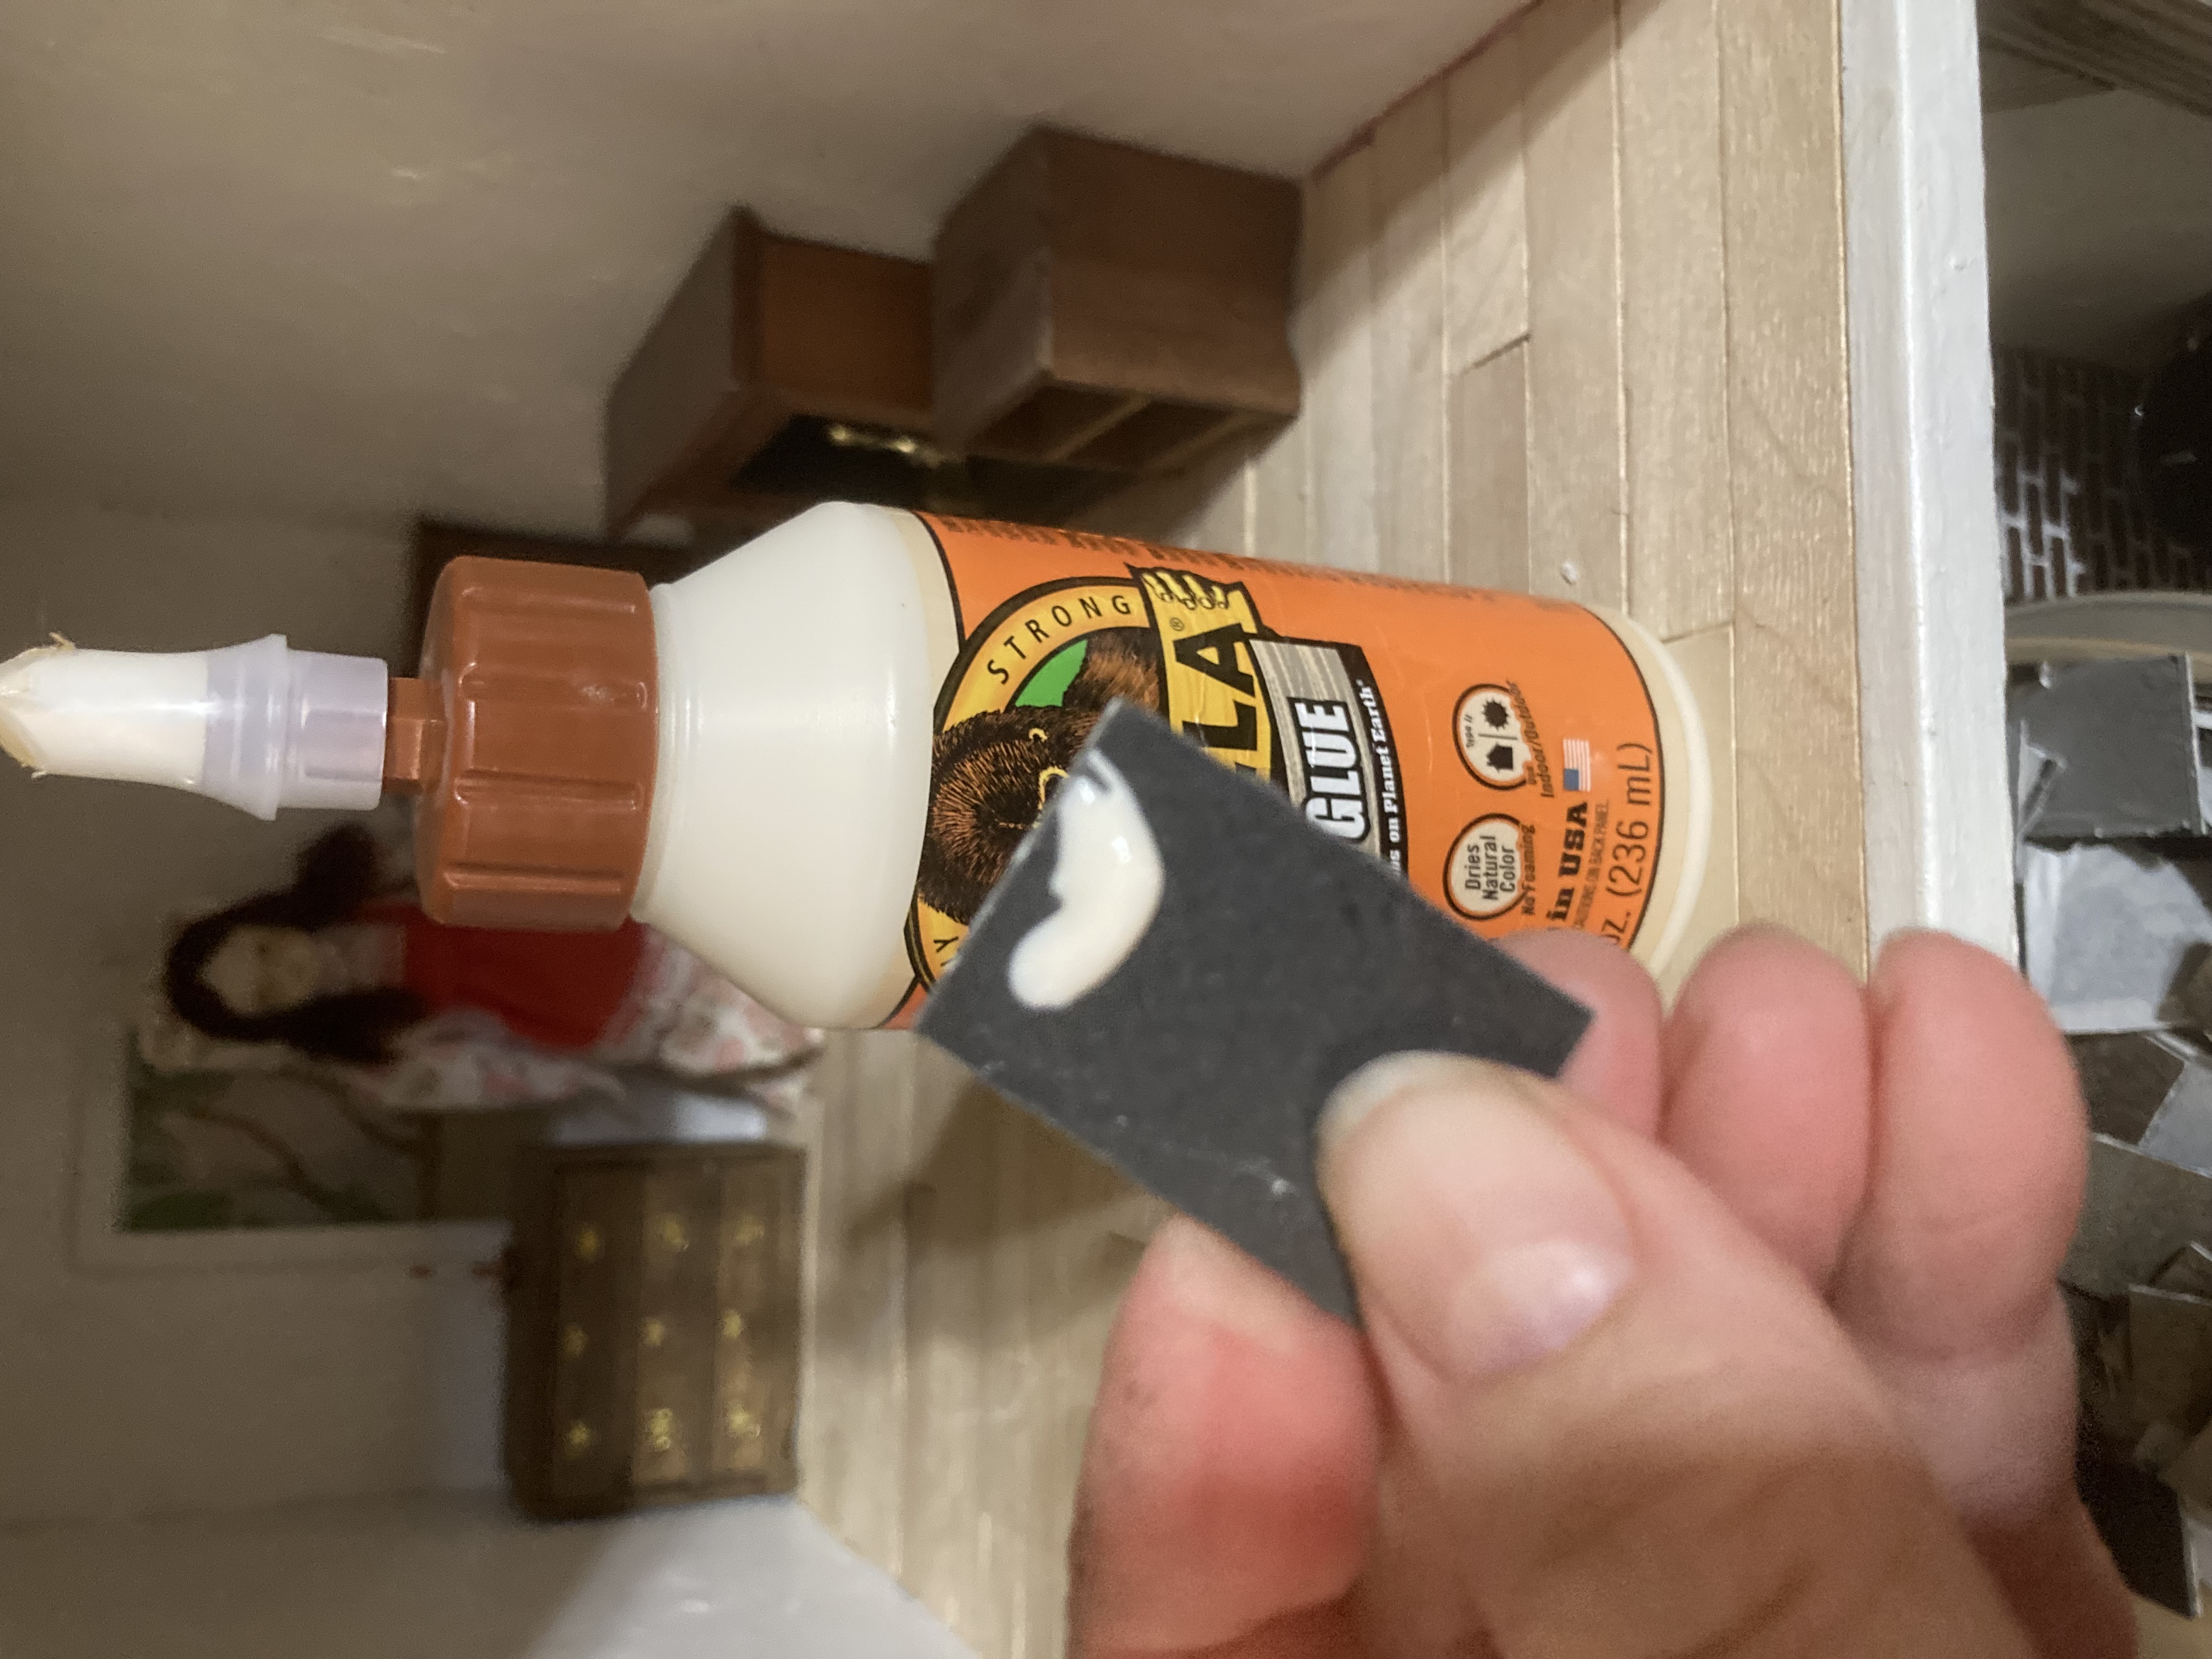
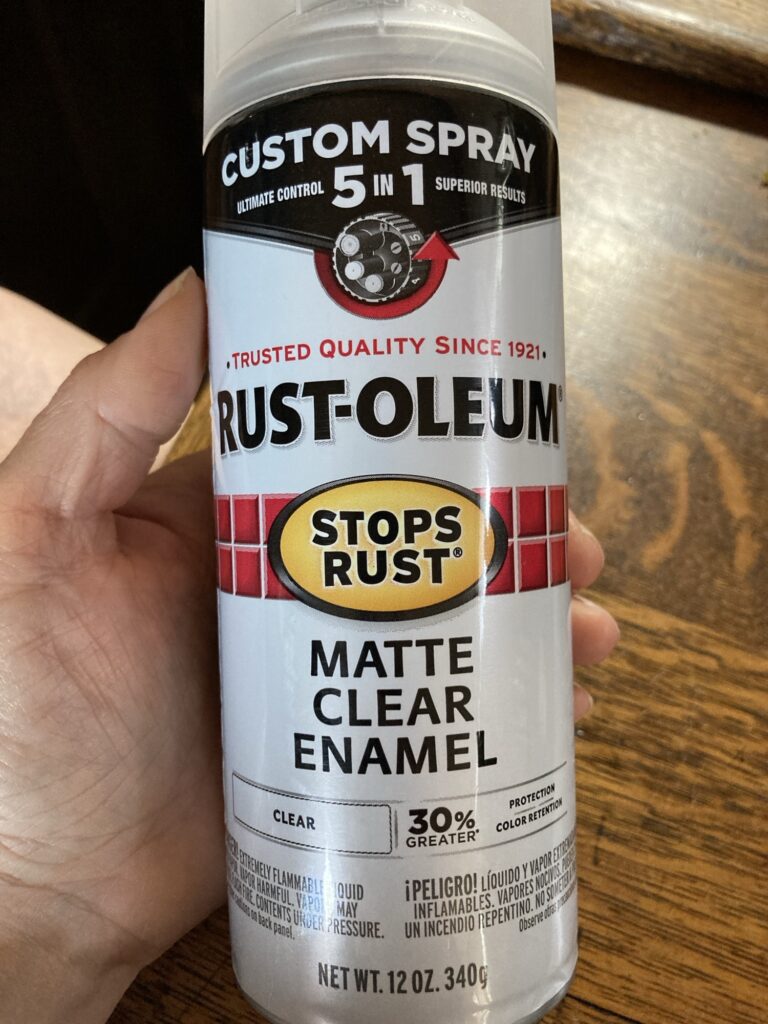
Vinegar is cheap and easily obtained. I keep an old covered tote with a gallon of vinegar to soak my shoes in. Afterwards I wash them with soap and water, using a soft scrub brush. I use hot water so they dry quickly, then finish off with a few coats of clear Rustoleum spray paint, which prevents new rust from forming.
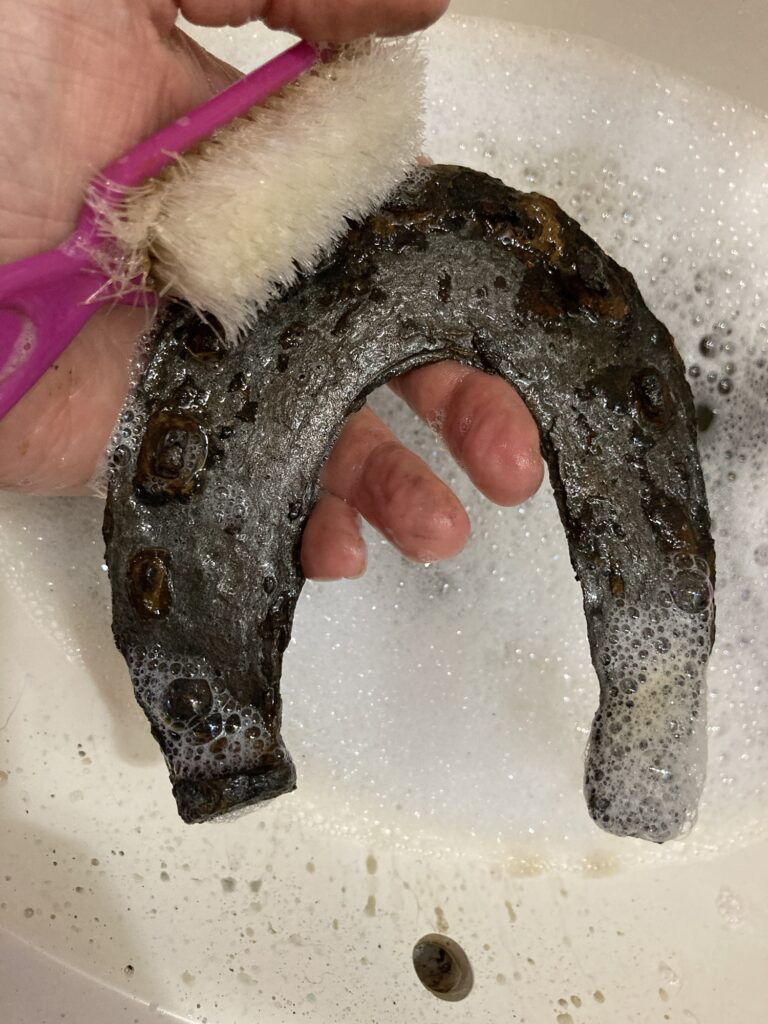
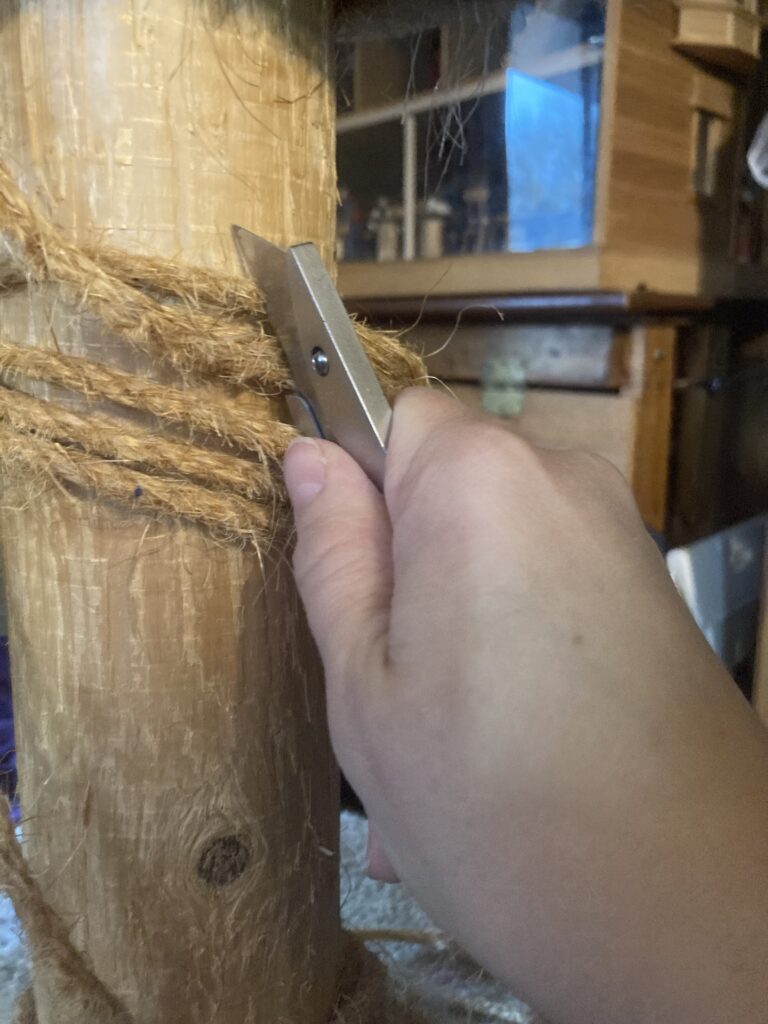
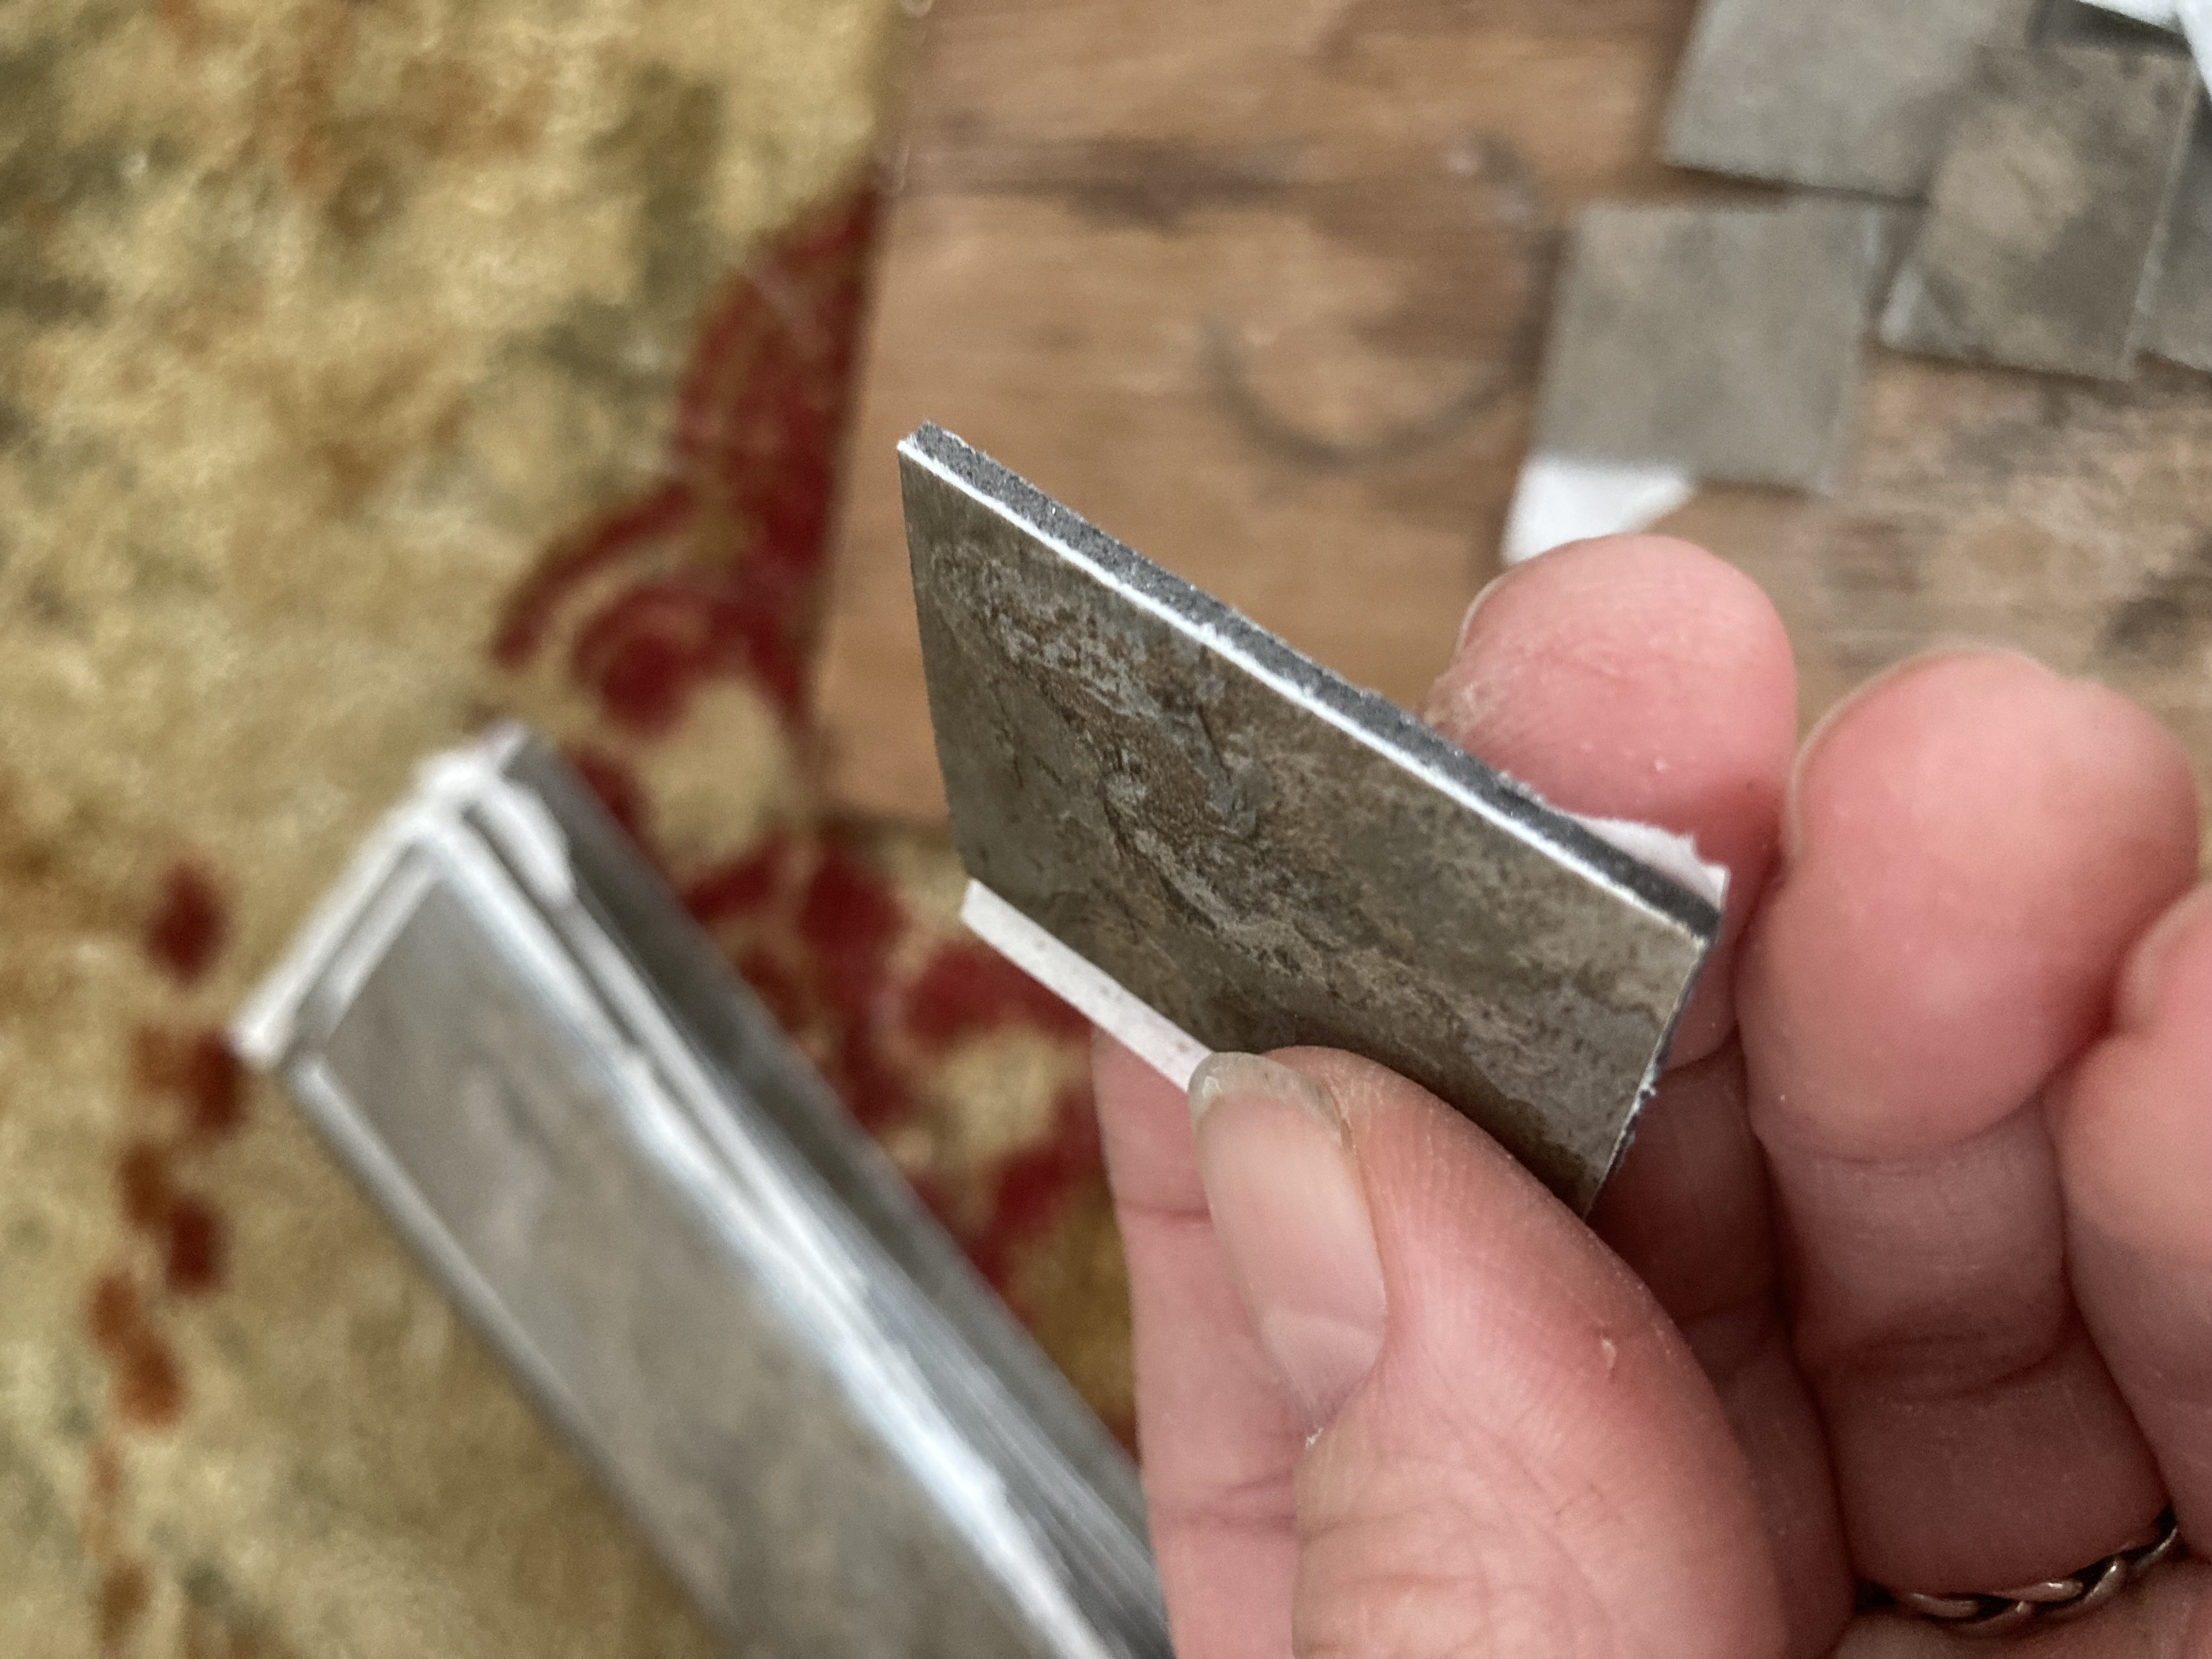
Whichever method you decide to use, you will want to remove as much dirt and flaky rust as possible beforehand. If the rust is really thick and flaky, I use a thin scraper of some sort to gently pry between the layers. Always wear safety goggles and be careful not to stab yourself with whatever you use. Only pry a tiny bit, as whatever you are trying to pry might be a part of the original metal, and you don’t want to ruin the piece. I merely pick at it and see what flakes off easily. After you have removed some of this surface rust, the chemicals will more easily get to the metal beneath.
Other methods. There are other methods that can be used, such as electrolysis or a grinding wheel. I have not used these methods, but i have shoes that were cleaned using them.
Electrolysis involves soaking the shoes and using electricity. It appears to work extremely well, but involves special equipment.
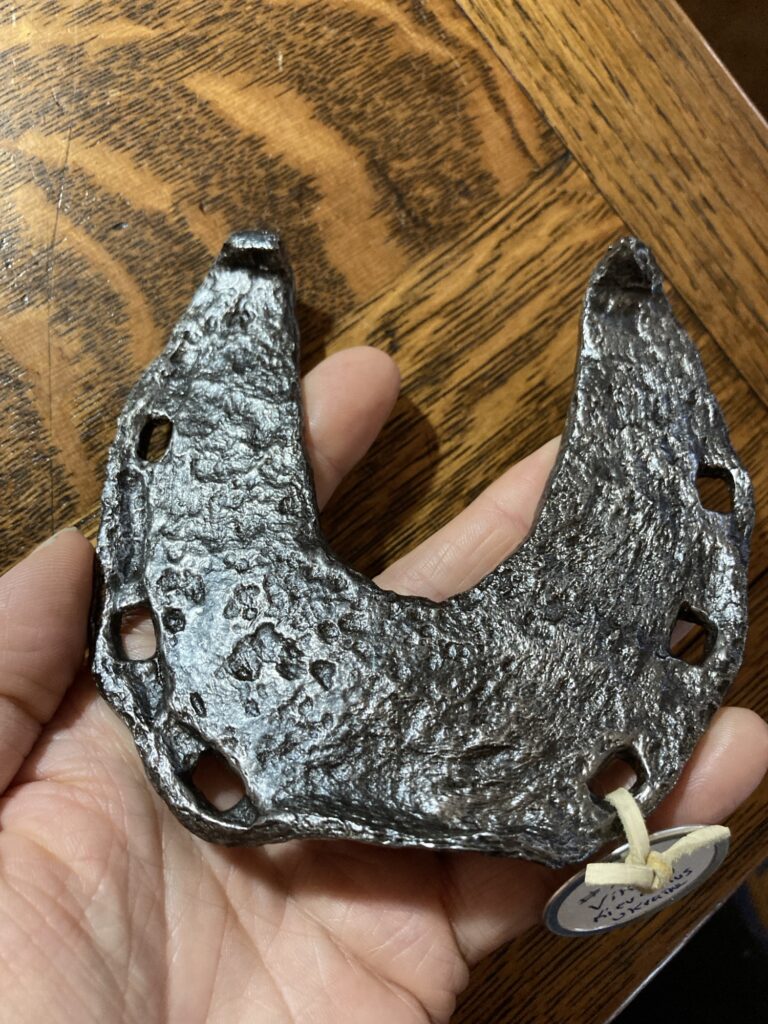
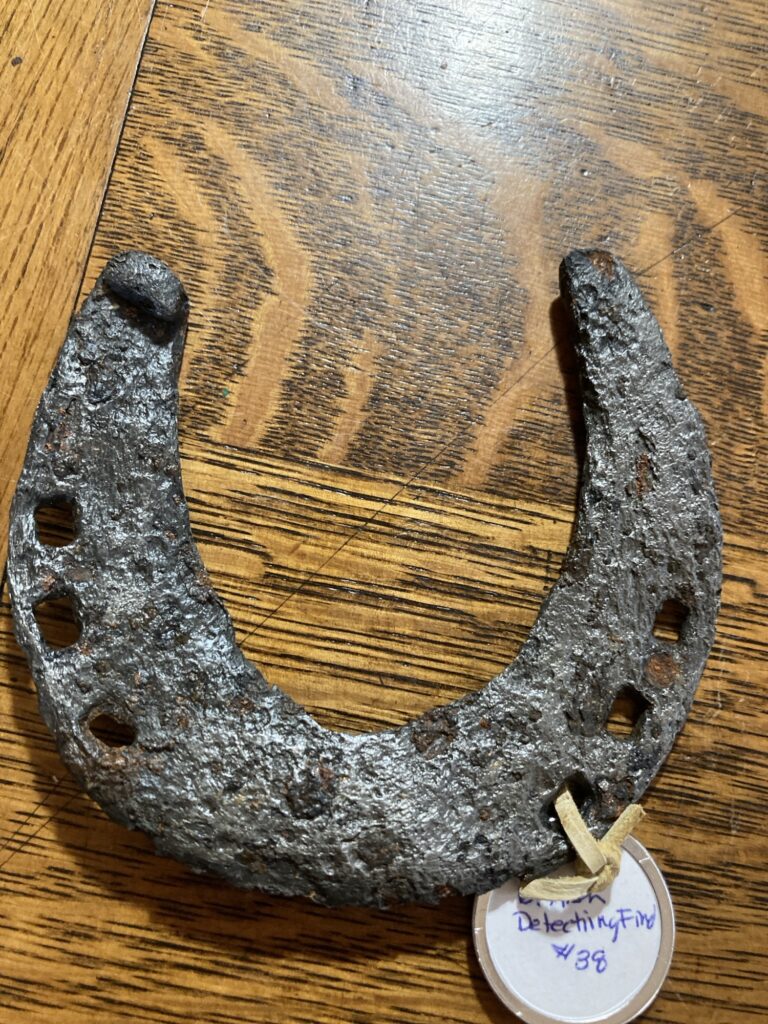
If using a grinding wheel, you can attach a wire wheel and use that to remove rust. There are also other attachments that can be used to buff the metal. My dad did this with one of my first horseshoes as a child. I worry that this method might damage the surface of the shoe, but on the backside of it I can make out a lot of detail from its original forging, so the scrape marks on the front could be original.

Other Chemicals. You can use Coca Cola or lemon juice in the same way as the vinegar. I haven’t used these methods in years but they do work. Just don’t forget them in the solution!
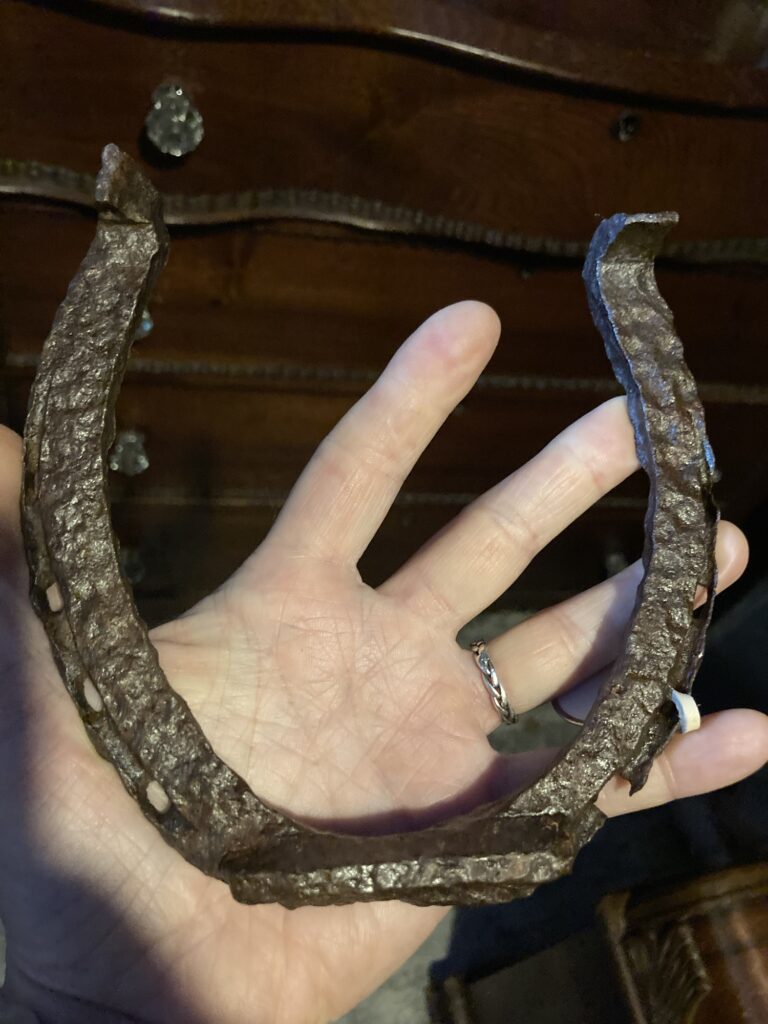
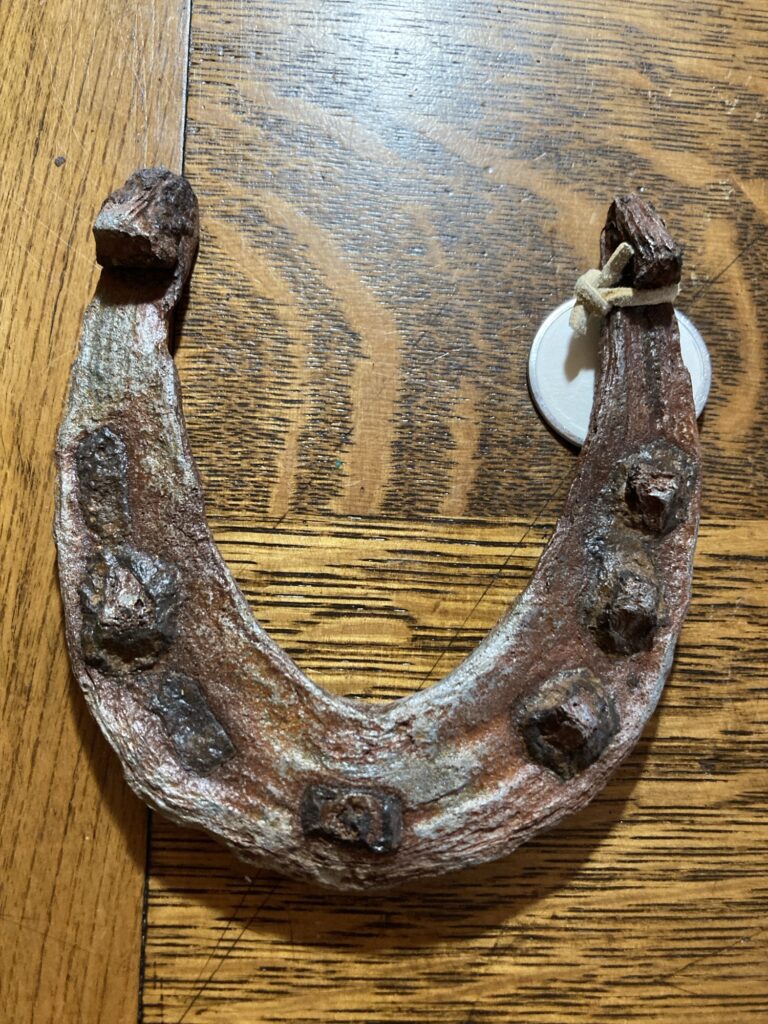
Bear in mind that whatever method you use to remove the rust, if not treated properly and according to instructions, the rust will come back, sometimes even within minutes of being removed. I honestly don’t mind a little bit of rusty patina and have experimented with giving some of my freshly cleaned shoes a spritz of water and letting them sit for a day or so to get a little of the color before spraying them with clear Rustoleum to stop the process and preserve them. My main goal of cleaning them is to remove the thick rust that obscures detail.
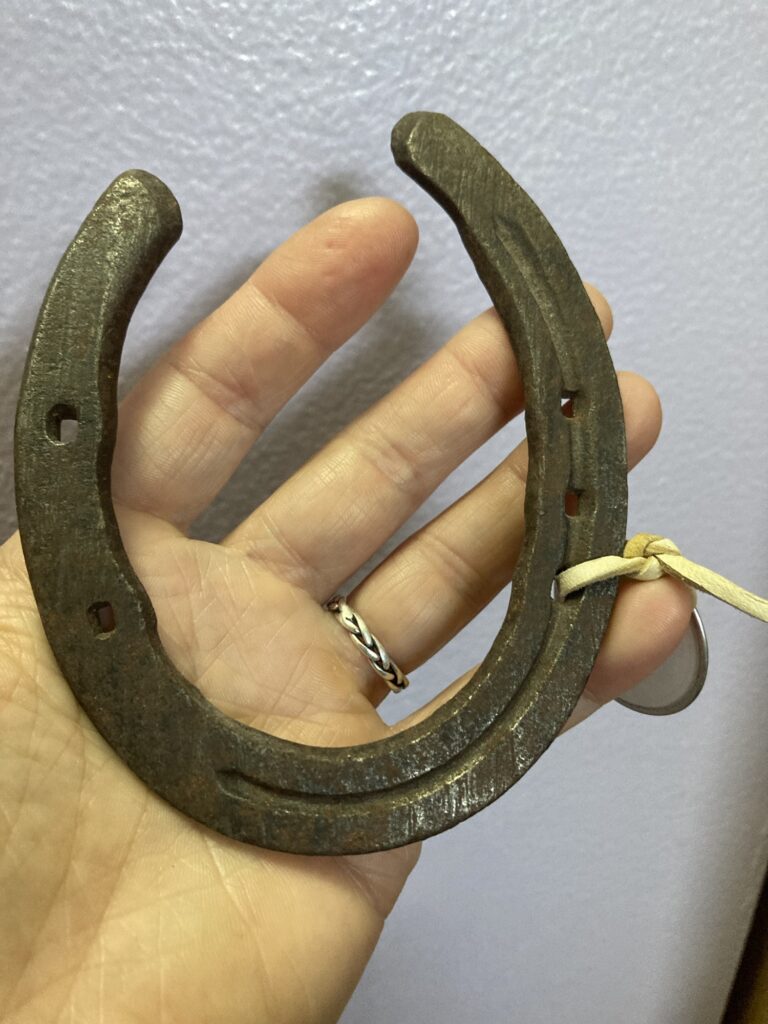
I also have a lot of more recent horseshoes that I did not remove the rust from, as it wasn’t as thick and obscuring. I simply clean them well with a wire brush if necessary, and then spray them with several coats of Rustoleum clear paint (the one that specifically stops rust). They still look good and stay protected.
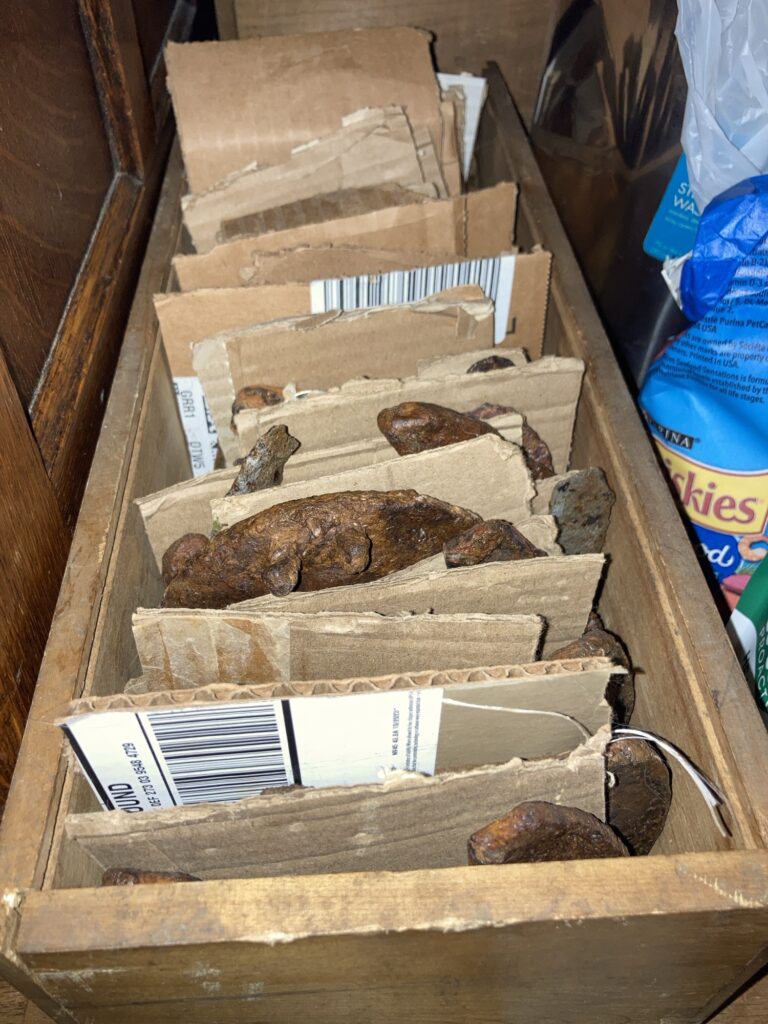
In the end, the most important thing is preservation. Rust eats away at the metal of the shoe, and if not treated properly, it will continue to eat away at them after you find them. Make sure you don’t destroy them by soaking too long, and make sure you prevent further rust corrosion by treating them afterwards. After treating them it is important to store them in a dry environment to make sure the treatment works. I keep my prizes filed in narrow boxes with cardboard in between them, like a file cabinet.
Hopefully, with proper care, these shoes will last for generations to come. (You’re welcome, kids! Have fun!)