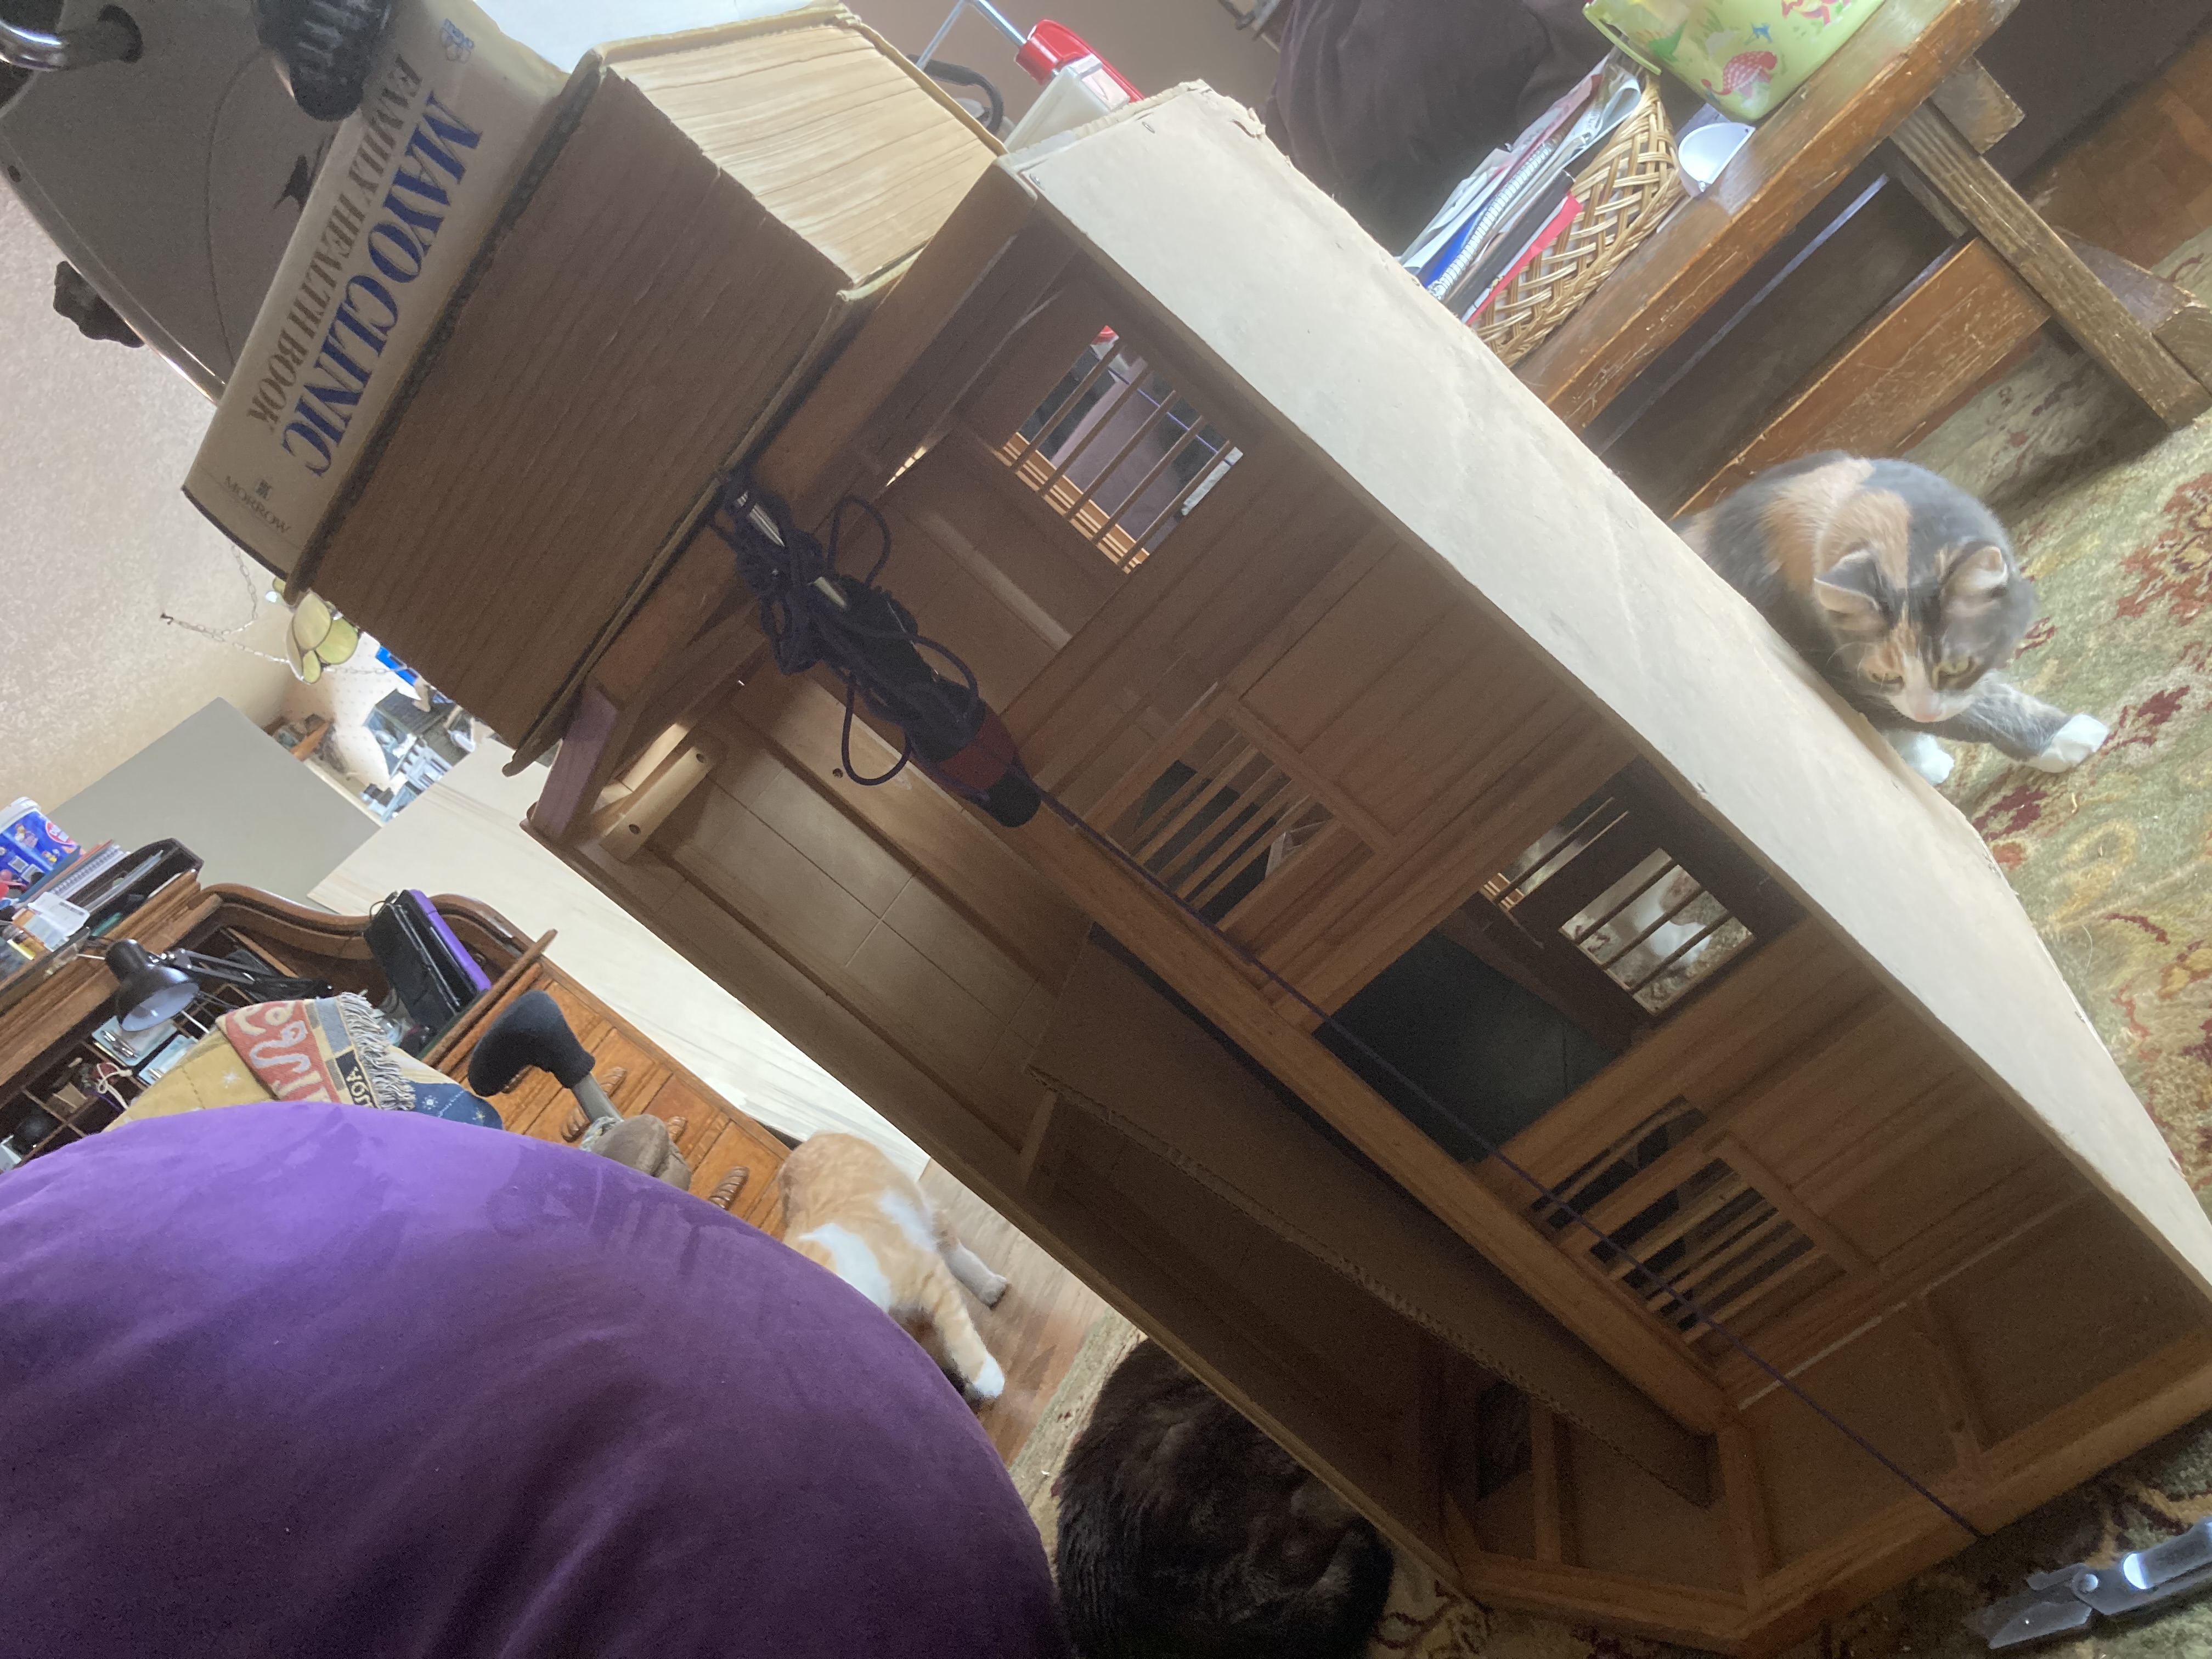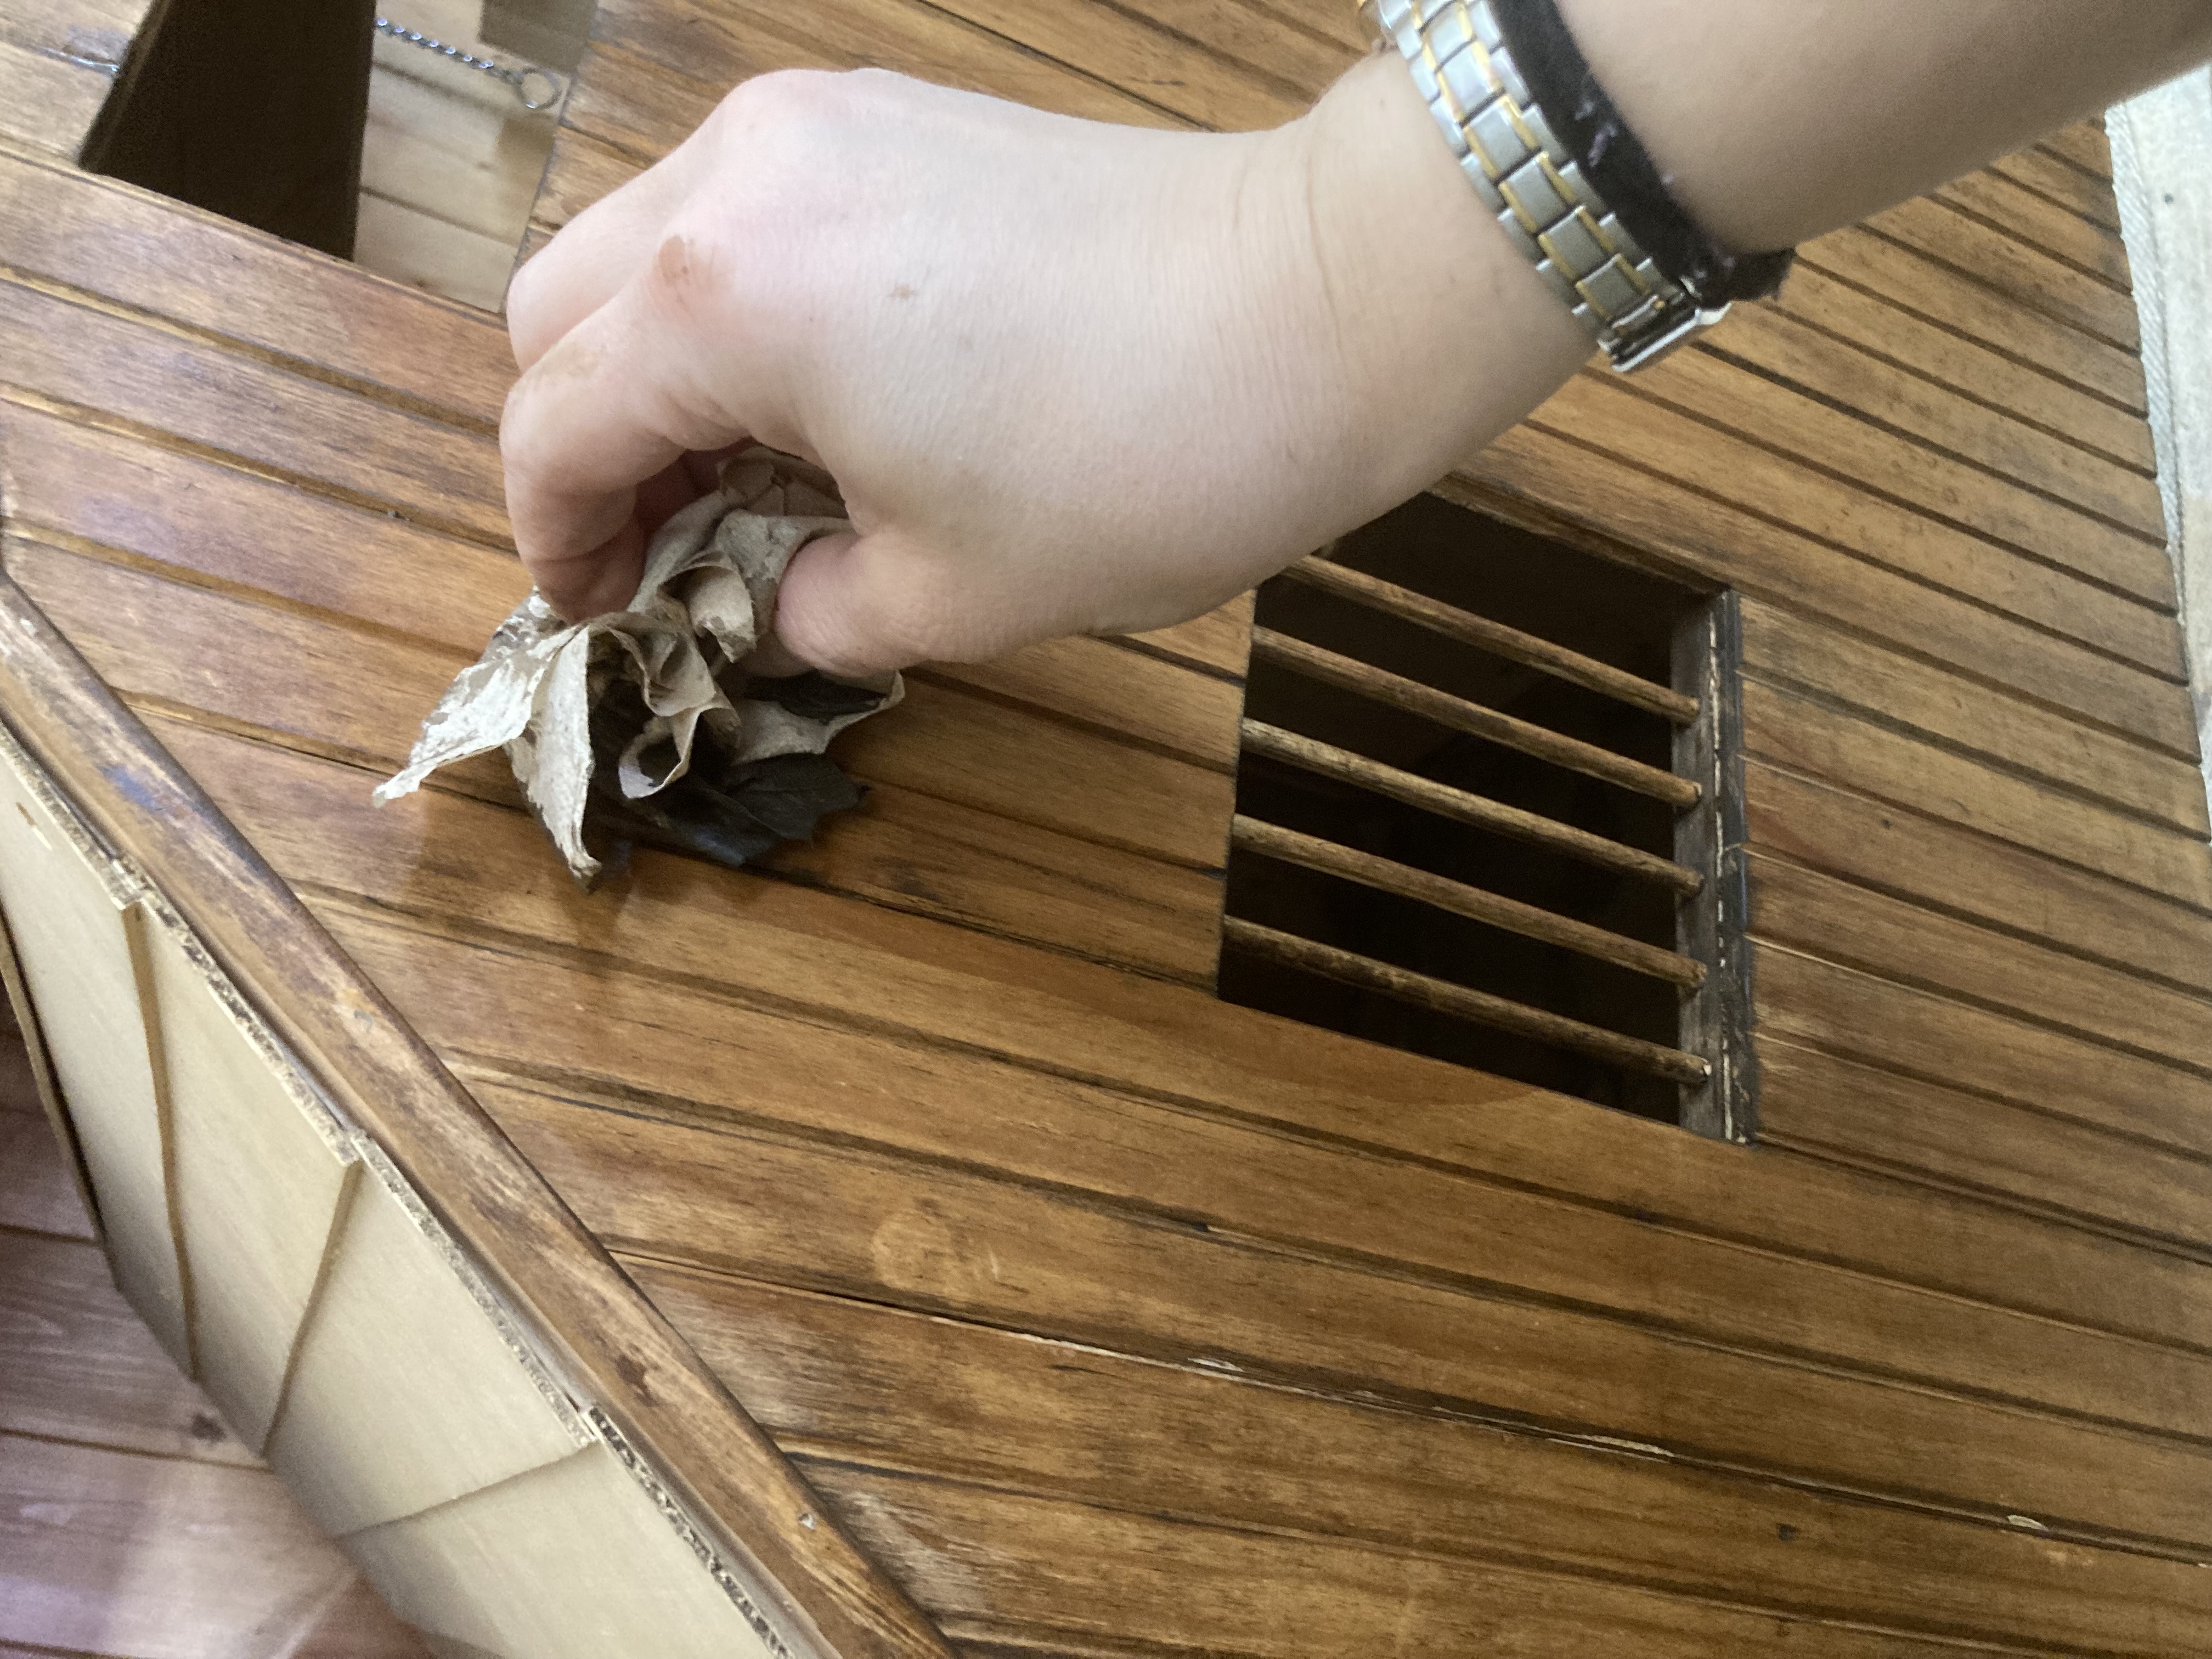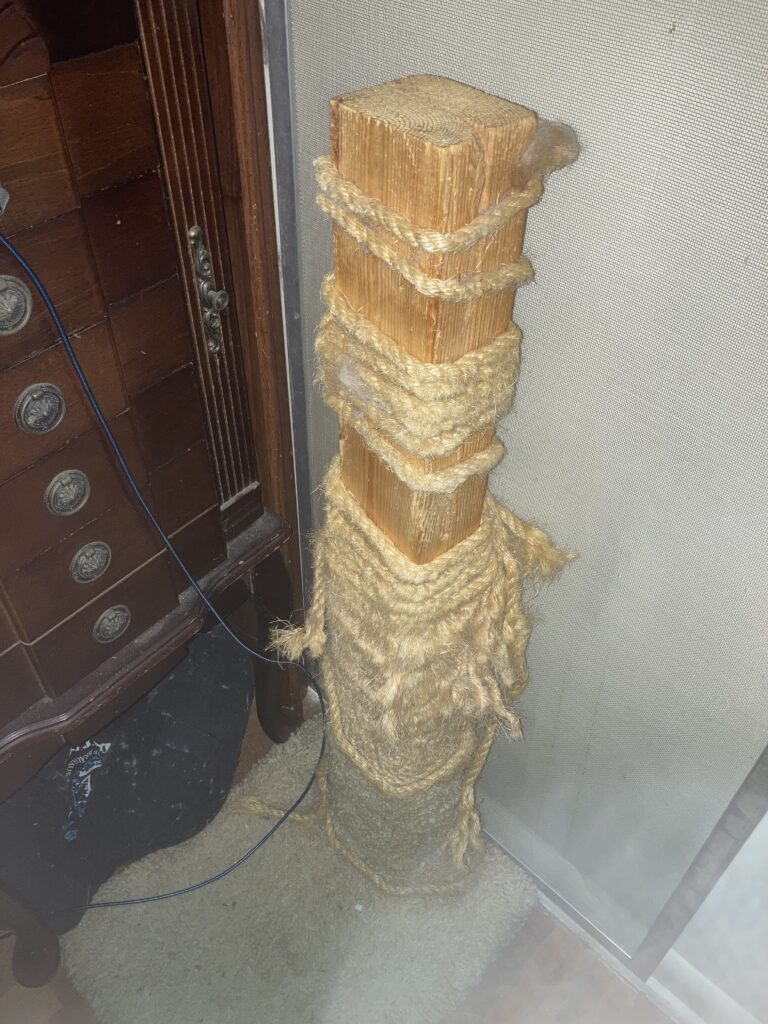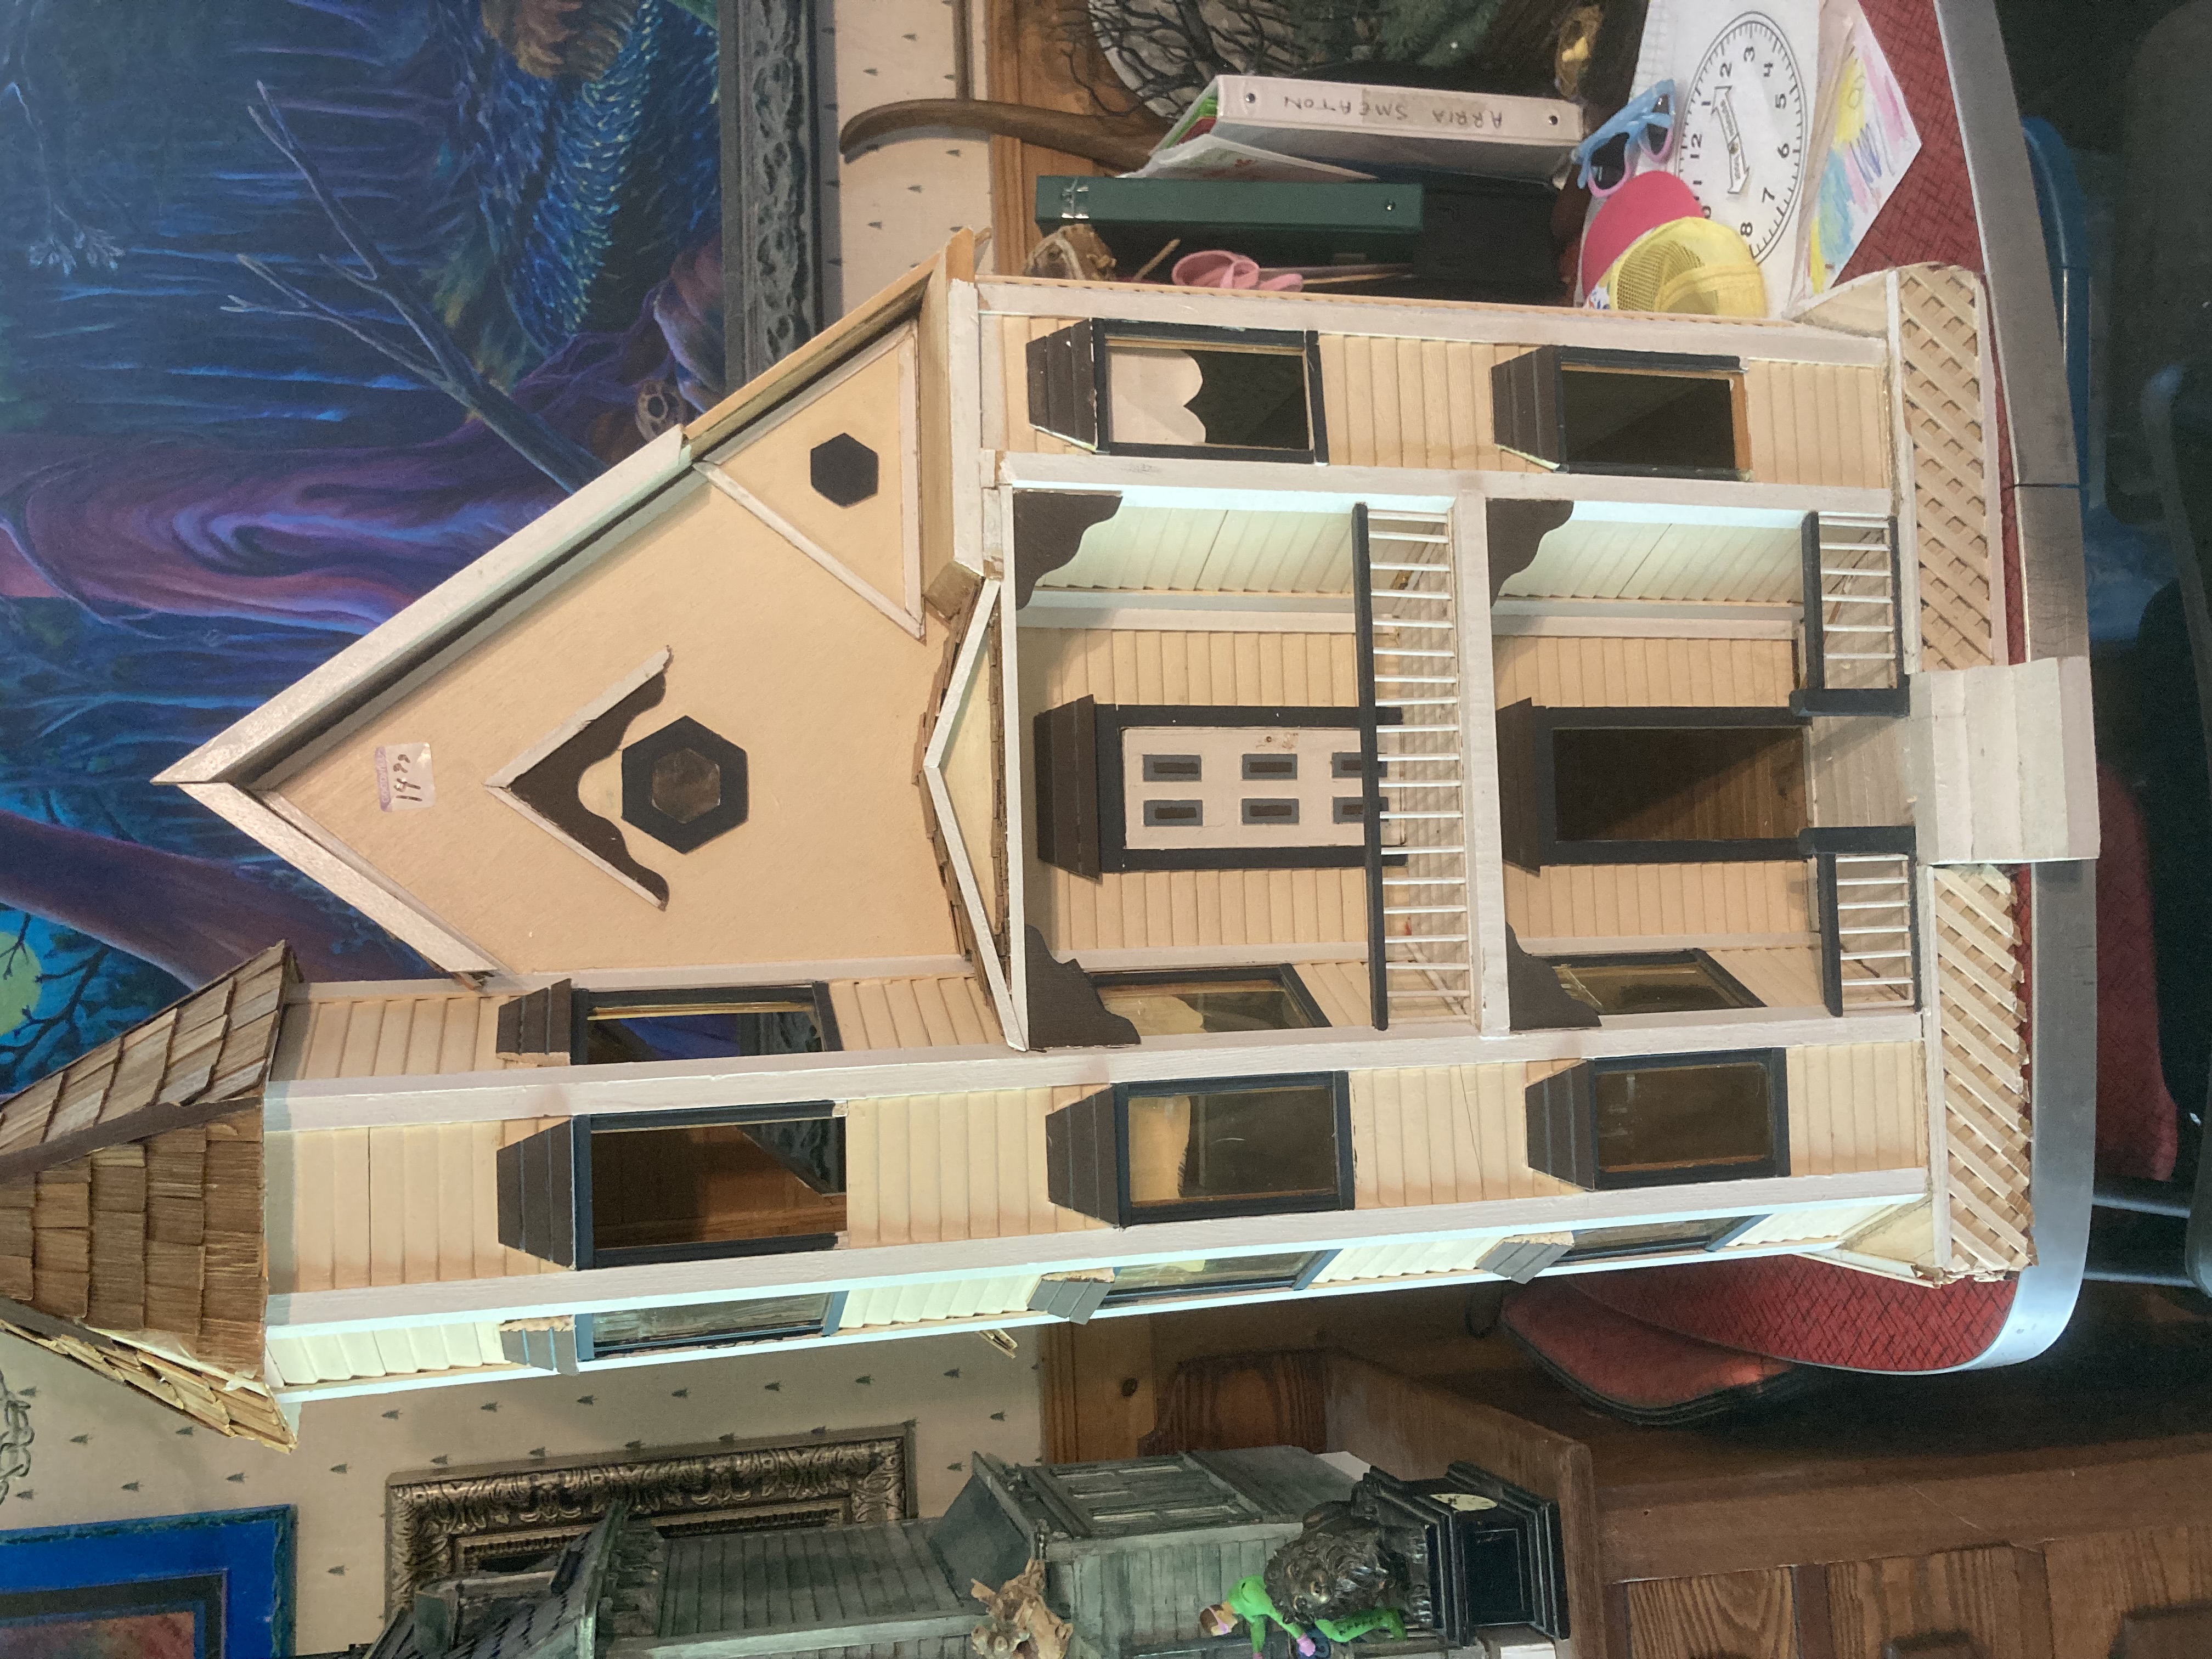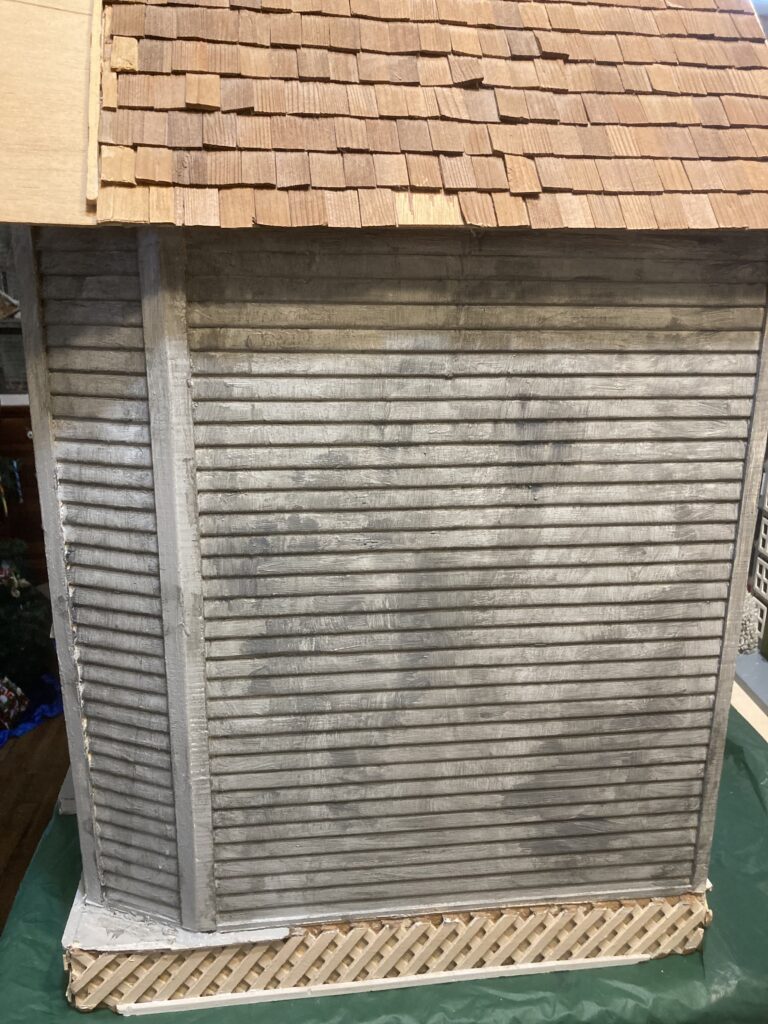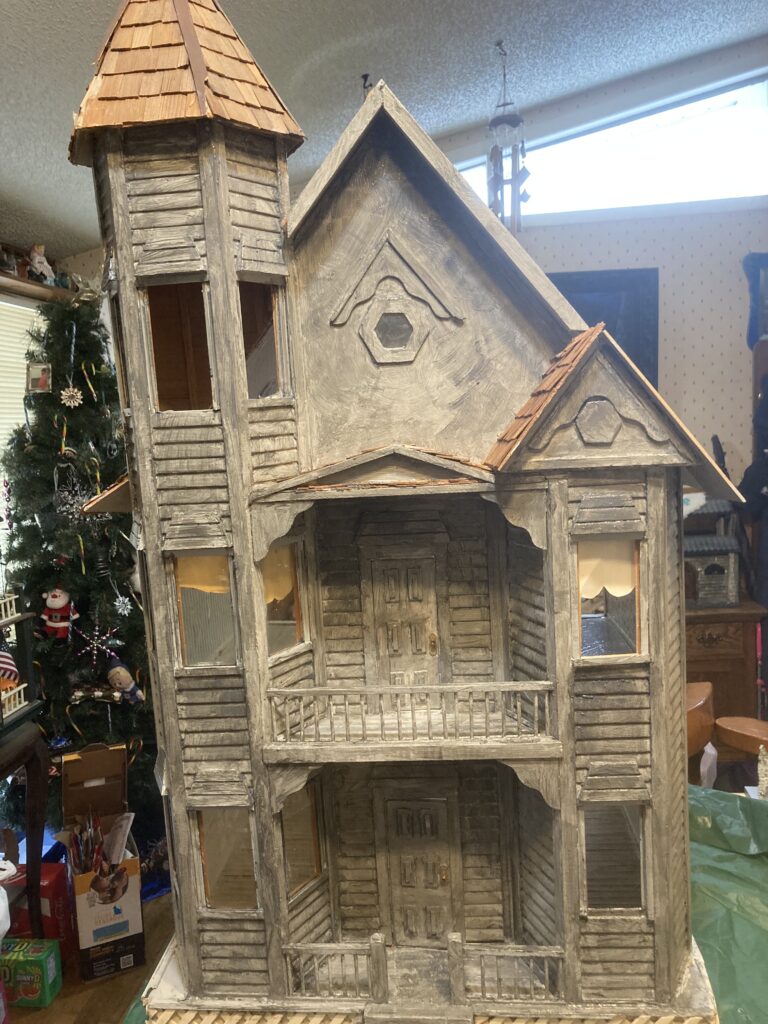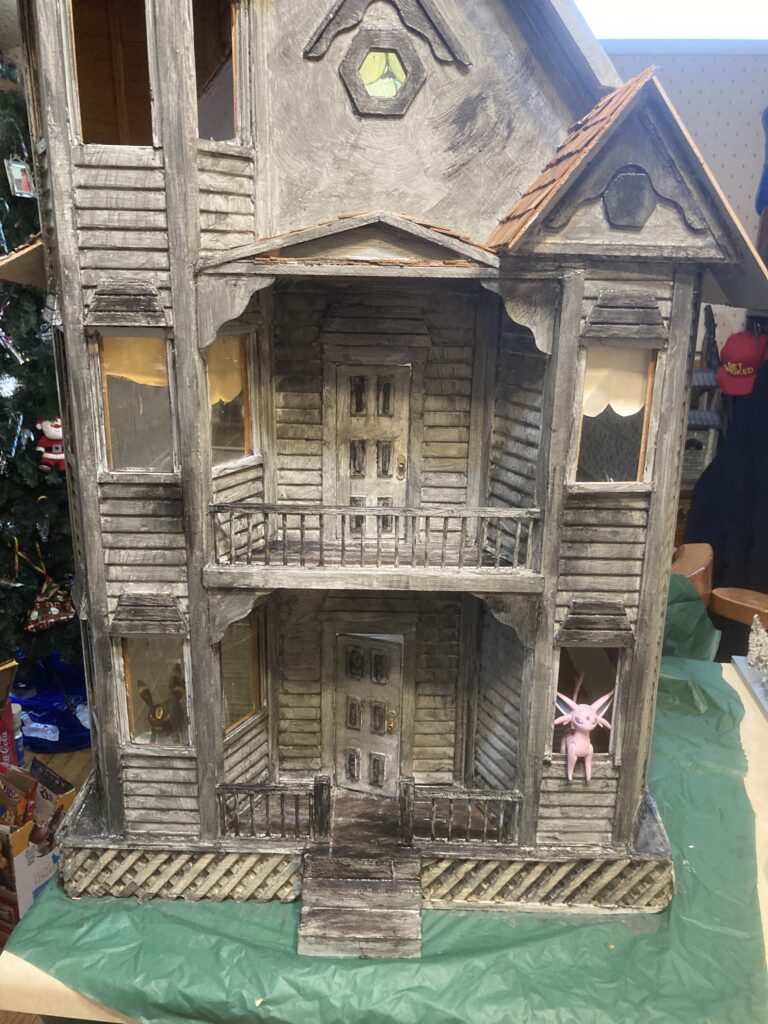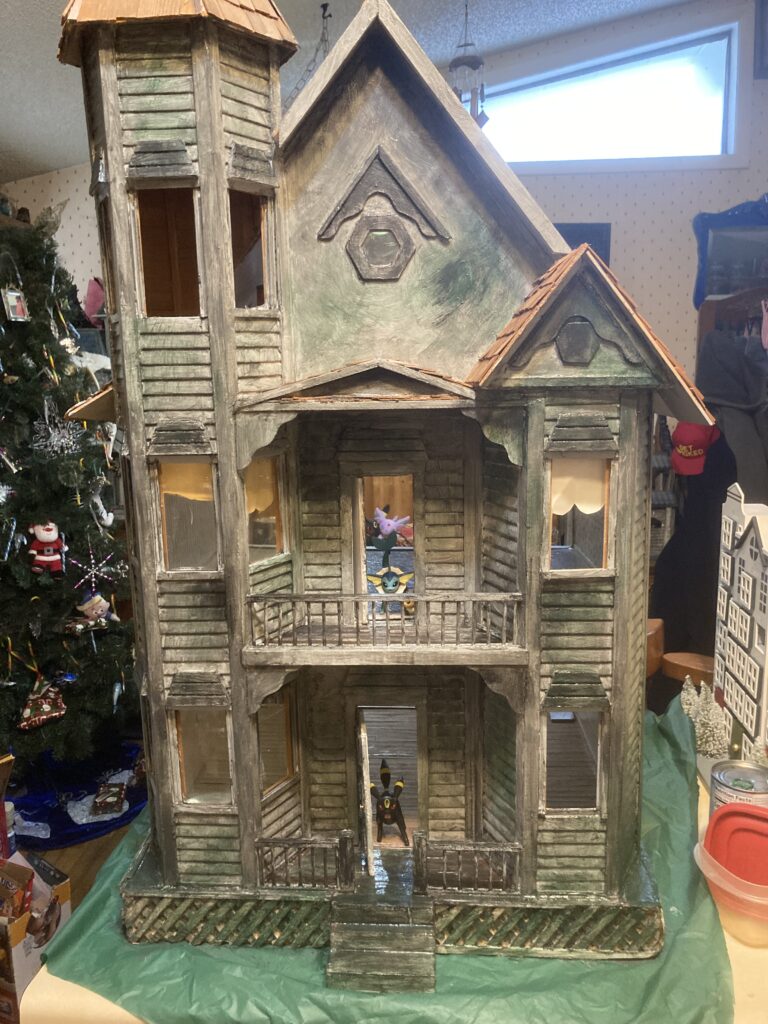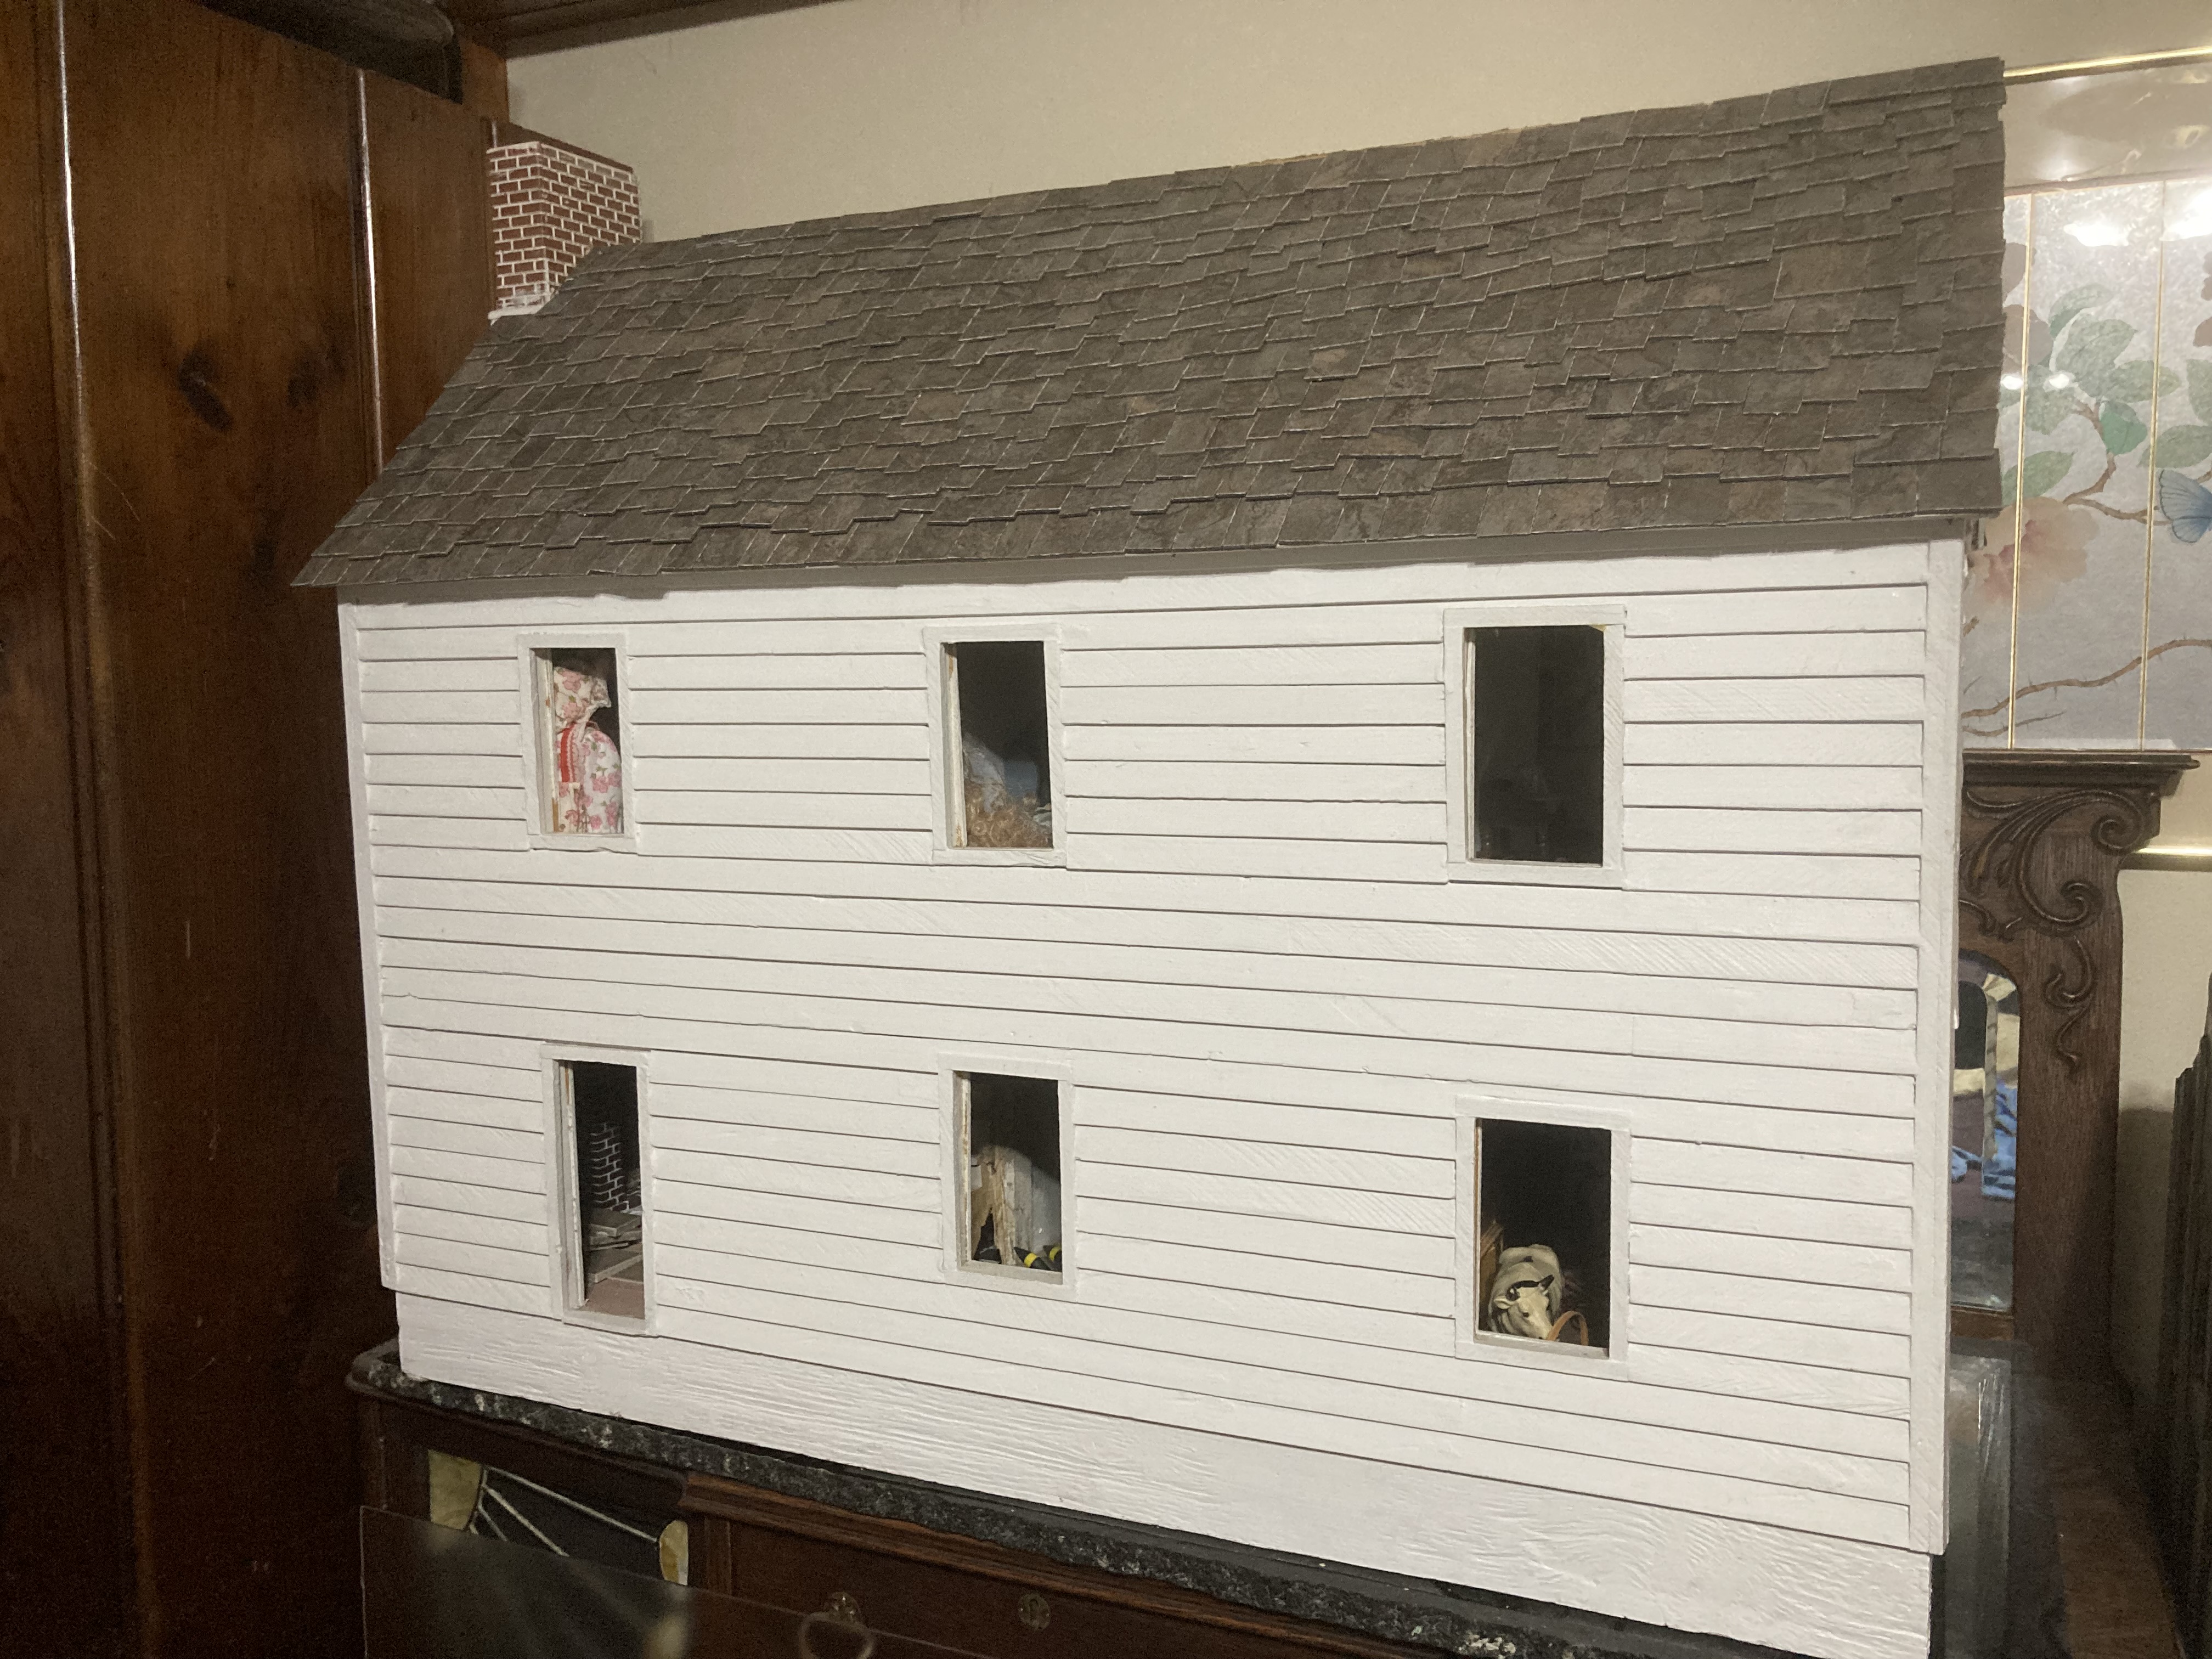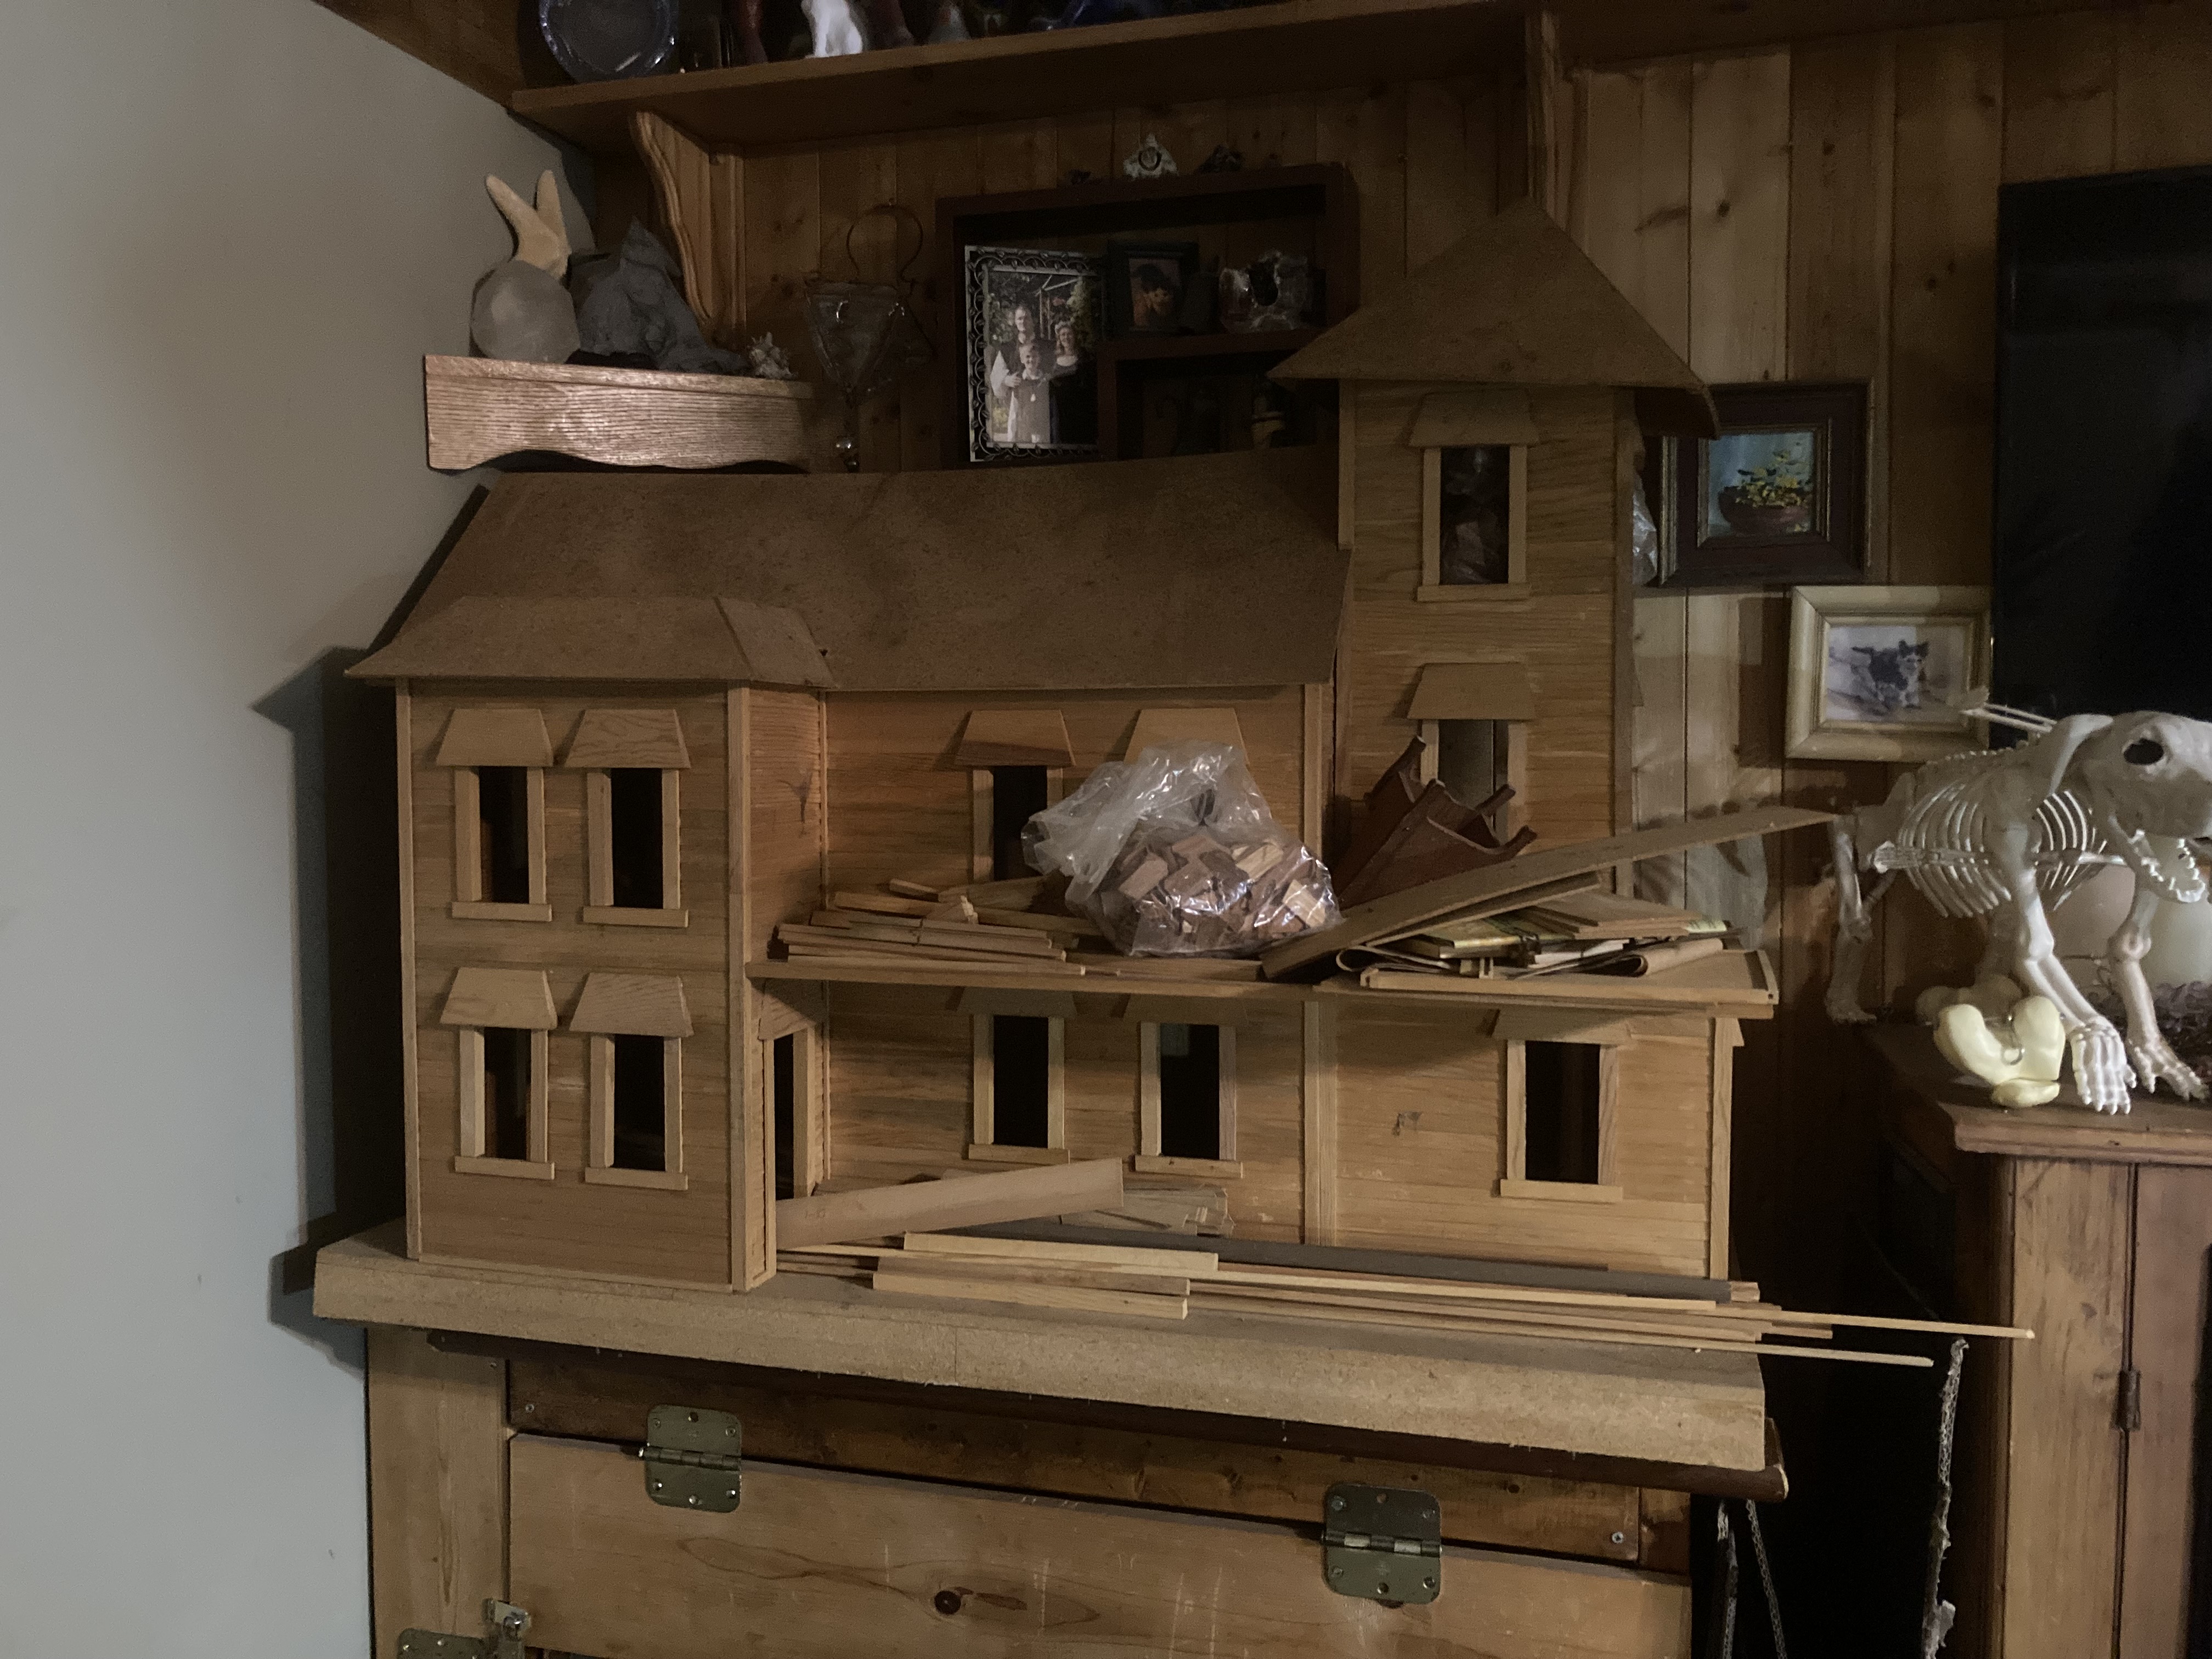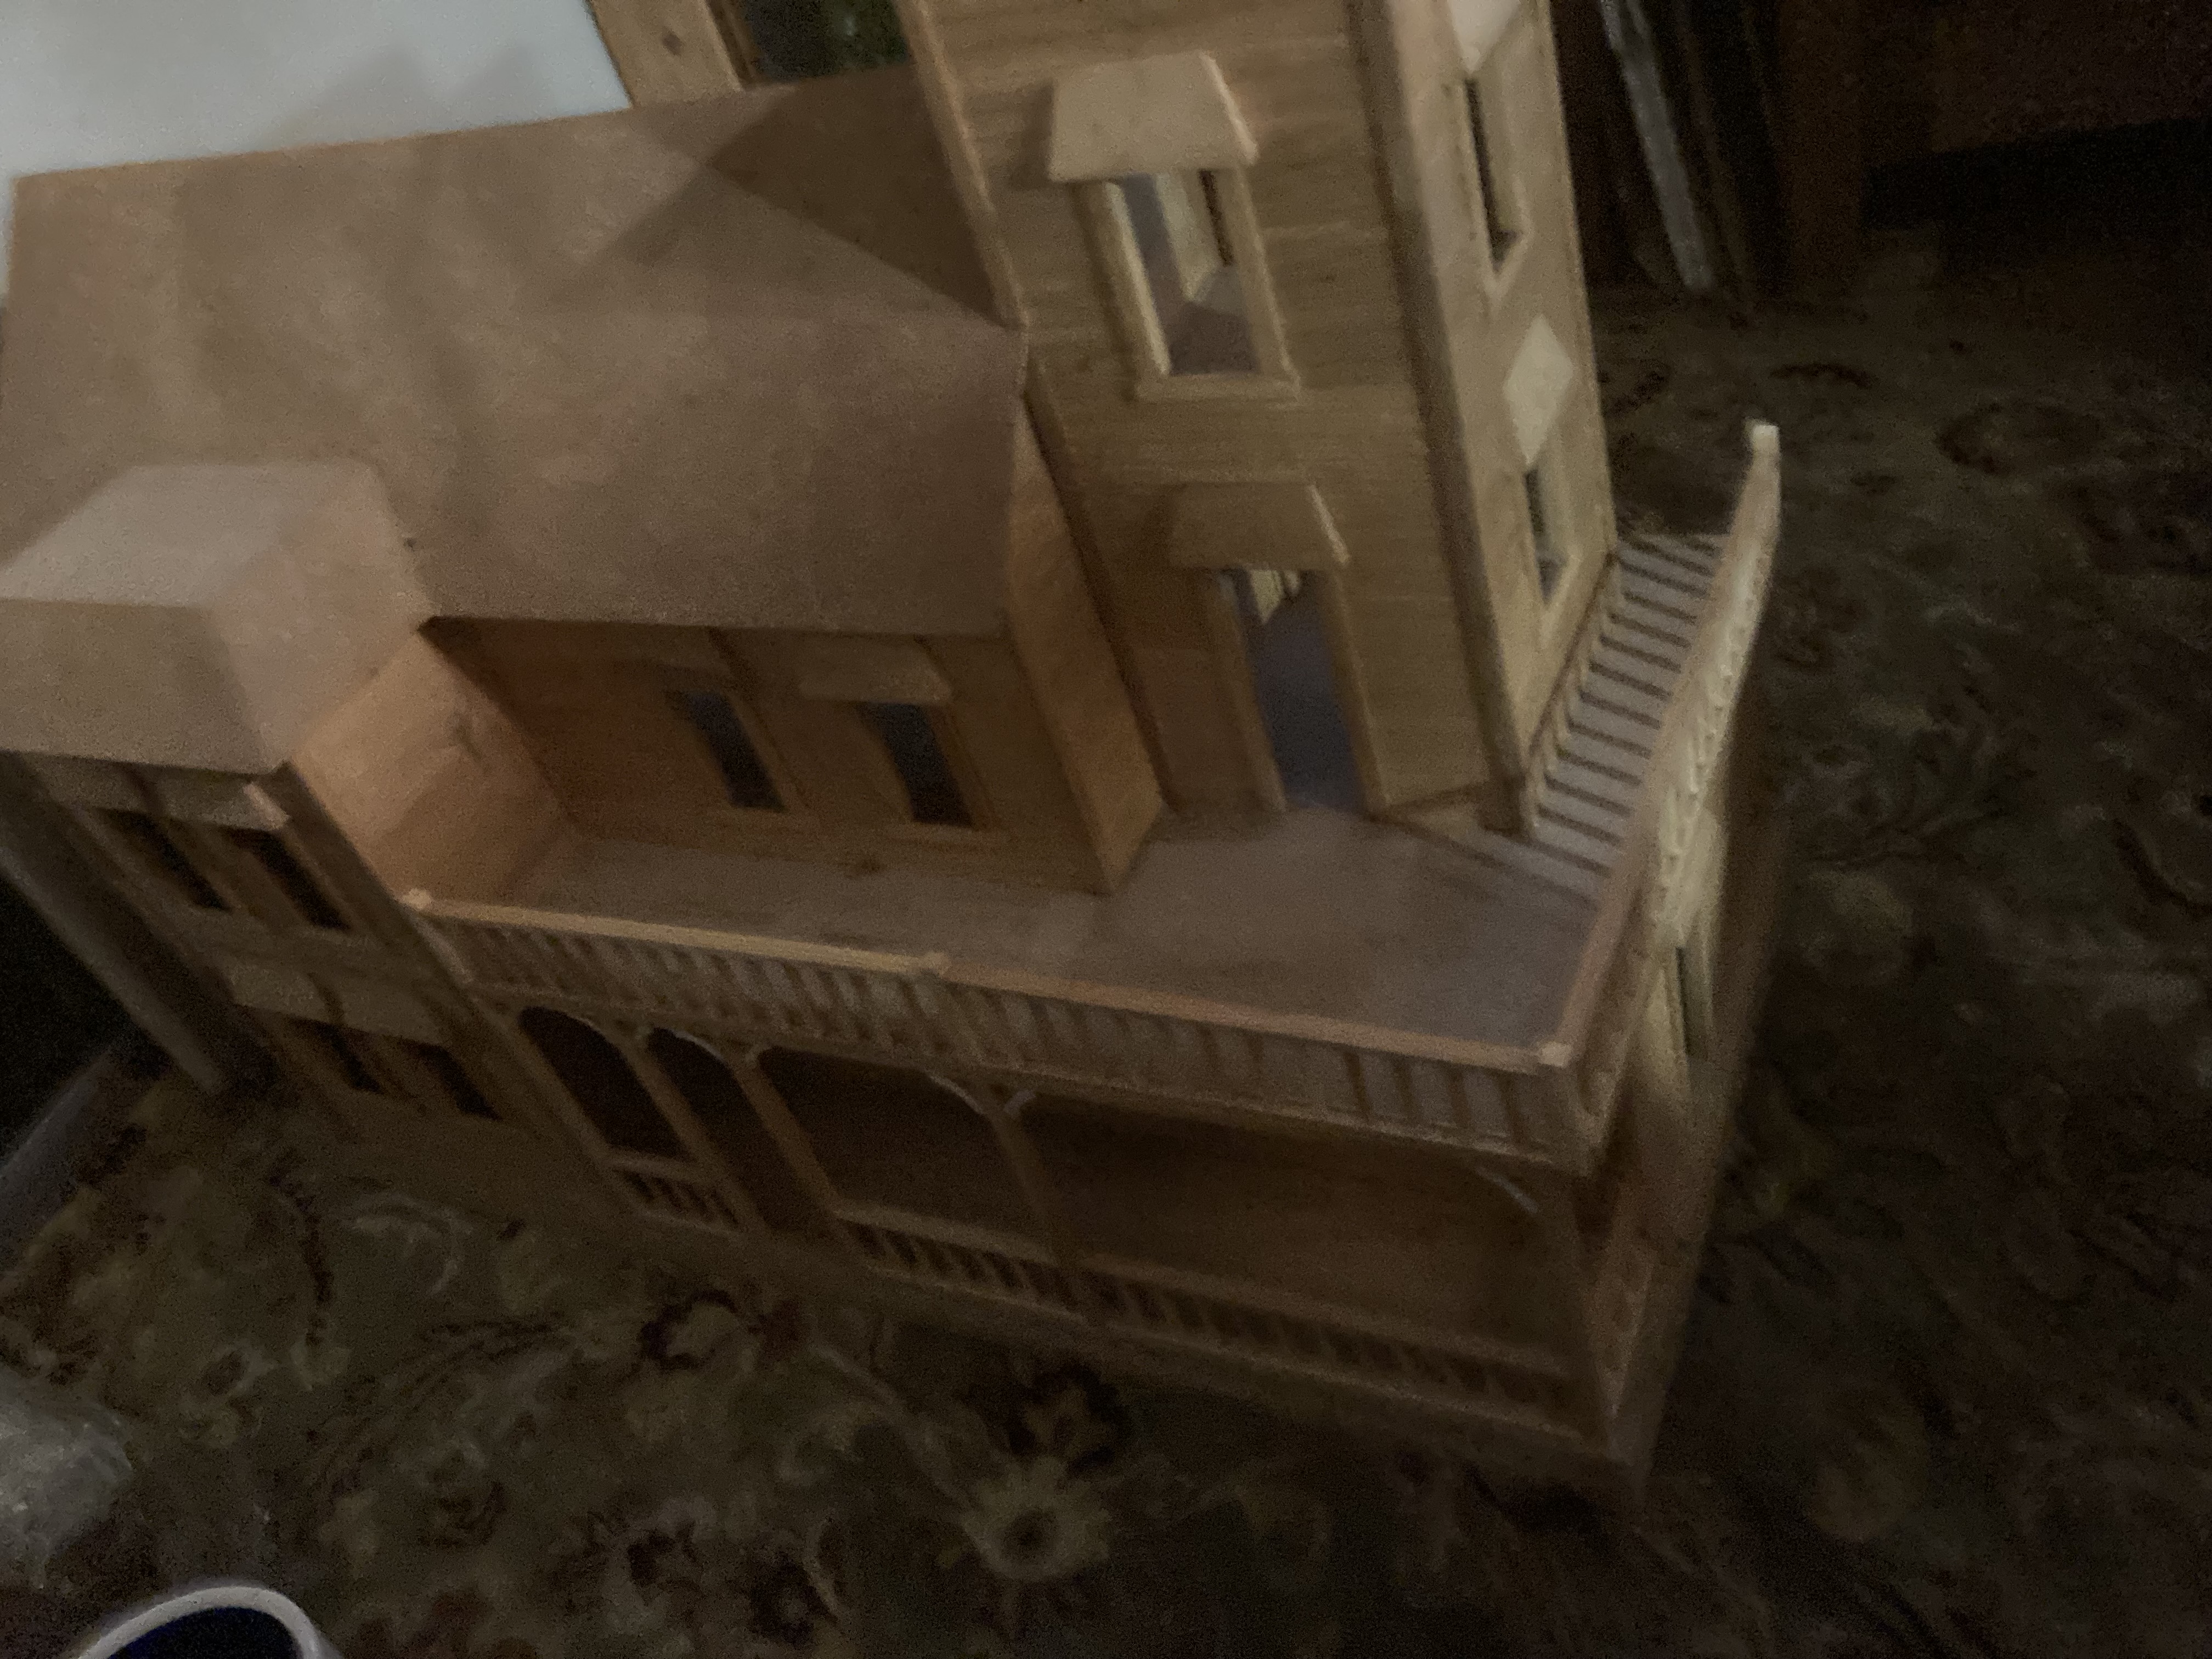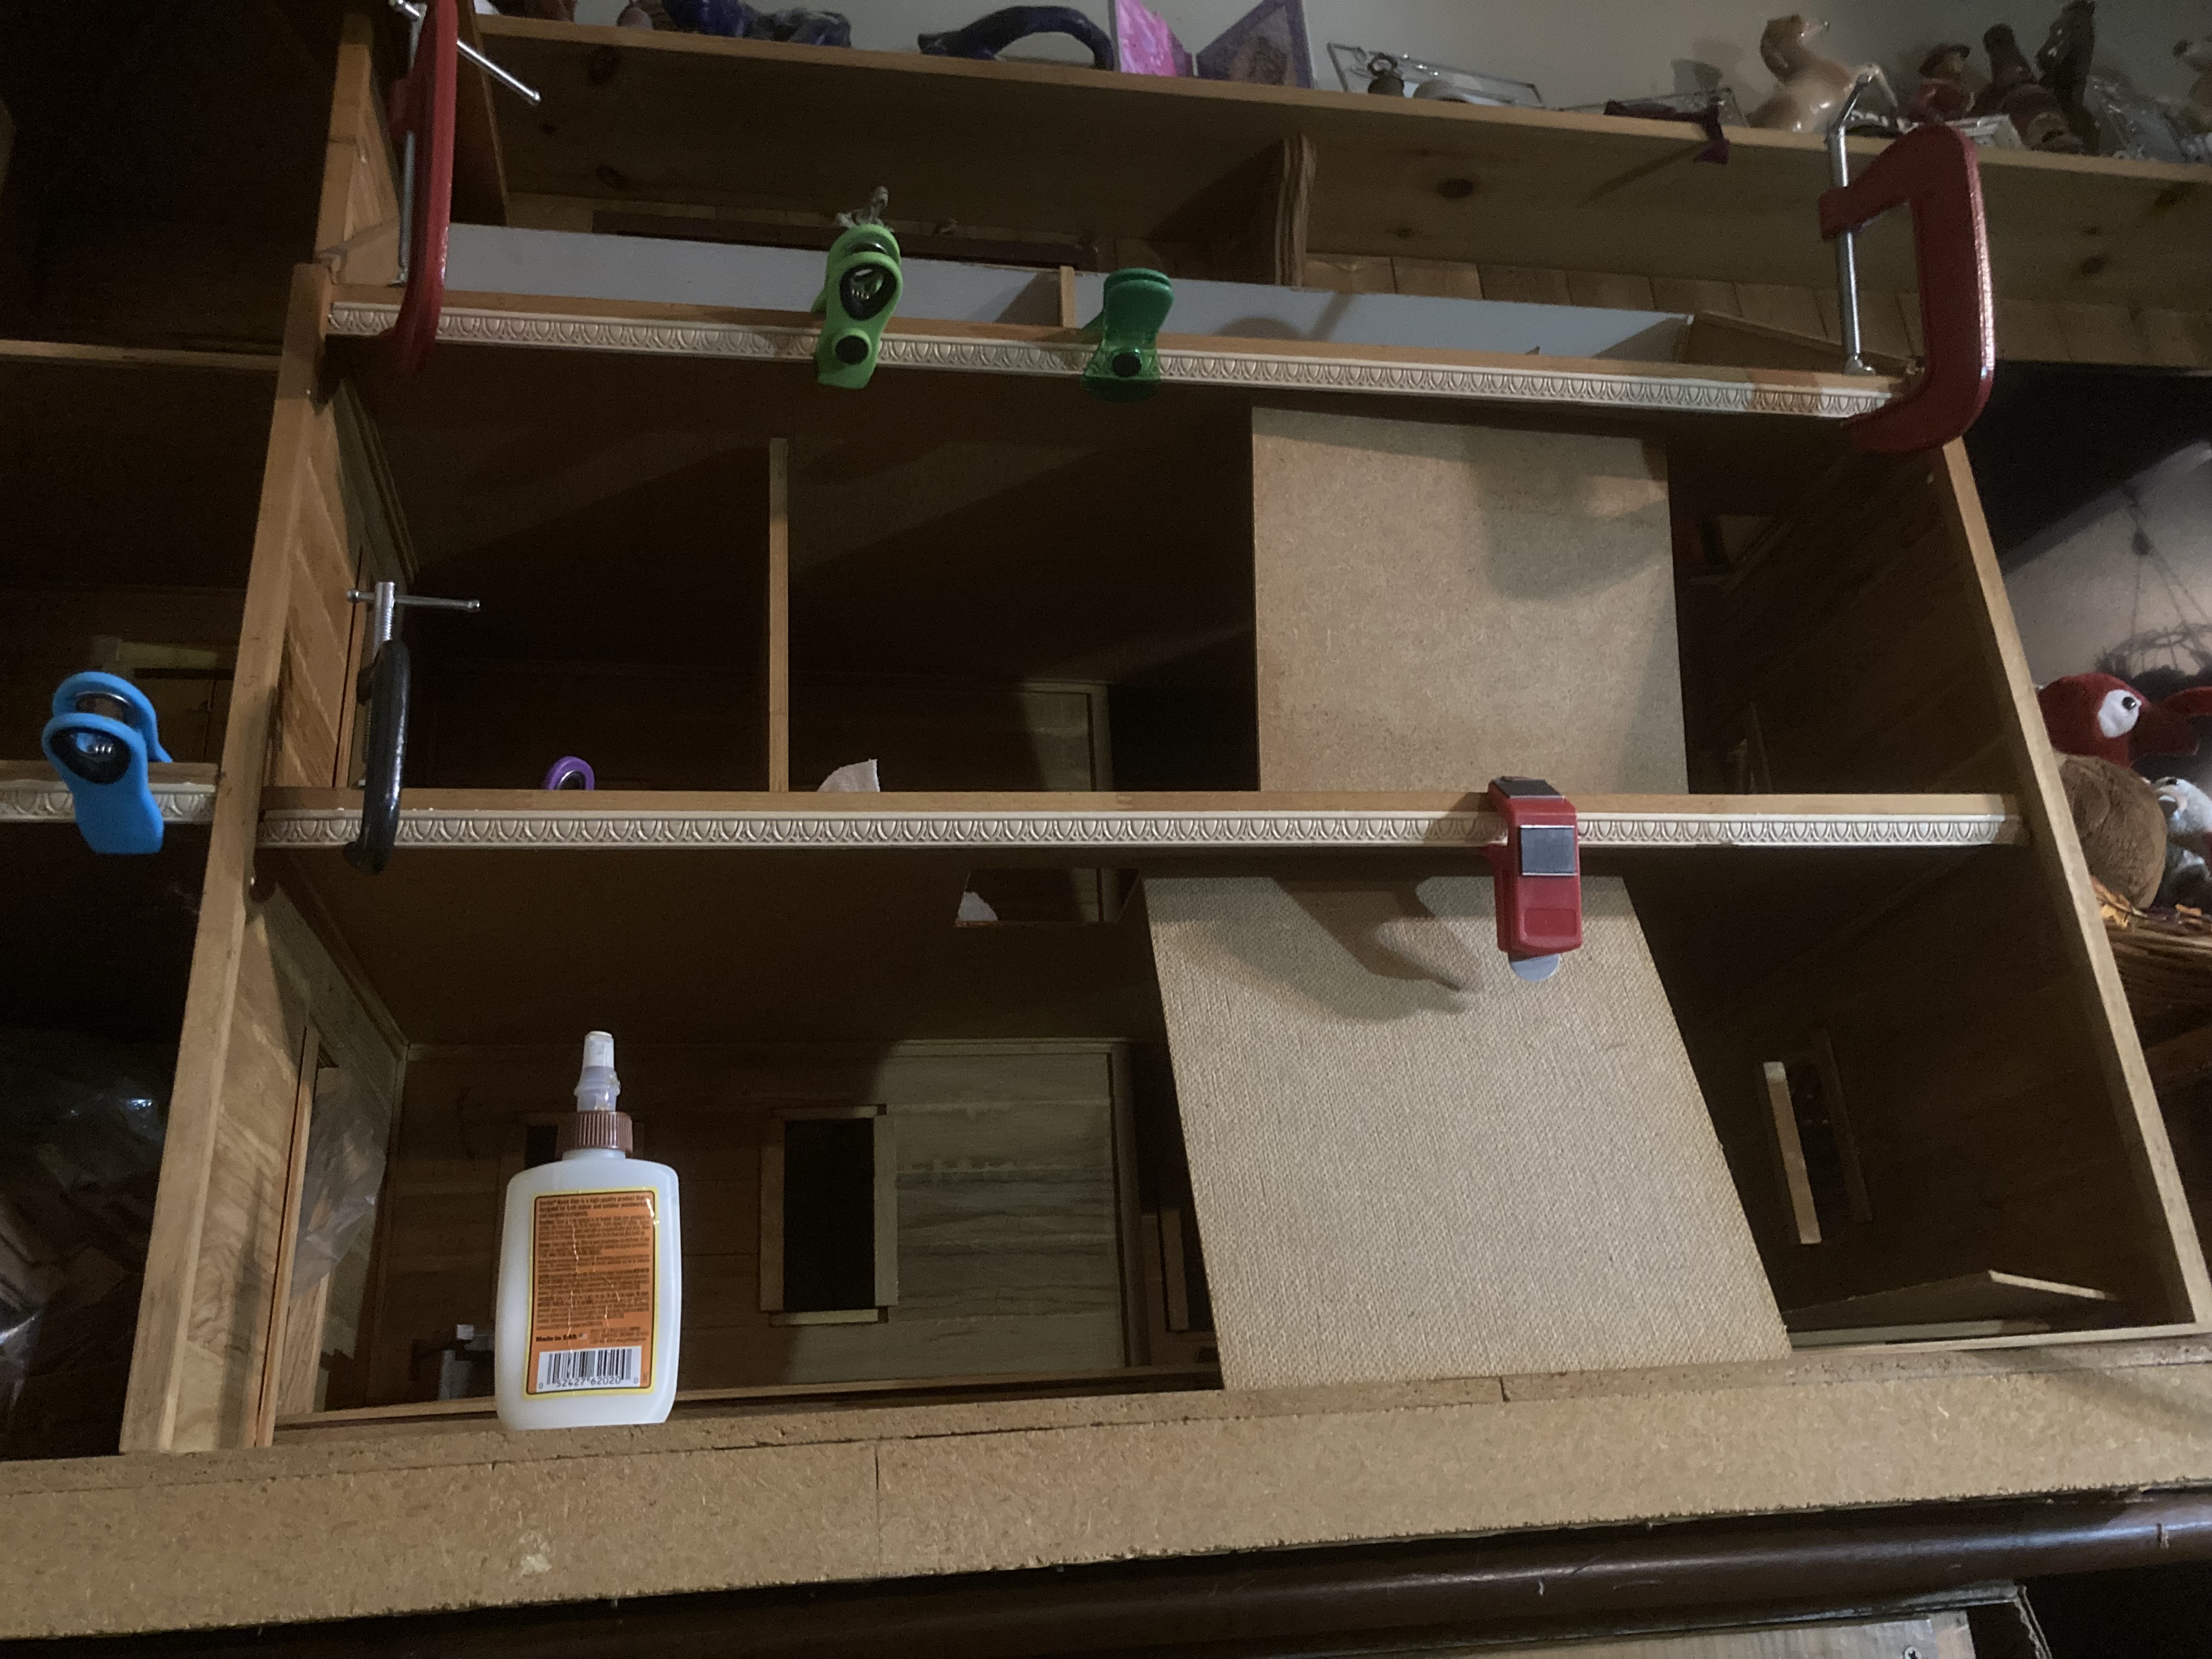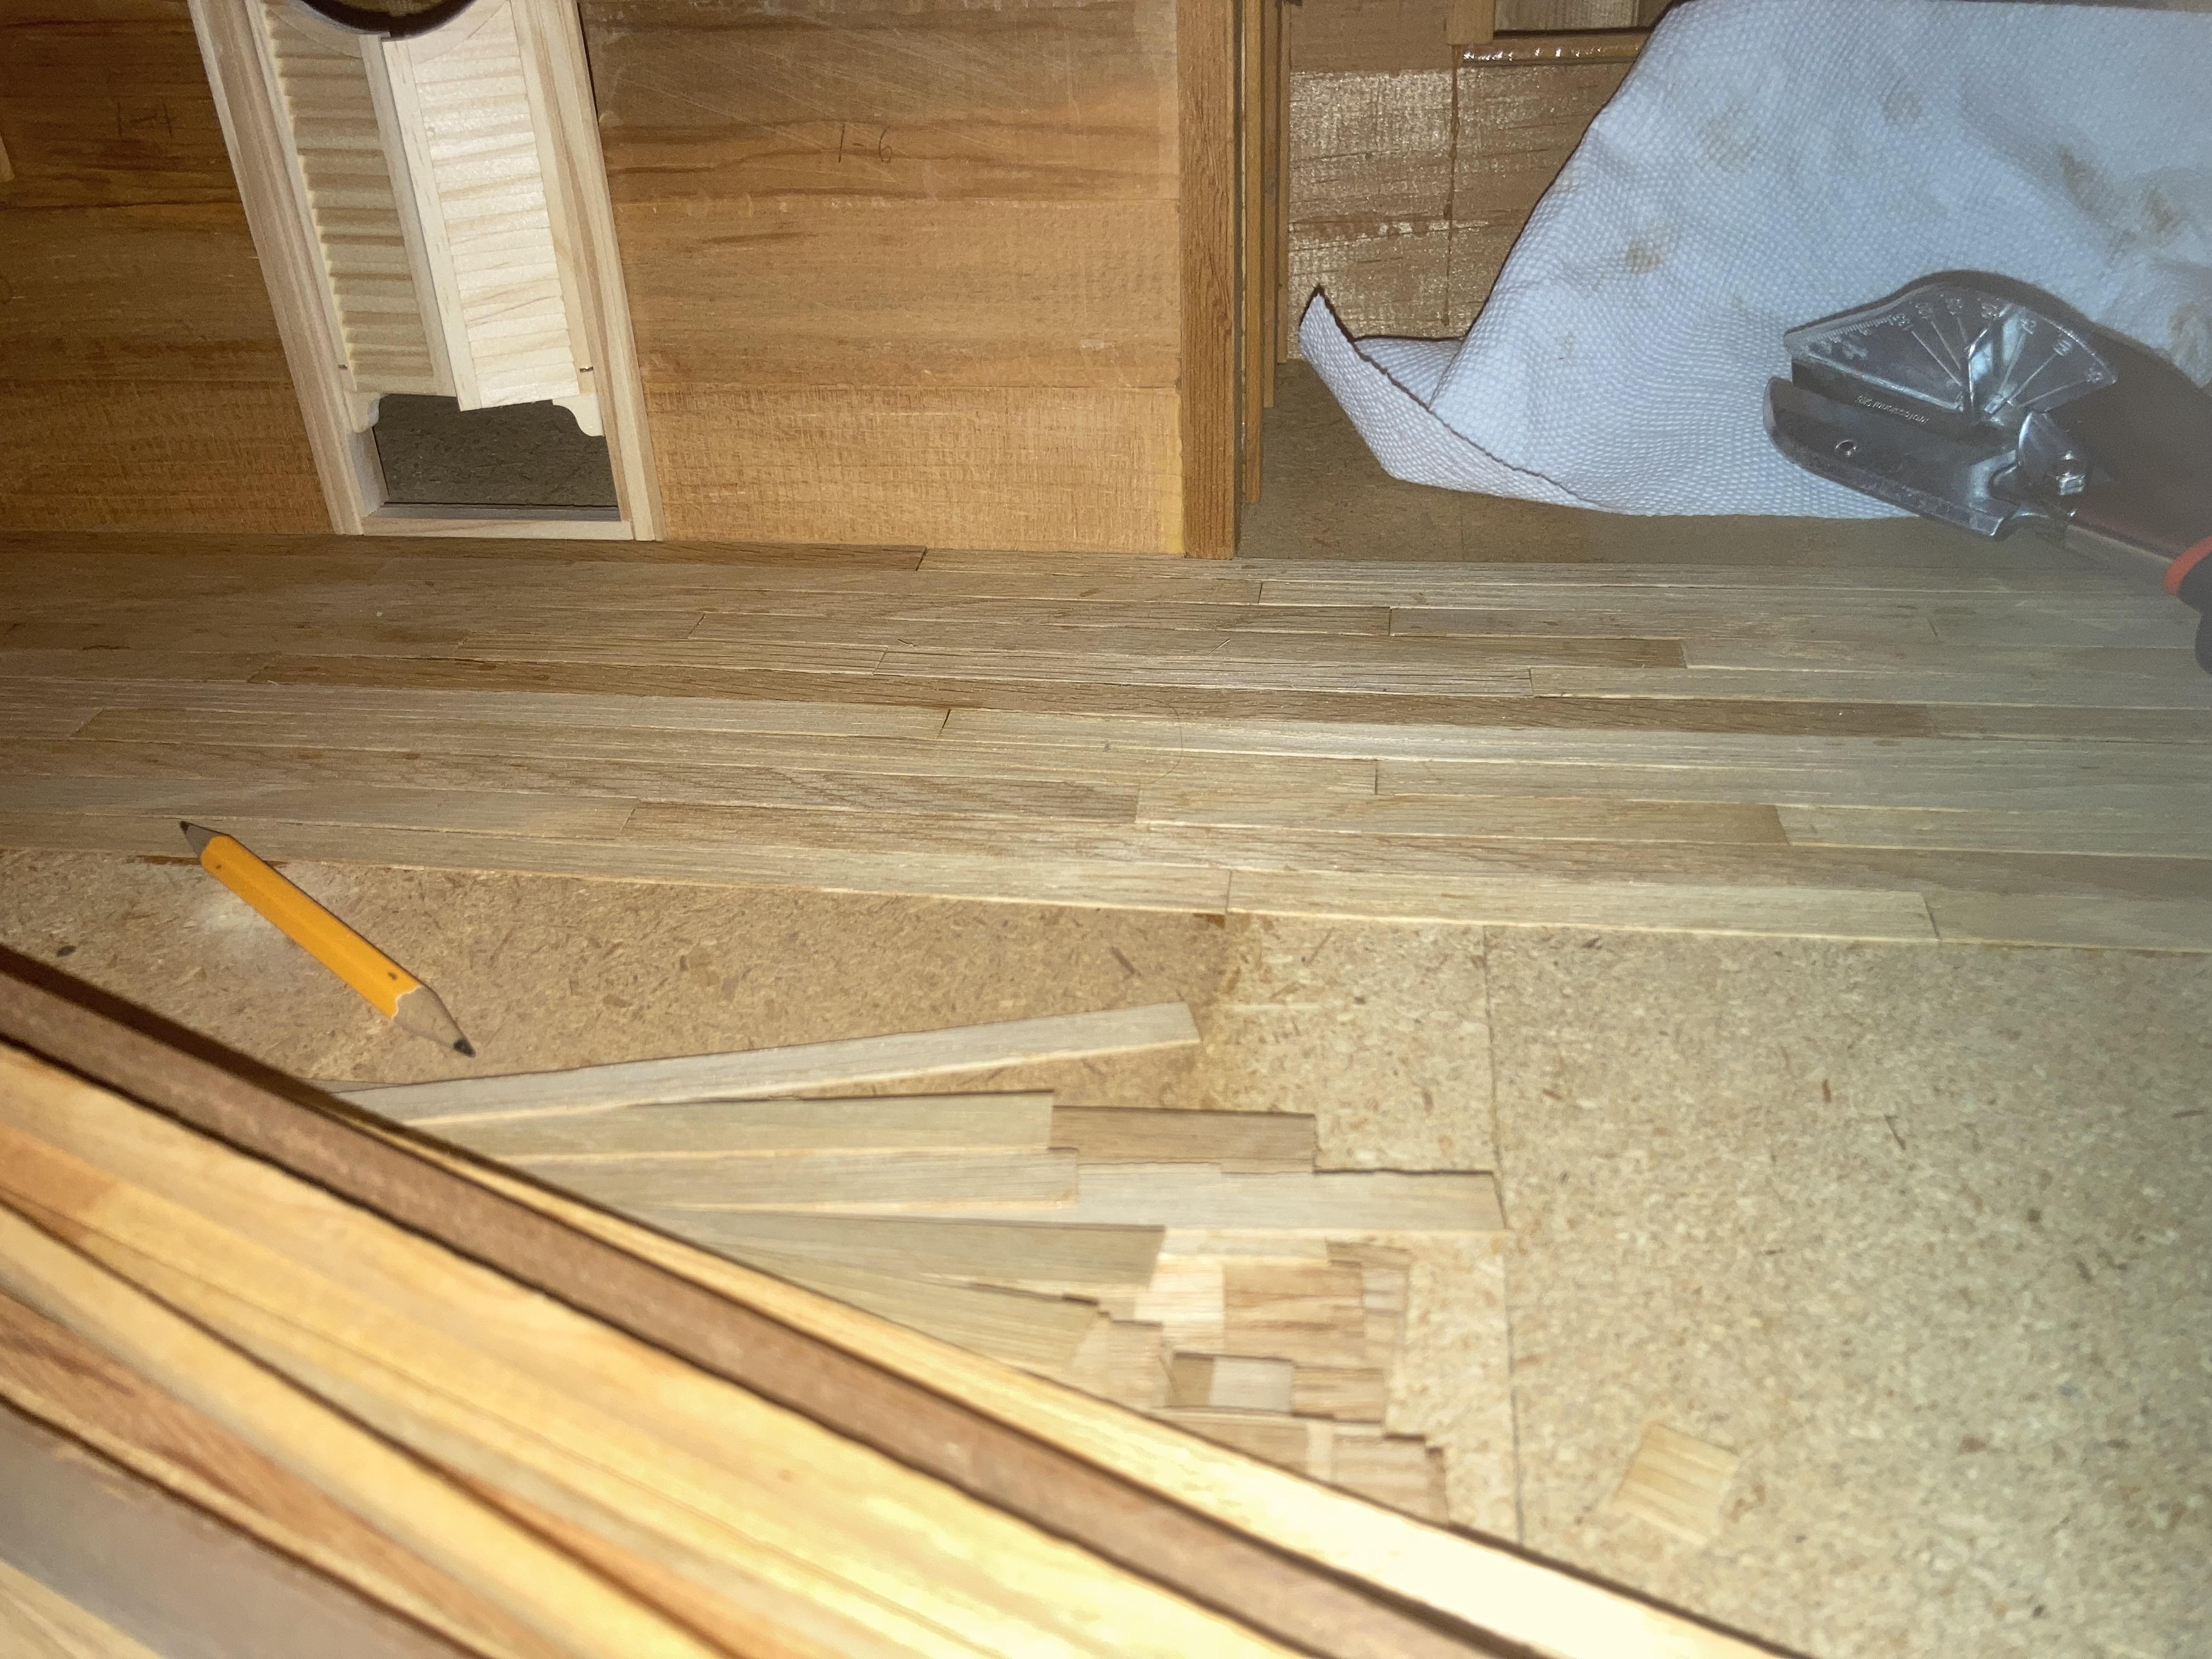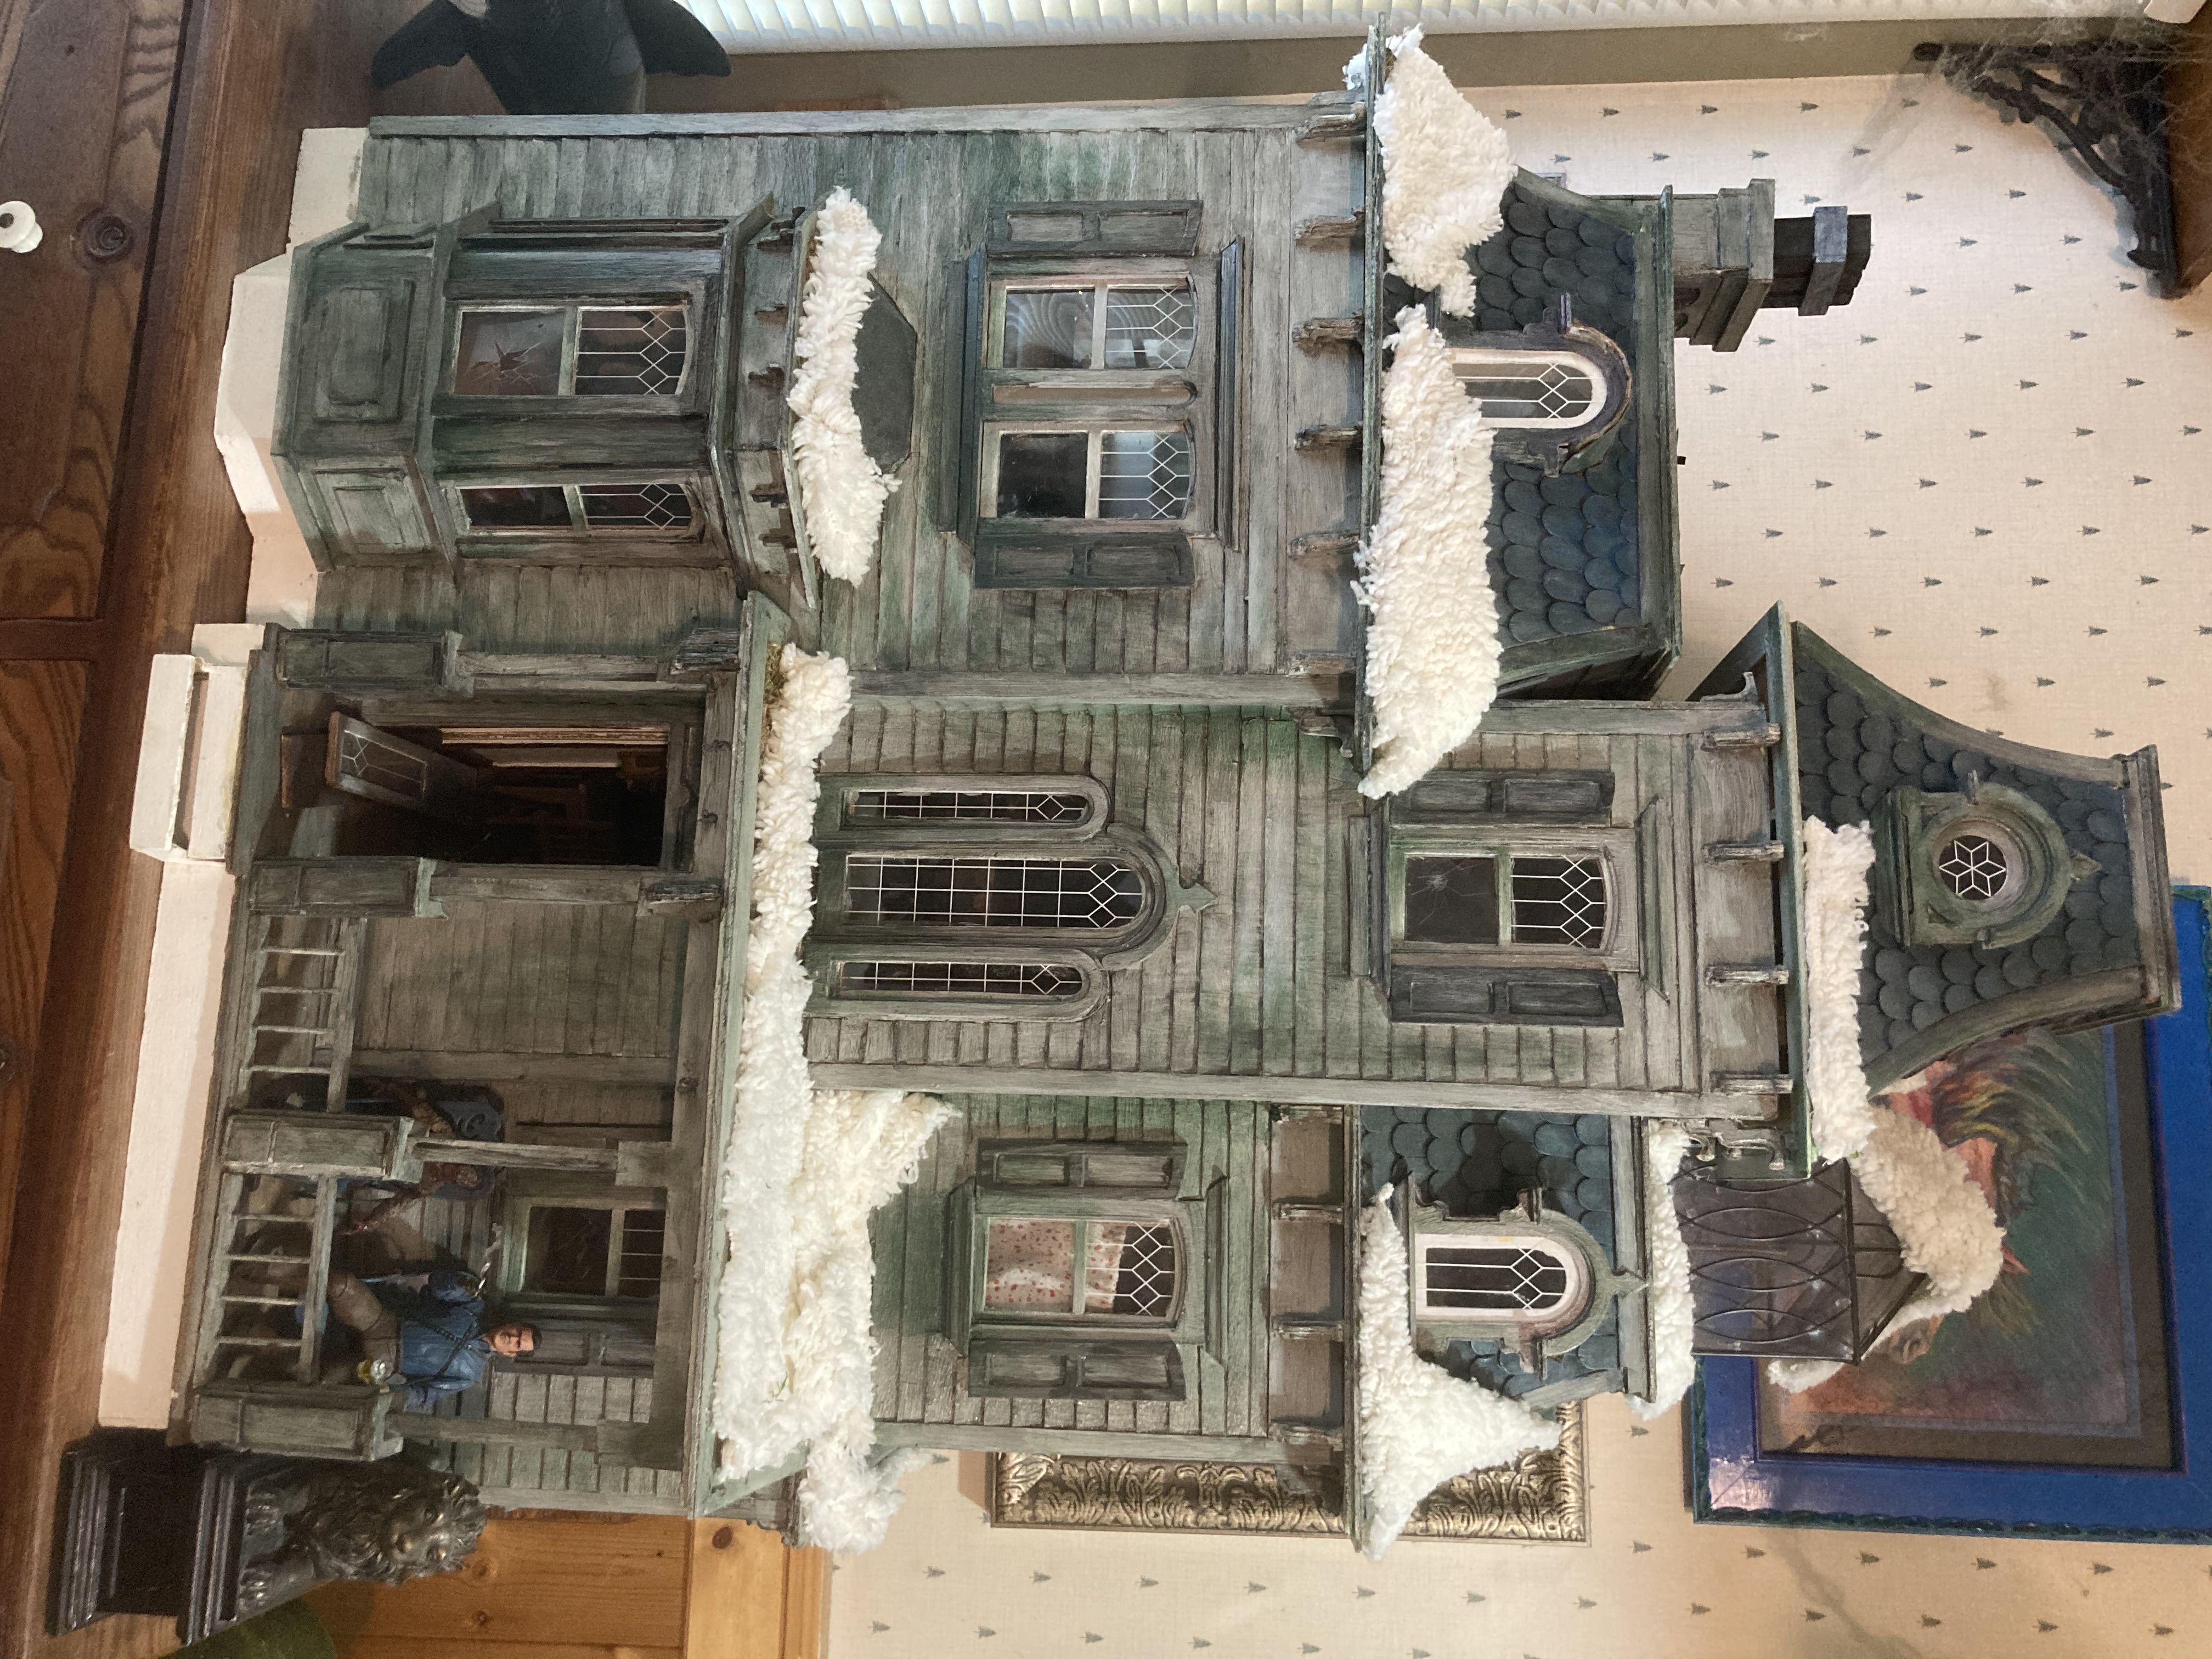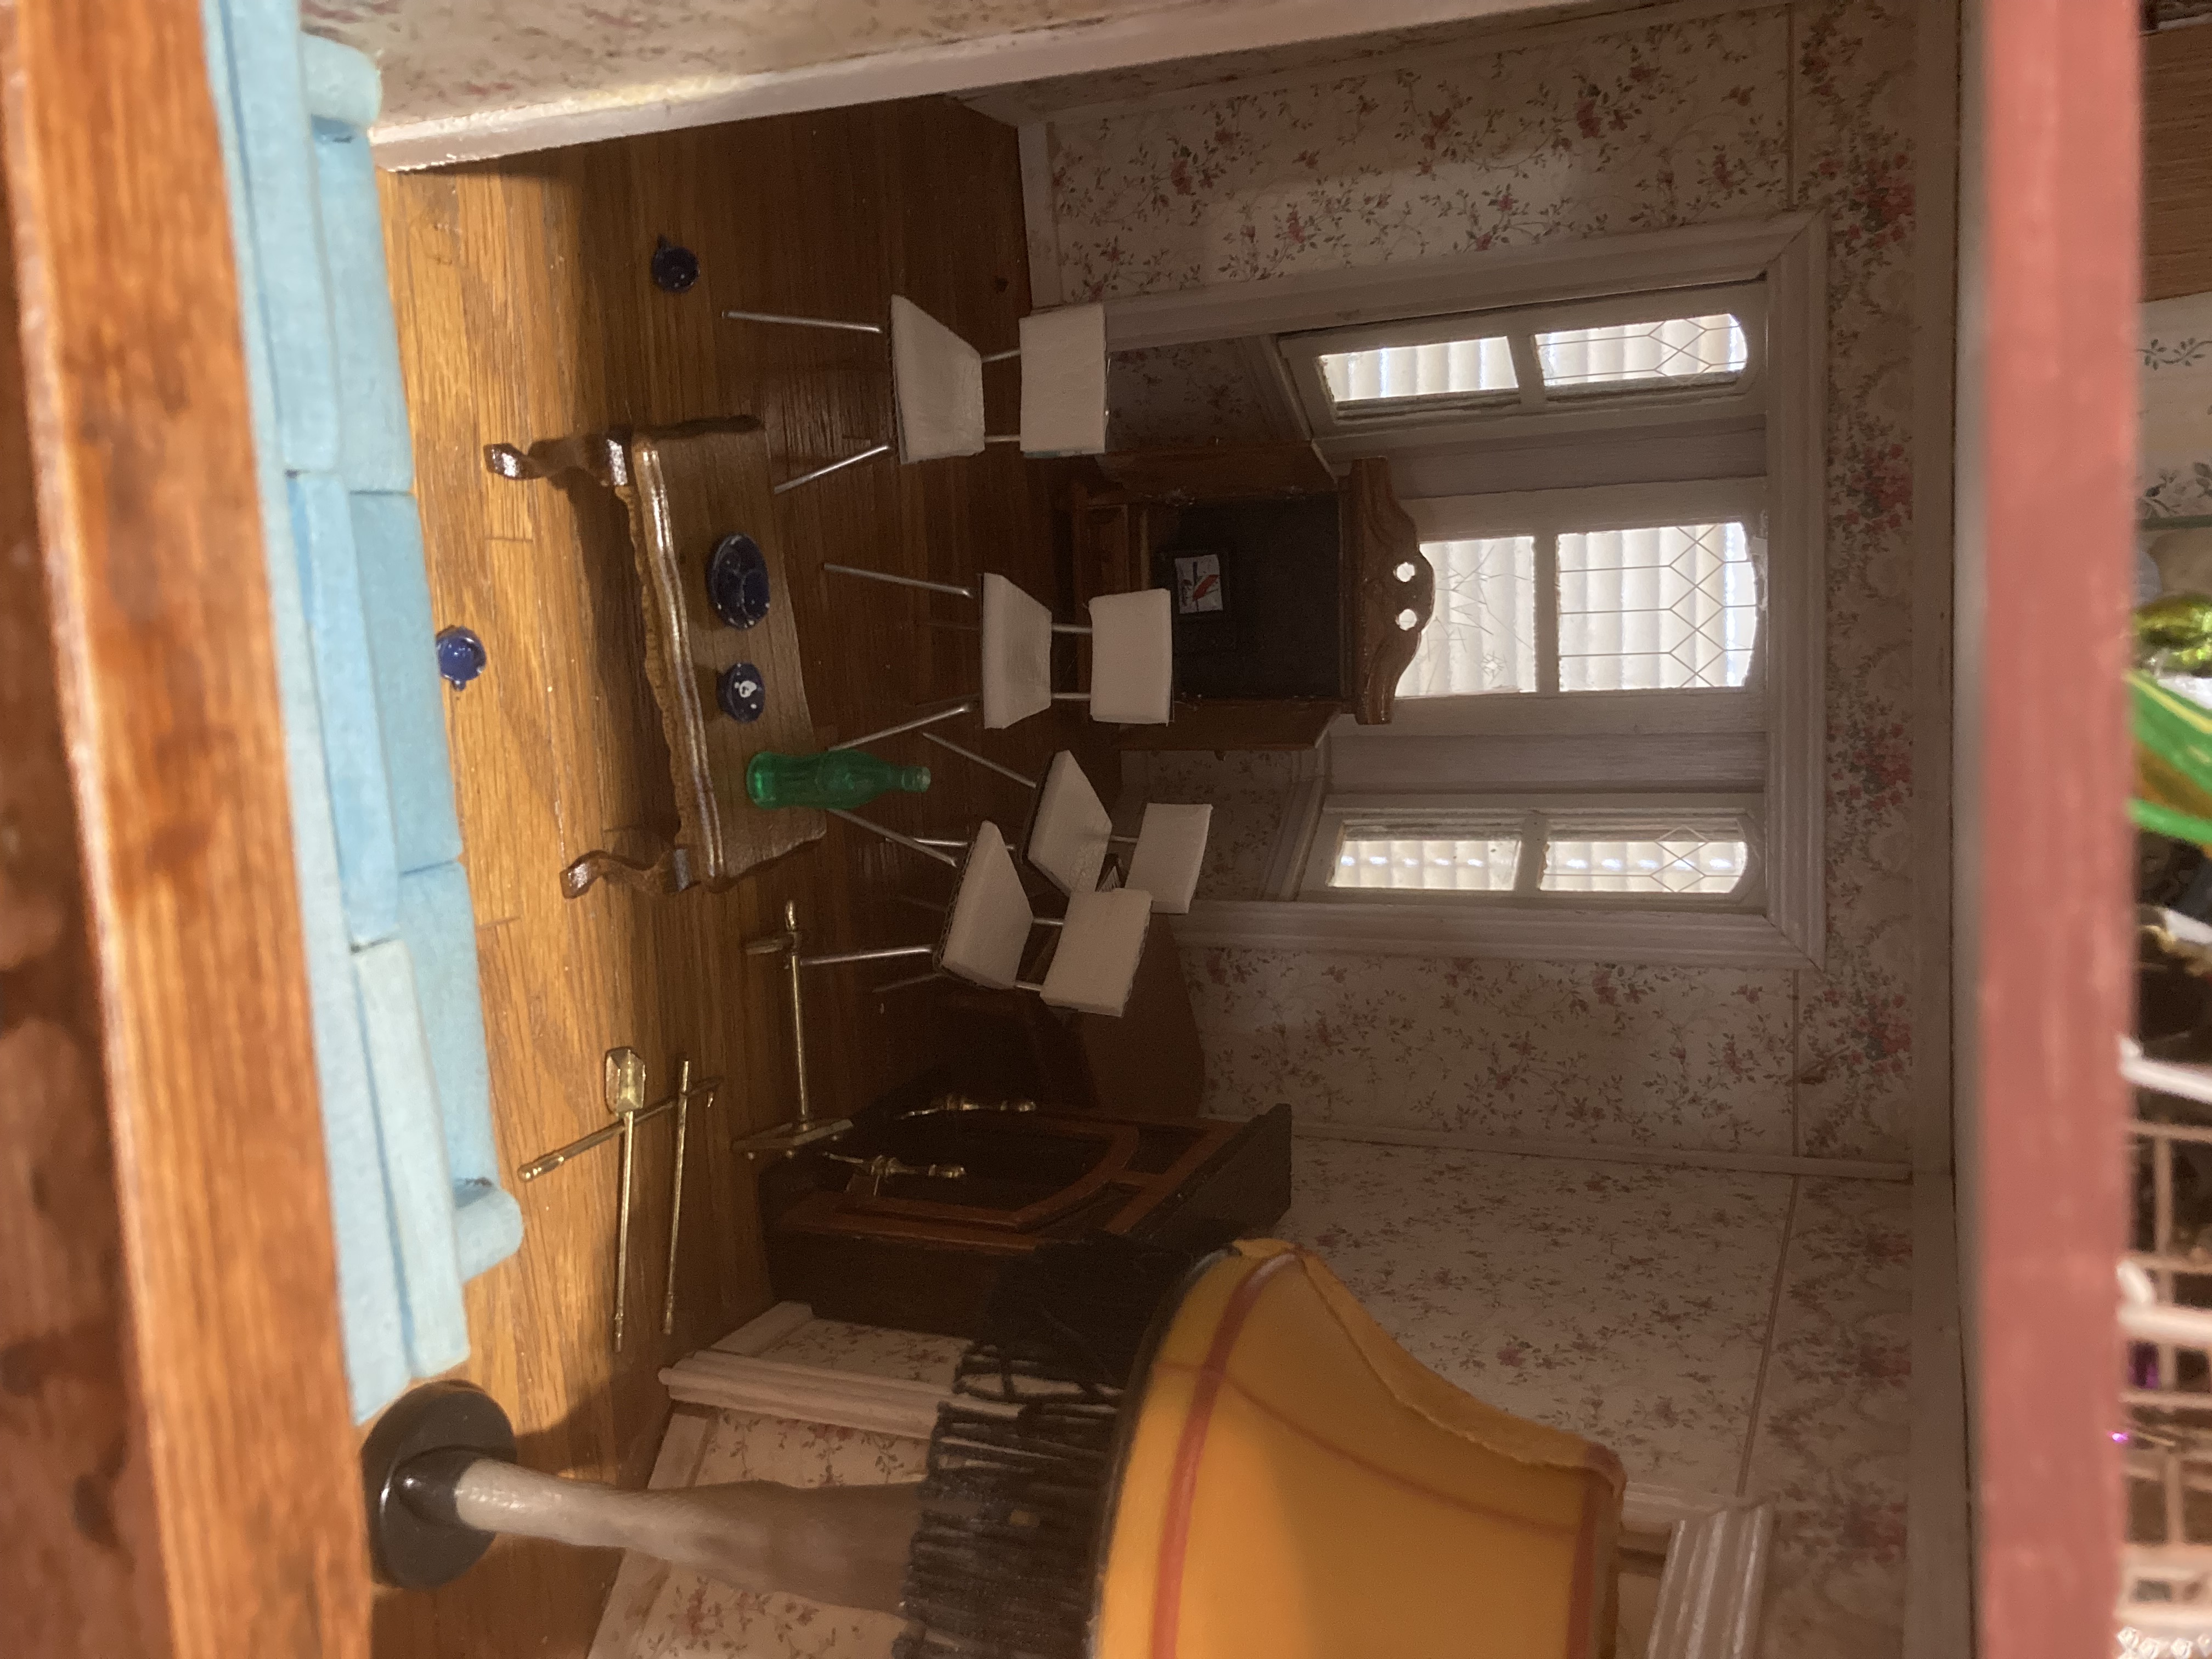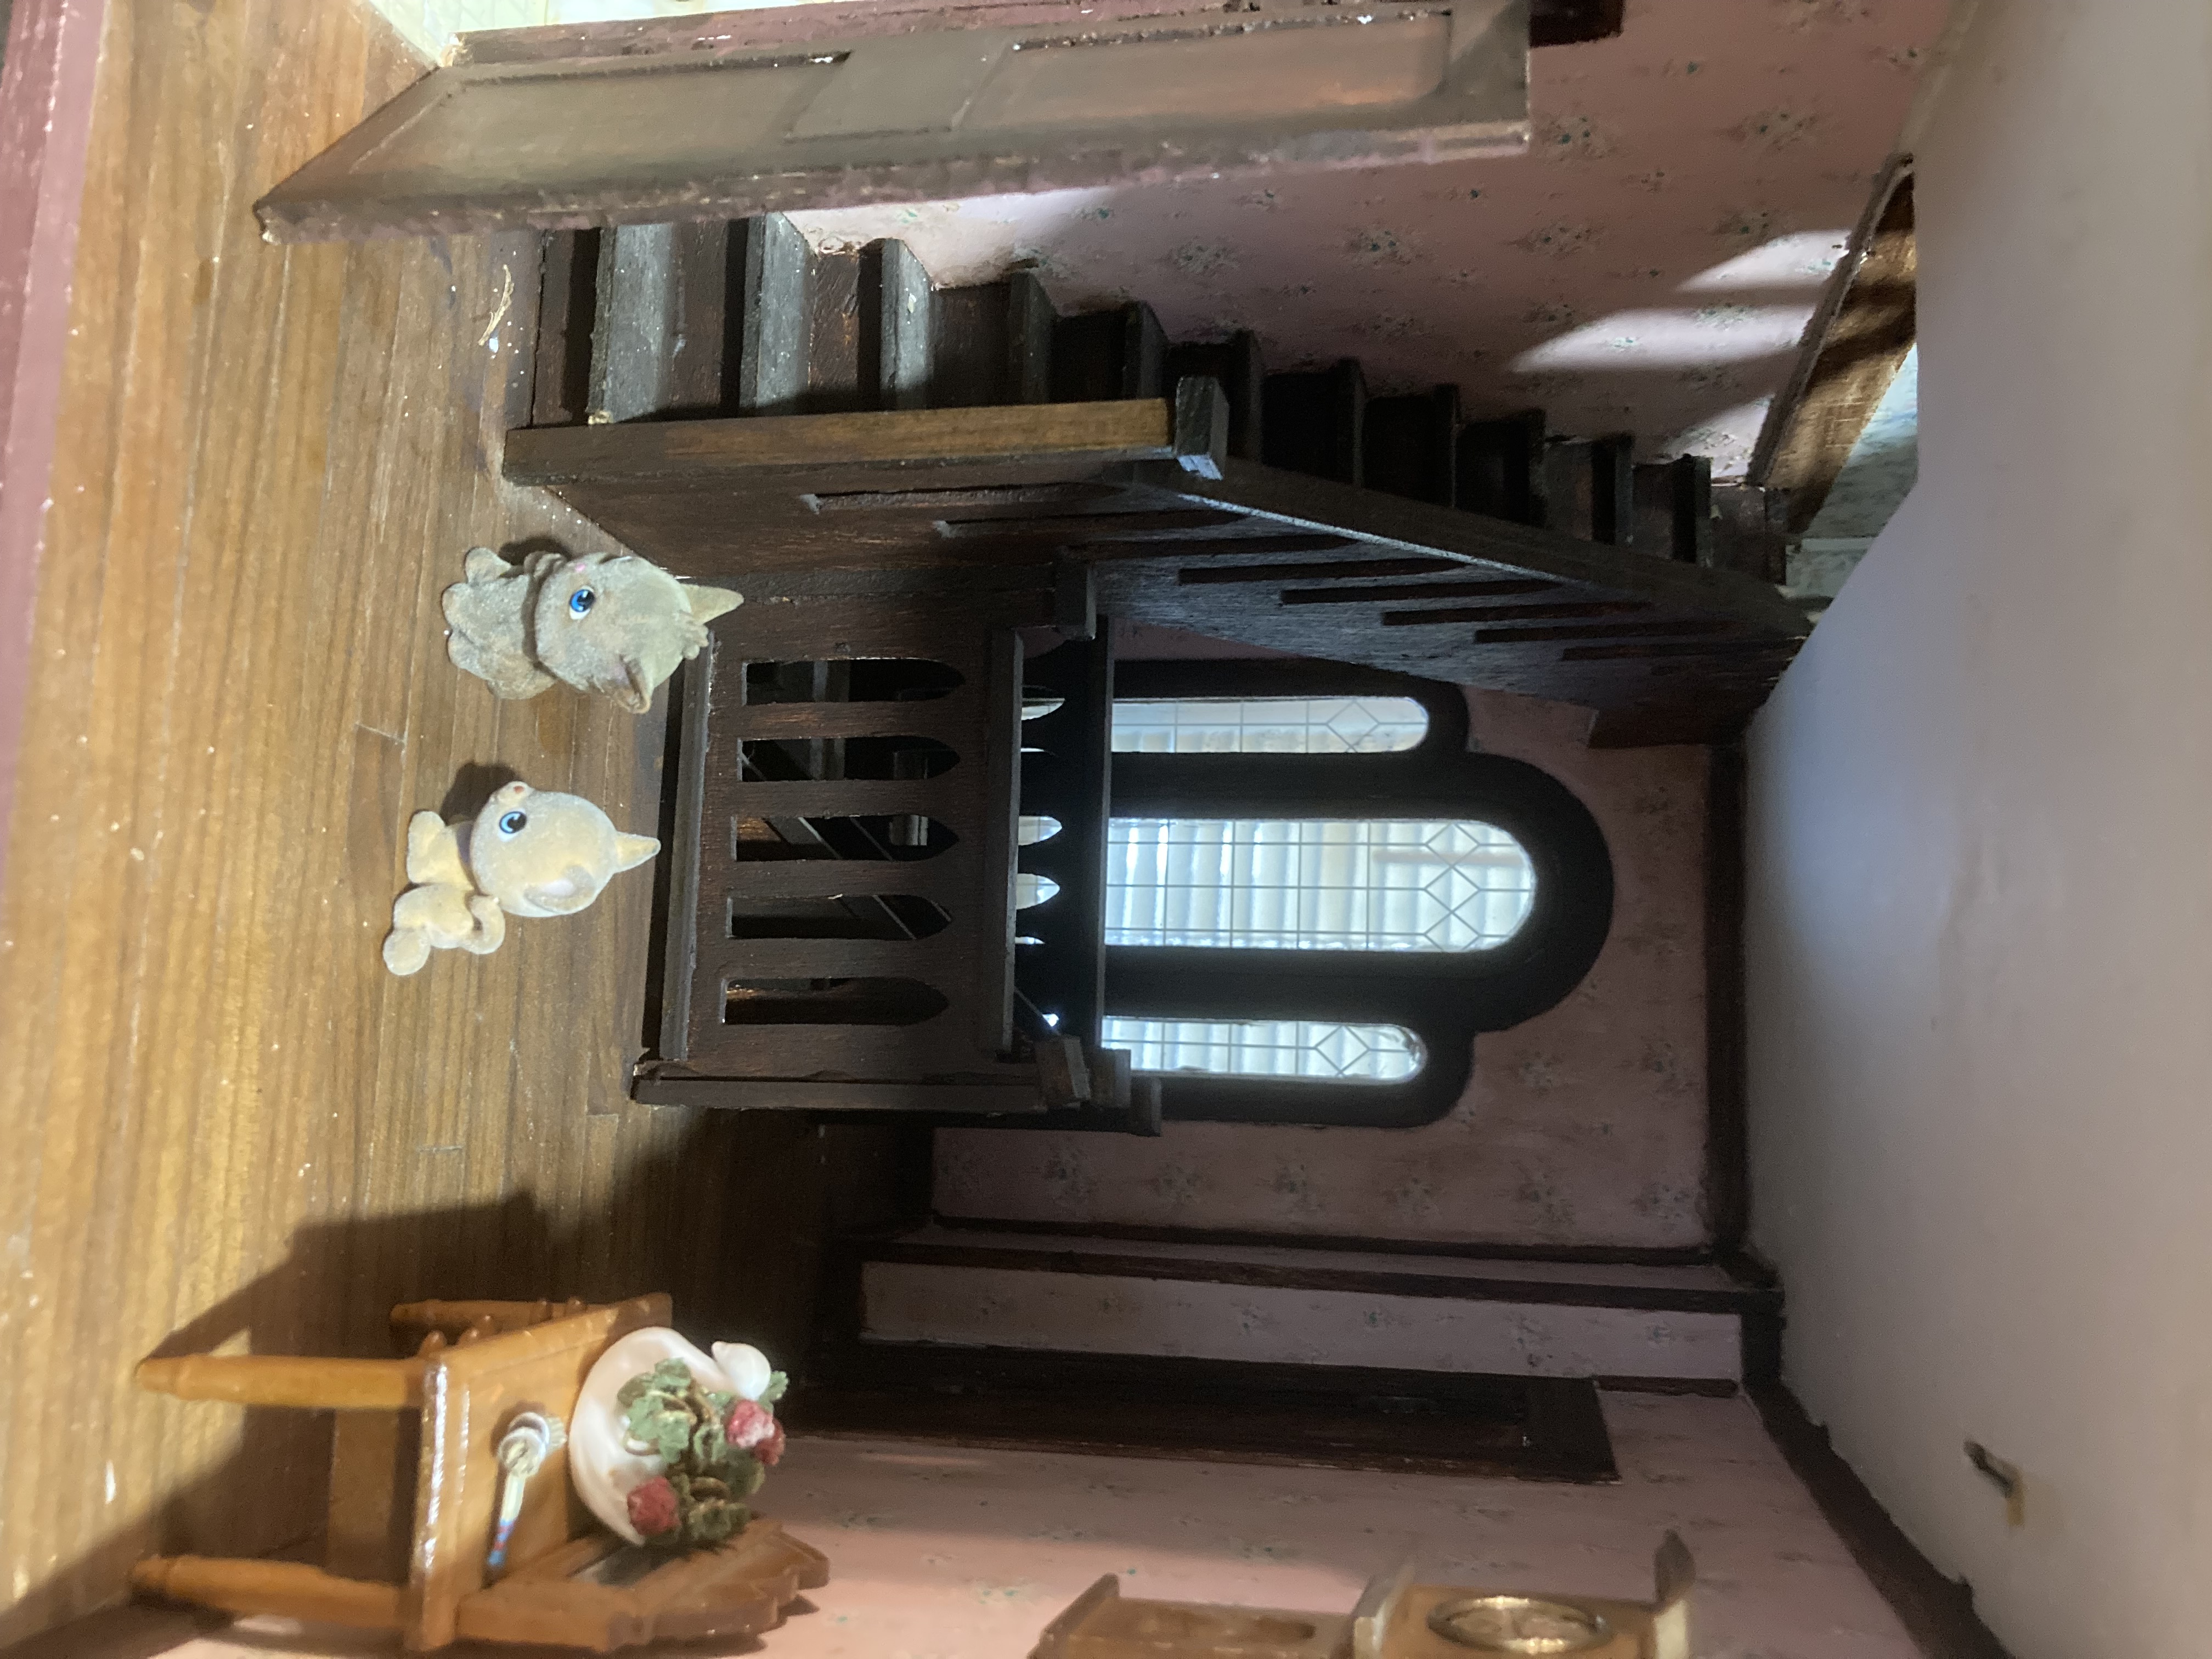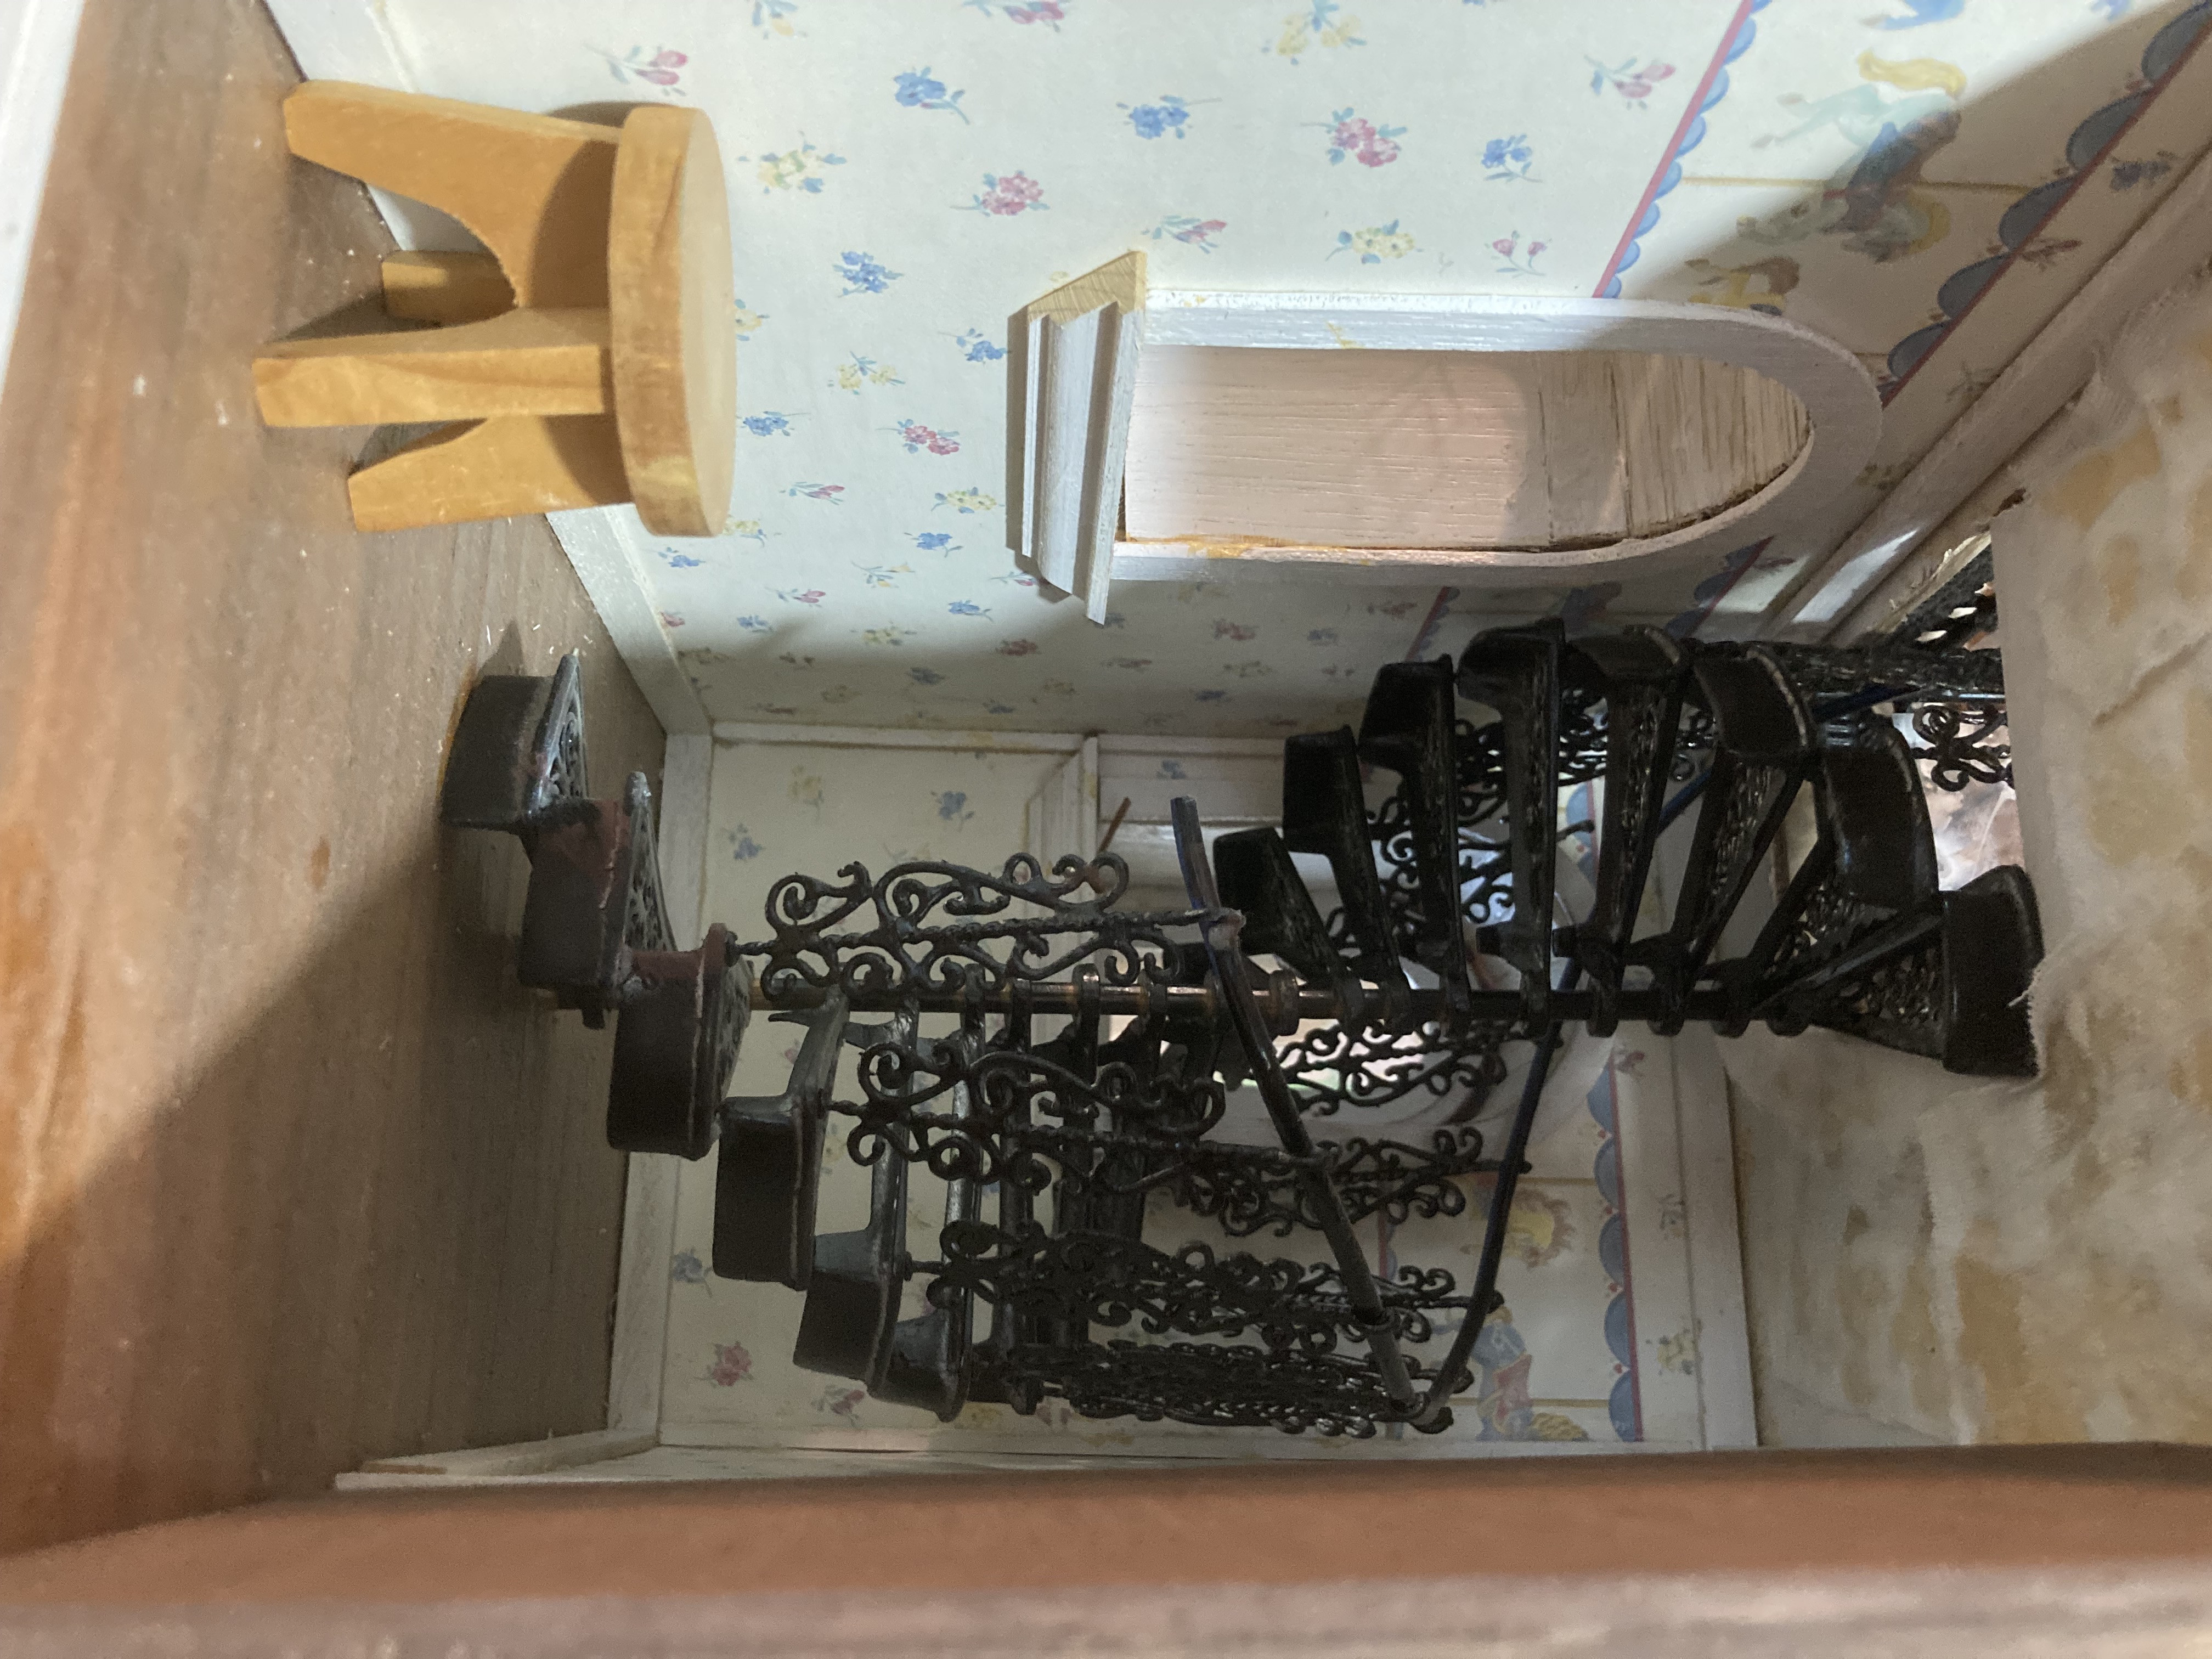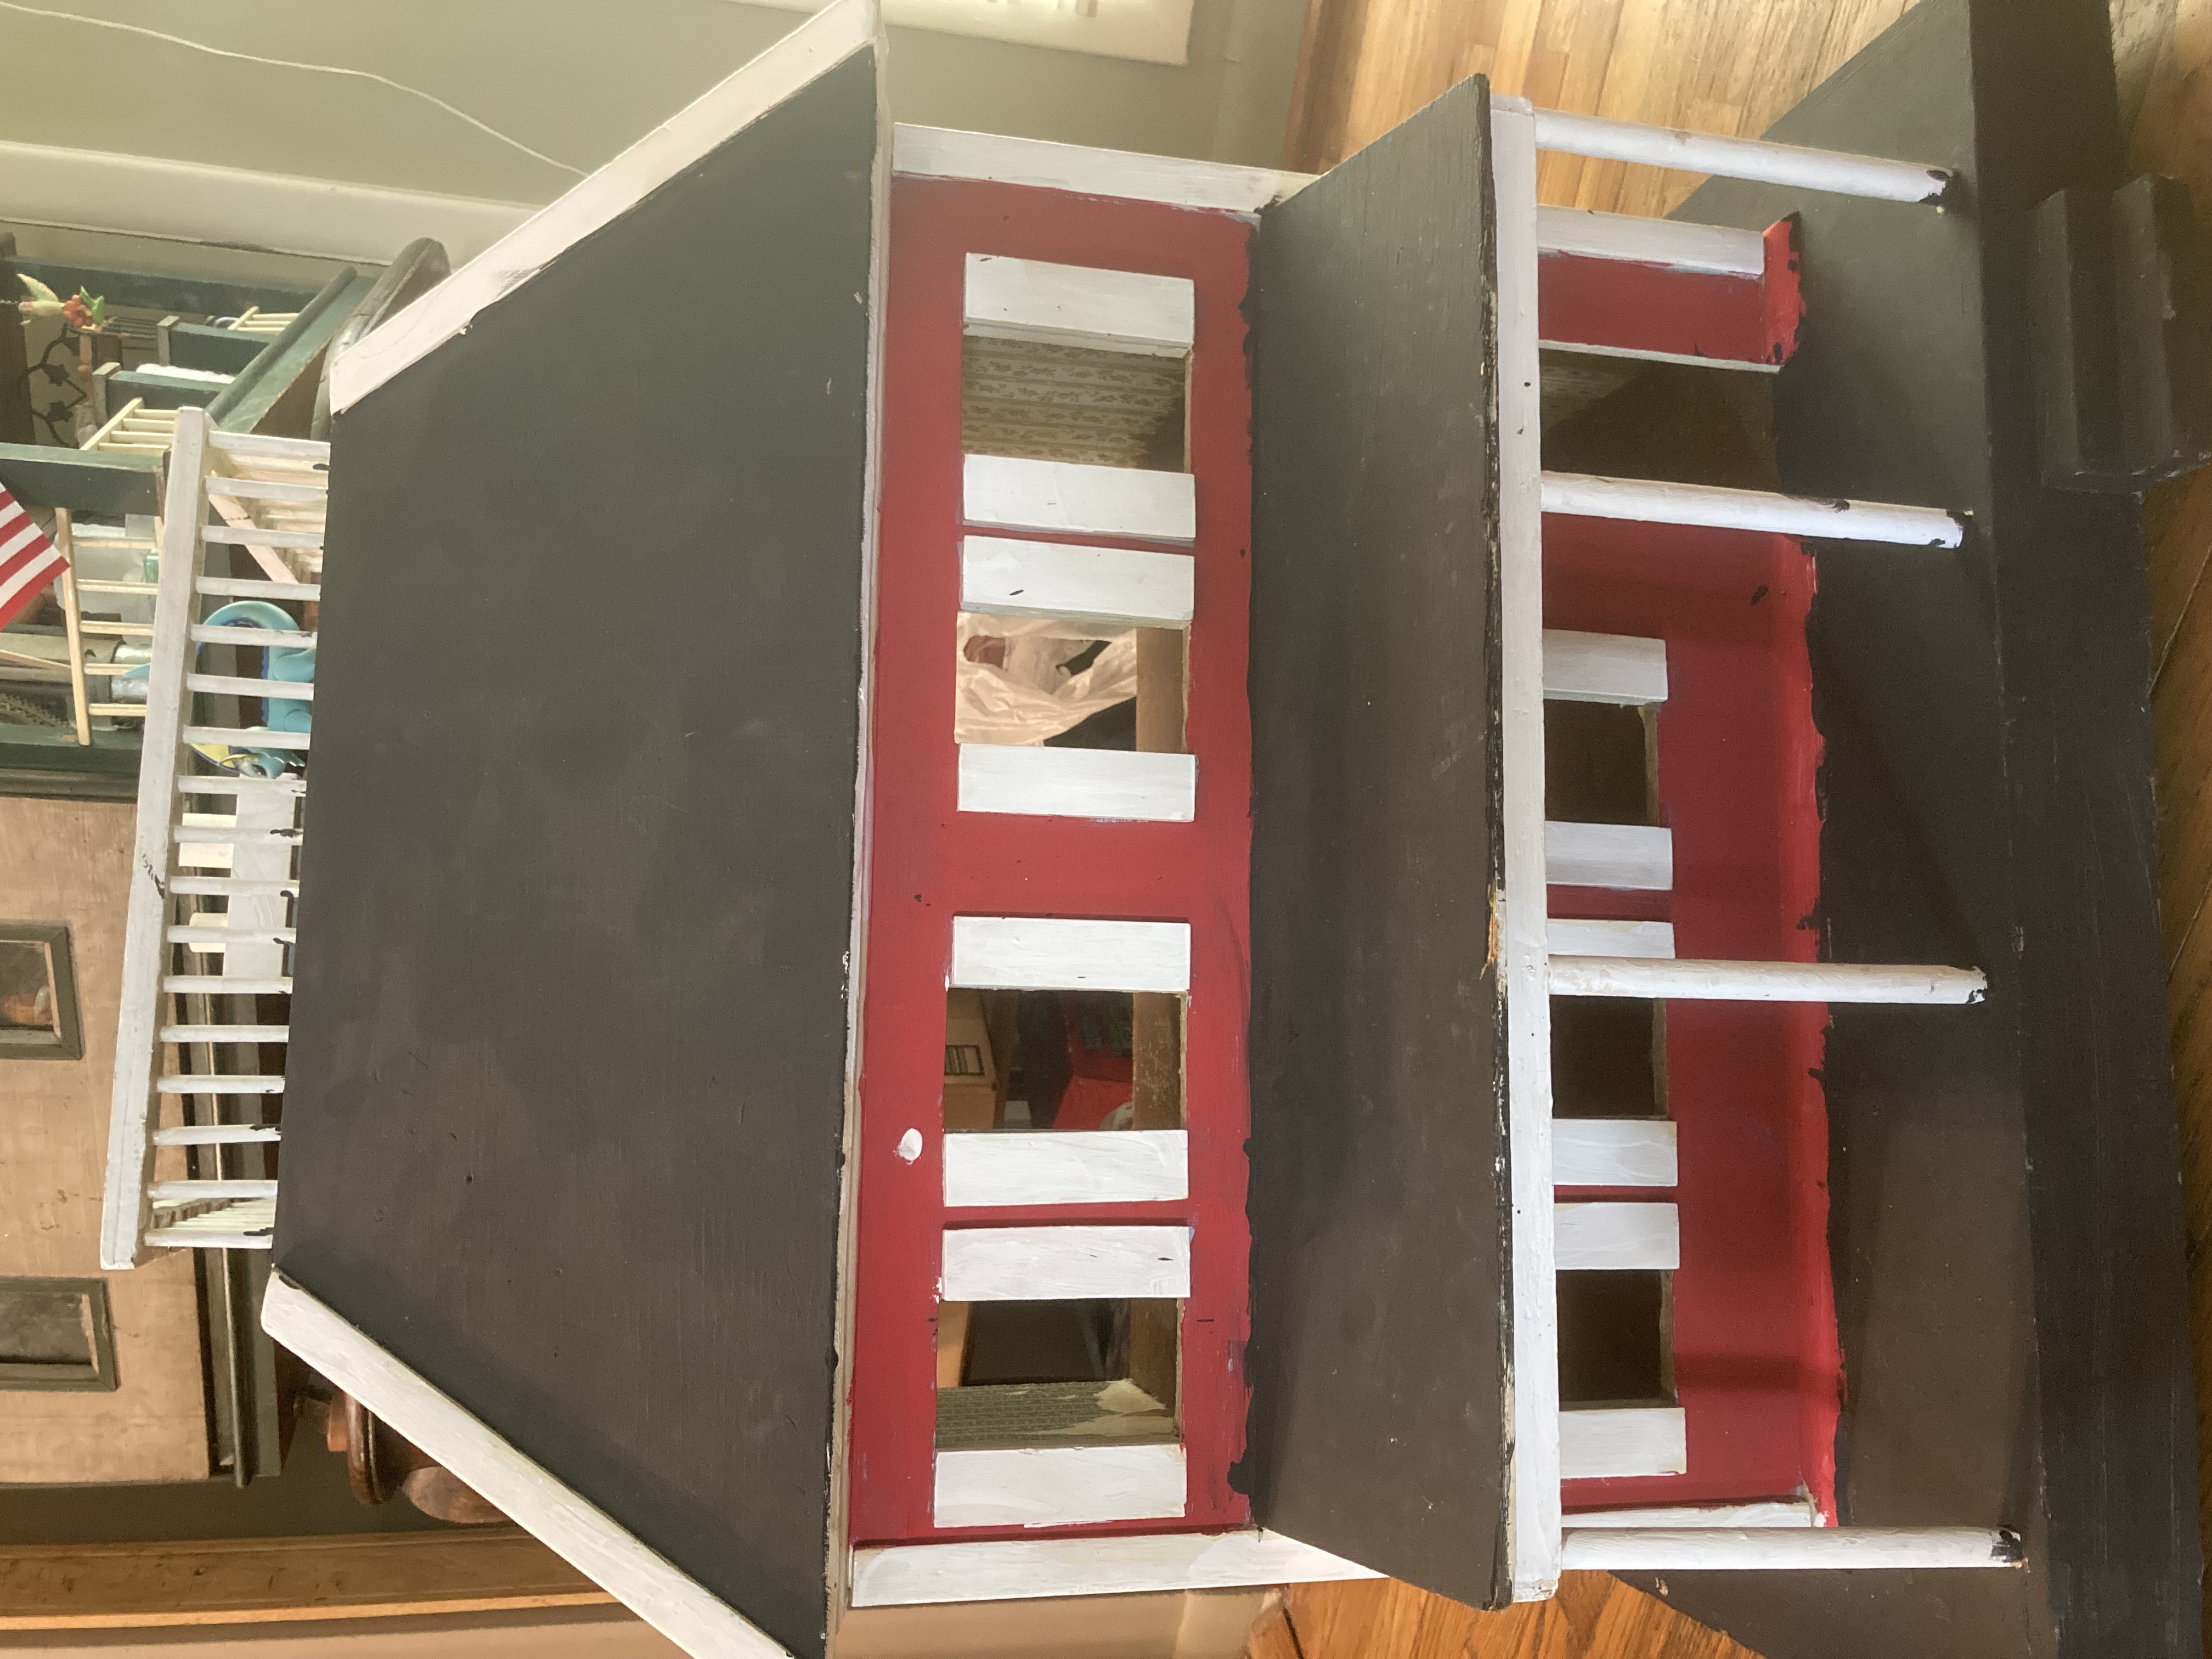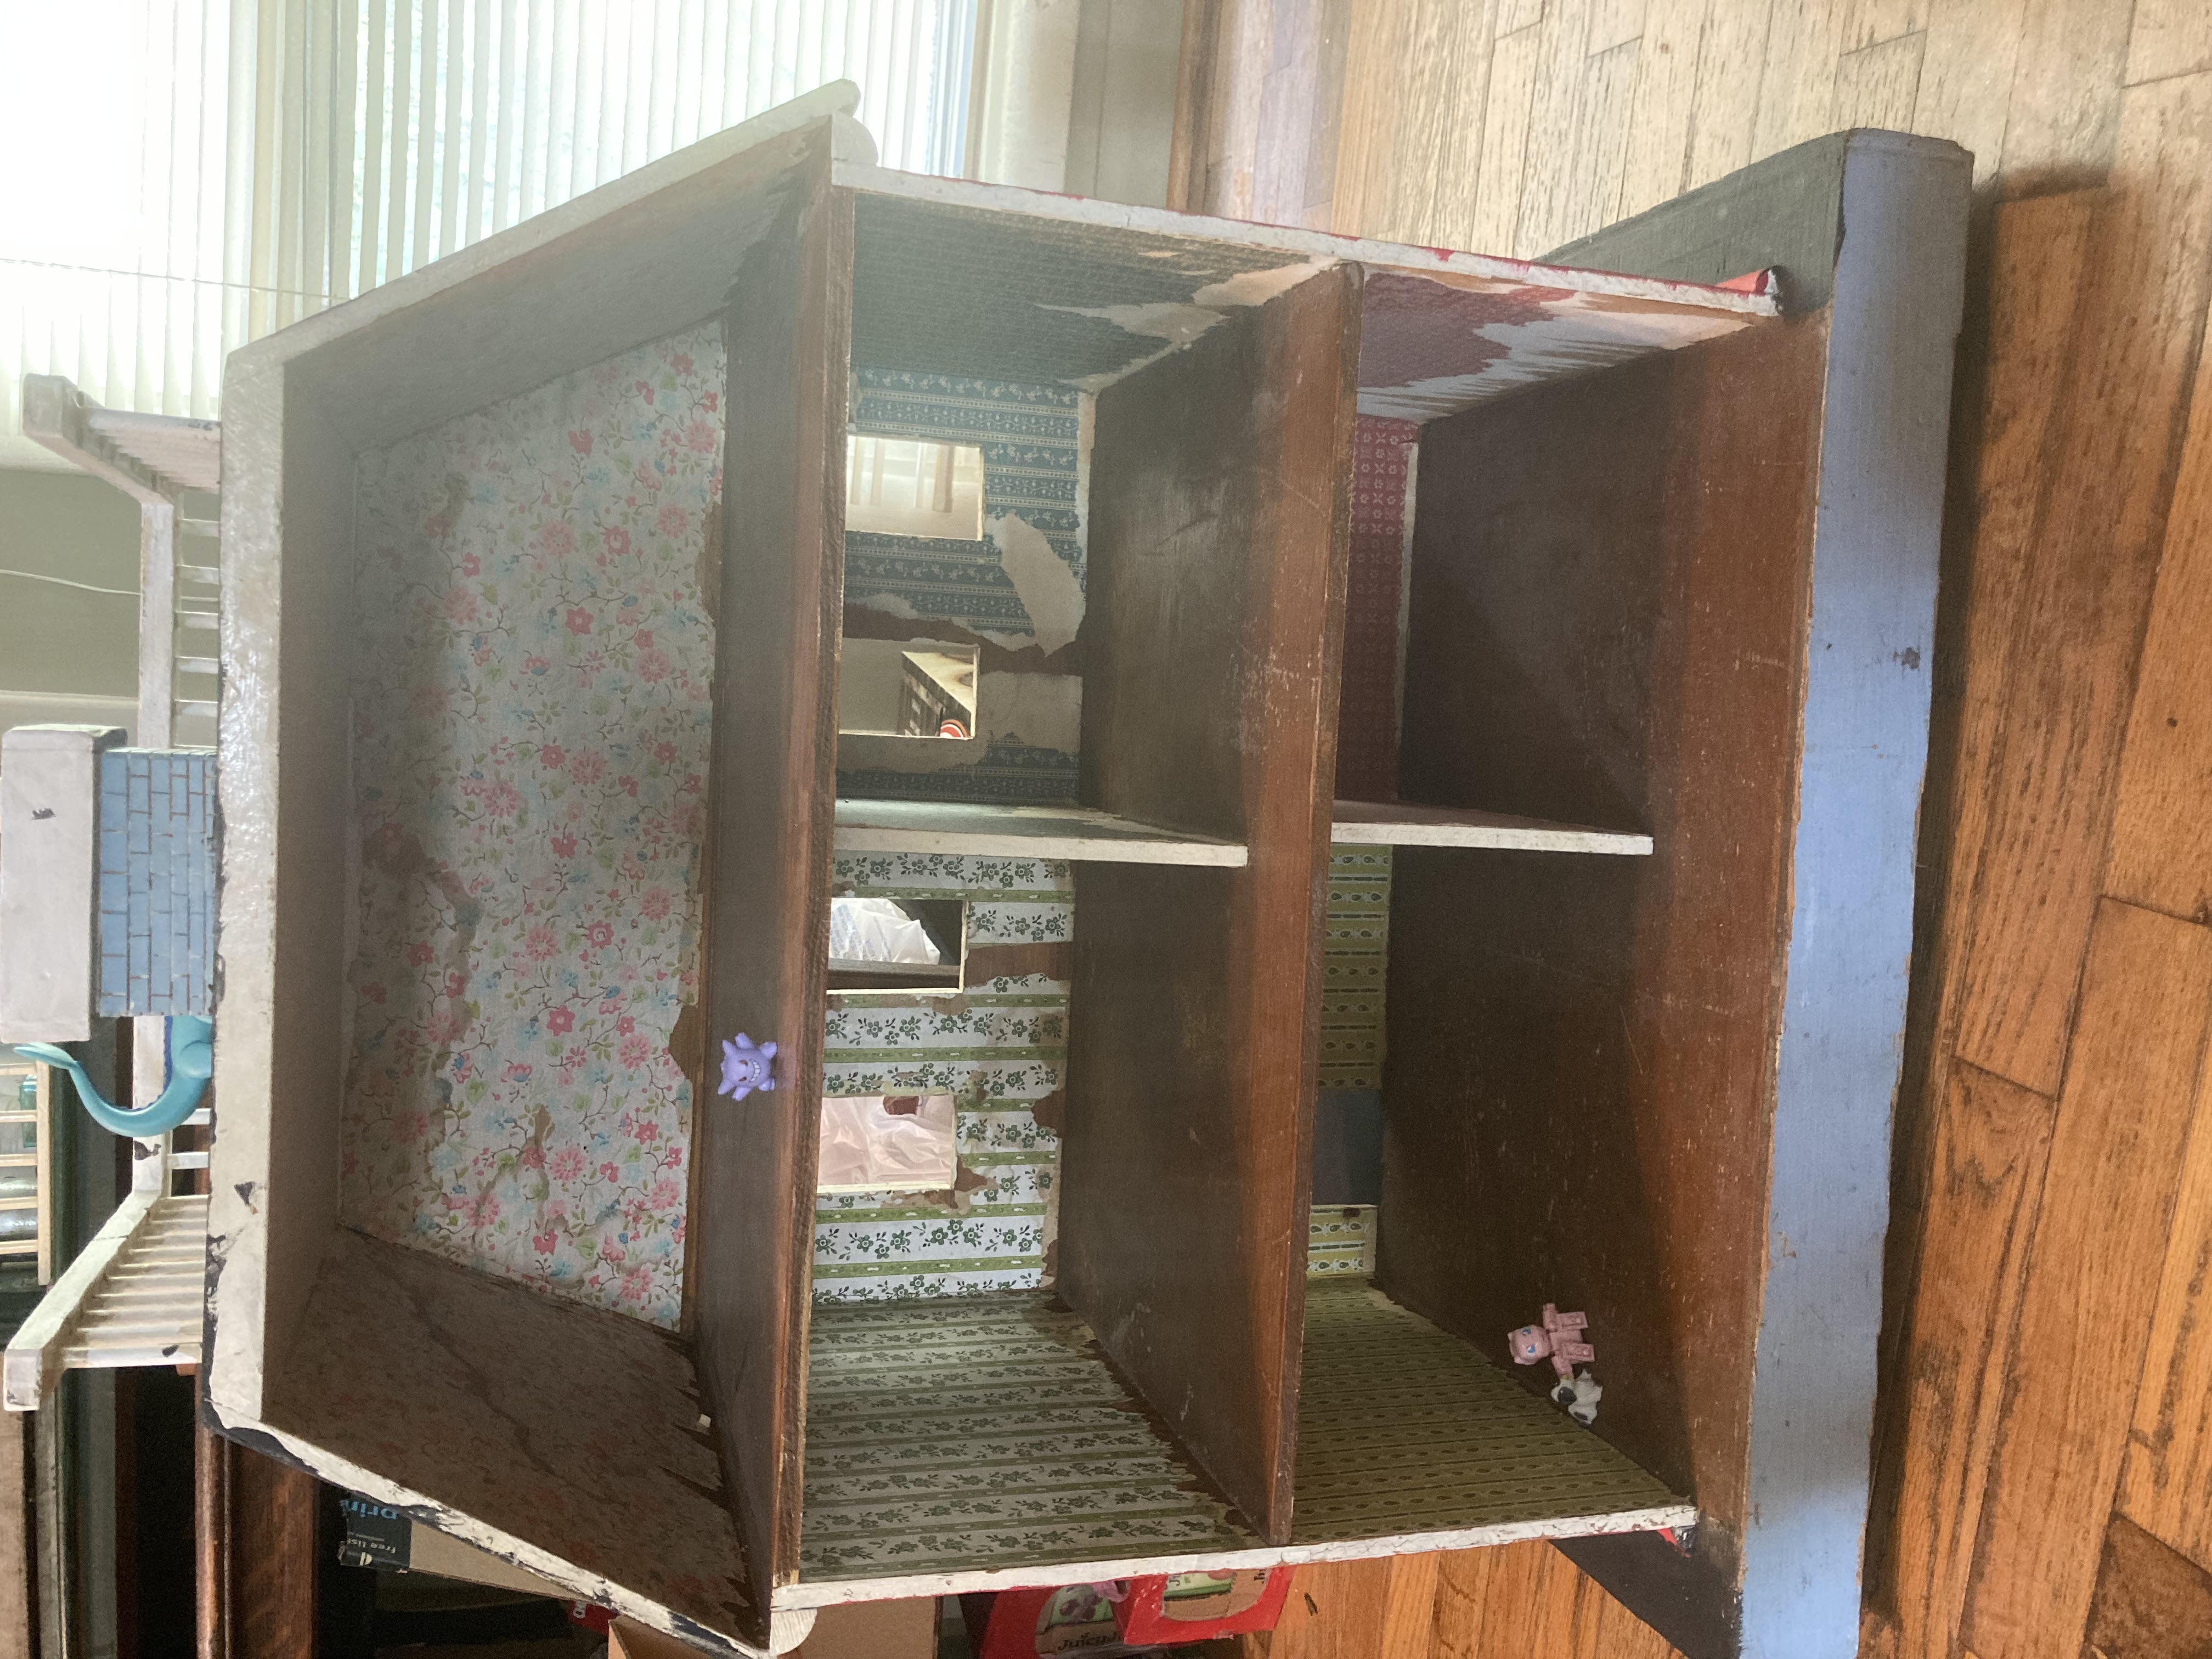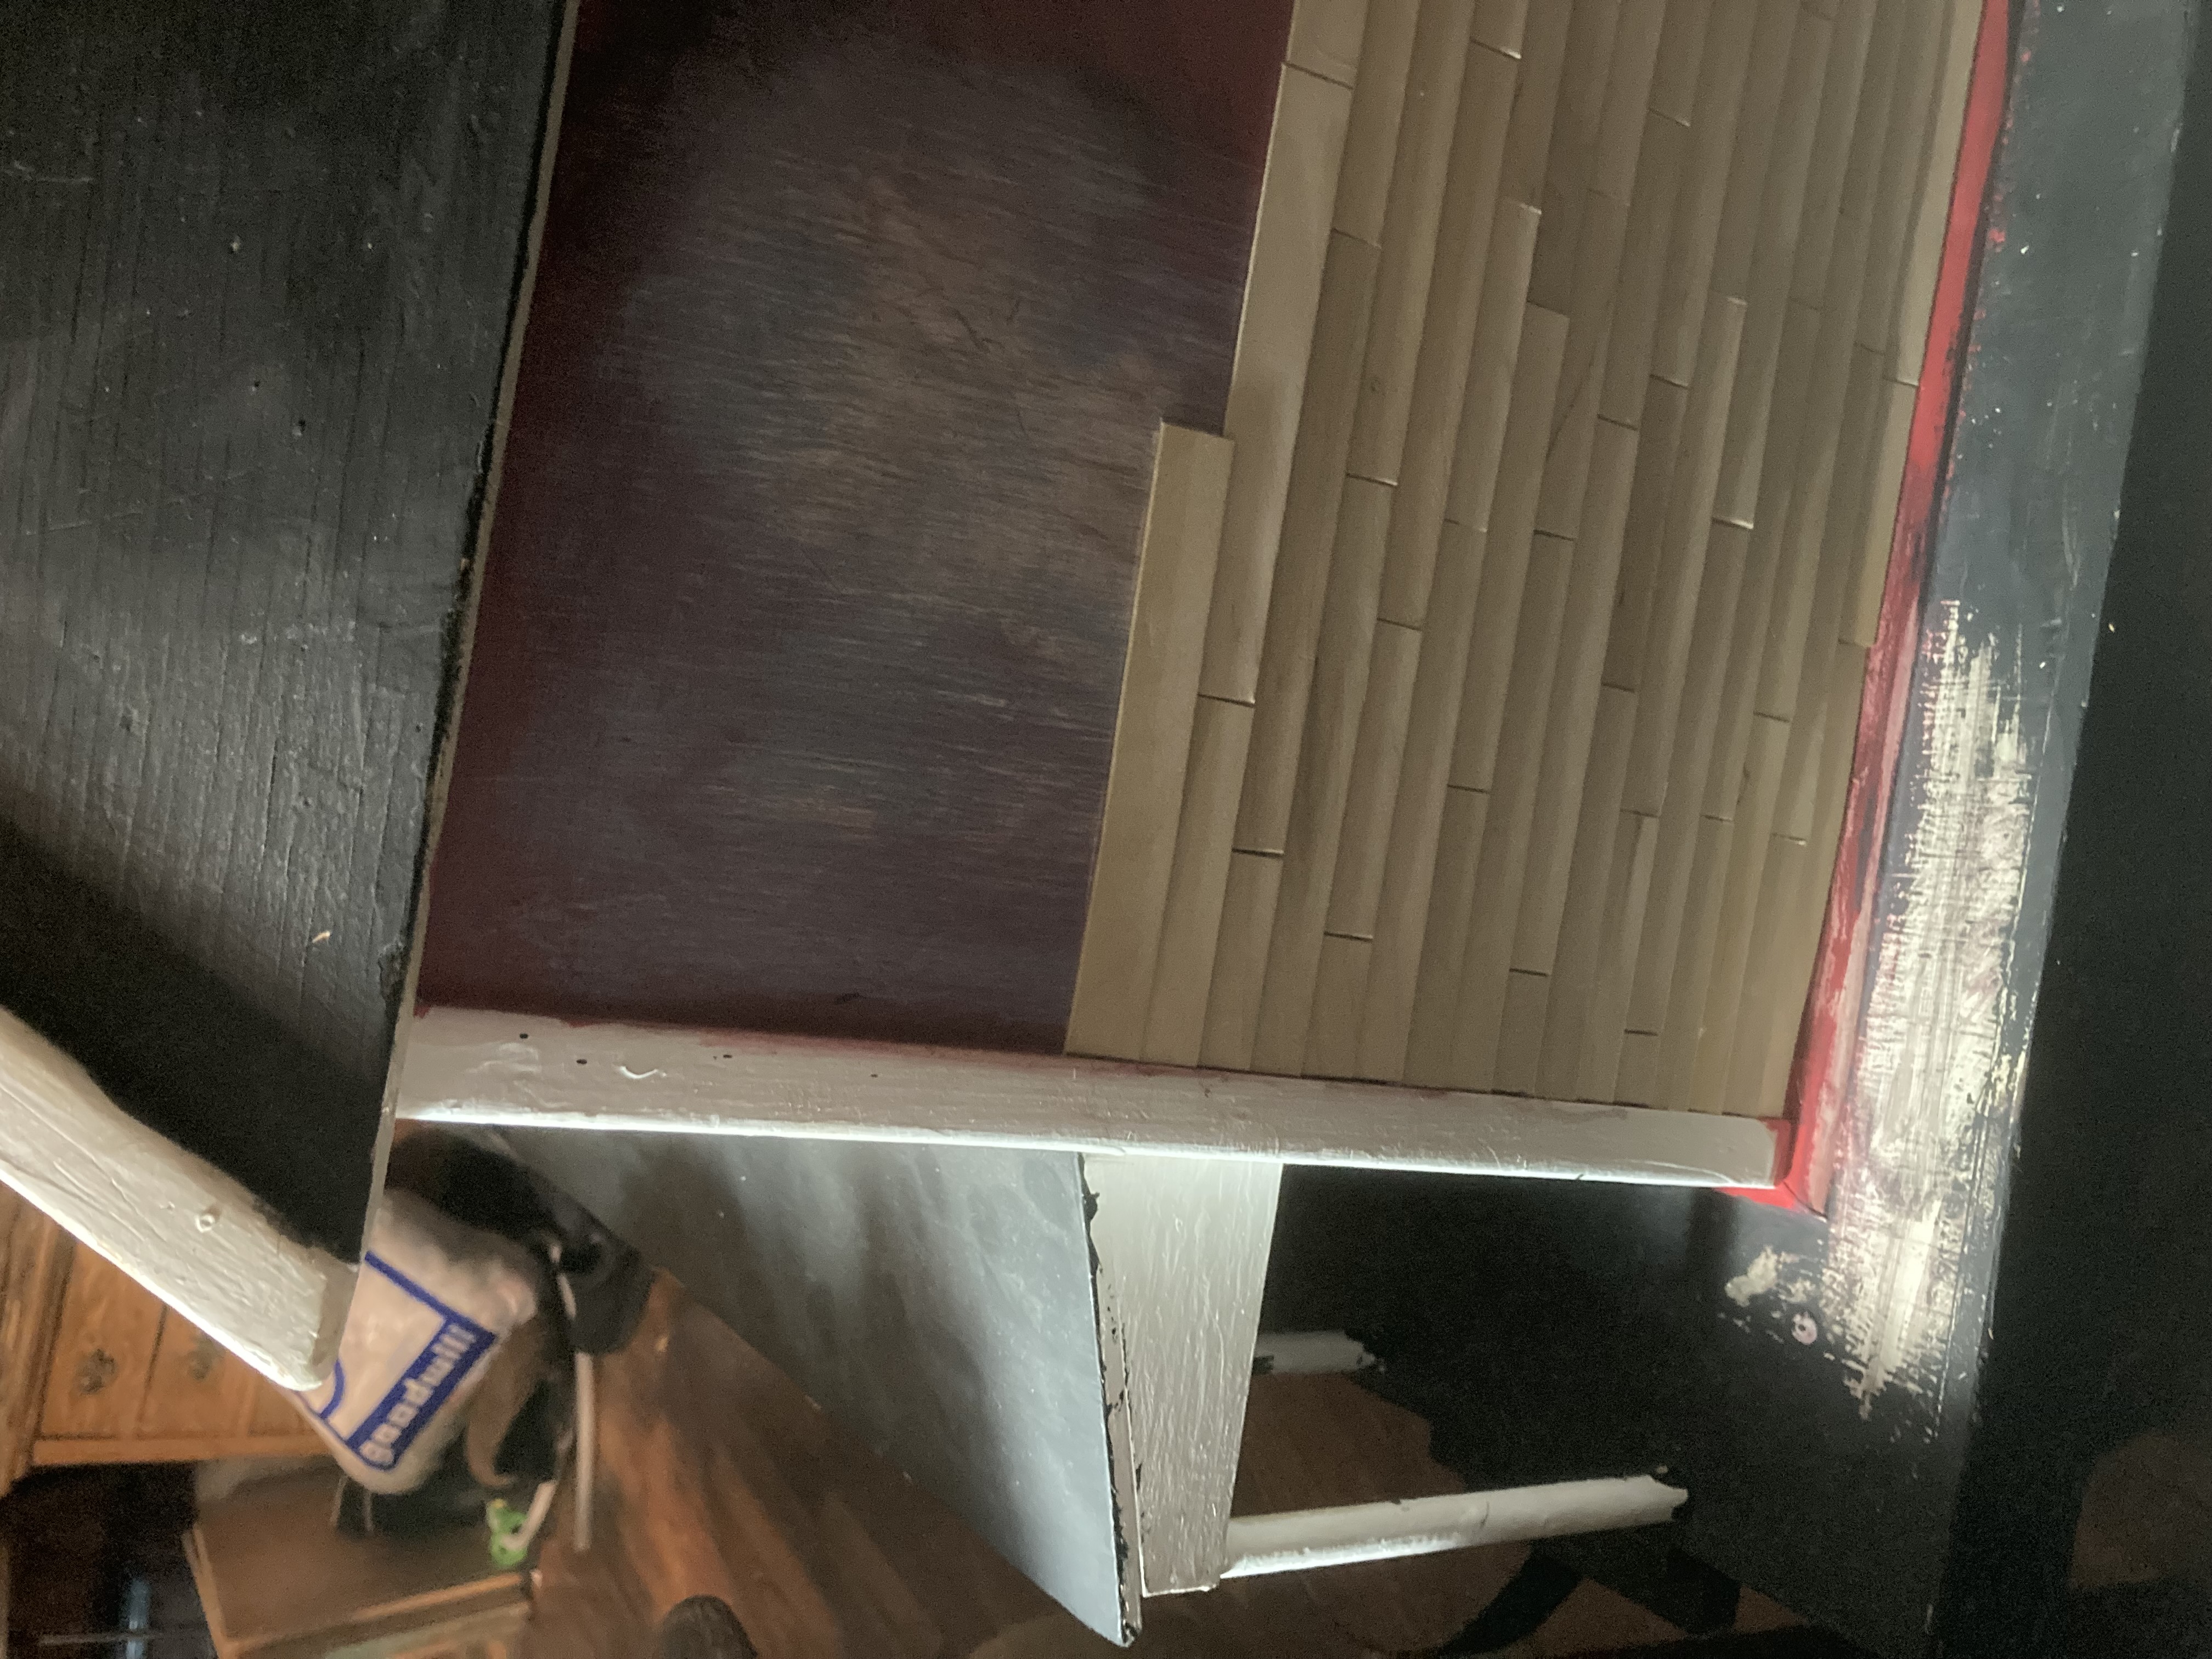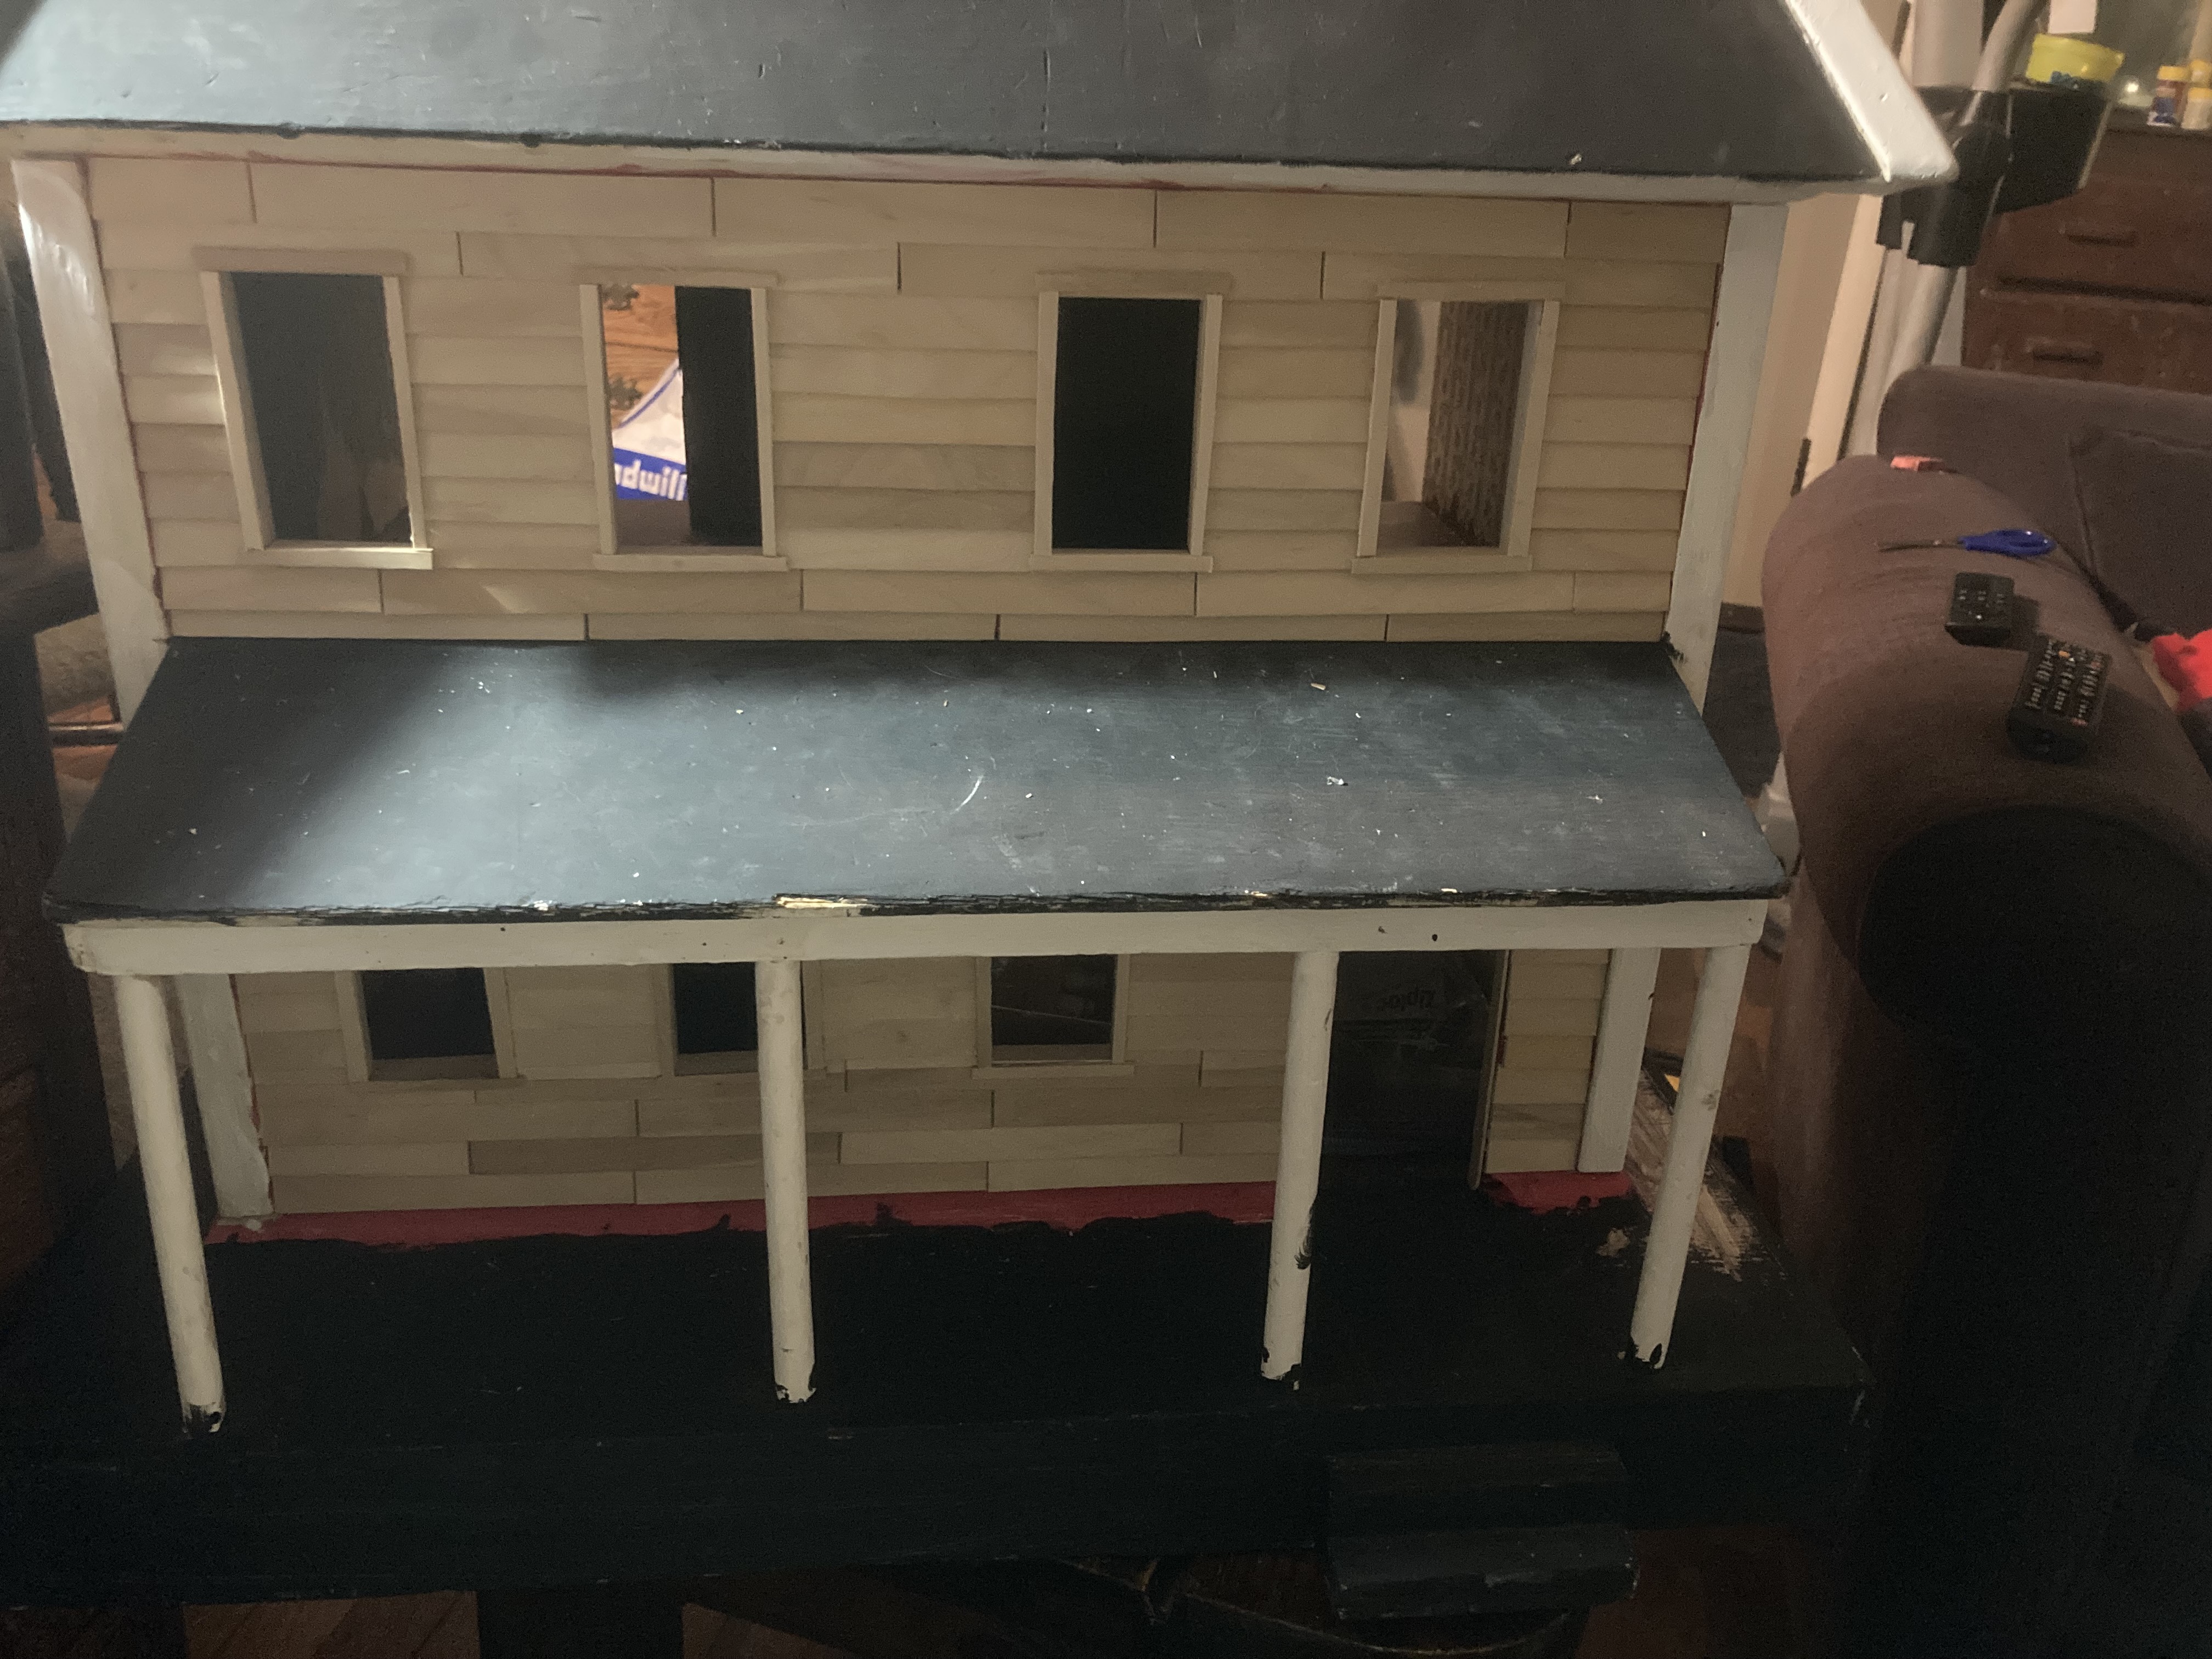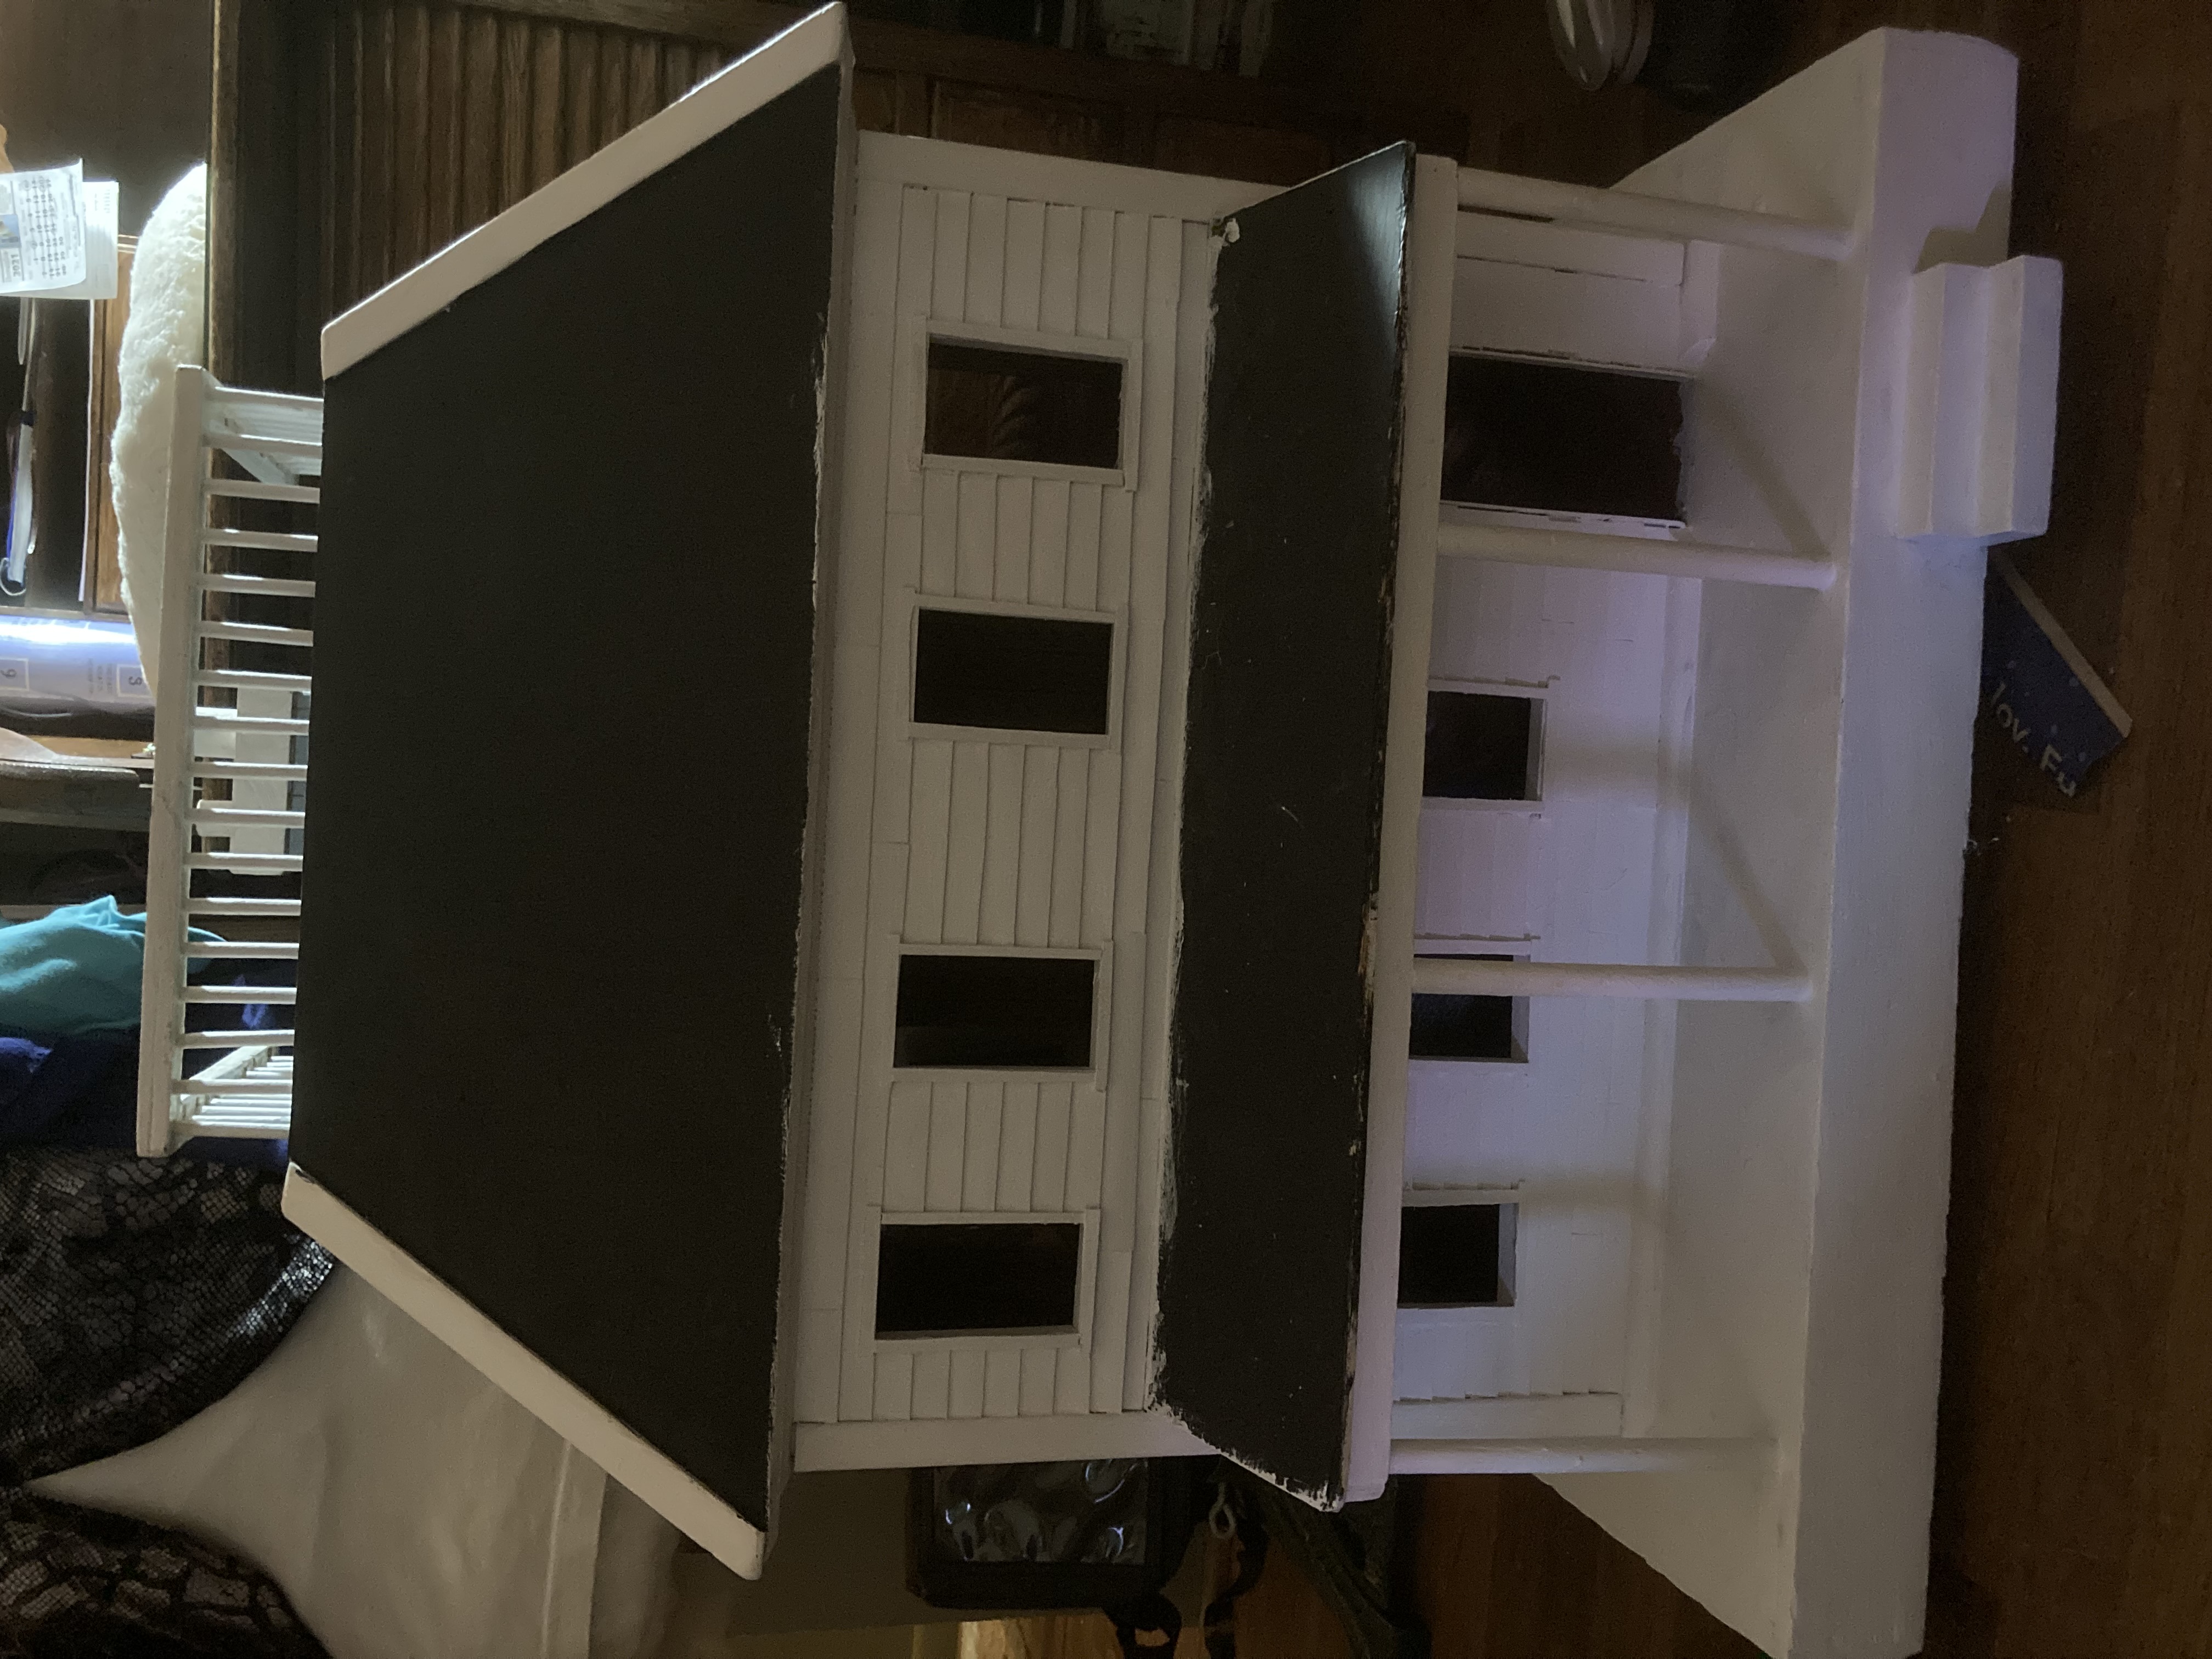
For my new-ish 1920’s style house, I had a hard time finding room for it and ended up keeping it on the floor, under a table that has another house on it. Unfortunately, my darling kitties have discovered that it has no plastic in the windows, and they can slip their paws in and play with my mess. (I have furniture inside, but the inside was basically stripped before I got the house–no trims, doors, flooring, even the wallpaper was ripped off the walls.) Anyway, I made it a priority to get windows on it.
At first I was just going to slap clear plastic into a frame and call it done. Then, after studying the working windows in my Pepperwood farm house, I decided that I might be able to make some working windows.
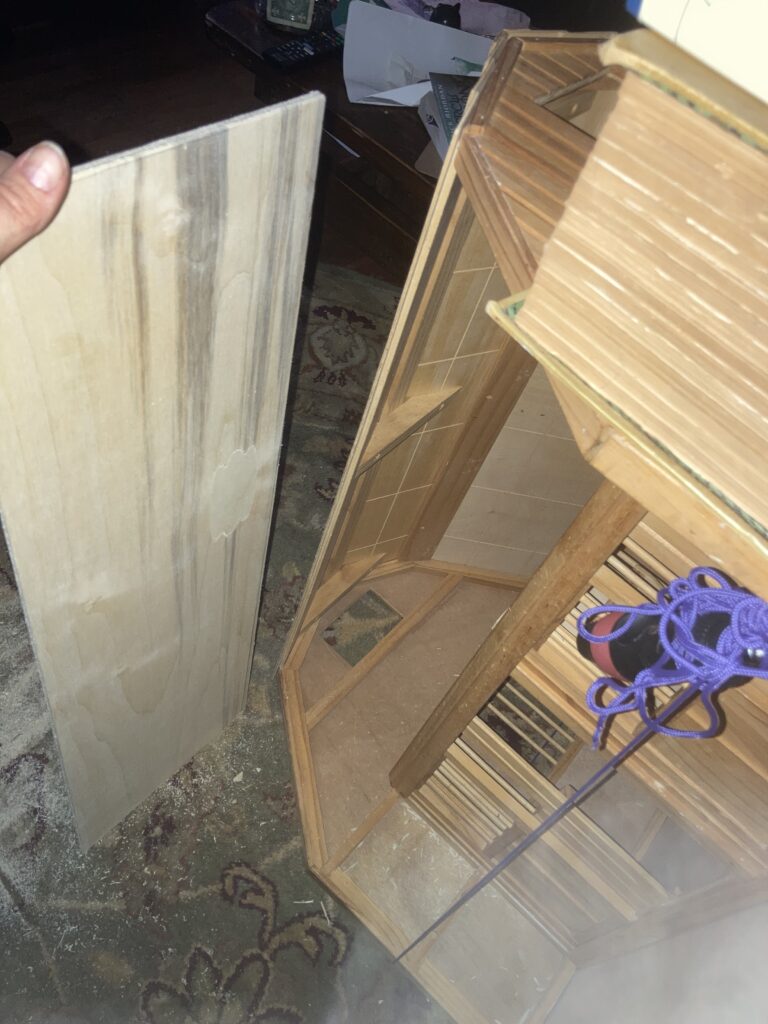
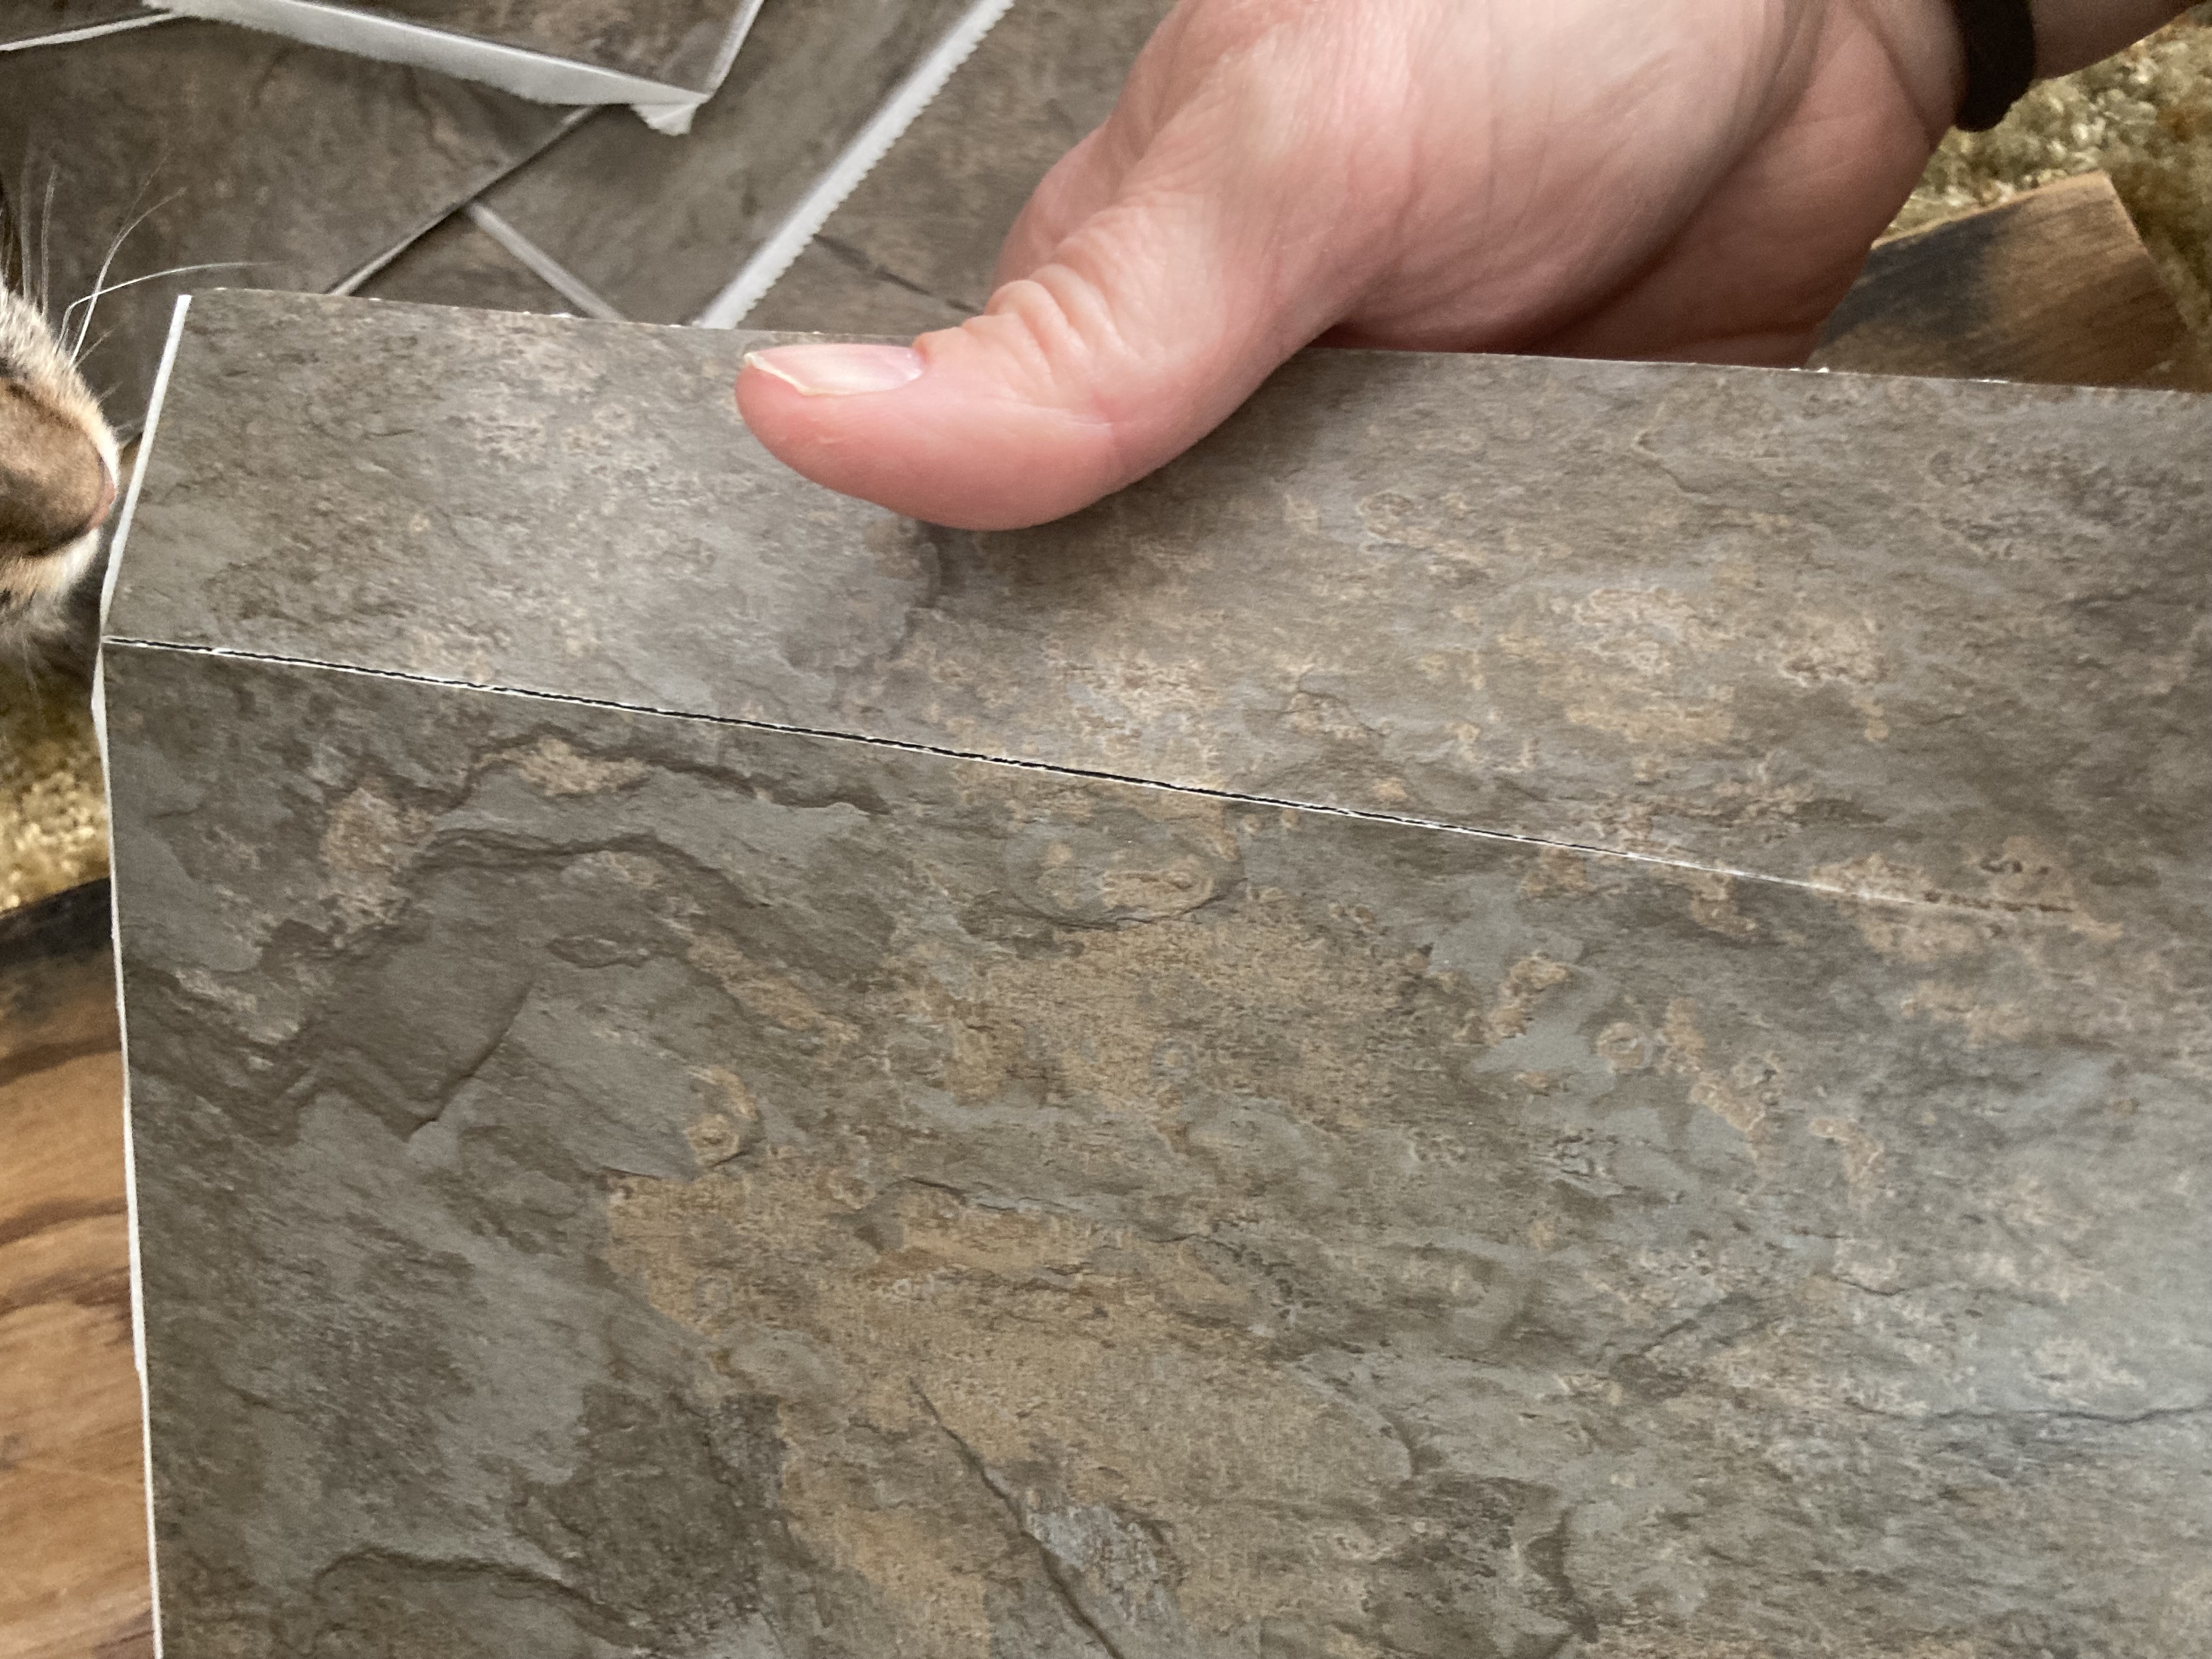
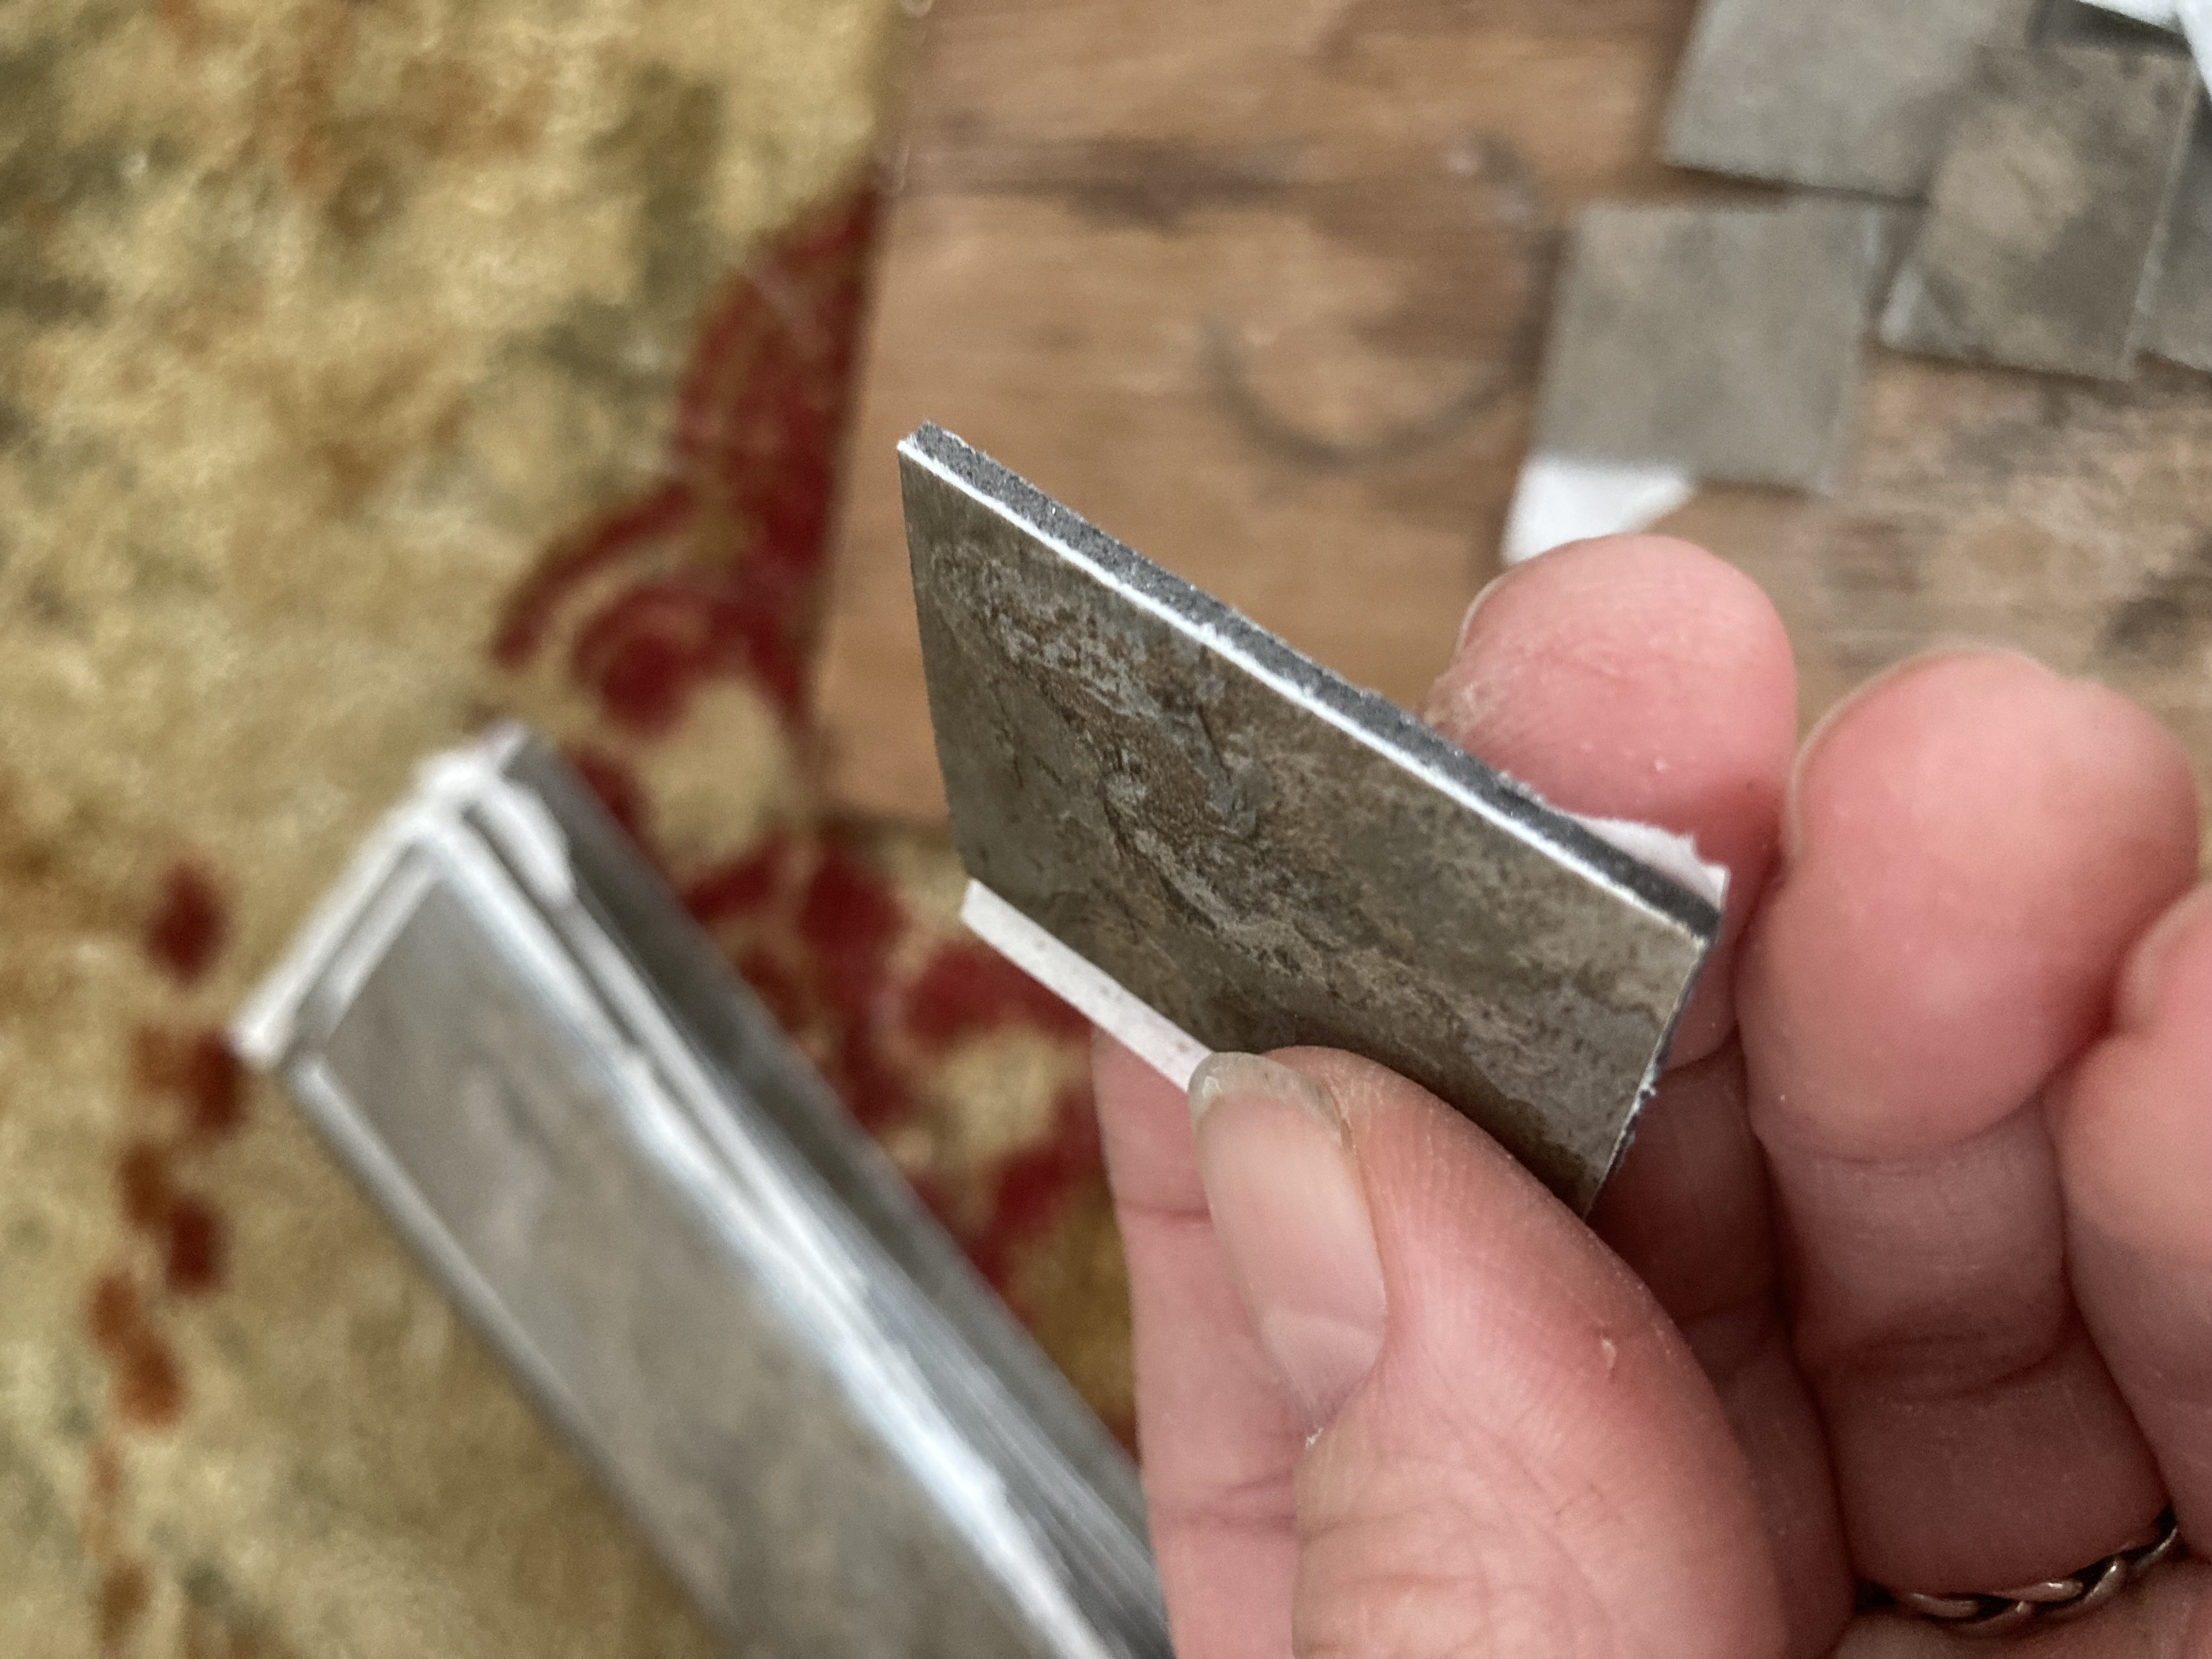
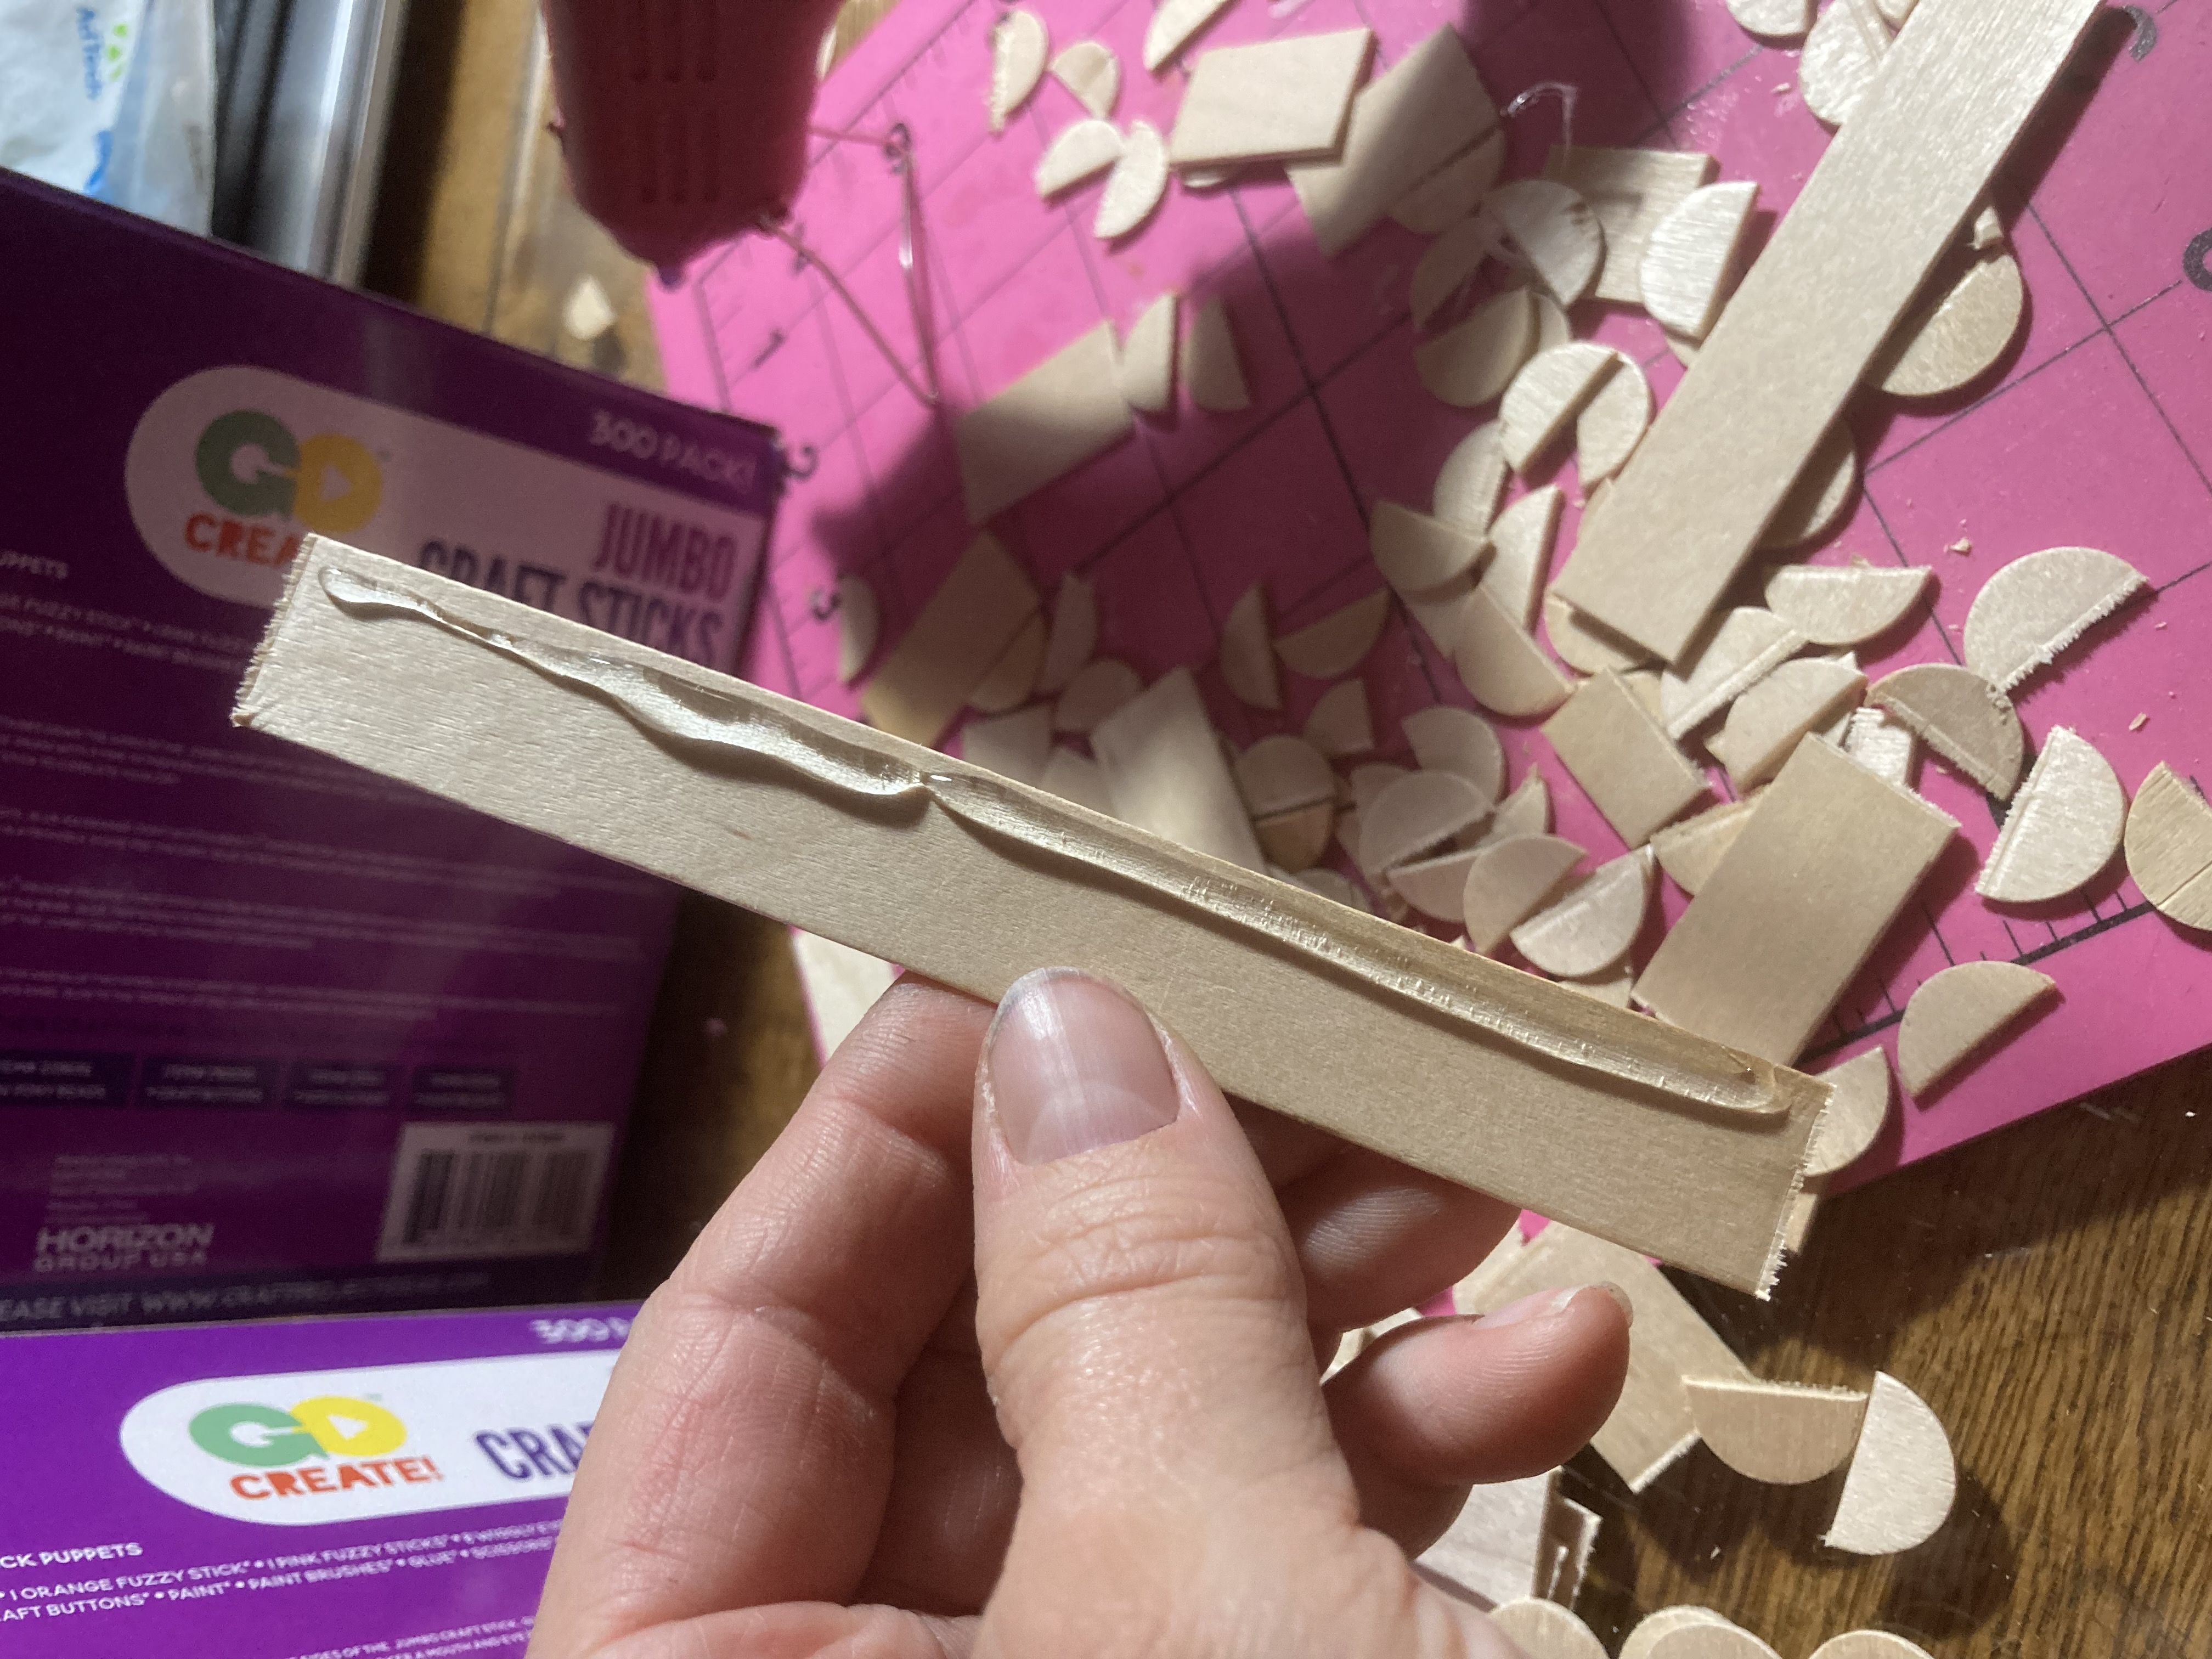
For this project, I collected clear plastic from different food containers to use as the ‘glass.’ It is clear, it is cheap, it is sturdy enough, and it is easily available. I have my own little collection that I have been building over the past couple of years for projects such as this, mostly the tops off mini doughnut lids from Walmart. Anyway, I also used Hardwood Outside Corner Trim from Menards. This trim has two equal sides that form a right angle to each other.
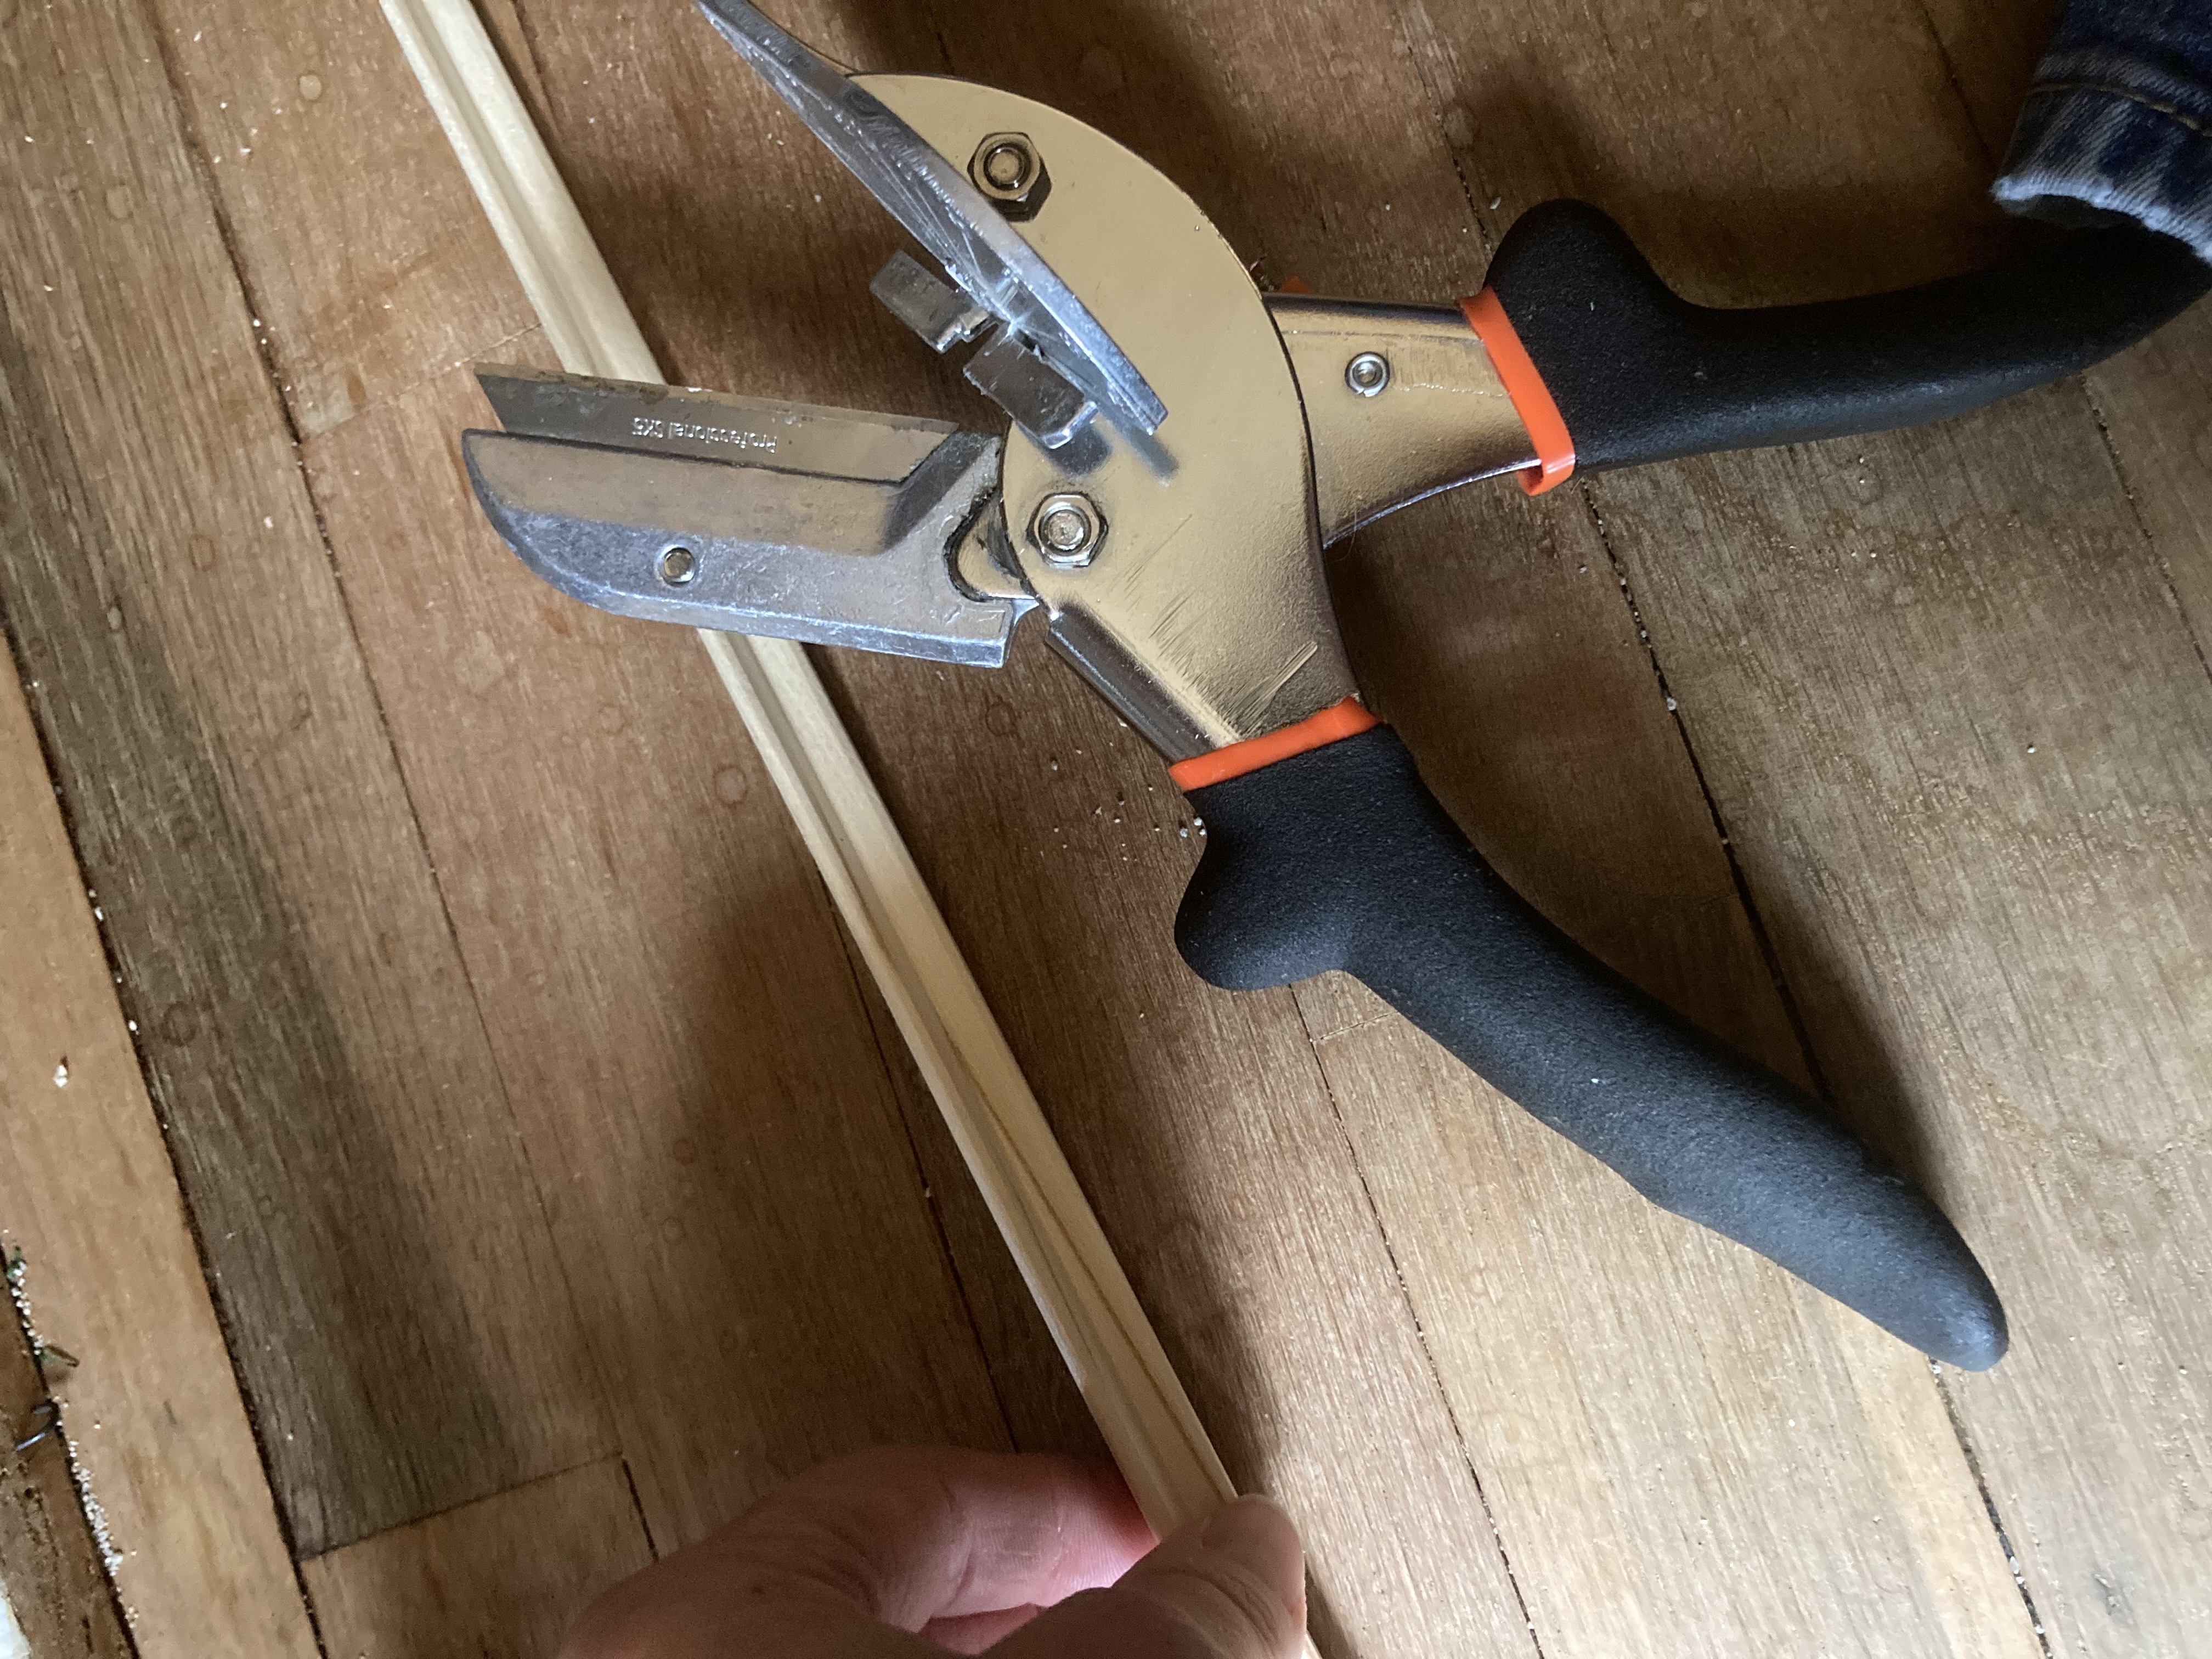
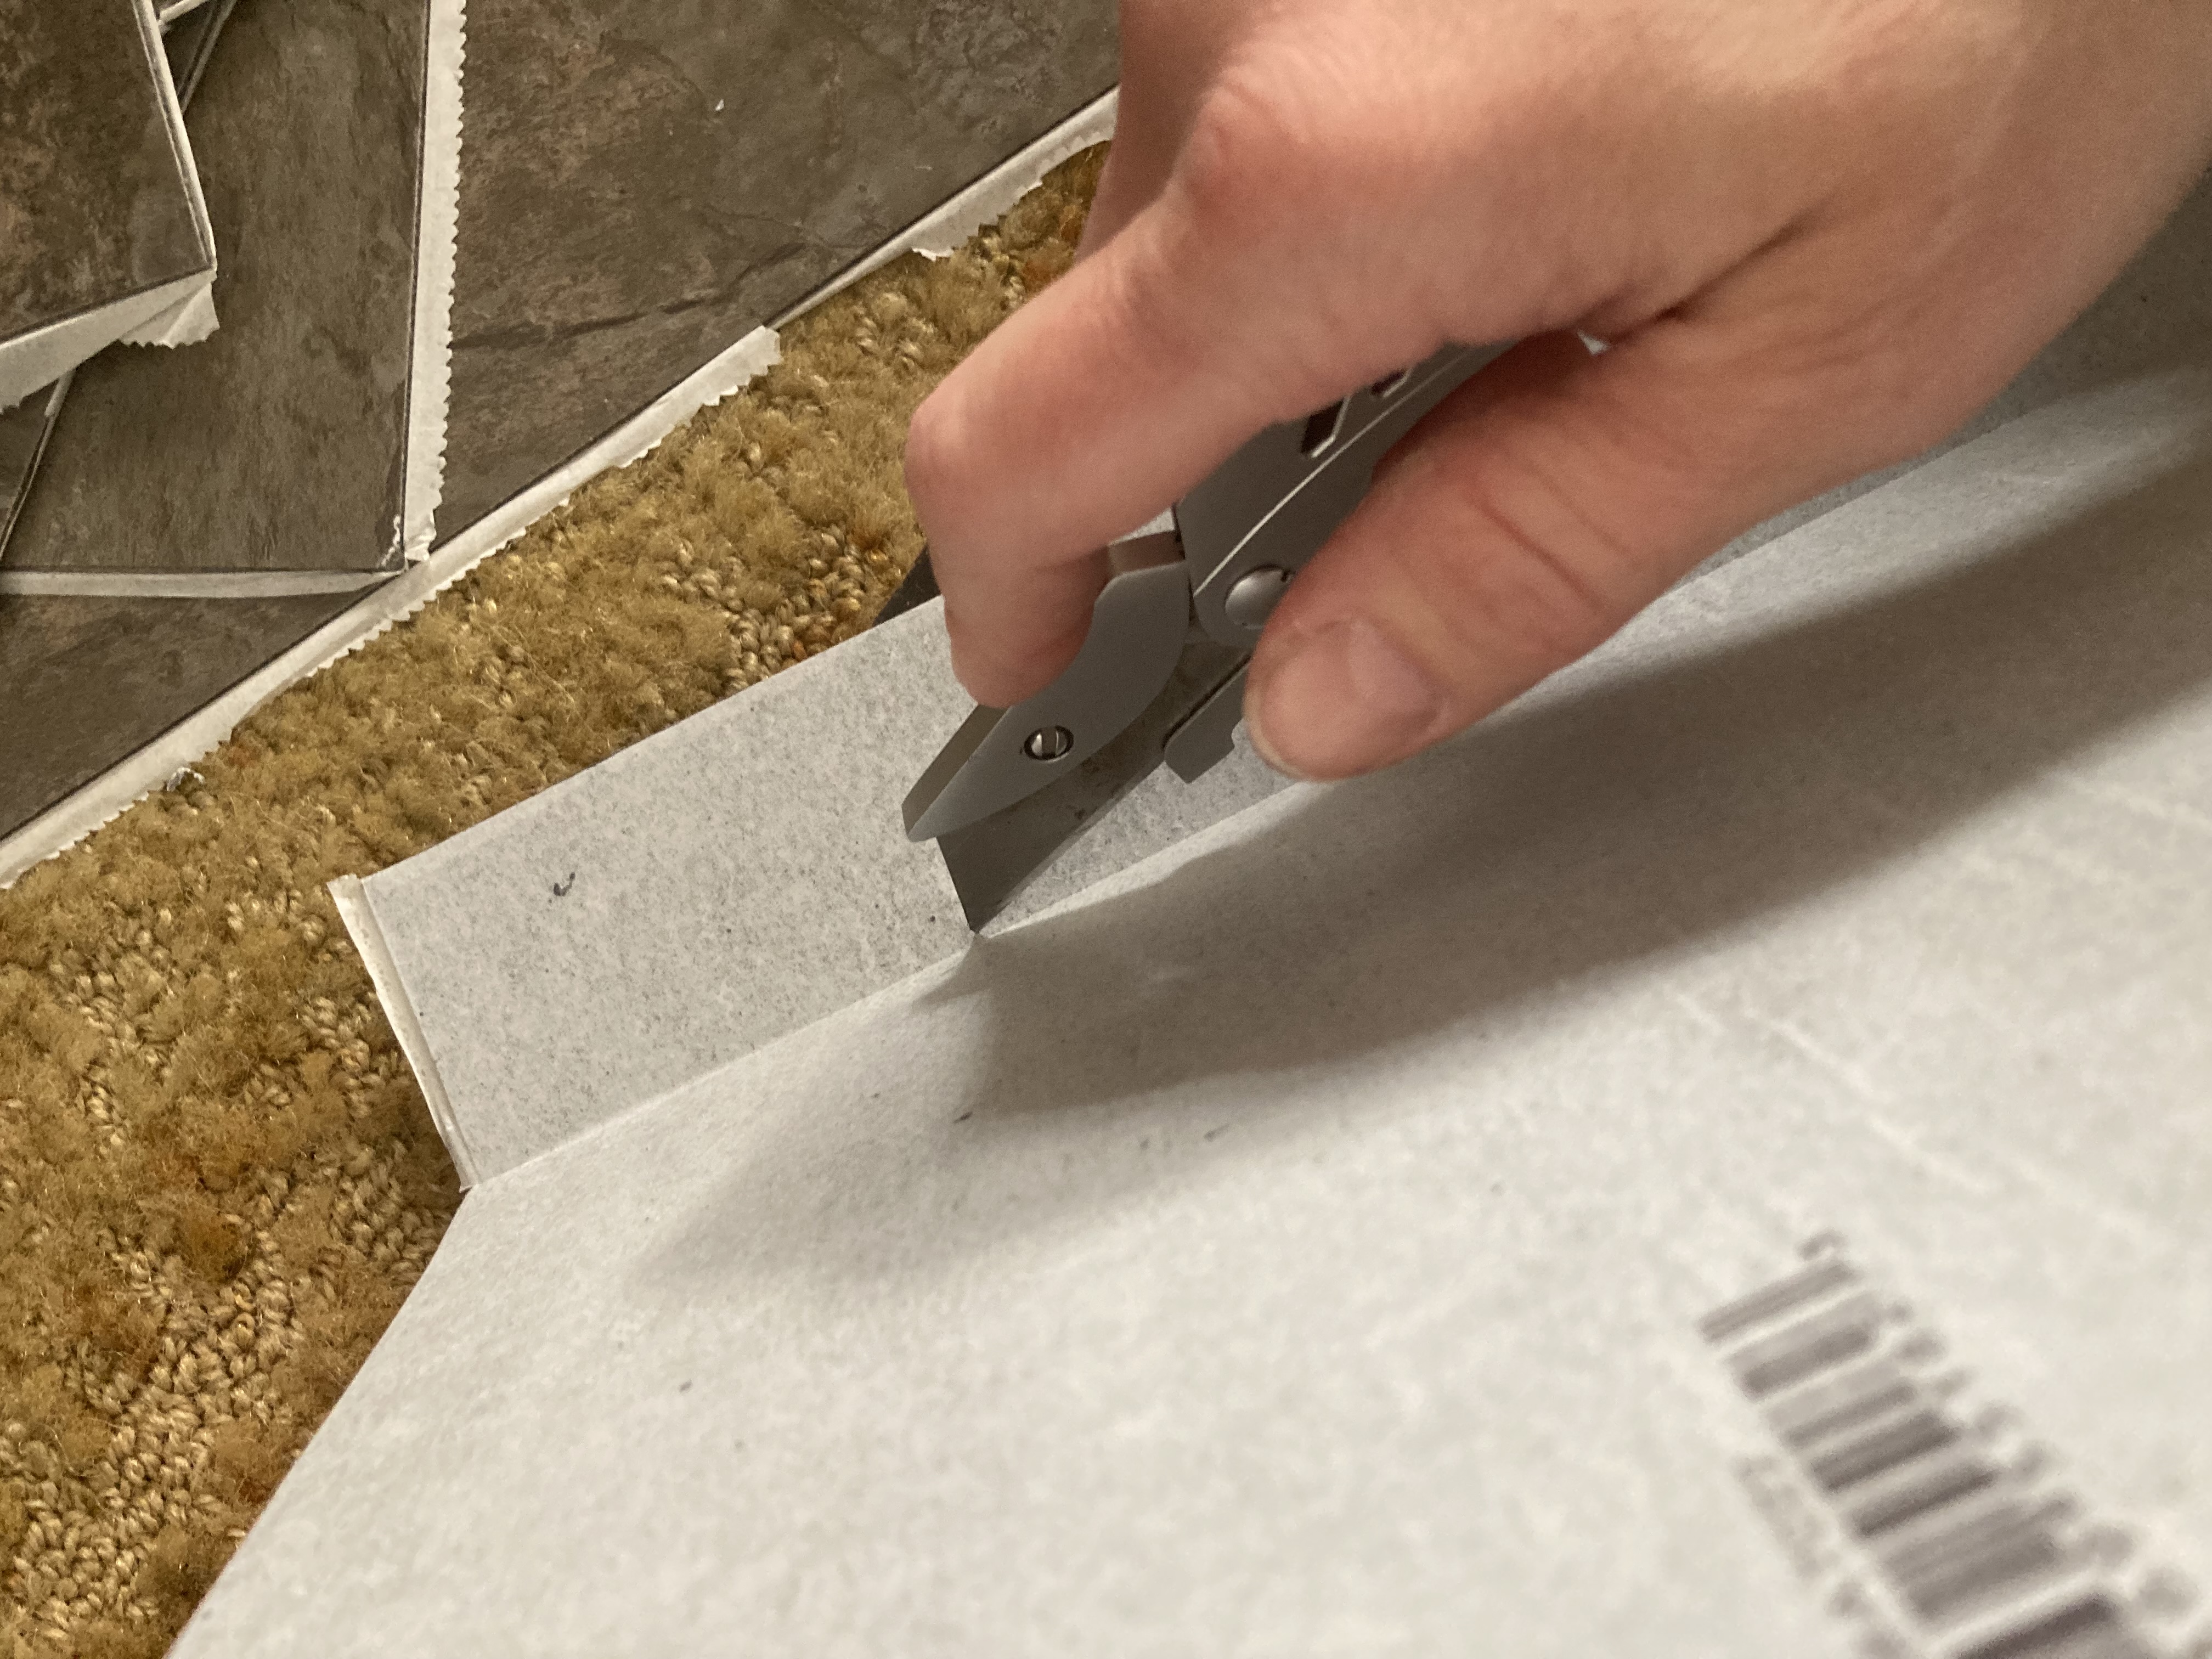
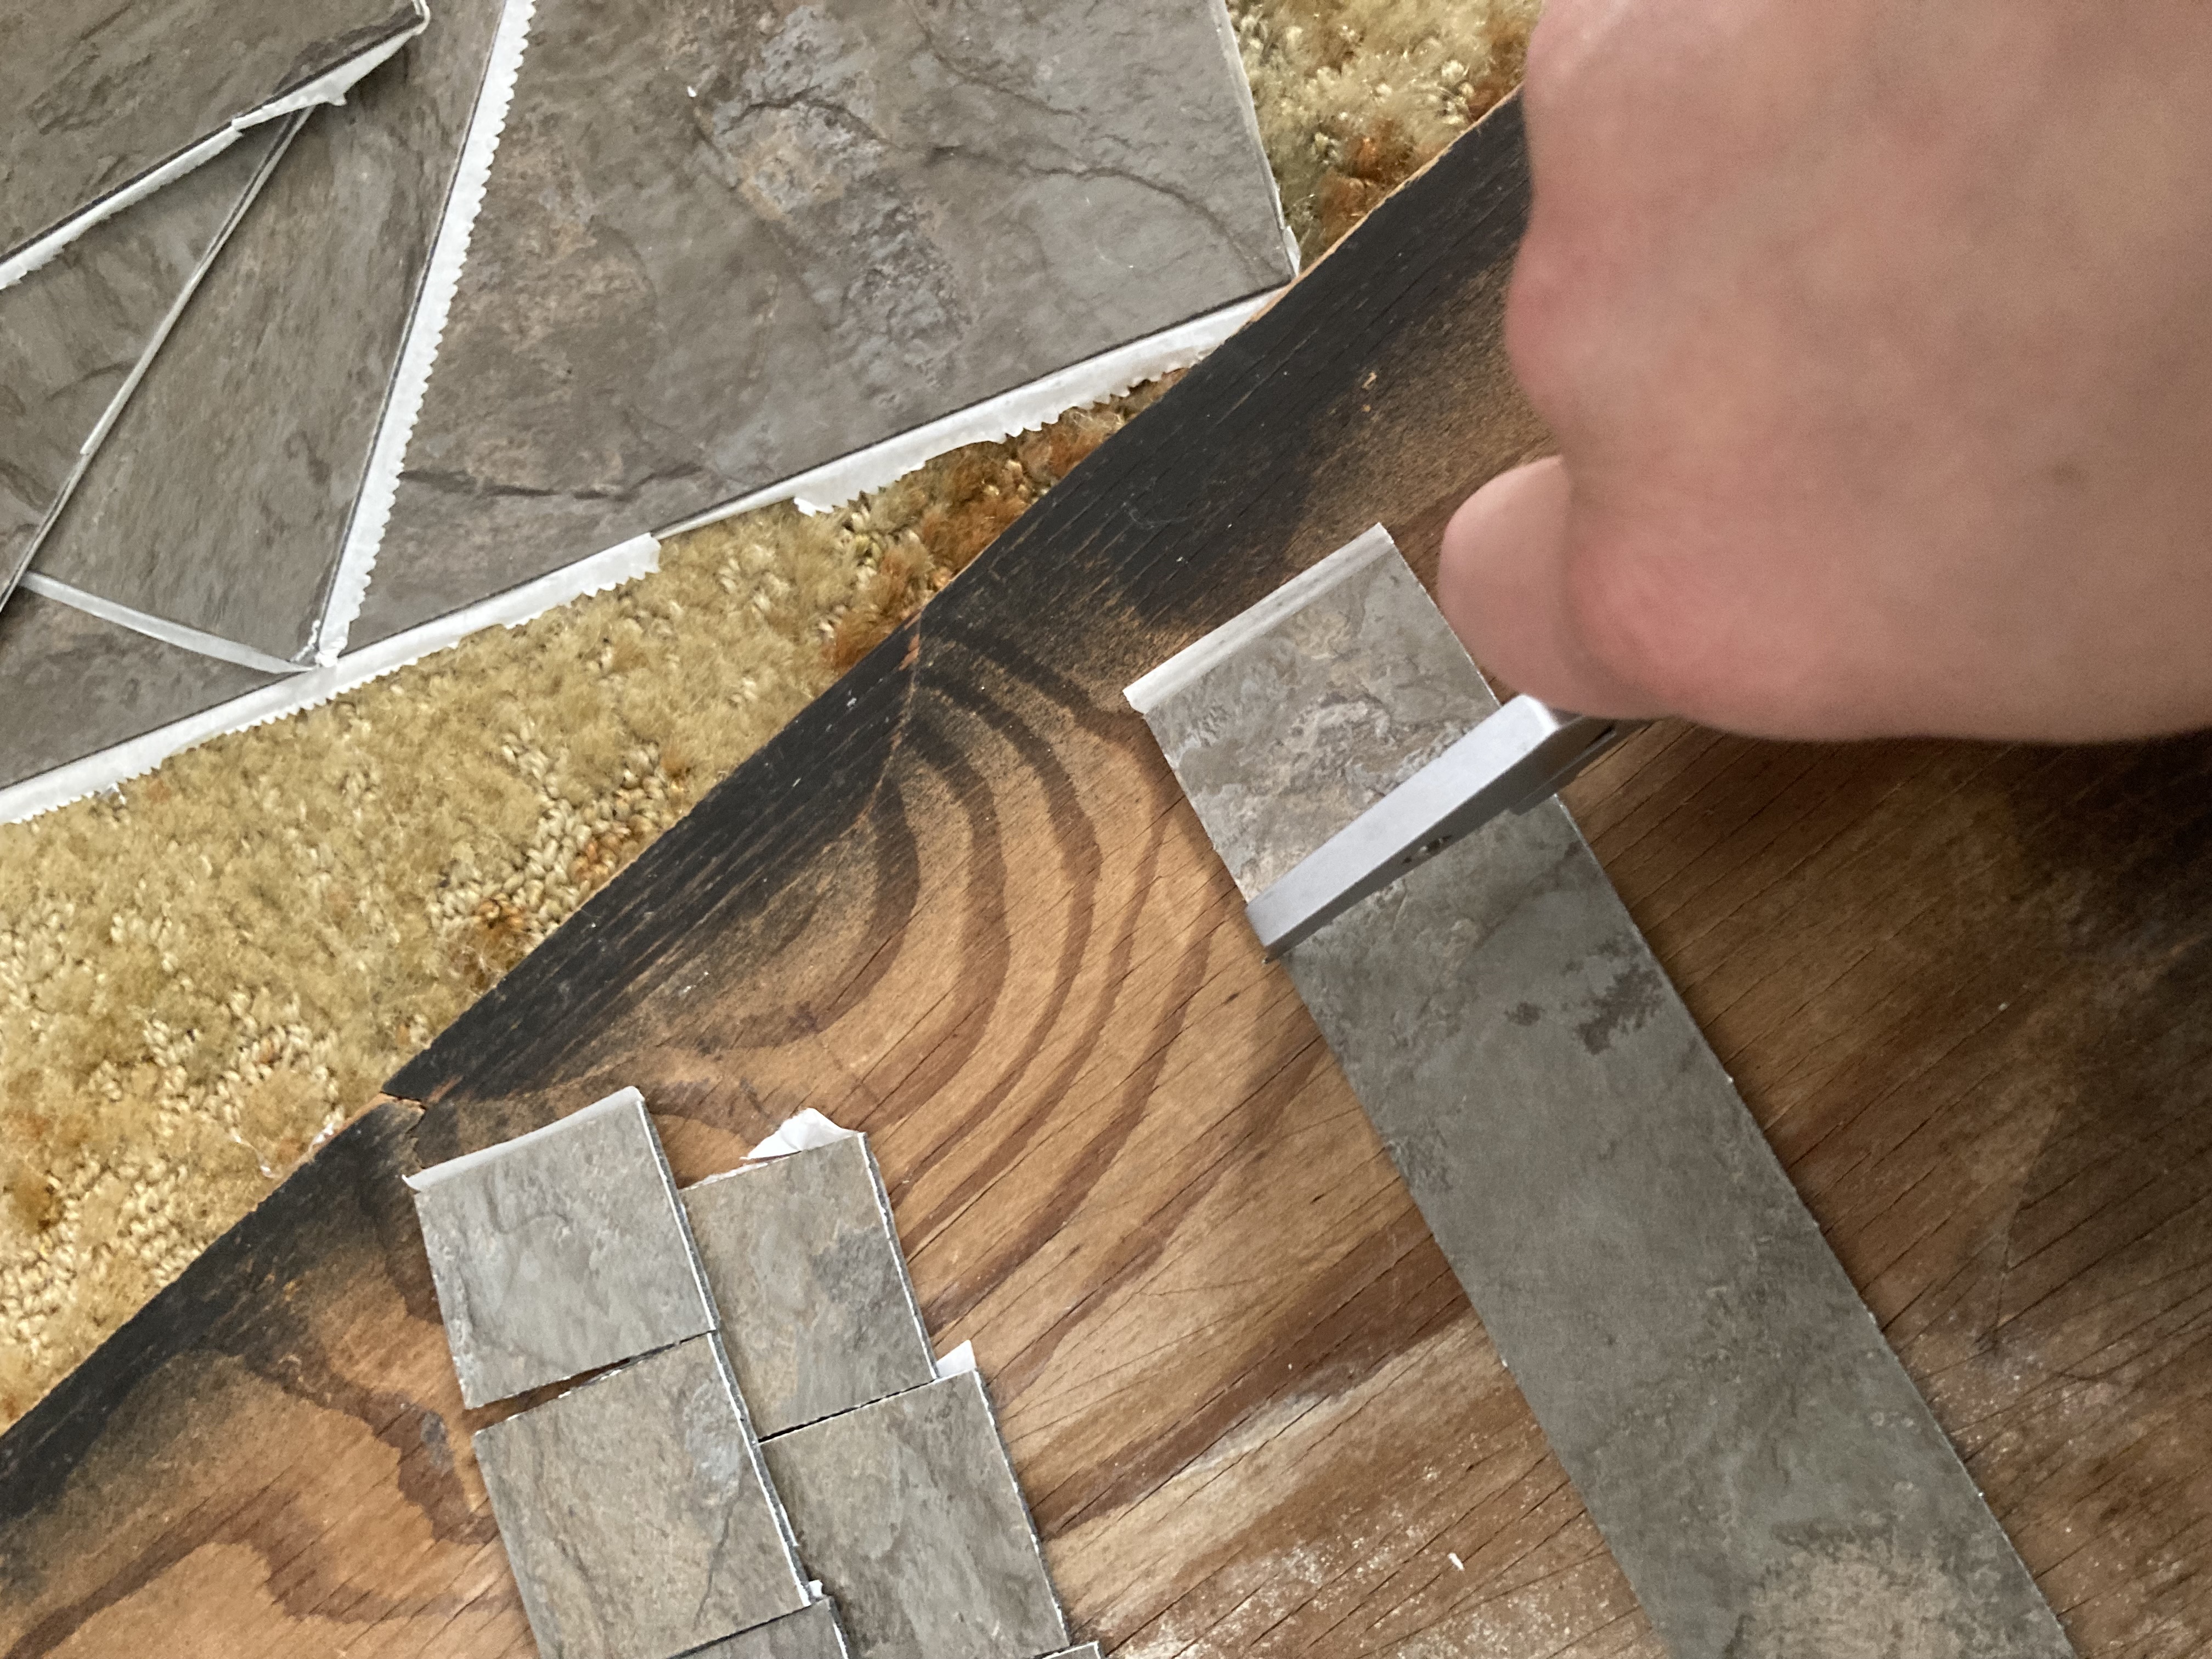
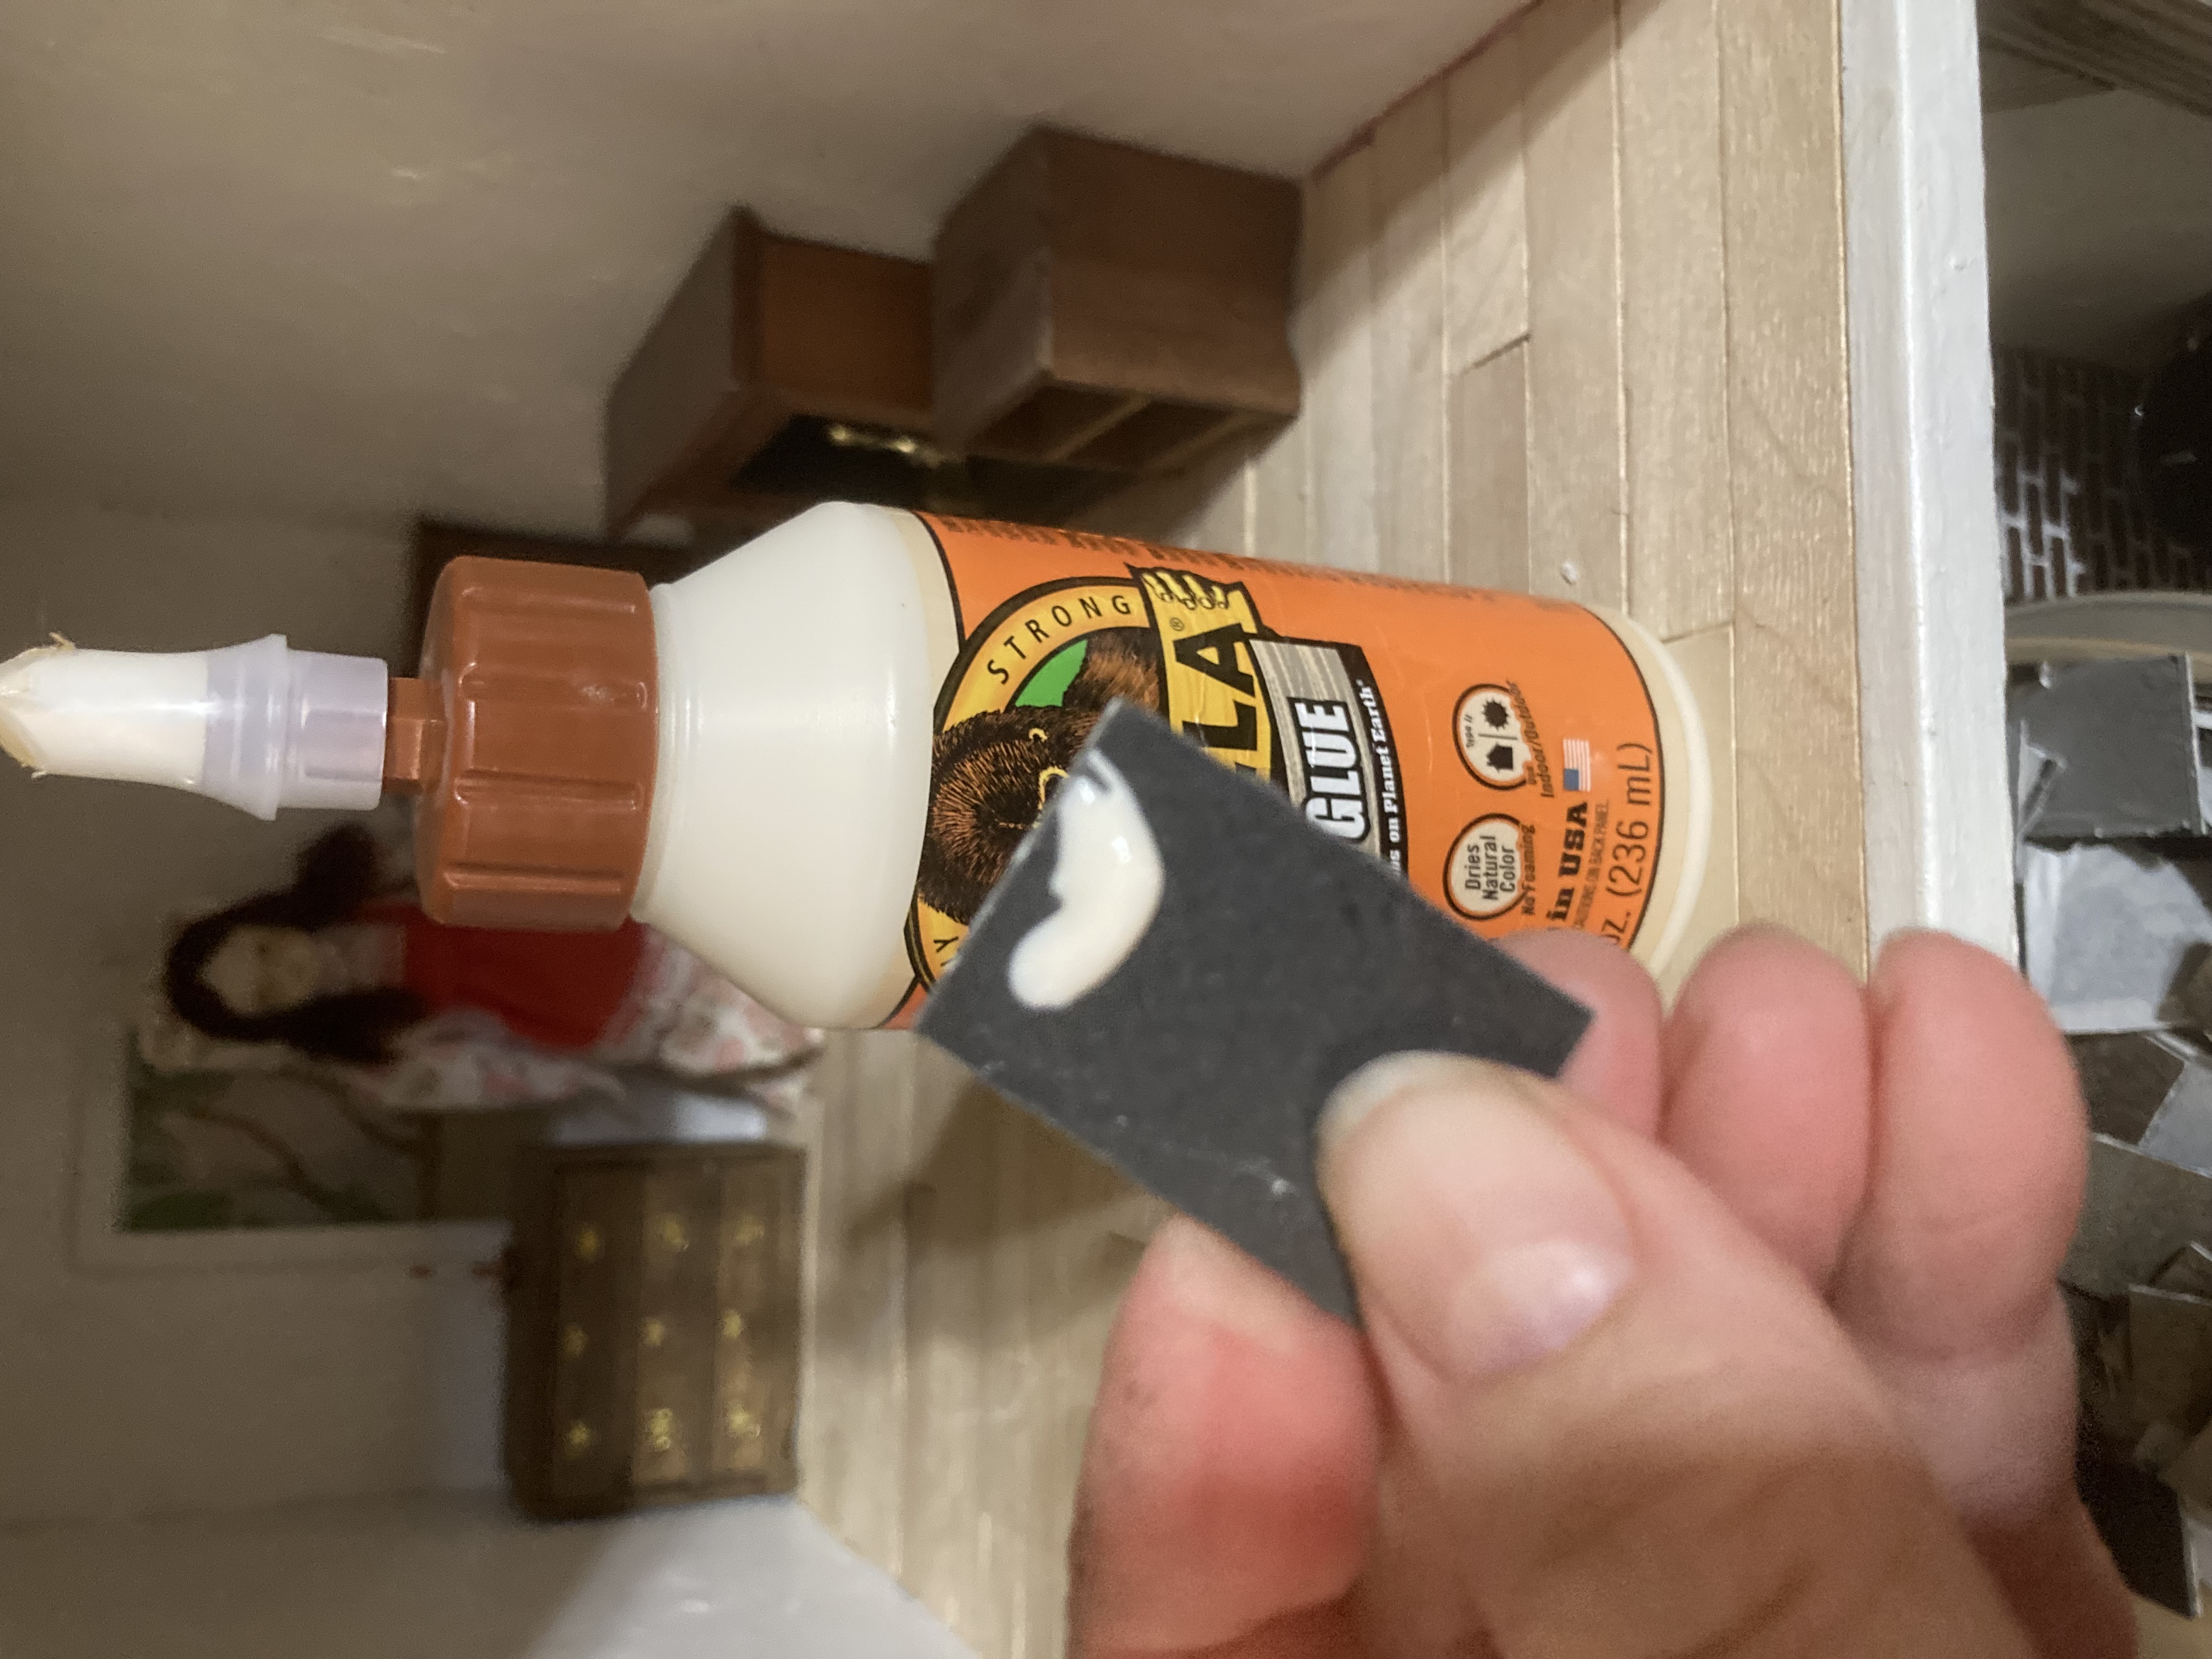
I also used my miter shears, wooden coffee stirrers, and wood glue.
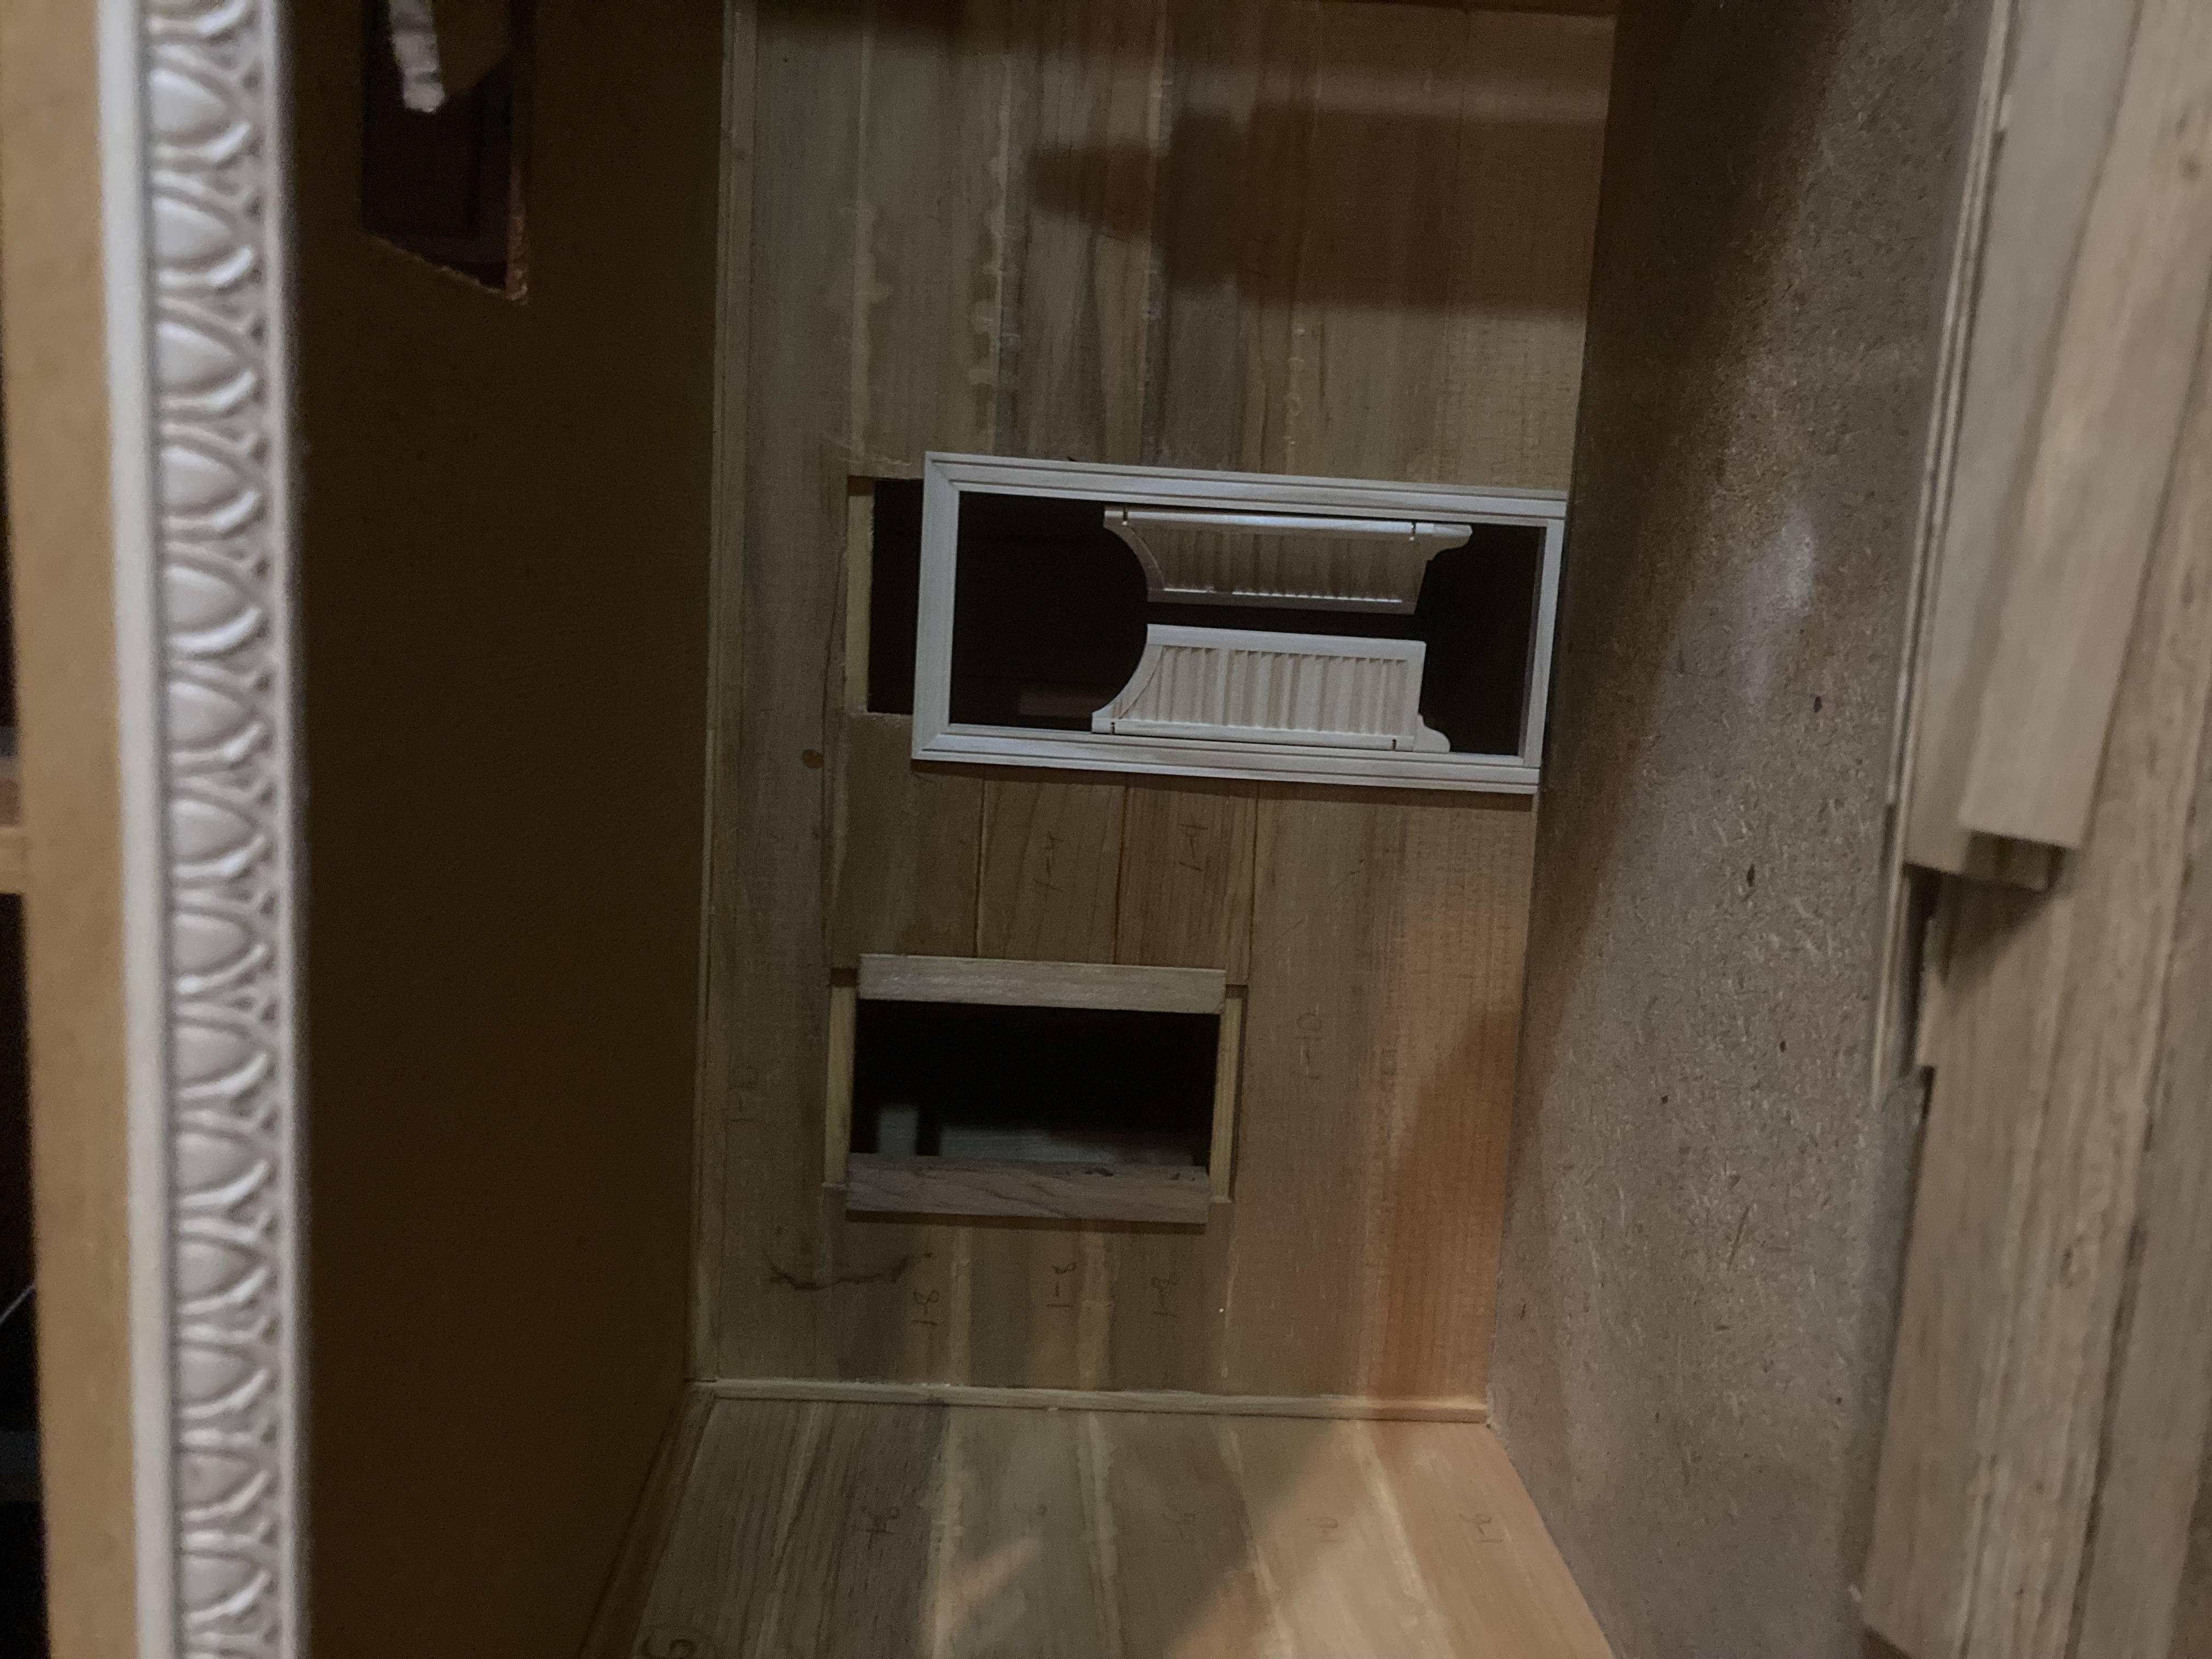
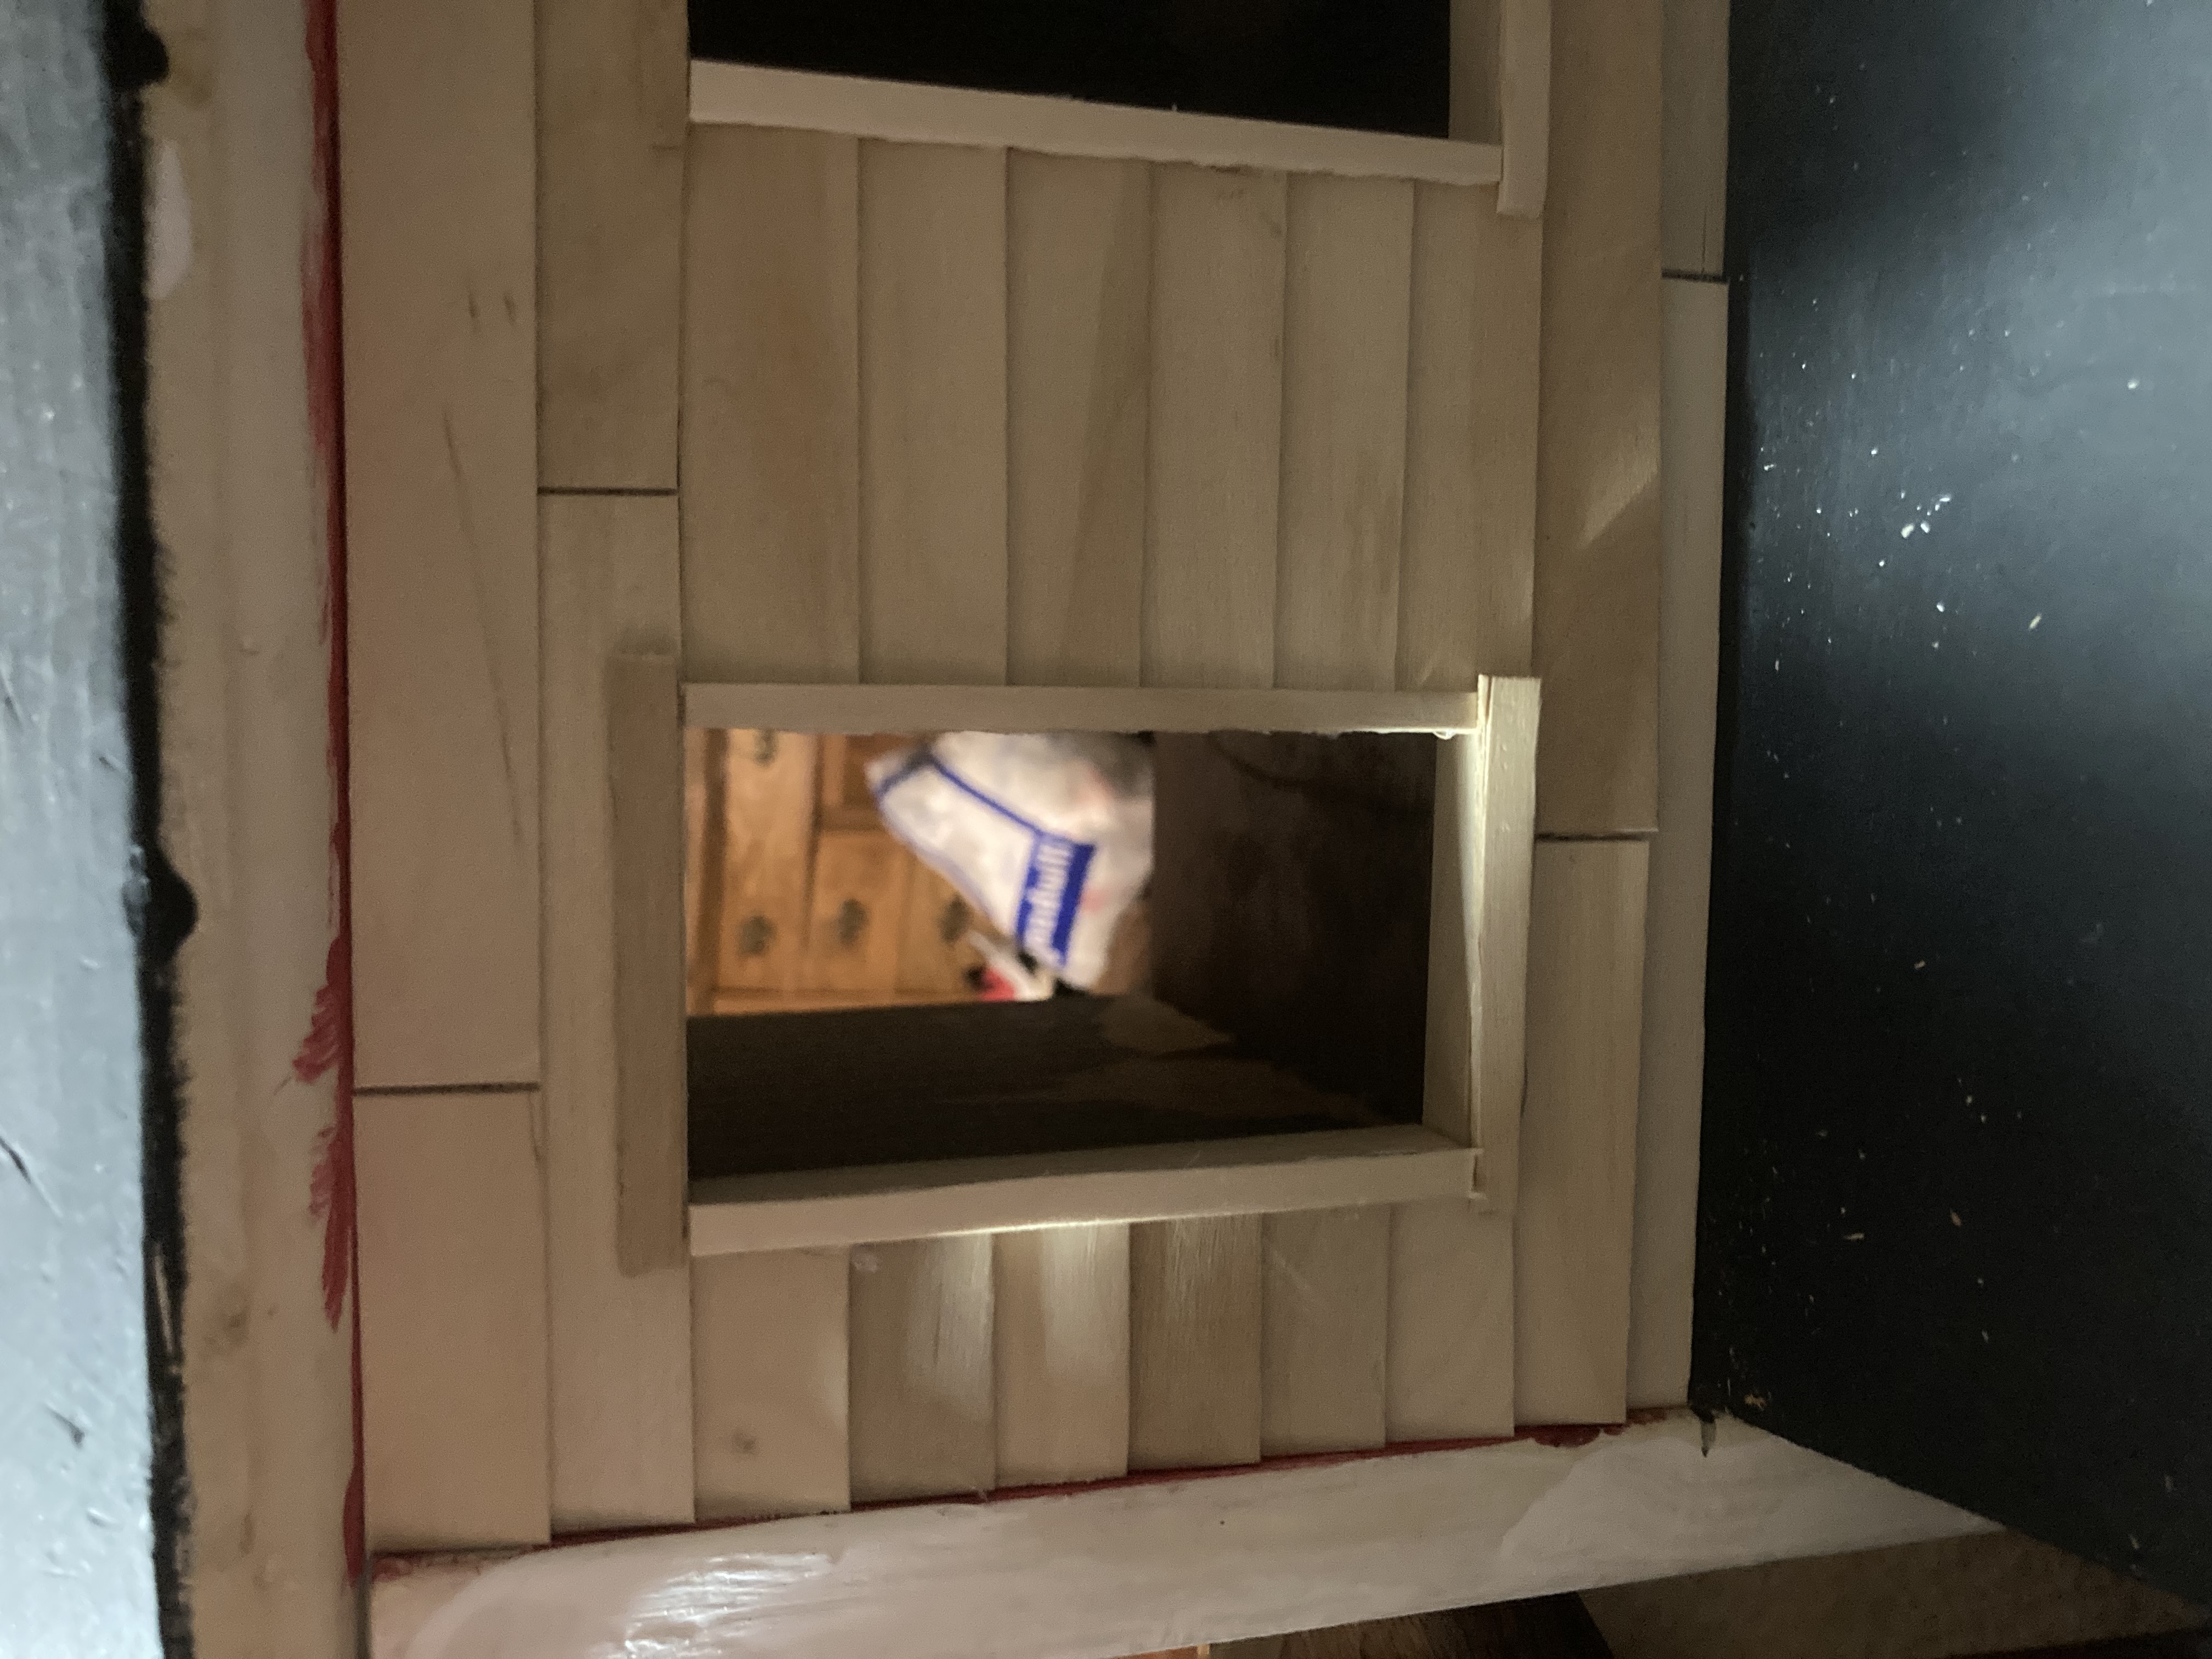
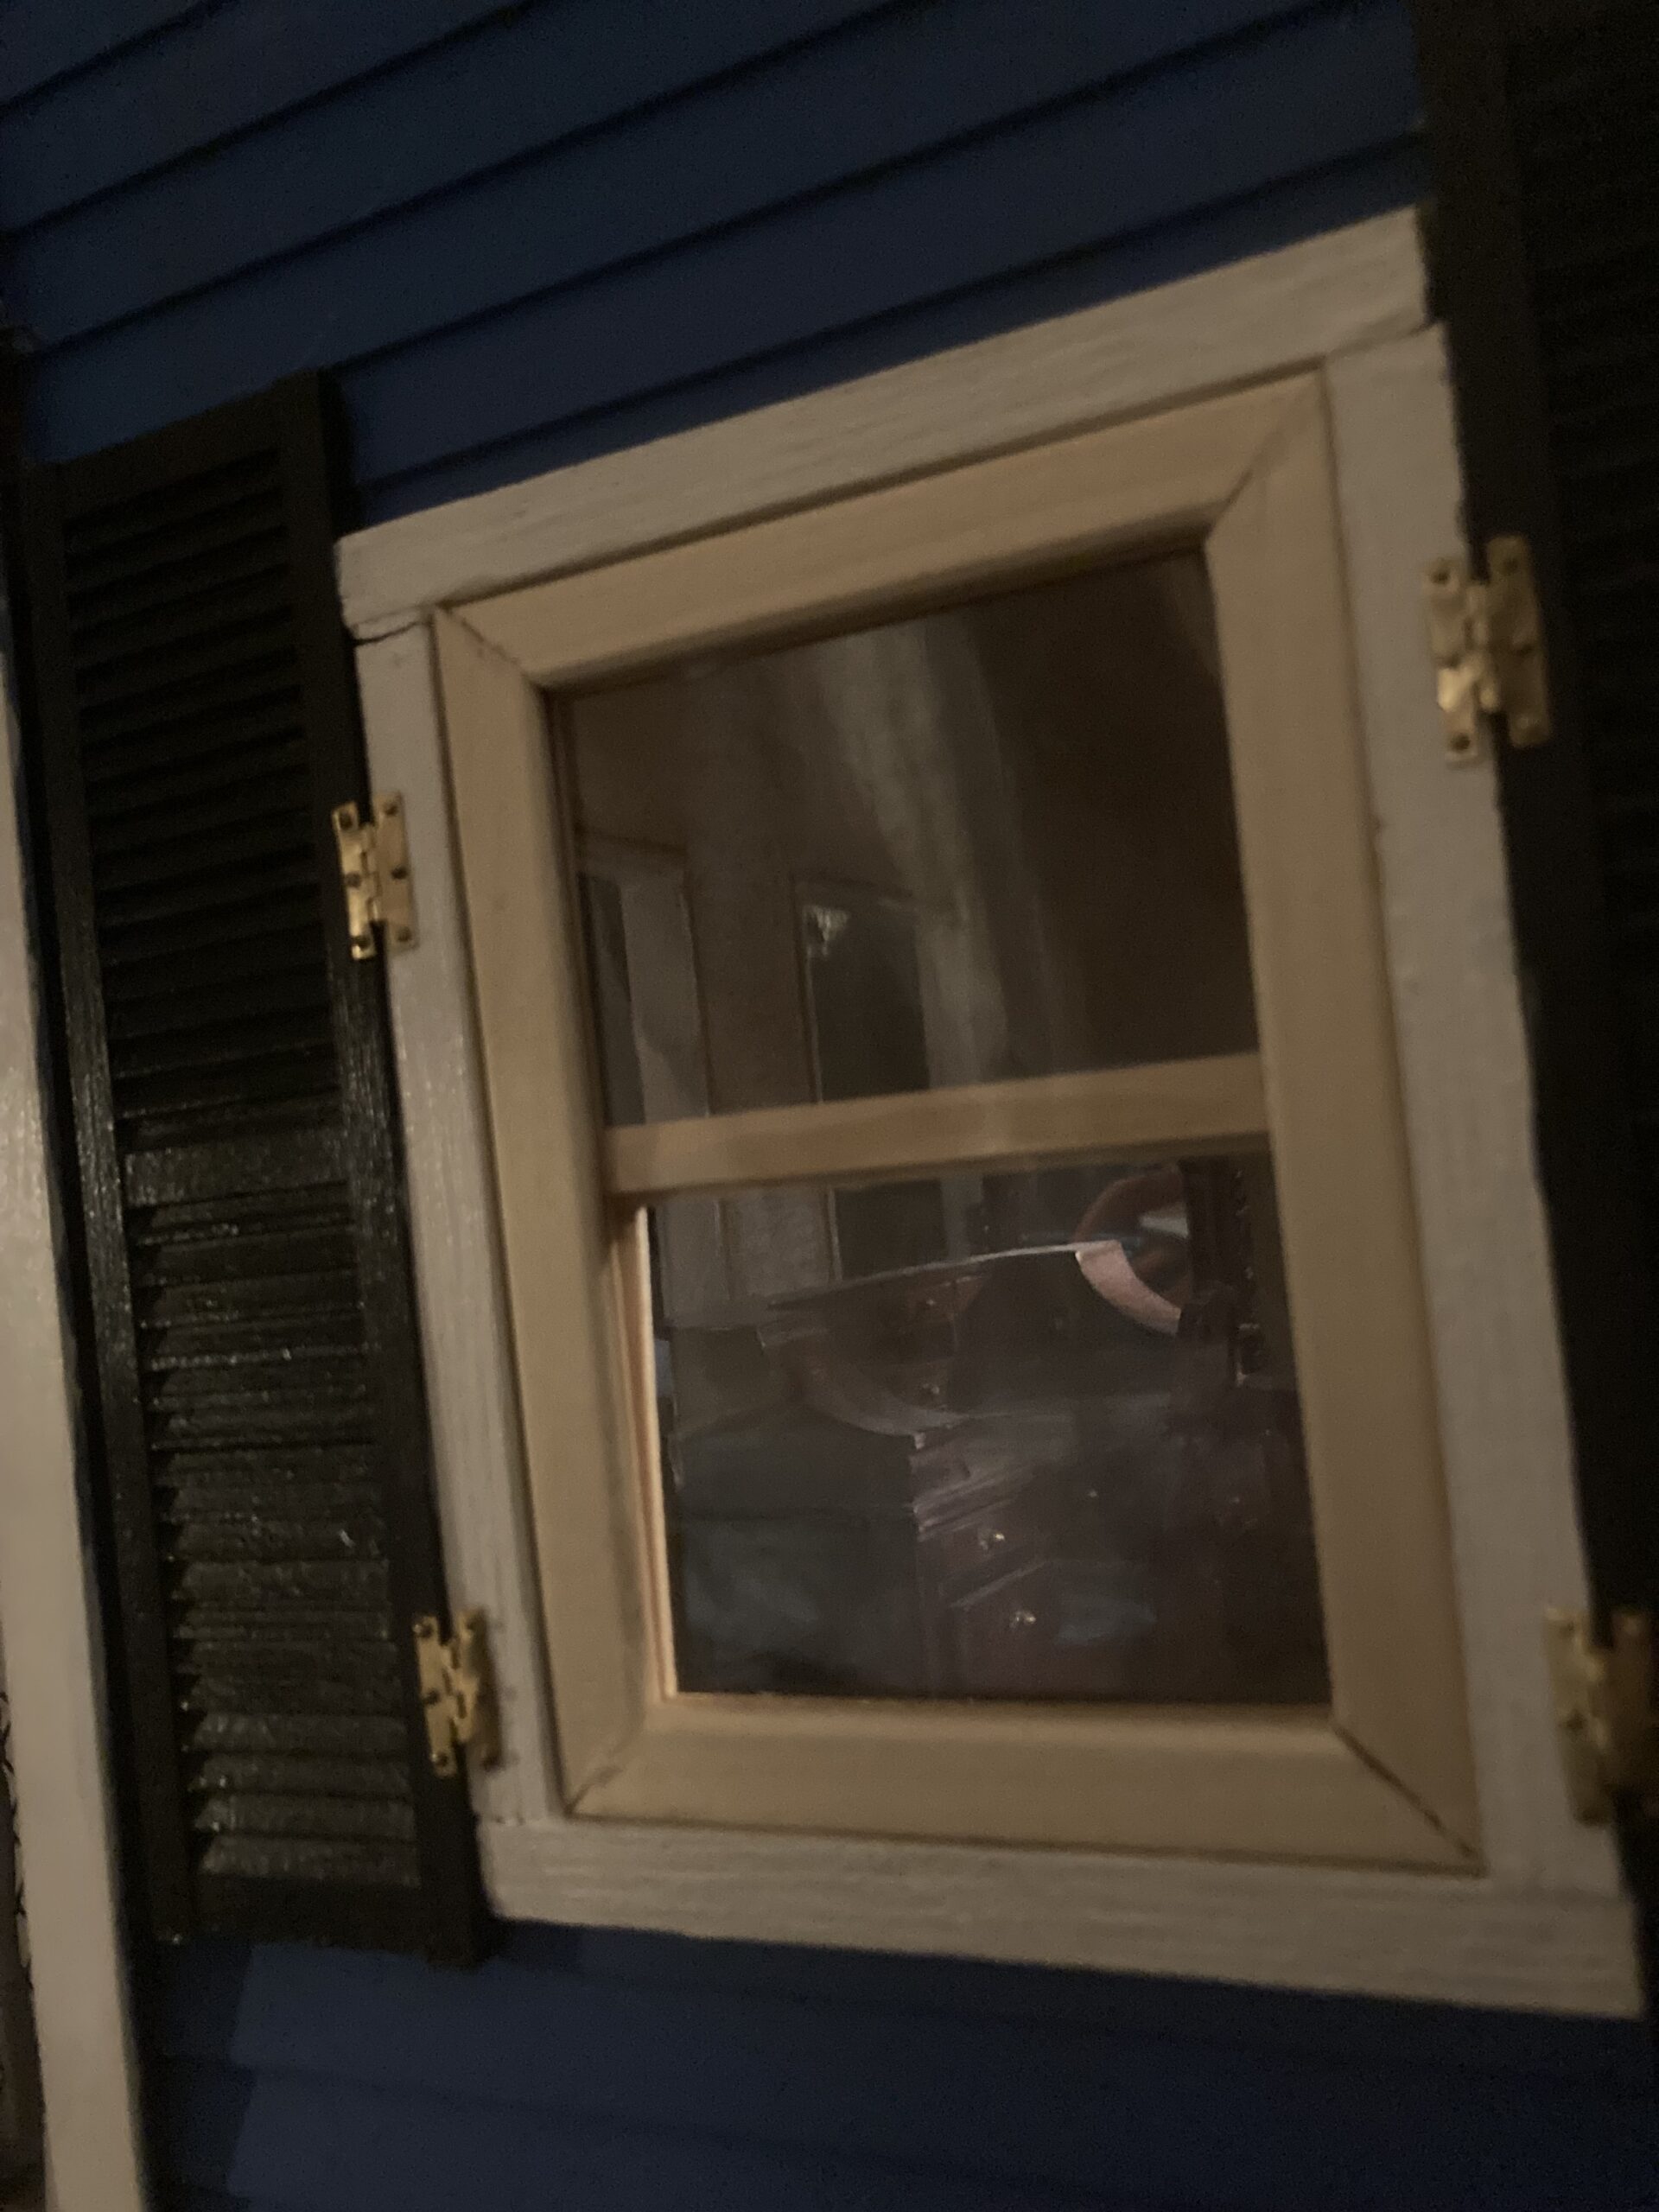
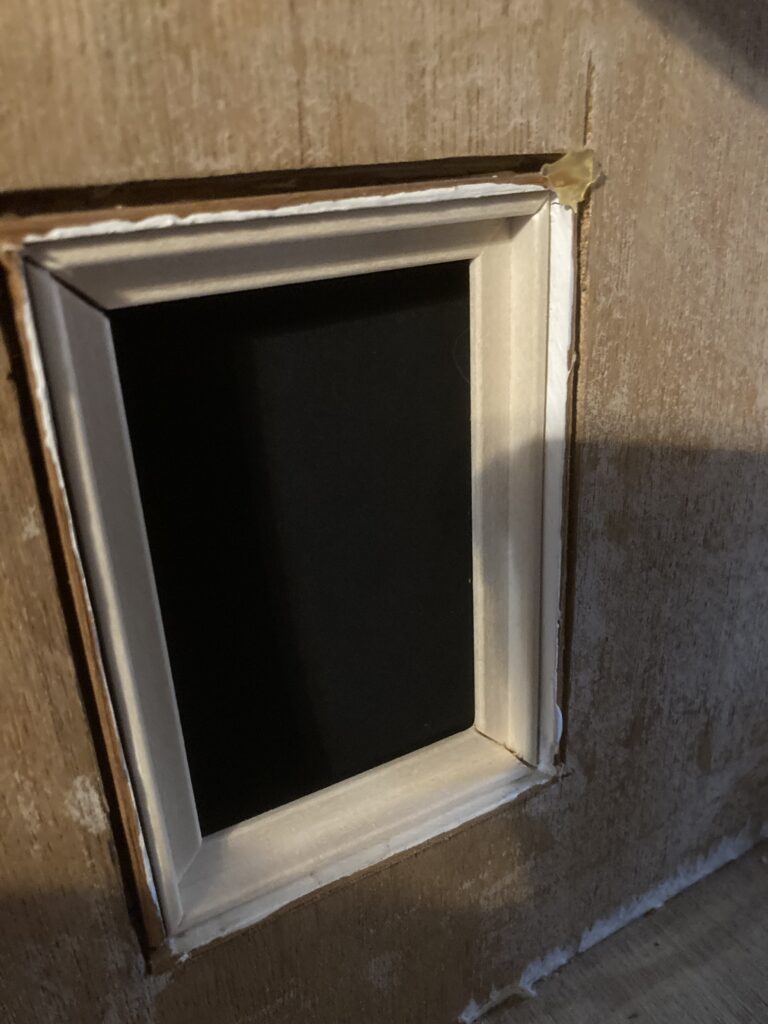
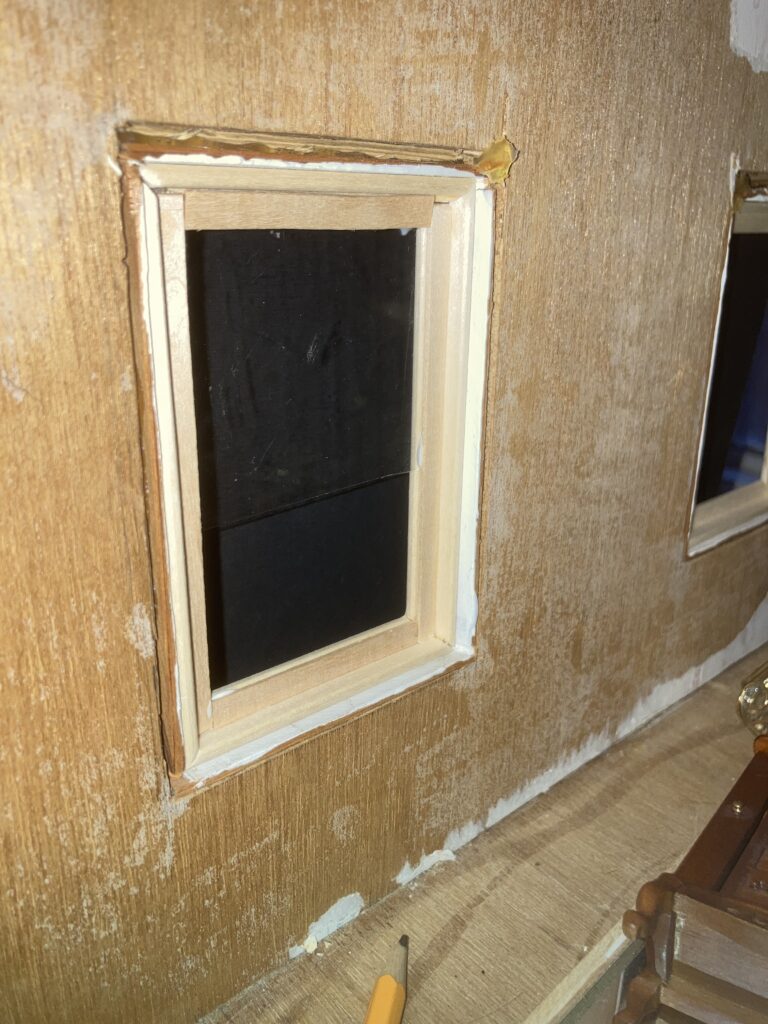
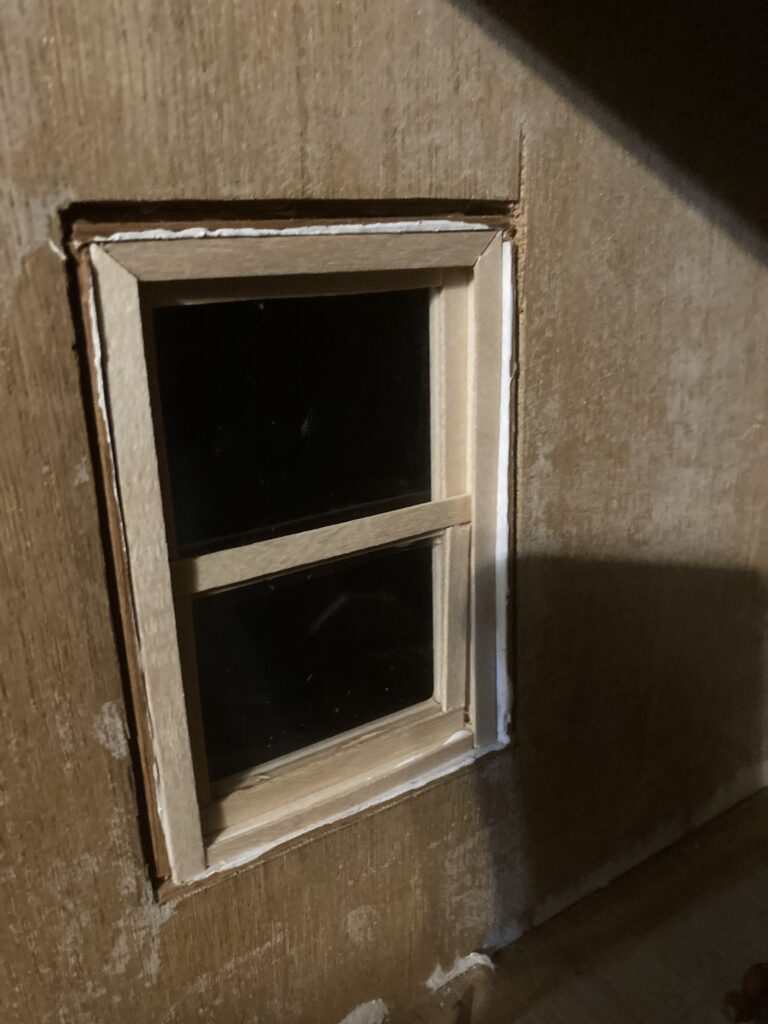
First, I used the miter shears to cut the corner trim at the proper angles and sizes to make a frame inside the window. I glued the pieces together, so it is an inner frame for my window hole. When you hold it up, it will look like a picture frame where the outside of the frame is nice and flat, while the inside has a raised ridge that will hold the window workings.

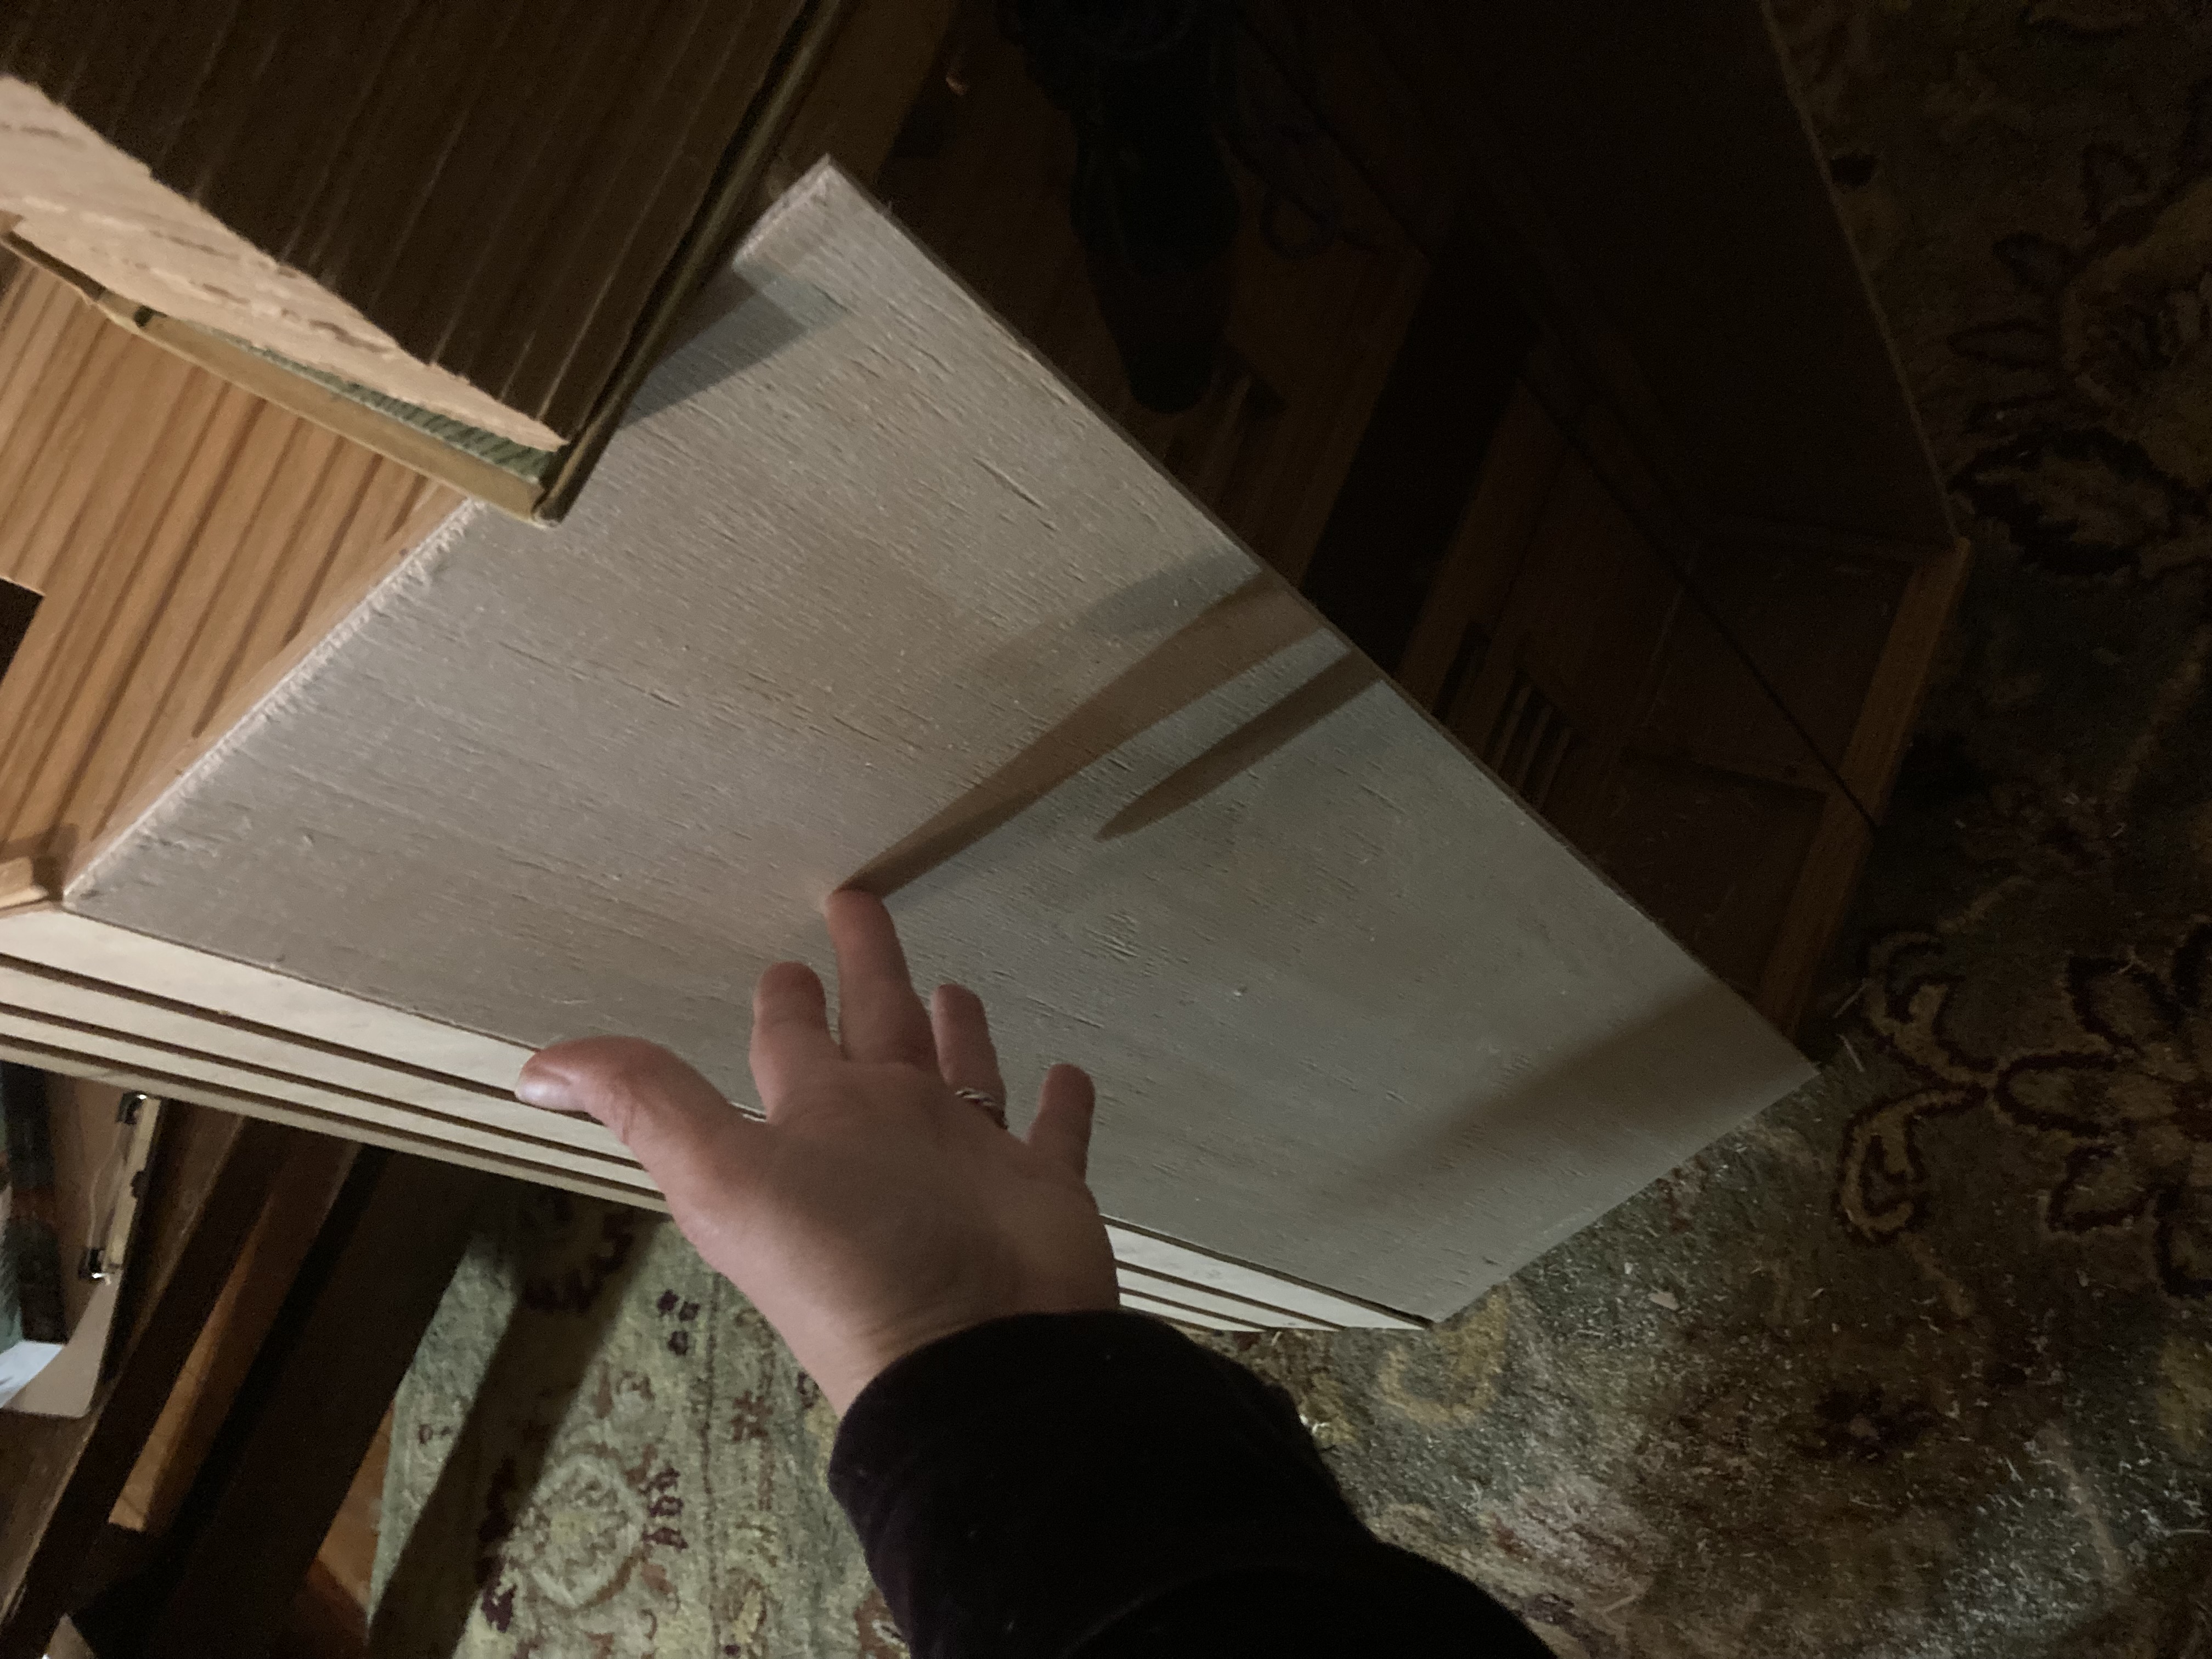
I placed the new inner window frame so that the section that looks smaller is pointing outward, while the side with the wider opening is pointing inward, to the interior of the house, and the side with the smaller opening is pointed outside.
After this inner window frame is in place and the glue is dry, I started on the window workings.
First I cut a piece of clear plastic to fit the top section of the inside of the window. I glue it in place at the top of the frame. Then, using wood coffee stirrers, I made a little wooden frame for the whole inside of the window. It covers the edges of the top section of plastic glass and stretches all the way to the bottom of the window frame.
Next, I cut a piece of coffee stirrer to finish framing off the top half of the window.
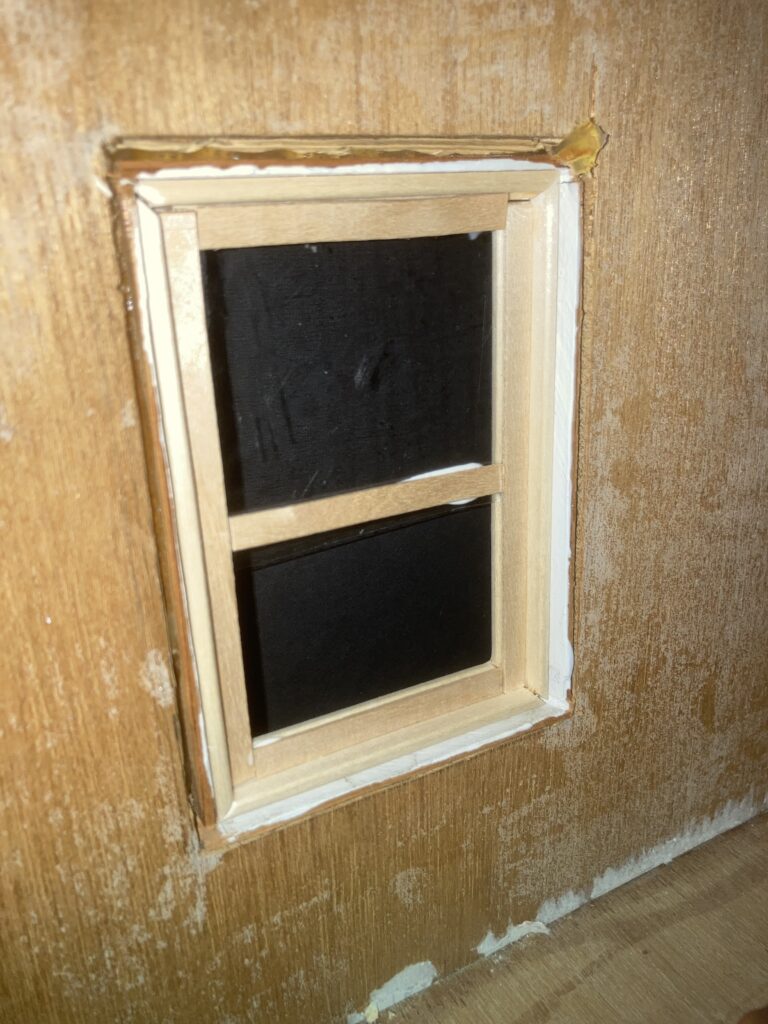
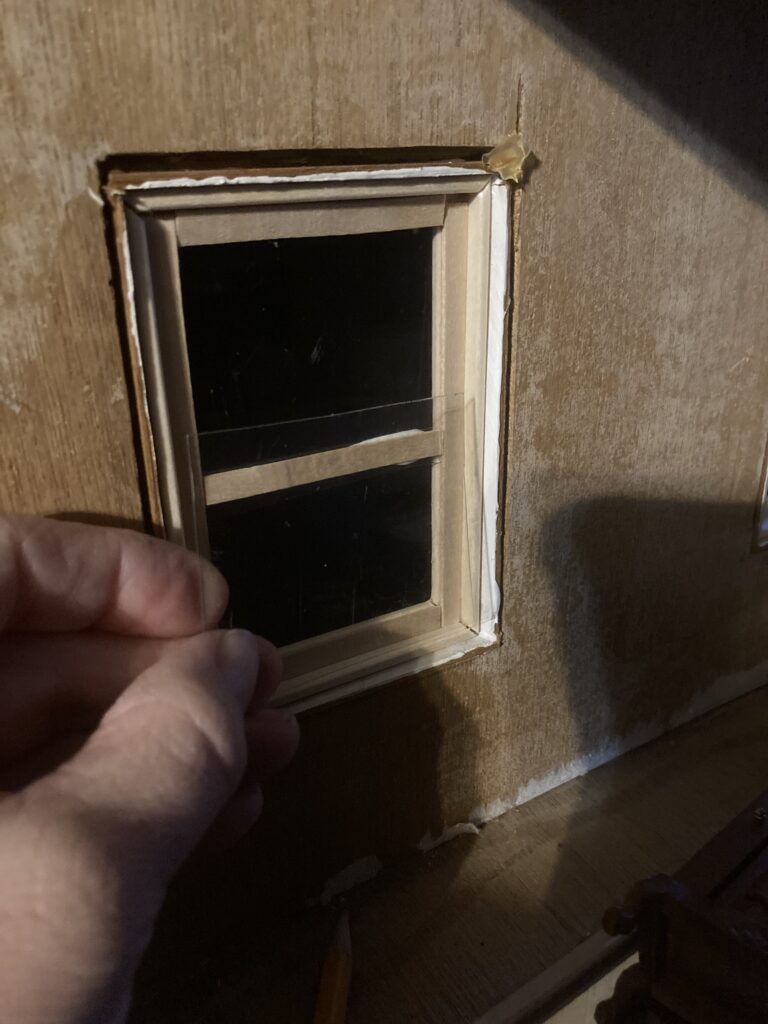
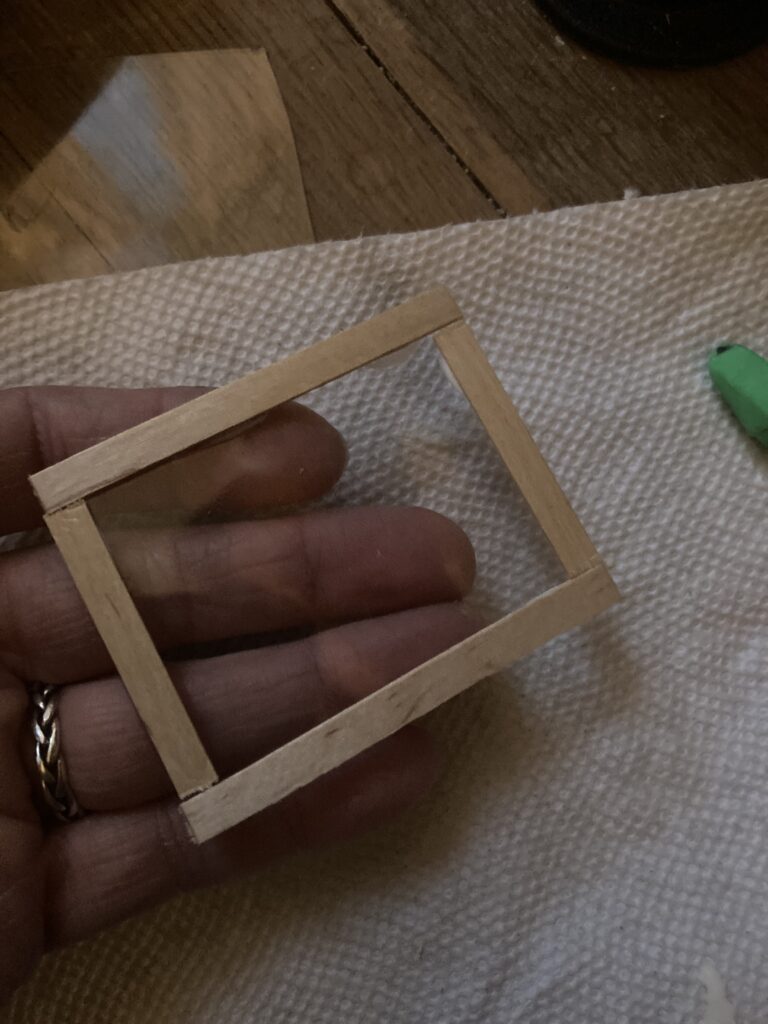
Next, I cut a section of clear plastic to fit the bottom half of the window. I cut this so its frame will overlap the the bottom of the top frame. This will keep the bottom half of the window from falling out to the outside.
Next, I made a little frame around this piece of glass out of the coffee stirrers. I make sure that it will fit inside the window ok.
I set this lower window frame in place at the bottom of the window.

Finally, I made a frame around the edges of the window frame. This wood will hold the lower part of the window in place so it won’t fall out of the window on the inside. Make sure you don’t get any glue on the moving, lower section of window, as it won’t be able to open if it is glued to the trim.
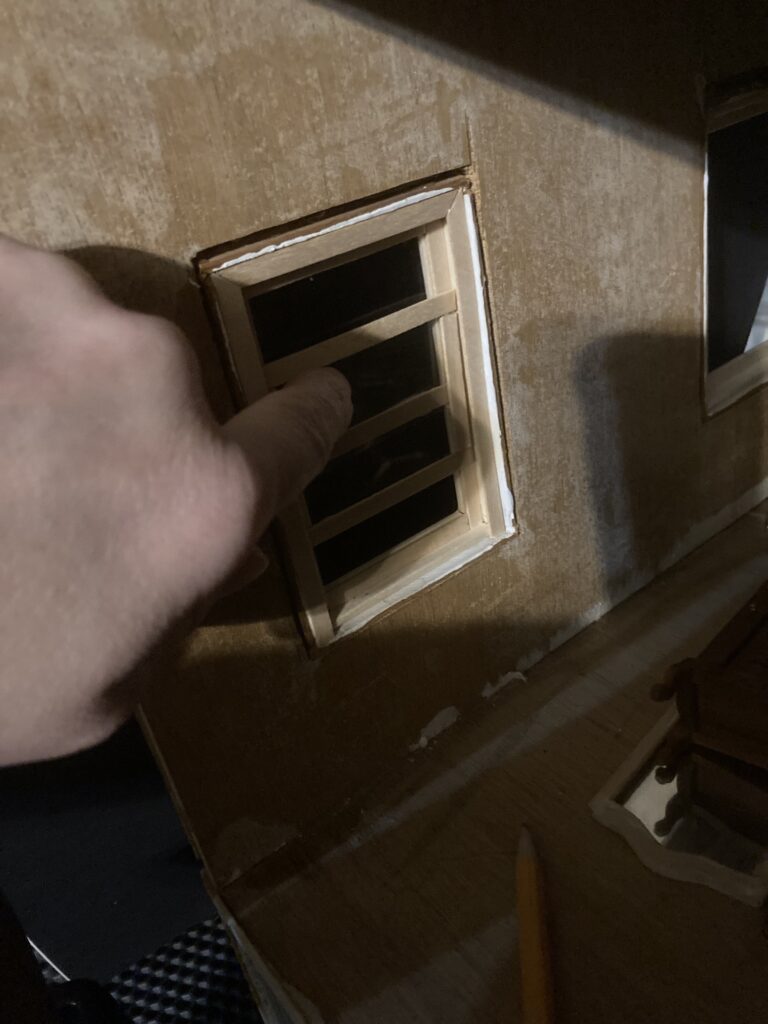
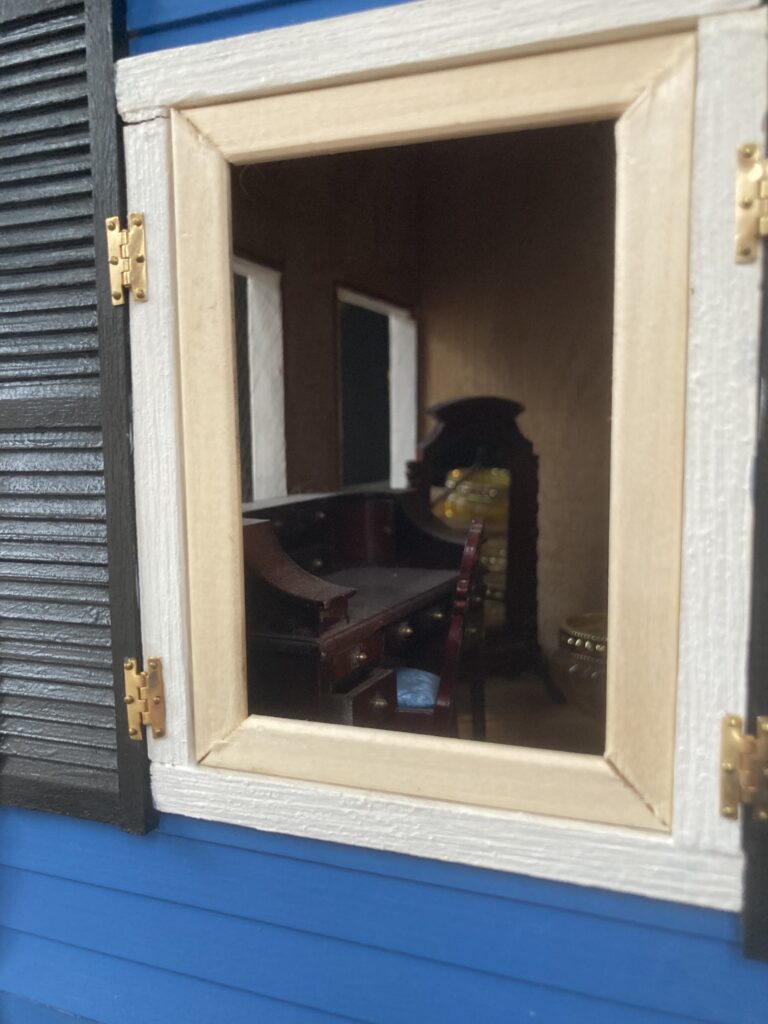
Once the inside of the house is complete, I will finish it off with a nice bit of decorative trim around the whole window. I plan on making a small framed piece of screen to use as a window prop to hold the window open in some rooms. You could also use a section of dowel if you want the widow to remain open. Mine will probably stay closed to keep curious paws out.